366 LED Taillight Filler Panel - PICS!
 07-10-2012, 12:59 AM
#201
Teching In

Join Date: May 2012
Location: McAllen
Posts: 9
Likes: 0
Received 0 Likes
on
0 Posts
Hello i was wondering how much u would sell the front firebird bumper filler panel with the light set up and the back panel between the brake lights with the light set up that has the bird and the word firbird?
 07-14-2012, 02:16 AM
#202
Teching In
Join Date: May 2012
Location: McAllen
Posts: 9
Likes: 0
Received 0 Likes
on
0 Posts
Anticop ram air very very great work i see you've done on this mod to the firebird front license plate filler panel as well as the rear panel between the brake lights! Is was wondering is there any way i can purchase these items from you if you can please get back at me thanks!
07-14-2012, 03:00 AM
#203
Teching In
Join Date: May 2012
Location: McAllen
Posts: 9
Likes: 0
Received 0 Likes
on
0 Posts
07-14-2012, 01:51 PM
#204
Teching In
Join Date: May 2012
Location: McAllen
Posts: 9
Likes: 0
Received 0 Likes
on
0 Posts
Do you no if any one is selling these cuz I gotta have this great mod!?
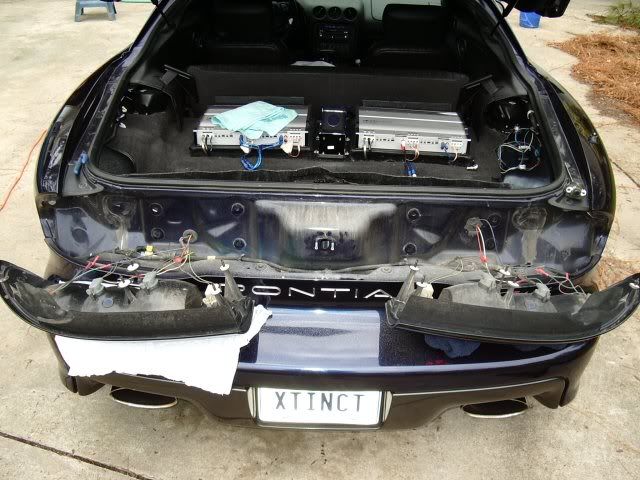
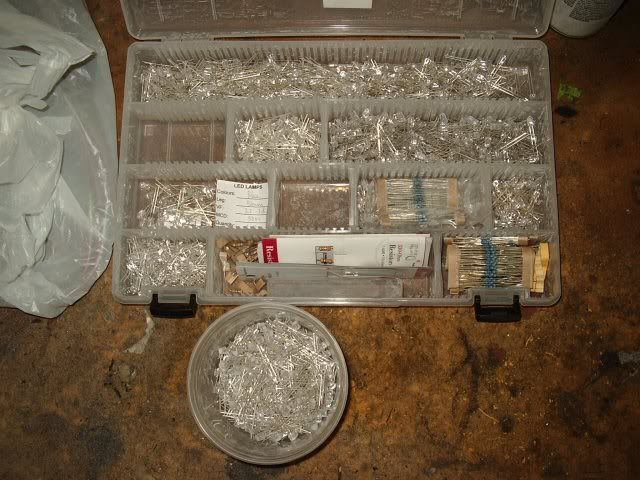
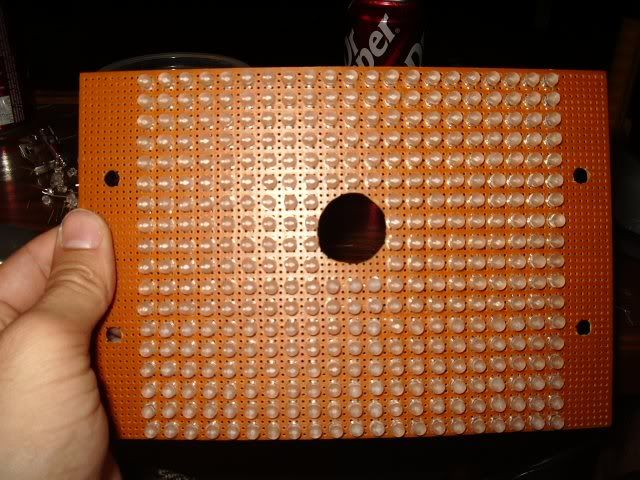
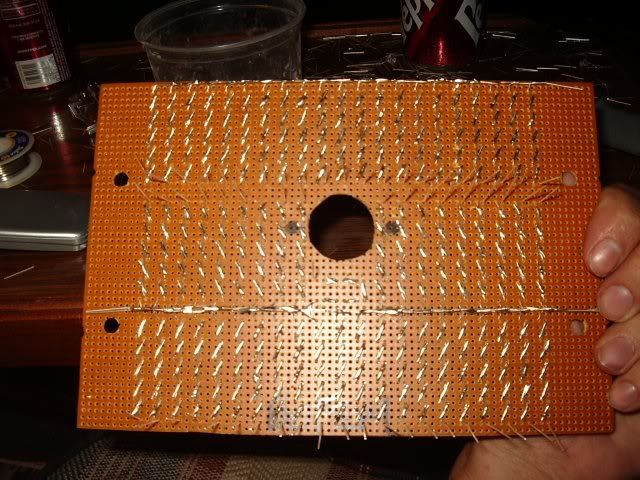
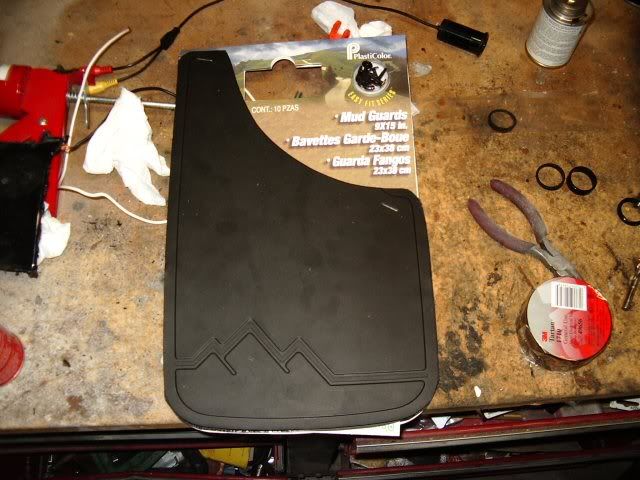
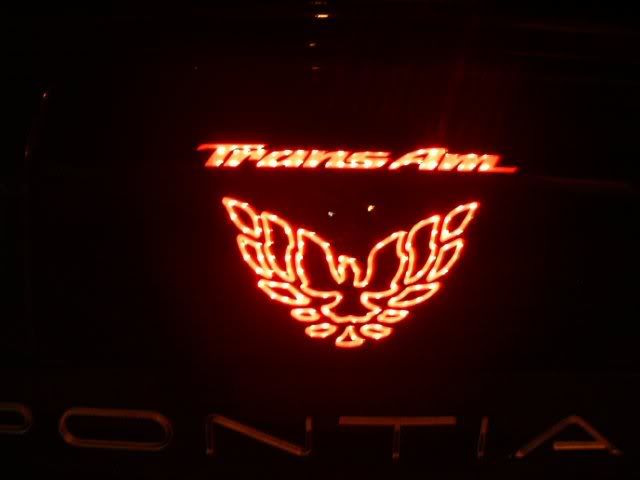
Had this idea and the parts for a while now. It took Rita to start working on it. I was able to fit 366, 8000mcd red LEDs behind it. I grinded the head of each one so it'd dispurse the light better. It's wired for both the running light and the brake light but only the running light is hooked up now. The 3rd brake light wire goes to ground when it's off so it wants to short. I need to figure out a way to use it other than hooking up a SPDT relay to it. I used liquid electrical tape to seal up the soldering and I also used a piece of a mud flap to keep the circuit board off the body of the car so it wouldn't short.
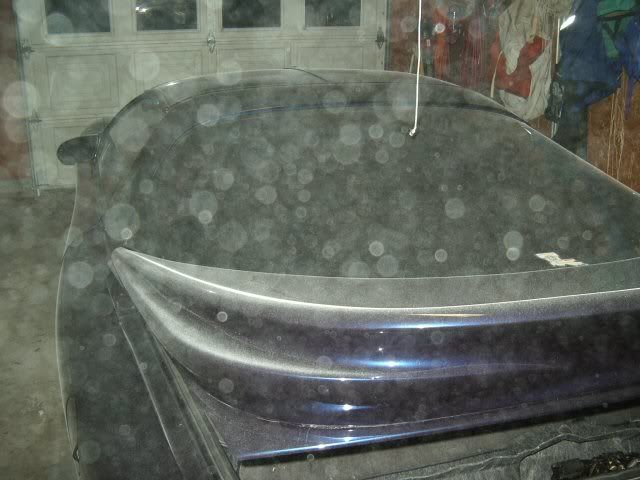
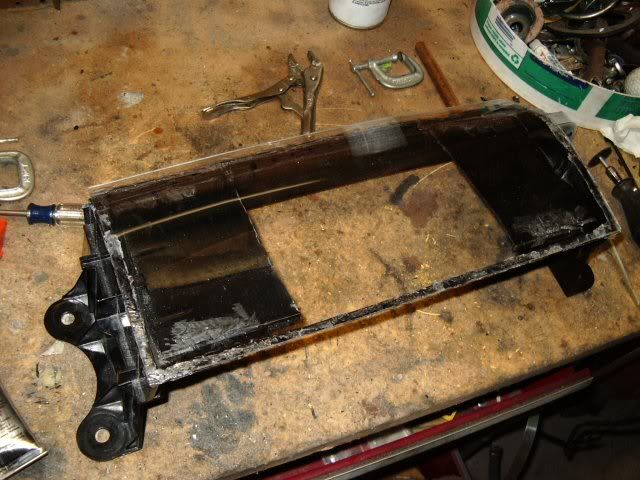
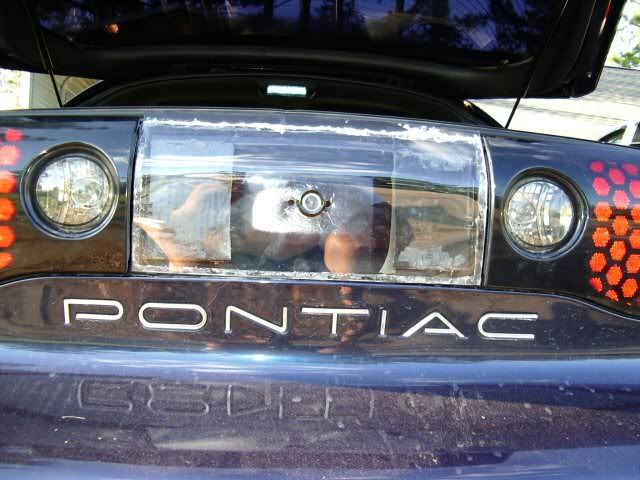
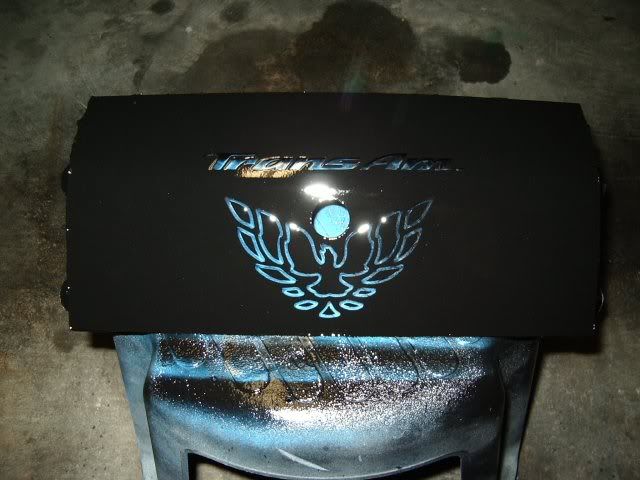
I cut off the stock face and bent a piece of .080 thick plexiglass with a heat gun to contour it. Then glued it to the frame. Came back with some JB Weld on the sides to fill in any open places and make it a little stronger. Then used some black caulk to seal it off so no light would come though. I I made my new emblem with AutoCAD and cut it on the vinyl cutter. Notice the bird is not stock, but looks like the front bird. I think it looks better and still appears stock. Painted it with 6 coats of black and 6 coats of clear. I used some Cardinal Red translucent vinyl and put 2 coats on the backside of it.
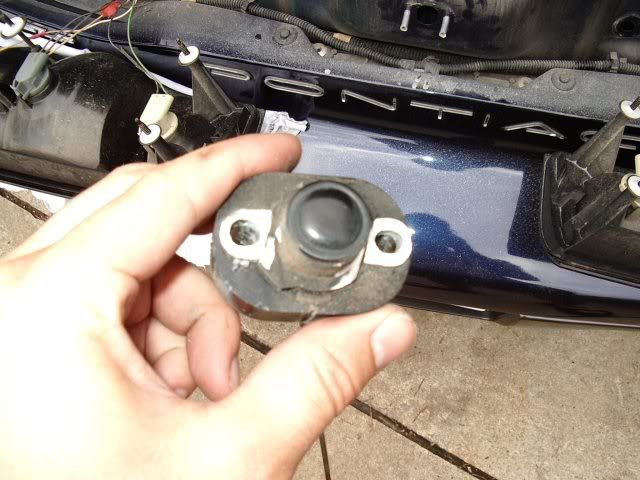
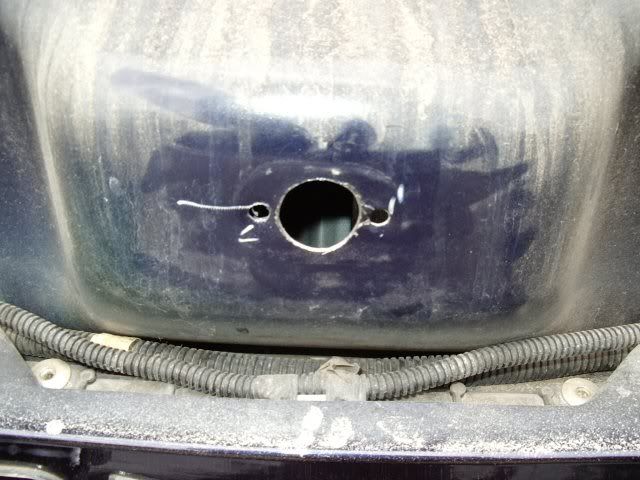
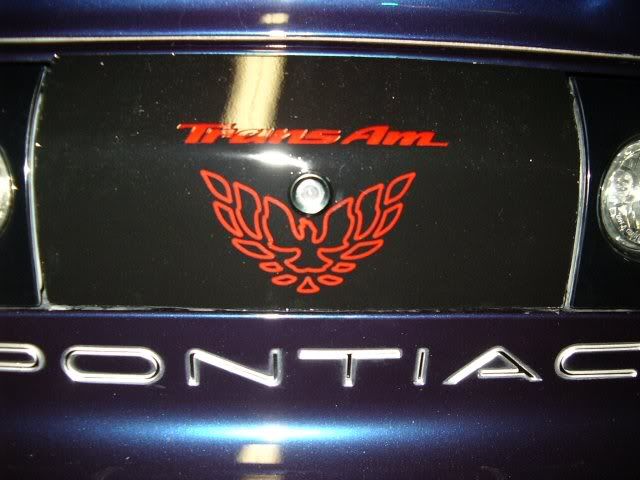
I also took off my key hole and drilled it out a hair bigger to pu a 1" reverse camera for my screen.
Took the lights off
Stock Key Lock
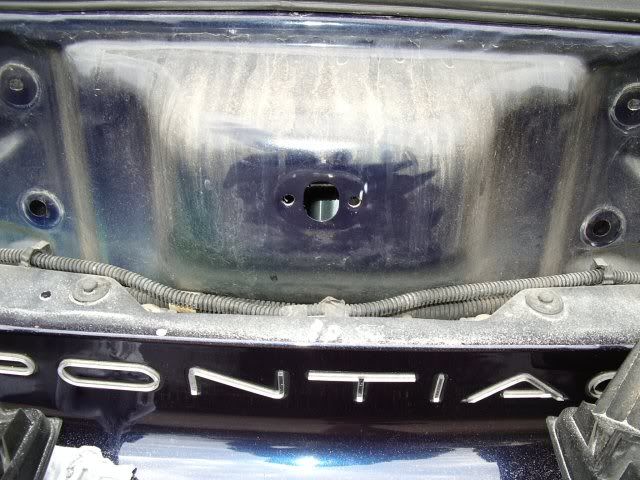
Before Drilling
After Drilling
After grinding 370 LED heads flat
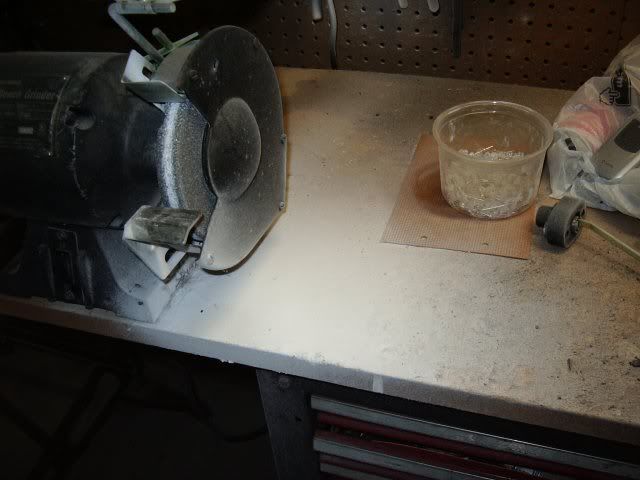
370 LEDs plus my tackle box of my other LEDs
Before Soldering
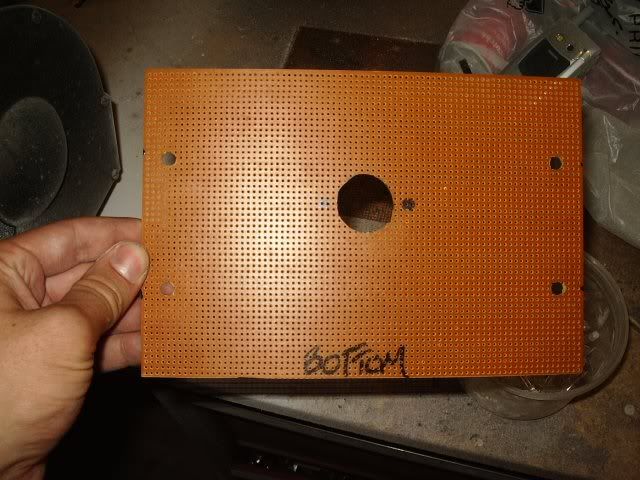
After Soldering
With Plexiglass Attached
Test Fitting It
Future Look

After Paint
Mud Flap
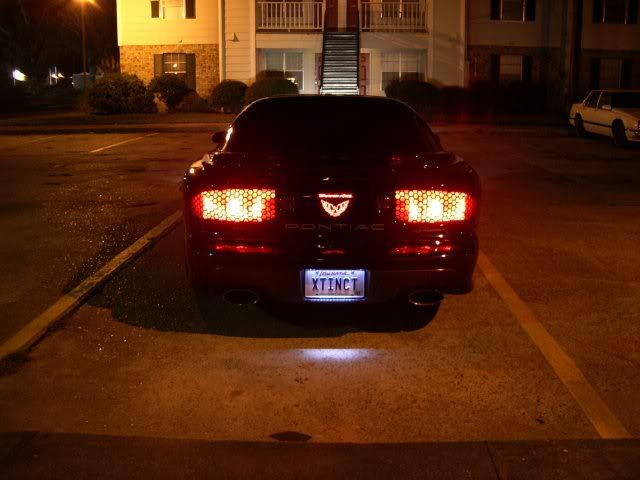
All Installed
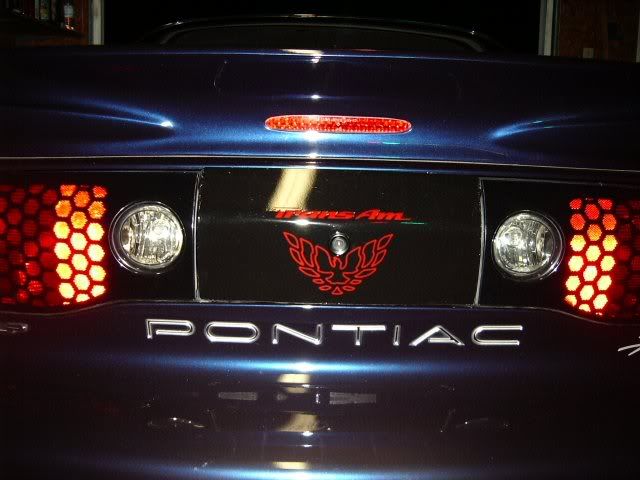
Lit Up!
I cut off the stock face and bent a piece of .080 thick plexiglass with a heat gun to contour it. Then glued it to the frame. Came back with some JB Weld on the sides to fill in any open places and make it a little stronger. Then used some black caulk to seal it off so no light would come though. I I made my new emblem with AutoCAD and cut it on the vinyl cutter. Notice the bird is not stock, but looks like the front bird. I think it looks better and still appears stock. Painted it with 6 coats of black and 6 coats of clear. I used some Cardinal Red translucent vinyl and put 2 coats on the backside of it.
I also took off my key hole and drilled it out a hair bigger to pu a 1" reverse camera for my screen.
Took the lights off
Stock Key Lock
Before Drilling
After Drilling
After grinding 370 LED heads flat
370 LEDs plus my tackle box of my other LEDs
Before Soldering
After Soldering
With Plexiglass Attached
Test Fitting It
Future Look
After Paint
Mud Flap
All Installed
Lit Up!


 01-07-2013, 11:40 AM
#208
Teching In
Join Date: May 2012
Location: McAllen
Posts: 9
Likes: 0
Received 0 Likes
on
0 Posts
01-07-2013, 12:55 PM
#210
Teching In
Join Date: May 2012
Location: McAllen
Posts: 9
Likes: 0
Received 0 Likes
on
0 Posts
Thanks for getting back at me, but its kool just thought id ask if youd make another. Im tryn to get ahold of the rear center piece so i can try to make it but not to sure if i really understand how to recreate that mod. the leds im not worried about cuz i think i will just use strips.

 04-14-2014, 09:08 AM
#216
Staging Lane
well i got a 14"x11" and the thickness was .093, i was looking for .080 or so cause that would have been alot easier, but didnt find that size. just try to keep it under a tenth of an inch. mine took a couple hours of constant heat to mold. took many breaks and got really frustrated, but turned out pretty good.

