


 until i get the ***** to anyways

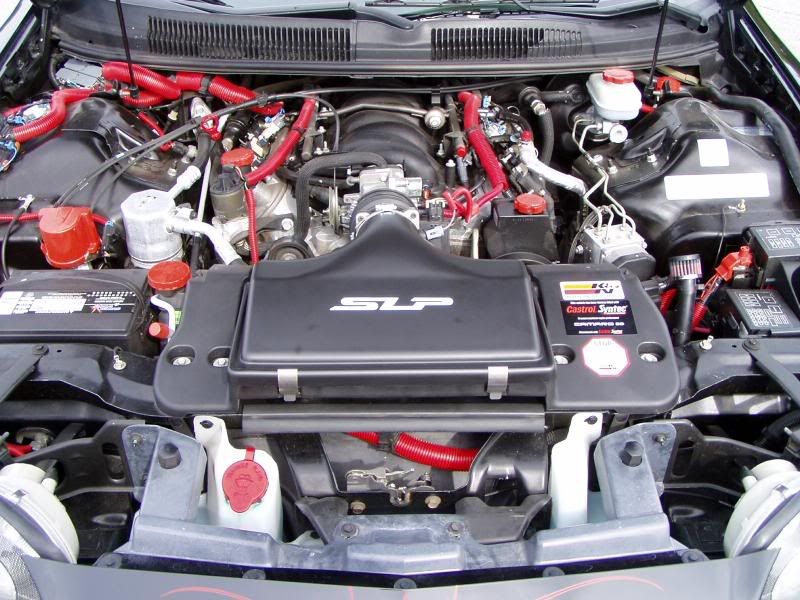
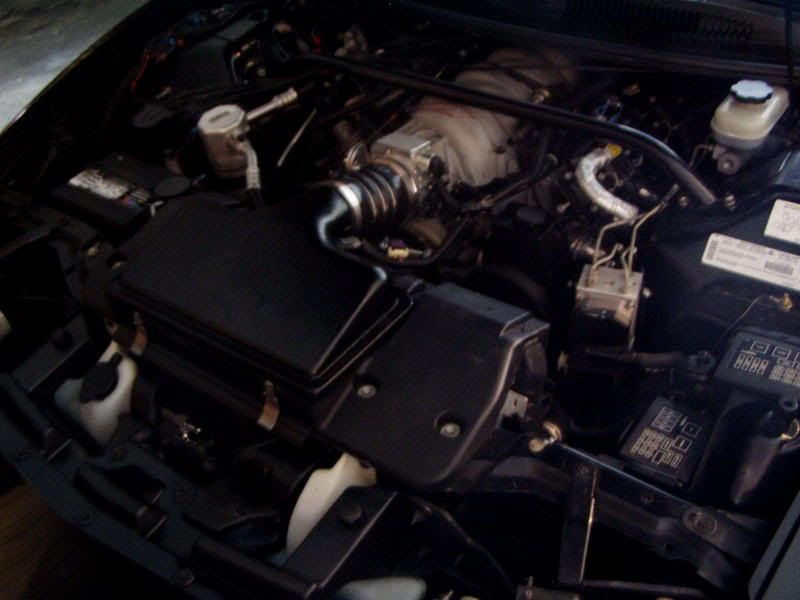
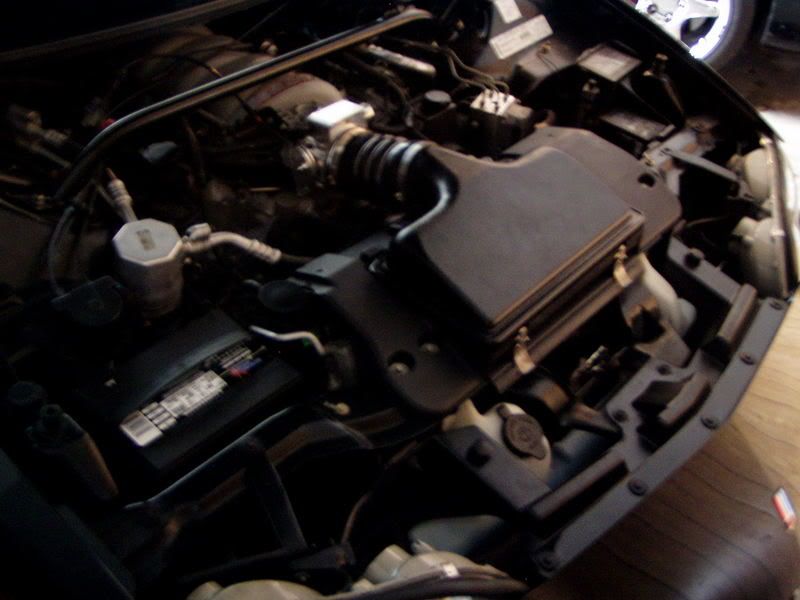
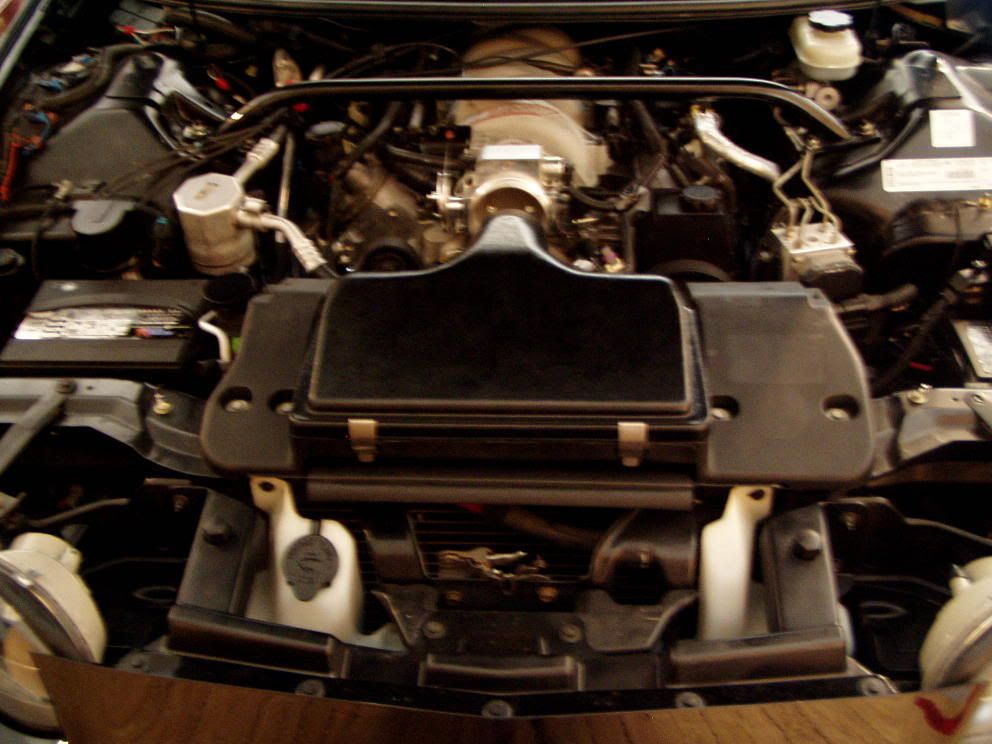
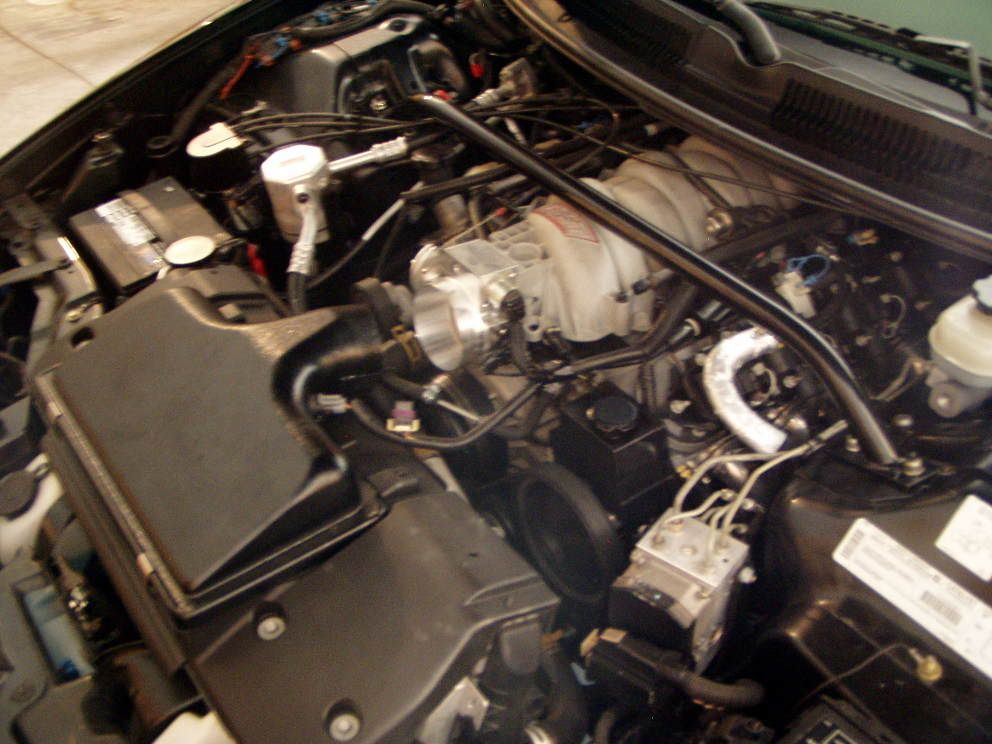
Before & After engine bay
I like the 'after' better.... It has a cleaner, smoother look to it.
Nicely done.
Personally, I'd paint your intake black to match the car and continue with the theme.
Nicely done.
Personally, I'd paint your intake black to match the car and continue with the theme.
Yes, much better. My S-10 extreme was the same way when i bought it. COVERED in red wire loom  .......until i got home that is!! I mean who actually pops the hood to show a 2.2L 4-banger. I mean it is pretty EXTREME
.......until i got home that is!! I mean who actually pops the hood to show a 2.2L 4-banger. I mean it is pretty EXTREME Trending Topics
You can also paint the backs of your headlight housings black. I just did mine in semi-gloss this afternoon, along with the trim pieces between the lid and front bumper cover. The headlights were very easy: just pulled them out, cleaned with Simple Green and a brush, took off the small clips and the rubber drain elbows, taped off everything from the lens forward, and sprayed it with a can. It was dark before I finished putting them back in so I couldn't really check out the results.  I'm afraid it's going to cause some of the other bracketry to look faded though, good thing spray paint is cheap.
I'm afraid it's going to cause some of the other bracketry to look faded though, good thing spray paint is cheap. LS1 Tech Stories
The Best V8 Stories One Small Block at Time

Topdon ONE vs. Artidiag 800 BT2: Which is the Diagnostic Tablet For You?
Pouria Savadkouei
Gas Monkey Built a 6-Wheel Ferrari Testarossa With a Corvette LT4 Engine
Verdad Gallardo
7 Most Reliable High-Performance Engines GM Has Ever Built
Verdad Gallardo
Amazing '71 Camaro Restomod Is Modern Muscle Car Under the Skin
Verdad Gallardo
6 Common C5 Corvette Failures and What's Involved In Repairing Them
Pouria Savadkouei
Retro Modern Bandit Pontiac Trans AM Comes With Burt Reynolds' Autograph
Verdad Gallardo
Top 10 Greatest Cadillac V Series Performance Models Ever, Ranked
Pouria Savadkouei
Top 10 Most Powerful Chevy Trucks Ever Made!

Hennessey's New Supercharged Silverado ZR2 Has 700 HP
Verdad Gallardo
Originally Posted by LS1 Sounds
You can also paint the backs of your headlight housings black. I just did mine in semi-gloss this afternoon, along with the trim pieces between the lid and front bumper cover. The headlights were very easy: just pulled them out, cleaned with Simple Green and a brush, took off the small clips and the rubber drain elbows, taped off everything from the lens forward, and sprayed it with a can. It was dark before I finished putting them back in so I couldn't really check out the results. I'm afraid it's going to cause some of the other bracketry to look faded though, good thing spray paint is cheap.
I'm afraid it's going to cause some of the other bracketry to look faded though, good thing spray paint is cheap. I apologize for hijacking here,

I just did mine the day before, came out great.
And to get back on topic, it looks much better without the red clutter.
Originally Posted by BLACKNREDSS
the black headlights look great! ill prolly do that tommorow, thanks!
Thread Starter
12 Second Club
Joined: Jun 2005
Posts: 1,275
Likes: 0
From: Kansas City, MO
Originally Posted by Y2K Pewter SS
After you clean them up, be sure to scuff them up with scotch brite pads so the paint will adhere better. I used an adhesion promotor as well.

Originally Posted by BLACKNREDSS
yup, got steel wool, adhesion promoter, gloss black engine enamel, then clear coat eng. enamel

Originally Posted by Y2K Pewter SS
After you clean them up, be sure to scuff them up with scotch brite pads so the paint will adhere better. I used an adhesion promotor as well.
Side note, are those bolt covers you are using or are the heads of your trim bolts that huge? Some of mine are starting to rust, which I wire-wheeled today and also sprayed black to stop the rust. I want to replace them with something nice though.