


Side molding removal write-up
Goo Gone works great for getting the residue off. My only problem is that the passanger side came off perfect, no flaws nothing, the driver side on the other hand pissed me off. It left the outline of the side molding in the clear, I tried to use the scratch X and wax after I put a ton of goo gone on it. So Im trying to figure out if I wet sand it or clay bar it that those outlines should go away, its like when I peeled it that the paint did kinda like a buble up. Any advice???
By the way, after doing this, I love the look soooo soooo much. Its worth it, just wish the one side would of turned out better.
By the way, after doing this, I love the look soooo soooo much. Its worth it, just wish the one side would of turned out better.
I did this to my Firebird, making it the 4th vehicle I've done it to. My tips from experience, Wear leather gloves when running the fishing line through and use a sawing motion. Thuroughly wash your car first, use a toothbrush or a paint brush to wash in the little space between the trim piece and the paint. You don't need to apply ANY bug/tar remover or the like until you have the glue off...mostly off. Wear Latex (or similar) gloves to roll the glue off while heating it with the wife's or GF's blowdrier (just don't let your wife know your using your GF's blowdrier  "Goo Gone Spray-on Gel" works great after most of the glue is rolled off. Let it sit and use a washcloth to scrub the little bits off. Use 1000 or 1500 grit sandpaper and running water to get any discoloration off and finish with rubbing compound and waxxing. (My Fiance just smacked my shoulder for the above joke!) Hope this saves you some $$ from a body shop! Good luck! Swat
"Goo Gone Spray-on Gel" works great after most of the glue is rolled off. Let it sit and use a washcloth to scrub the little bits off. Use 1000 or 1500 grit sandpaper and running water to get any discoloration off and finish with rubbing compound and waxxing. (My Fiance just smacked my shoulder for the above joke!) Hope this saves you some $$ from a body shop! Good luck! Swat 
Thread Starter
Launching!
Joined: Apr 2006
Posts: 221
Likes: 0
From: Georgia
smokin00ws6, the line you are seeing on the one side is just this. The previous owner for one reason or another had that side repainted like mine with the molding on the car, it had not been wash good before painting and there was dirt in the tiny cracks of the molding and after you pulled it off, you were left with a line of cleared over dirt. Mine has the same problem and I think I gonna take mine to a body shop. I don't wanna risk damaging my paint. One paint guy told me that if that layer of clear got pealed from me sanding it, it would peal all the way down the door. I'm not gonna chance it myself, but thats up to you. I hope that explains the left over lines. Its not glue or adhesive, its cleared over dirt. Sorry man.
Staging Lane
Joined: Jun 2007
Posts: 66
Likes: 0
From: Trenton, GA
You are exactly right. As a matter of fact, that is 100% what my friend that owns a body shop told me. He said the easiest fix is to wet sand and then buff because, obviously, the wet sanding will remove the debris and the edge left by the clear around the molding (if the door has been repainted), and the buffing will bring back your shine. HTH
LS1 Tech Stories
The Best V8 Stories One Small Block at Time

Topdon ONE vs. Artidiag 800 BT2: Which is the Diagnostic Tablet For You?
Pouria Savadkouei
Gas Monkey Built a 6-Wheel Ferrari Testarossa With a Corvette LT4 Engine
Verdad Gallardo
7 Most Reliable High-Performance Engines GM Has Ever Built
Verdad Gallardo
Amazing '71 Camaro Restomod Is Modern Muscle Car Under the Skin
Verdad Gallardo
6 Common C5 Corvette Failures and What's Involved In Repairing Them
Pouria Savadkouei
Retro Modern Bandit Pontiac Trans AM Comes With Burt Reynolds' Autograph
Verdad Gallardo
Top 10 Greatest Cadillac V Series Performance Models Ever, Ranked
Pouria Savadkouei
Top 10 Most Powerful Chevy Trucks Ever Made!

Hennessey's New Supercharged Silverado ZR2 Has 700 HP
Verdad Gallardo
Originally Posted by 01T/A88IROC-Z
smokin00ws6, the line you are seeing on the one side is just this. The previous owner for one reason or another had that side repainted like mine with the molding on the car, it had not been wash good before painting and there was dirt in the tiny cracks of the molding and after you pulled it off, you were left with a line of cleared over dirt. Mine has the same problem and I think I gonna take mine to a body shop. I don't wanna risk damaging my paint. One paint guy told me that if that layer of clear got pealed from me sanding it, it would peal all the way down the door. I'm not gonna chance it myself, but thats up to you. I hope that explains the left over lines. Its not glue or adhesive, its cleared over dirt. Sorry man.
12 Second Club
Joined: May 2006
Posts: 222
Likes: 0
From: Vegas
Originally Posted by A-RoN'sZ
I'm gonna see what happens tomorrow w/ the adhesive and tar remover and I'll let ya know. If not I'm gonna carry it to a friend's body shop and see if they can wet sand and buff it out, which should be pretty cheap.
 Just did mine this weekend
 Just did mine. Some floss and paper towel, took like 15 min if that. As someone said before I just sawed in about 3 inches and pulled it off on a 90. Only glue left was the 3 inches. Used some goo gone, didn't even let it soak and wraped my fingers in paper towel and it just rubbed off like nothing. Man its amazing all the dirt and crap stuck in there after 9 years haha. Worth while to me. Look even better droped on black evos tho lol.
Did mine today, went flawless except there are 11 yr old dirty lines above and below where the molding was on the doors. They aren't noticeable but I know they are there and I don't want to damage the paint. Any way to get those lines gone for good?

TECH Apprentice
Joined: Sep 2009
Posts: 332
Likes: 0
From: Louisville, KY
This is a 2 year old thread, but I was actually wondering if you'd be able to see a line from the car sitting outside in the sun. I dunno how the car was taken care of before me, but if possible could the molding be put back on?

I used a clay bar to remove my lines, worked pretty good.

On The Tree
Joined: Sep 2008
Posts: 113
Likes: 0
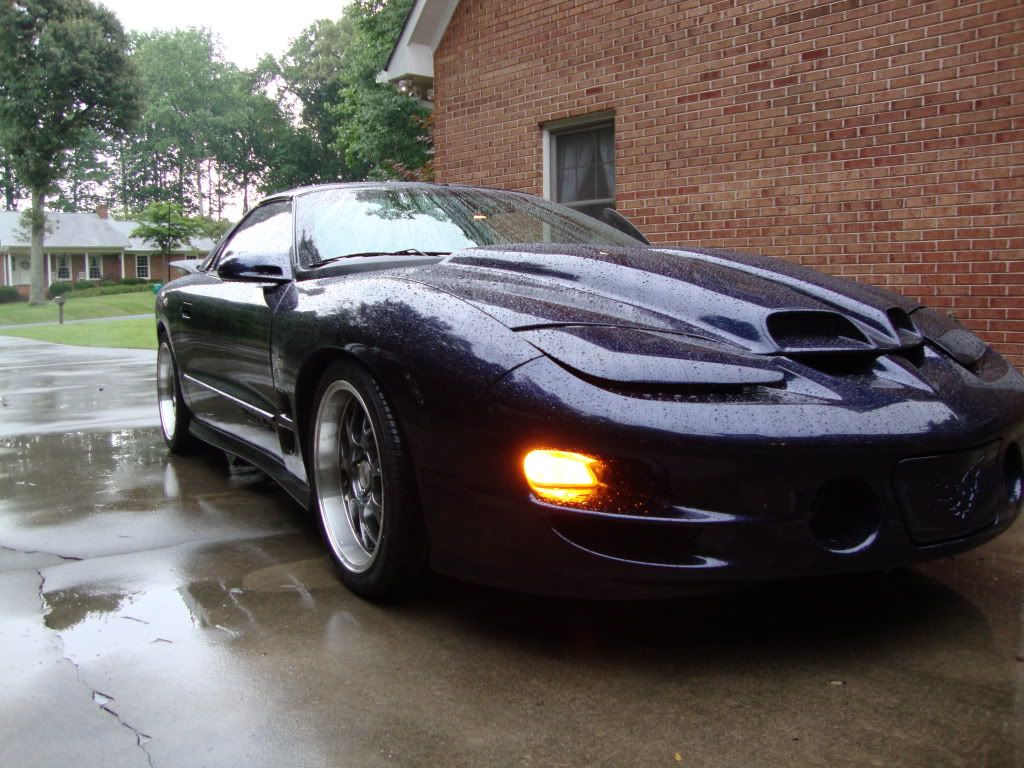
I took off my side molding last year, but I decided to take my trans am emblems off just a couple days ago. The first time it took me a while to get the job done this time it literally took me 10 minutes... It was a piece of cake. Here is what I did.
I took them off with dental floss.
I then grenched them in bug and tar remover (gel) and let it sit for a couple minutes.
I then ripped a little bit of clay off my claybar and rubbed the clay into the bug and tar remover right over the glue.
Then just wiped it all of with a clean microfiber.
The bug and tar remover ruinned the claybar, but it actually disolves it into the glue so when you wipe the clay and bug and tar remover residue the glue comes right off with it. This was 10x easier then the method I used before (which actually involved the bug and tar remover...) Just clay alone wasn't enough for me. would have eventually work. Just would have taken another 10-20 minutes...
This removed any lines from 10 year old residue as well with next to no effort...
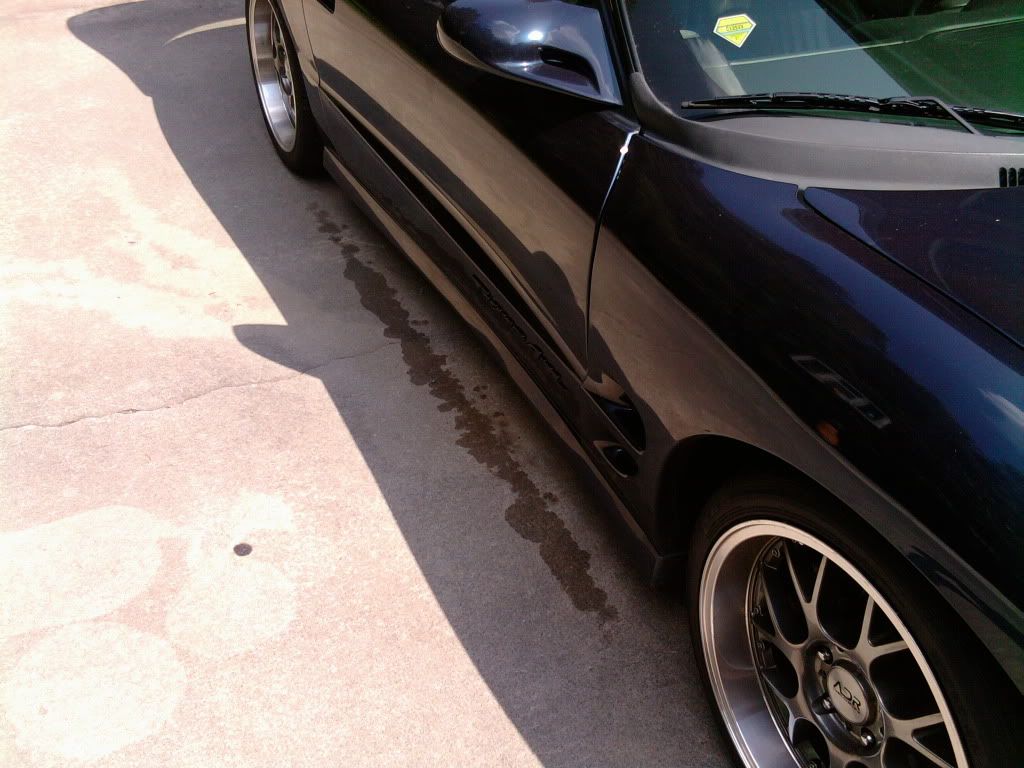
Before:
Molding infront and after door were already missing on passenger side.

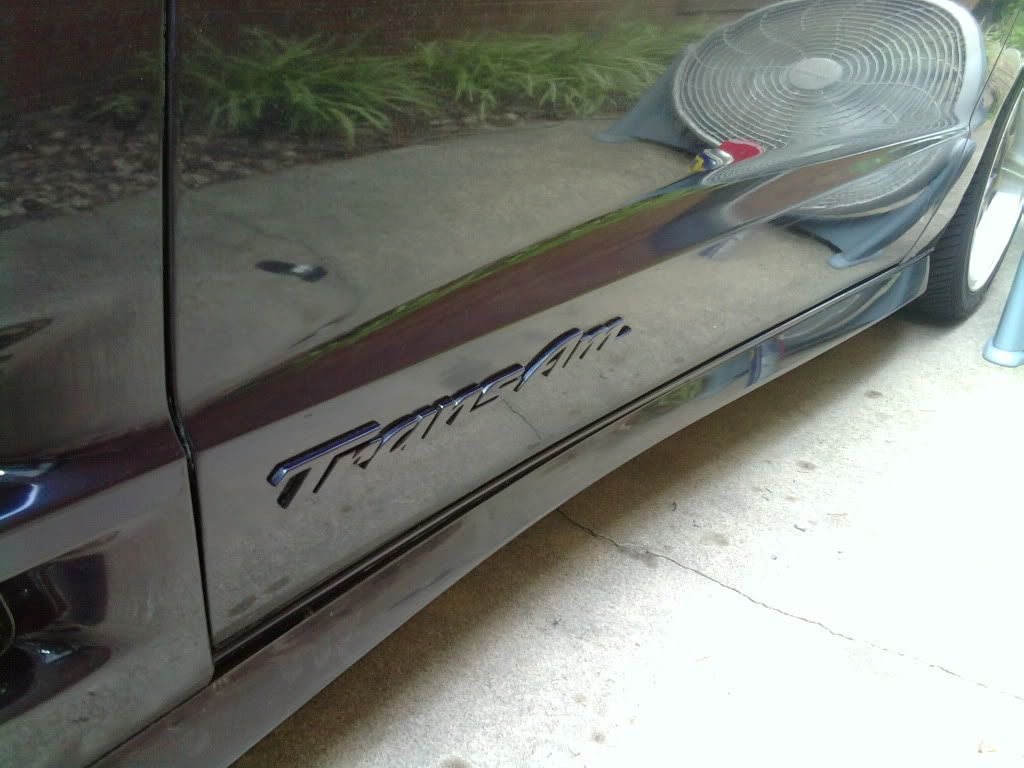
After:
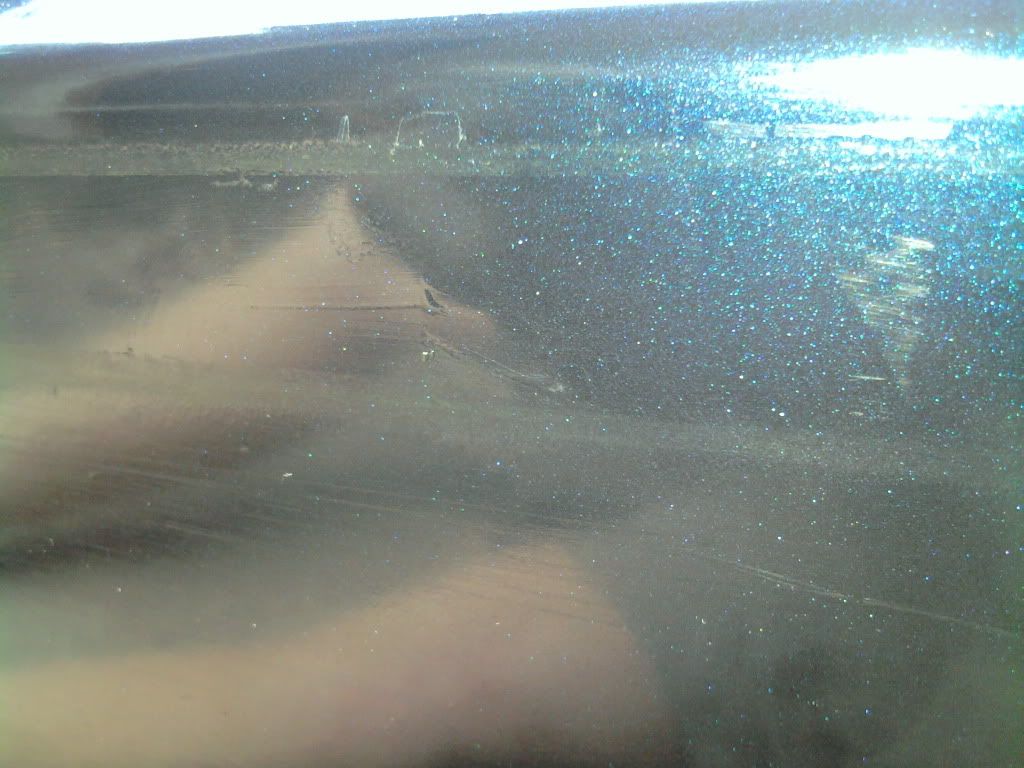
Dirt line on driver door:
I think the car looks much better now, and I didn't think that was possible . I was missing 2 of the pieces on the passenger side and I needed sometime to do the other day. The dirt lines are not noticeable unless you are really, really looking for them, and they won't be there much longer.
Molding infront and after door were already missing on passenger side.
After:
Dirt line on driver door:
I think the car looks much better now, and I didn't think that was possible
. I was missing 2 of the pieces on the passenger side and I needed sometime to do the other day. The dirt lines are not noticeable unless you are really, really looking for them, and they won't be there much longer.