When you click on links to various merchants on this site and make a purchase, this can result in this site earning a commission. Affiliate programs and affiliations include, but are not limited to, the eBay Partner Network.
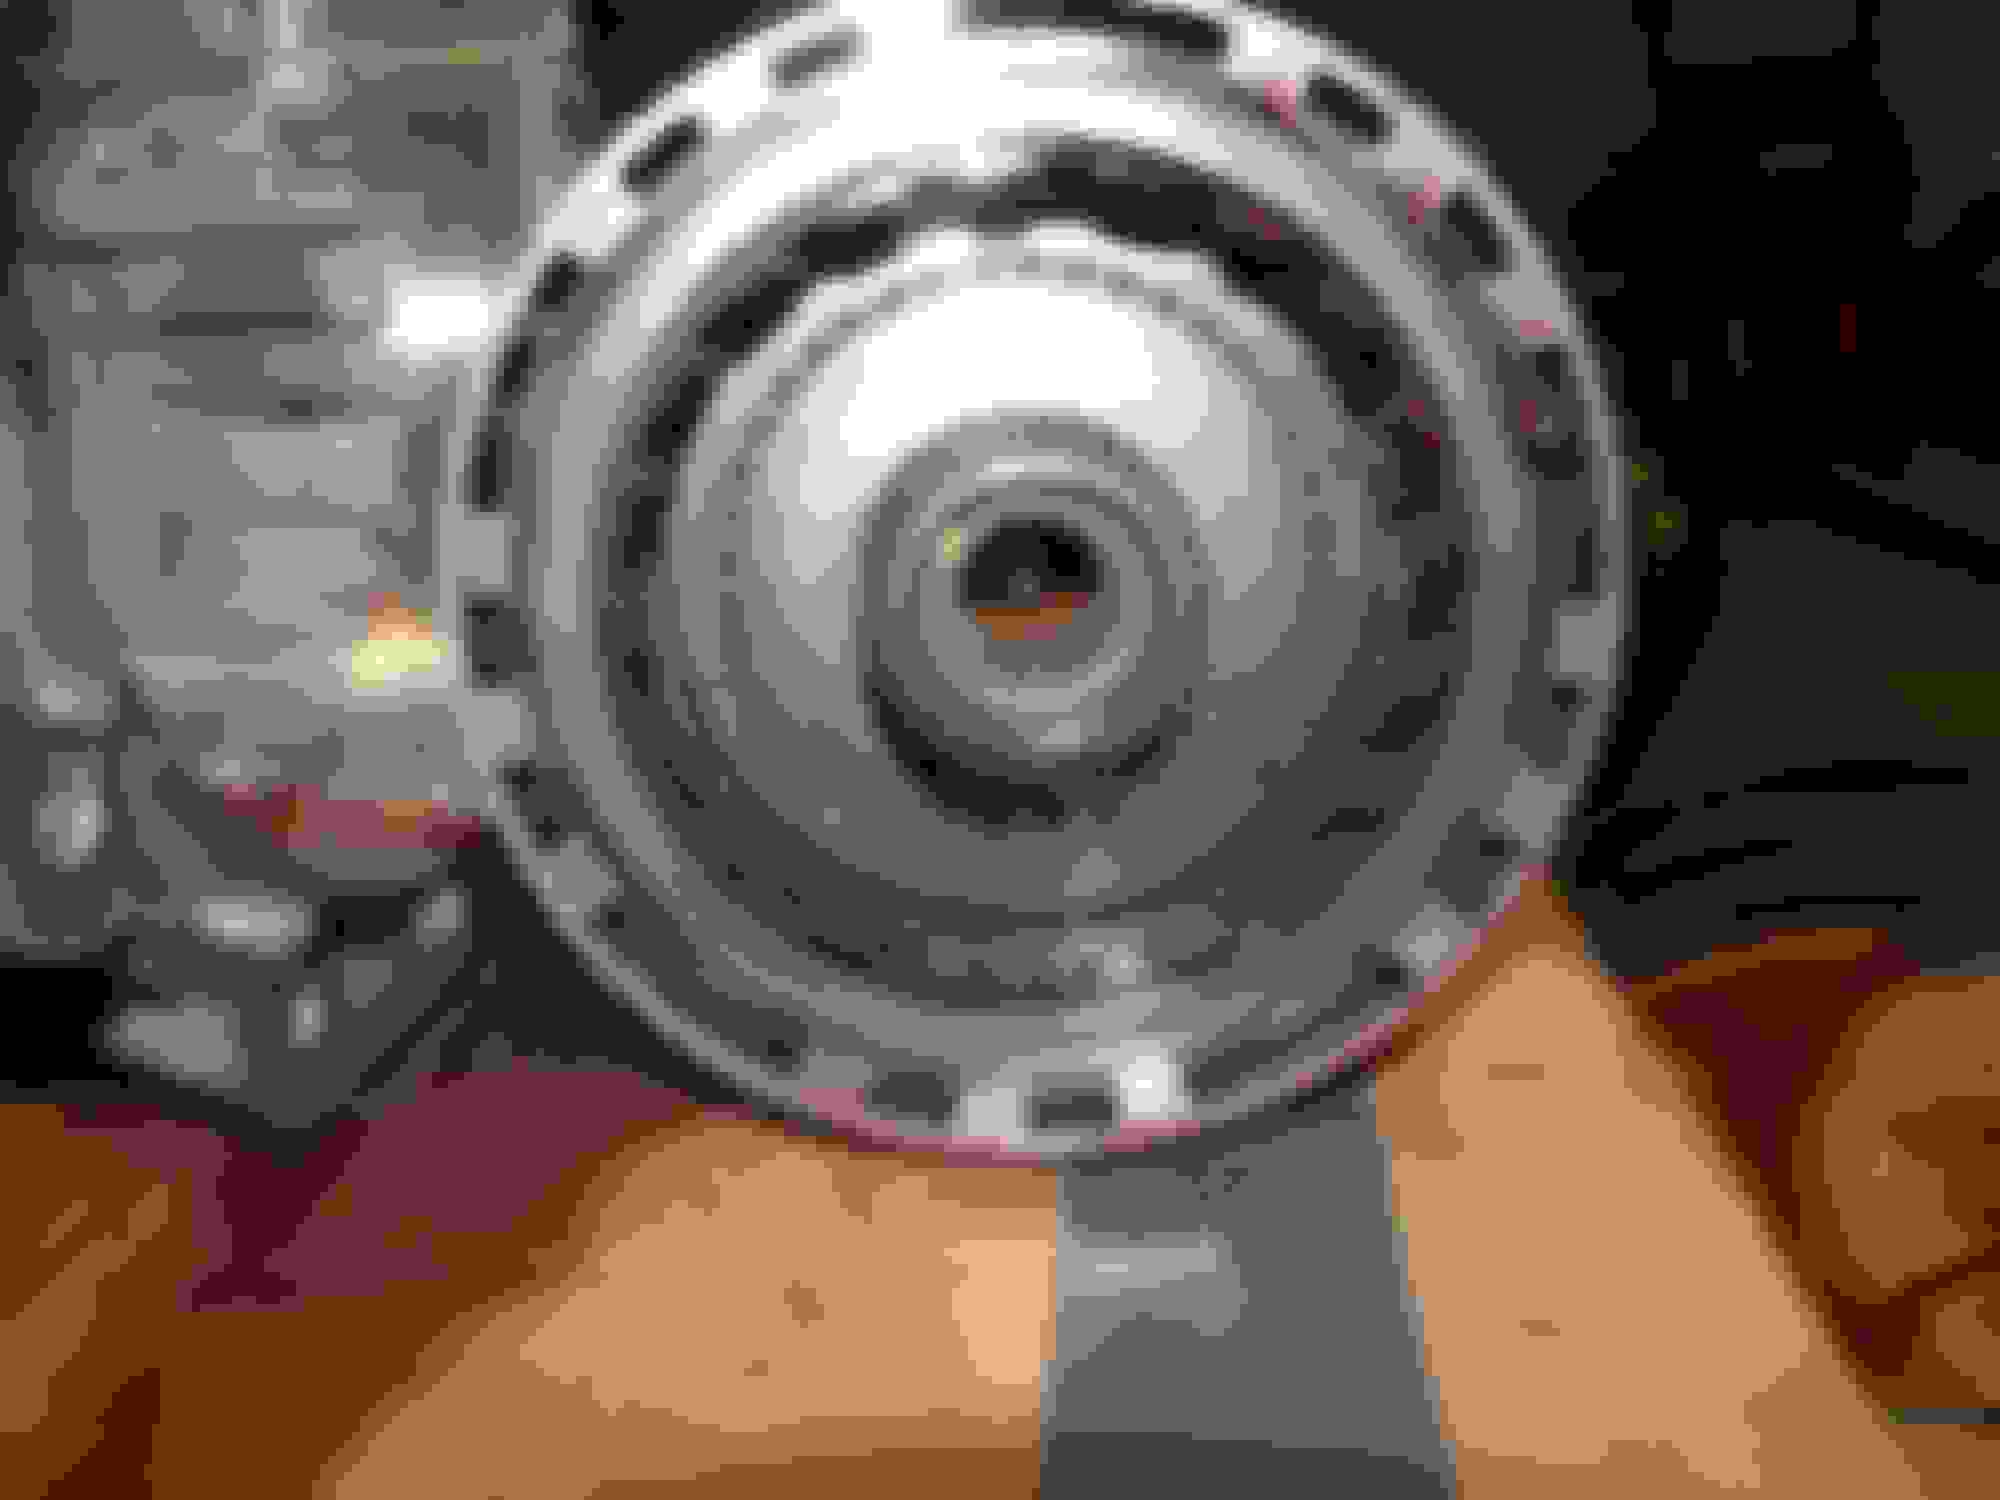
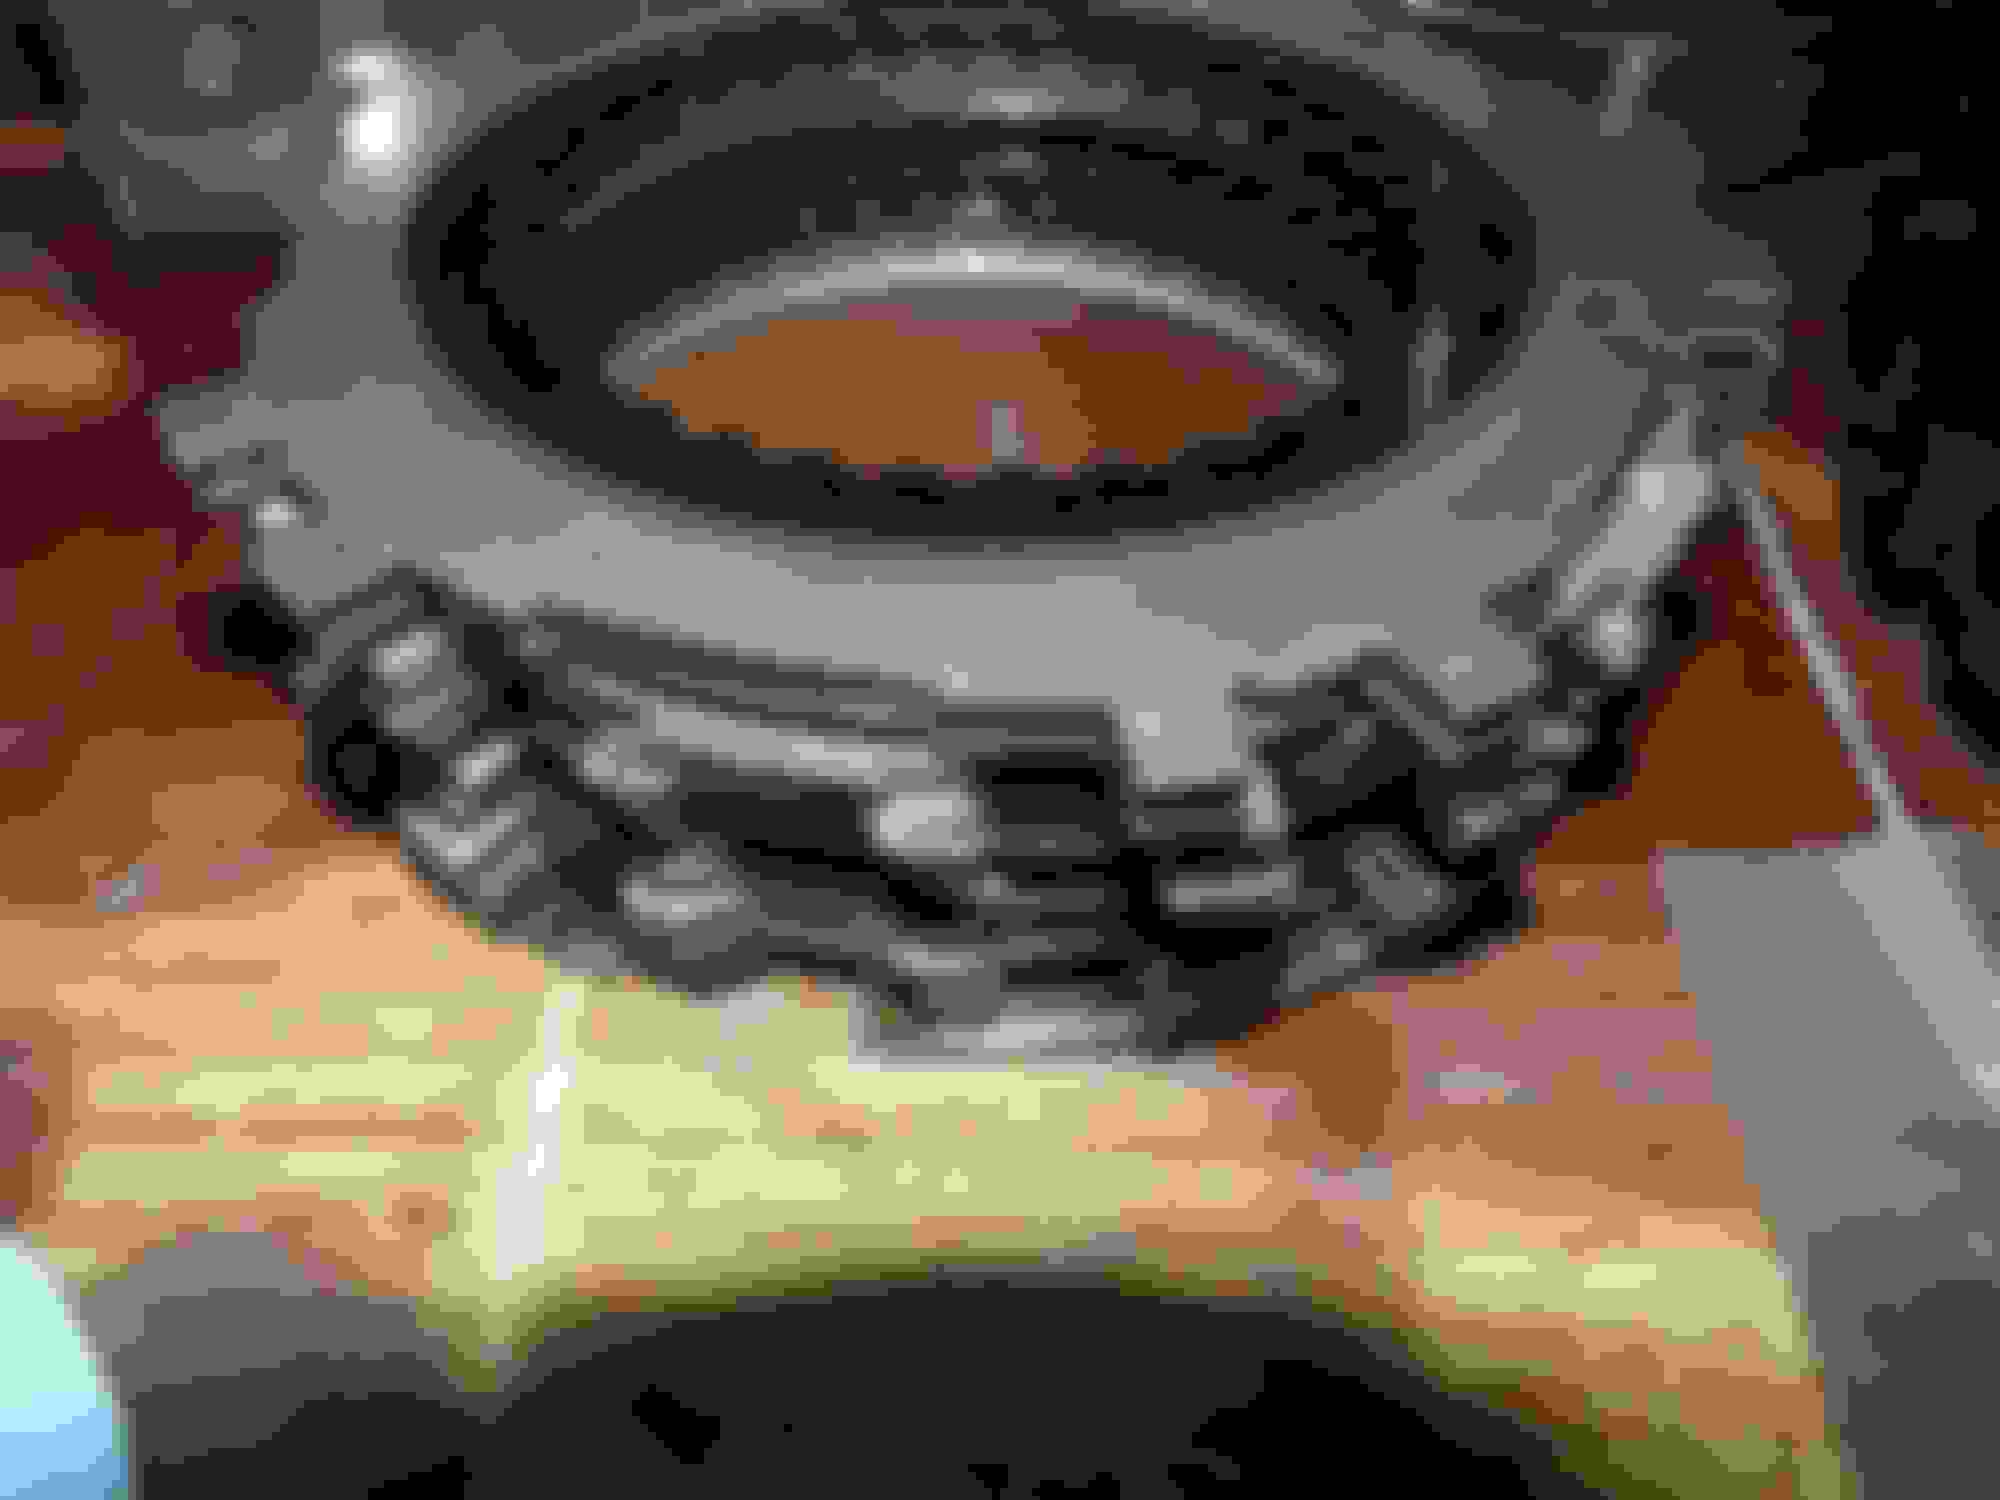
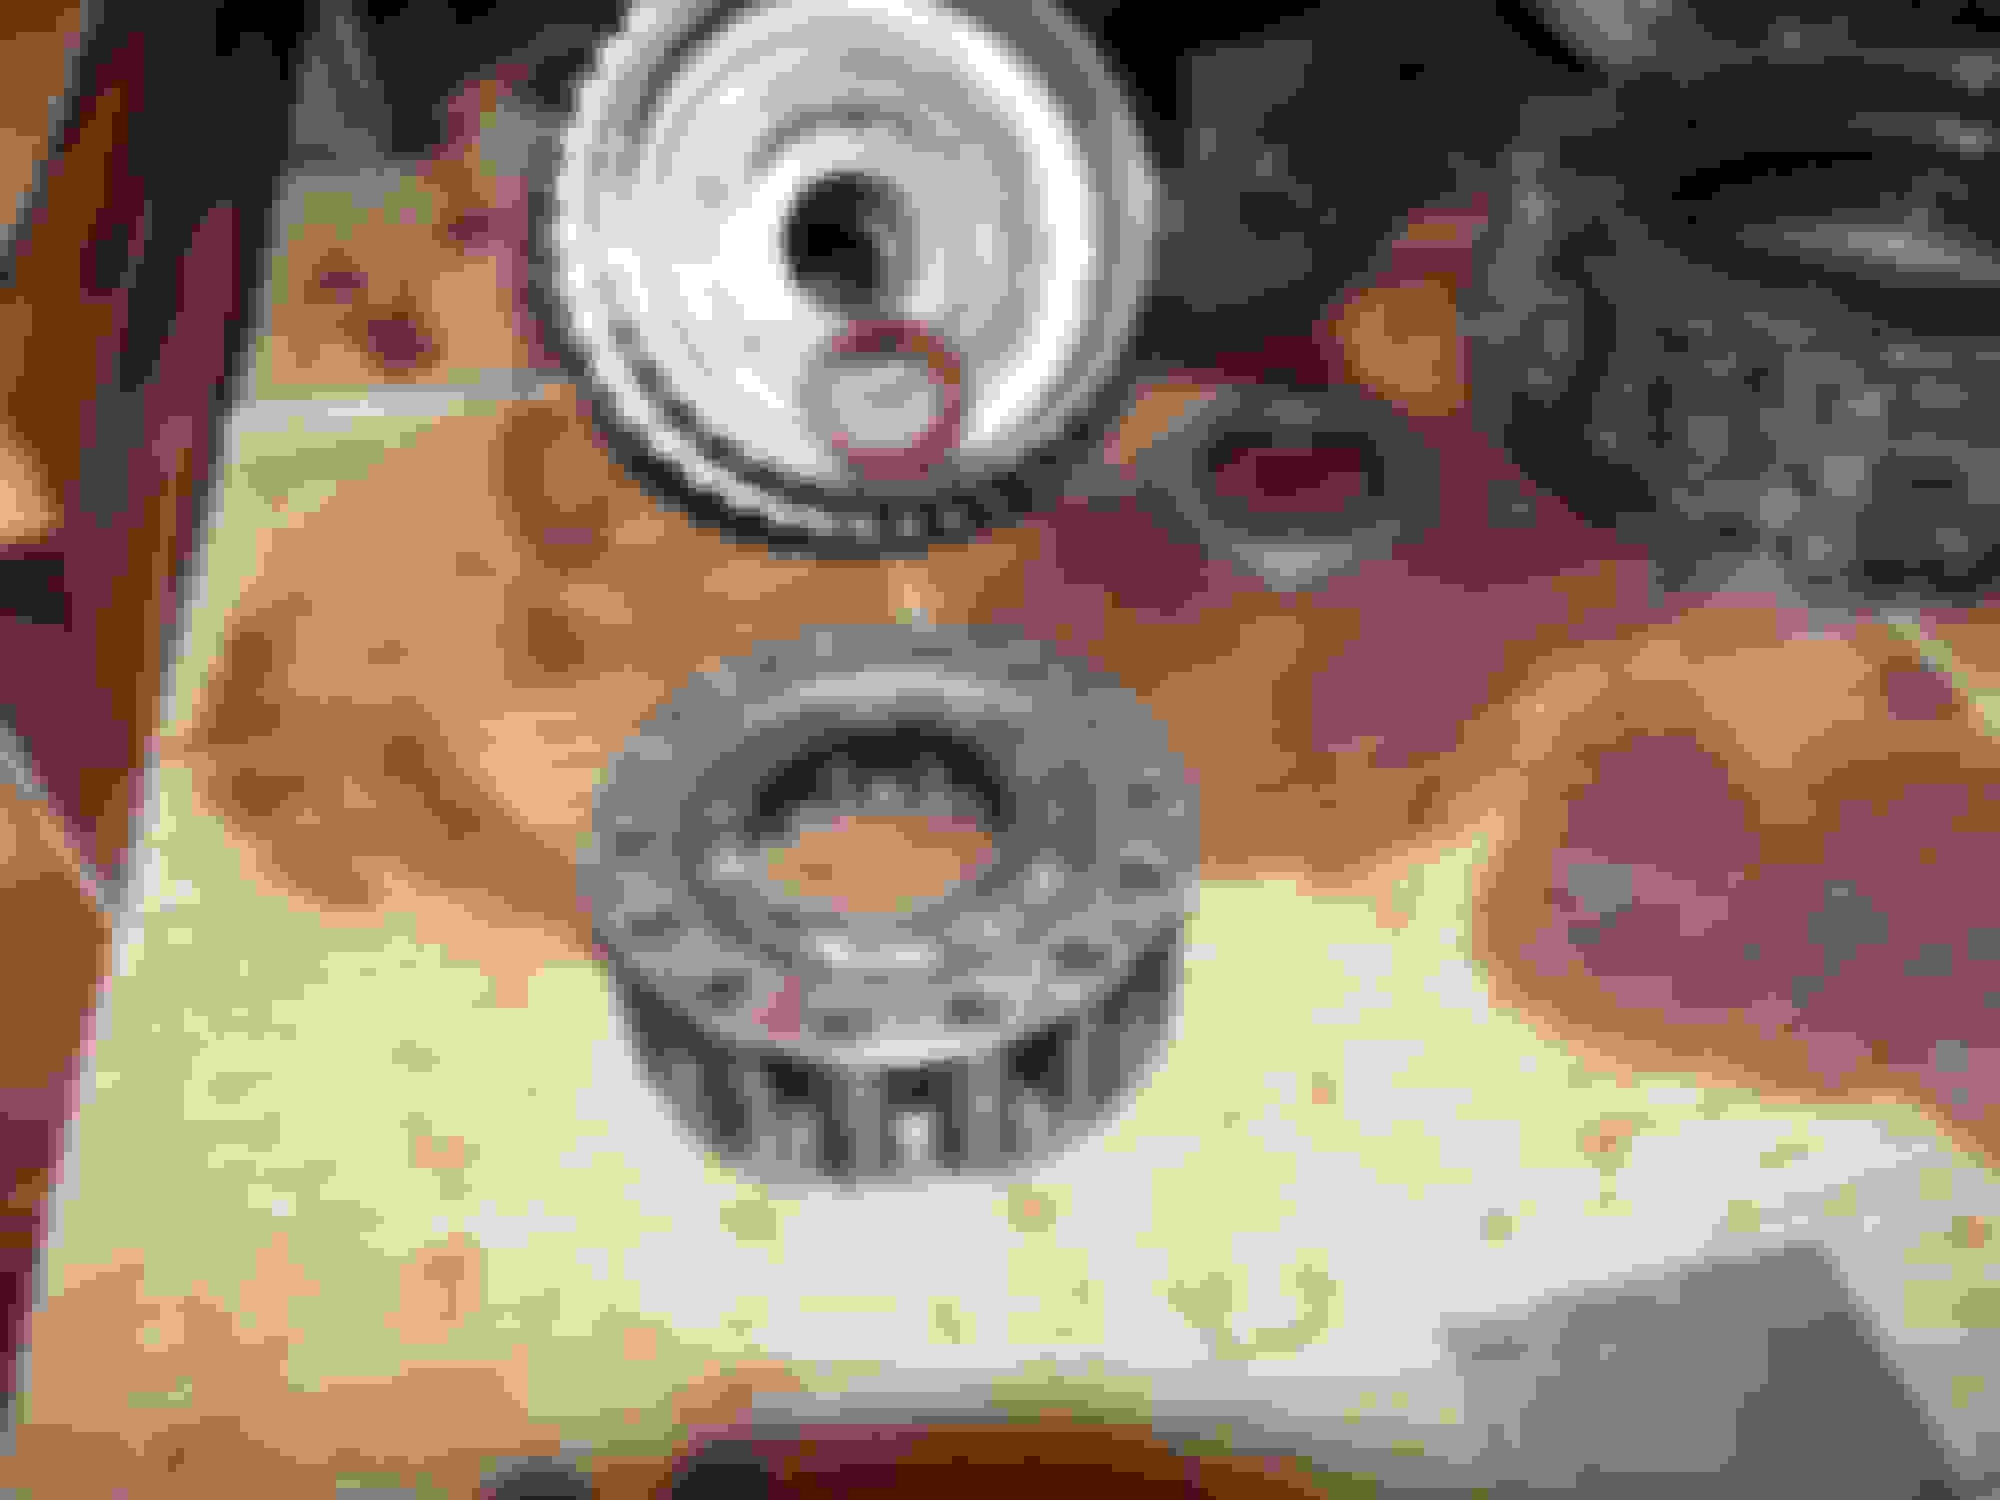
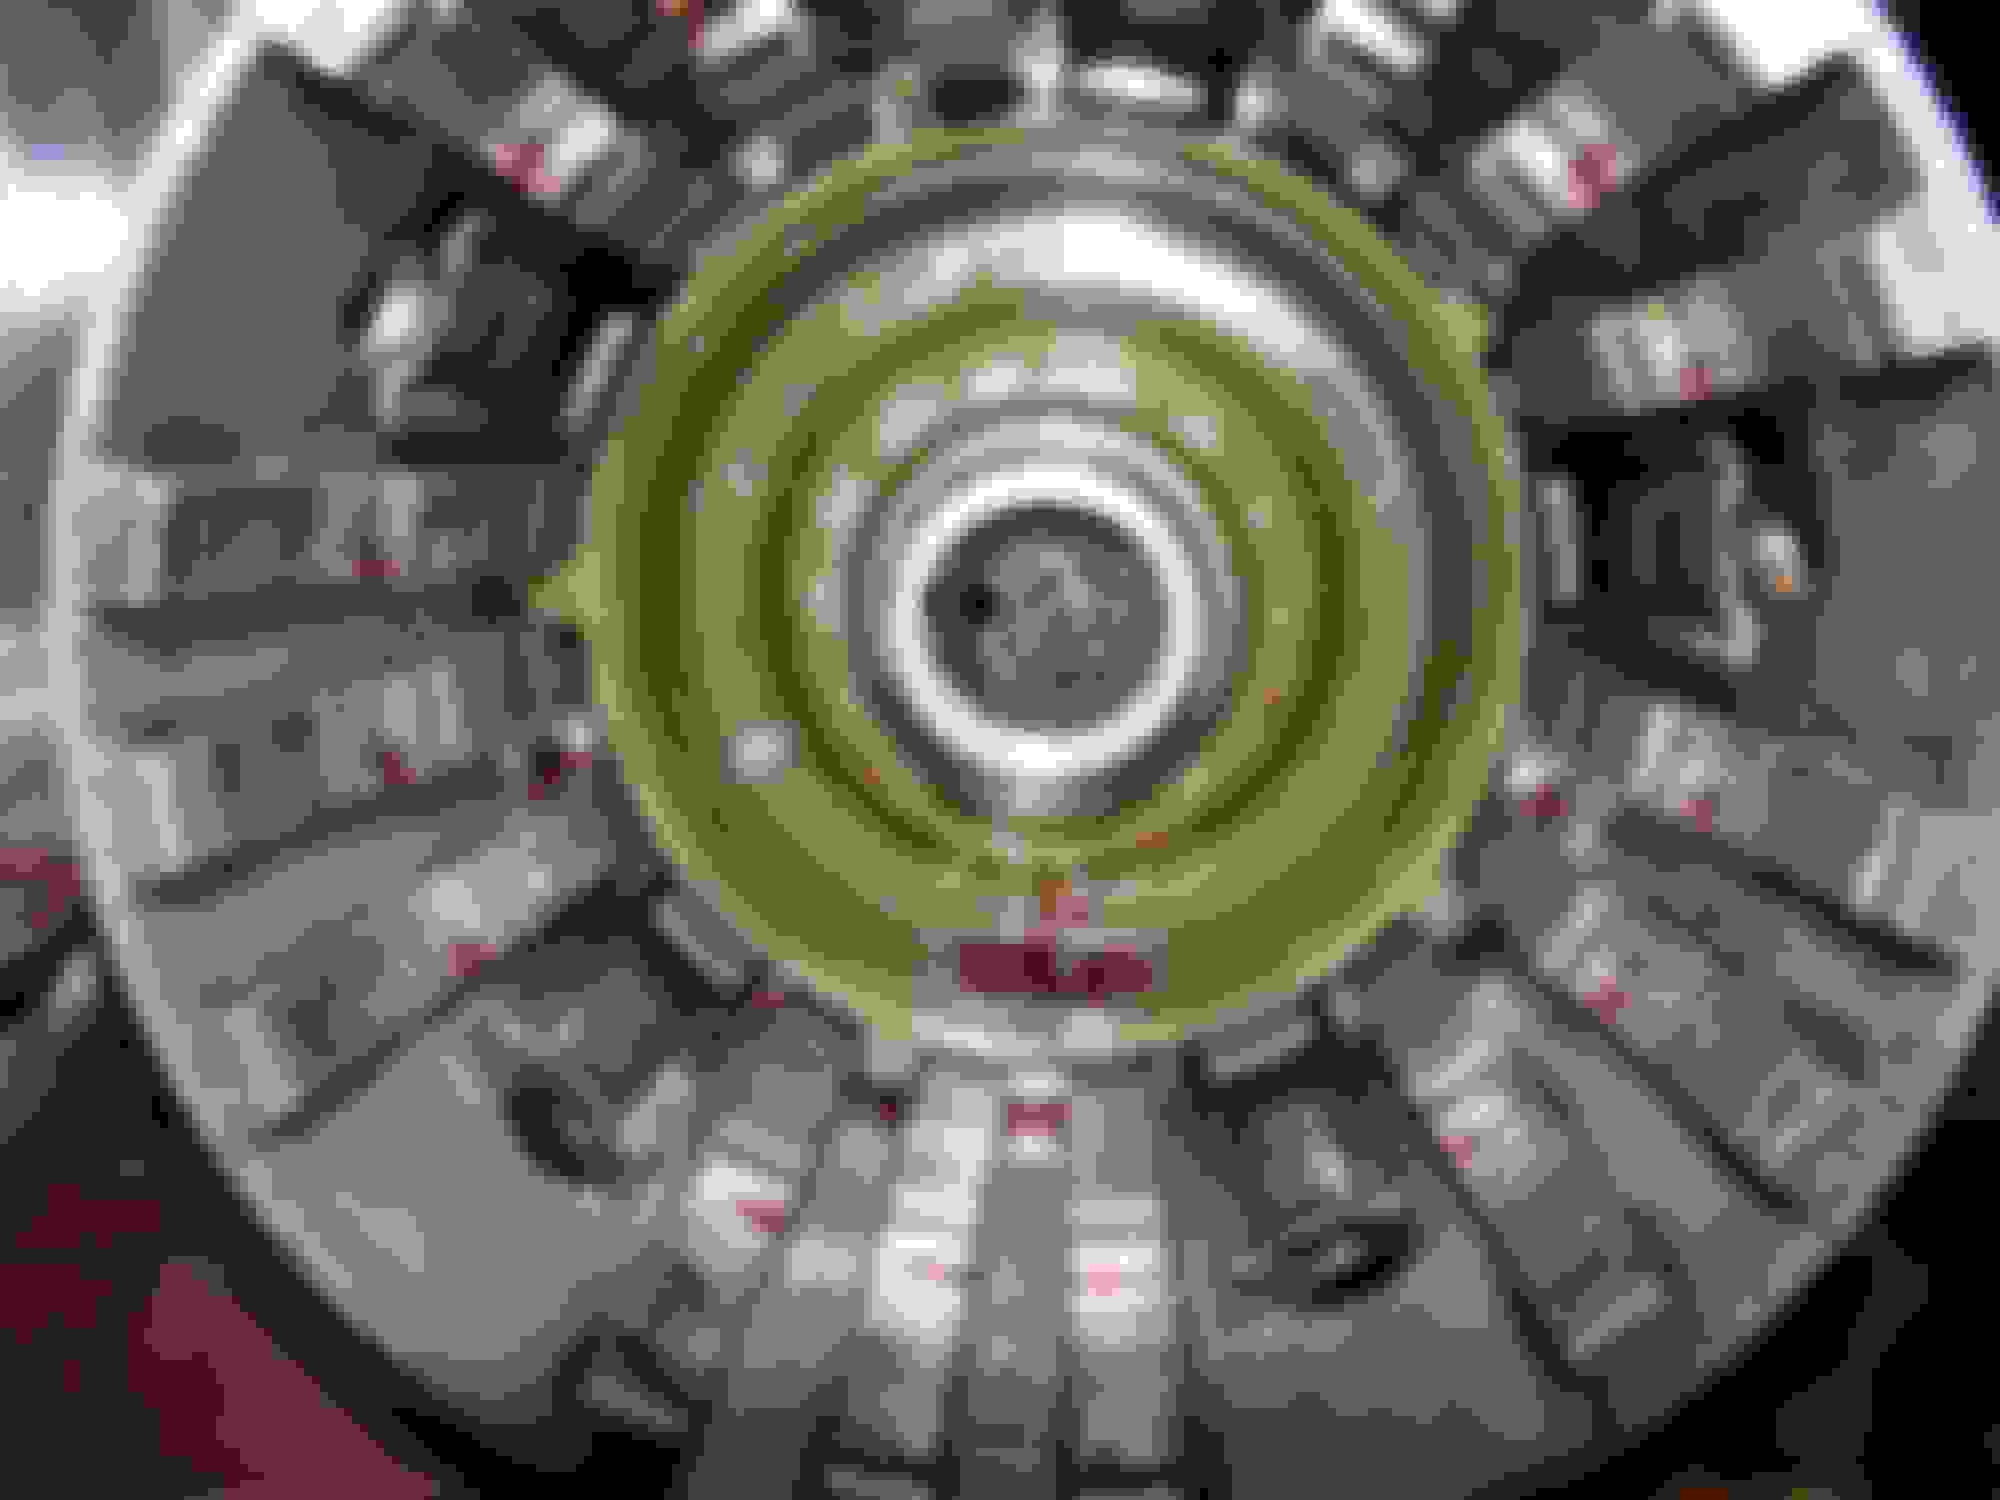
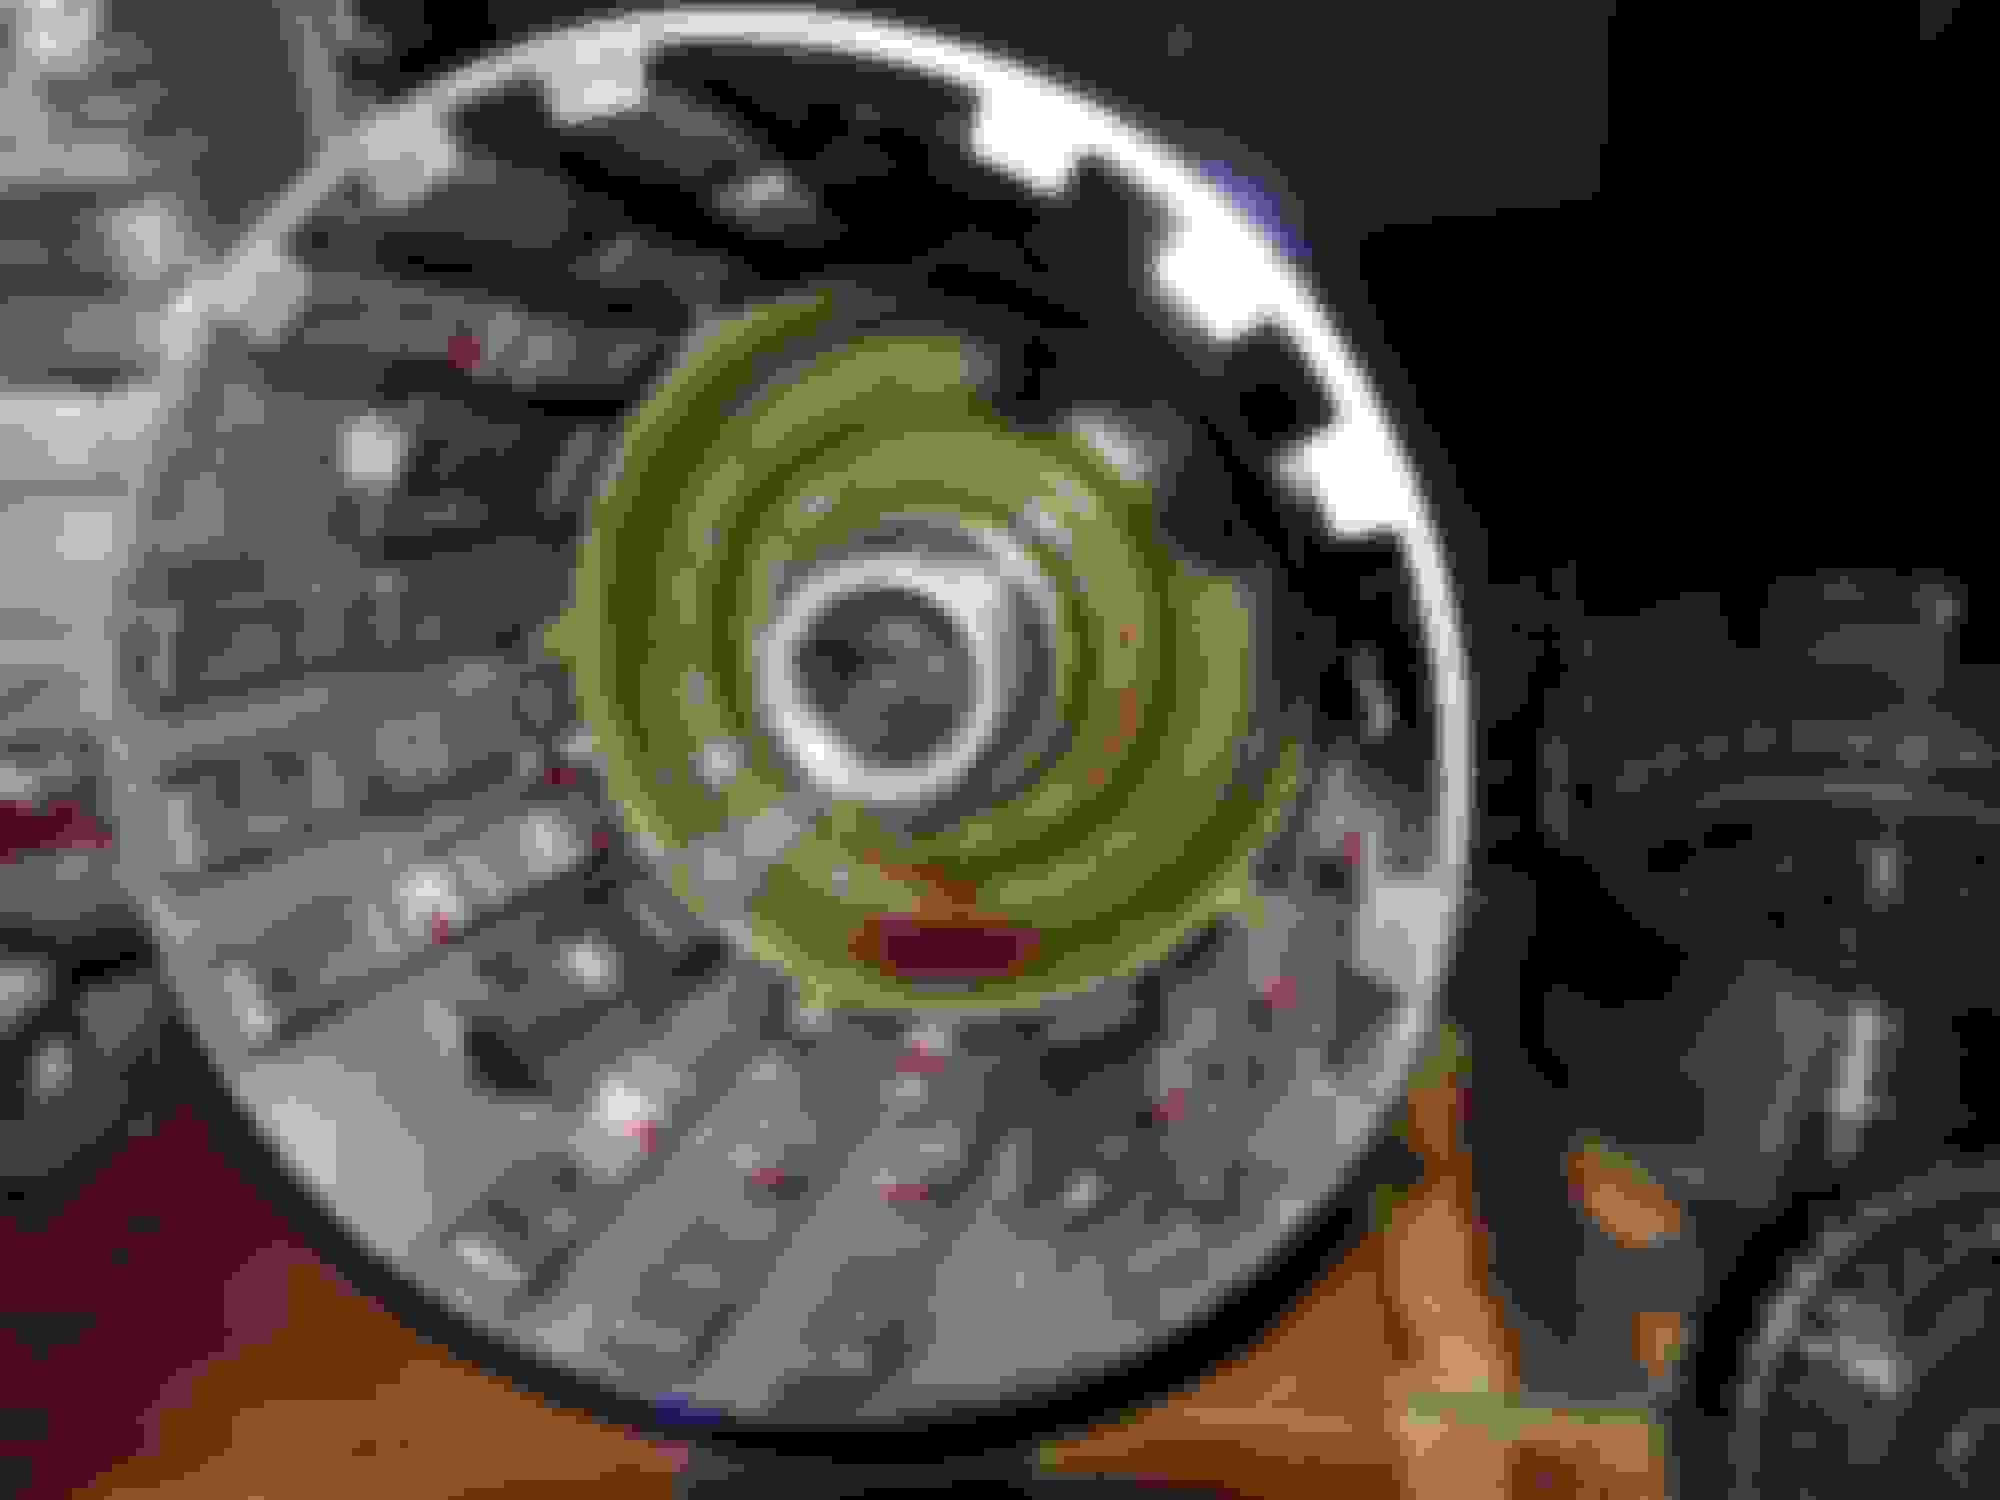
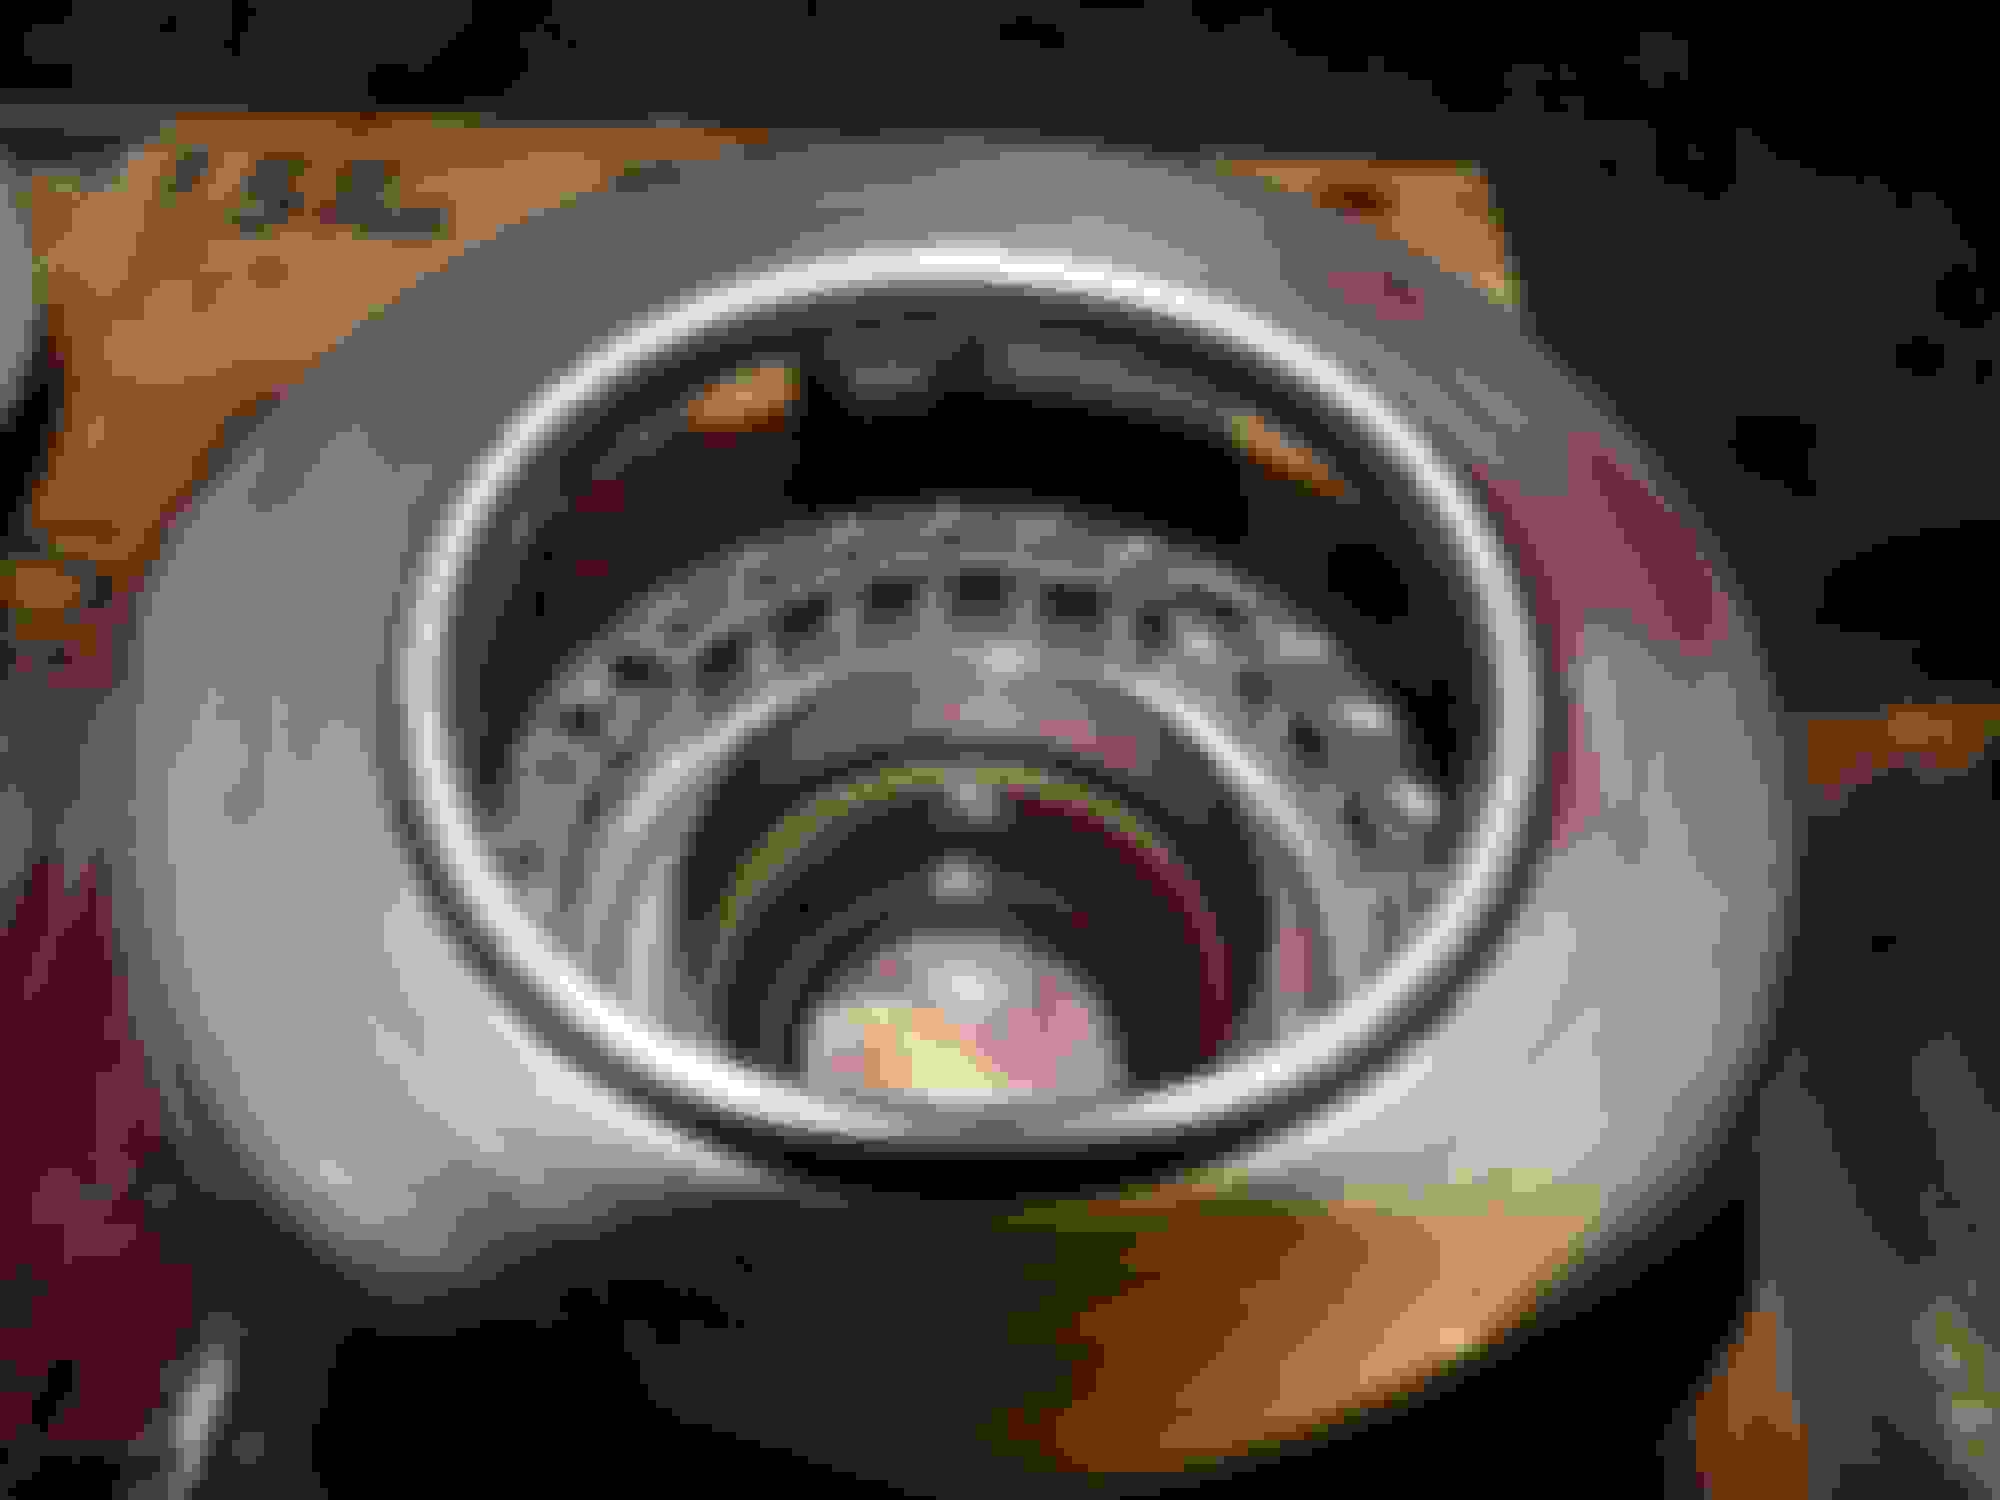
Okay guys, here are the pictures from today's work. I noticed that one of the check *****, at least I think, wasn't in the spot that it should have been in. I am not sure if it moved when I took the valve body off the top of the transmission, but would cause my issue? The green O-ring is in the spot that it should be in.
Also, I read elsewhere that the five spring assemblies on the sides of the 3-4 clutch pack would potentially be the problem. Some people have said they left them out upon reassembly. Let me know what you guys are thinking, thanks.
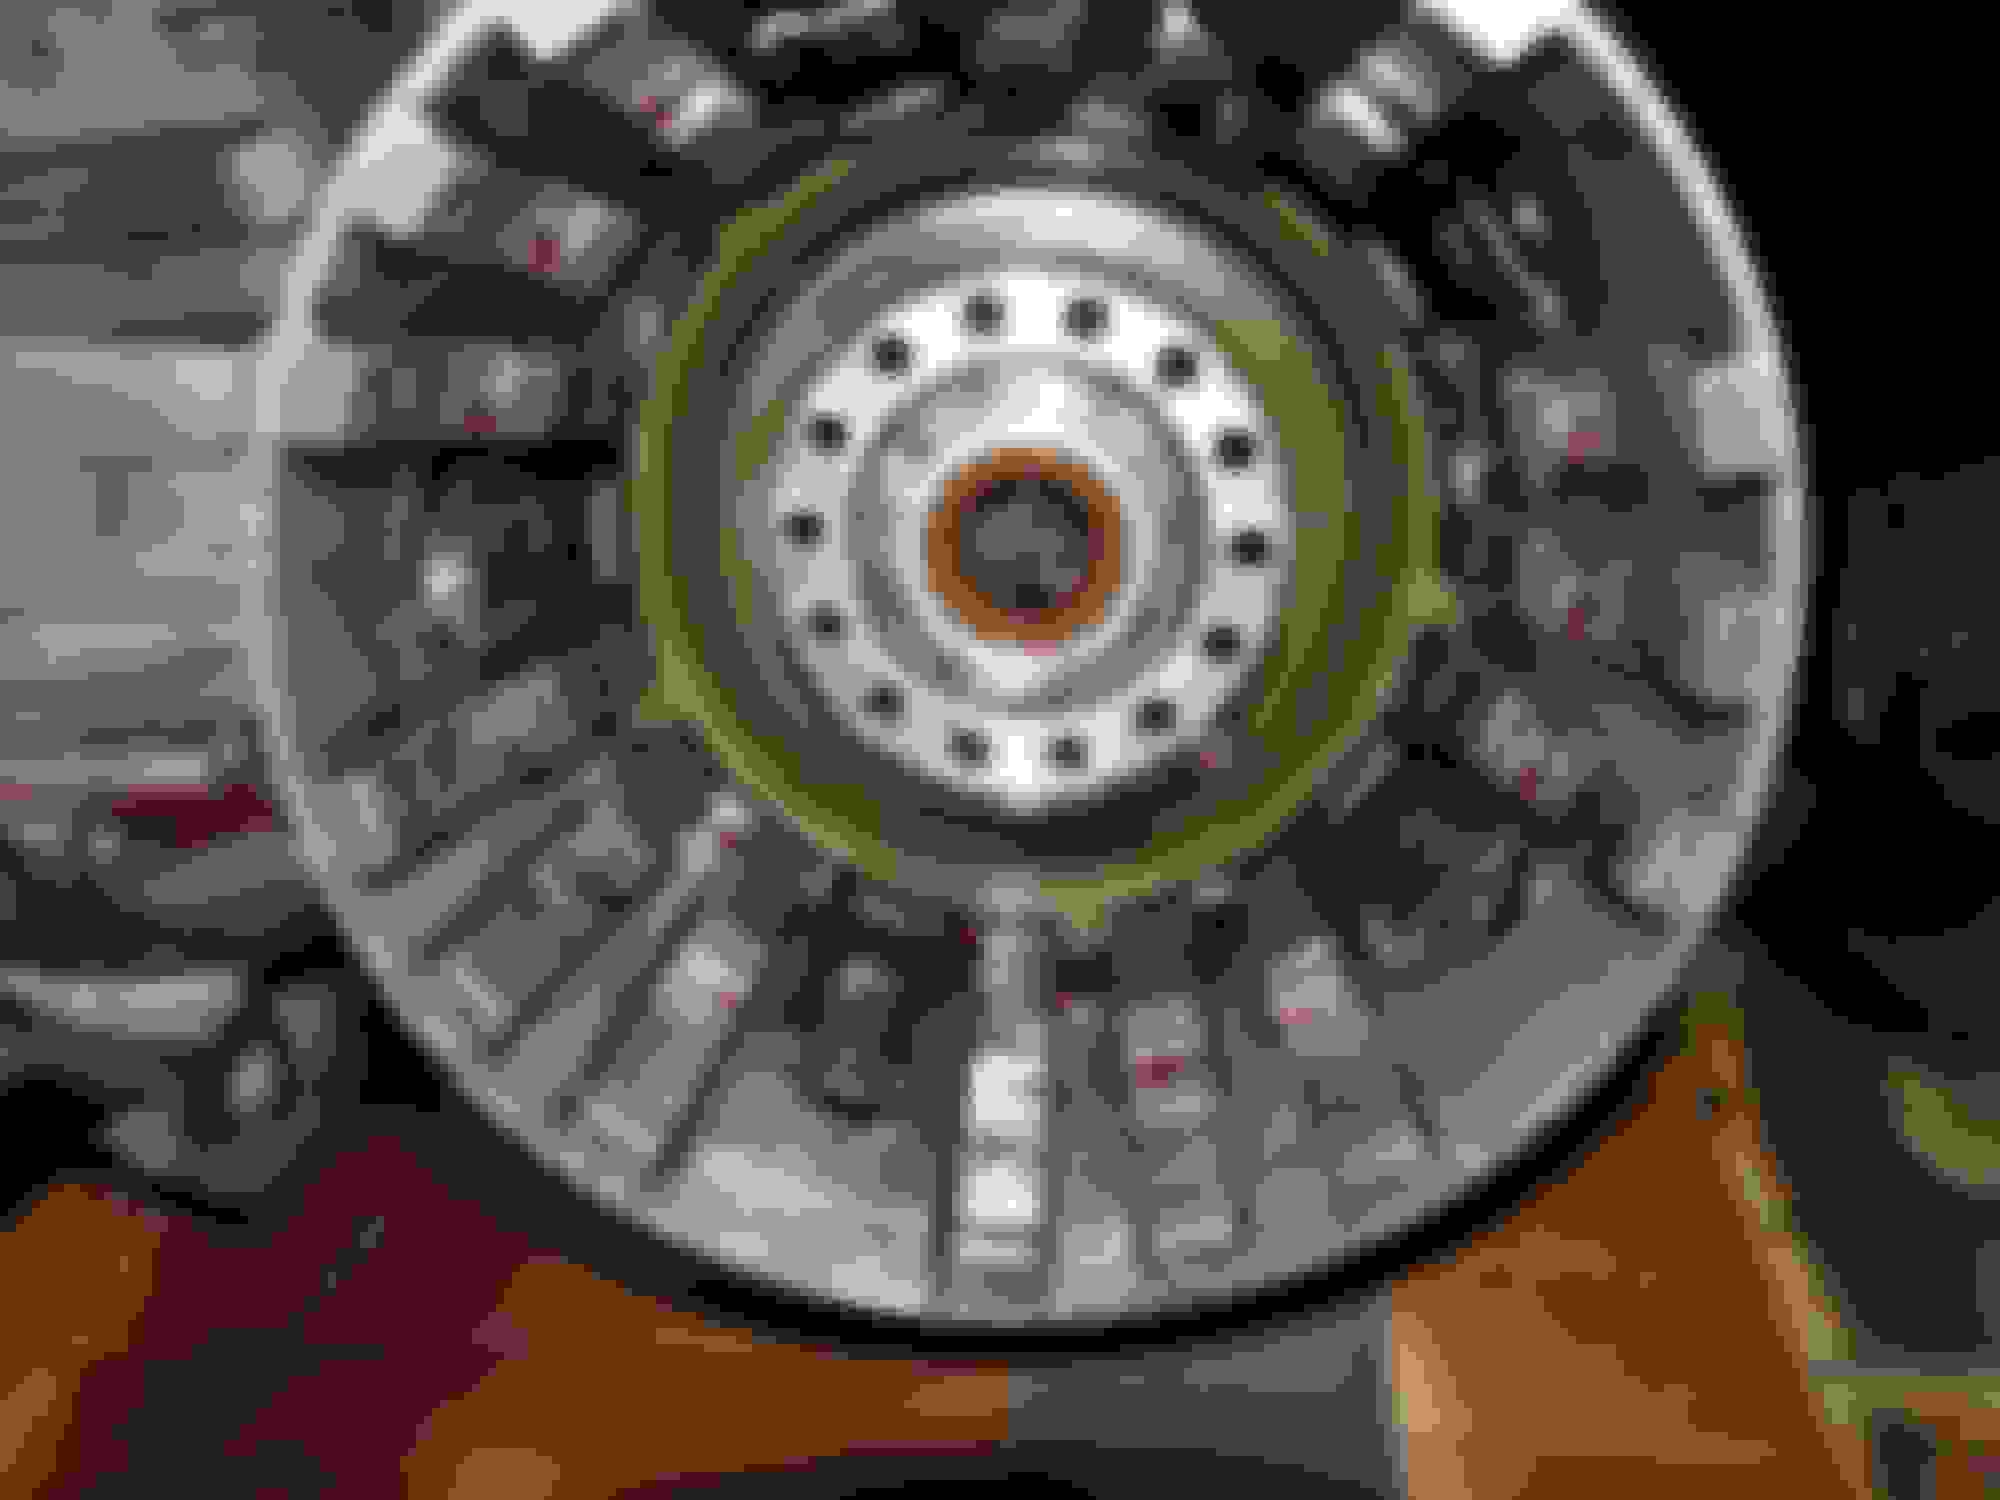
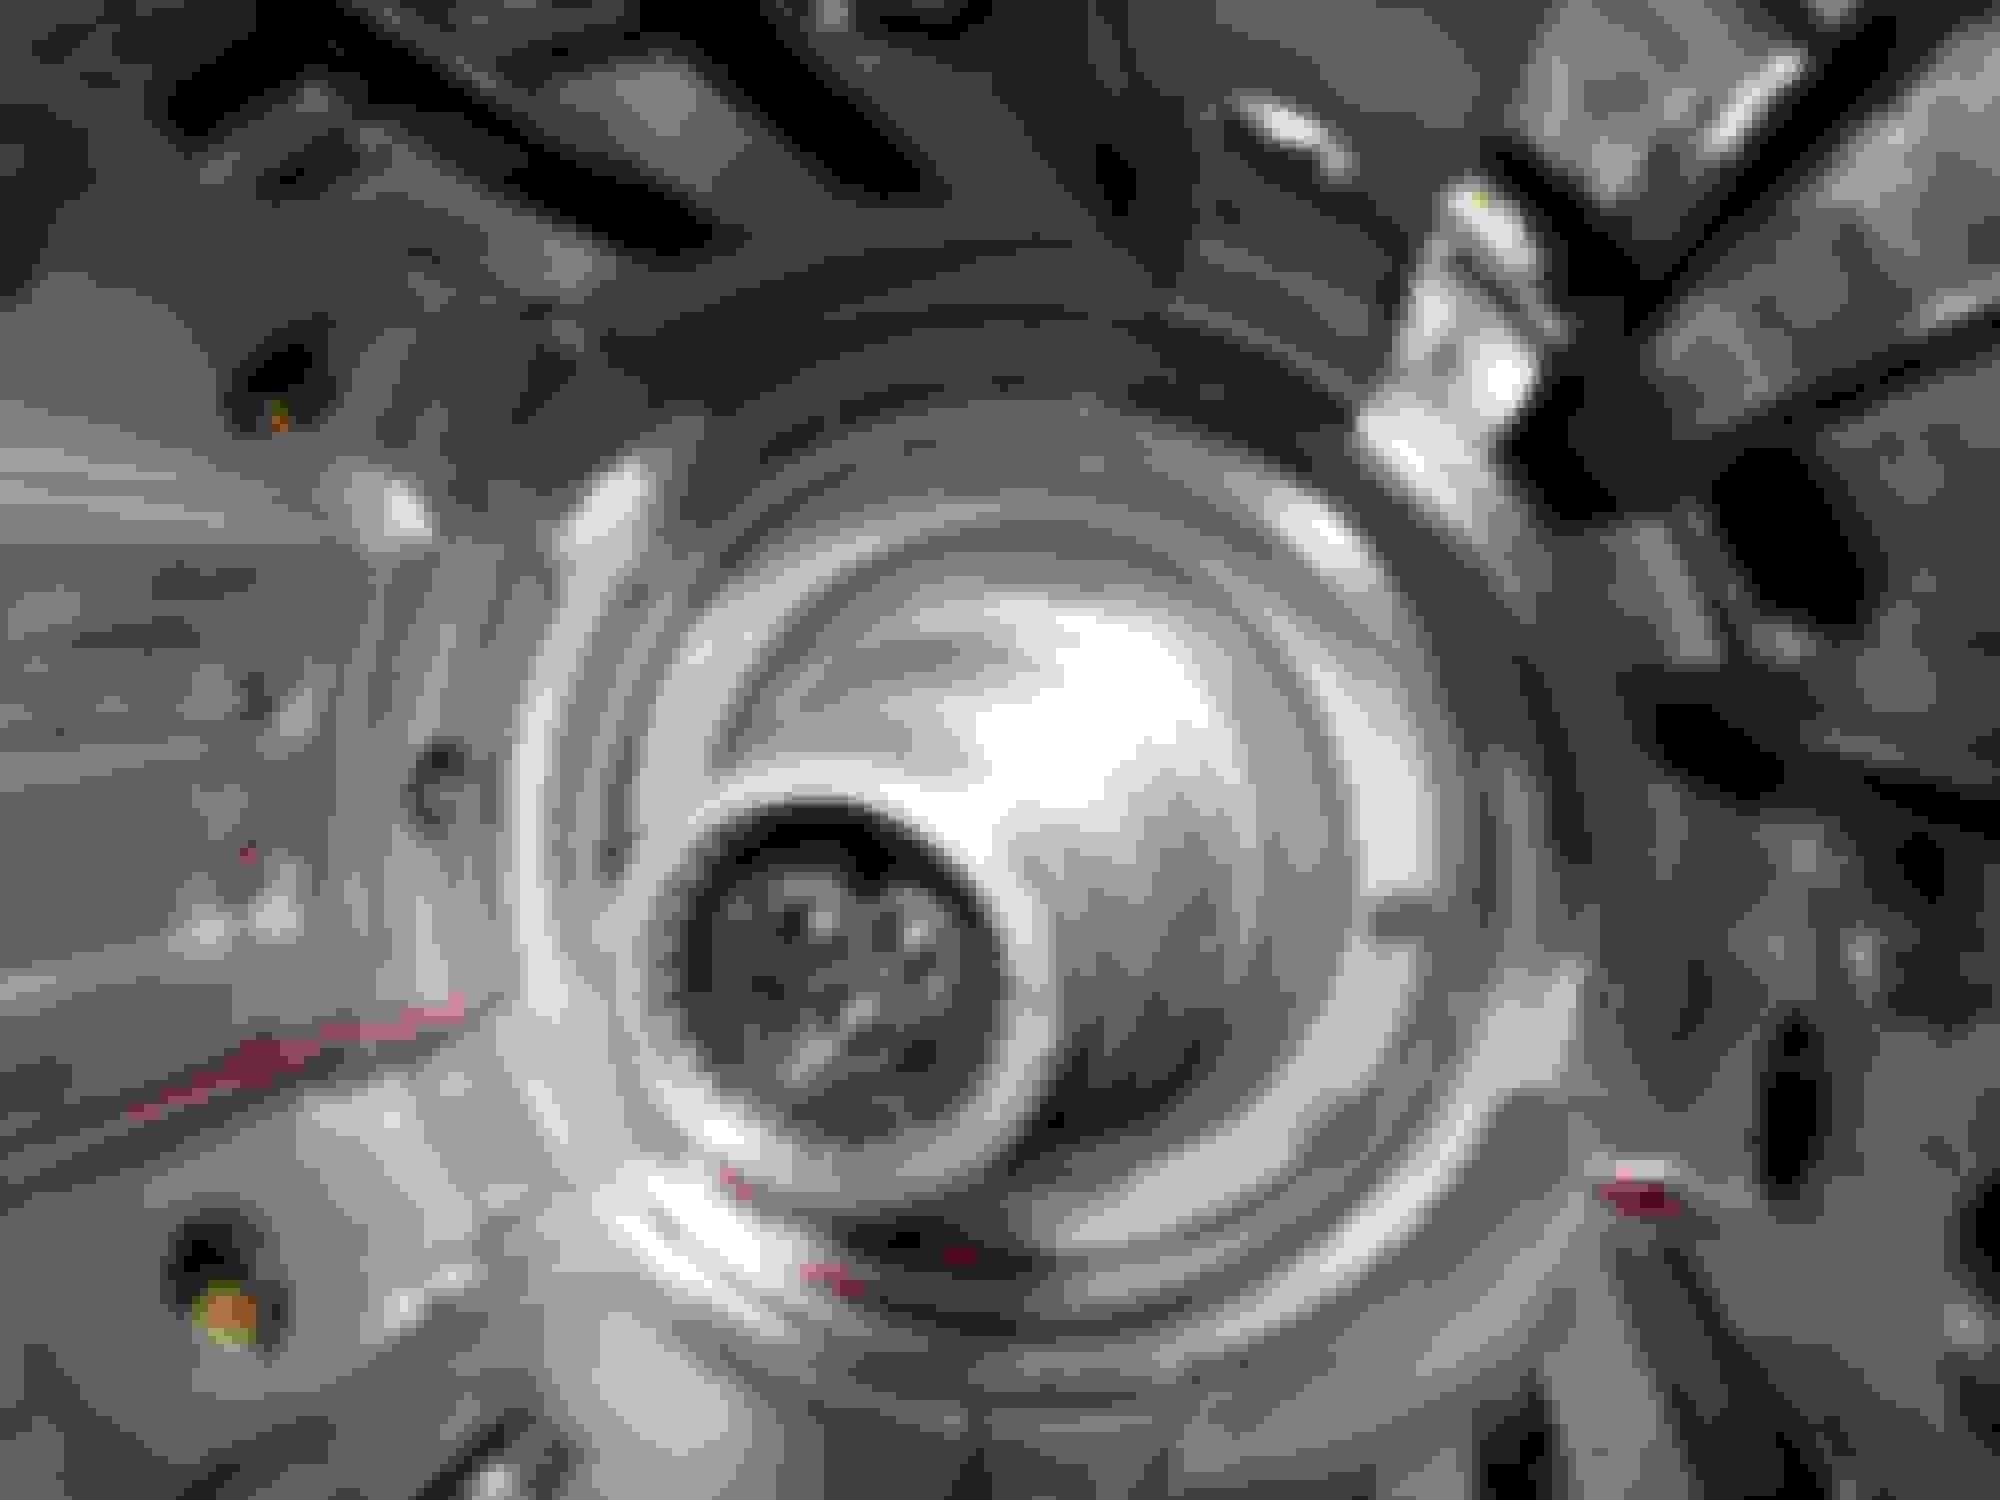
Clutches are not burnt out again.
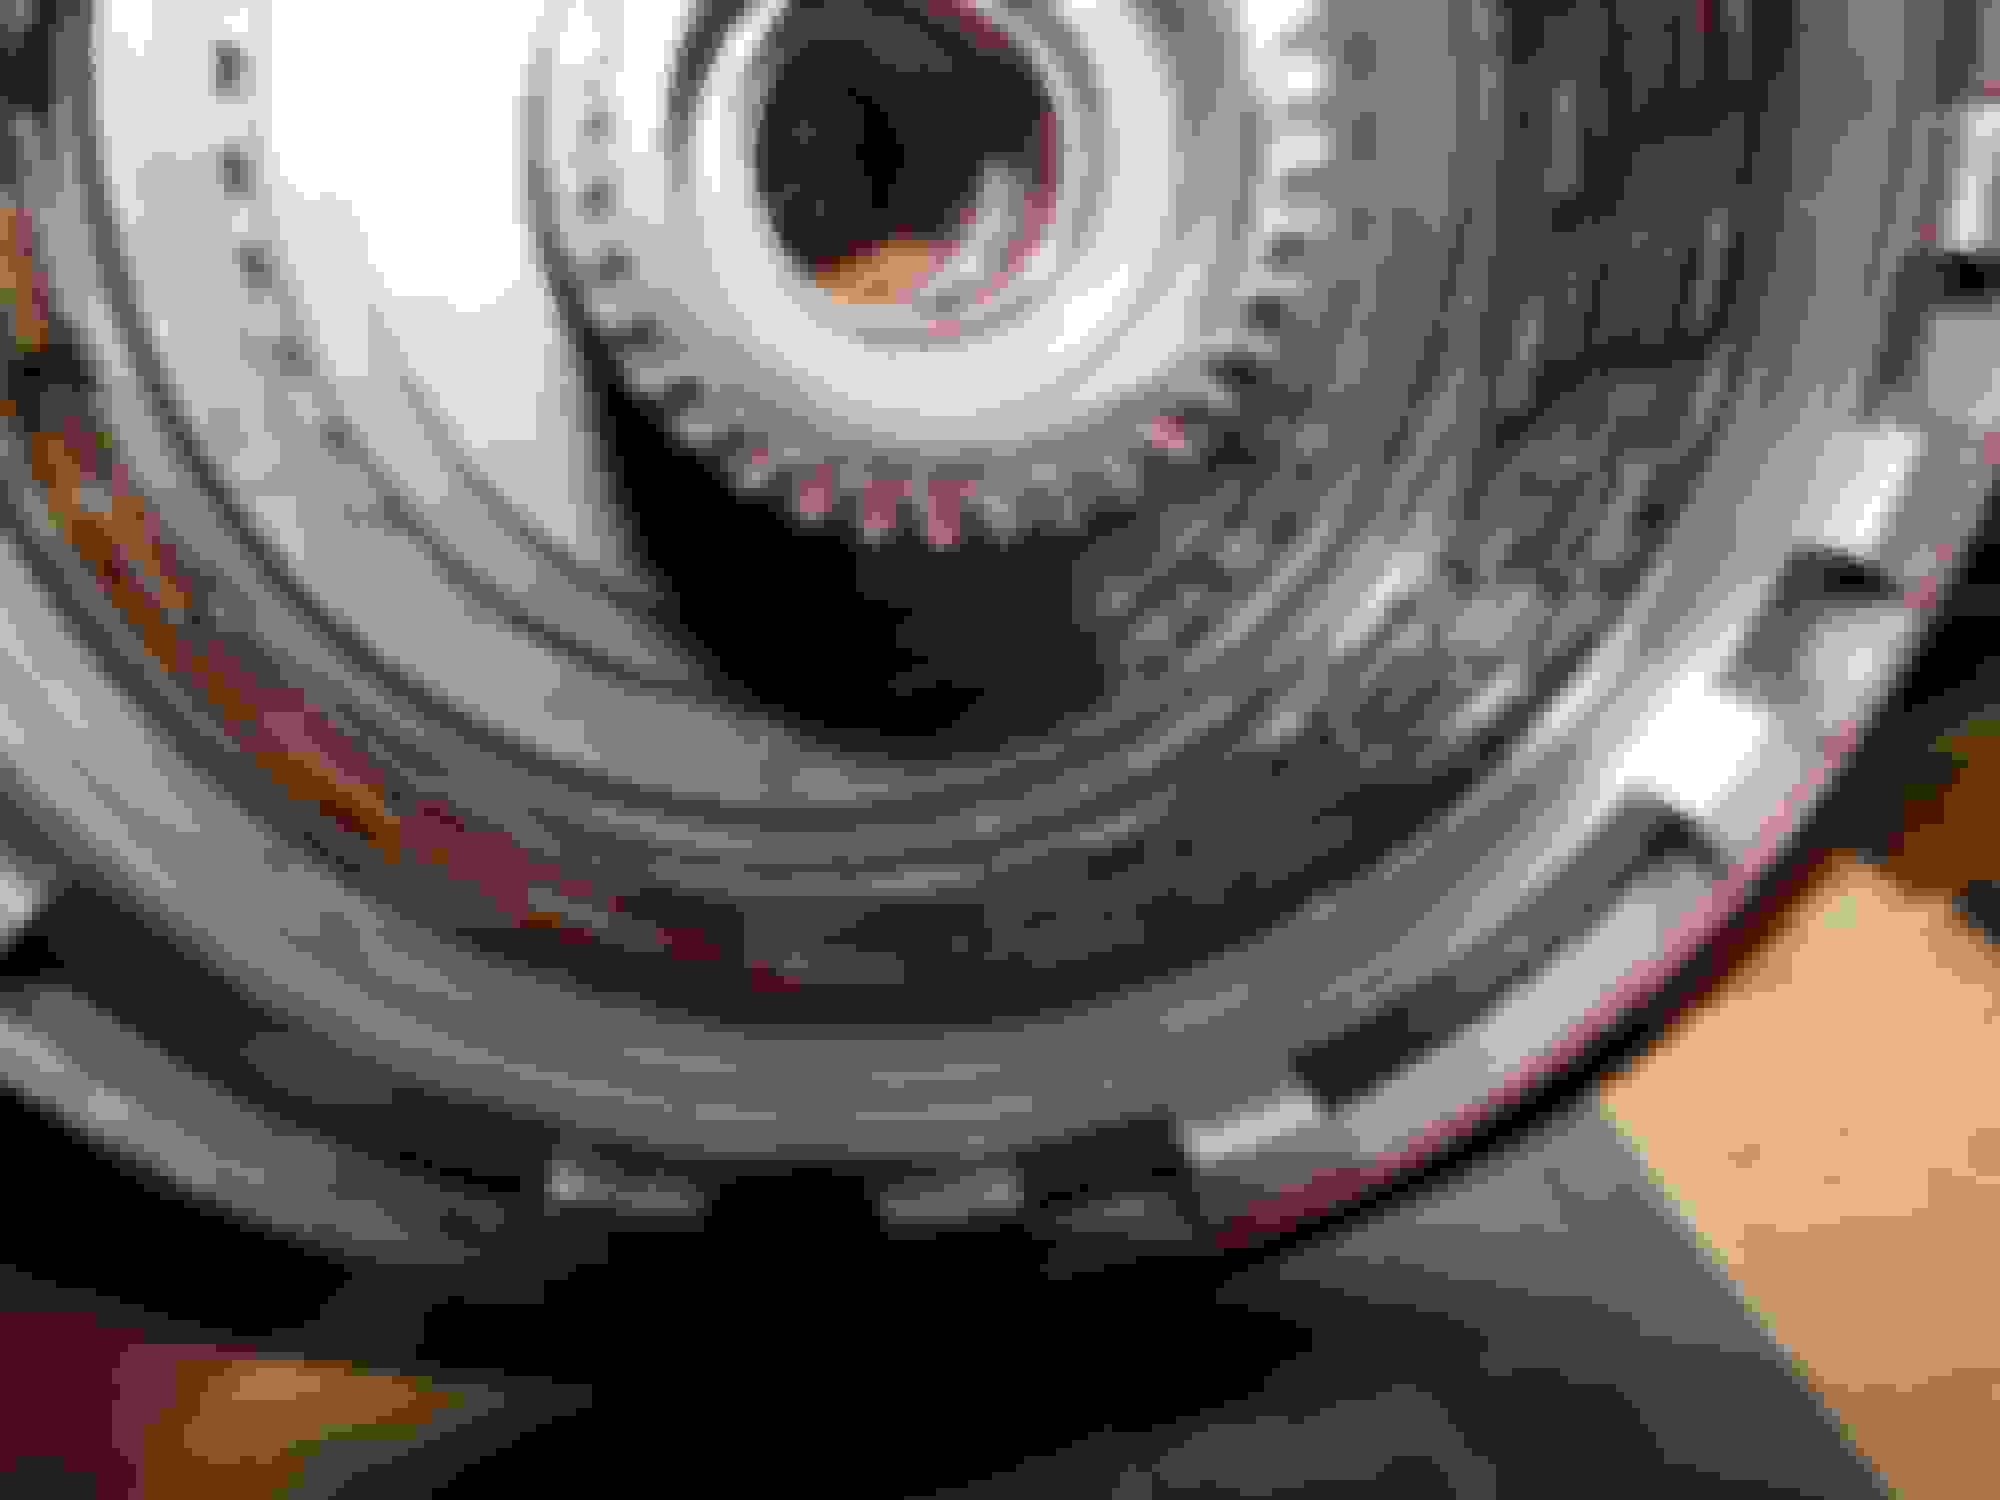
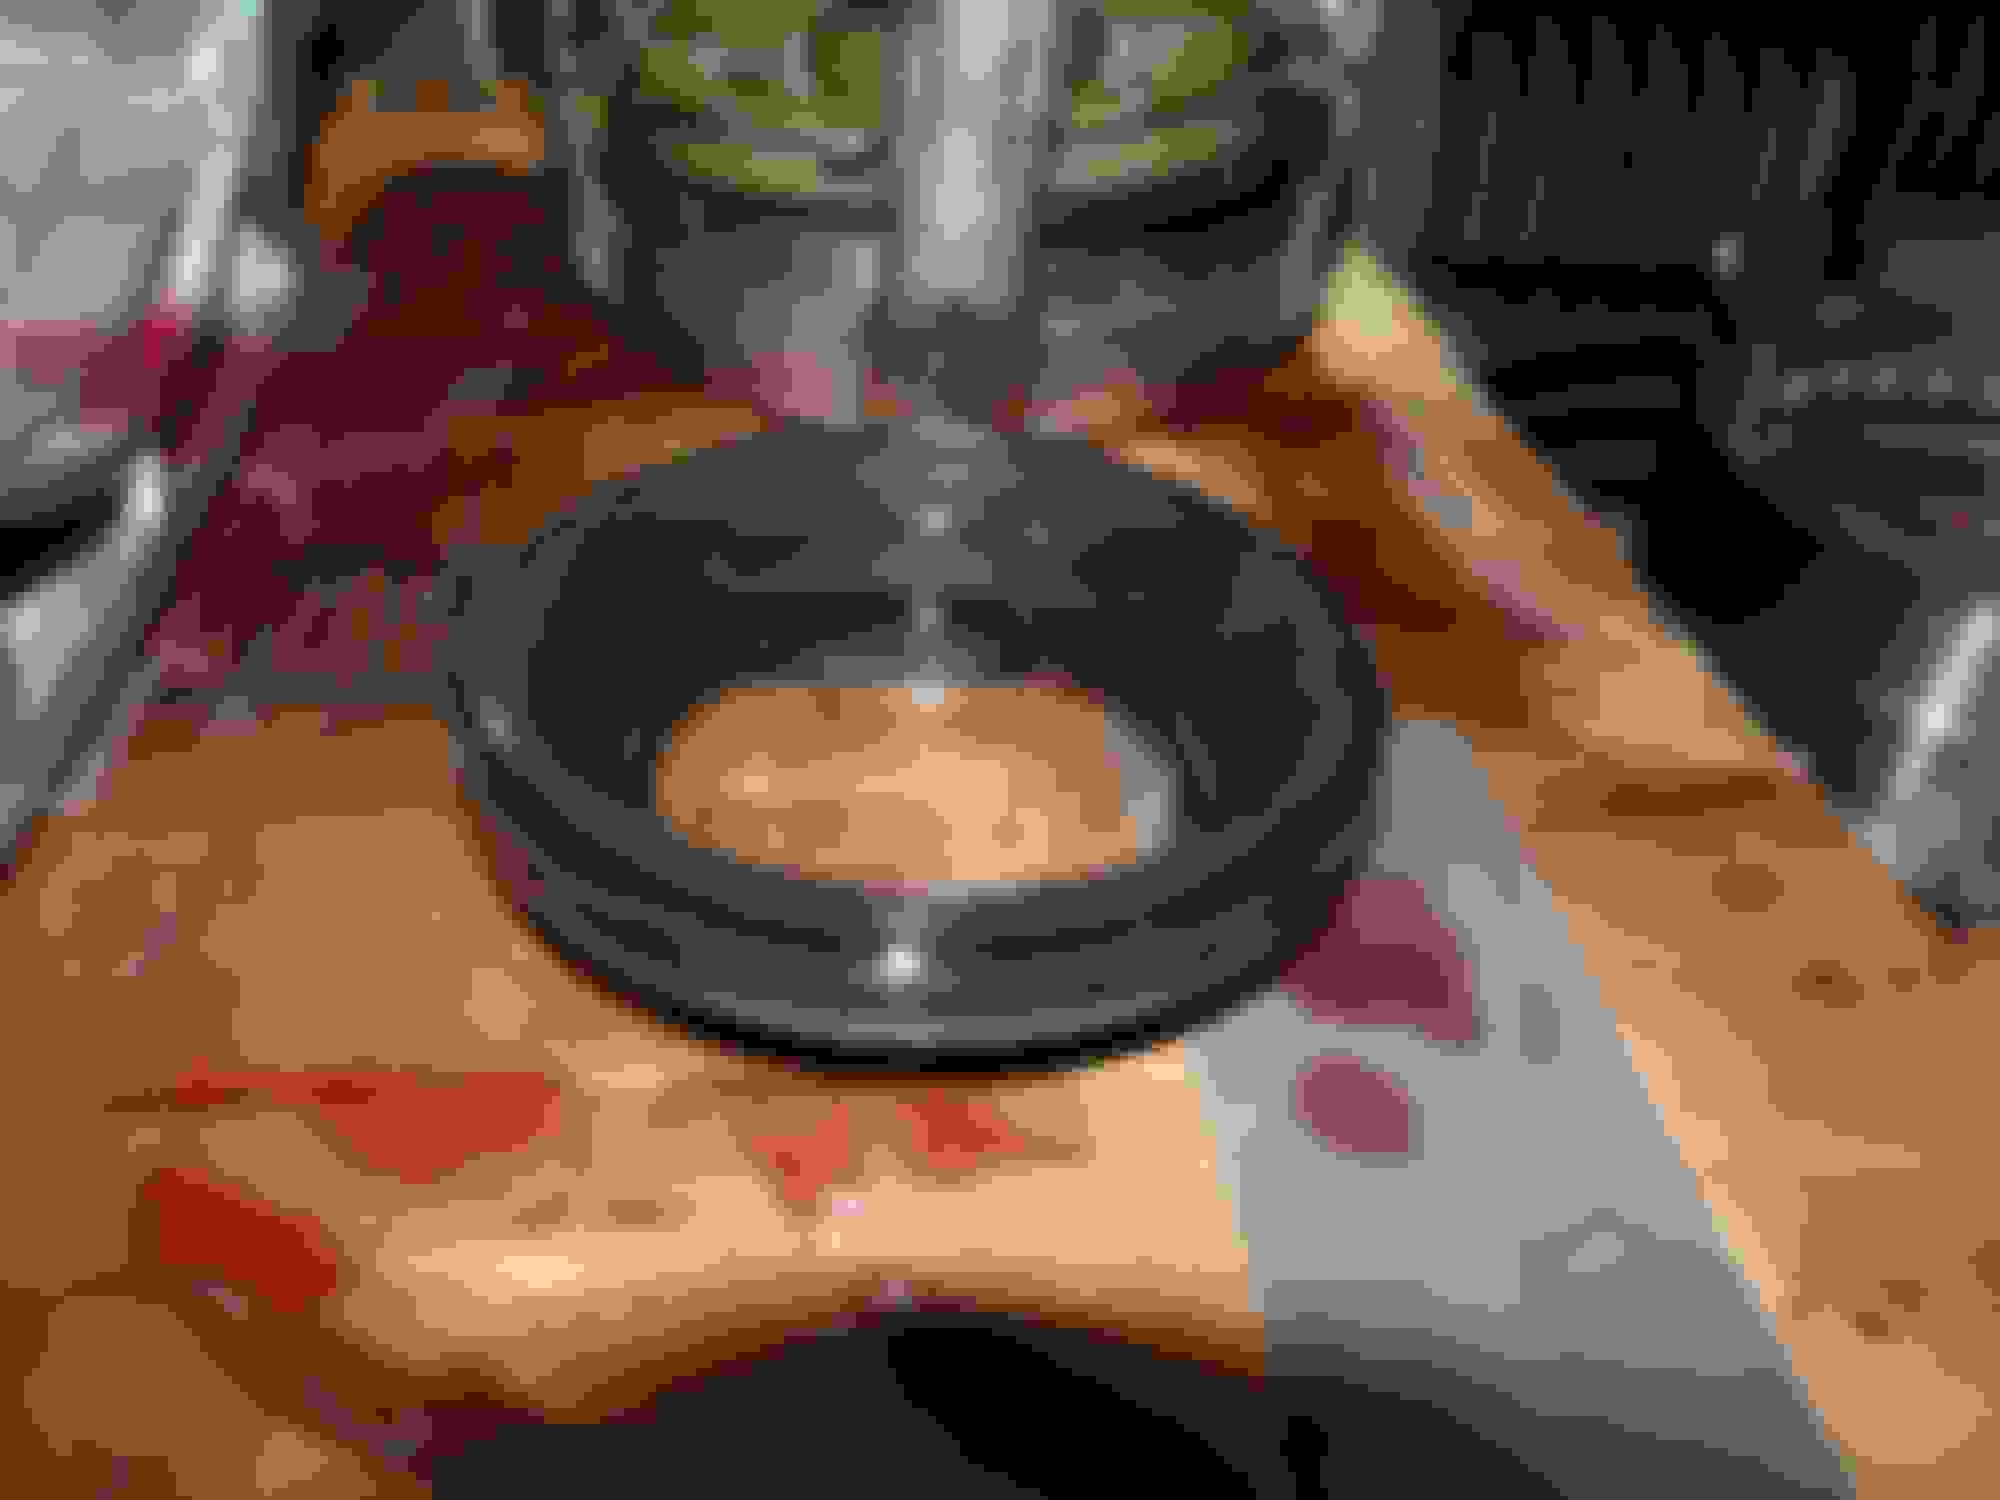
The forward sprag moves in the right direction. If I hold the piece that my thumb is touching, the middle section will only rotate clockwise and will lock counter-clockwise.
A missing checkball will give you very abrupt clutch engagement.
The five spring assemblies help keep the 3/4 frictions separated in 1st and 2nd gear to reduce wear in those gears. They only reduce 3/4 piston pressure by about 10 lbs, an insignificant amount since about 800 lbs is applied when the line pressure is 200 psi.
PerformaBuilt recently posted that they keep the springs installed and even install new ones in their builds. Sonnax includes special ones with their input drum; I installed them in my (few) builds. Installing or not installing them will at most make a tiny difference after many thousands of miles.
Okay so the check ball doesn't explain my symptoms if it was a problem. And I knew the spring assemblies were for that purpose, I was just trying to confirm it for this scenario.
Any other thoughts on what could be a problem?
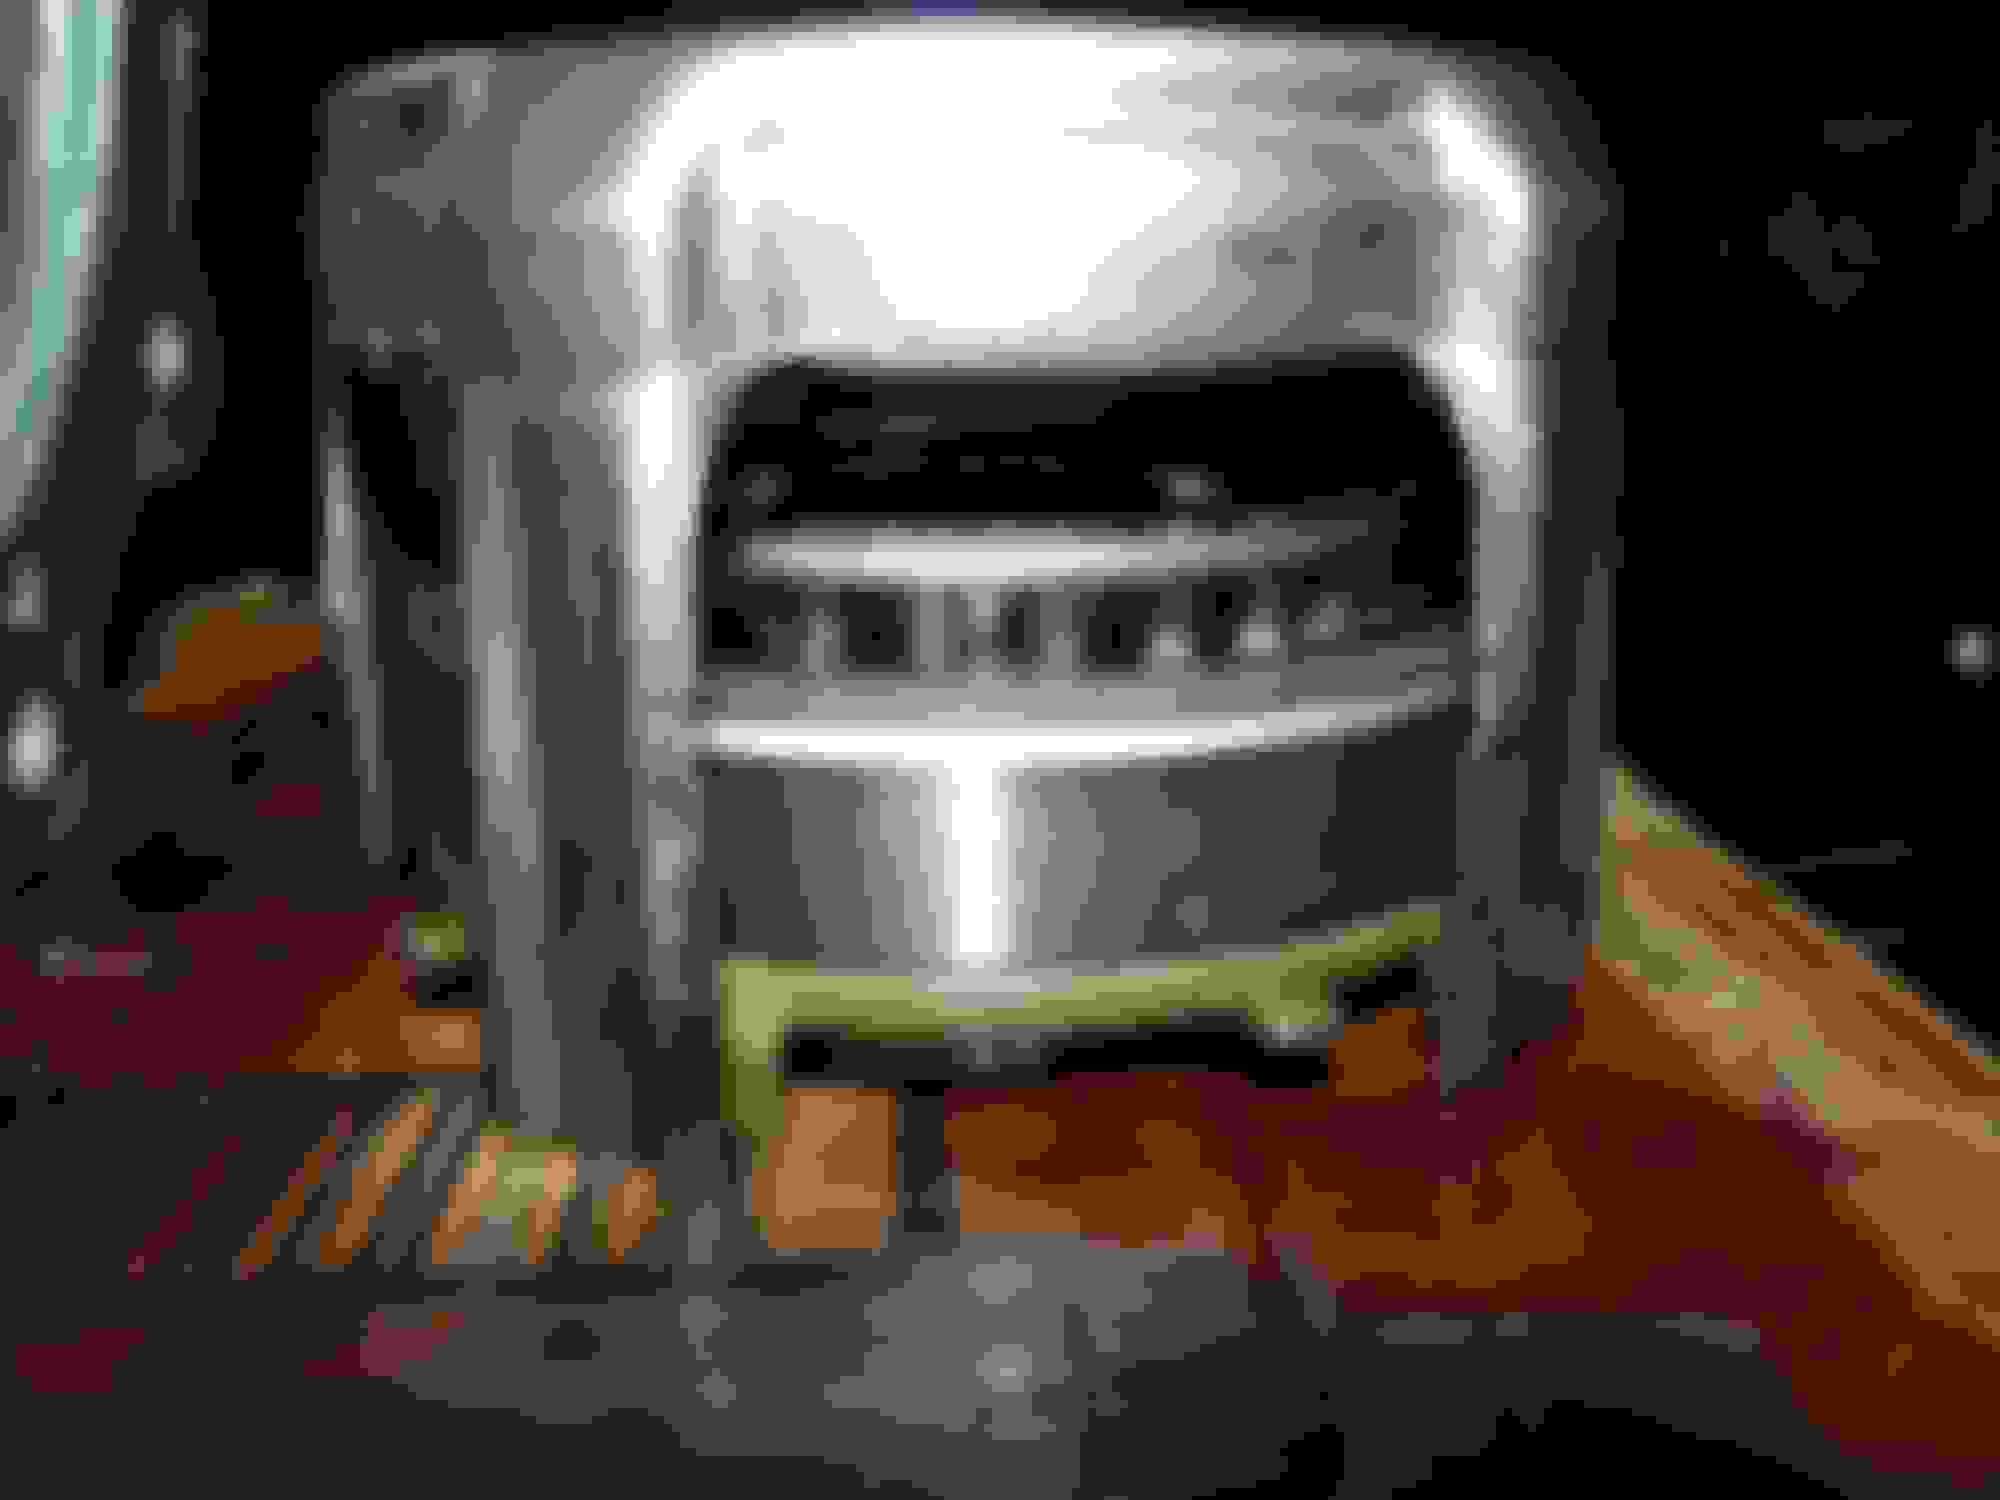
I saw online that somebody put some sort of fluid, I think it was mineral spirits, at the top of the input drum where the shaft meets the drum. He then proceeded to blow air into the second hole on the shaft and cover the first to see if any bubbles came out, which would mean that there was a leak in the seal. Now yesterday, I tried this test, though I left the washer on not thinking to remove it. I noticed that I got one tiny bubble the first time I did it, so maybe I might have that issue? Either way, I am going to redo the test without the washer and see what happens.
Yes ring is there i see, Wonder what the ring was on 2-4 apply piston in earlier picture. I would say you certainly have a hydraulic leak . As for the check ball it should not cause this issue missing , Out of place well thats different depending on where it ended up possible it could block something that was not supposed to be blocked maybe just a wild guess,
I would proceed with air test of drum, Double check inside of pump stator where rings ride for wear grooves also while you are in there check that the relief hole at servo to pan rail area is clear you will notice it just under servo .
Double check encapsulated check ball in case at servo that no trash is in it, We had one that was losing pressure on the dyno on the 2-3 shift it turned out was a flake of metal in with the ball, Sometimes the pressure was good other time much lower once we cleared the debris problem was solved
Can you give me a descriptive procedure on how to test the input drum? What could possibly be the hydraulic leak? I am not quite sure on how to test it. I followed whatever the guy said on TransmissionBench and things looked like they checked out, but obviously that's not the case.
I did that little mineral spirits test and no bubbles, so the seal between the shaft and drum must be okay. I also left mineral spirits in that area over night and the fluid level didn't drop, so there's nothing there.
As for your other suggestions, I will look into them tomorrow. I am a little disheartened right now with what I just did for testing.
Any chance my new separator plate could be the problem? It's a Transgo Separator Plate (46-96) for 1996-2006. I definitely did not read the instructions because I thought I would be fine. I looked at both plates and they looked the same, but I could be wrong. I still have the old one for cross referencing.
Any chance my new separator plate could be the problem? It's a Transgo Separator Plate (46-96) for 1996-2006. I definitely did not read the instructions because I thought I would be fine. I looked at both plates and they looked the same, but I could be wrong. I still have the old one for cross referencing.
Nevermind, disregard the separator plate part of that. I just compared the new one with the old one and they are exactly the same in terms of holes (except for one near the accumulator housing, which doesn't have an effect on anything).
I'm lost right now. I know now that the leak at the rear of my transmission is due to the bushing just being old, but that's all I have. The check ball capsule at the servo isn't leaking, I checked that again, so that's not the reason why I don't have 3-4. I'm not about to put the transmission back on unless I can guarantee it's functionality.
Would the Teflon rings be the only other thing causing my problems now?
How about the clearance for the clutches? Would lack of clearance or too much in fact cause the clutch not to engage? I measured with the feeler gage between the thick steel plate at the outside of the input drum and the first friction in the 3-4 and got a clearance of what would a bit greater than .059 mm.
Were the 3-4 clutches burnt when you opened it back up, it is hard to tell for sure from your pics? Perform all of the air test on the last few pages of the Sonnax instructions. Check where the input shaft goes into the input drum for leaks and check the stator shaft for grooves from the input shaft rings. If everything tests okay you may have a problem with the valve body. Check that all of the vales were installed correctly in the valve body and that none are sticking
.
I would go ahead and install 2 Sonnax Forward & Reverse Abuse Valve Kits part # 77754-35K. If you don’t have a TransGo kit installed, I would install 3 of the Sonnax Pinless Accumulator Pistons. If you do have a TransGo kit installed, install the forward pinless piston in the valve body and the pinless 4th piston “the one that goes into the case. I would also install the correct .490 Sonnax Boost Valve with O-Ring for your trans. This will help stop any of the hydraulic leaks that you may have.
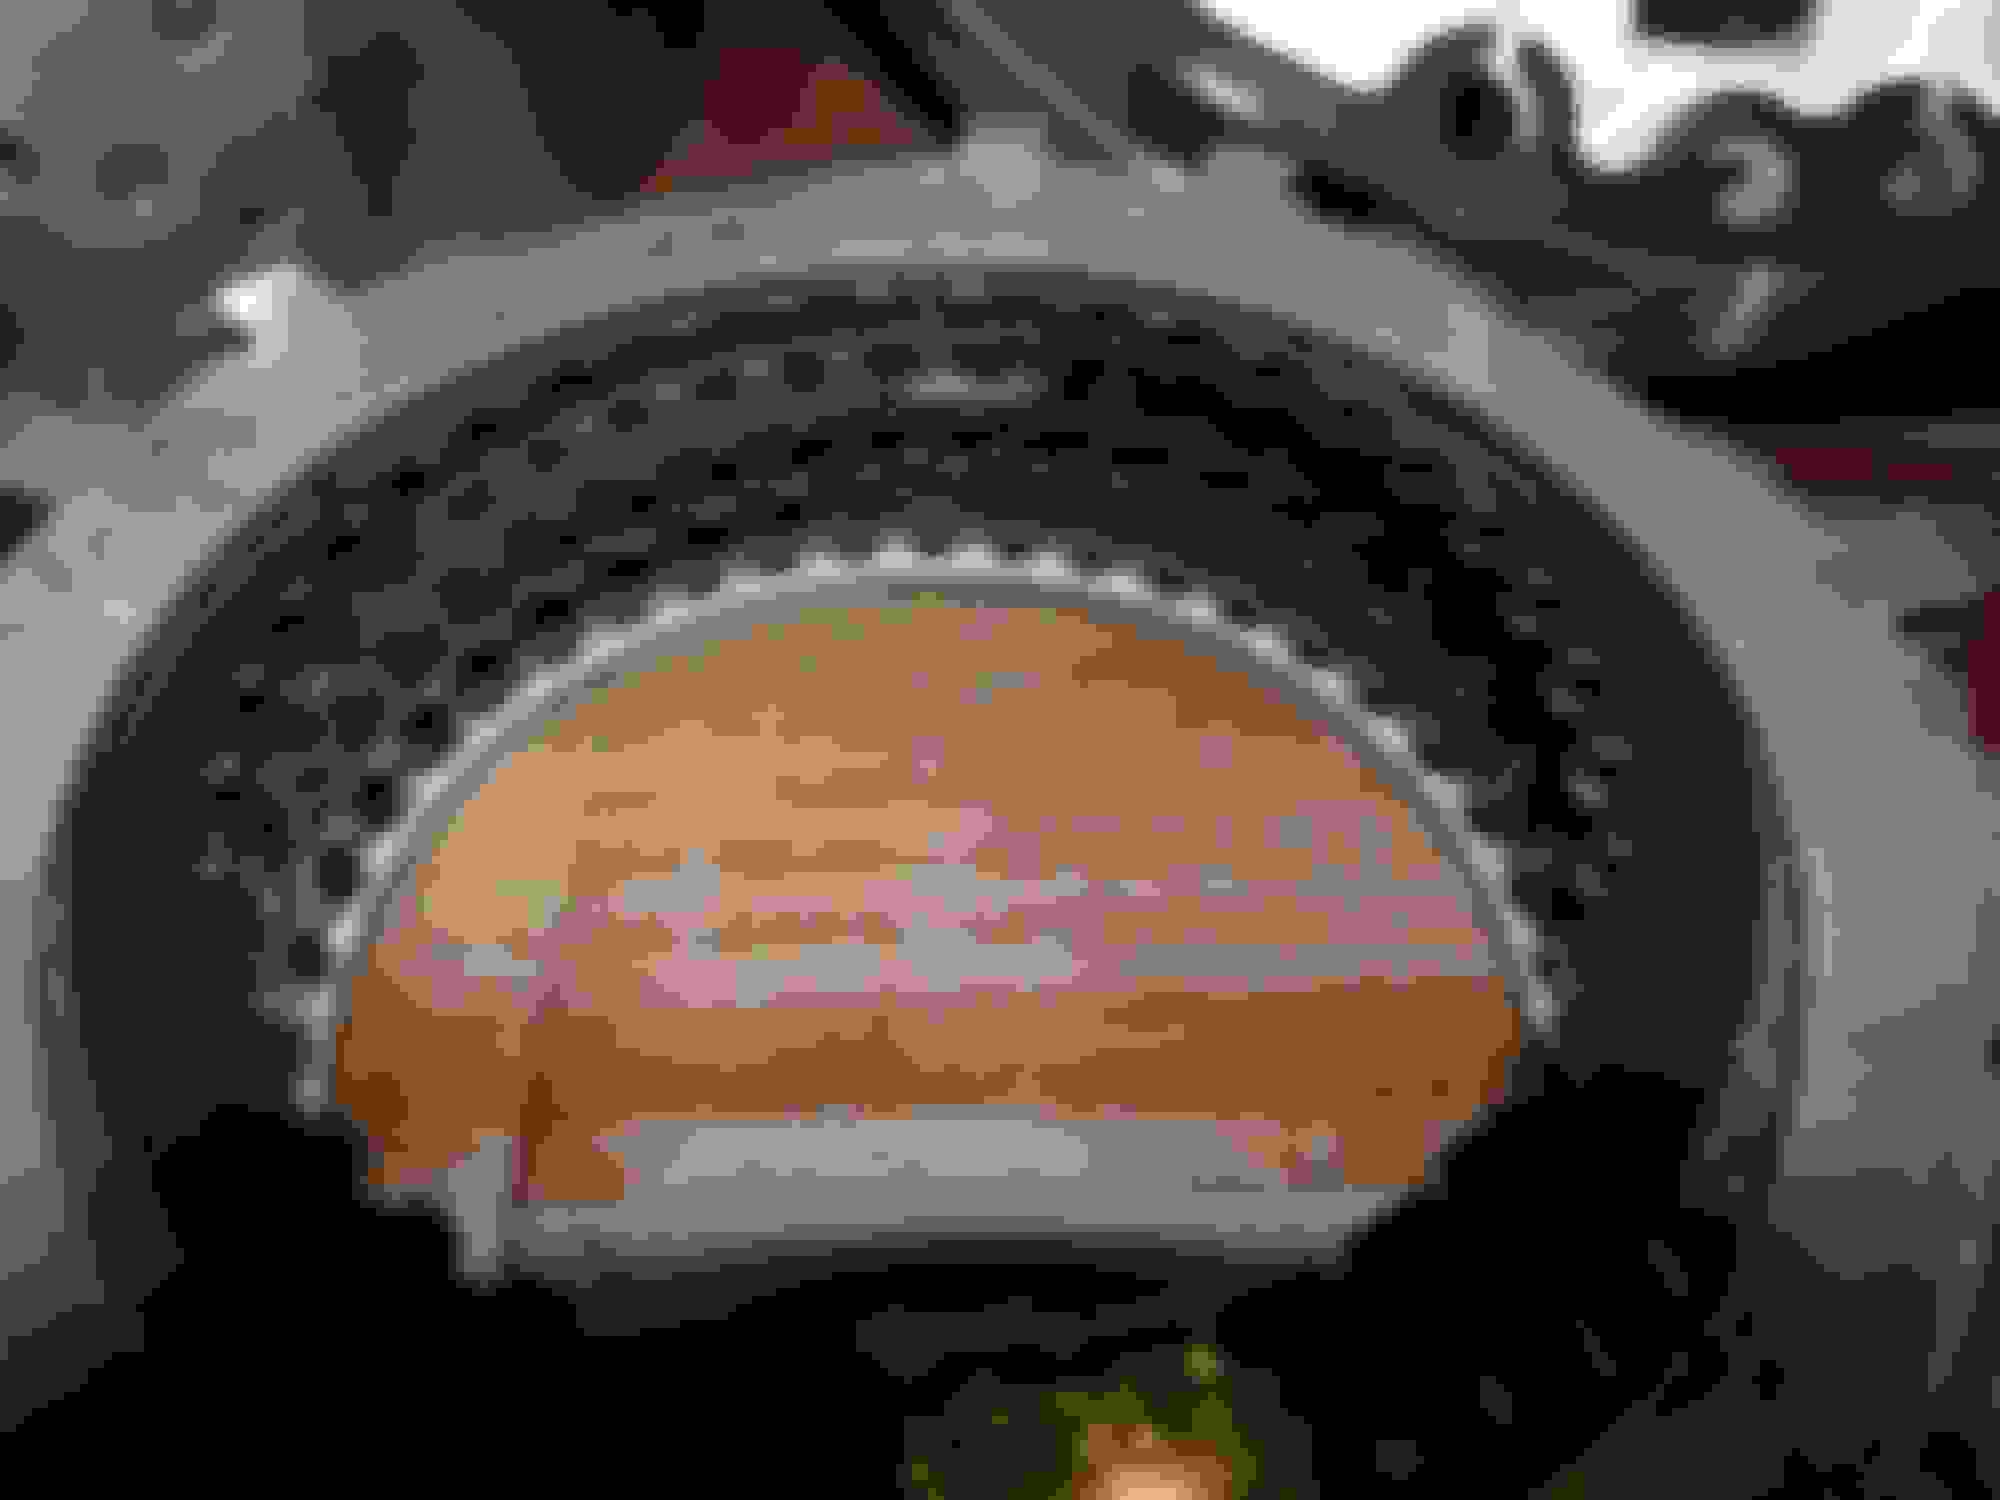
Could one of you take a closer look at this side-by-side comparison? If I am not mistaken, the ball that I in fact misplaced was the one that commands the 2-3 shift.
When I was watching the TransmissionBench videos, the guy said that that spot of the separator plate is the most likely to get pounded in because that ball is applied to the plate during the 2-3 shift. If the ball gets seated in the plate and gets stuck, then the pressure will hold (not sure of how it works exactly) and puts too much work on the 3-4 clutch. If the hole is big enough, the ball will just completely sit in the plate and never move, thus 3-4 does burn out.
Would one of you be able to confirm this? My old plate was not extremely pounded in at that spot, but enough that the ball would sit in the spot if under the right conditions (which are in fact the wrong conditions).
Were the 3-4 clutches burnt when you opened it back up, it is hard to tell for sure from your pics? Perform all of the air test on the last few pages of the Sonnax instructions. Check where the input shaft goes into the input drum for leaks and check the stator shaft for grooves from the input shaft rings. If everything tests okay you may have a problem with the valve body. Check that all of the vales were installed correctly in the valve body and that none are sticking
.
I would go ahead and install 2 Sonnax Forward & Reverse Abuse Valve Kits part # 77754-35K. If you don�t have a TransGo kit installed, I would install 3 of the Sonnax Pinless Accumulator Pistons. If you do have a TransGo kit installed, install the forward pinless piston in the valve body and the pinless 4th piston �the one that goes into the case. I would also install the correct .490 Sonnax Boost Valve with O-Ring for your trans. This will help stop any of the hydraulic leaks that you may have.
No, the 3-4 clutches were never engaged thus they couldn't get burnt out (at least I think that's true).
Reassemble the input drum less 3-4 clutches and air check the forward and overrun clutches, through the pump passages with the input drum set in the pump, to verify that they are applying. If all is good there install the 3-4 clutches and air check them the same as the others to verify that they are applying. The attached instructions will show you how to do this.
If all of the clutches in the input drum tested good then I would check the valve body very closely. One more thing I set my 3-4 clutch pack clearance around .030 inches.
The input shaft to input drum can be a source of leaks. Even one that tests OK cold can leak when hot because the aluminum tends to expand more than the steel.
I know some pros pull out every input shaft, coat the areas with red Loctite and press back together. Even better is to install the Sonnax input drum reinforcement kit; you press a steel ring over the inner spline area.
While a .059 3/4 clutch clearance is within spec, most performance builds have a much tighter clearance. Are you using 6 or 7 frictions. When using 7 frictions, you can substitute a few thicker frictions to reduce the clearance.
One of the pros will have to answer your checkball question.
With the Transgo 46-PLT-96 you should first drill it according to the included V8 instructions and then drill it according to the HD2 instructions and drill the 3rd apply on the high side of around .102 (some even go up to .125).
Would you recommend just getting a new input drum in that case? I don't have the tools to take it apart and press it back together so if it's potentially a problem when it's running hot, then it's something I should do. I noticed that when I ran the first air test with liquid at the top of the drum, I did get a small bubble or two, nothing constant. I was about to replace the Teflon rings, but if you think it would be better I just get a new drum, then I think that should be the call I make.
Also, I used a rebuild kit that was meant for both 4L60E/4l65E transmissions, so it came with one extra friction and one extra steel for the 3-4 clutch. Currently, I have 5 steels, 6 frictions, which I guess I should just put the other two in since everyone I've seen else saying they have. That would make the clearance tighter for sure.
Also would you happen to have any further instructions for the Transgo 46-PLT-96. I still have them, but I don't know quite how to interpret them for my scenario.
And I hope someone can get back to me about the check ball situation. I think it makes sense because that's the one, that if stuck, would cause the 3-4 to burn out. Since I found no other obvious causes, except the input drum (potentially), I narrowed it to that one. Would you recommend to me to replace the 3rd accumulator and the other check ball toward the rear as well?
And I should say I only put 5 and 6 in because I was following the video I was watching and that's what he said to do. Also I only pulled out 5 and 6 when I was taking out the old 3-4, but I wouldn't have been able to tell what clearance they were since the friction material was completely gone when it burnt out. I guess I should've cross-checked that, good thing I kept the extras. The washer on the input drum is a 70 is that tells anyone anything.
Also I used Pioneer brand clutches and steels. That was the brand of the rebuild kit if it matters. I definitely won't be using that one again since it gave no description of what each part was for, it took a lot of comparing to understand what I needed and where.


 03-13-2017, 07:16 PM