When you click on links to various merchants on this site and make a purchase, this can result in this site earning a commission. Affiliate programs and affiliations include, but are not limited to, the eBay Partner Network.
I opened up the input drum and inspected the clutches. It appears as if only one of them has any really really noticeable clutch loss, whereas the others seem okay. I haven't checked the pistons at the bottom yet (I finished off tonight by making a jig to get them out).
If the majority of the clutch material has worn off on them, could they potentially not engage as the transmission gets hotter? Last year when I did the rebuild, there was absolutely no clutch material on clutches and the teeth on the steels were stripped completely. This time, there appears to be a bit of clutch material (not sure how much is necessary) and the steels are fine (I shouldn't have ordered new steels with my rebuild kit, darn it).
I inspected all the components in the valve body as I was cleaning it up completely today, none of the springs are broken and the valves are fine. I never did a Trans-Go shift kit upgrade (because, as stated above, I didn't have the tools/nerve to attempt it).
If the majority of the clutch material is stripped, the clearance will increase dramatically.
I did order a new sun shell, rightfully so since the splines on my old allowed for some play with the sun gear. The new sun shell does not have this problem and seems to be much better in terms of build. However, I did see a potential issue with the new one. Note that my understanding of the 4L60E transmission is only with my transmission, one made for the 2004 Silverado 1500.
When I was watching Transmission Bench again to refresh my knowledge on how everything should come back together, I saw this.
Thrust-washer for 2000 and older 4L60E transmission sunshells.
This is a thrust washer for 2001 and older model 4L60E transmissions because the sunshell was designed differently. My model does not have the 4 tabs or the thrust washer, instead it has a thrust bearing that sits on the shoulders of the reaction shaft, pictured below.
Thrust-bearing for 2001 and newer 4L60E transmission sunshells.
I was wondering if I need to have this thrust washer for my new heavy duty sunshell or if the thrust bearing is in place of this thrust washer. I don't know if older transmissions had both or not, so I may sound like an idiot for asking this. My guess is having only one or the other is okay since I test fit the reaction shaft on the new sunshell and I didn't see any issues.
Here are images of my old and new sunshells.
Outside of new sunshell. These splines do not allow for any play - very snug fit.
Outside of old sunshell. These splines allowed for play between the sungear and sunshell, which could be a problem if I put it back in.
Two things - 1 - Call Circle D and tell them what you want. They have a great converter at a reasonable price. I went with the higher stall version of their basic version and love it. DO NOT put that old torque converter back on there, that is now likely full of all sorts of nasty ****. Plus it will make the truck soooo much nicer to drive.
.....and flush your lines out well. Get the bad **** out!!! I'd also recommend bypassing the factory internal trans cooler now as it can also be collecting **** that will come out later and cause problems.
New TC, flush lines, skip factory trans cooler.....good to go. Ask me how I know.
Unfortunately, I've already received a replacement for the torque converter with similar performance to mine. I wasn't sure if I should go with a higher performance with the parts I will have in my transmission. I had ordered the same replacement a few weeks ago when I noticed issues and sent it back because those issues seemed to have been resolved, but it turned out I should've just kept it... I just sent out the old one for a core return, so I am just going to stick with this GM guaranteed replacement.
I will definitely clean out the radiator and lines as you suggested though. I've already cleaned them out with Brakleen and air, but I definitely didn't get all the gunk out yet. I will do that again before I put the transmission back on, thanks for the recommendation.
Does anyone know why the 3-4 clutches cone? I noticed mine from last year's rebuild, were not only burnt out, but were also coned. The steels were pretty black from the heat as well. I had 6 steels and 7 clutches, so the tolerance was very tight. I assume this is due to my heat issue since the fluid was low, but I am wondering if this just happens with low quality clutches or steels.
Also, does anyone know the answer to my question above about the new sun shell? Thanks.
The "coning" occurs because the 3-4 apply ring applies the pressure plate from the outside edge of the pressure plate, along with heat and pressure. Coning is normal even with good wearing units. I have torn quite a few 4L60E's with well over 200,000 miles with the 3-4 clutches still in good shape, they were all coned too. TH350 and TH400 transmissions and many others apply the clutch from the center of the apply plate or steel. Coning does not usually happen in these units since the apply occurs in the middle. Heat treating the apply plate to a much higher Rockwell, will slow down coning. The Sonnax Smart Tech drum uses a "heat treated" apply pressure plate, which will in itself, slow down coning here. GM tried to eliminate coning back in 1987 with using a apply pressure plate that had a step on the inside. It didn't work and GM dropped it a few years later and went with the "one piece" apply plate, and decided that coning was something that they could live with. With many units going well over 200,000 miles these days, they were right.
The "coning" occurs because the 3-4 apply ring applies the pressure plate from the outside edge of the pressure plate, along with heat and pressure. Coning is normal even with good wearing units. I have torn quite a few 4L60E's with well over 200,000 miles with the 3-4 clutches still in good shape, they were all coned too. TH350 and TH400 transmissions and many others apply the clutch from the center of the apply plate or steel. Coning does not usually happen in these units since the apply occurs in the middle. Heat treating the apply plate to a much higher Rockwell, will slow down coning. The Sonnax Smart Tech drum uses a "heat treated" apply pressure plate, which will in itself, slow down coning here. GM tried to eliminate coning back in 1987 with using a apply pressure plate that had a step on the inside. It didn't work and GM dropped it a few years later and went with the "one piece" apply plate, and decided that coning was something that they could live with. With many units going well over 200,000 miles these days, they were right.
That's some great information right there, I appreciate it! I just couldn't remember if my old 3-4 frictions from last year's rebuild had the same issue since there were only 6 frictions and 5 steels originally. I was wondering if my tighter clearance had caused the coning.
Either way, if it's not a problem I need to worry about with my current setup, then that's good to know. If GM can live with coning, I guess I can too. Thanks.
Hey guys, I had a question about the check ball capsule.
I want to know exactly what is considered a leaking check ball capsule where the servo is. Is it like in this video where it leaks out rapidly right away inside the case...
Or is some leakage over a long period of time also a problem? I did the mineral spirits/transmission fluid check again last night (after doing it a few times before and not noticing anything) and it leaked right out on the servo side, which is okay and nothing happened on the inside. After probably over 15 hours, I noticed when I looked at the transmission today that there was a little transmission fluid wetness around the bore inside the case. It was not escaping and drizzling down the side of the inside of the case at all.
I ran the test again today and I was checking the inside probably every minute for half an hour and I didn't notice anything at all. I want to know if any leakage whatsoever is a problem (like if the fluid just escapes over time) or if it's only rapid leakage like in the video that is a concern. I just don't want to put this back together and have that be my new 3-4 burnout cause.
EDIT: So after a few more minutes, I saw this... and in fact, some fluid was escaping down the side of the case. Should I still be concerned after over half an hour, there is finally a leak or can I rest easy?
Thanks.
Last edited by NikoKourm; 02-15-2018 at 02:37 PM.
Reason: Updated Information
It appears you do have a small leak in the capsule. I do not think it is significant enough to be cause for concern. If I were you, I would just replace it and have peace of mind. It's a very cheap part, why risk a 3-4 pressure leak?
It appears you do have a small leak in the capsule. I do not think it is significant enough to be cause for concern. If I were you, I would just replace it and have peace of mind. It's a very cheap part, why risk a 3-4 pressure leak?
I agree with that logic, given that I've been having bad dreams about my sunshell for the last year and it turns out I should've gotten the upgrade in the first place.
Also turns out that my 3-4 pressure and apply plates were heated so much they turned blue at some spots, the same with the low/reverse wave plate. I am just getting another order of parts together (hopefully) for one last time.
I have not read this entire thread so this might have been asked already but what was your line pressure when the transmission failed this last time?
I have not read this entire thread so this might have been asked already but what was your line pressure when the transmission failed this last time?
I didn't think to get the pressure readings this time around. When the transmission failed on me, I just went straight to taking it off the day after. Looking back at it, I should have.
As for the front pump as someone had suggested might be an issue, I broke it down and rebuilt it yesterday and nothing seemed to be out of the ordinary. The valves and springs were fine, the vanes were not broken, etc. The only thing I saw (the same thing I saw last year) was wear from longtime use.
That can actually be a big problem, you need to check the pump rotor bore with feeler gauges. There are several tech manuals with the clearance specs.
That can actually be a big problem, you need to check the pump rotor bore with feeler gauges. There are several tech manuals with the clearance specs.
I'm sure you're right there however, none of my symptoms this time around pointed to a front pump issue and the wear wasn't any different from last year. I was able to drive 10,000 miles without any front pump issues (as far as I am aware from driving those 10,000 miles).
I will look into it again regardless. I just don't want to shell out big bucks on a front pump since that's the only option for the repair. [EDIT] Well not only option for repair, but the most reliable option...
Last edited by NikoKourm; 02-16-2018 at 05:16 PM.
Reason: Updated Information
I know this information won't be particularly useful since 1. it's outdated and 2. it's not quite clear, but here is what I got from reading my line pressures last year when I rebuilt the transmission and still didn't have 3rd gear. My problem ended up being a check ball out of position, the one that would allow for the 2-3 shift.
"Okay so I just conducted my test on the road for the last two hours (not driving, just setting up, doing the test, then taking apart).
So, when I unplugged the PCM and put her into drive, I noticed the slow acceleration at first. As I went up 20 mph, I had my fingers crossed. Speedometer kept going up no problemo, but obviously the engine was running at really high RPM. So I got up to about 40 mph with the engine at about 5000 RPM. So I guess this means my 3rd gear is functional in max line pressure mode. I also put the truck into manual 1 and 2, those worked as they had prior.
As for the gauge test. I plugged the PCM back in, I hooked up the gauge and I taped it next to my side mirror. Again, the truck in drive would shift fine from 1 to 2, but going to 3 it seemed like it would try to do it, but it would just rev high and not accomplish anything.
I switch through all the gears in idle and here's what I got (approximations based on what I could see):
Park - 52 psi
Reverse - 74 psi
Neutral - 52 psi
Drive - 52 psi
3, 2, 1 - 52 psi
As for blipping (I couldn't actually blip it the same way each time, so these are also approximations):
Park - higher than 75 psi
Reverse - higher than 100 psi
Neutral - about 75 psi
Drive - about 75 psi
3, 2, 1 - about 75-90 psi
As for moving the vehicle (again approximations):
Park - 75 psi (not moving)
Reverse - 165 (hard gas initially)
Neutral - 75 psi (not moving)
Drive - about 60-70 psi
3, 2, 1 - about 50-70 psi
Again all these readings I got were hard to determine what was going on and how to keep everything constant. I brought the truck to an empty parking lot down the street from me. I was able to have about 100 ft of space to conduct the tests."
[EDIT] Looking at another post, it seems my numbers are comparatively lower than what is considered good. But no one ever said anything about that last year in my old thread.
However looking at this, it seems everything should be okay...
Again, the vanes and the rotor, plastic piece, metal rings, springs, etc. were all in good shape. Nothing was cracked or broken.
I'm willing to replace the stator and I guess I'd order a new vane/rotor set while I'm at it, but everything seems to be in good shape. [EDIT] I don't think the stator is a problem to begin with, so replacing it would probably do nothing for me.
Last edited by NikoKourm; 02-17-2018 at 07:46 PM.
Reason: Updated Information
If the "stator support teeth" where it goes inside the torque converter is in good shape (teeth not thinned out) and the sealing ring area inside the stator support has not made contact with the ring lands on the input shaft, then replace the bushings in the stator support with the wider bushings. Use the TH350C for the front bushing and the Sonnax wide bushing for the rear. Use a long 1/4" or 5/16" drift and tap on the checkball in the capsule to re-seat the checkball to the seat. Blow out the area thoroughly with high pressure air to make sure there is no foreign material in there. There will always be a little leak here. Remember, an automatic transmission is nothing but a series of controlled leaks.
I took some pictures as photo evidence of the status of the components in my pump. Again, I think all the components seem to be in okay shape, so I don't see why there would be an issue. The bushings have very very very minor scratches, absolutely no gouges or cracks anywhere, I can't feel anything with my finger and they rotate easily on the shafts they sit on. The only grooves I felt on any of them are the ones for lubrication.
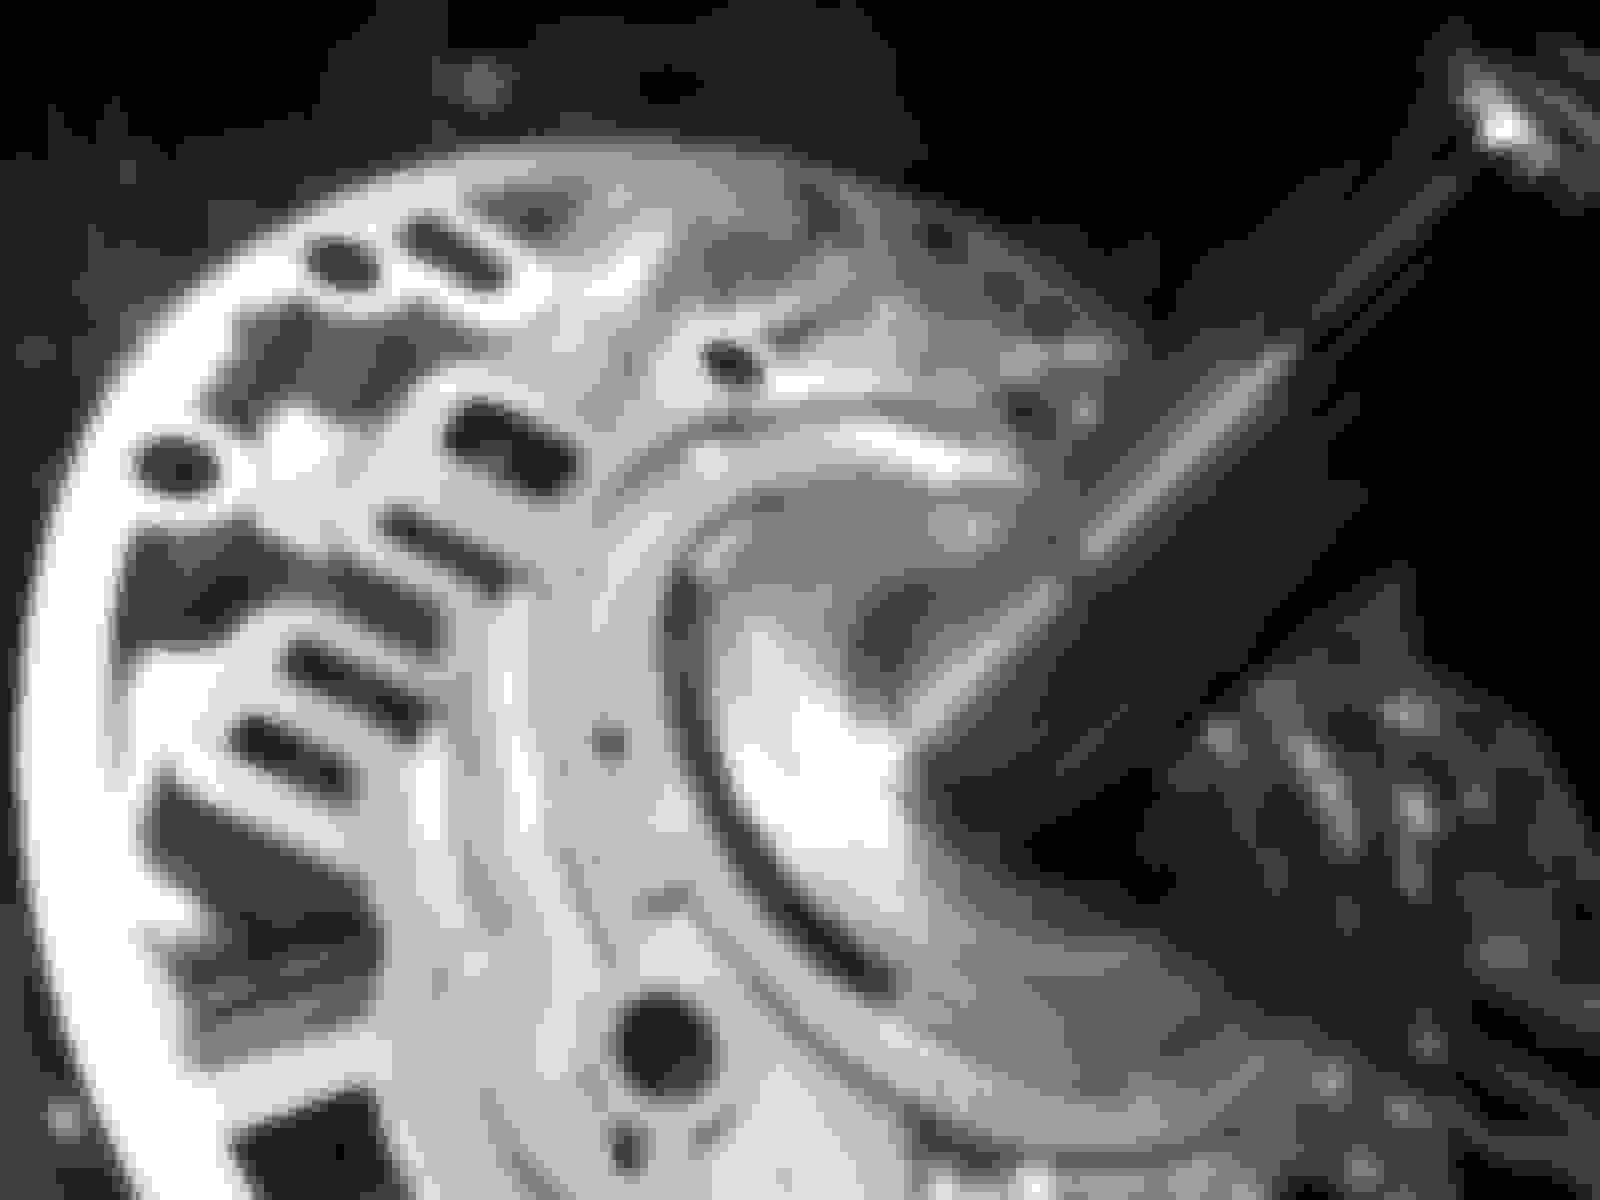
Body of the front pump.
Body of the front pump, different angle.
Bushing at the top of the stator shaft, torque converter side. This is the worst looking bushing out of all of them in my entire transmission.
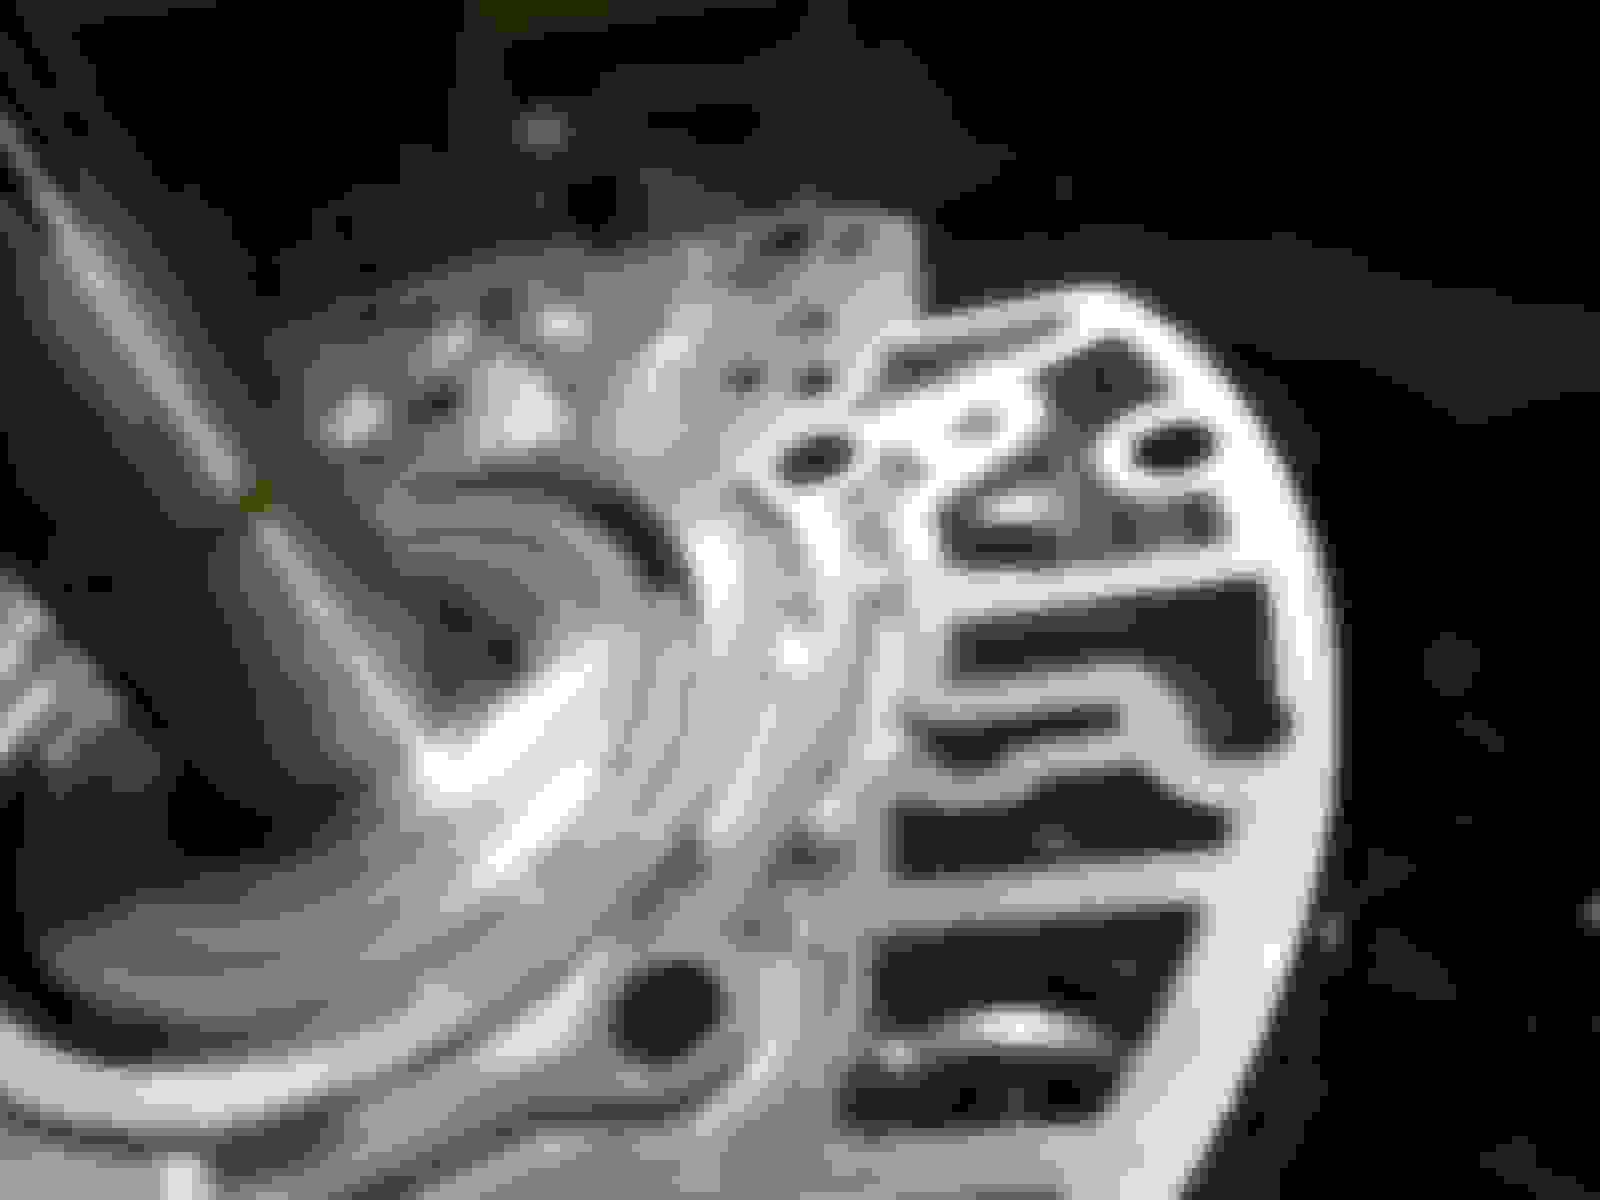
Cover of the front pump near stator shaft.
Cover of the front pump.
Cover of the front pump, other side.
Bushing on the outside of the pump, reverse/input drum side.
Bushing on the outside of the pump, reverse/input drum side, different angle.
Shaft of the input drum, slight wear where the bushing sits, but no steps or abrasions.
Let me know what you think, I don't think I need to spend the extra money on a couple of bushings. Although it wouldn't hurt, I don't think it changes anything. I don't tow or drive around with heavy loads which explains why my bushings are still in decent shape along with all the other hard parts [EDIT] (other than the sunshell, which I should've replaced last year). The heaviest thing I've put in the back of my truck since I got it was three people (less than 600 lbs) and a few hay bales for the Christmas parade.
Last edited by NikoKourm; 02-17-2018 at 07:48 PM.
Reason: Updated Information
I installed a new check ball capsule and it seems to be leaking worse than the original one. (After the pain it took to remove the original one, I wish I hadn't now.)
What does this mean? I believe I've seated it all the way into the case, is the capsule faulty? I have another one that I ordered just in case.
I also have the Servo Release Check Valve Kit (Part No. 77701-076) that can be installed if the check ball capsule is installed properly. I removed that new capsule (I messed up big time and got a 6mm short socket stuck in the hole, had to drive out the ball from the other side to get everything out. Ask me how fun that was...).
Anyone know exactly how much seating is required? I seem to still have some leakage with the second replacement (not like what I saw with the first replacement, the outer diameter of that one must've been too small because it just passed right through, no problem), but only after a while when the fluid accumulates under the ball. I know these check ***** move up and down with the pressure changes in the transmission. I also know that this leak test isn't a sure way to know if things are leaking or not when under higher pressures.


 02-03-2018, 04:58 PM