When you click on links to various merchants on this site and make a purchase, this can result in this site earning a commission. Affiliate programs and affiliations include, but are not limited to, the eBay Partner Network.
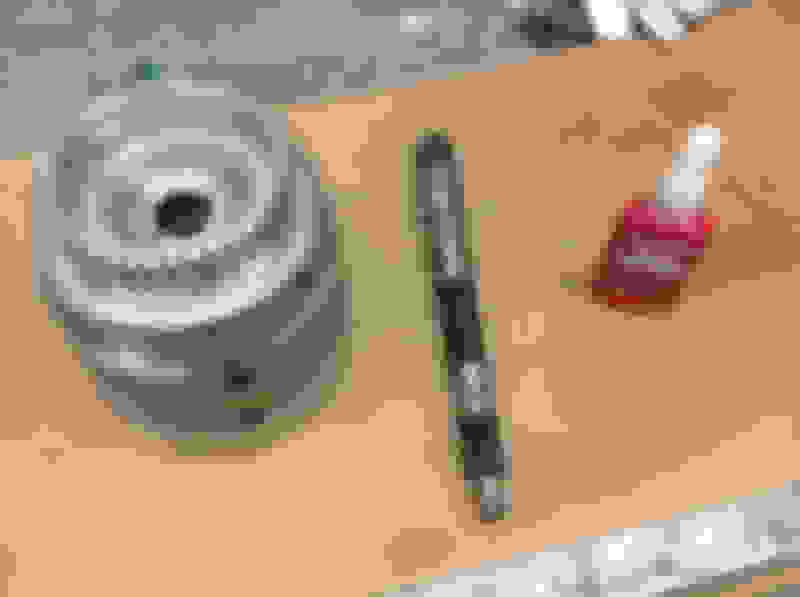
Hi all...I have to press out the input shaft (pictured in place), apply green locktite, and press it back it. But I have no press, and there's no one around here with a press I (or they) could use. Which means fabricating some kind of press....out of wood!?!? How much pressure to press out the shaft? And do I just place my press tool atop the end of the shaft where those 3 ***** are and have at it (I have to be durn sure nothing goes out of square under pressure)? Jake
Just apply press pressure on the end where the 3 ***** are??
Sometimes you just need the right tools for the job.
I'm positive there is someone somewhat close to you that has a press.
You could be in bumblef**k iowa like me and still find someone with a press. You might have to toss them $20 and a case of mother's milk (Busch Light here in IA...I'm sure your state has it's own favorite)
To *properly* press out the input shaft on a 4l60e you need to support it near where the shaft is. I could take a picture but it's probably going to be easier for you to find some sonnax instructions. You can press them by just setting the drum on the support blocks but its technically not the right way. I've seen LOTS done the *wrong* way with 0 issue tho...so do as you wish. If I were taking it to some guy I would let him just set it on the press blocks and use a socket to press it out.
If you want to make your own tool still...then that's on you to get creative
Thanks for that bbond and maroon monster...very helpful.
Nearest press is 280 air miles south...no roads, only boat or air.
Making a press this evening
Thanks again for the help!
Jake
Where could you possibly be? And how are you getting parts?
I'm intrigued to see what you come up with. I'm envisioning the same concept as a large tie rod puller for removal....and than the same thing but even bigger for install
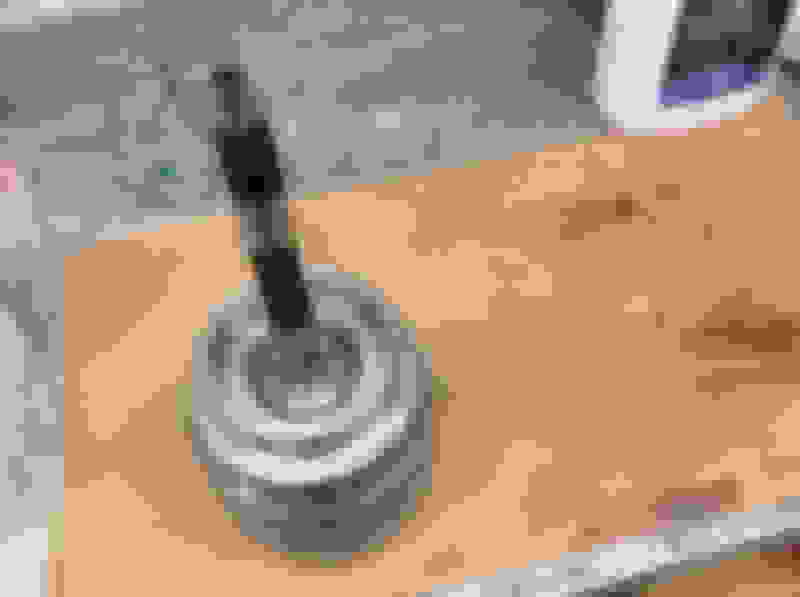
Got the shaft out, coated with Locktite 638 and put back in...had to make a press (overkill but it worked...ugly looking thing, tho).
I expected to find the original transmission...instead I found a Goodwrench reman. But the rebuilder took the time to coat the splines with red locktite. Pleasant enough surprise I suppose, and except for the low/reverse clutches, which were completely trashed/burnt, the clutches were fine. Even the bushings look good...replacing them anyway, and adding new Torrington bearings.
Look medieval!!
Last edited by jalfredprufrock; Oct 25, 2018 at 09:04 PM.
Reason: Add info