2004 CTS-V Procharger build
 07-27-2013, 06:47 PM
#1

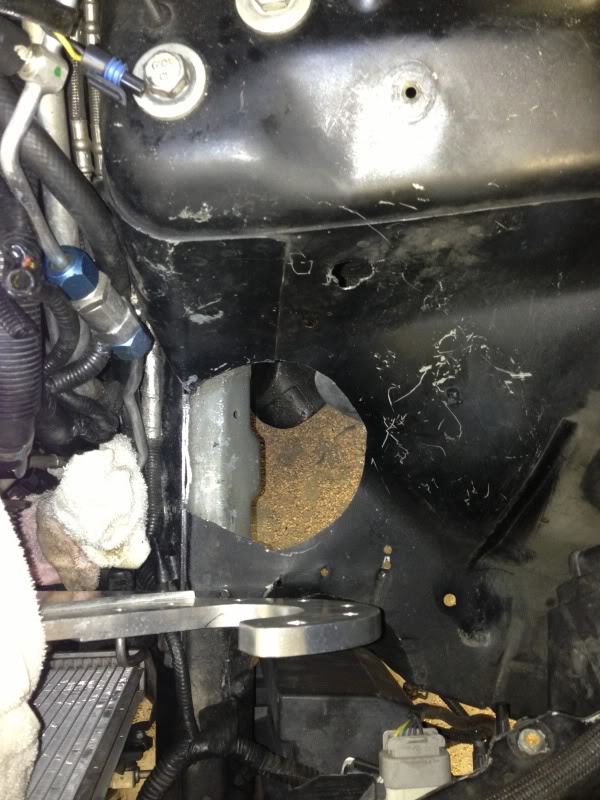
Well, I got the ATI balancer installed Monday at East TX Muscle Cars, but didn't have much time to work on it since then until today. I got the area behind the crash bar cleaned out and ready for the intercooler. I also got the head unit loosely mounted. Not bad for 5 hours! I will clean all this up later... I know it kinda looks like hell right now.
Before:
After:


Before:
After:
Last edited by 1BADCTS; 11-21-2013 at 10:54 AM.

 Are you changing the setup at all from what Mopow had?
07-27-2013, 09:04 PM
Are you changing the setup at all from what Mopow had?
07-27-2013, 09:04 PM
#3
Not much. Pipe routing will be a little different, my air filter setup will be different, and I will run a LS2 intake. That will do fine while I work on the rear diff and a fuel setup that can handle it! I've been towed home often enough for one guy...
07-27-2013, 10:08 PM
#4
Well crap...
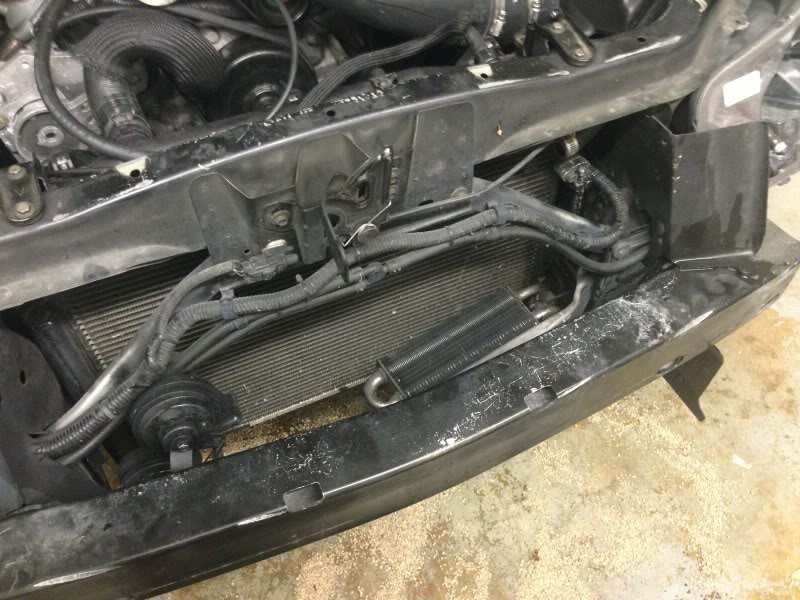
To keep fit the intercooler between the radiator, and also have room for pusher fans I would need to notch and box back the crash bar... a lot. I have virtually no room to push the radiator towards the motor. So I either go for it, or get a thinner intercooler.
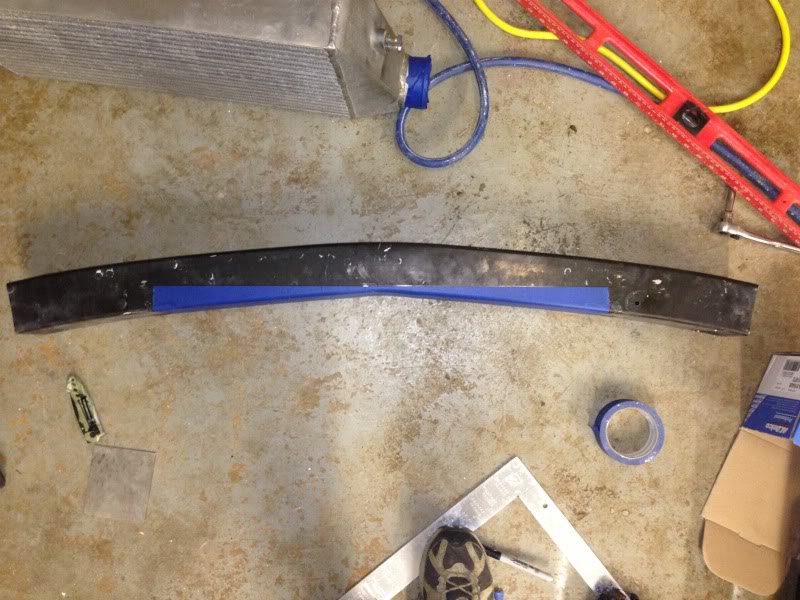

To keep fit the intercooler between the radiator, and also have room for pusher fans I would need to notch and box back the crash bar... a lot. I have virtually no room to push the radiator towards the motor. So I either go for it, or get a thinner intercooler.
07-29-2013, 08:28 PM
#5

F series blower... kewl. which one? F-1C?
(you can tell because it is 5/8" thicker than D-1SC) -
both pieces are same thickness from separation point on F series there,
D-1SC is thinner where the volute attaches.
(you can tell because it is 5/8" thicker than D-1SC) -
both pieces are same thickness from separation point on F series there,
D-1SC is thinner where the volute attaches.
07-29-2013, 09:43 PM
#6
Could you post up some dimensions of your intercooler? Also, do you happen to have the measurement from in between the front of the condenser to the edge of the crash support.
07-29-2013, 11:02 PM
#7
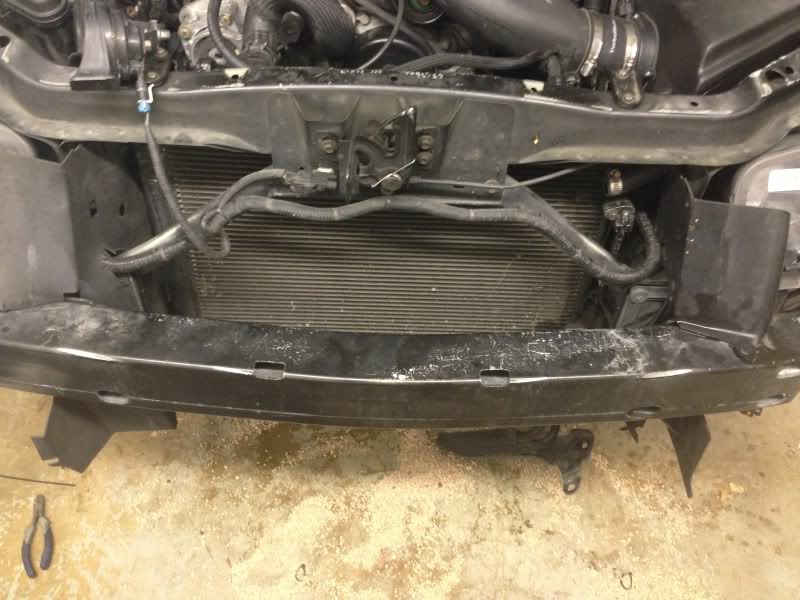
The intercooler is a Treadstone model TR1235 I believe, 4.5 x 12.5 x 22. We have I think 7 inches between the crash bar and A/C condenser. So using standard 3.5" tall fans... You can pick a heat exchanger from there. I've notched my crash bar and hopefully will pick it up from the welder tomorrow from being boxed in and having mounting tabs attached. But I probably won't get to work on it again until this weekend. Where are you Nik?!? 
I'll have to double check on the model.. I thought it was just a F1, I don't remember a suffix?
See ya guys! The next hurdle are two stuck Allen bolts that were locktited and apparently installed by a gorilla!
I'll have to double check on the model.. I thought it was just a F1, I don't remember a suffix?
See ya guys! The next hurdle are two stuck Allen bolts that were locktited and apparently installed by a gorilla!
Trending Topics
08-01-2013, 09:54 PM
#10
Well, I haven't made much progress due to the d*mn stuck bolts on the balancer. I'm going to try and find an impact driver (like the kind you hit with a hammer and it twists) tomorrow... that's my last resort.
But I was playing around tonight, and it looks like with very little effort I can make an LS1 steam tube fit under the intake. But I'm on the fence about it.... hmmmm..... Internet rumor says 4 connected tubes is better, but why the hell did GM change?
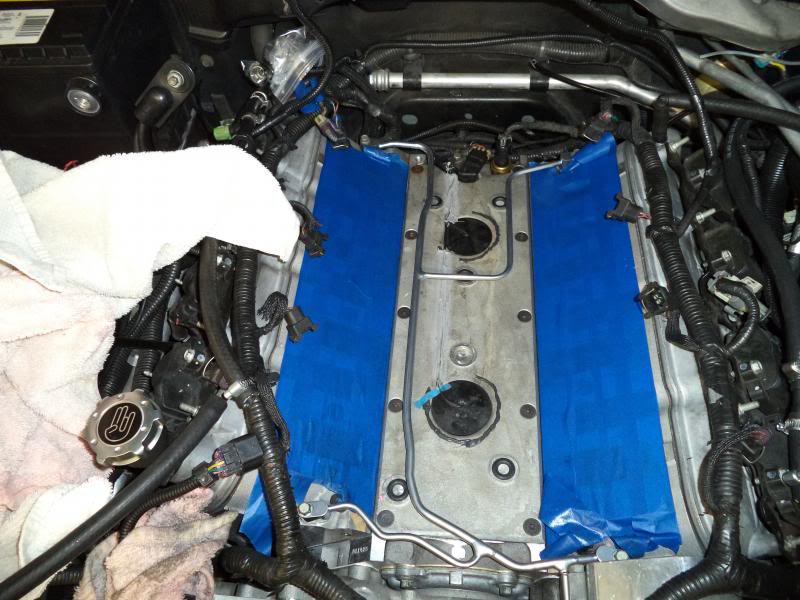
But I was playing around tonight, and it looks like with very little effort I can make an LS1 steam tube fit under the intake. But I'm on the fence about it.... hmmmm..... Internet rumor says 4 connected tubes is better, but why the hell did GM change?

 08-02-2013, 06:45 AM
#12
Nope, these are just the perimeter bolts that the supercharger pulley mounts too. We installed this new balancer last weekend. We didn't mount the supercharger pulley at the time of install because the fans were in the way at the time.
08-02-2013, 07:42 AM
#13

if i ever do a big build i was going add a rear vent like DMM did in his Eforce build, T rear coolant GM part # 12602544, i figure you want the steam out of there as fast as possible.. lots of good ideas in this thread:
https://ls1tech.com/forums/cadillac-...ed-engine.html
Last edited by shadyLS6; 08-07-2013 at 01:24 PM.
08-02-2013, 09:31 AM
#14
GM removed the rear two steam tubes to allow the LS6 intake to clear.
I used NPT to -4 AN fittings (so tap the head coolant port) and connected all four eventually leading to the front with some T's.
I used NPT to -4 AN fittings (so tap the head coolant port) and connected all four eventually leading to the front with some T's.
Last edited by vmapper; 08-02-2013 at 09:43 AM.
08-02-2013, 11:48 AM
#16
-10 from passenger to remote can (open filter element to atmosphere) (-10).
Valley Cover and driver valve cover to remote can as well.
The picture shows the above, the opposite side of the can is -10.
Cheers.
Valley Cover and driver valve cover to remote can as well.
The picture shows the above, the opposite side of the can is -10.
Cheers.
08-04-2013, 07:30 PM
#19
Having trouble fitting the air inlet hat. Good grief it's a tight squeeze! Do you have to cut off the 1/2" inlet?
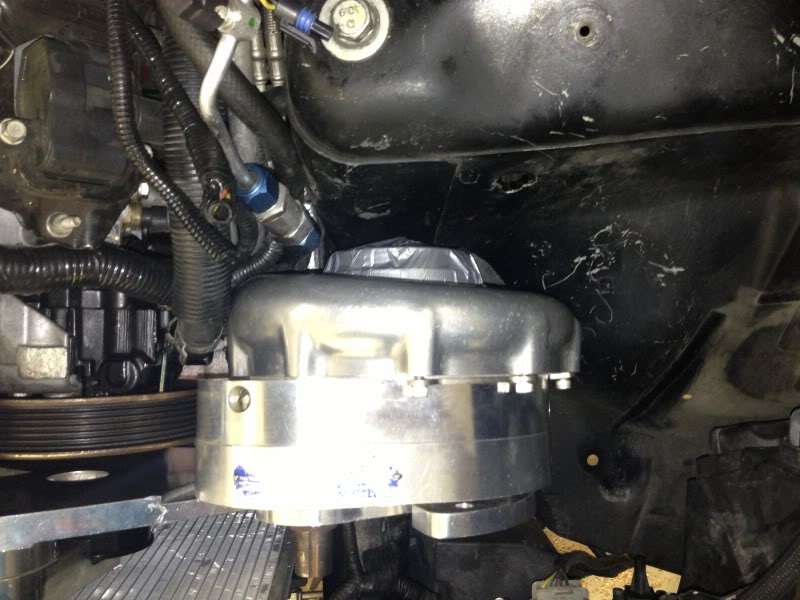
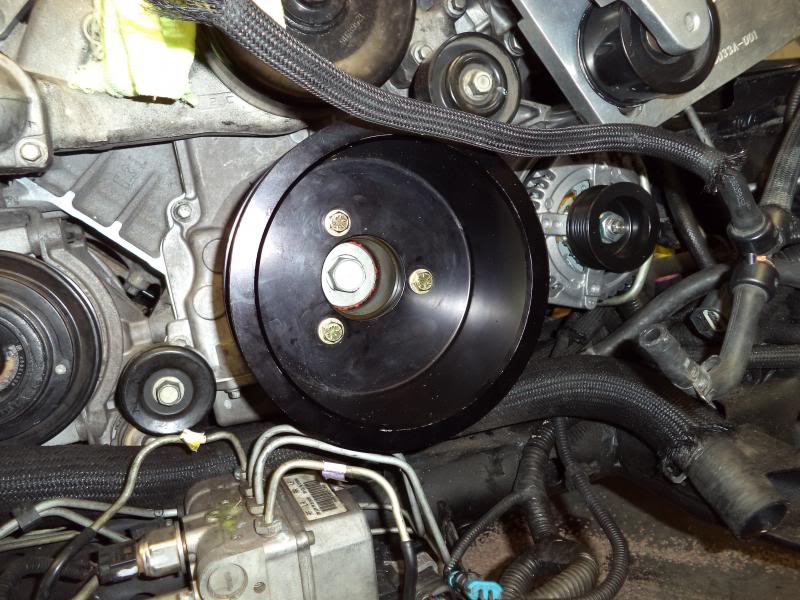
Progress was slow this weekend. Took 2 hours with an impact wrench to get the red locktite to break loose on the ATI damper. Then when I finally did get it apart I realized I don't have the modified hub that's drilled/tapped with 5/8 bolts..
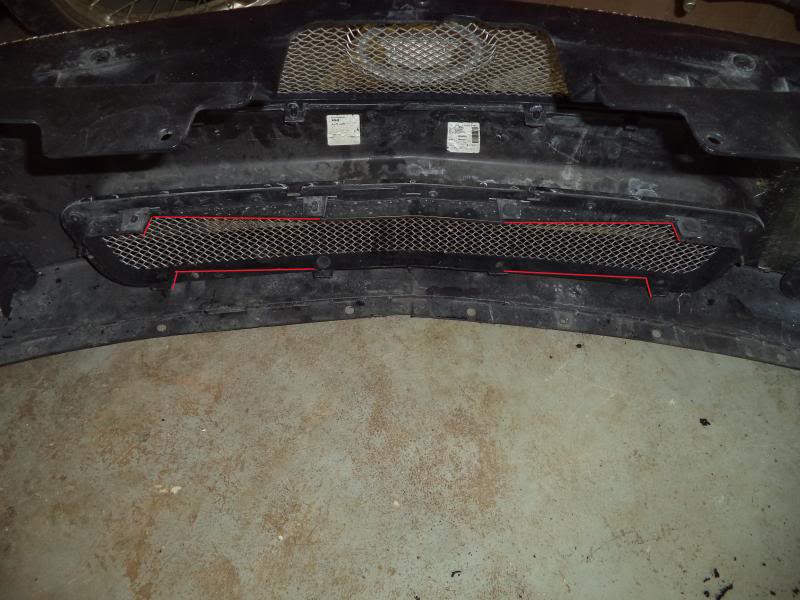
Anyways, got the LS2 intake on, with the fuel rails and injectors. Notched the bumper cover to match the cutout on the crash bar. Then I spent a few hours on wiring for the extended IAT sensor, and relocated fuel pressure sensor and boost gauge.
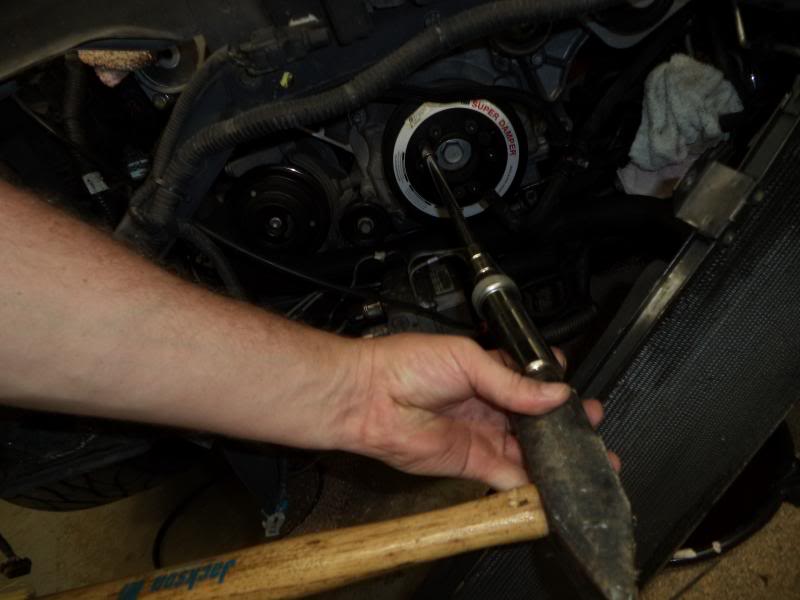
Progress was slow this weekend. Took 2 hours with an impact wrench to get the red locktite to break loose on the ATI damper. Then when I finally did get it apart I realized I don't have the modified hub that's drilled/tapped with 5/8 bolts.
. Anyways, got the LS2 intake on, with the fuel rails and injectors. Notched the bumper cover to match the cutout on the crash bar. Then I spent a few hours on wiring for the extended IAT sensor, and relocated fuel pressure sensor and boost gauge.


Last edited by 1BADCTS; 08-04-2013 at 07:58 PM.
08-06-2013, 09:37 PM
#20
I made a little more progress tonight. I'm stuck until I can get an air filter solution. I tried using the heat gun on an F-Body hat but wound up screwing that up. Now I need plan B!
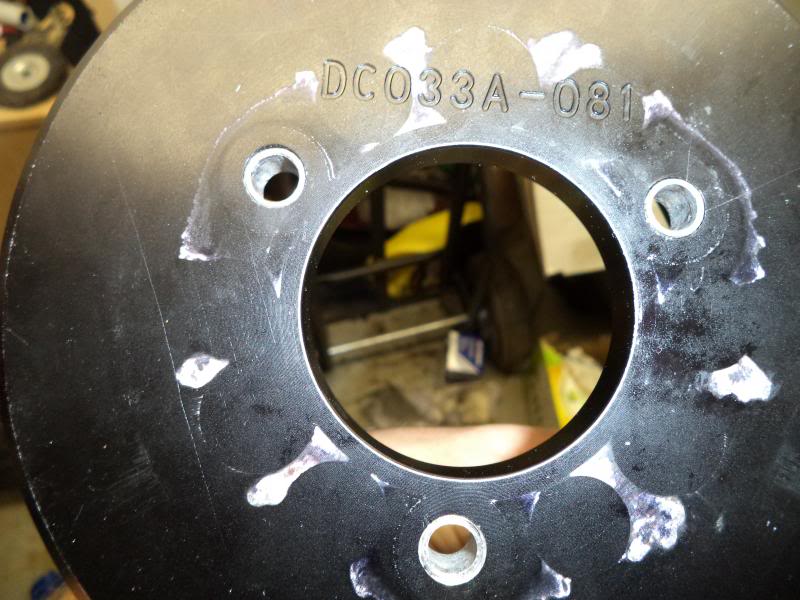
After not realizing I needed to order a custom/modified ATI balancer assembly (Reference Brutespeed website for correct parts!) After talking to ATI about the best options, I had a local machine shop modify my pulley with custom bushings so the regular ATI would work.
Had to clearance the brake lines a little...
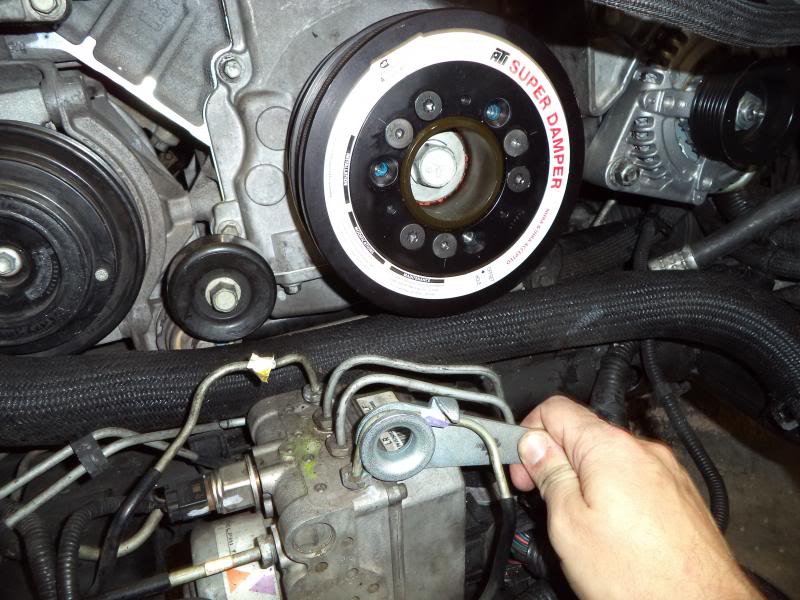
Success!! The brake lines have plenty of clearance, I think the picture just gives an optical illusion.
After not realizing I needed to order a custom/modified ATI balancer assembly (Reference Brutespeed website for correct parts!) After talking to ATI about the best options, I had a local machine shop modify my pulley with custom bushings so the regular ATI would work.

Had to clearance the brake lines a little...

Success!! The brake lines have plenty of clearance, I think the picture just gives an optical illusion.
