How to cleanly install an Alradco.
#1
Trying to use an Alradco with a K&N and ran out of space.
I was intending originally to just reuse the Volant CAI tube I have laying around.
I remembered everything but the tube, and didnít realize until I fit the radiator up and couldnít install the intake tube.
So its time to get creative as itís a long walk back to Abu Dhabi from Dubai.This is a basic write up, simple and effective as once you get in there its almost self-explanatory. I did this on my 2006, so I cannot say for 100% if its the same for all years.
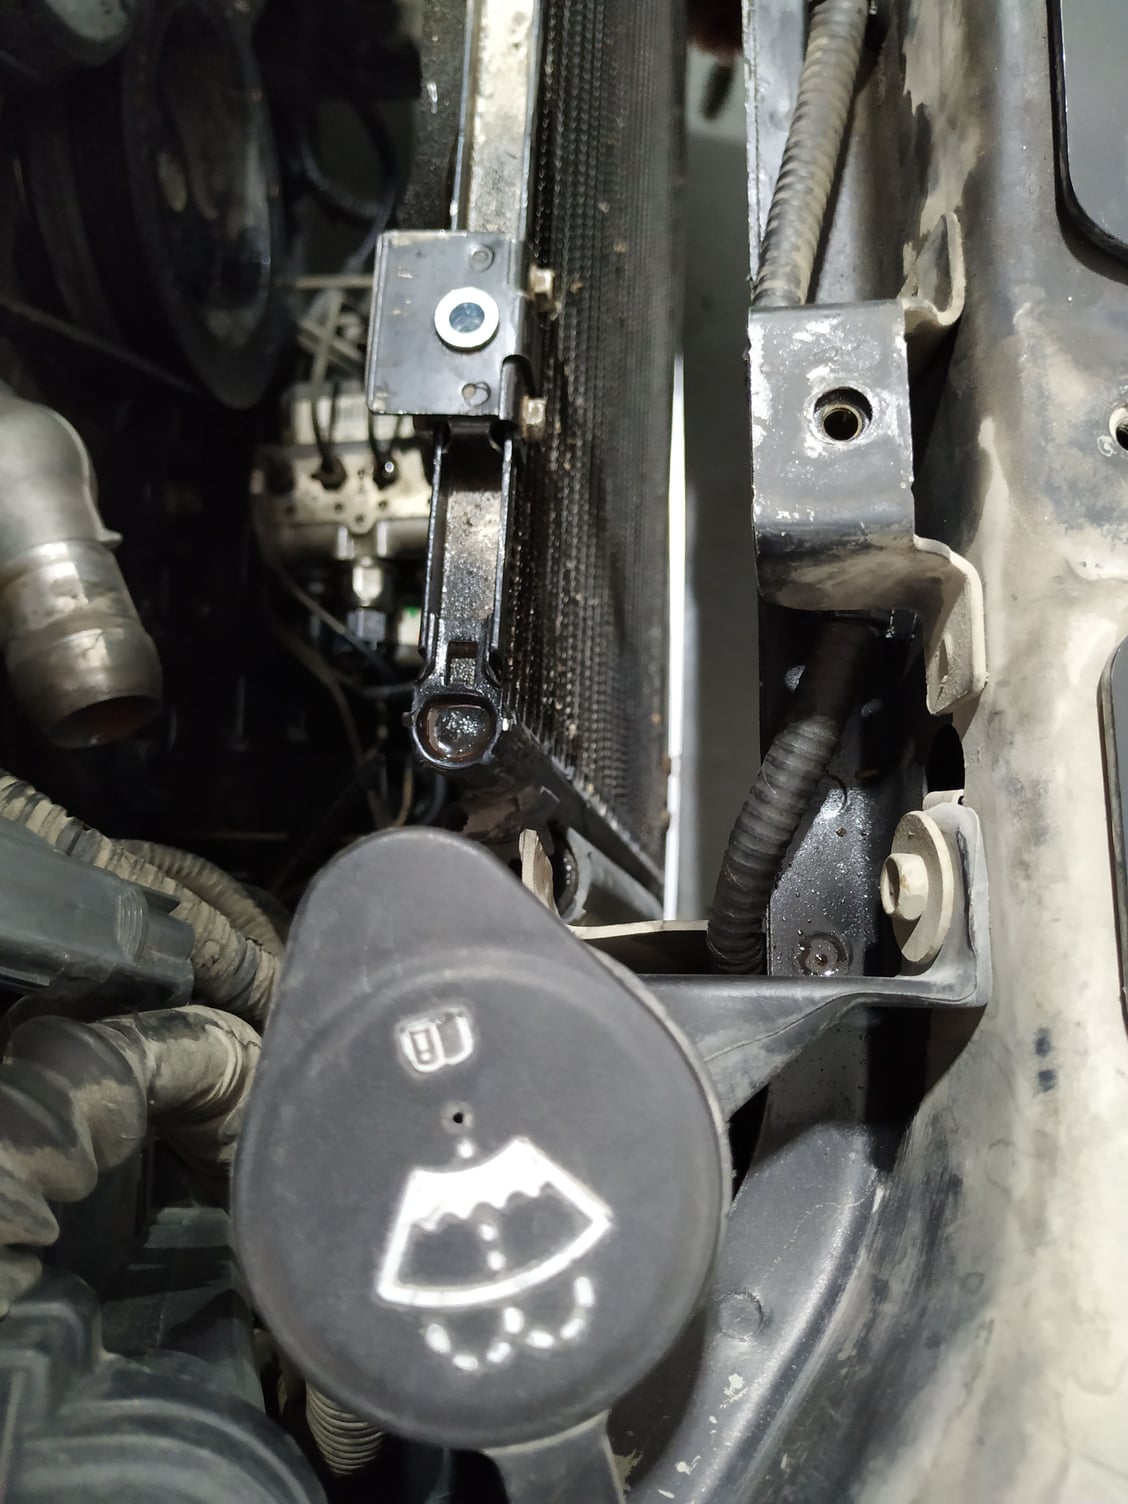
1) Step one after removing the radiator and removing all the coolant, fans, condenser is left in place.
(Top Down View) https://byronsworld.smugmug.com/2006-Cadillac-CTS-V/n-9tr9v2/i-qrCcTXc
2) Measure a length of Aluminum bar, 8mm thick. About 2Ē but honestly, we used some scrap, so use what you have on hand.
https://byronsworld.smugmug.com/2006-Cadillac-CTS-V/n-9tr9v2/i-5kchkcM
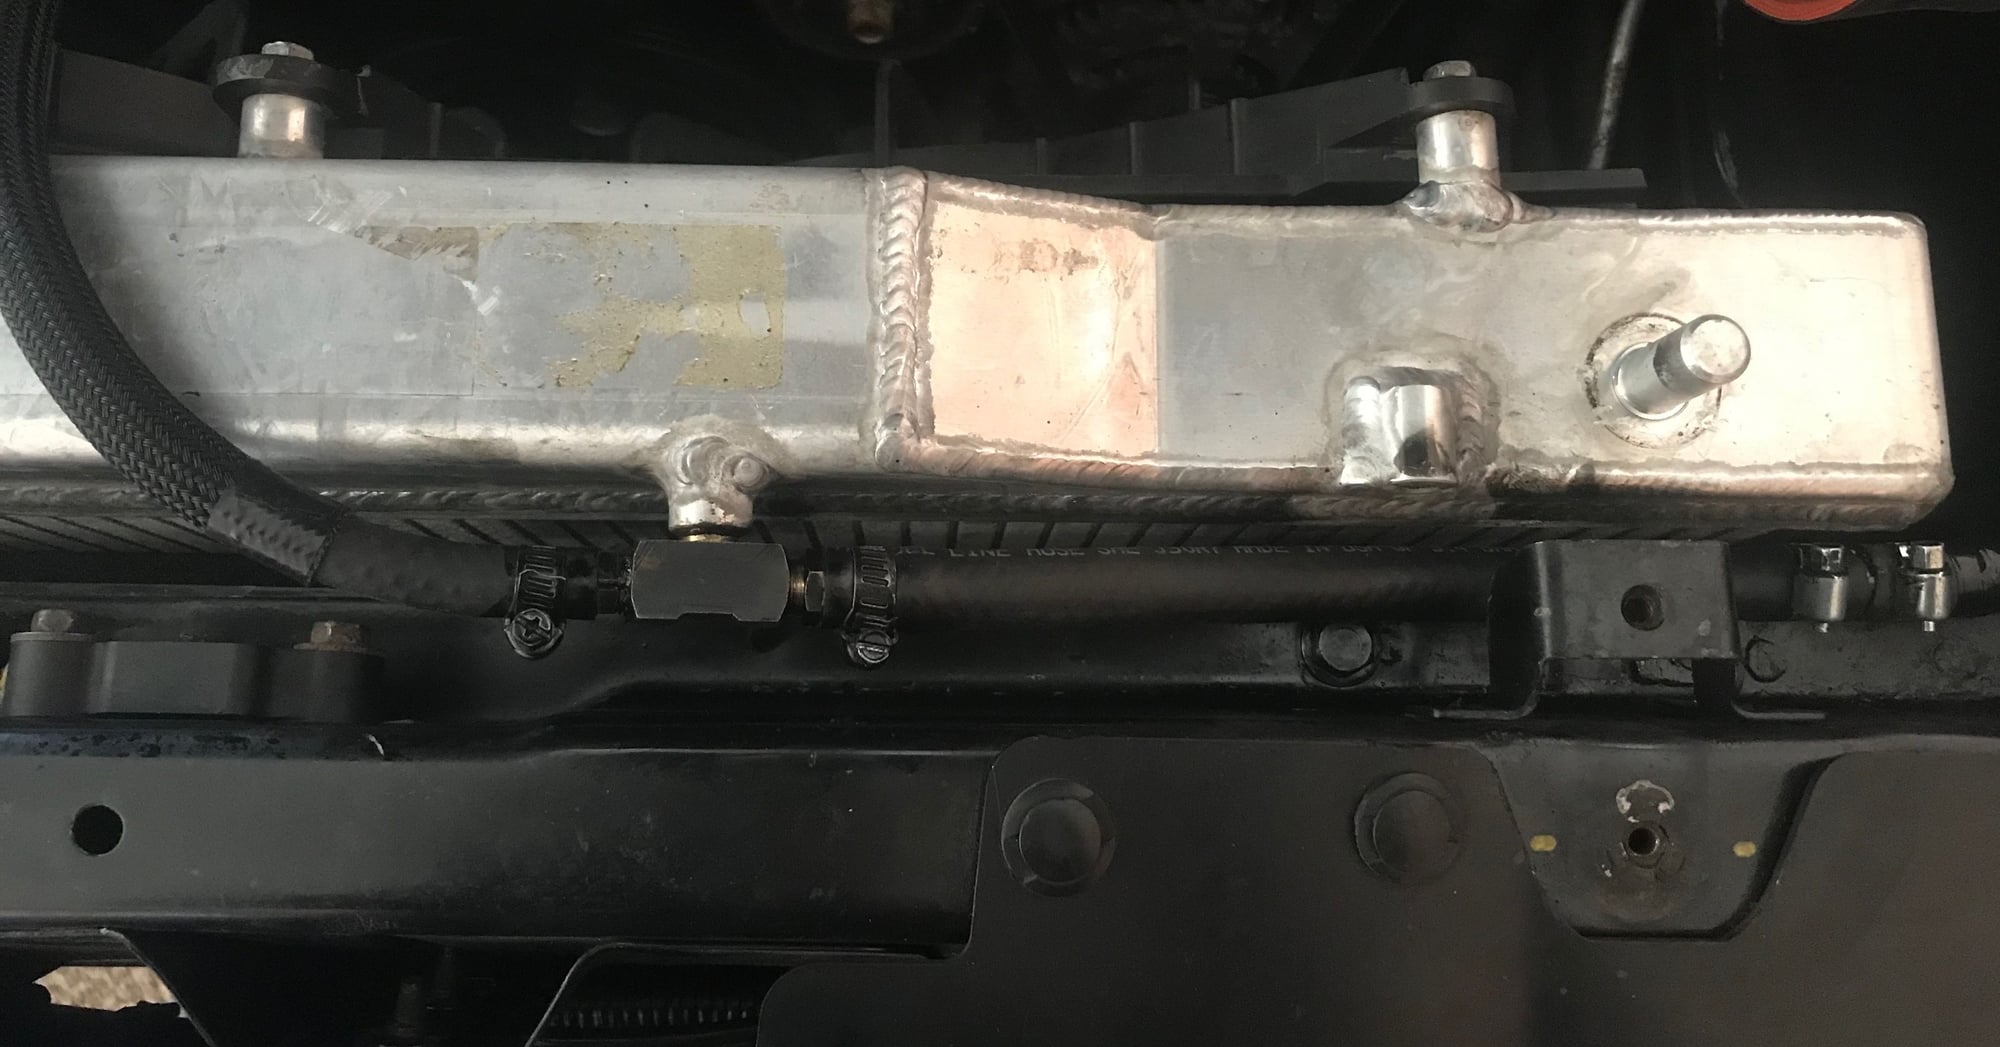
3) Drill 2 holes for 8mm Rivnuts. One at the front of each side of the front cradle.
Mark the bar and drill.
https://byronsworld.smugmug.com/2006-Cadillac-CTS-V/n-9tr9v2/i-nRHkQL8
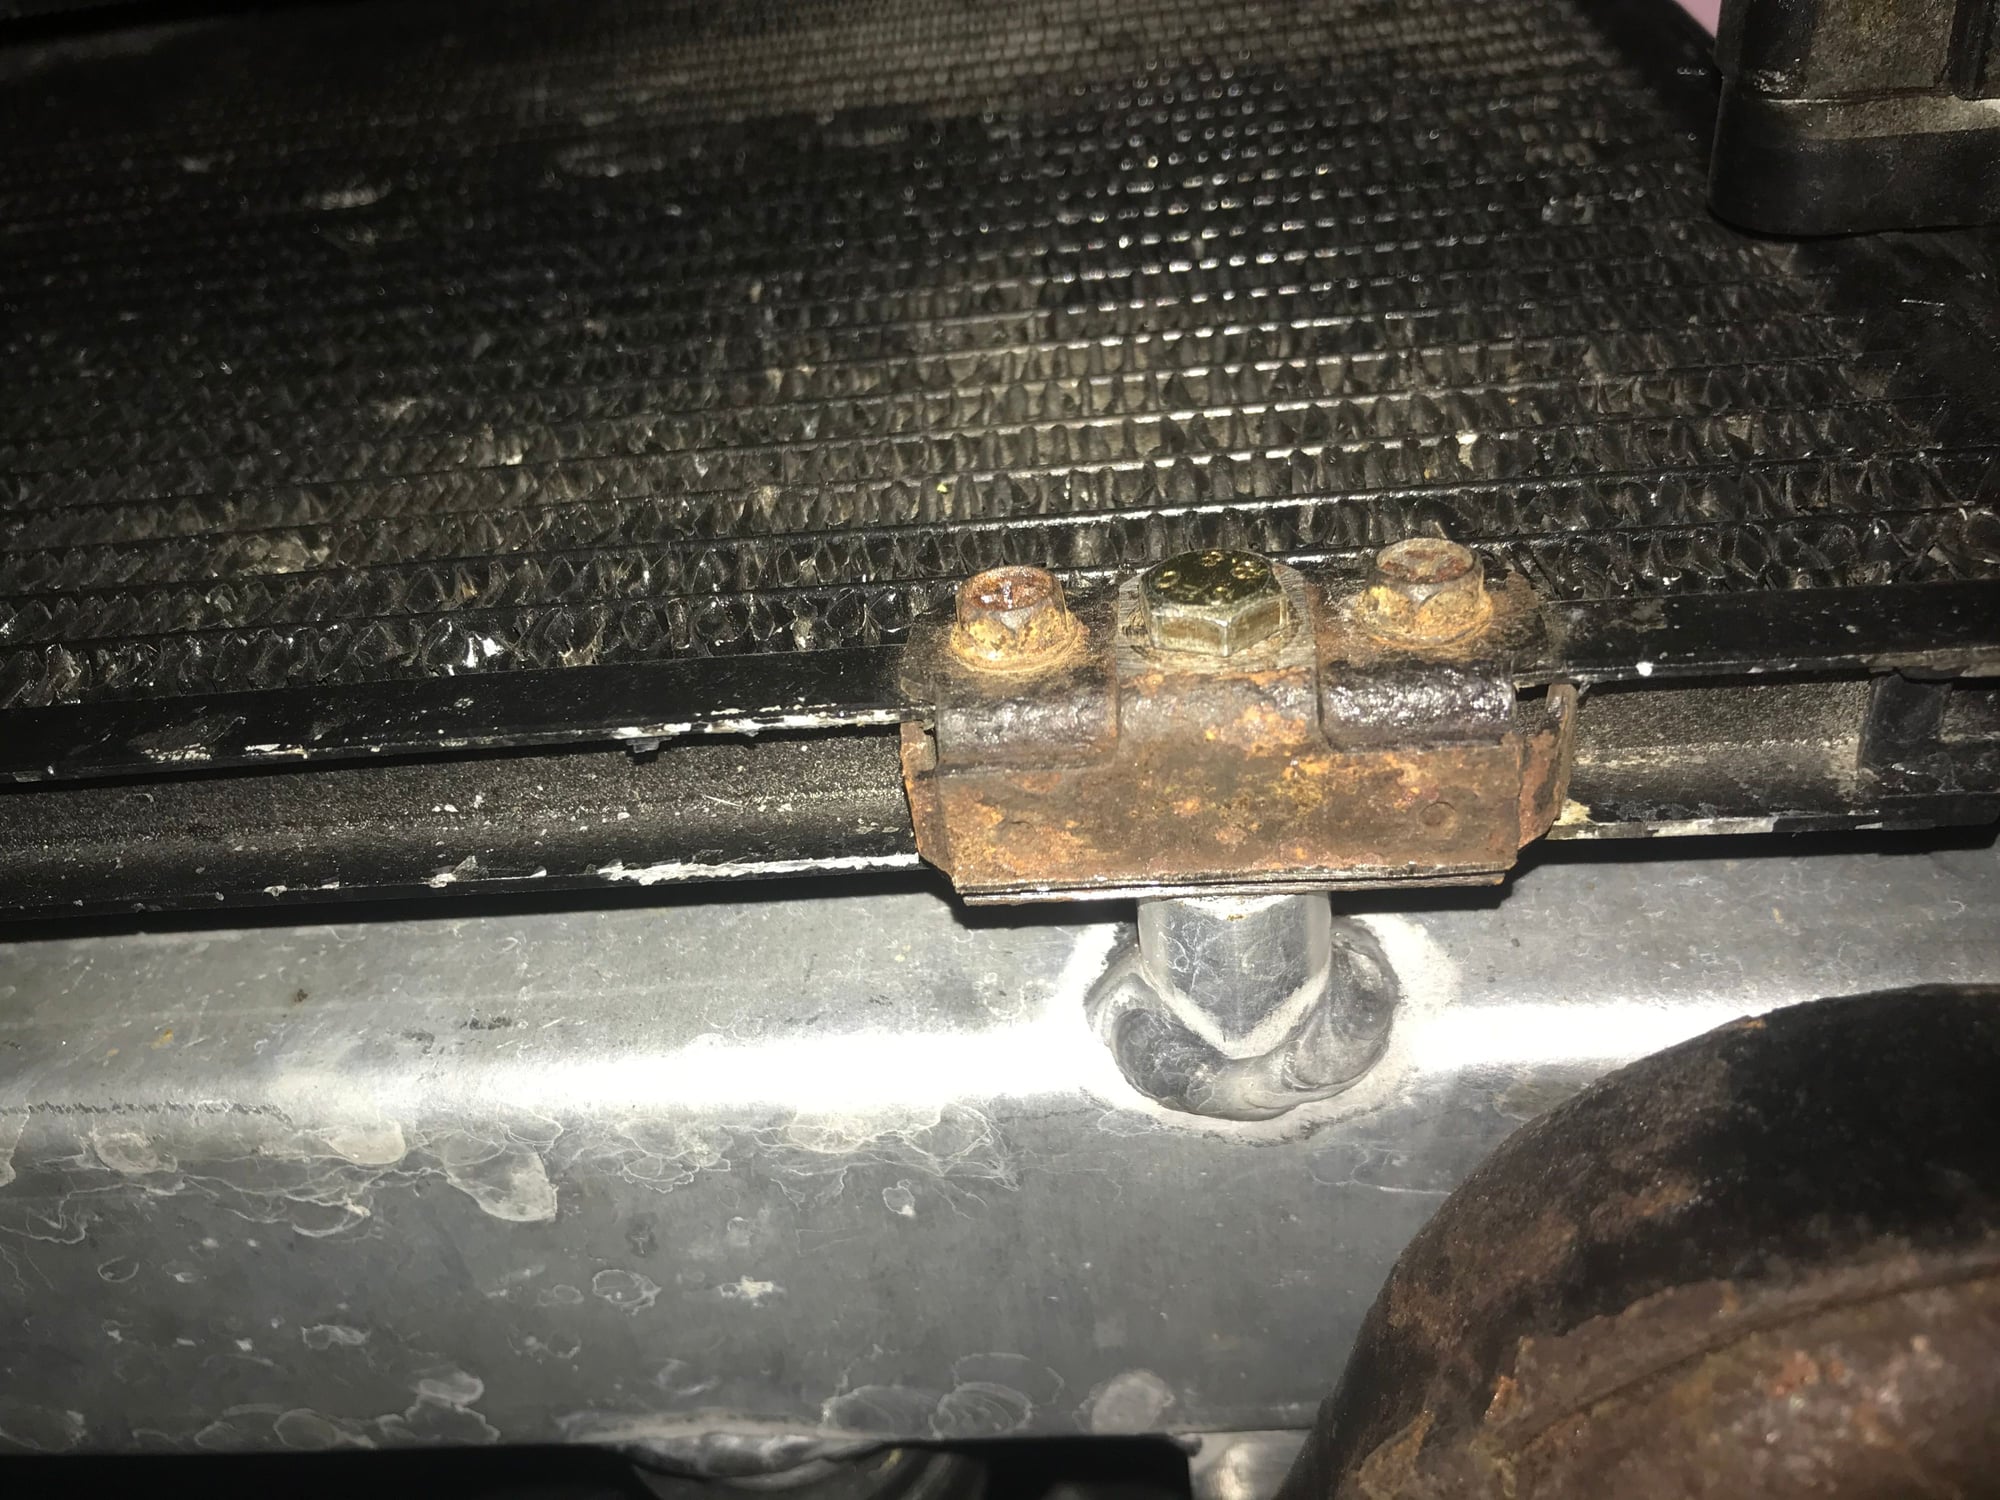
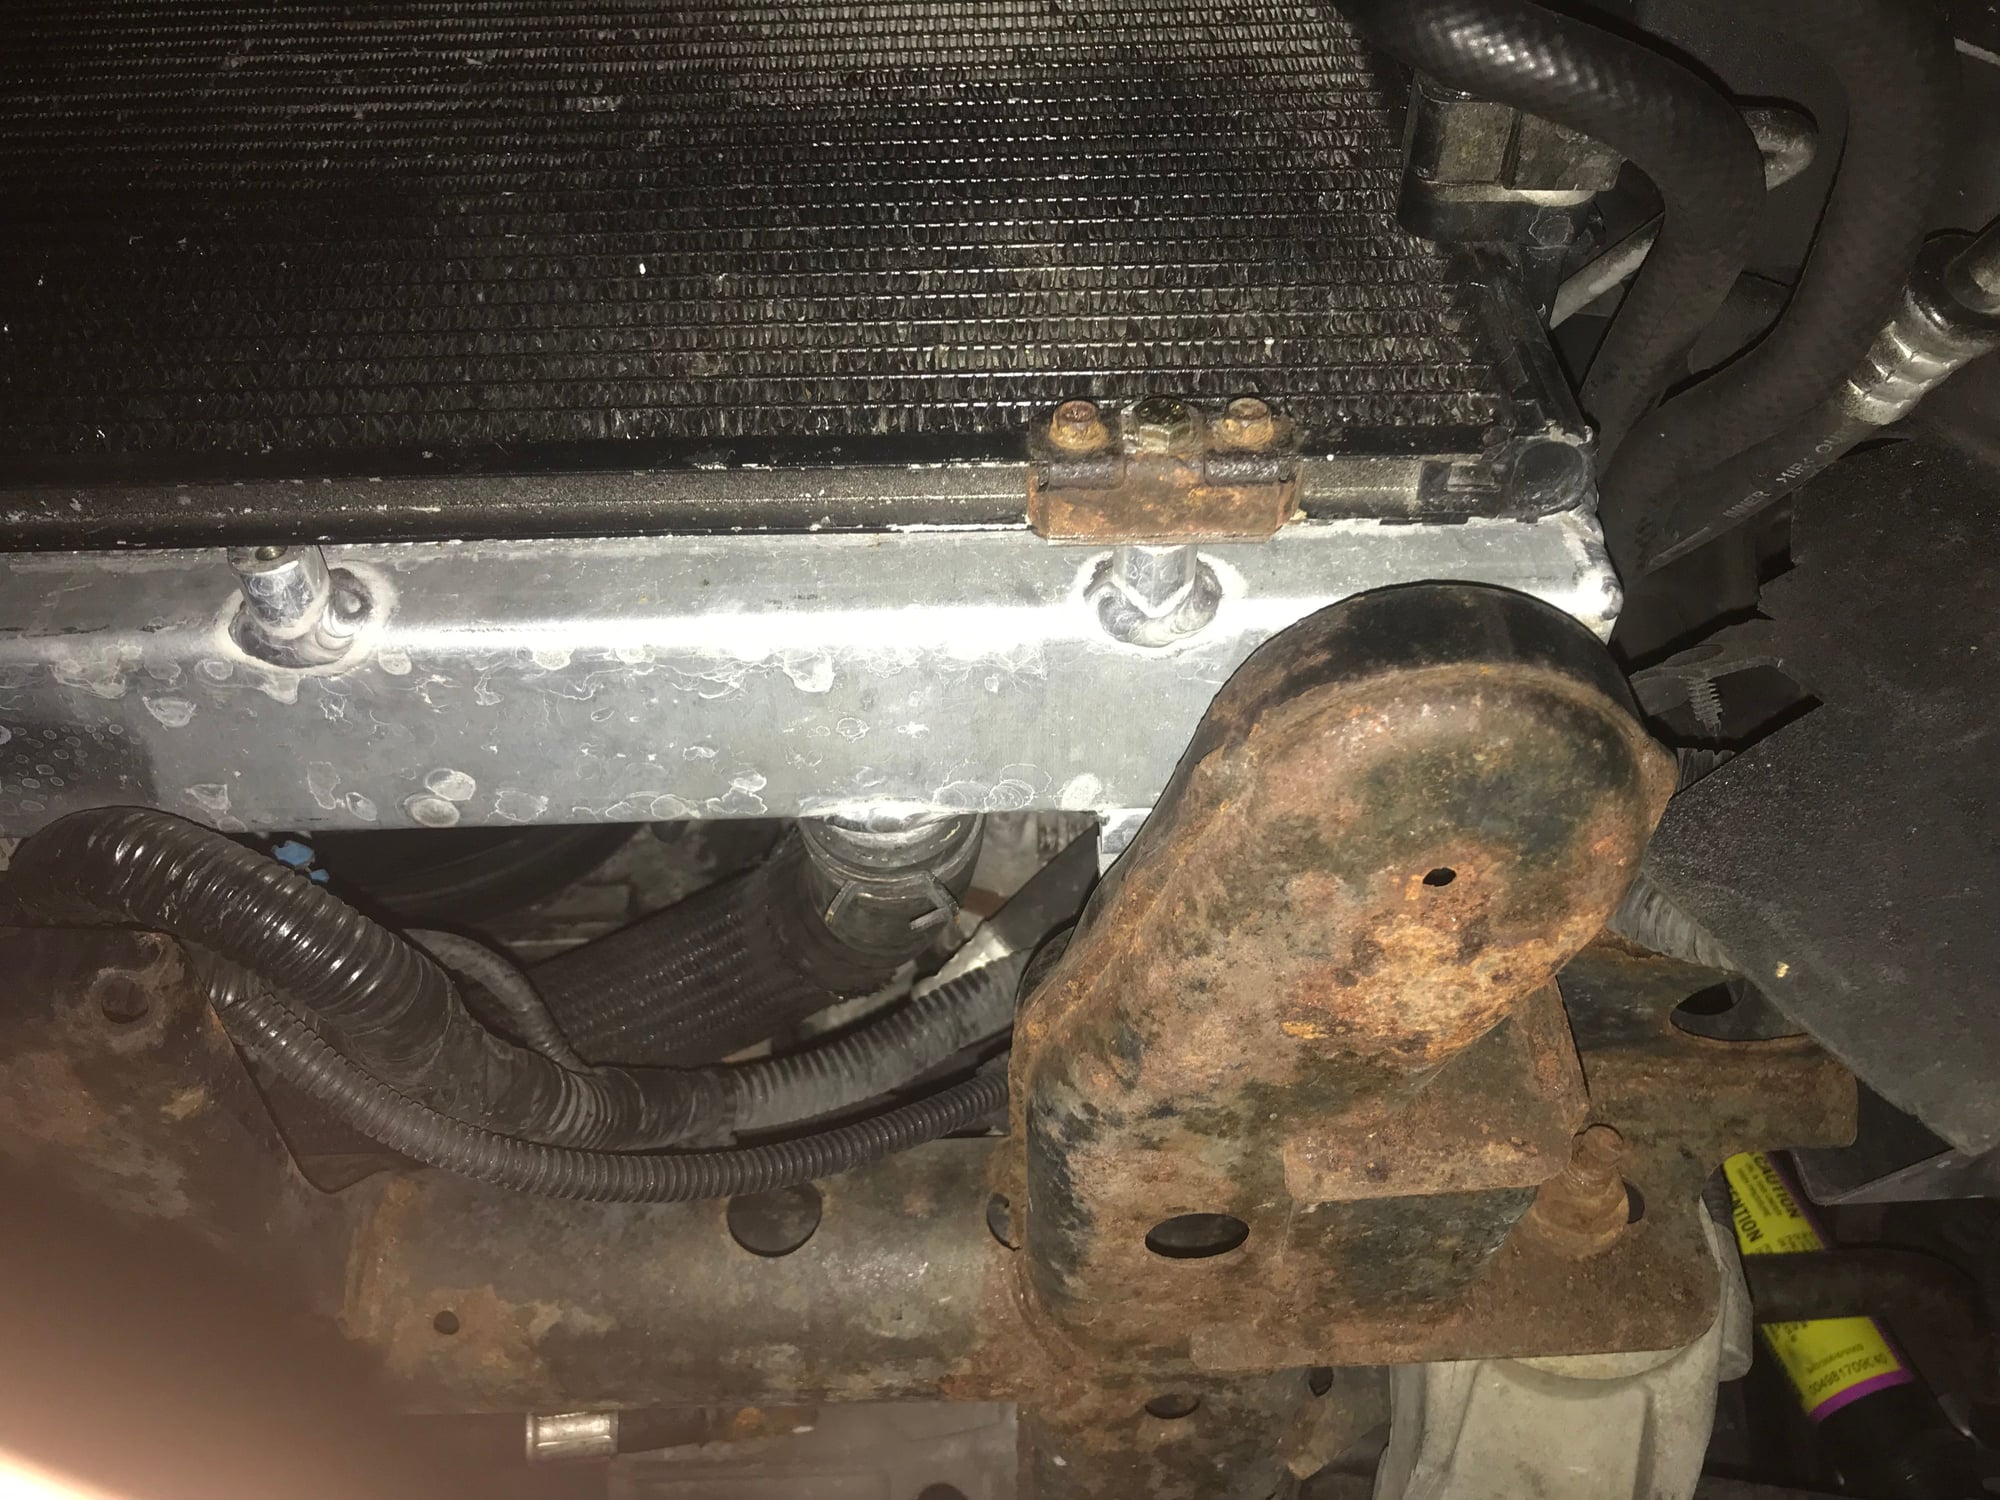
4) Remove the top mounting brackets from the condenser. Cut the tabs as shown, drill and insert 8mm rivnut.
https://byronsworld.smugmug.com/2006-Cadillac-CTS-V/n-9tr9v2/i-3SV7KLf
5) Mark and drill the upper cross brace. The top of the condenser will now fit below the cross brace.
https://byronsworld.smugmug.com/2006-Cadillac-CTS-V/n-9tr9v2/i-x5rQJSg
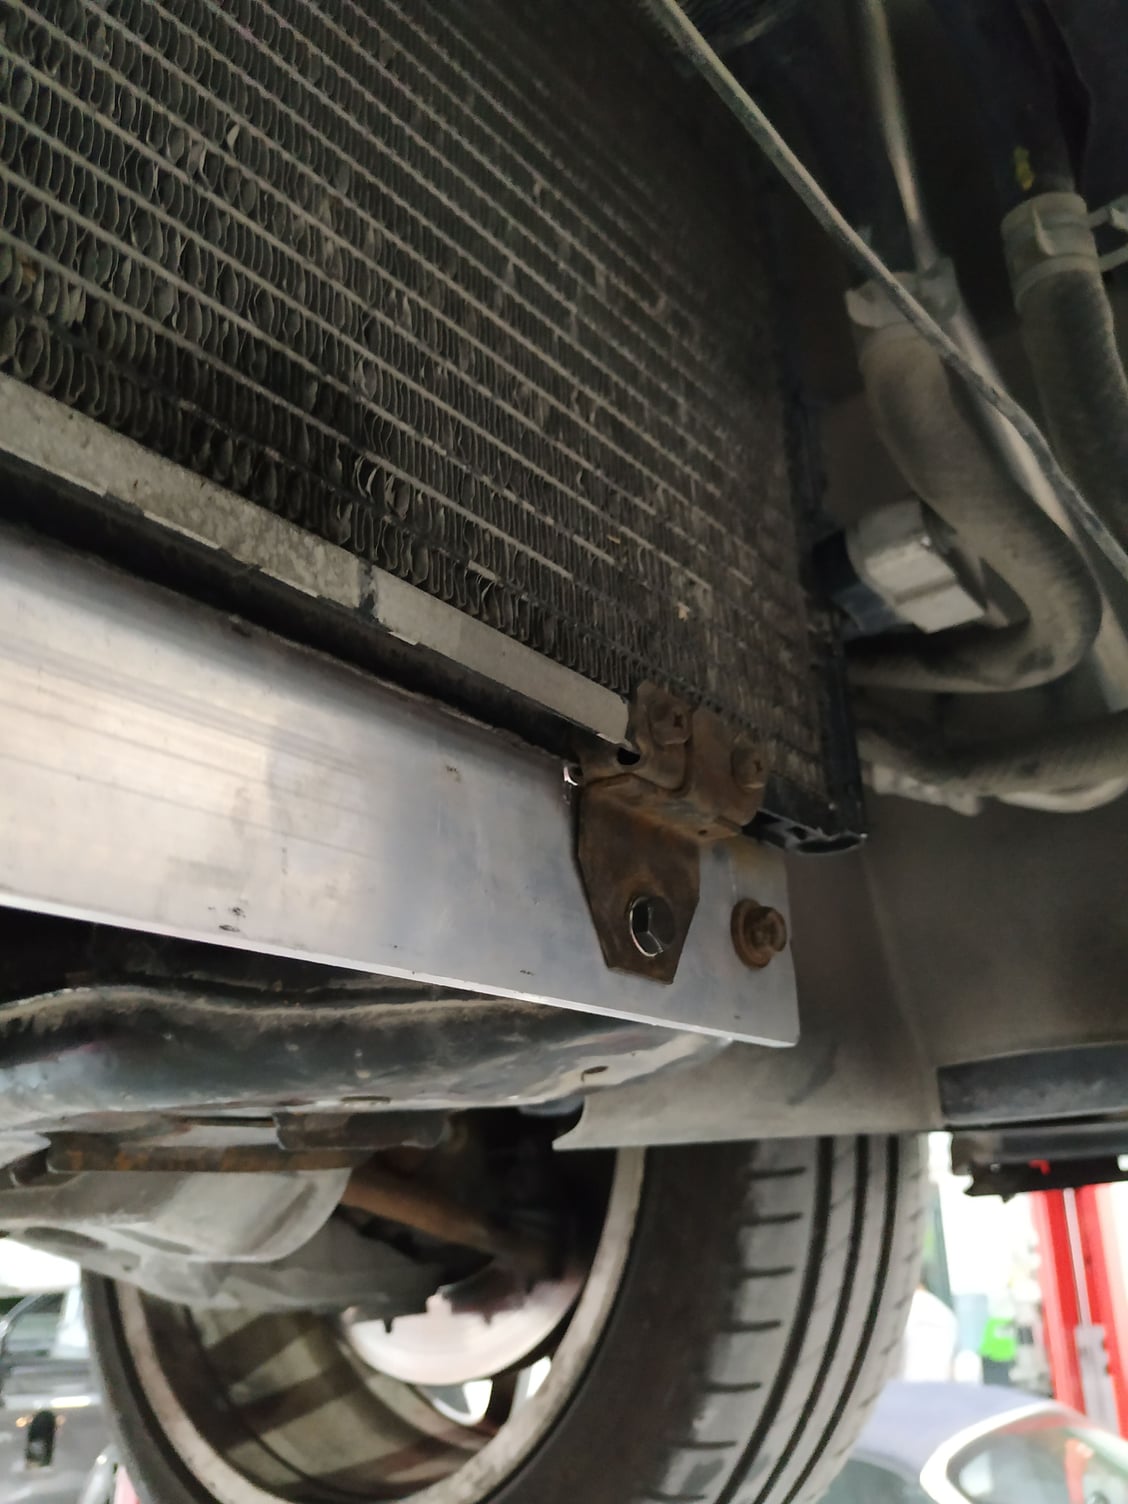
6) About where my Thumb is, cut the rest of the bracket so its flush.
Https://byronsworld.smugmug.com/2006-Cadillac-CTS-V/n-9tr9v2/i-6V53MSB
7) Now the condenser will fit under the forward cross brace.
https://byronsworld.smugmug.com/2006-Cadillac-CTS-V/n-9tr9v2/i-3SV7KLf
8) Mark and drill the cross brace and mount the upper mounts for the condenser you just finished.
Now go back down below.
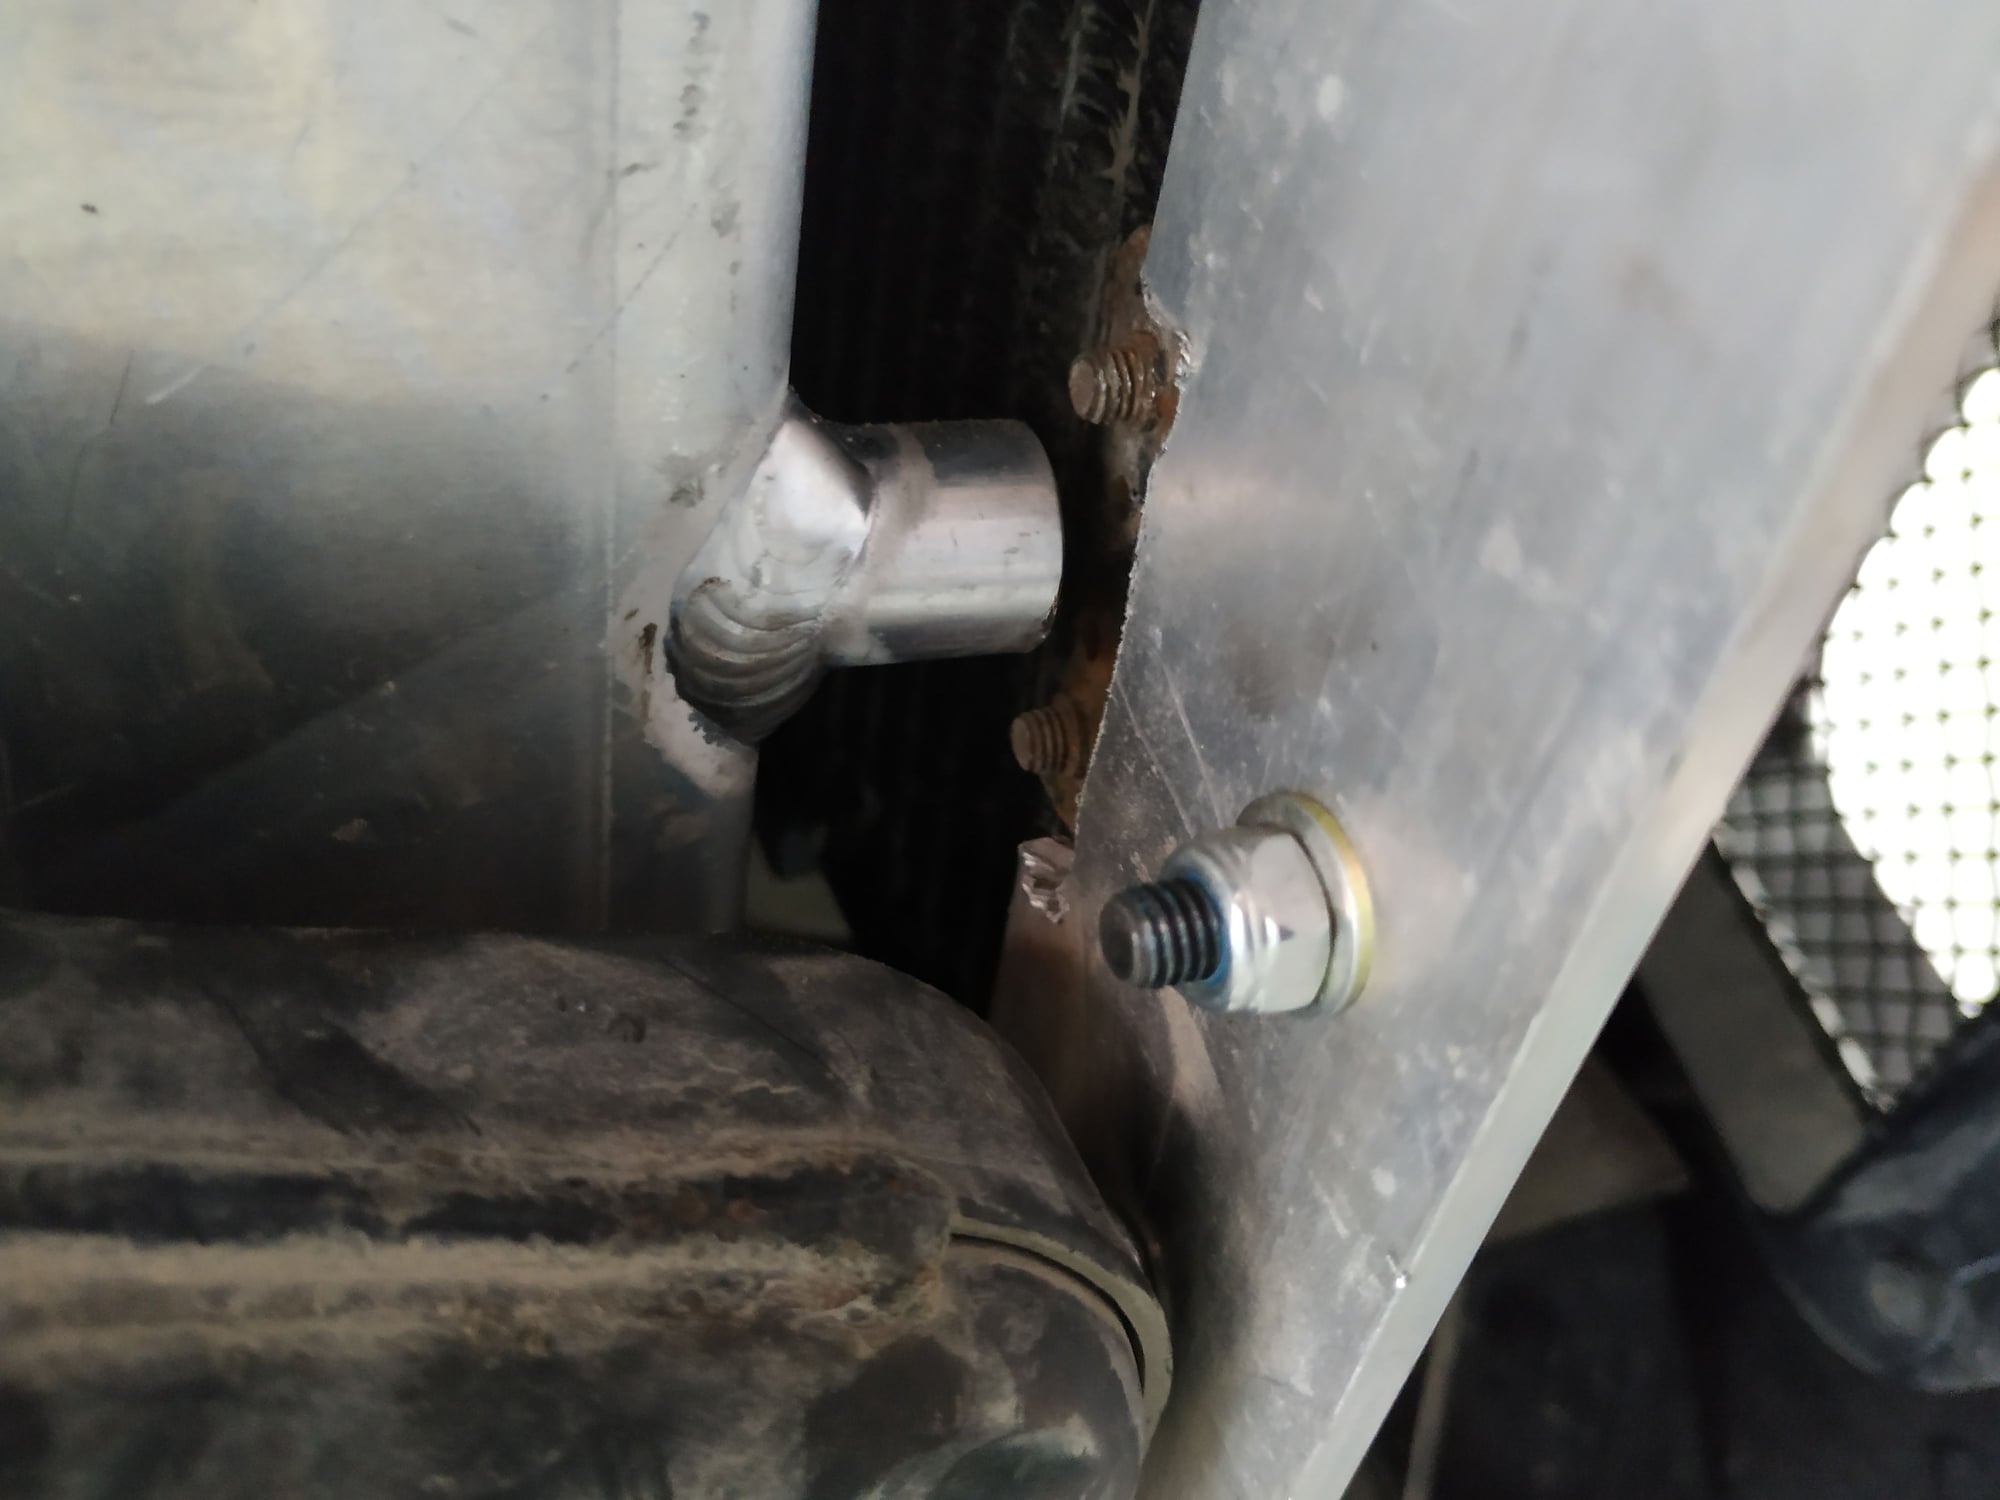
9) We made a relief cut to clear the lower portion of the mounting bracket to the bar. Here you can see, my options were to use a stack of washers, or to cut the top of the bar to fit the bracket.Note the clearance that now exists between the radiator and the bracket/condenser. You want this to prevent chaffing. Now the condenser is mounted to the bar, and its solid and strong.
https://byronsworld.smugmug.com/2006-Cadillac-CTS-V/n-9tr9v2/i-6bGkgsb
https://byronsworld.smugmug.com/2006-Cadillac-CTS-V/n-9tr9v2/i-4H9J5TJ
Moving back up top now.
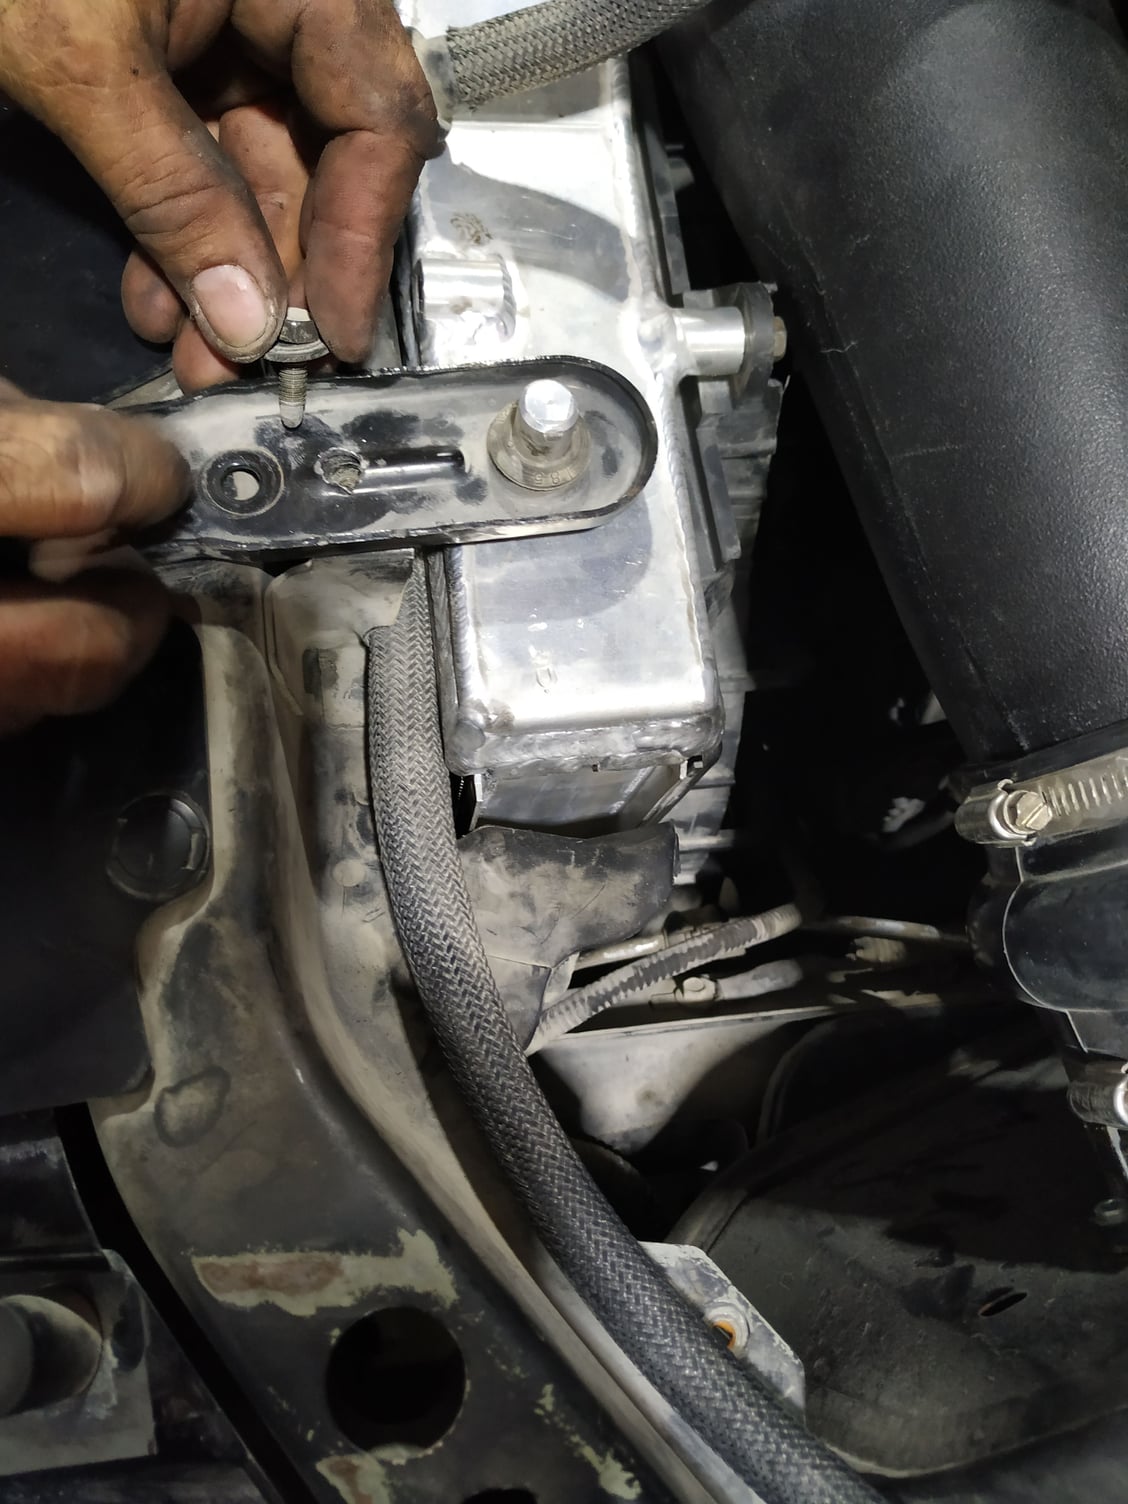
10) Mount the radiator and measure the upper mounting brackets. You will have to trim the brackets. About where the V was stamped on the drivers side was perfect for my car.
https://byronsworld.smugmug.com/2006-Cadillac-CTS-V/n-9tr9v2/i-sxQ8KjM
11) All trimmed up and ready. Now move to the other side and measure.
https://byronsworld.smugmug.com/2006-Cadillac-CTS-V/n-9tr9v2/i-9ct6qQQ
12) On the left side, you must be careful to maintain the gap. You donít want the radiator resting on the upper cross brace as it will eventually chafe through. I stuck my pinky finger into the gap to illustrate the spacing.
https://byronsworld.smugmug.com/2006-Cadillac-CTS-V/n-9tr9v2/i-fgDJB5T
13) Now snug up everything.
View looking straight through the mesh of the lower grill. https://byronsworld.smugmug.com/2006-Cadillac-CTS-V/n-9tr9v2/i-D9ZWgDZ
https://byronsworld.smugmug.com/2006-Cadillac-CTS-V/n-9tr9v2/i-nRHkQL8
https://byronsworld.smugmug.com/2006-Cadillac-CTS-V/n-9tr9v2/i-7bczwd5
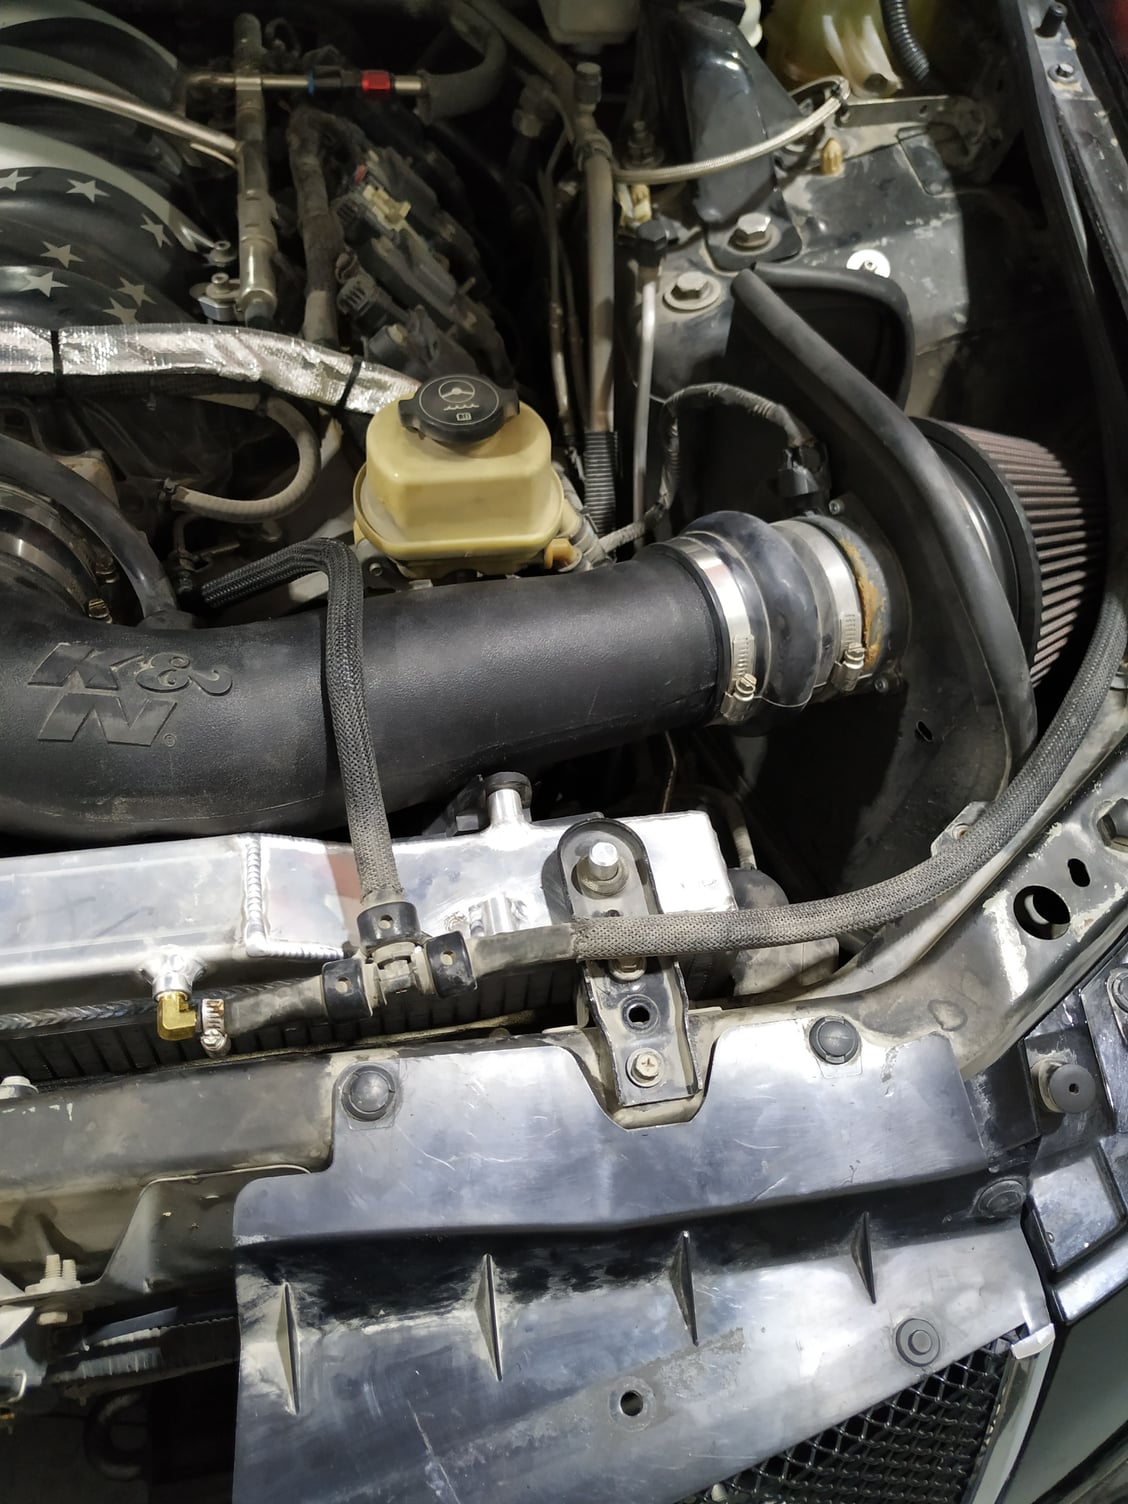
Note: For the radiator cover, you will need to cut the passenger side mount mounting leg or it will not fit the brackets.
The passenger side fit perfect.
All snugged up and installed.
https://byronsworld.smugmug.com/2006-Cadillac-CTS-V/n-9tr9v2/i-q44B3bK
Note the hose goes under the bracket. This was taken before the previous picture to show how it all fits up.Iím happy, and everything fits up perfectly. Donít forget to reinsert the foam to direct airflow over the radiator, and donít forget the rubber pieces around the radiator for the same purpose. You donít need to trim the fans to make it work, just about 2-3 hours and you can have a nicely fit alradco!
-Byron
Last edited by Byron; 11-04-2018 at 12:18 AM.


