02 Z28 Man Diary

 11-17-2013, 07:35 PM
#22
On The Tree
Thread Starter
iTrader: (5)
Join Date: Jan 2007
Location: NAS Pensacola
Posts: 182
Likes: 0
Received 0 Likes
on
0 Posts

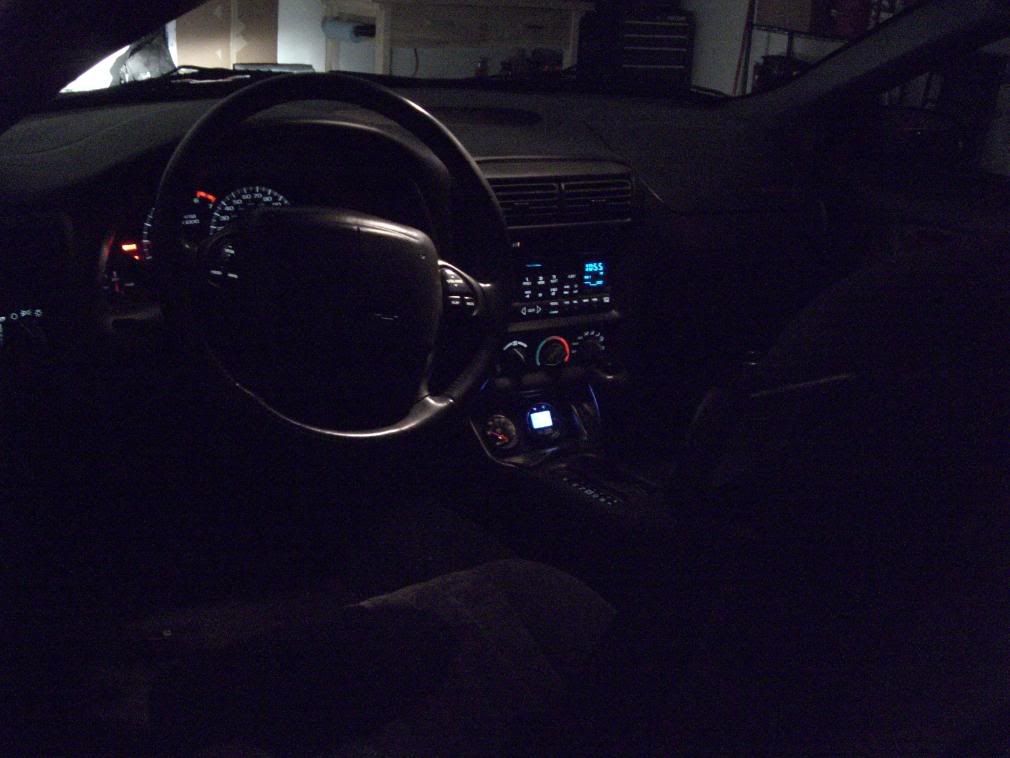
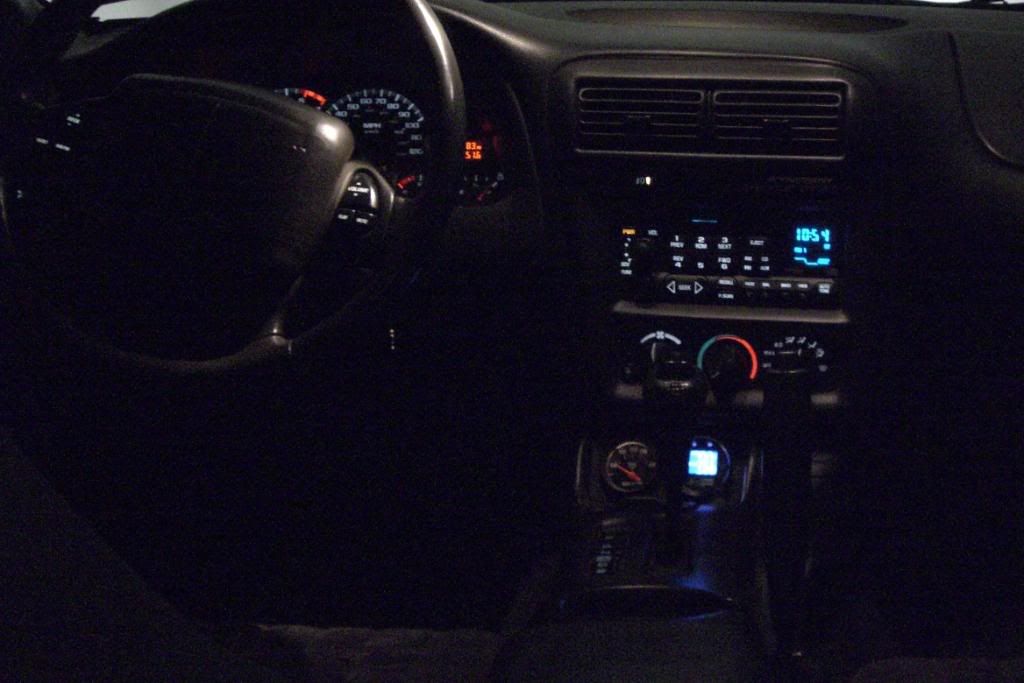
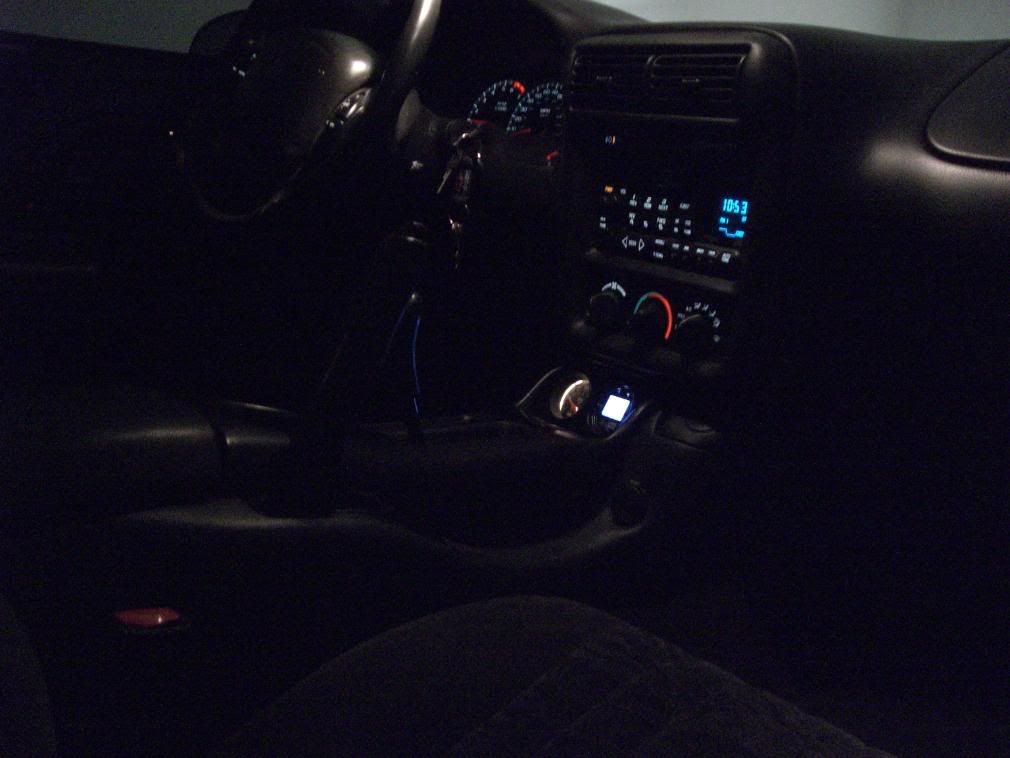
I installed my old Aeroforce gauge that I used used back in the early/mid 2000's on another 02 Camaro I had back then. This thing was amazing so I decided to put it back in.
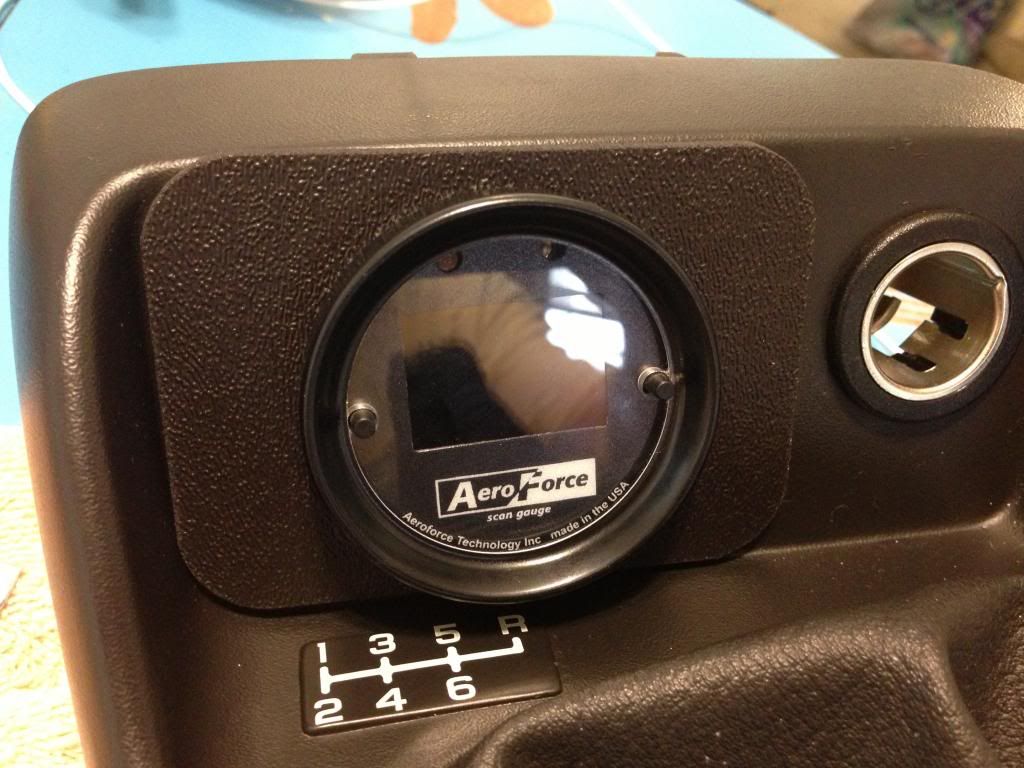
So an hour later I get everything reinstalled, turn the gauge on, and I couldn't see a dang thing. Apparently being in a box for about 5 years made the backlight not work so it's fairly useless to use while driving. Aeroforce wants $75 to fix it.... I figure I might as well buy a whole new one for that. Oh well - I can still read codes if need be.
So an hour later I get everything reinstalled, turn the gauge on, and I couldn't see a dang thing. Apparently being in a box for about 5 years made the backlight not work so it's fairly useless to use while driving. Aeroforce wants $75 to fix it.... I figure I might as well buy a whole new one for that. Oh well - I can still read codes if need be.
11-17-2013, 07:42 PM
#23
On The Tree
Thread Starter
iTrader: (5)
Join Date: Jan 2007
Location: NAS Pensacola
Posts: 182
Likes: 0
Received 0 Likes
on
0 Posts
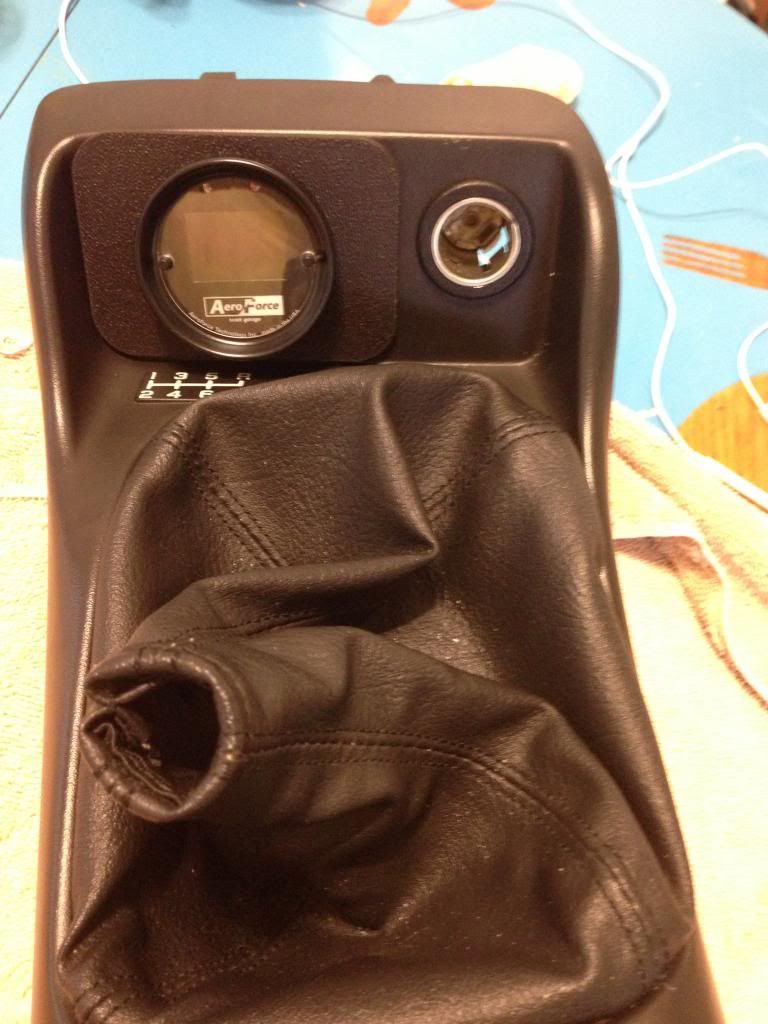
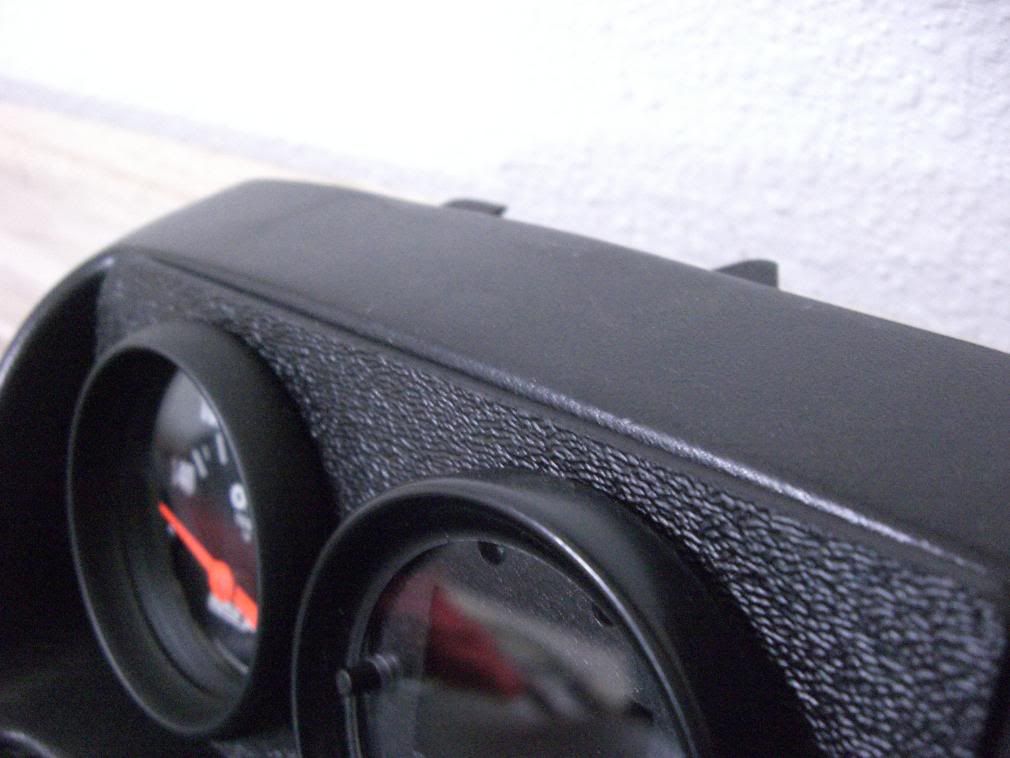
Just to showcase what I made on a waterjet back in 2007 or so.
I didn't want to put one of those, in my opinion, ricey pillar pods on my Camaro so I made 2 separate gauge plates and a switch plate with a waterjet program. This let me get perfect cuts (+/- .001 inches) and to make different radius cuts on the edges to match the console so much better.
Here's a few pictures.

Slim mounted switches allowed the lid to close perfectly flush on one of my testers.
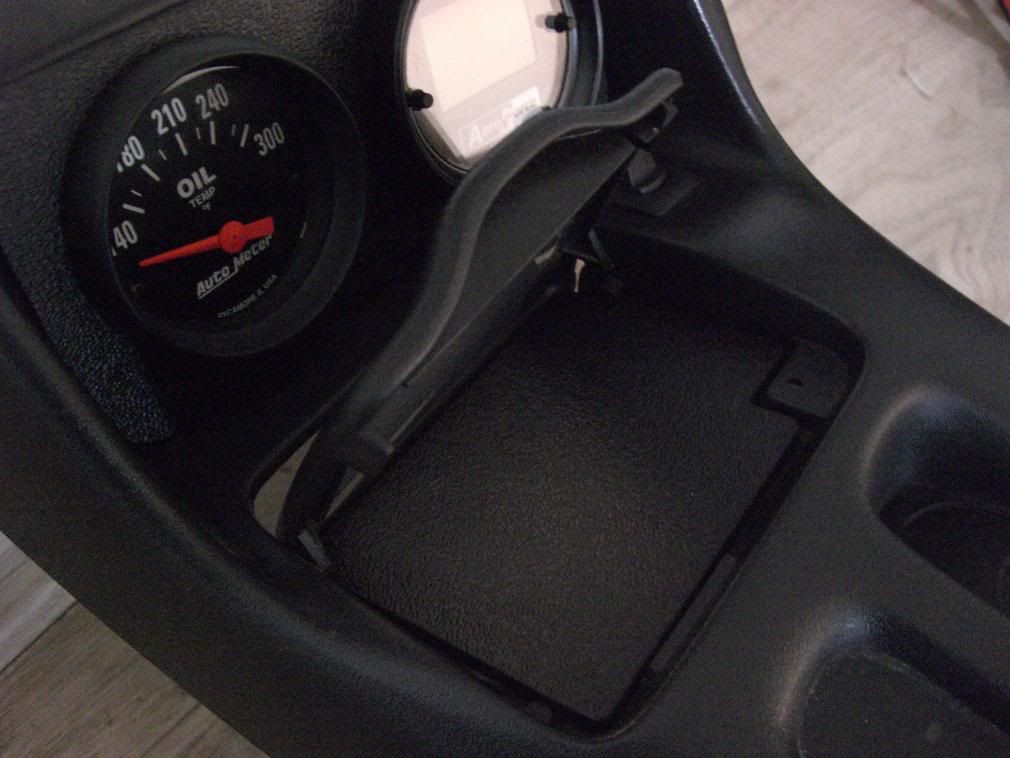
As shown here

I didn't want to put one of those, in my opinion, ricey pillar pods on my Camaro so I made 2 separate gauge plates and a switch plate with a waterjet program. This let me get perfect cuts (+/- .001 inches) and to make different radius cuts on the edges to match the console so much better.
Here's a few pictures.
Slim mounted switches allowed the lid to close perfectly flush on one of my testers.
As shown here