2000 Camaro SS Build Thread SLP # 1738 (pic heavy)
 02-28-2016, 10:27 AM
#21
Staging Lane
Thread Starter
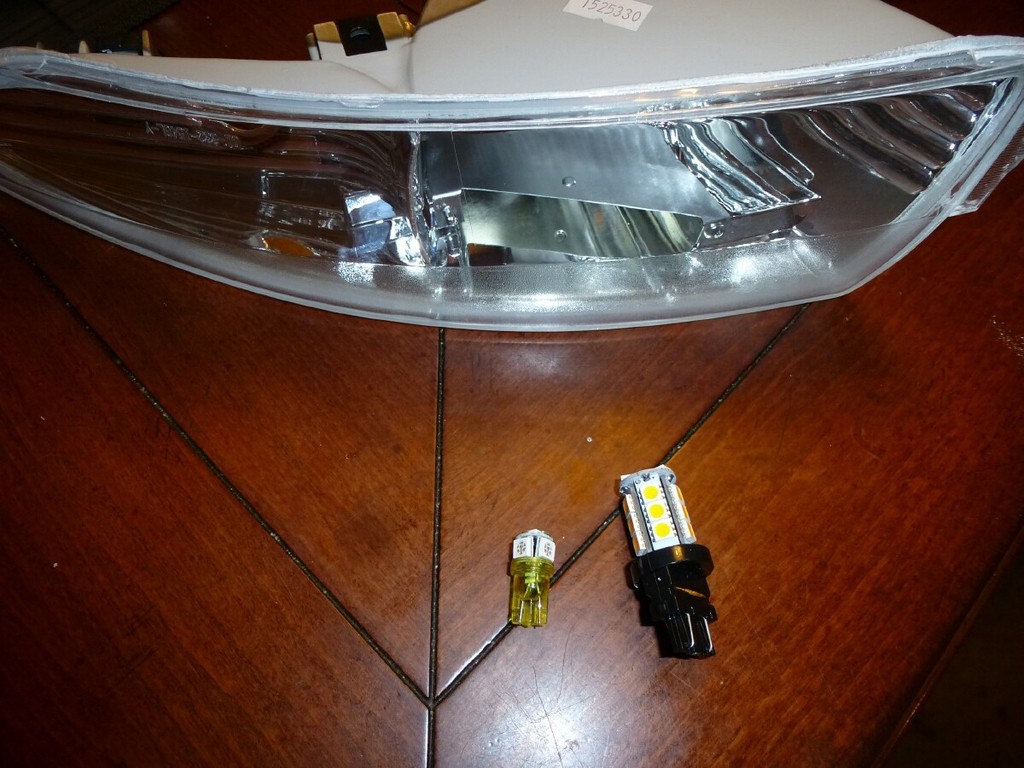
Next up, Clear Corners and LED lights.
I didn't end up needing the silicone. The Clear Corners are made by DEPO, and are solid. I used this same brand in my BMW and have had no issue ever with them.

These are the lights for the clear corners. You also have to put in the new Turn signal and Emergency Flasher boxes, but a bonus, that annoying turn signal sound is eliminated.
I also replaced a lot of other bulbs on the interior with LEDs, including the map lights, rear courtesy light, etc. I have not changed out the dash bulbs, may consider that in the future. I didn't get any more pictures of this process. I did go with the smoke rear corner for now...
I didn't end up needing the silicone. The Clear Corners are made by DEPO, and are solid. I used this same brand in my BMW and have had no issue ever with them.
These are the lights for the clear corners. You also have to put in the new Turn signal and Emergency Flasher boxes, but a bonus, that annoying turn signal sound is eliminated.
I also replaced a lot of other bulbs on the interior with LEDs, including the map lights, rear courtesy light, etc. I have not changed out the dash bulbs, may consider that in the future. I didn't get any more pictures of this process. I did go with the smoke rear corner for now...
 02-28-2016, 10:37 AM
#22
Staging Lane
Thread Starter
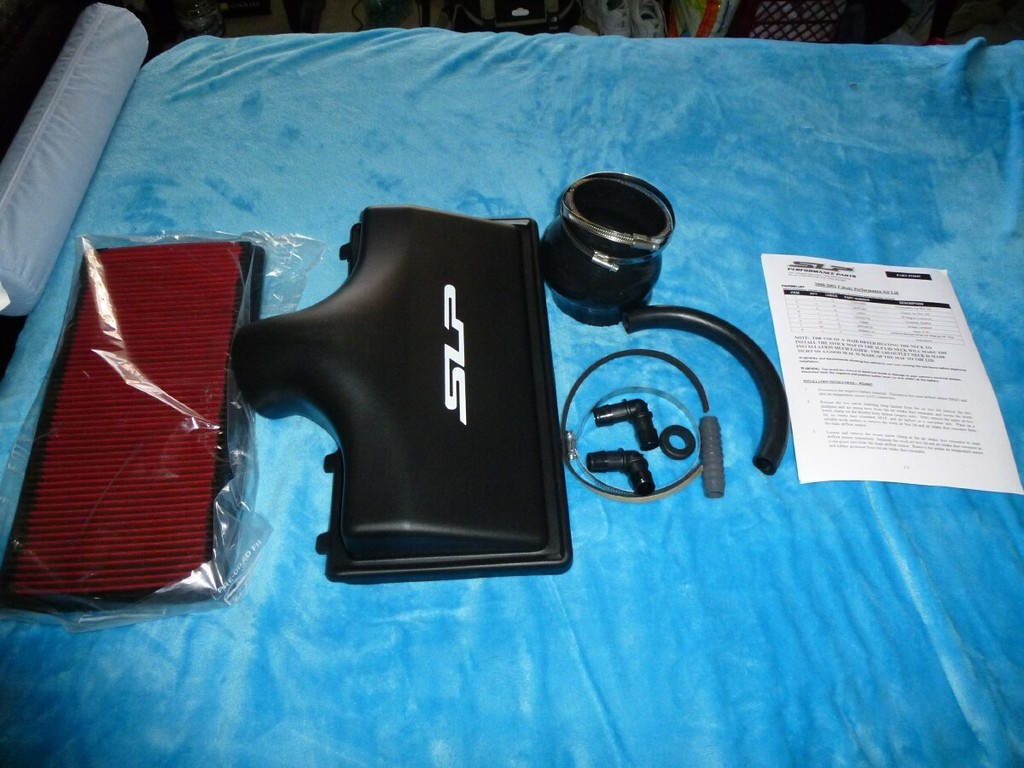
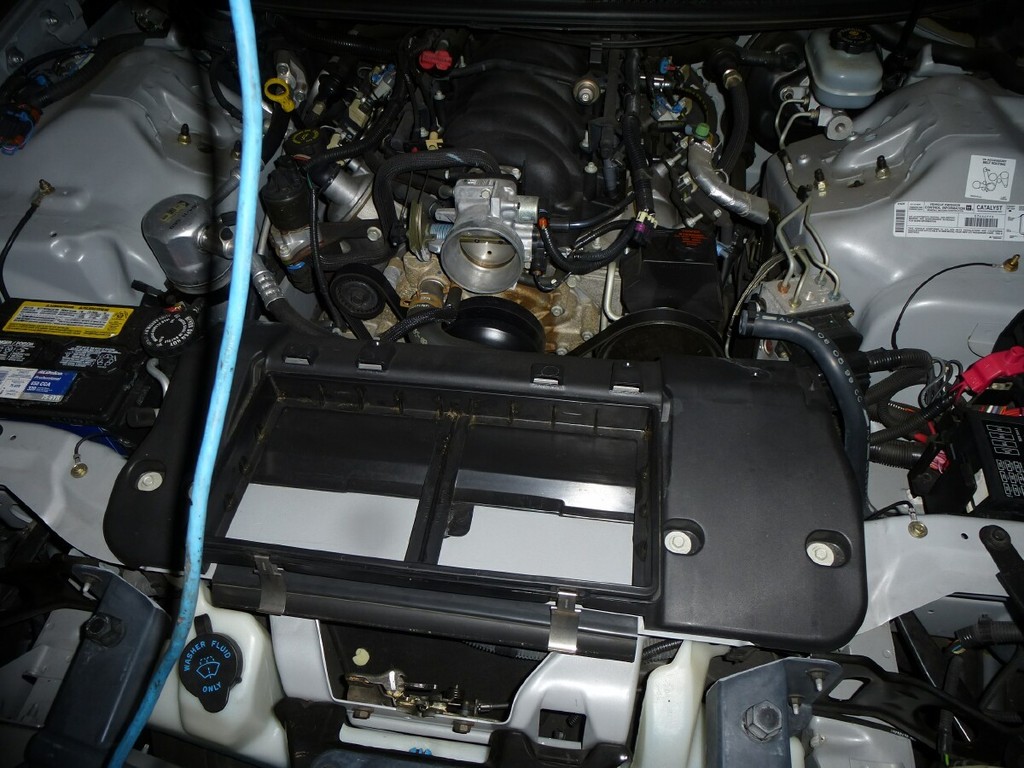
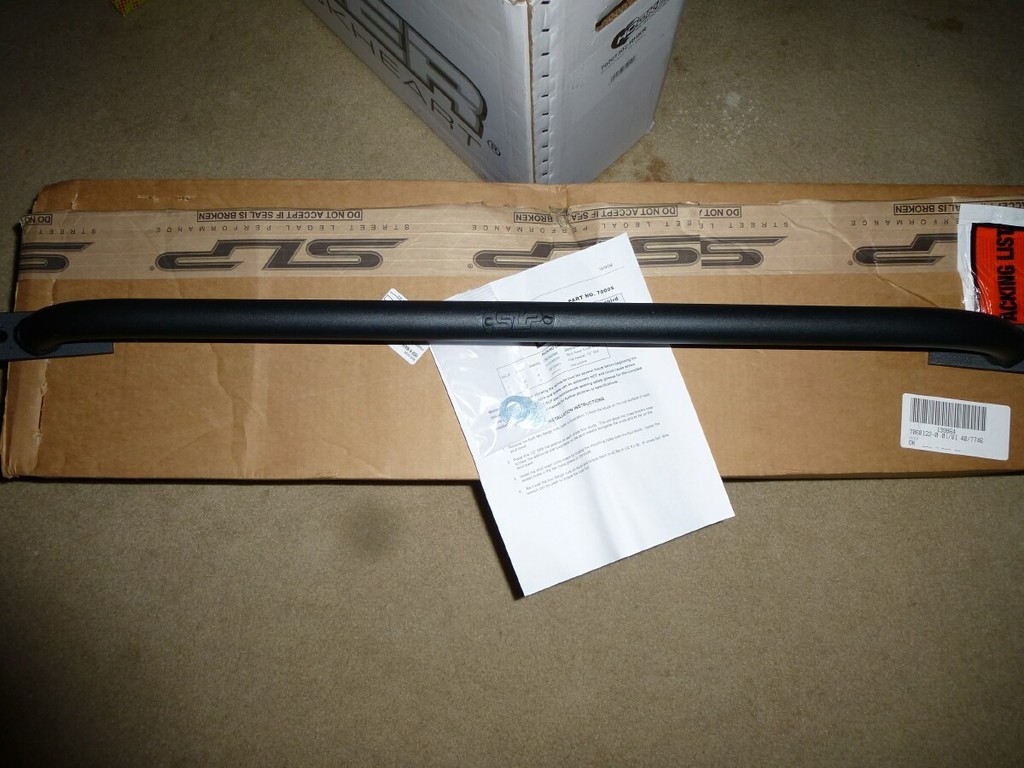
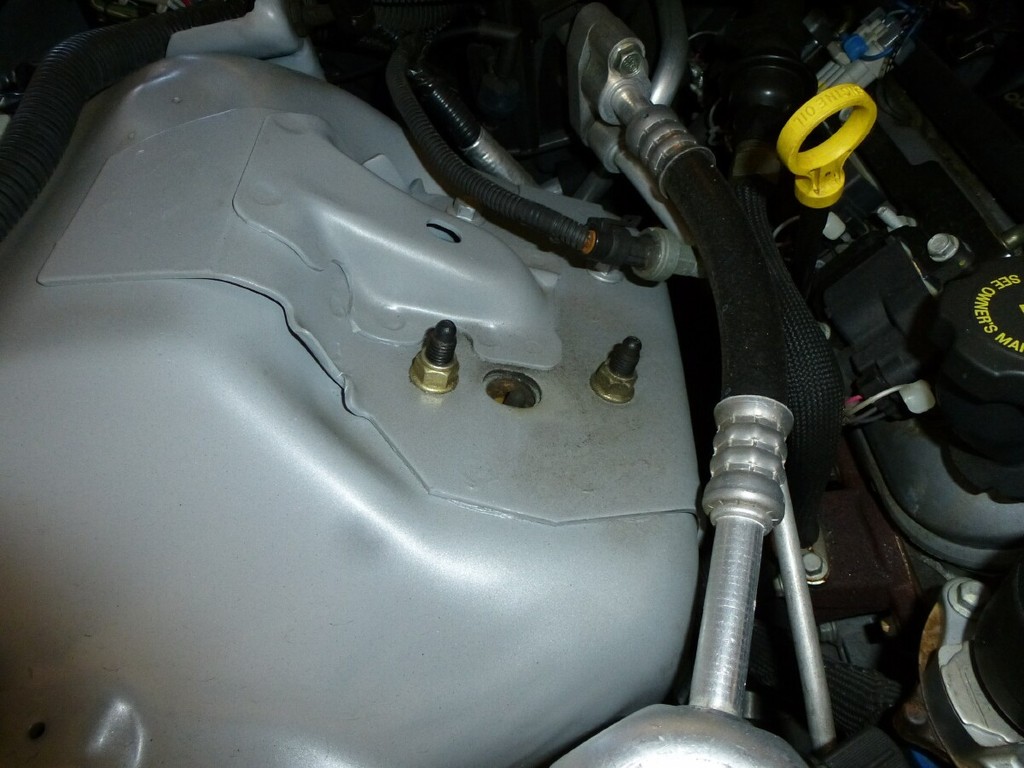
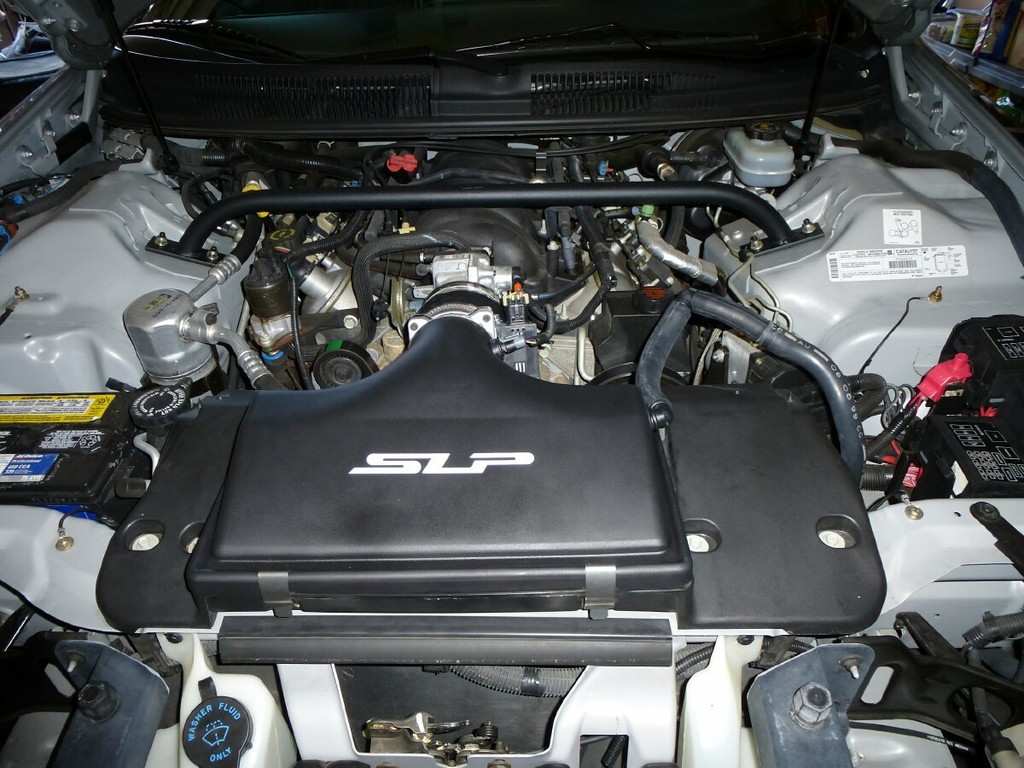
Next up, an order to Speed Inc. for an SLP lid and their lifetime filter. I went with SLP simply because I am also going to to go with an SLP Shock Tower Brace.
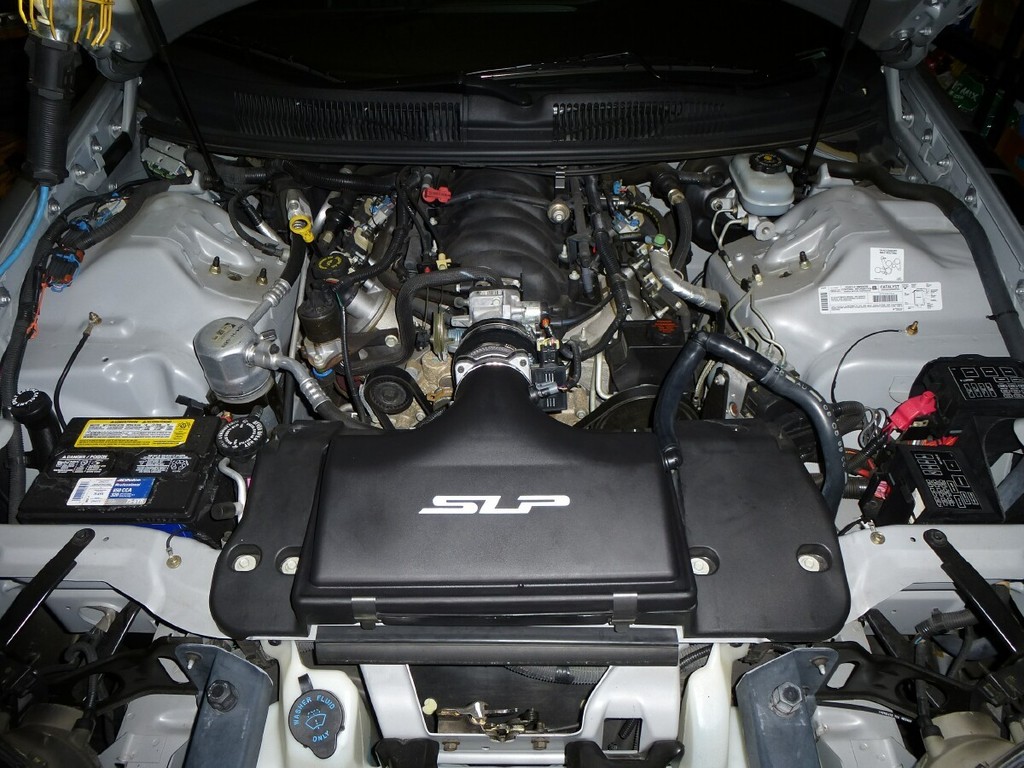
I bought the smooth bezel for 24.50 off ebay. It needed just a slight amount of trimming to get everything to go on smooth, but it worked well.
Before

After
I bought the smooth bezel for 24.50 off ebay. It needed just a slight amount of trimming to get everything to go on smooth, but it worked well.
Before
After
02-28-2016, 10:45 AM
#23
Staging Lane
Thread Starter
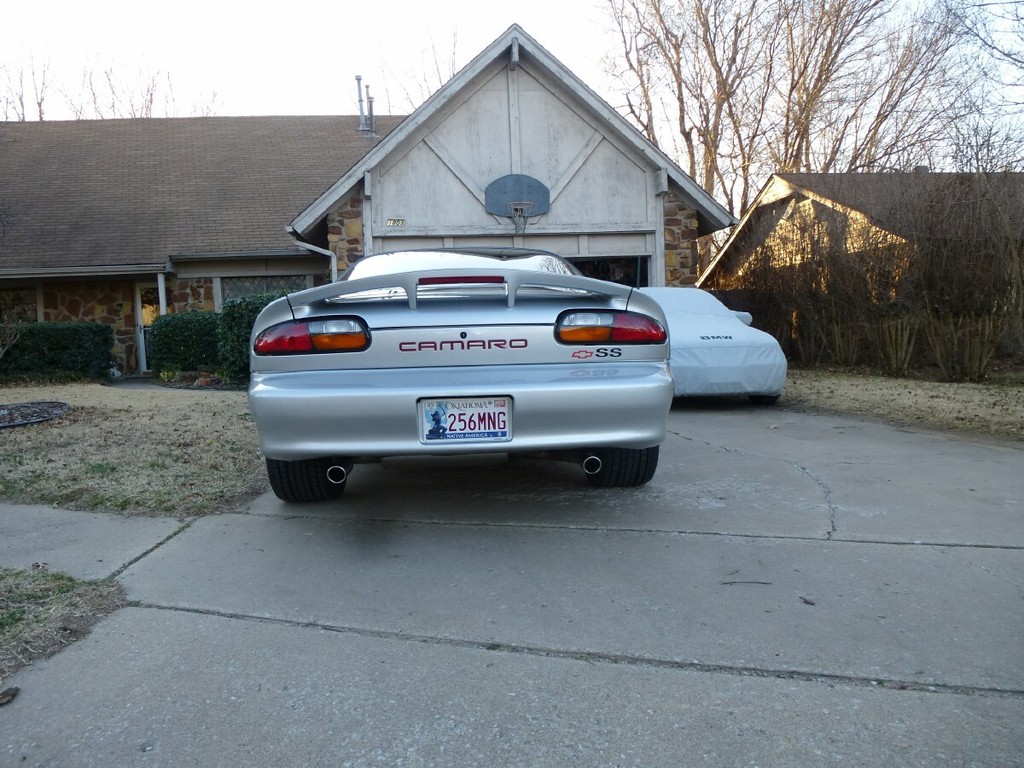
Next up was an appointment with Tommy at The Tint Shop in Owasso. He did the rear in one piece and the job came out excellent.
This was the day it decided to rain... One of the very few times this car will ever see water from the sky...
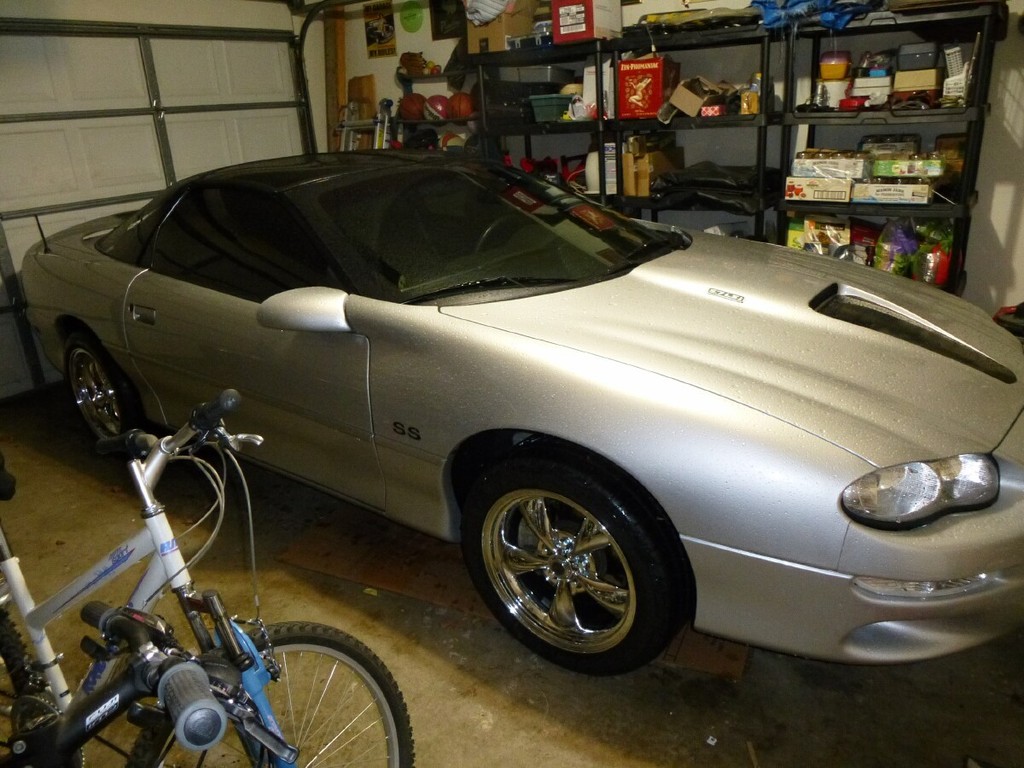
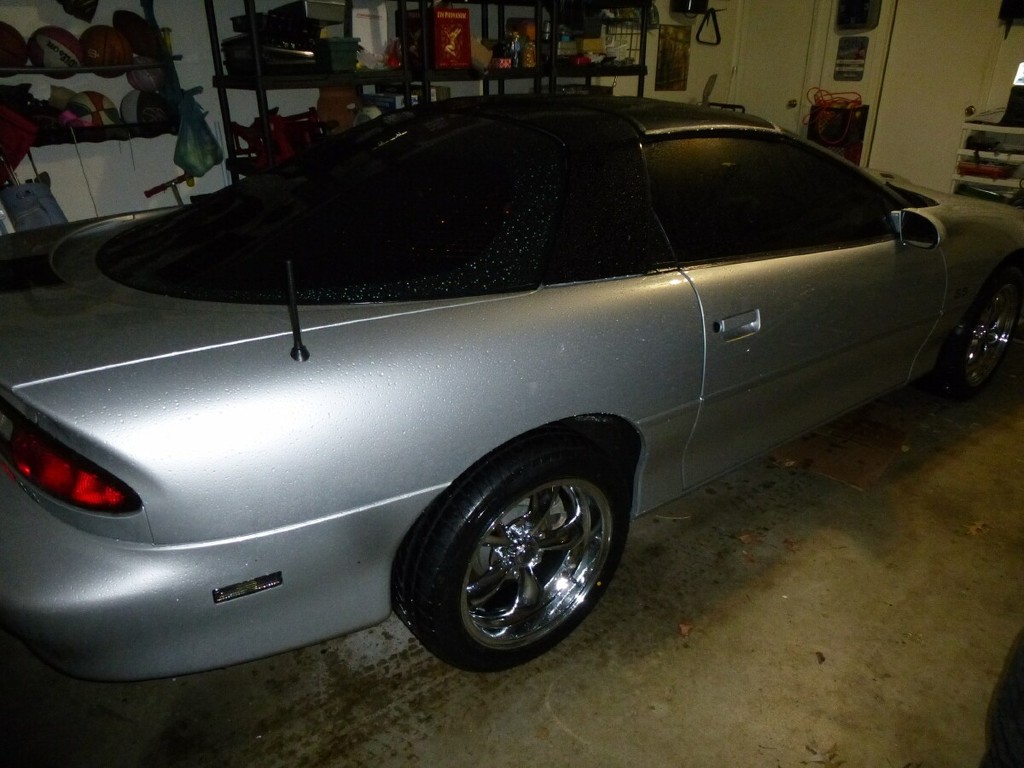
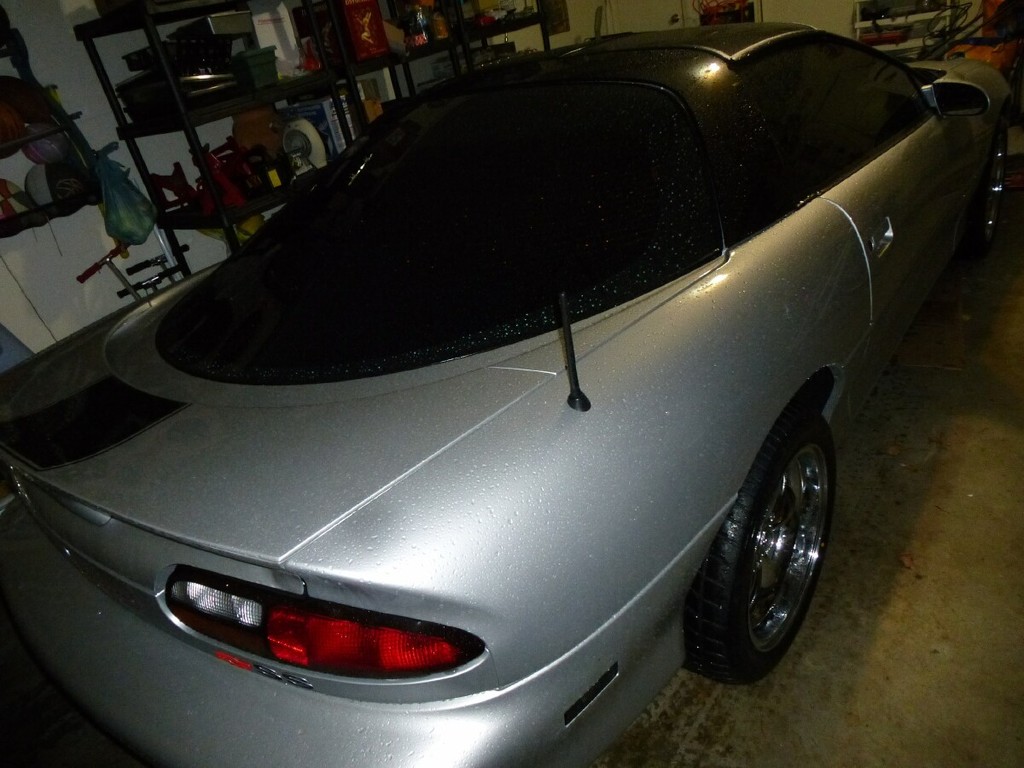
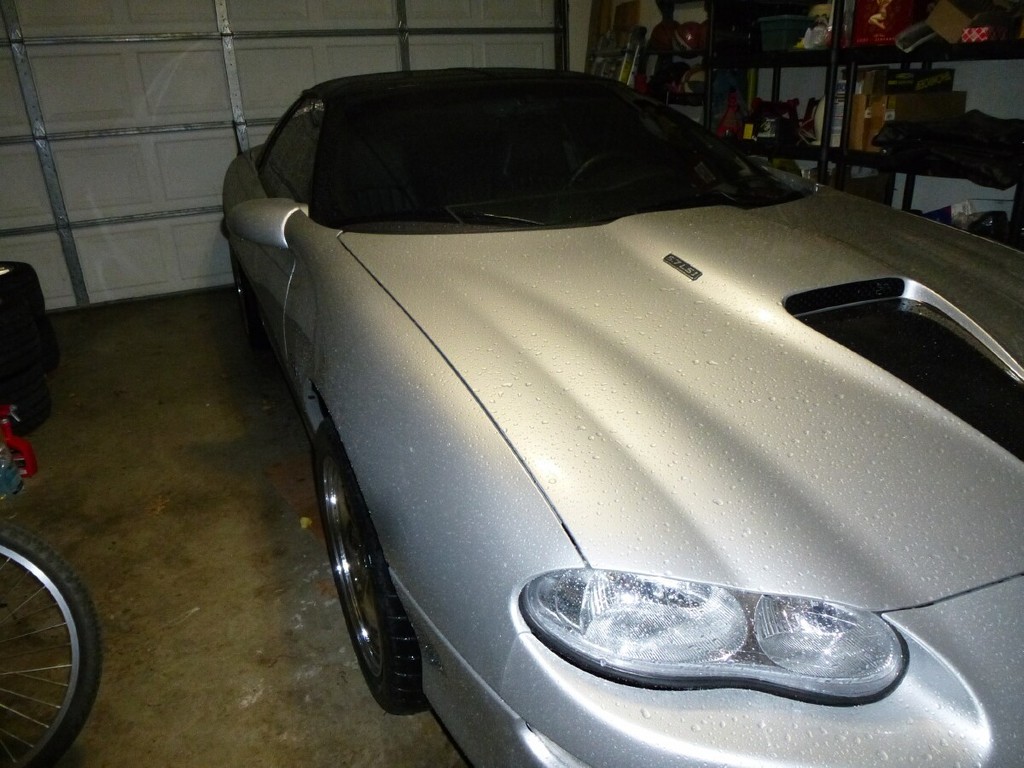
This was the day it decided to rain... One of the very few times this car will ever see water from the sky...
 02-28-2016, 11:10 AM
#25
Staging Lane
Thread Starter
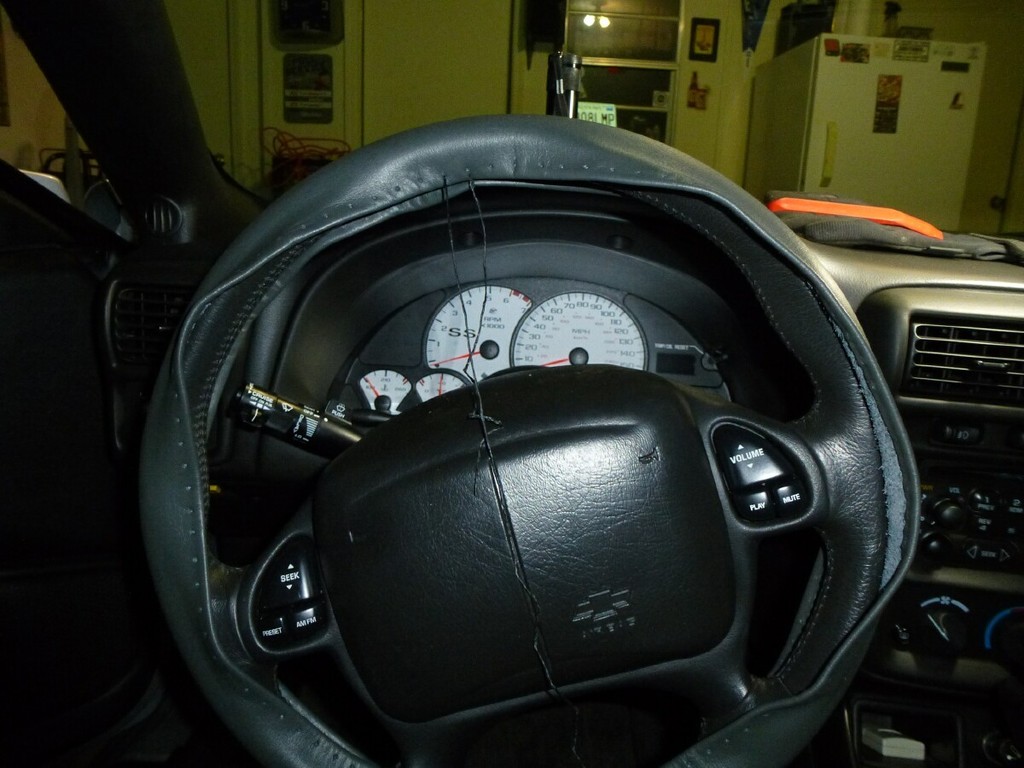
Next up, a little interior tune up. I bought the SLP SS Floor mats and trunk mat, as well as a WheelSkins steering wheel cover in Charcoal from Afterthoughts Auto, and several Charcoal leather pieces from Redline Goods. The Redline order isn't in yet, but i got the Steering wheel cover on Friday night. I had one of these also for the BMW and just love the feel of them.
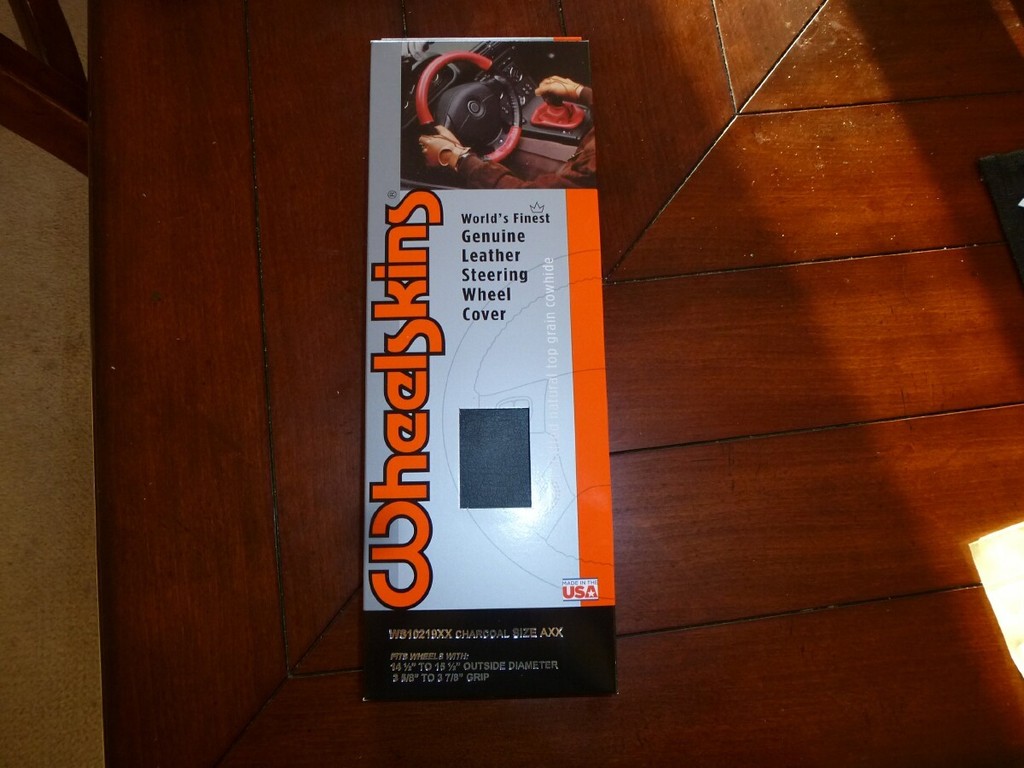
The stretching to get it to fit took a little bit, this is a really tight fit.
In pictures for some reason it comes out lighter than it looks in person. It matches the interior well.
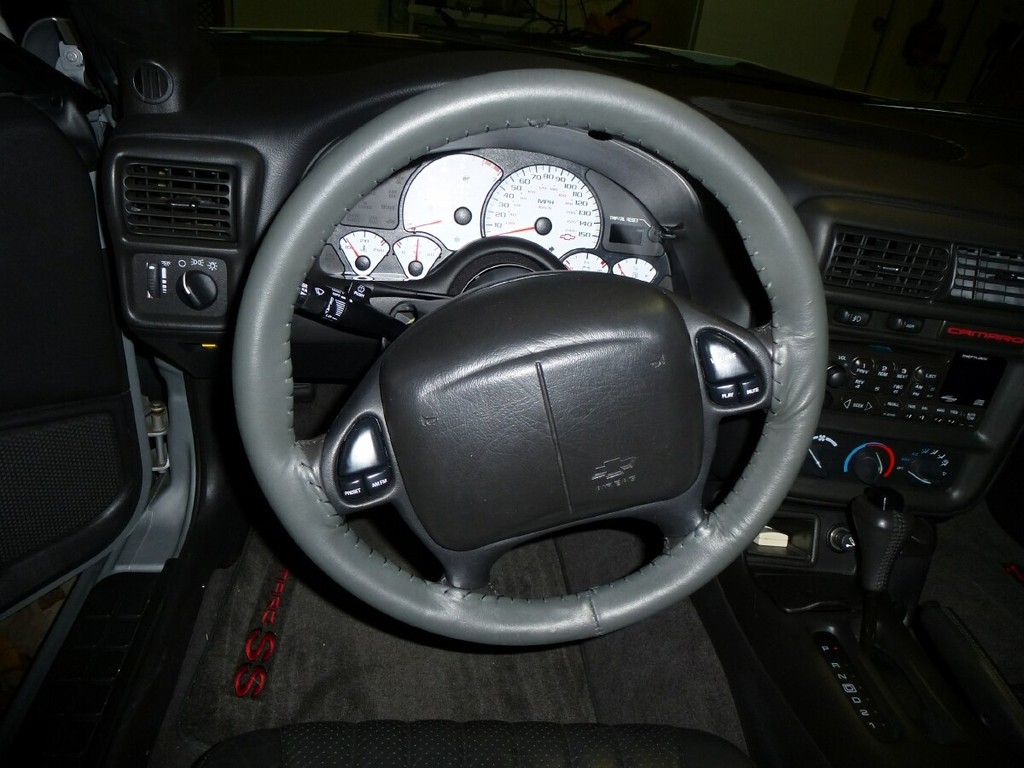
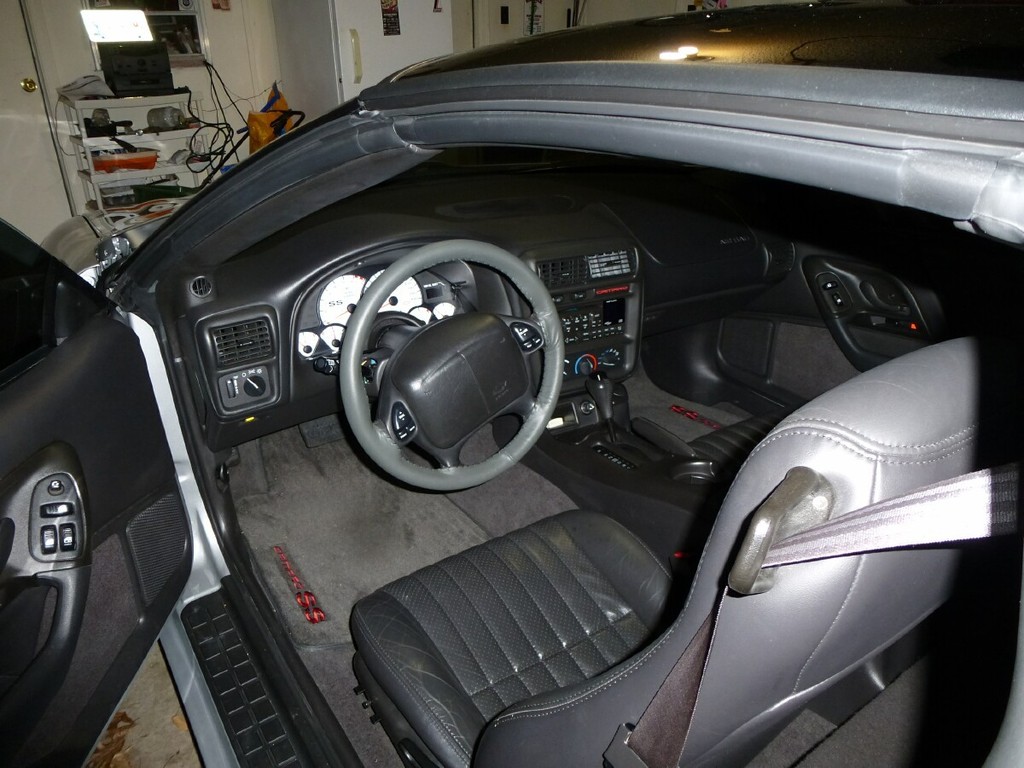
The stretching to get it to fit took a little bit, this is a really tight fit.
In pictures for some reason it comes out lighter than it looks in person. It matches the interior well.

 02-28-2016, 12:51 PM
#27
On The Tree
iTrader: (5)
Join Date: Nov 2010
Location: Tahlequah, OK
Posts: 192
Likes: 0
Received 0 Likes
on
0 Posts
Congrats on such a beautiful car from a fellow Okie! Any plans for lowering it? That would set the look off perfectly in my opinion. Either way, it's looking good and look forward to seeing more.
02-29-2016, 07:43 AM
#28
Staging Lane
Thread Starter
Thanks! Yes, I am leaning towards lowering it and upgrading the suspension. I don't have a time frame yet, and I am a little worried about having to roll the fenders with these big tires, though.
03-27-2016, 03:13 PM
#29
Staging Lane
Thread Starter
Time for some updates!
Over the last month, I have installed some leather, some electronics, some interior LEDs, and changed the side stripes.
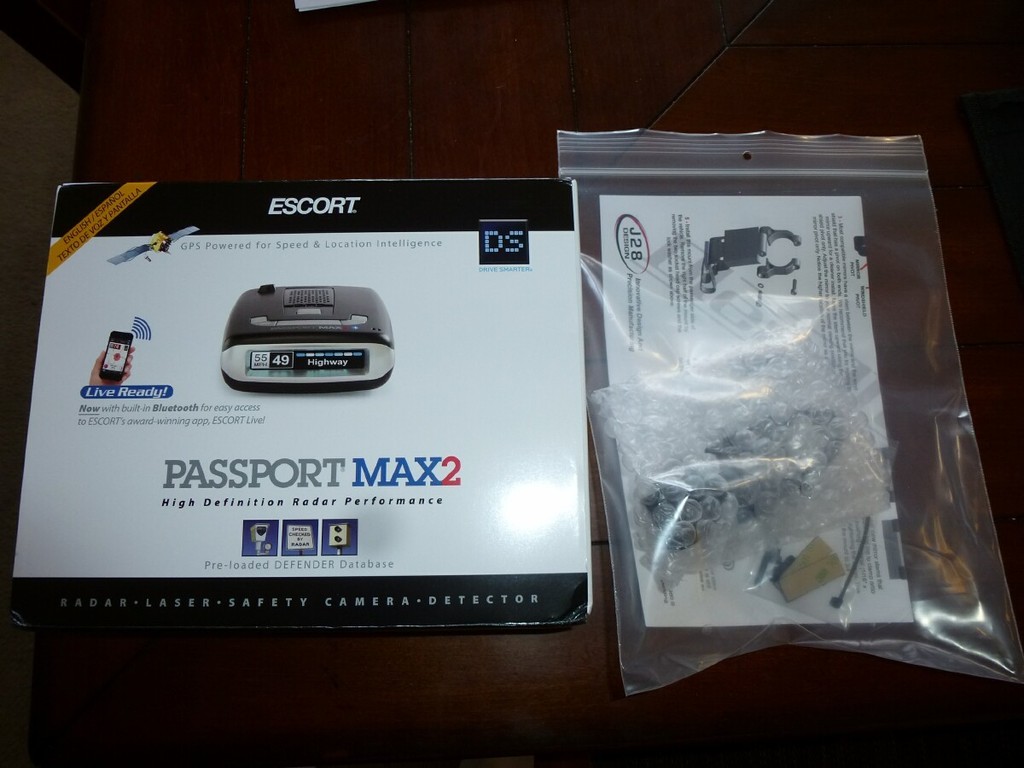
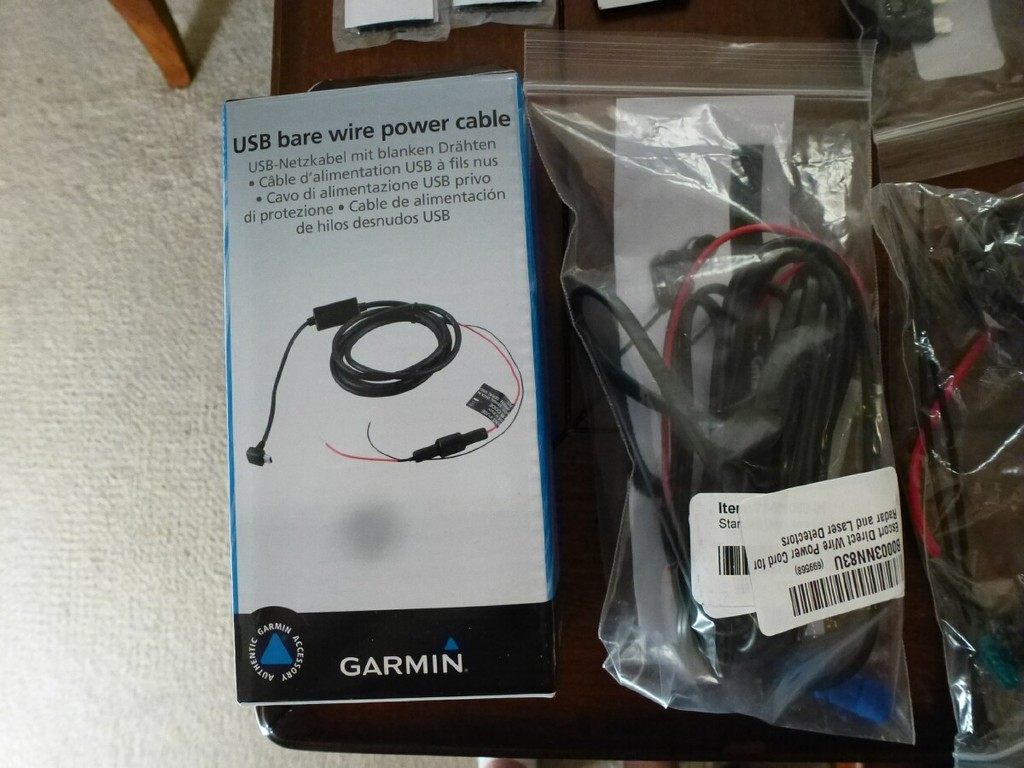
First up was a Radar Detector, which I wanted to hard wire. After reading a bunch of reviews, I went with the Escort Passport Max2 and a Blendmount Rear View Mirror Mount, along with an Escort Direct wiring kit I found online.
Over the last month, I have installed some leather, some electronics, some interior LEDs, and changed the side stripes.
First up was a Radar Detector, which I wanted to hard wire. After reading a bunch of reviews, I went with the Escort Passport Max2 and a Blendmount Rear View Mirror Mount, along with an Escort Direct wiring kit I found online.
03-27-2016, 03:25 PM
#30
Staging Lane
Thread Starter
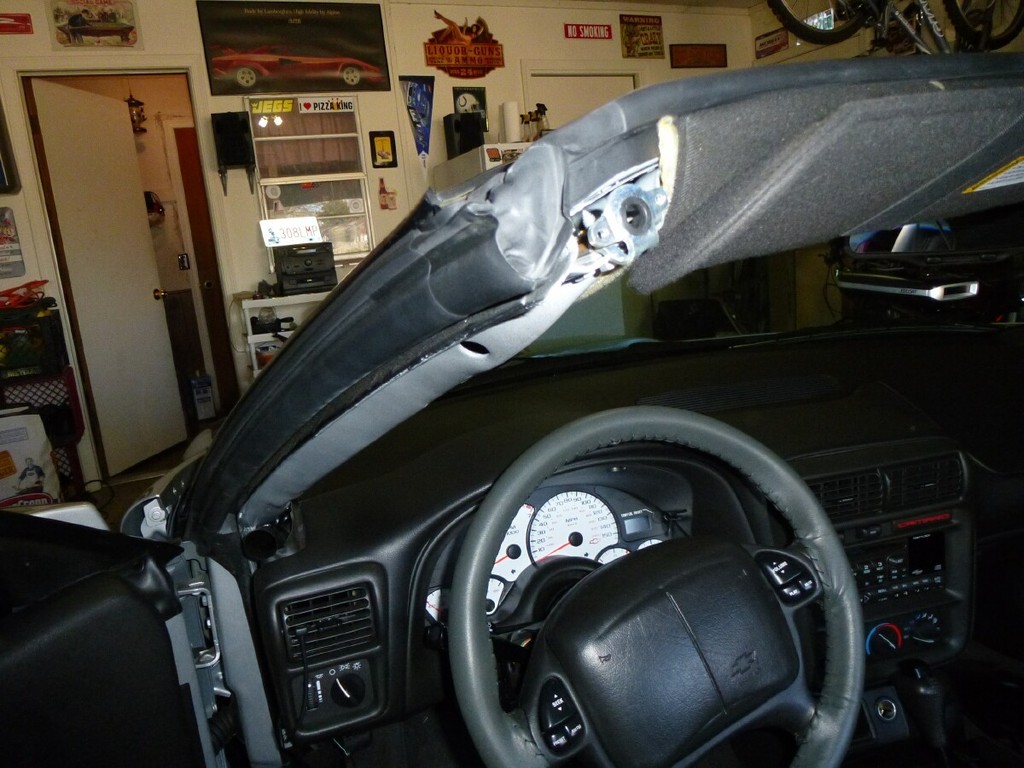
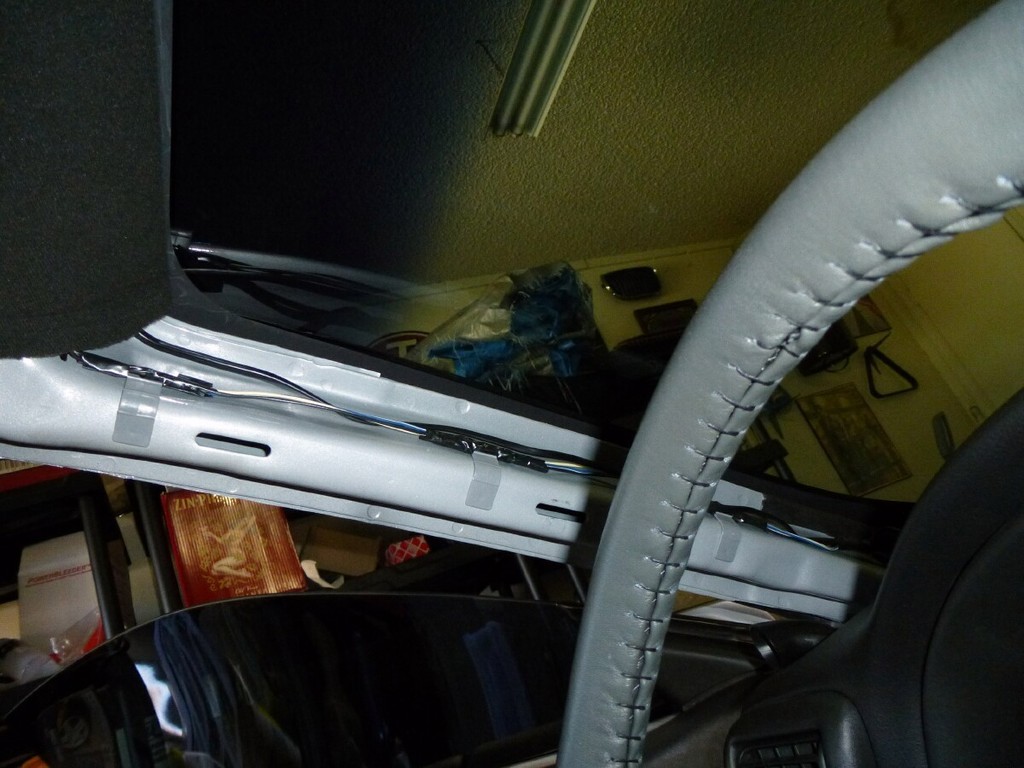
It was pretty easy to run the wire across the front of the headliner and down the front A Pillar.
Direct wiring into the single port IGN slot allows it to come on when the car turns on and go off when it is turned off.
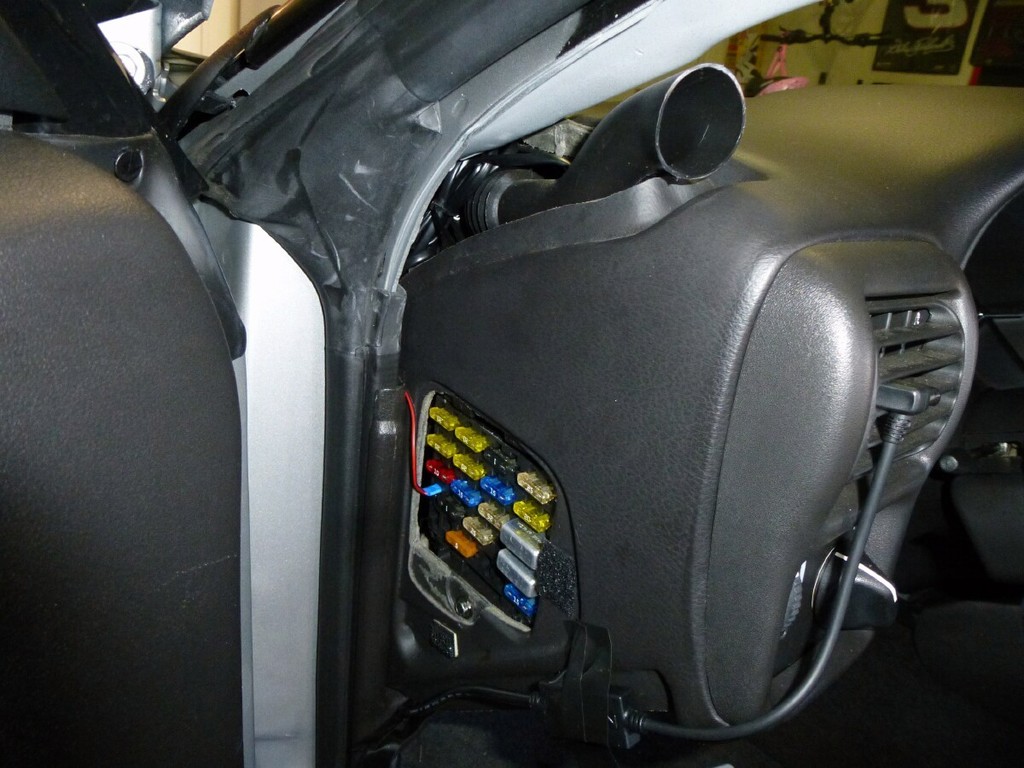
I found this picture on this forum for fuse location information:
I don't think my Camaro had the ACCY port, but I did use the BATT port for the Garmin. That one is an always on port, but I don't use my GPS often, so that works out just fine.
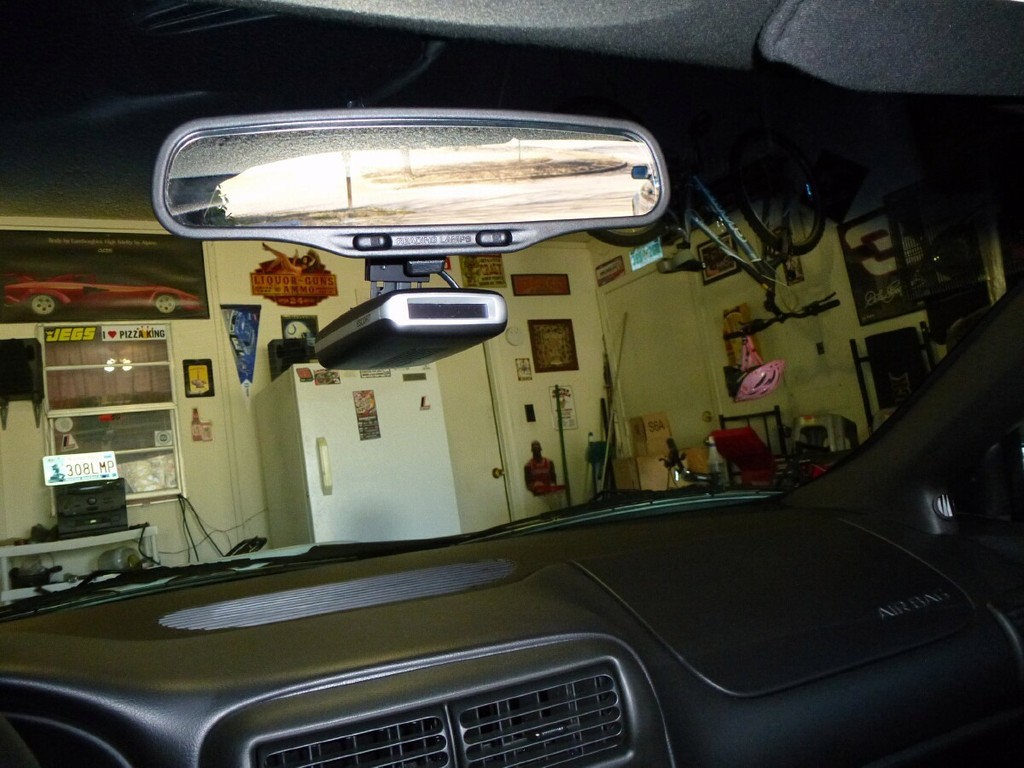
Here is the Radar Detector installed:
 03-27-2016, 03:33 PM
#31
Staging Lane
Thread Starter
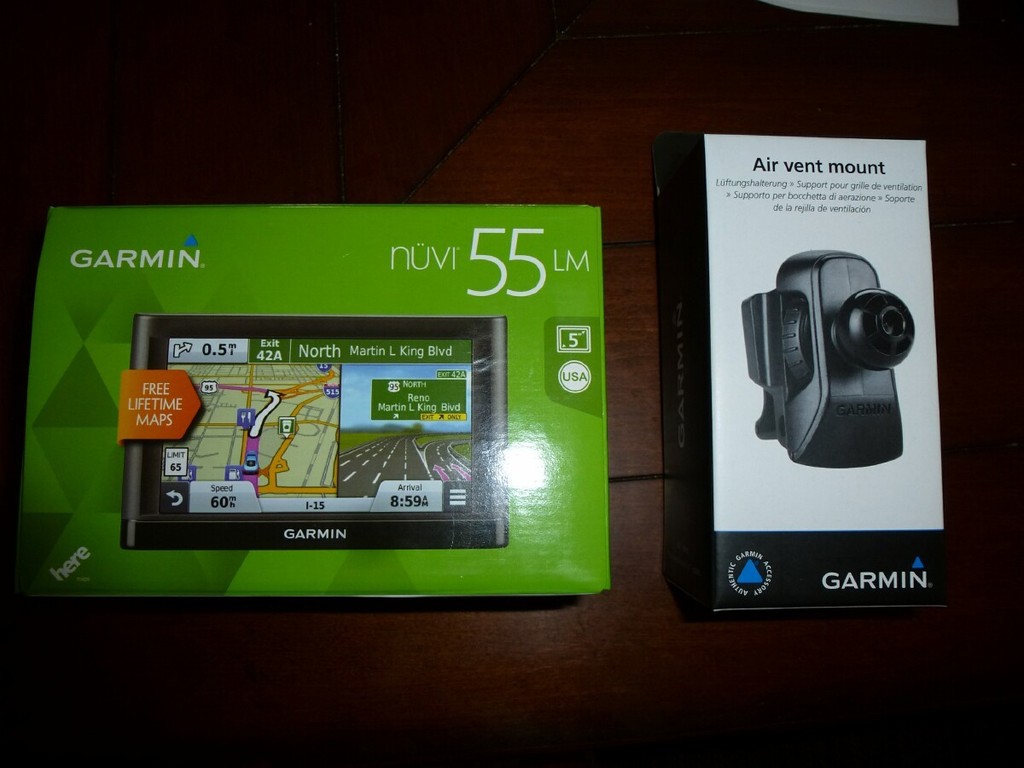
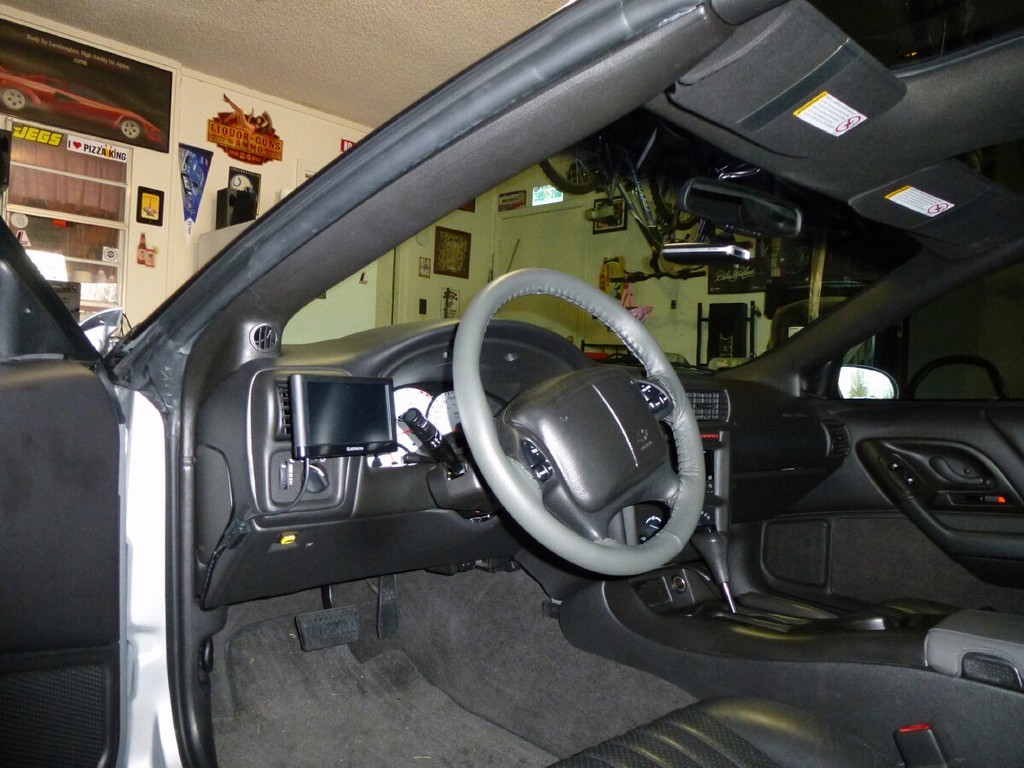
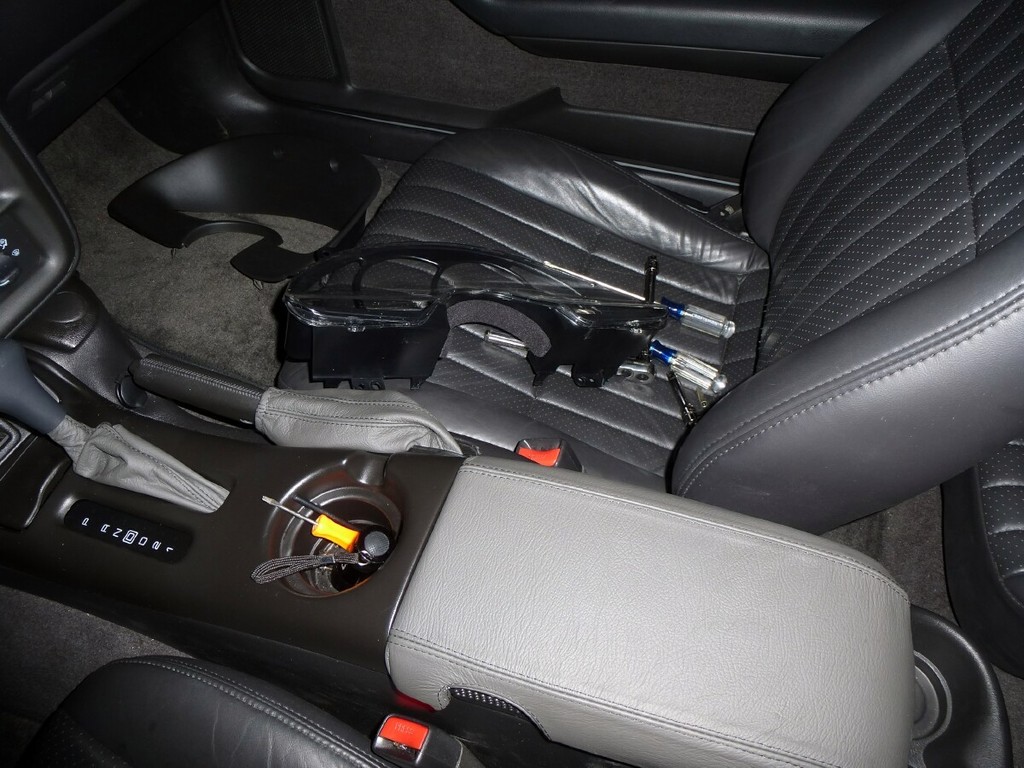
For the GPS, I decided to mount a Garmin Nuvi on the left side of the steering wheel on the vent. This actually made the direct wiring pretty easy, and it comes off and stores nicely in the glove box when not in use.
I used a little bit of velcro on the "box' on the cord to keep it in place on the side of the dash.
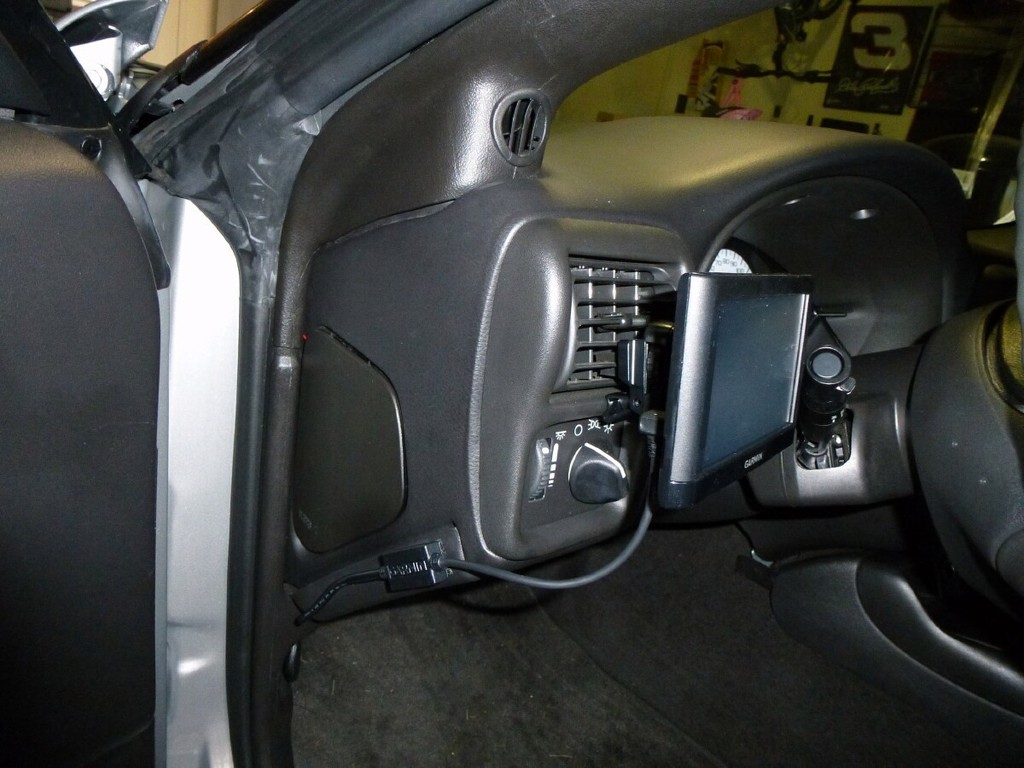
When not in use, the cord sits nicely in the vent.

I used a little bit of velcro on the "box' on the cord to keep it in place on the side of the dash.
When not in use, the cord sits nicely in the vent.
03-27-2016, 03:38 PM
#32
Staging Lane
Thread Starter
My Redline Order came in, and I leather wrapped the console lid, and put on a leather shift boot and a parking brake boot. I also found a new shifter **** I like better than the original. I just wish it was leather wrapped.

 03-27-2016, 04:07 PM
#34
Staging Lane
Thread Starter
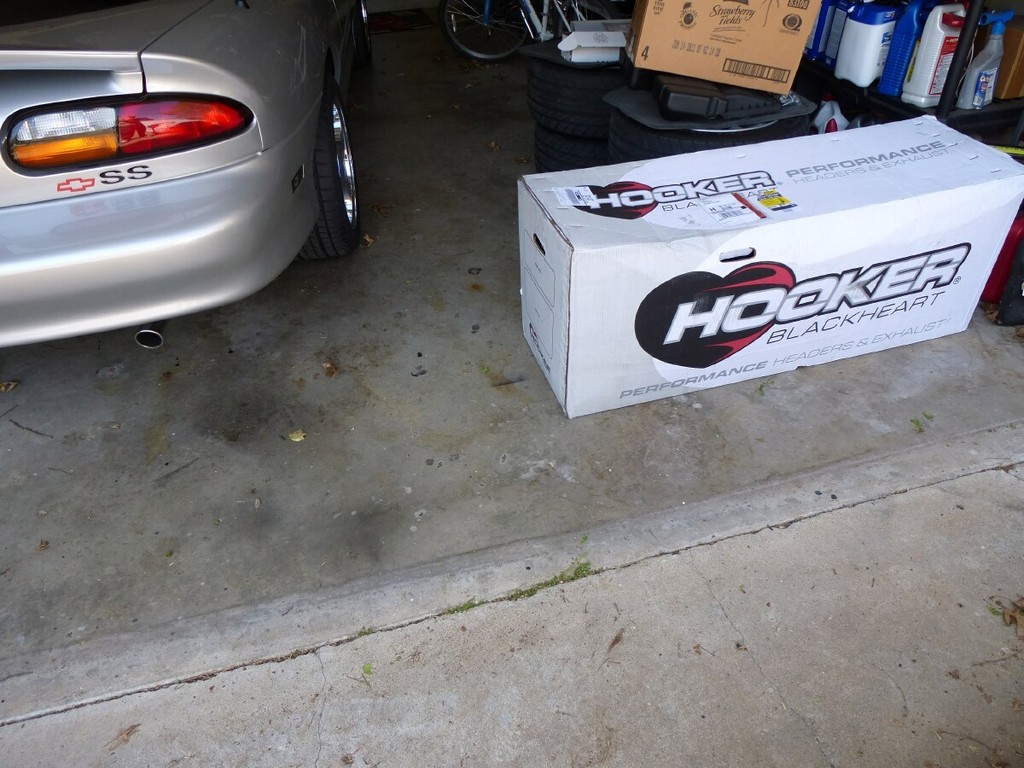
The rest of my Hooker Blackheart Exhaust showed up! I still haven't gotten this installed or decided whether I am going to do it myself or find someone to put it on. Probably in the next month I will get going on that.
03-27-2016, 04:15 PM
#35
Staging Lane
Thread Starter
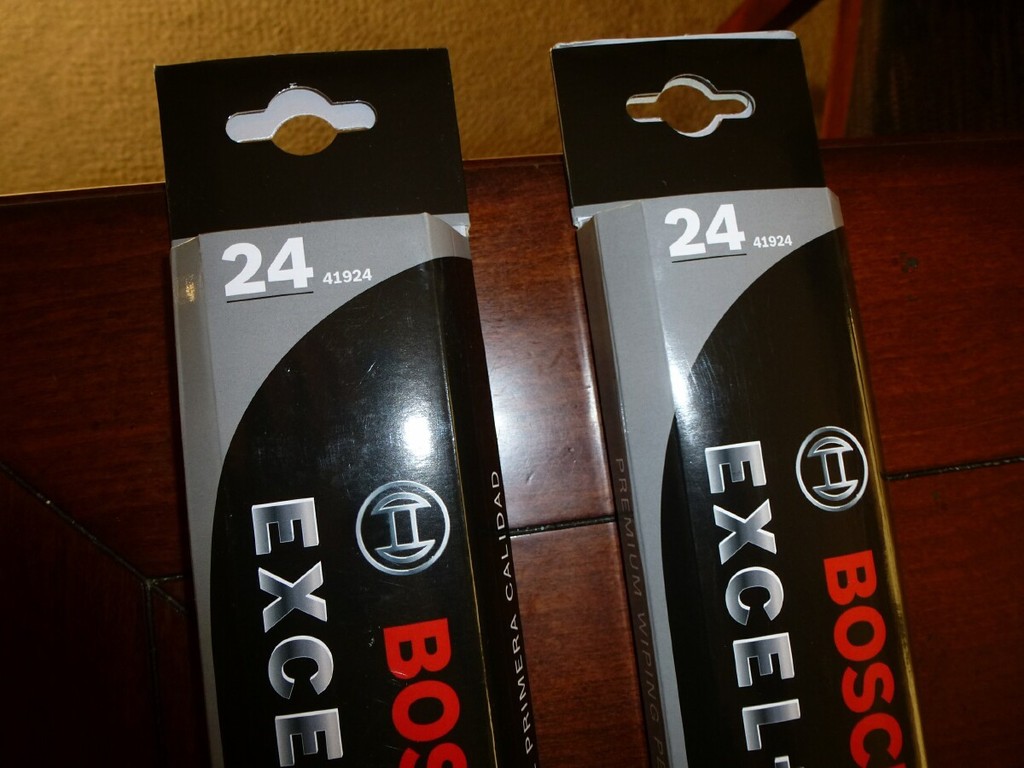
I did put new wiper blades on. Not sure I will ever use them, but what the heck.
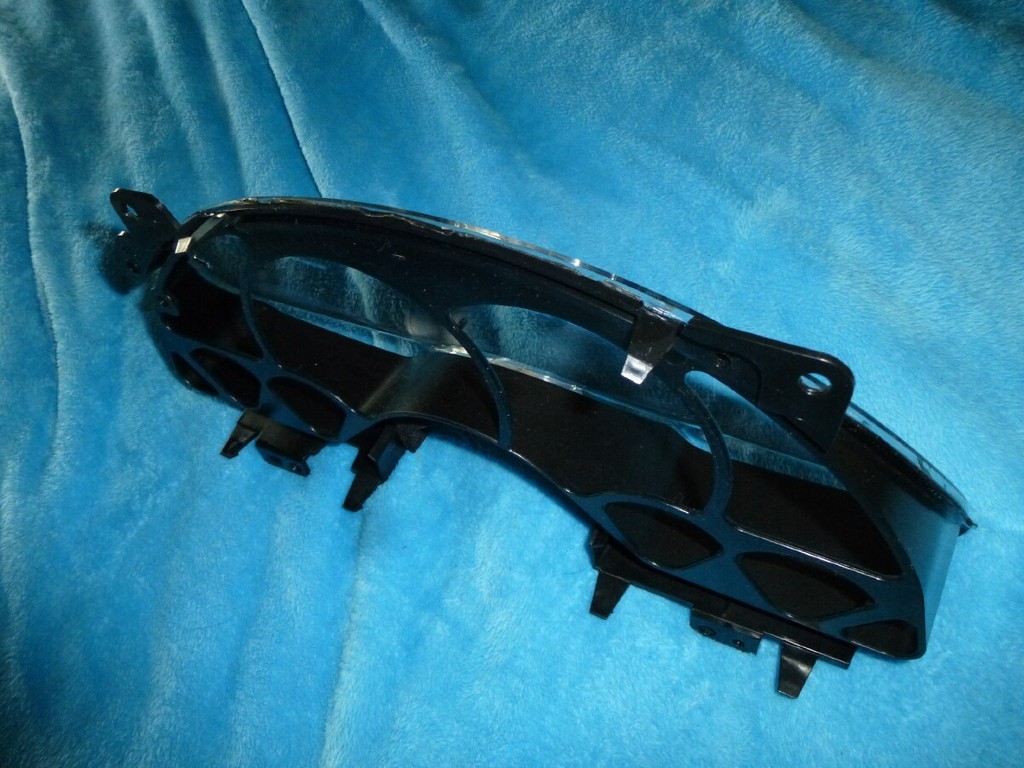
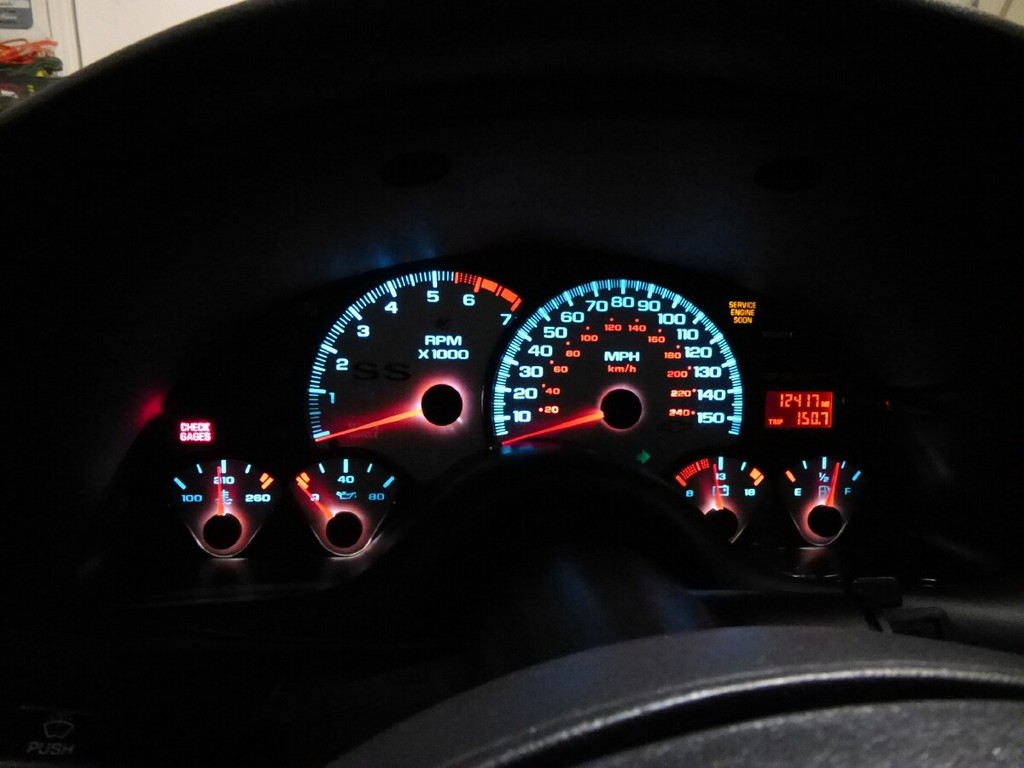
I put Blue LEDs in the Shift Selector, HVAC, door courtesy lights, and Headlight selector bulbs. I had bought Blue and White for the Gauge Cluster, I ended up going white.
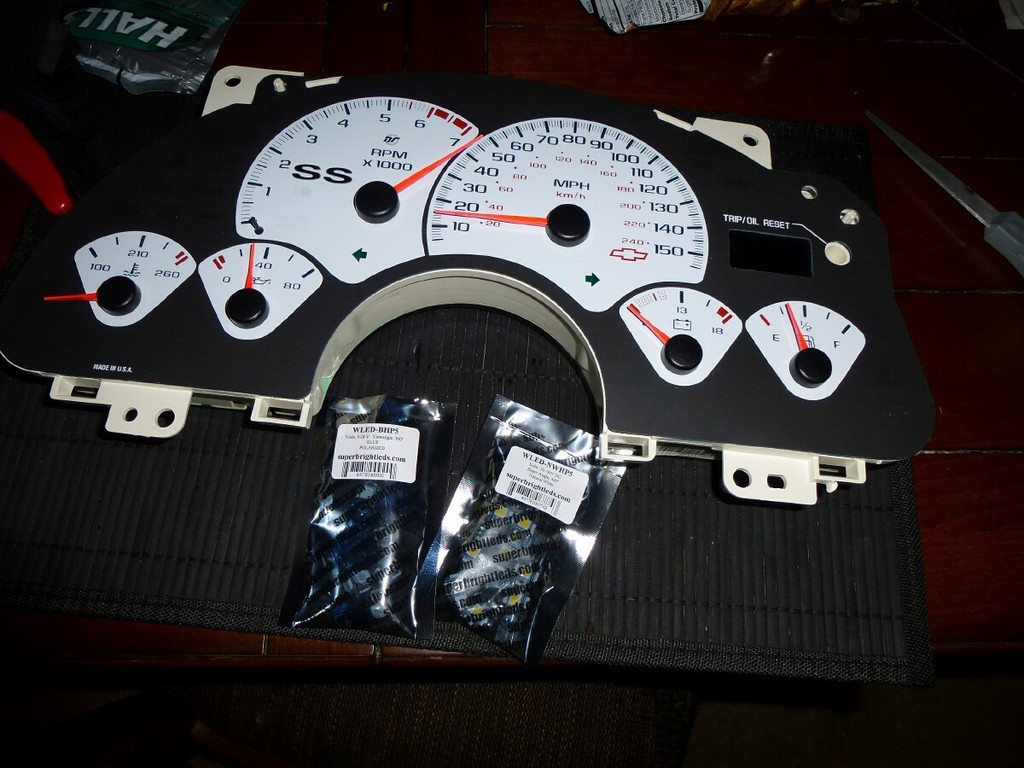
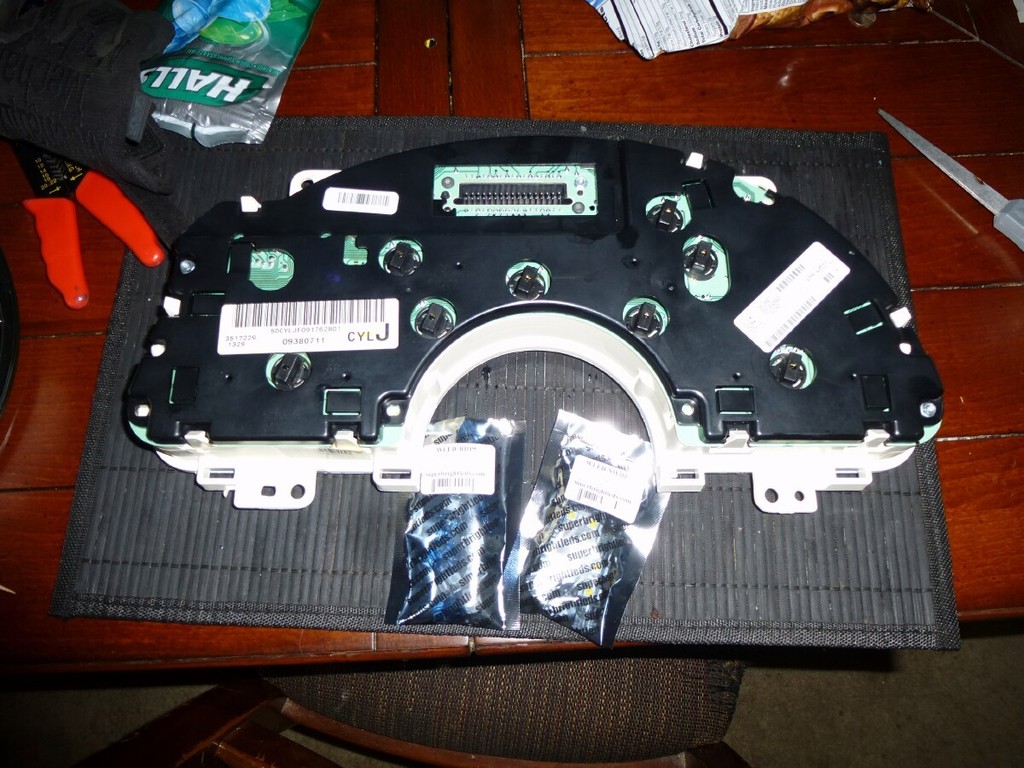
I took this picture just for reference of where the clips are, 4 on the bottom, 2 on top, to connect the lens to the gauge cluster.
And here are some pics of the new lights:
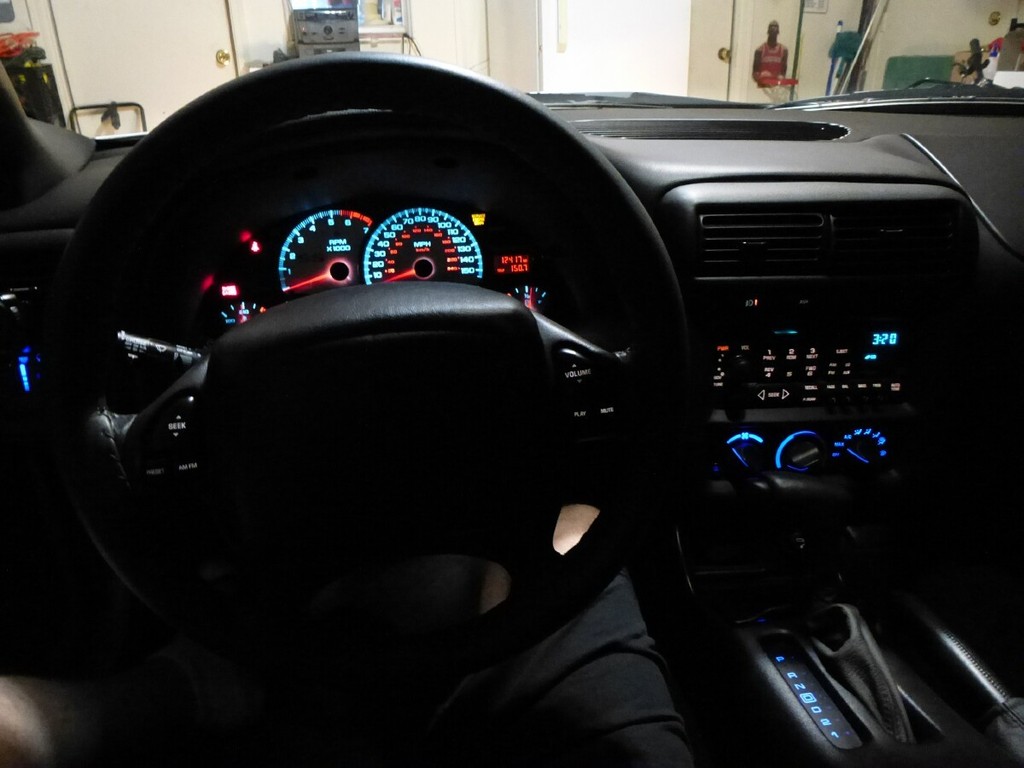
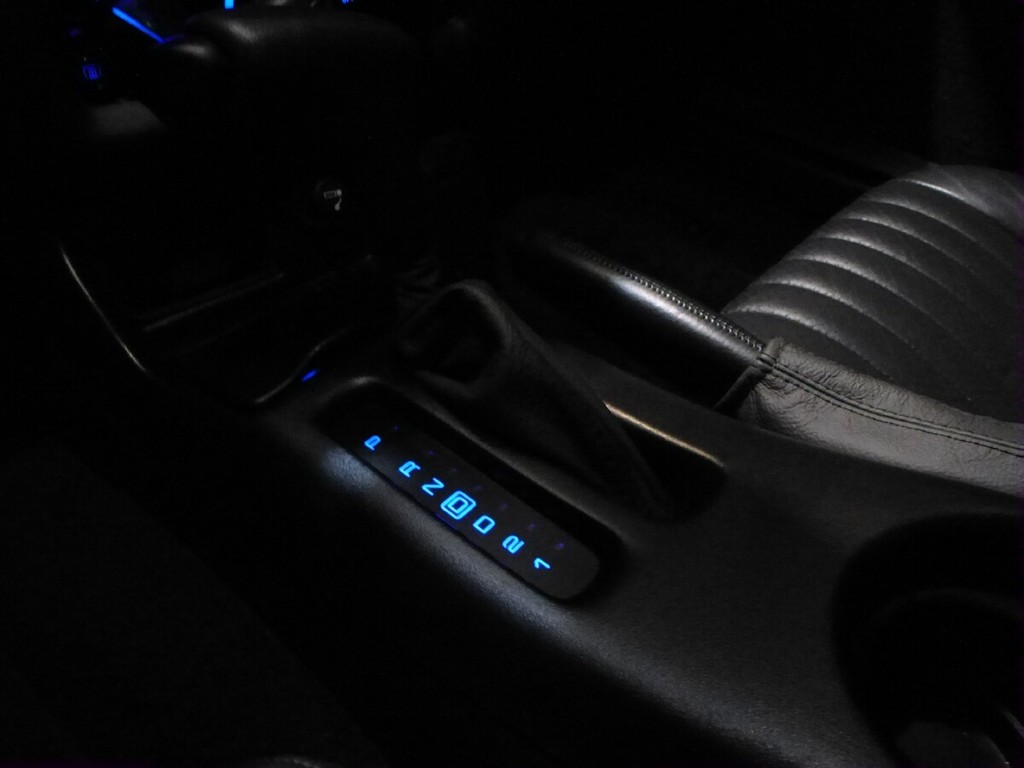
The only thing I MAY change in the future, is going with regular bulbs for the turn signals. At night, they are EXTREMELY bright when they flash.
I put Blue LEDs in the Shift Selector, HVAC, door courtesy lights, and Headlight selector bulbs. I had bought Blue and White for the Gauge Cluster, I ended up going white.
I took this picture just for reference of where the clips are, 4 on the bottom, 2 on top, to connect the lens to the gauge cluster.
And here are some pics of the new lights:
The only thing I MAY change in the future, is going with regular bulbs for the turn signals. At night, they are EXTREMELY bright when they flash.
03-27-2016, 04:19 PM
#36
Staging Lane
Thread Starter
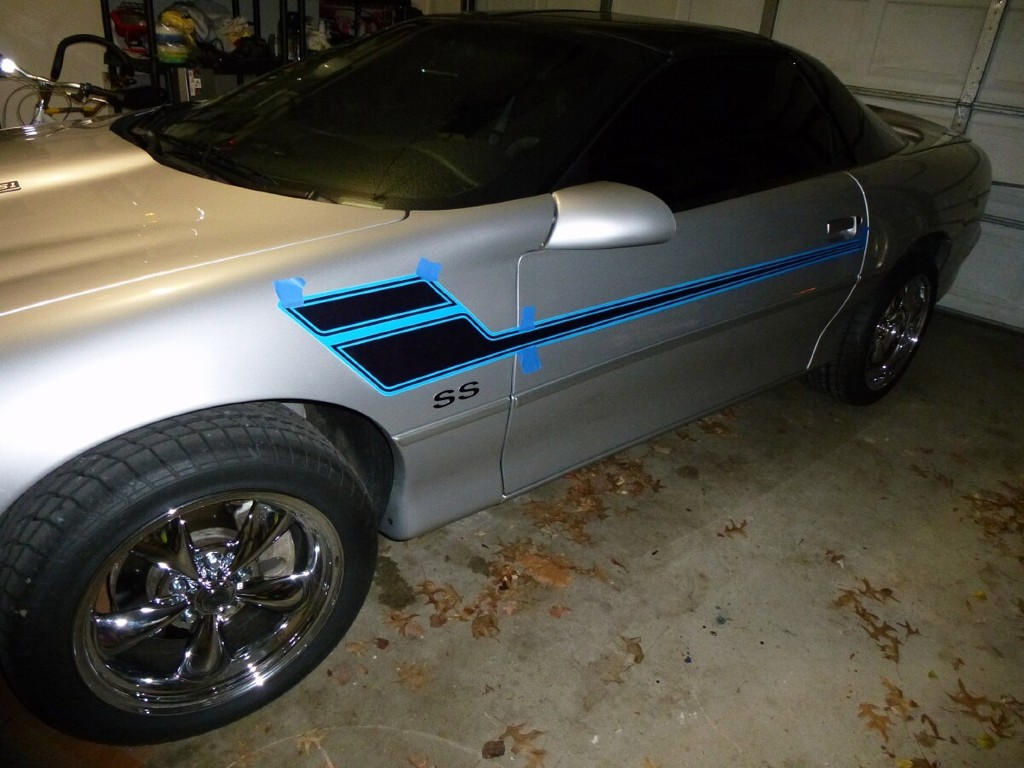
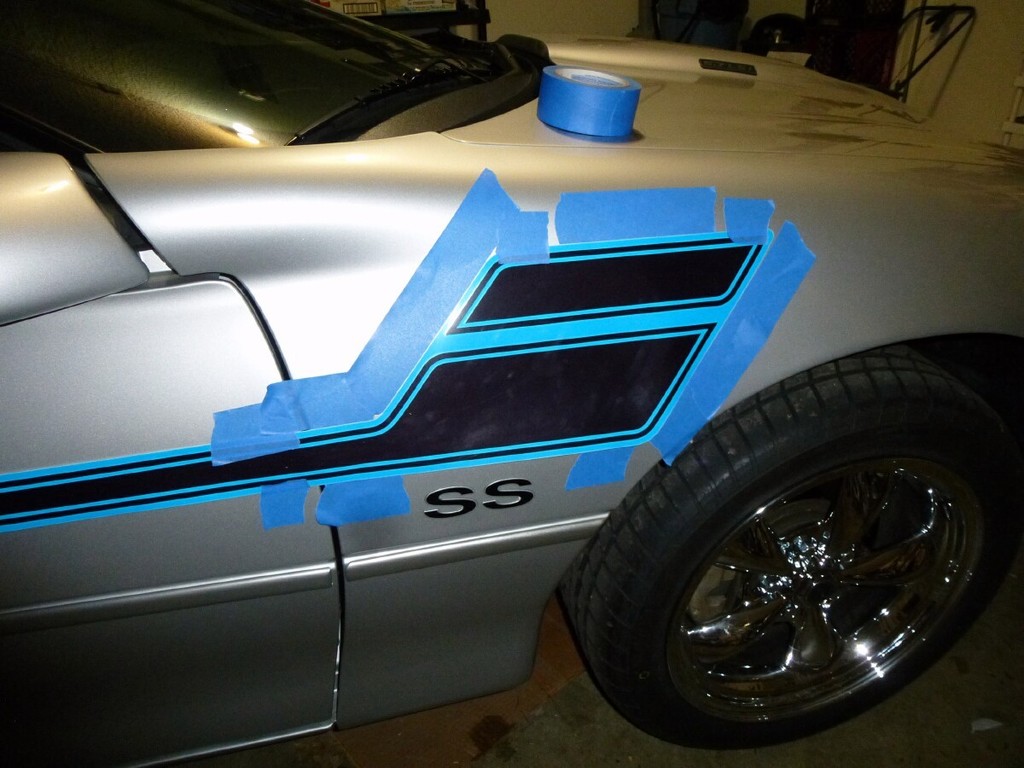
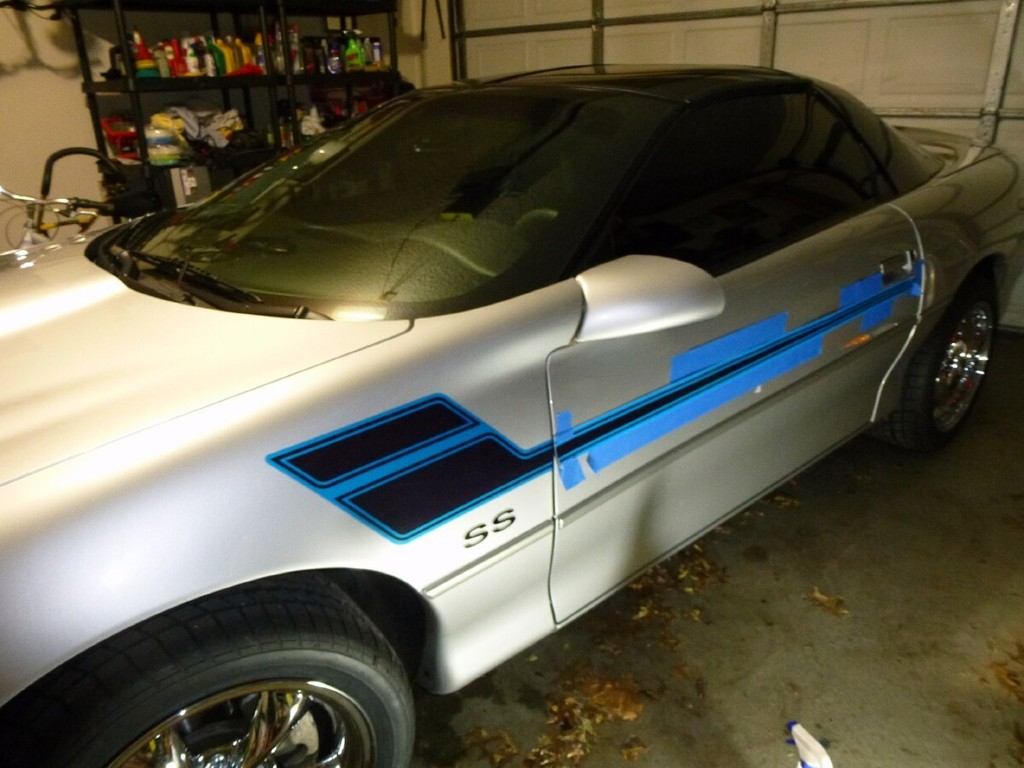
I found some sides stripes that were being sold for 5th Gen Camaros, and decided to buy them hoping they would fit.
With a Heat Gun, the Grand Sport Stripes came right off...
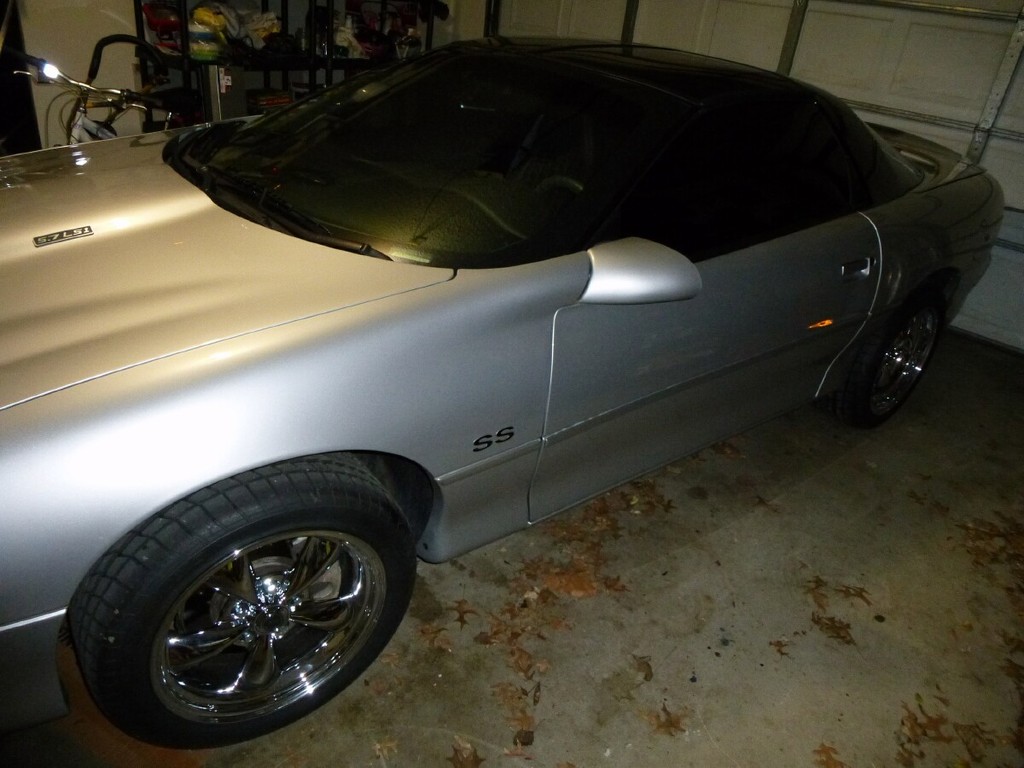
With a Heat Gun, the Grand Sport Stripes came right off...

 06-09-2016, 06:38 PM
#40
Staging Lane
Thread Starter
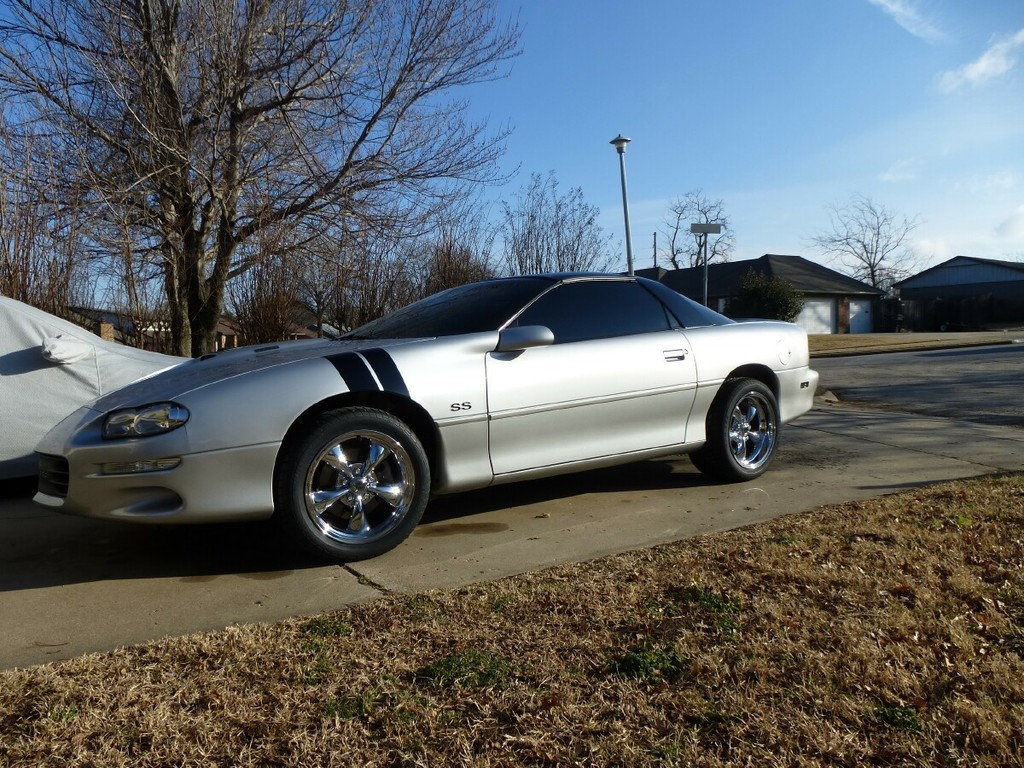
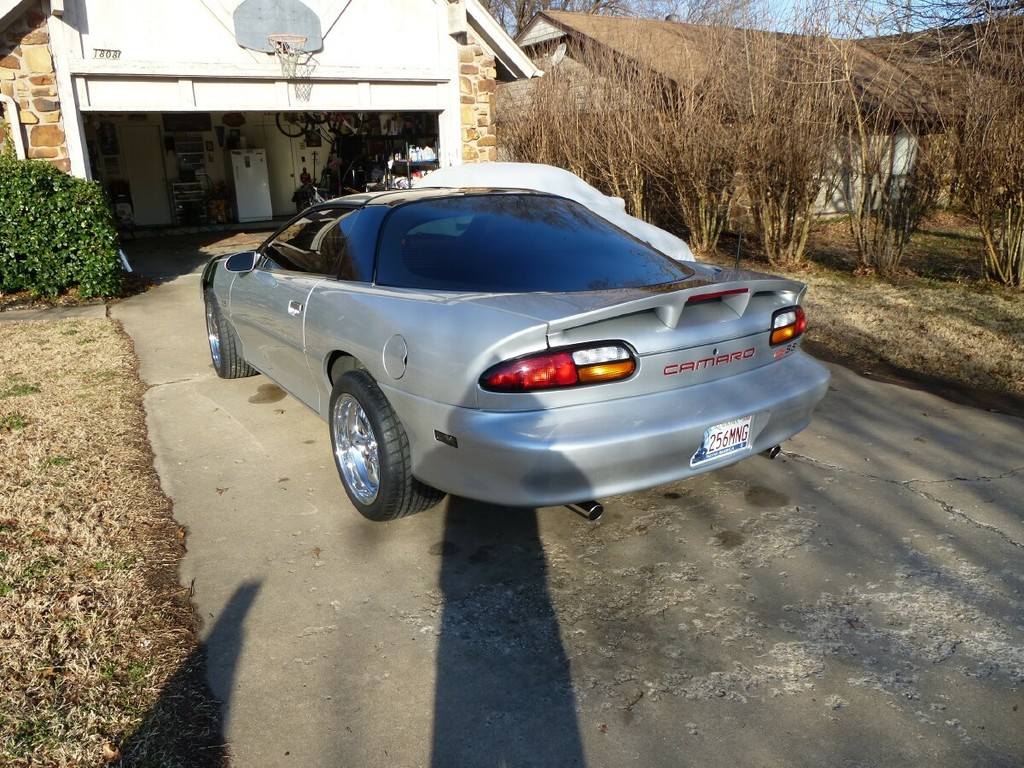
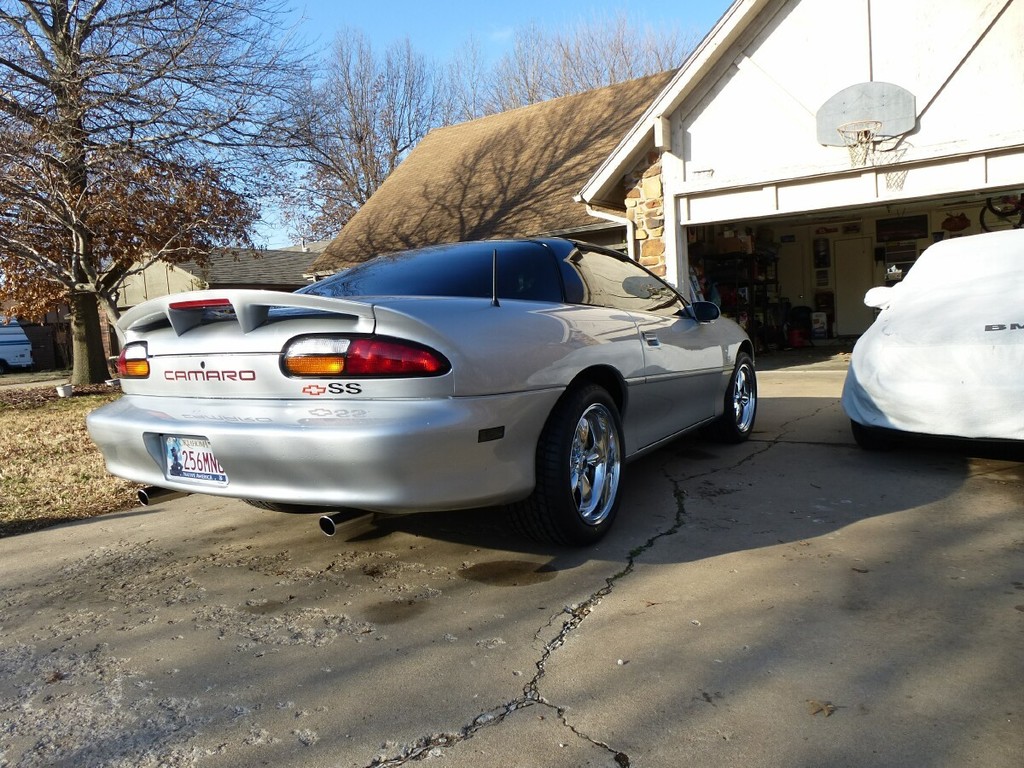
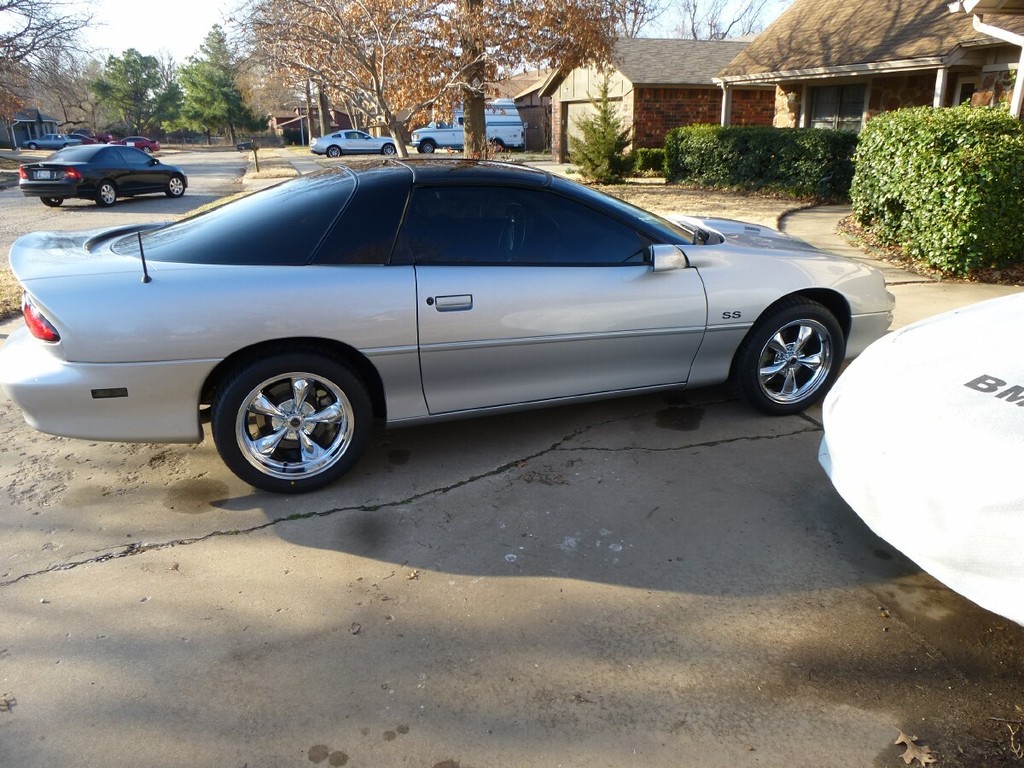
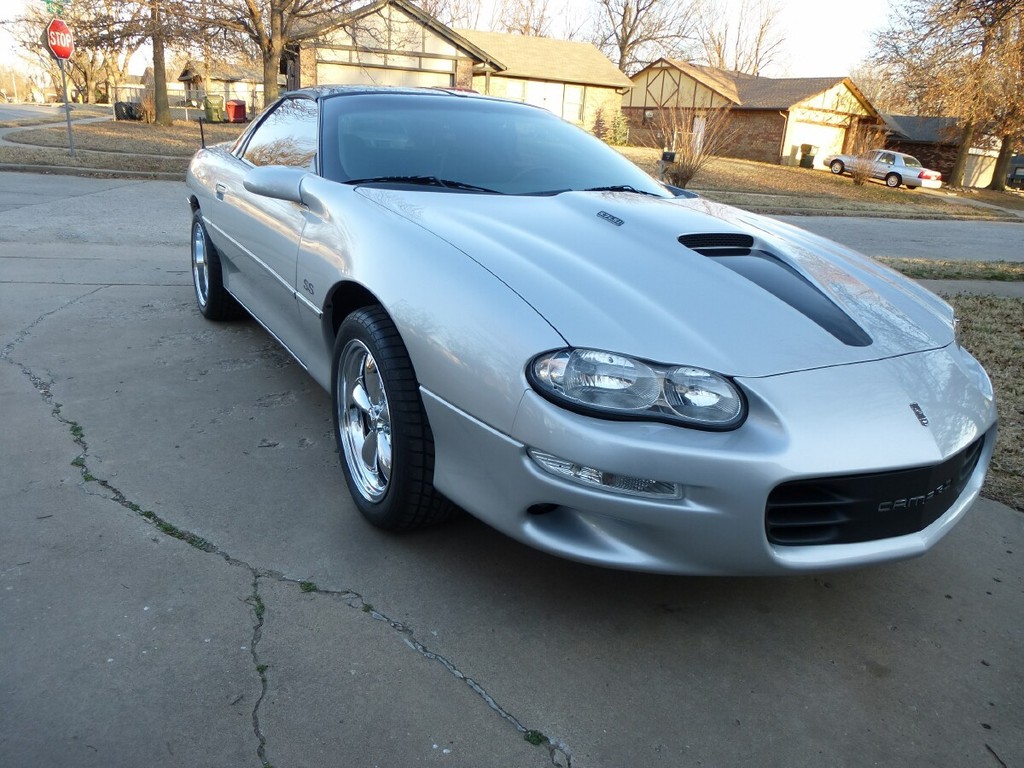
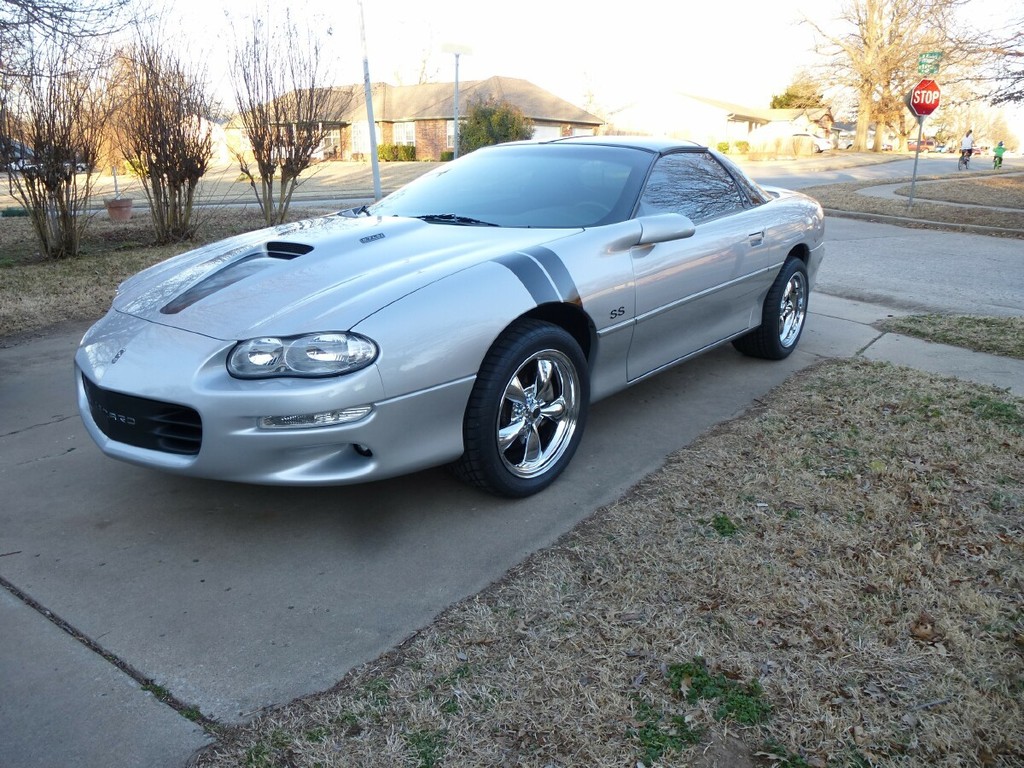
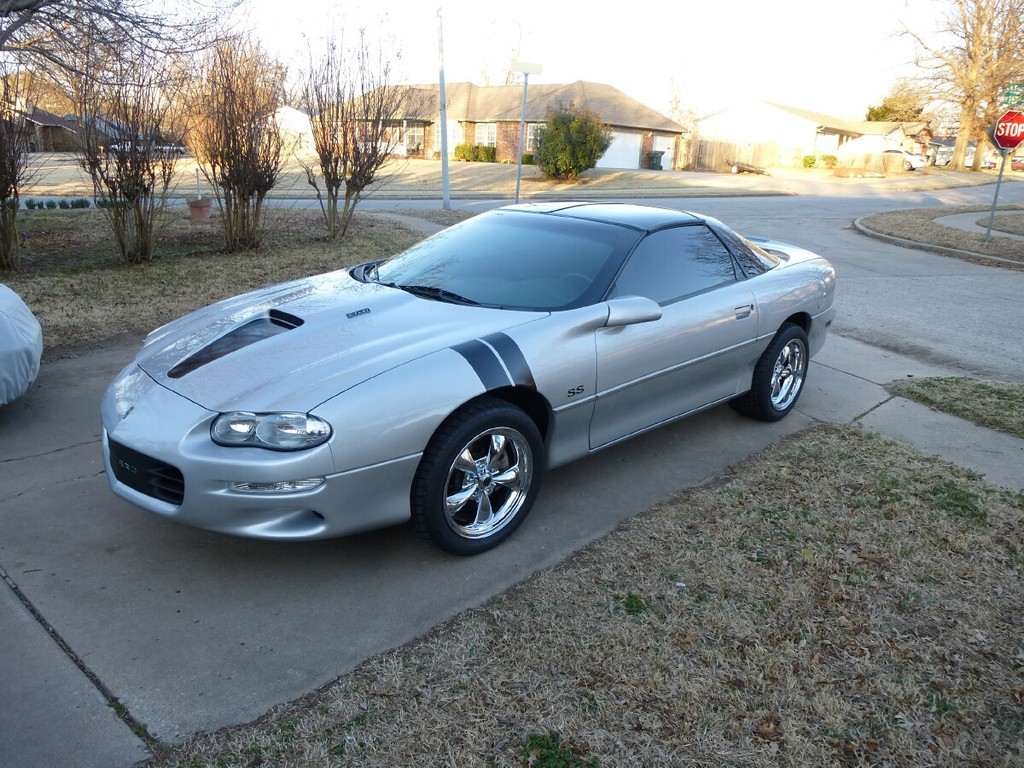
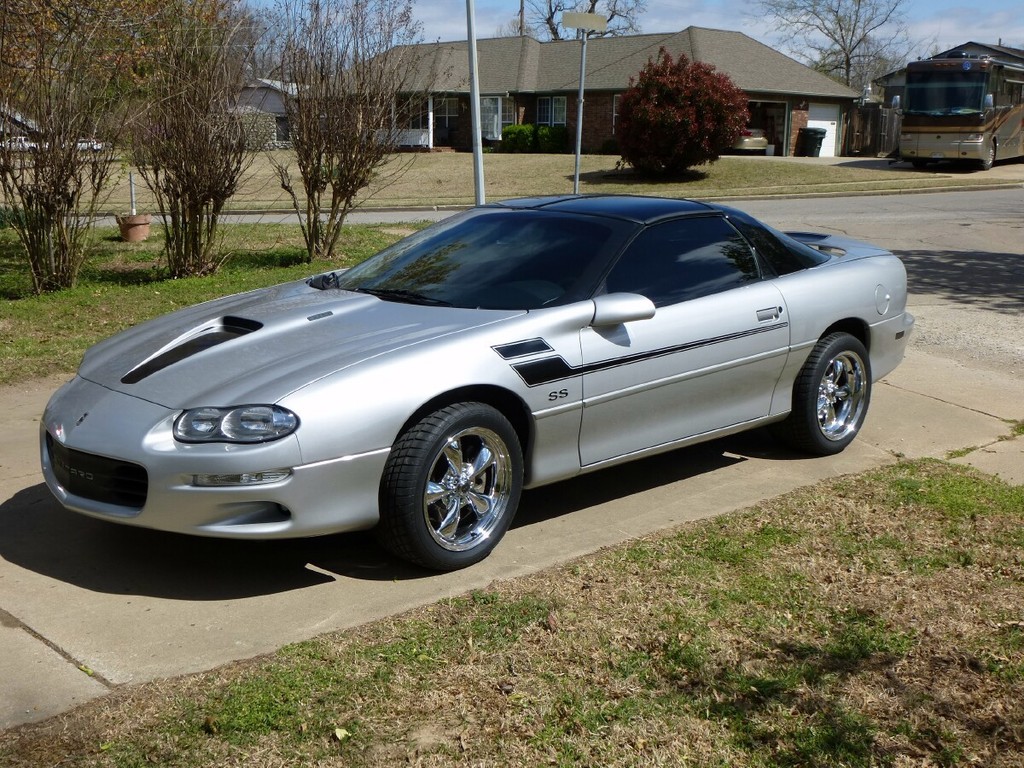
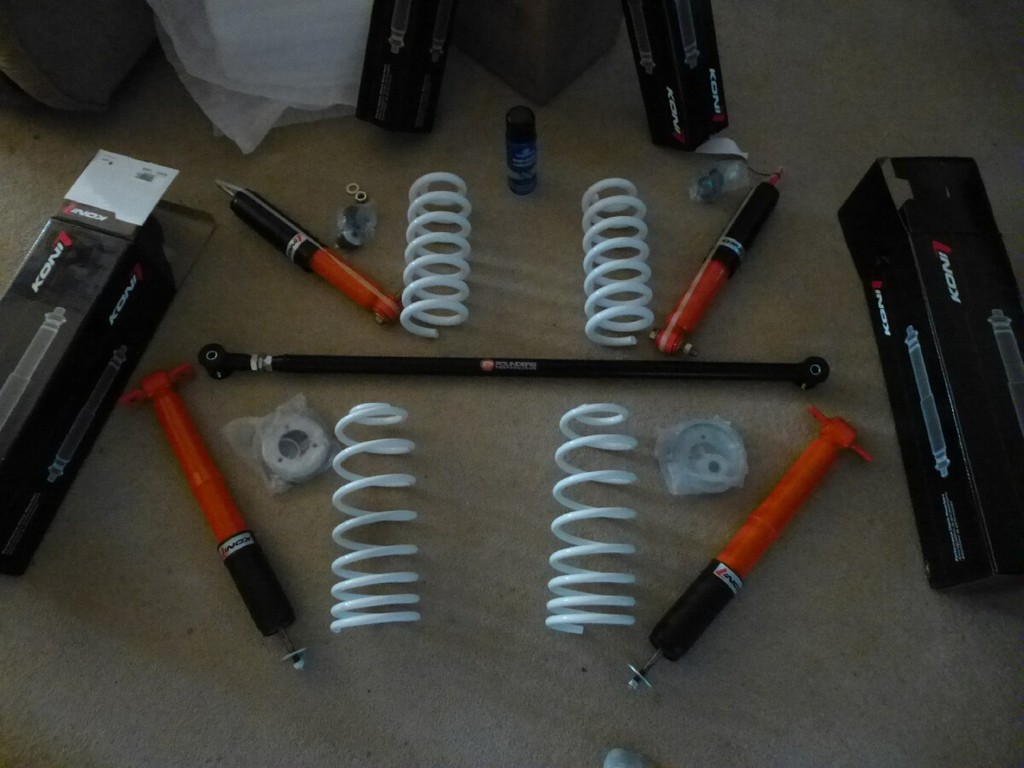
Finally got the Koni shocks, Strano Springs and new panhard bar installed, WOW what a difference! Really tightened it up, and lowered it perfectly.
BEFORE:
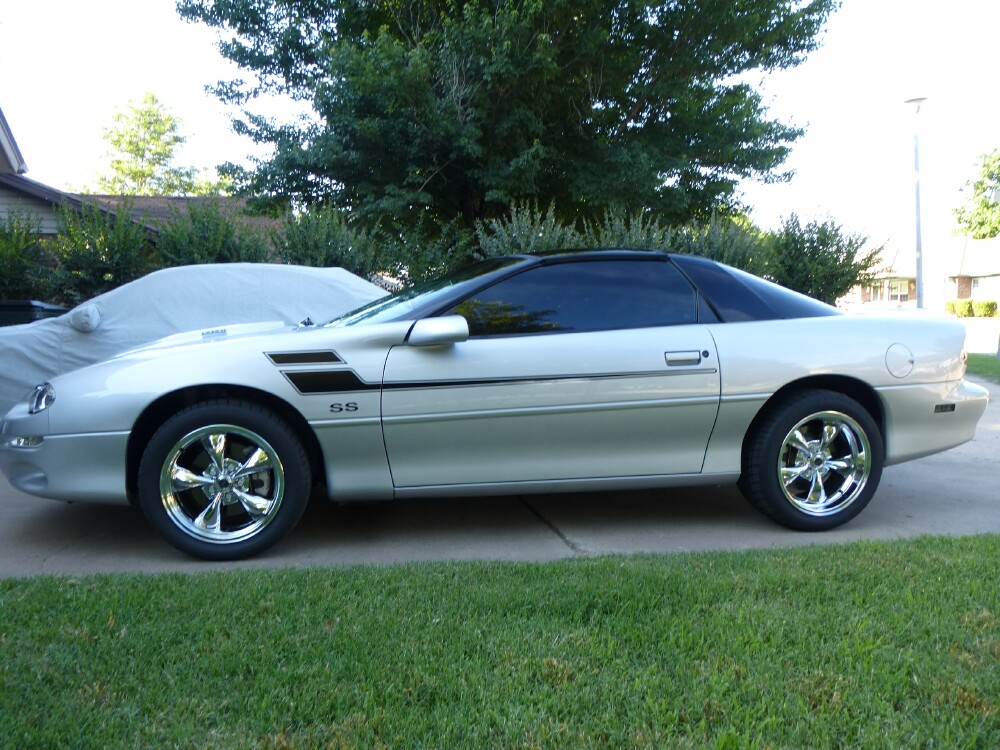
AFTER:
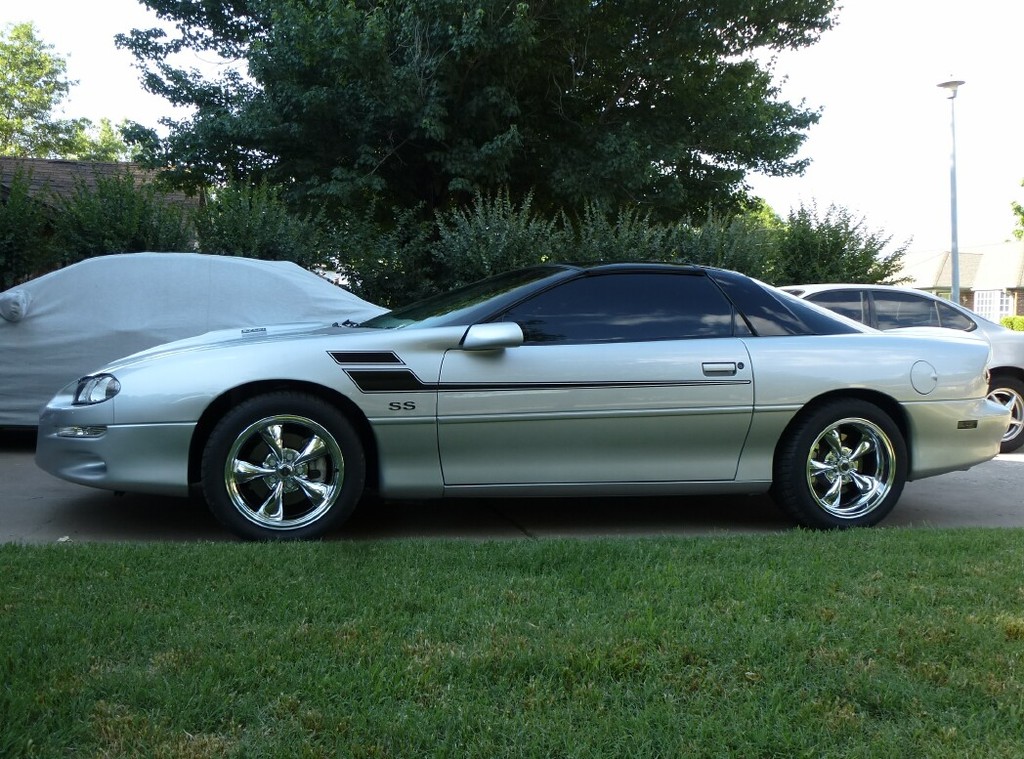
BEFORE:
AFTER:
Last edited by rgCarGuy; 06-09-2016 at 06:46 PM.