When you click on links to various merchants on this site and make a purchase, this can result in this site earning a commission. Affiliate programs and affiliations include, but are not limited to, the eBay Partner Network.
So according to original seller this transmission was recently rebuilt and had 160,000 miles. Was from a 98 car so it still is a Borg Warner. They originally gave me a partial refund when I complained about the 3rd/4th grinding and they told me it would be cheap to fix. Guess I shouldn't of listened to them. Almost all the gears had worn out dog teeth. Still had old non viper spec 2nd gear and aluminum 3rd/4th shift fork. The chewed up keys I found were for 3rd/4th synchronizer.
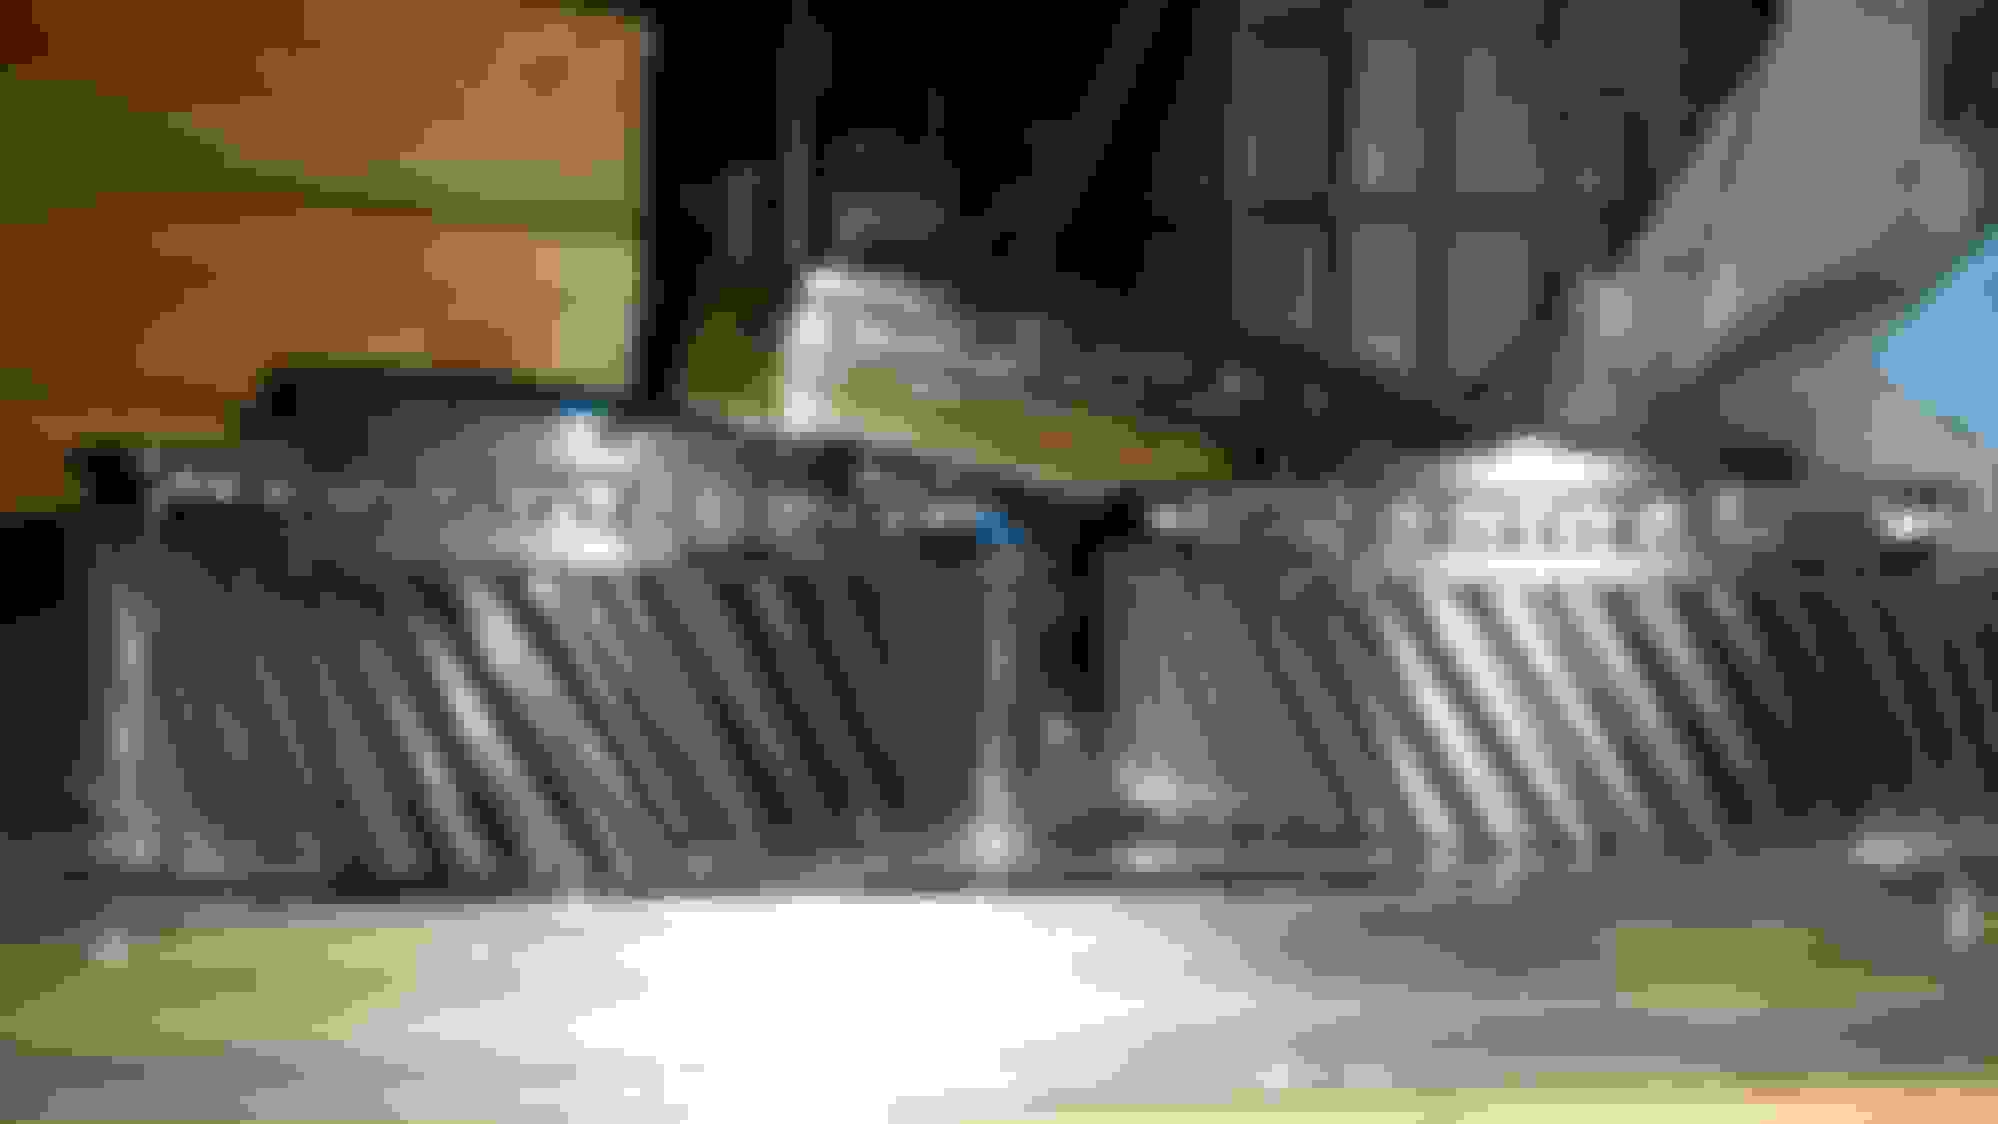
Main shaft removed
New Amp performance viper spec input shaft next to old one. Noticeably thicker.
How i was keeping things organized. Picked these up from tractor supply
Fully stripped
Some examples of worn out dog teeth
New viper spec second gear
Look at those huge teeth
Just a shot inside the tailhousing
New MGW shifter with 16mm threaded shaft
Some new tools. Blind hole puller kit and dial gauge
So I ended up replacing 2nd, 3rd, 4th(input shaft), 5th, and finally reverse gears. Most gears are aftermarket from Superior performance. 3rd gear is genuine Tremec. Also replaced both 1st/2nd and 3rd/4th sychronizers. Also ordered a rebuild kit from Tick consisting of new blocker rings, keys and springs(3rd/4th billet), snap rings, shim kit, all bronze fork pads. Also got replacement magnets.
Decided to replace this bearing as it smelt burnt.
Cleaned up maincase
Case all cleaned up
Checking for endplay
Installing bronze fork pads
Added another tool. lol
This made installing the new synchronizer assemblies a snap. It was a pita trying to tap them on since the new ones fit so snug.
Assembled shift rails/forks
This is how they should look
How the bronze pads look on the synchronizer rings
3rd/4th steel shift fork
Permatex on the main case and front plate. Make sure to put the shift guide pins in right after setting case down
Detent assembly installed
Jackshaft extension installed
Heated up 5th/6th cluster with propane torch for 5-10 minutes. Gear about fell on. Had to tap it the rest of the way.
Absolutely LOVED this thread. Probably the best thread on here TBH... Here is my 1993 z28 I Just finished LS swapping myself! Should have taken pics...
Absolutely LOVED this thread. Probably the best thread on here TBH... Here is my 1993 z28 I Just finished LS swapping myself! Should have taken pics...
Thank you! It means a lot to hear that. I really like how your car turned out! Has it been repainted at one time? It is very clean. Mine looks better in pics then it does in person. I have a bunch of clear coat peeling. Hopefully I will get it fixed in the next couple of months.
Well just finished getting the transmission in last weekend. Been driving the car all week to work. It was very clunky at first, but has smoothened out a lot. Reverse was still giving me issues so I rebleed the clutch and now it works fine. Also I didn't realize this, but Tick recommends removing the clutch pedal spring when installing their master for a better clutch pedal. Wish I would of read the directions better last year when I installed it. lol
Bottom left bolt stripped the aluminum threads out. My mistake as i tightened one bolt before threading the others.
Drilled out for heli coil
Tapped and heli coil installed
Tick bronze busing pressed in
All the switches and solenoids were rusty so i painted them. Didnt turn out too bad
Detent cover plate
Test fitting shifter
Paint came out a little to shiny, but still looks good.
After 30 minutes of wrestling this thing I finally got it to pop into the pilot bearing.
Well changed my oil today and replaced two upstream 02 sensors. I ended up going with Denso. I have had some 02 sensor codes for a while now. I think they may have failed due to my cats coming loose and causing a big exhaust leak. Cleared out the codes with a scanner and hopefully they don't come back.
We'll haven't really told you guys plans for the car. I want to make this a all around performance car. I want it to handle like it is on rails and still be able to keep it straight with a lot of power. I want a high revving N/A motor. So I am staying with stock stroke. Maybe add some nitrous for when I really want to go fast. Looking at building a forged 6.0 or 6.2 at the beginning of next year. Right now I am about to order a racetronix fuel pump upgrade kit with harness. Next up is suspension and a full exhaust system. Planning to go with BMR lowering springs and Koni shocks. Also would like to add the 3-4 way subframe connectors with bigger sway bars. Then for exhaust I am looking at TSP 1 7/8 longtubes mated to the Blackheart exhaust. Plan on swapping to 243 or 799 heads in the next 3-4 months. I also have a MS4 cam on standby.
For staying straight and all the other handling concerns def look into a Watts Link. I have one along with everything else you can think of and it is the heavy hitter of the group for sure*
For staying straight and all the other handling concerns def look into a Watts Link. I have one along with everything else you can think of and it is the heavy hitter of the group for sure*
Yes I have heard good things about them. Have looked at the BMR and Fays2. I might start off with a adjustable panhard bar then upgrade later.
Well got my Racetronix LT1 fuel pump upgrade in the mail yesterday. Kit looks pretty nice. And apparently it comes with the instructions now. I ordered it through Tick Performance and that is why I have the shirt.
Just an FYI on my car for AC I used the LS1 compressor with all of the LT1 lines and it worked no problem. You can attach the factory LT1 line to the back of the LS compressor and it hooked right up. More so for future reference for others since you already went ahead and made lines.
Just an FYI on my car for AC I used the LS1 compressor with all of the LT1 lines and it worked no problem. You can attach the factory LT1 line to the back of the LS compressor and it hooked right up. More so for future reference for others since you already went ahead and made lines.
Yeah I already tried that. Will not work with stock manifolds since they are so thick. The Lt1 lines would not bend enough to clear without damaging the lines. If you are running headers I see this as being no problem. My lines are actually modified LS1 lines with LT1 ends.
Wait you did all that work and didn't put headers on? Broooooo lol. That's the only thing that I did during the swap since its easier to put on when the engine was on the floor.
Wait you did all that work and didn't put headers on? Broooooo lol. That's the only thing that I did during the swap since its easier to put on when the engine was on the floor.
Yeah I know. I tried to save some money for the swap by using my brothers left over manifolds as he has longtubes. I will be pulling my motor back out in about 6 months to swap heads and cam. Building up parts now and headers are on the list. Just picked up this trunion kit.
you quoted someone asking the performance similar to ls1
Oh okay. Wish I had a LQ9 as I had one in my Sierra, but everyone wanted too much for them at the time. Doesn't matter now as I am about to go to a forged 370 bottom end.
 05-10-2016, 09:23 PM