When you click on links to various merchants on this site and make a purchase, this can result in this site earning a commission. Affiliate programs and affiliations include, but are not limited to, the eBay Partner Network.
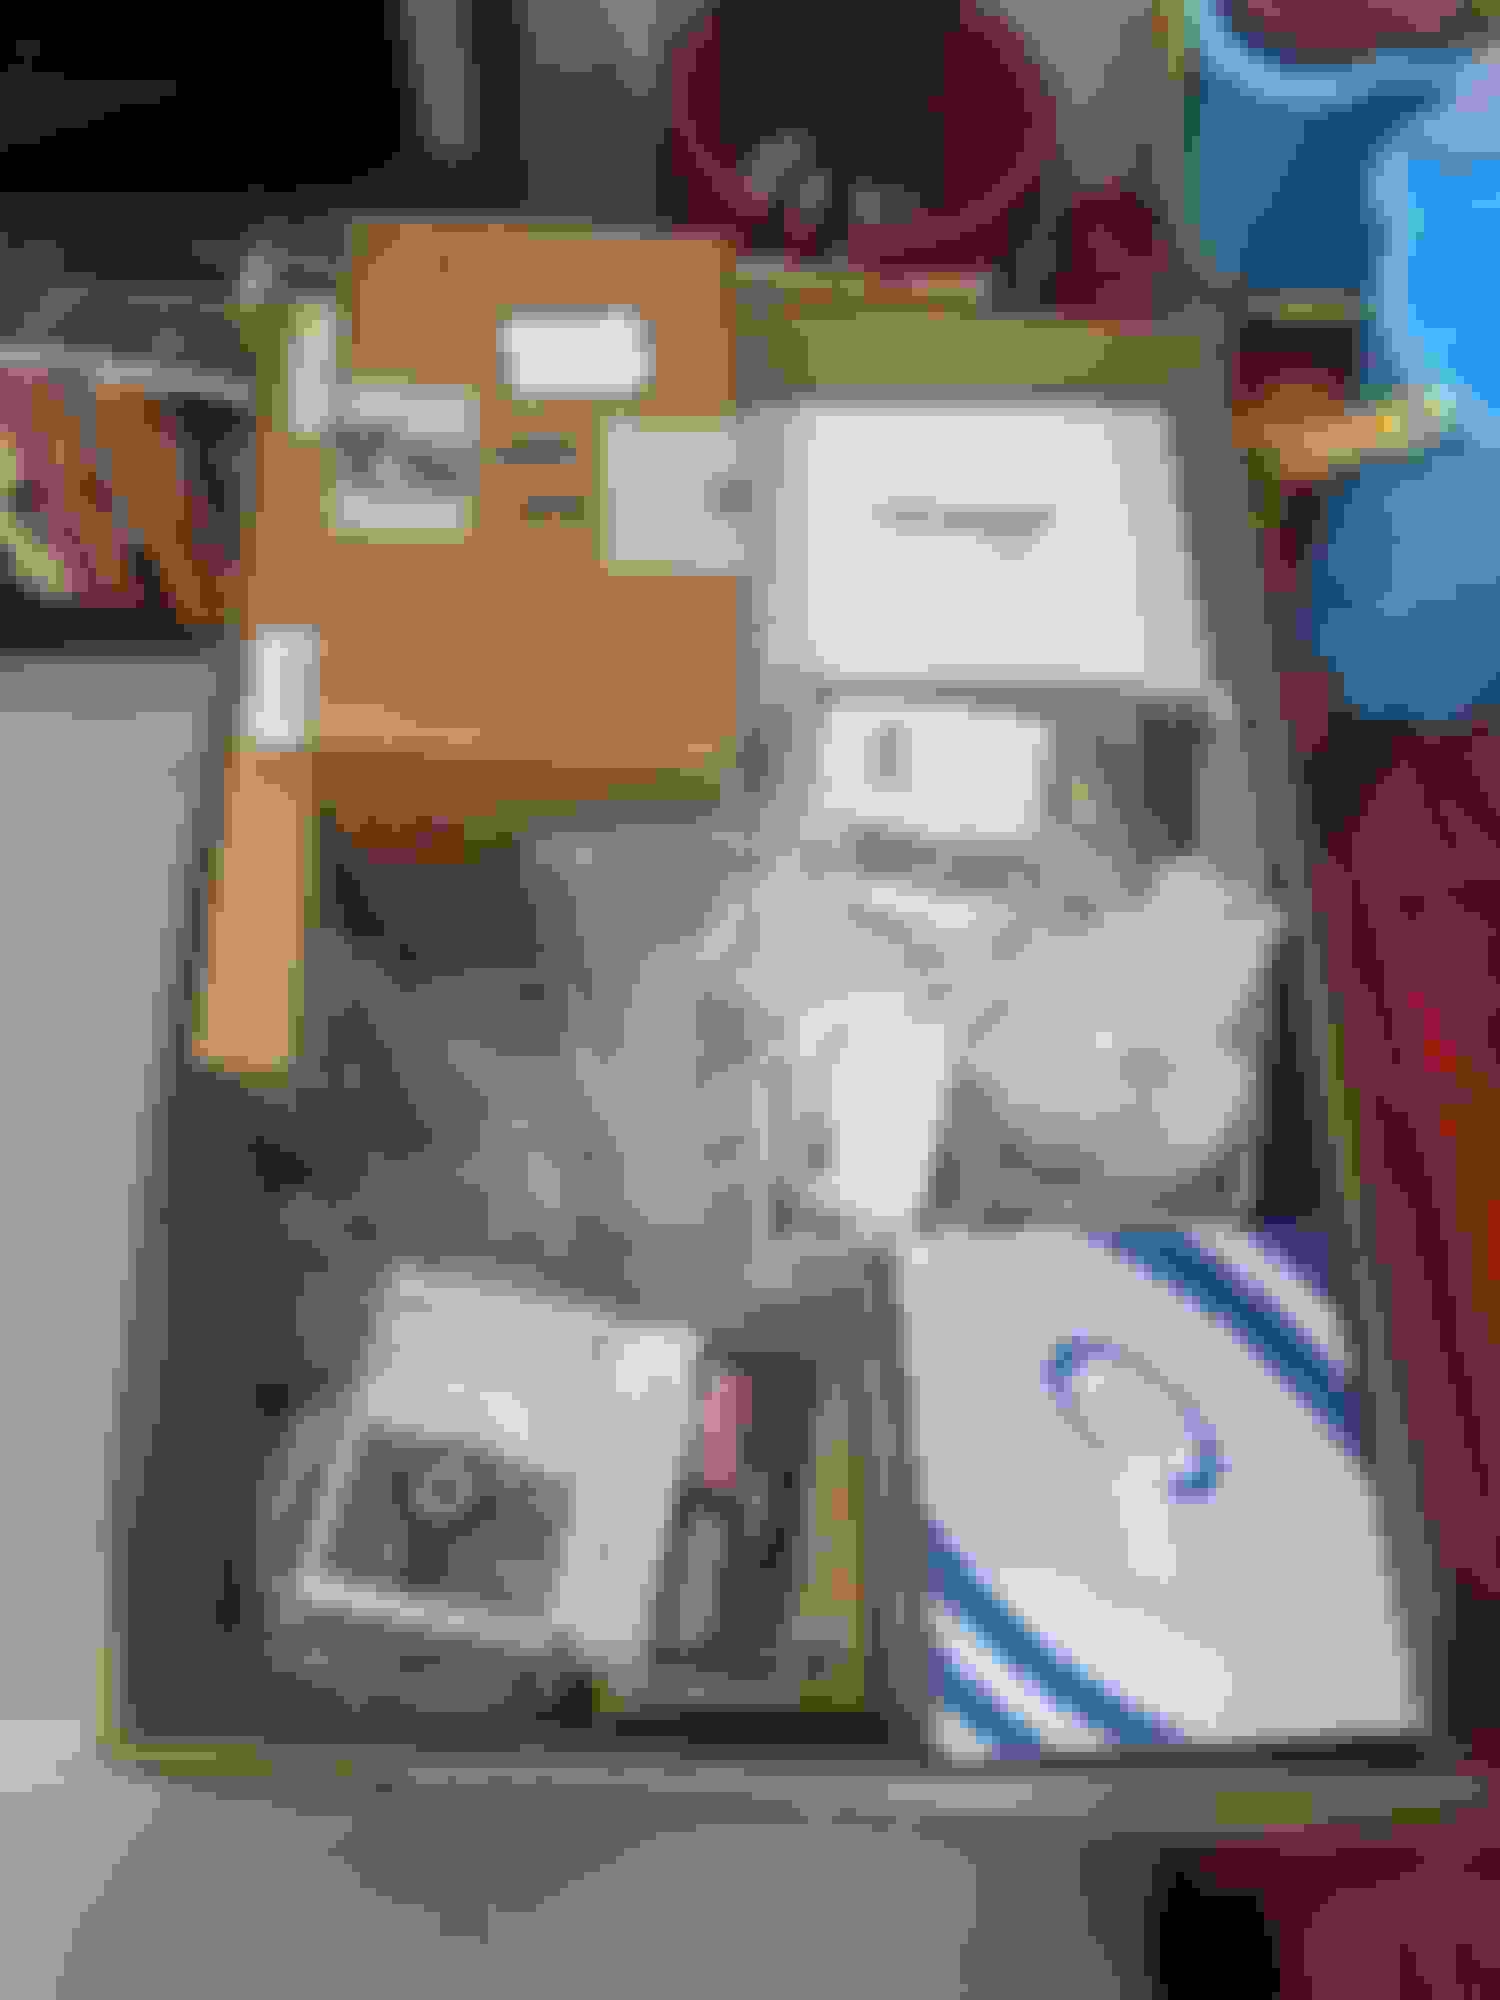
I got the MSD 103mm throttle body, TPS and ICT sensors, racing harnesses, some autometer gauges, wheel hub/bearing assemblies...figured while I had it all apart, might as well start fresh and know she's 100%...a handful of Earl's Plumbing items that I got in order to make a custom 4 corner steam vent kit that works with the MSD Airforce Intake, LS7 MAP sensor...also in box is "Wild" Mighty Mouse catch can kit for f-body, some conversion harnesses for the injectors, etc. Plus, the 100mm MAF from TSP...I'm waiting on the Oil Temp gauge to come in from Autometer and the QA1 DA coil-overs for the front to come from QA1. I went with the 300lb spring rate for the front since I have the heavier LSX iron block...and since it is a street/strip car this was their recommendation to have a good balance of the two different styles of driving.
the last thing I need for the motor I believe are the injectors. Going to run 65 lb/hr flow matched DW LS7 injectors.
Big purchases for the future are twin disk clutch kit with flywheel and the speed bleeder etc. from Tick Perf., BMR SFC's, Quick time bellhousing, Trick Chassis 9", wheels/tires, and QA1 DA coil-overs for the rear.
Thank you for your patronage! We've gone through the whole thread. We like the way you are tackling this. Keep up the great work and keep those updates coming!
I wanted to say thanks again to Summit and QA1 for accommodating me so easily. I placed an order for the QA1 coil over kit for my car which would ship from QA1 directly. I called QA1 to get an ETA because I'm a mirco manager like that...and QA1 was able to let me know the springs were what was holding it up...it was going to be over 2 weeks just to get the springs in. They let me know that Summit could break up the kit and I could get springs and struts separately and this would expedite the process...They checked Summit's website (as did I) and they had the springs in stock. I was able to get my order updated to have Summit ship my springs and then QA1 would fulfill the strut order. Definitely something to keep in mind as we navigate part delays etc. If it's a kit, look at buying the parts individually if you are in rush. While it's true I'm not in a rush, I didn't mind paying a few bucks more to not have to wait so long...if not longer.
QA1, Summit...Keep killin it with the customer service. Much appreciated.
Further, I'm excited to post pictures when they come in... I'll have the entire front suspension ready to install...and I can put my front wheels back on
Thanks to everyone who has checked out this thread. I find it pretty cool seeing the number of views rise.
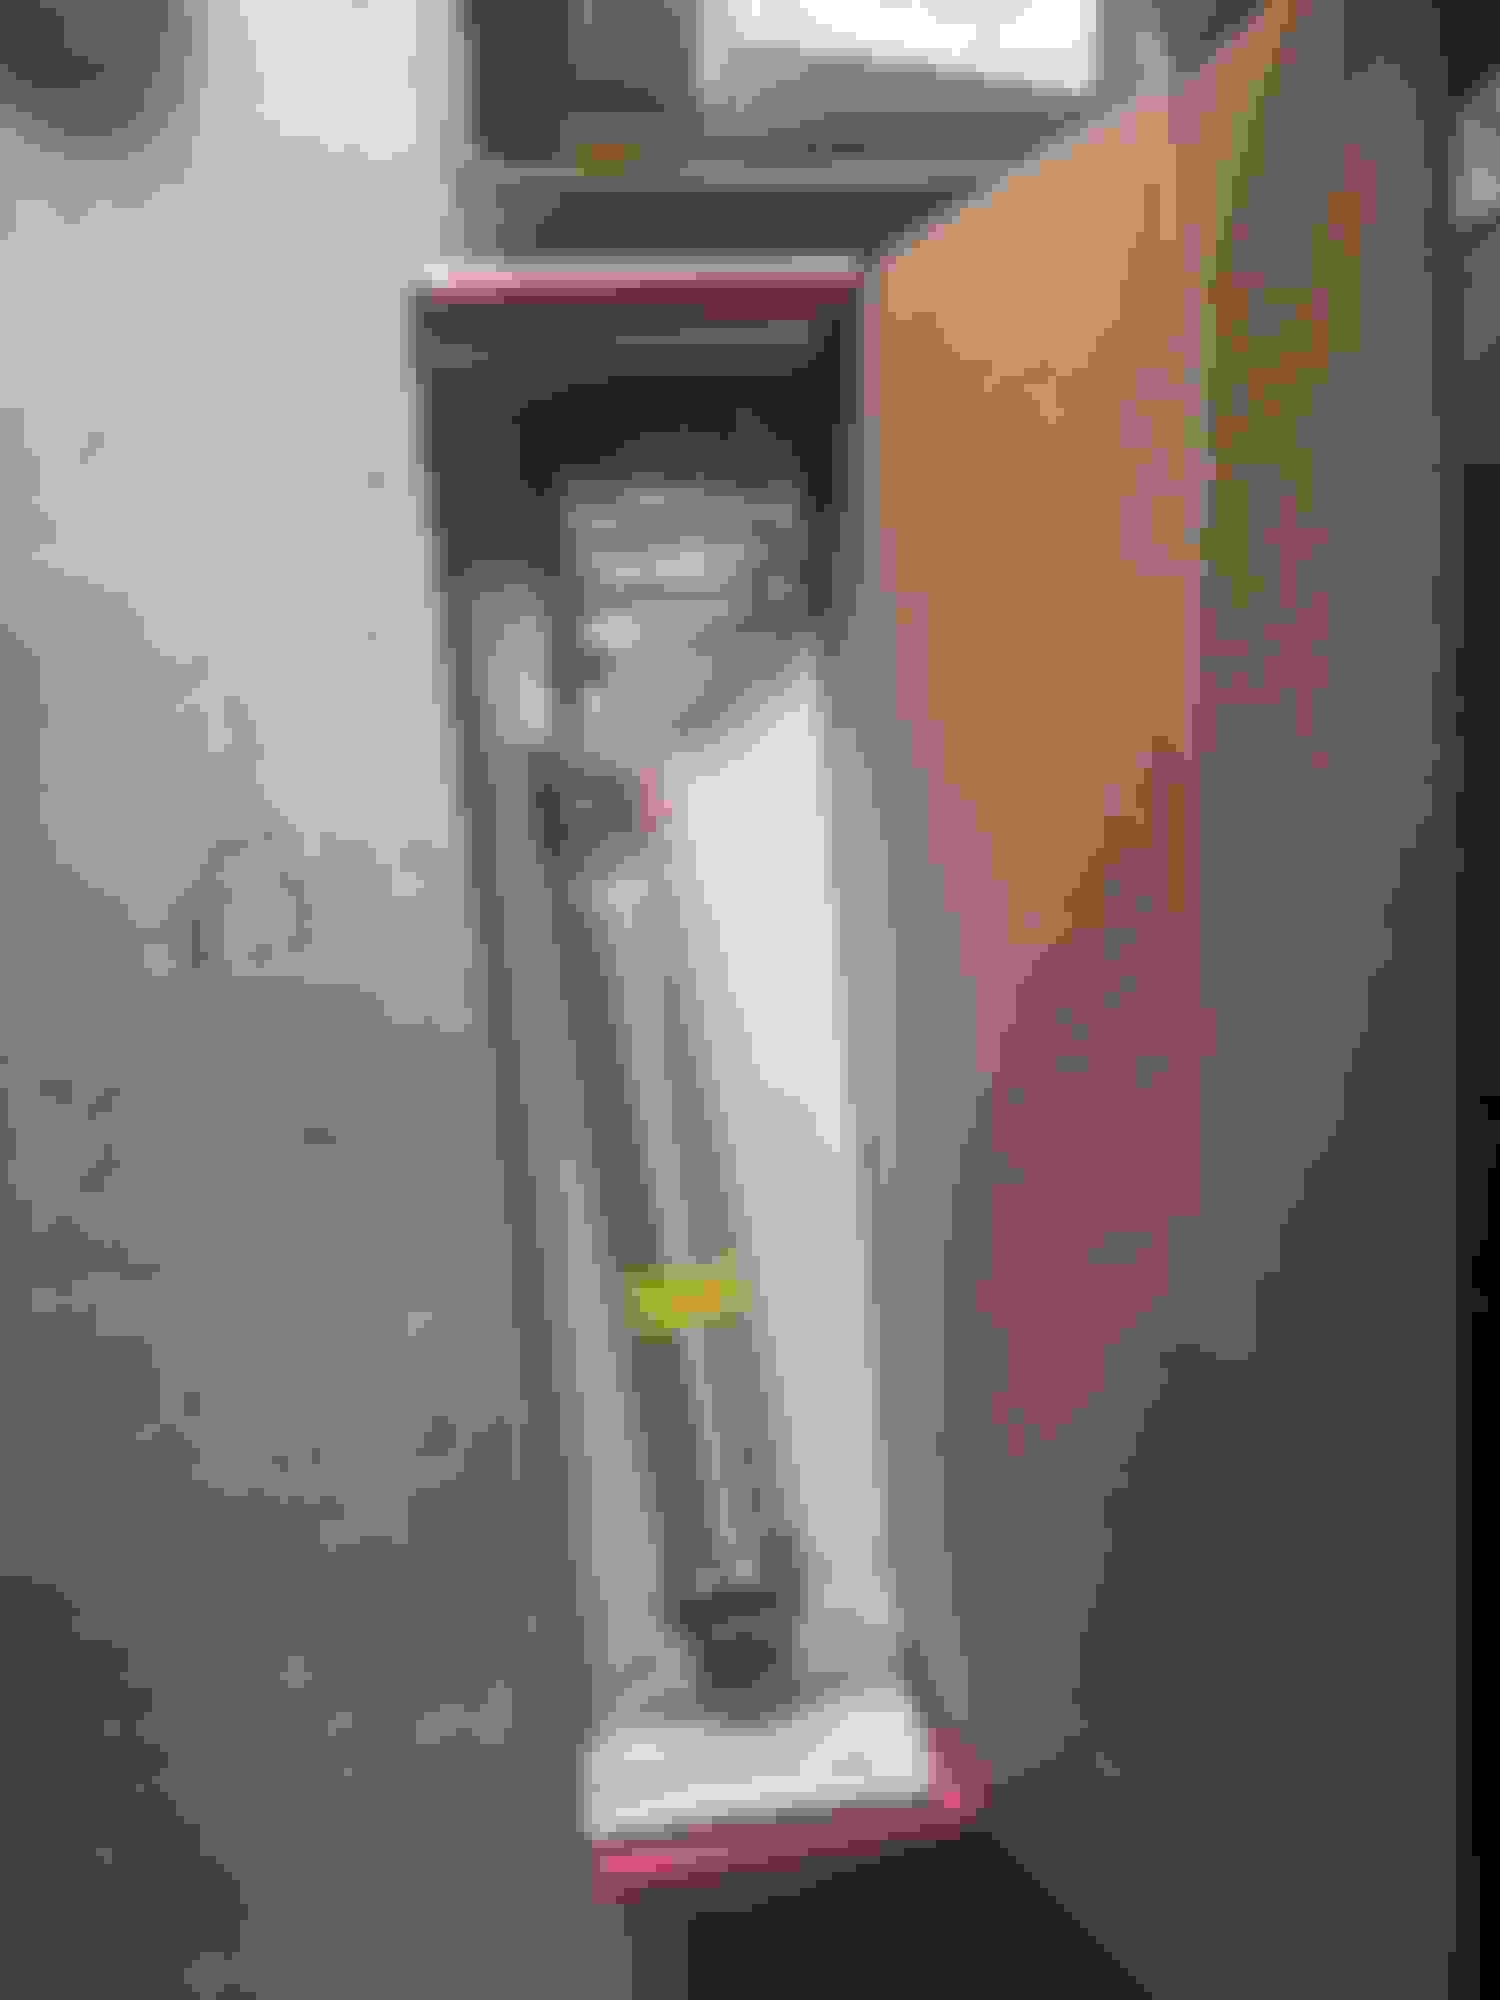
On another note, I got my steering knuckles hung up in my shed using some bailing wire so I can get them painted.
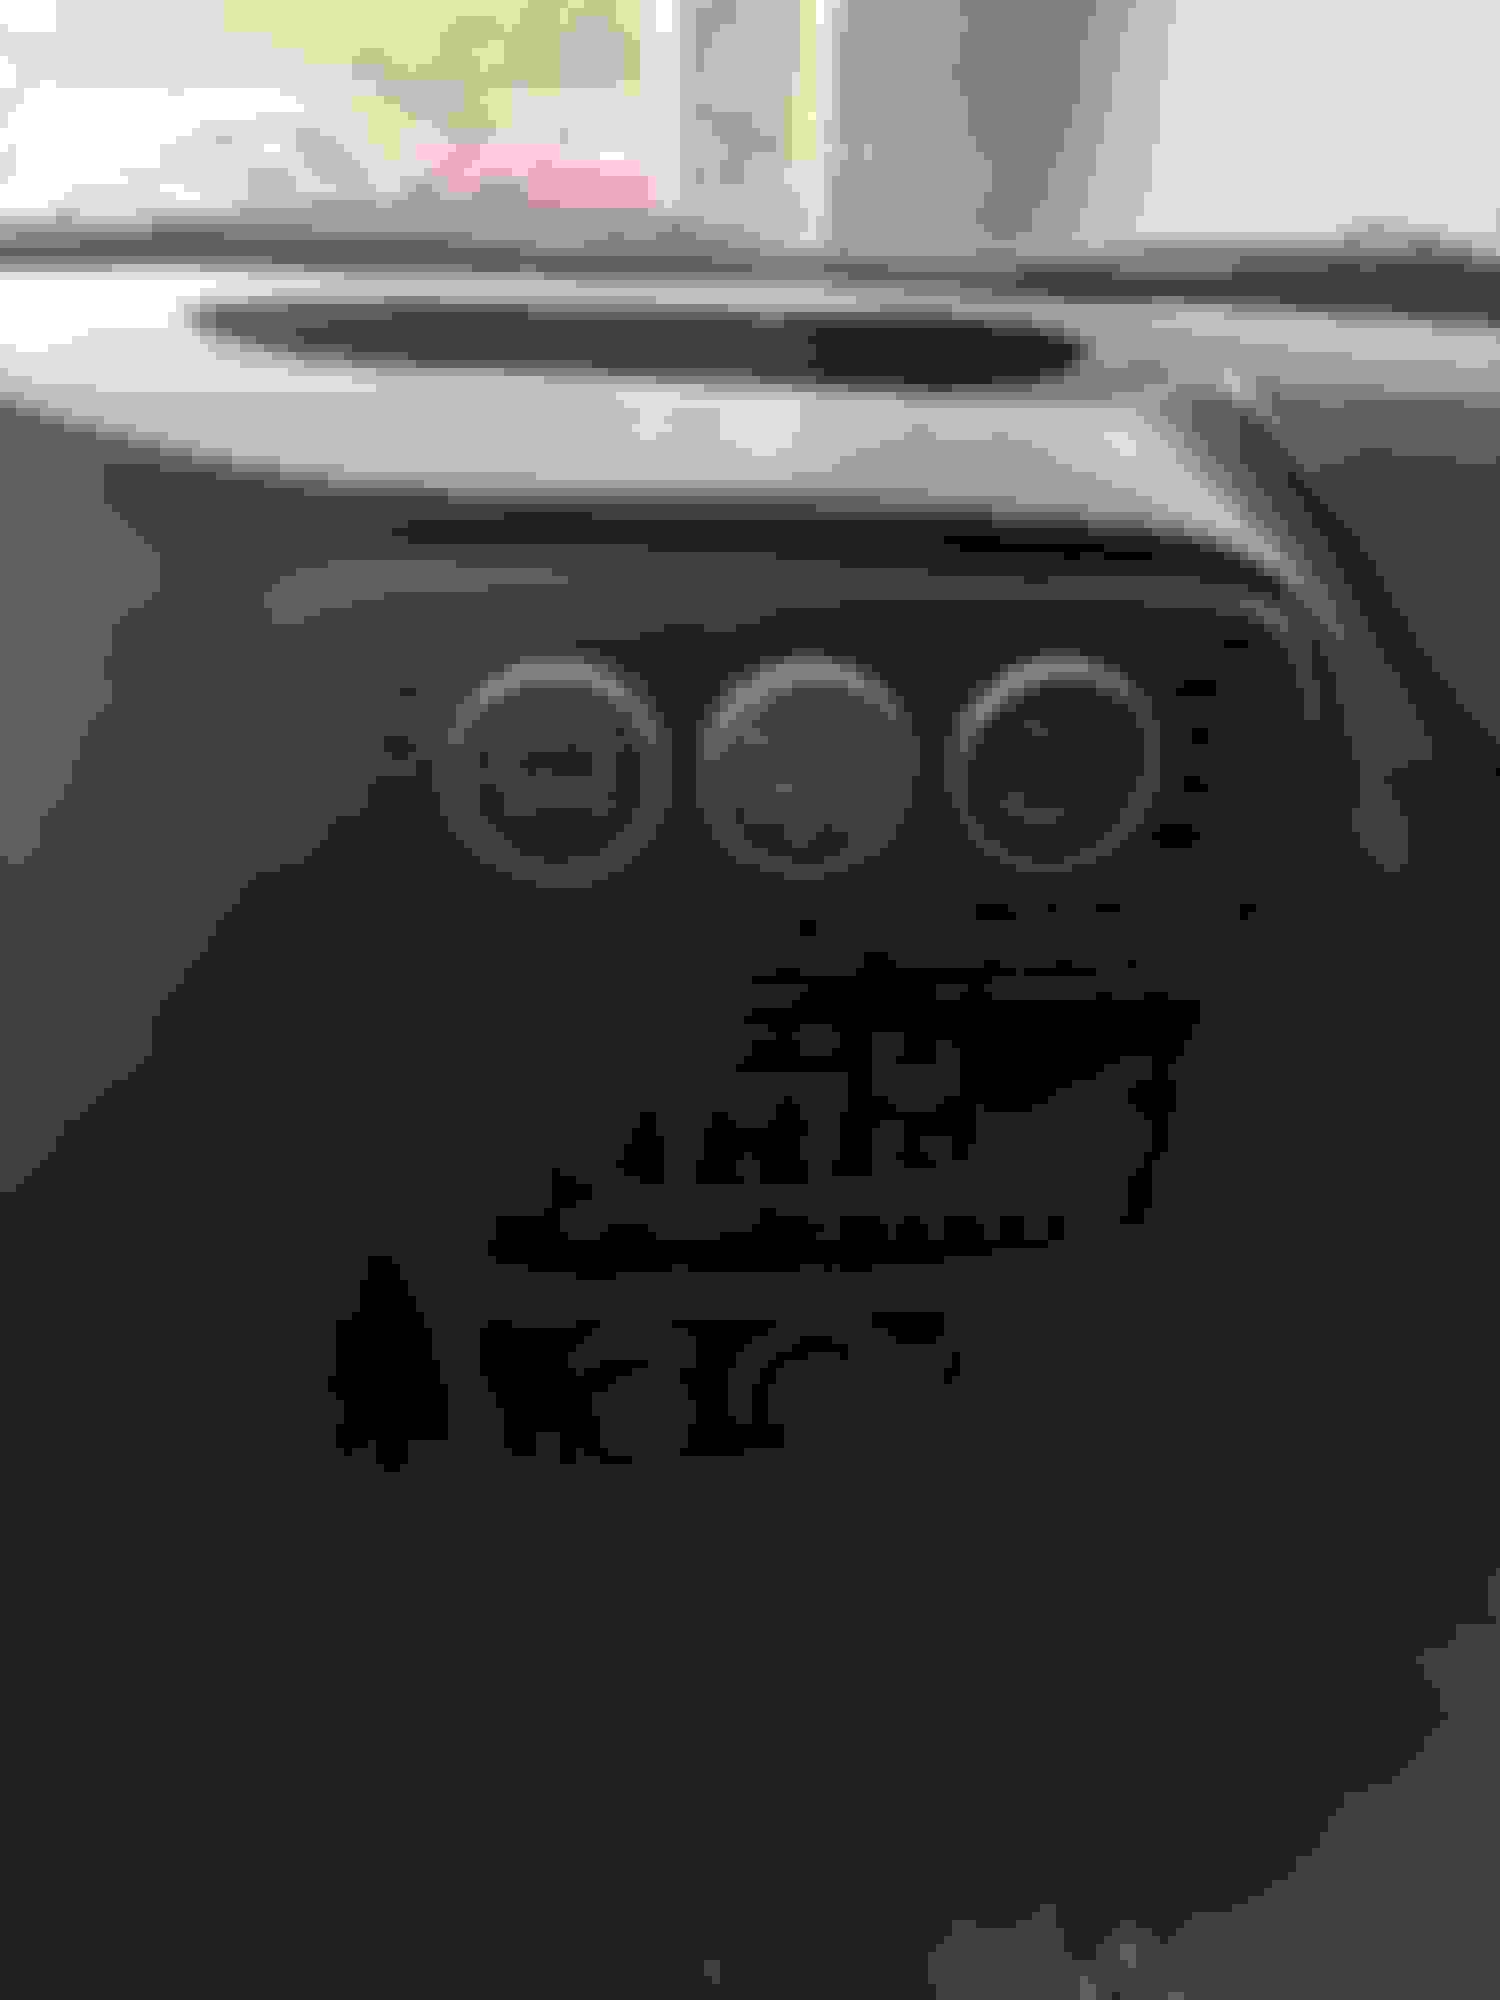
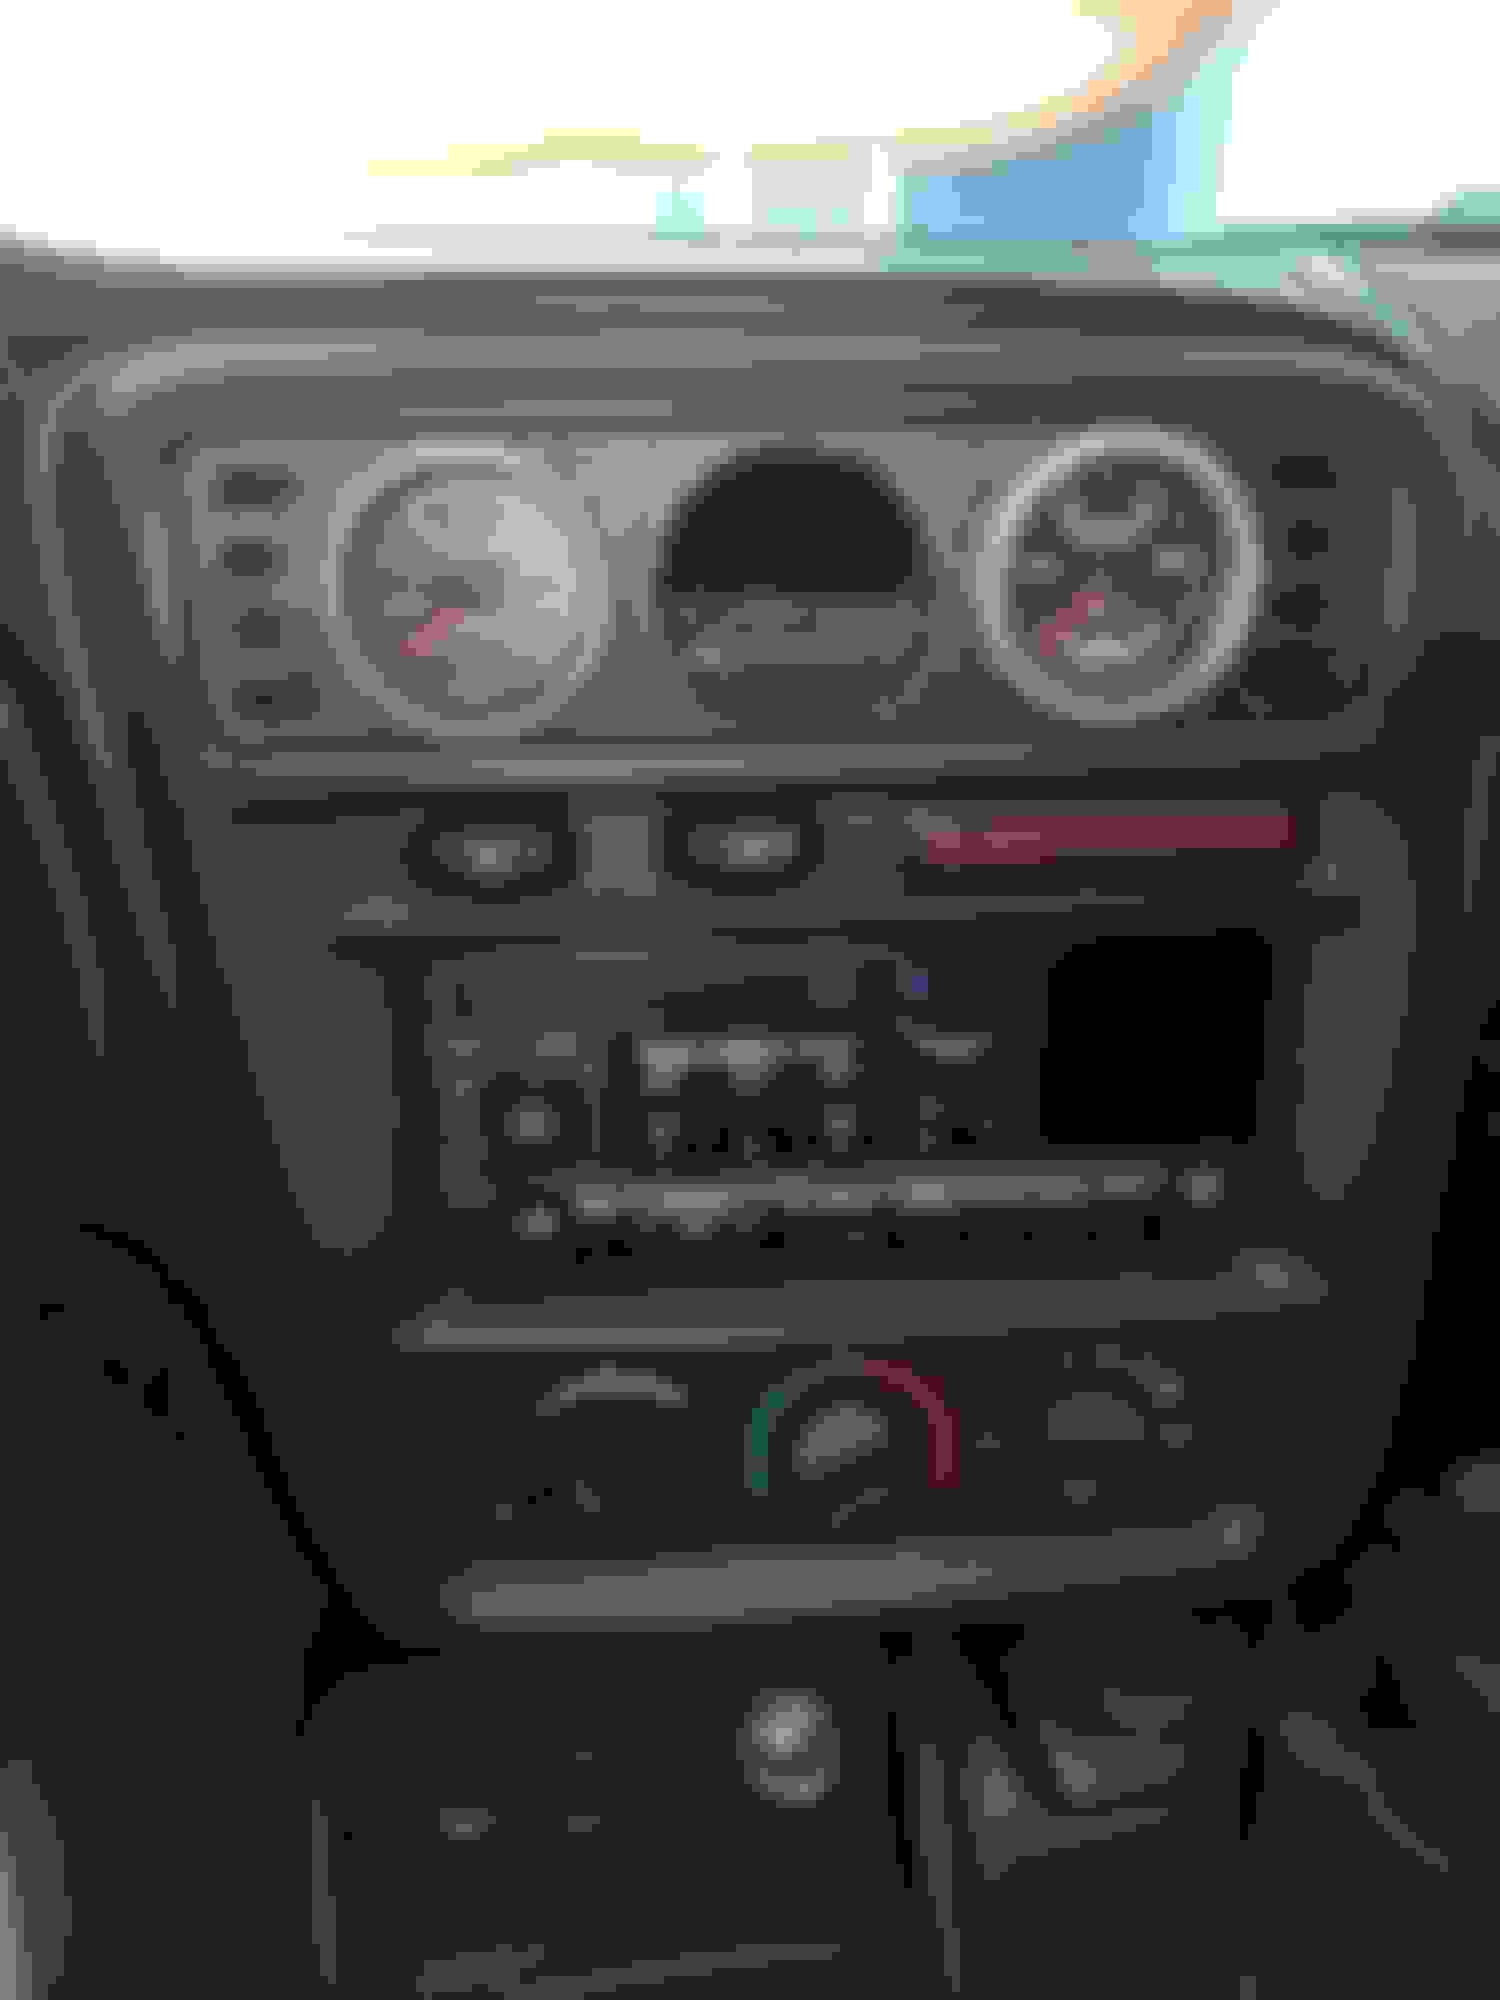
I'm waiting to get the Oil Temp gauge from Autometer but just wanted to get the gauges in/mocked up. They OT gauge will go in the center hole. Once I'm done cleaning engine bay I'll work on wiring them ...I hate wiring btw...but love how they look. Sport Comp 2's gauges. Now to mail off my box tops and get my Autometer refund refund.
Gonna work on removing the stock tank/fuel rails and also paint my steering knuckles this weekend...along with some yard work unfortunately 🙈 stupid grass 😂 Fuel P, Oil P, and shift light Wide band, empty for OT, and water temp Side shot of new gauges
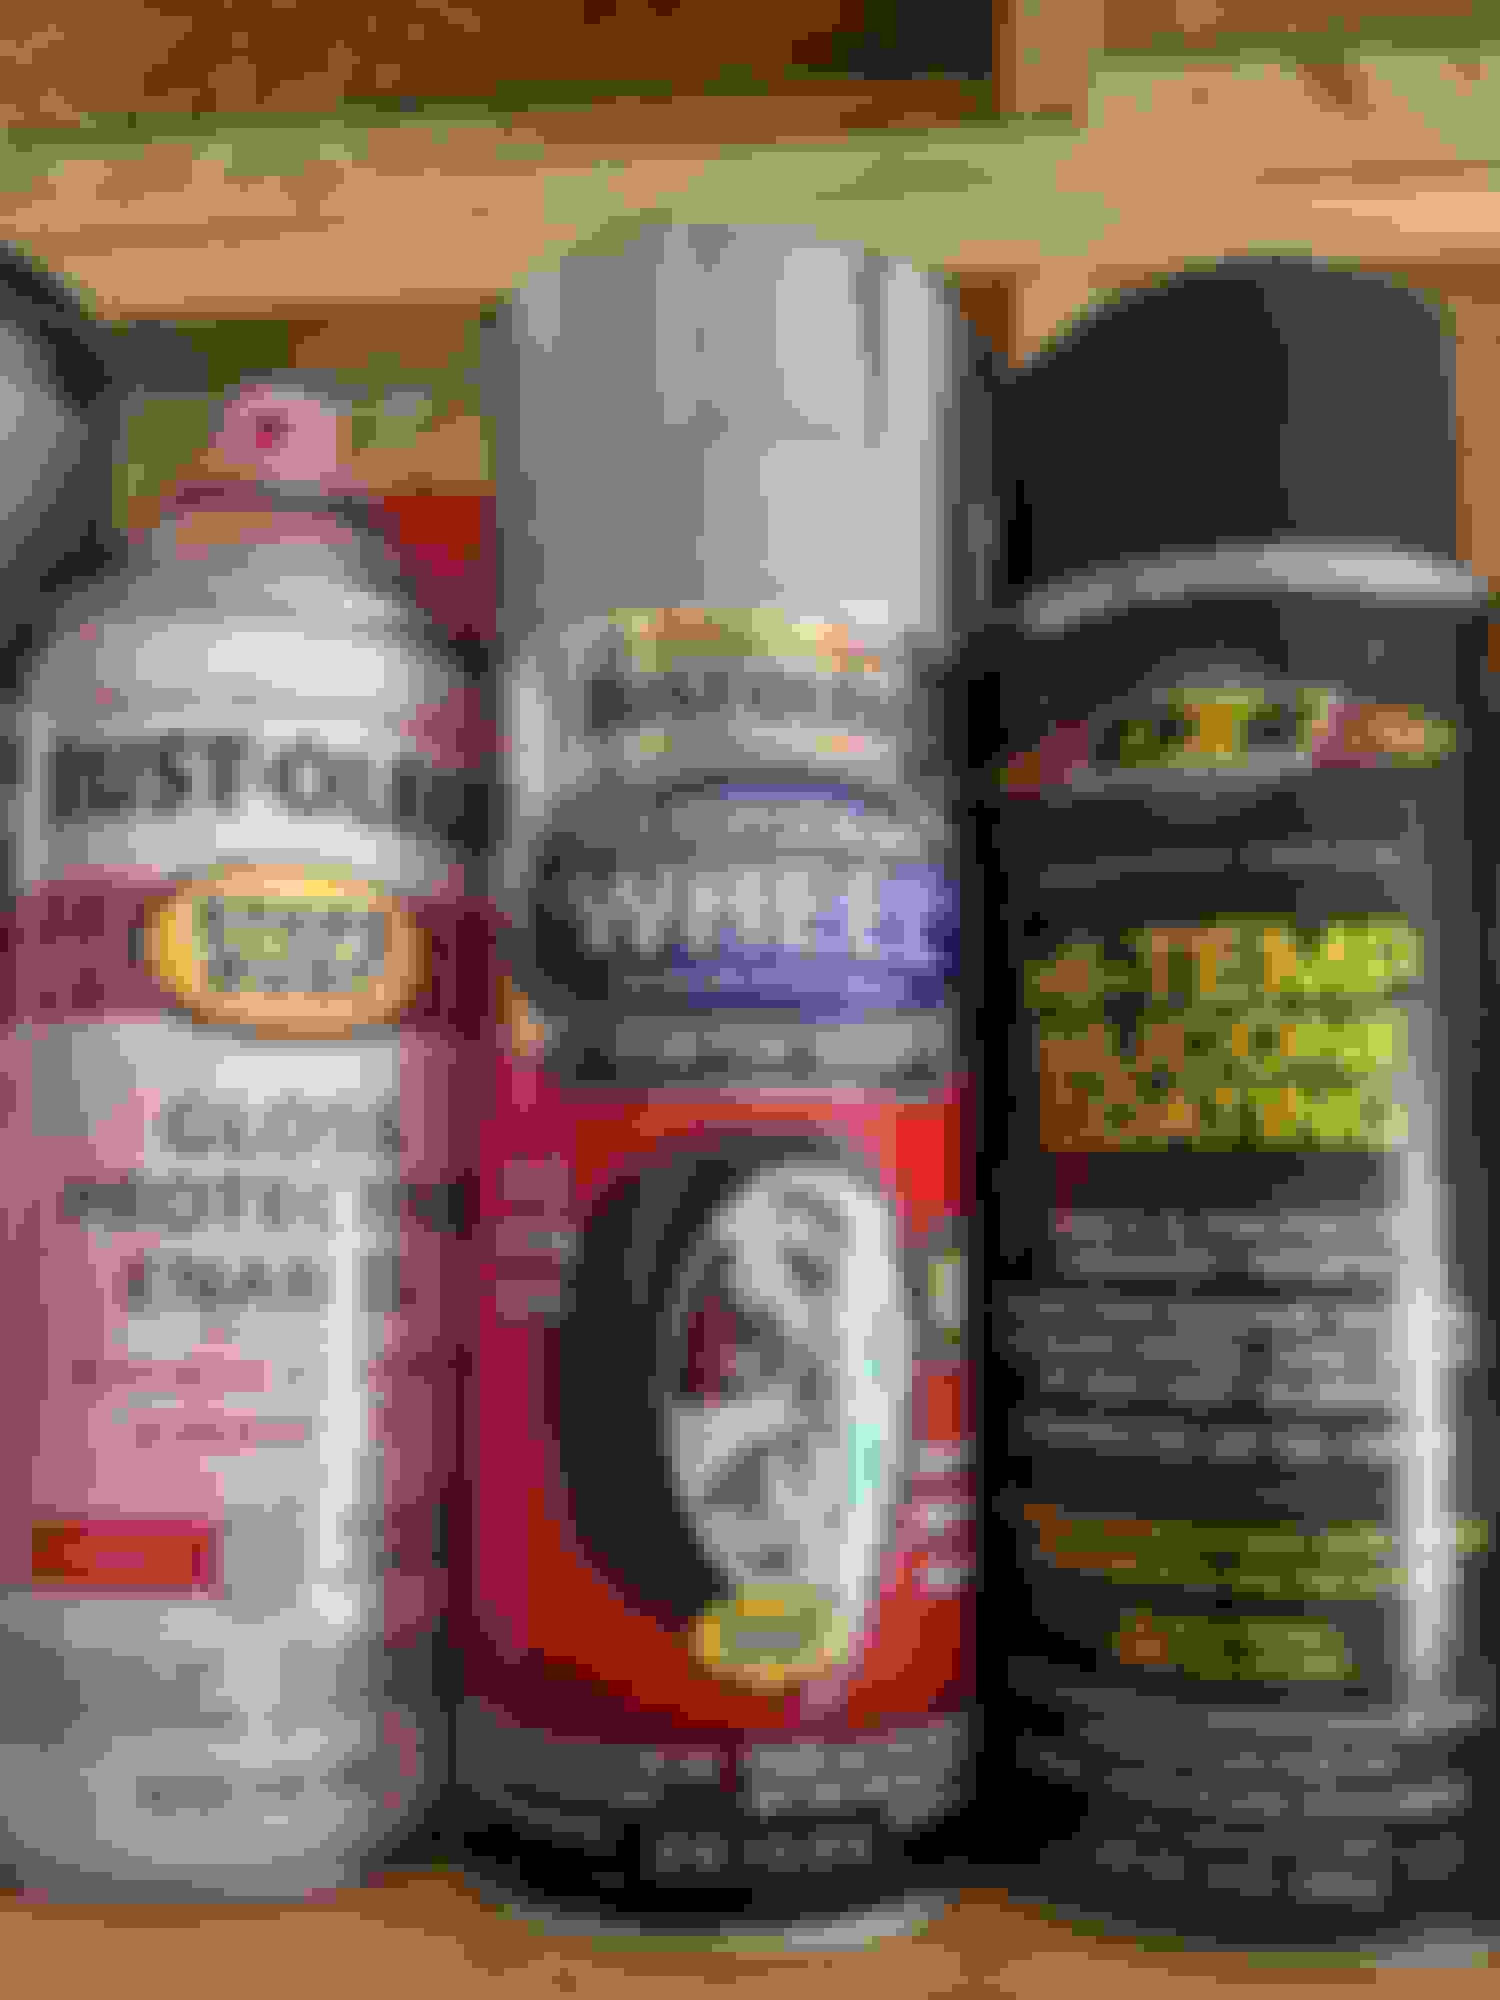
I got my steering knuckles taped off, wiped down, and then a couple coats of the self etching primer sprayed. Tonight or tomorrow I'll hit them with the red paint, then Thurs. I'll clear them so that Friday night I can install the upper and lower A-arms, wheel bearing/hubs...My front coil springs will be here Wednesday. Depending on when QA1 ships the struts out I may be able to get those put together and installed this weekend as well.
Painting the steering knuckles today. Figured I'd post while paint dries between coats. Struts, Squash fuel system, and harness bar should be delivered this week/ next week or so.
QA1 springs came in today from Summit First coat of red over the self etching primer on the steering knuckles.
Took some pictures of the new pistons that will be in the motor. Have to get pics now before all this beauty (and money) gets covered up...although, the new heads won't be that hard on the eyes so I wont be too mad...and I'm sure the response I get from the throttle once the car is done will help with the emotional pain
Box of Pistons Piston sheet from Wiseco before TSP took them to -4cc New piston top view New piston side view
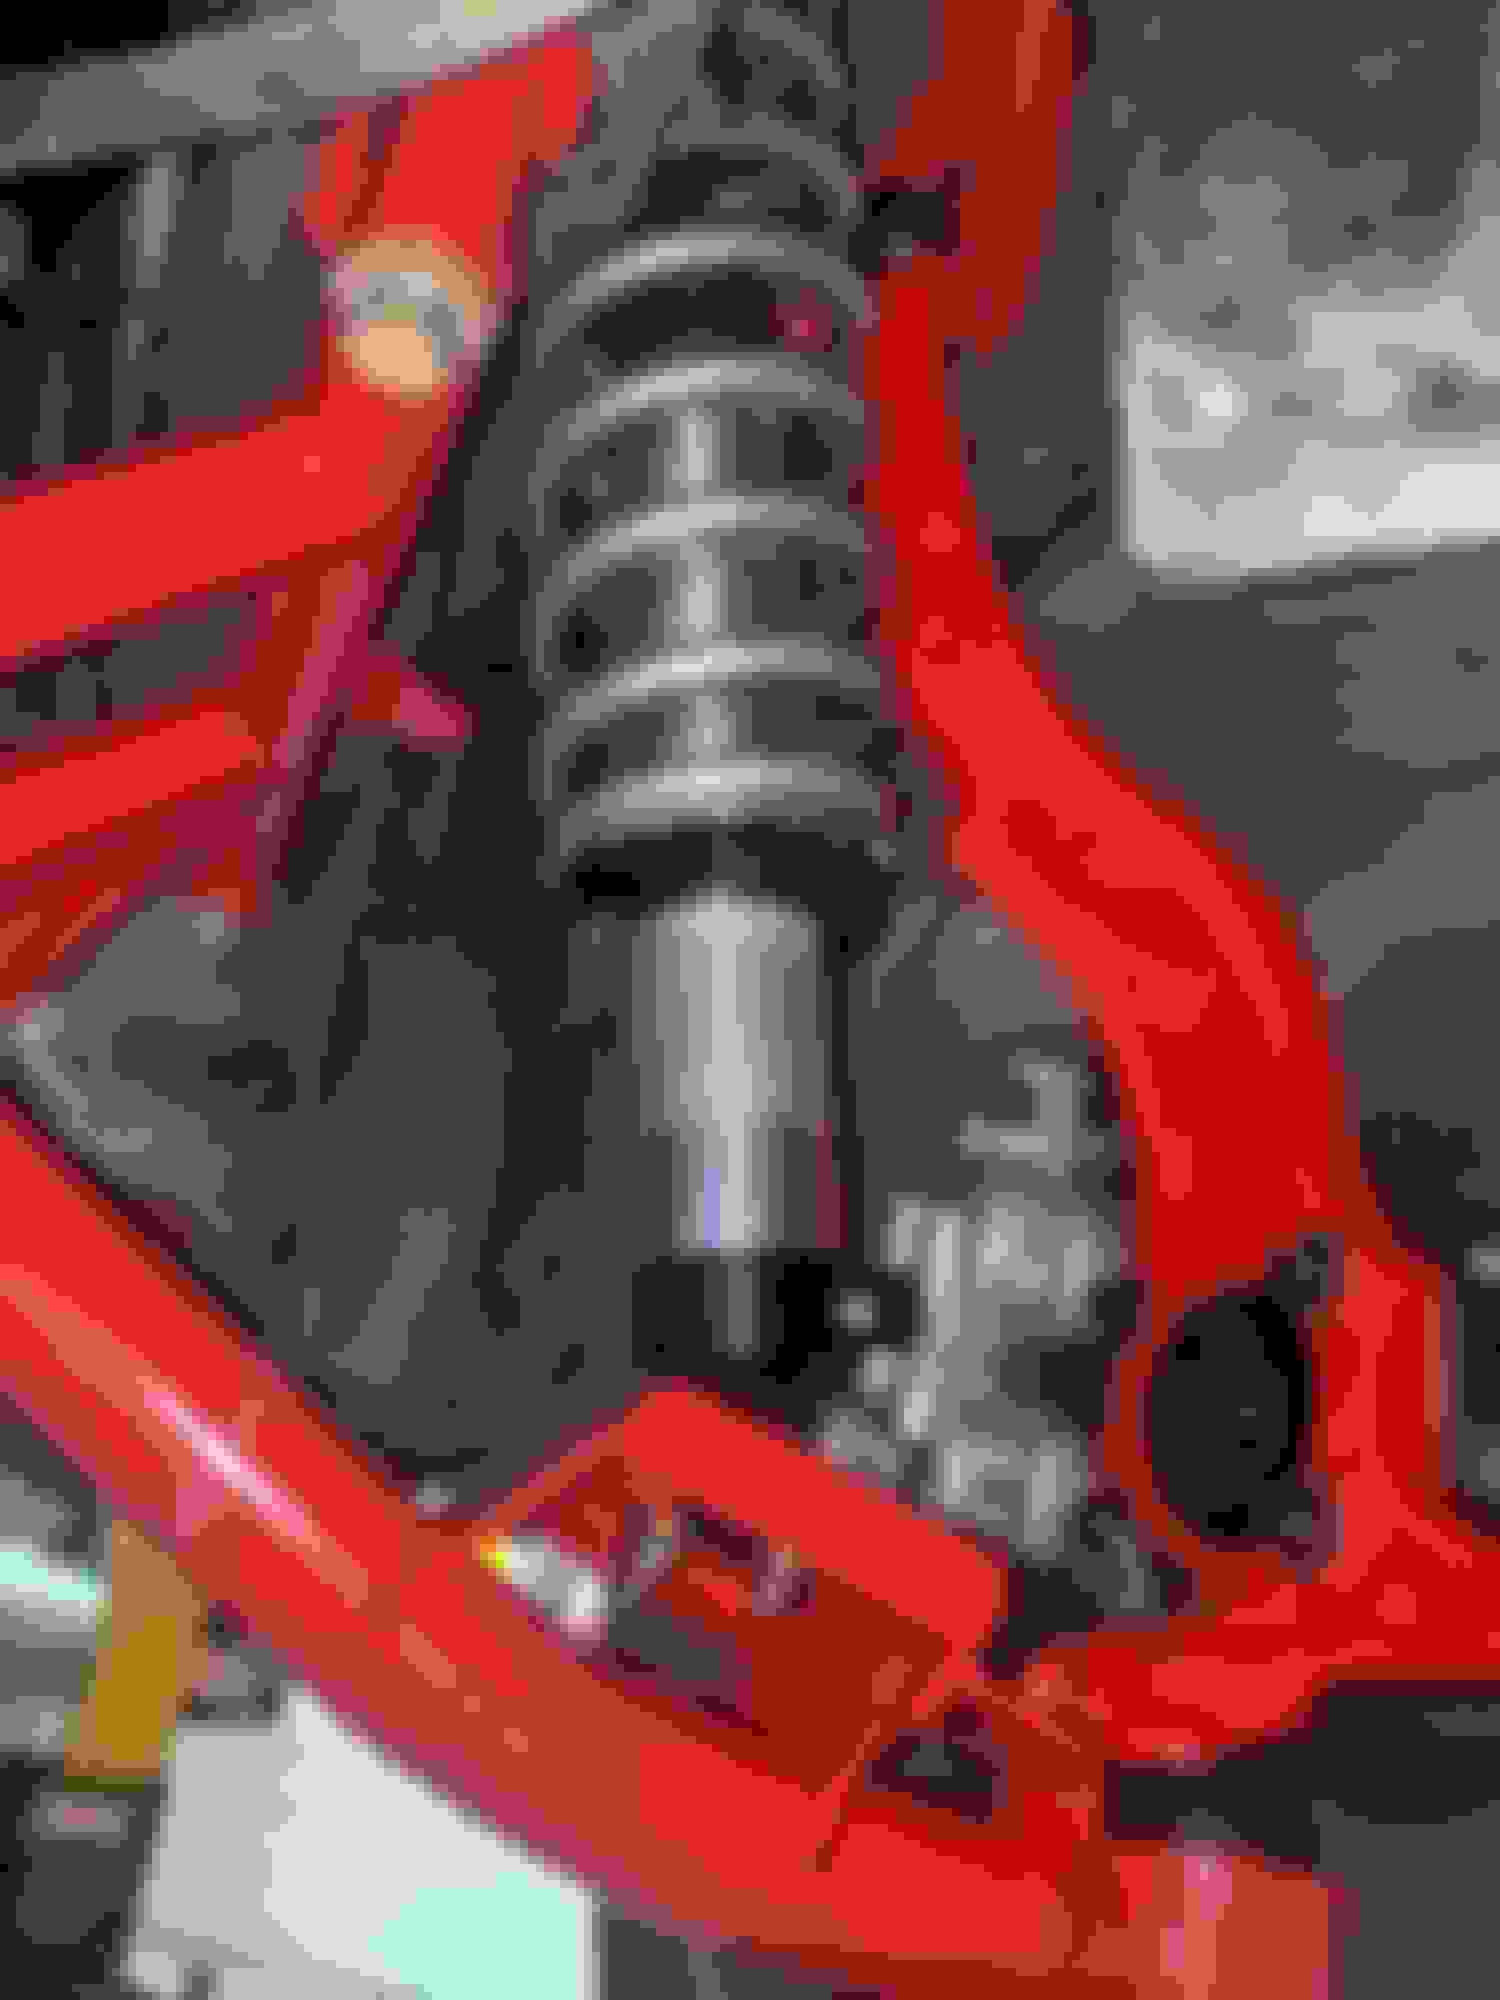
My QA1 struts came in Friday, they look awesome. I have everything to put the front wheels back on now. I was planning on doing it this weekend, but I decided to clean up the brake calipers first as they were pretty grimy and with everything else all nice and new, I couldn't bring myself to throw them on all dirty. I have all my bolts that I need for the front as well as for the engine/brake lines etc. soaking in Evaporust so they will be nice and clean as well and ready for Loc-tite. This upcoming holiday weekend I should be able to get both front assemblies put together. The steering knuckles came out great, was very happy I spent the time cleaning them up and painting them. They almost look like BMR made them .
Steering knuckles painted and cleared. Front end goodies. QA1 Struts
You�re killing it. I like your attention to detail. You are going to have one excellent SS when you get finished.
Thanks man, I'm trying. I hope it turns out excellent. I talked with a guy at work and he said when he restored his cobra mustang, he used Rust-oleum Wheel Paint, "Steel" is the color to "restore" the aluminum pieces. He showed me pictures and it made the aluminum look brand new so I went and picked up that and some clear. I'm going to degrease and power wash the brake calipers and a few other items like the alternator bracket, etc. and then paint them with the wheel paint. I'll post pics as I do it. Since the calipers came silver from the factory it'll retain that look.
My oil temp gauge came in yesterday from Autometer. Love how the gauges look. Now time to wire them up. Figured no easier time than now while the engine is out
With the long holiday weekend, I tried to get a few things done on the car. First was to clean and paint my brake calipers and the caliper brackets. I used the Rust-oleum wheel paint..."steel" is the color. I cant say enough about it. They look awesome. Added a few coats of clear on top just to protect it.
Outdoor paint booth...because Texas Brake calipers and caliper brackets hanging Caliper bracket all painted Brake caliper all painted Wheel paint, color "Steel" plus a few clear coats
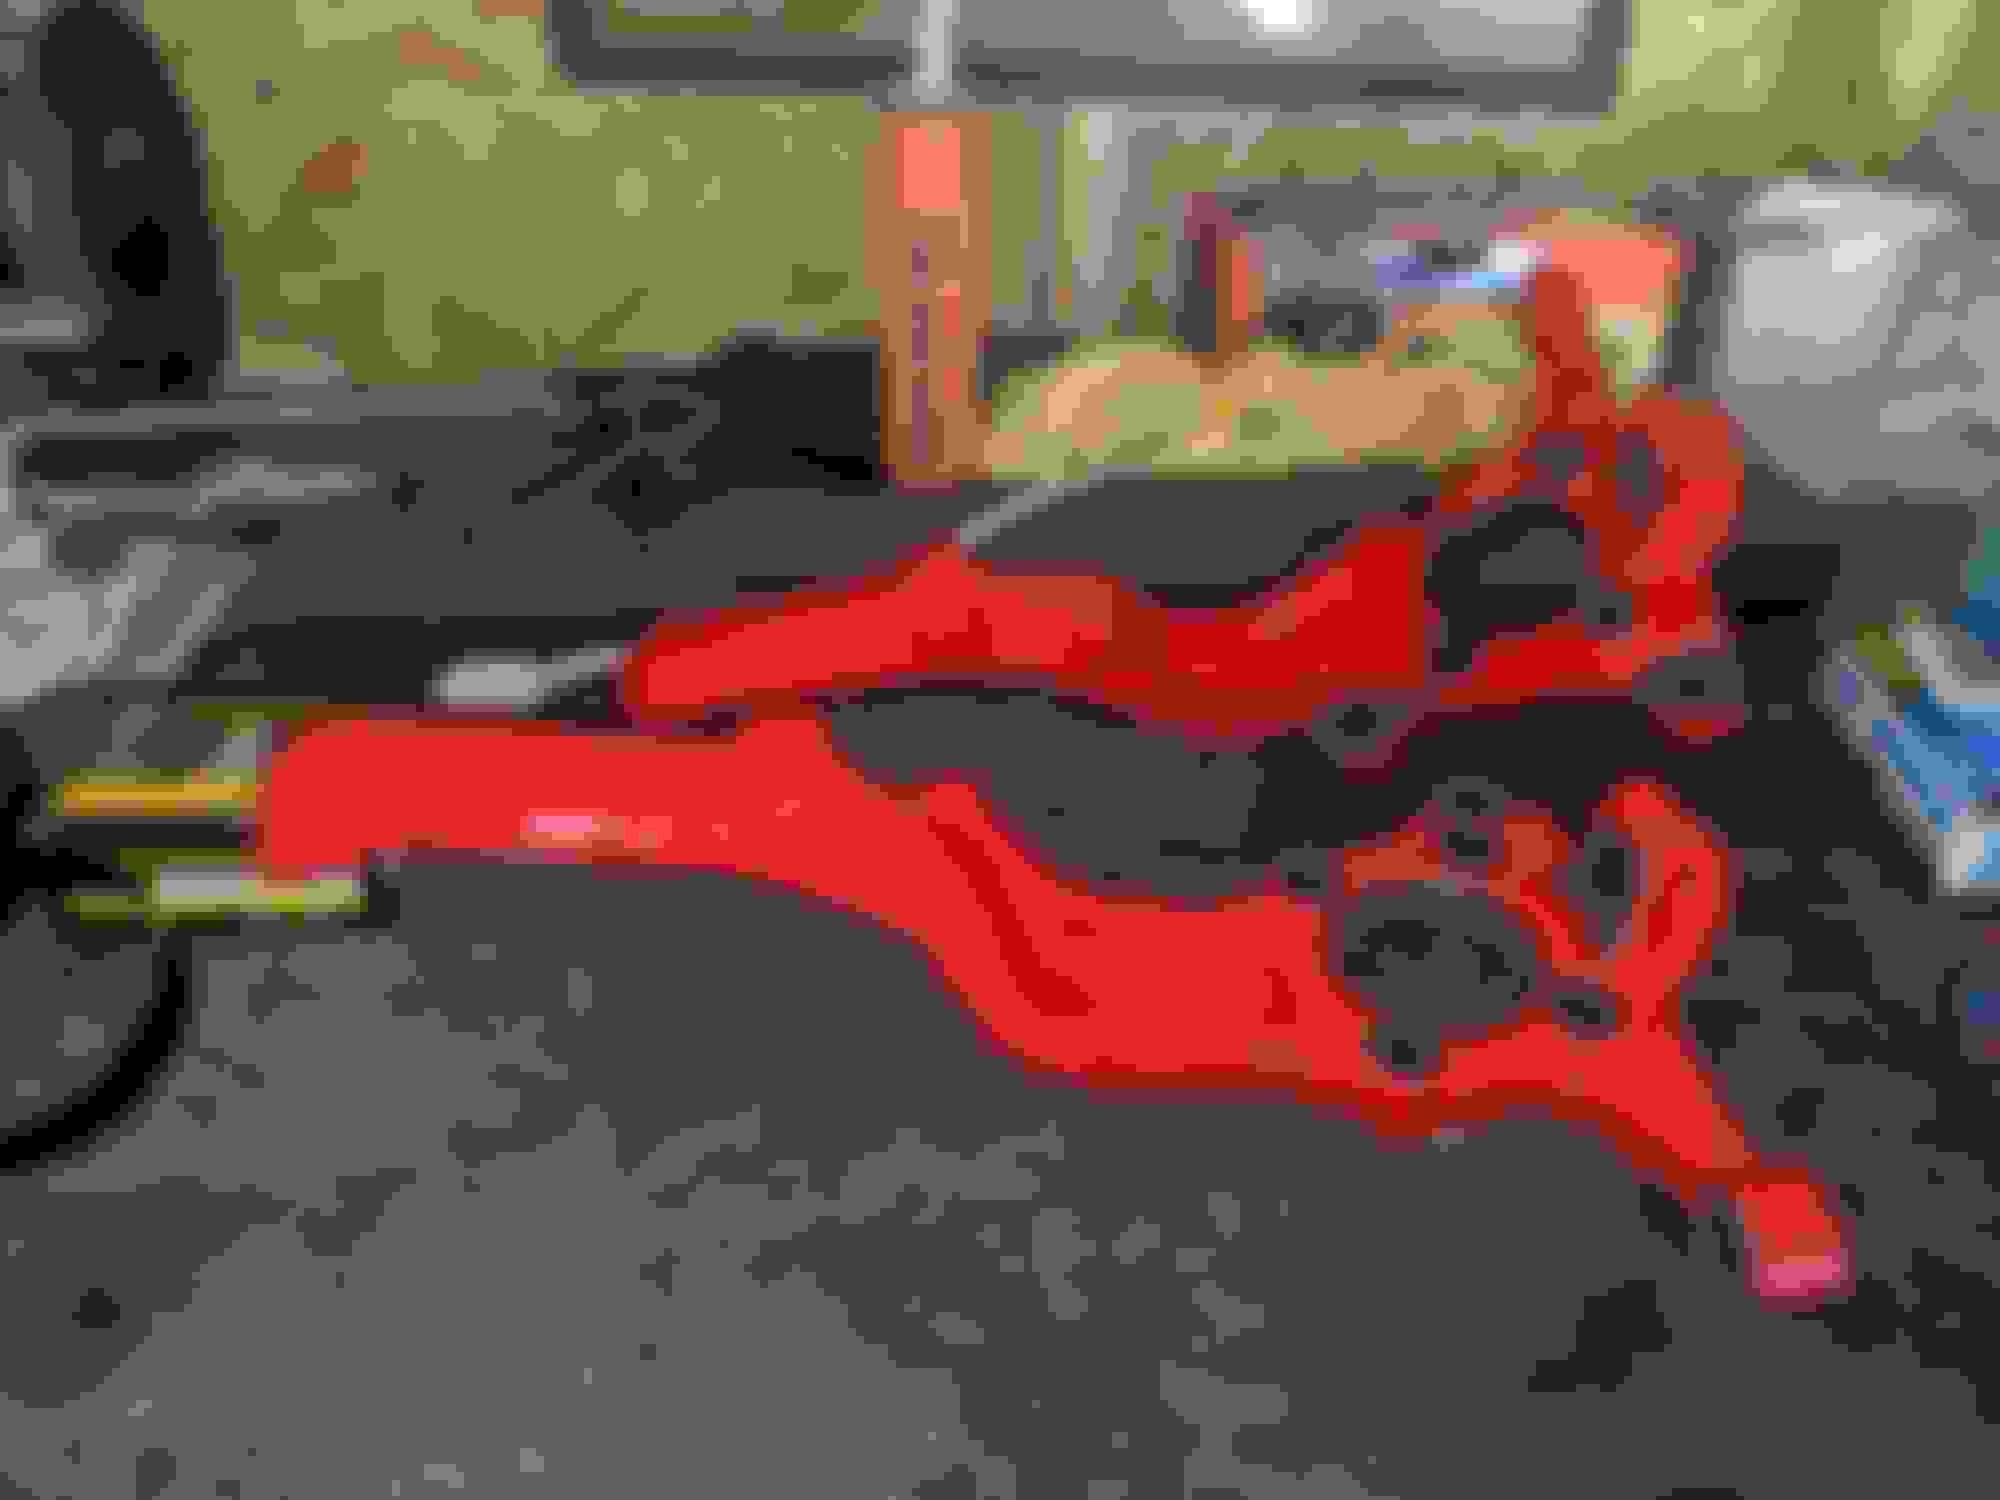
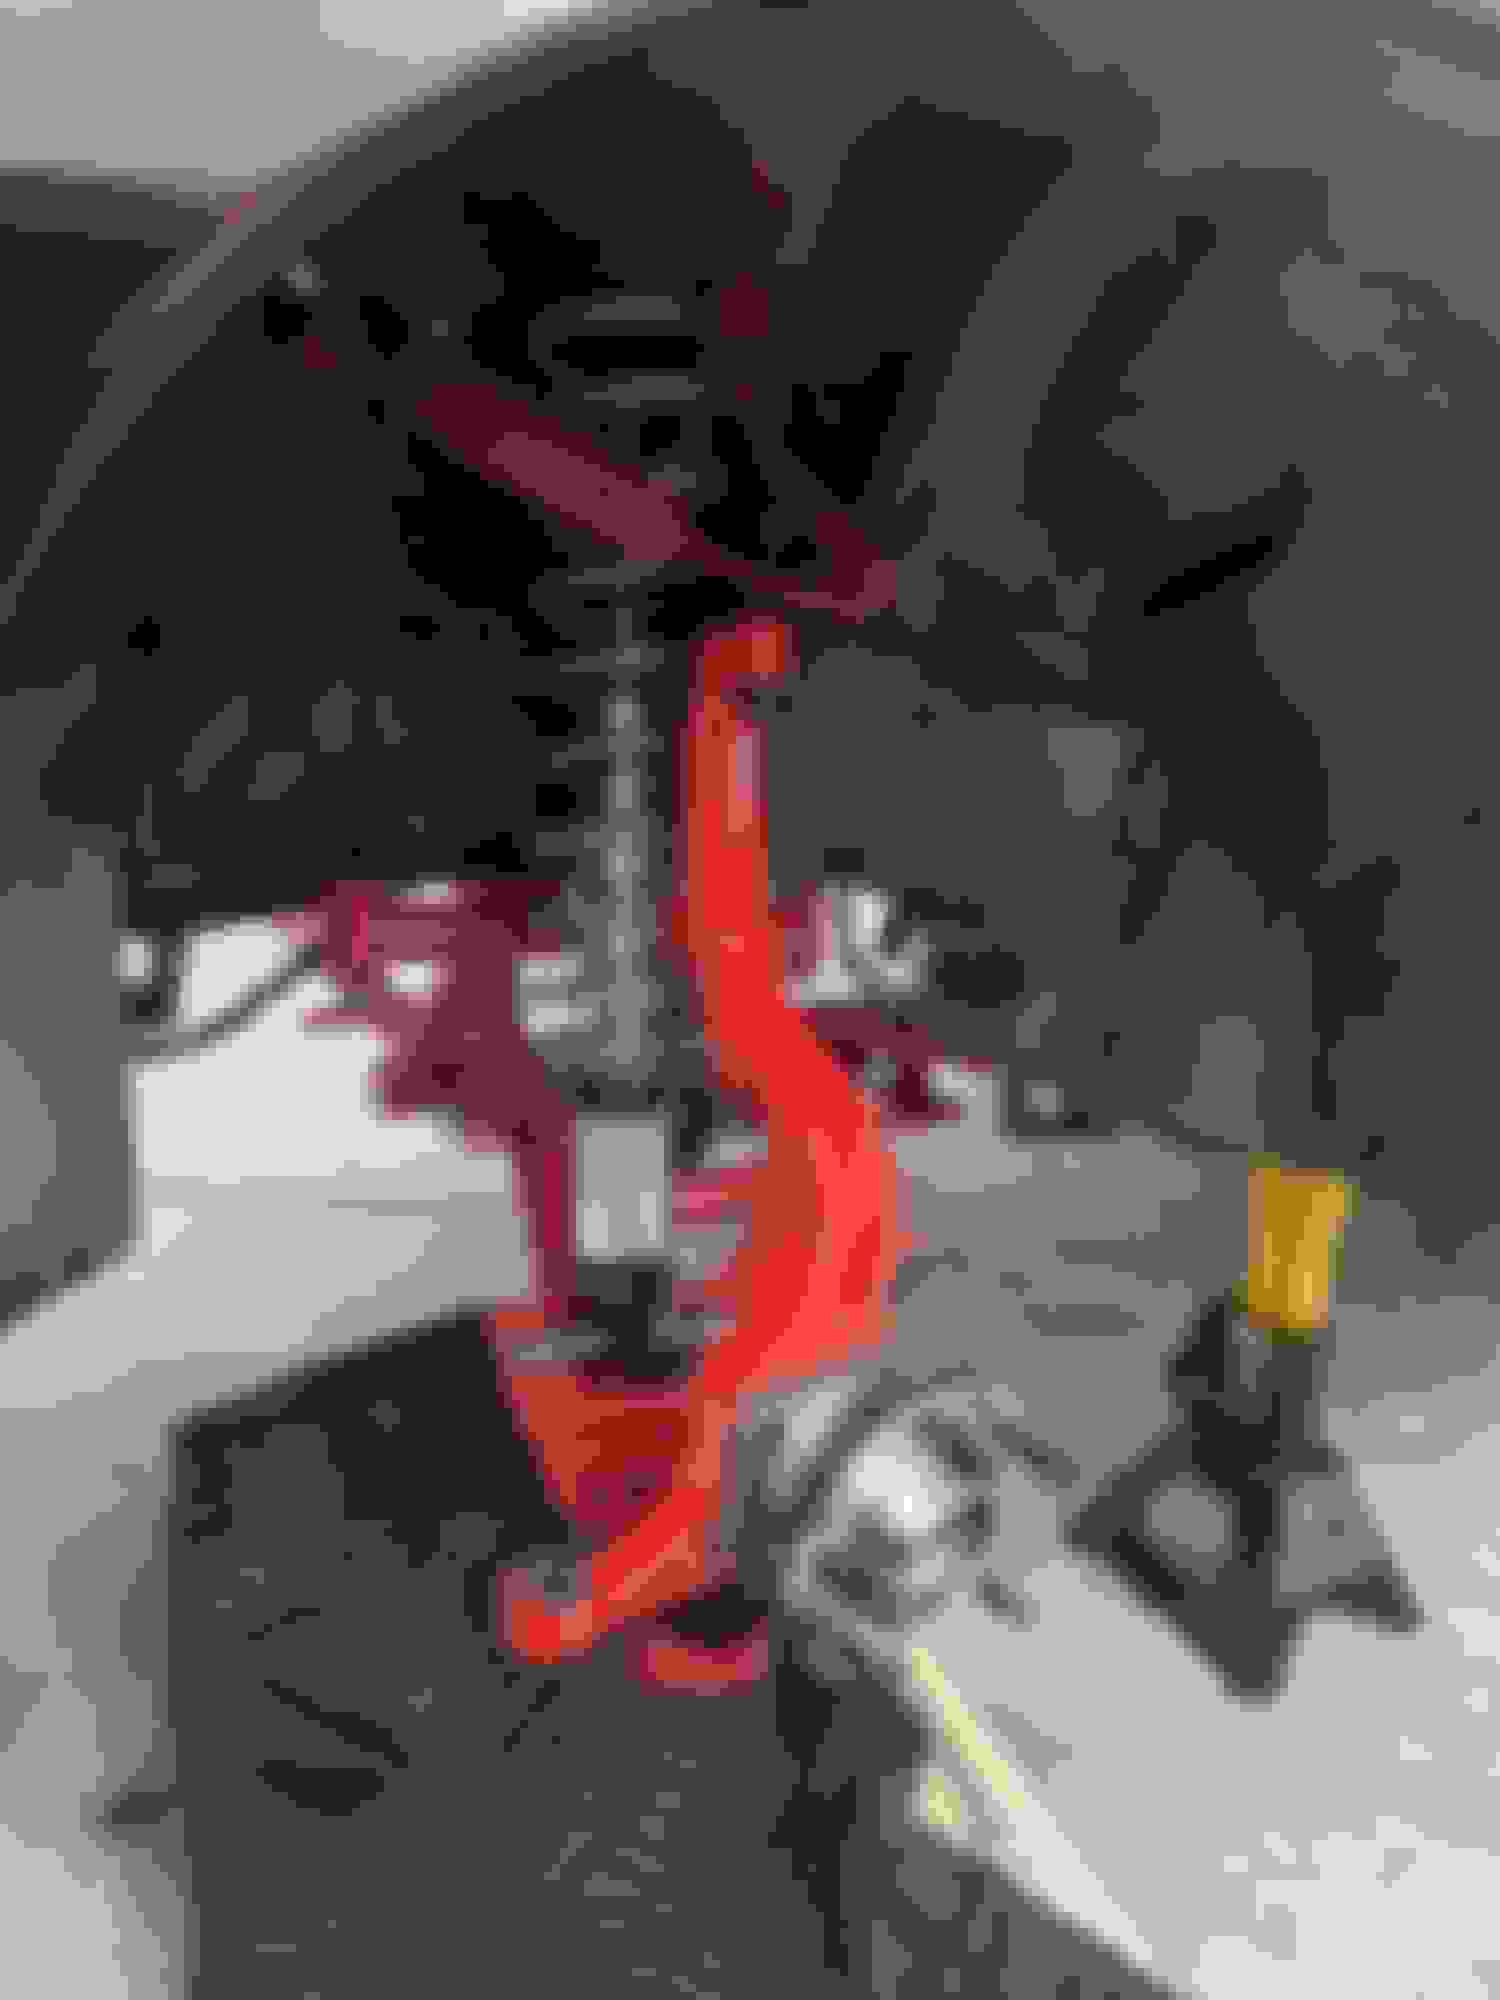
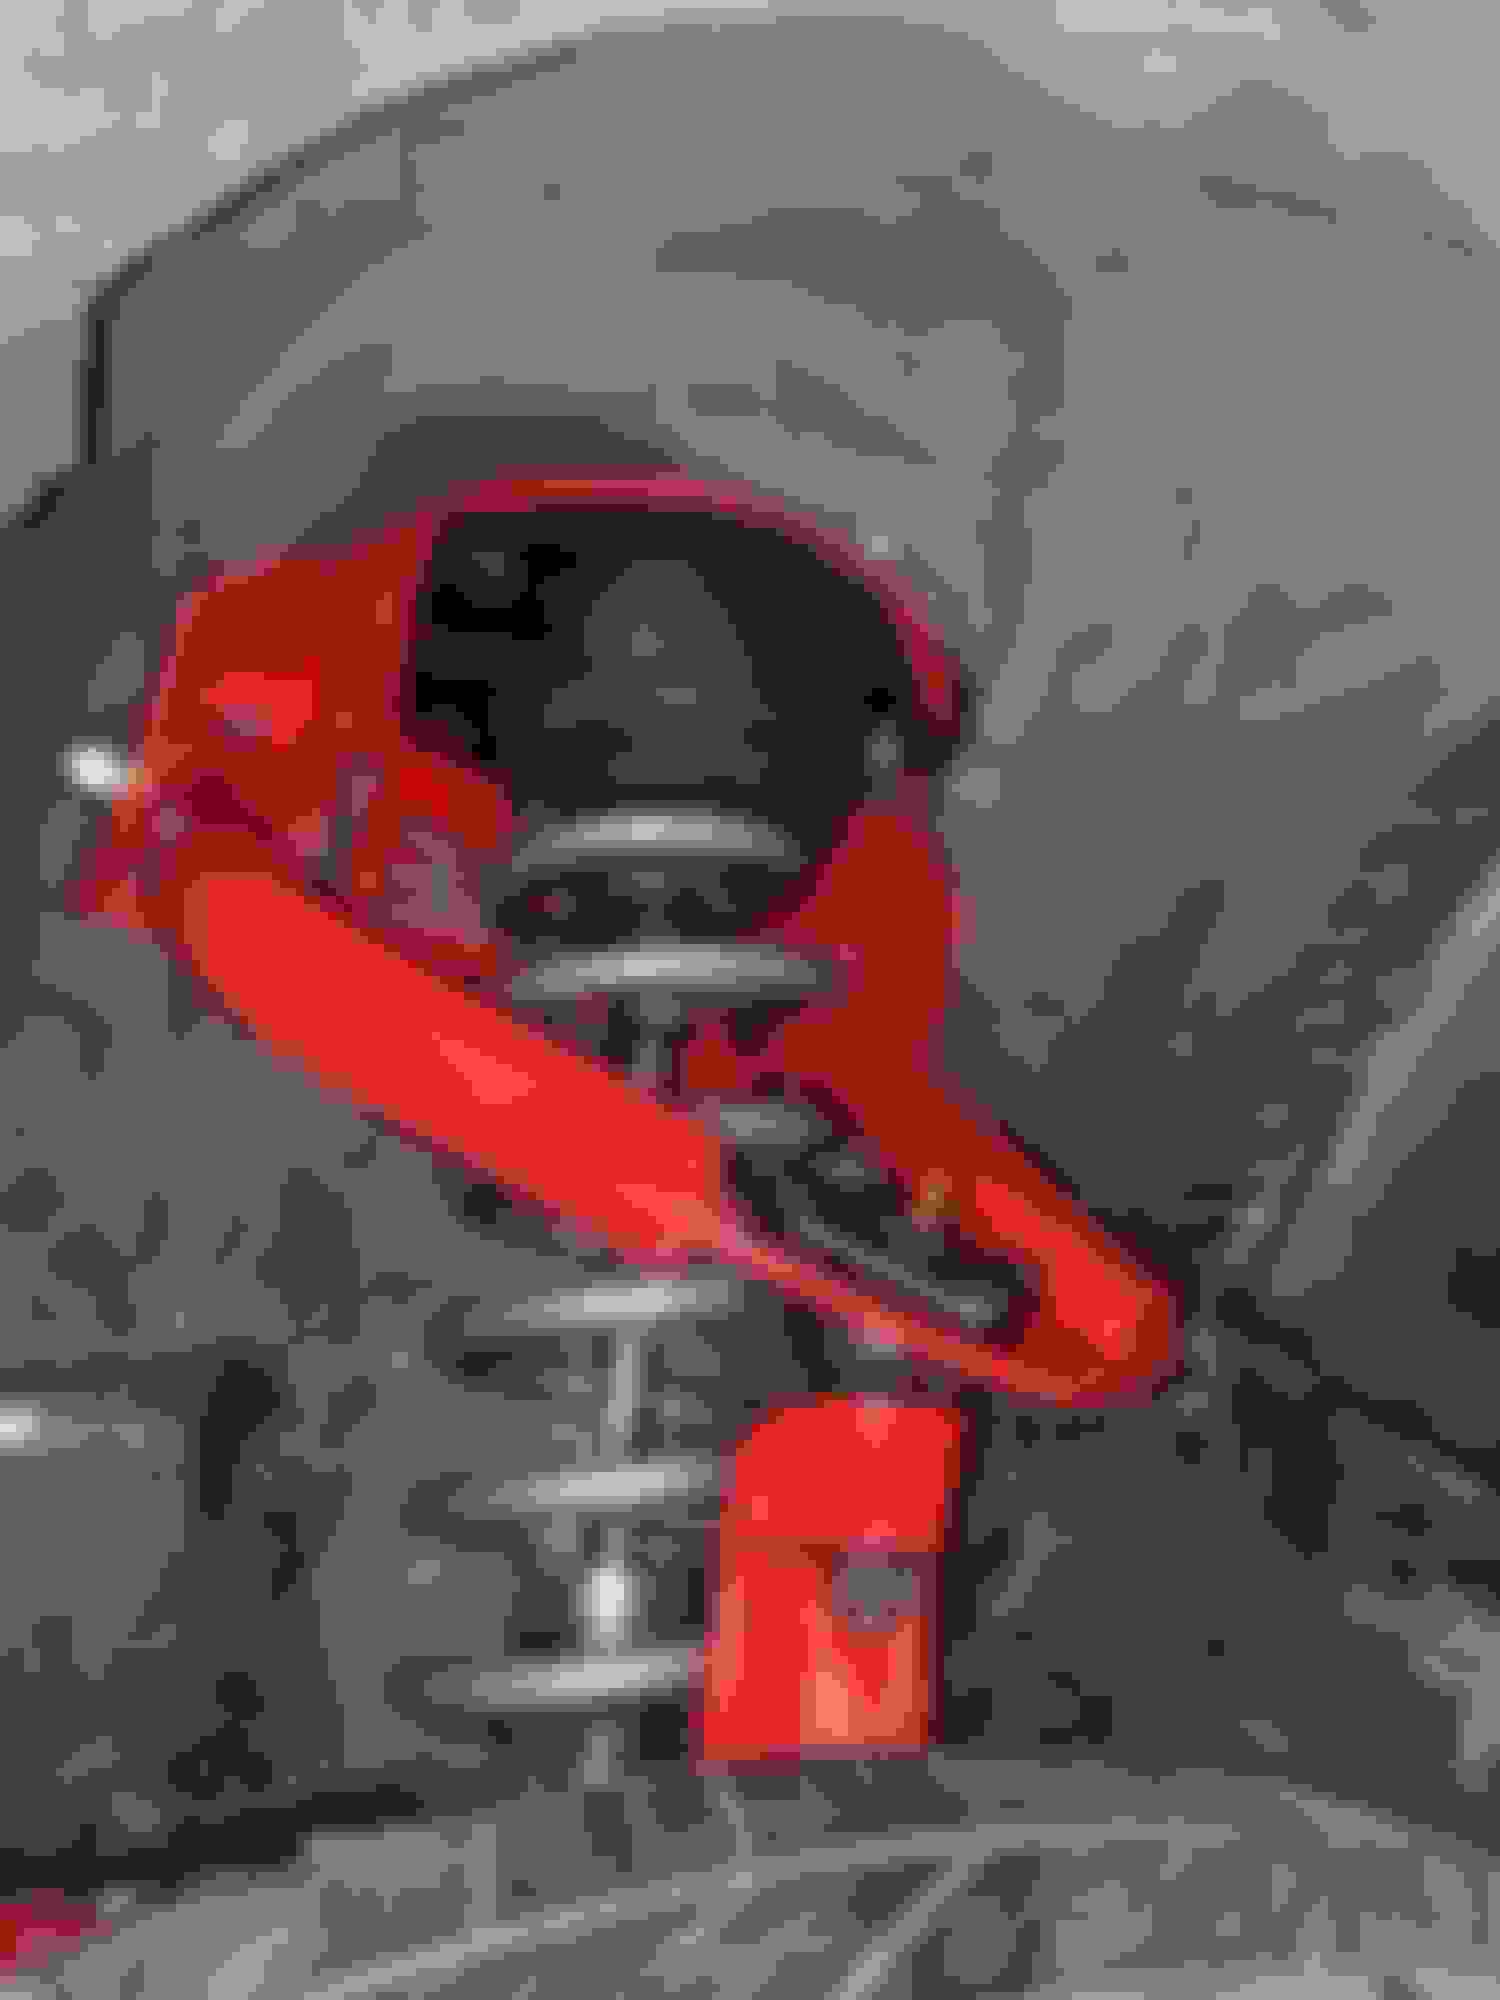
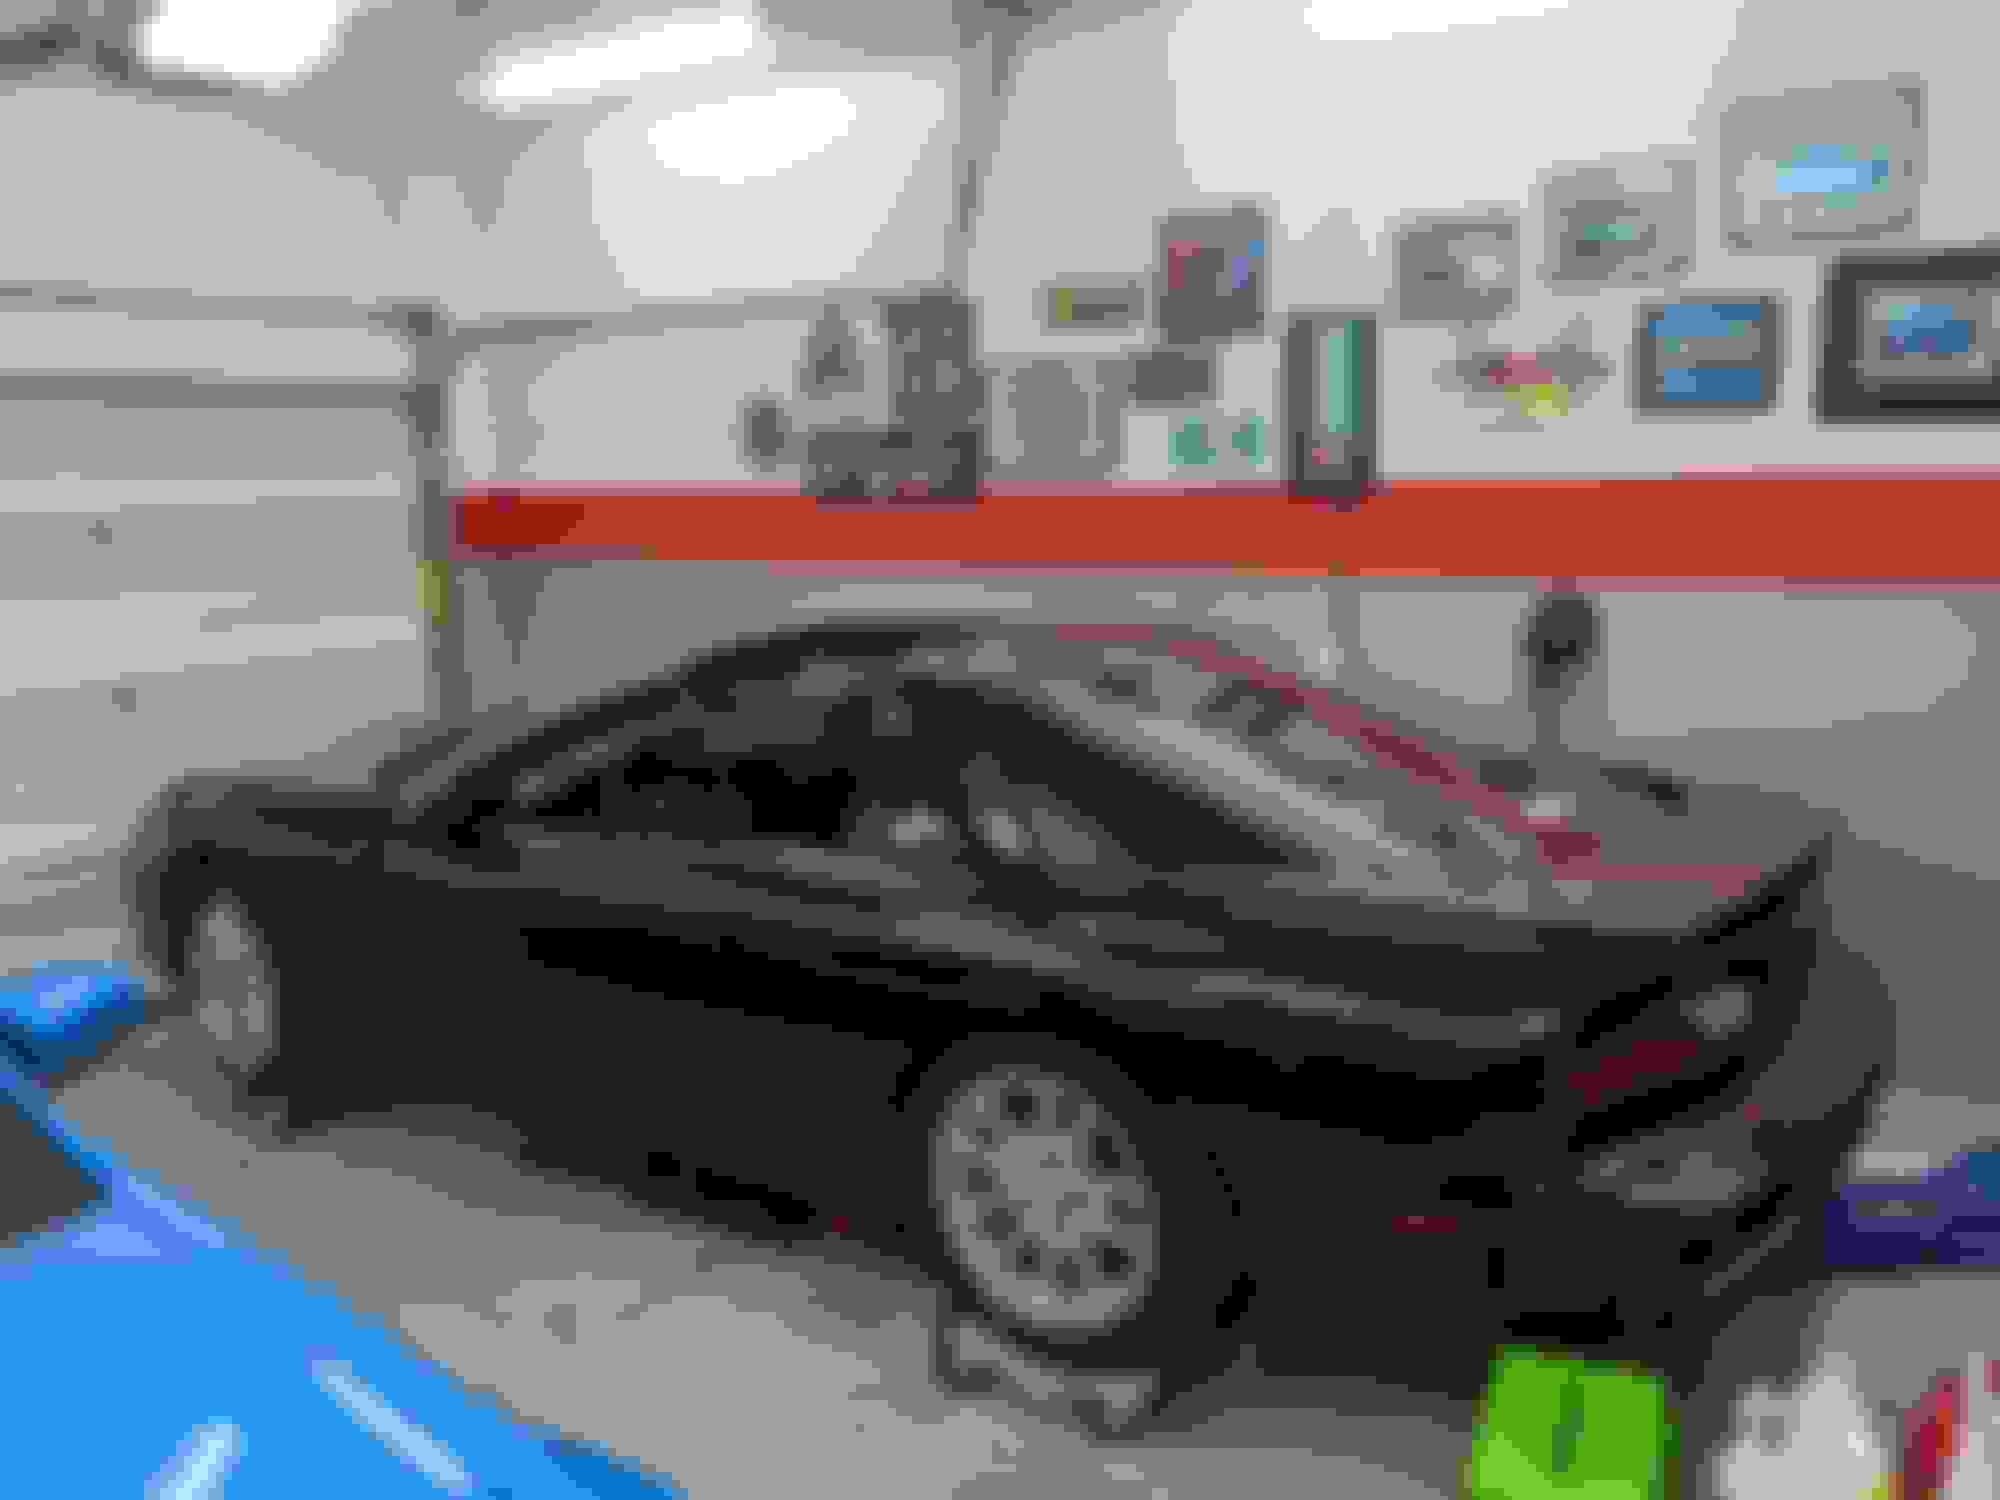
The second project I tackled was getting the car back on all four wheels. It's been resting on the BMR K-member since I removed the engine/front assembly. One small detail, the new Monroe upper strut mounts use all 15mm heck head bolts/nuts now so no more torque heads or needing both 13mm and 15mm. I only took pics of the drivers side as it got late and figured it would be redundant for both sides. The next projects to tackle will be removing the stock fuel rails, dropping the fuel tank in preparation for the Squash fuel system as well as wiring up all the Autometer gauges. I'm contemplating spraying the undercoating spray paint stuff in the front wheel wells but haven't decided.
Some of the many parts laid out Driver side together. Upper shock mount and A-arm Evaporust made the bolts brand new again. SO much cleaner Fully assembled drivers side Post subframe removal to being back on all four wheels.
I had a little bit of struggle installing it as there's a lot of play in the side nuts, but eventually got it all lined up and snugged down. Really like how it came out and how it looks. It's also nice that it can always come back out if I want. Big shout out to Hawks Motorsports for a great product and great customer service as always.
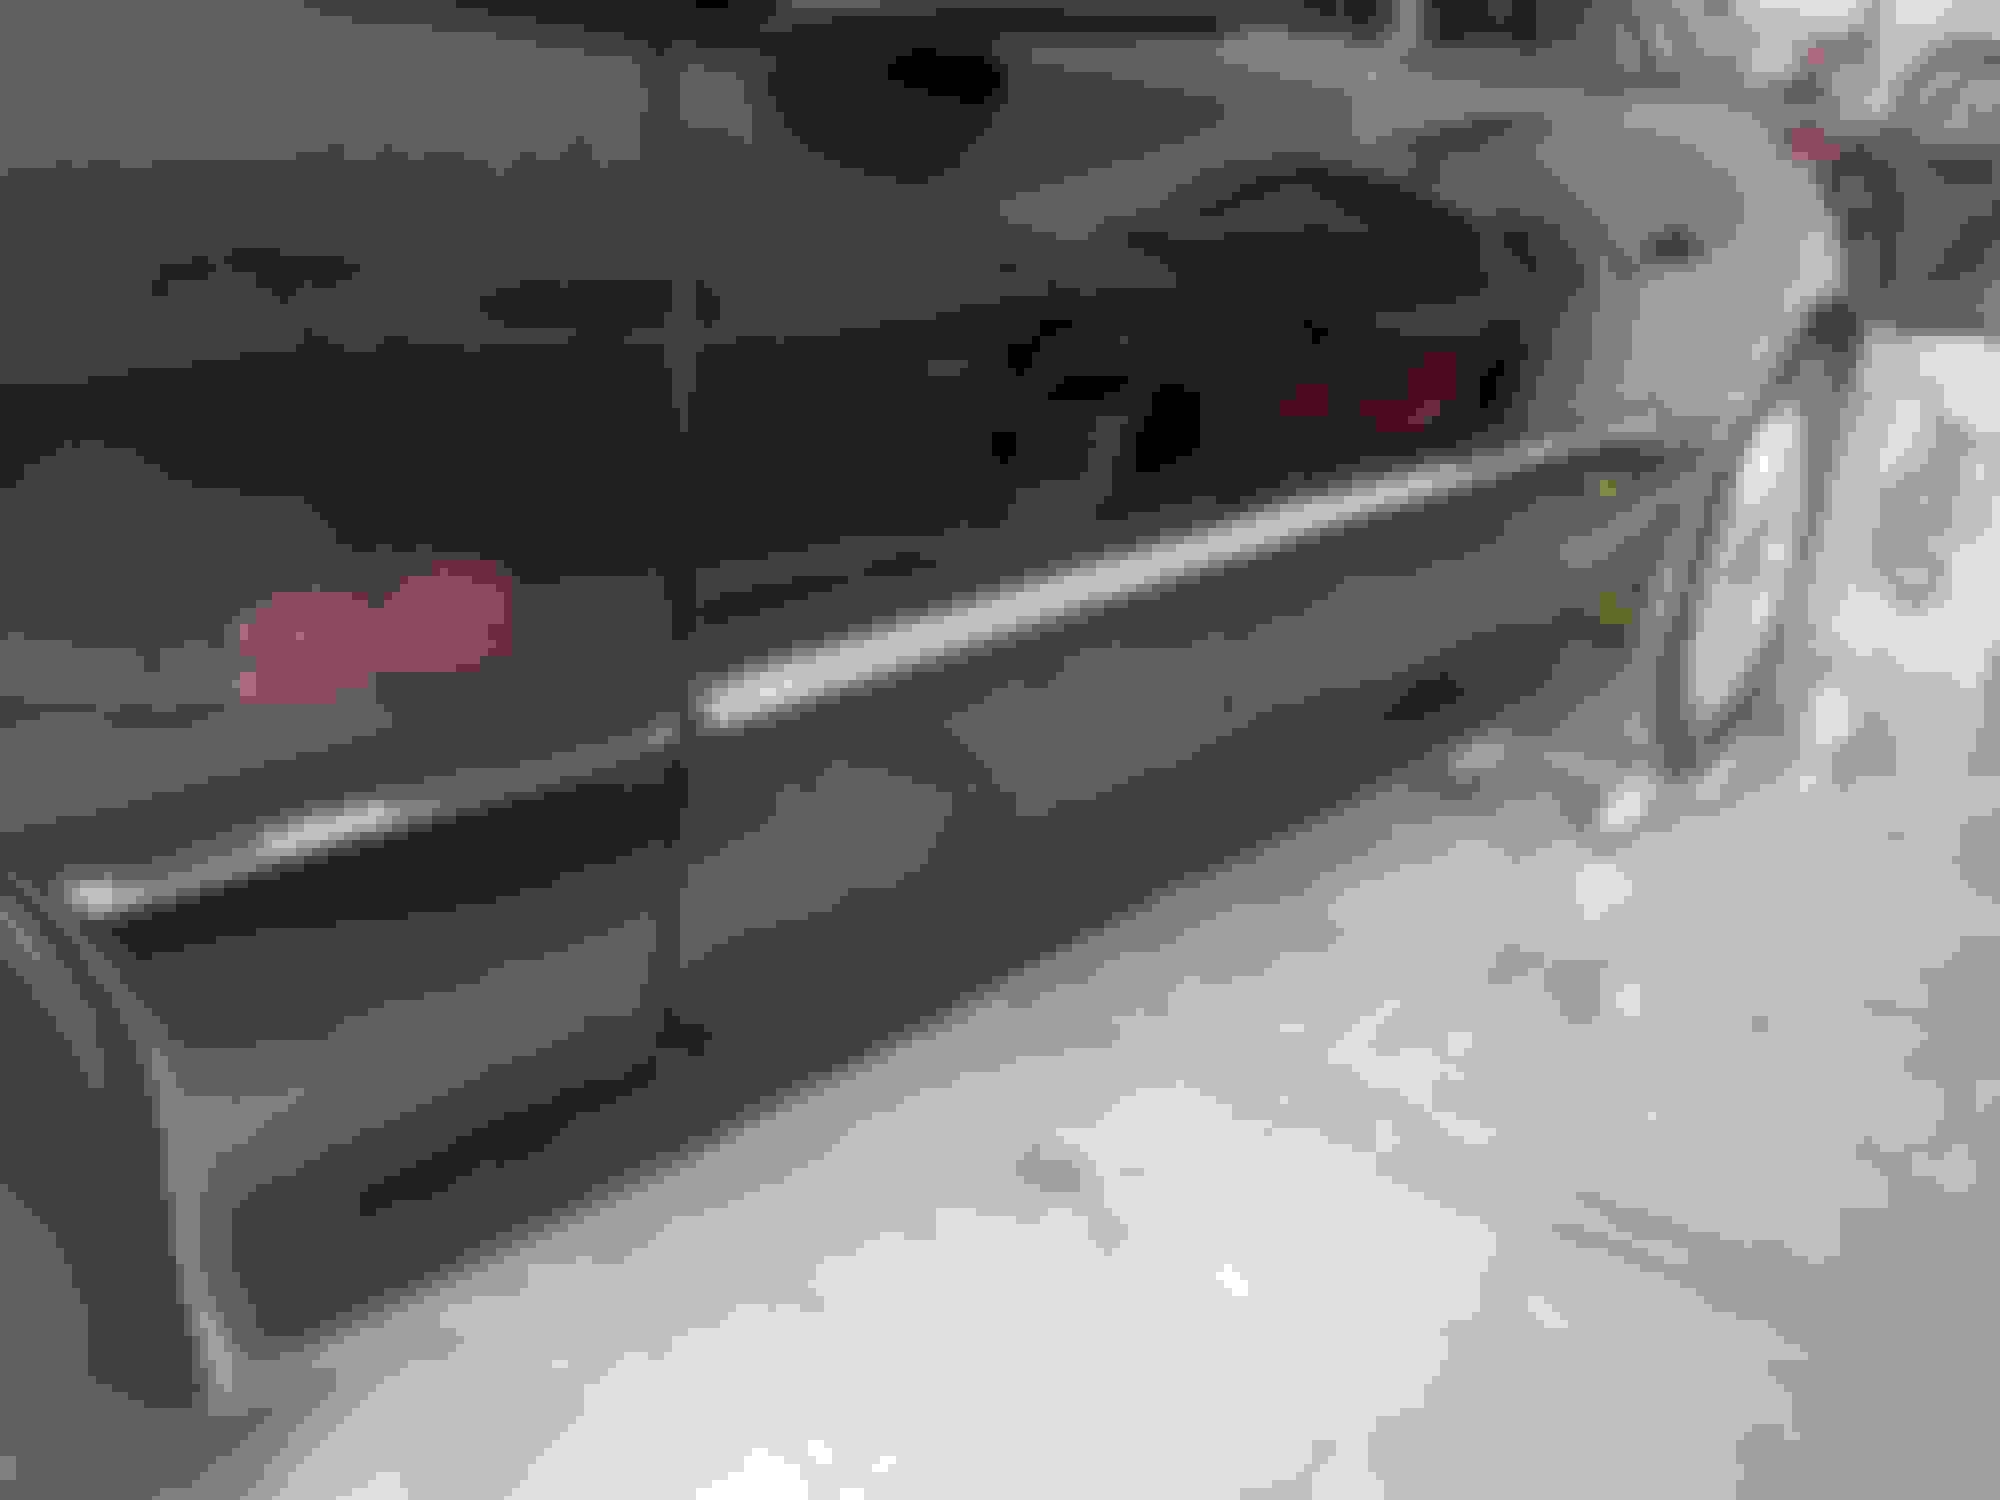
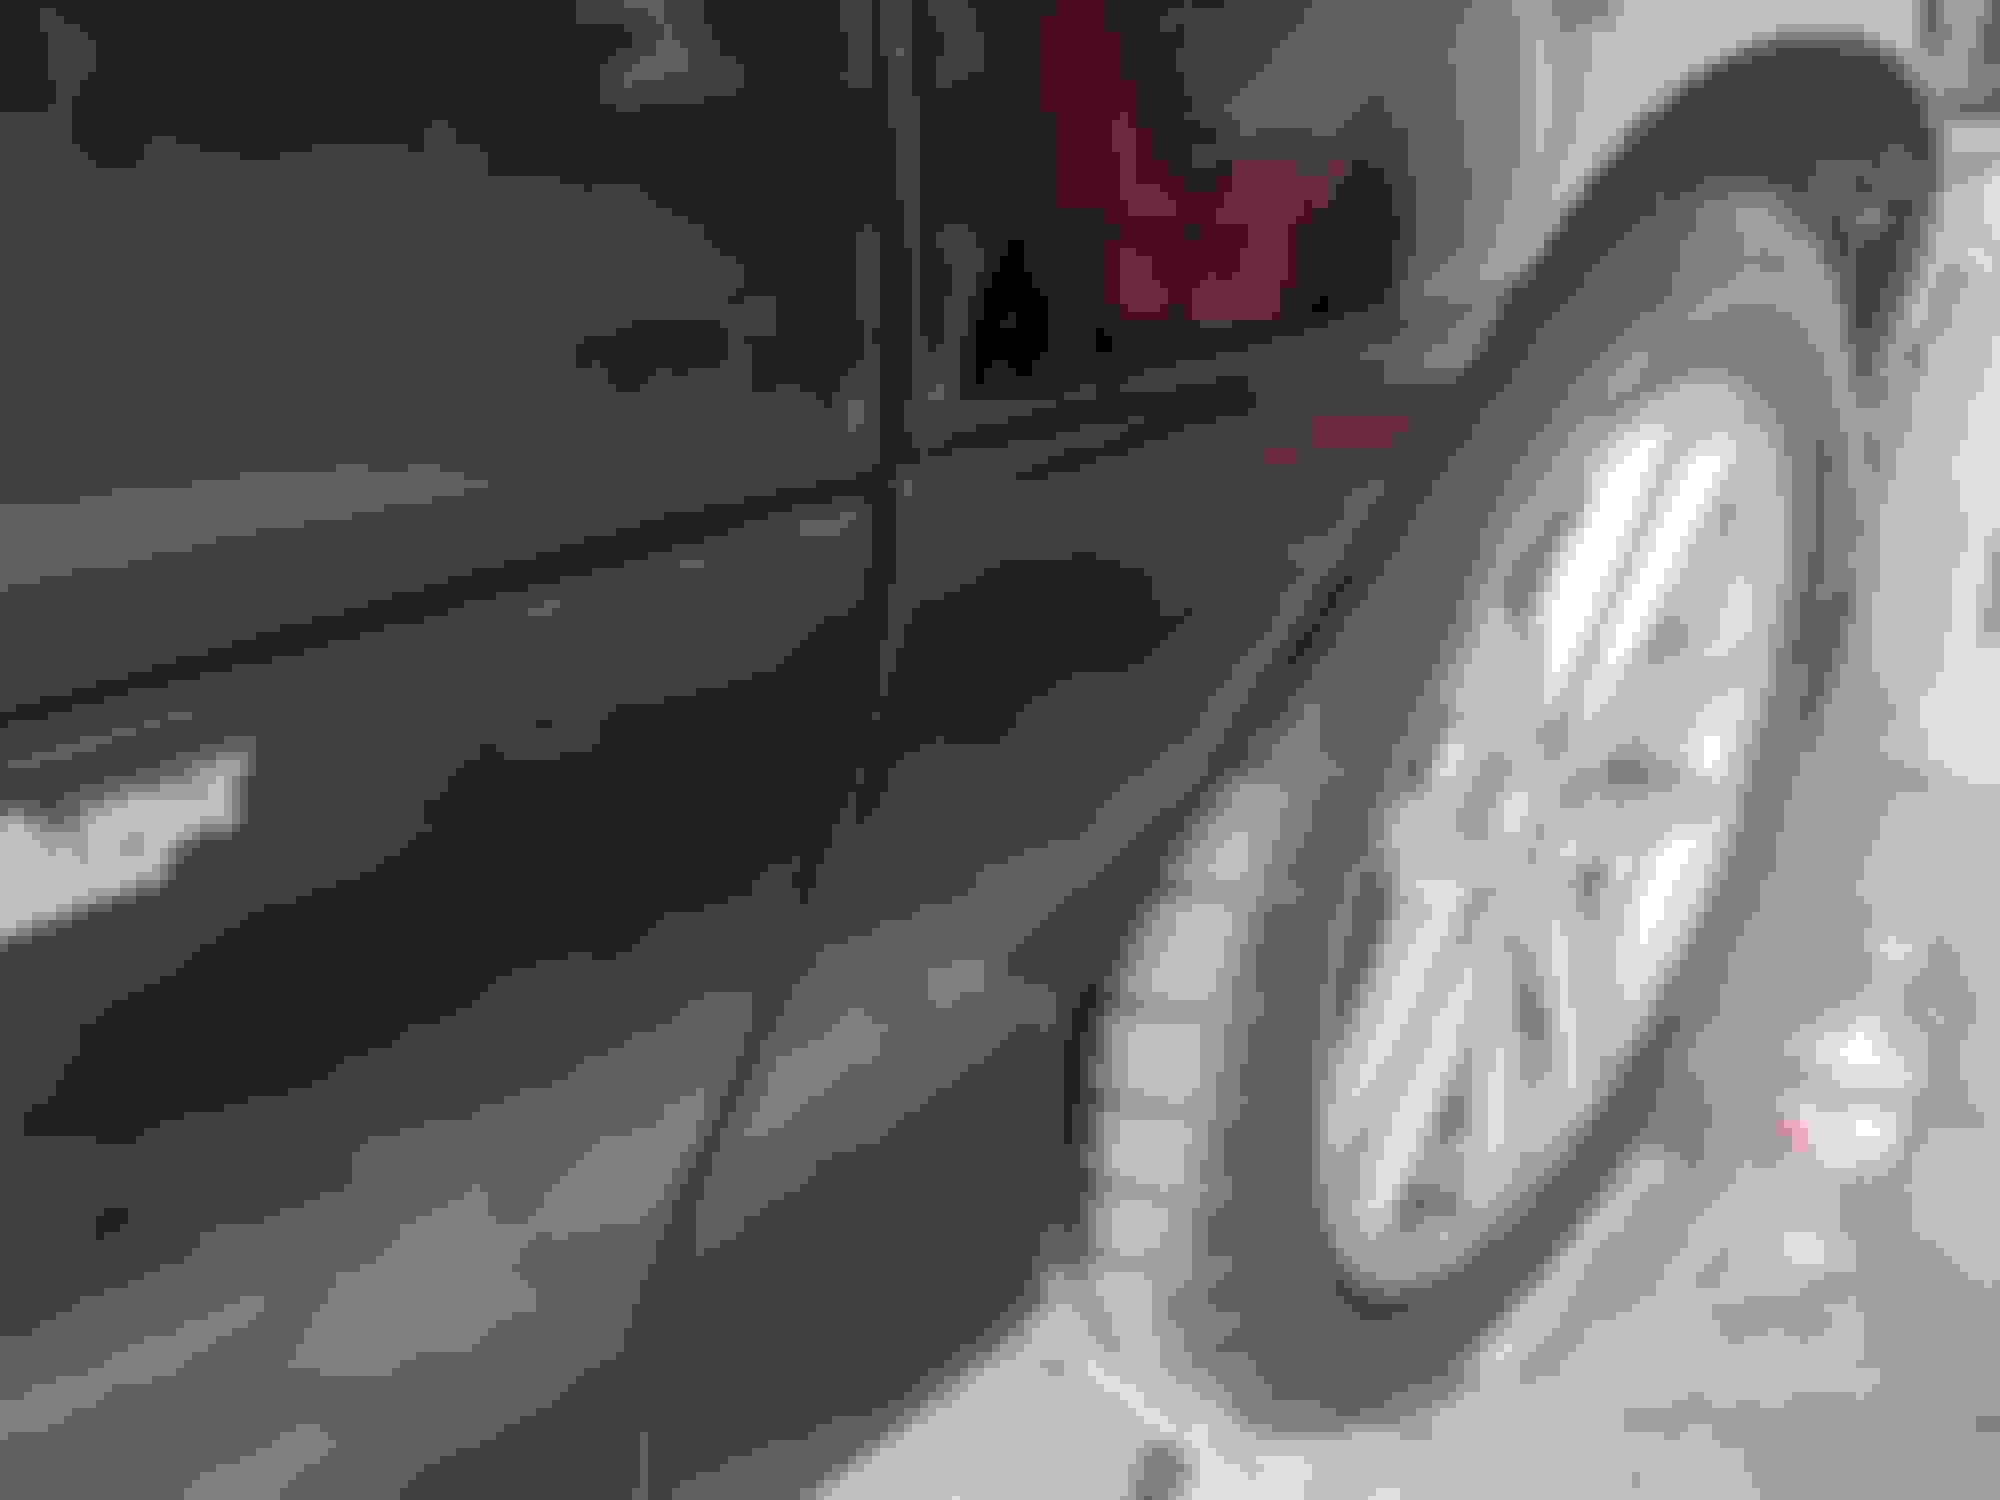
well, decided to remove the side moldings. Heat gun and fishing line made quick work of the plastic. Now just working to get glue off. Ordered a wheel off amazon to Dave my thumbs 😅. Also started securing the gauges to the a-piller mount and running the wire.
I used the Decal Remover Eraser Wheel ( $14 on Amazon...do not pay $40-50 for the 3M one, it's the same thing) to get all the residue and double sided tape off the doors. There is a tiny bit of residue in spots that I'm going to use a 3M paint safe decal remover/alcohol type cleaner and it will be all done. I love the look without the moldings.
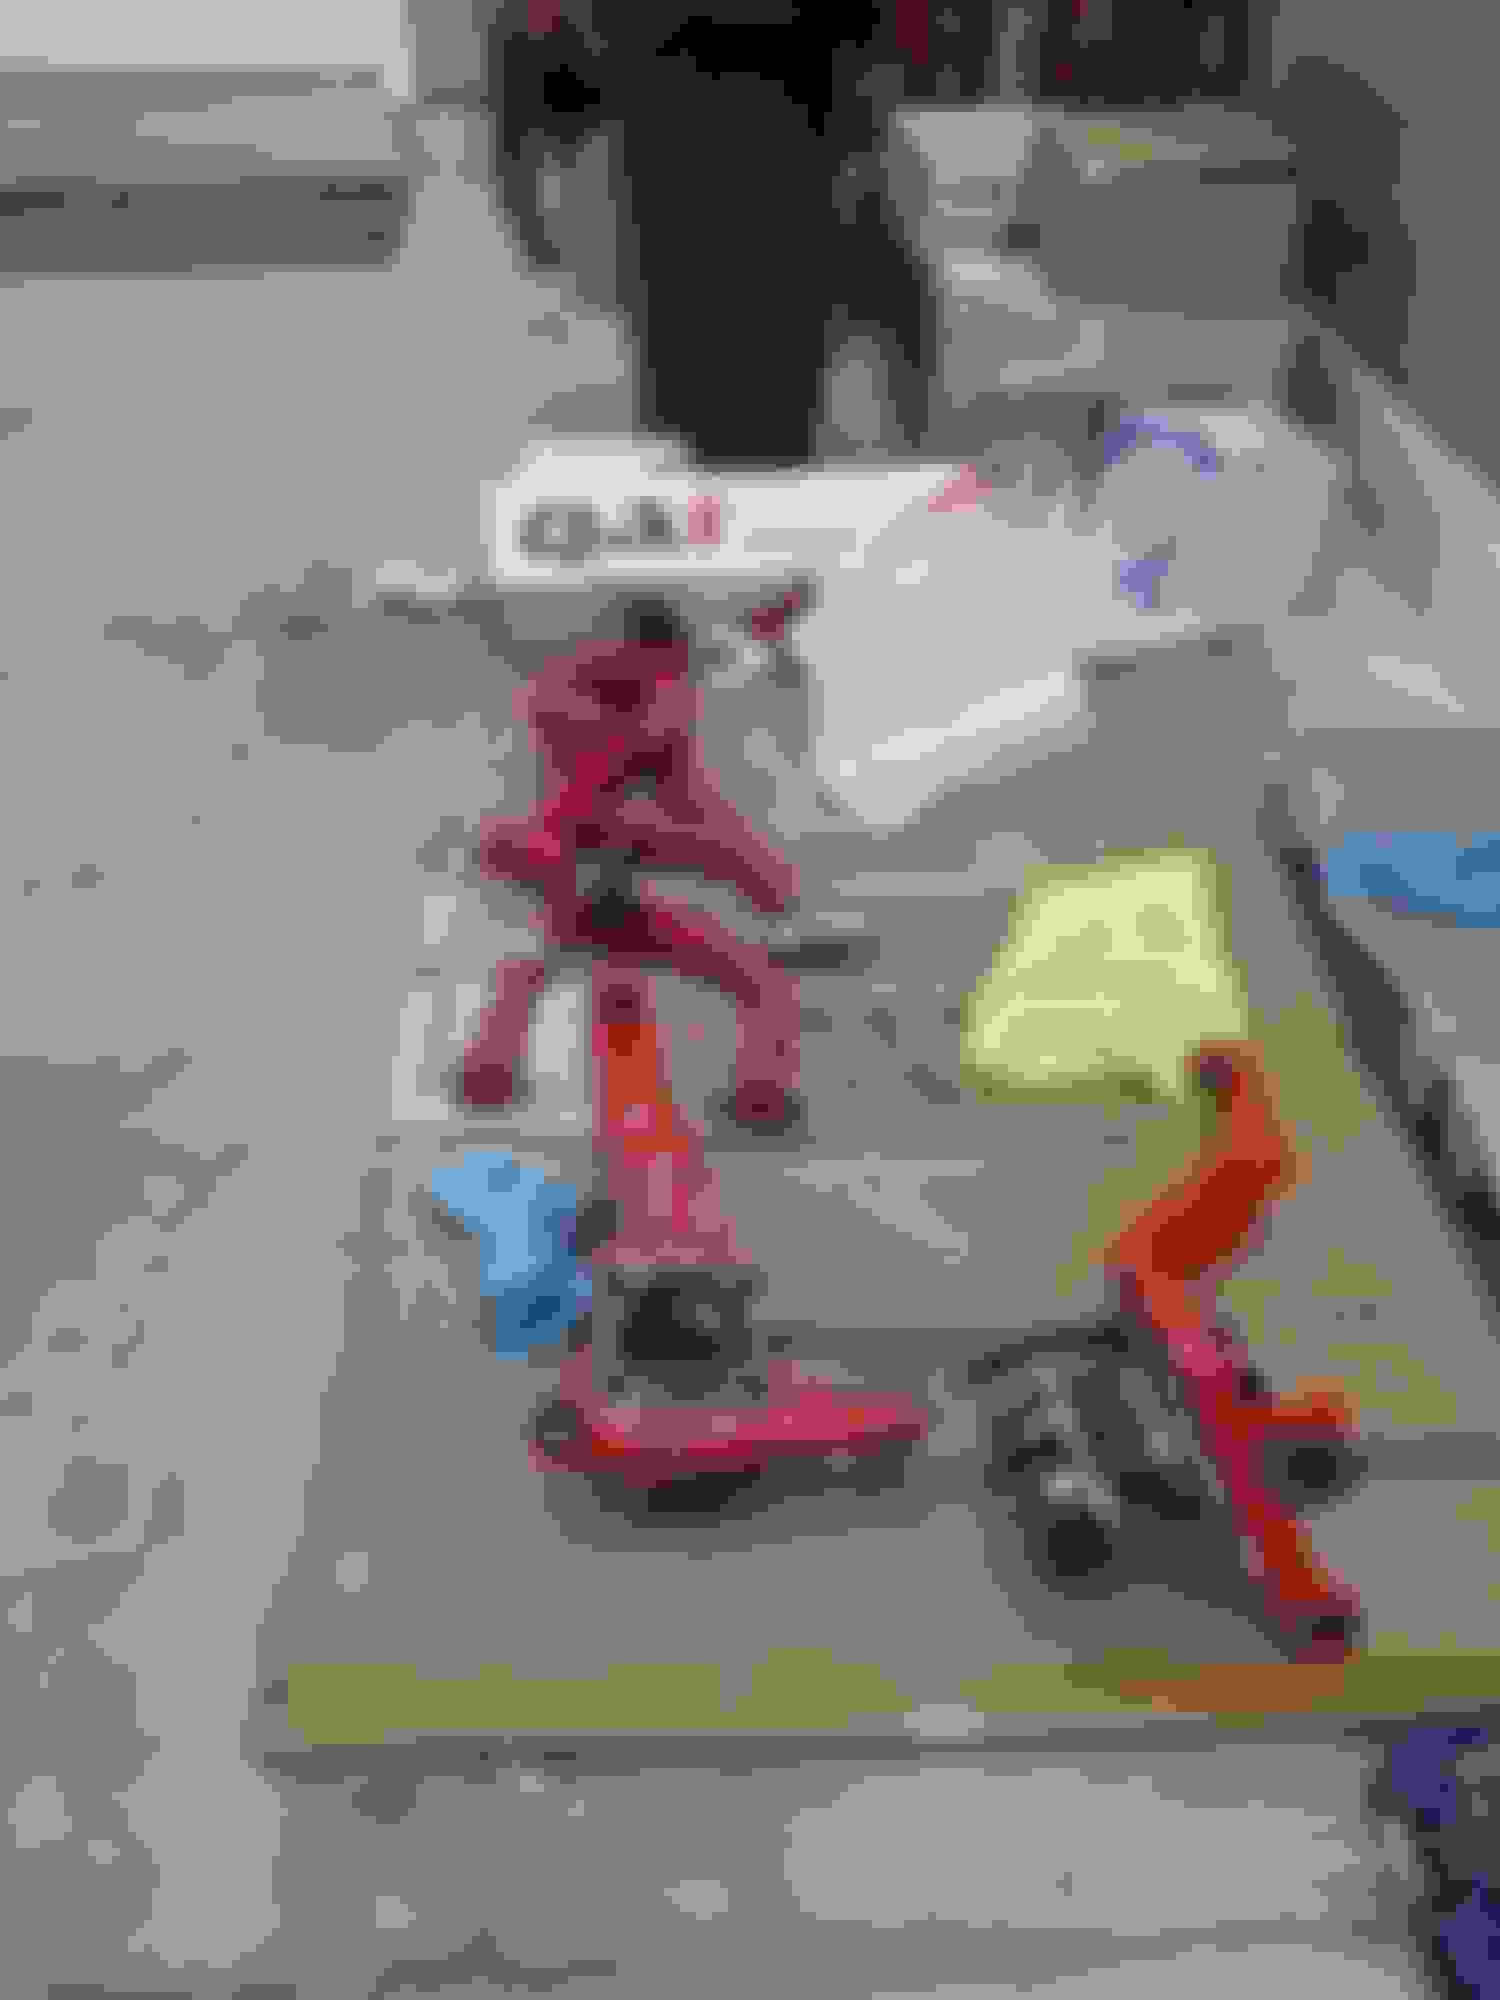
As for other progress, the machine shop has been backed up with irrigation pump work so my engine block is still waiting to be line honed so haven't been able to start on the short block yet. I came across a set of Pro-fab wheelie ski's that work with my BMR K-member so I bought those because, well, why not lol, and have them in primer and drying currently. I will finish painting them and install them this weekend. I will also continue working on installing/wiring up all the autometer gauges. Squash Performance is waiting on a few of the fittings so I haven't got the new fuel system yet but next week I will be dropping the tank and removing the fuel lines.
Yesterday I got a few coats of paint sprayed onto the wheelie ski's. I'll spray them with clear tonight and then install them tomorrow. My rear coil-overs from QA1 should be here Saturday from Summit Racing, so I'll be able to assemble them. I'm waiting on the coil-over conversion kit from BMR before I can install them.
 05-12-2021, 07:38 PM


 .
.