Pro-Touring 68 Acadian (Nova) with L92


 03-16-2012, 09:43 PM
#164
On The Tree
Thread Starter
iTrader: (4)

Join Date: Mar 2009
Location: British Columbia, Canada
Posts: 132
Likes: 0
Received 0 Likes
on
0 Posts
Thanks for the compliments guys.
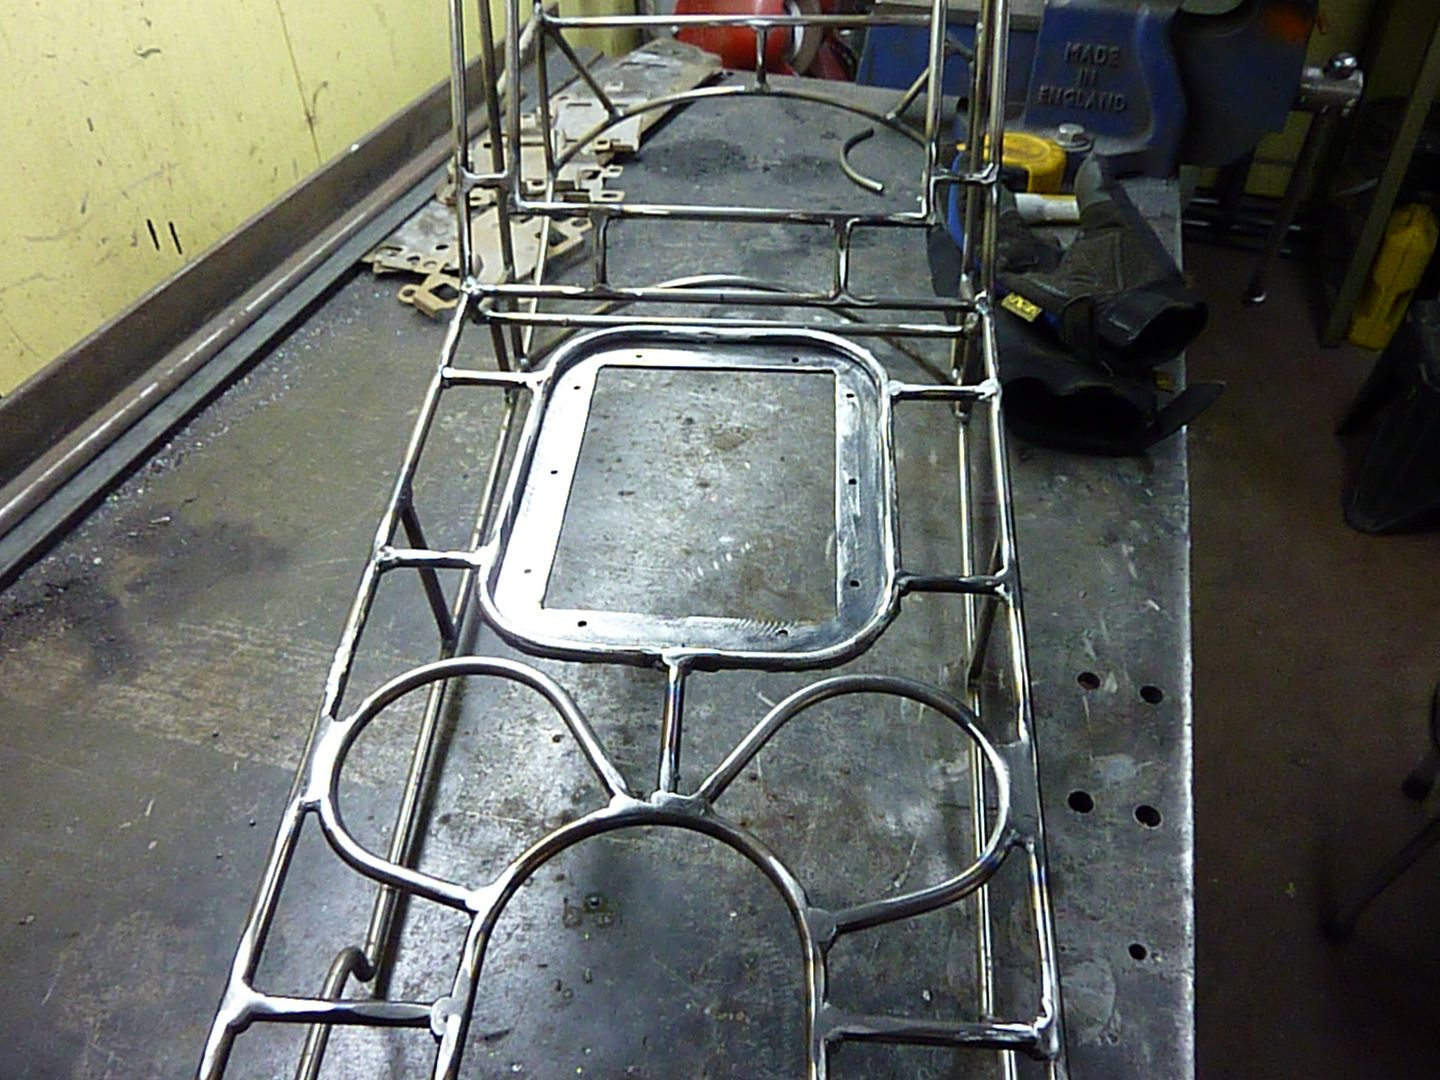
Made some more progress on the console the past couple days. I actually think this is the coolest part of the console.
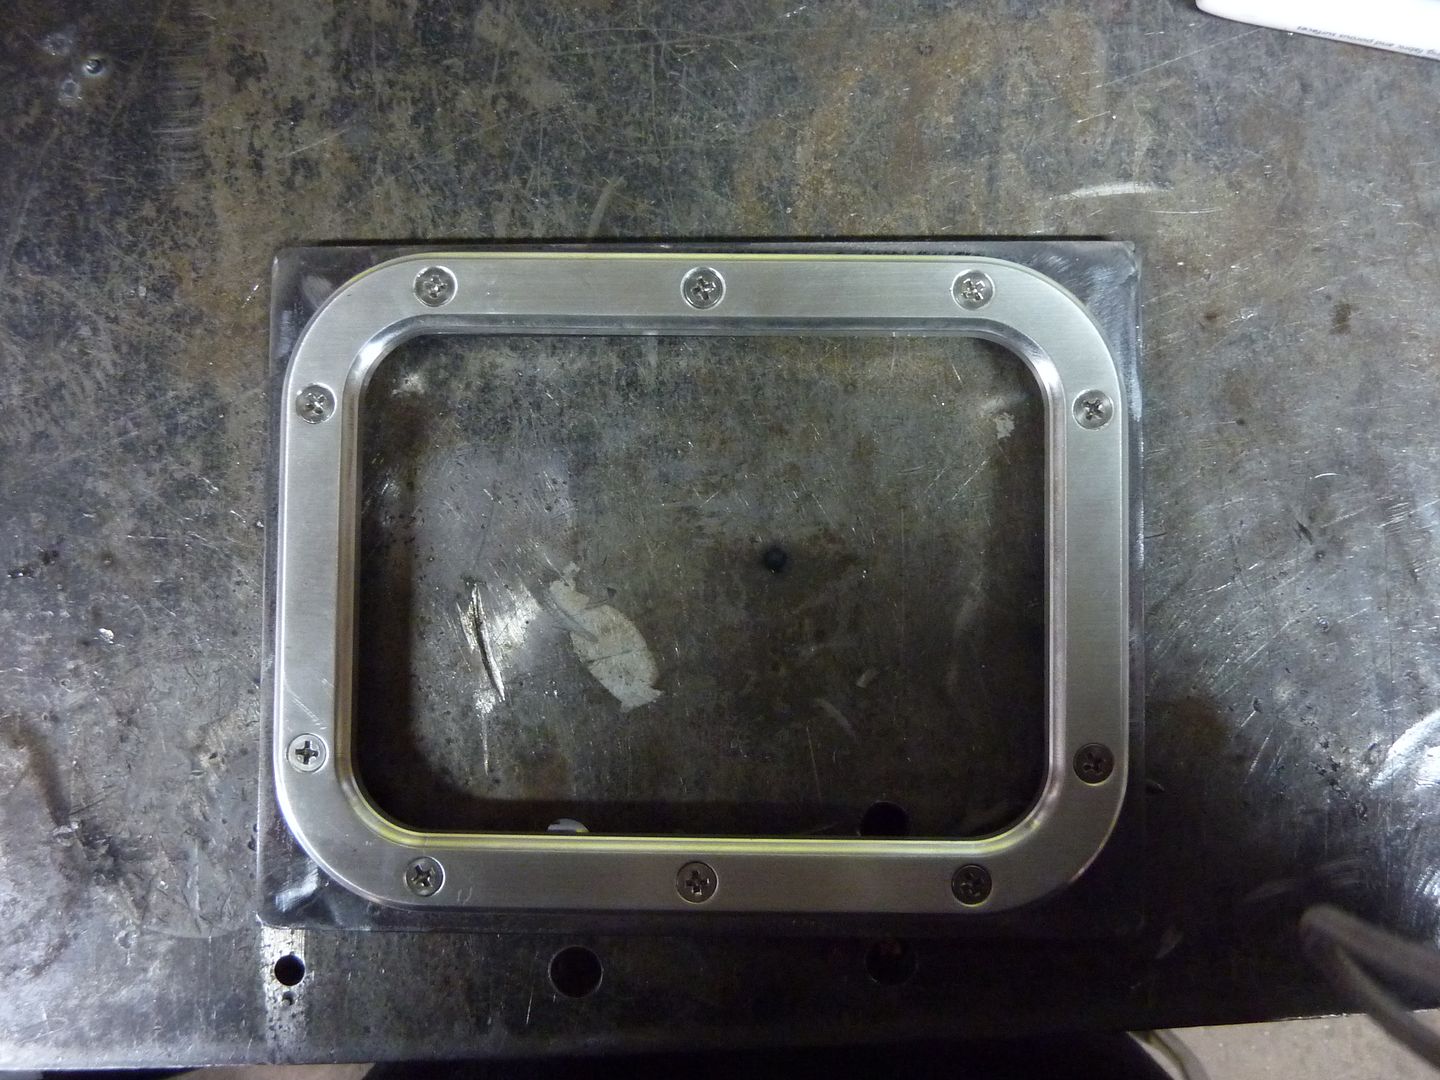
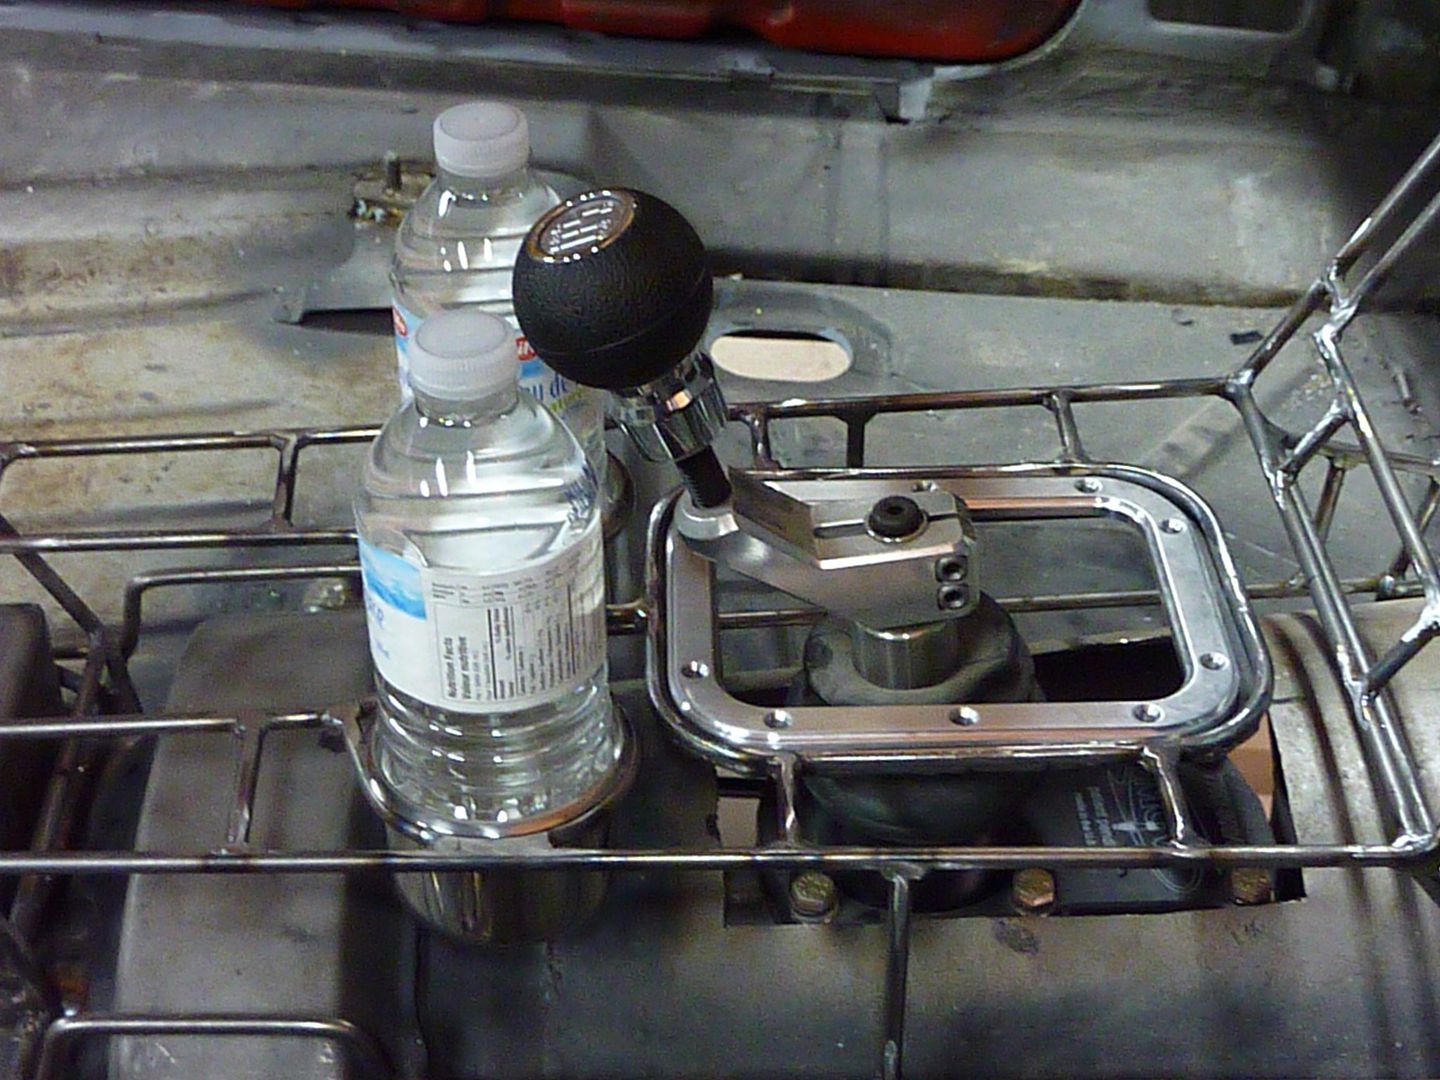
Picked up a shift boot and billet boot ring. I went with the Lokar kit part # 70-BFMB. This thing is sweet.
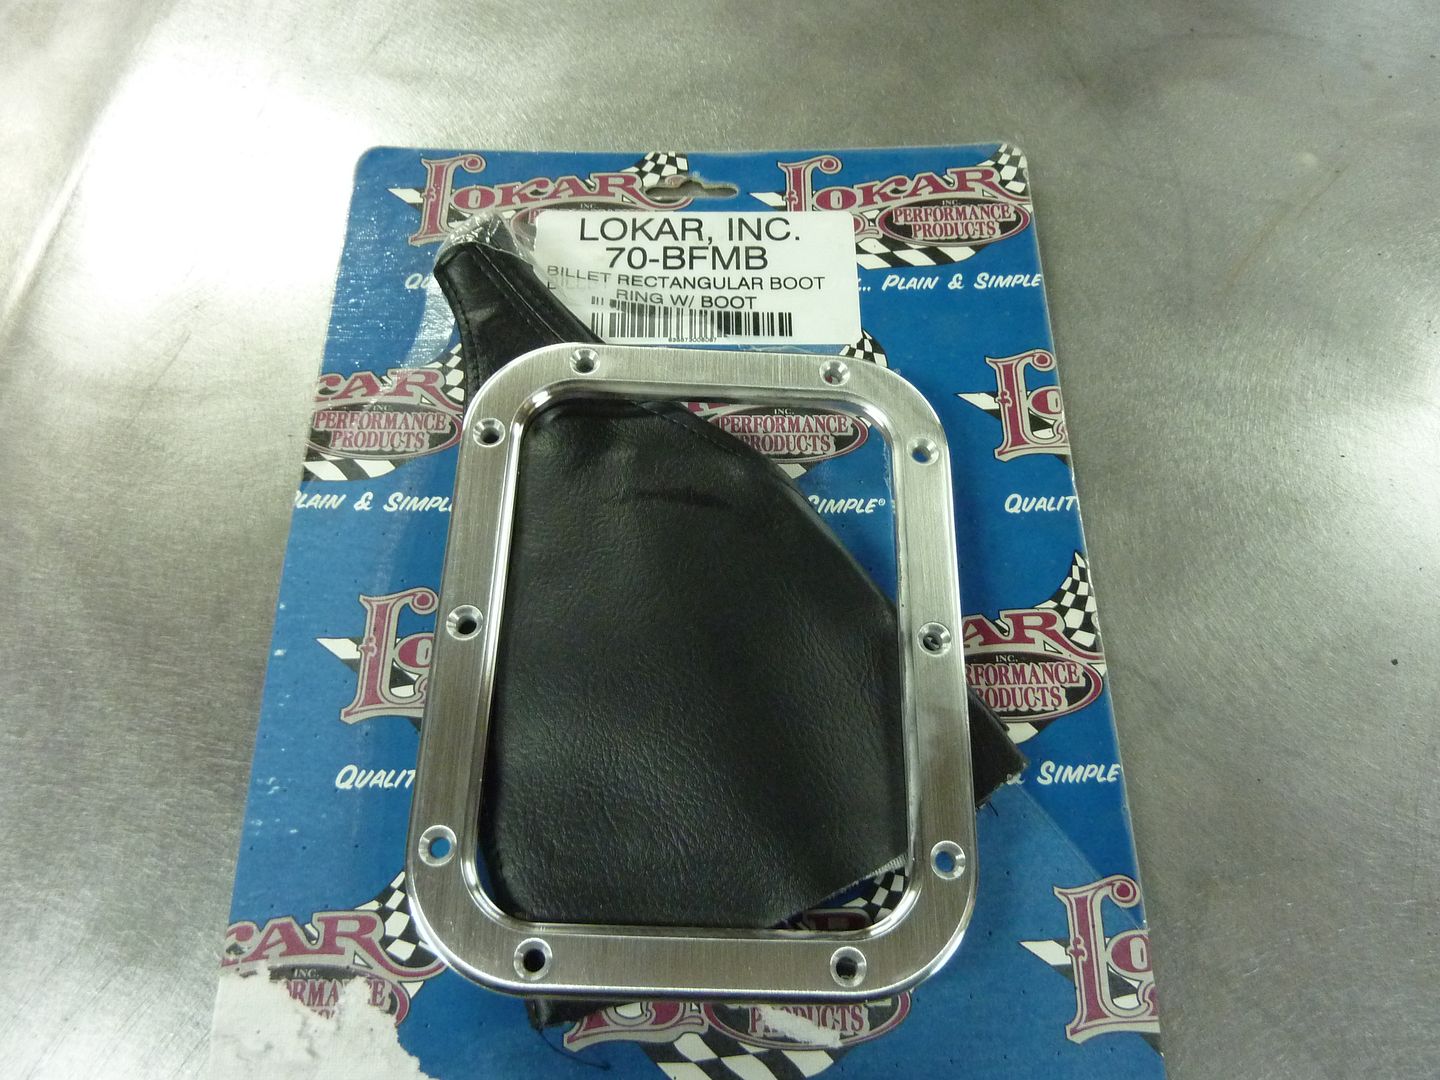
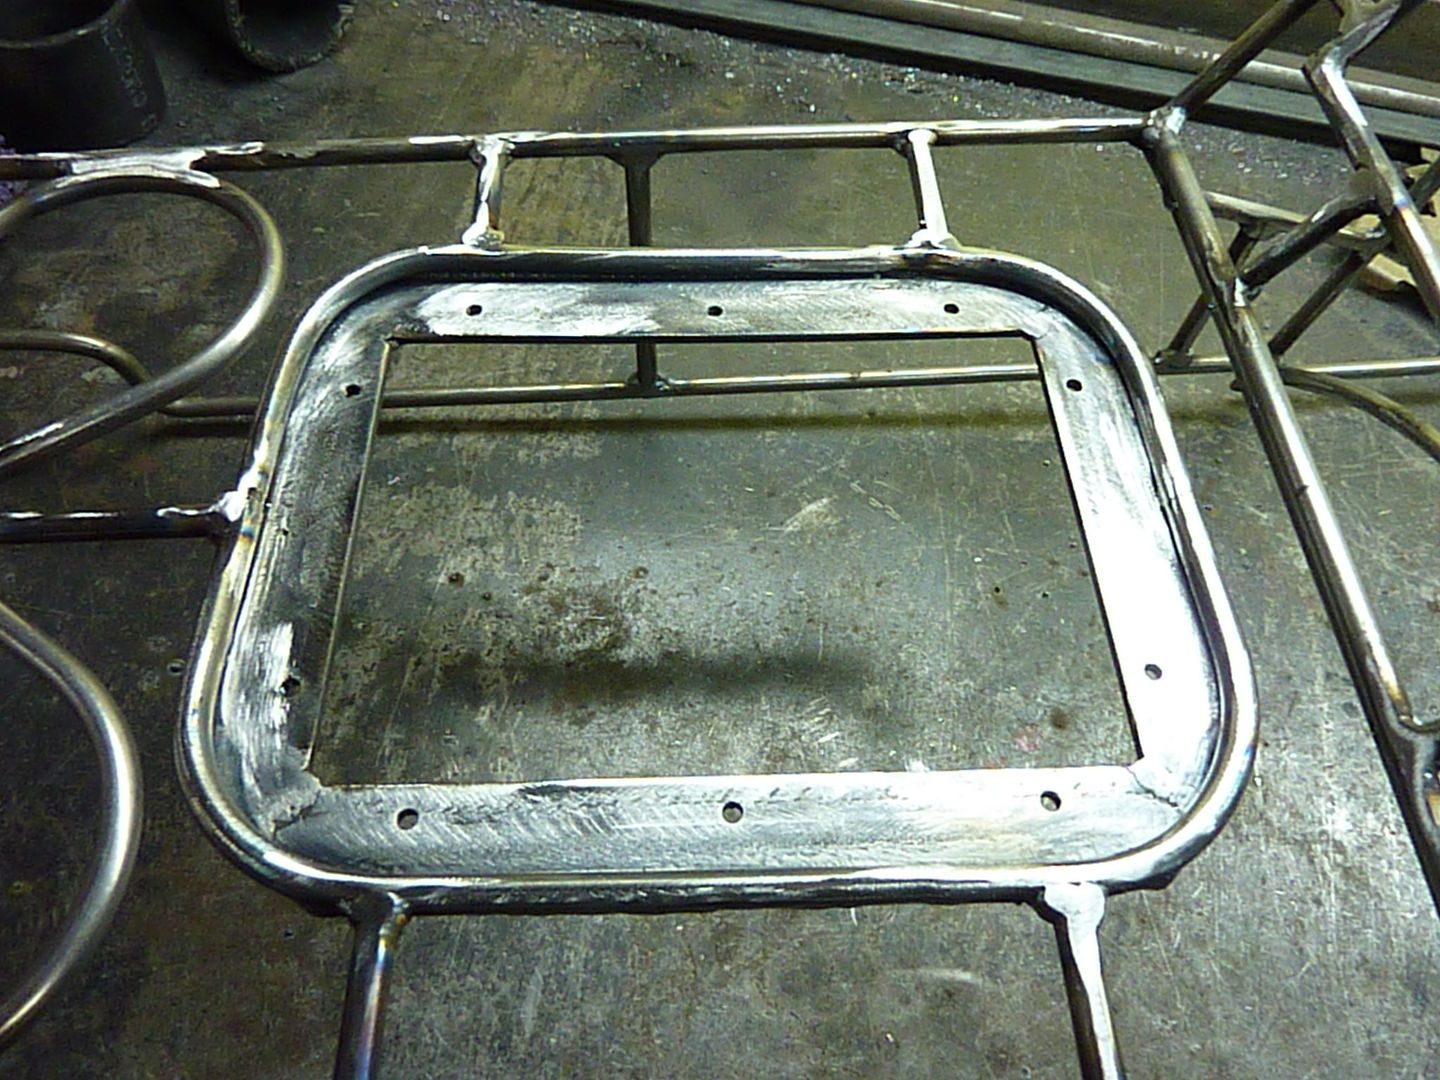
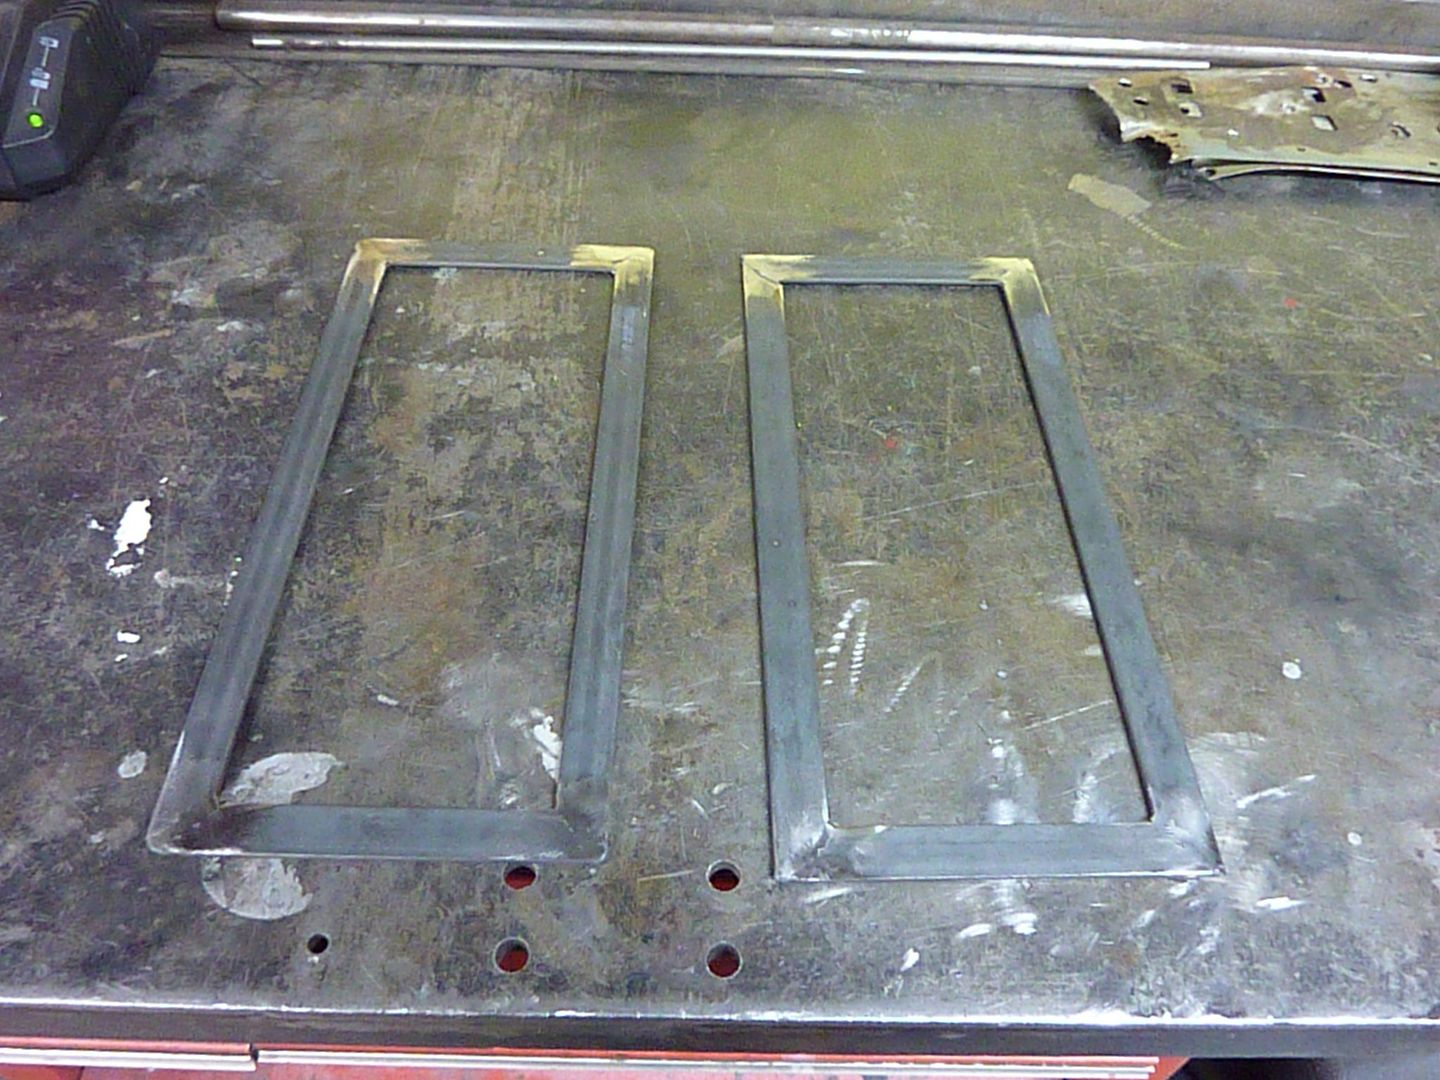
Since the ring is so thick, I wanted to try and sink it into the console a bit. I started with some 1/8" flat stock and cut it to the size I wanted
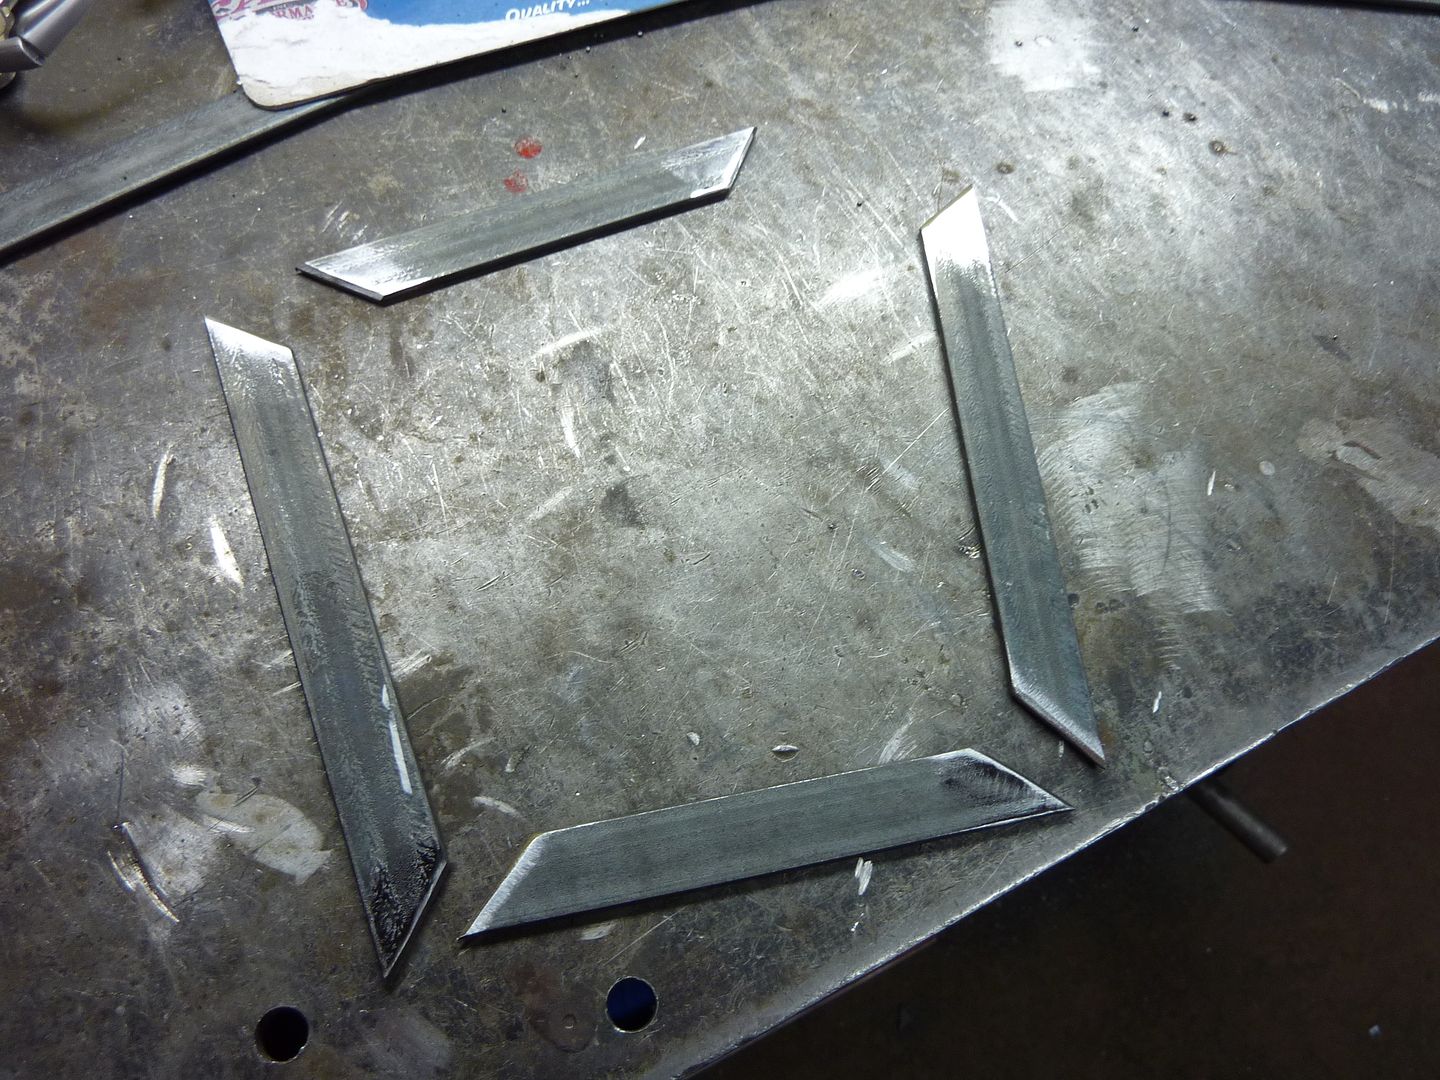
Welded it together
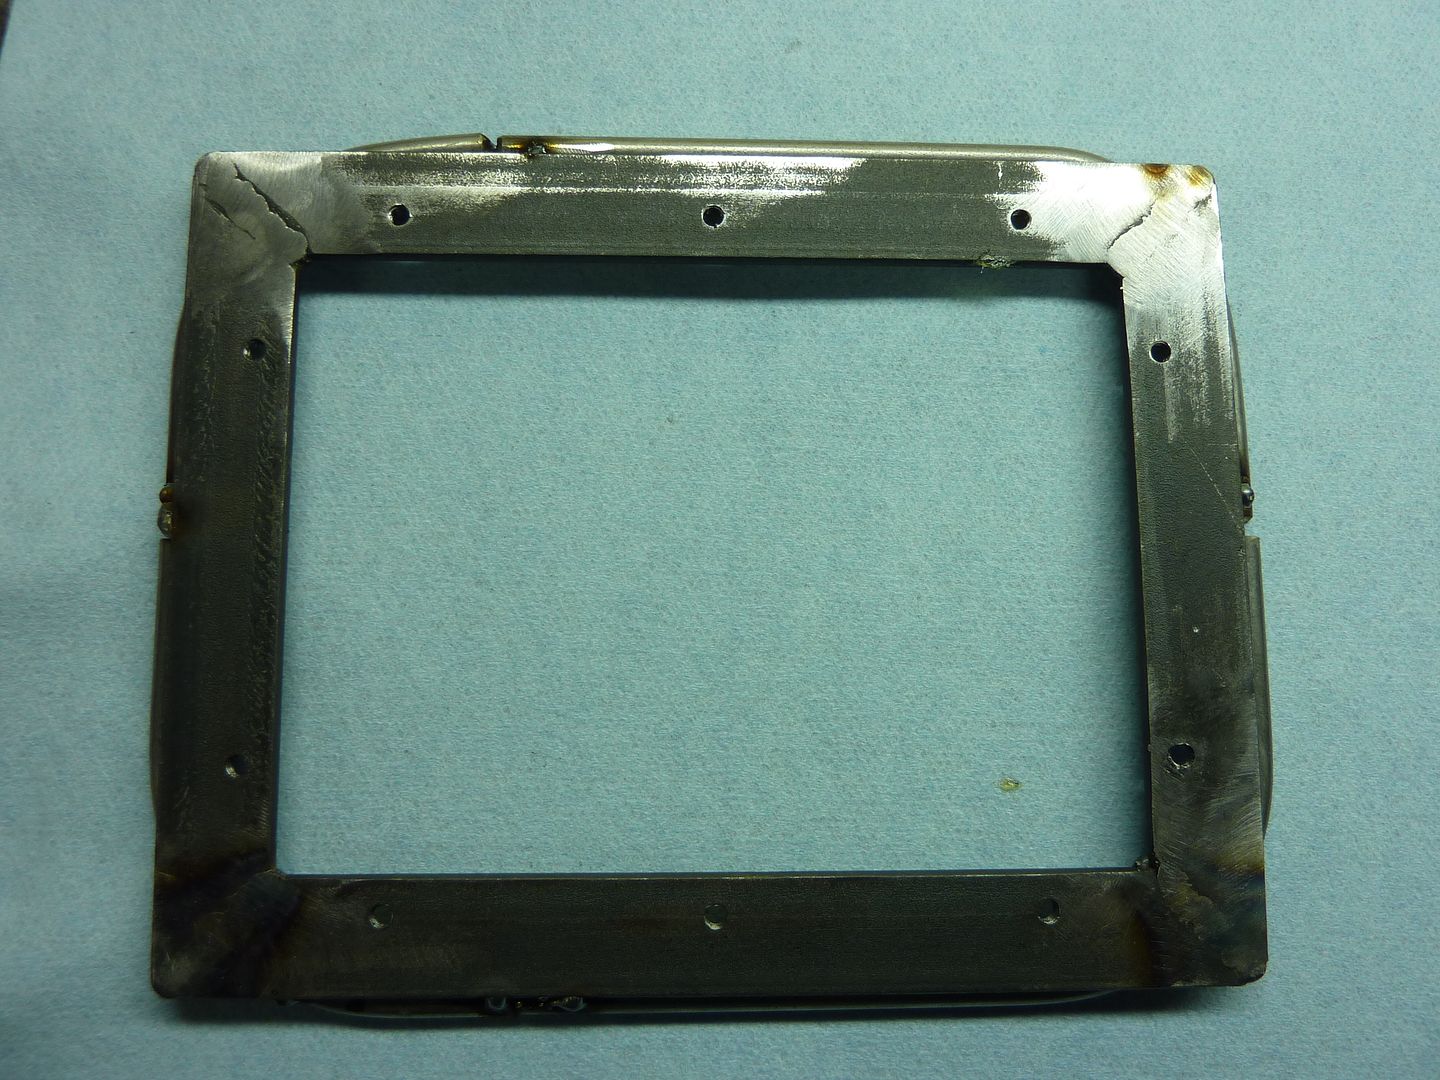
Drilled and tapped the holes into the flat stock
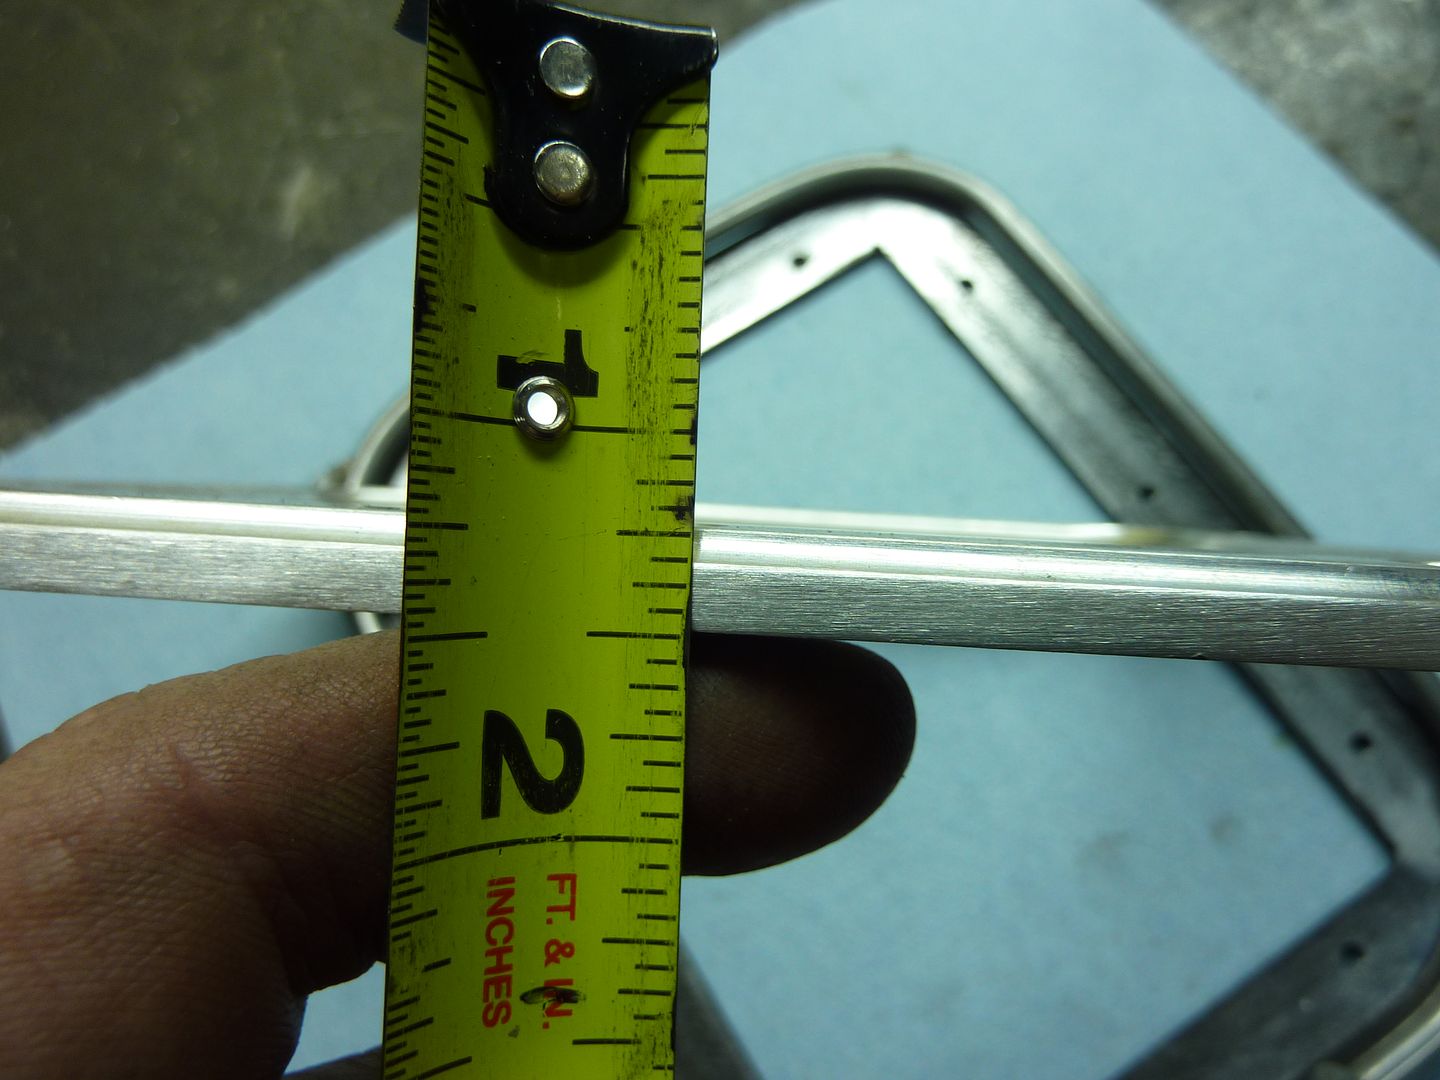
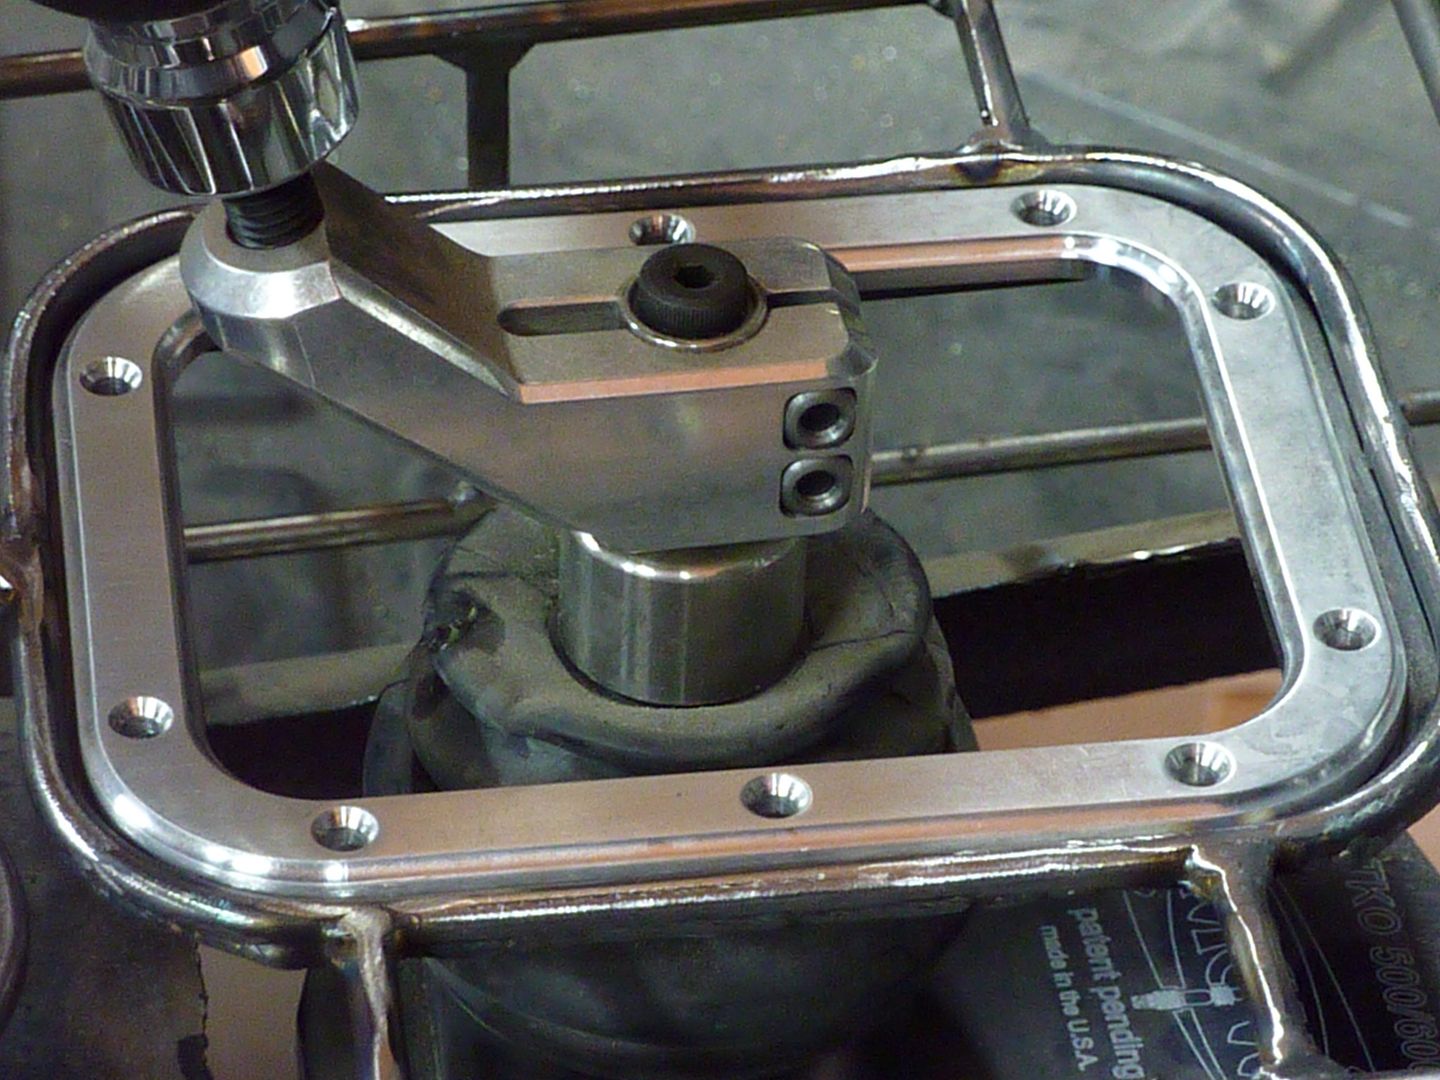
Added some round bar. The way I added this, I left enough room around the ring to fit the leather (if I still go with leather)
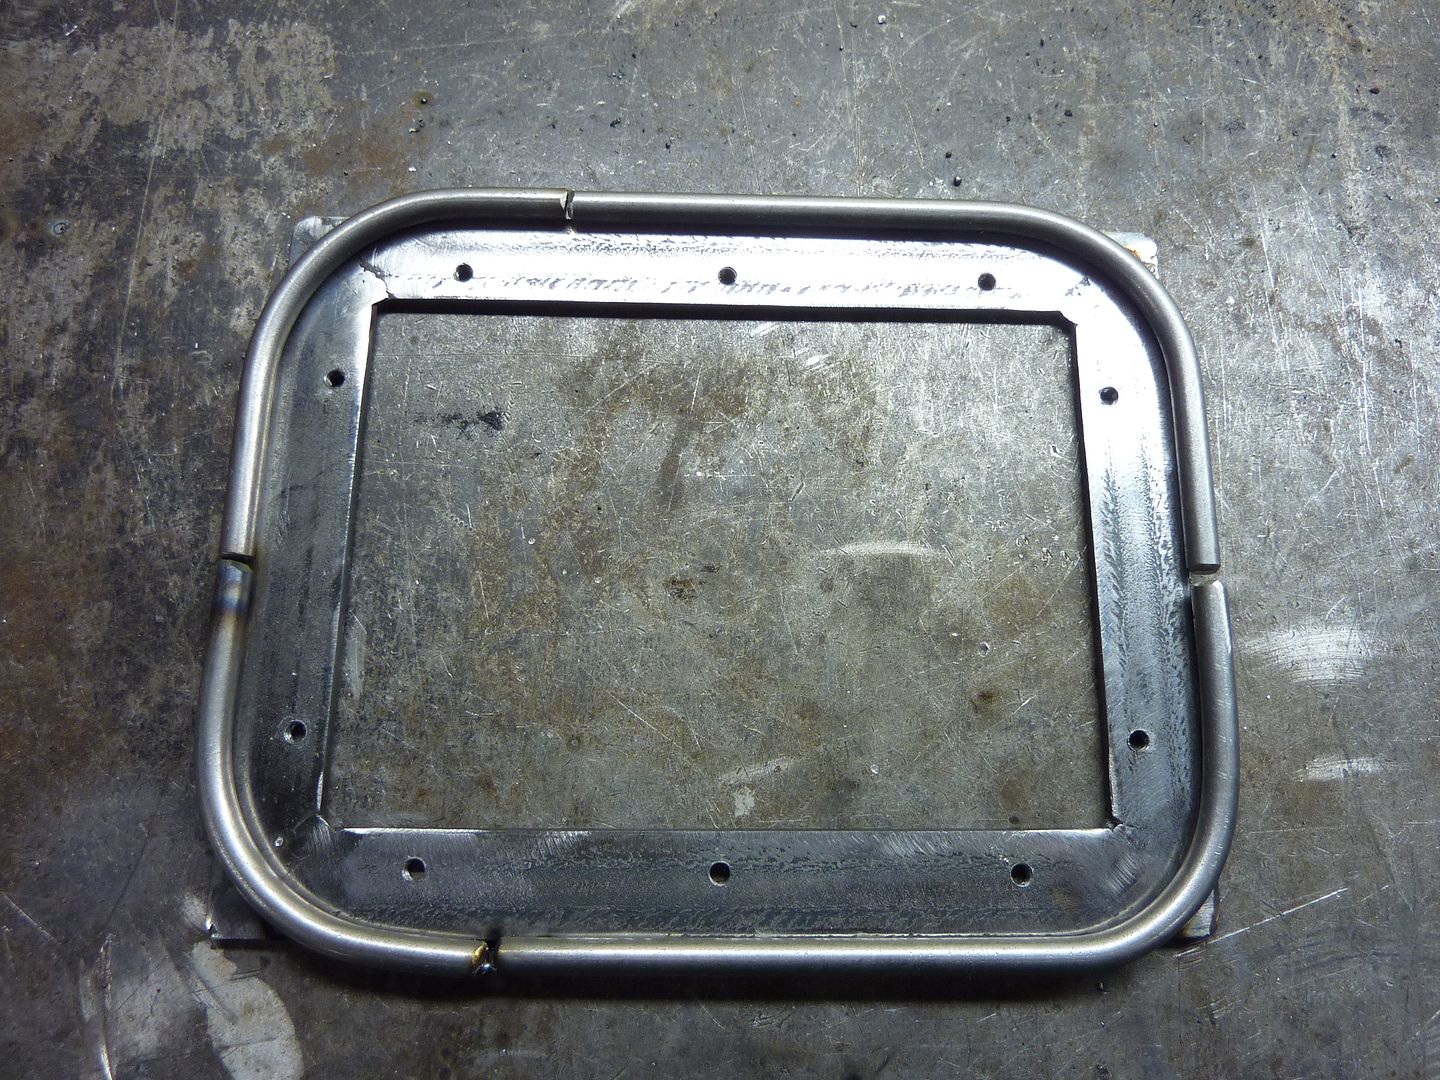
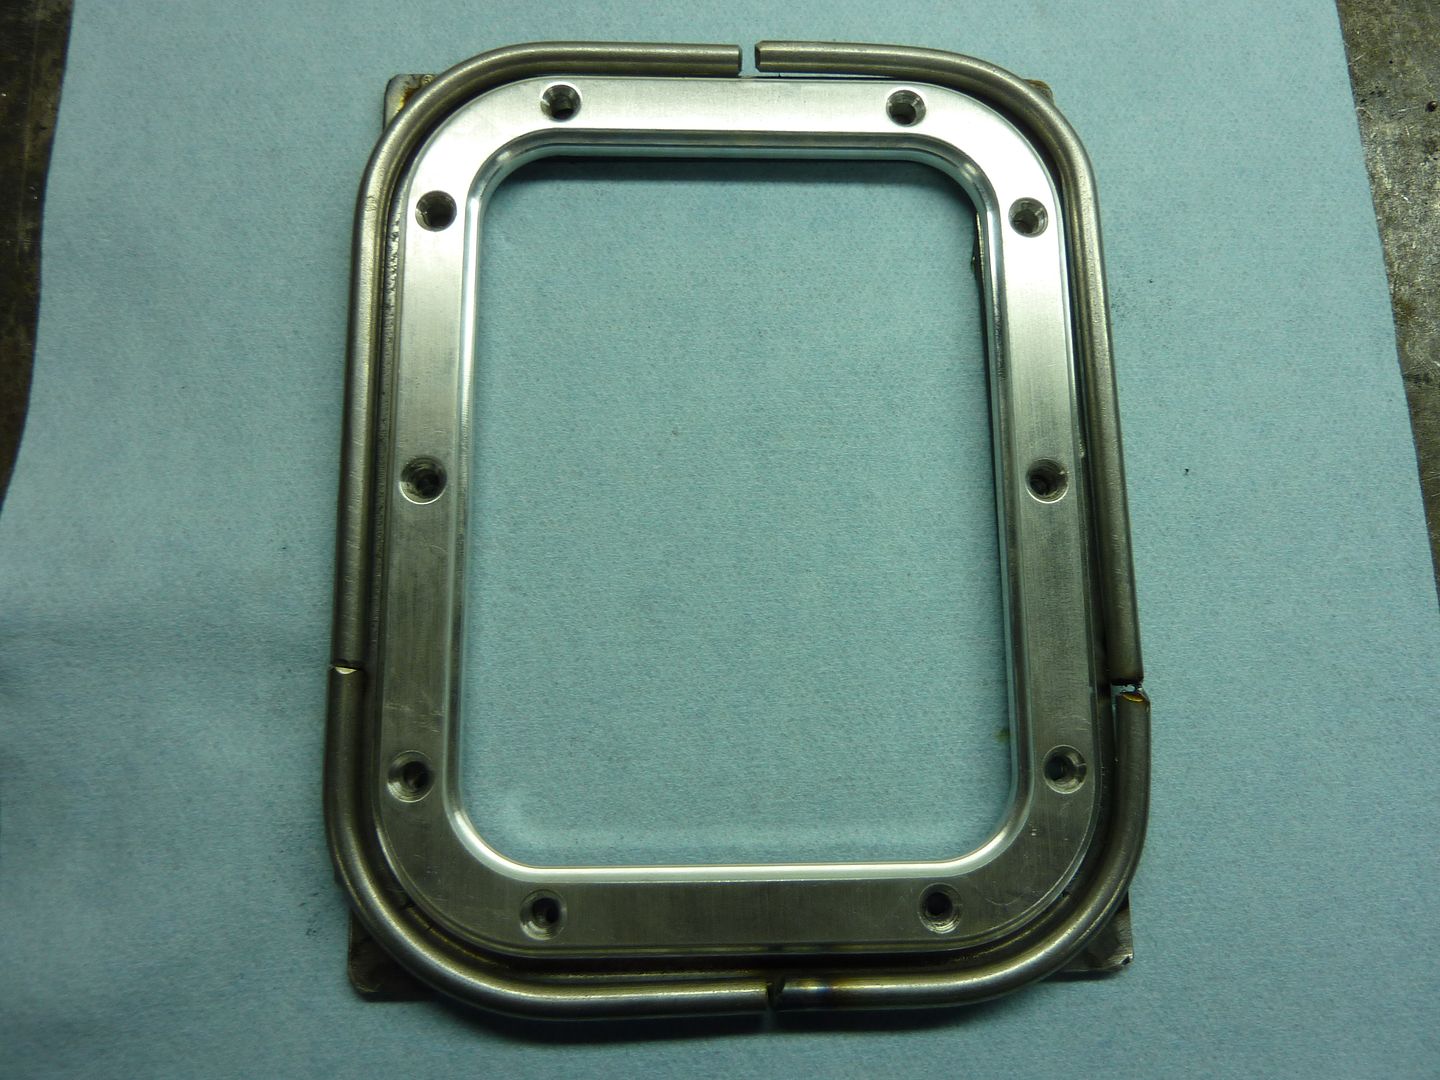
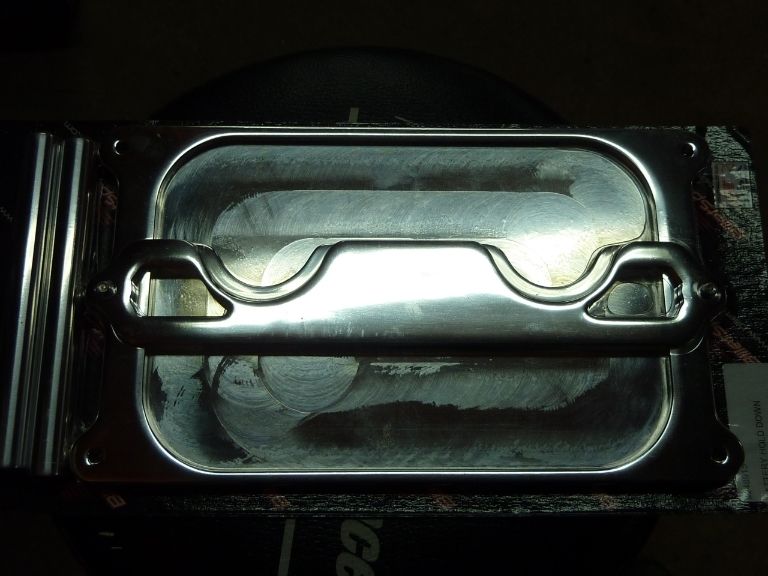
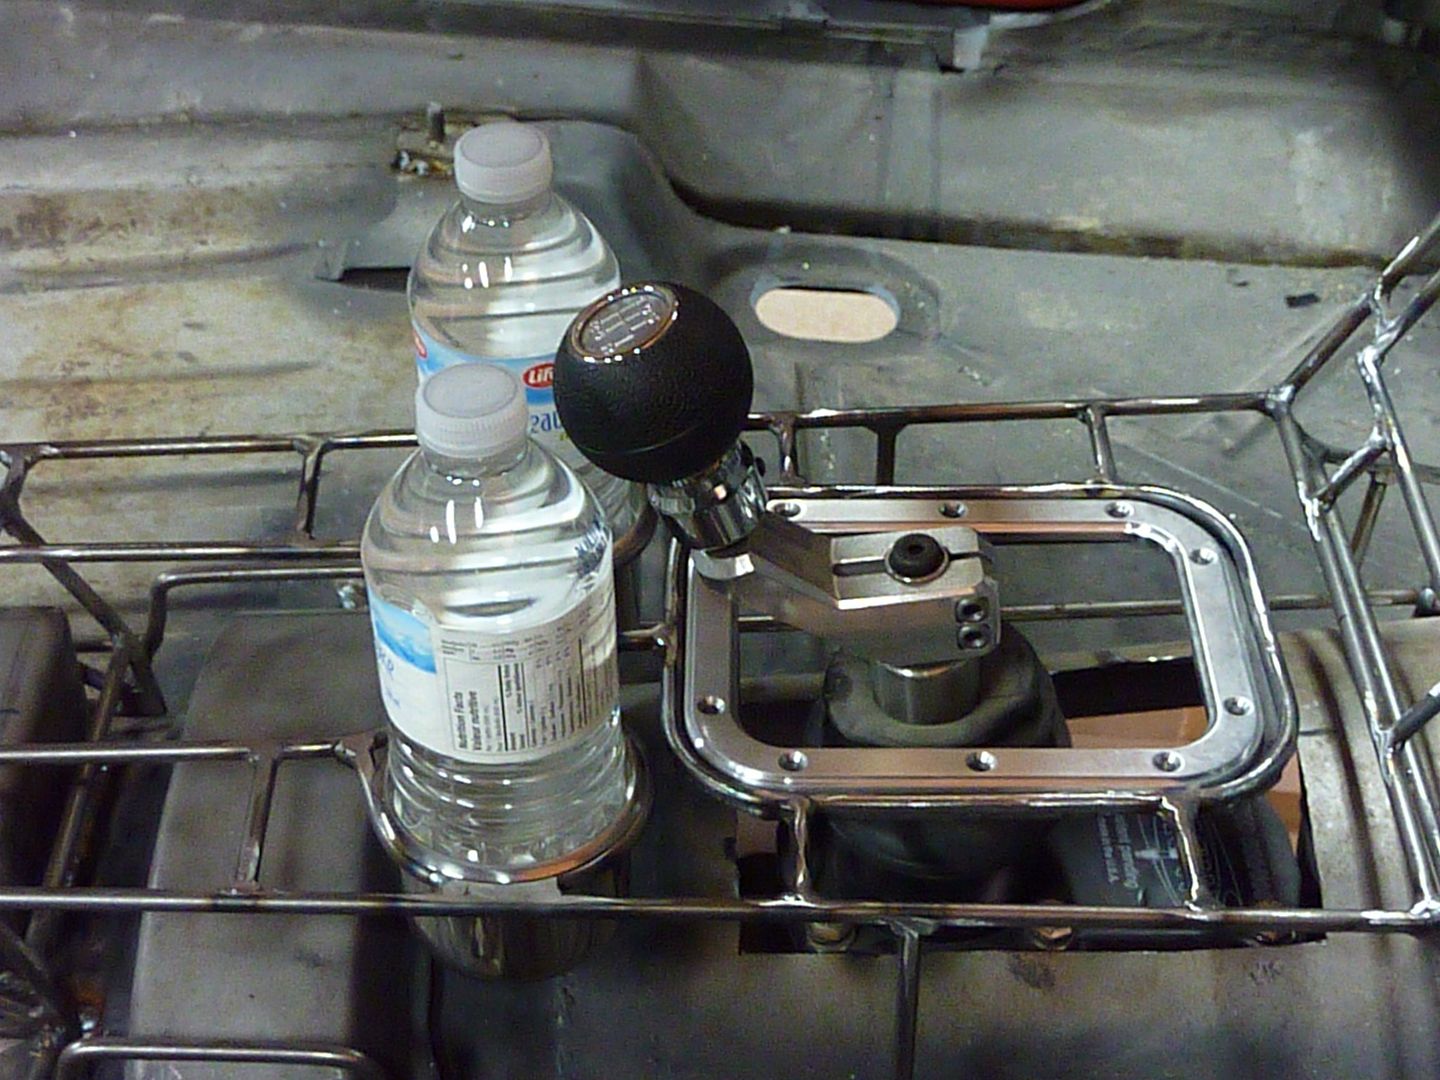
Today I added it to the rest of the console


Tested some bottles of water in the console. It is tight, but I can adjust the shifter some to help give me some extra clearance
Next week I'm going to start working on the storage area lid. I've tried using round bar, but have been fighting with all attempts. Once I used the flat stock, I realized that it will make a good base for the lid. I'm going to drill and tap holes for the hinge bolts. I have two parts done, one piece will go on top of the console and the other will be the base for the lid.
Made some more progress on the console the past couple days. I actually think this is the coolest part of the console.
Picked up a shift boot and billet boot ring. I went with the Lokar kit part # 70-BFMB. This thing is sweet.
Since the ring is so thick, I wanted to try and sink it into the console a bit. I started with some 1/8" flat stock and cut it to the size I wanted
Welded it together
Drilled and tapped the holes into the flat stock
Added some round bar. The way I added this, I left enough room around the ring to fit the leather (if I still go with leather)
Today I added it to the rest of the console
Tested some bottles of water in the console. It is tight, but I can adjust the shifter some to help give me some extra clearance
Next week I'm going to start working on the storage area lid. I've tried using round bar, but have been fighting with all attempts. Once I used the flat stock, I realized that it will make a good base for the lid. I'm going to drill and tap holes for the hinge bolts. I have two parts done, one piece will go on top of the console and the other will be the base for the lid.
 07-30-2012, 08:59 PM
#167
On The Tree
Thread Starter
iTrader: (4)
Join Date: Mar 2009
Location: British Columbia, Canada
Posts: 132
Likes: 0
Received 0 Likes
on
0 Posts
Well it's been quite a while since I've posted an update. To be honest, it's actually been quite a while since I got to spend any time in the shop. Unfortunately I haven't had any overtime in almost a year, so no new parts. Finally getting overtime again so hopefully will get some more parts in the near future. I also spent quite a bit of my free time renovating our basement, something we have been talking about doing for a long time. I did get out for an hour here and an hour there, but didn't really have much for an update until now. Not a huge update, but an update none the less.
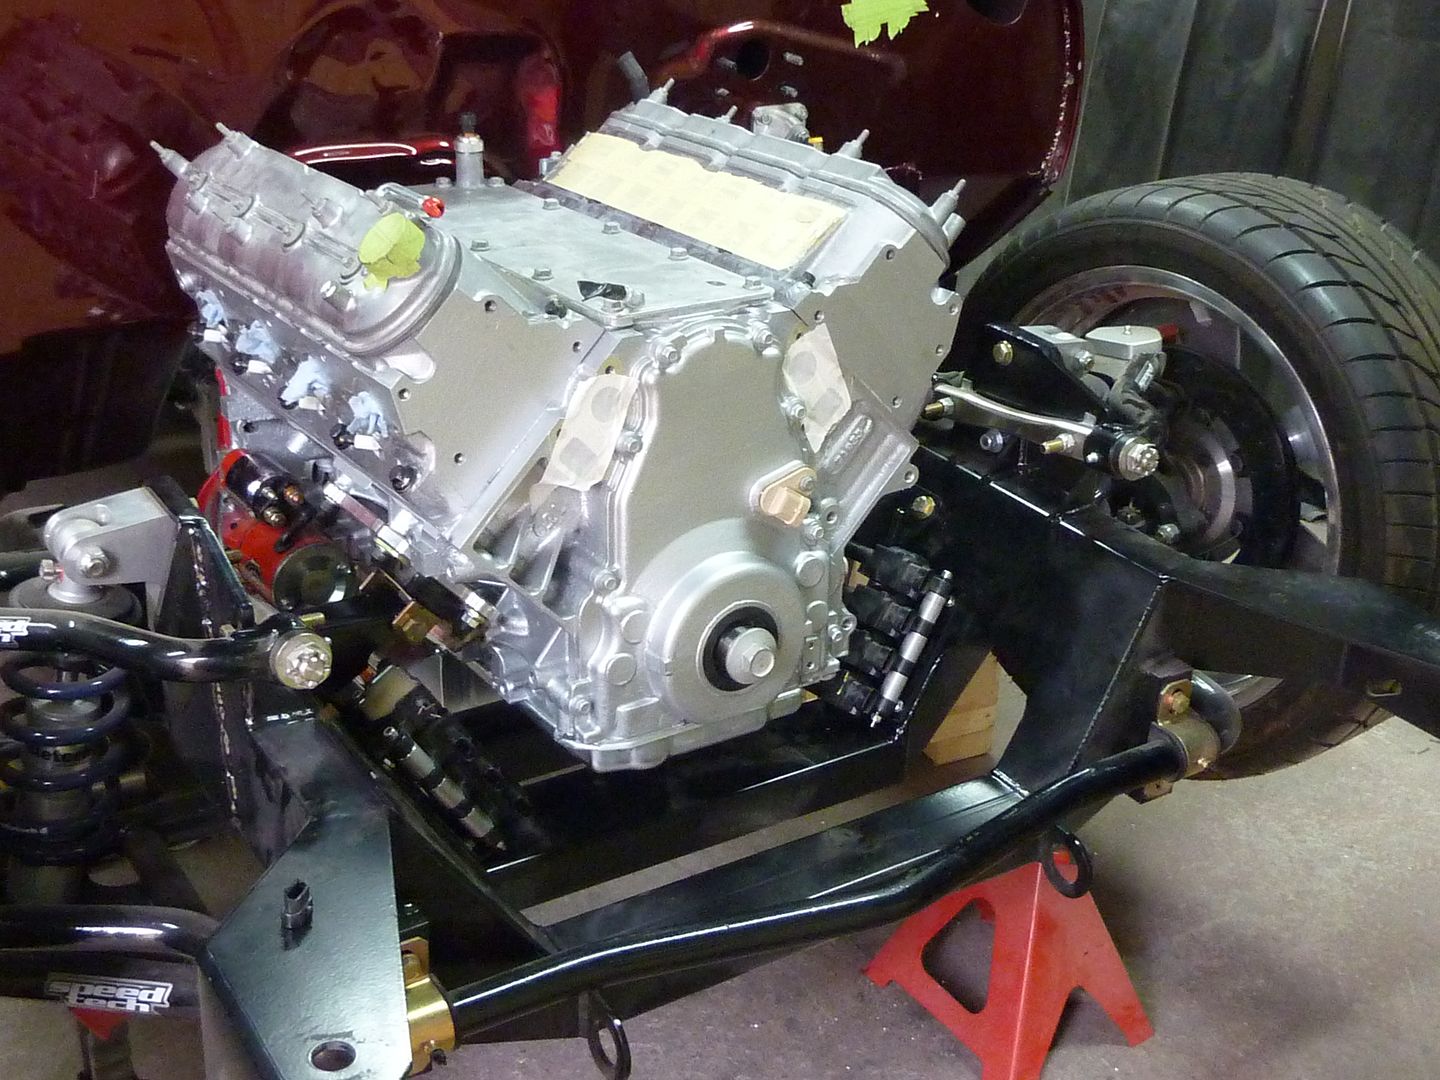
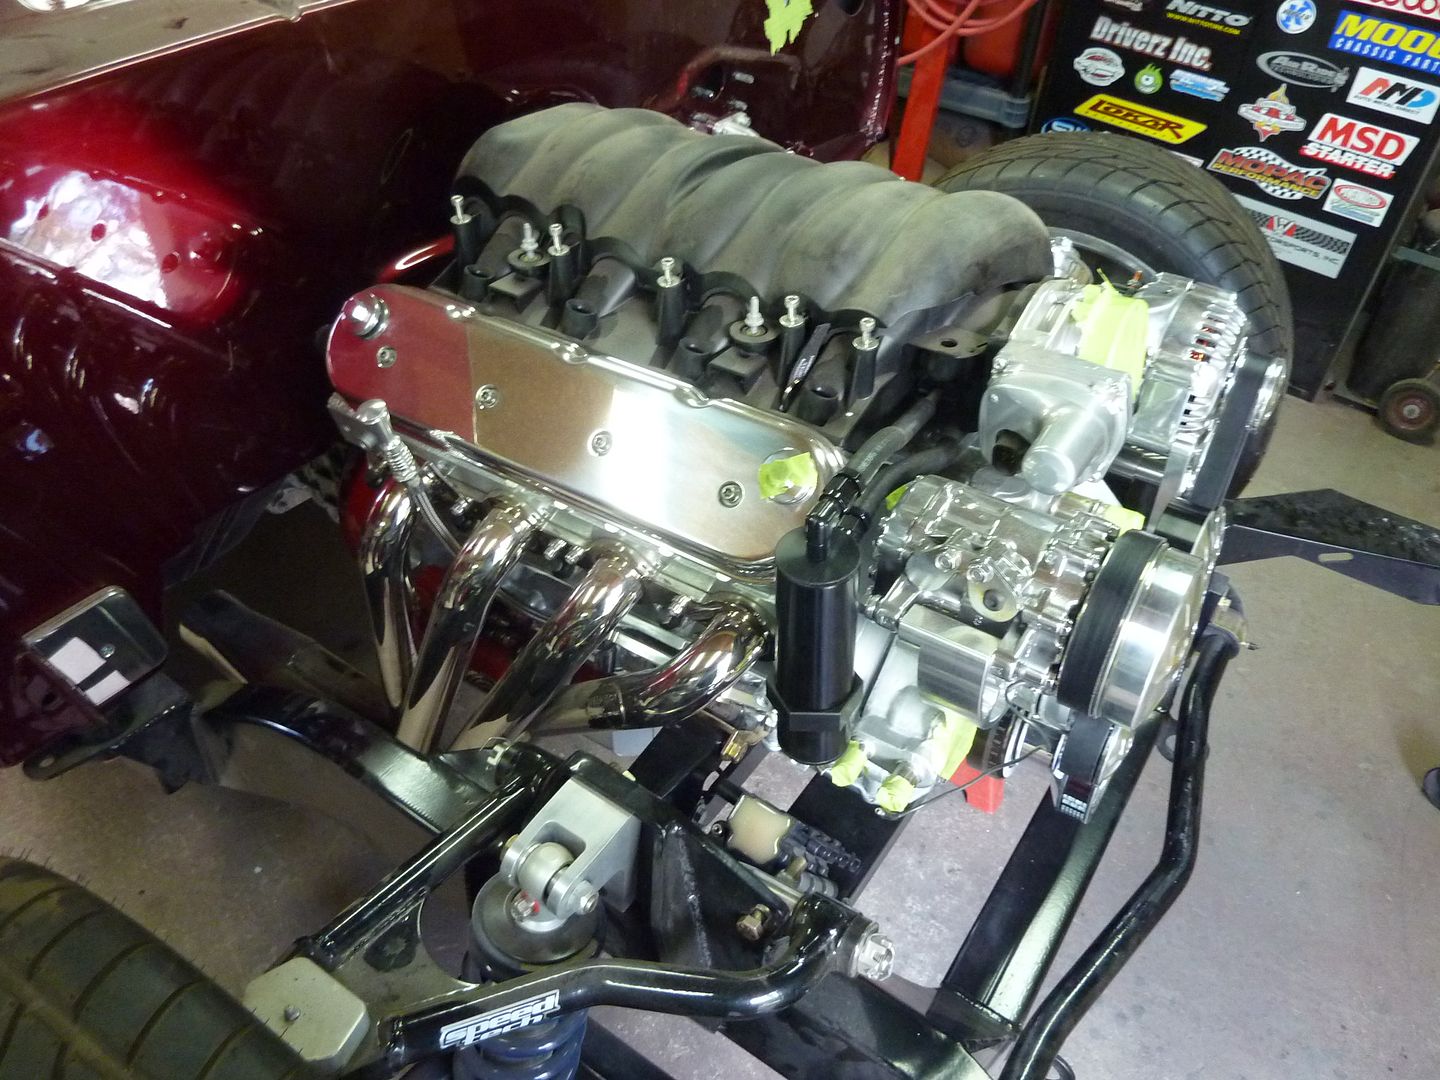
Painted the motor a few months ago. Forgot to post pics though. I painted both the engine and tranny with POR15. I started with a base of regular silver POR15 and then 2 coats of their engine enamel. Color is aluminum.
Before:
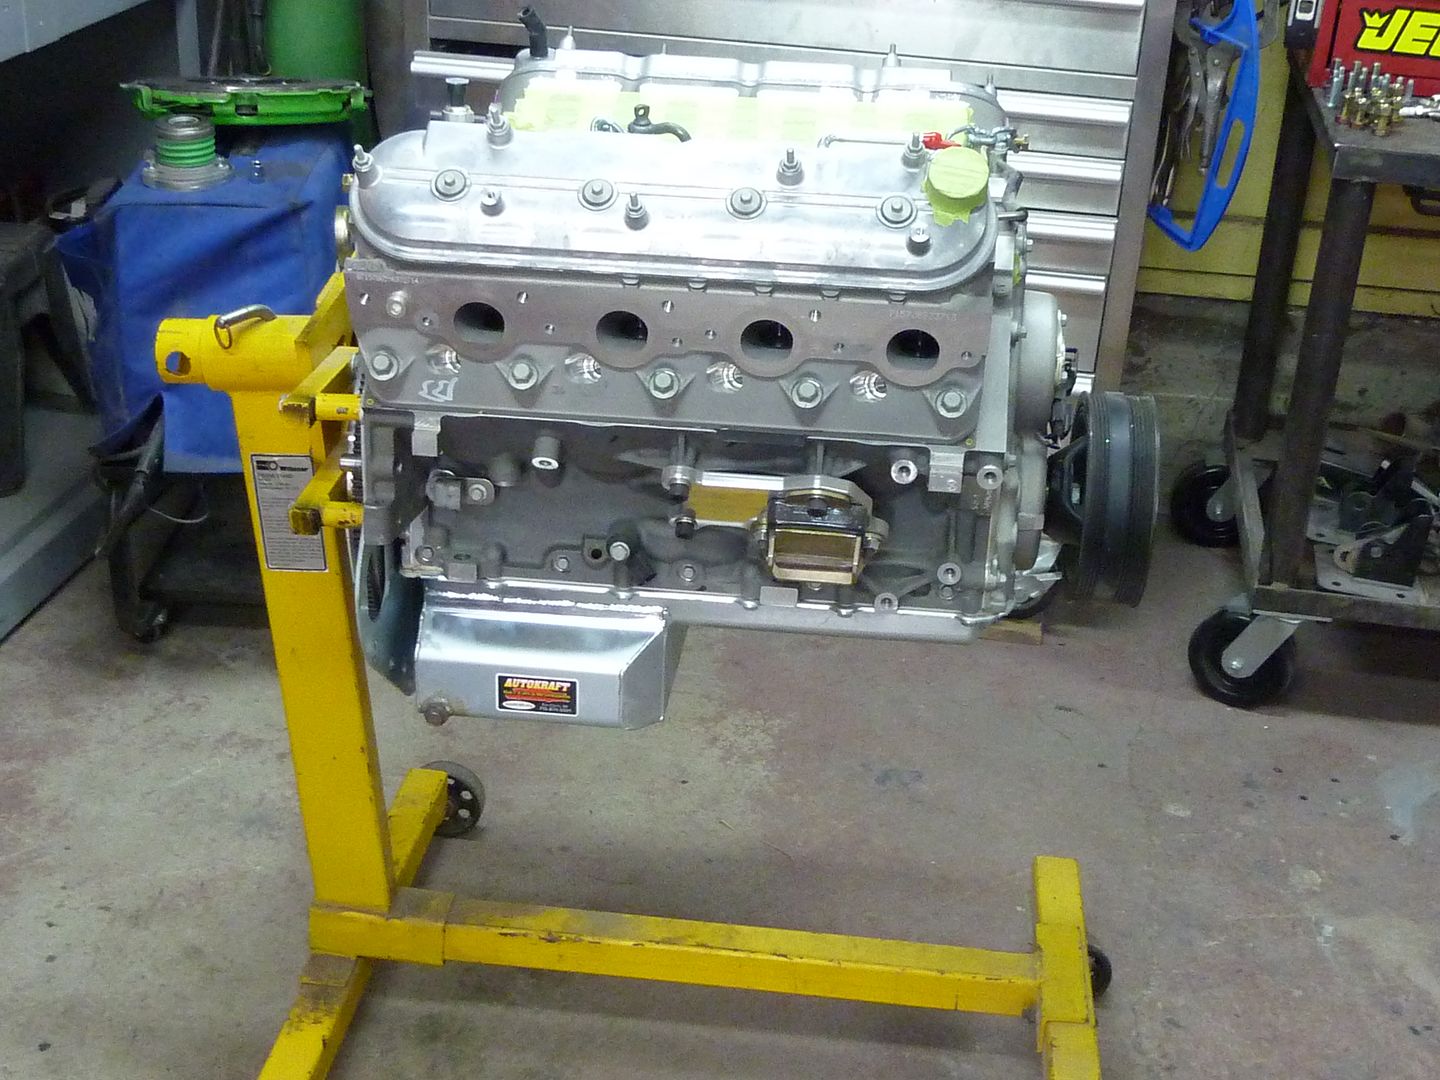
After:

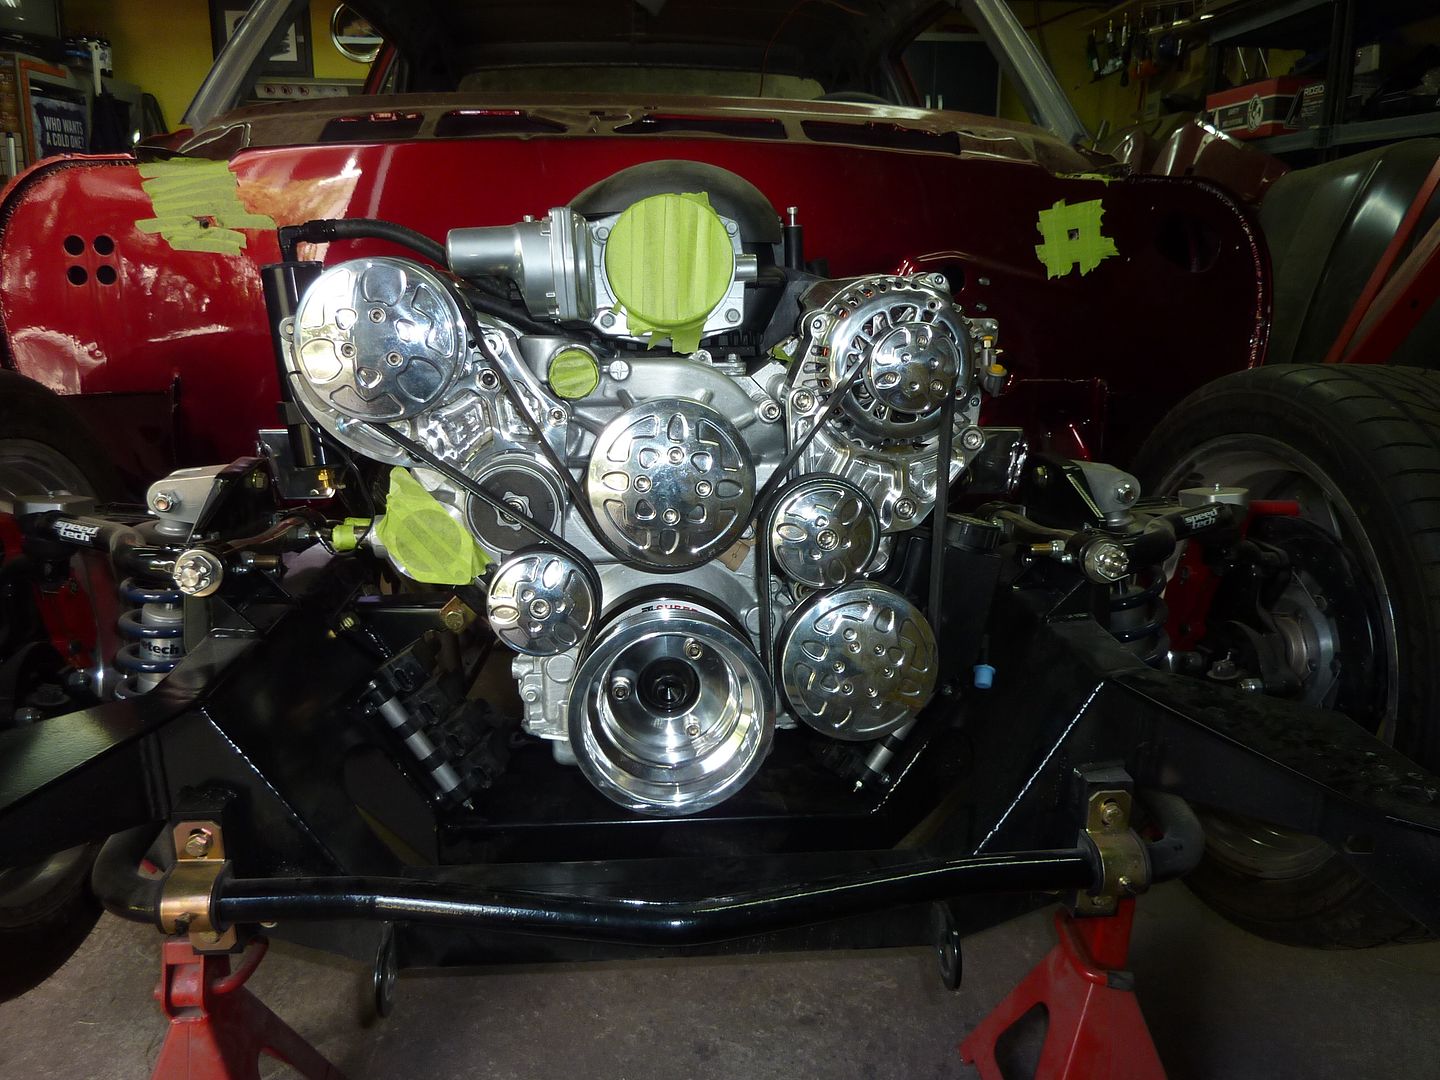
I then started installing the Wegner serpentine kit. When I installed the ATI dampner, I just used a threaded rod, some washers and a nut. Added some never seize to the inside where it slid over the crank and it went on very easily.
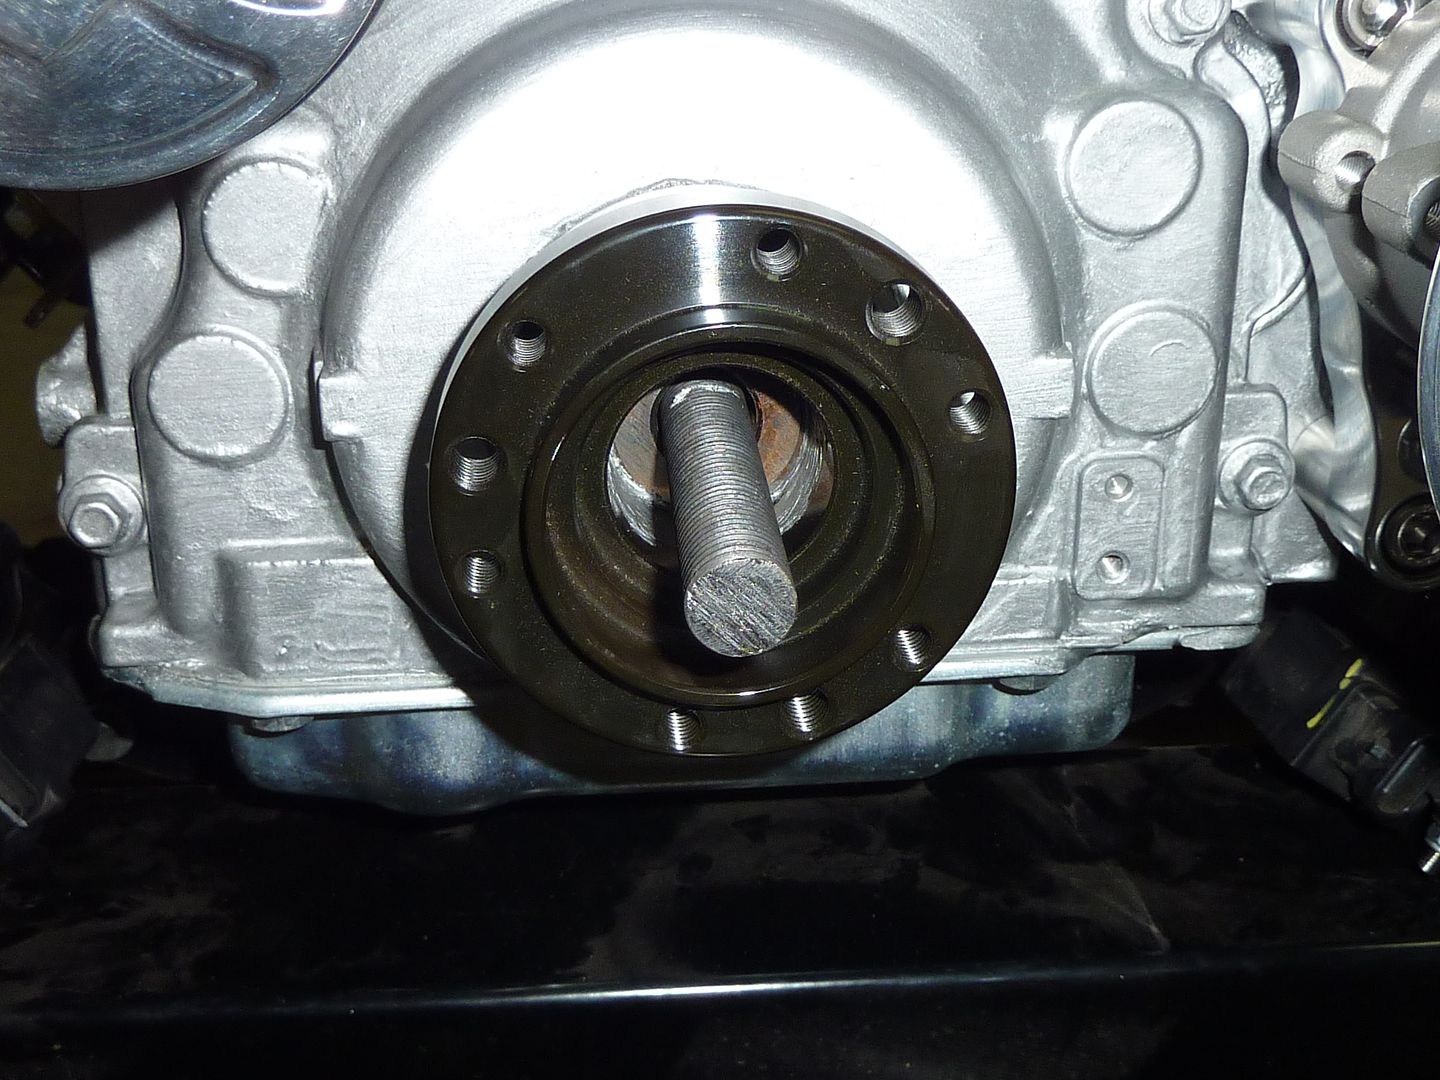
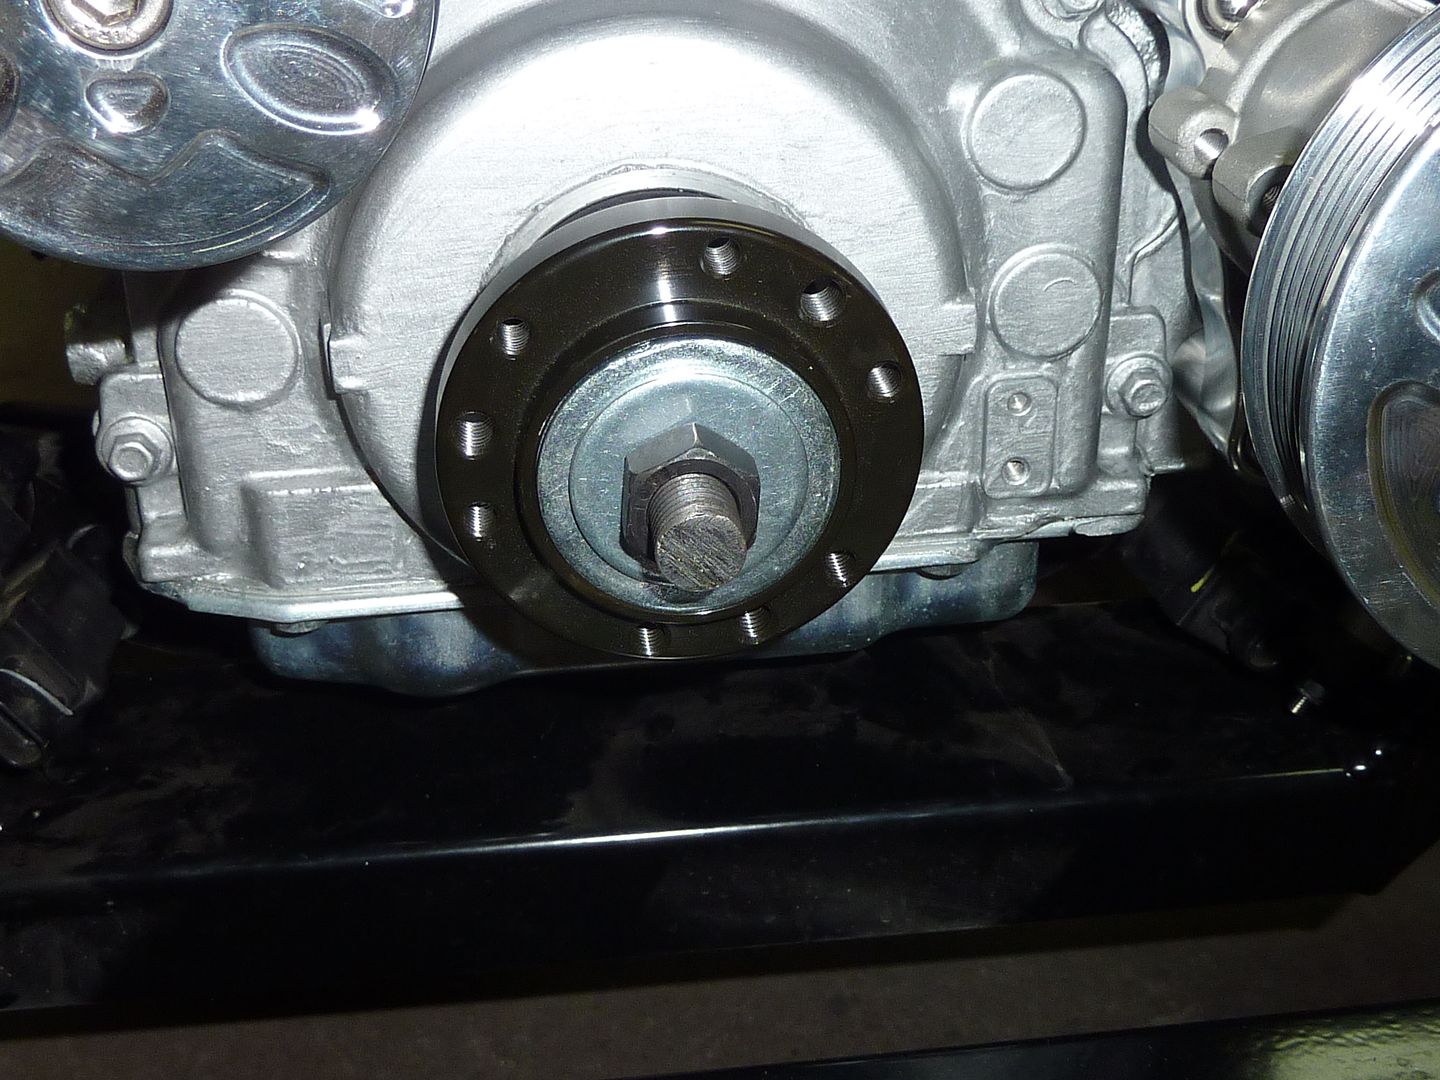
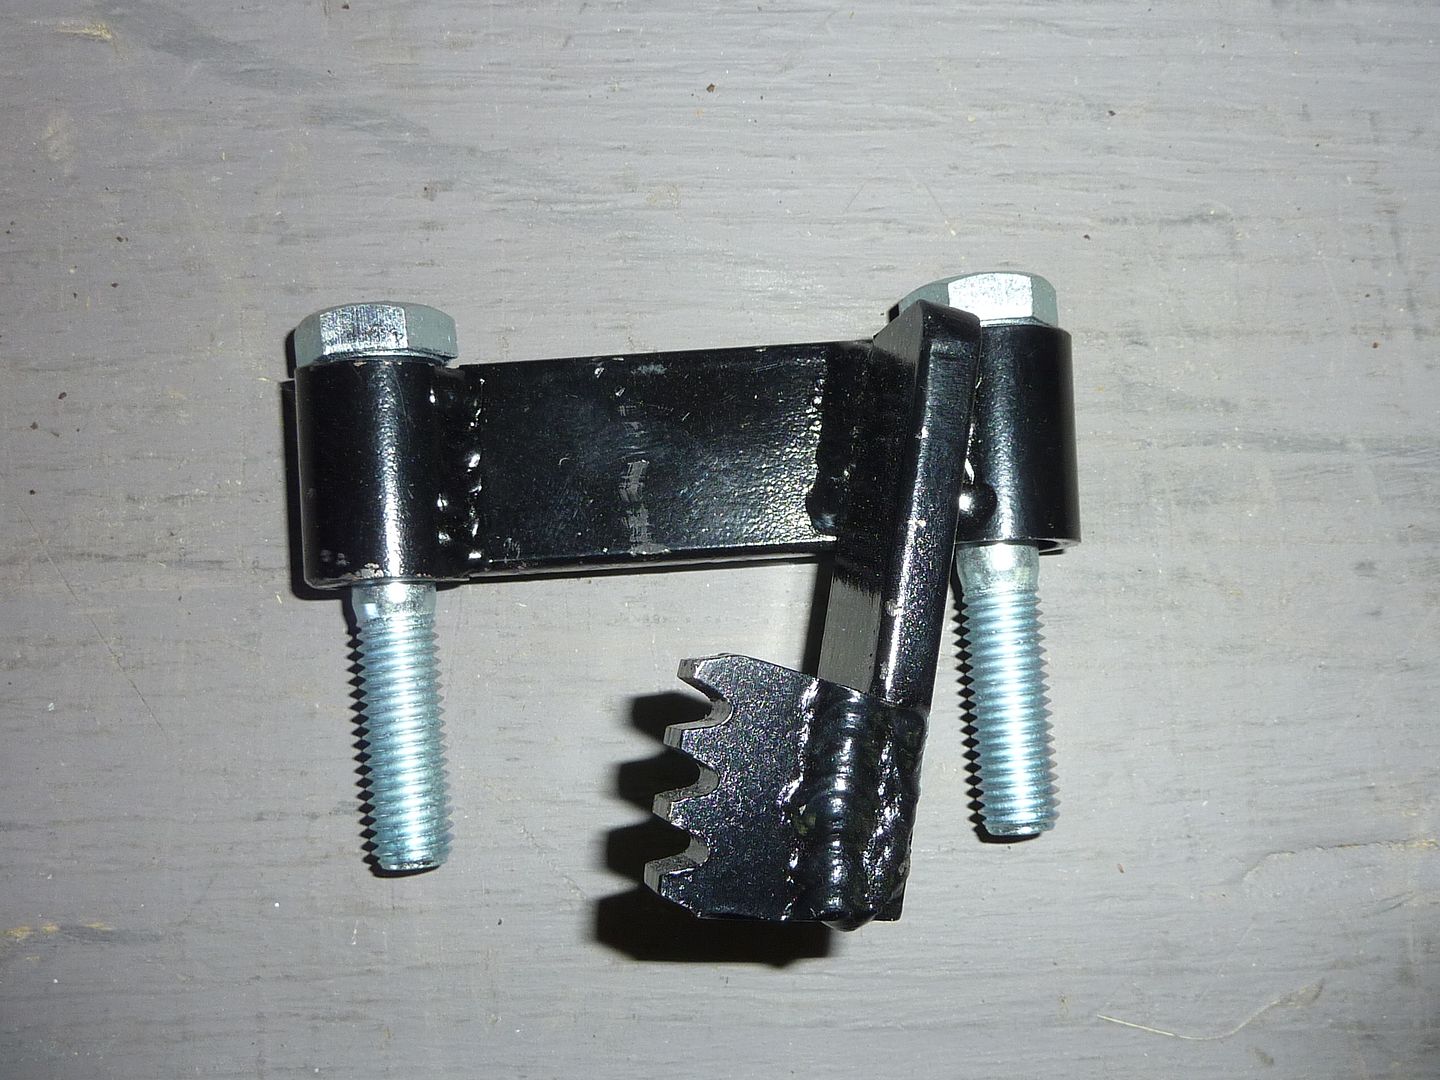
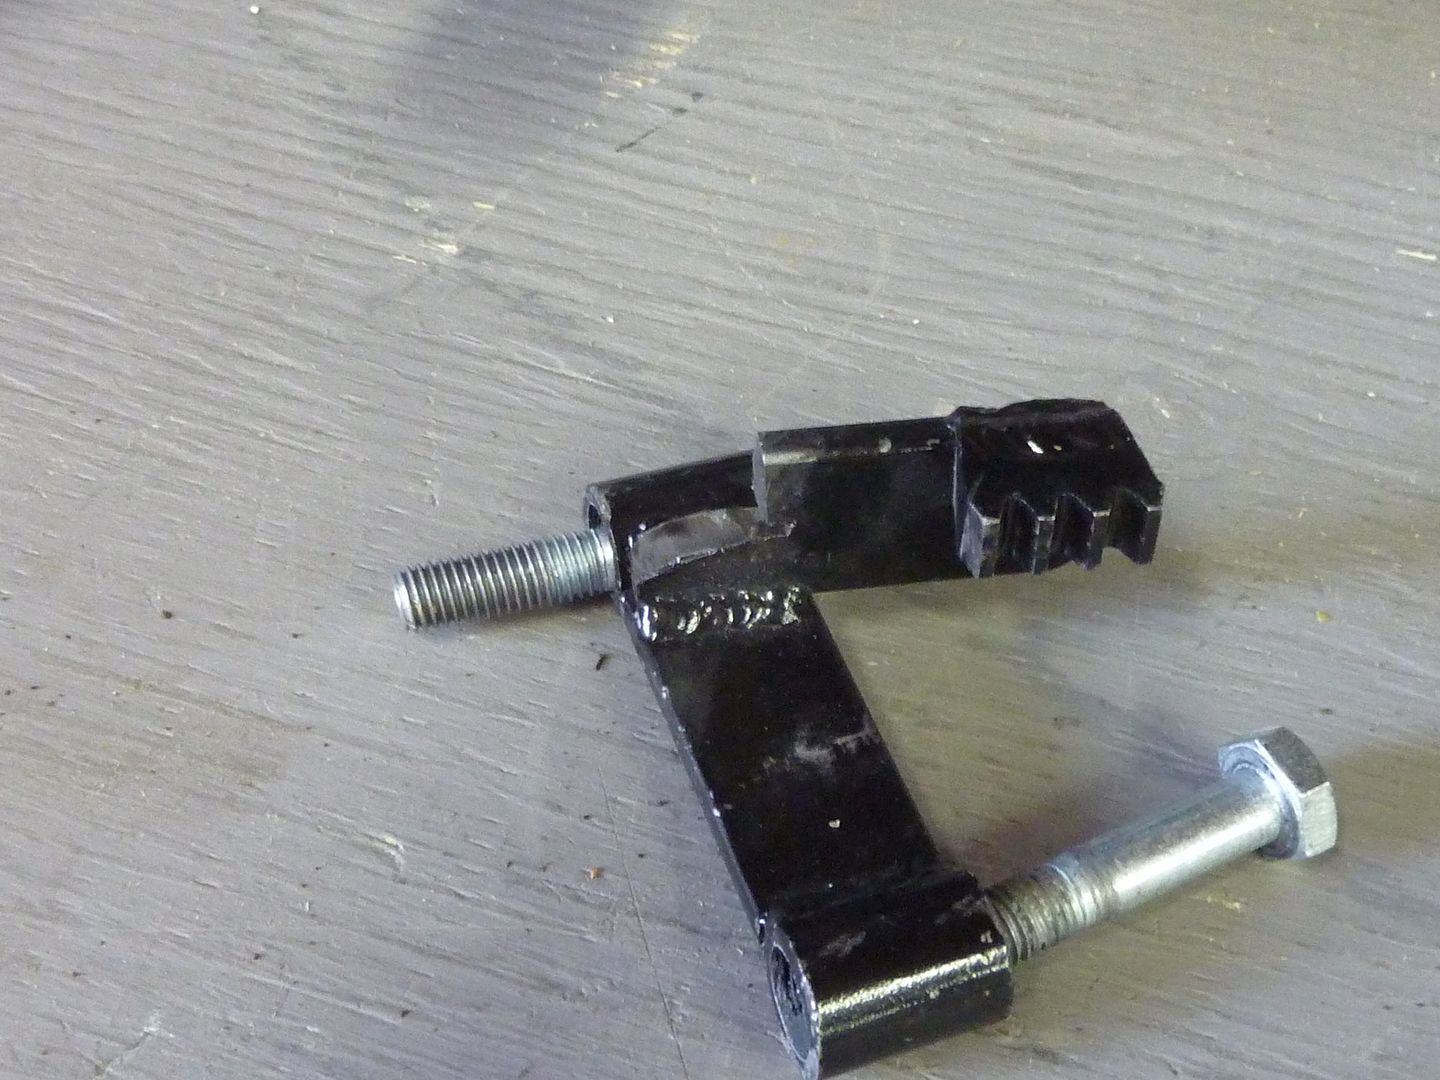
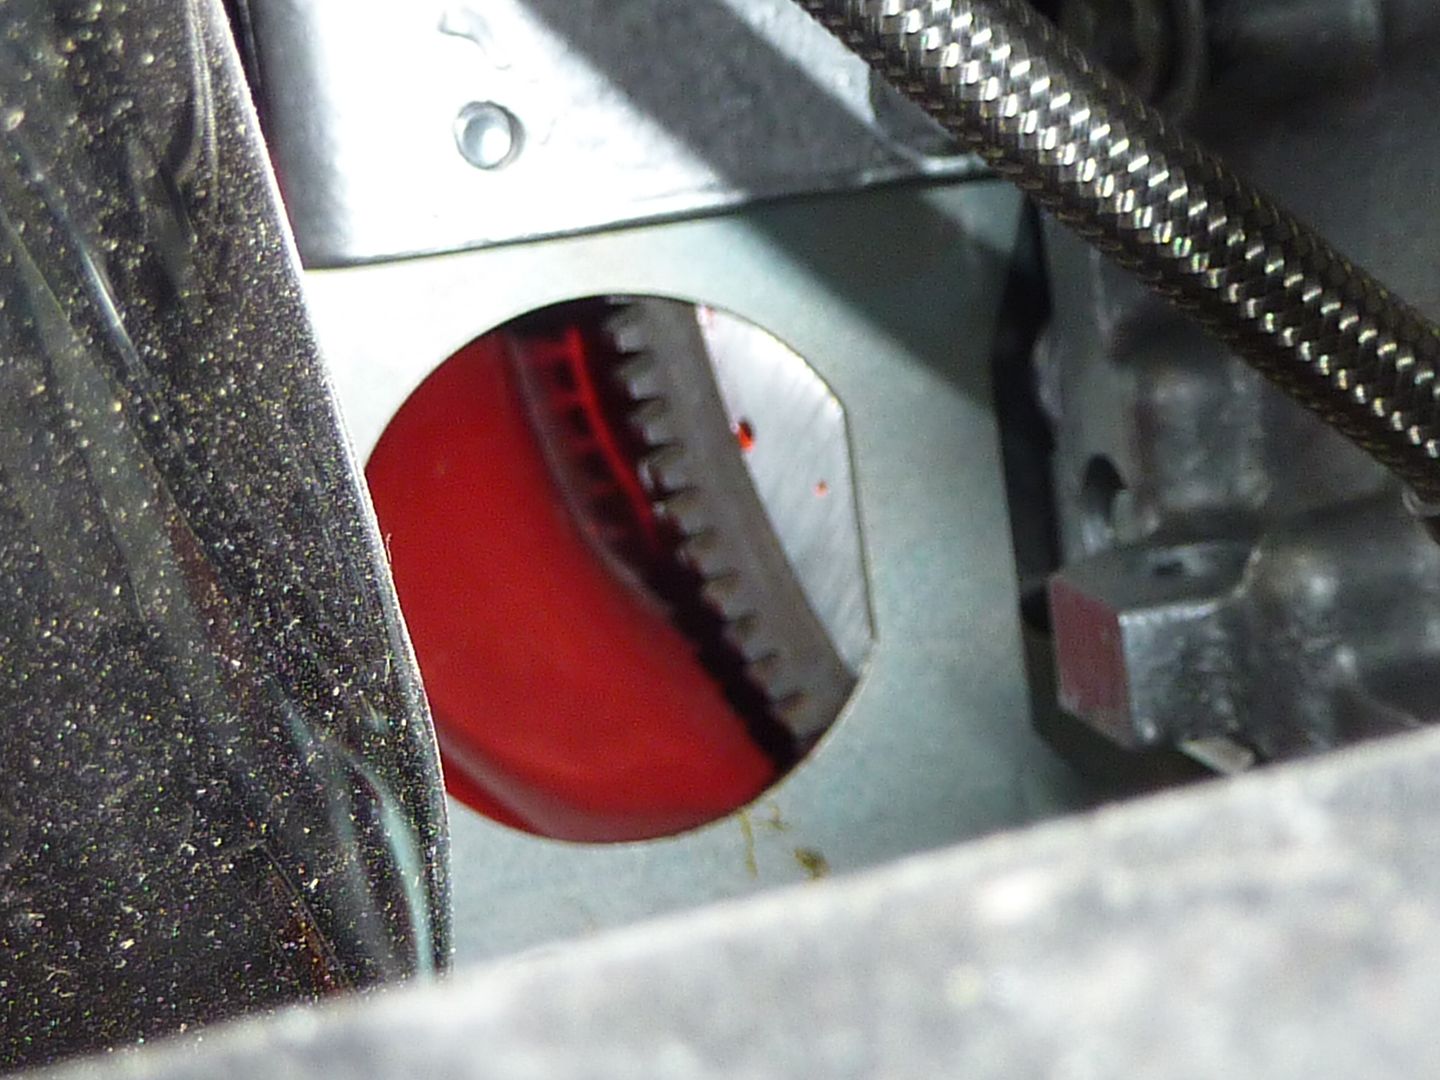
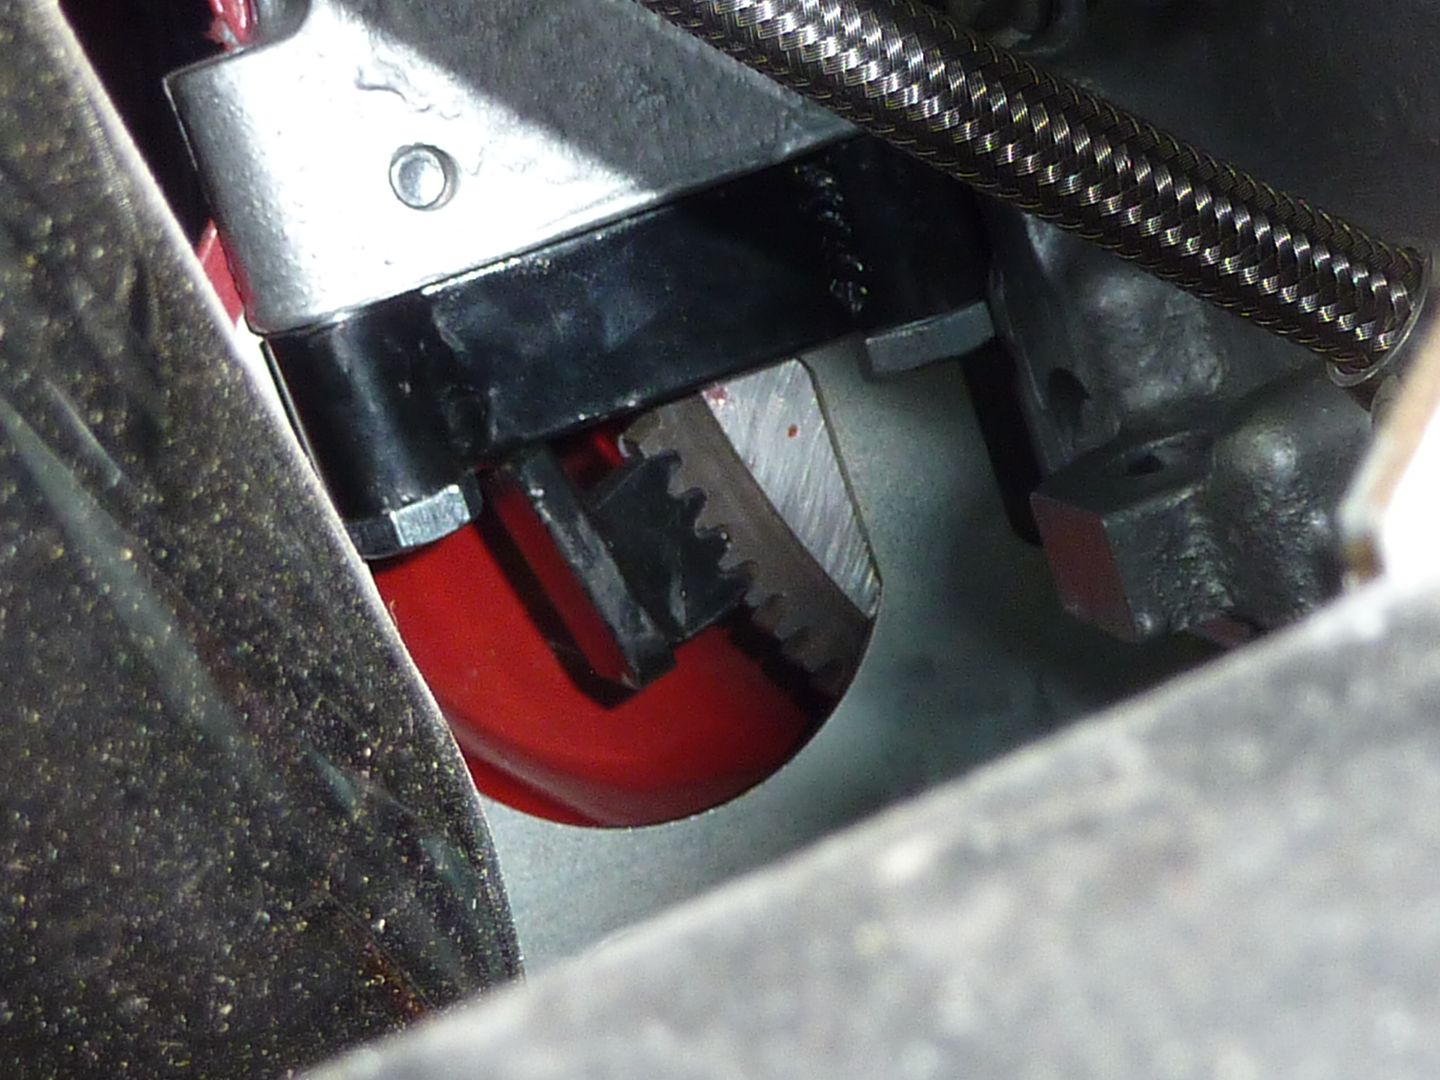
The instructions for the dampner say to torque the crank bolt to 240lbs. I bought this tool that allowed me to lock the motor in place. As you can see from the second pic, I had to modify it to clear the engine plate that's attached to the scattershield. Here's a couple links in case you want one: https://ls1tech.com/forums/parts-cla...e-holders.html and on Ebay http://www.ebay.com/itm/290714524113...84.m1555.l2649
Bolts in place of the starter
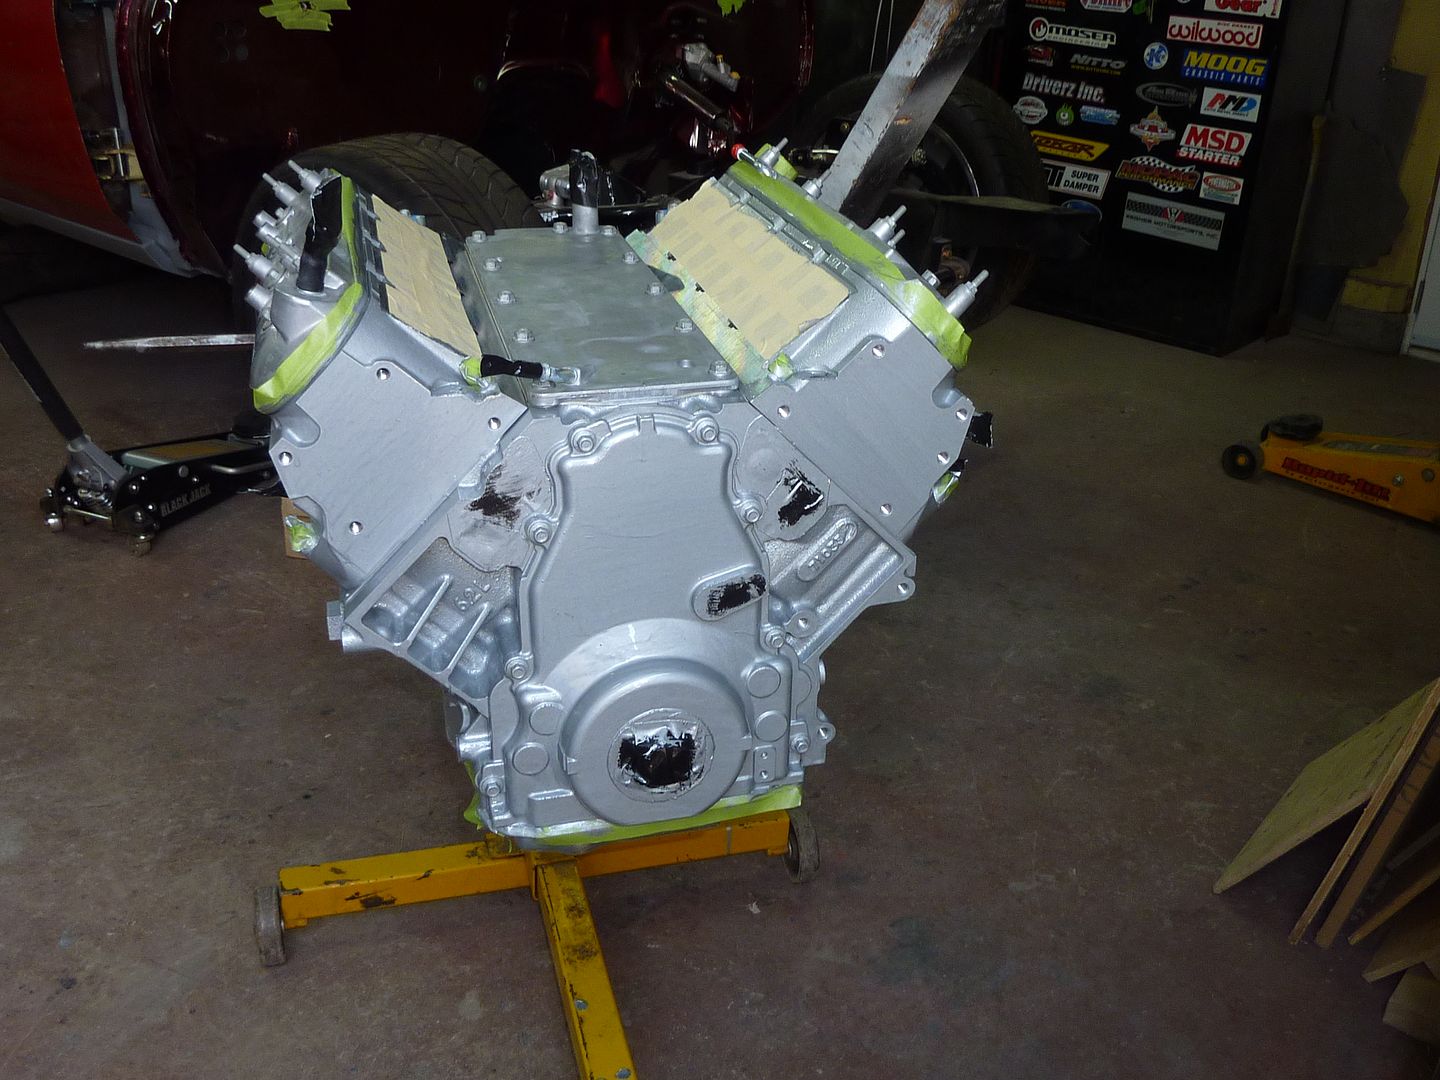
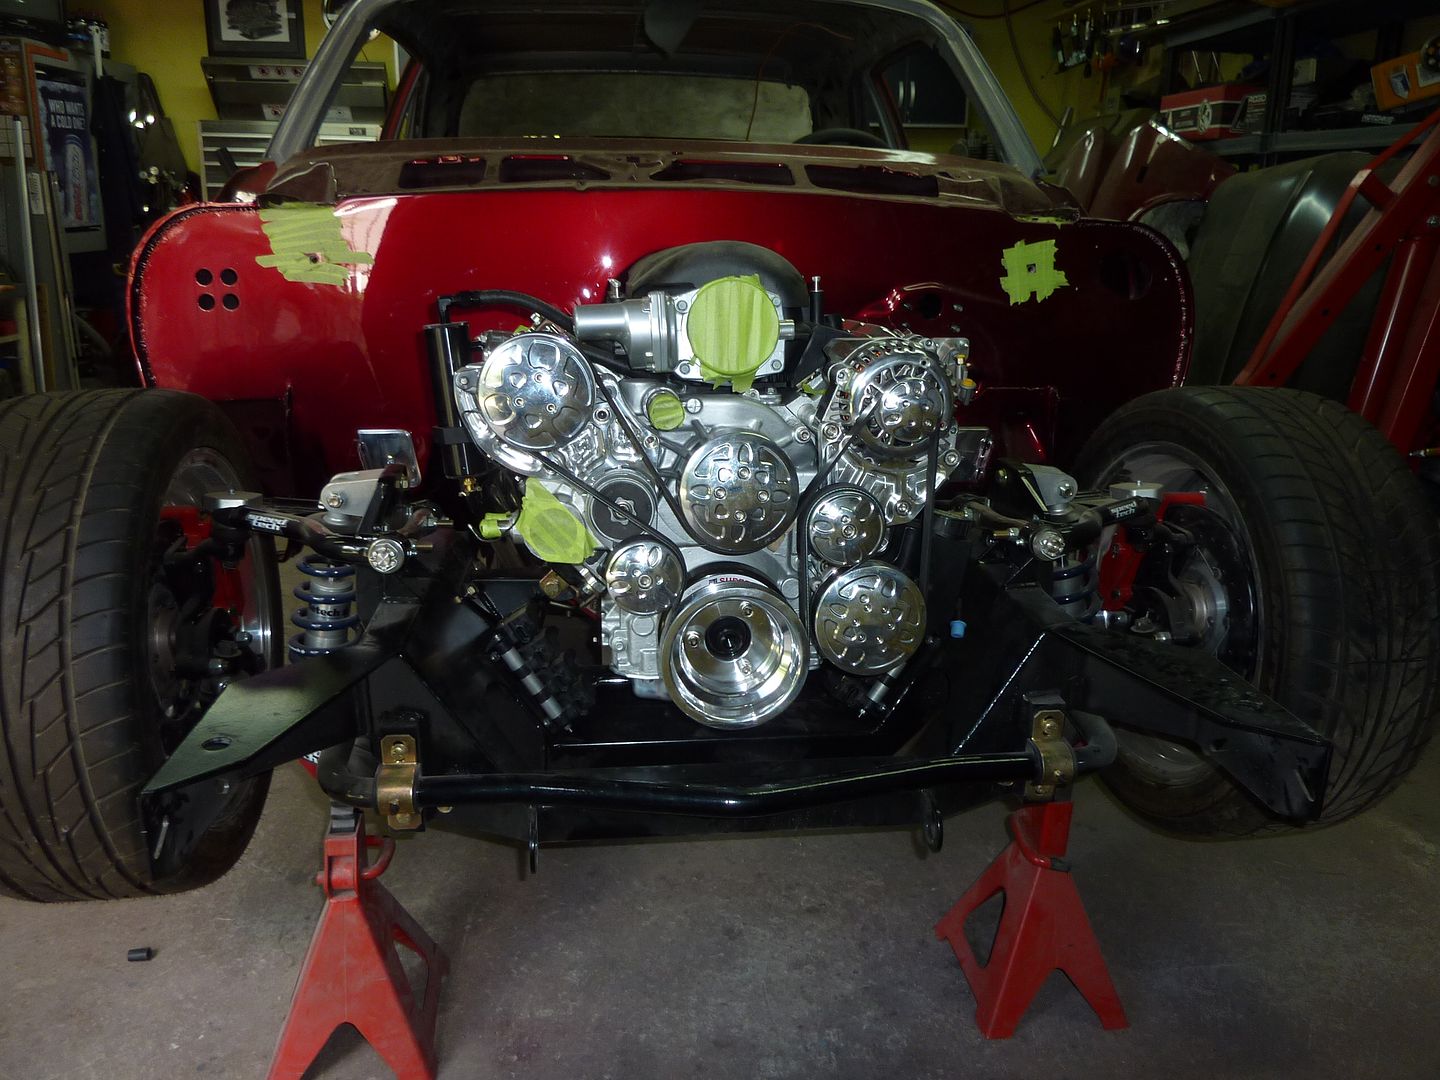
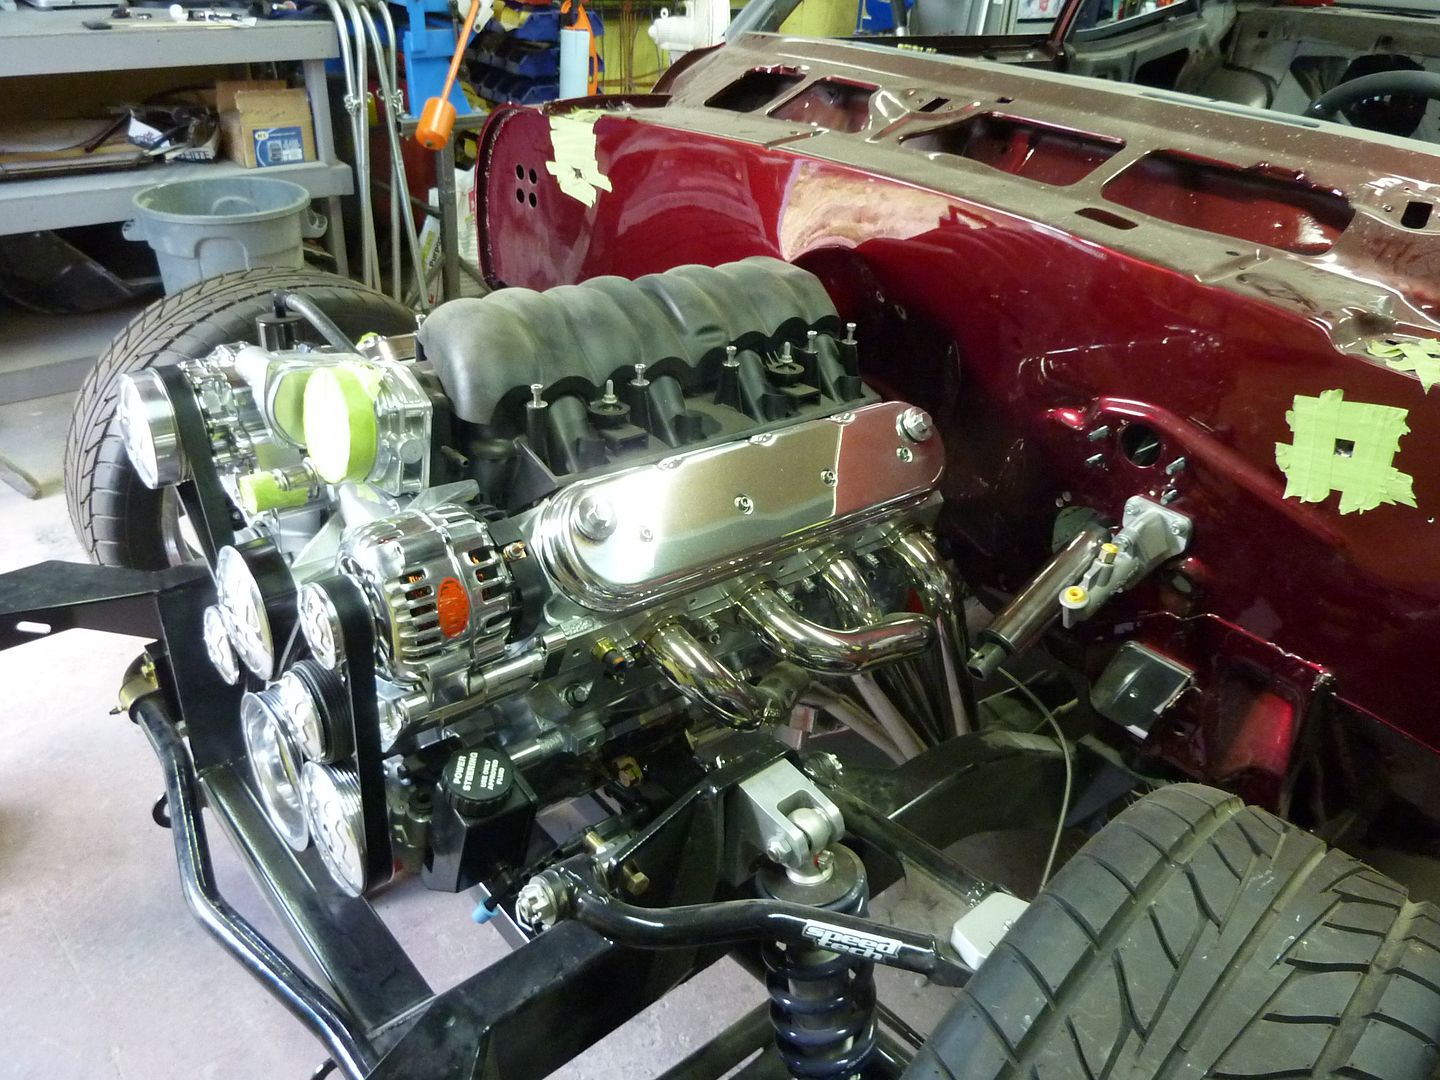
Over the past few months, I've slowly been putting this together, and finally got the belt put on today. Very happy with how this kit looks.
I installed the Norris Motorsports PVC catch can and the Wegner Motorsports valve covers
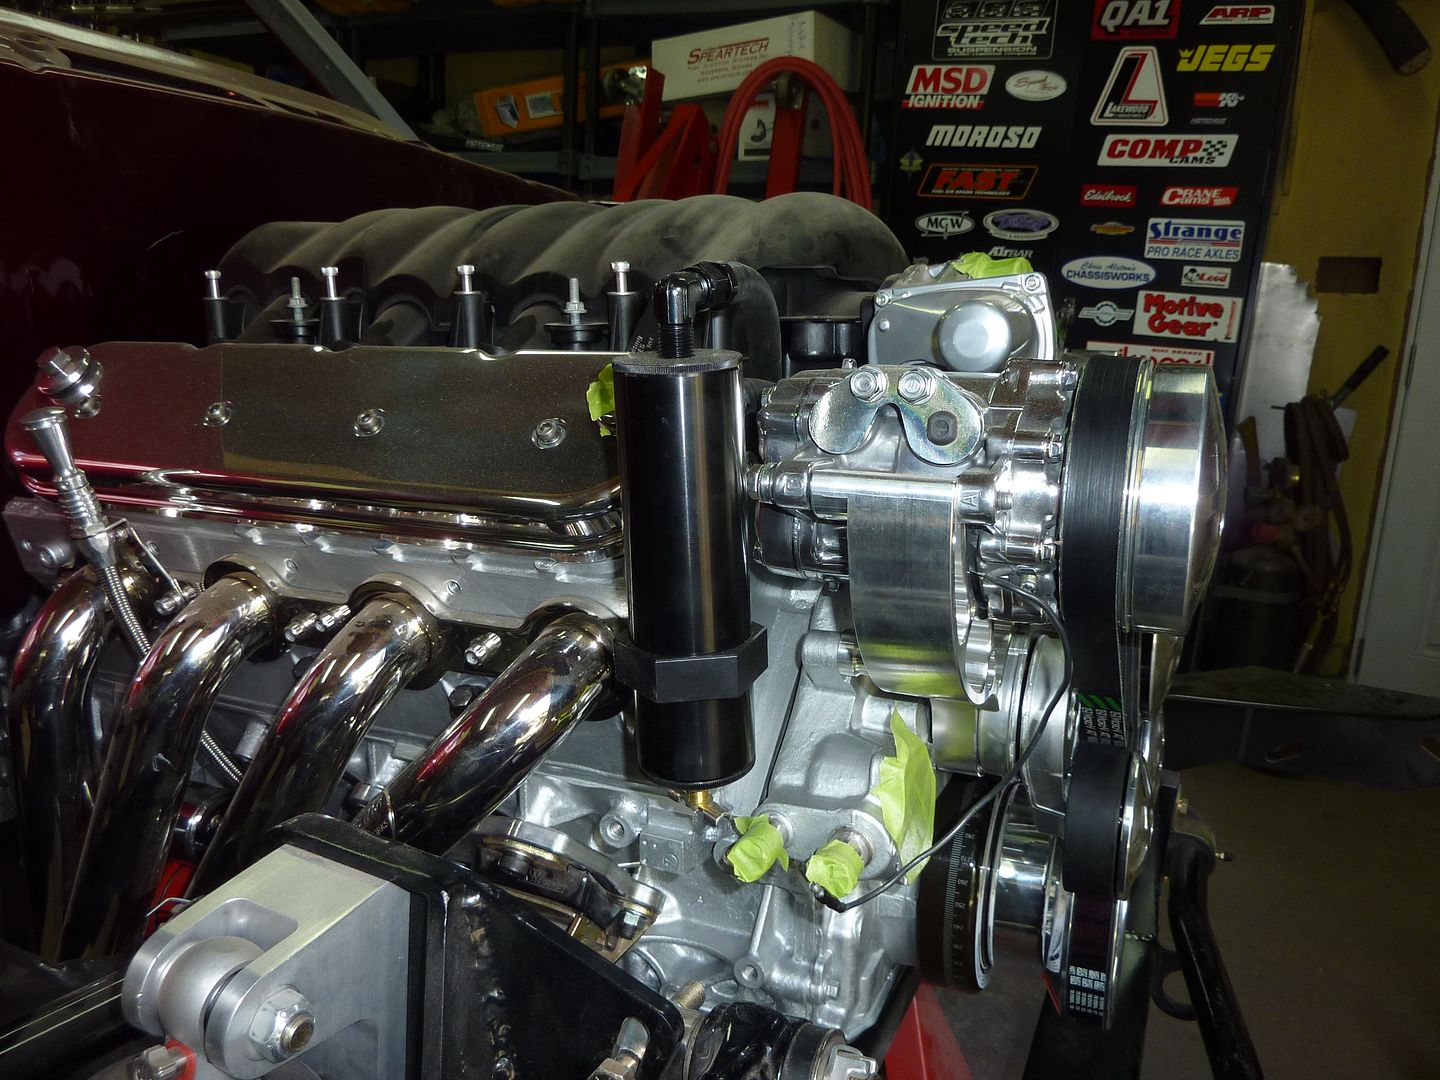
Here's where I hooked up the catch can

Here's a link to the catch cans if you're interested in one: http://www.mikenorrismotorsports.com...atch_Cans.html
I hope to start tackling some of the fab work over the next few weeks that I've been putting off for quite a while. Will post updates as I go.
 09-17-2012, 06:08 PM
#169
On The Tree
Thread Starter
iTrader: (4)
Join Date: Mar 2009
Location: British Columbia, Canada
Posts: 132
Likes: 0
Received 0 Likes
on
0 Posts

I wanted to work on something that I would see some good progress and results, so I decided to work on getting the seats mounted. If you don't recall or don't want to read back, the seats I'm using are out of a 2005 GTO. I plan on using the front and rear seats. I've already done some work with the fronts, so I thought I would work on the rears.
First I had to cut out the center portion of the seats
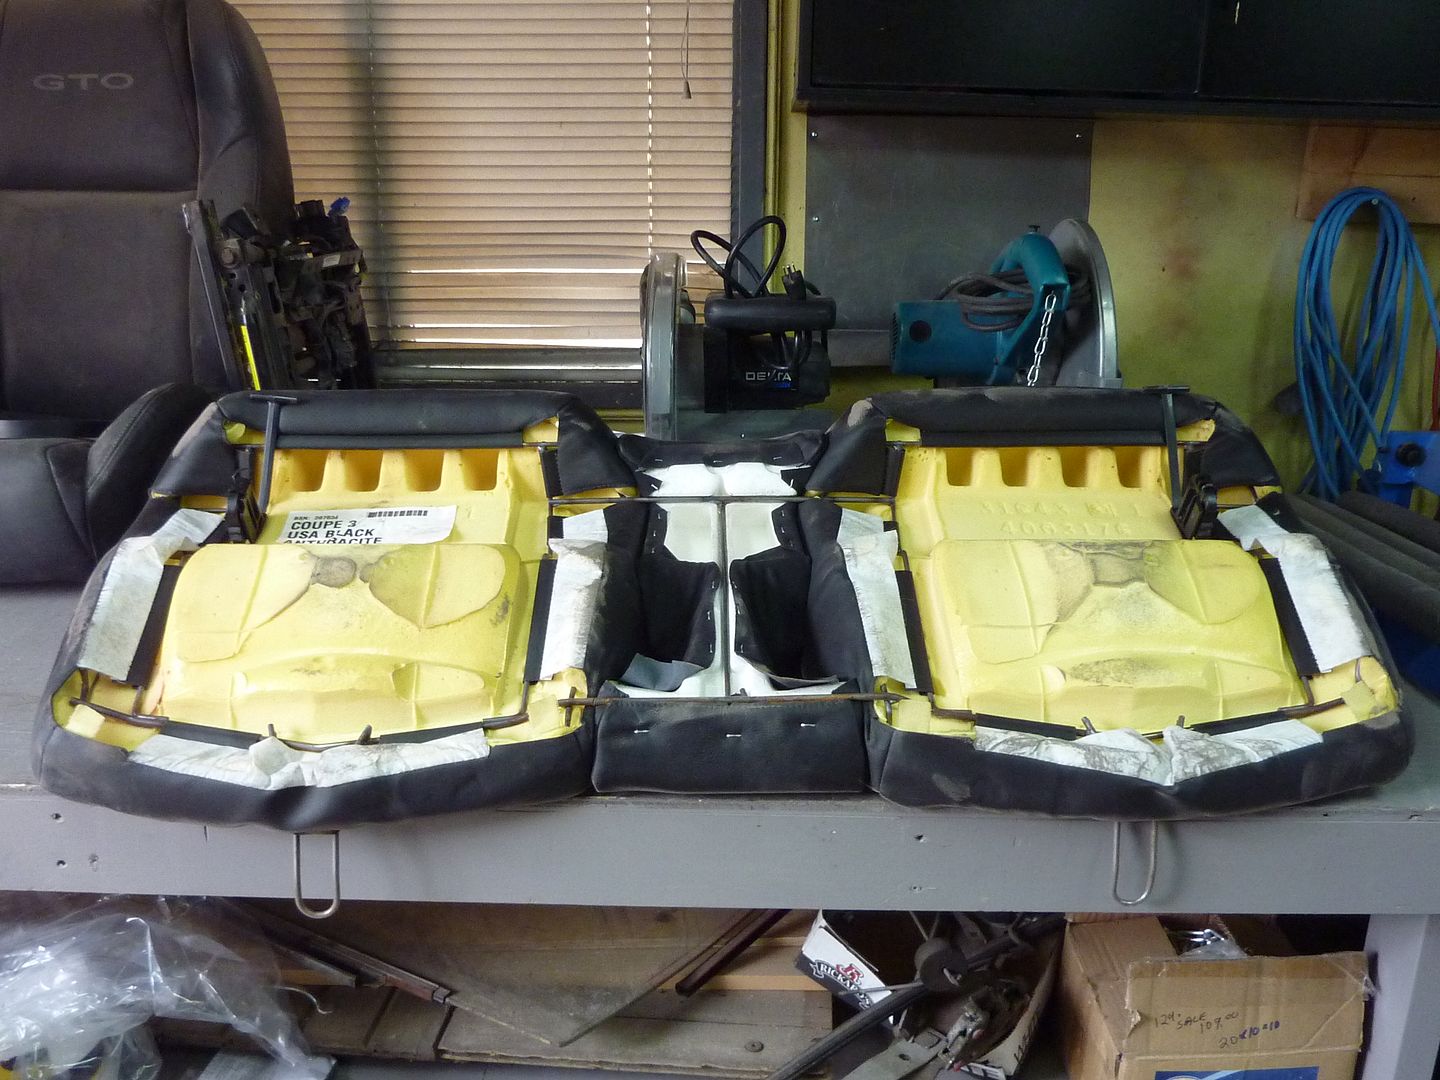
Did some test fitting
I'm going to build some arm rests to fill in the gap
As you can see, I'm definitely going to have to cut them down as they sit pretty high
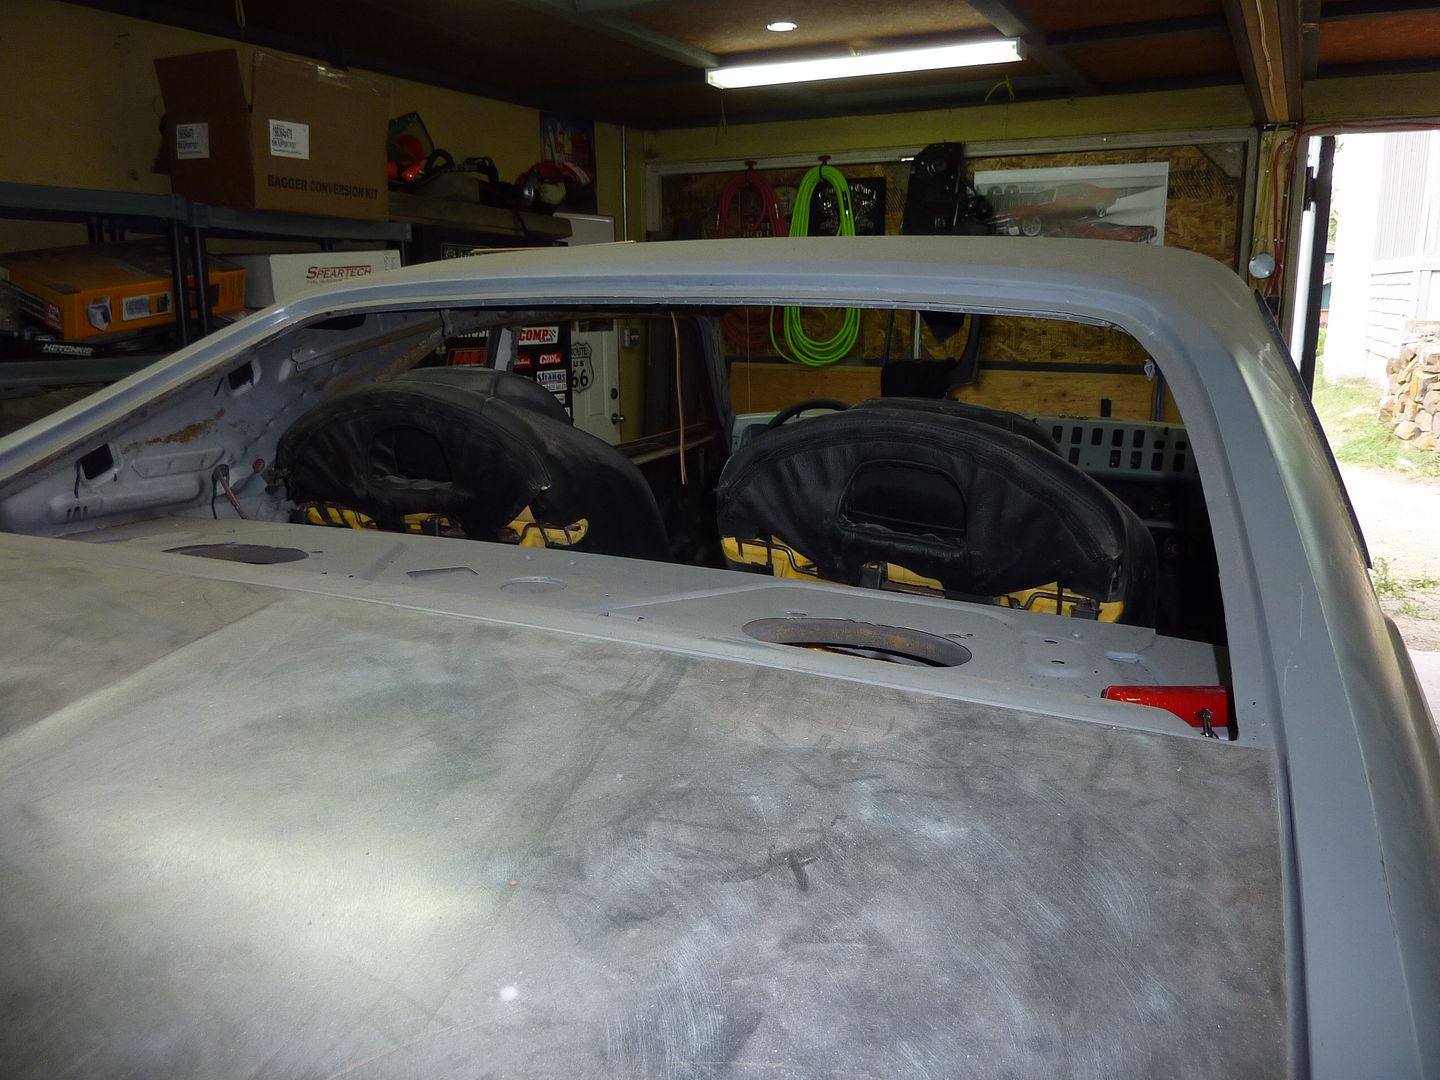
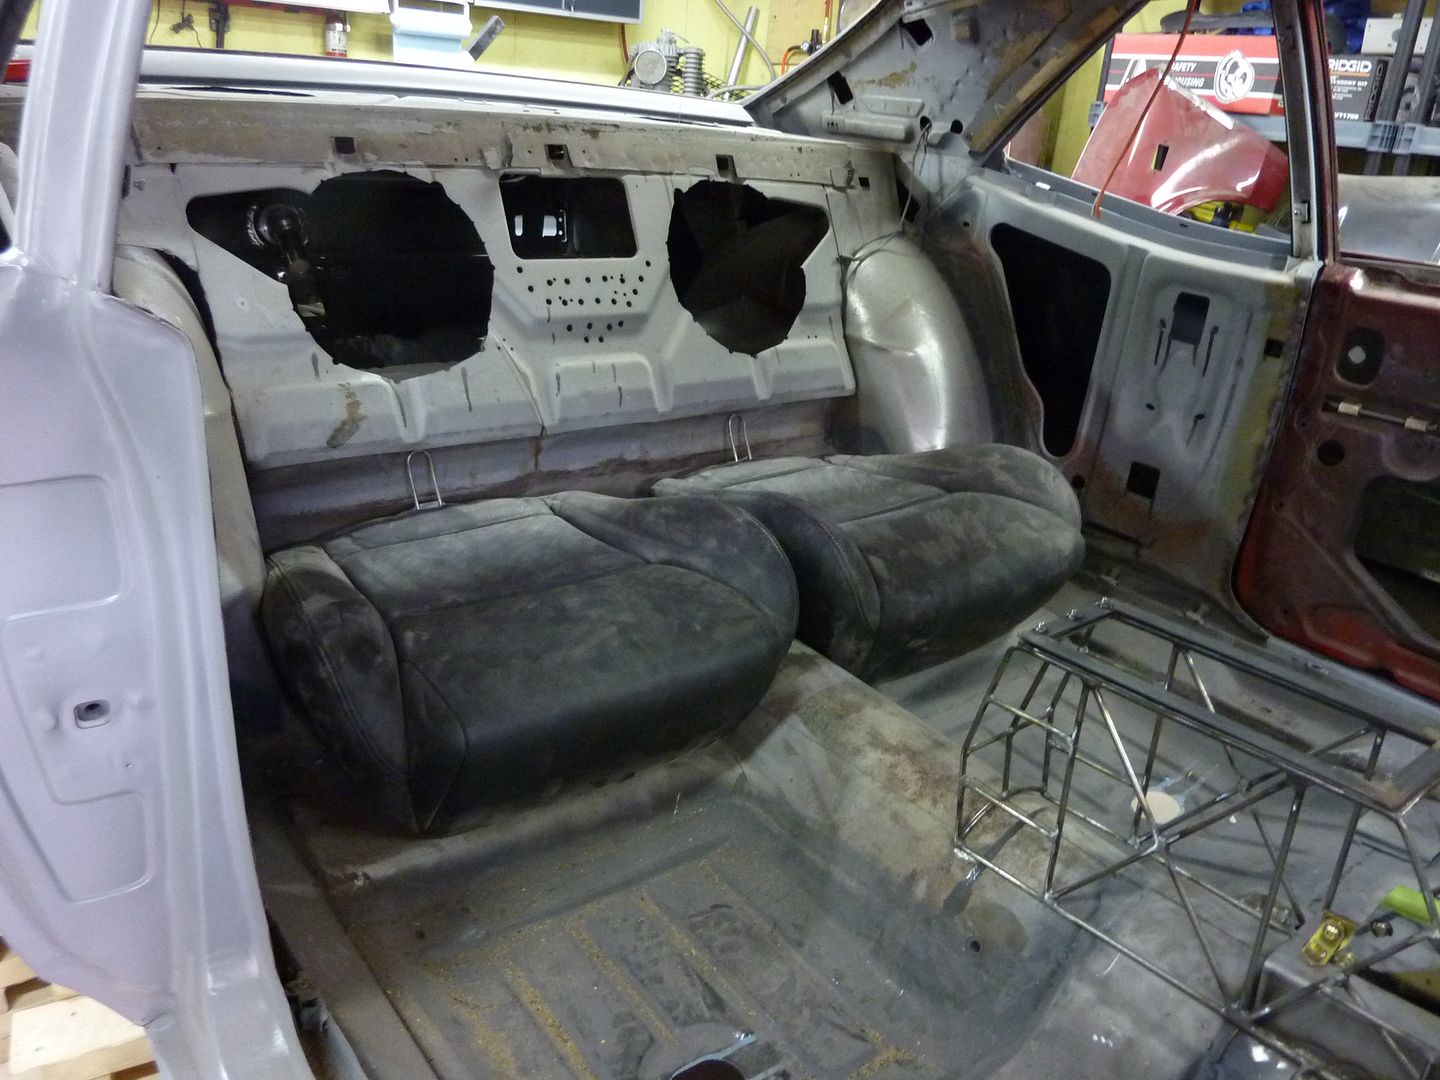
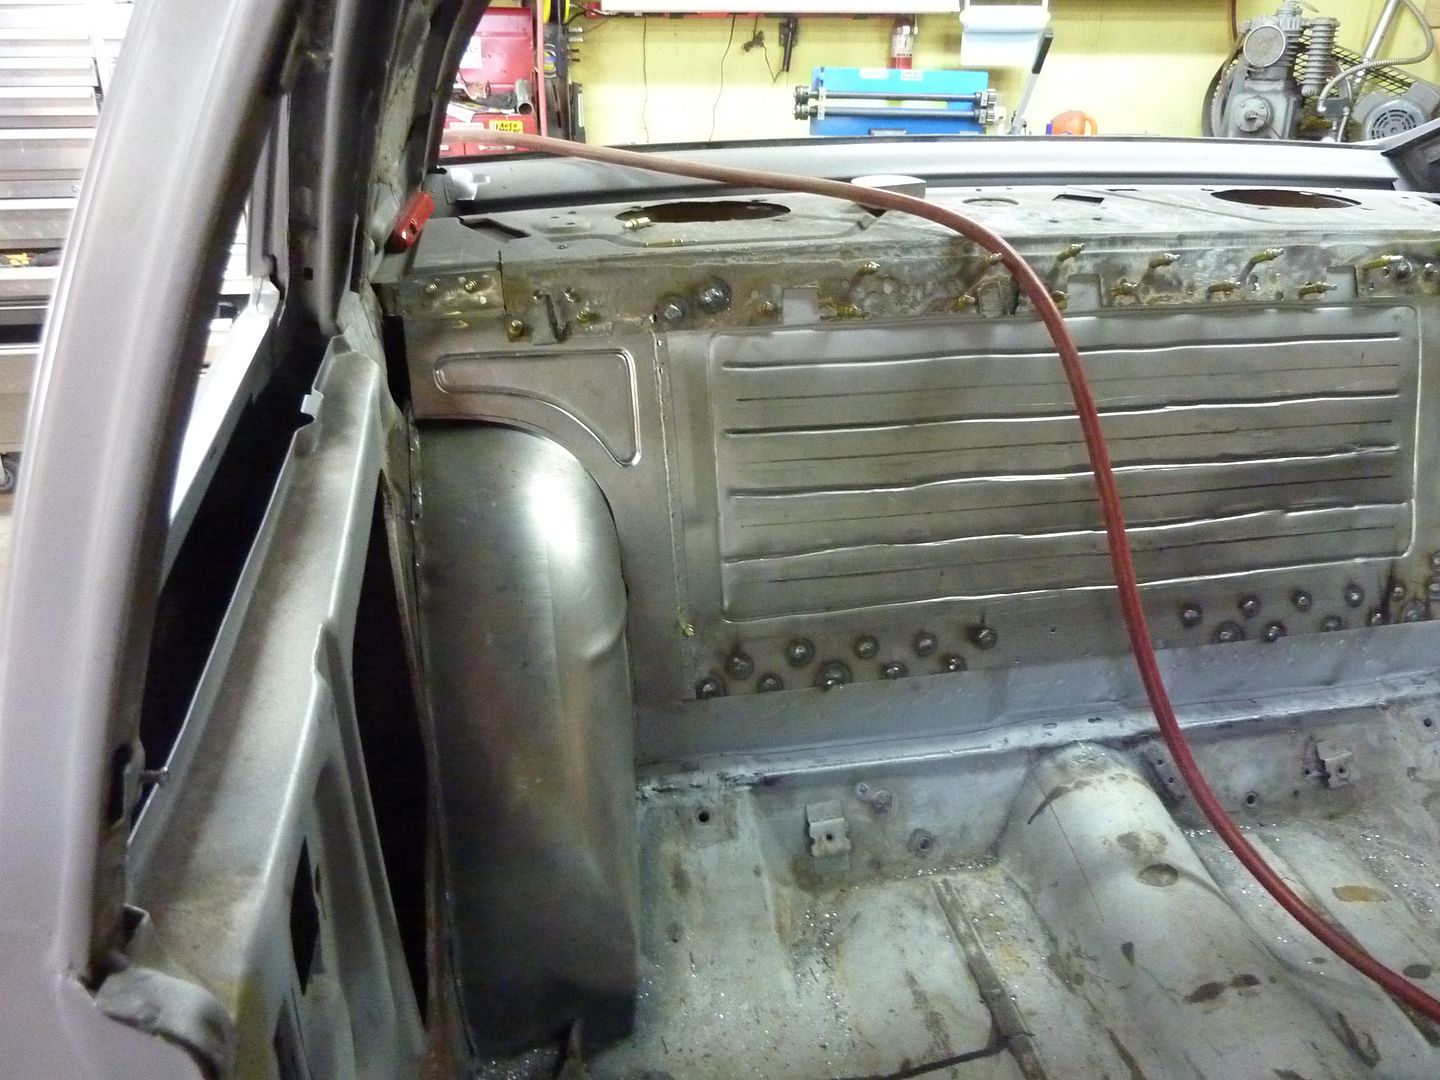
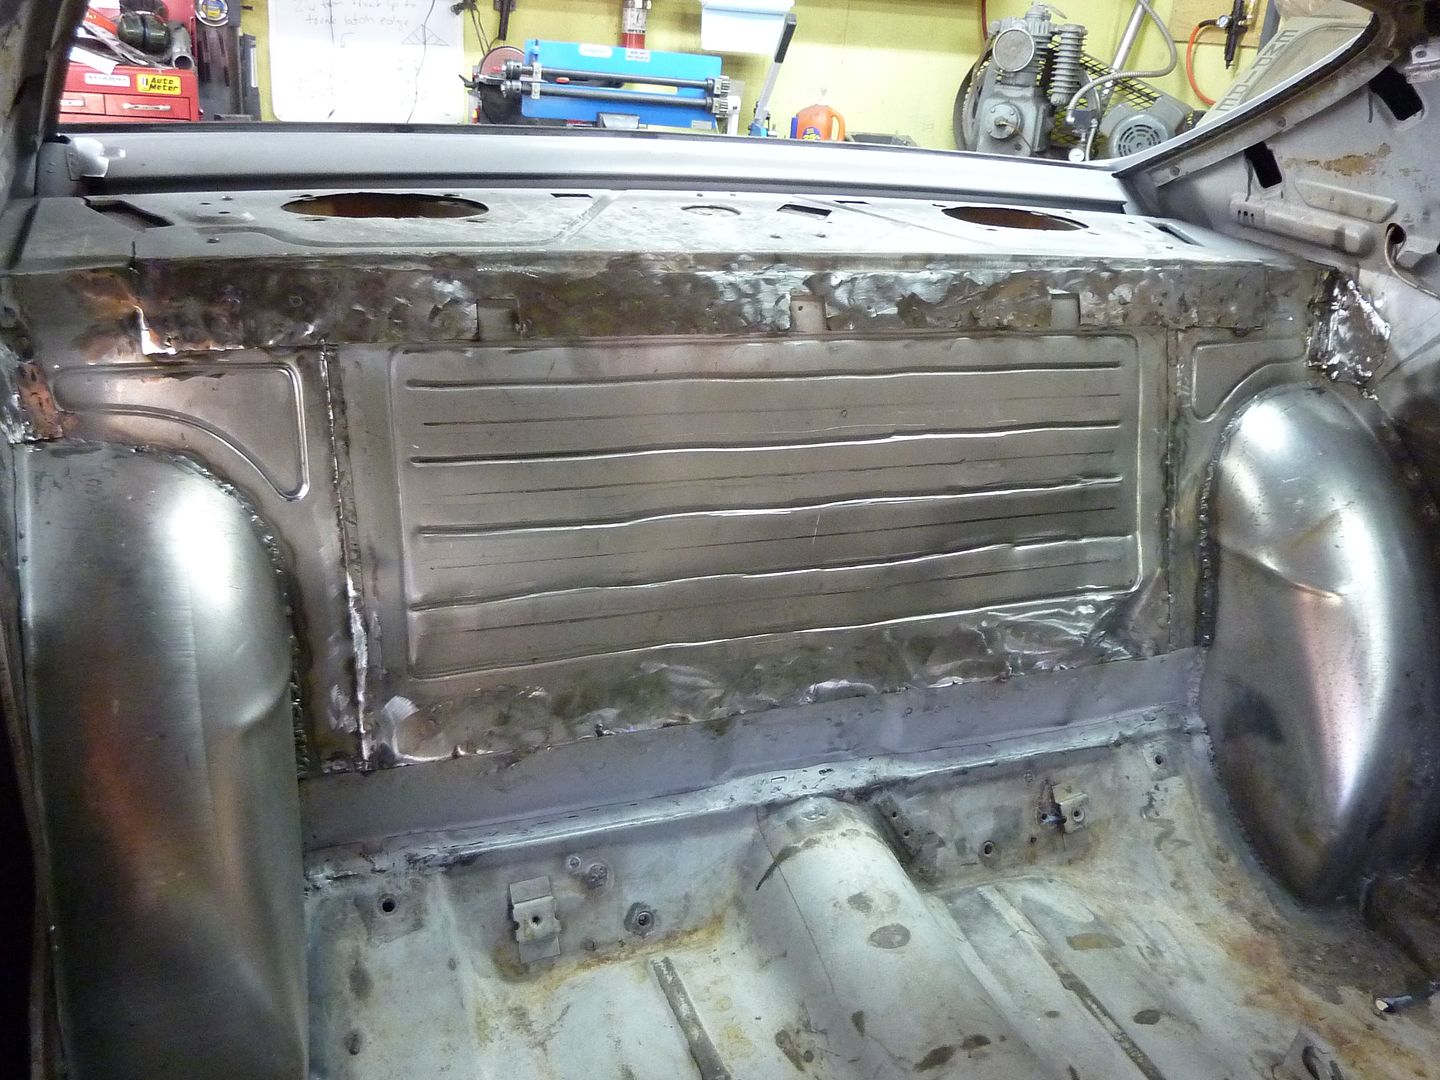
After looking at the area behind the seats, I decided to replace the sheet metal as I didn't like how far it sat forward at the bottom
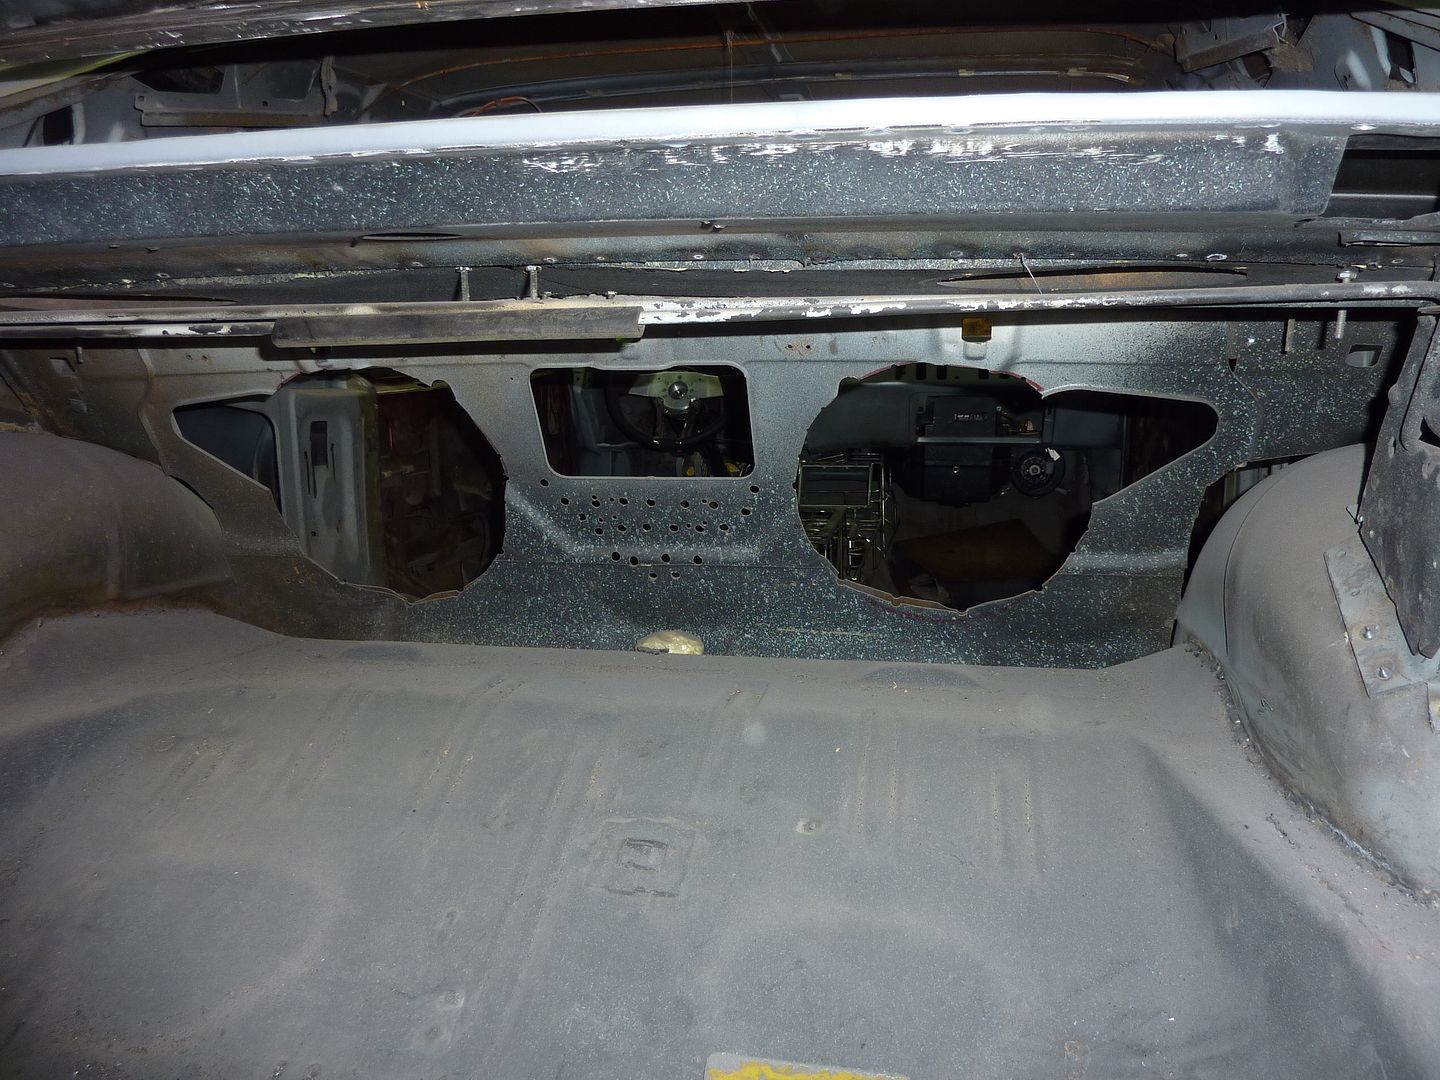
So out it came

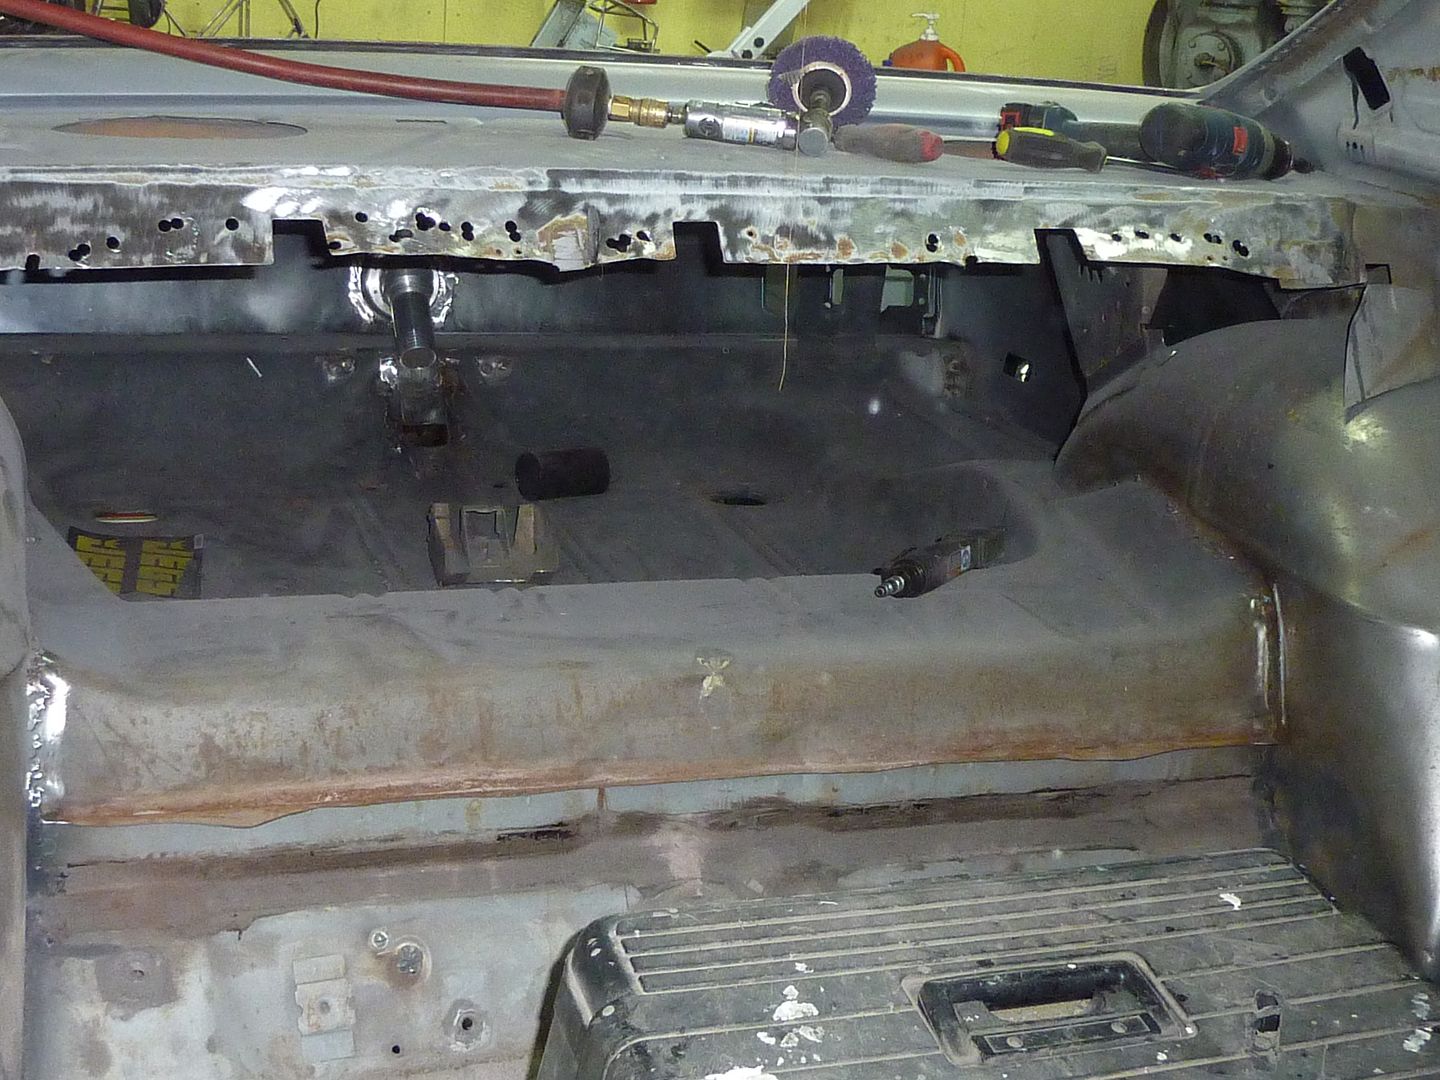
I'm glad I decided to do this as it allowed me to finish welding the deep tubs in an area that I couldn't get to before
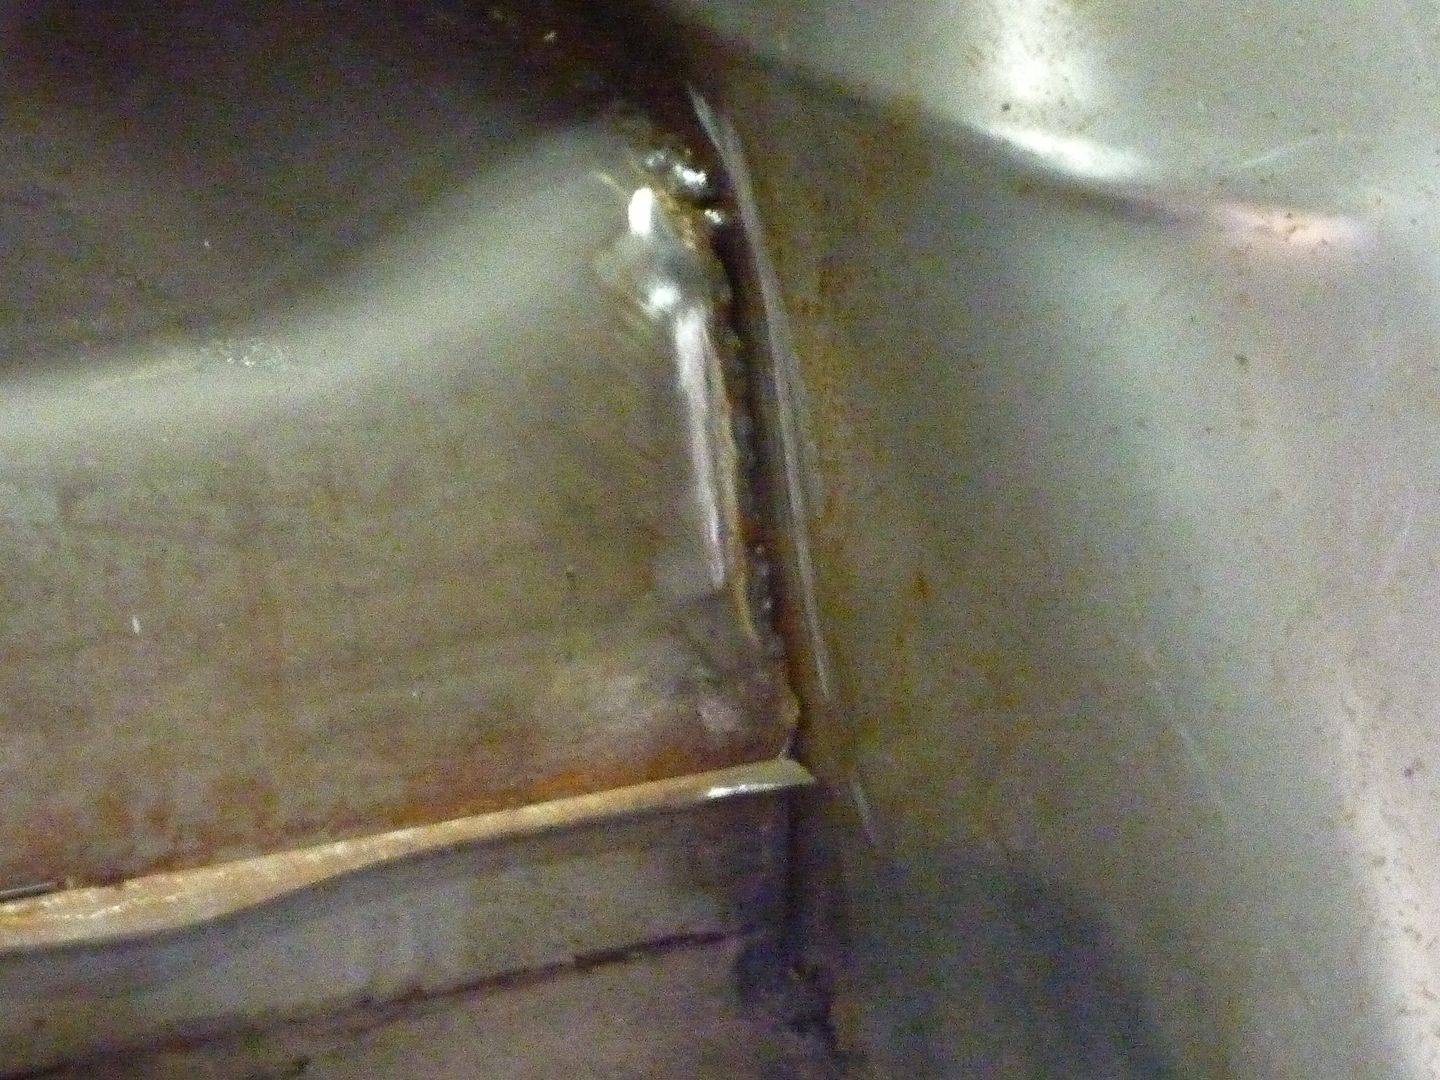
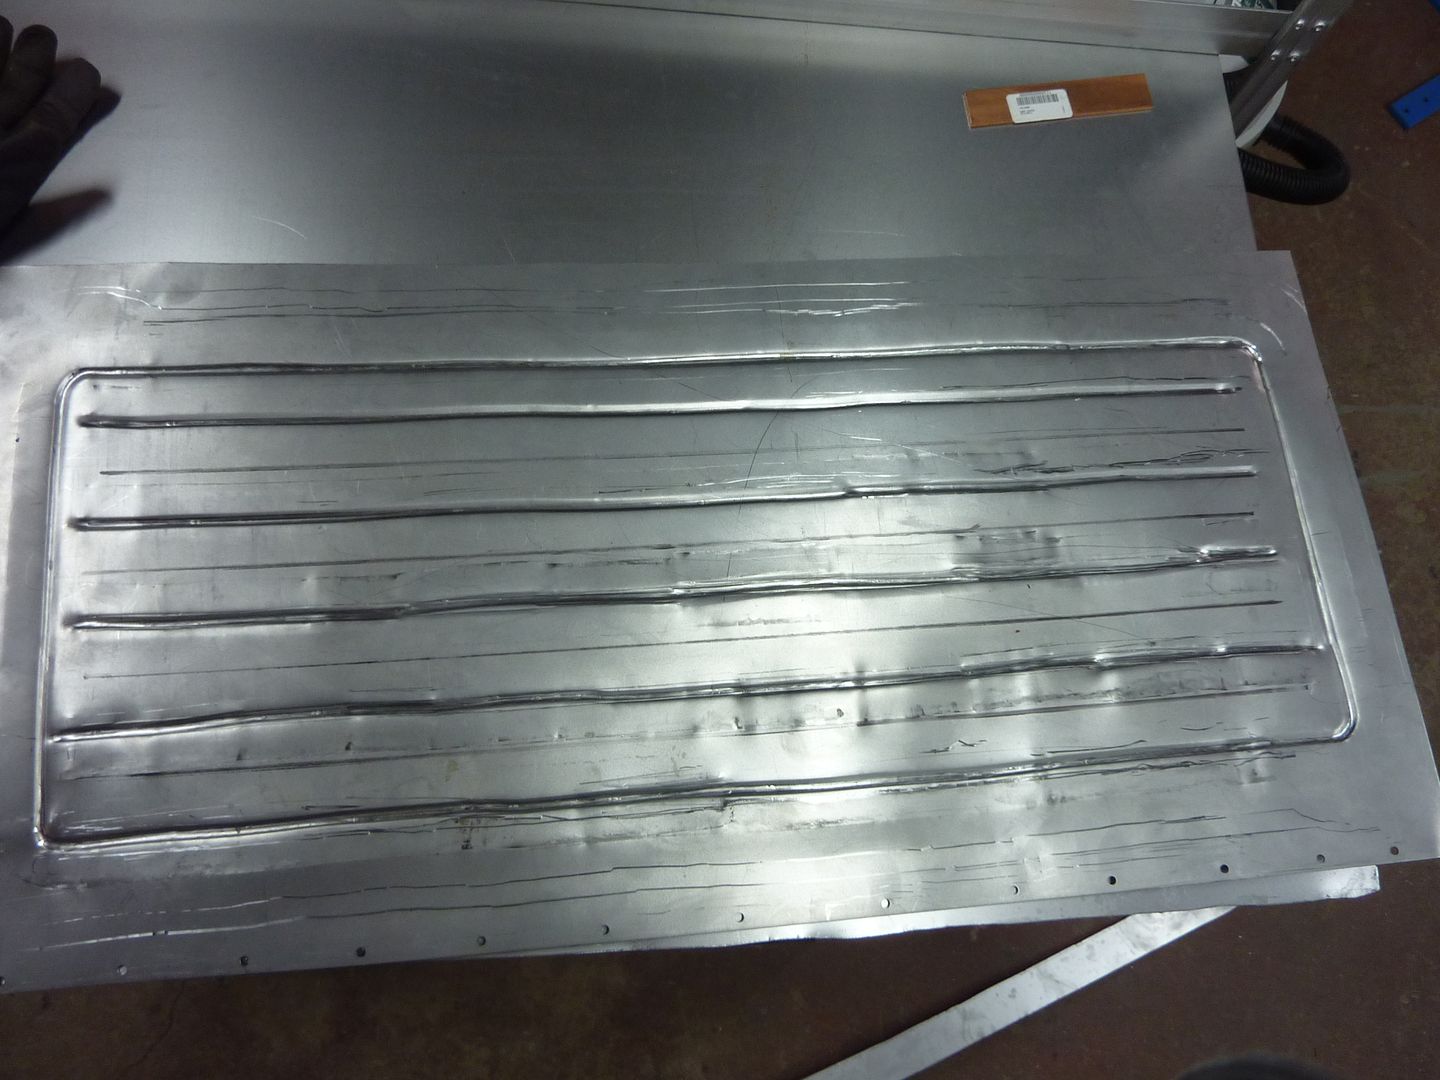
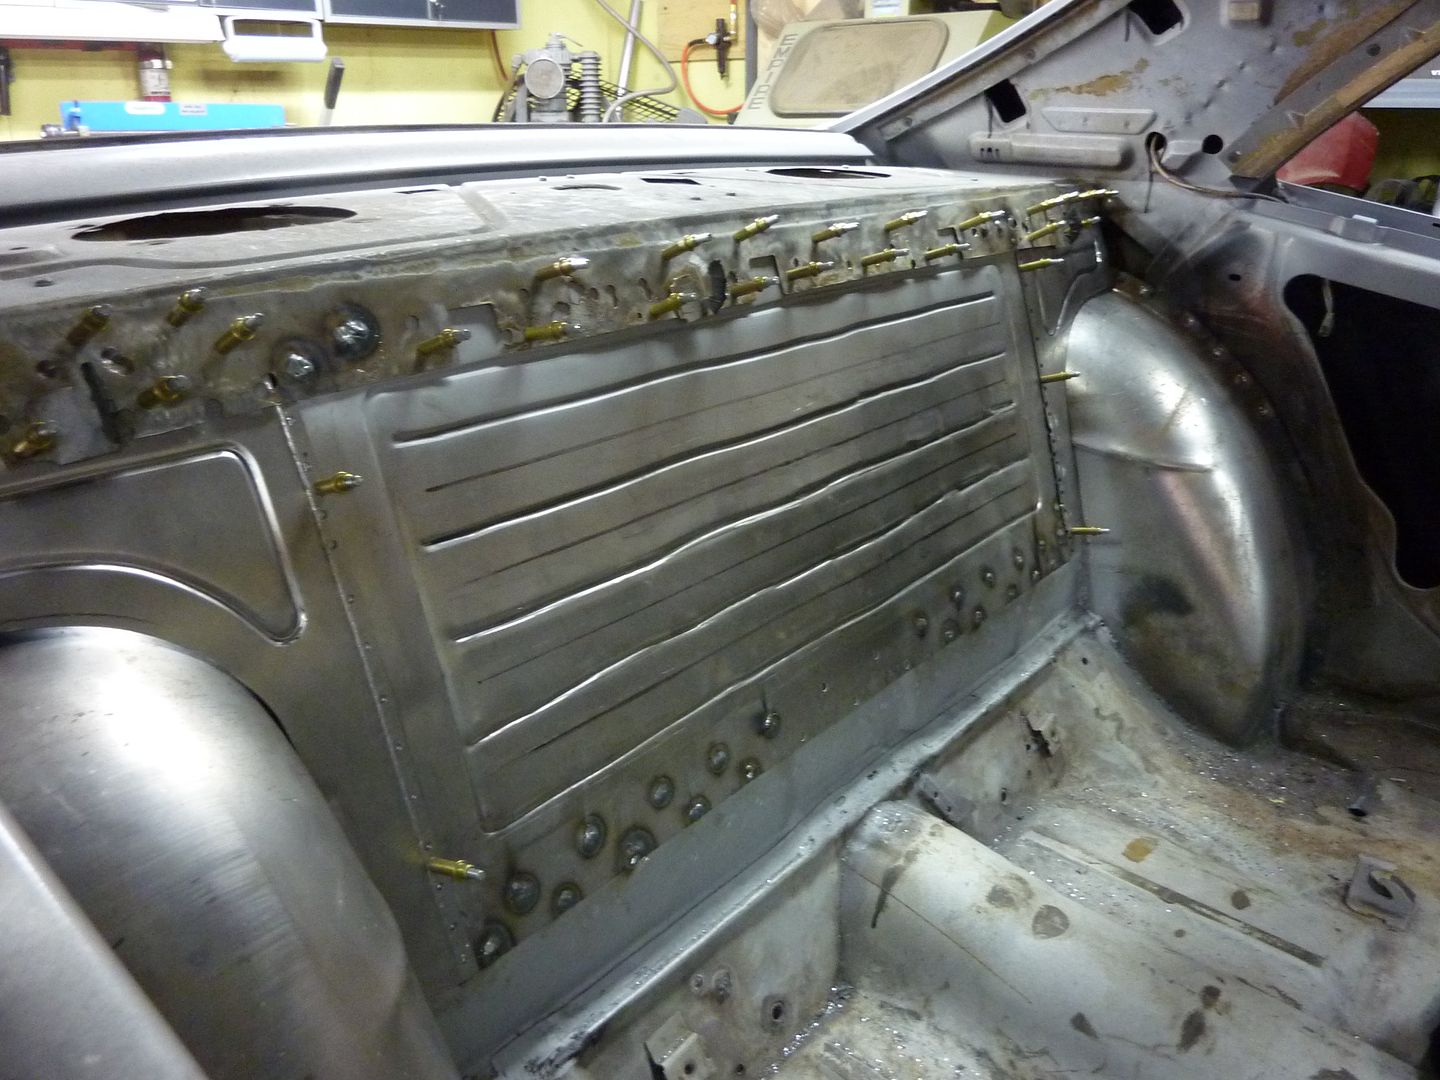
I decided to replace the sheet metal in 3 parts. Started with the center section. I know the bead rolling looks like crap. It's my first time using a bead roller and it's not the easiest to keep straight when you're doing 18g sheet metal by yourself. No one will ever see it anyways and it adds strength.
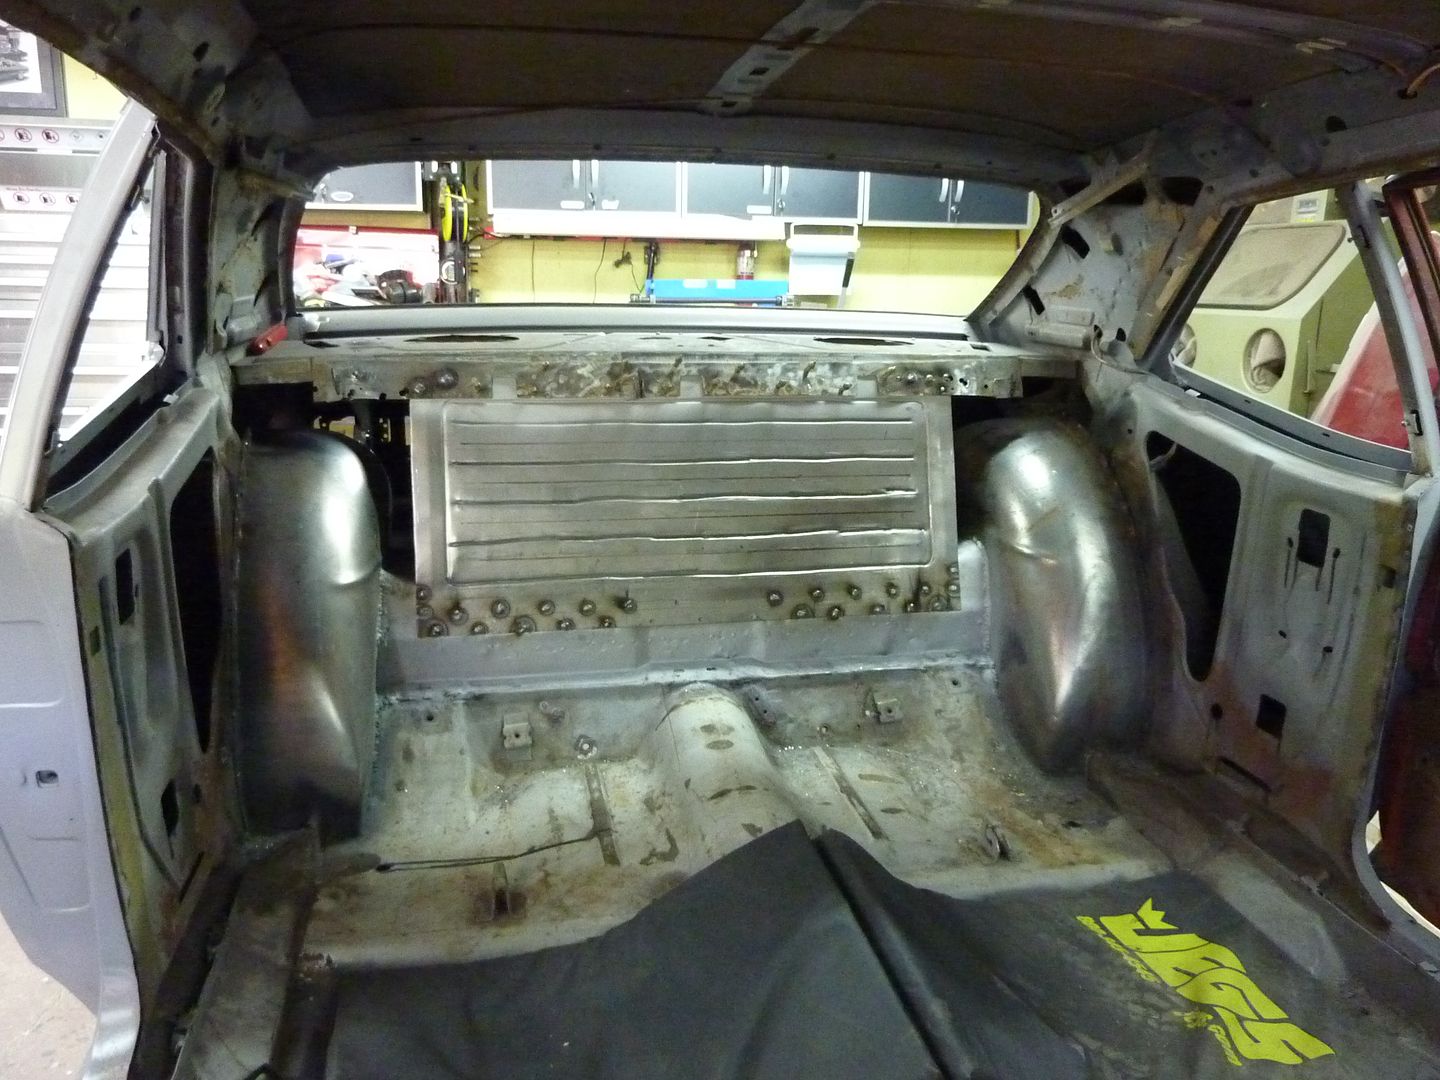
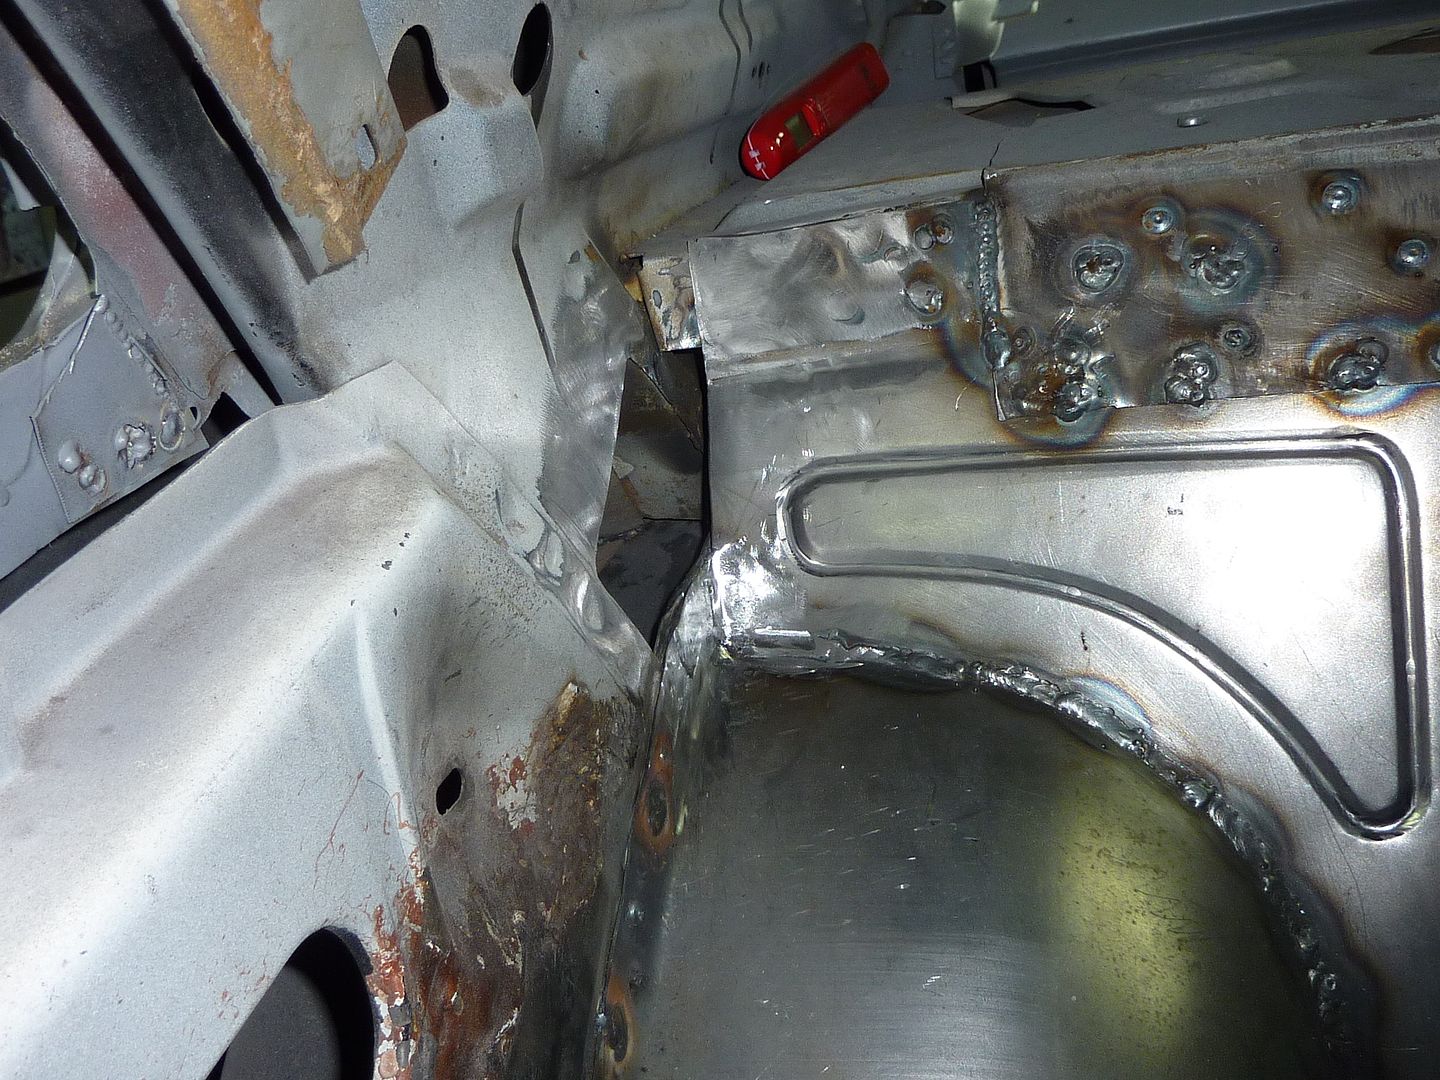
Made some pieces for the side
It's not completely welded in, but you get the idea. So much for my finished underside. I have a bunch of welding that will ruing the under finish even more. Guess I'll be redoing quite of bit of the underside. Oh well.

Next I'll get everything welded into place and then will start on getting the seats mounted.
 09-17-2012, 07:37 PM
#171

Glad to see updates Great work. !!! WHat(brand) bead roller did you use? Pics?
thanks,
Jim
thanks,
Jim
09-17-2012, 10:28 PM
#172
On The Tree
Thread Starter
iTrader: (4)
Join Date: Mar 2009
Location: British Columbia, Canada
Posts: 132
Likes: 0
Received 0 Likes
on
0 Posts
Thanks Steve 
Thanks Jim. The bead roller is a Magnum. It's a cheaper Chinese made one that one of the local tool shop sells. Didn't want to spend a bunch of money on one as I didn't know how much I would use it. I bought a stand for it, but ended up putting it in the vice to hold it better.
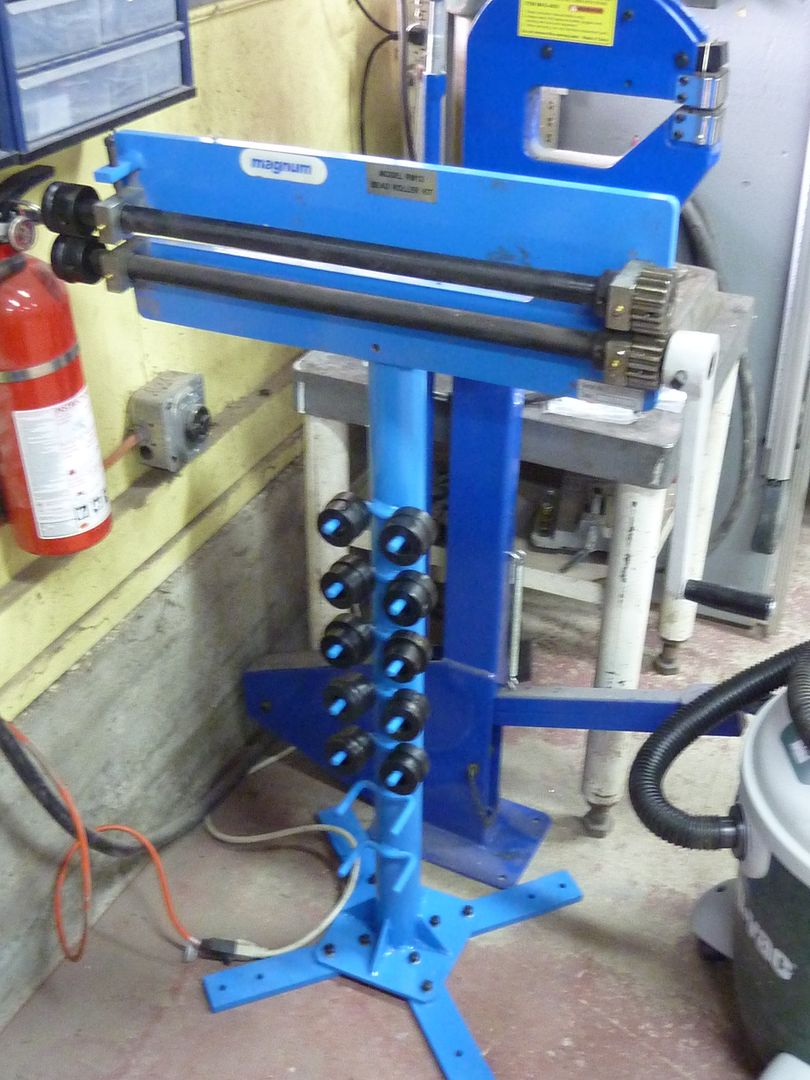
The bead roller is a Magnum. It's a cheaper Chinese made one that one of the local tool shop sells. Didn't want to spend a bunch of money on one as I didn't know how much I would use it. I bought a stand for it, but ended up putting it in the vice to hold it better.
10-03-2012, 06:19 PM
#173
On The Tree
Thread Starter
iTrader: (4)
Join Date: Mar 2009
Location: British Columbia, Canada
Posts: 132
Likes: 0
Received 0 Likes
on
0 Posts
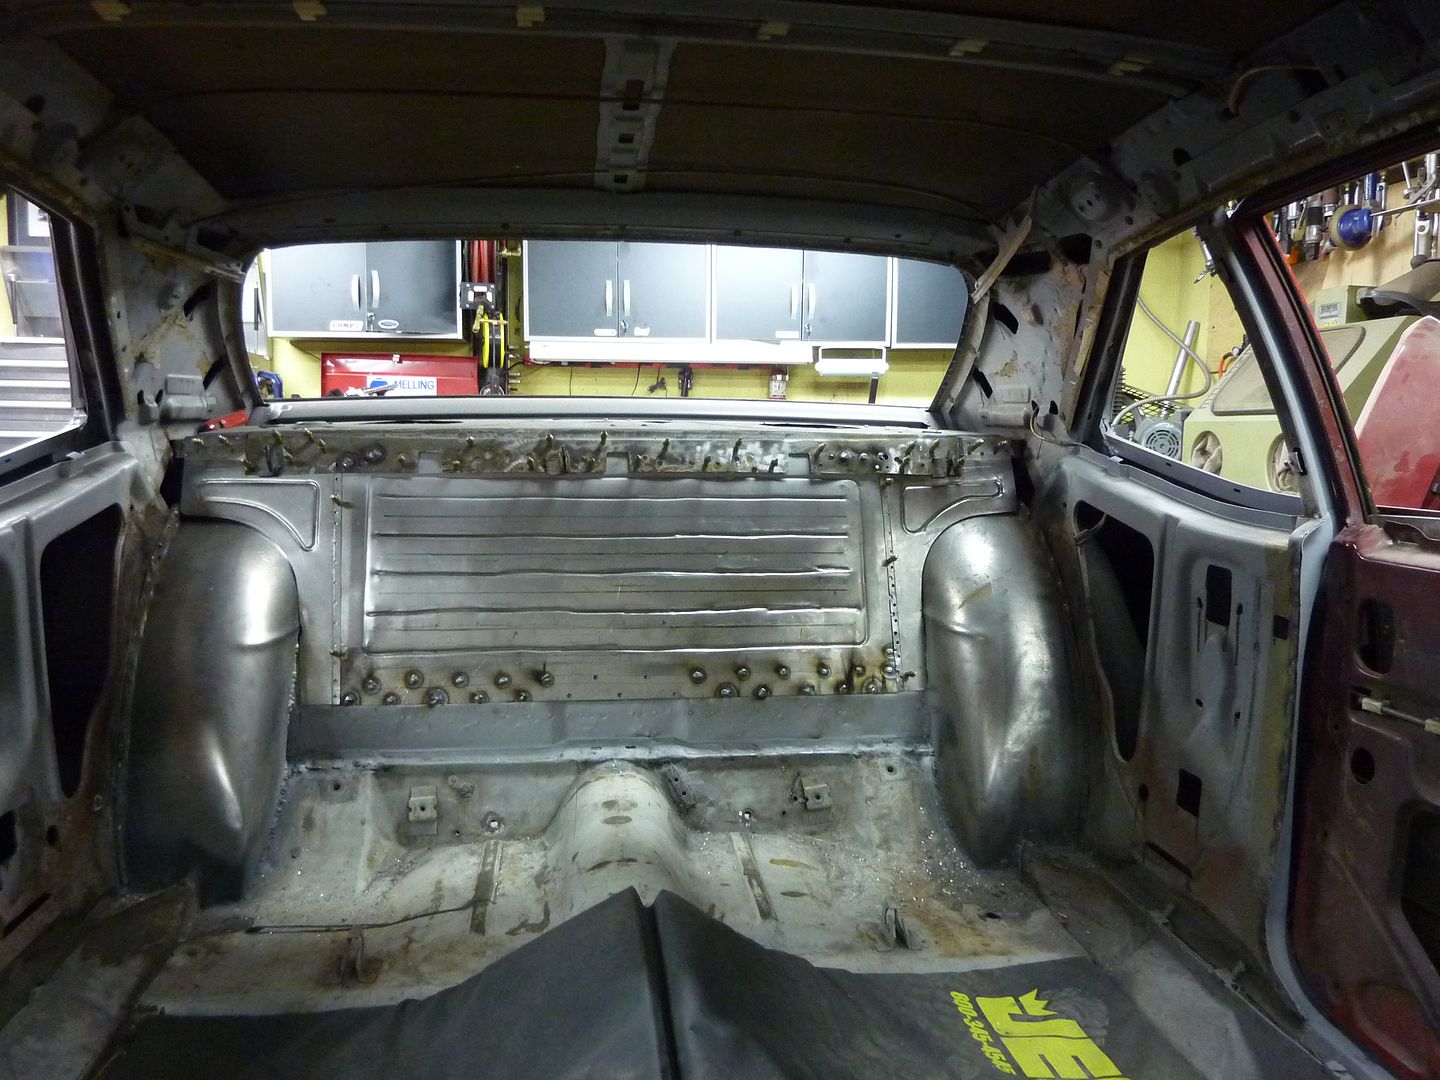
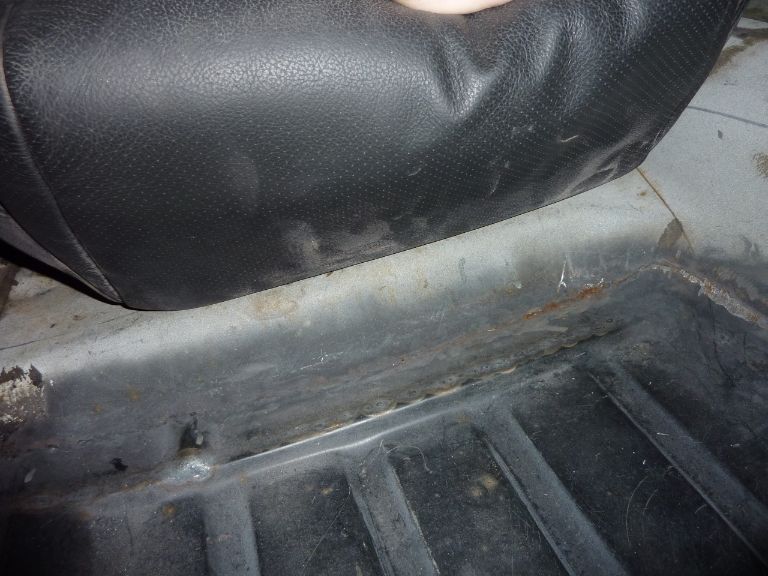
Small update today. Got the welding and grinding done on the sheetmetal behind the rear seat.
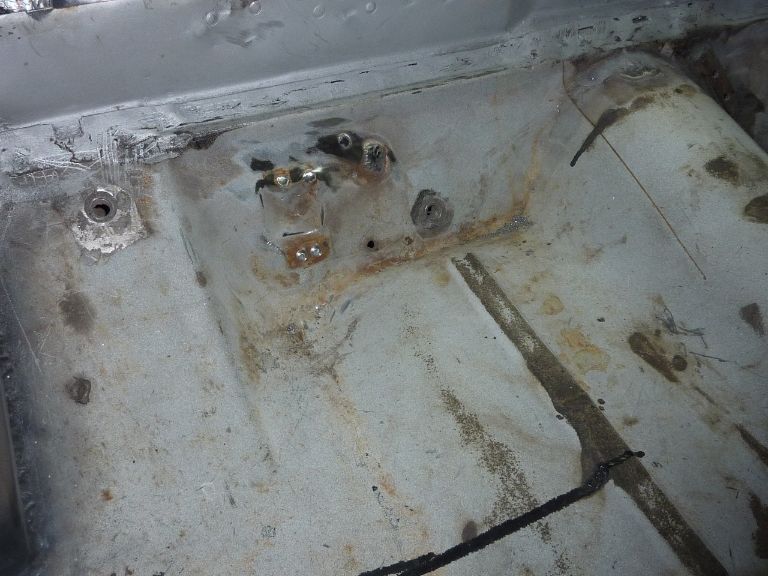
I also decided that I wanted to cover up these holes
So I made these
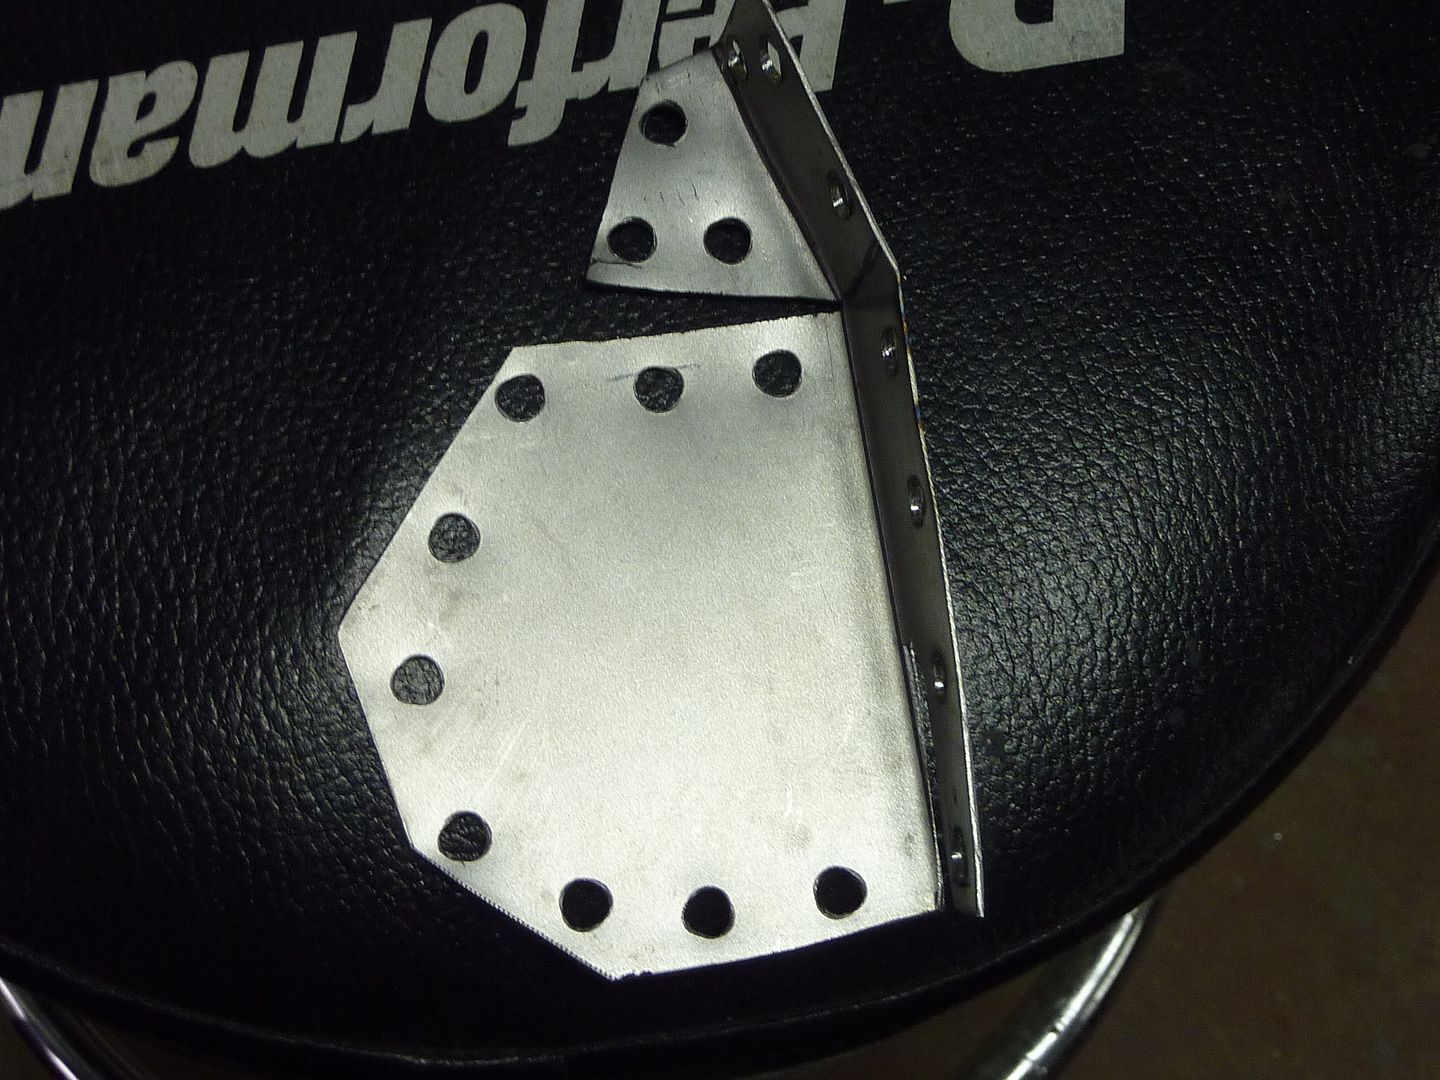
And welded them into place
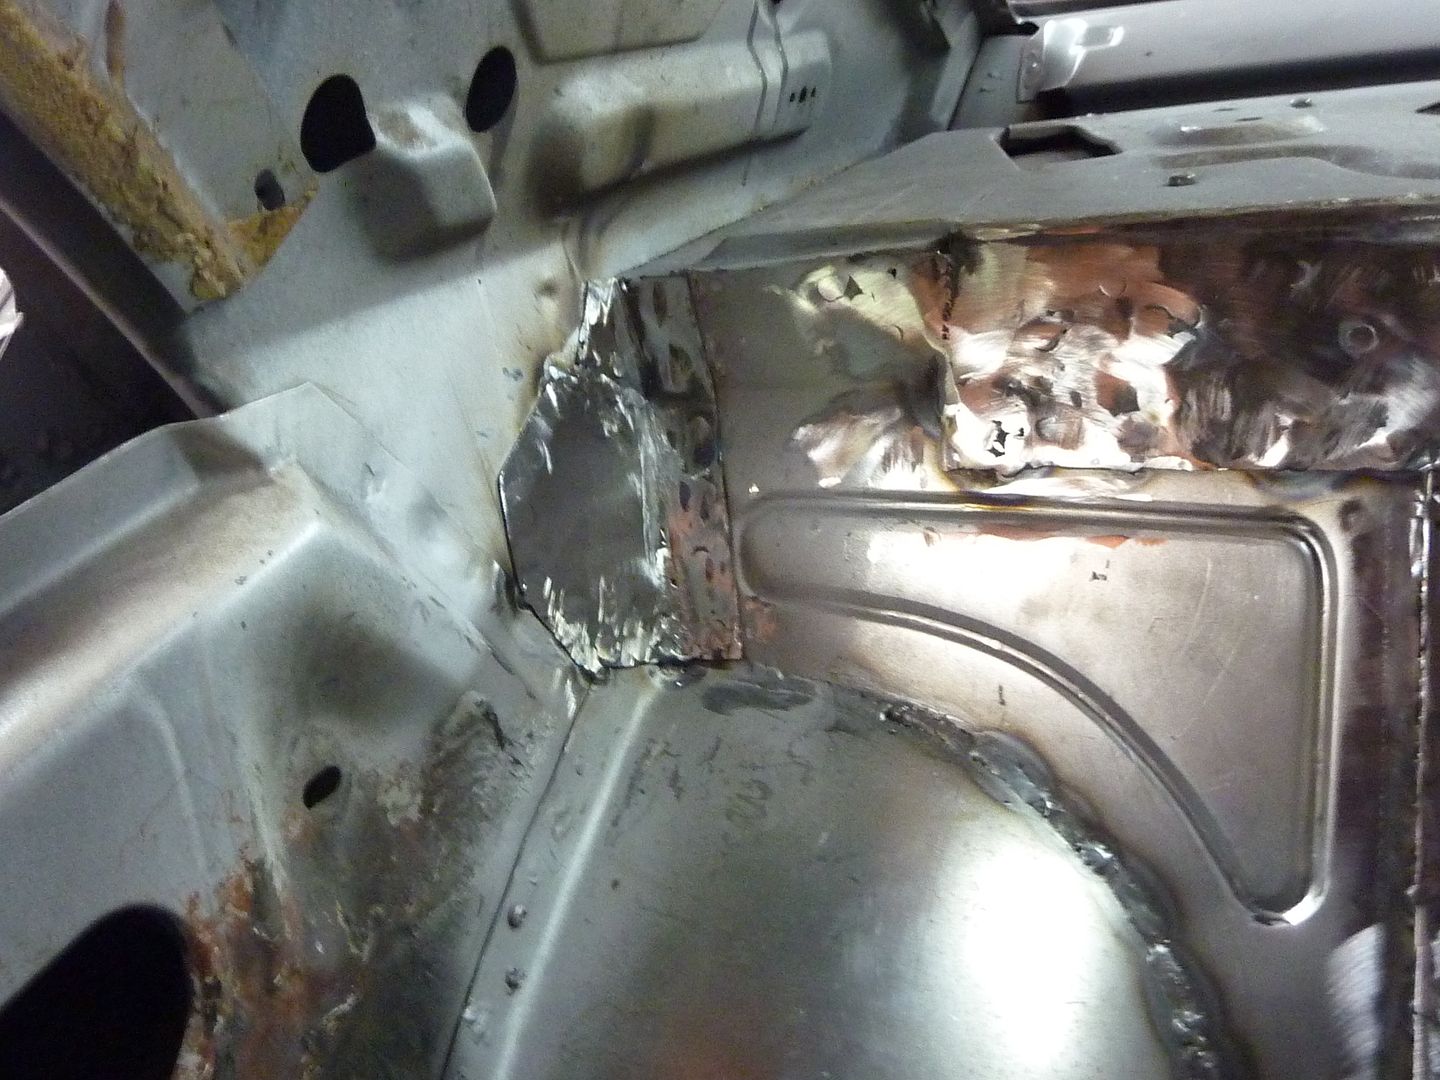
Next up I will start mounting the rear seats. As always, will post pics as I go.
I also decided that I wanted to cover up these holes
So I made these
And welded them into place
Next up I will start mounting the rear seats. As always, will post pics as I go.
10-03-2012, 06:28 PM
#174
Mike,
Thanks for the reply /wpic. Great work dude. Seing builds like yours keeps me motivated.
Thanks for the reply /wpic. Great work dude. Seing builds like yours keeps me motivated.
10-03-2012, 07:57 PM
#175

"Added some never seize to the inside where it slid over the crank and it went on very easily."
I have wondered about this when installing the crankshaft pulley. Should the pulley not be a friction fit? Anyone have any opinions about lubricating the pulley? Does it matter?
I have wondered about this when installing the crankshaft pulley. Should the pulley not be a friction fit? Anyone have any opinions about lubricating the pulley? Does it matter?
 10-26-2012, 05:01 PM
#177
On The Tree
Thread Starter
iTrader: (4)
Join Date: Mar 2009
Location: British Columbia, Canada
Posts: 132
Likes: 0
Received 0 Likes
on
0 Posts
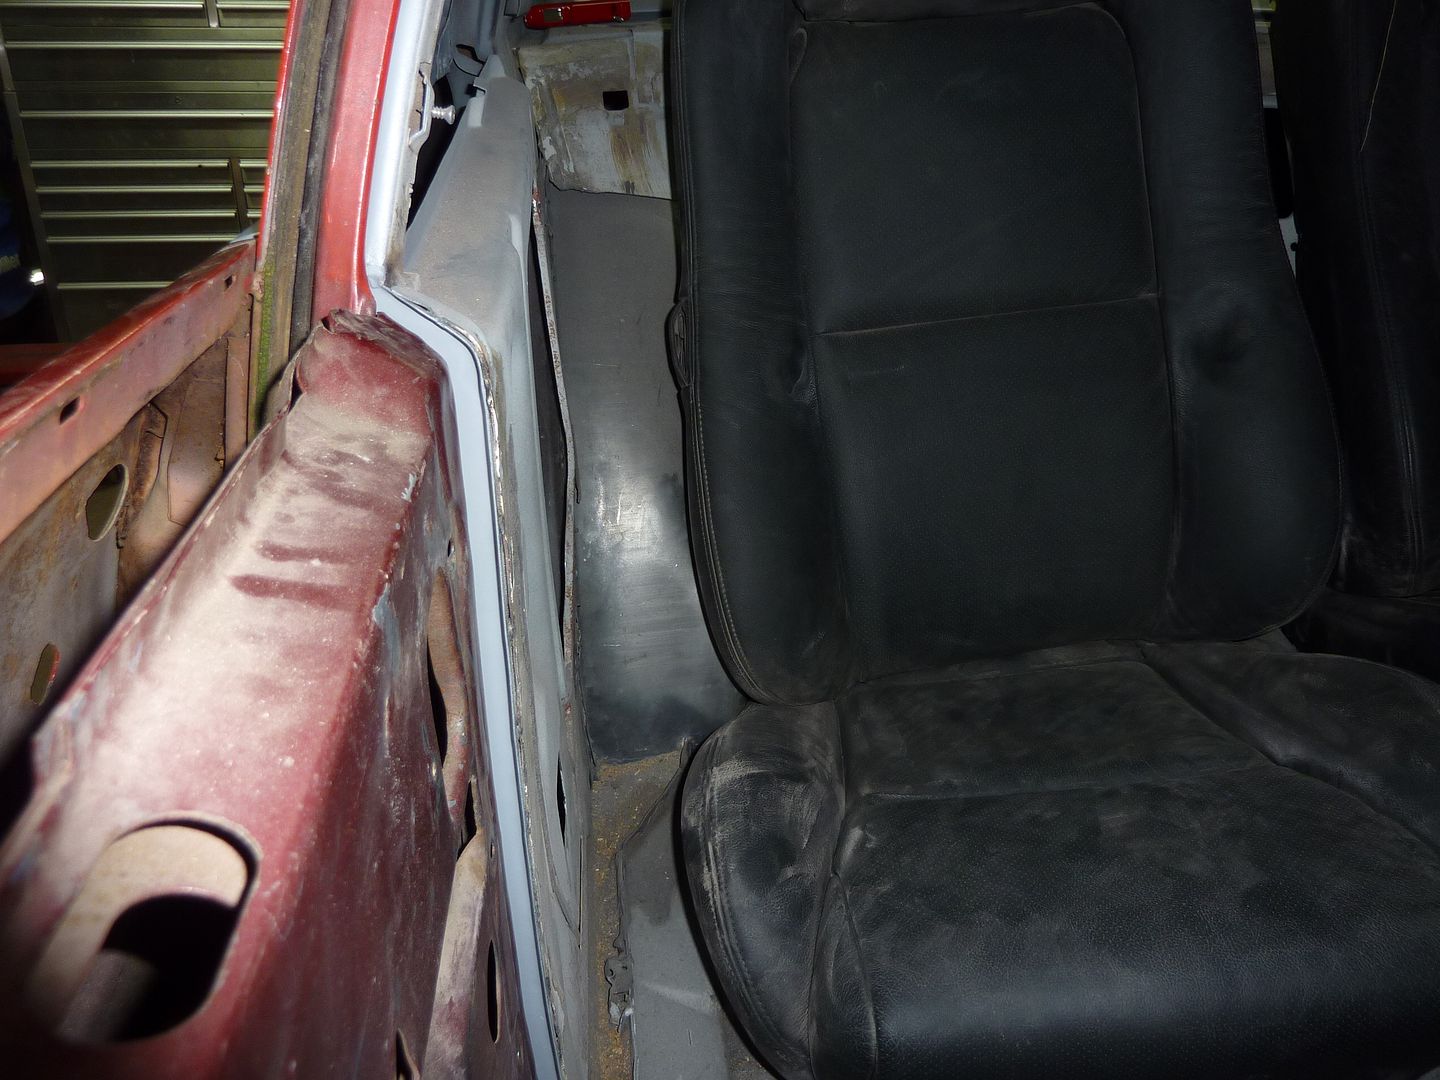
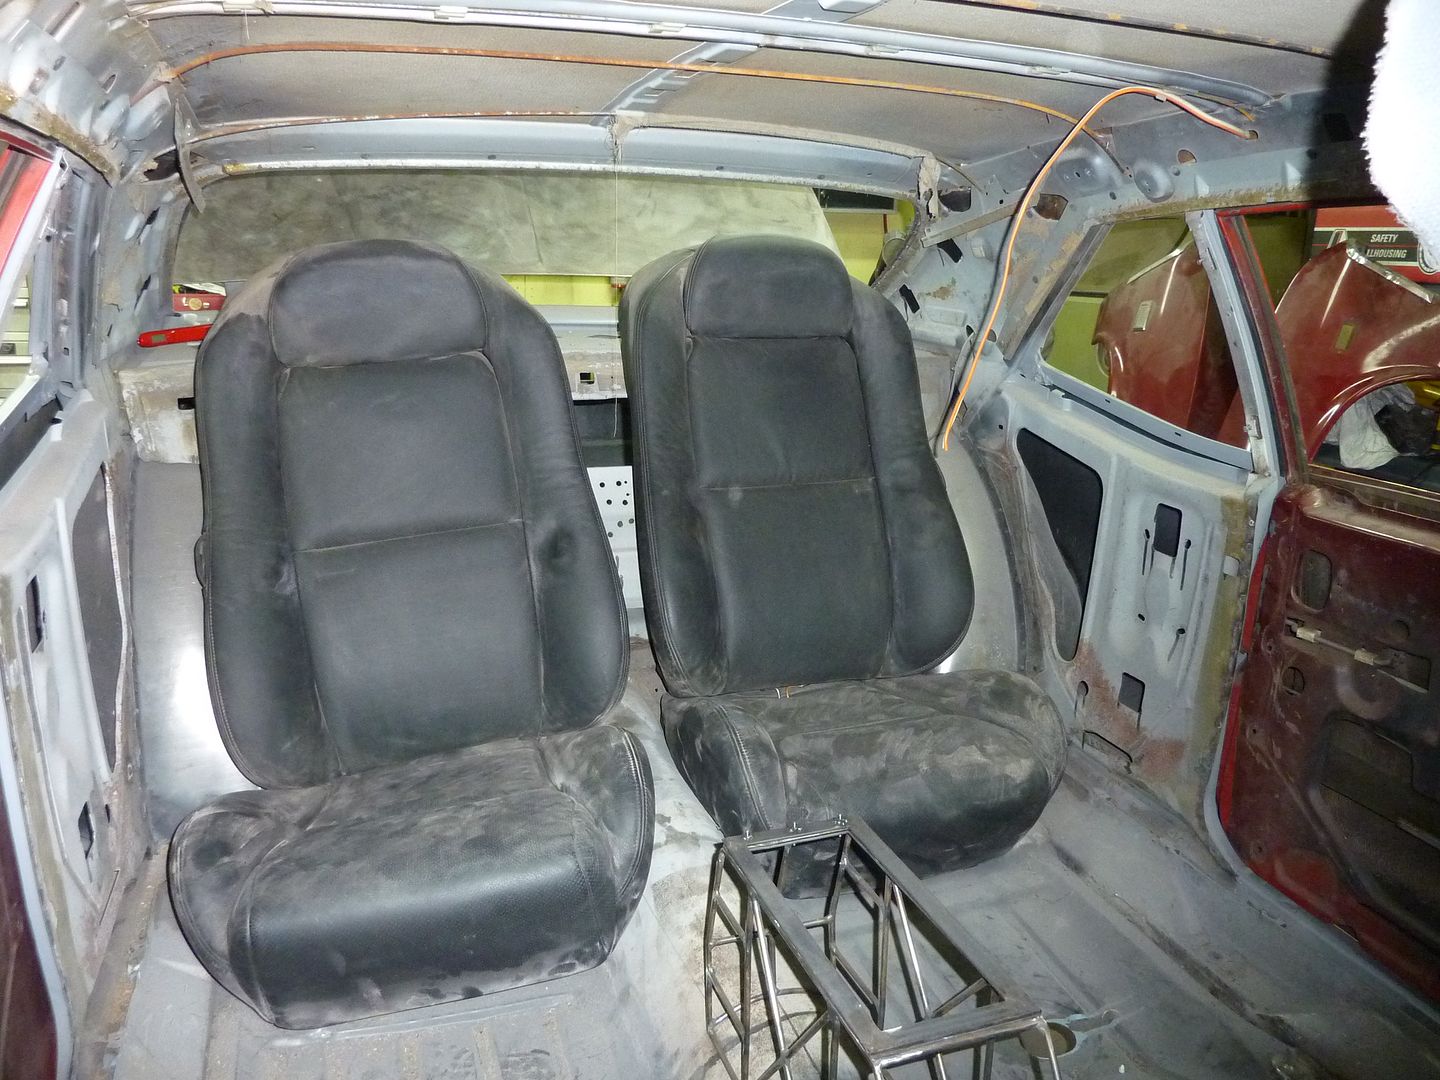
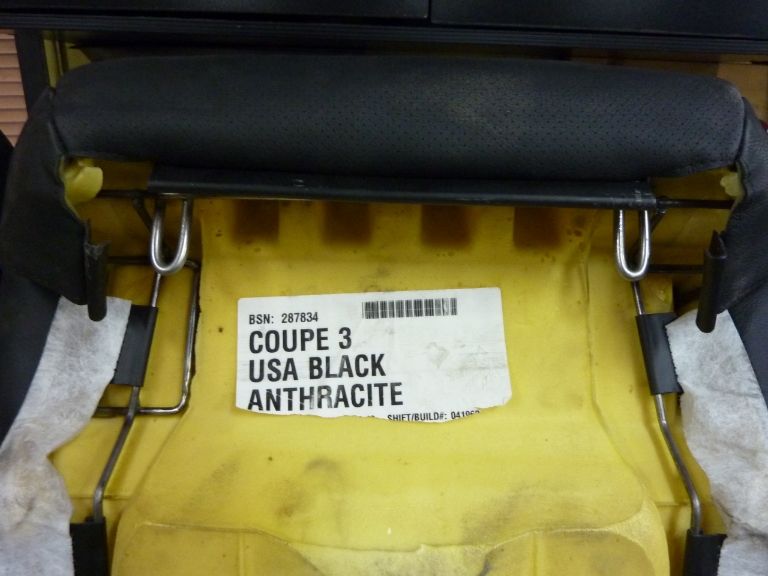
I've started trying to fit the rear seats. If anyone was wondering if it will be a lot of work to make the GTO seats fit....yep it's a lot of work.
When I started to fit the seats, I wanted to try and use a hook system similar to the way the stock rear bench seat fits. That didn't work very well, so I decided to try and idea that came to me while I was laying in bed.
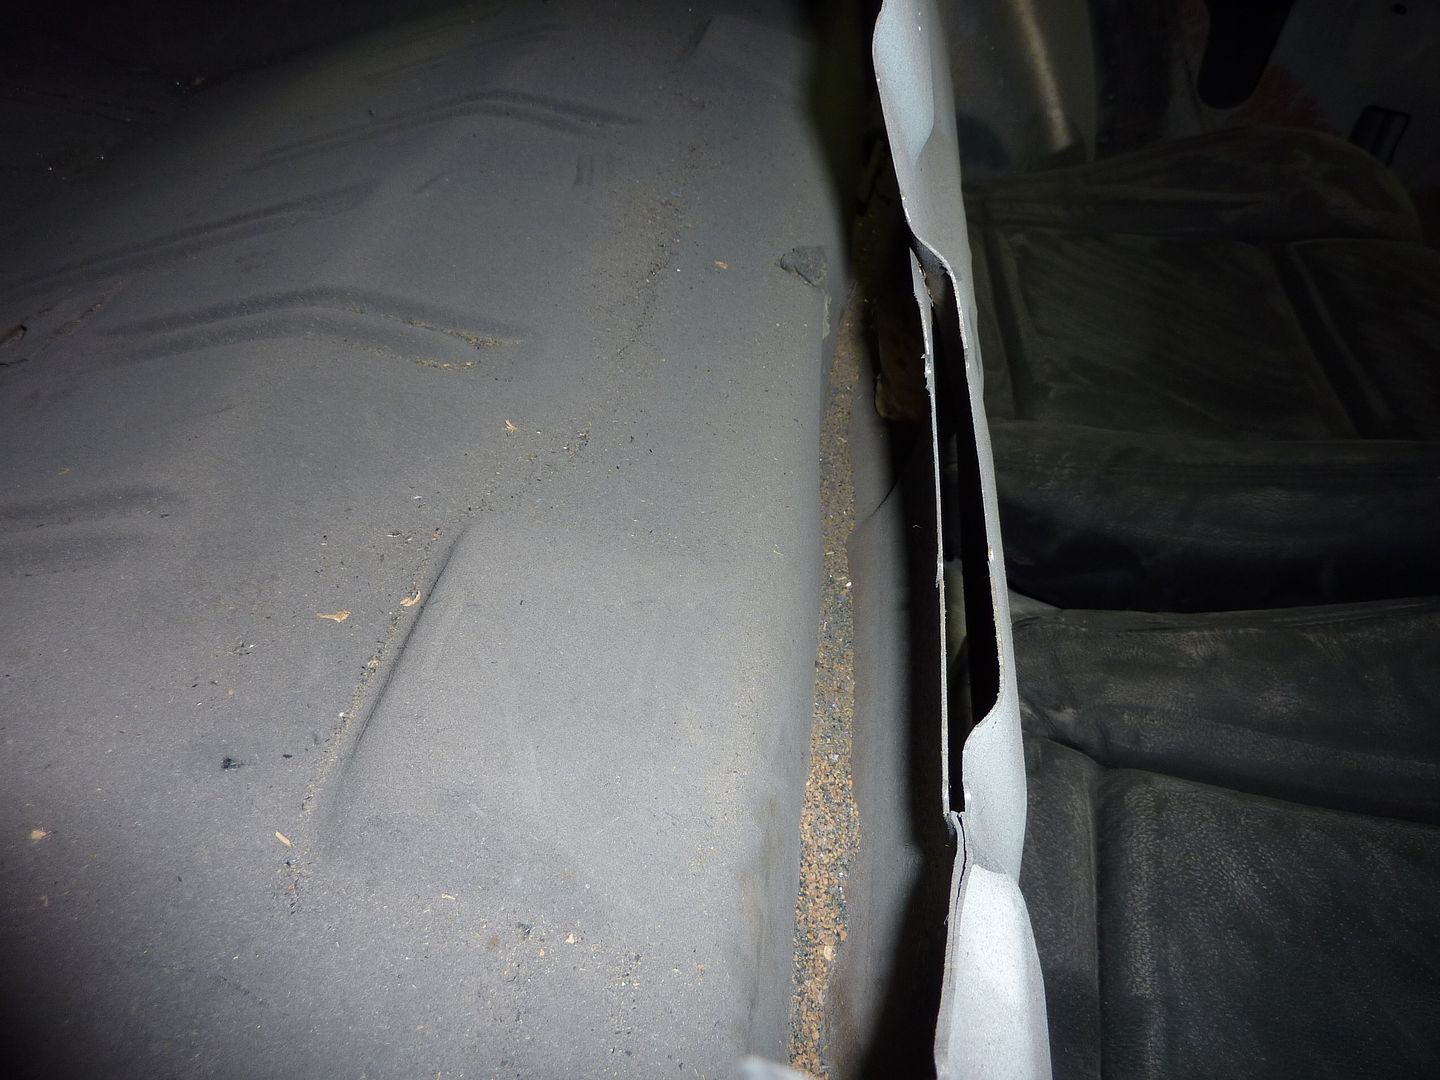
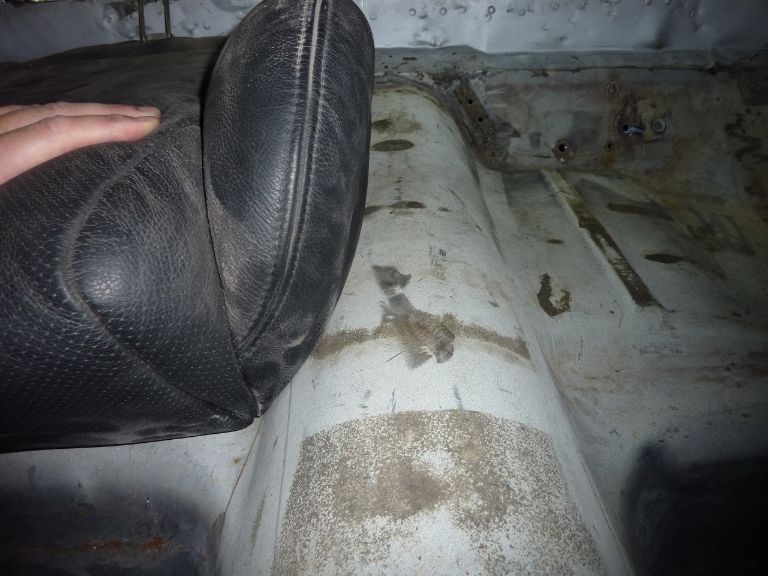
I checked the fitment of the seats. They actually fit pretty good. I will have to trim a bit of the foam where it meets the mini tub, but that should be it for the bottoms
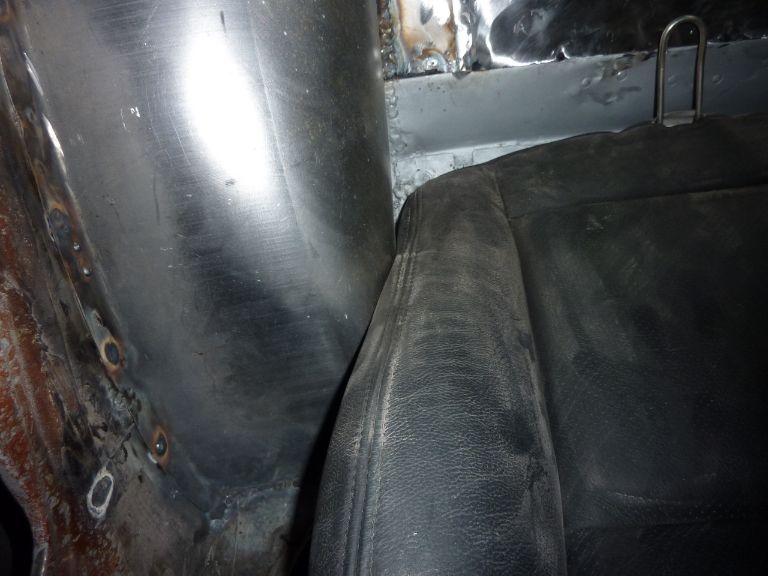
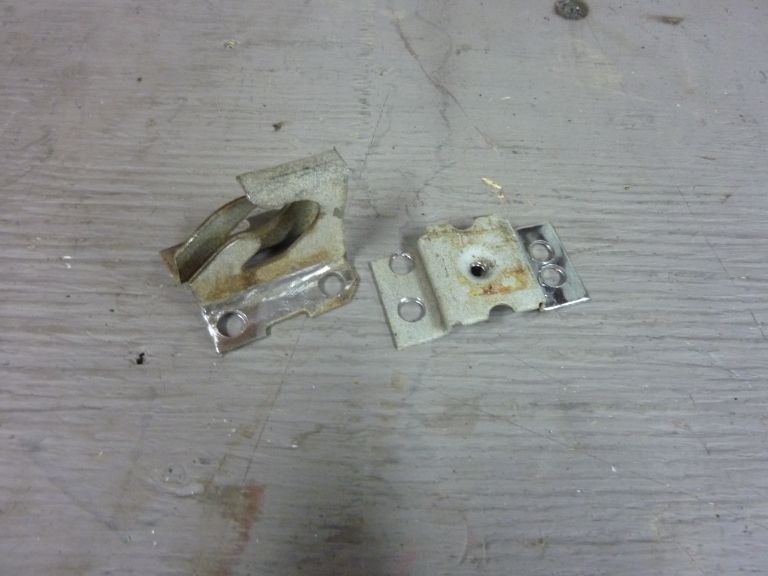
First things that had to go, the stock brackets
Then I took the bottom of the seat apart. It comes apart very easily
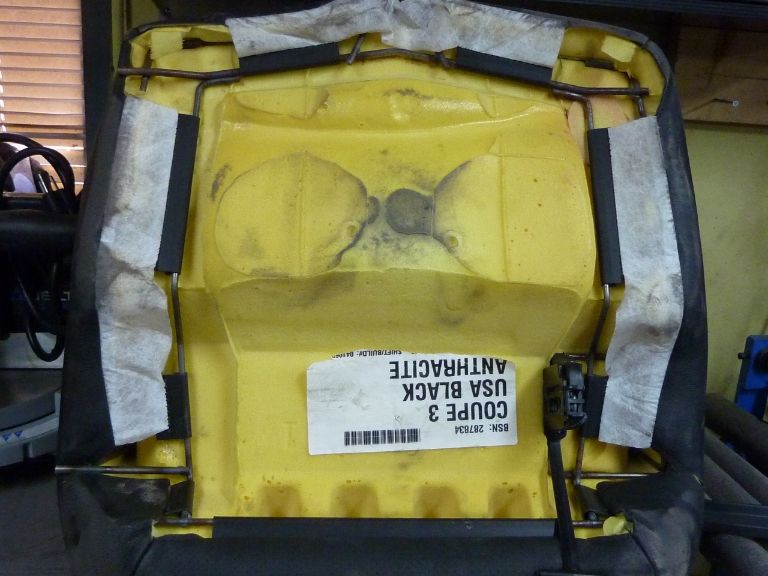
You just have to undo all the parts where it snaps over the round bar, then pull the leather back
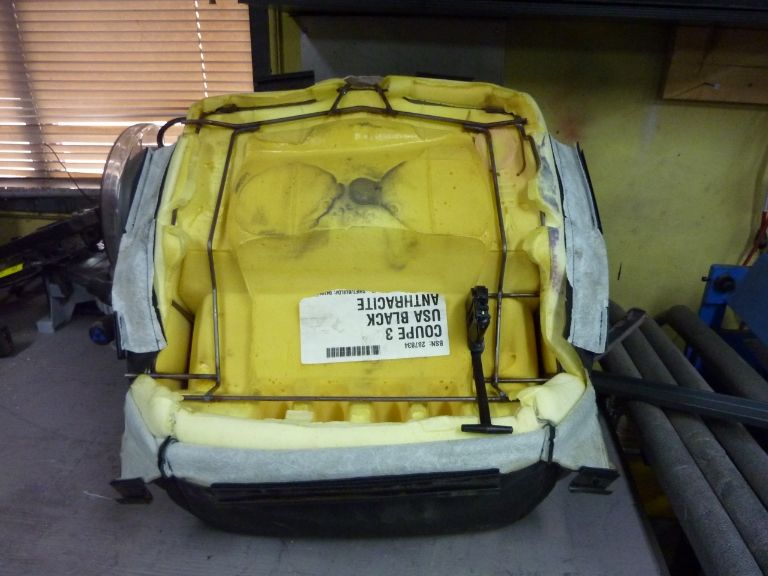
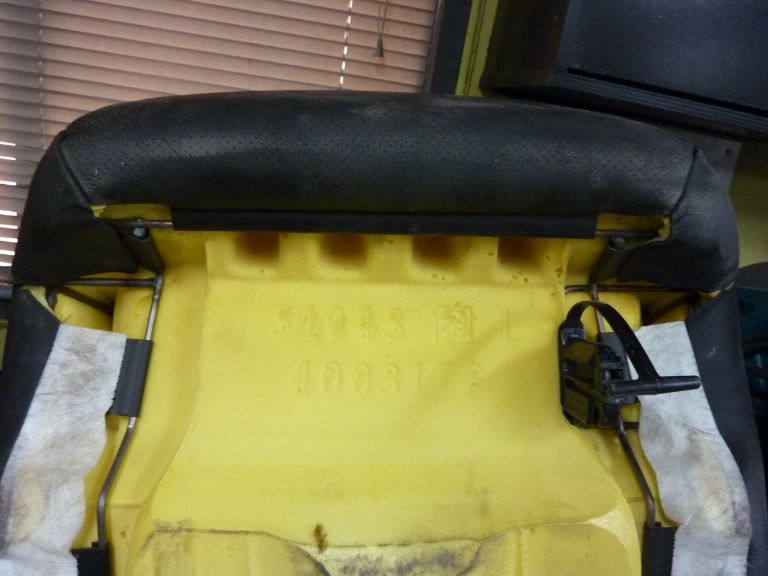
Then the skeleton just pulls out from the foam
I forgot to take a picture of it, but in the above photo you'll see a black plastic thing attached to the frame. I cut that out and welded in a new piece of round bar as that it used in mounting the seat into a GTO.
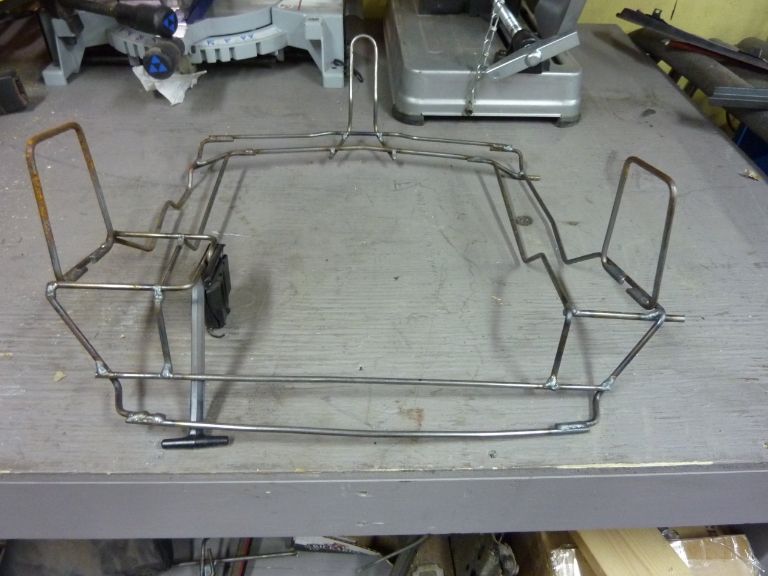
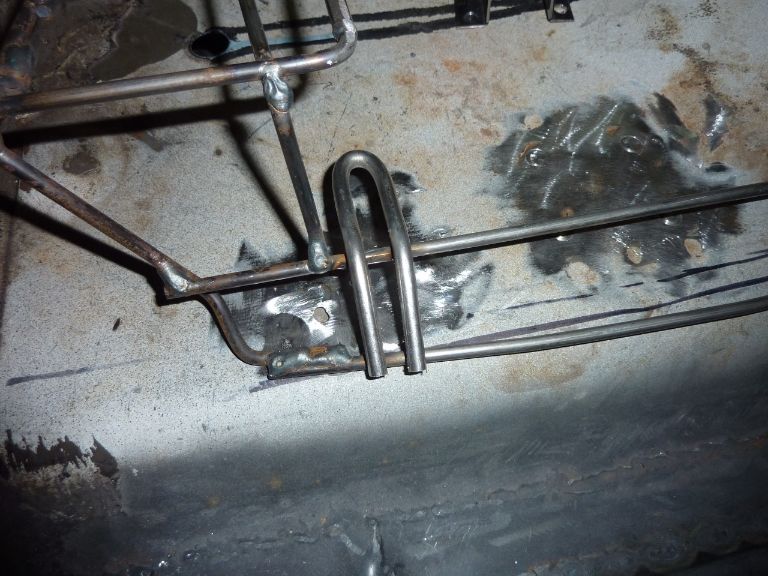
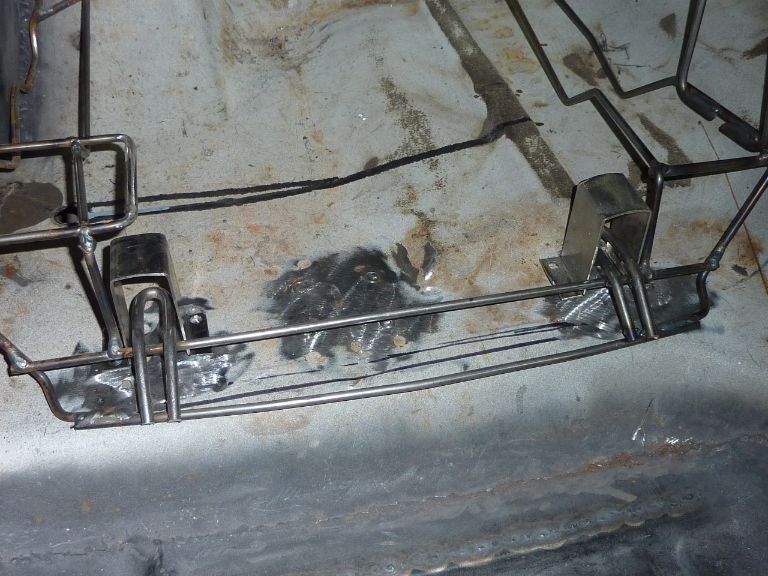
As for mounting the seats to the floor, I decided to make it so the seats could slide into place, then I will add some nuts to secure the seats in place. I bent some round bar into the shape I wanted and tacked the pieces onto the frame. I bent them so they will fit the shape of the frame, but also sit level to the floor.
After I had both tacked in place, I put the foam and leather back on to see how they fit
Here you can see how it looked without the new pieces added to the frame. If you notice the differences between the two frames, that's because the second photo is the driver's side frame and I'm working on the passenger side one.
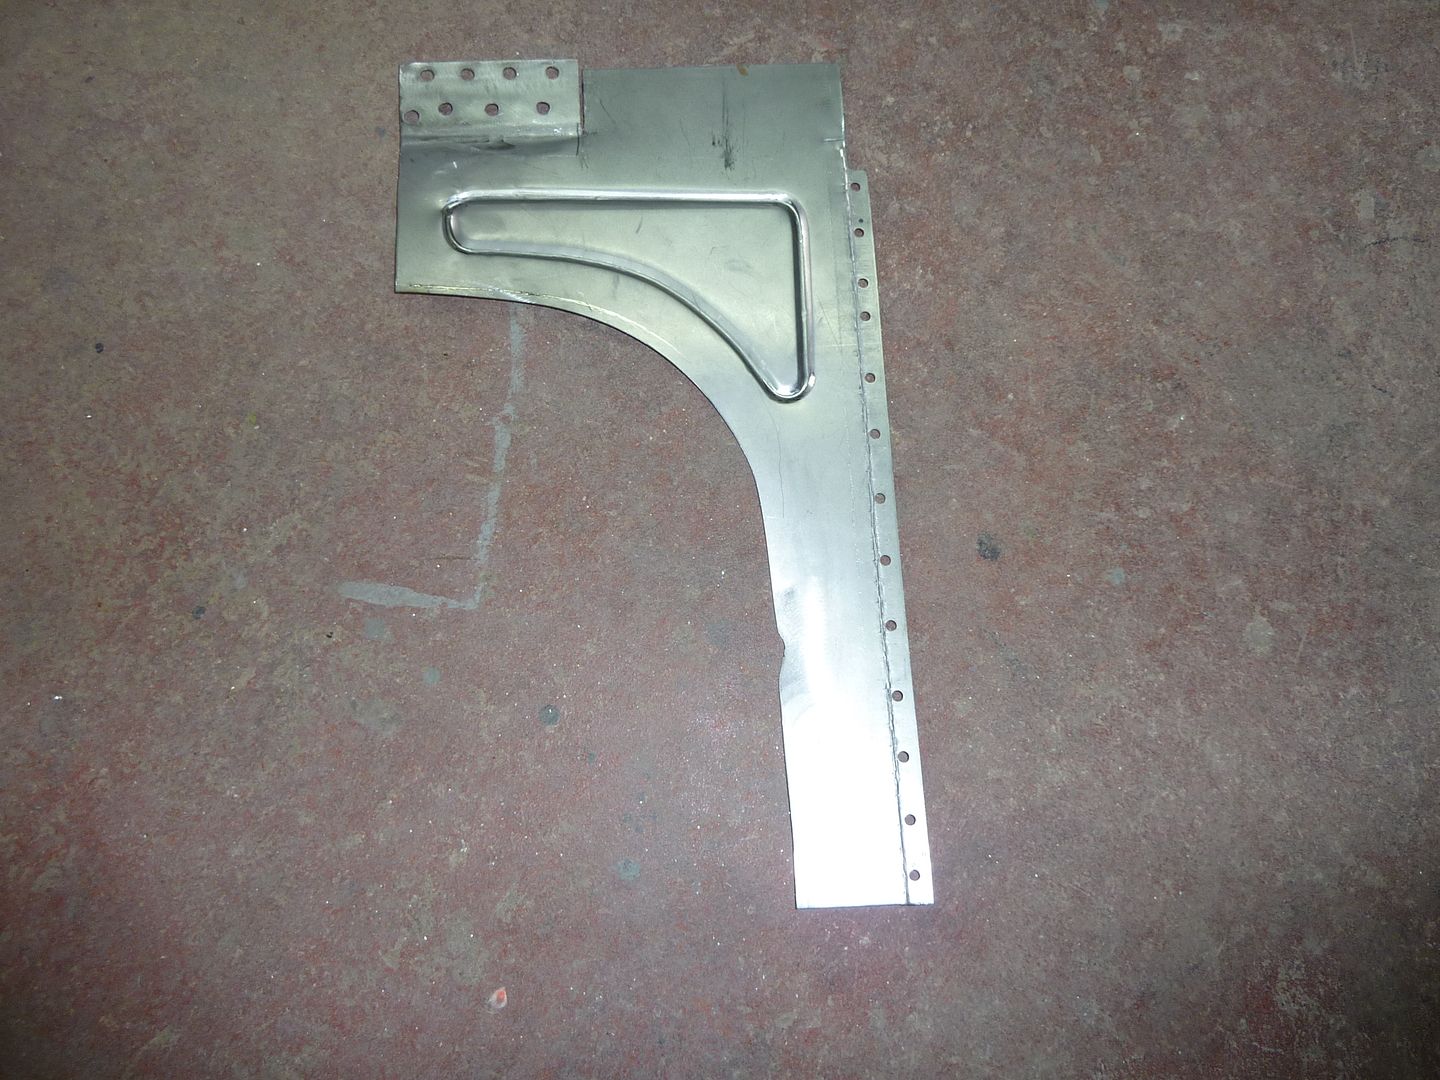
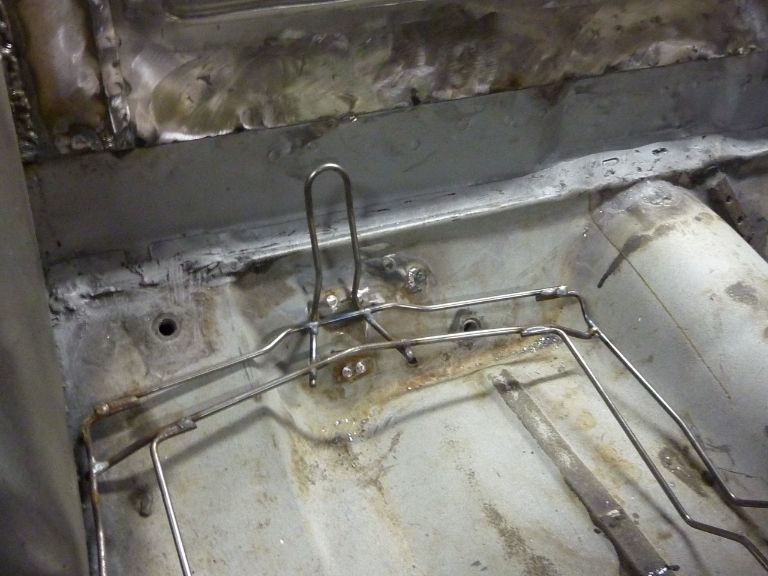
Next I made some brackets that I will weld onto the floor and the new pieces will slide into. I haven't actually welded the brackets into place yet. If you're wondering, the brackets are made out of 18 gauge steel and sit 2 1/4 inches high.
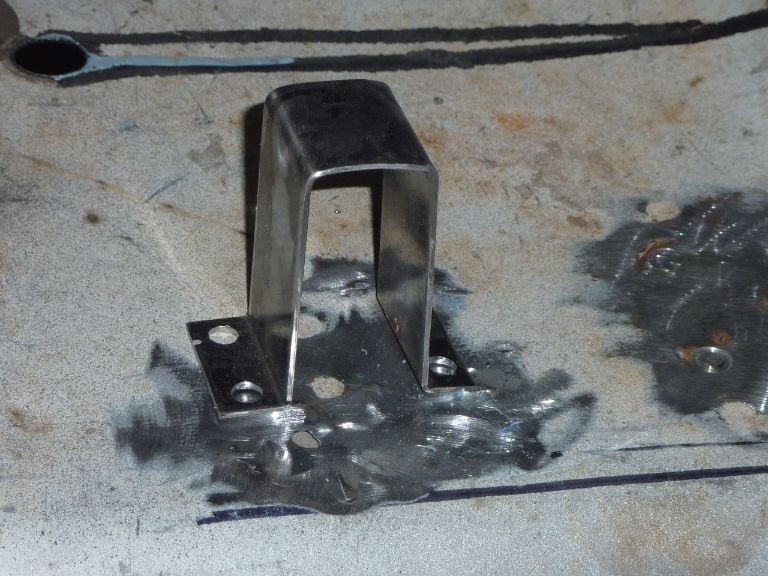
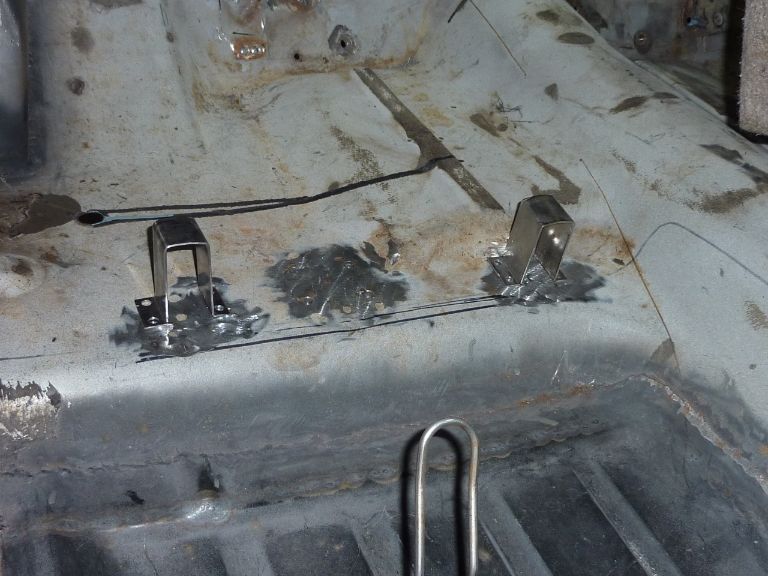
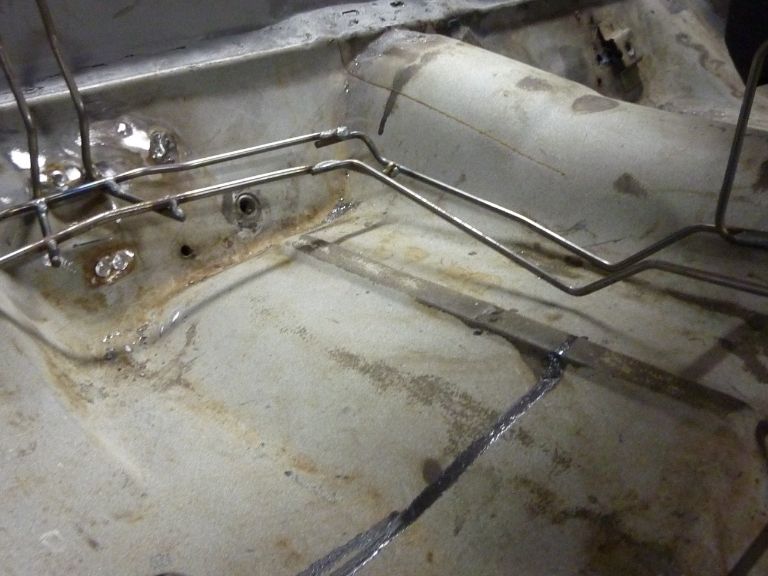
Here you get the idea of how they will slide into place. There's quite a bit of space left above them to compensate for when the foam is back on as well as carpet, underlay and sound deadner
I will also build up the area where the seat sits with some sheet metal just to add somewhere the seats can sit on. I will also drill some holes somewhere and weld on some nuts behind so the seats will bolt into place.
Next week I hope to get the brackets welded into place and start building up the below the seats. Will post pics when I get there.
10-27-2012, 10:16 PM
#178
Staging Lane
Join Date: Sep 2012
Location: Las Vegas
Posts: 79
Likes: 0
Received 0 Likes
on
0 Posts
This is such an awesome build. I have a 1973 olds omega that ive been working on since January 2009 i thought i was almost done because i have paint and interior to do but now i have discovered the world of the LS and i am going to change over to an LQ4 with a possible turbo down the road. I will be following this build. A lot of great idea's you have going on here. Now you have me looking into the speedtech products for a complete subframe even though i already have all my tubular upper and lower control arms haha.
02-08-2013, 02:05 PM
#180
On The Tree
Thread Starter
iTrader: (4)
Join Date: Mar 2009
Location: British Columbia, Canada
Posts: 132
Likes: 0
Received 0 Likes
on
0 Posts
This is such an awesome build. I have a 1973 olds omega that ive been working on since January 2009 i thought i was almost done because i have paint and interior to do but now i have discovered the world of the LS and i am going to change over to an LQ4 with a possible turbo down the road. I will be following this build. A lot of great idea's you have going on here. Now you have me looking into the speedtech products for a complete subframe even though i already have all my tubular upper and lower control arms haha.
Thanks!!
Well time for a bit of an update. Unfortunately I haven't made any progress on the car itself, but I have the next three days off and hope to spend some time out there as long as my cold doesn't get any worse.
I have gotten some new parts and tools though

A couple months ago, our local tv station had a fund raising silent auction. I picked up a $500 gift card for a local tool shop for $250. With it I bought:
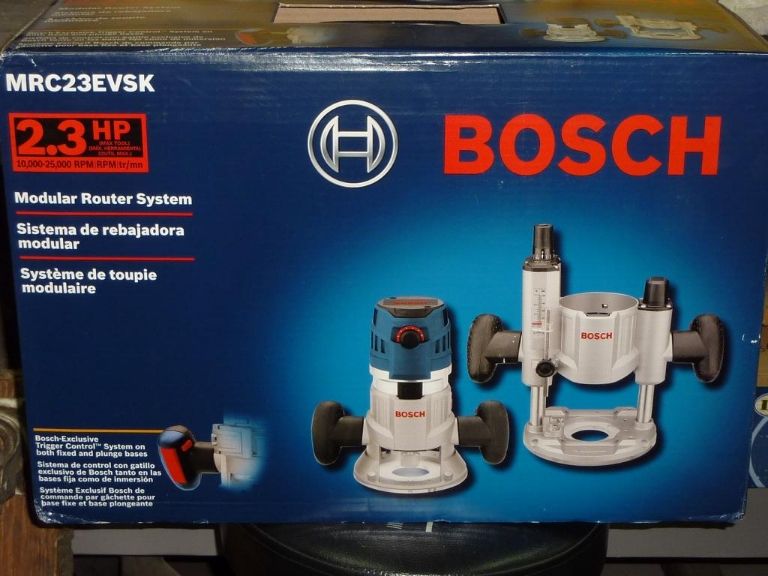
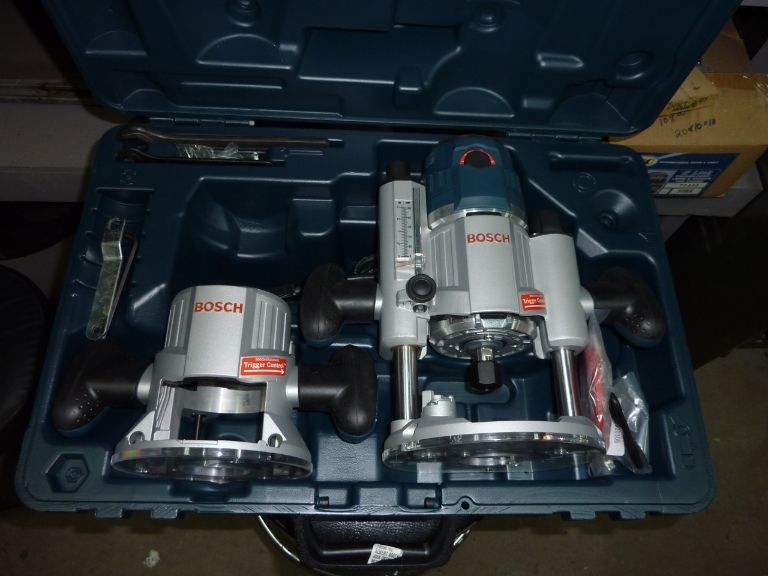
and this
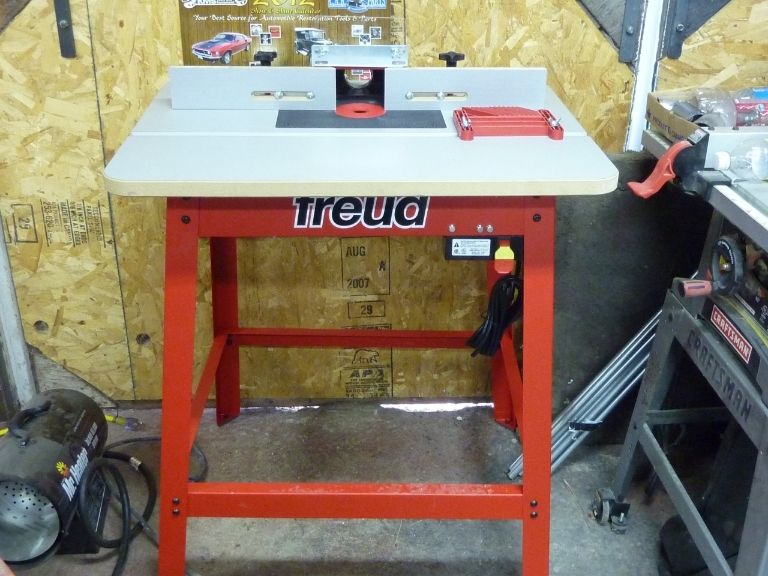
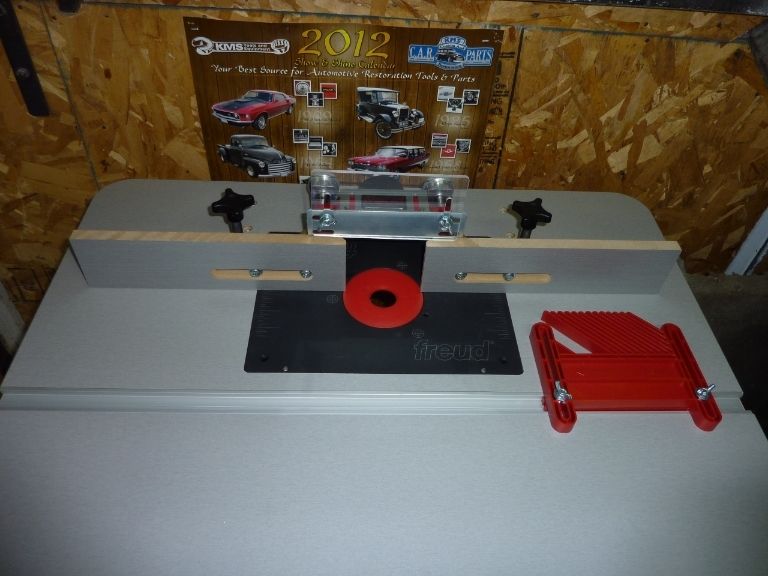
I have always wanted a router and thought why not. It will come in handy when time to do the trunk and stereo enclosures.
Last week I spent a few days in Vancouver with my wife. Was nice, she was there on a paid work trip so I got to go for free. I was close enough to make a parts run, so I picked up this stuff:
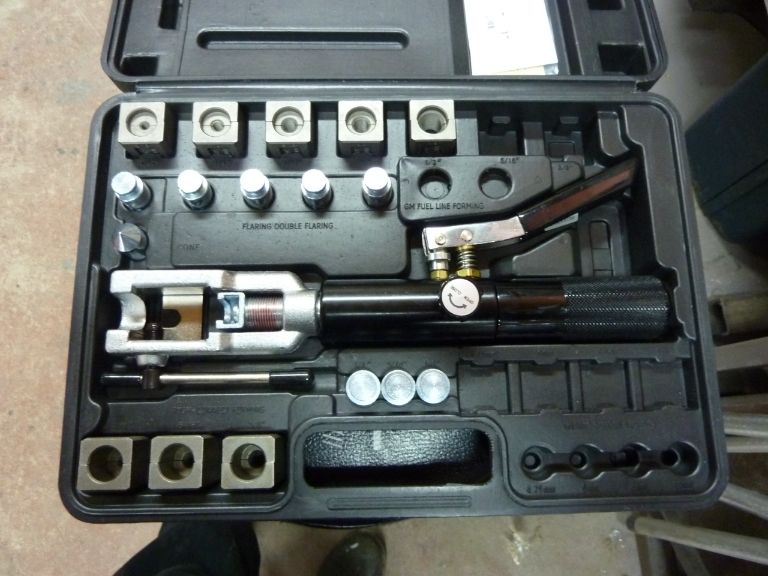
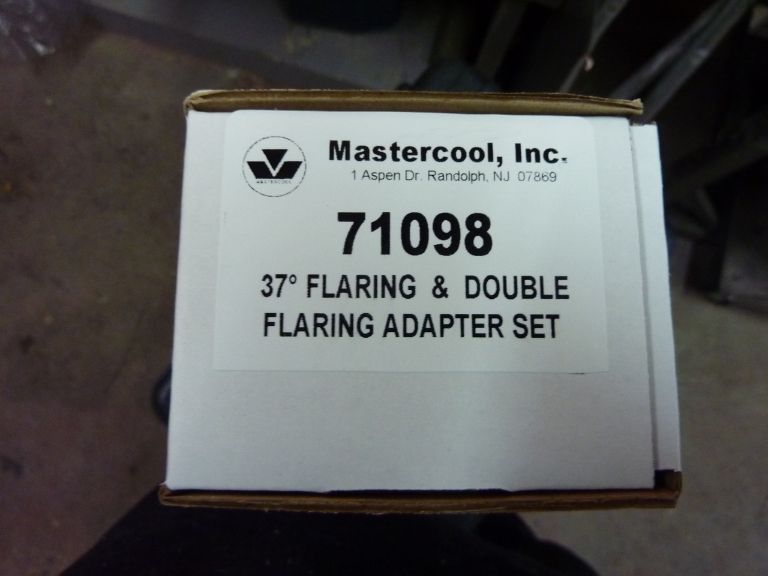
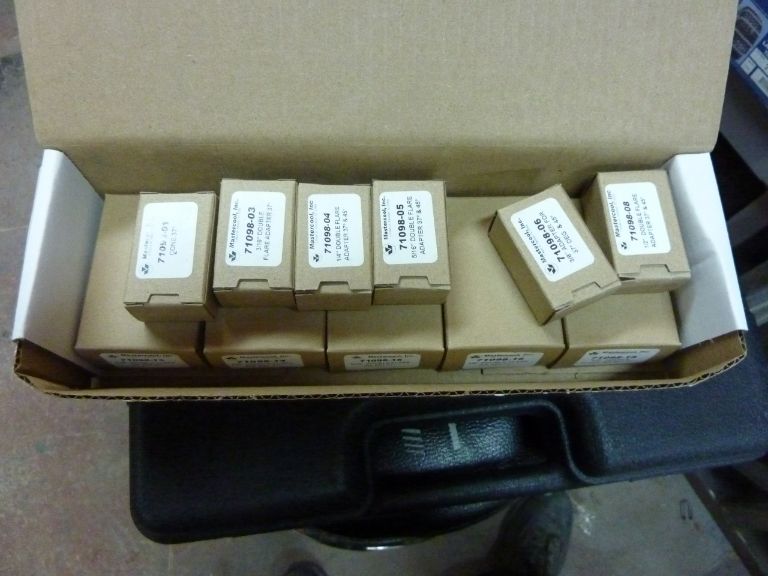
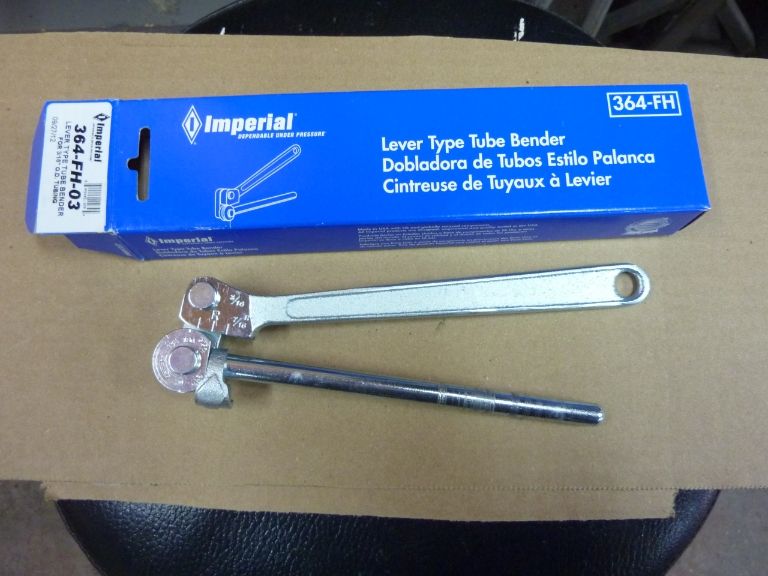
I got all that stuff from www.purechoicemotorsports.com I was very happy dealing with them. I will be getting all my stainless lines from them also. I also plan on getting a couple Rigid bending tools to go with the Imperial one
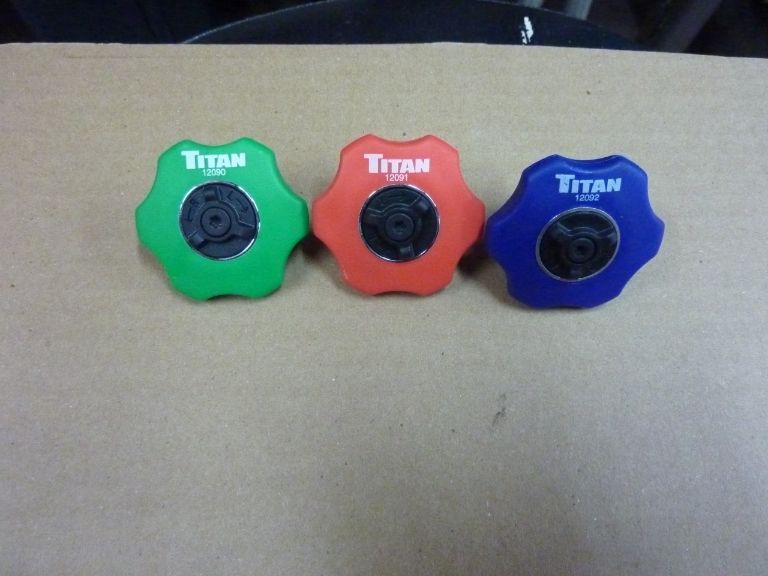
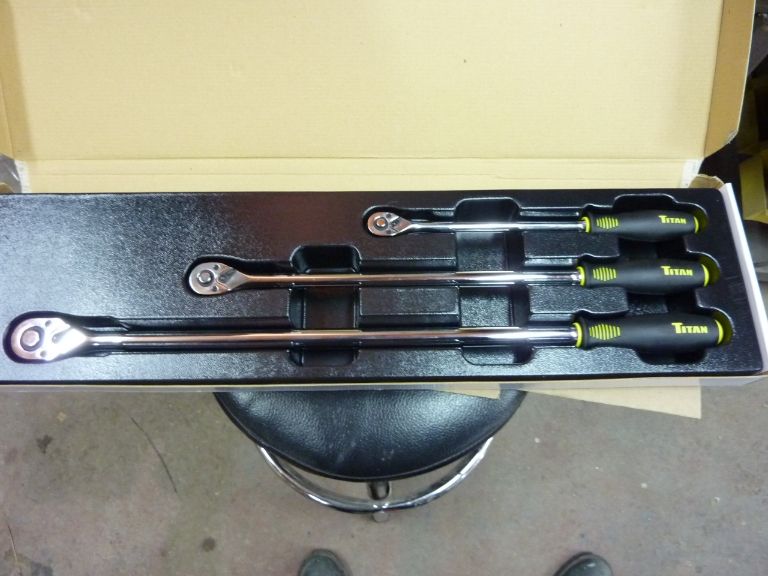
From Summit I picked up:
Some palm ratchets

Some long handle ratchets
A Billet Specialties Optima battery tray. I know I'm no where near putting the battery in yet, but I want to fab a spot in the trunk to put the tray so that's why I got it now