
1976 firebird formula 6.0/4l60e resto-mod
 12-29-2014, 08:27 AM
#41
TECH Regular
Thread Starter
iTrader: (1)

Join Date: Oct 2005
Location: tulsa OK
Posts: 439
Likes: 0
Received 0 Likes
on
0 Posts

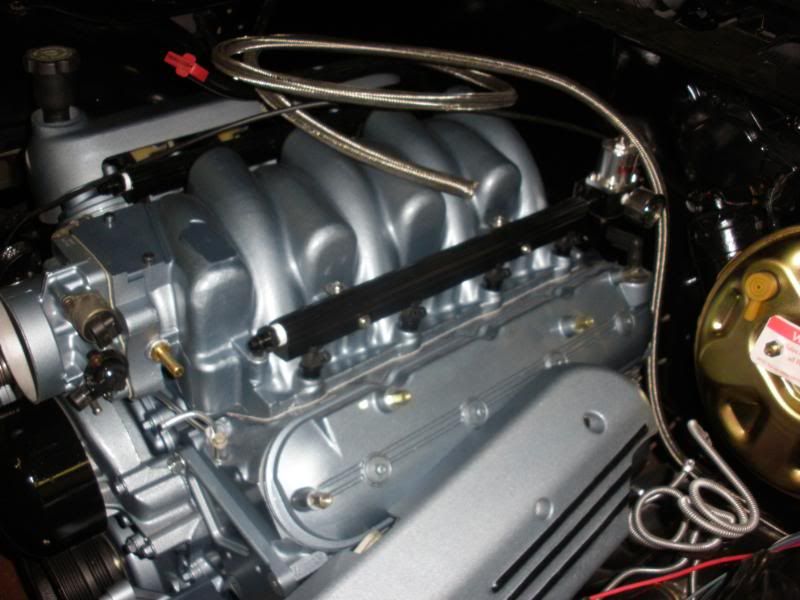
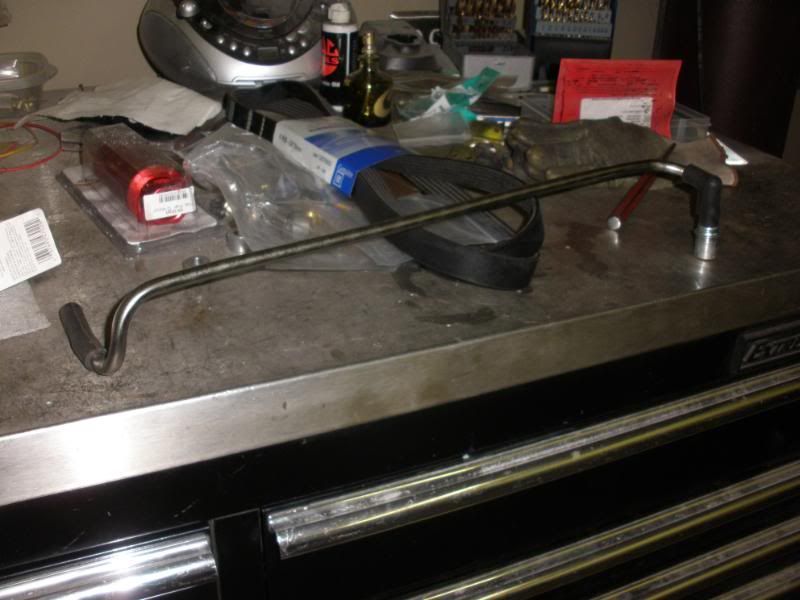
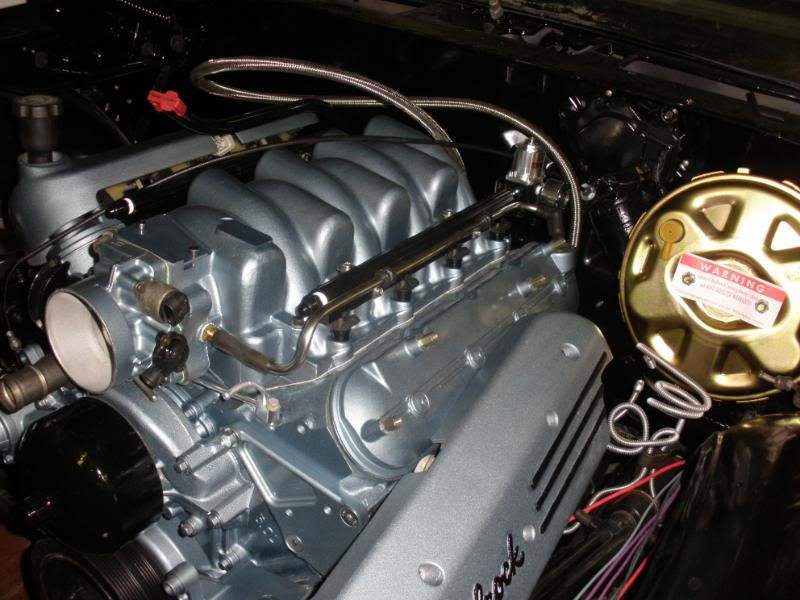
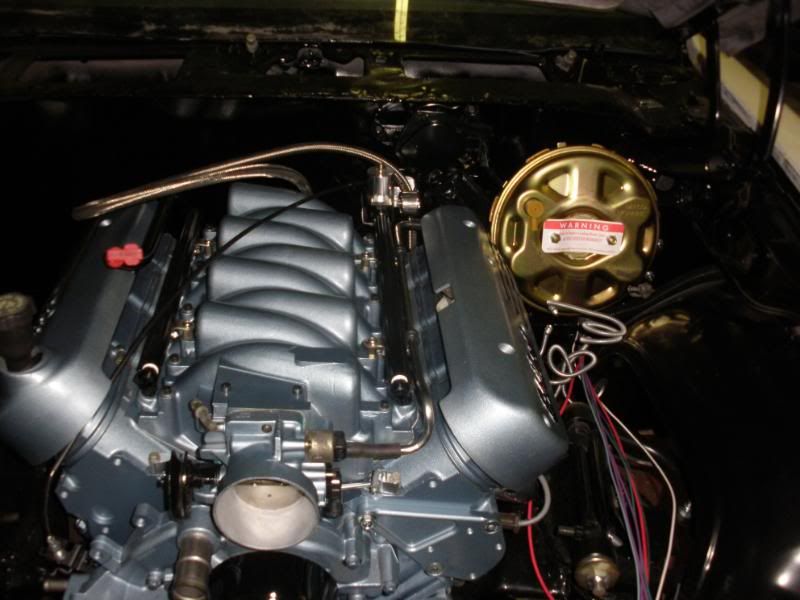
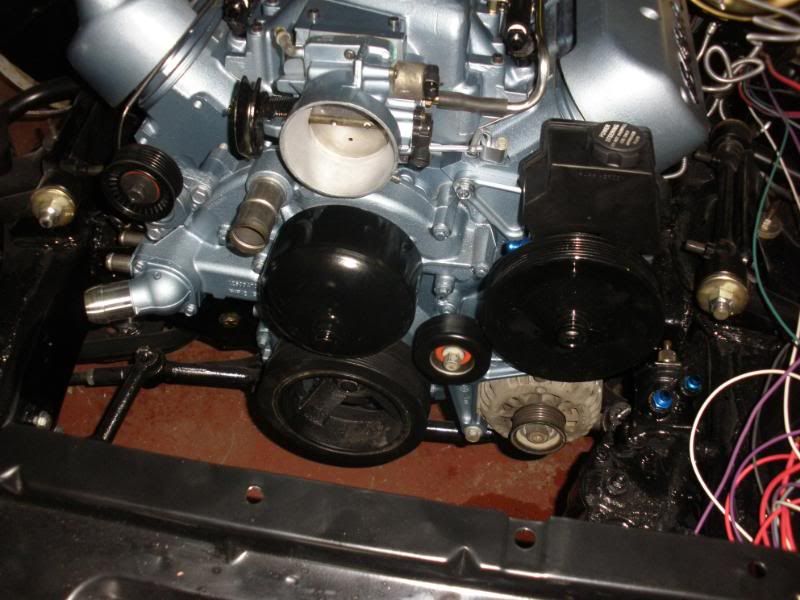
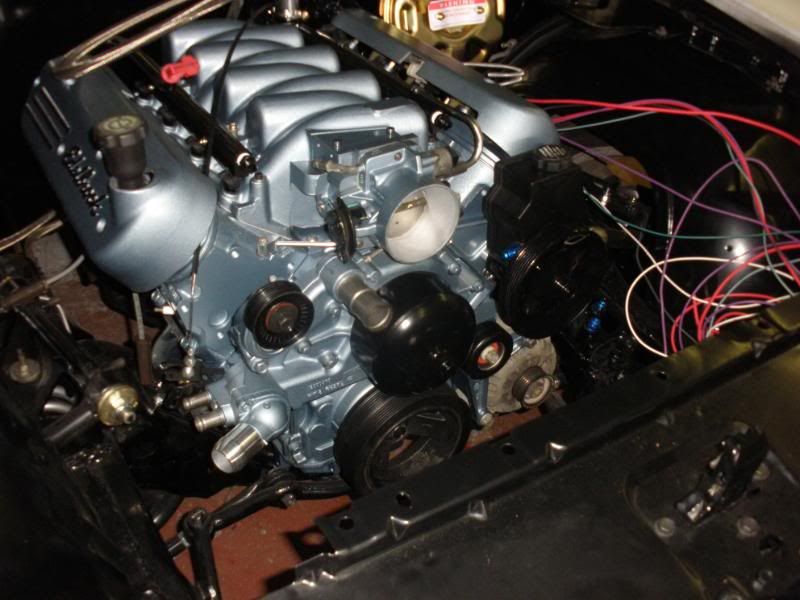
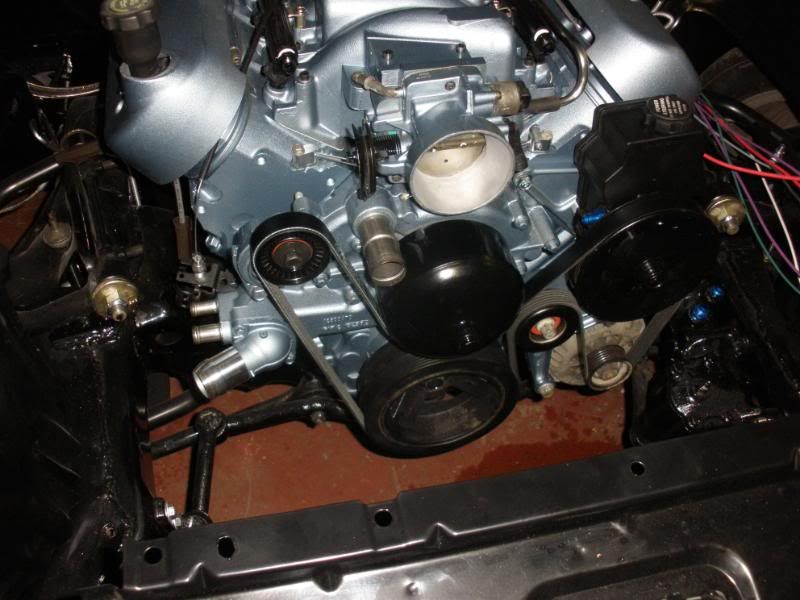
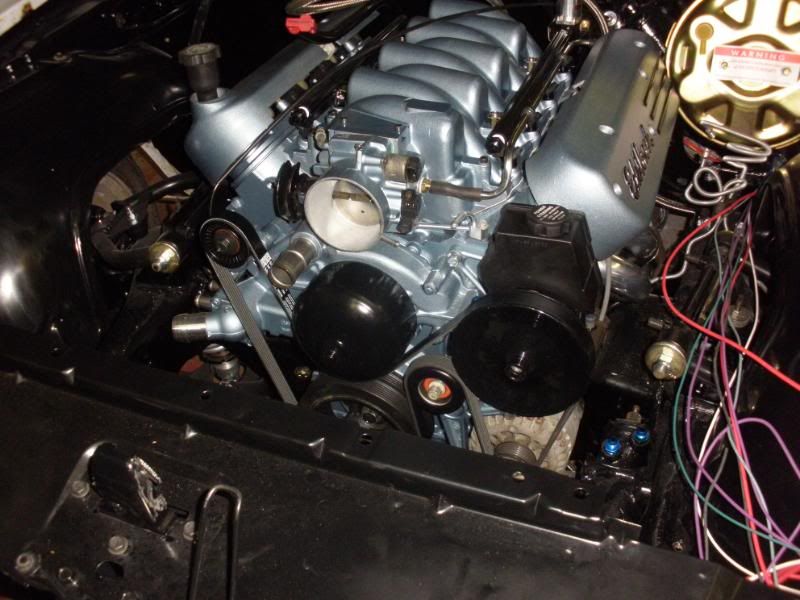
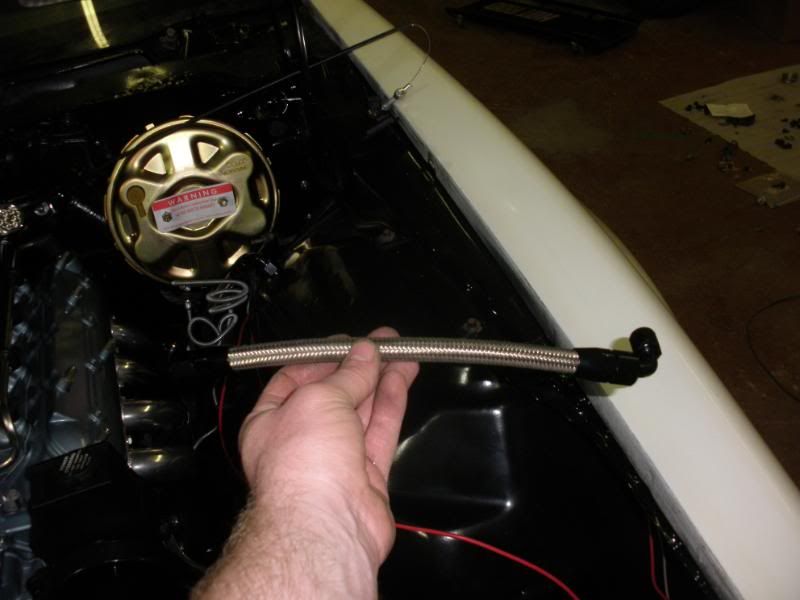
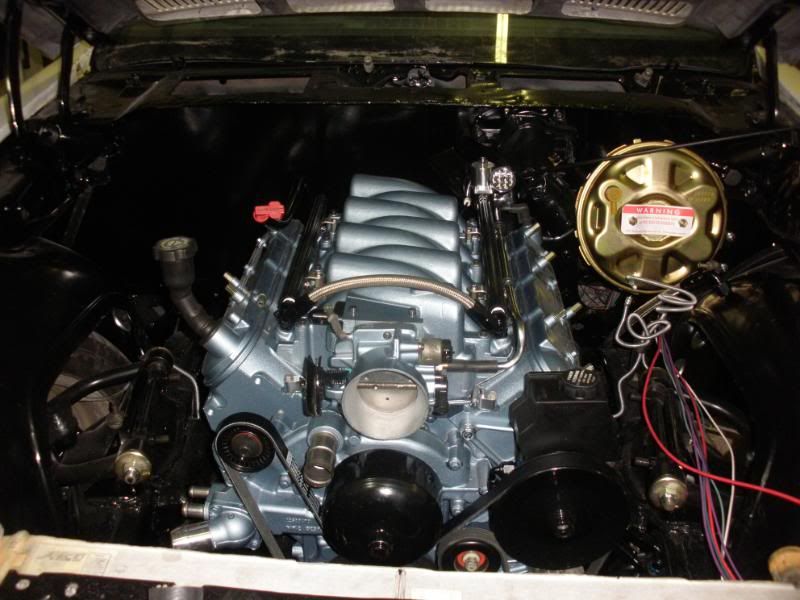
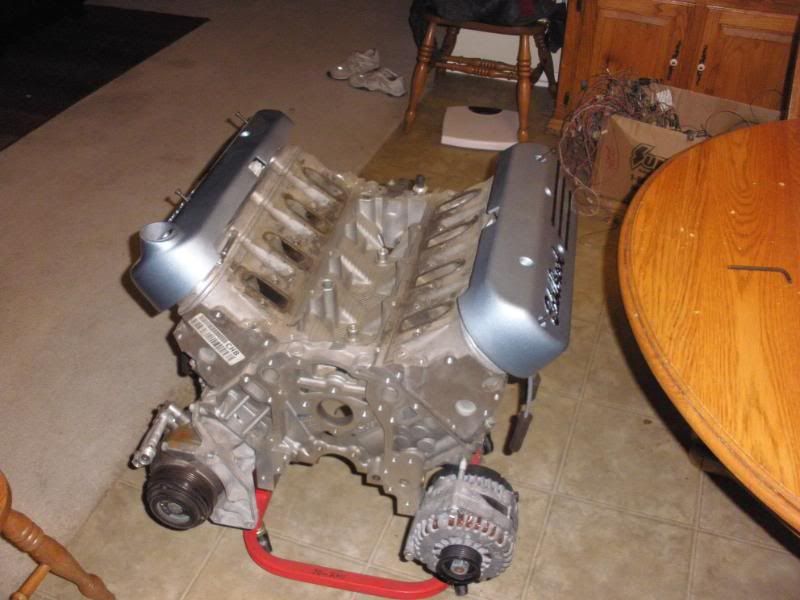
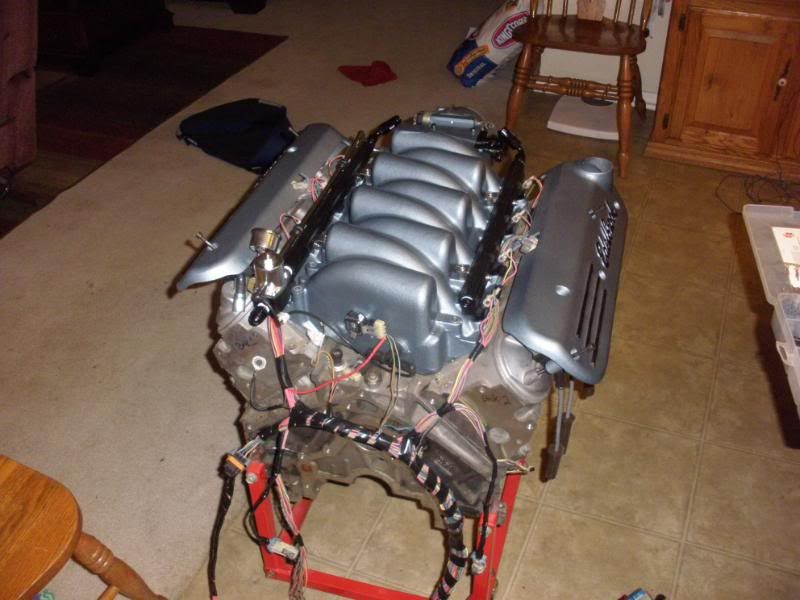
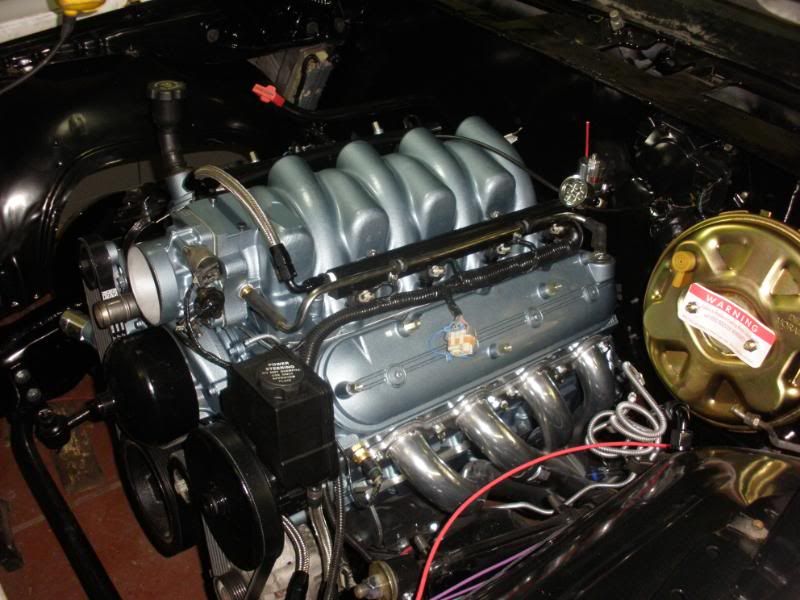
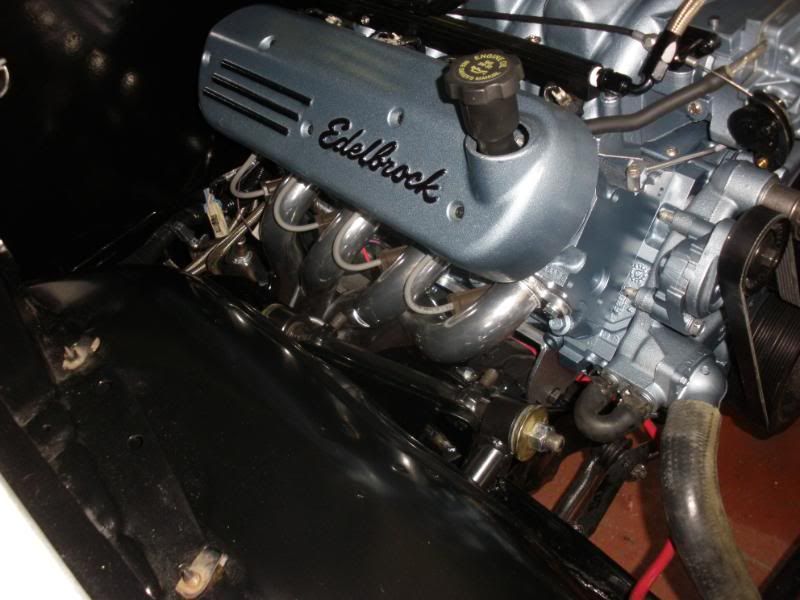
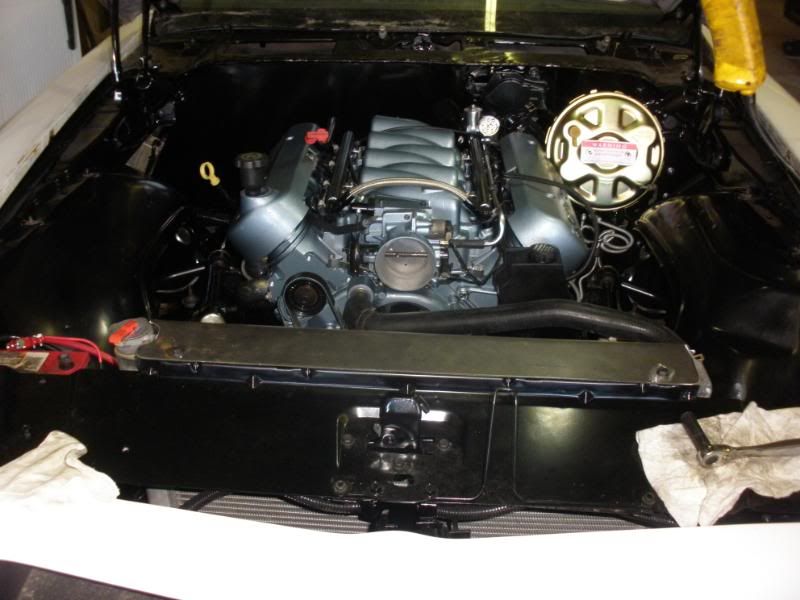
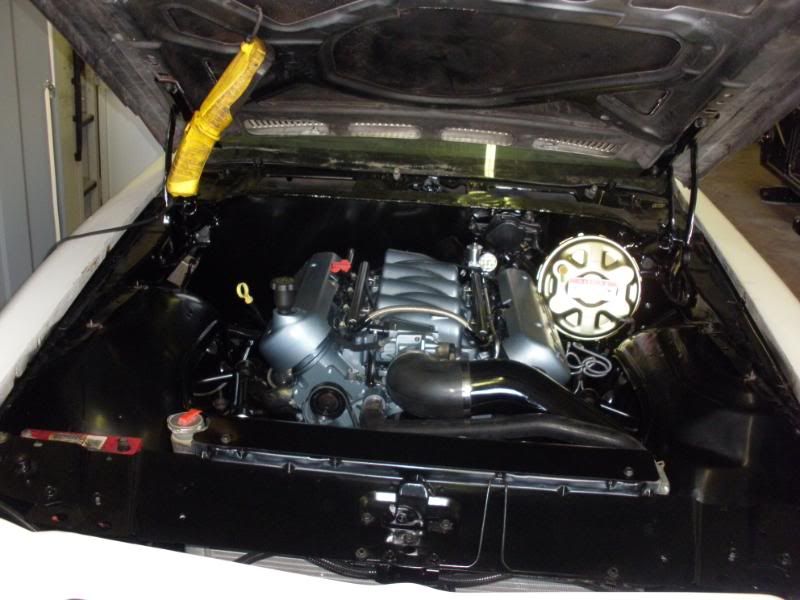
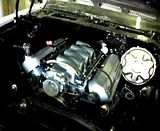
I didn't like how the stock f-body PCV vacuum hose ran, it went along side the passenger side of the intake, around the back of intake, and then to the valve cover.... so, what I did was bent up some SS tubing, and made it go along the driver side. I attached it to the fuel rail with some Adel clamps...i also got my f-body accys in.... I painted them and cleared them to match the engine, then i installed them....sorry the alternator is dirty, it'll come back off and get cleaned...
here are a few pics


here are a few pics
 12-29-2014, 08:28 AM
#42
TECH Regular
Thread Starter
iTrader: (1)
Join Date: Oct 2005
Location: tulsa OK
Posts: 439
Likes: 0
Received 0 Likes
on
0 Posts
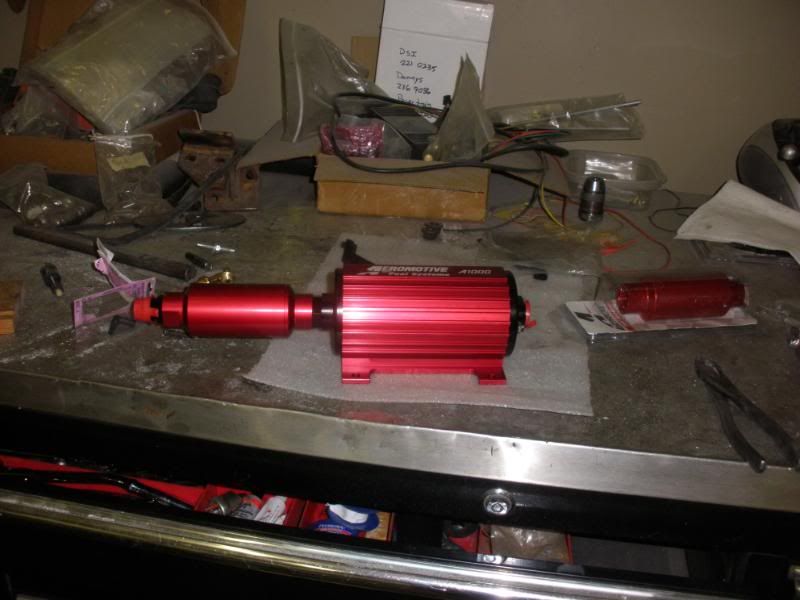
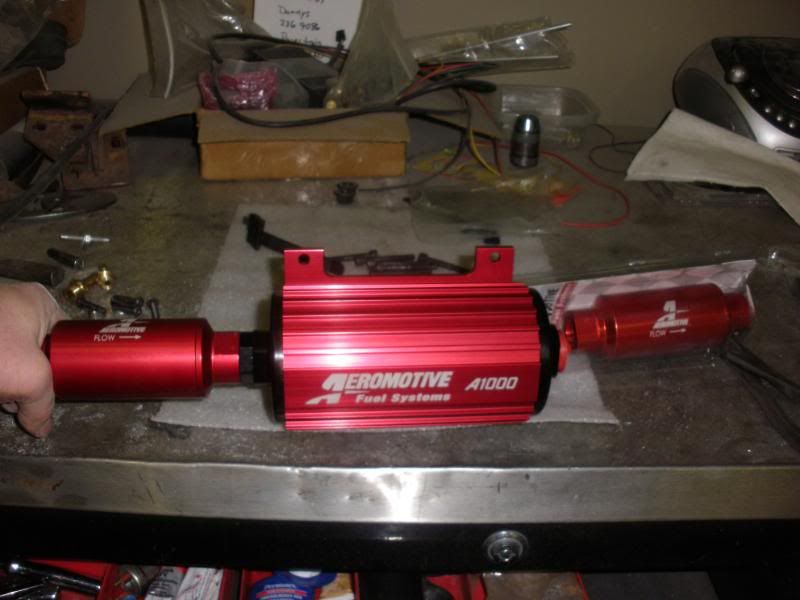
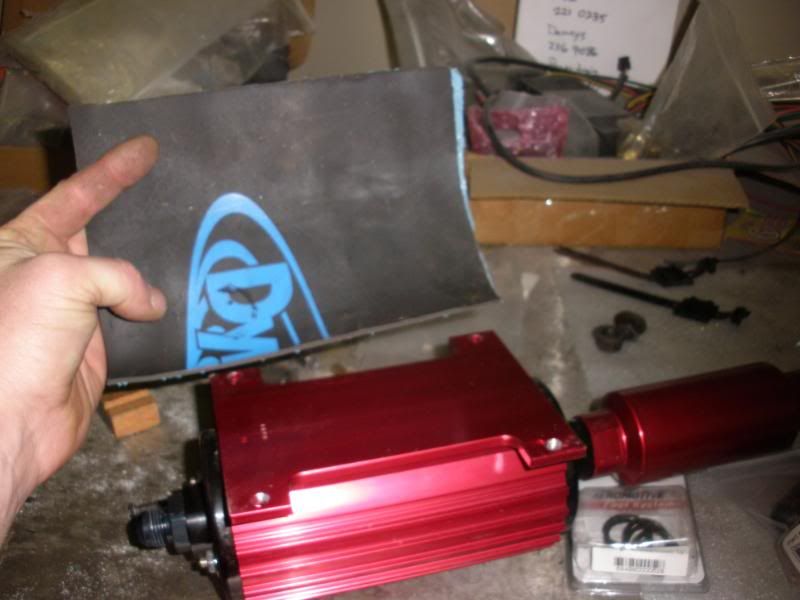
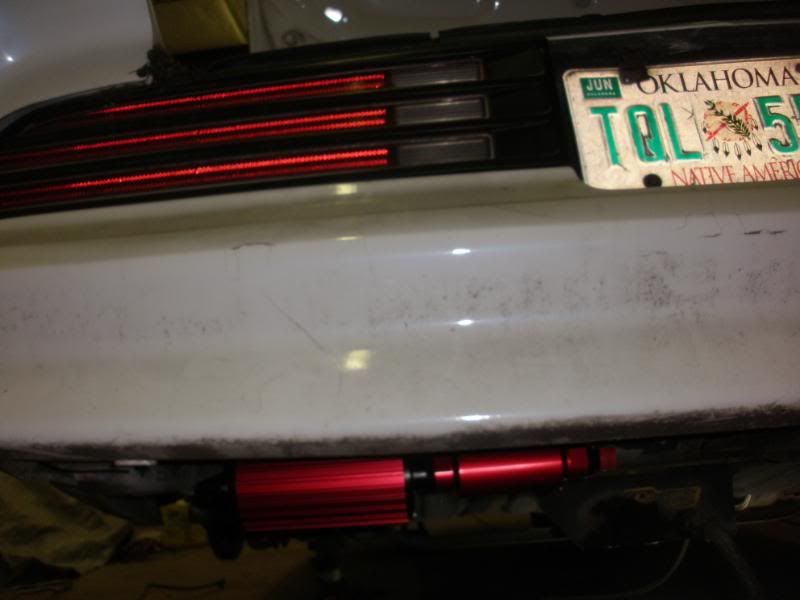
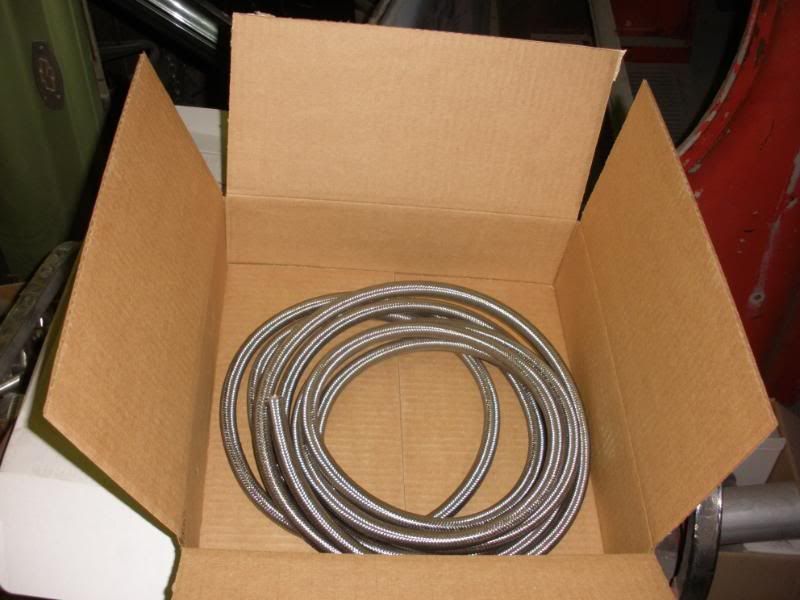
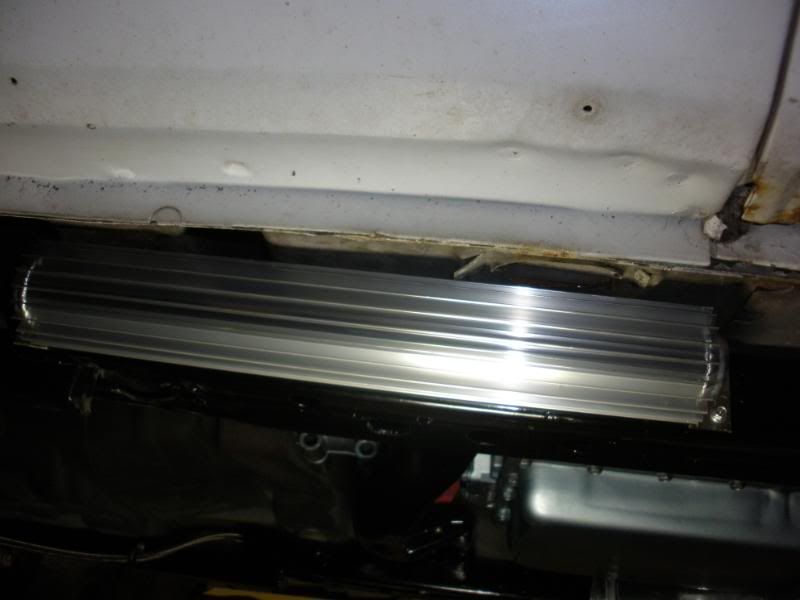
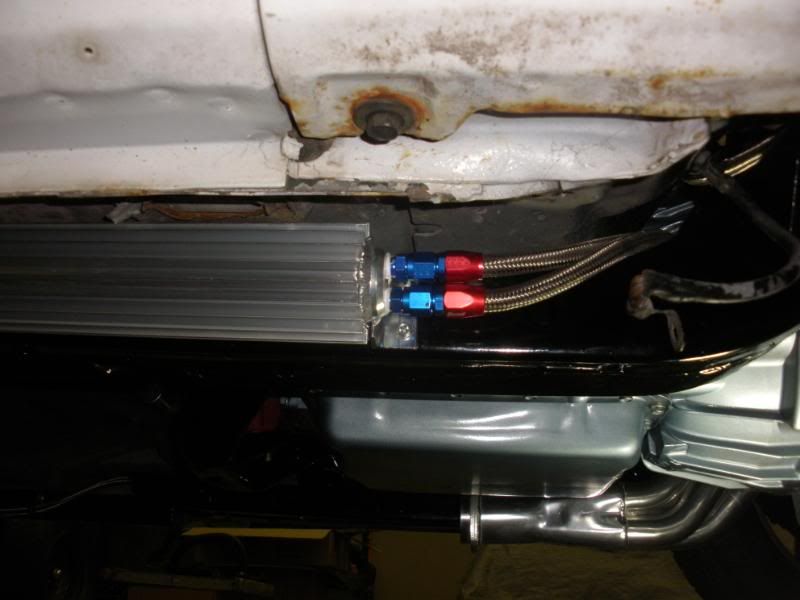
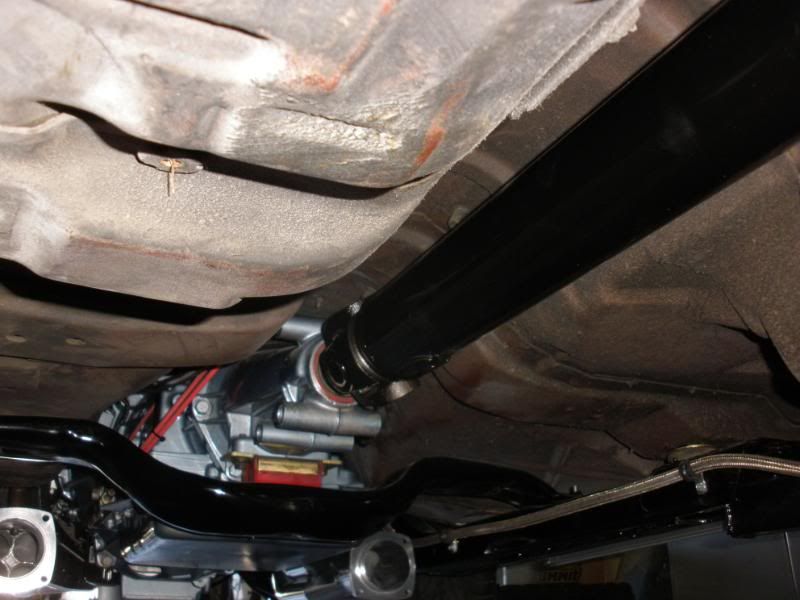
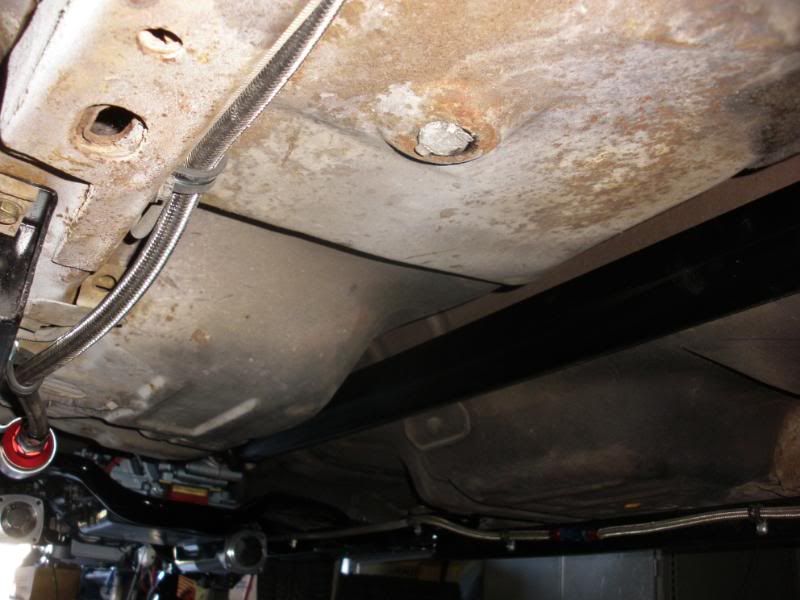
started working on my fuel system, the fuel tank was already sumped ( did that about 10 yrs ago) so from the sump, i ran -8AN fuel line to the inlet filter, then to the a1000 fuel pump, -8AN line to the inline fuel filter, then -8AN line to the fuel pump regulator...From the regulator i ran -6AN for my return.....this system should be able to support 1000HP, which i dont plan on being near that, only planning on about 500HP at the flywheel...But in the future should i deside on superchargring it, my fuel system will be able to handle it.


 12-29-2014, 08:30 AM
#45
TECH Regular
Thread Starter
iTrader: (1)
Join Date: Oct 2005
Location: tulsa OK
Posts: 439
Likes: 0
Received 0 Likes
on
0 Posts
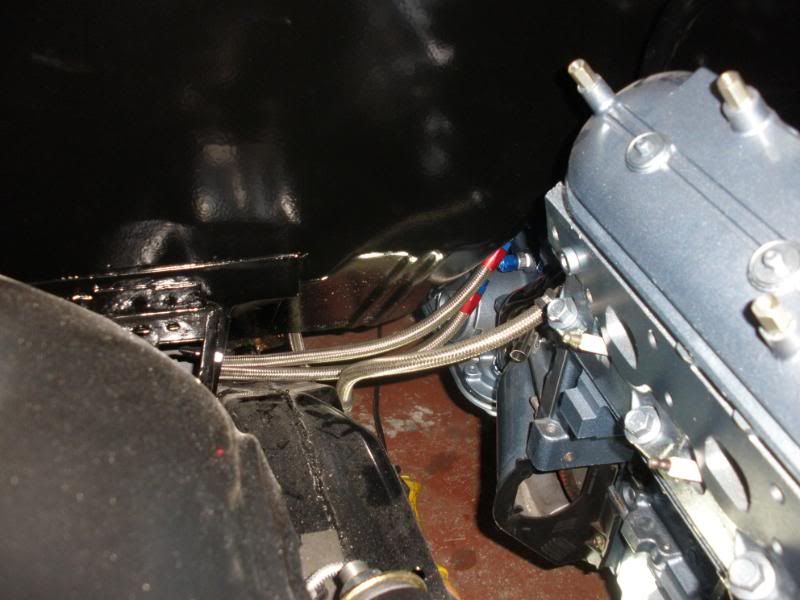
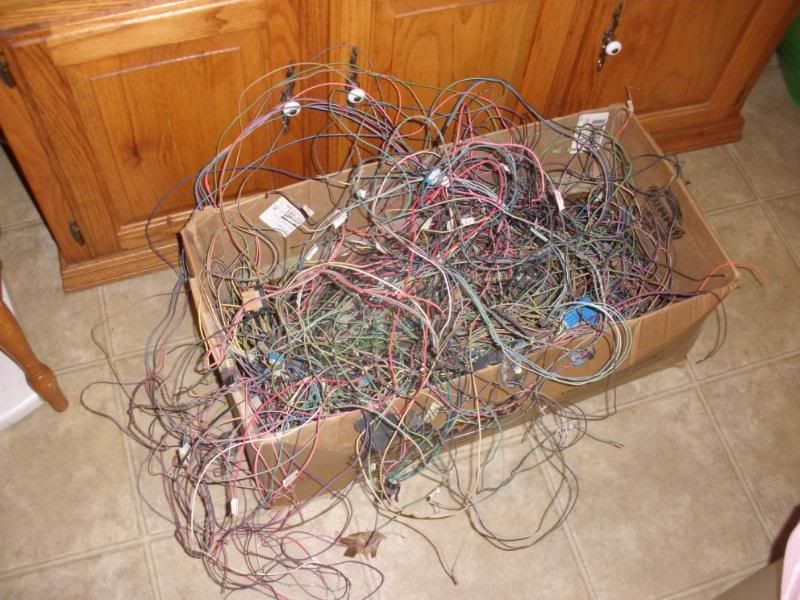
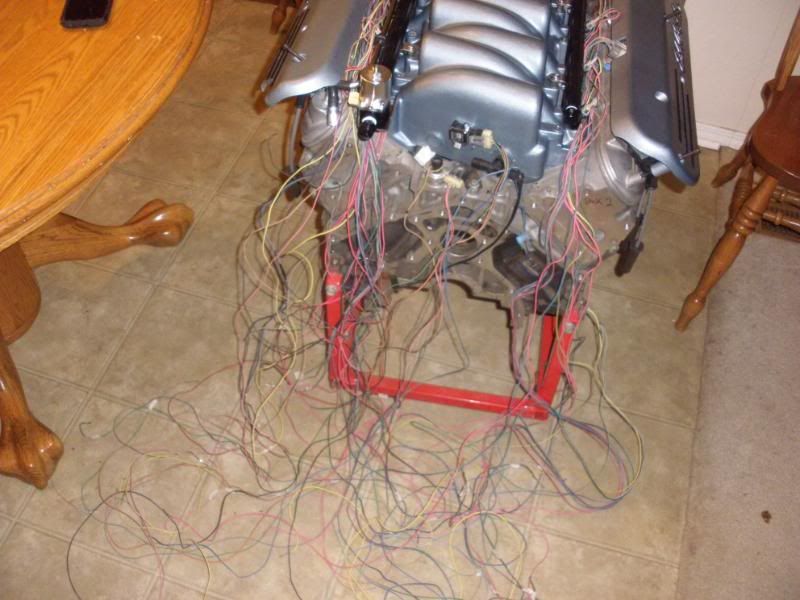
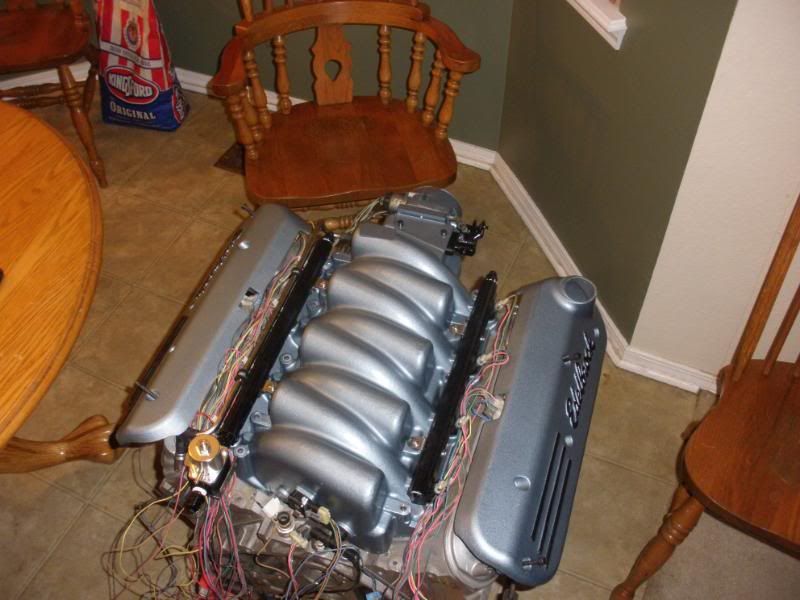
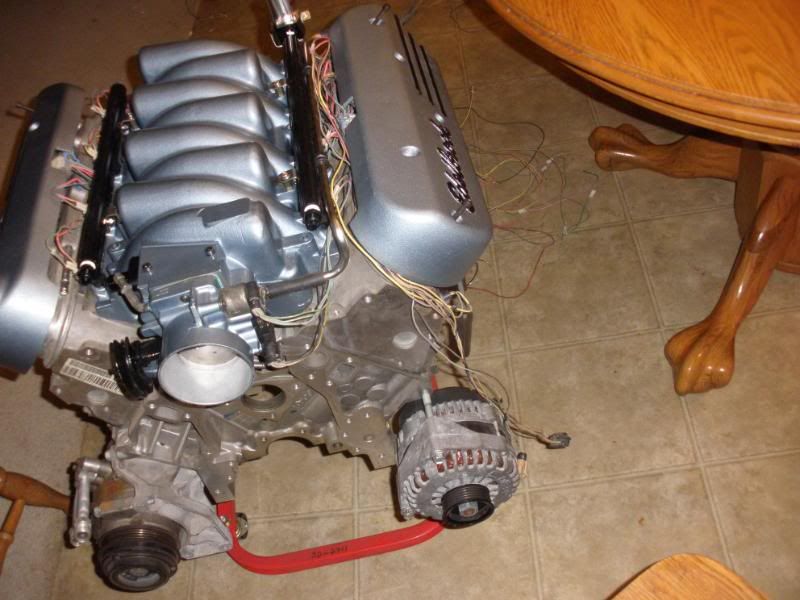
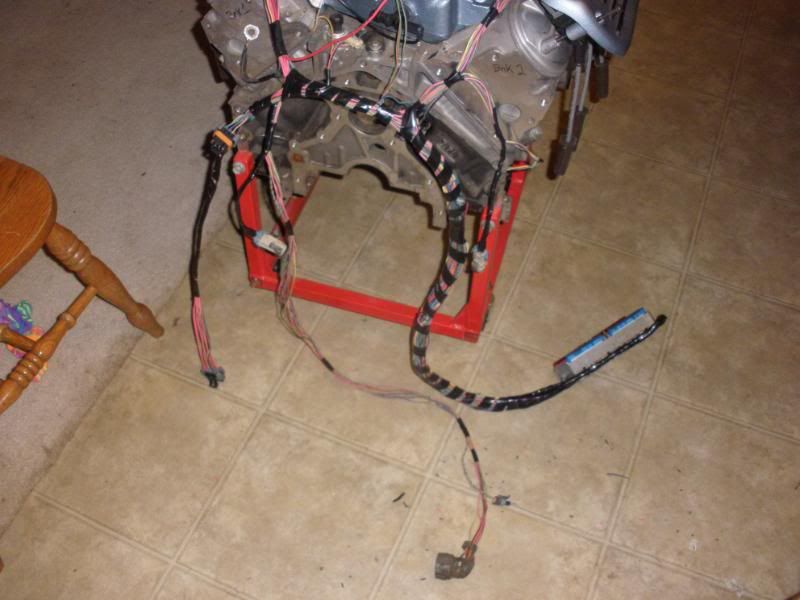
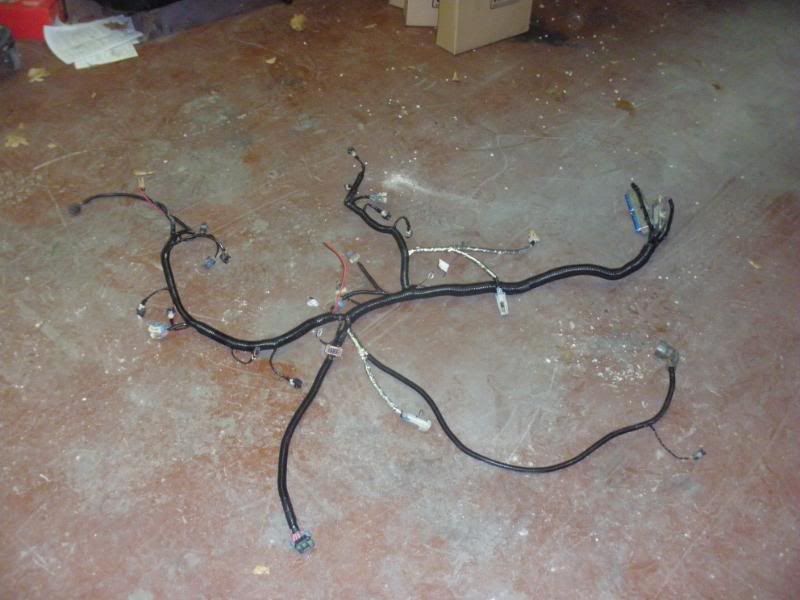
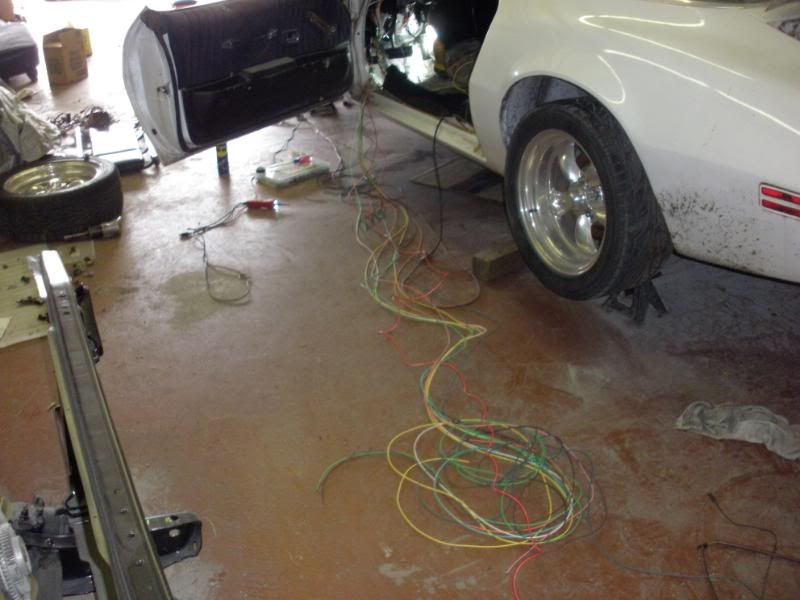
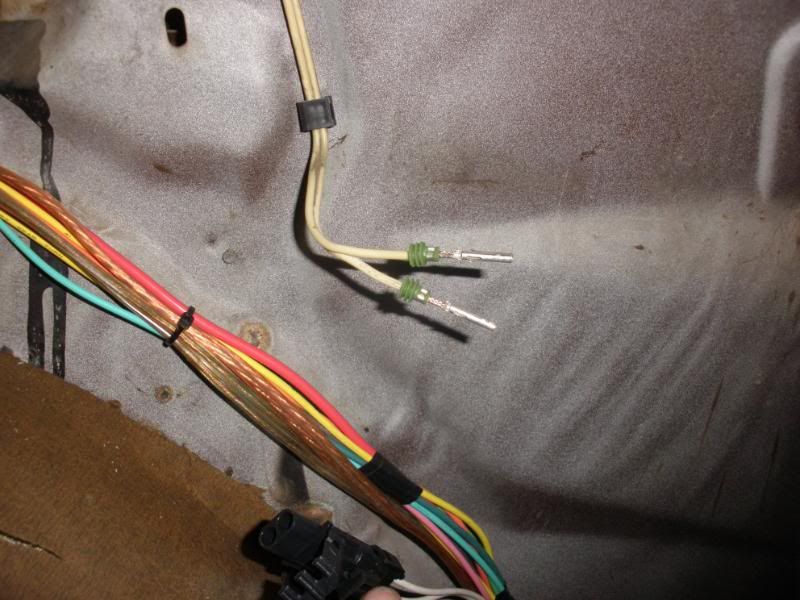
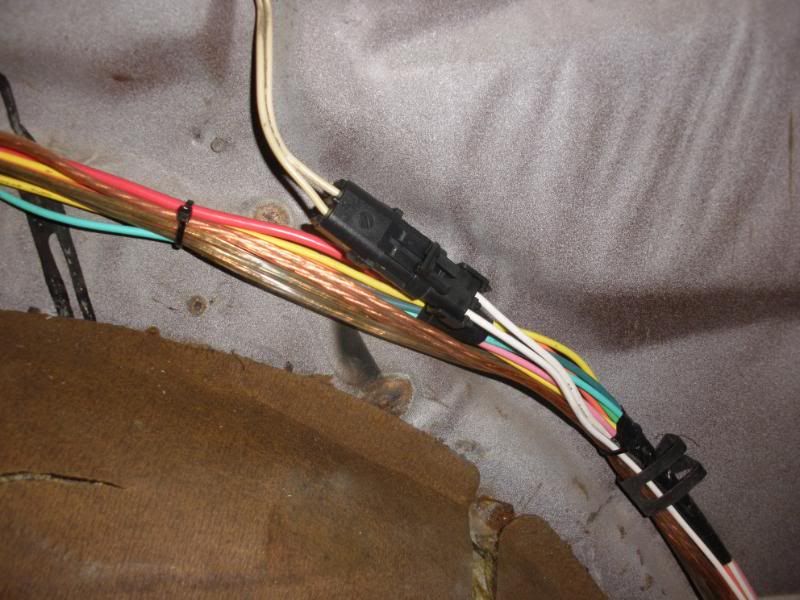
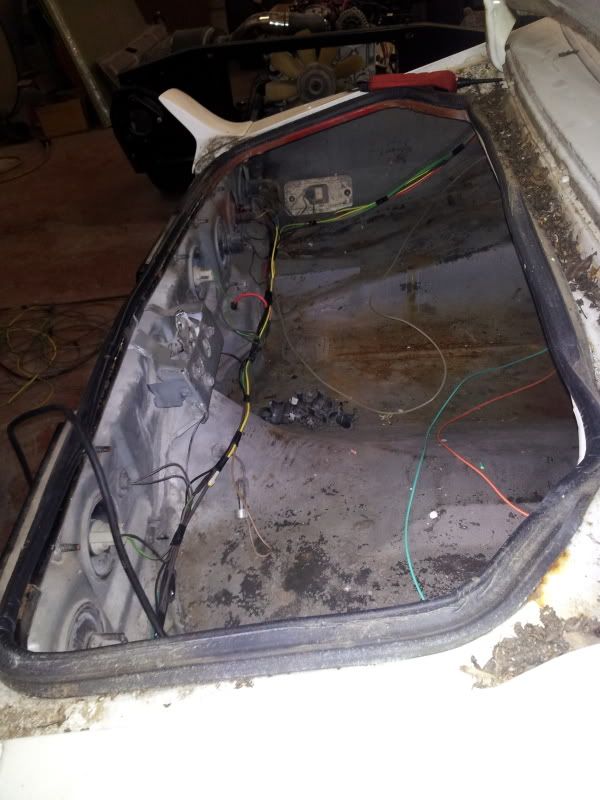
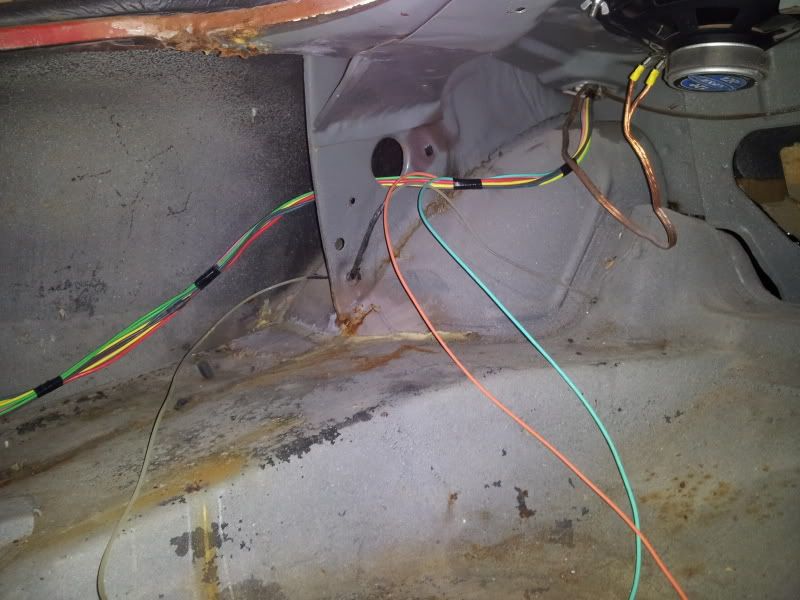
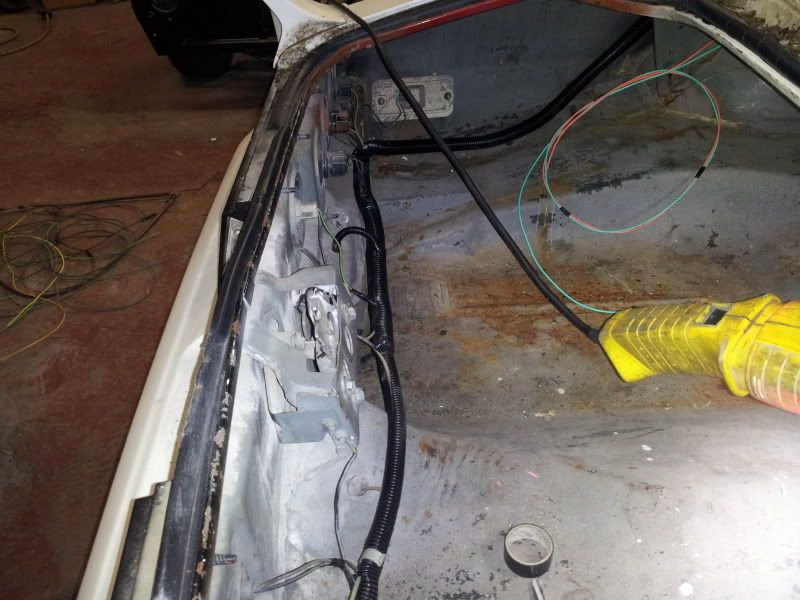
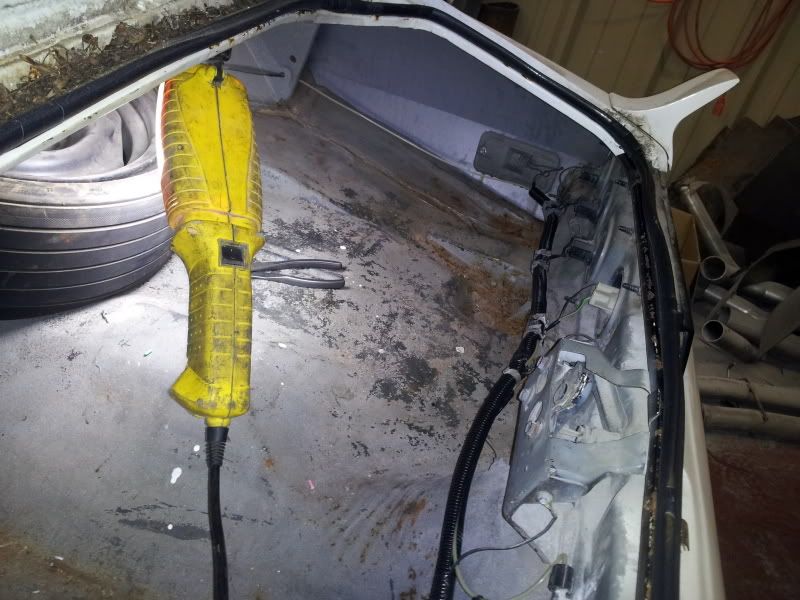
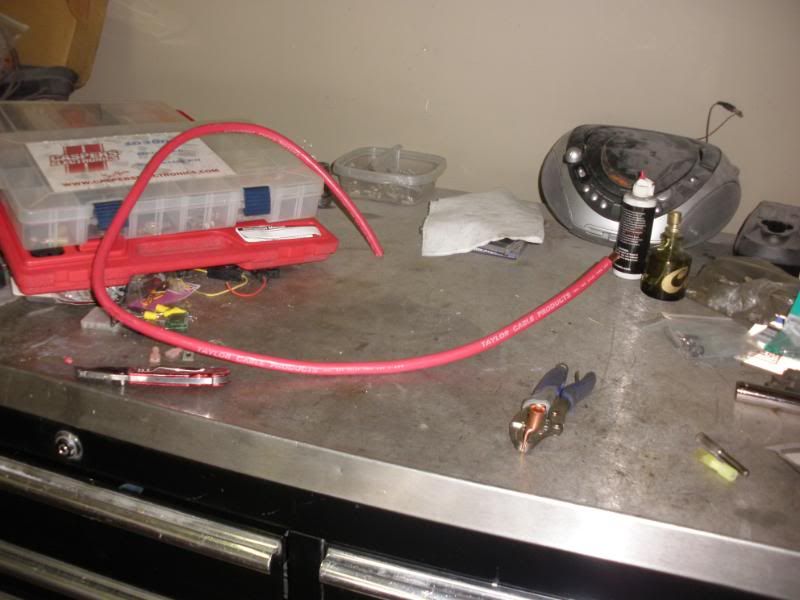
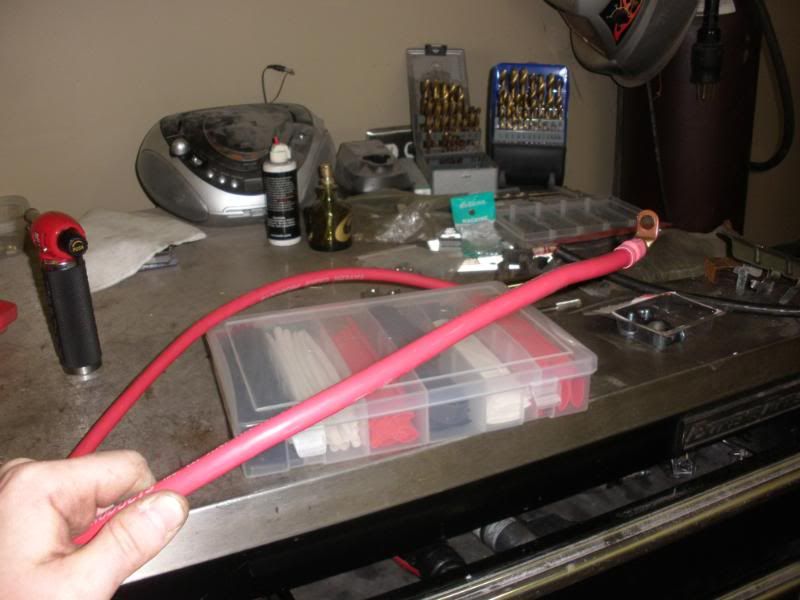
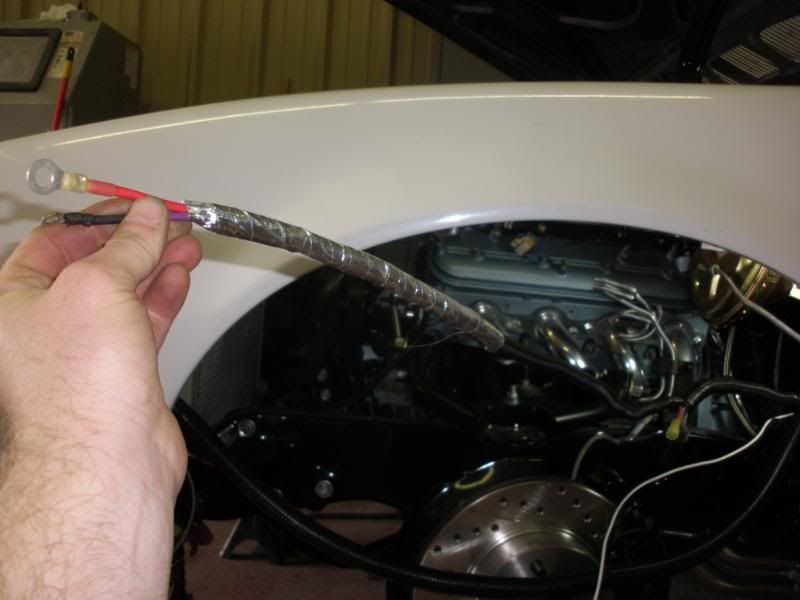
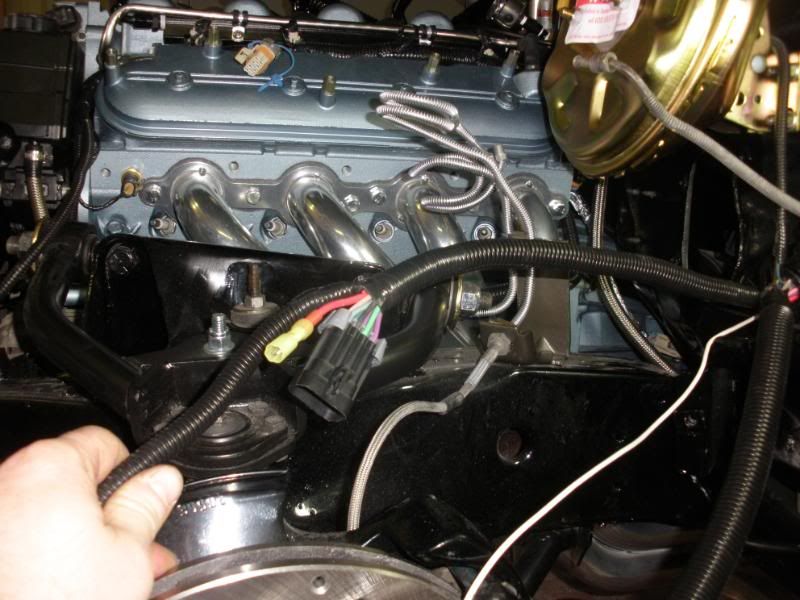
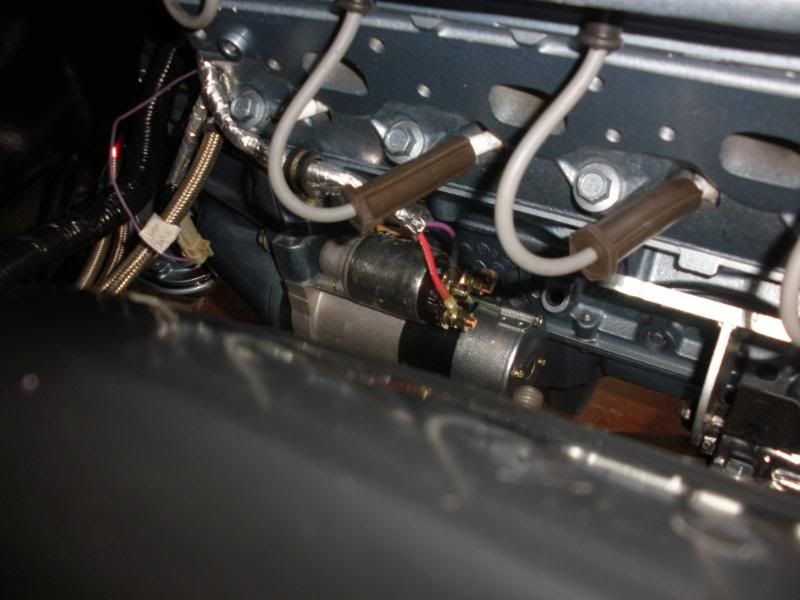
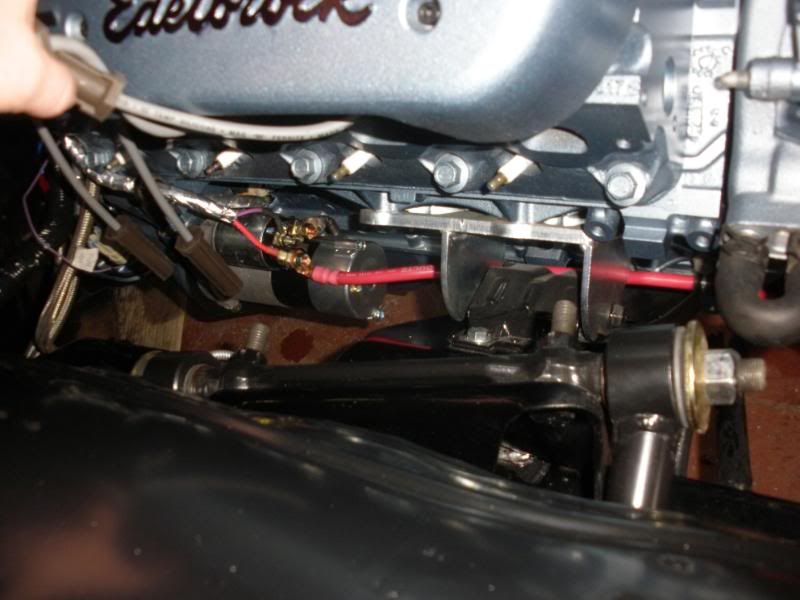
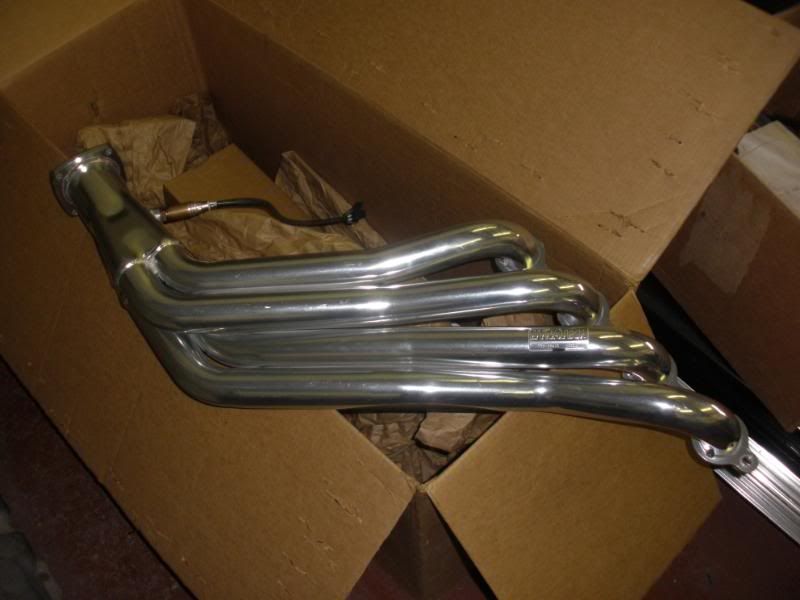
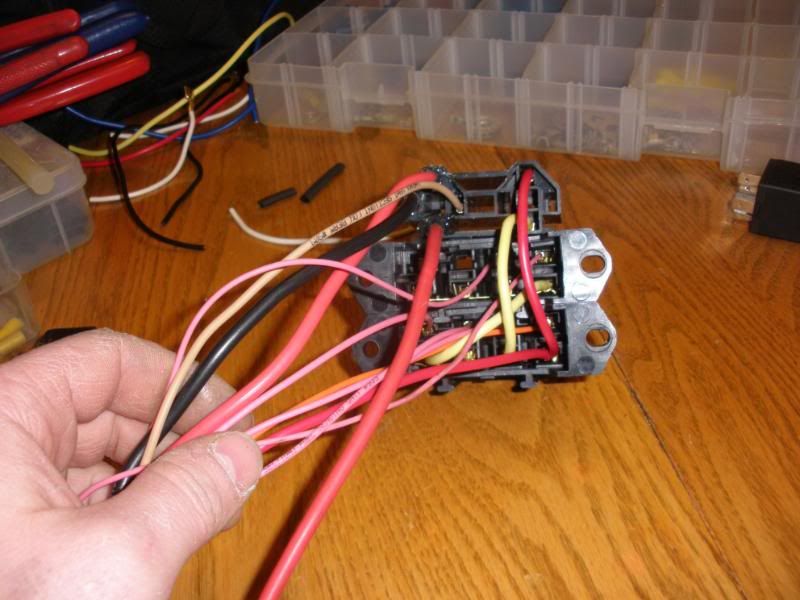
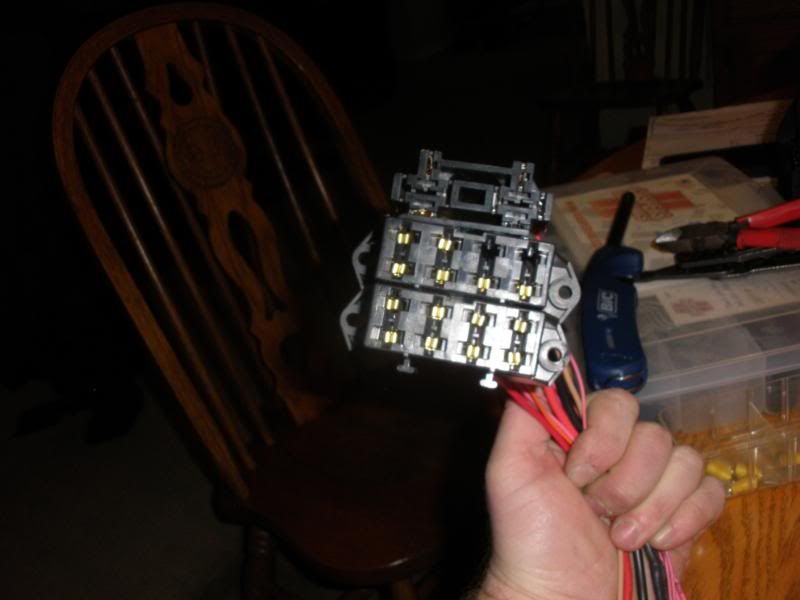
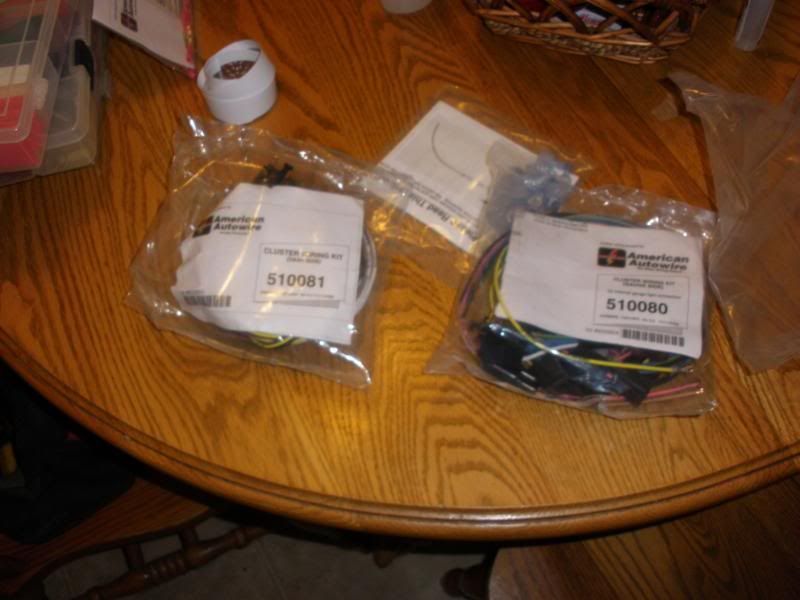
then came re-wiring of the entire car itself. im adding GM weatherpack connectors where there is a connection point, so it'll have that 'factory' feel, and function.. here are a few progress pics. of the wiring being worked on, starter install, and header going on.


 12-29-2014, 08:31 AM
#47
TECH Regular
Thread Starter
iTrader: (1)
Join Date: Oct 2005
Location: tulsa OK
Posts: 439
Likes: 0
Received 0 Likes
on
0 Posts
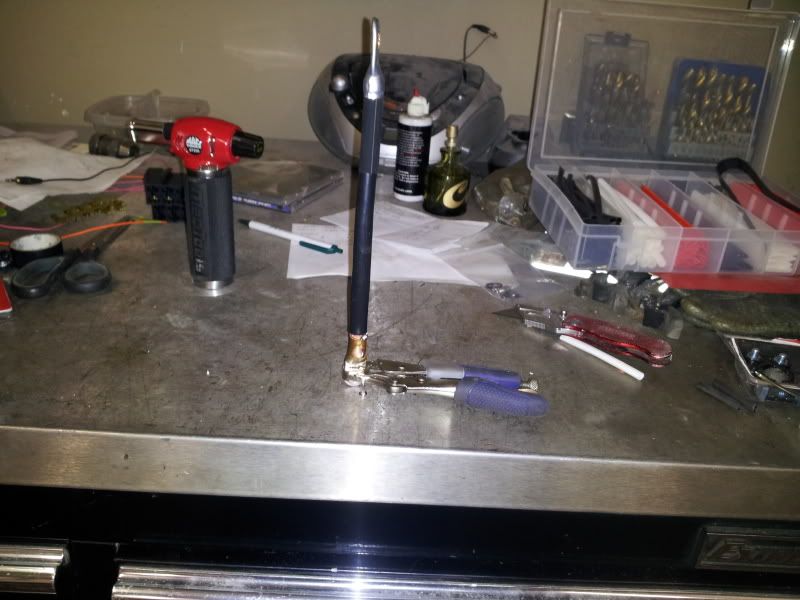
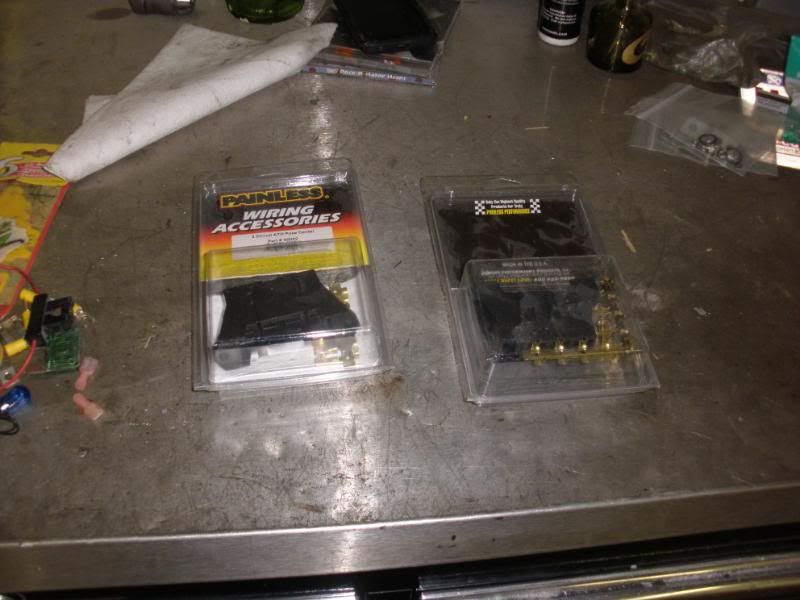
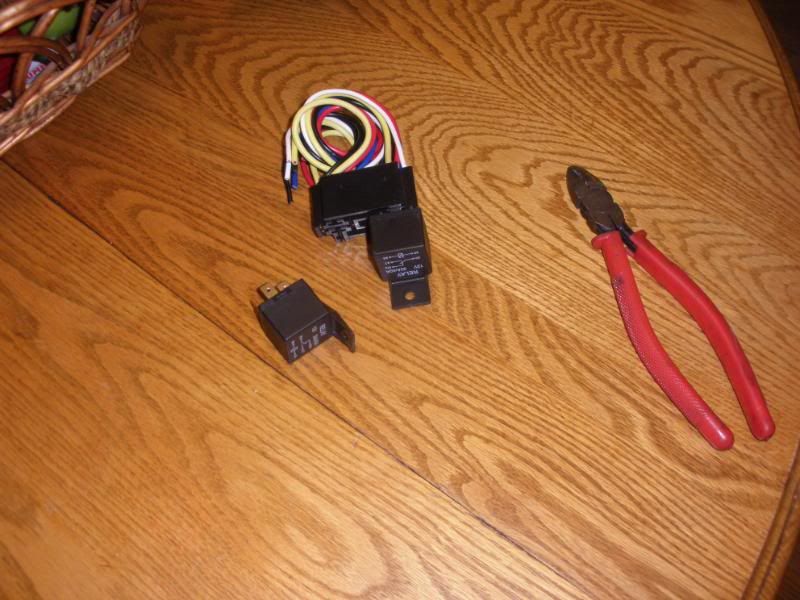
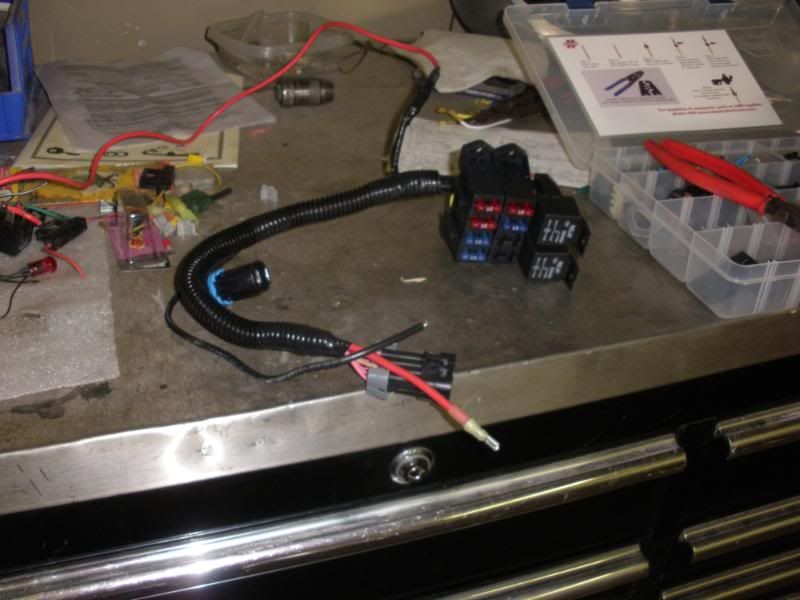
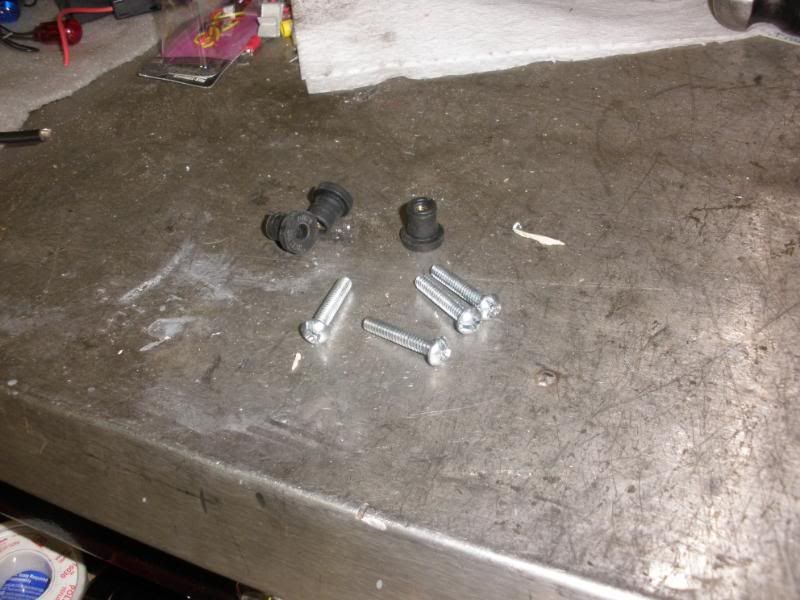
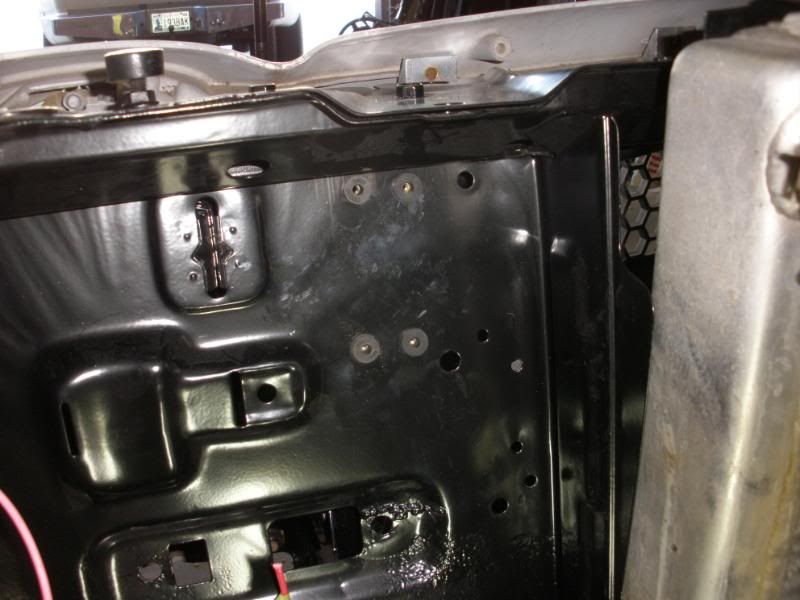
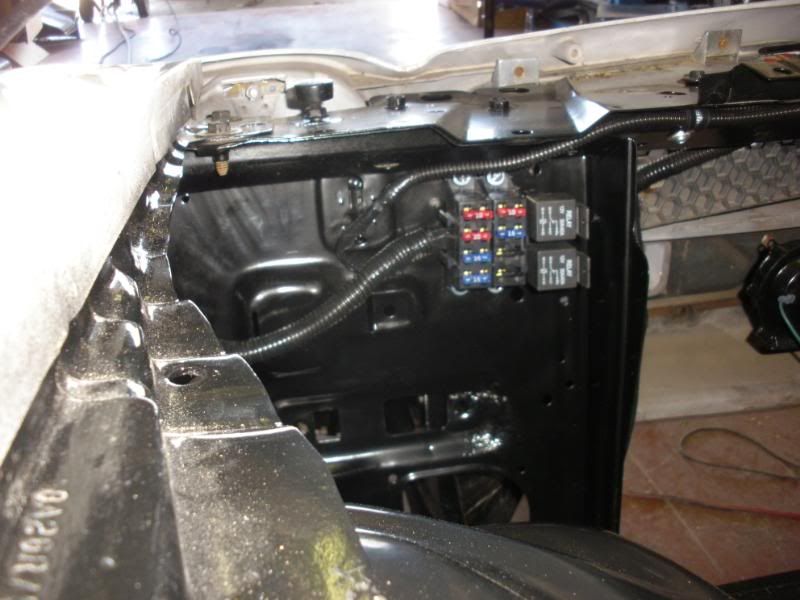
a little more wiring progress.. i made my fuse/relay center for the engine and trans... once i had it built, i made a extension harness to go from the fuses/relays to the engine/trans harness i made up....i wanted the fuses/relays to be some what hidden, yet easy to get to, so i mounted them on the core support, tucked up there....i used barrel nuts to isolate them from vibration...

12-29-2014, 04:31 PM
#48
TECH Enthusiast
Join Date: Sep 2014
Location: alburnett, iowa
Posts: 732
Likes: 0
Received 0 Likes
on
0 Posts
AWESOME project. Looks like you kept up with detail & tidiness as you went along. I did my 76 skylark but didn't go all the extra as should have since I was in buddys shop had to get it done. Went muscle car pan so out it comes this summer to change pan for different one.
12-30-2014, 06:36 PM
#49
TECH Regular
Thread Starter
iTrader: (1)
Join Date: Oct 2005
Location: tulsa OK
Posts: 439
Likes: 0
Received 0 Likes
on
0 Posts
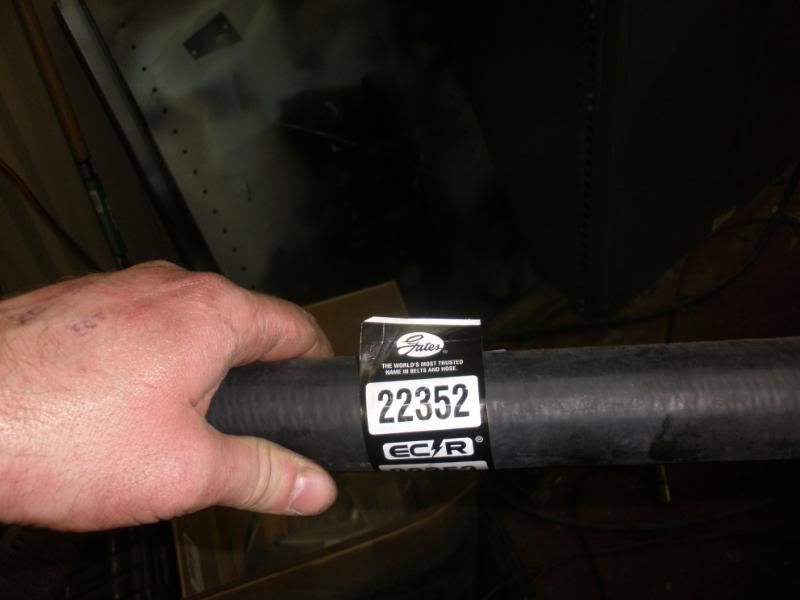
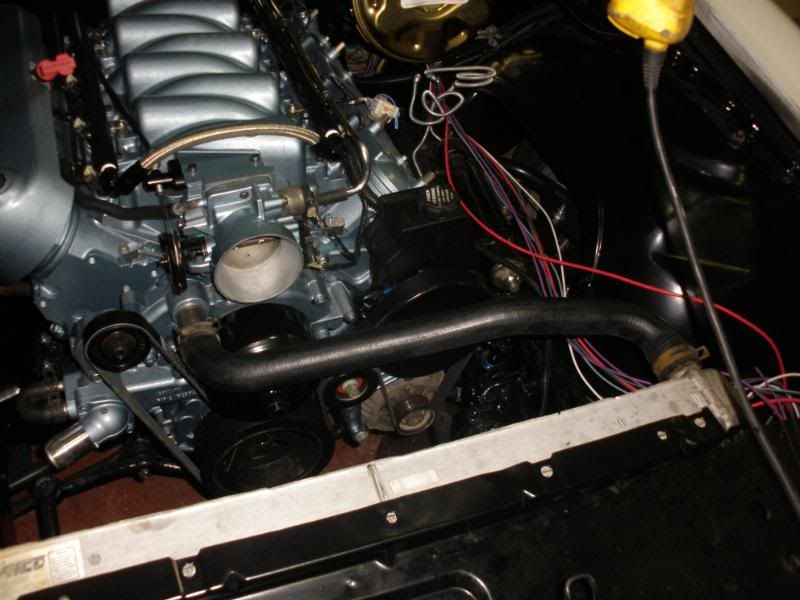
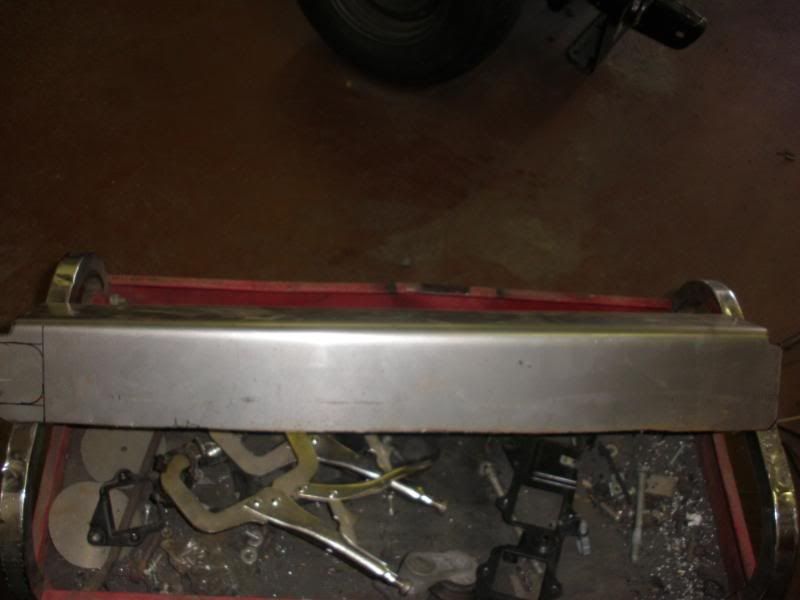
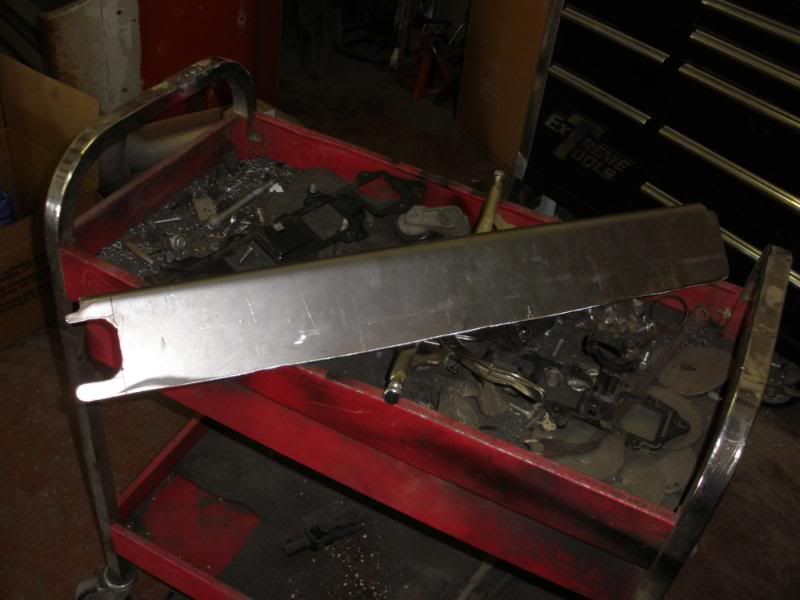
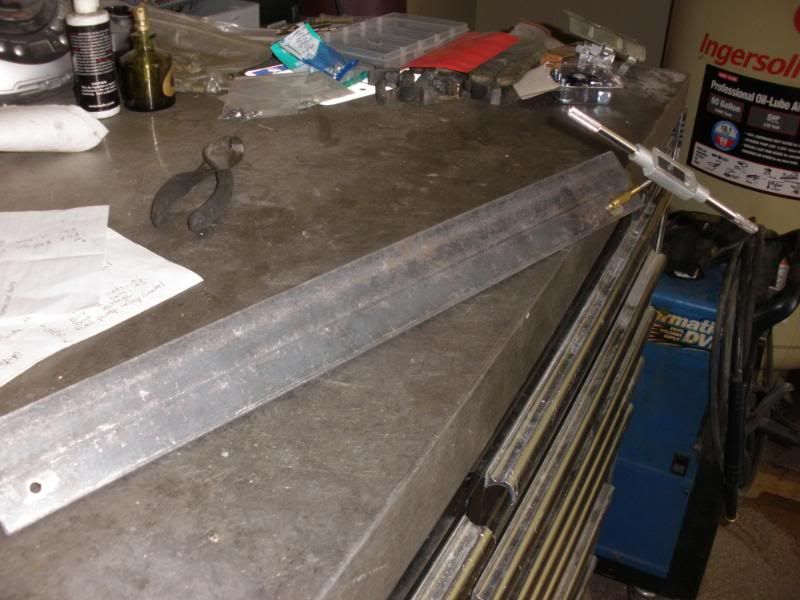
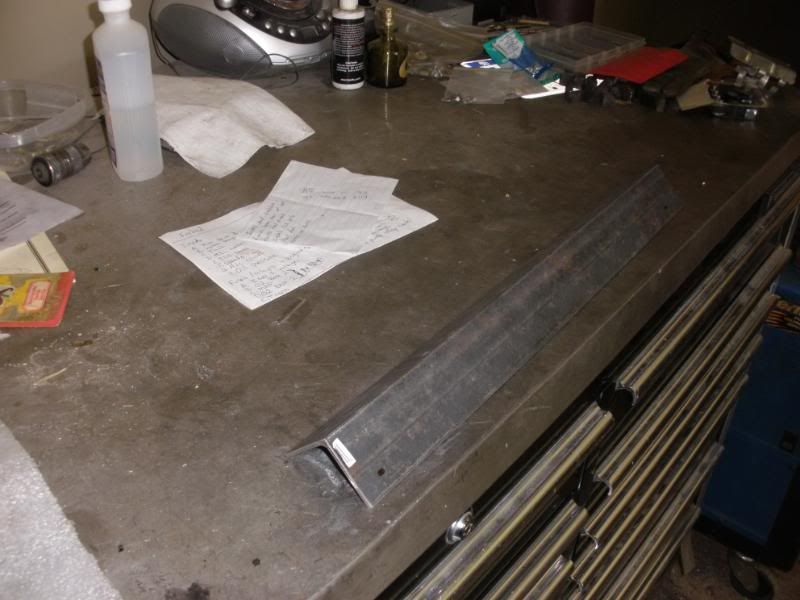
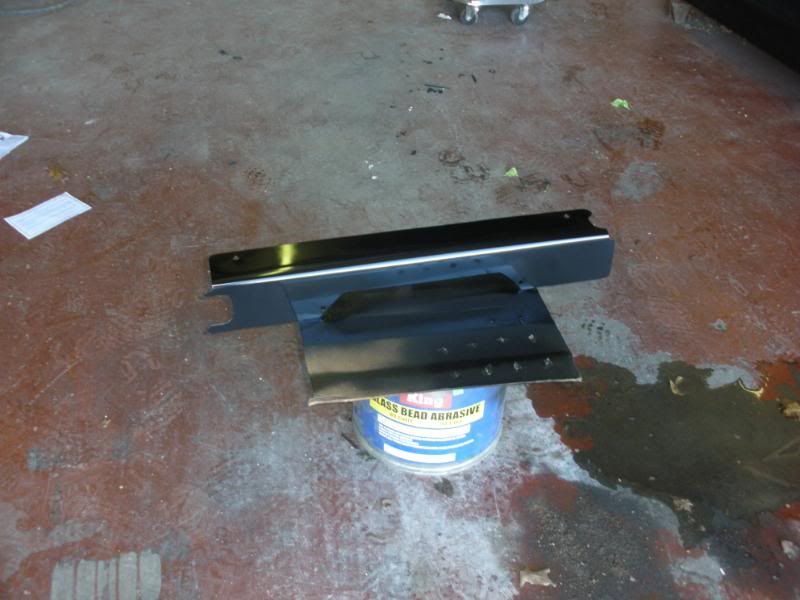
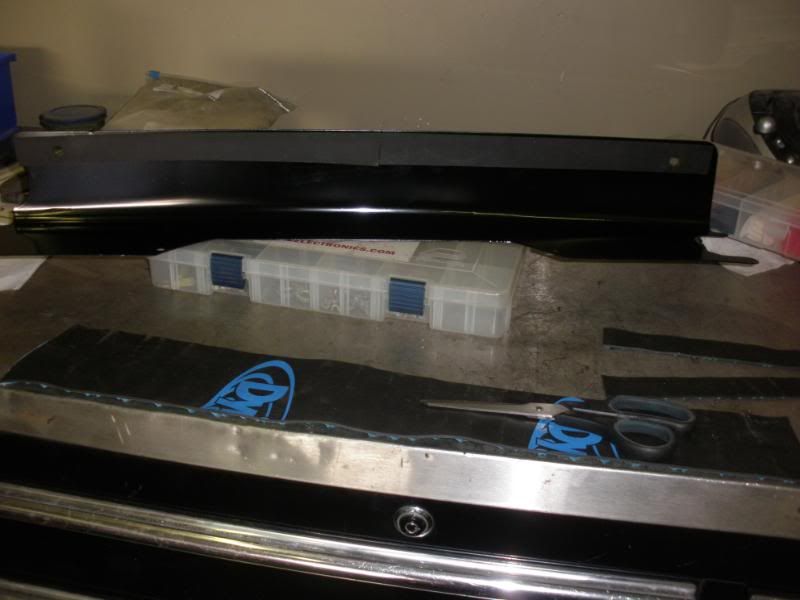
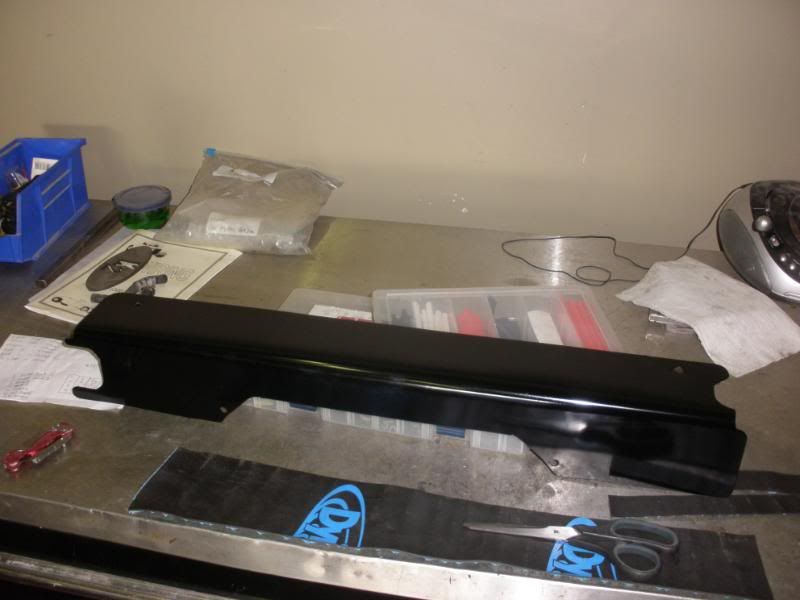
once i had the wiring squared away, i started in on the cooling system....so far i am going to reuse my afco aluminum radiator, and a black magic electric fan....first thing to do was to fab up a radiator hold down, since the factory fan shroud doubled as the radiator holder...the lower rad hose is for a 00 chevy truck with a 5.3 (i dont recall the P/N) the upper i have no idea of the application, but the part # is 22352, and it fit beautifully.... i started with 16ga sheetmetal, that i just used a brake to bend a 90*, then trimmed it to fit around my rad cap, and upper hose outlet... here is a few pics of the progress so far..

 12-30-2014, 06:37 PM
#51
TECH Regular
Thread Starter
iTrader: (1)
Join Date: Oct 2005
Location: tulsa OK
Posts: 439
Likes: 0
Received 0 Likes
on
0 Posts
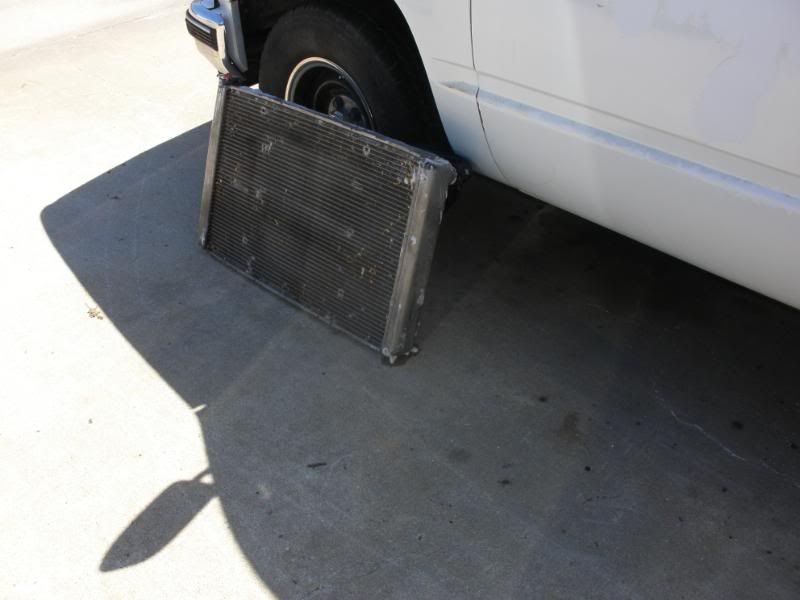
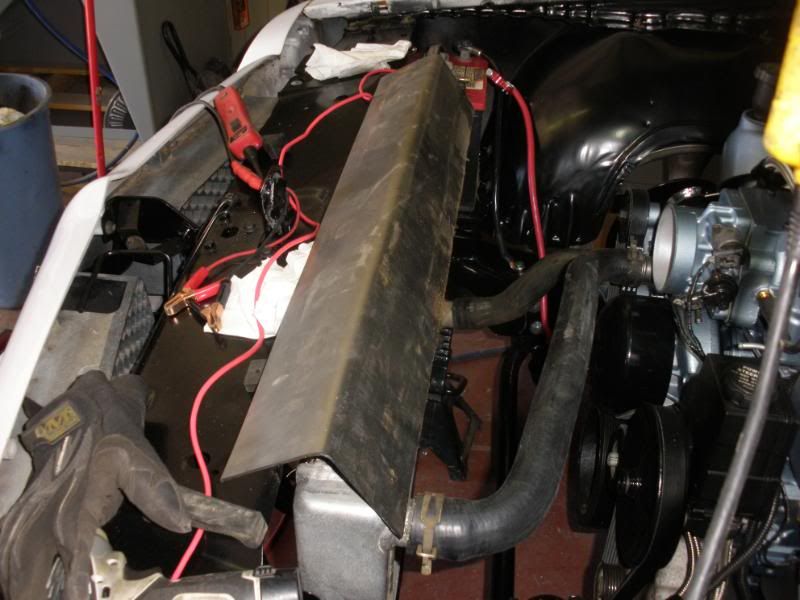
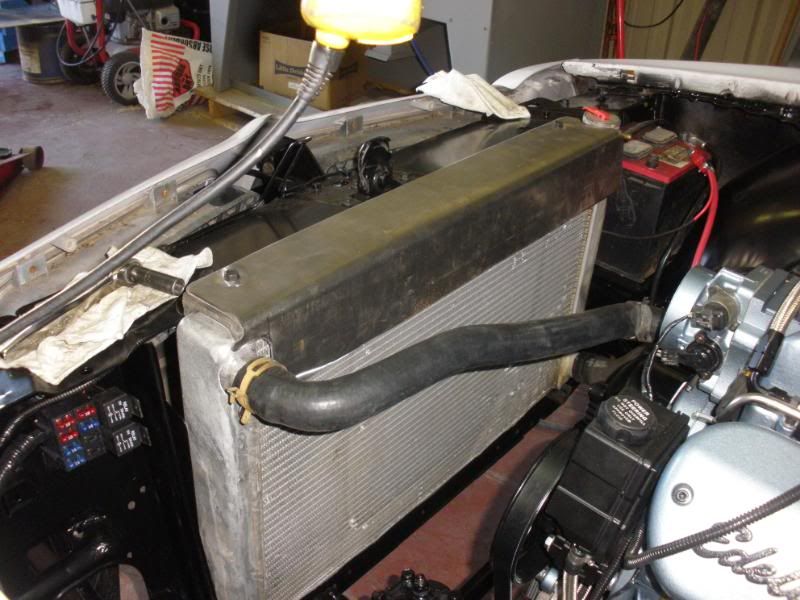
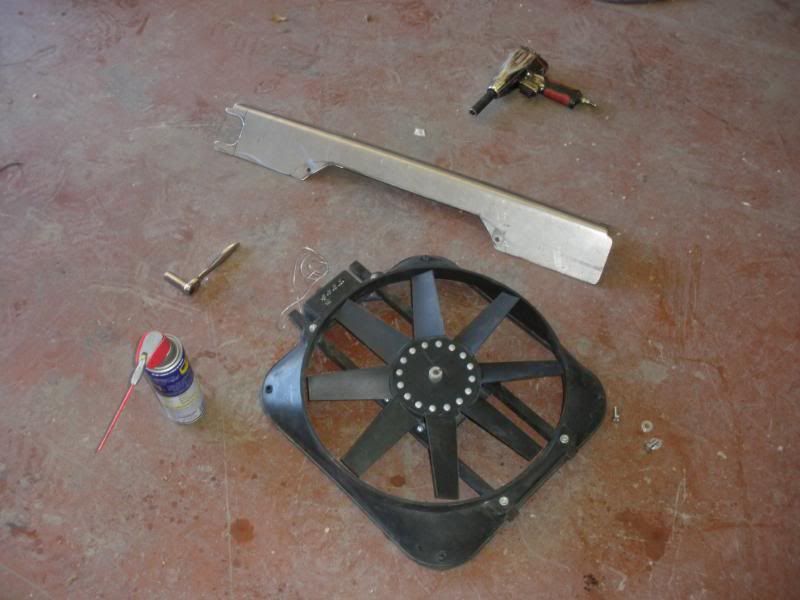
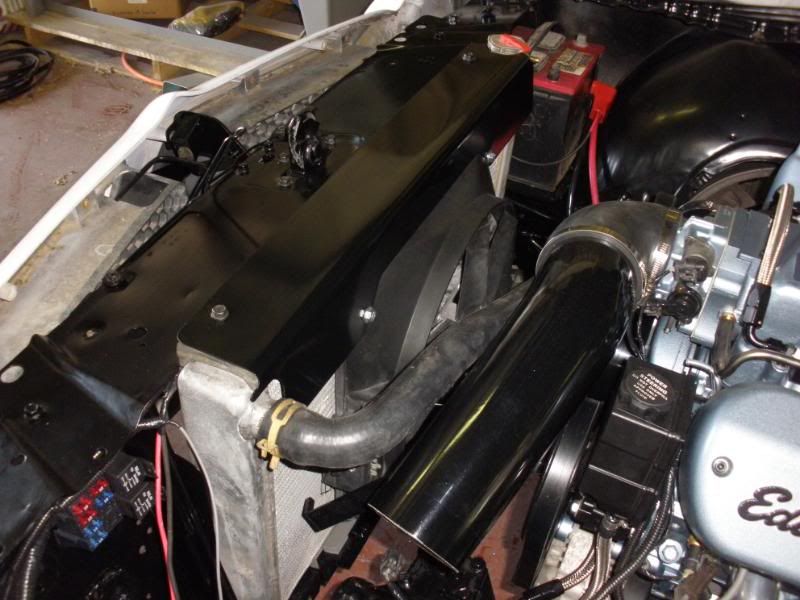
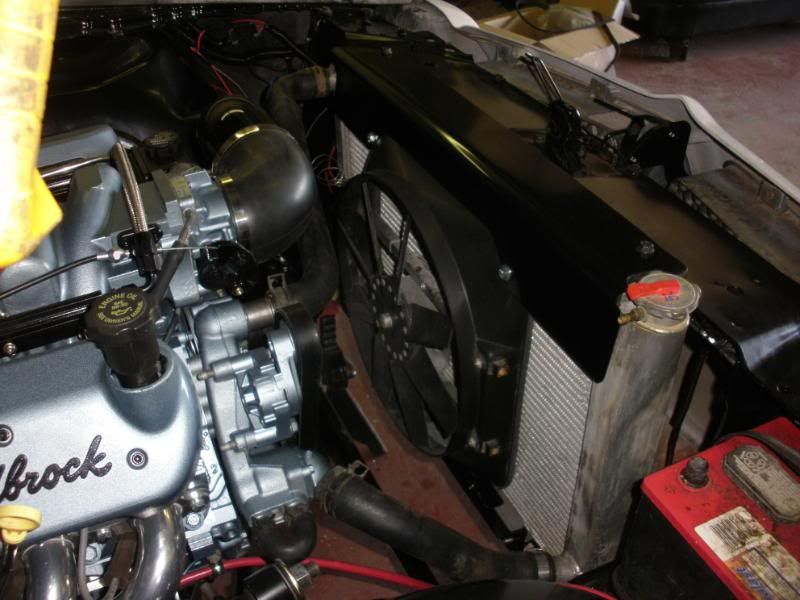
just finished up with the install of the cooling system....
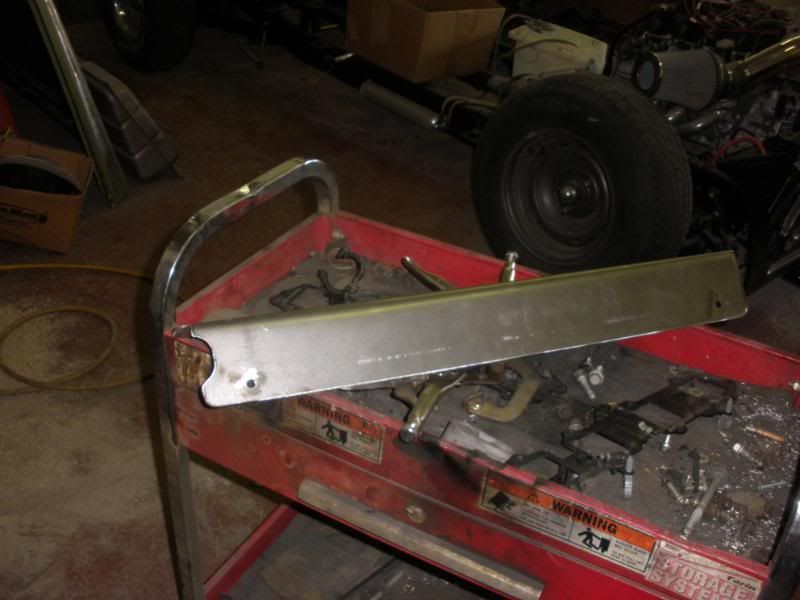
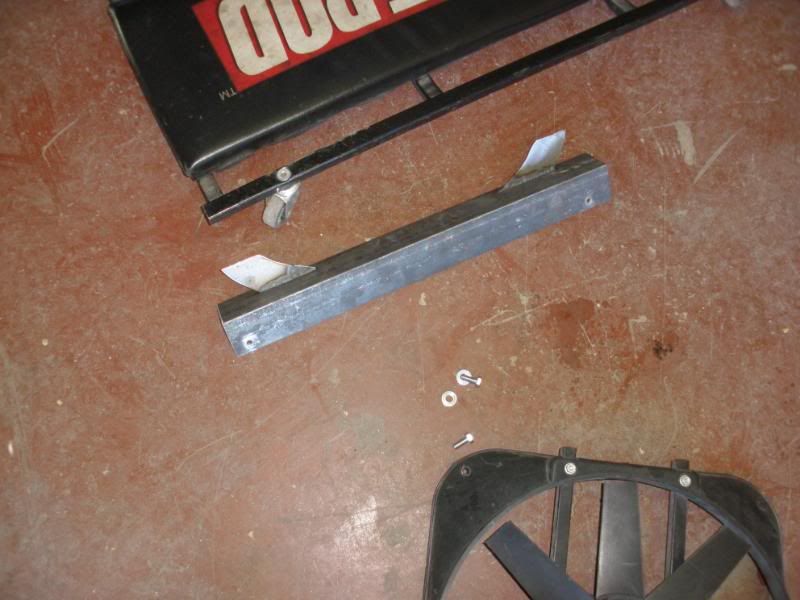
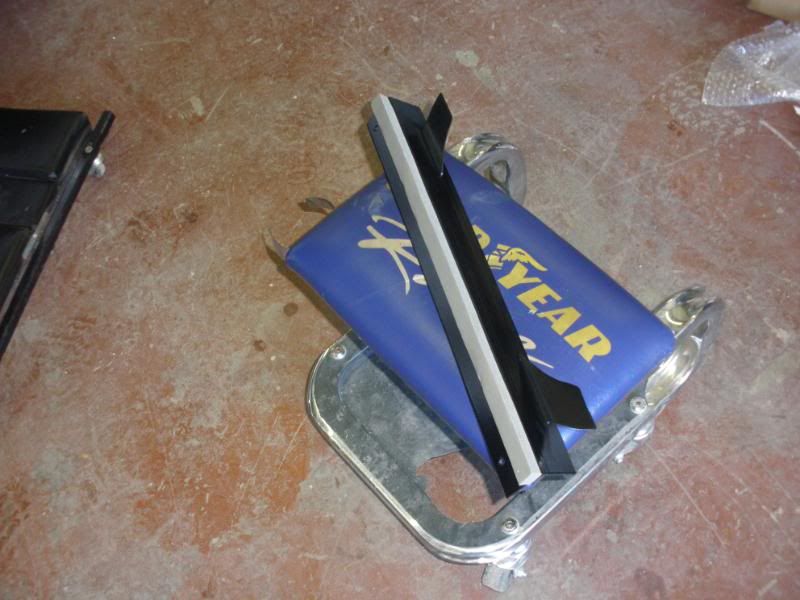
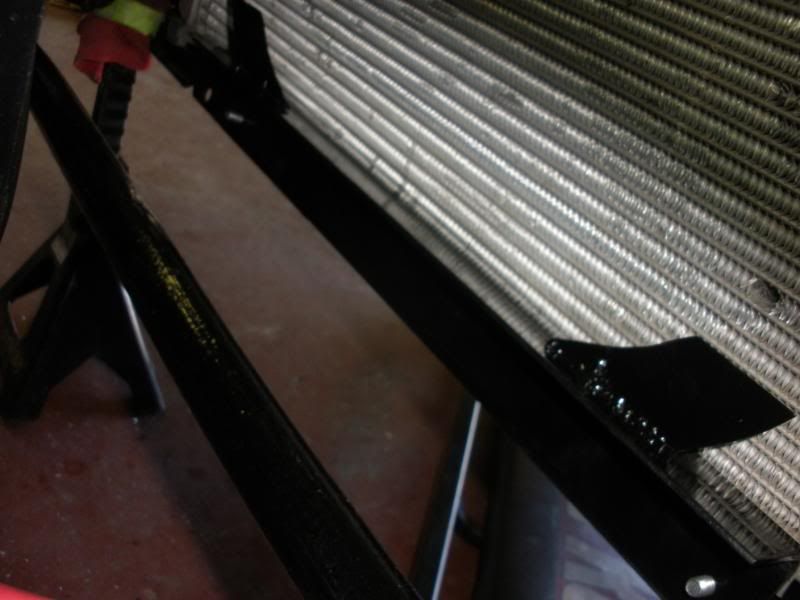
i needed a way to secure the bottom of the radiator, while also supporting the lower part of my electric fan, so what i did was use a piece of angle iron, and welded 2 tabs on it to secure the fan, simple yet effective....i then trimmed the upper radiator hold down to the contour of the fan, then tapped 2 existing mounting holes in the fan shroud, drilled holes is the rad hold down, and attached the fan to the upper hold down.... confussing i know, but pics will clear it up...
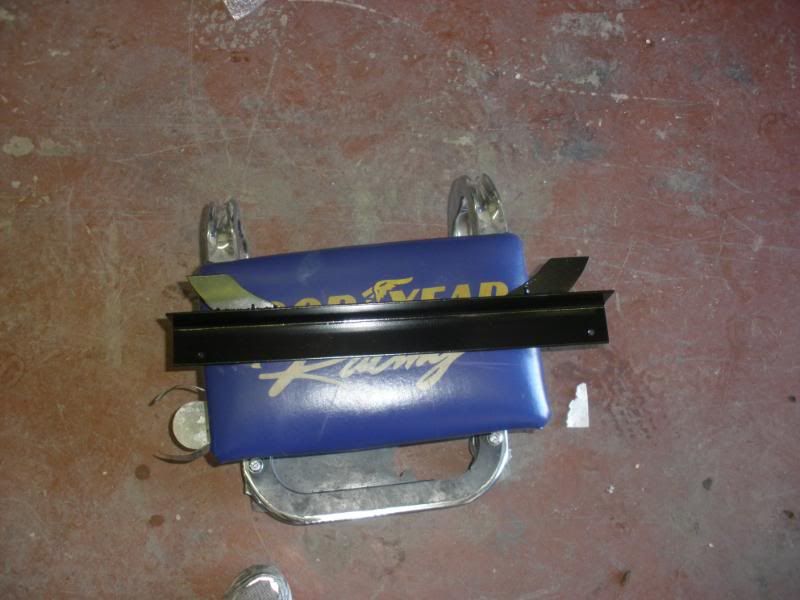
after sandblasting them, i painted them satin black, to match the firewall.....i added a foam strip to the lower rad mount, where it comes in contact with the rad....and on the upper hold down, i added a piece of dyno-mat extream, to aid in the vibration of the fan against the shroud..
i needed a way to secure the bottom of the radiator, while also supporting the lower part of my electric fan, so what i did was use a piece of angle iron, and welded 2 tabs on it to secure the fan, simple yet effective....i then trimmed the upper radiator hold down to the contour of the fan, then tapped 2 existing mounting holes in the fan shroud, drilled holes is the rad hold down, and attached the fan to the upper hold down.... confussing i know, but pics will clear it up...
after sandblasting them, i painted them satin black, to match the firewall.....i added a foam strip to the lower rad mount, where it comes in contact with the rad....and on the upper hold down, i added a piece of dyno-mat extream, to aid in the vibration of the fan against the shroud..
12-30-2014, 06:38 PM
#52
TECH Regular
Thread Starter
iTrader: (1)
Join Date: Oct 2005
Location: tulsa OK
Posts: 439
Likes: 0
Received 0 Likes
on
0 Posts
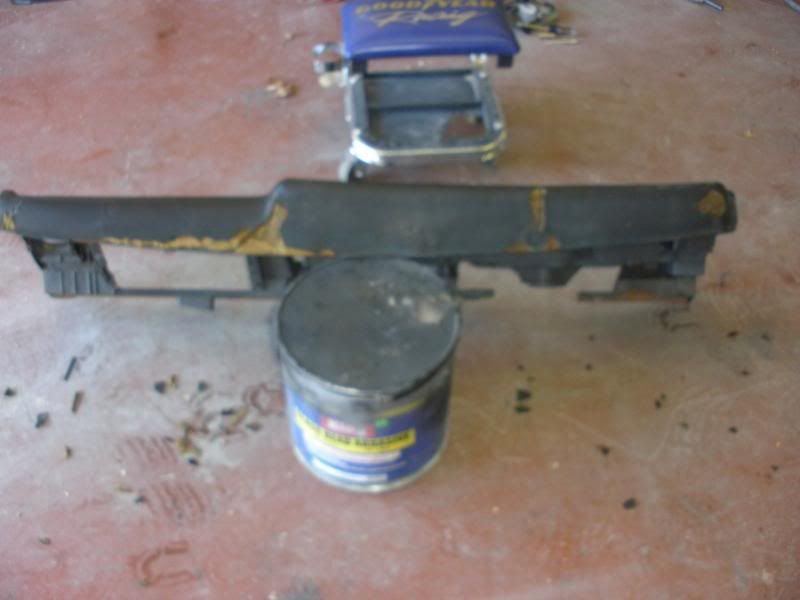
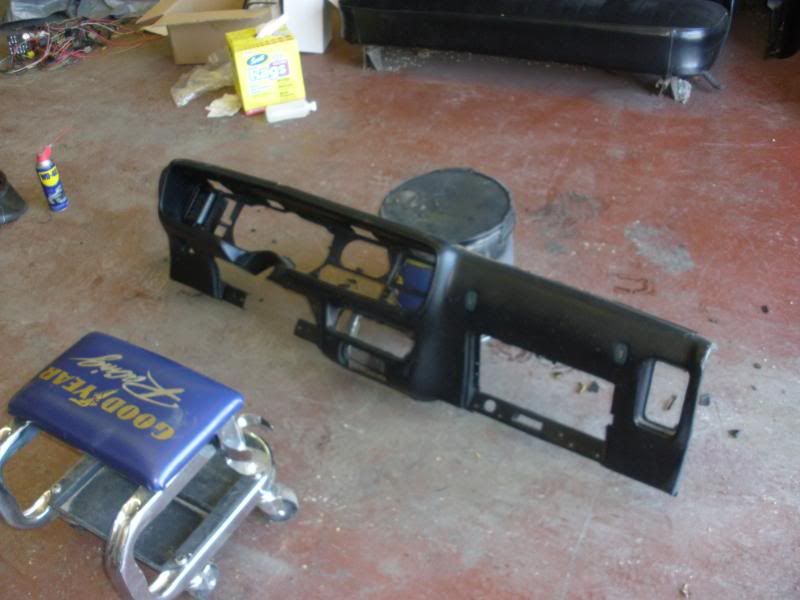
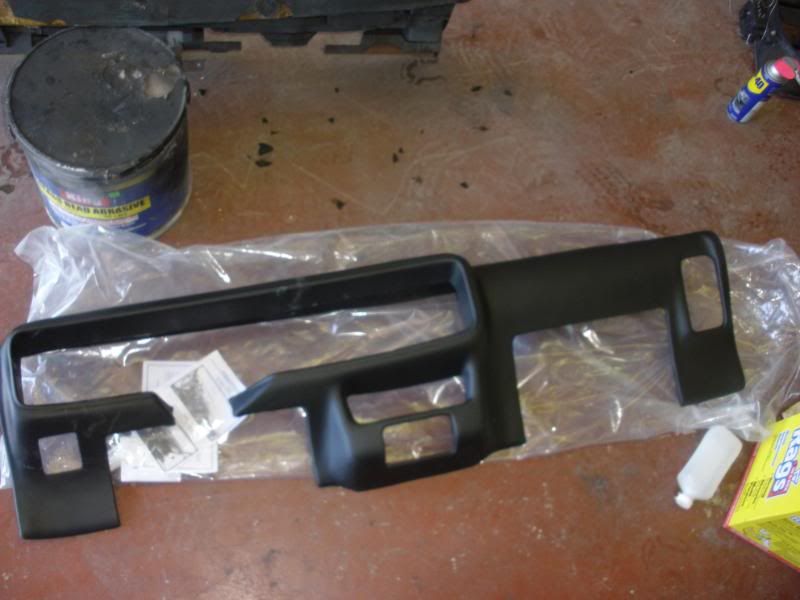
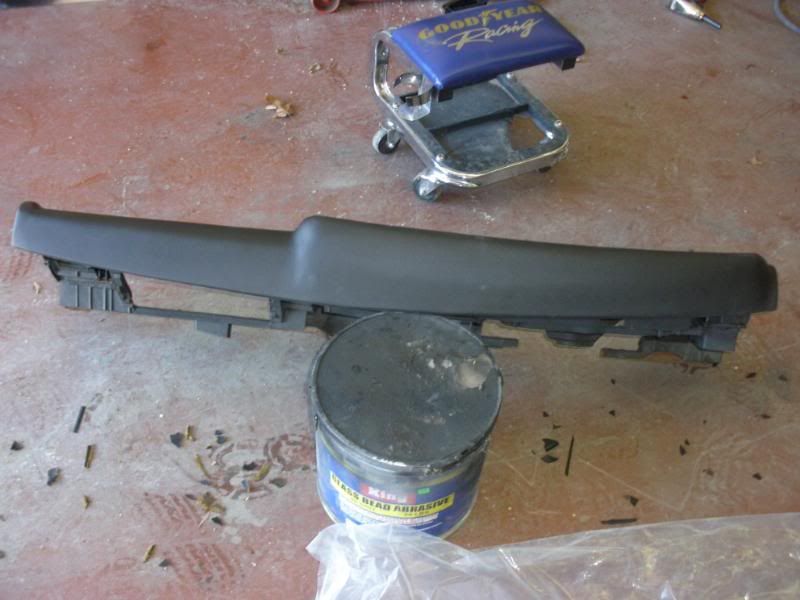
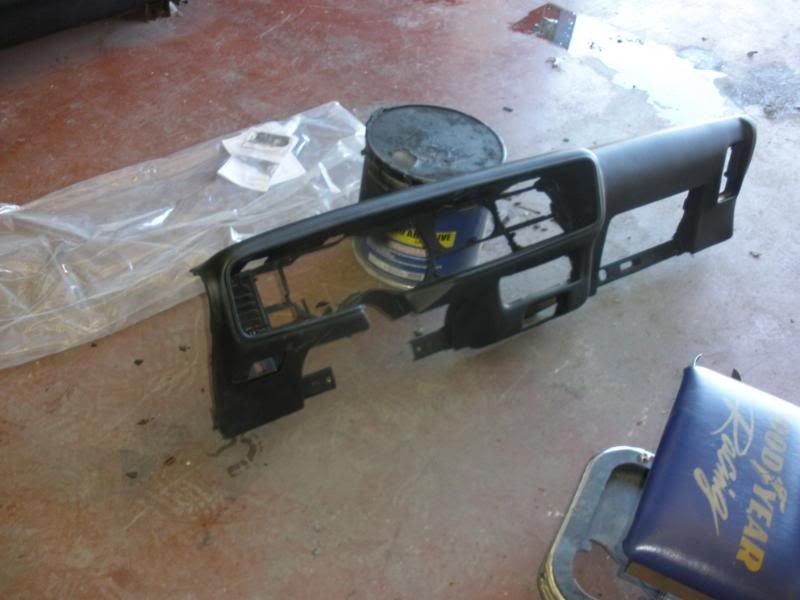
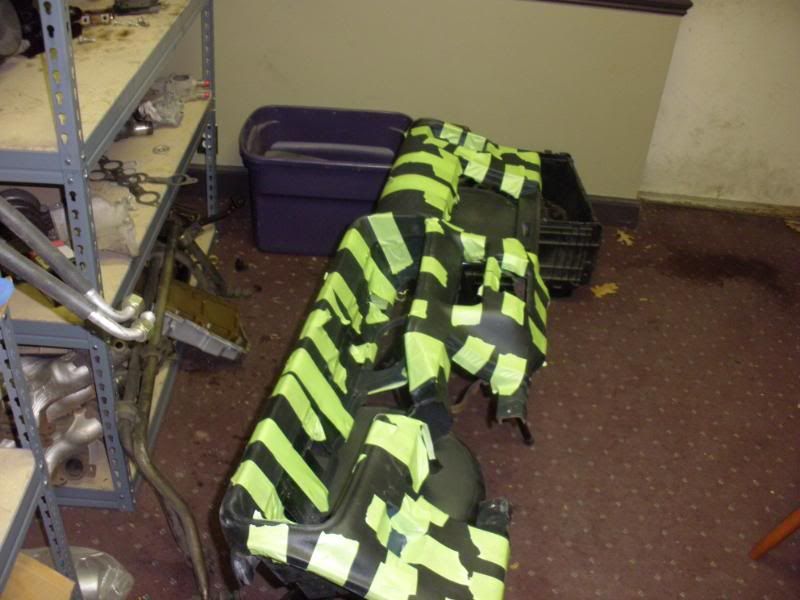
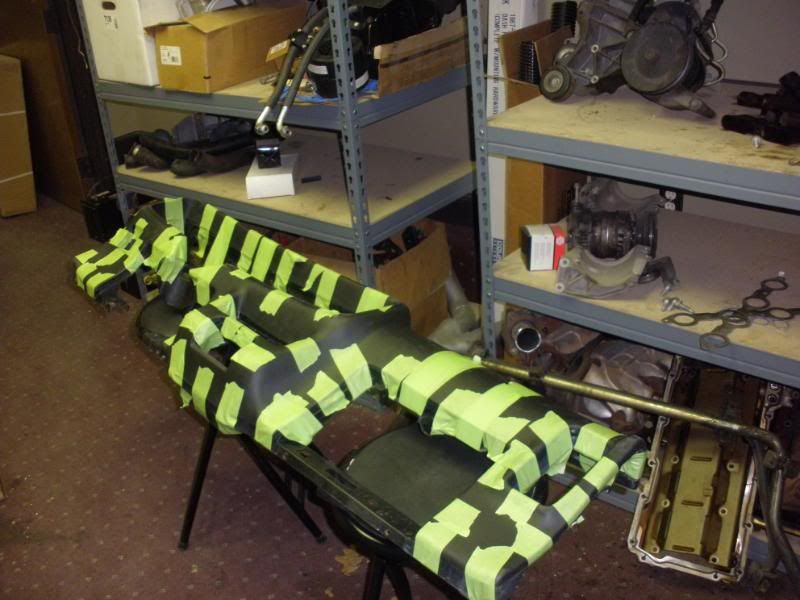
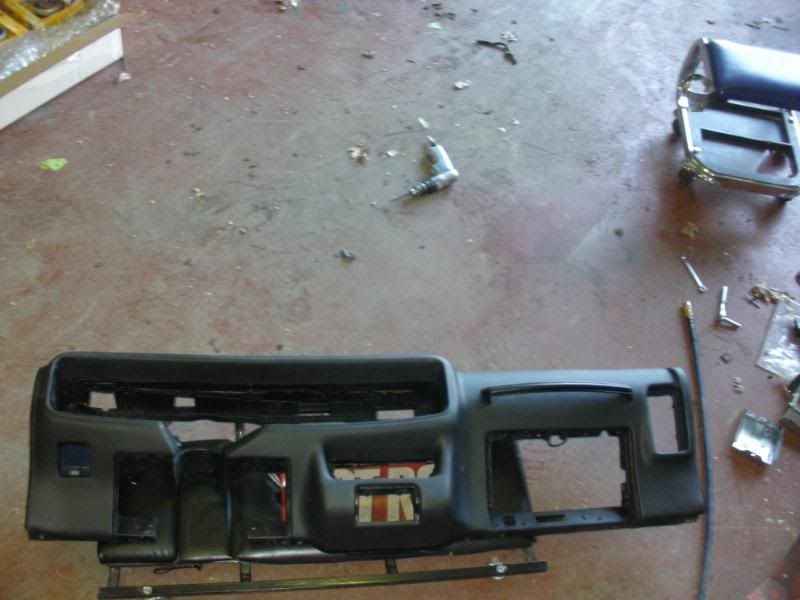
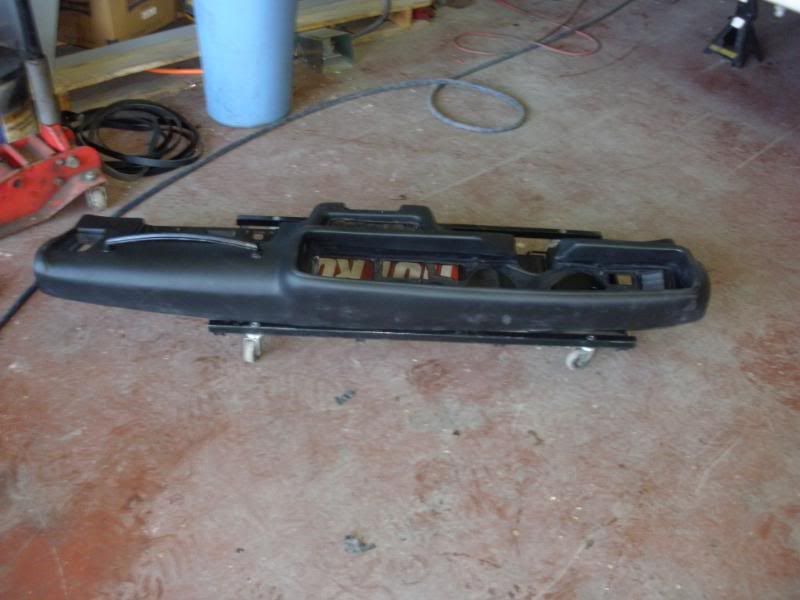
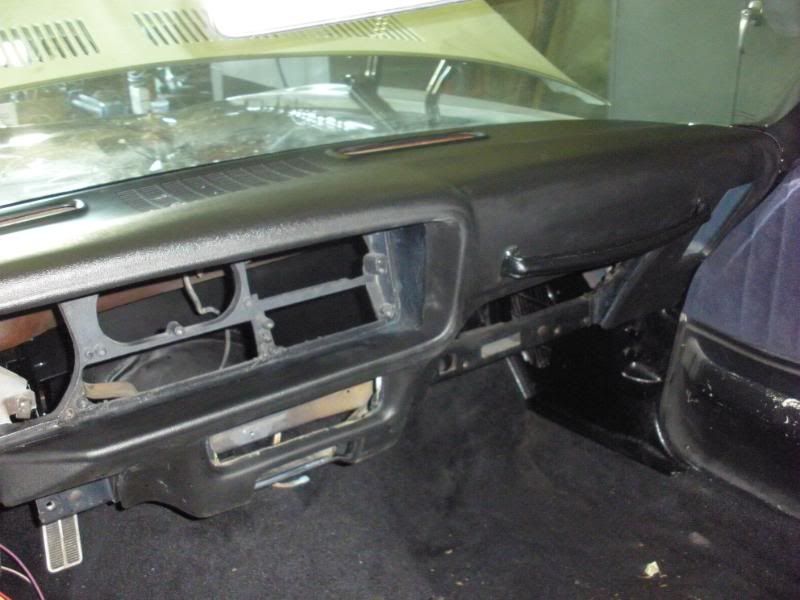
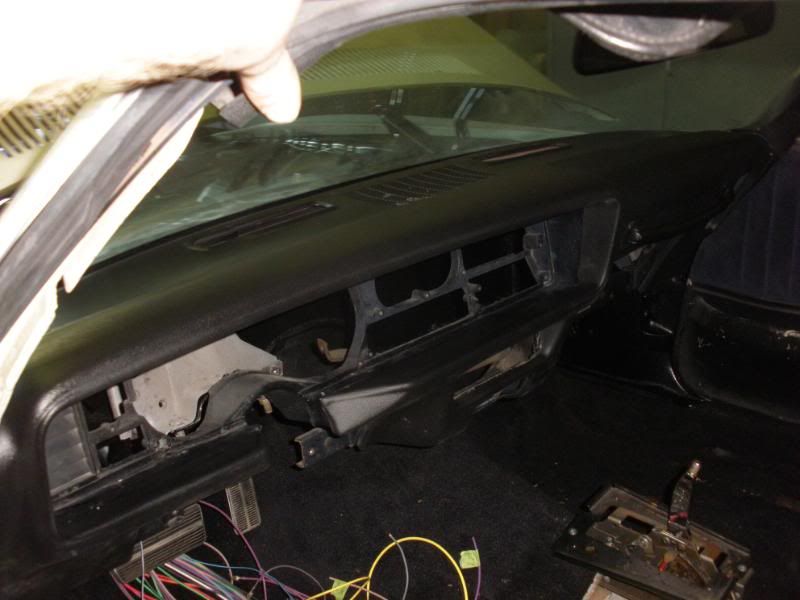
welp, i started in on replacing the dash cap, the top of the dash was cracked pretty bad... once i started to 'cut' the high spots off the top of my dash, i found it just chipped off, it was so brittle... so i pealed off all the brittle chuncks, and proceeded with installing my cap.... im really pleased how it turned out, and the quality of the cap... the texture is spot on, and it fit like a glove....here are some pics
12-30-2014, 06:39 PM
#53
TECH Regular
Thread Starter
iTrader: (1)
Join Date: Oct 2005
Location: tulsa OK
Posts: 439
Likes: 0
Received 0 Likes
on
0 Posts
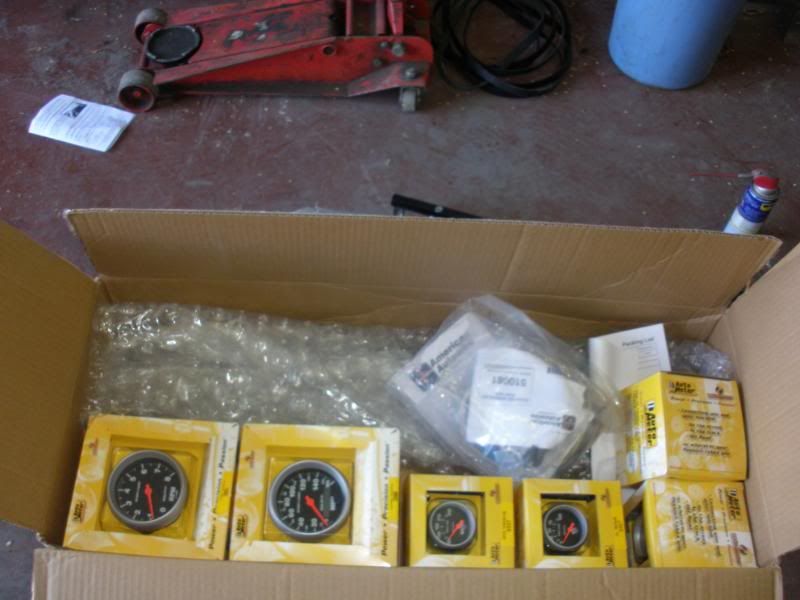
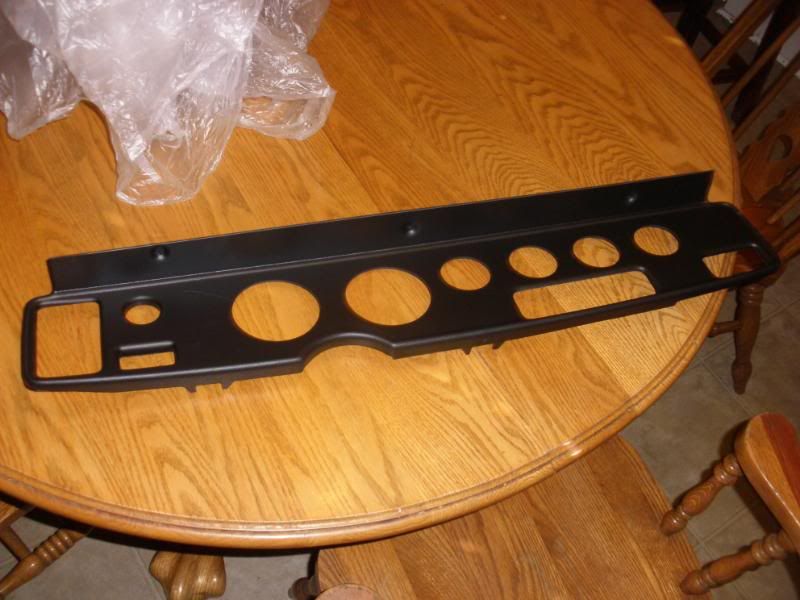
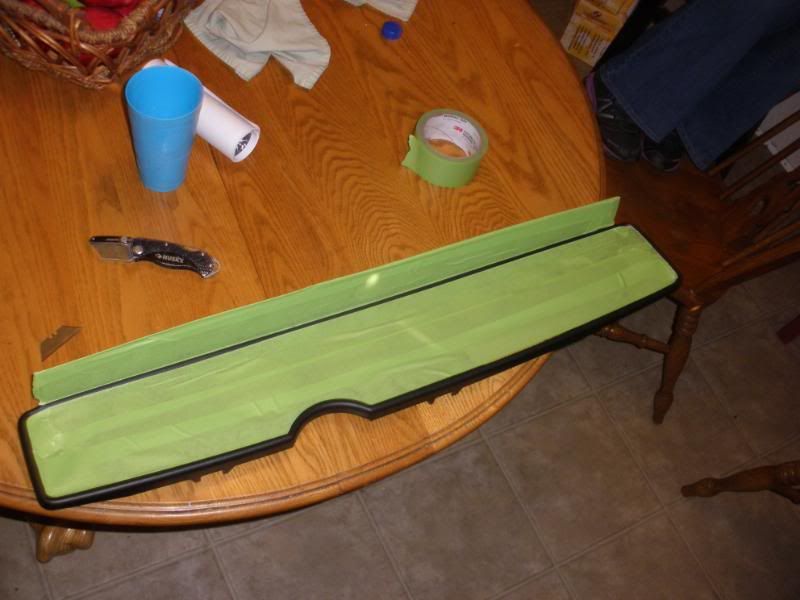
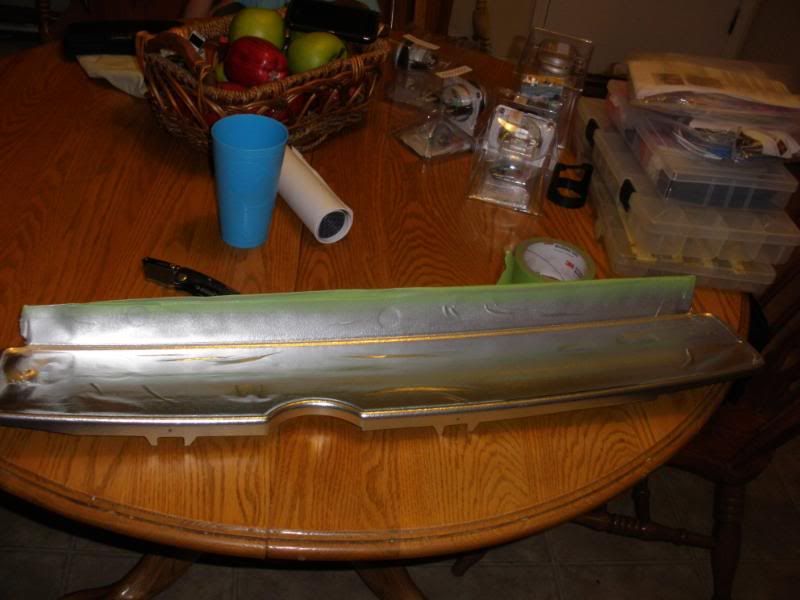
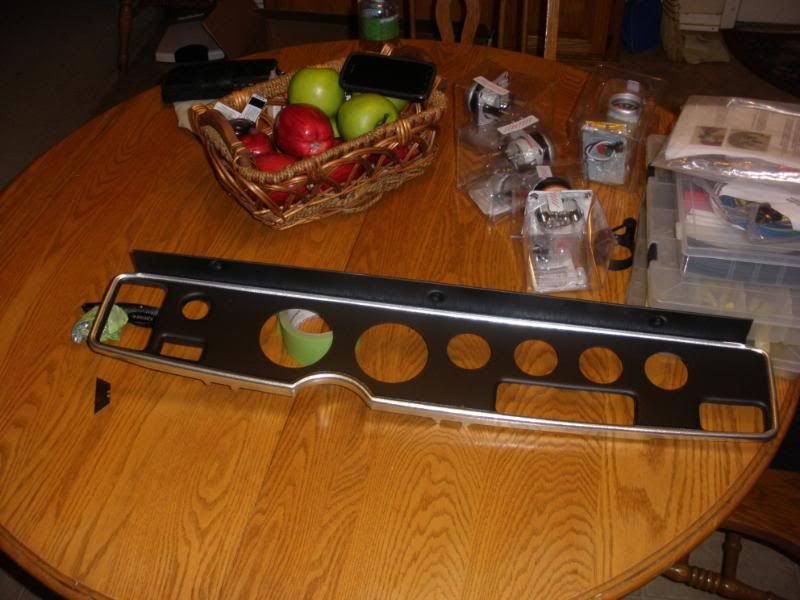
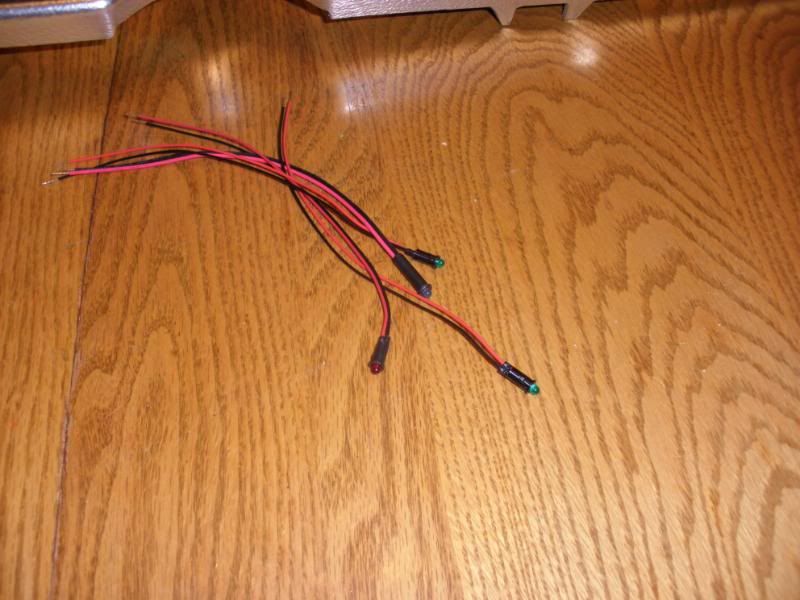
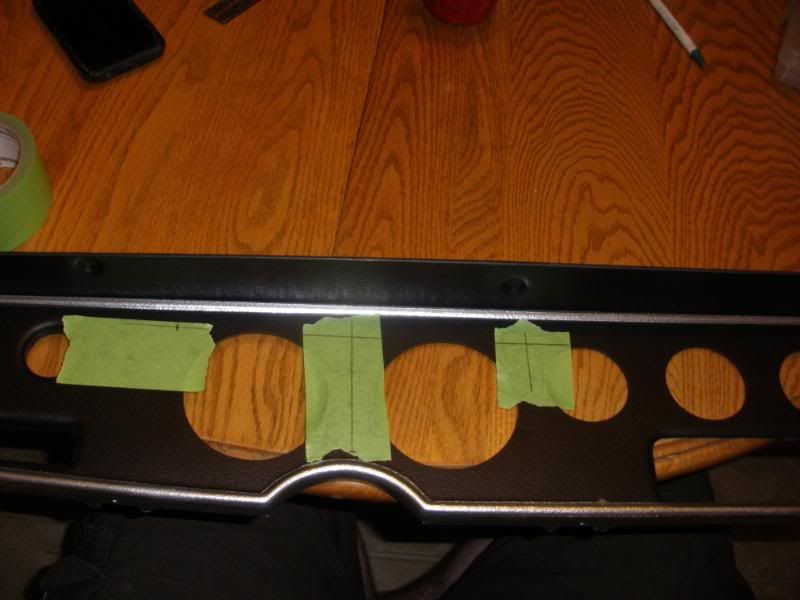
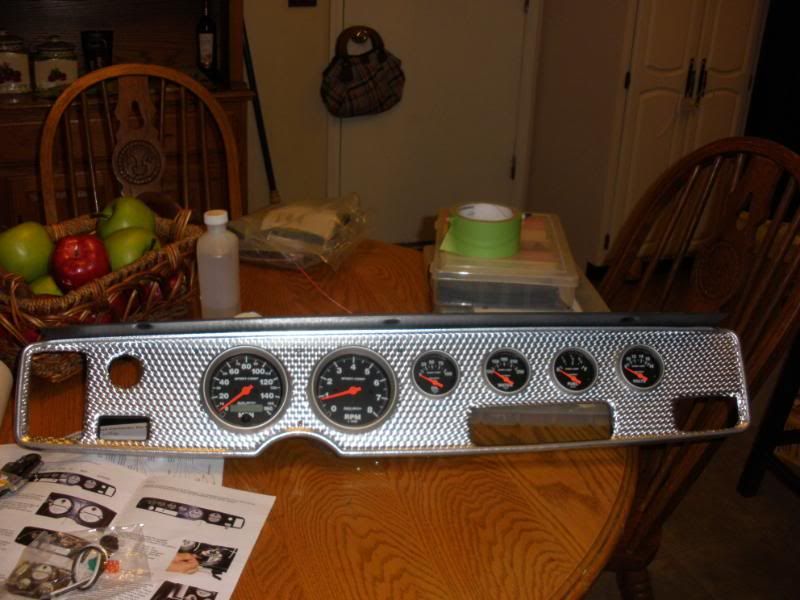
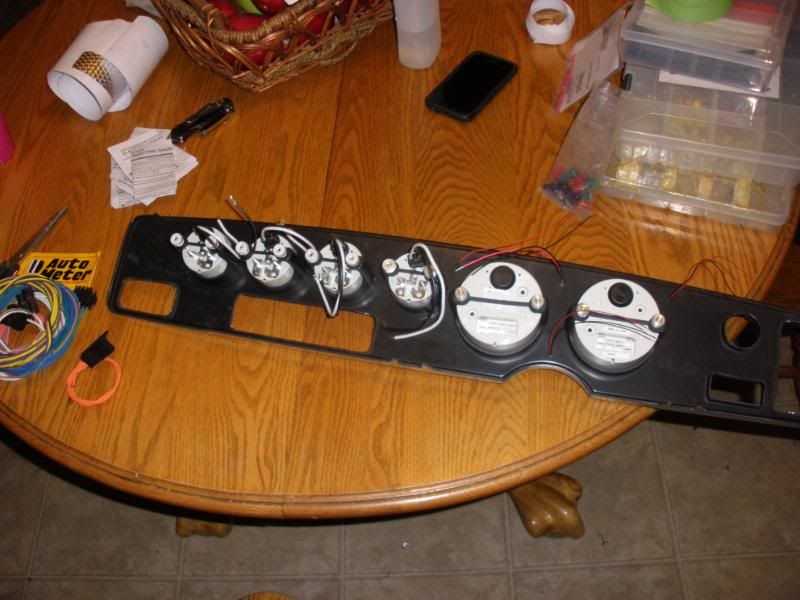
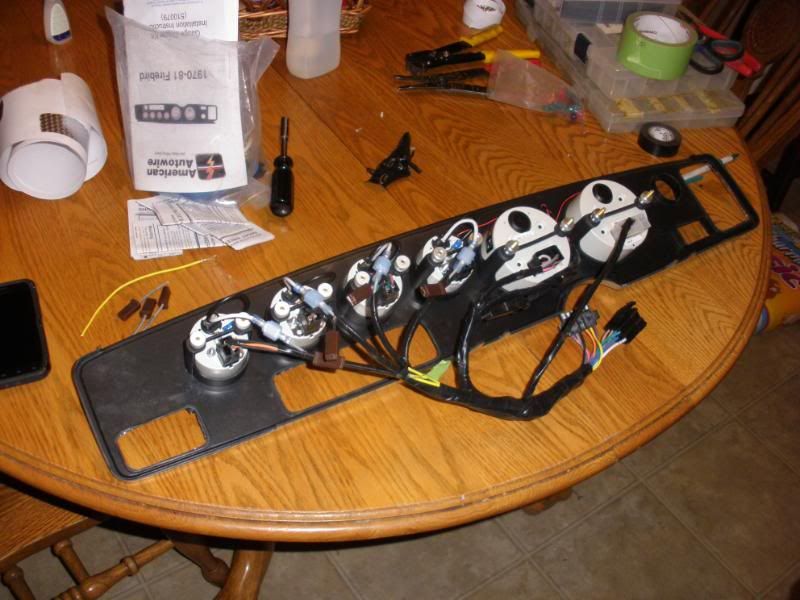
still chipping away at the wiring, but i got my guages/bezel in...they are autometer procomp guages....i like the factory style bezel, so i wanted mine to look as factory as i could.... so here are a few pics of the setup
12-30-2014, 06:40 PM
#54
TECH Regular
Thread Starter
iTrader: (1)
Join Date: Oct 2005
Location: tulsa OK
Posts: 439
Likes: 0
Received 0 Likes
on
0 Posts
thanks everyone on the compliments....its alive :-D
im still doing the wiring, but i was able to hotwire it enough to atleast start it, and hear it run, open headers too...click to watch vid
im still doing the wiring, but i was able to hotwire it enough to atleast start it, and hear it run, open headers too...click to watch vid