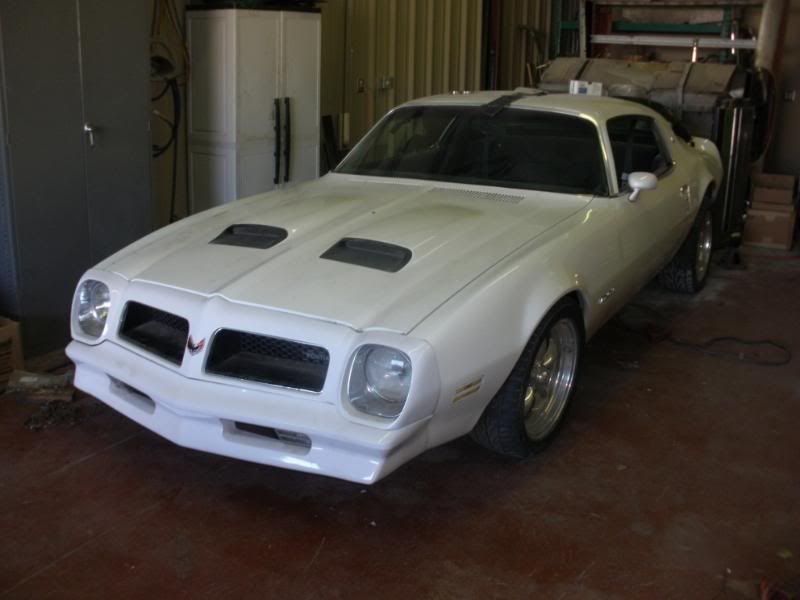
1976 firebird formula 6.0/4l60e resto-mod


 06-24-2012, 08:31 PM
#23
TECH Regular
Thread Starter
iTrader: (1)

Join Date: Oct 2005
Location: tulsa OK
Posts: 439
Likes: 0
Received 0 Likes
on
0 Posts

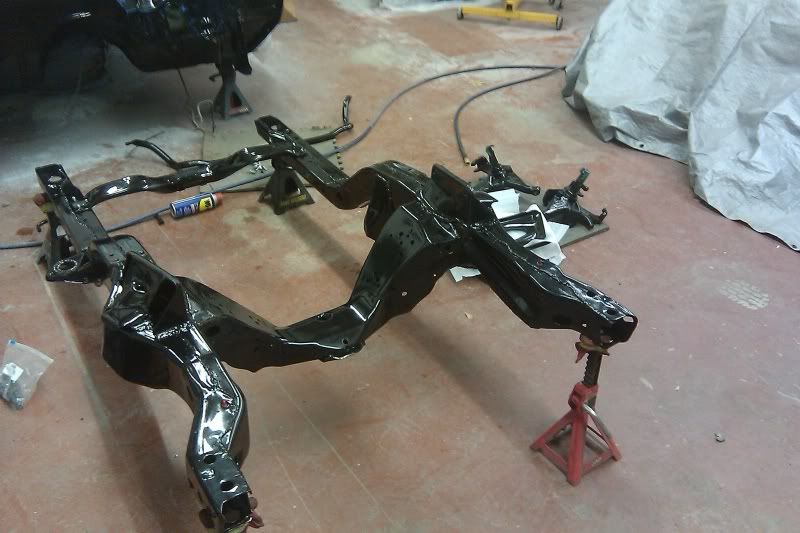
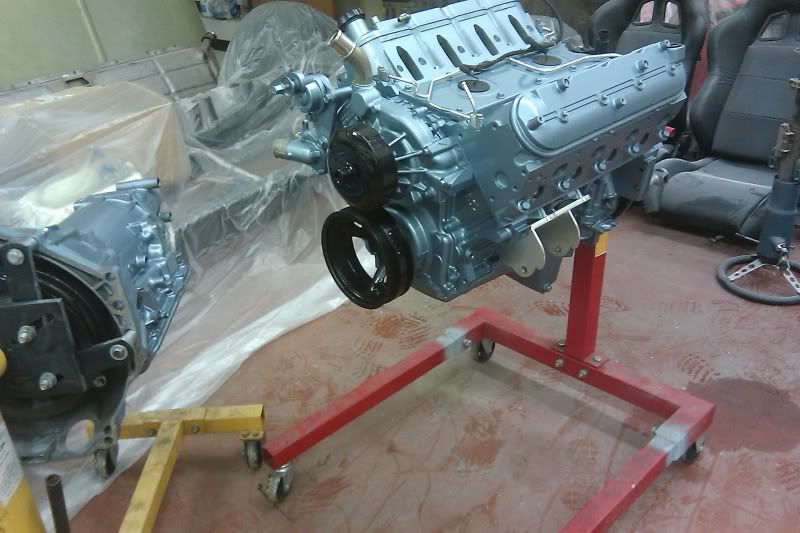
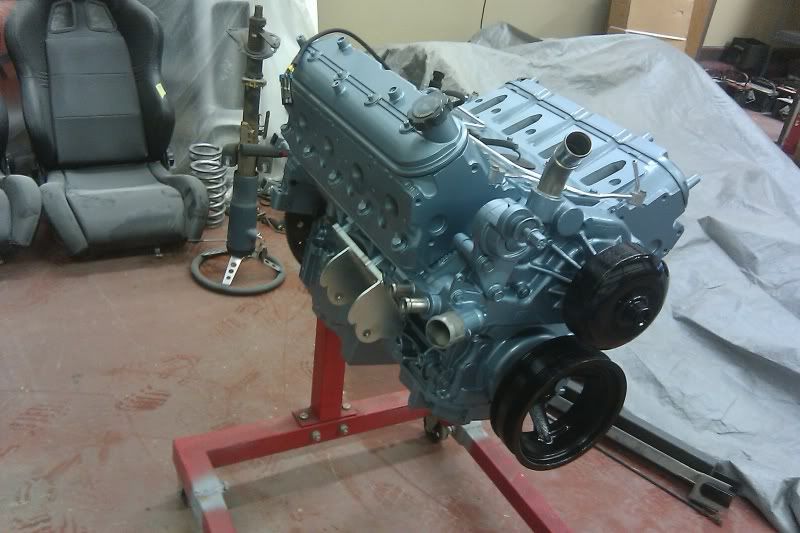
once the engine and trans were mocked up, and painted/cleared. i took the subframe, suspension, innner fenders, rad support, bumper brackets, etc to get powder coated.....
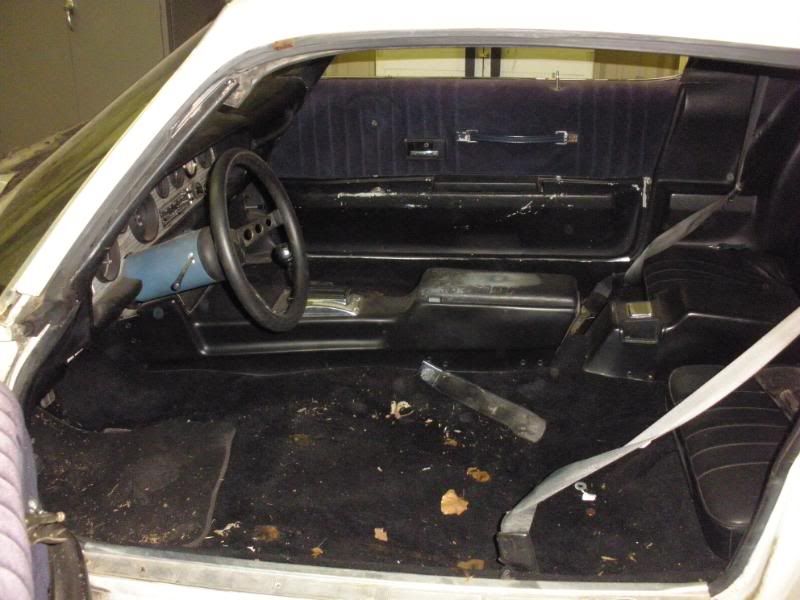
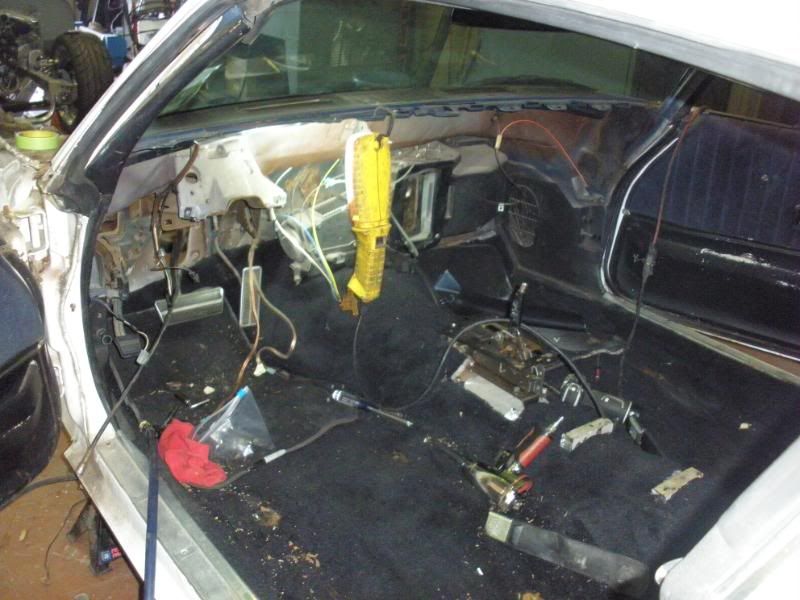
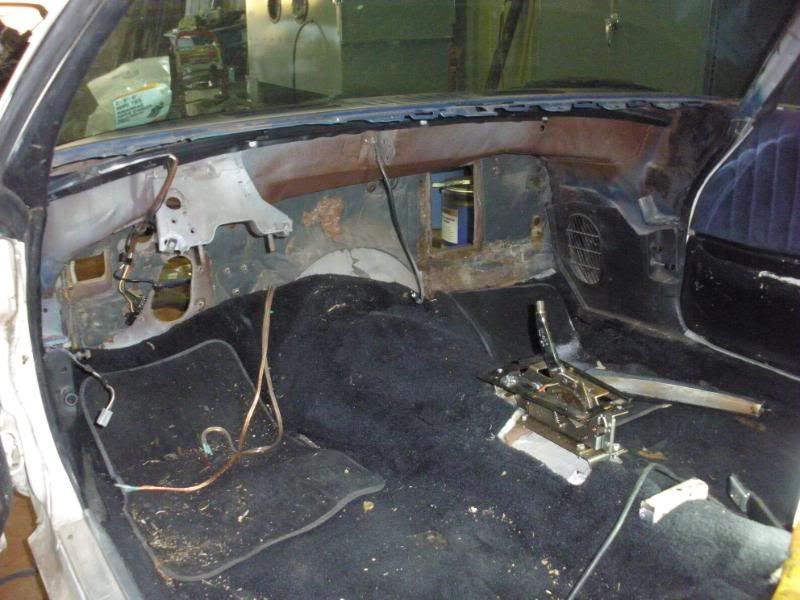
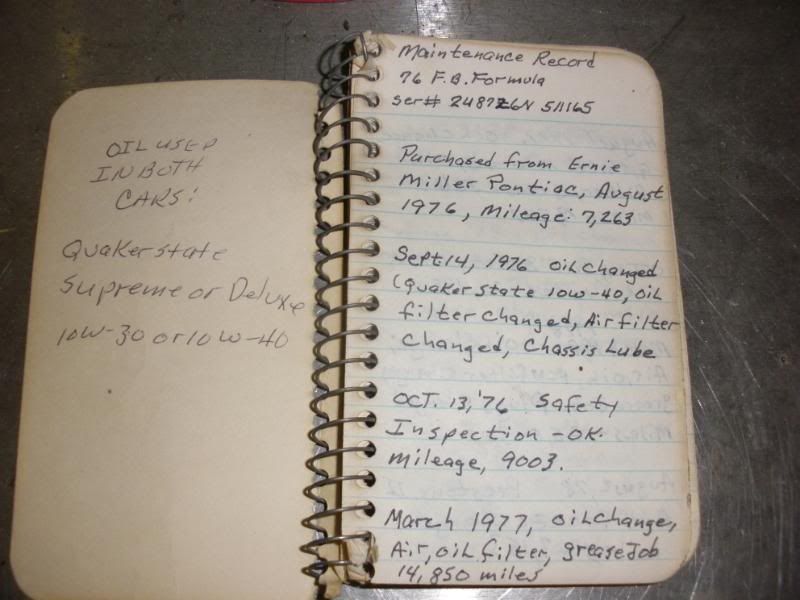
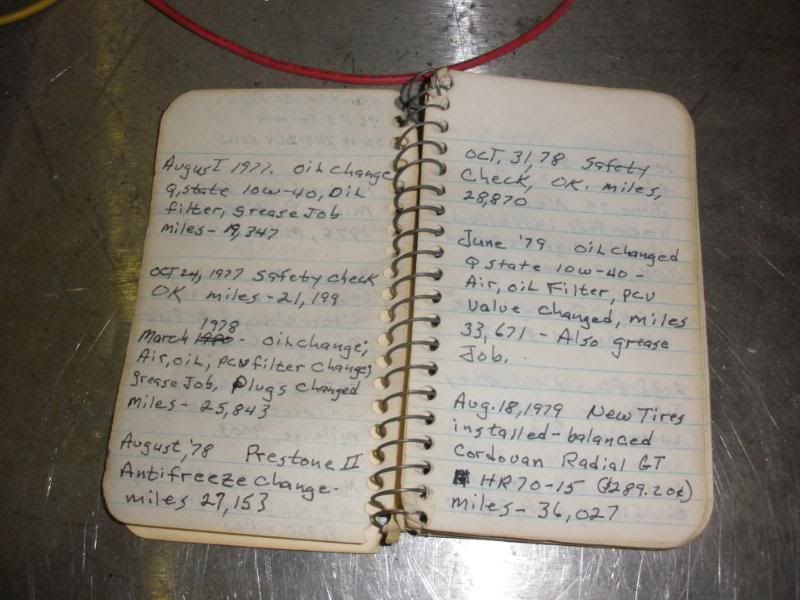
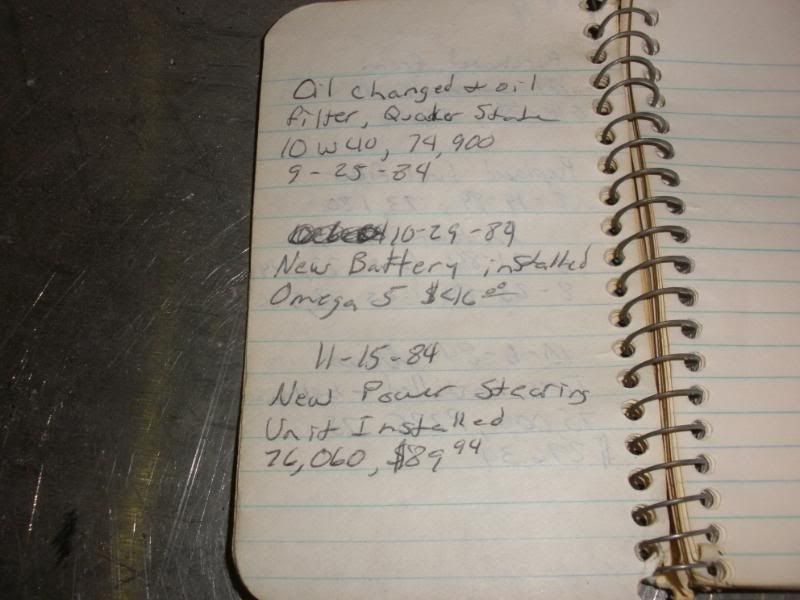
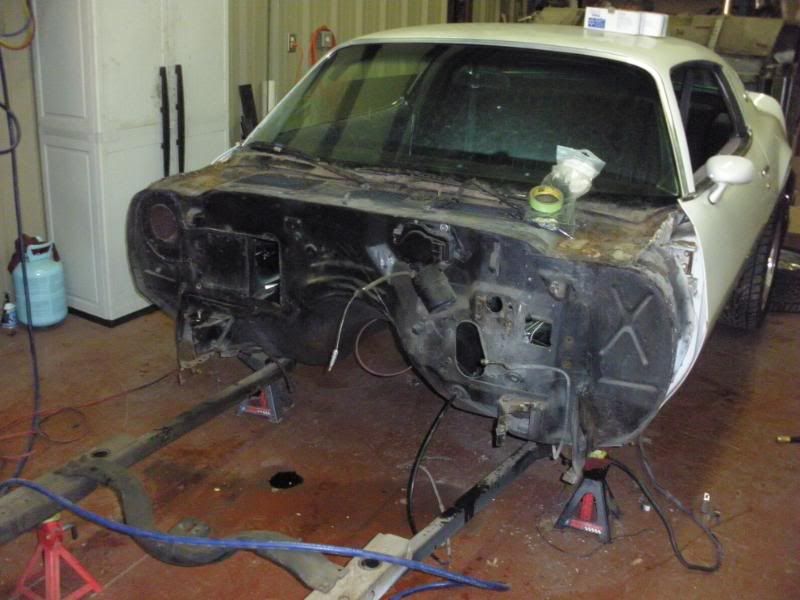
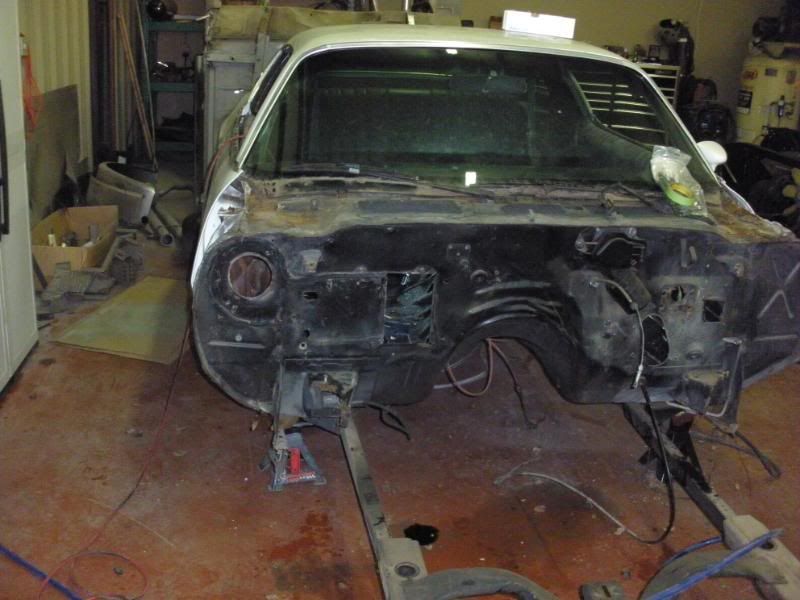
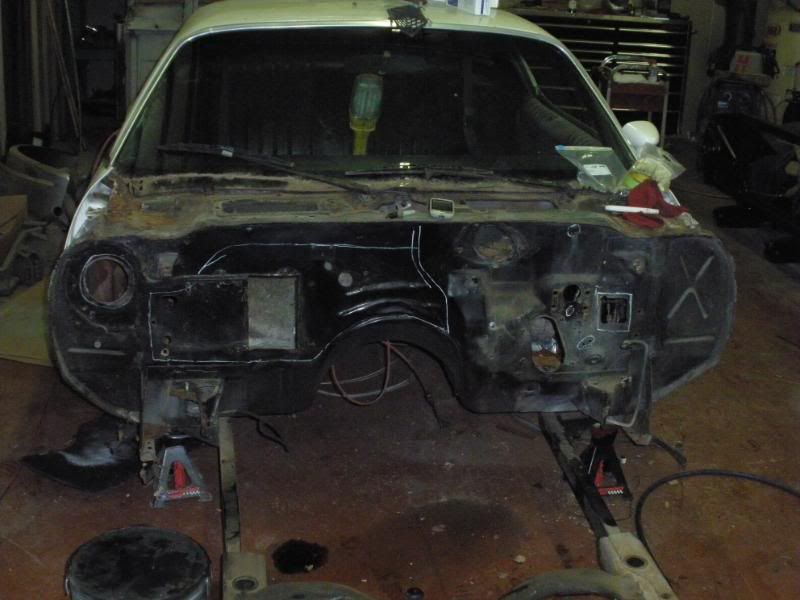
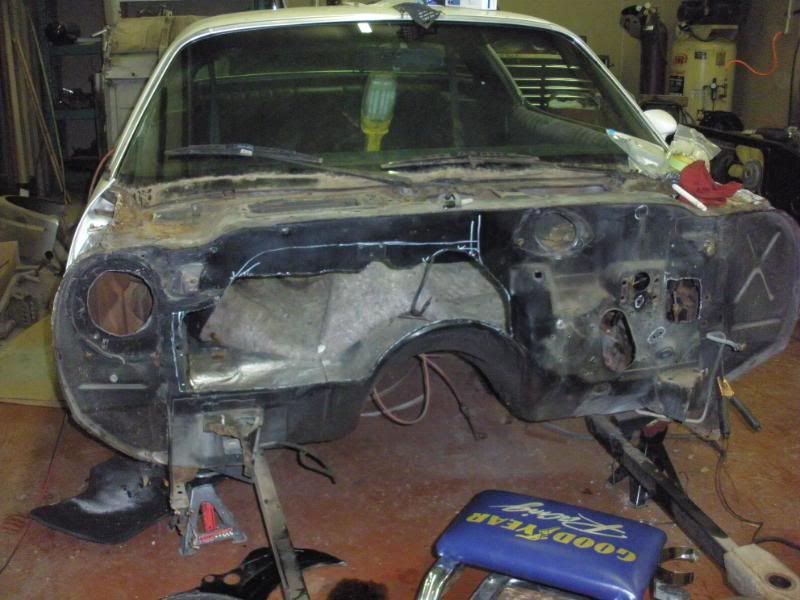
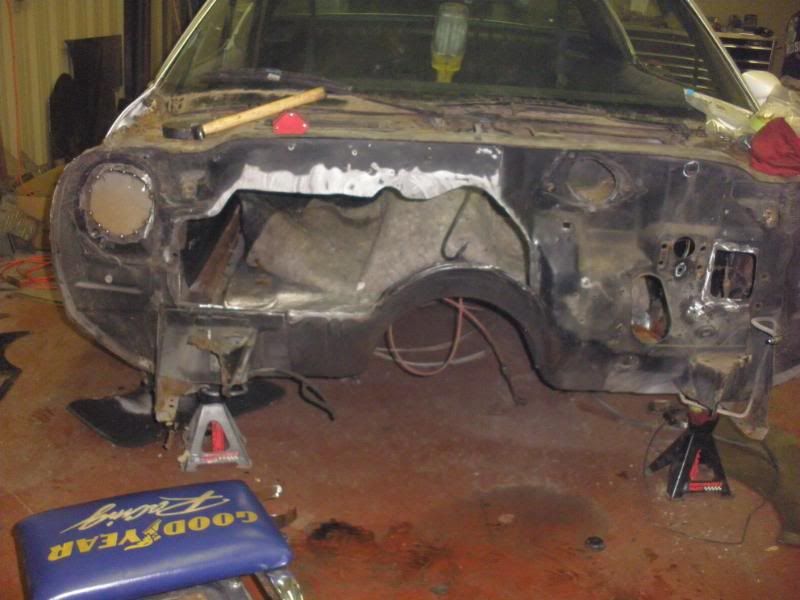
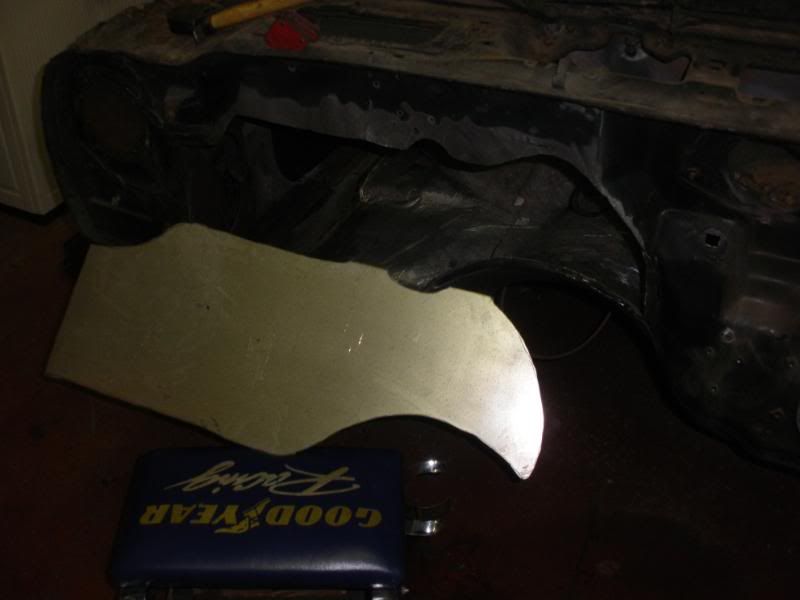
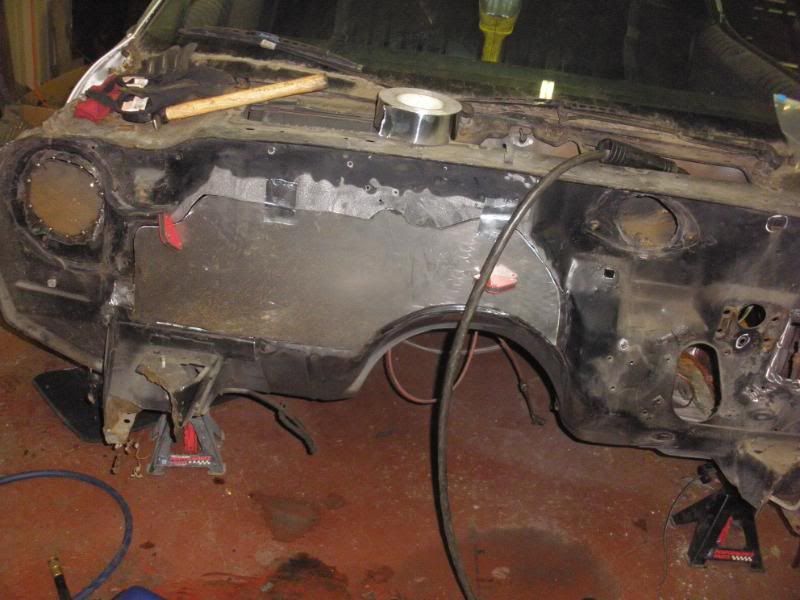
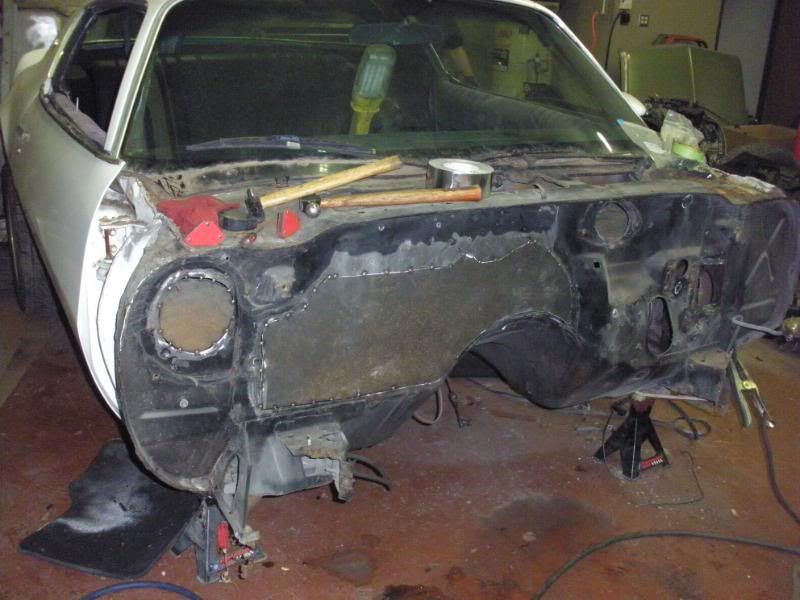
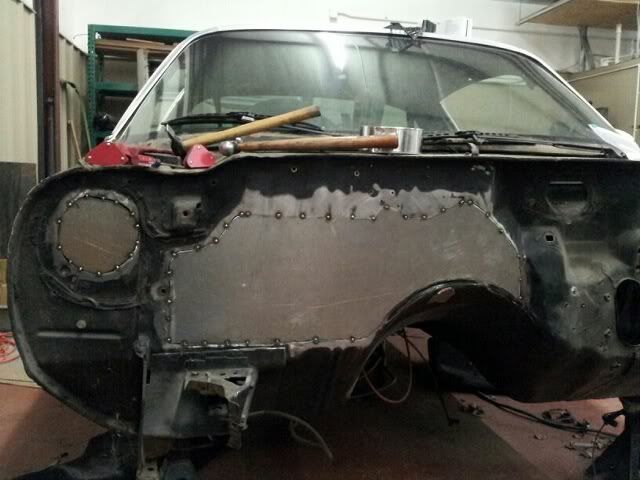
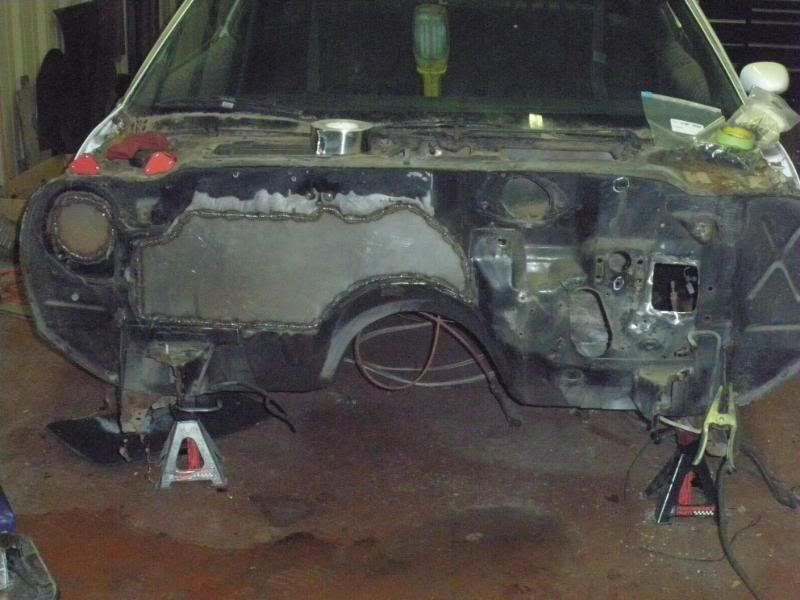
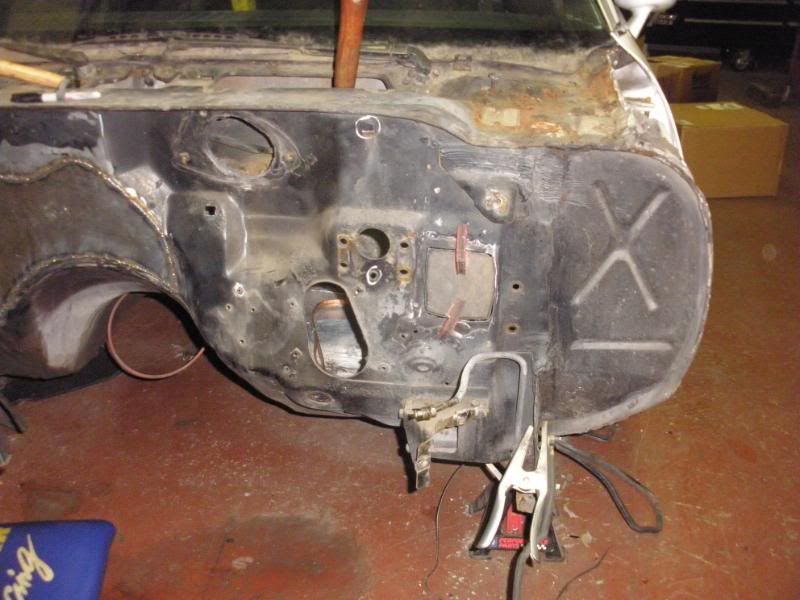
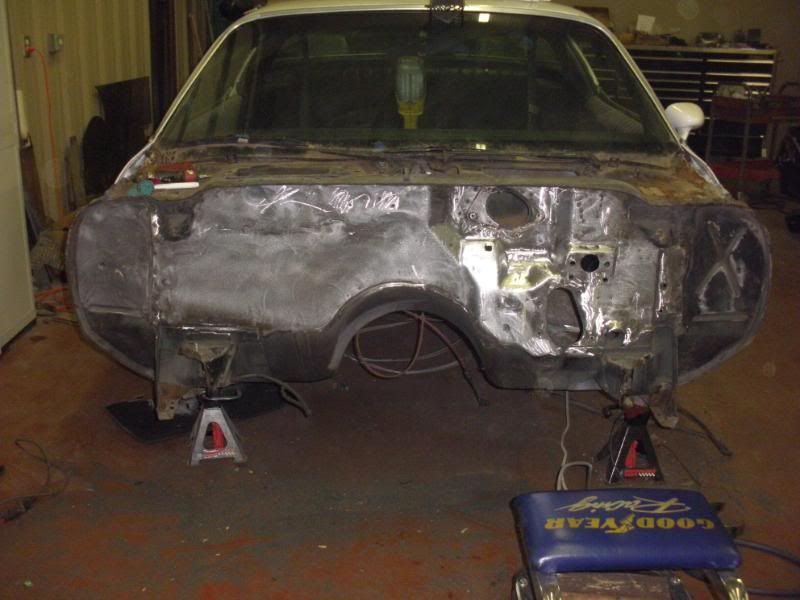
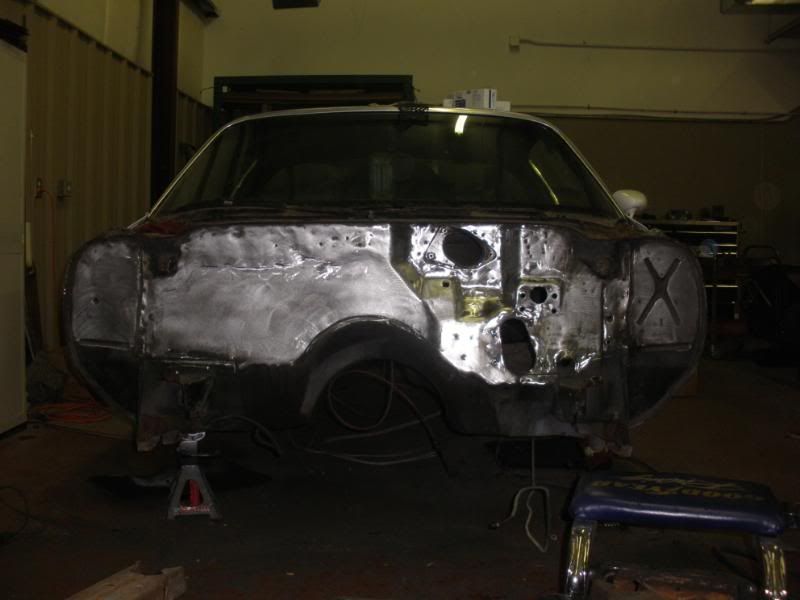
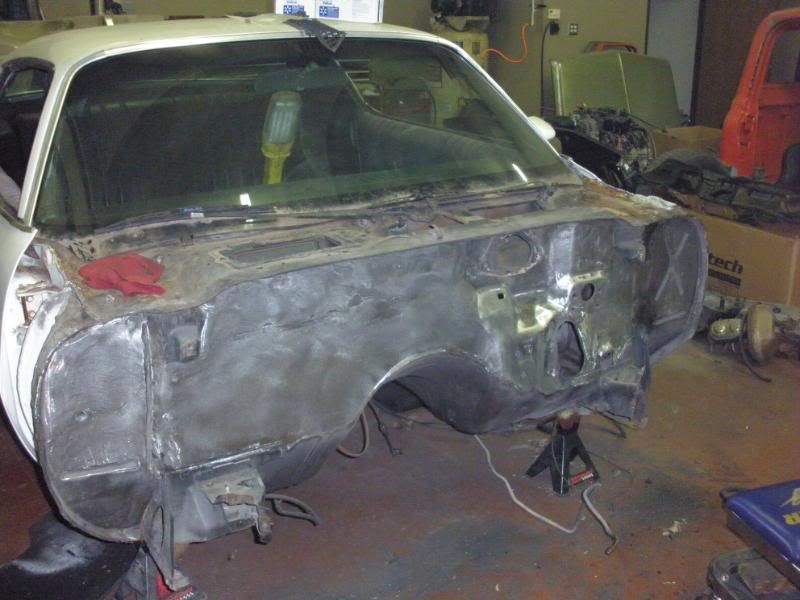
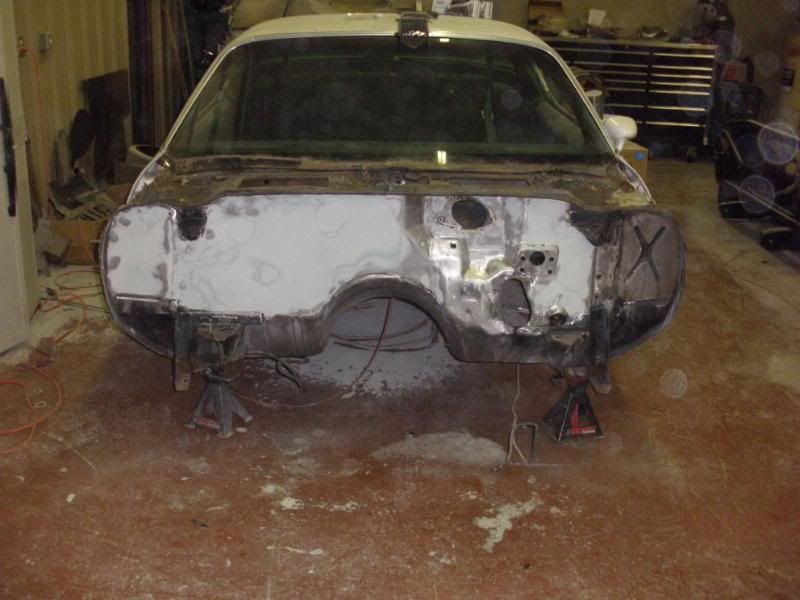
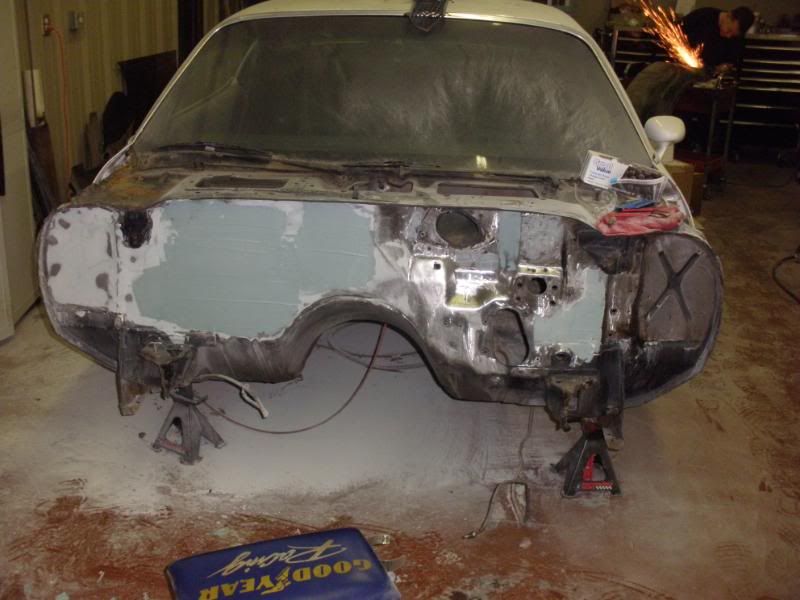
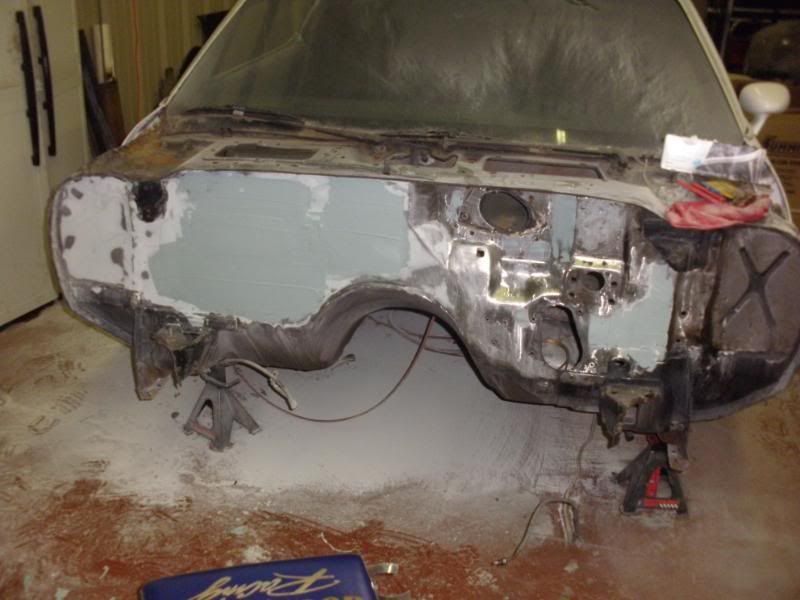
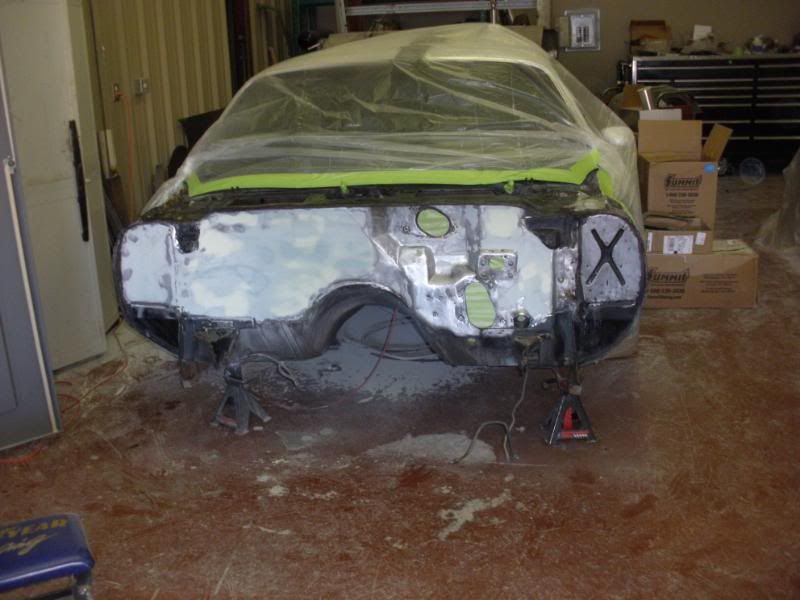
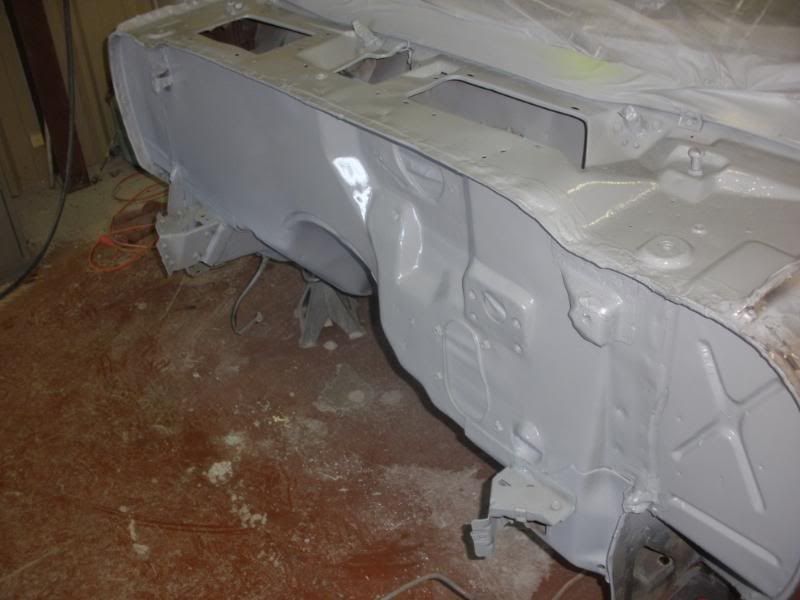
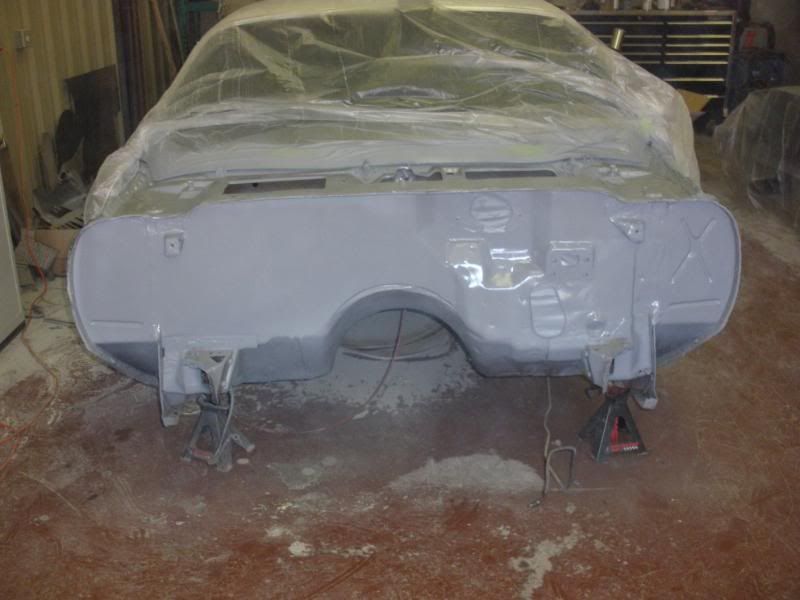
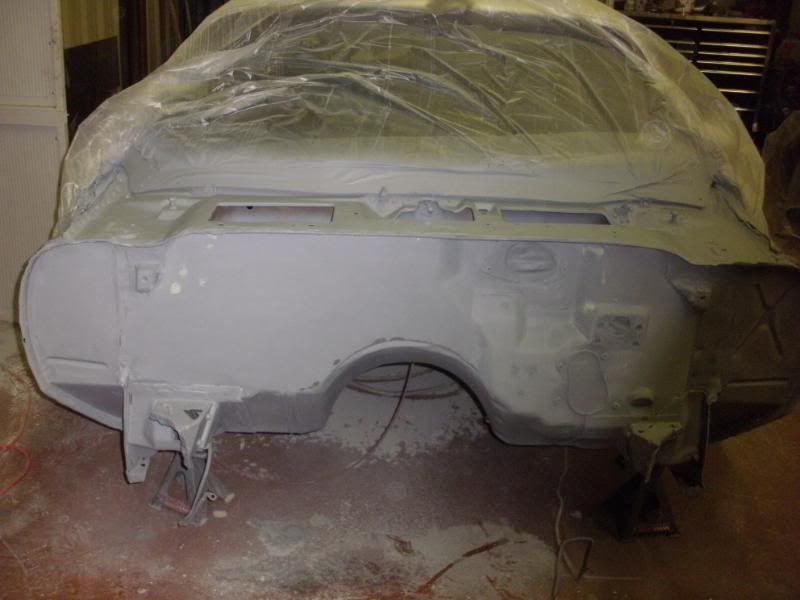
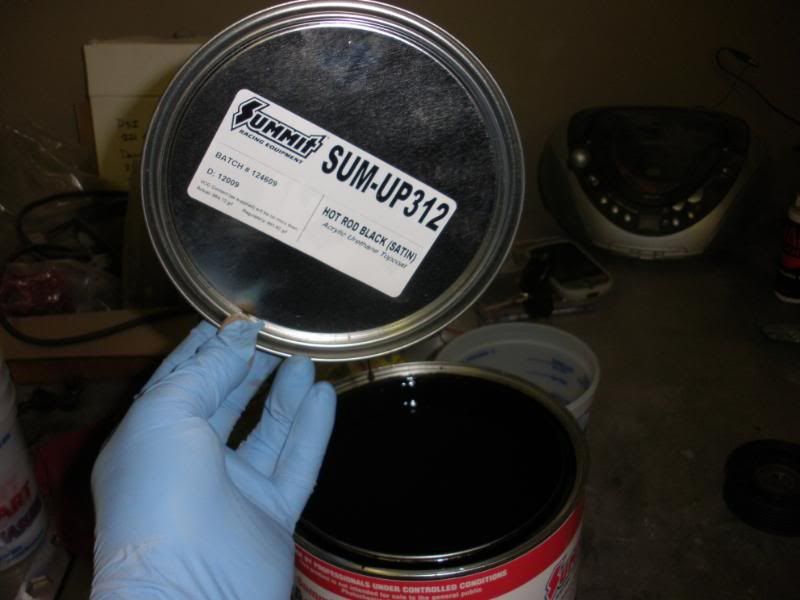
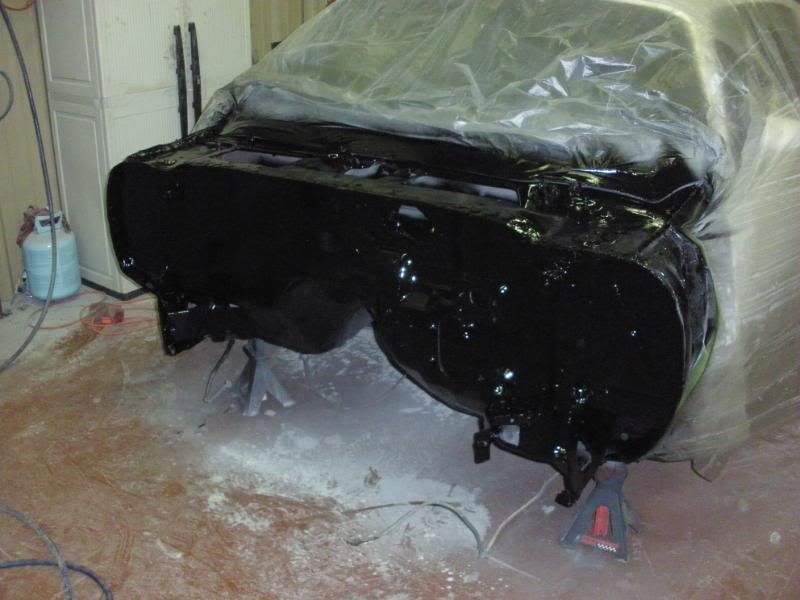
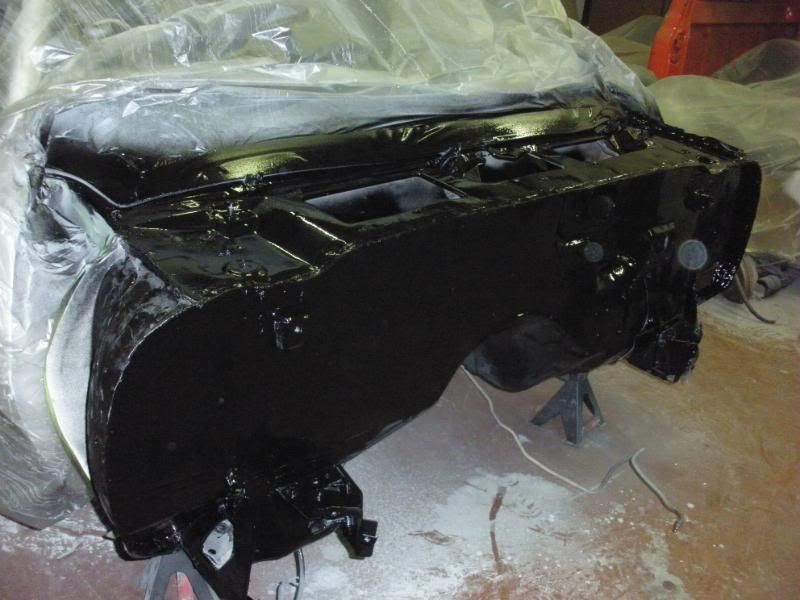
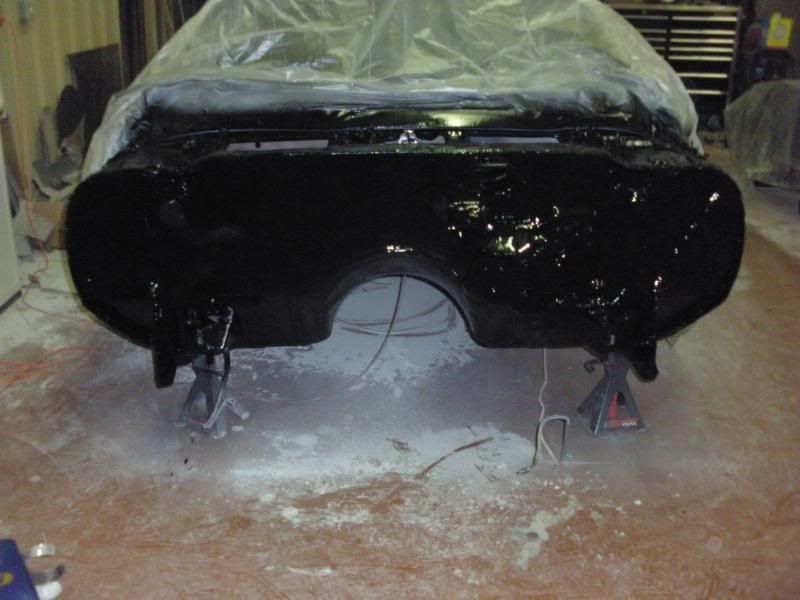
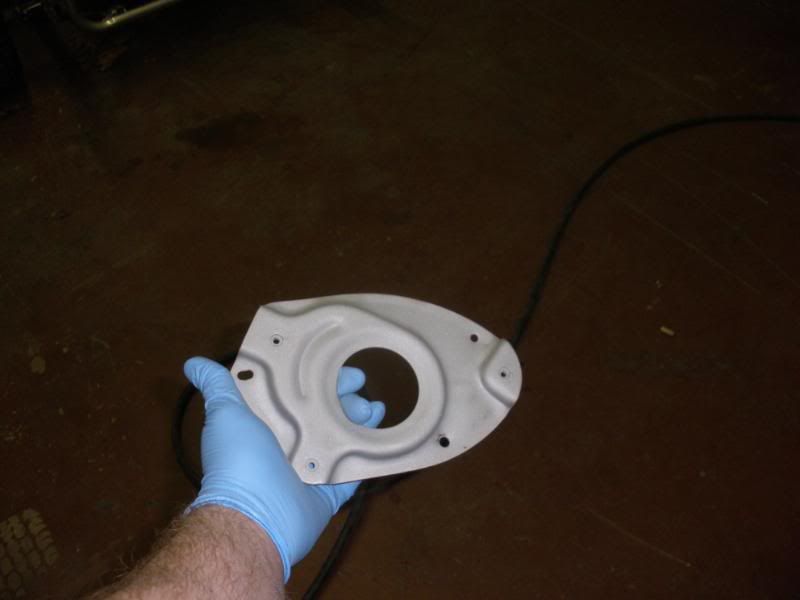
while at powder coat, this gave me a good opertunity to smooth the firewall.. i started by gutting the inside, so i wouldnt catch the inside on fire.... i found some pretty cool stuff in the glove box, seams like the orignal owner kept a maintance log book in the glove box, and i found the owners manual etc.....


 12-29-2014, 08:18 AM
#28
TECH Regular
Thread Starter
iTrader: (1)
Join Date: Oct 2005
Location: tulsa OK
Posts: 439
Likes: 0
Received 0 Likes
on
0 Posts
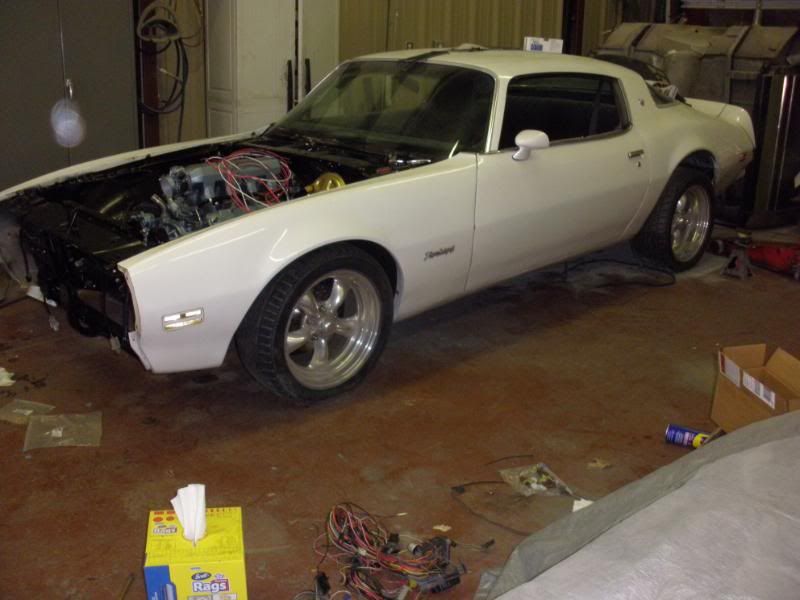
I forgot about this thread on here, but here is a huge update...
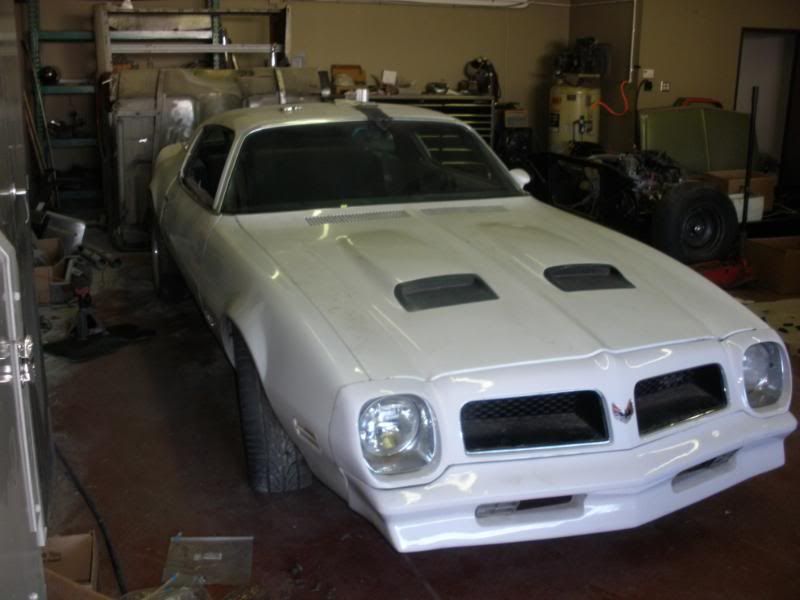
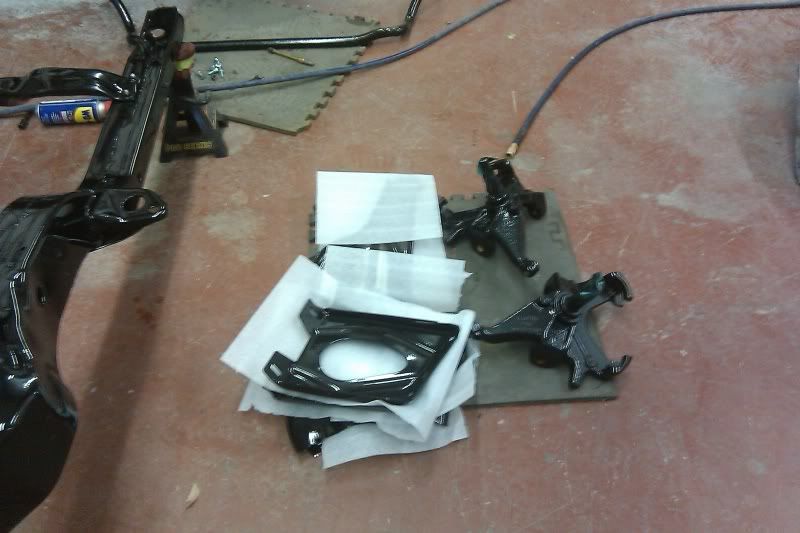
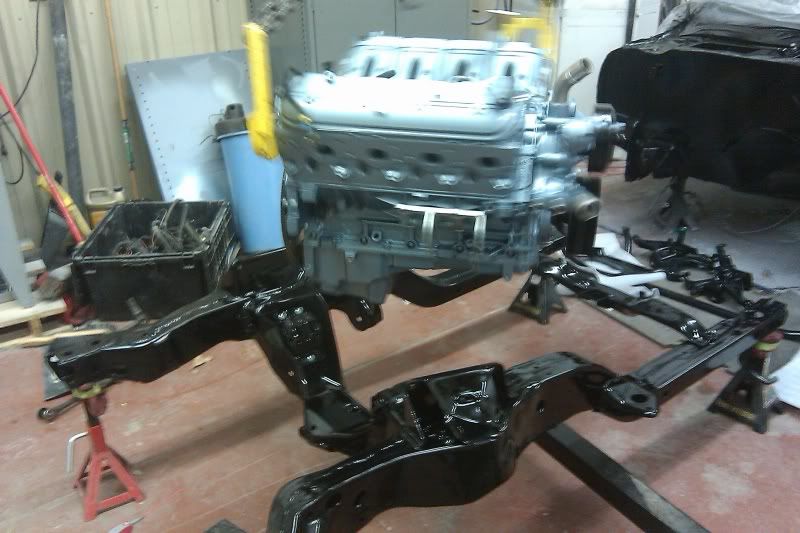
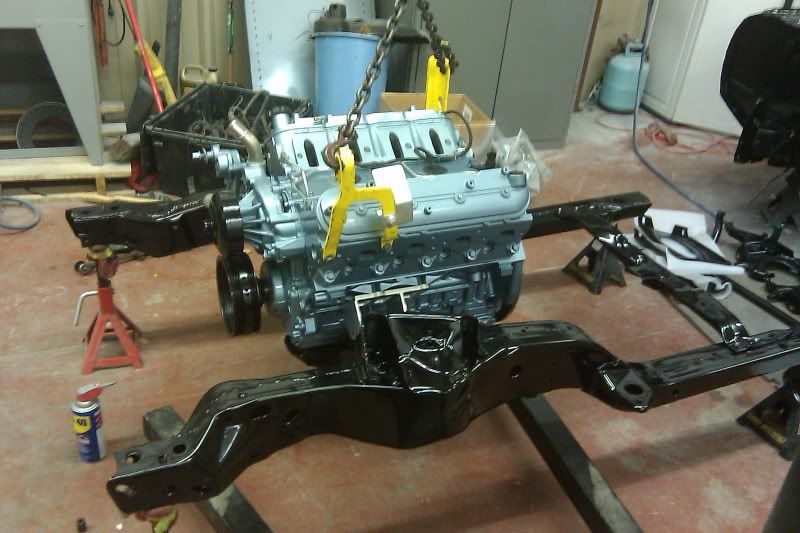
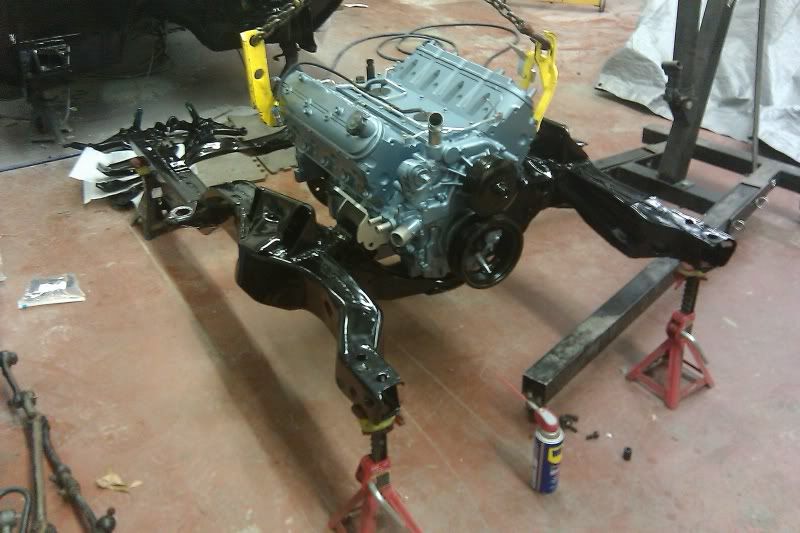
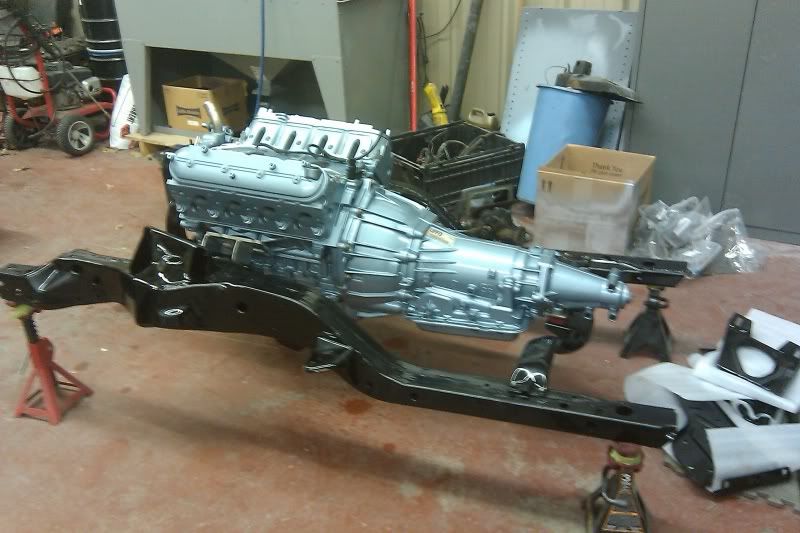
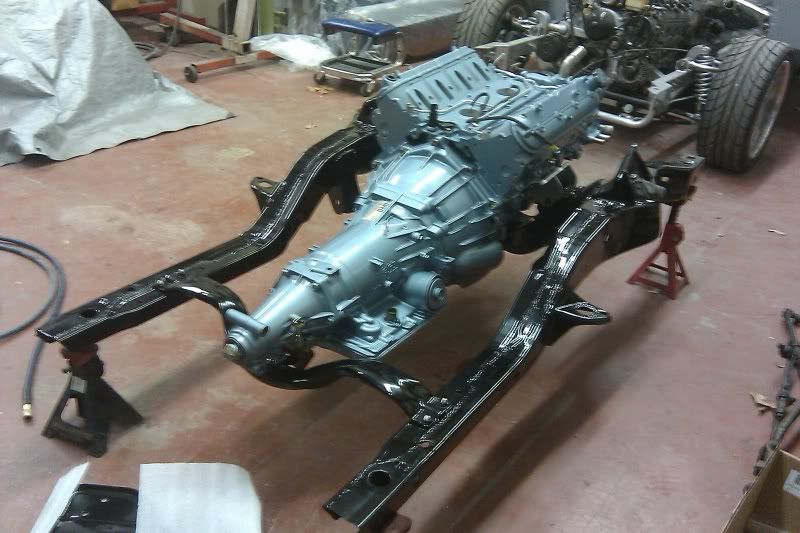
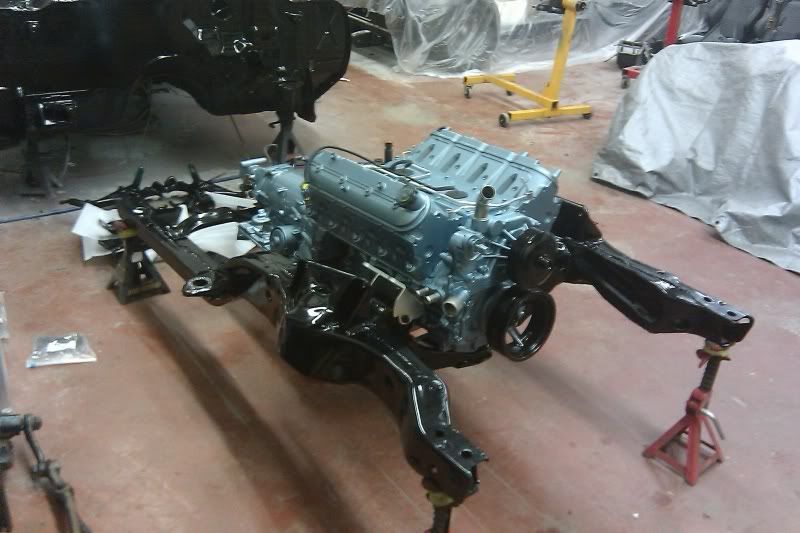
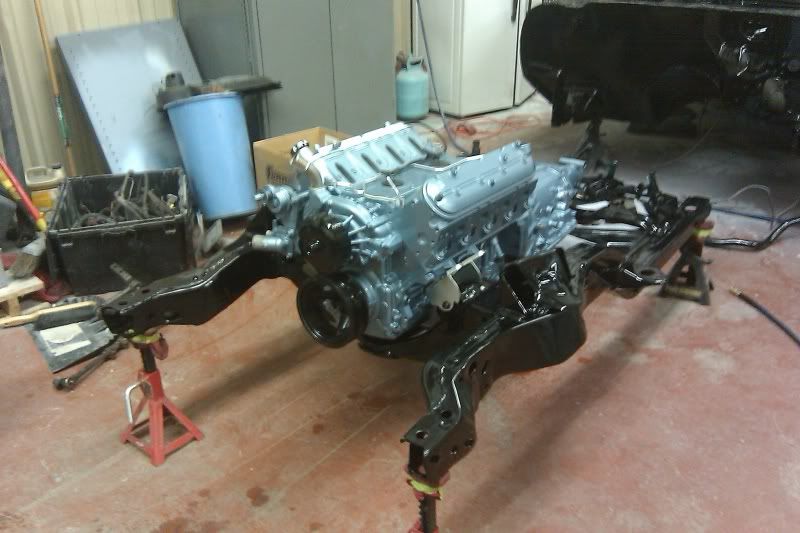
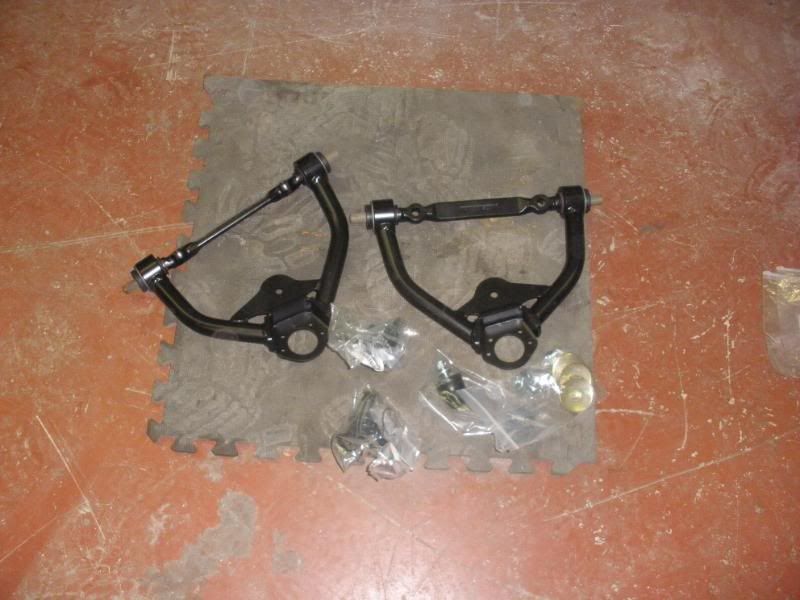
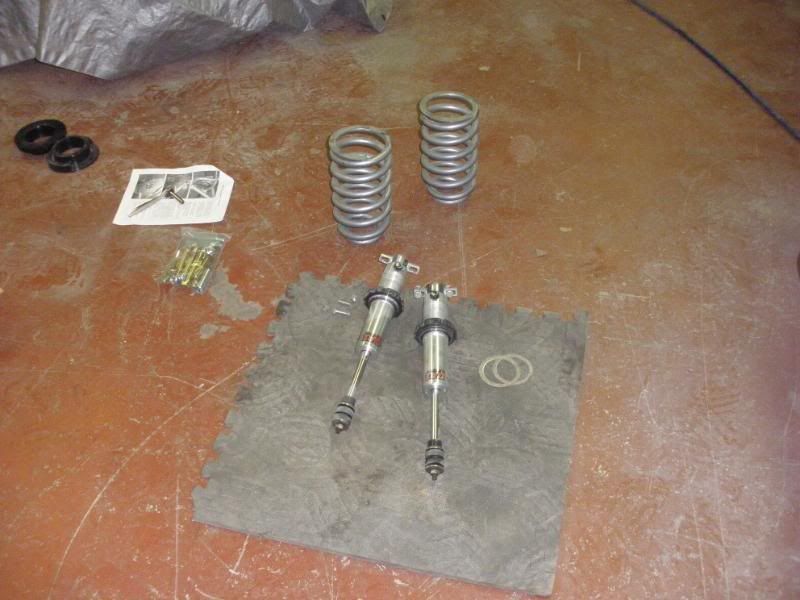
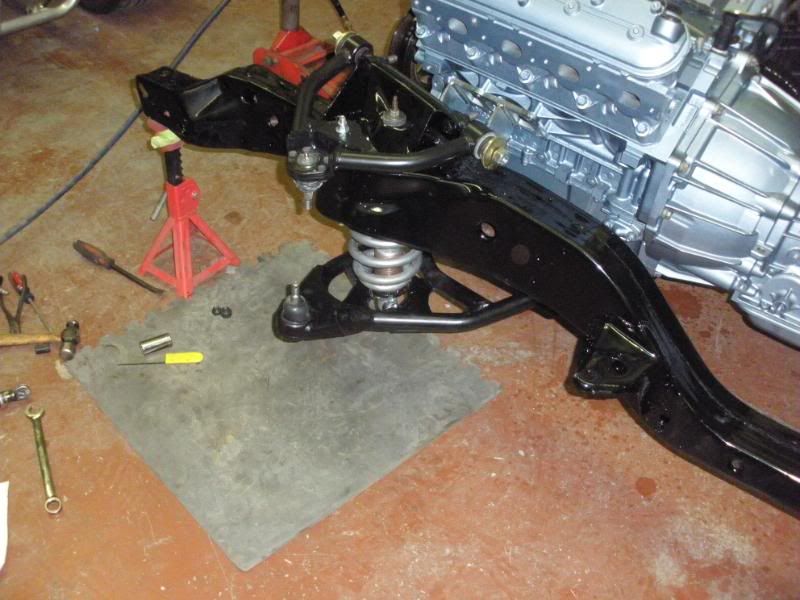
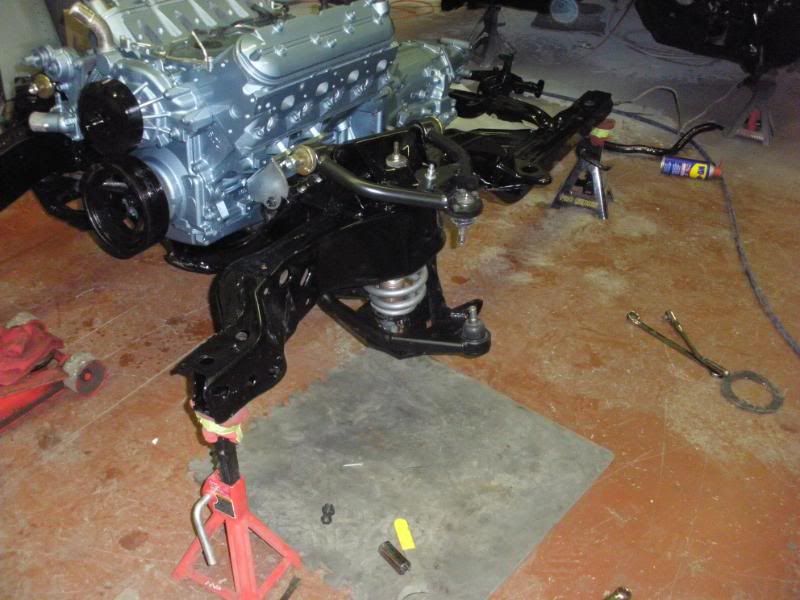
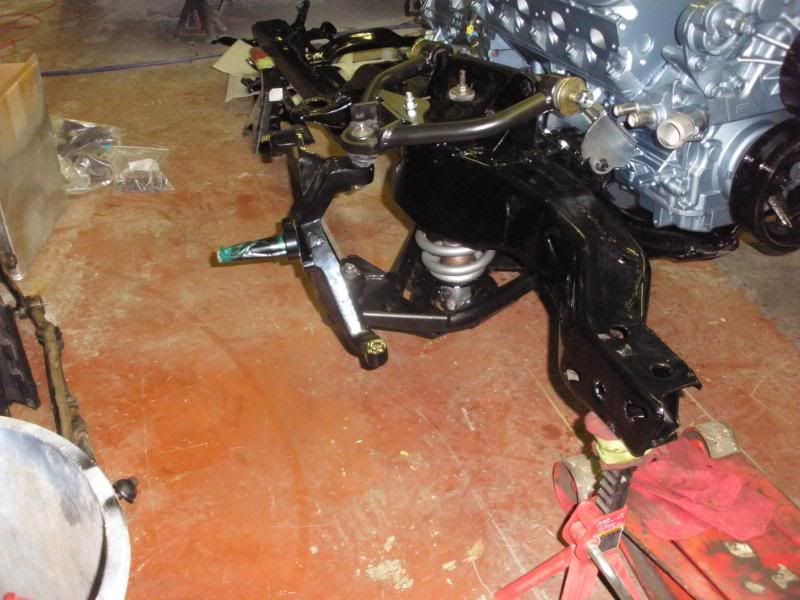
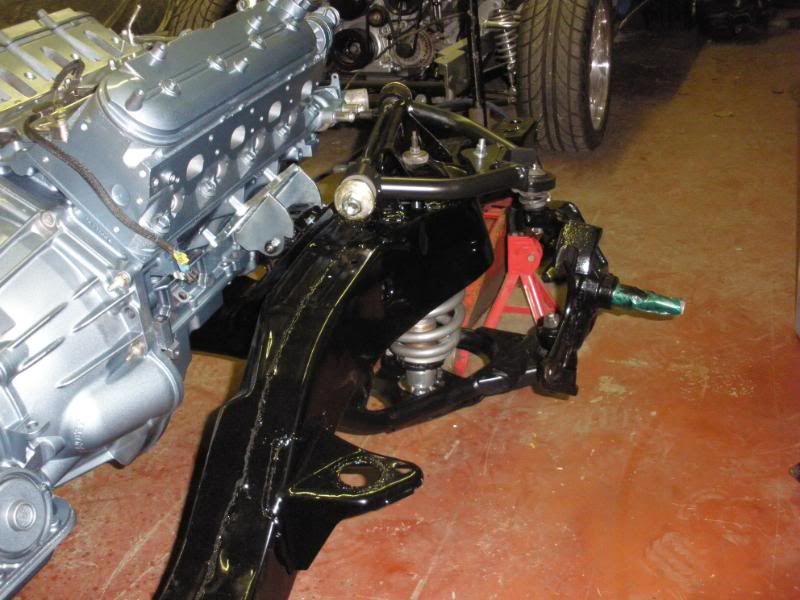
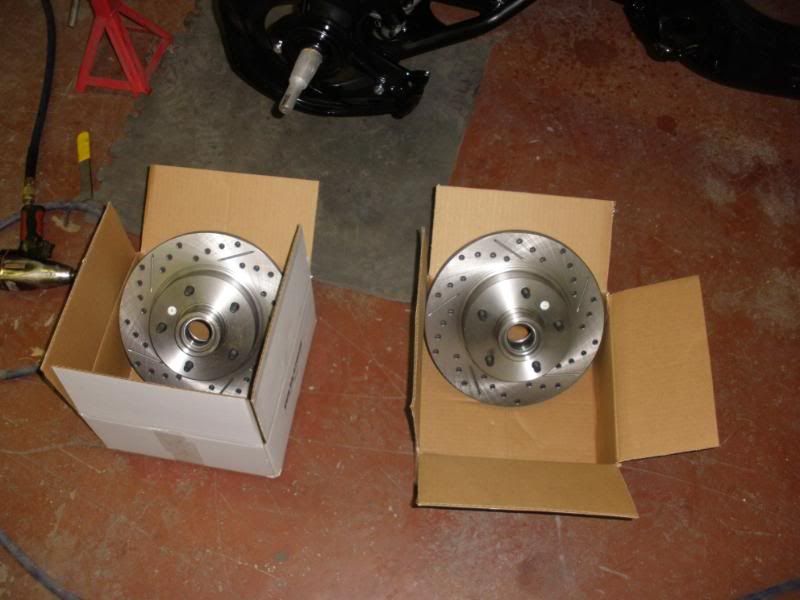
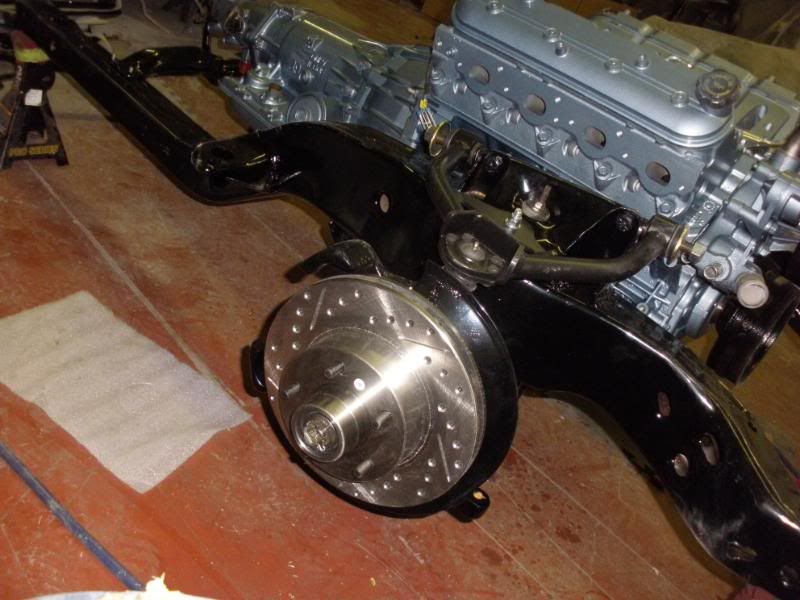
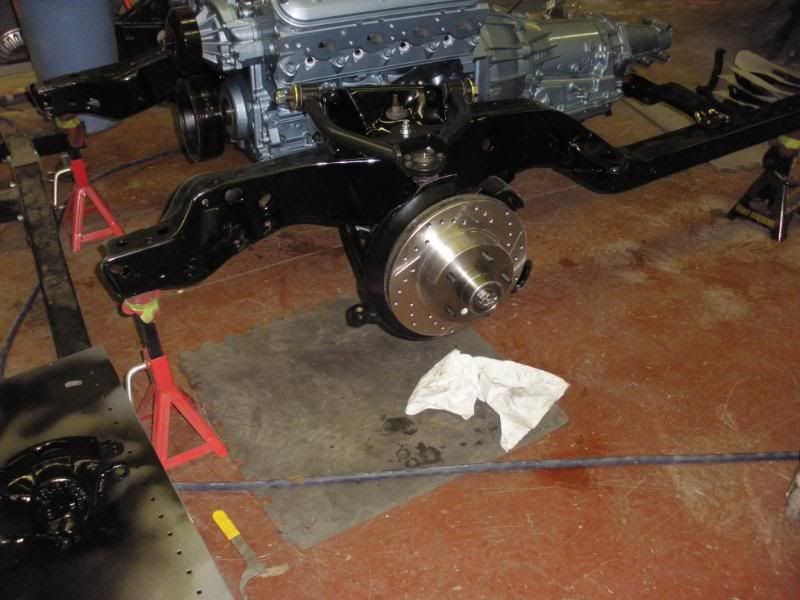
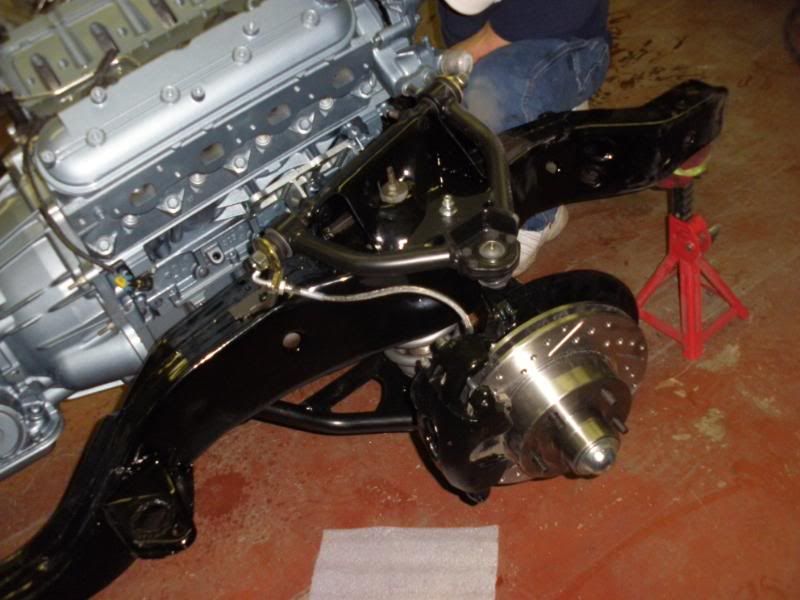
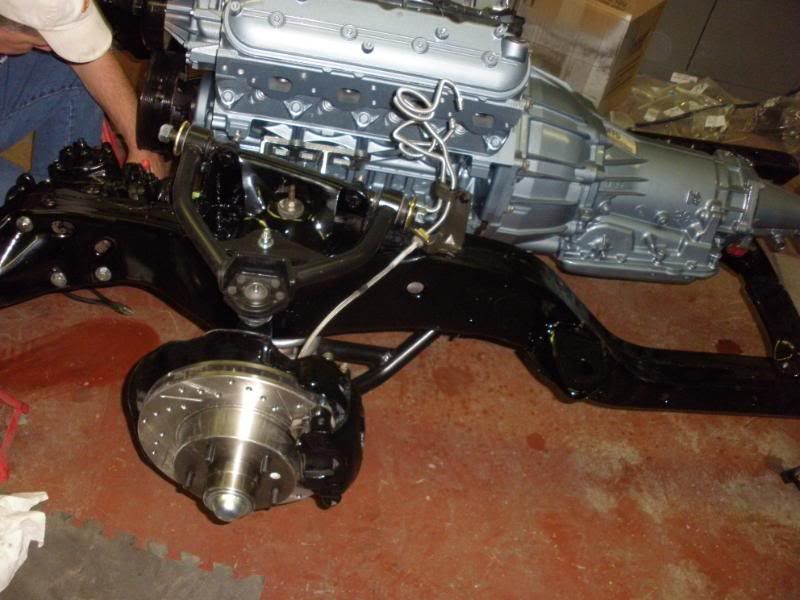
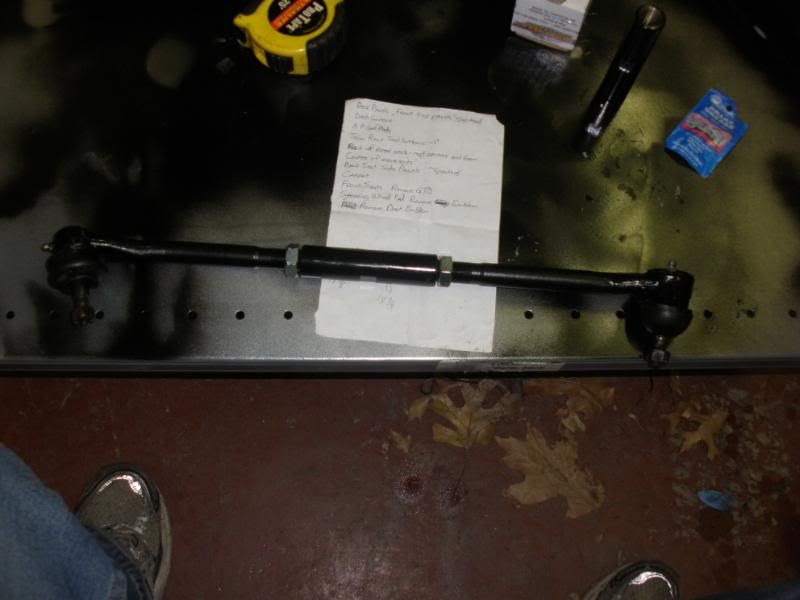
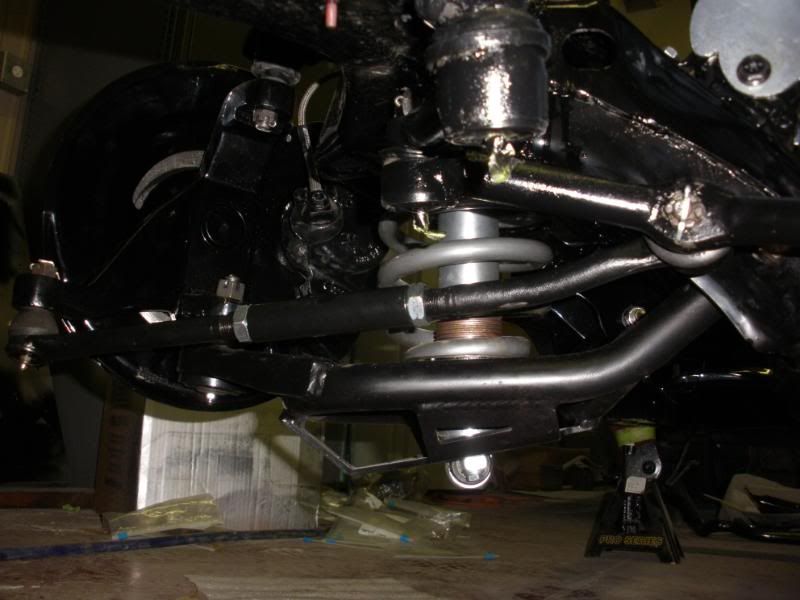
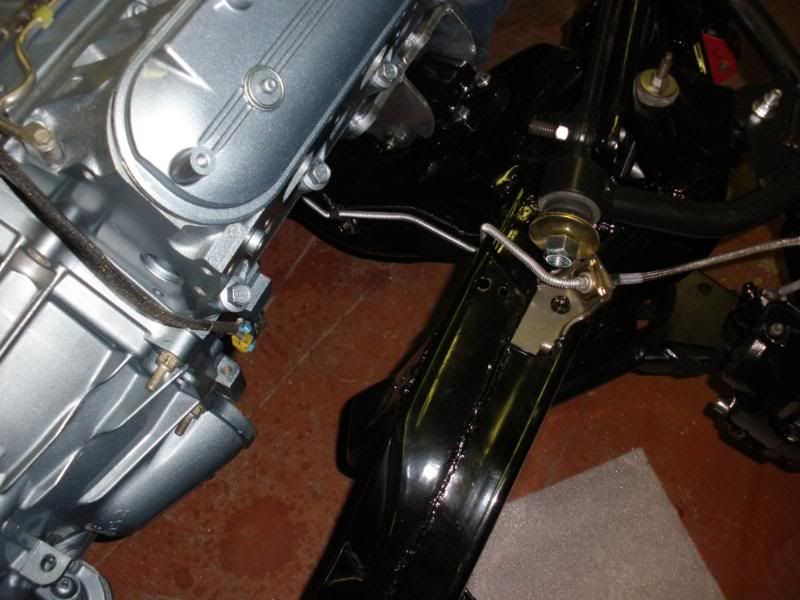
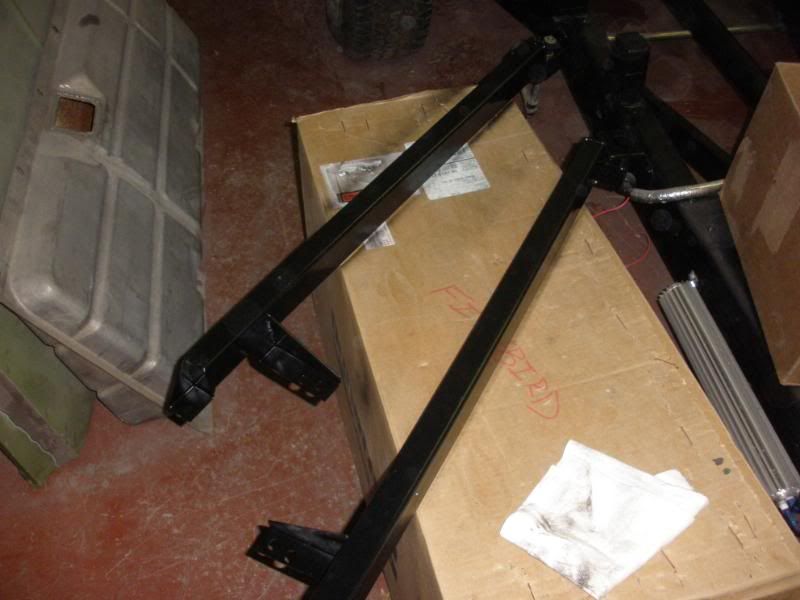
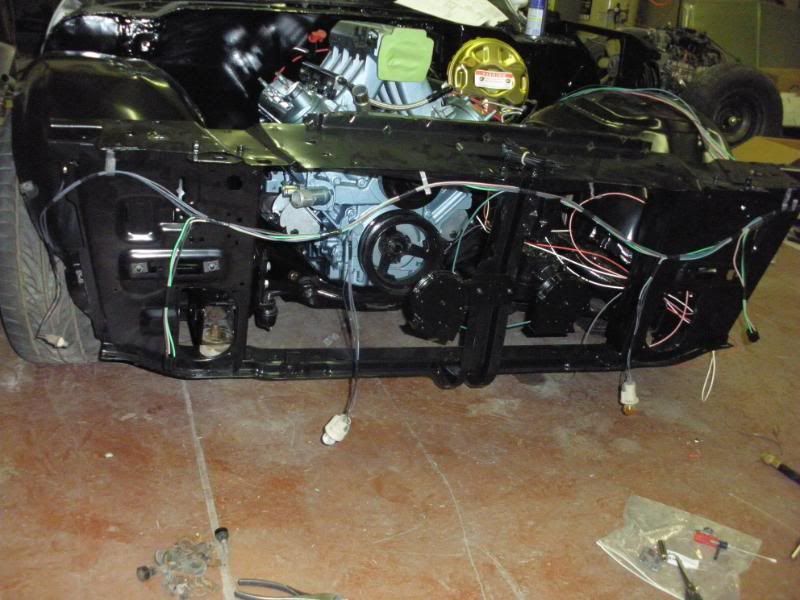
then i took the frame, suspension, inner fenders, core support, etc... to the powder coating shop, and got them back..then started doing re-assembly

then i took the frame, suspension, inner fenders, core support, etc... to the powder coating shop, and got them back..then started doing re-assembly


 12-29-2014, 08:23 AM
#34
TECH Regular
Thread Starter
iTrader: (1)
Join Date: Oct 2005
Location: tulsa OK
Posts: 439
Likes: 0
Received 0 Likes
on
0 Posts
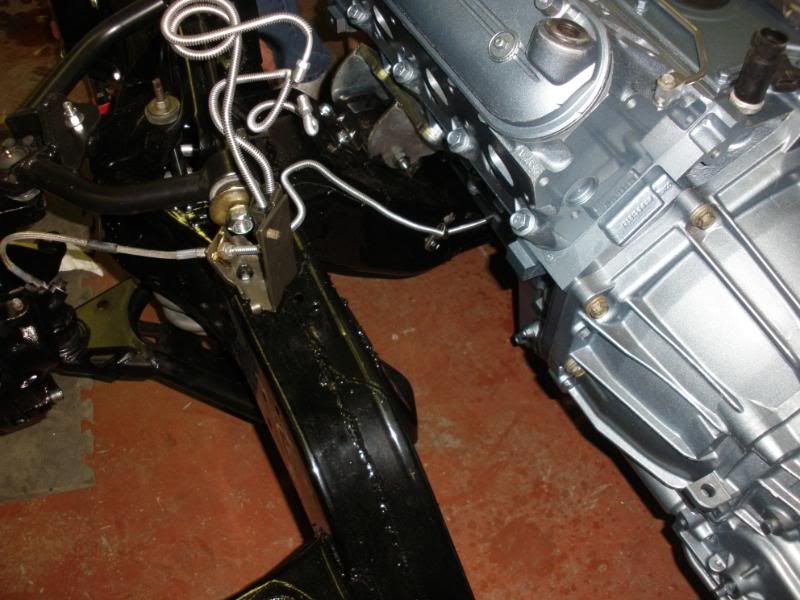
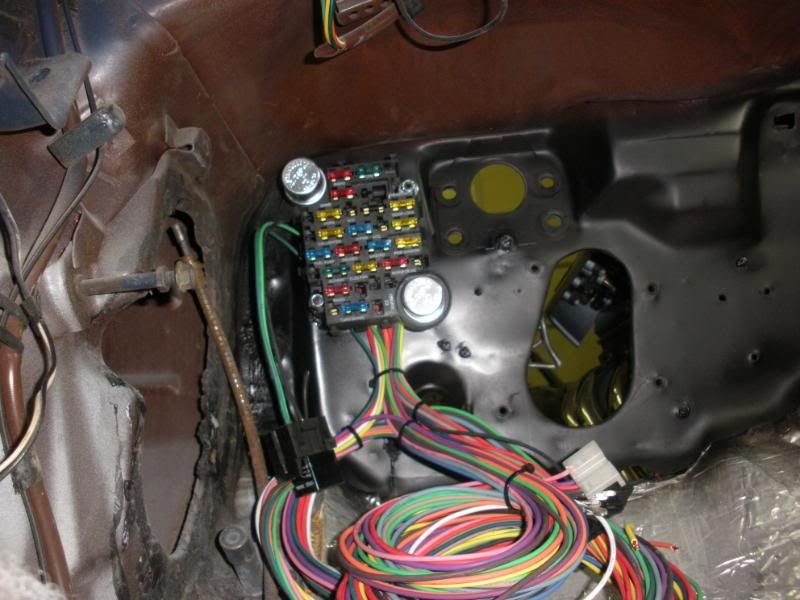
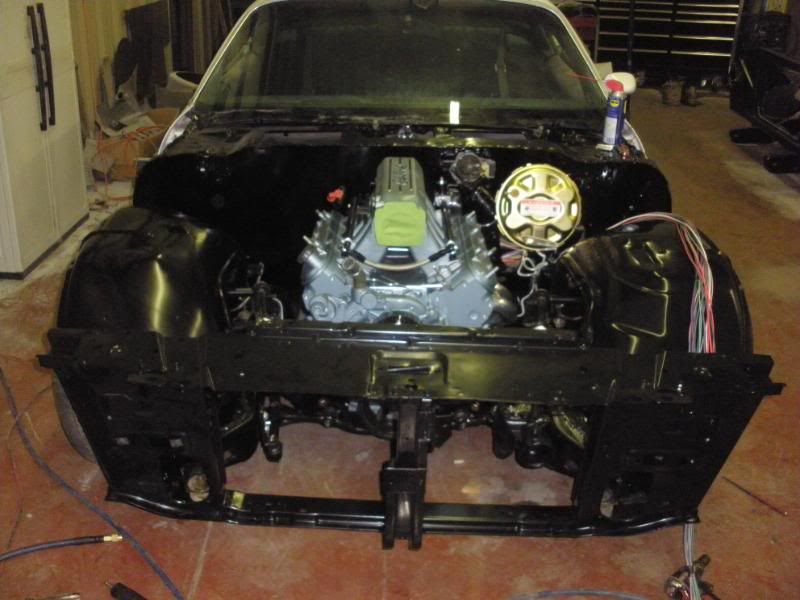
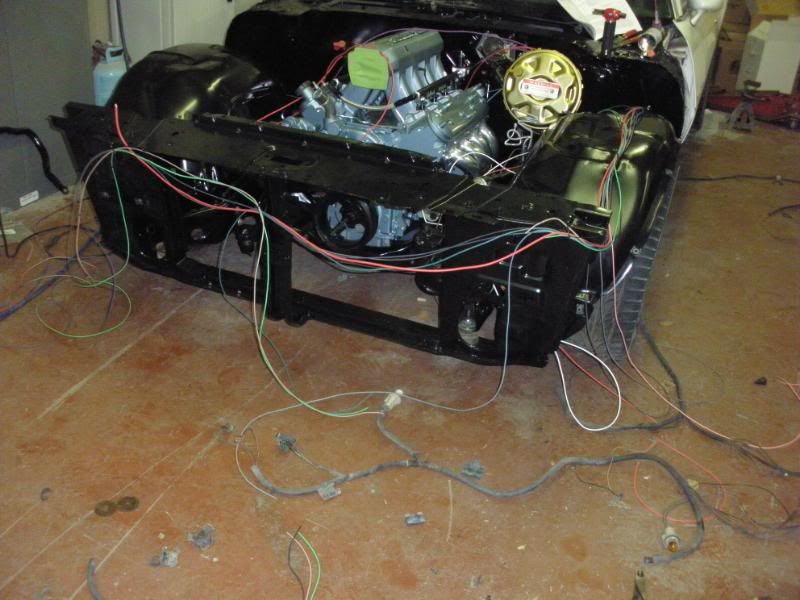
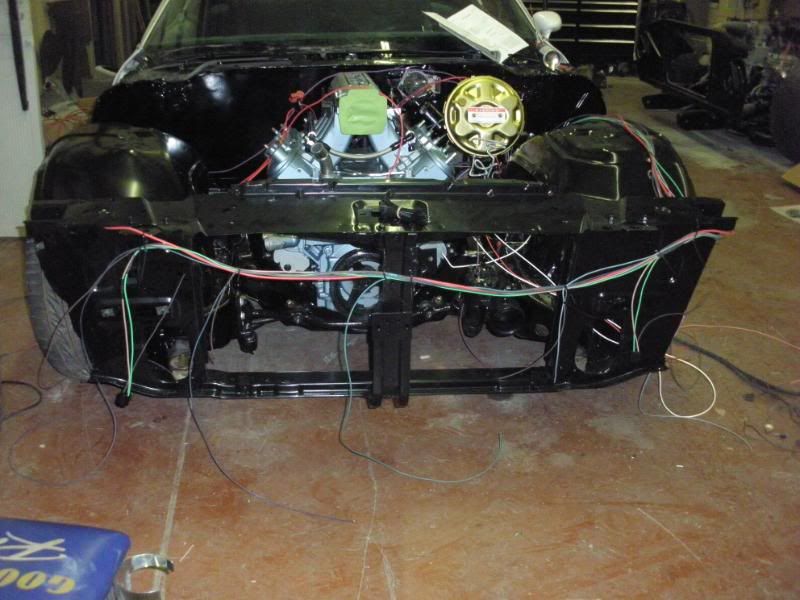
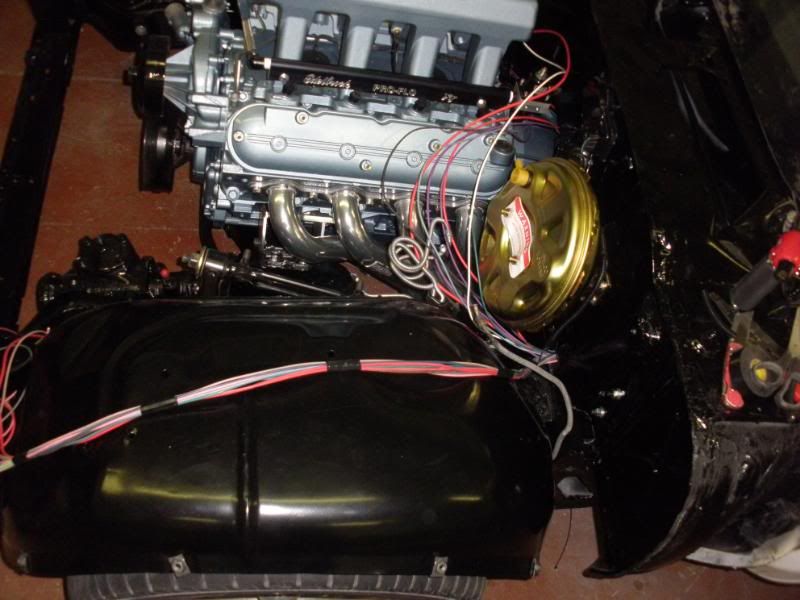
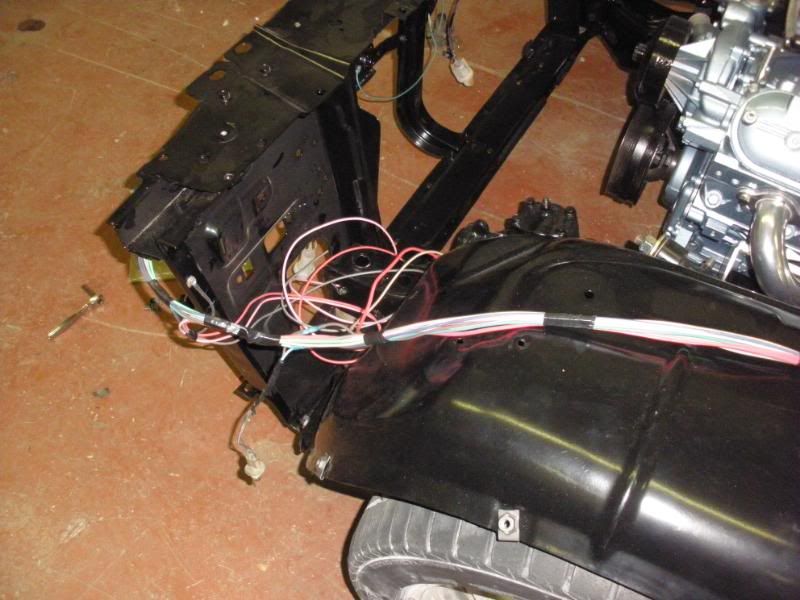
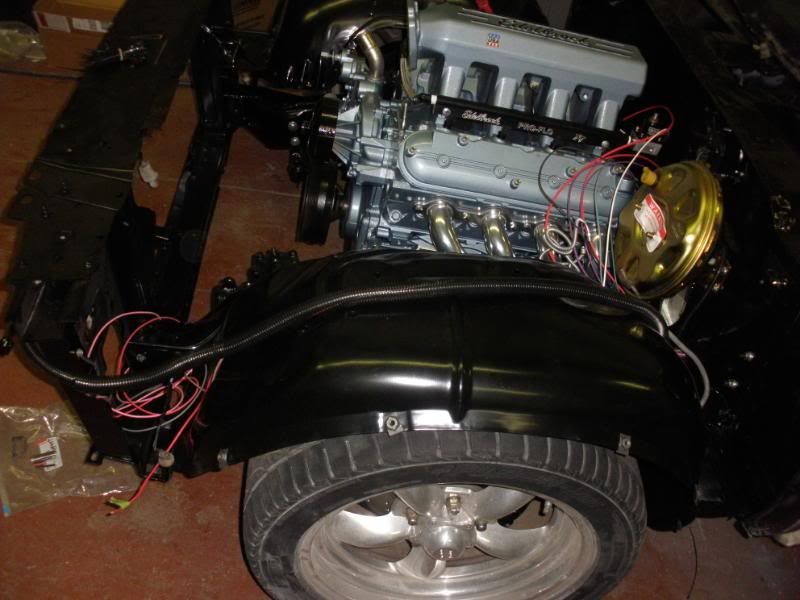
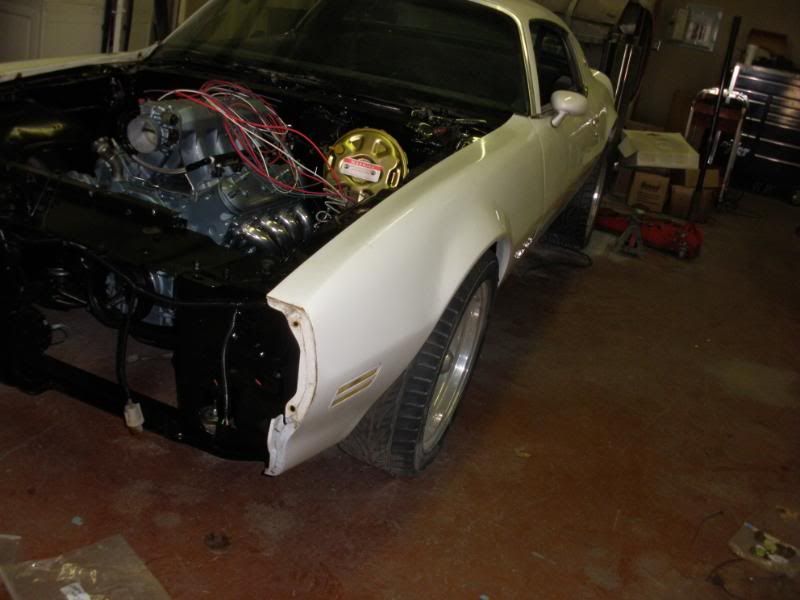
I then started the process of re-wiring the car, i searched and searched for a vehicle specific harness, but I couldn't find one... so i got a universal EZ wire harness... here are a few pics of the process
12-29-2014, 08:23 AM
#35
TECH Regular
Thread Starter
iTrader: (1)
Join Date: Oct 2005
Location: tulsa OK
Posts: 439
Likes: 0
Received 0 Likes
on
0 Posts
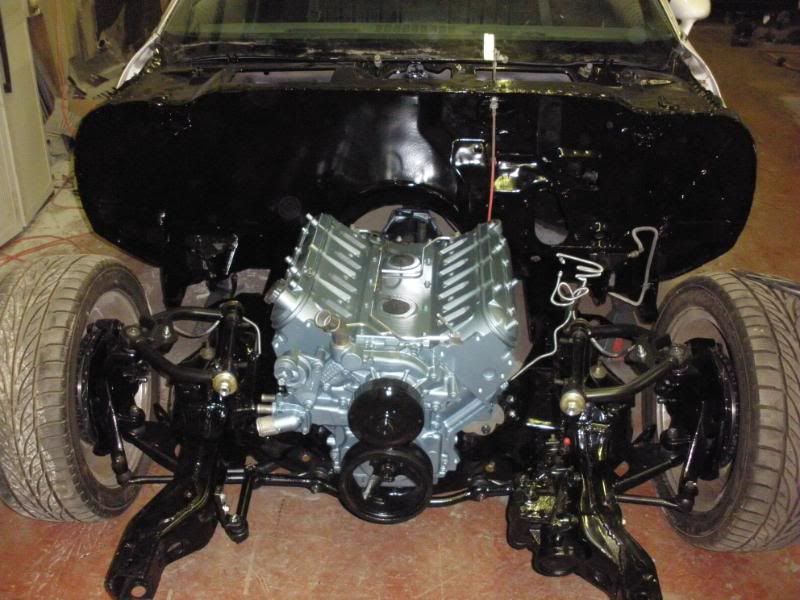
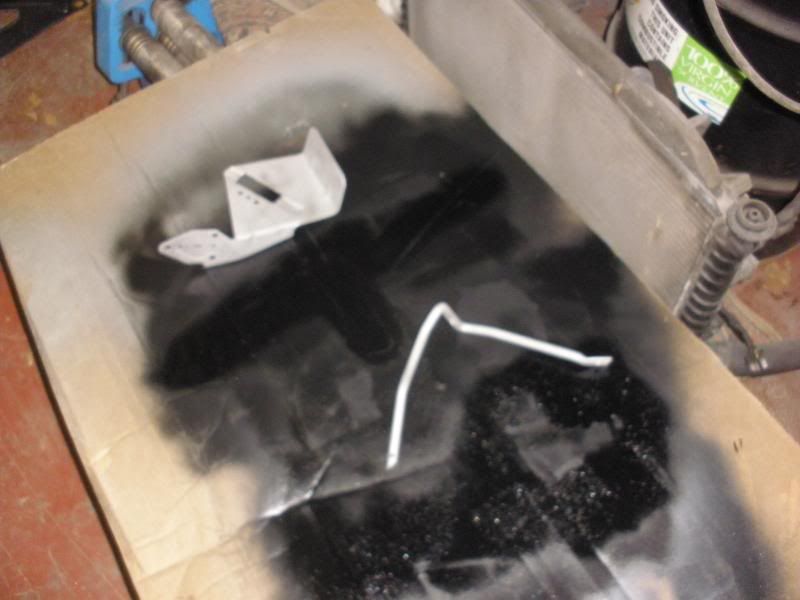
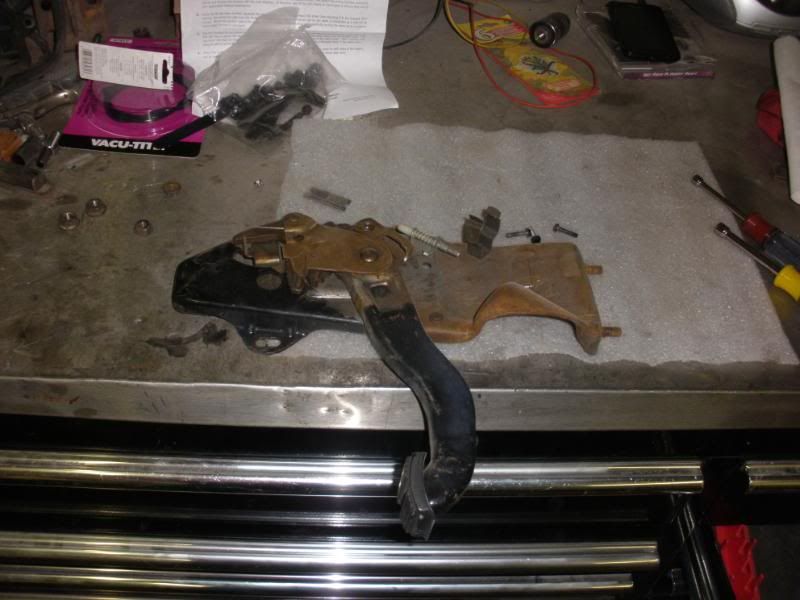
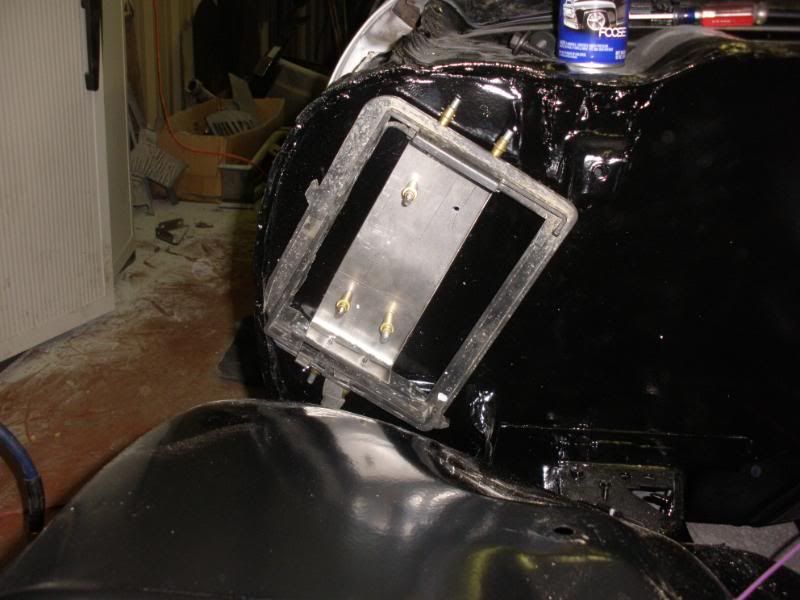
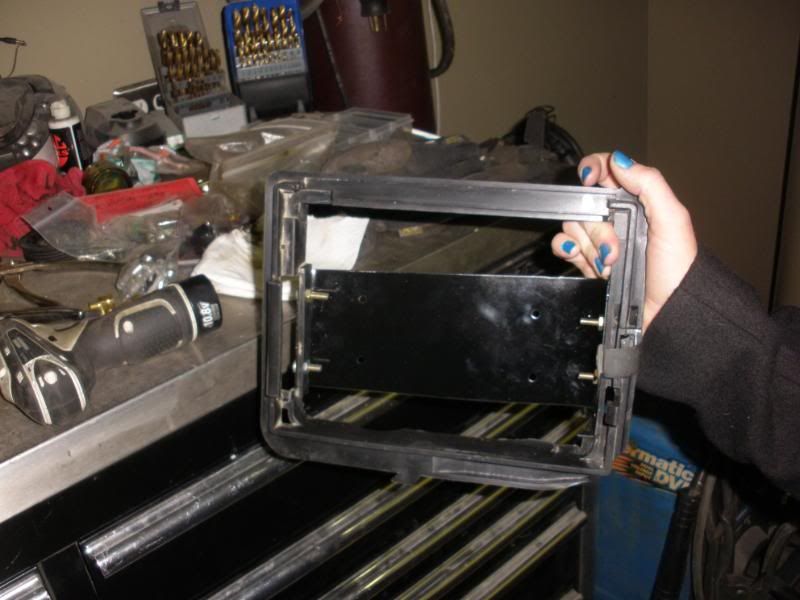
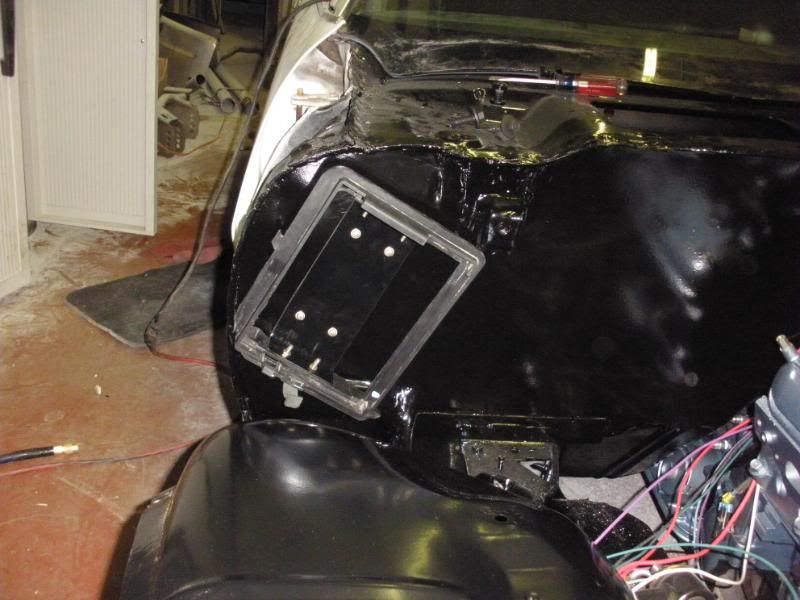
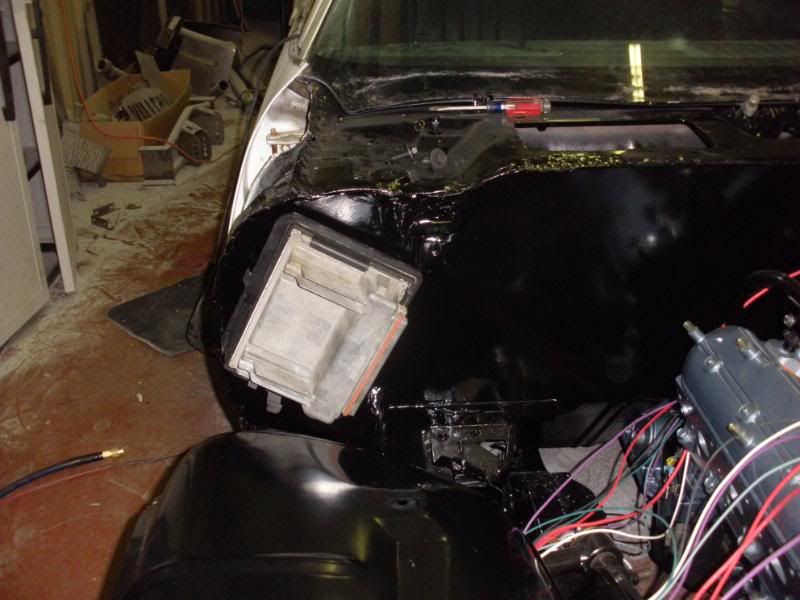
after i got the front end wired, i was looking for a good place to mount the computer, hidden yet easy to access. i found that behind the pass side inner fender, on the firewall would be best. so i fabbed a mount, modded a truck computer holder, and mounted there.

12-29-2014, 08:24 AM
#36
TECH Regular
Thread Starter
iTrader: (1)
Join Date: Oct 2005
Location: tulsa OK
Posts: 439
Likes: 0
Received 0 Likes
on
0 Posts
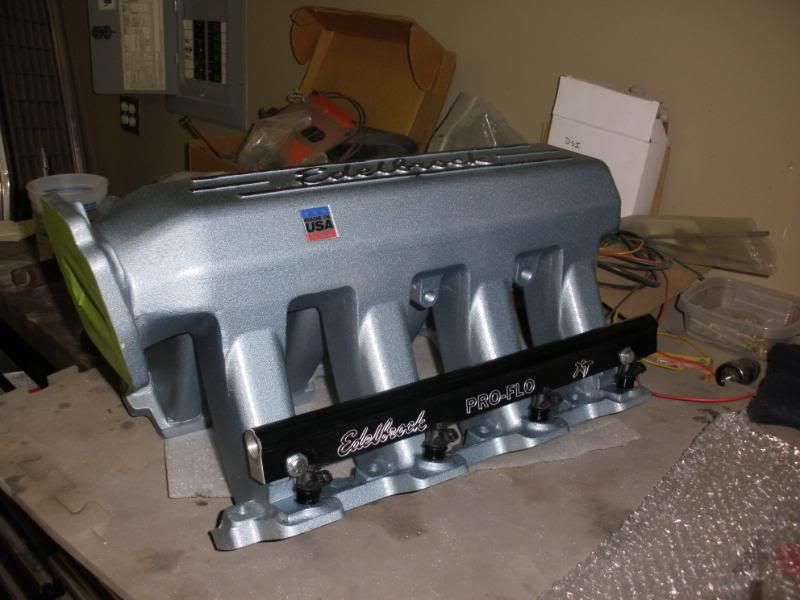
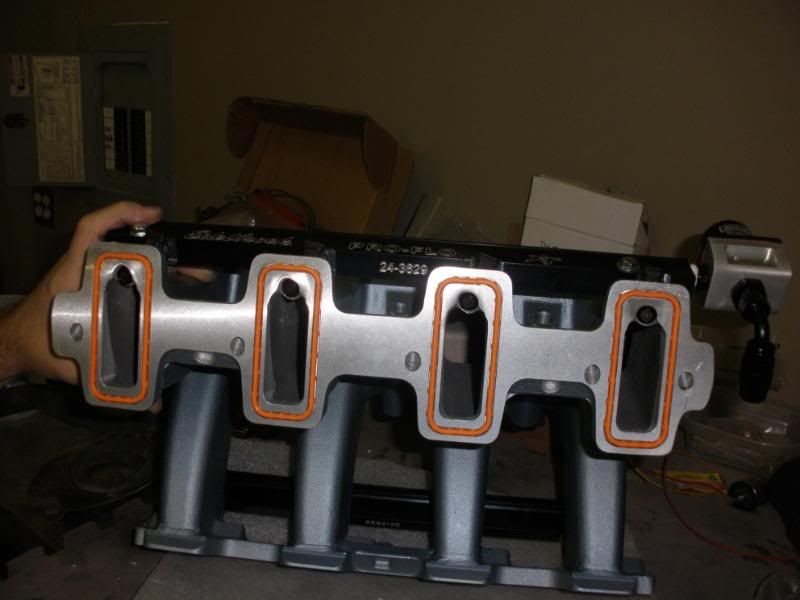
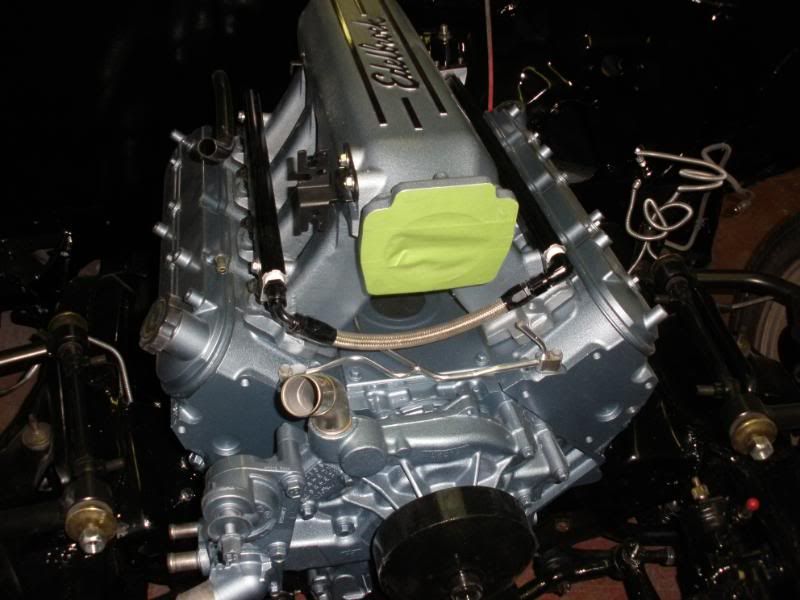
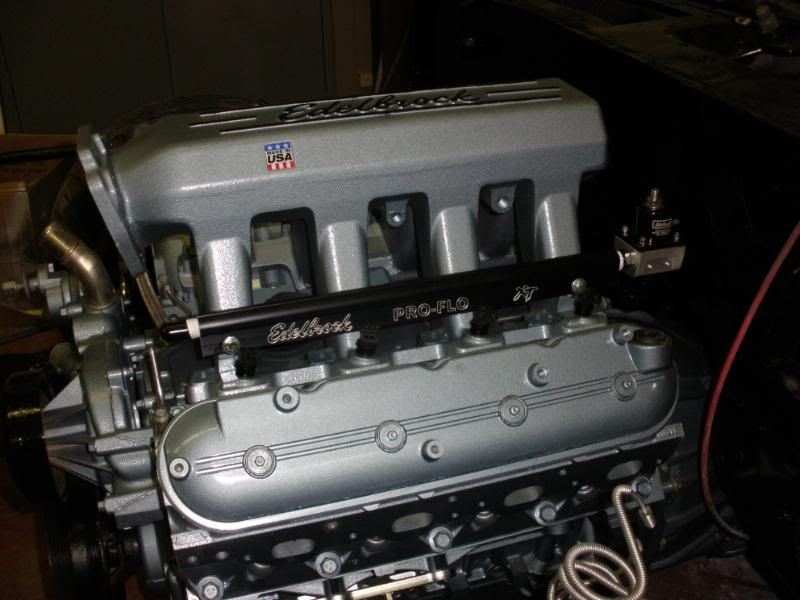
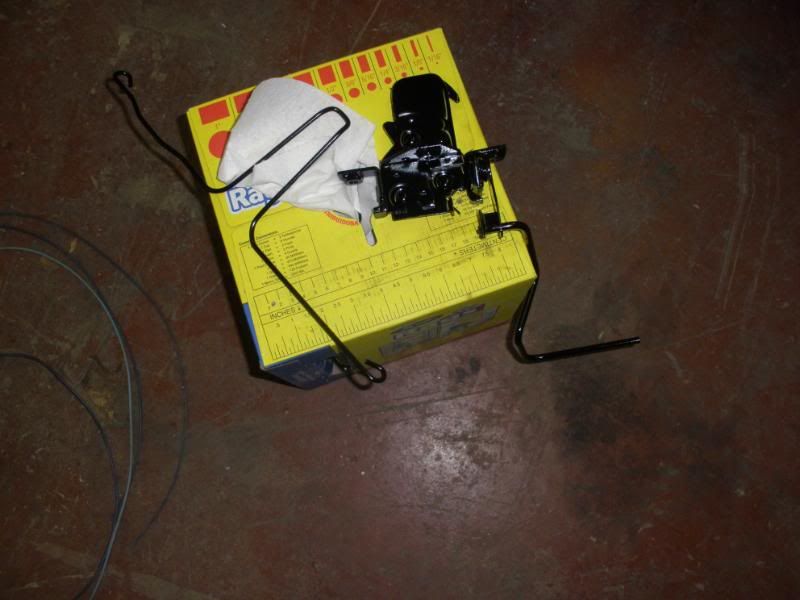
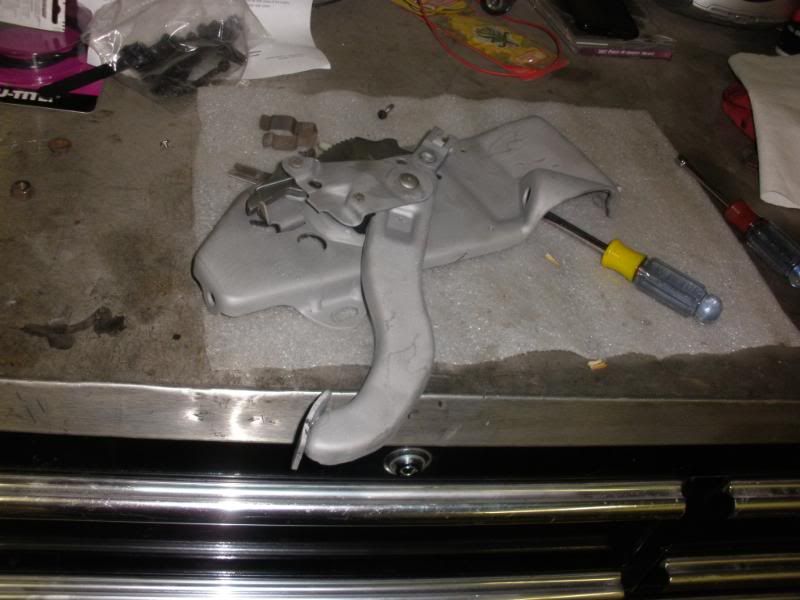
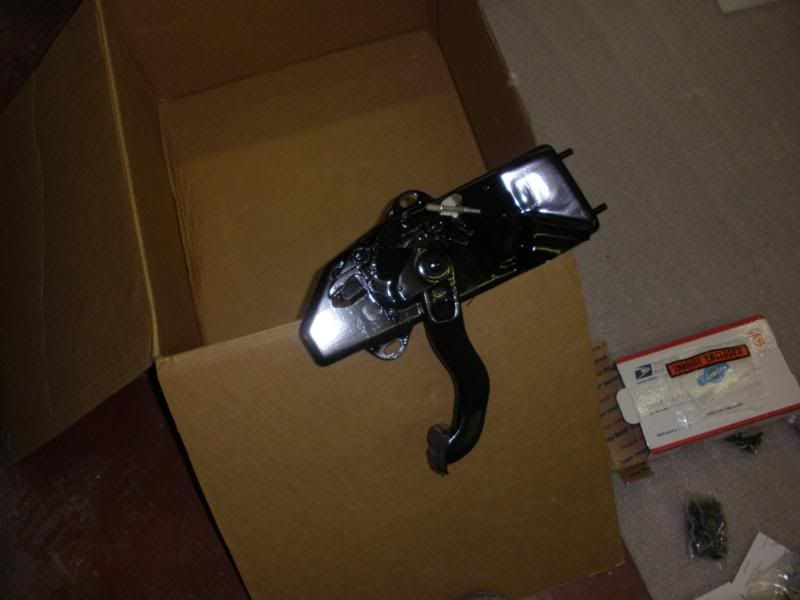
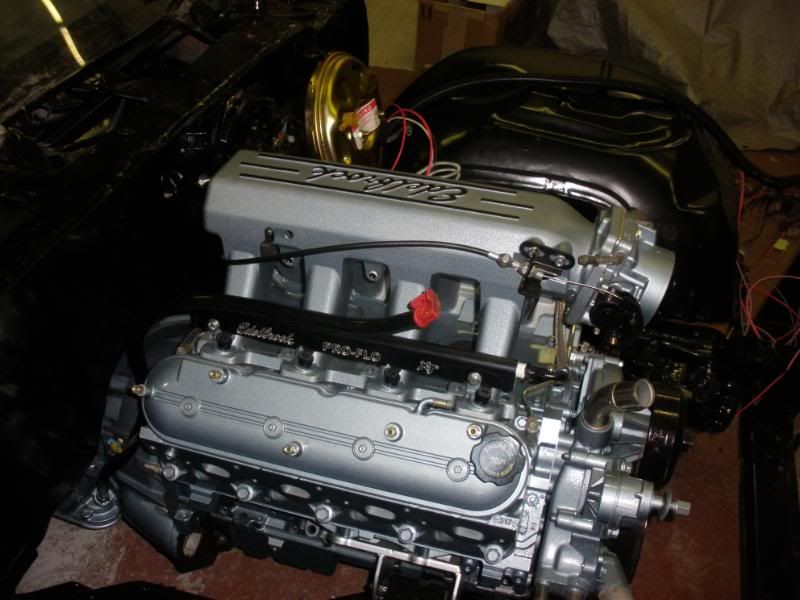
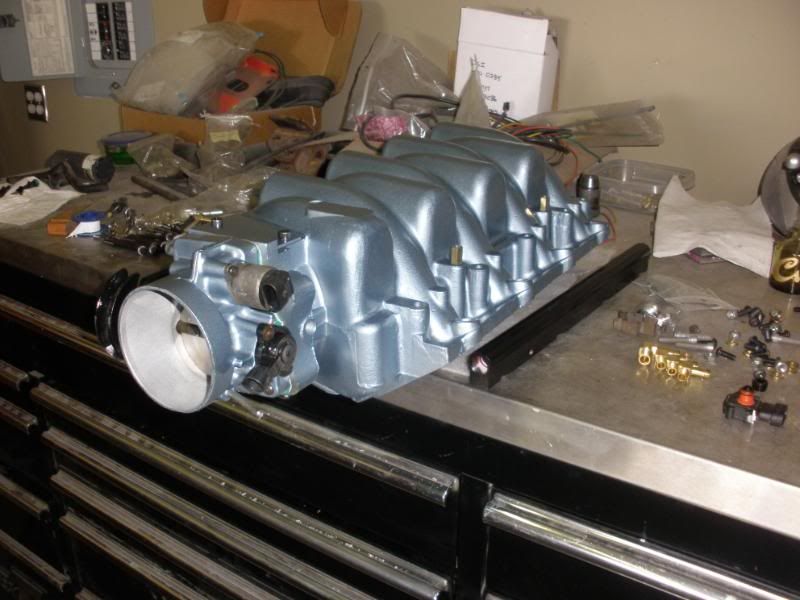
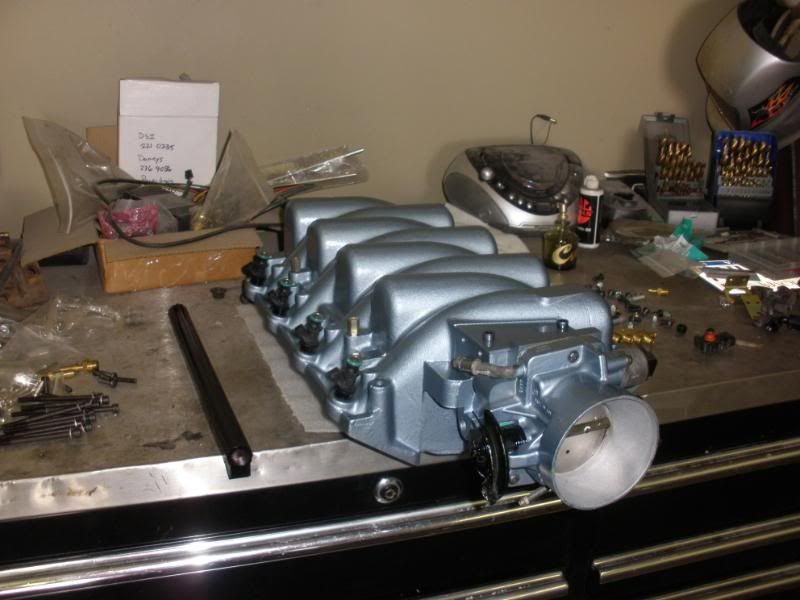
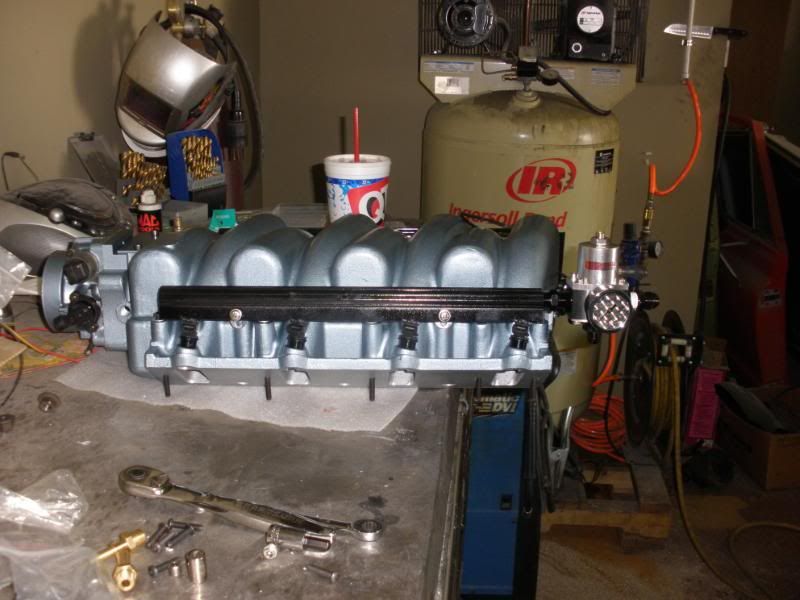
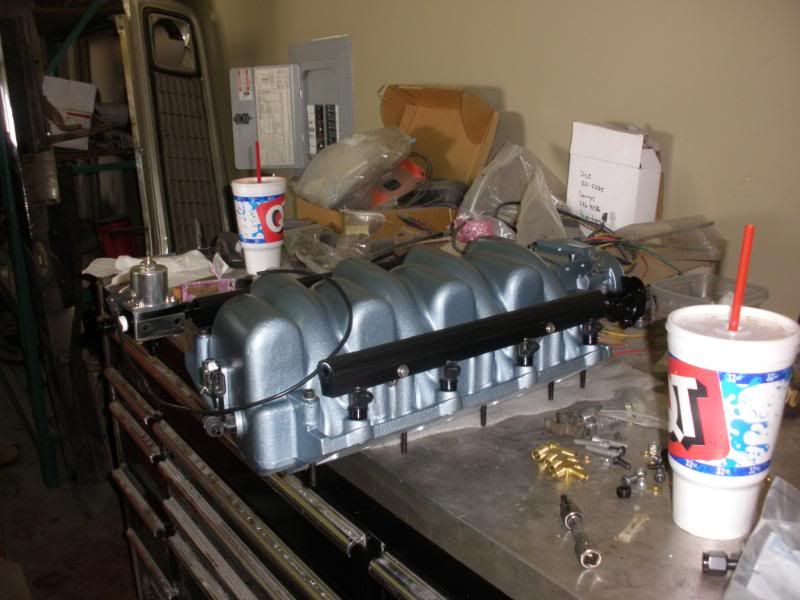
ooce i had the intake in place, i dissassembled, blasted, and painted the throttle body.
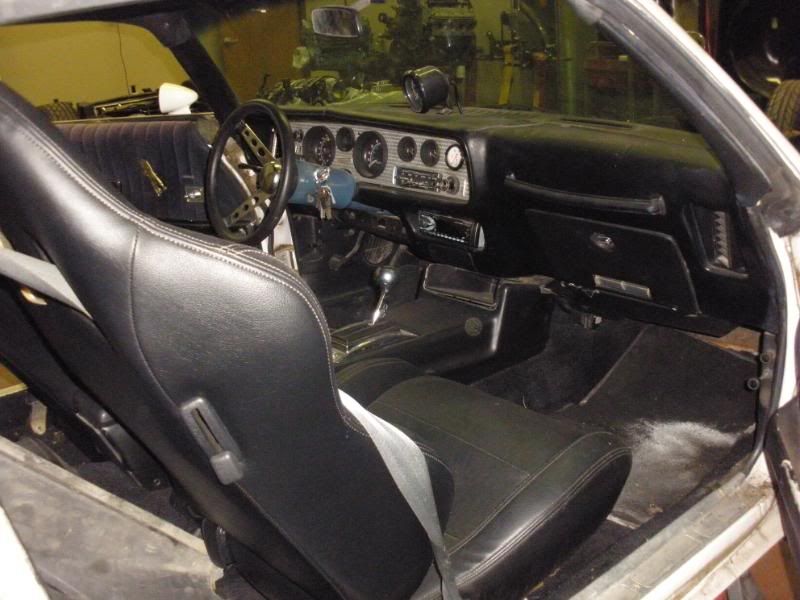
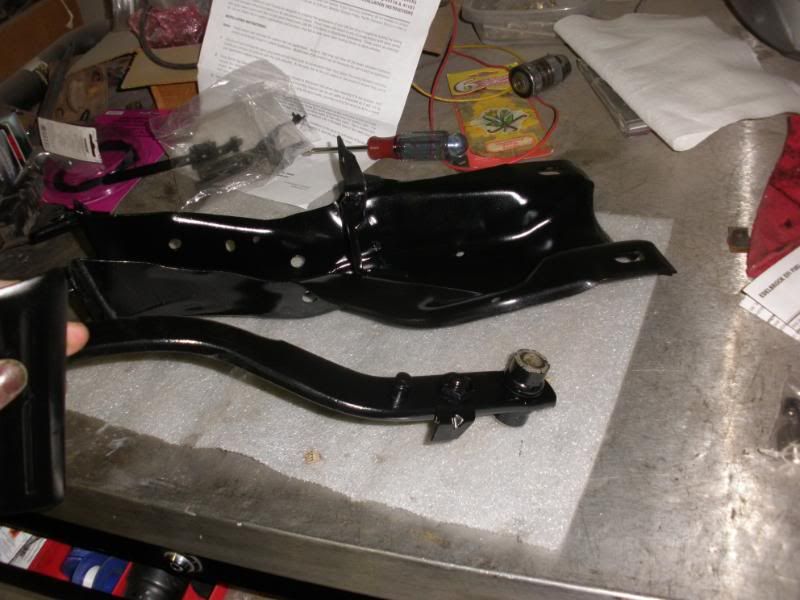
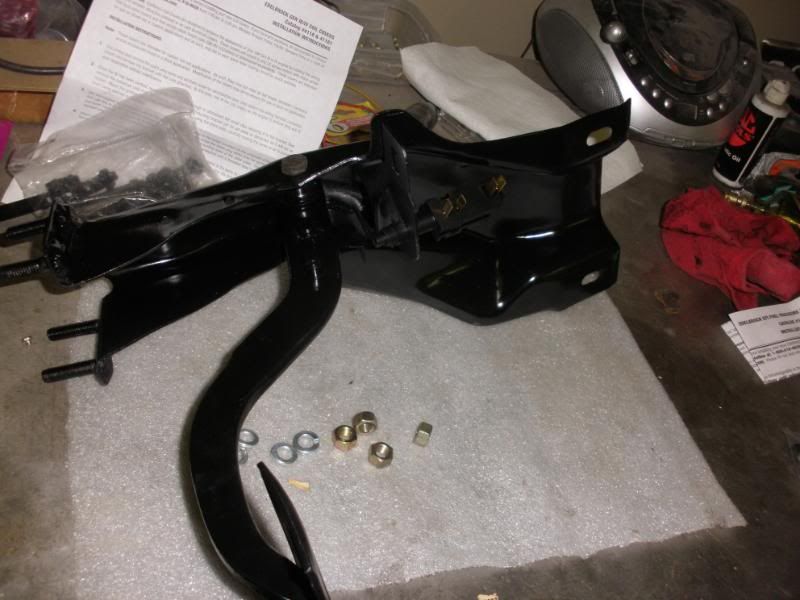
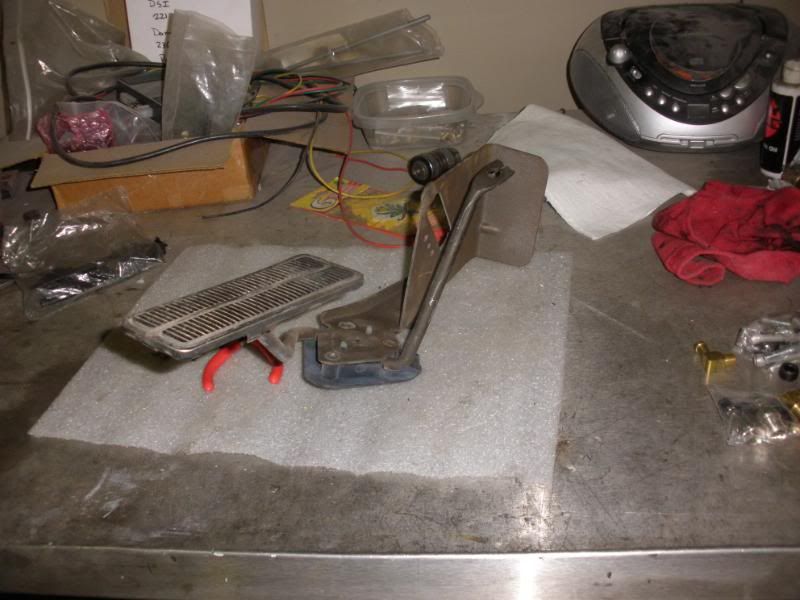
I also installed the gas pedel so i could measure and cut the throttle cable.
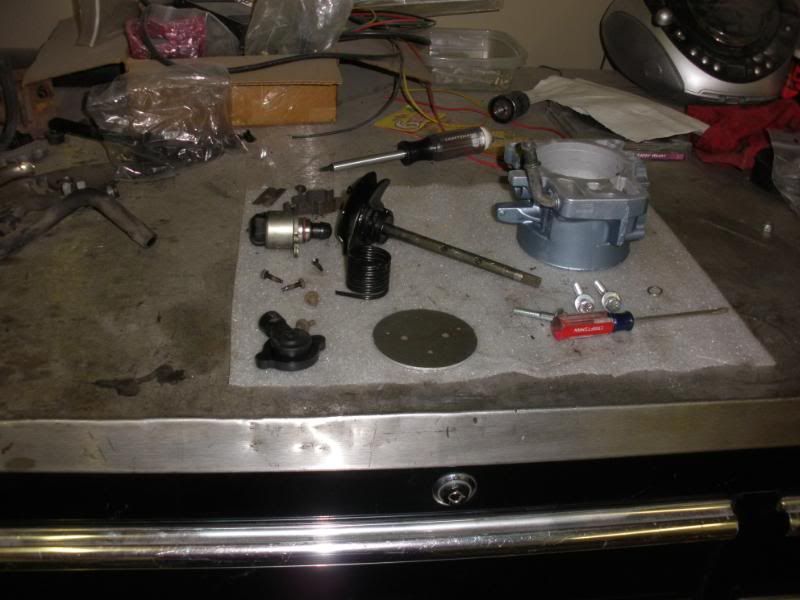
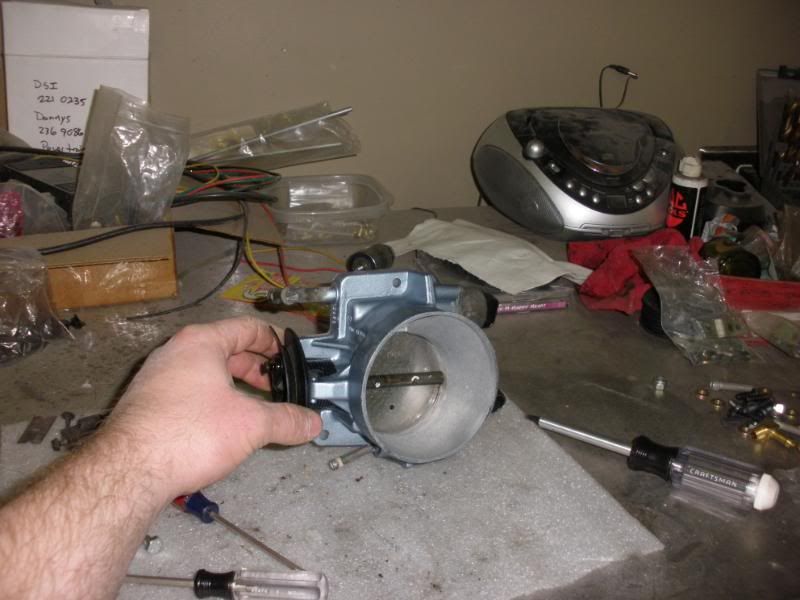
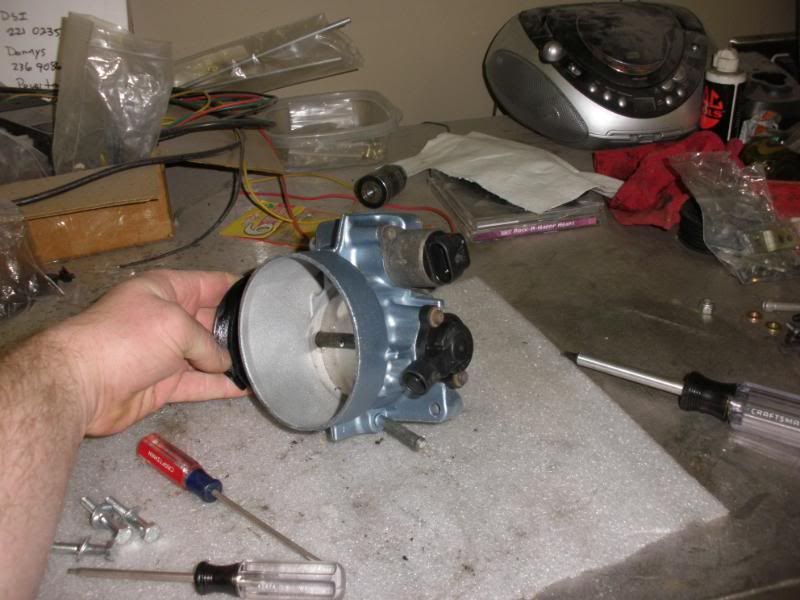
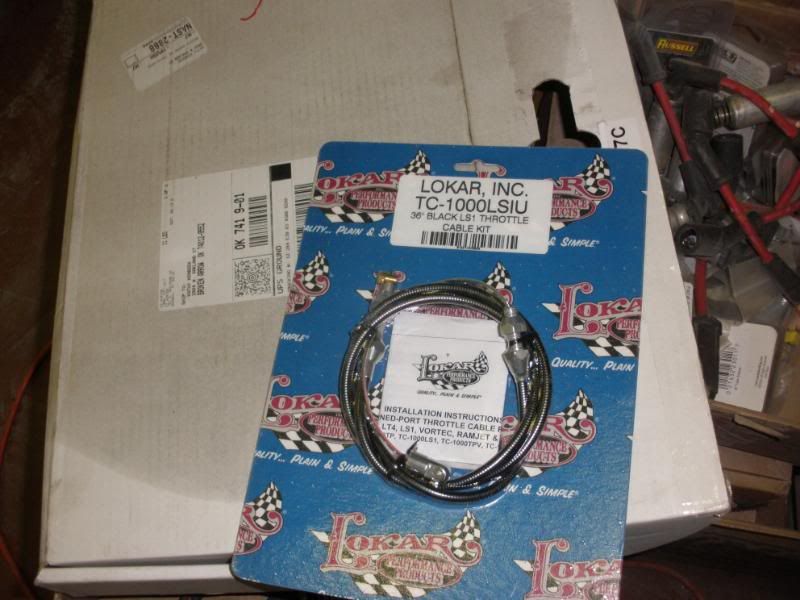
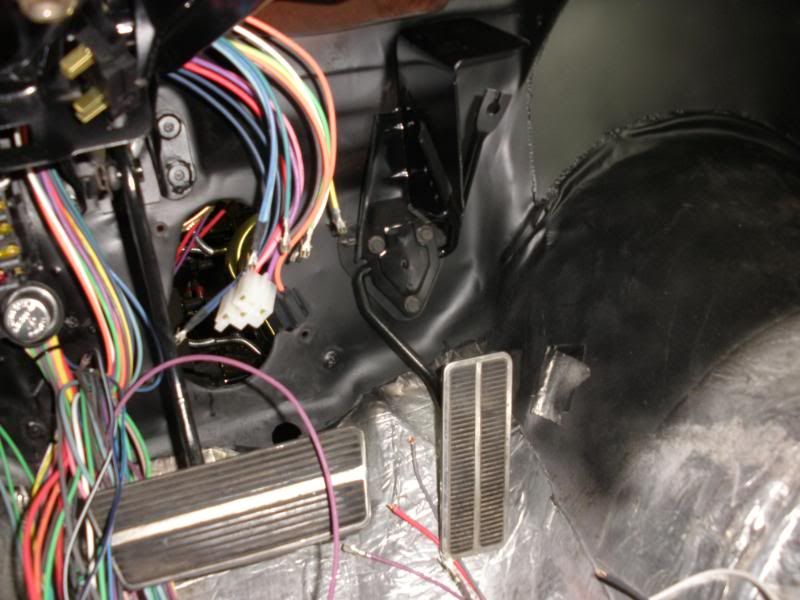
I also installed the gas pedel so i could measure and cut the throttle cable.
12-29-2014, 08:24 AM
#37
TECH Regular
Thread Starter
iTrader: (1)
Join Date: Oct 2005
Location: tulsa OK
Posts: 439
Likes: 0
Received 0 Likes
on
0 Posts
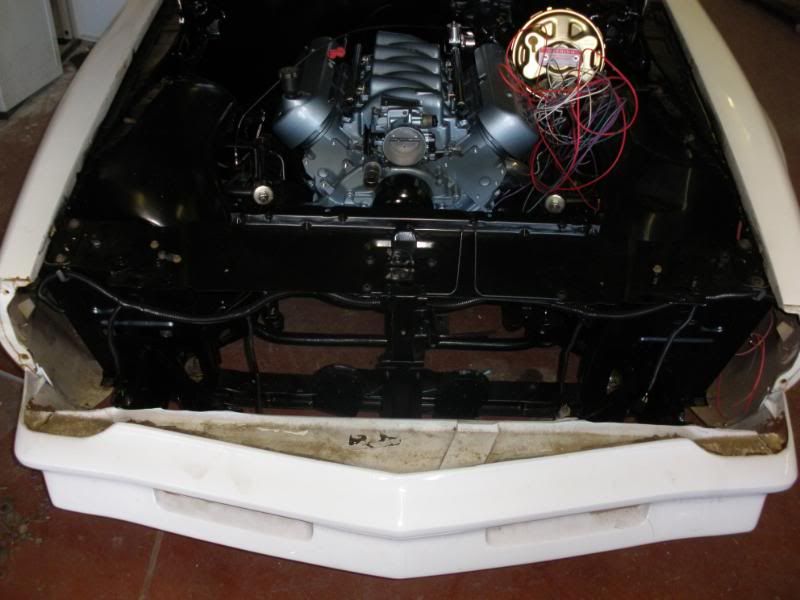
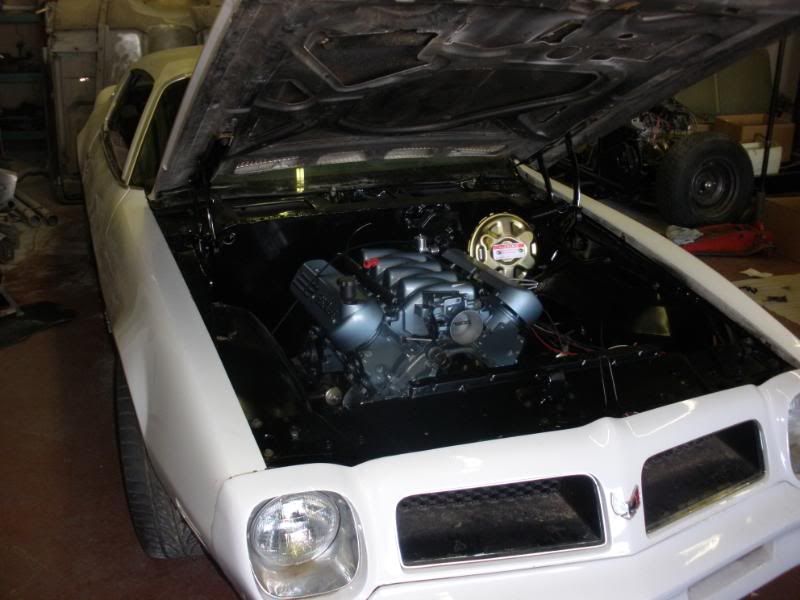
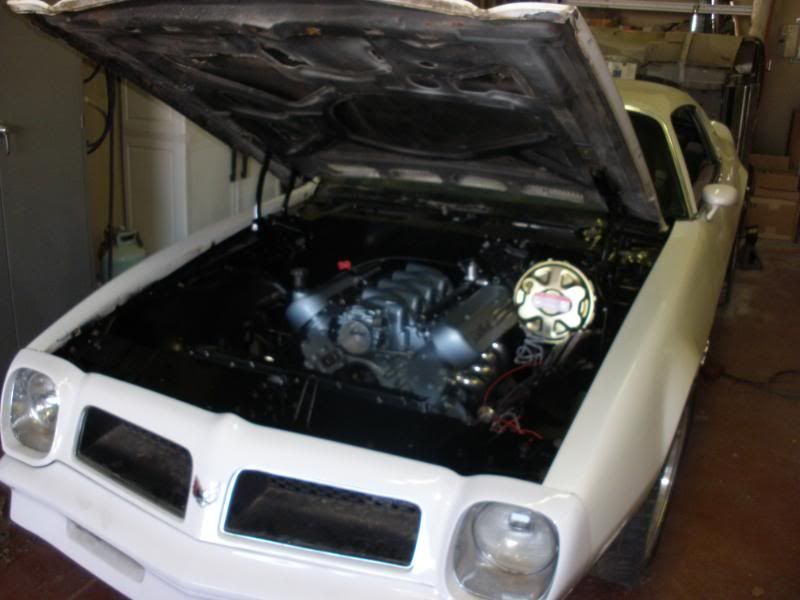
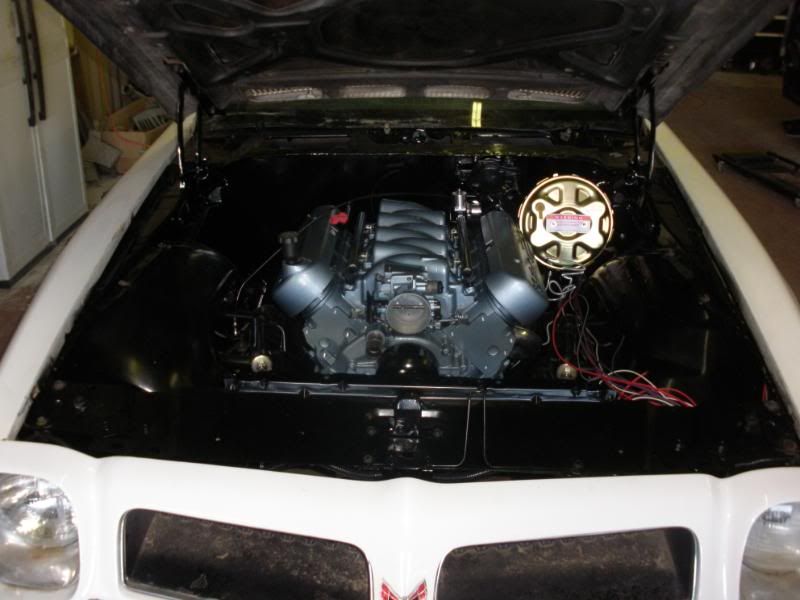
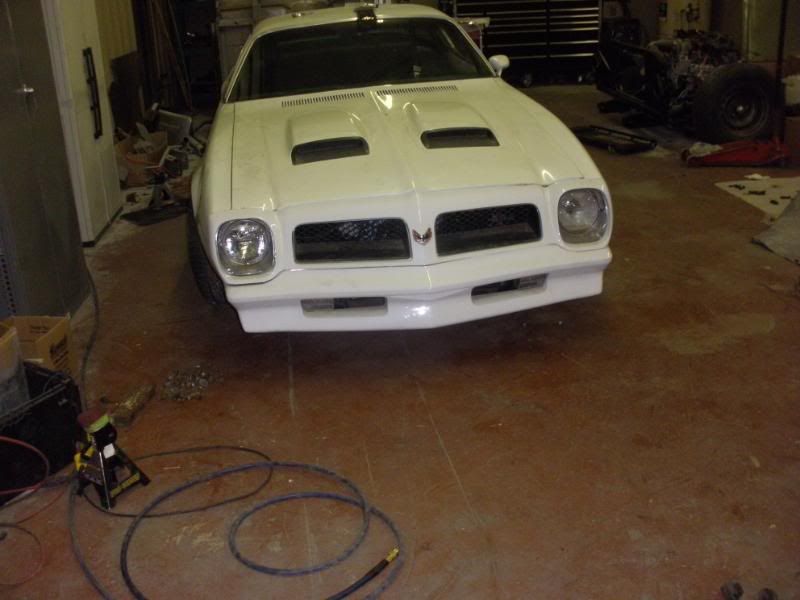
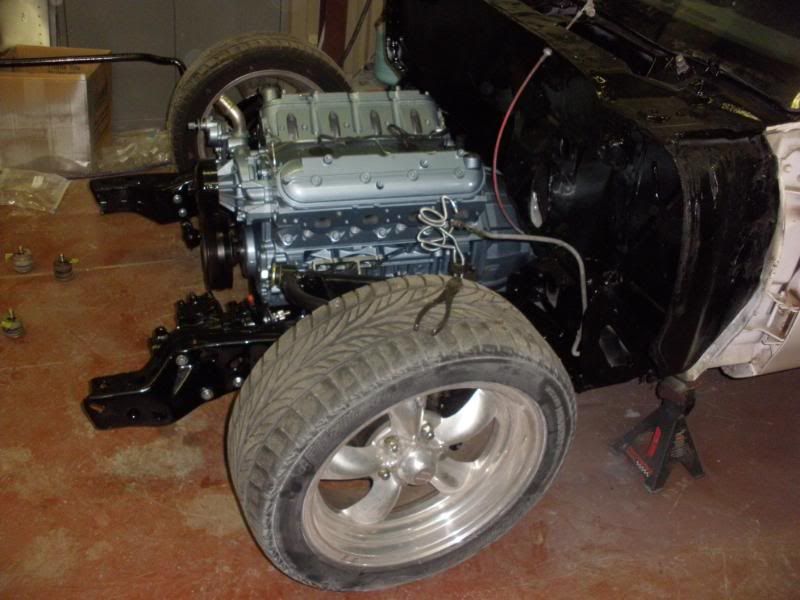
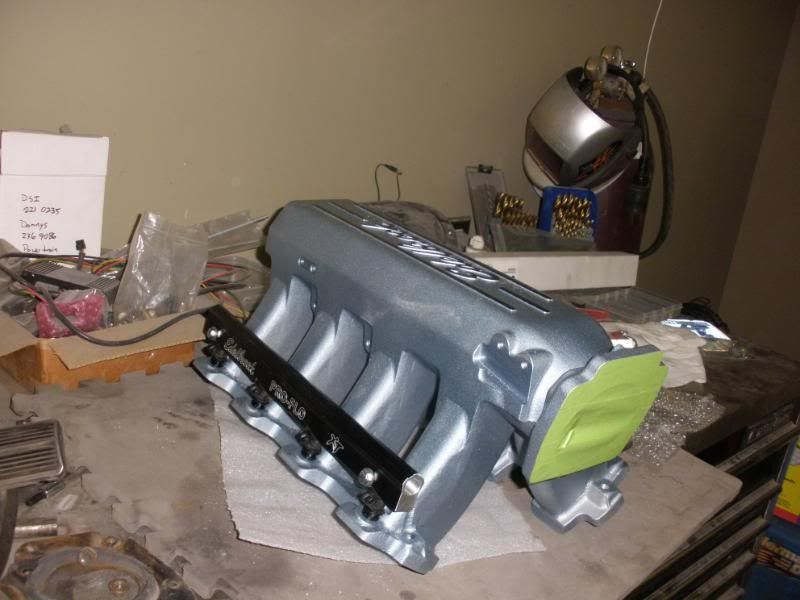
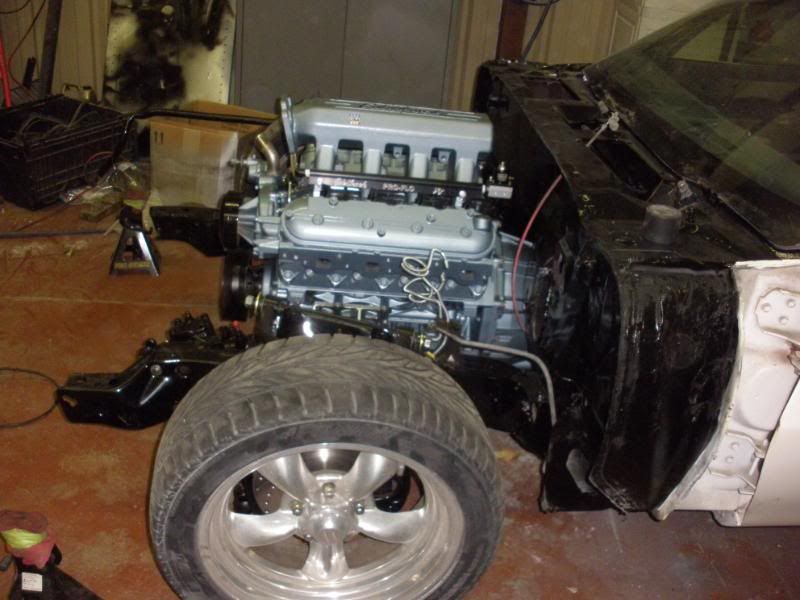
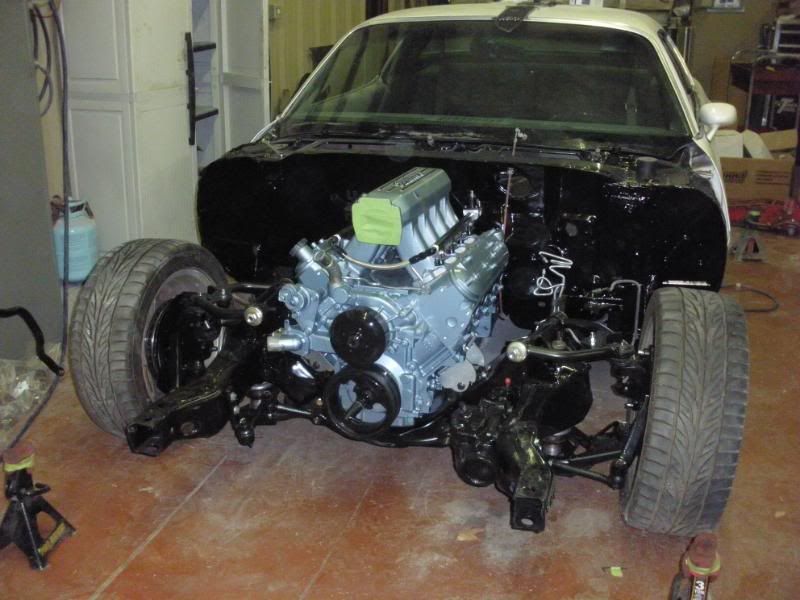
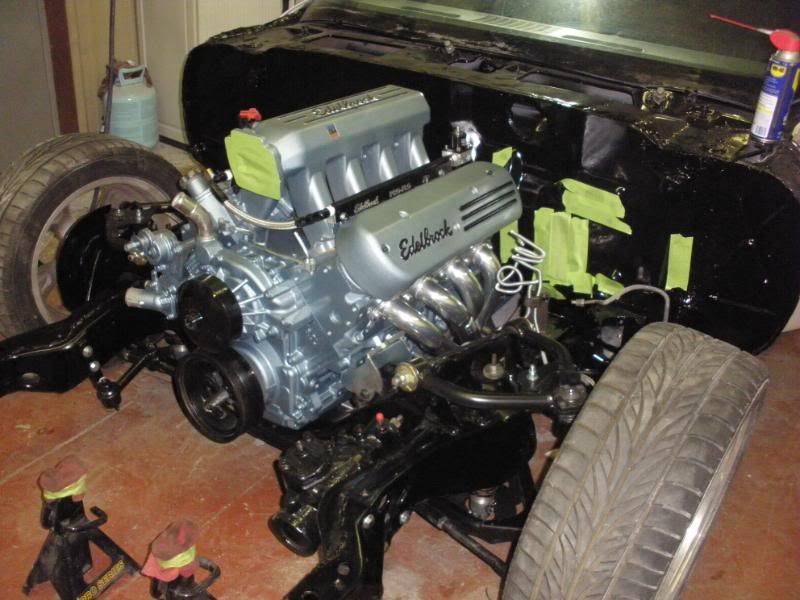
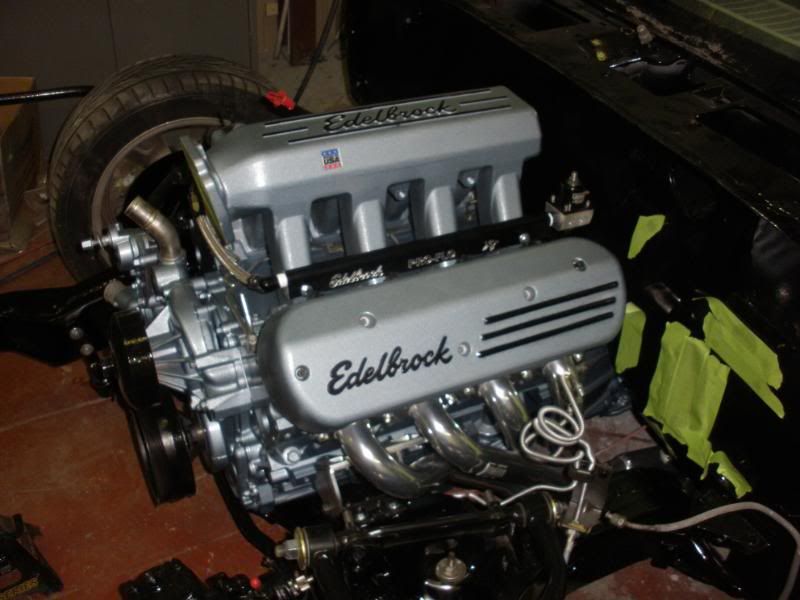
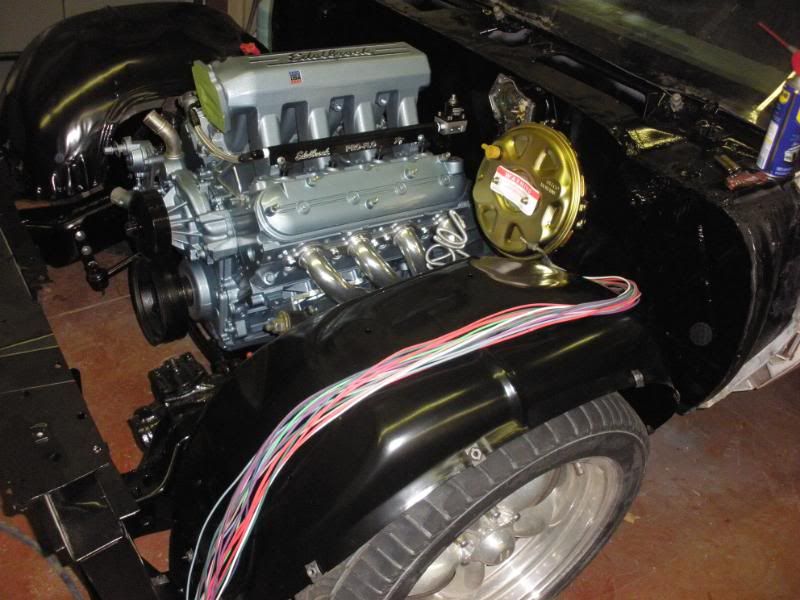
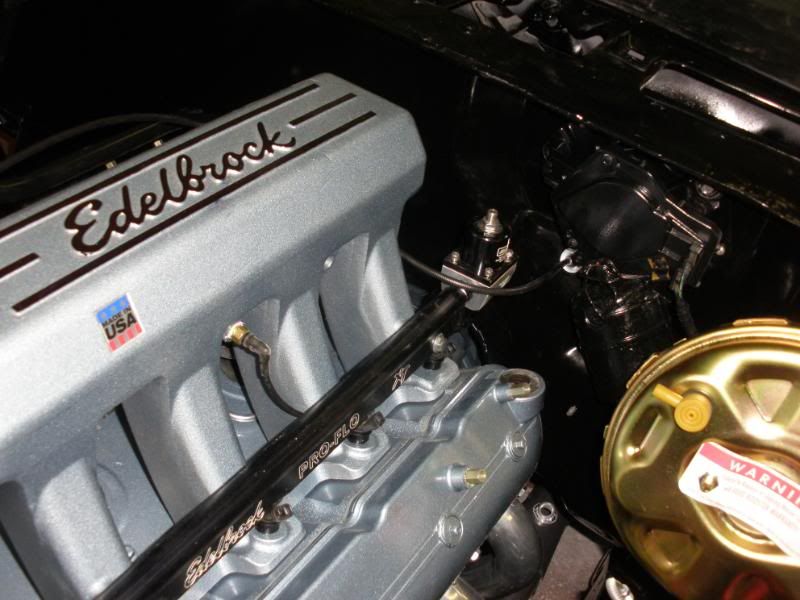
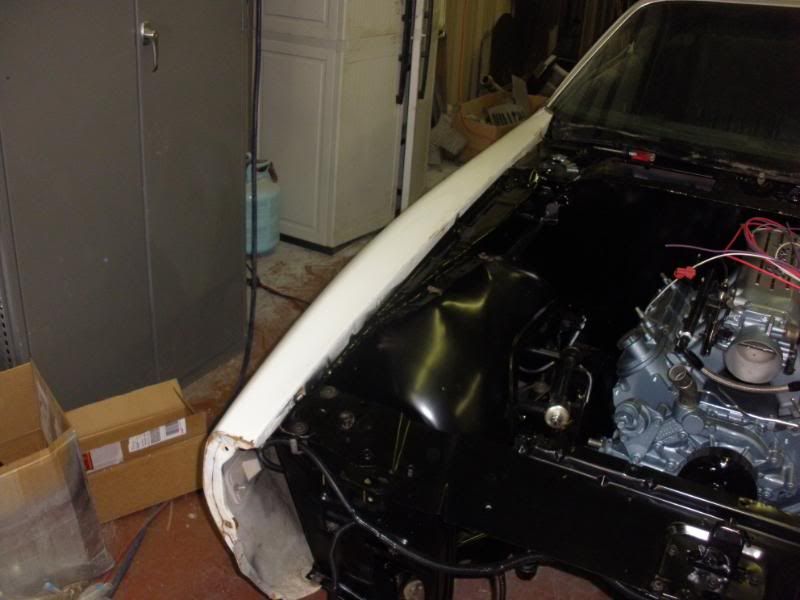
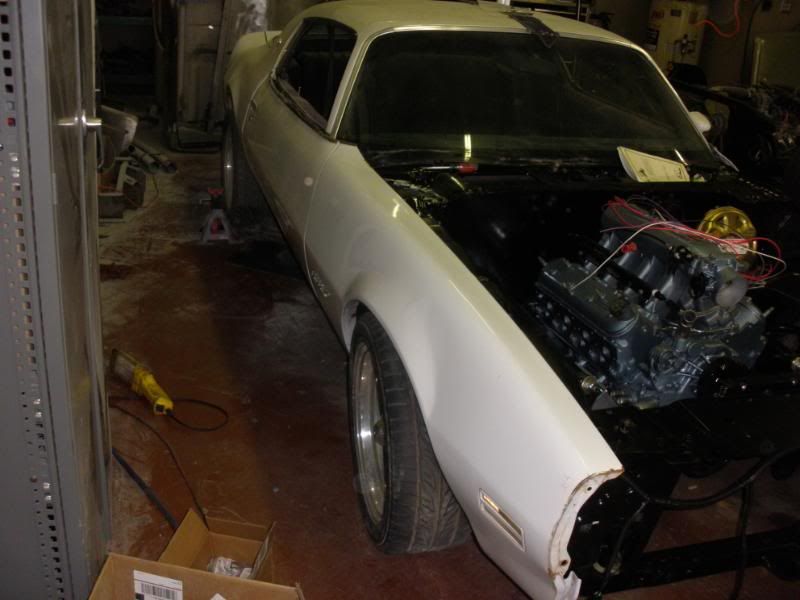
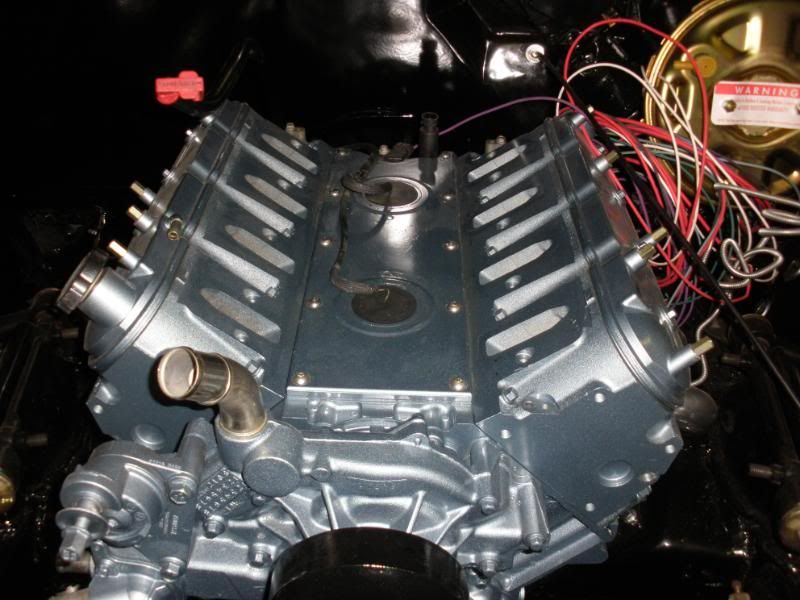
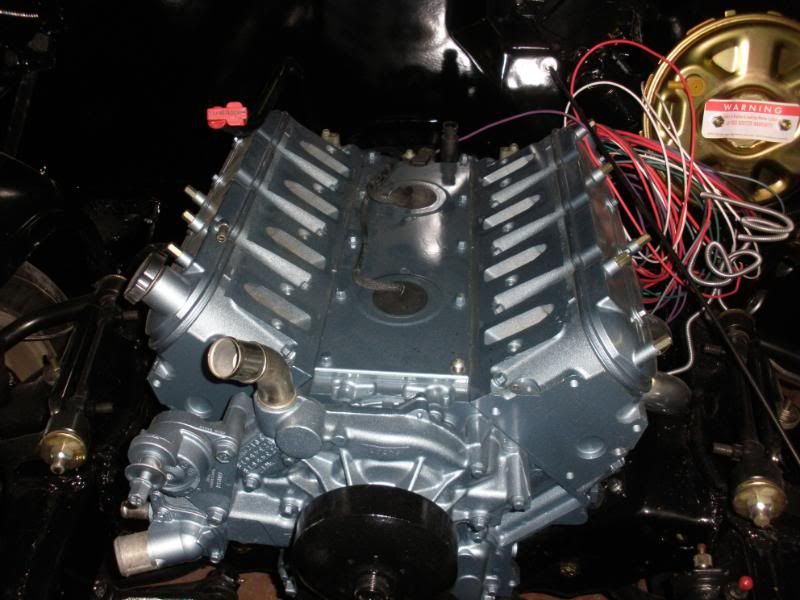
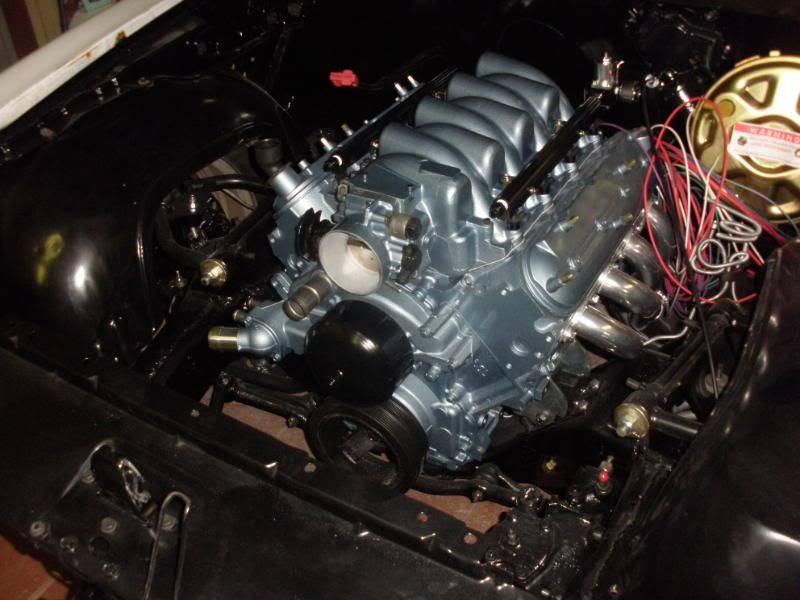
once i had the intake on, it was time to see how much hood clearance i would have (or not)
so back on with the front sheetmetal, with new front end bolt kit.
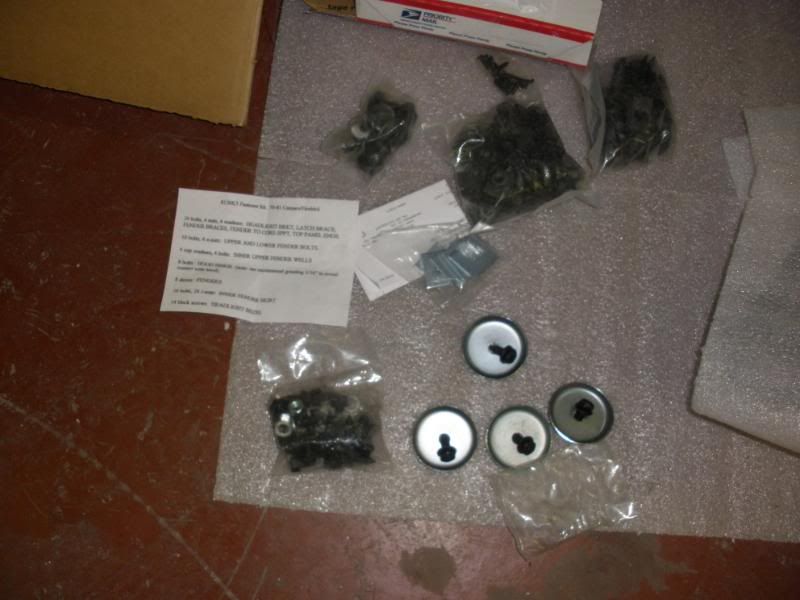
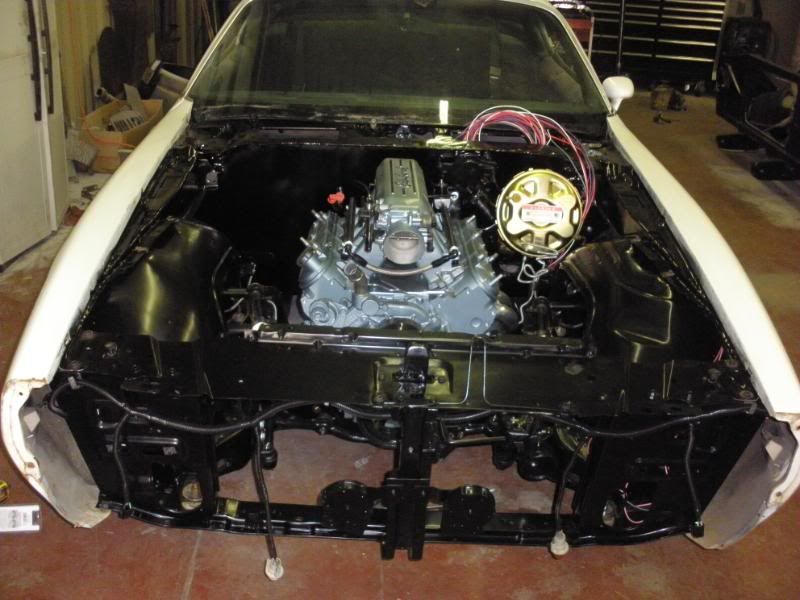
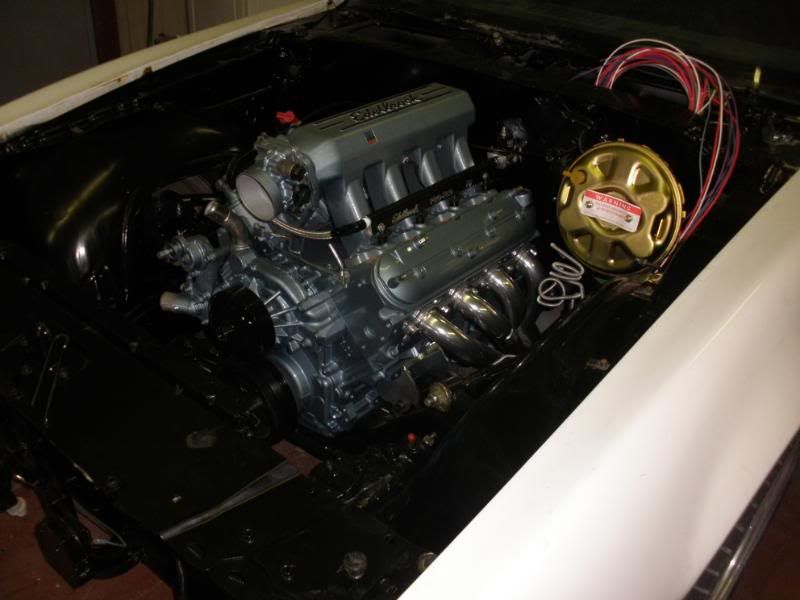
so back on with the front sheetmetal, with new front end bolt kit.
 12-29-2014, 08:25 AM
#39
TECH Regular
Thread Starter
iTrader: (1)
Join Date: Oct 2005
Location: tulsa OK
Posts: 439
Likes: 0
Received 0 Likes
on
0 Posts
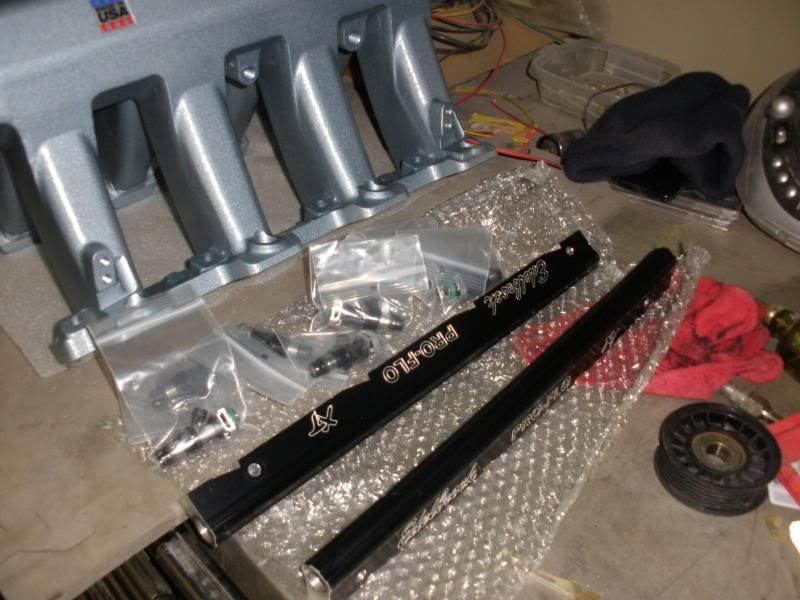
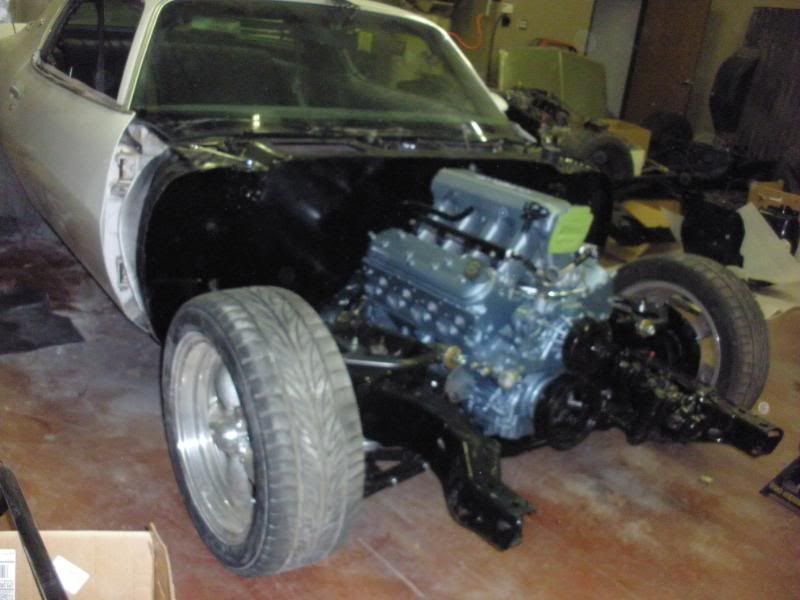
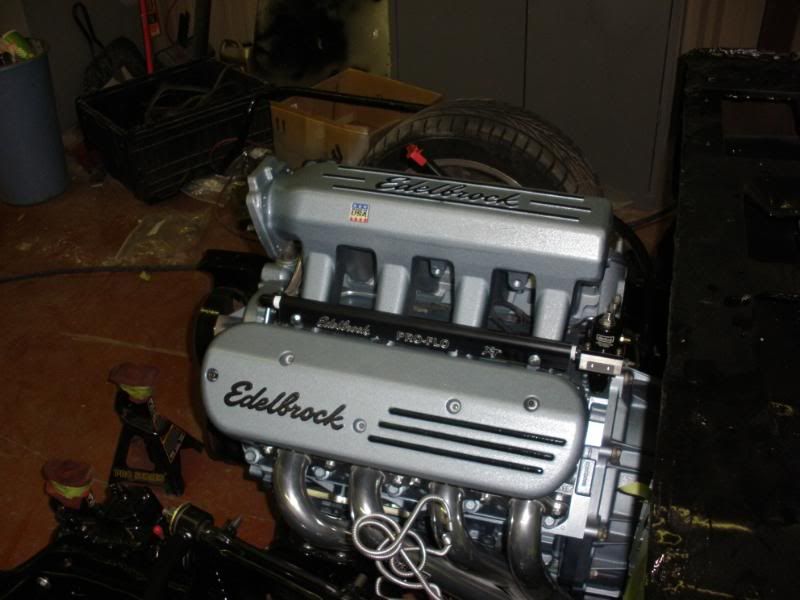
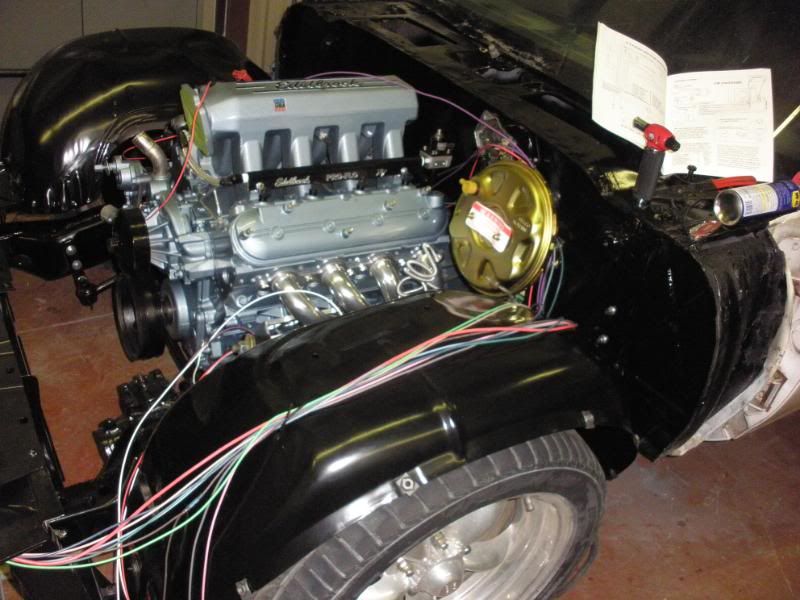
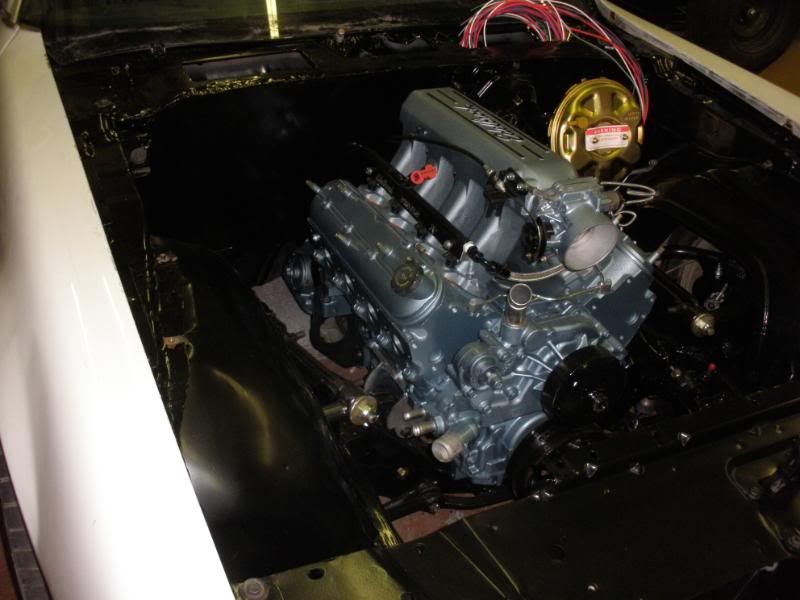
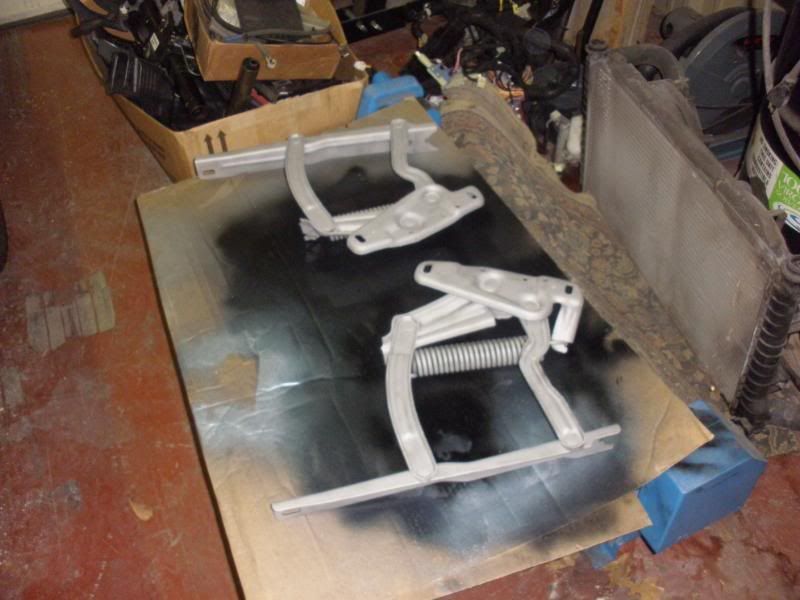
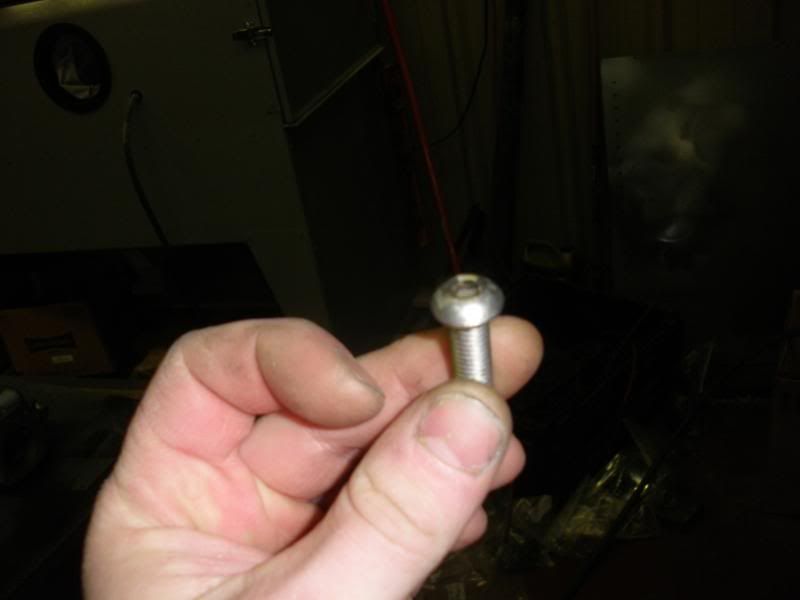
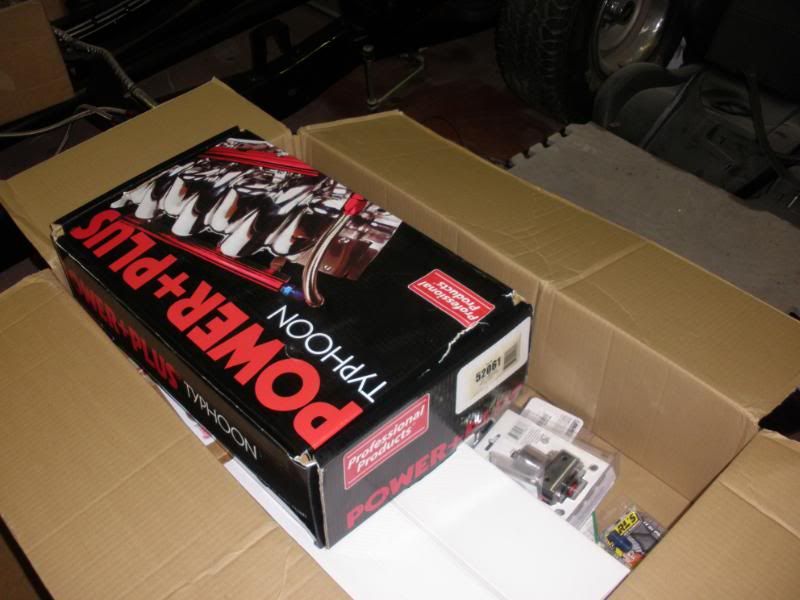
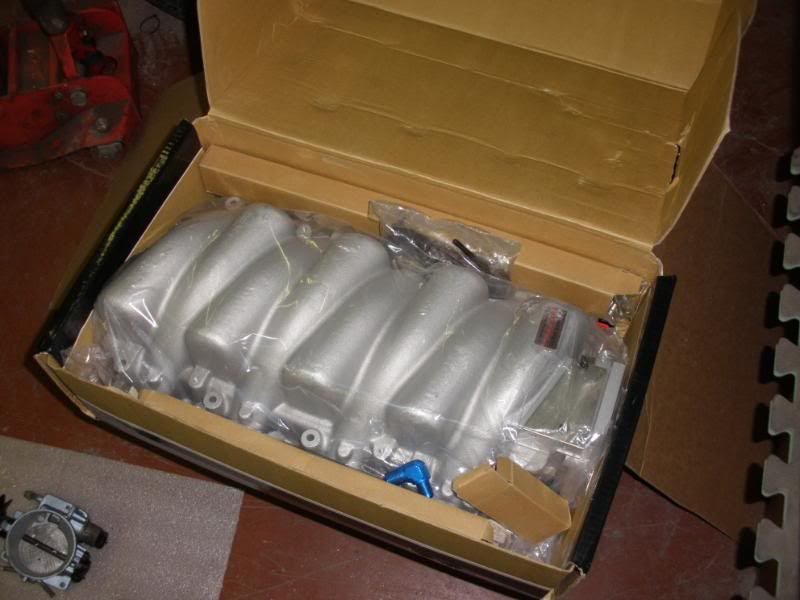
welp, i blasted and painted the hood hindges, and installed the hood...Bad news, the hood hit the edelbrocke intake....i was kiiina bumbed about that, but ill usee it on another project.. so i bought a typhoon intake, thats where a few changes had to take place...the valley cover bolts pysically hit the bottom of the intake, so i had to switch them out to some button head bolts... once i had the intake mounted, the throttle body hit the water pump (truck style)....so i switch it out to the f body water pump.... once i did that, i either had to use spacers behind the water pump so the accys would all line up, this was an option, but i didnt like how the truck accys placed the alt. above the intake (just looked funny to me)... so i had to switch to f body accys. this involved removing the harmonic balancer, and replacing with a f body one..
so i went ahead and ordered all the f body accys (still waiting on them in the mail)
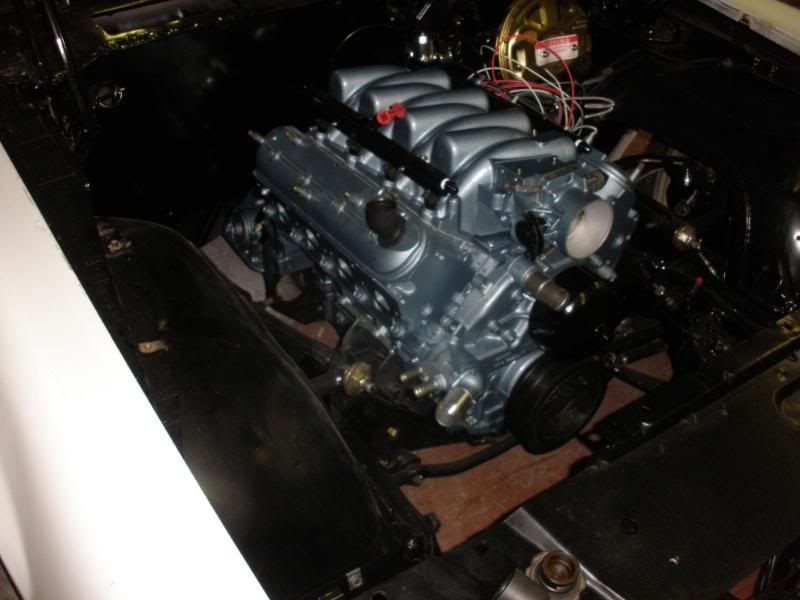
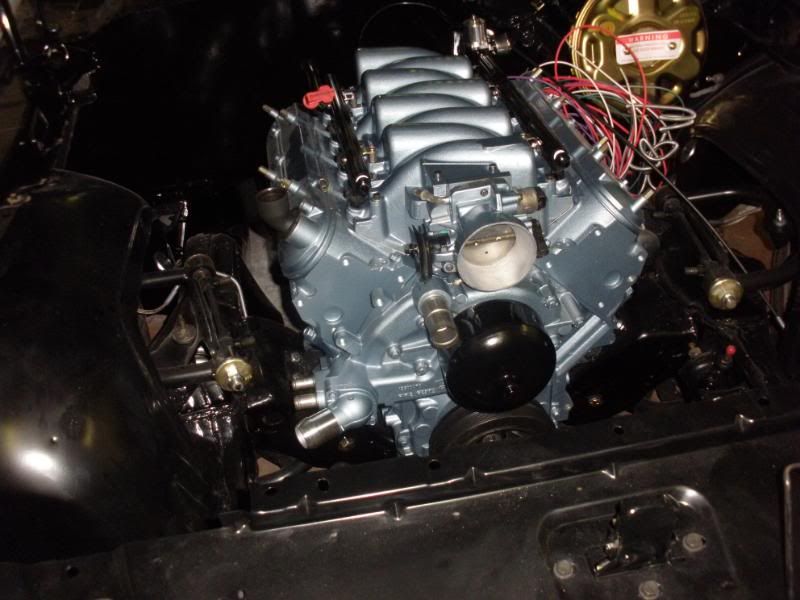
so i went ahead and ordered all the f body accys (still waiting on them in the mail)