My Turbo LSX Z31 Build.


 06-02-2016, 04:04 PM
#43
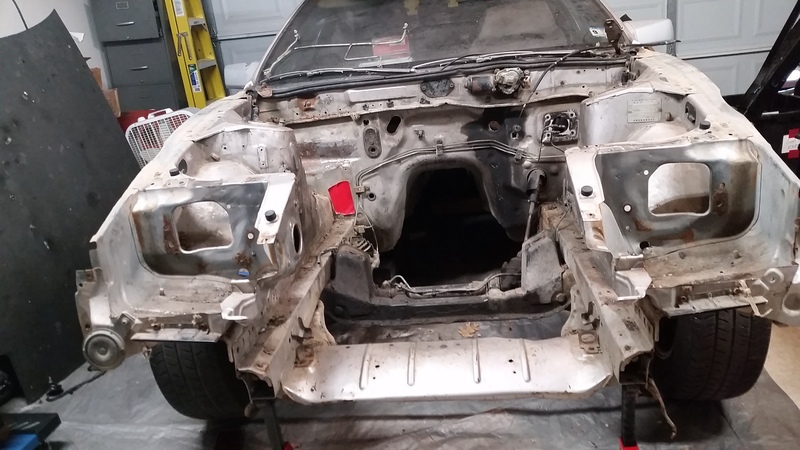
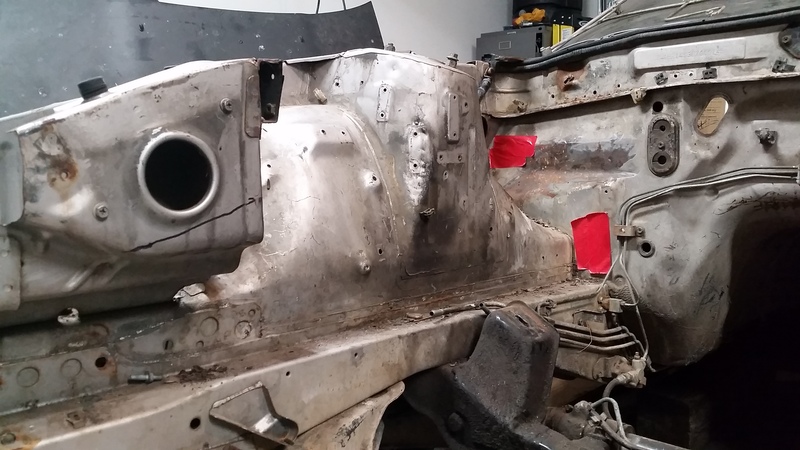
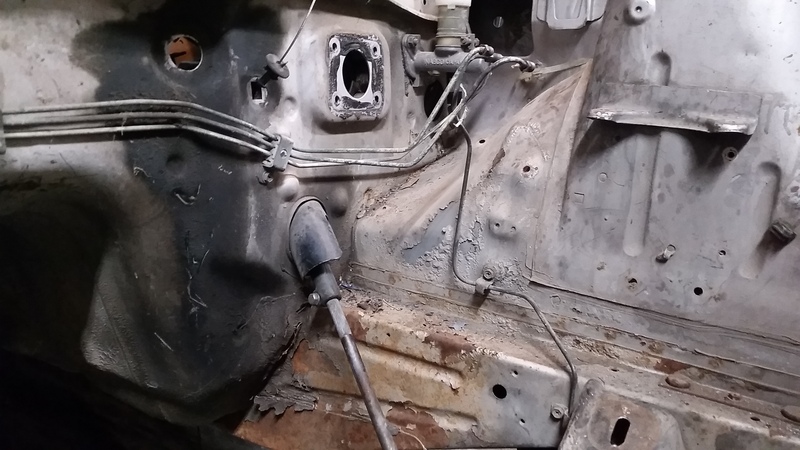
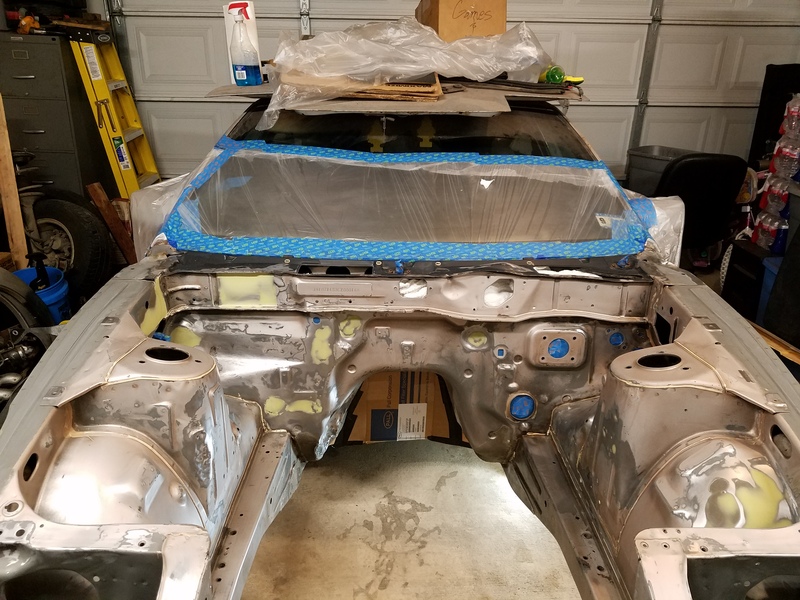
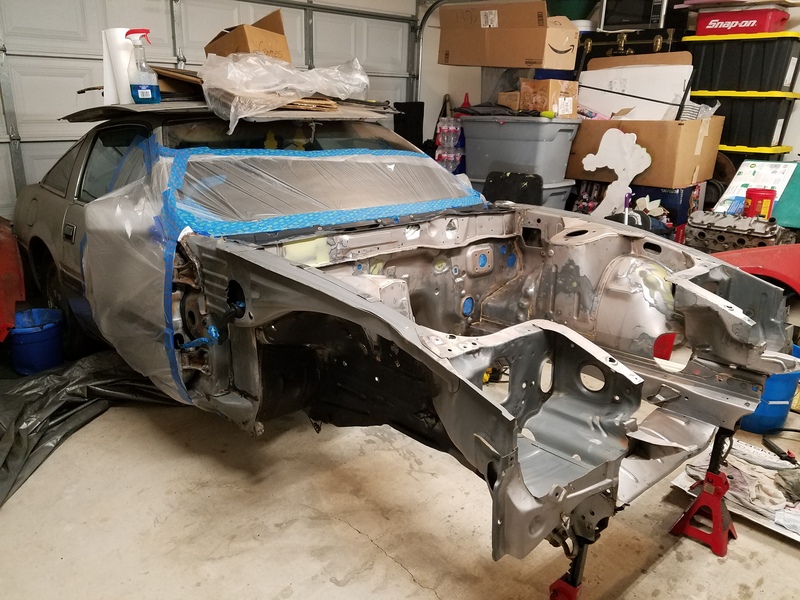
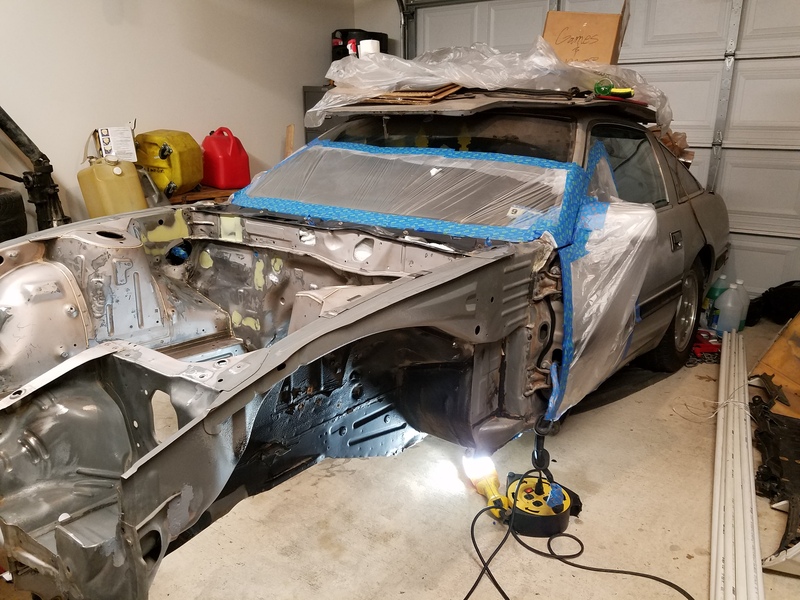
It's official! The time has come for the long over due update of my build. So I changed a few things with my build. First on the list was addressing my filthy engine bay/compartment. Up until this point I had never even cleaned it. Lol Knowing that I had to do justice to my turbo kit a plan of attack was formed. I was going to semi-shave my engine bay! So out came the engine & transmission.
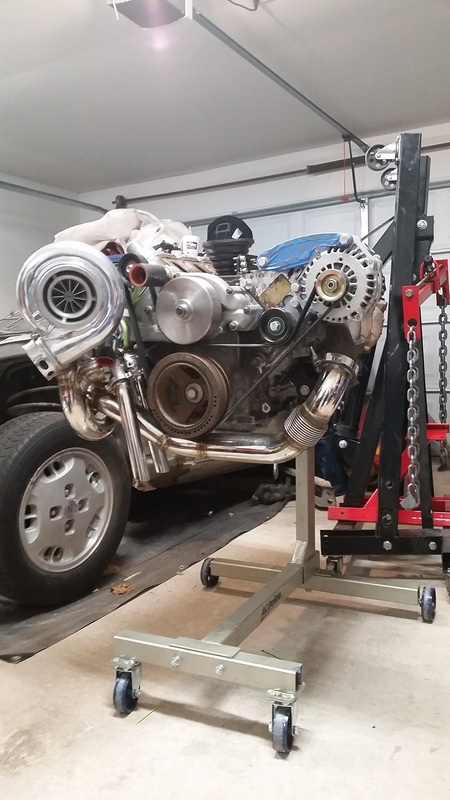
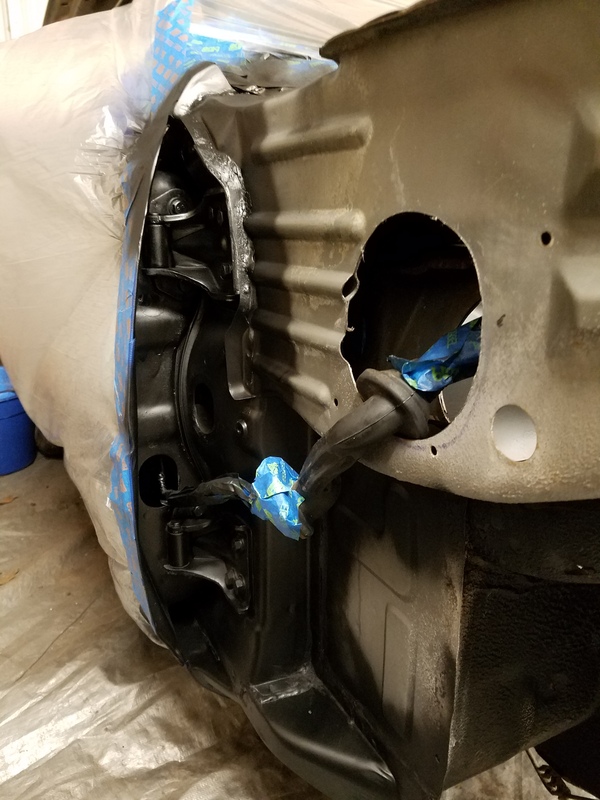
Wanted to see how my hotside looked on my engine outside of the car.
Now with everything out of the way the cleaning began.
Wanted to see how my hotside looked on my engine outside of the car.

Now with everything out of the way the cleaning began.


 06-02-2016, 04:09 PM
#46

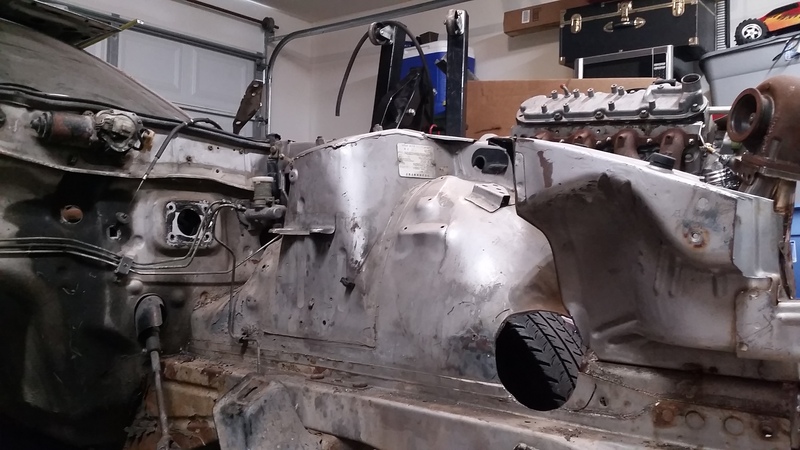
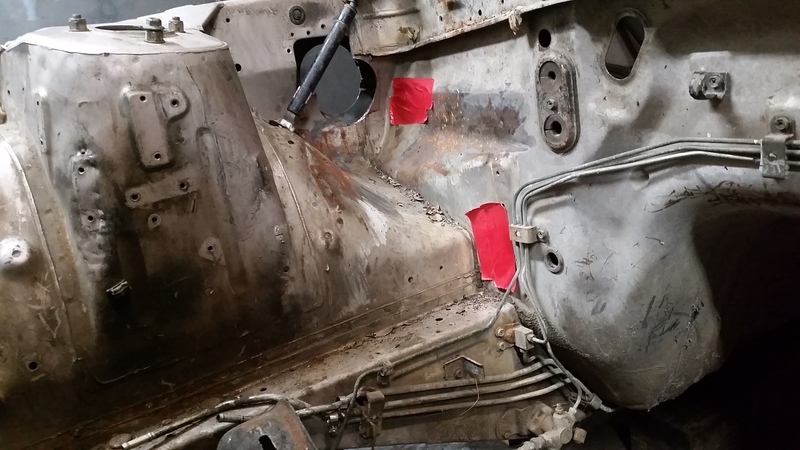
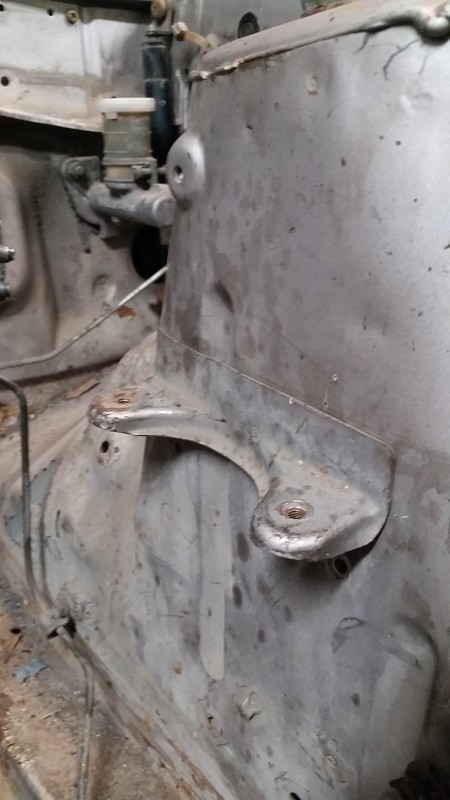
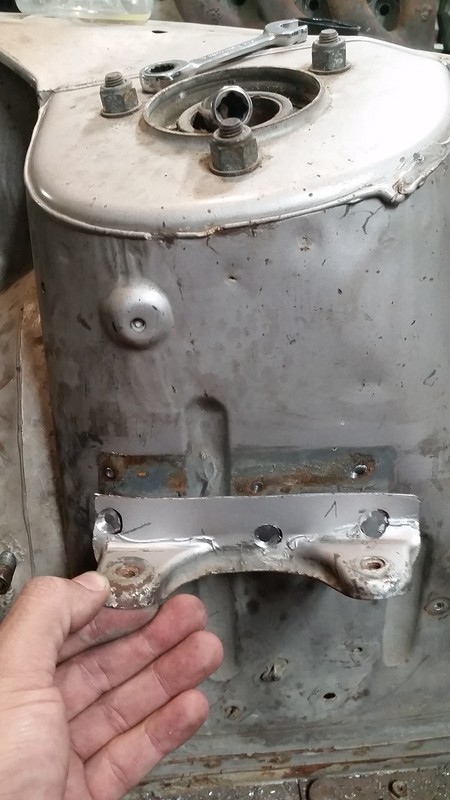
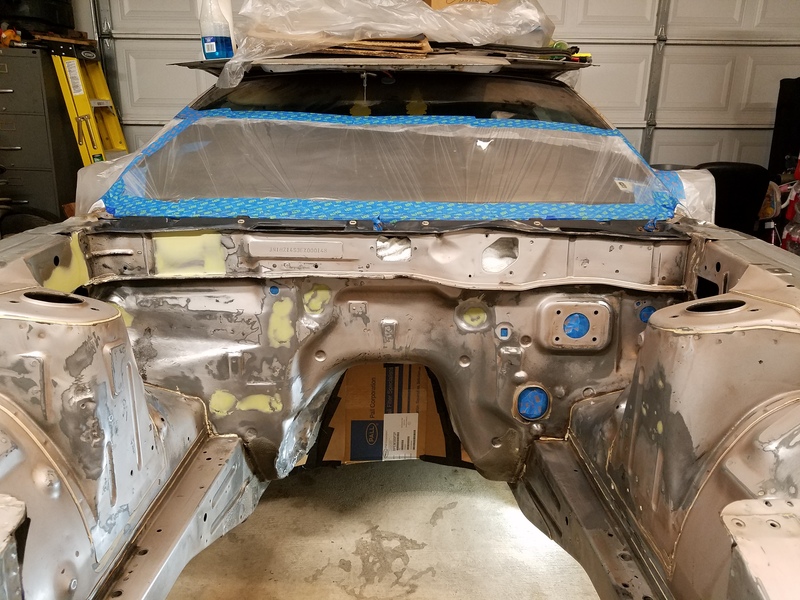
It's surprising how far some elbow grease & plenty of patience can go. I would've never thought it could clean up as nice as did. With the engine bay & wheel wells cleaned up I began removing all the brackets I no longer needed. This was also the perfect time to massage my transmission tunnel. When a Z32 transmission is used in a Z31 you have to massage the transmission tunnel for starter clearance. It may not be pretty but it's functional.
Then I made some templates for all the holes I was going to fill. (That's what she said) Then transferred the patterns over to 22ga sheet metal. Using a pair of shears & my dremel I careful cut them all out. After plenty of file fitting they were ready to be welded in. I also repaired my damaged headlight bucket/fender mount. With my buddies tig being tied up I borrowed another friends Hobart 210. So dangerously armed with the Hobart 210 WITHOUT gas, incorrect sized flux core wire I went to town.(Hobart/Miller advised me not to even to attempt to weld 22ga with Flux core wire) But I was in a time crunch. This was by far the least enjoyable welding experience I've had with the car. But I made it work. After the welding was completed I removed all the surface rust & grounded the welds smooth. In the harder to reach areas I used Loctite Naval jelly.


 06-02-2016, 04:16 PM
#48


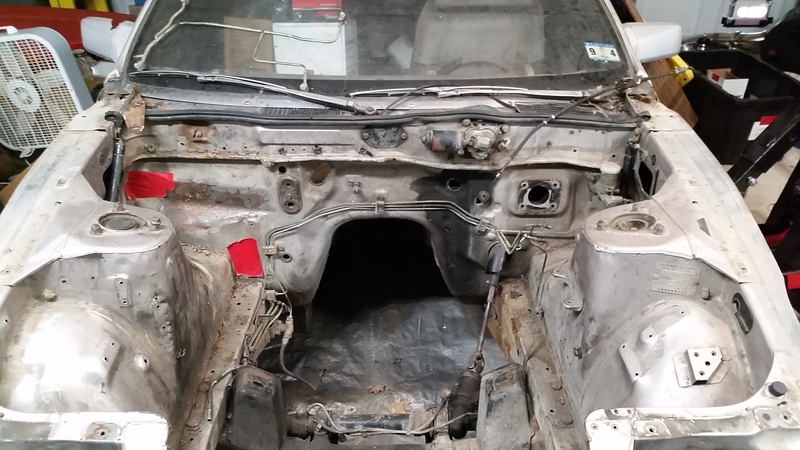
 I quickly decided that I wasn't going to weld all the 6mm holes in the entire engine bay. My solution was 3m seam sealer. Many people may not be keen on the idea but it worked flawlessly for me. It's sand-able, Non-Shrinking, Non-Cracking, & Paintable. I only used it on the 6mm holes. I finished off all the filler plates with Evercoat rage gold for a nice smooth finish. This is hands down the best body filler I've ever used. It sets quick & sands nicely. Once the seam sealer & body filler were fully cured I blocked the entire engine bay. The blocking was followed up by tack cloth & acetone.


 06-02-2016, 04:23 PM
#50


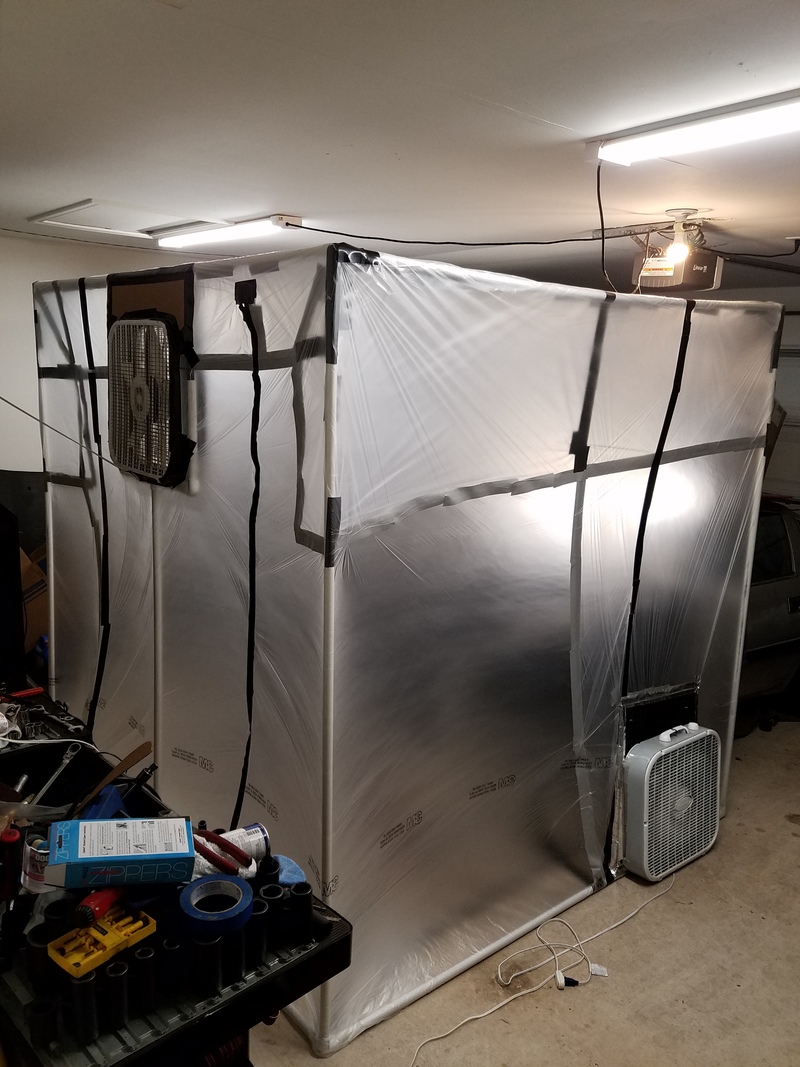
With my engine bay to my settled liking, I began to search for a body shop. I originally was trying to shy away from rattle canning it. Well after spending 2 days searching for a body shop I failed to find any that were interested. There was only 1 body shop that was willing to do it only if I painted the entire car. An entire paint job wasn't in my budget. So that left me with 1 option. Paint the engine bay myself. I came to the conclusion to tackle my wheel wells too. Majority of spray paints tend fail to hold up most against fluids found in an engine bay. I've used engine paint in the past with pretty good success. Then I stumbled on Eastwood's 2k Aero-Spray paints. It's a 2-component coating, without the paint gun. Figured I'd give these try, so I purchased 6 cans of Eastwood's 2K Ceramic Underhood Black Aerosol & Eastwood's 2K AeroSpray High Build Urethane Primer Aerosol. I also ordered 2 cans of Eastwood's Black Rust Encapsulator. With all my paint ordered I moved onto constructing a temporary spray booth inside my garage. Ideally most prefer a positive pressure spray booth. Due to the fact it is less likely to draw in contaminates. But I chose to do a negative pressure spray booth. I personally felt it kept the overspray to a lower minimum over the positive pressure booth. My booth was very well sealed & I never had an issue with contaminates entering the booth. Here's what I used
12 sticks 3/4" PVC for my frame cut them down to 7'
3 20" regular box fans (A big no no I know)
6 20"x25" Regular air filters (enough for 2 sets of changes)
2 20"x25" Activated charcoal air filters
8 3/4" 90�corners/3 way T
3 3/4" T fittings
2 3/4" 90� fittings
1 old shower curtain for the floor
10 rolls of gorilla glue duct tape
1 tarp zipper
2 rolls of painters tape
3M tear-resistant plastic sheeting(body shops use it. I used it for my walls & ceiling.
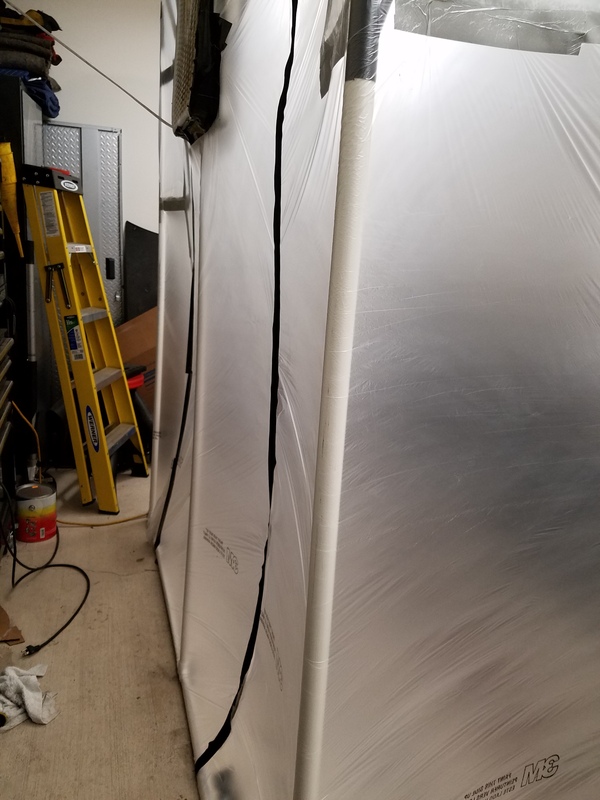
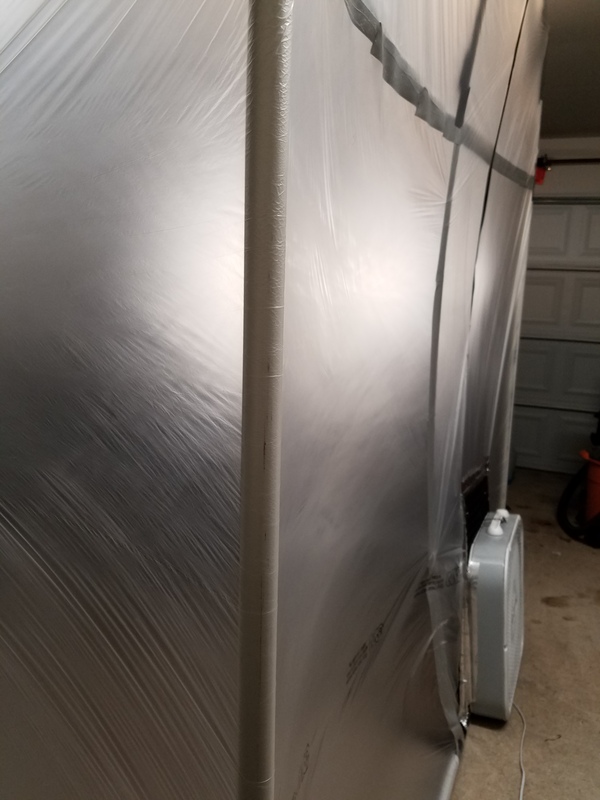
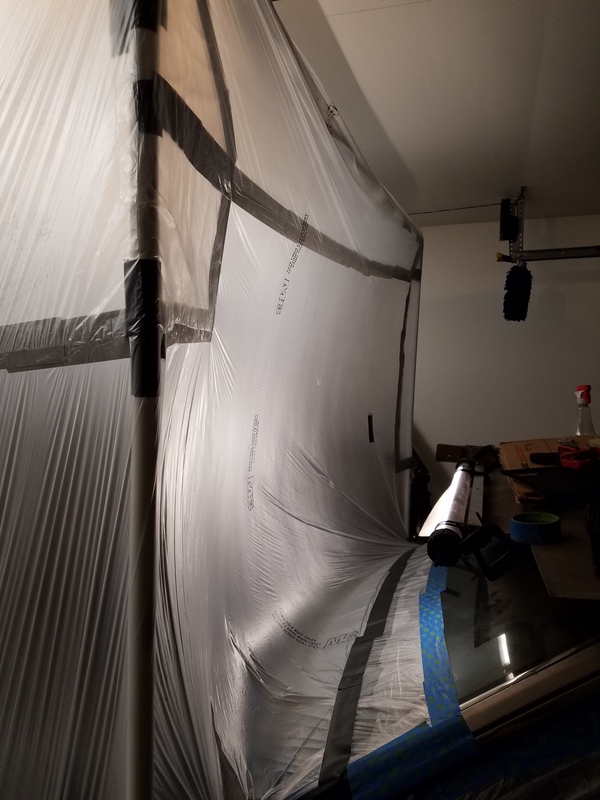
This is what it looked like all assembled.


 06-02-2016, 04:27 PM
#52
With the fans on.
These are the steps I took to paint my engine bay. Note steps 1-3 were prior to the booth being constructed
(1) Used wire brushes & 80 grit to knock all surface rust away.
(2) Feathered bare metal areas back towards factory paint with 220 grit.
(3) Scuffed all paint with red Scotch Brite
(4) Prepped surface with tack cloth & acetone
(5) Coated all bare metal with 2 coats of Rust Encapsulator. Waited 1hr between coats. Allowed 6-8hrs before Primer.
(6) Prepped surface with tack cloth
(7) Coated engine bay with Eastwood's 2K AeroSpray High Build Urethane Primer.
(8) Waited 3-4hrs & knocked down highs with 400 grit.
(9) Prepped surface with tack cloth
(10) Sprayed 3 coats of Eastwood's 2K Ceramic Underhood Black Aerosol. Waited 2-5 minutes between coats.
Scuffed the entire engine bay


 [/URL]


 06-02-2016, 04:40 PM
#58


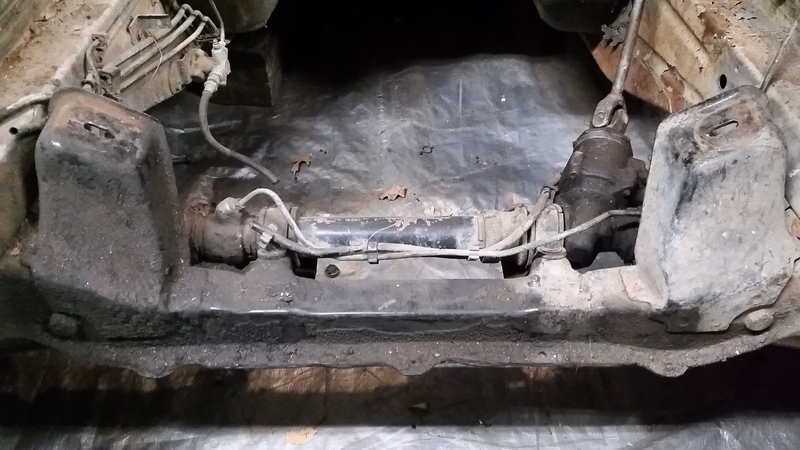
 After the paint fully cured I Prepped off the engine bay. Minus the transmission tunnel & the frame rails up to where the engine crossmember go. Then coated the wheel wells, frame rails, & transmission tunnel with 3m professional rubber undercoating.


[URL=http://s114.photobucket.com/user/landeo_87/media/Turbo%20LSX%20Z31%20build%2026/20160430_163730.jpg.html]
 [/URL]


 06-02-2016, 04:42 PM
#60
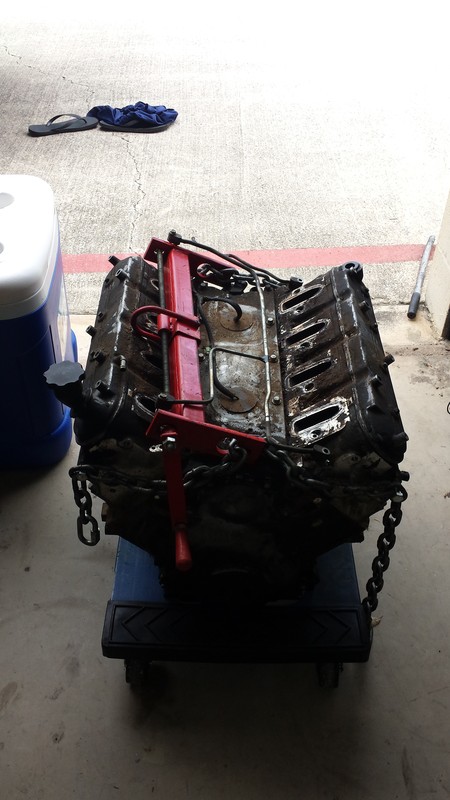
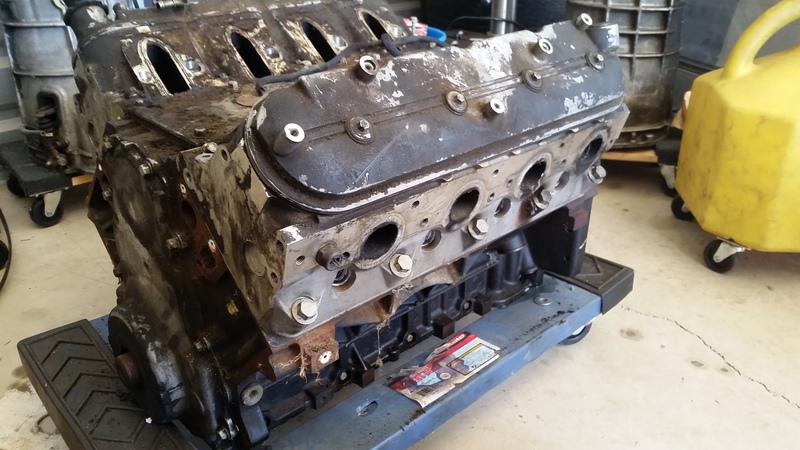
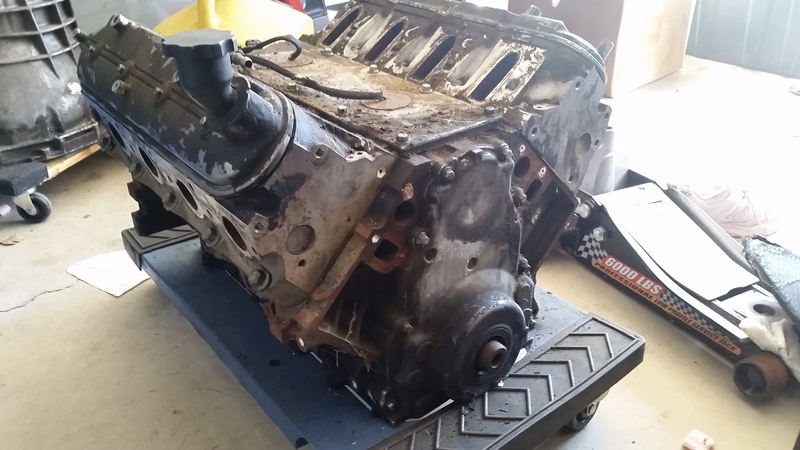
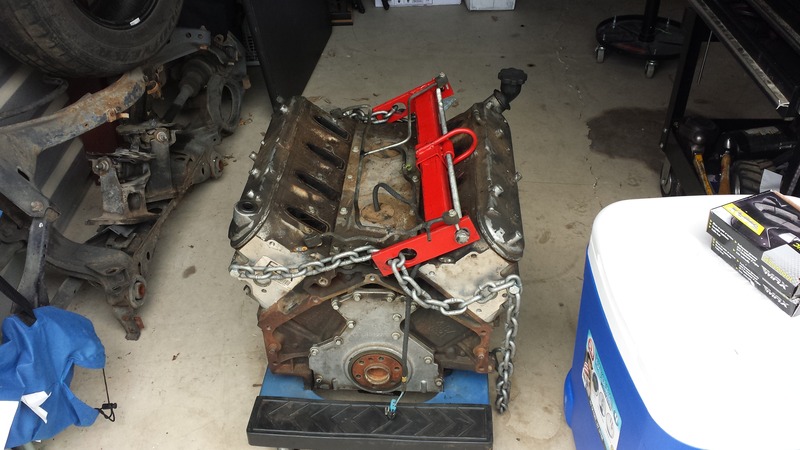
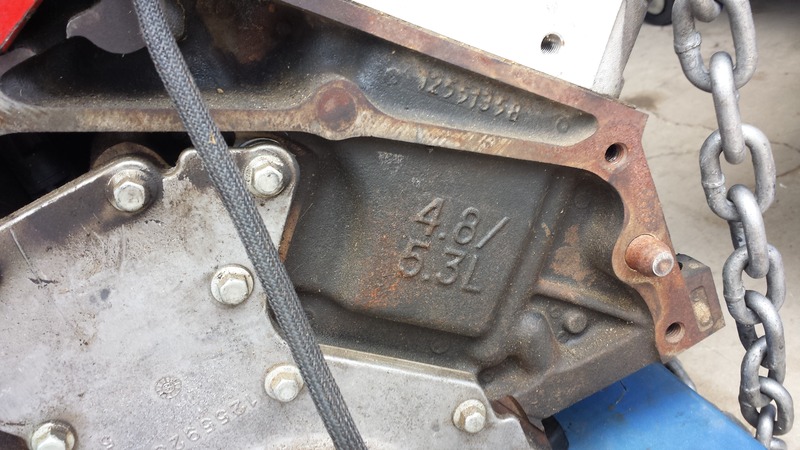
I'm pleased with how it came it. I chose not to wet sand the paint. Mainly because my car isn't a show car. I personally believe it went on pretty smooth. I also think the rubber under coating came pretty nice too. As for the temporary spray booth I was highly satisfied. It captured 100% of the over spray & about 90% of the fumes. If I was to do it again I'd add paint pocket air filters between the cloth & Activated charcoal air filters. That way it gets rid of all the fumes. Another change that made is the engine I'm using. In the beginning I had planned to use my early LS1 with a set of 243s. But that was all changed when I acquired a complete Gen 3 4.8 with ls1 intake for 50$! I purchased from a friend of a friend. My 50$ 4.8 has 165k on the clock and has had nitrous ran though it a majority of its life. The previous owner went to a larger cubes on his build. Here's how it looked when I 1st purchased it.