When you click on links to various merchants on this site and make a purchase, this can result in this site earning a commission. Affiliate programs and affiliations include, but are not limited to, the eBay Partner Network.
My prosject got an unnecessary delaying, I did a lot of measurement with the engine mount, and i understand afterwhile that something was wrong. I haven`t done my homework, and one of the comment was right. I have received a wrong oil pan, the 302-2 pan is for A body, and of course the 302-1 is the right oil pan for B body. I have bought the engine mount / frame stand from Chevelle, and it sems like they can be bolted directly in crossmember. At last i have received both adapeter for the Pontiac valve cover. The guy who made them produced 3 extra sets, if anyone is interested.
After checking around on the internet i found some setup for relocating of alternator and pump . I go to Minnesota on holiday in week 26, and will try to buy som stuff when i been there, like this bracket. Perhaps someone can recomandate places/shops in Minneappolis area..?
I think this setup from LS bracket look good. And here i can use the existing pump and alternator
this setup from goatbuilt look better, but i think the alternator is still high, and i will need a new steering pump
I feel with you Tarjei, i am also a bit of a Pontiac man, but i believe our conversions will be more "accepted" than switching to an old leaky Chevy 350 smallblock.
Have you actually tried to close the hood or did you just use the board? Hoods have a bow in them that is taller than the fenders on most cars. Your car came with a carburetor which typically means it will work with a truck intake manifold and accessories.
I would close the hood slowly and use some clay as a measuring tool on top of the highest point of the engine. I think you will be pleasantly surprised.
Sorry, but i think this will be difficult.As you can see the hood is flat, and under the fender. I `ve ordered the brackets from here http://lsbrackets.com/category/ps-alternator-brackets/ , so i can use my eksisting alternator..
I have bad conscience, and i`m the first to admit that the progress is to slow in this project. the autumn have fly away, and i have to many project to manage with my business.. But i do a little, and i still have a plan to drive this car next summer. Below is some photo and comment from my little work last months..
I need to do some less modify on the bracket inside firewall
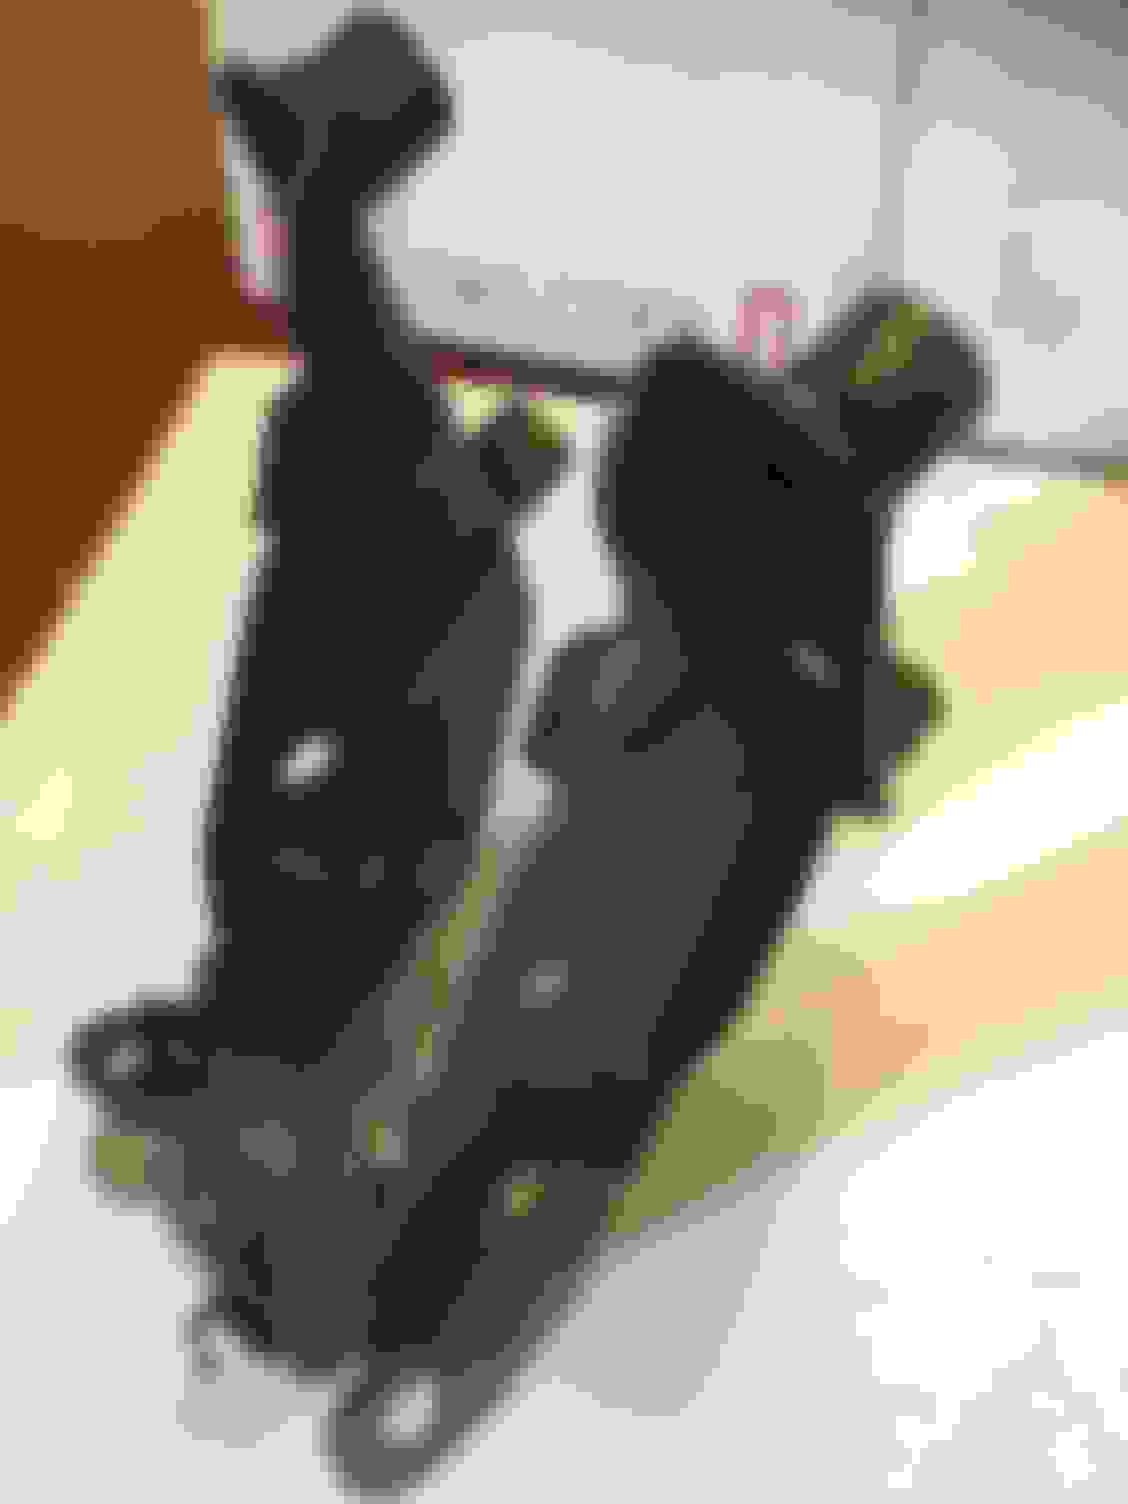
Upgraded brake booster /pump. I hide the prop. valve below the unit
Gas pedal finish mounted
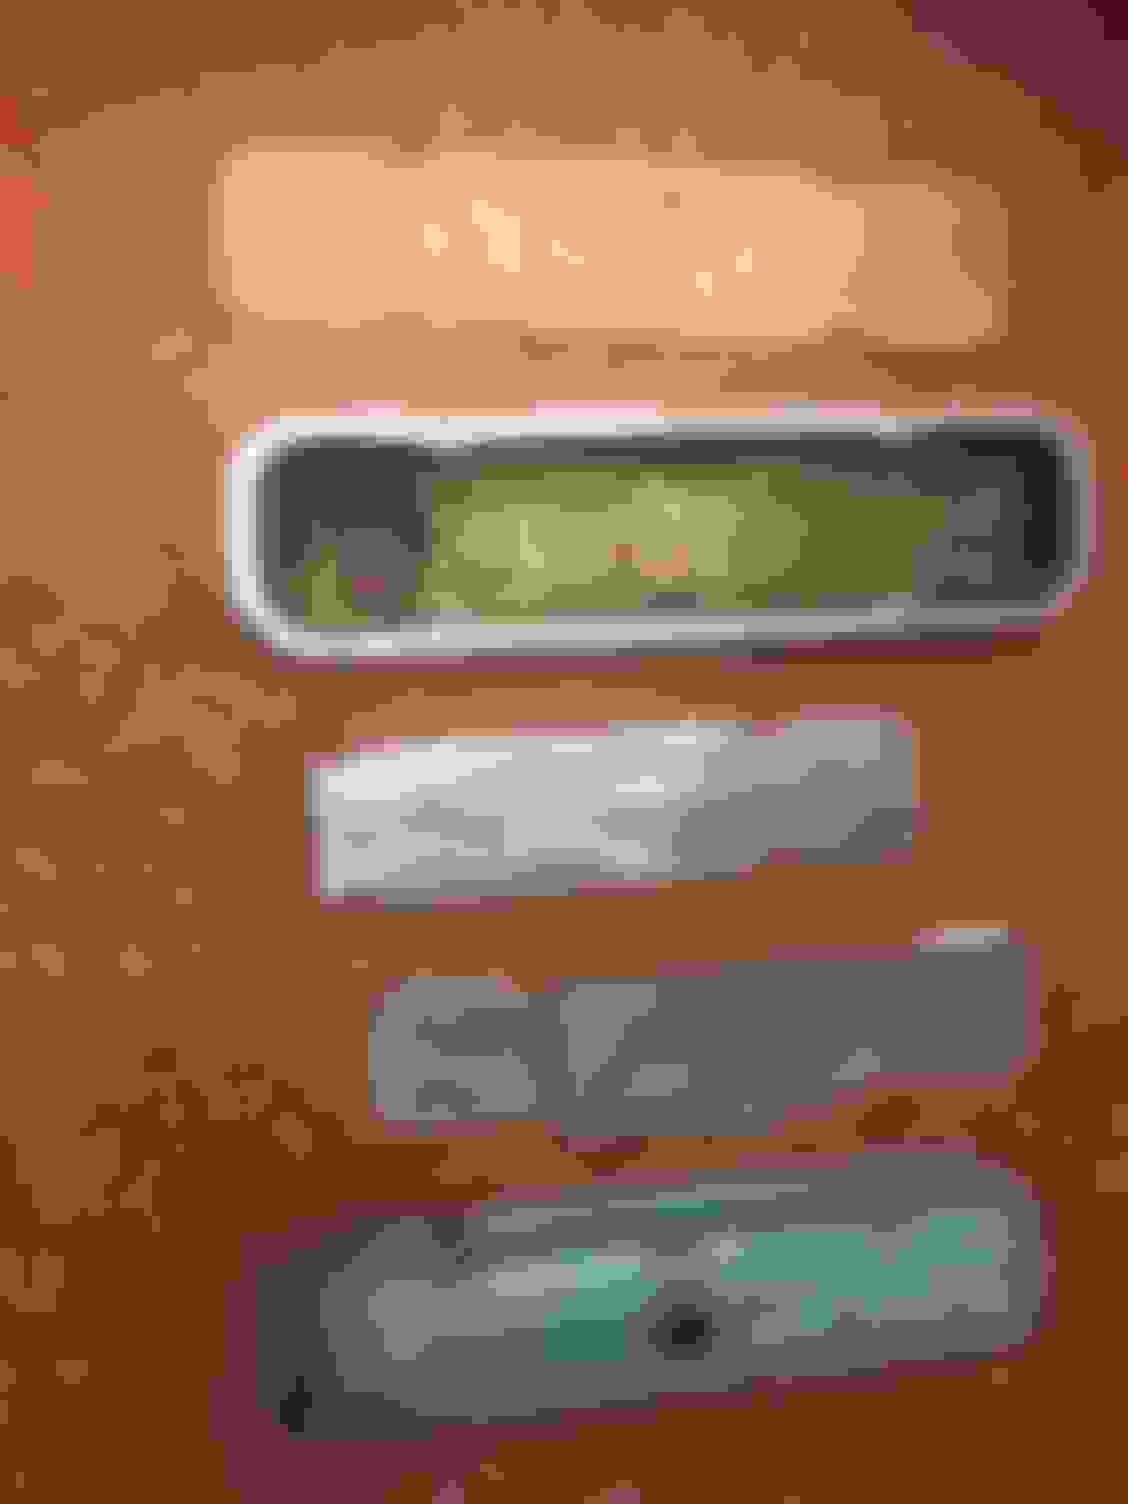
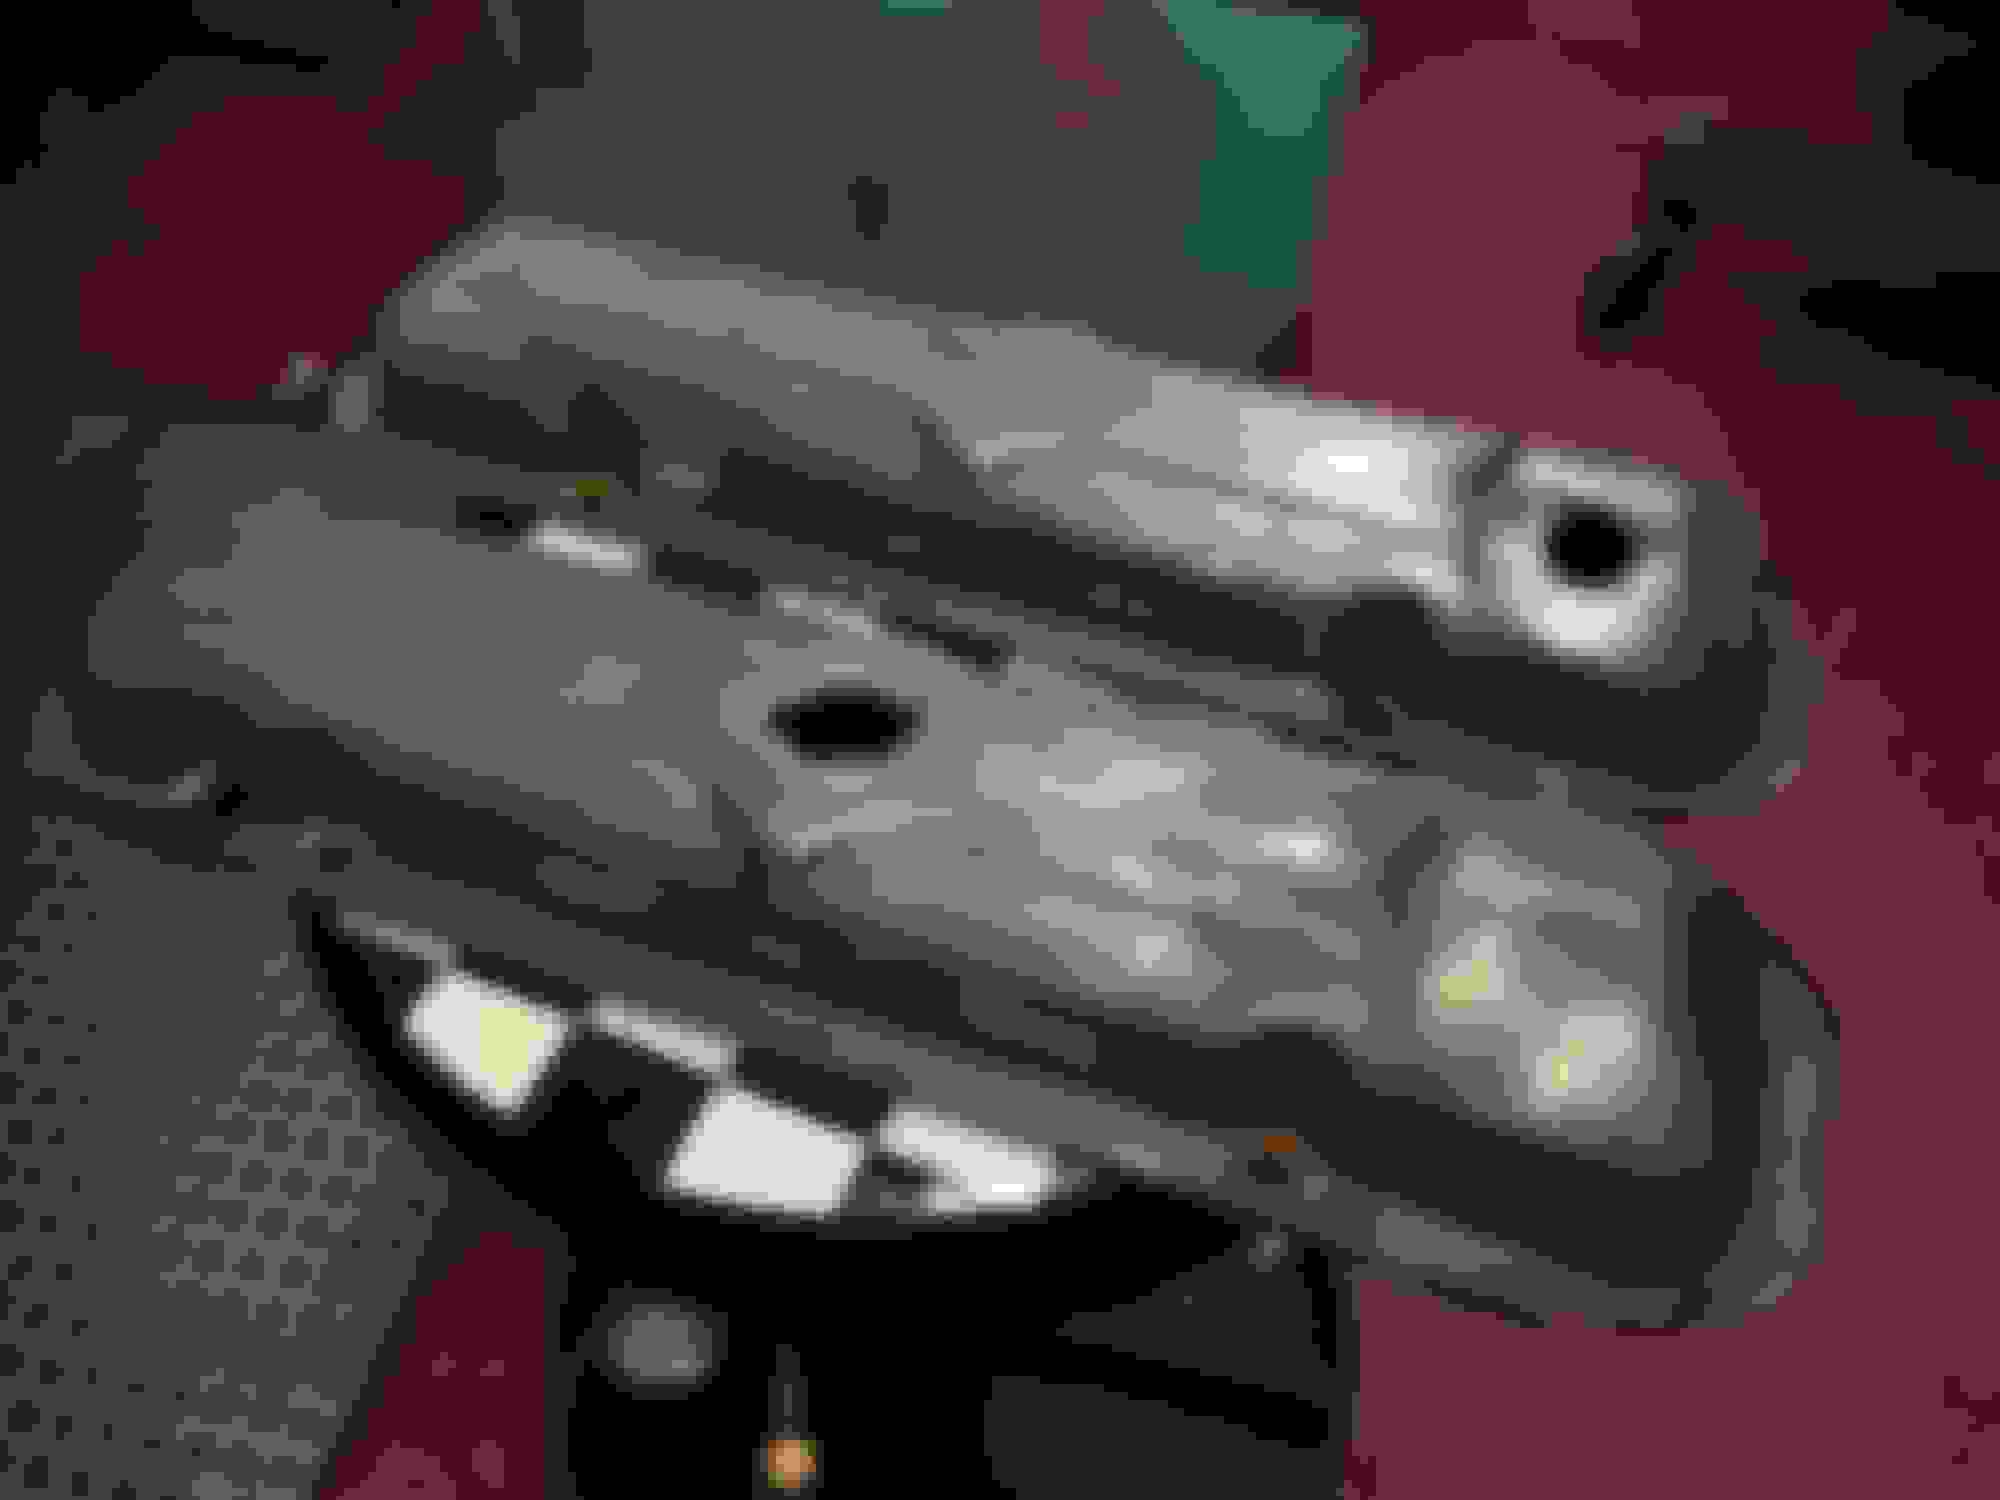
I have to make template and insert plate in the original valve cover
Ready for paint.
Painting time.. a lot of small parts to paint
Always smart to use clean the thread before mounting
cerossover and mount ready for new engine
resently i found some bracket who fit the alternator under the hood...
bracke look much better with grinding the edge
Bad blasting and rebuildiung alternator.. but i found a new one at ebay for 119$ , so .... i check out price on bearing and brushes before i do anything...
GKN make the countershaft job.
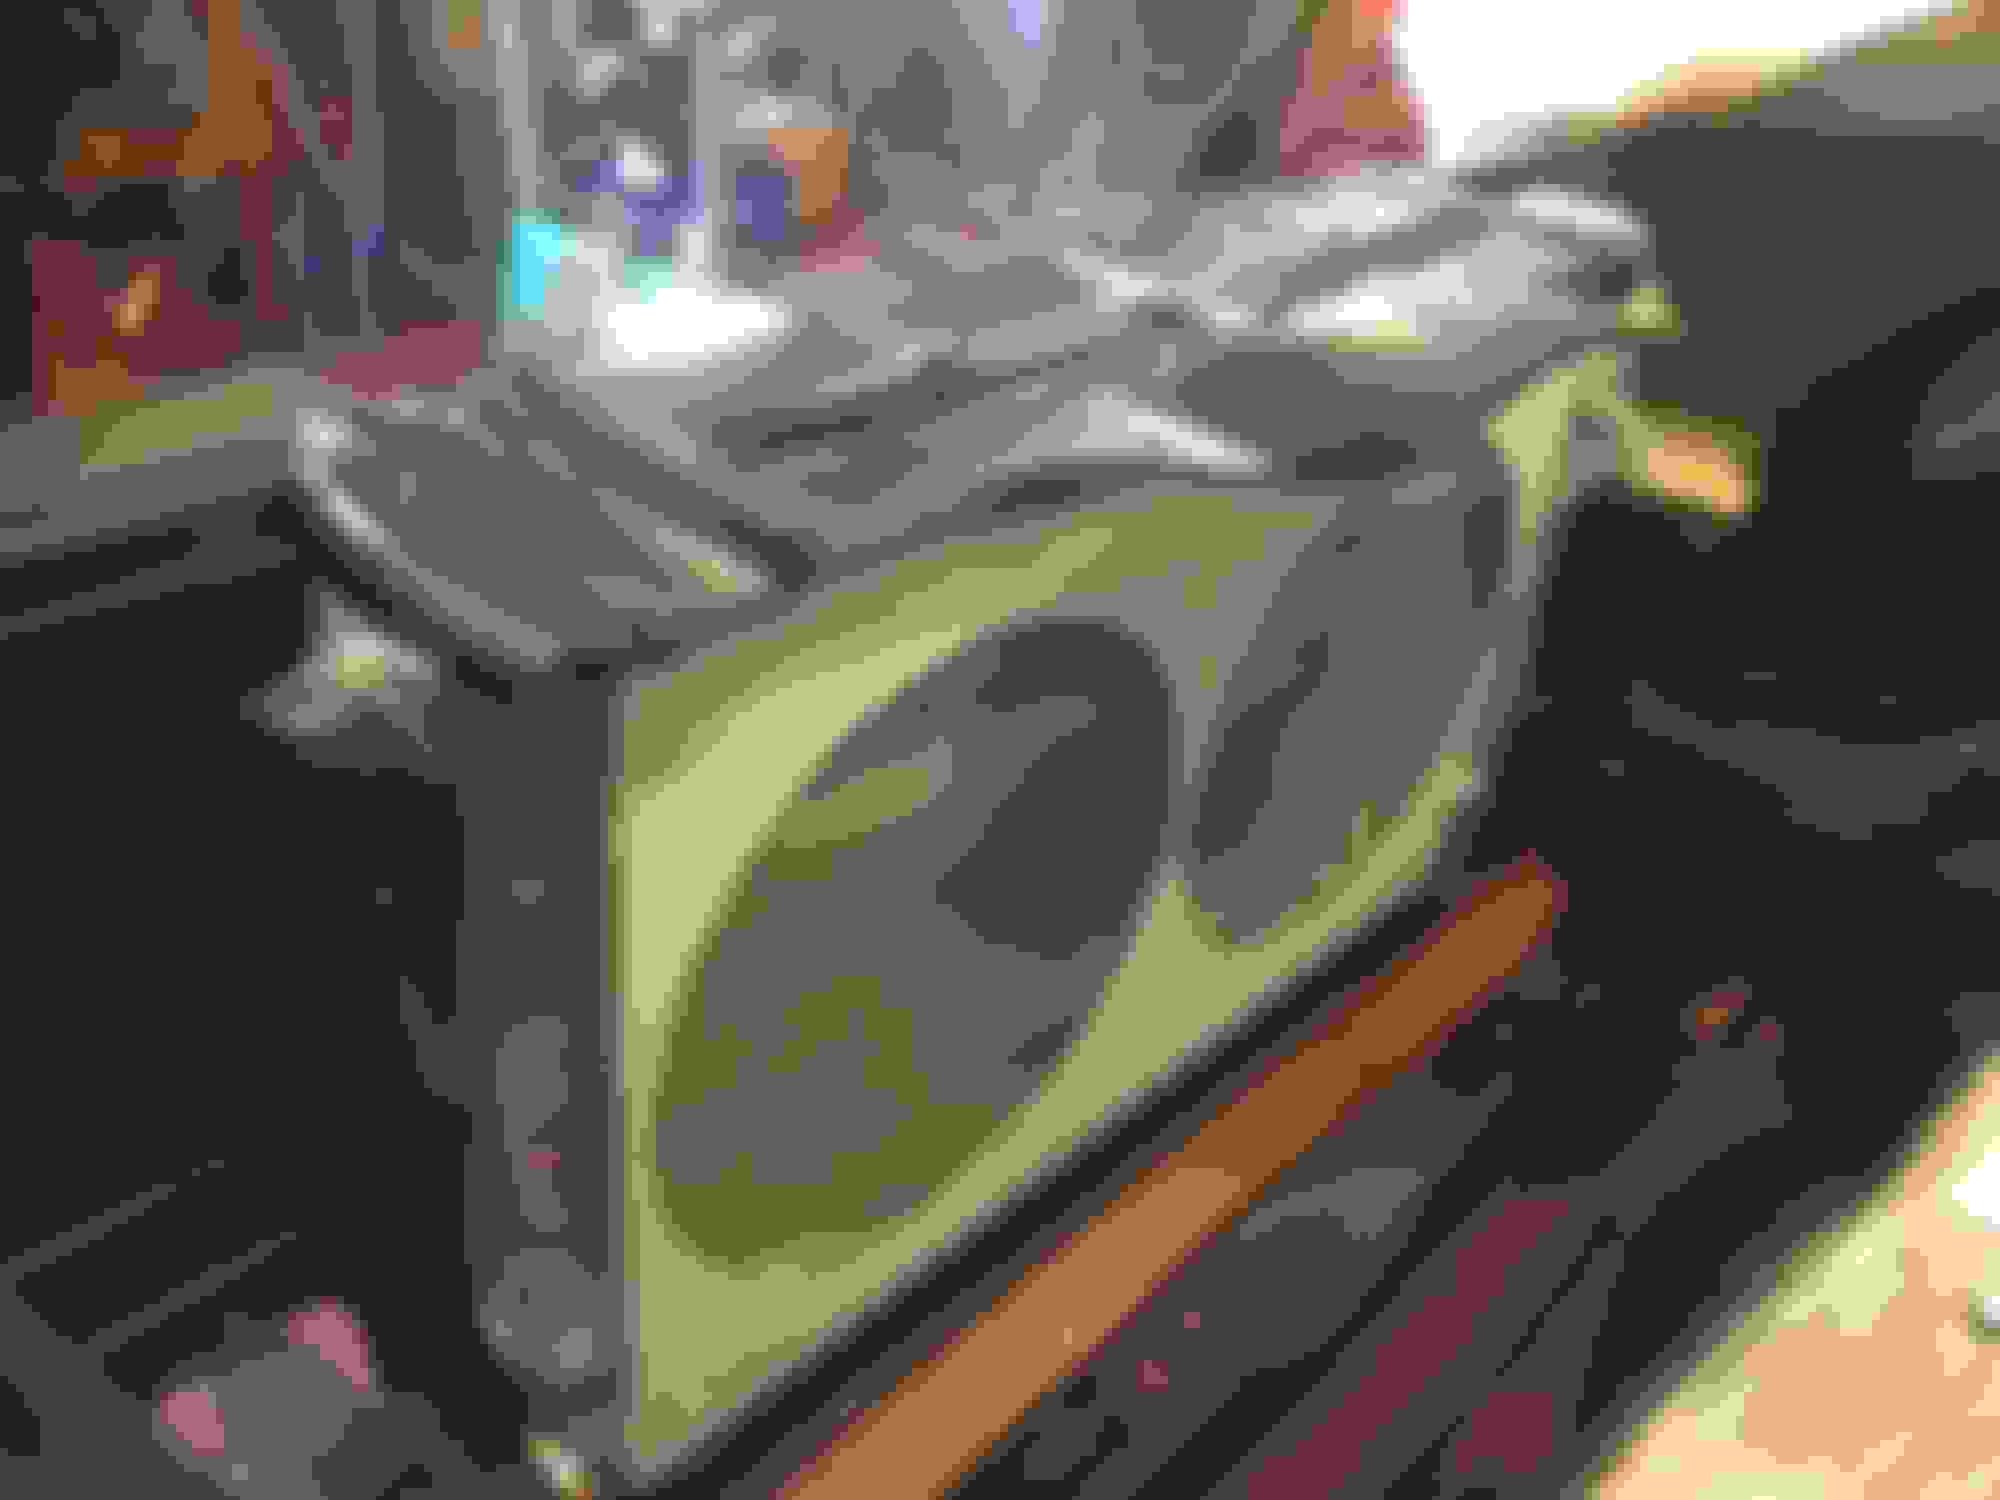
Radiator from diamond..
It was some adjustement, and modifying for optimal fittings
Summertime its perfect to paint outdoor..
The original top cover need some smaller modification, and keep the original look...
Next issue is fuel, and i plan to use this filter from corvette
In my bizzy days, i tried to use the little time i have left in my garage.
Now i have rebuilt the starter and generator, and make the engine ready for painting. I paint back side of the water pump, before i mount it. Of course i use pontiac blue from 1965.. Someone can believe it is a upgraded 389...
From previous post you can see that i weld the oil pan for optimal fitting. therefore i have to get it "machined" or "plane" it. It was near 2 mm leaning.
It's probably a tap for a manual coolant temp sensor since a lot of people like to retain their the mechanical gauge. I had to put mine in the "jags-that-run" coolant hose adapter, and the sensor just barely reached.
What a great car for a swap too, it reminds me of my first car-72 pontiac Catalina. You'll have a killer cruiser when you done, good luck!
That is awesome you are building that car in Norway. Don't worry about it not having a Pontiac Motor.....Didn't Firebirds have LS1 in them?? I like the look of the factory valve covers. I put an LS1 out of a 2003 Corvette in my 1964 Chevelle Wagon. It took a long time but I finally got all the details worked out. Try not to get discouraged when things don't work out right, just like a math problem, there is always a solution. I am a Norwegian American...Vikings always find a way! Keep up the good work. Erik Wordal
Soon time for a trial lift in the car now.As you can see , the engine get the right Pontiac blue now, and i have assembled the alternator brackets, so i can see the right look. I have too use my old experience, as a sheet metall worker, to make some bracket self... I guess i have to lift the engine out and in some times, or 3 step forward, and two back.. I have to check out my homemade coil bracket, i plan to mount theme on the firewall, on each side.. For the ECU , i will try to mount it rear the right innerfender, under the hood hinges...
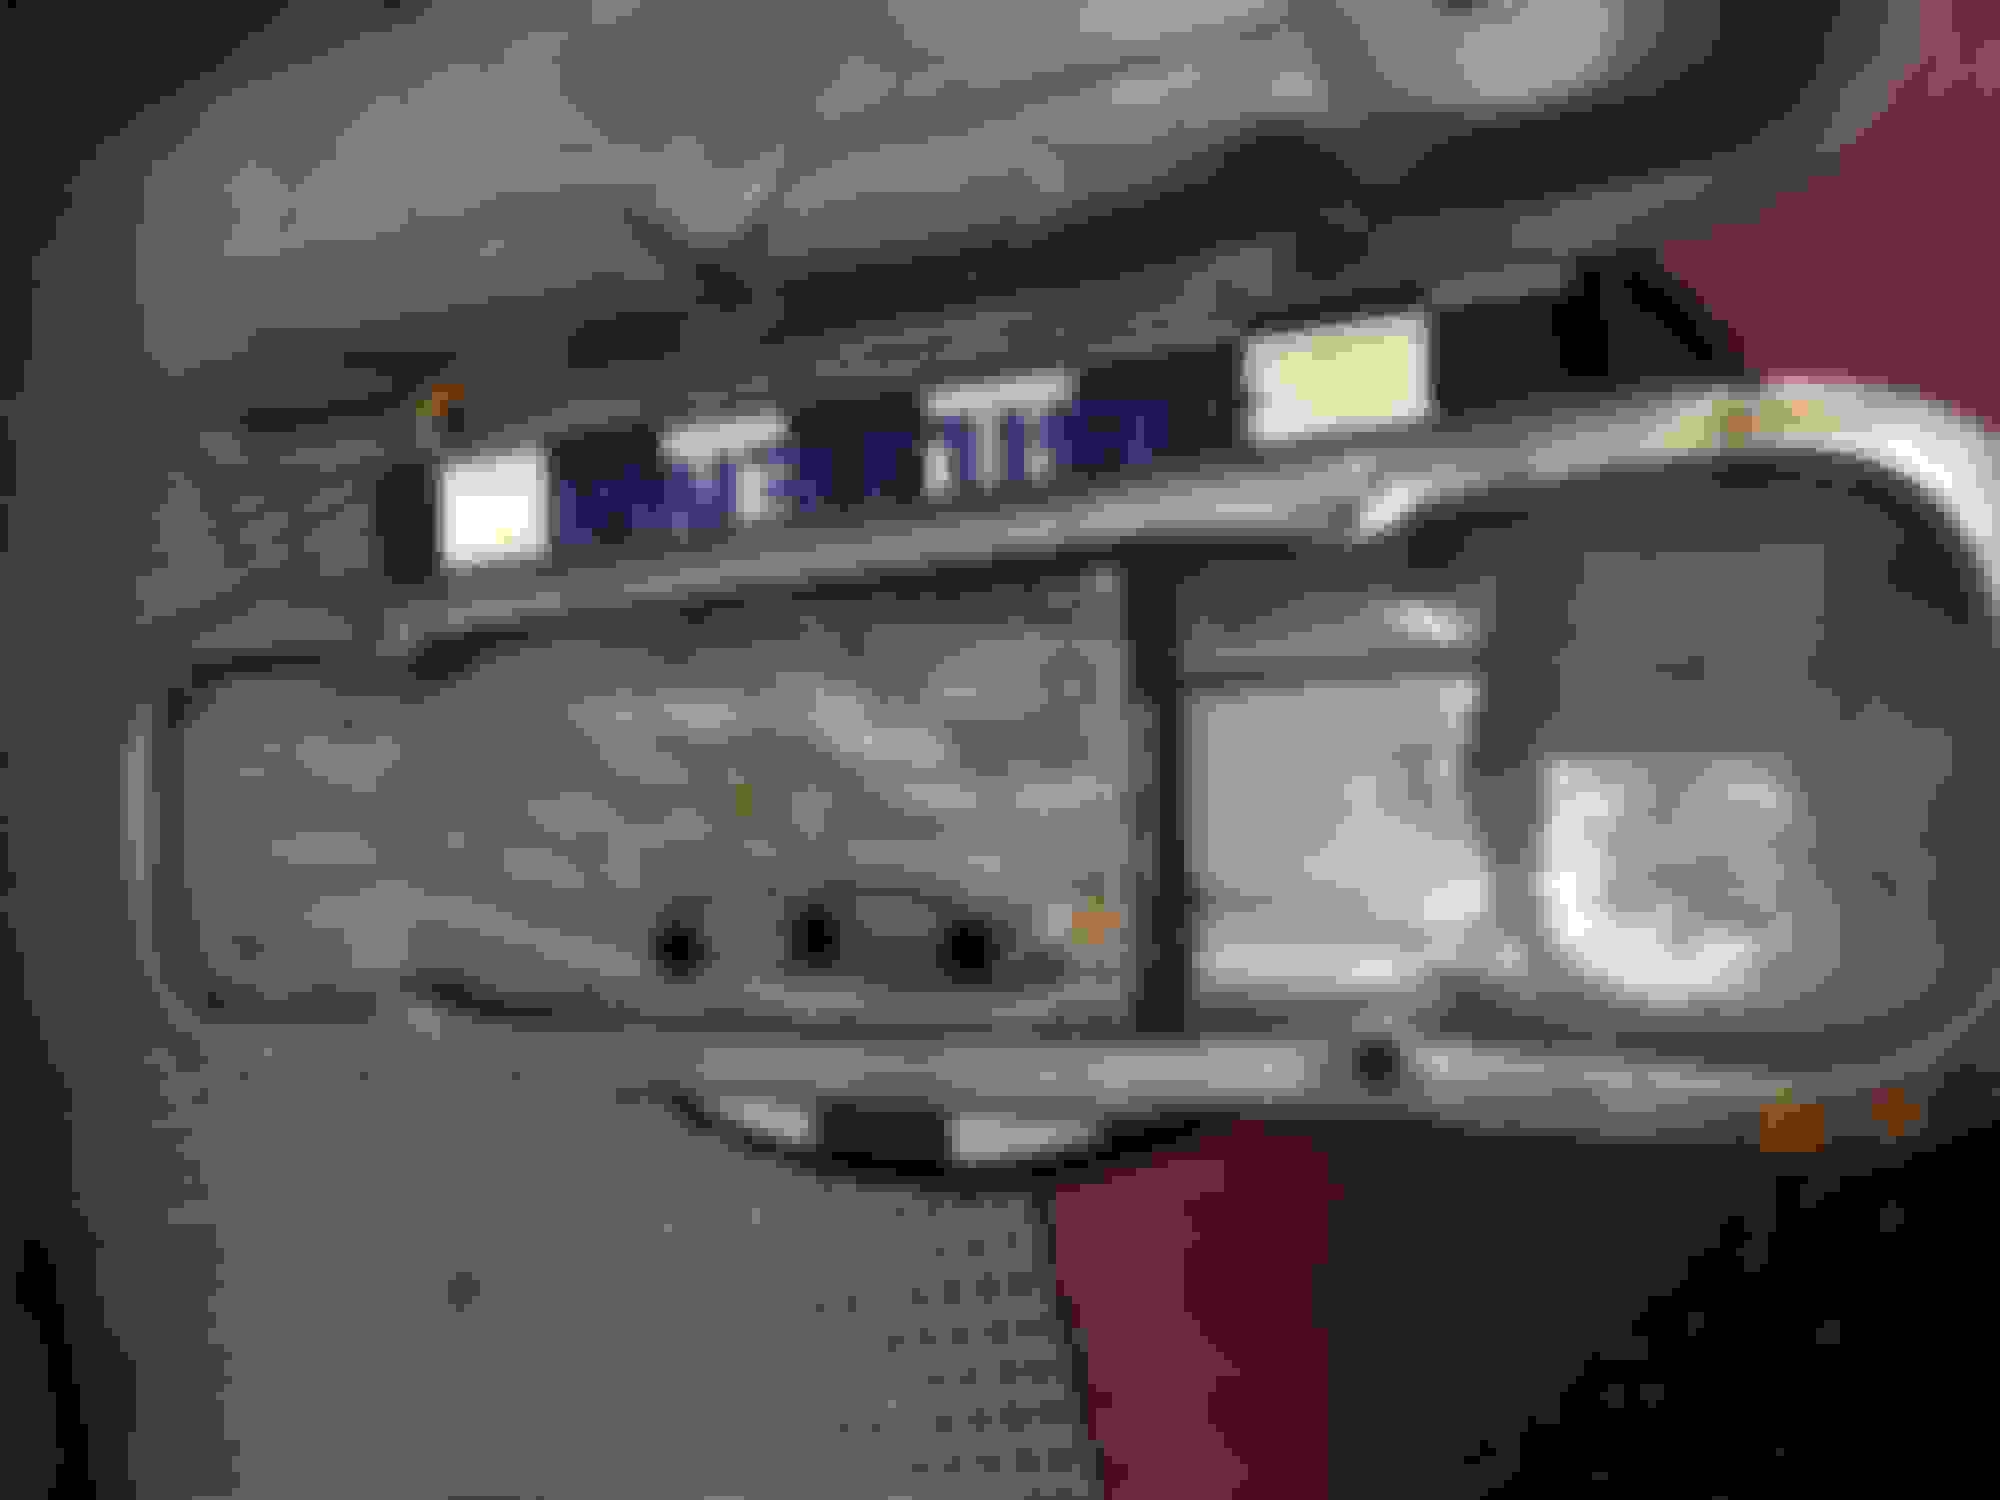
After some reviews, i want to fasten the ECU in the front of the inner fender, by the side of the batteri, theres no space behind the fender, and i don`t want to cut or weld in the fender.. I have to make some fastening to the bracket, so it is possible to remove it. I have no experience wit this, but it is someone who have a good reason, for not placing the ECU in the front ?? I think i save a lot of work, and i plan to use a gauge controller, and use most of the original instrument.. Put some cold winterphoto from Norway on the post.. Nice to be in the garage a coldy winterday, with wood -stove and flames.... around me..
Today i make a trial mount with the the gearbox, connected to the shortened driveshaft. Before i insert the engine i want to make/mount the transmission cooler line. I have mount outside fittings, but i see problem with the space here. The fittings run direct to steel.. I plan to use the cooler line i have,or make new in steel, but it is someone here who can give me a tip about " banjo" fittin.. like a brake house connection.. , or other tip about " bad space" connection...
A day or 2 in the garage when and then, and something happening.....
I feel much of this project is 2 step forward ,and 1 step back. This weekend i made a bracket to fasten the ecu inside fender in the front. Earlyer i make bracket to fasten the coils on the firewall, and as you can see, i reuse the coil fastener frame from the LQ9 on both the coil bracket and the ECU holder... frame.. Reuse must be a good thing in this days....I pre mount the engine, and i see the rear engine mount came to high, so i have to weld and cut , and lowener the mid part of the rear crossover.
At last, Is it someone who have a tip about 2 -pole temp sensor, who fit in the tread rear on the head....

 05-21-2017, 04:24 PM


 I plan to use the cooler line i have,or make new in steel, but it is someone here who can give me a tip about " banjo" fittin.. like a brake house connection.. , or other tip about " bad space" connection...
  I pre mount the engine, and i see the rear engine mount came to high, so i have to weld and cut , and lowener the mid part of the rear crossover.