
99 Mustang 5.3/80e swap
 11-28-2017, 01:51 PM
#21
On The Tree
So i found with the 4l80e fitting to the 5.3 is that you use the spacer in front of the 4l60e flywheel, or use the spacer behind the 4l80e flywheel.
I got the ATP Z270 Flexplate and spacer with bolts off Summit. I think it was $60 shipped or around there. I originally bought a spacer, but the bolt spacing matched the 4l80e flexplate, but not the 5.3 crank.
https://www.summitracing.com/parts/atp-z270
I got the ATP Z270 Flexplate and spacer with bolts off Summit. I think it was $60 shipped or around there. I originally bought a spacer, but the bolt spacing matched the 4l80e flexplate, but not the 5.3 crank.
https://www.summitracing.com/parts/atp-z270

 11-29-2017, 01:29 PM
#24
TECH Apprentice
Thread Starter
 12-06-2017, 08:03 AM
#26
TECH Apprentice
Thread Starter
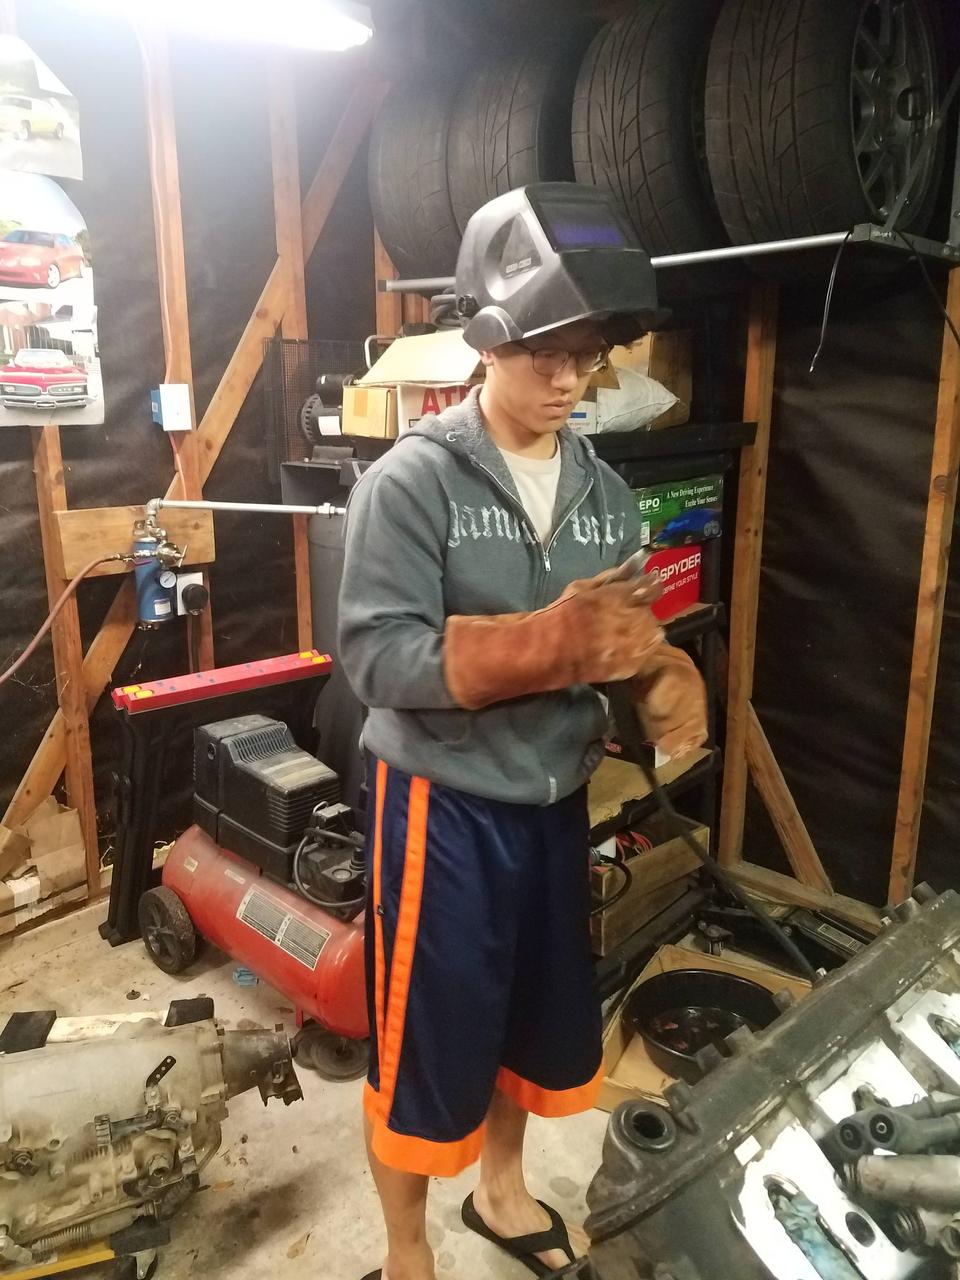
My buddy Mikey who is much better at welding than i am stopped by last night to lend a hand.
FLOPS ALL DAY!
unfortunately, 110v mig with flux core wire just isnt the right combination for this job. If it is, its just outside our skill level. we tried though and thats all that matters right? looks like ill be swapping heads afterall
FLOPS ALL DAY!
unfortunately, 110v mig with flux core wire just isnt the right combination for this job. If it is, its just outside our skill level. we tried though and thats all that matters right? looks like ill be swapping heads afterall
 12-06-2017, 09:14 AM
#28
TECH Apprentice
Thread Starter
yea this was effort number 3. i think its just time to pop the valve springs and out and move them to the 862s i have on the shelf.
12-06-2017, 12:55 PM
#30
TECH Apprentice
Thread Starter
that was what we tried but it just spun right off. ill effort it one more time before i swap the heads.
12-07-2017, 01:11 PM
#31
On The Tree
did you try welding a washer with the same size ID as the OD of the bolt first, then weld the nut on? I have found over the years that this allows much better penetration to the broken bolt, then more welding area for the nut to the washer.
12-07-2017, 01:20 PM
#32
TECH Apprentice
Thread Starter
i didnt, but i will try that.
12-08-2017, 07:53 AM
#33
TECH Apprentice
Thread Starter
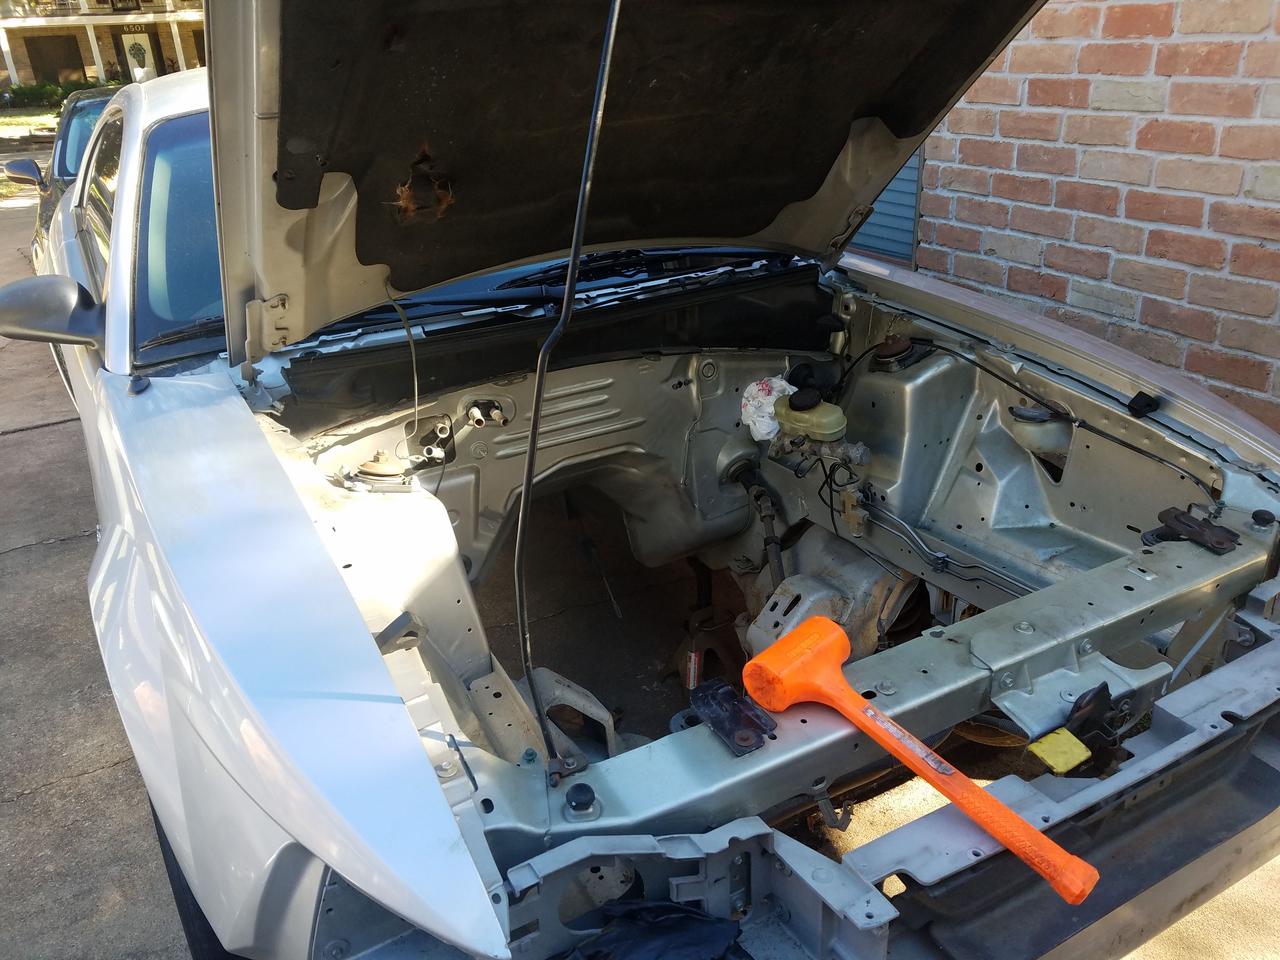
hoping it warms up a bit so i can work on this thing more this weekend.
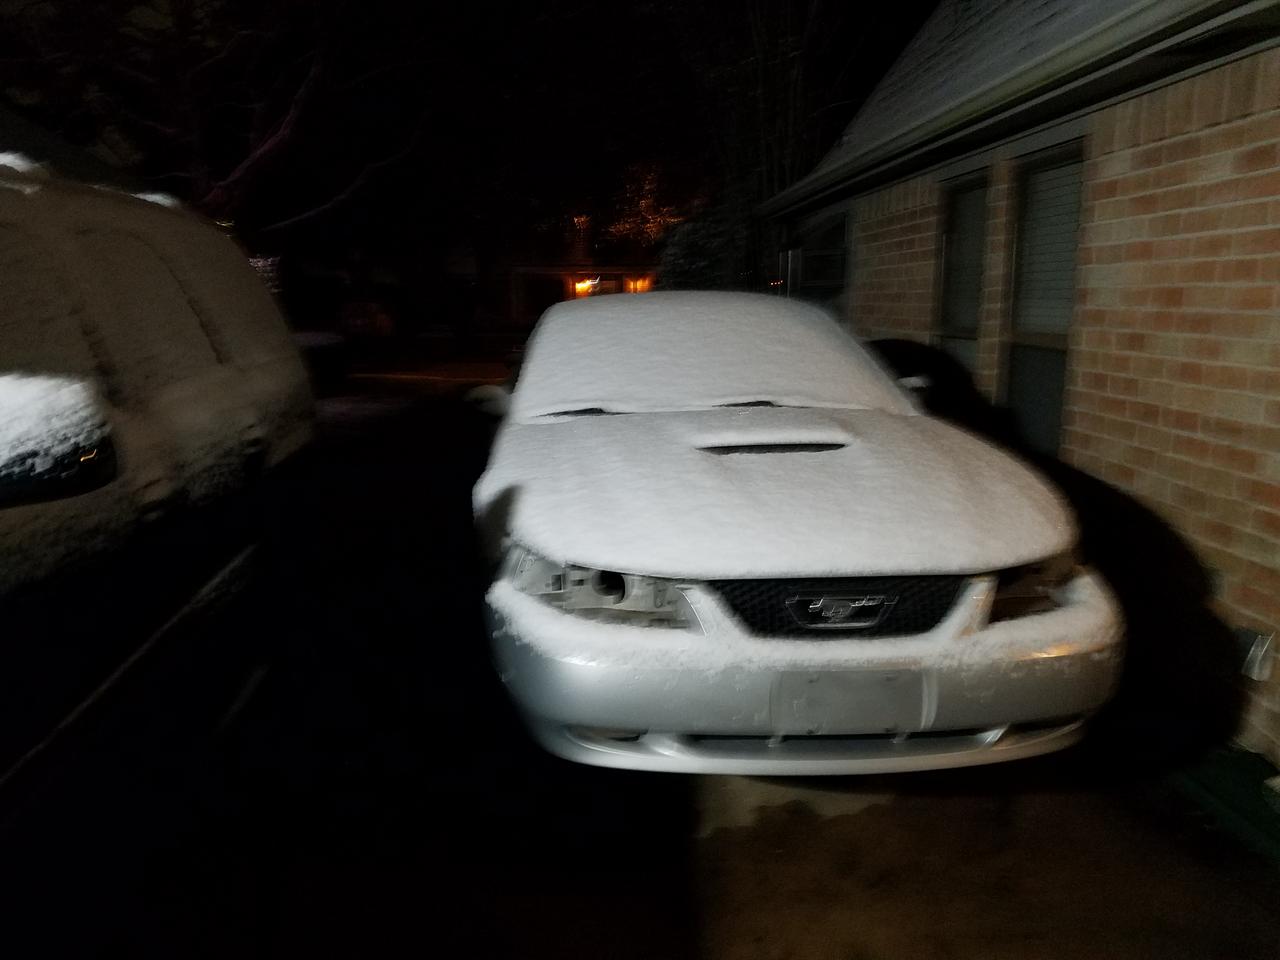
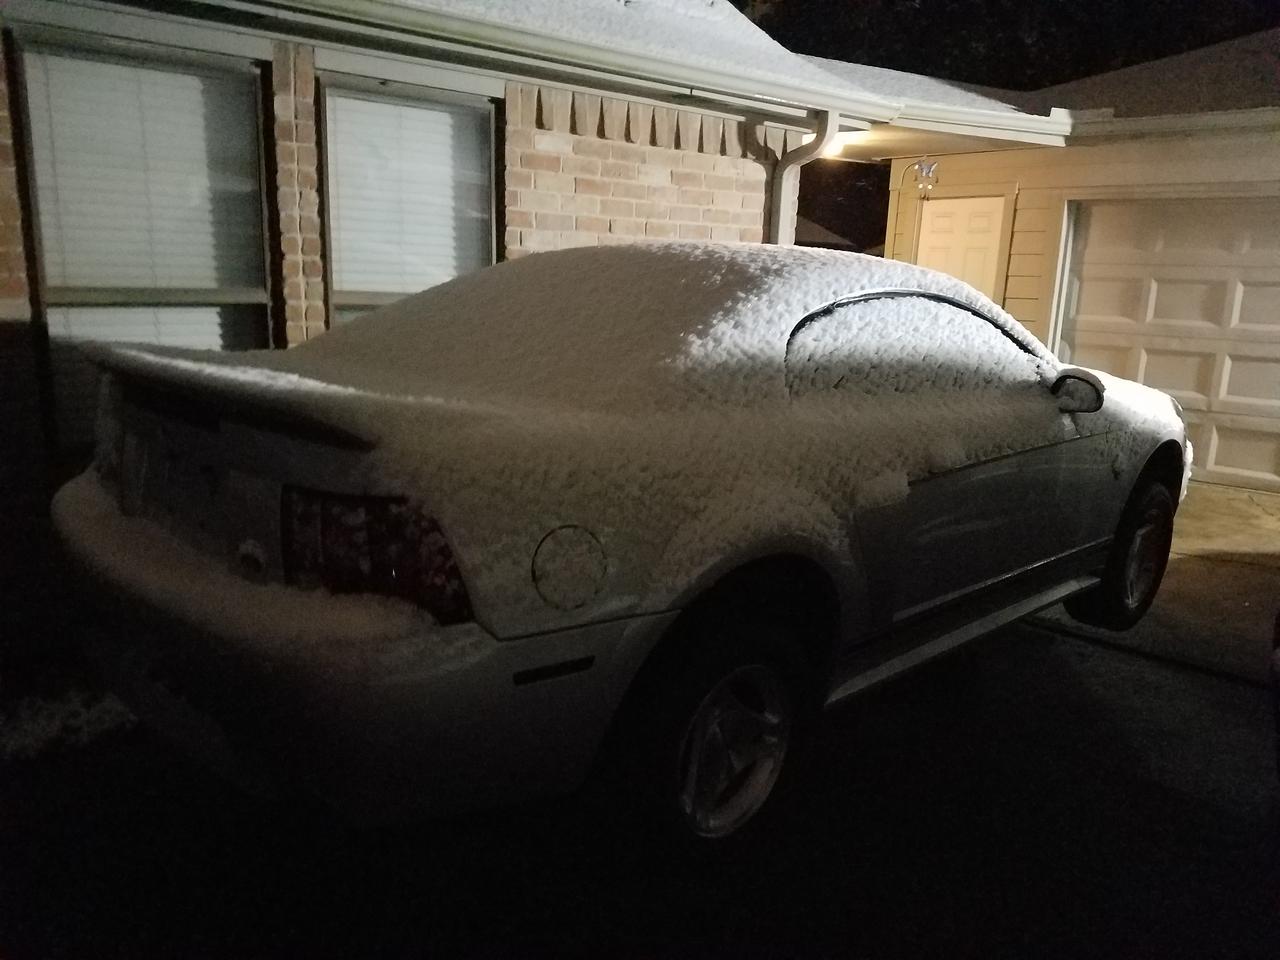
what a bizarre sight for houston.
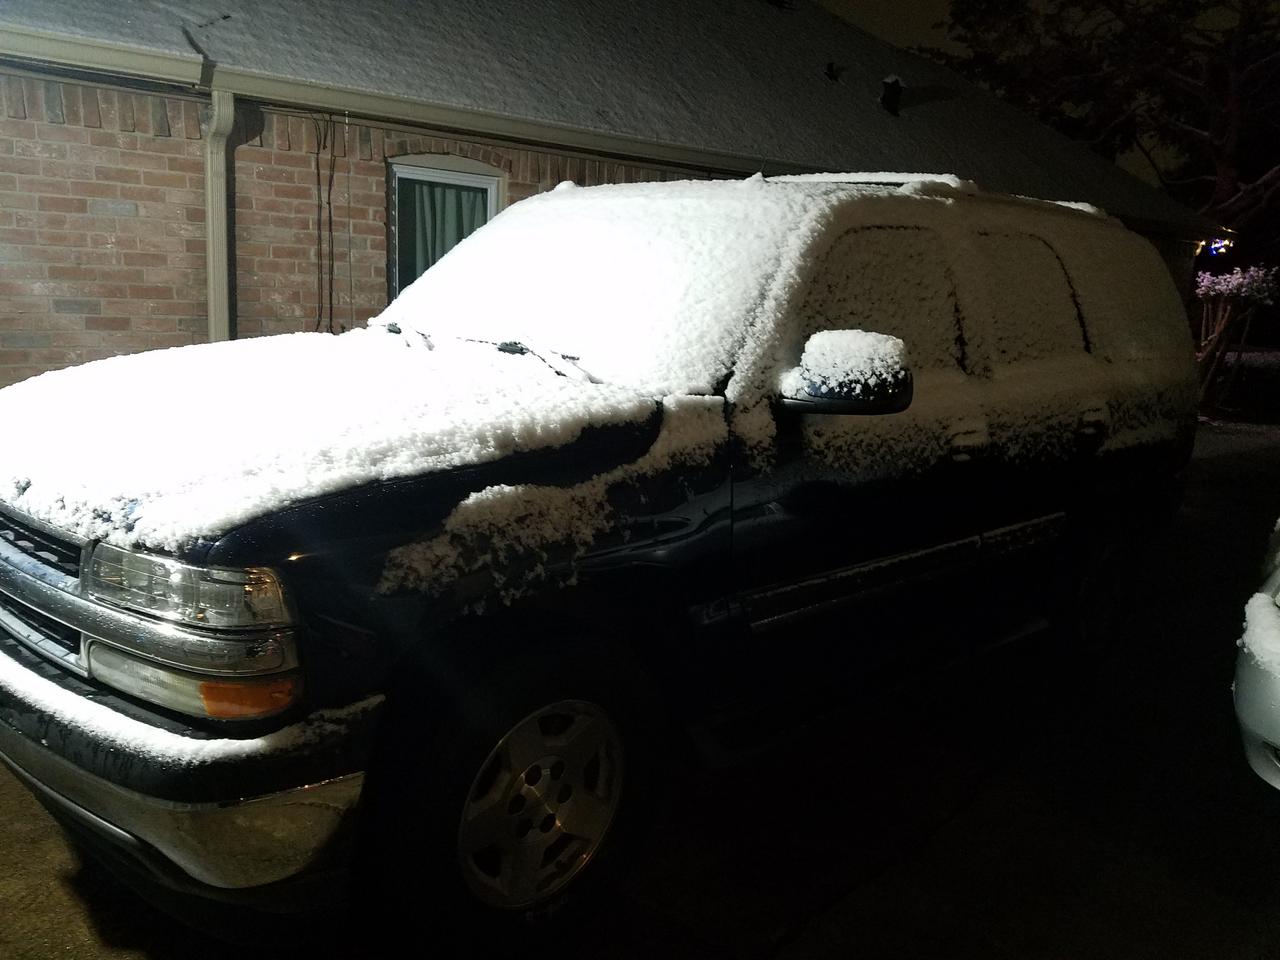
but yea i mean this should be melted by days end but i hope its at least in the 60s tomorrow so i can work on this thing some more.
what a bizarre sight for houston.
but yea i mean this should be melted by days end but i hope its at least in the 60s tomorrow so i can work on this thing some more.
12-10-2017, 10:22 AM
#35
TECH Apprentice
Thread Starter
This worked awesome! I got 2/3 out last night. Just didn't buy enough washers for as many failed attempts as I had lol. I'm still learning the welding thing and this made it easy to get two of them out. Last one is a bit deeper into the hole. Gunna be trickier but I'm getting that ****** out today!
12-12-2017, 04:26 PM
#38
TECH Apprentice
Thread Starter
updates from over the weekend.
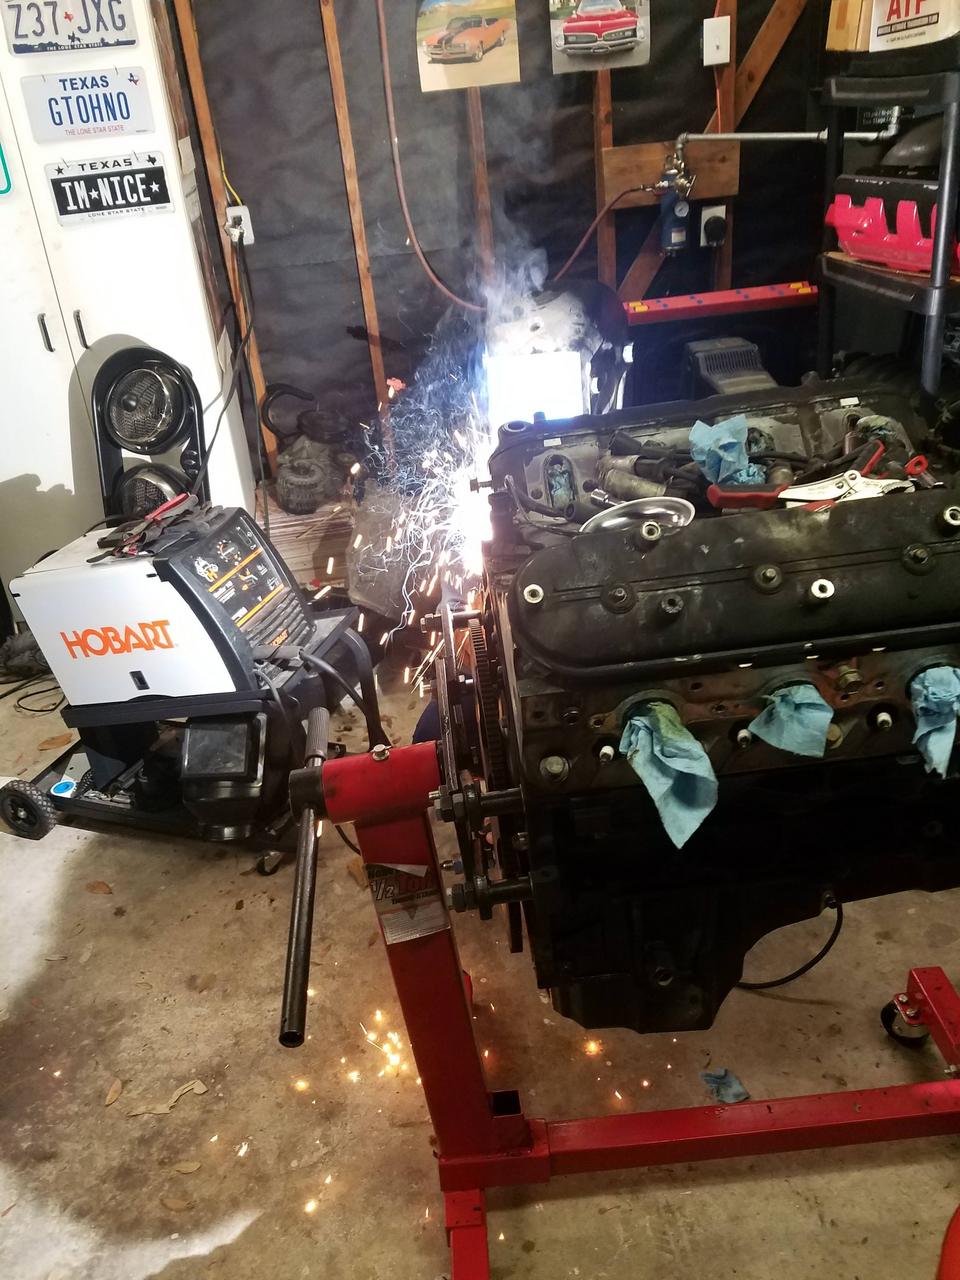
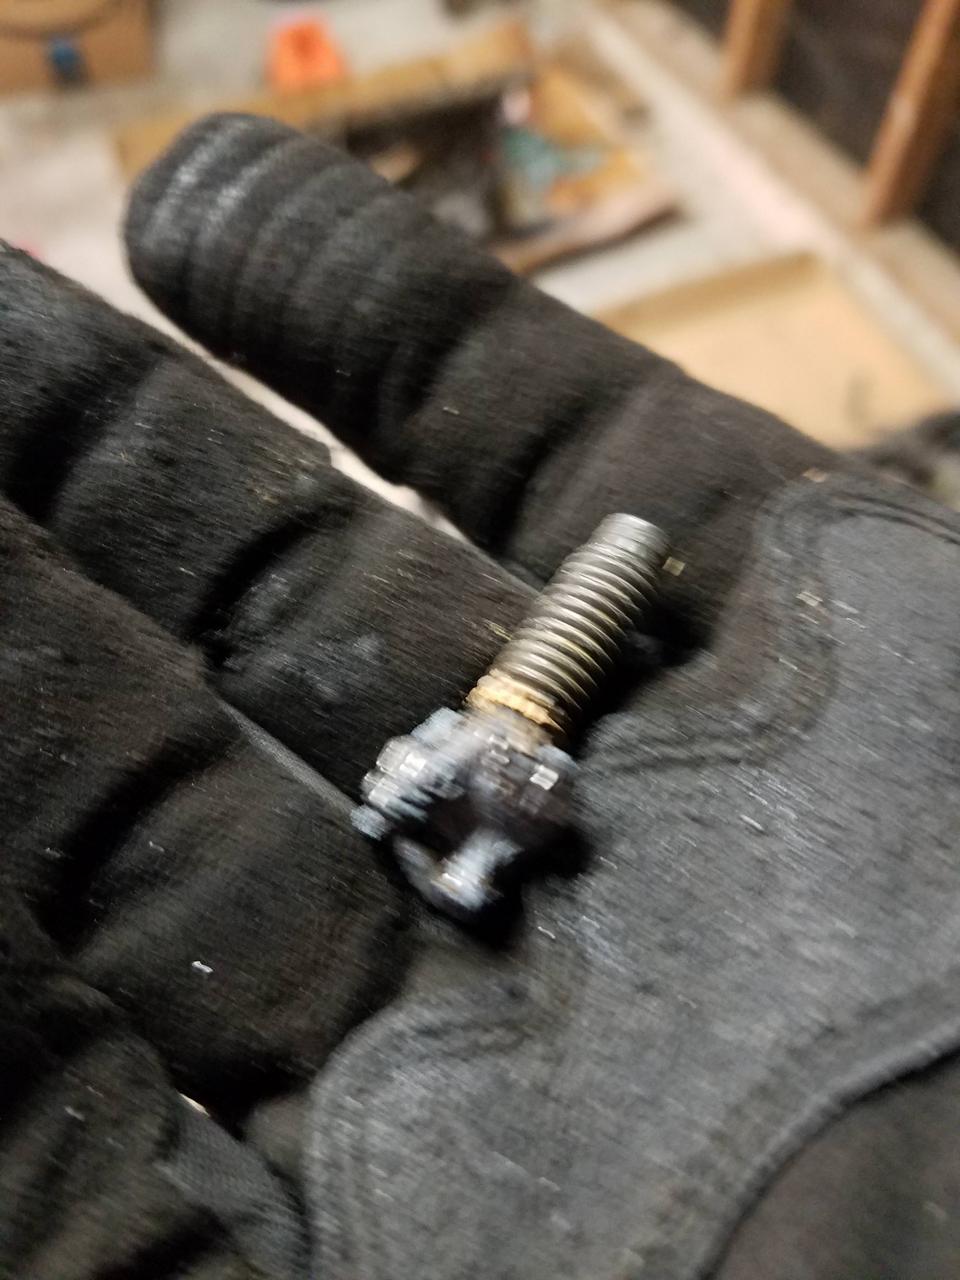
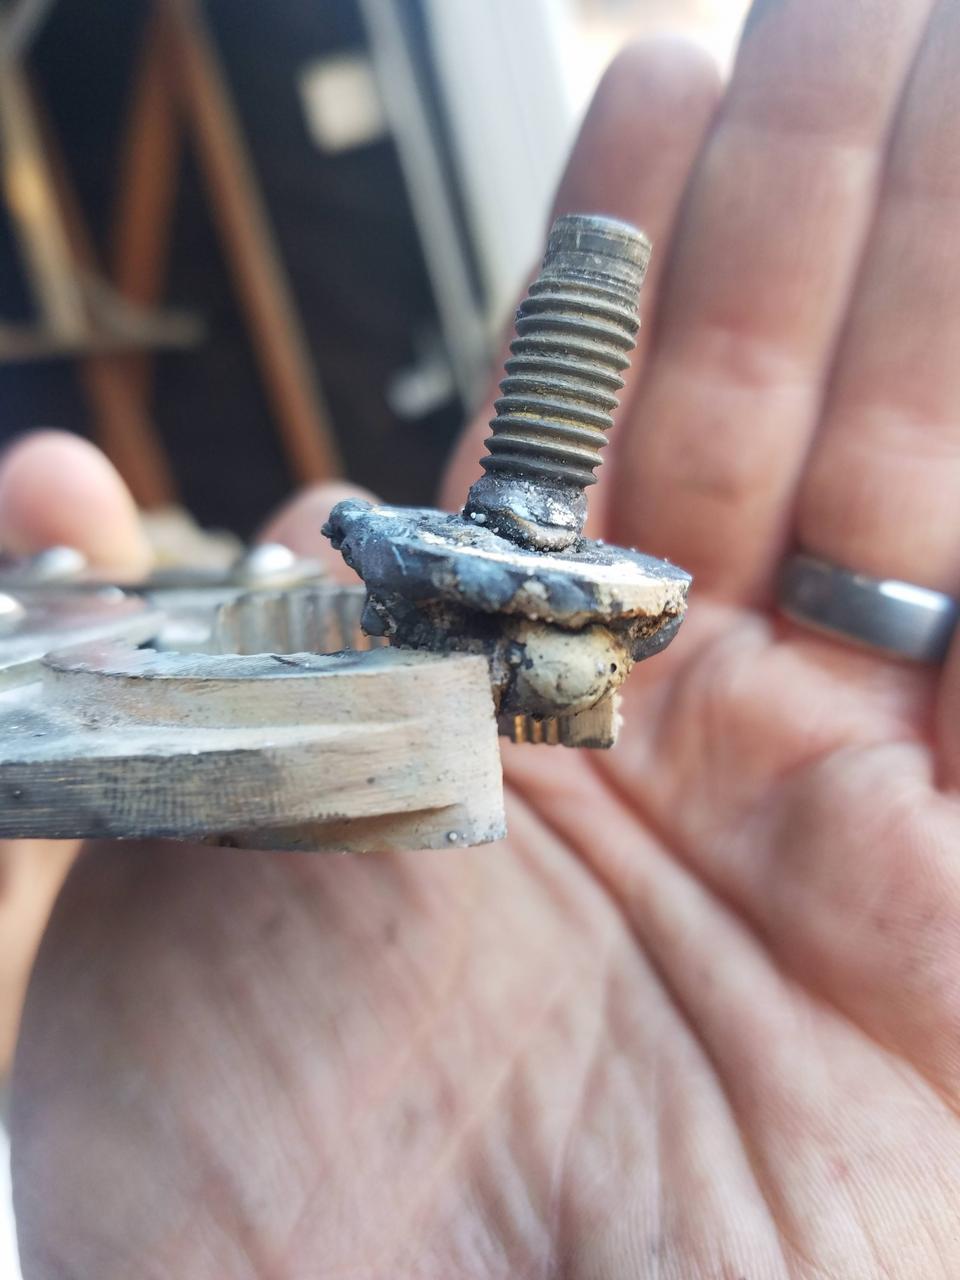
Saturday i efforted the exhaust stud removal again, this time with the tip from Andler2008, Worked fantastic. Got 2 of 3 out saturday night and ran out of washers and nuts. im still learning to weld proficiently and blew through the washer a couple times. Doat got a couple action shots.
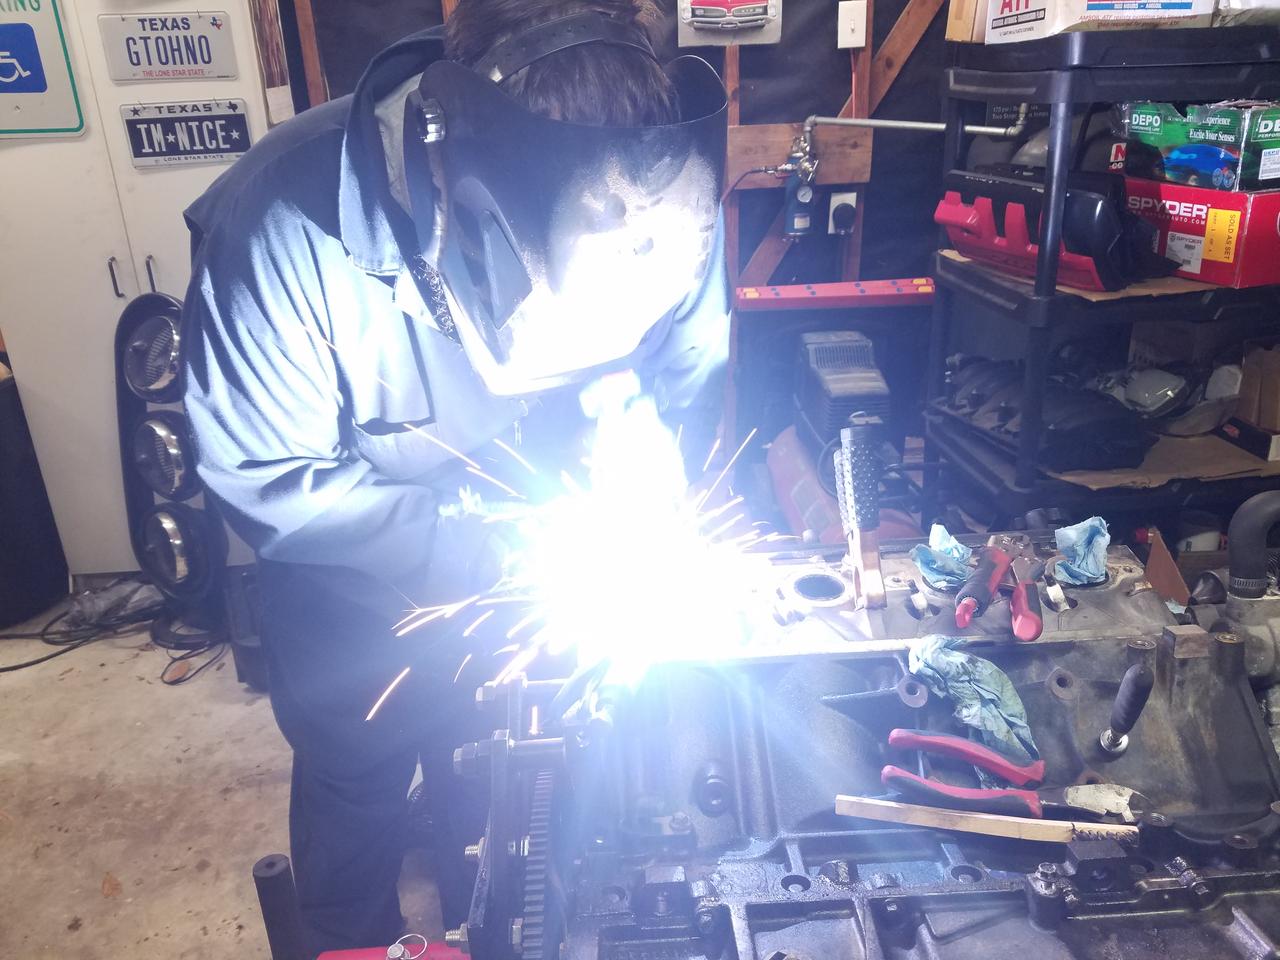
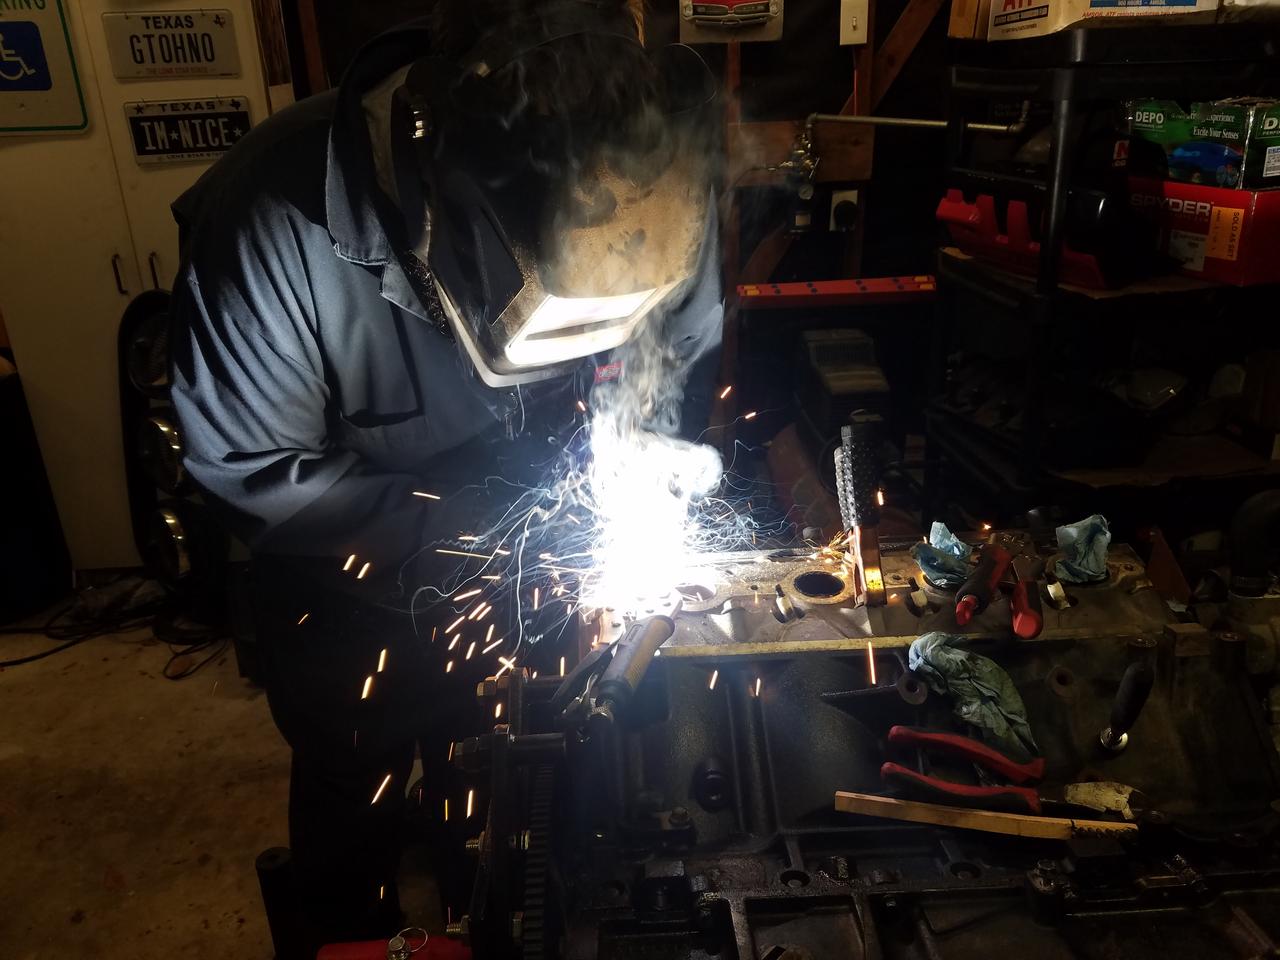
and the removed bolts because why not.

Saturday i efforted the exhaust stud removal again, this time with the tip from Andler2008, Worked fantastic. Got 2 of 3 out saturday night and ran out of washers and nuts. im still learning to weld proficiently and blew through the washer a couple times. Doat got a couple action shots.
and the removed bolts because why not.
12-12-2017, 04:30 PM
#39
TECH Apprentice
Thread Starter
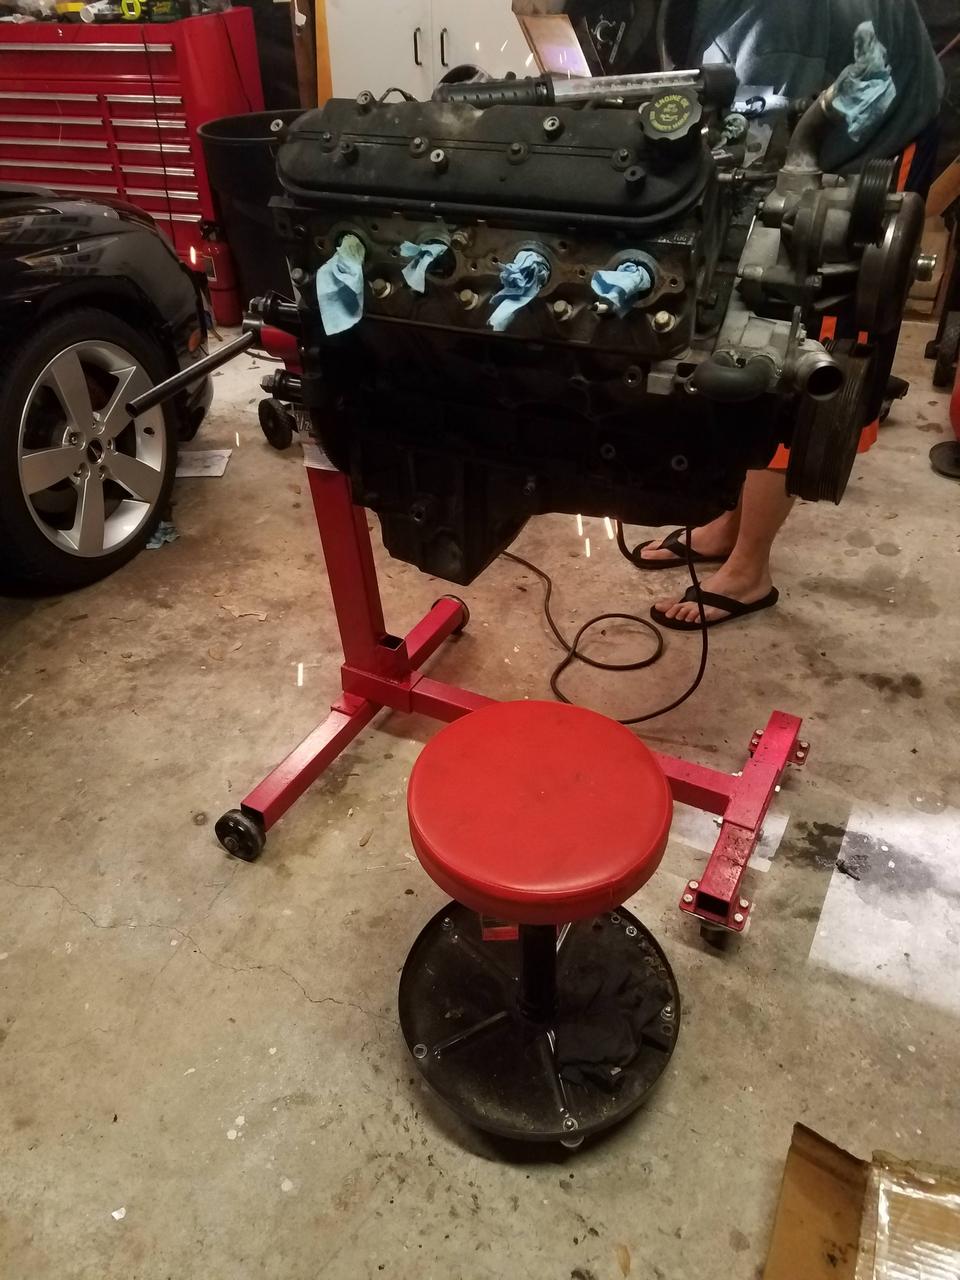
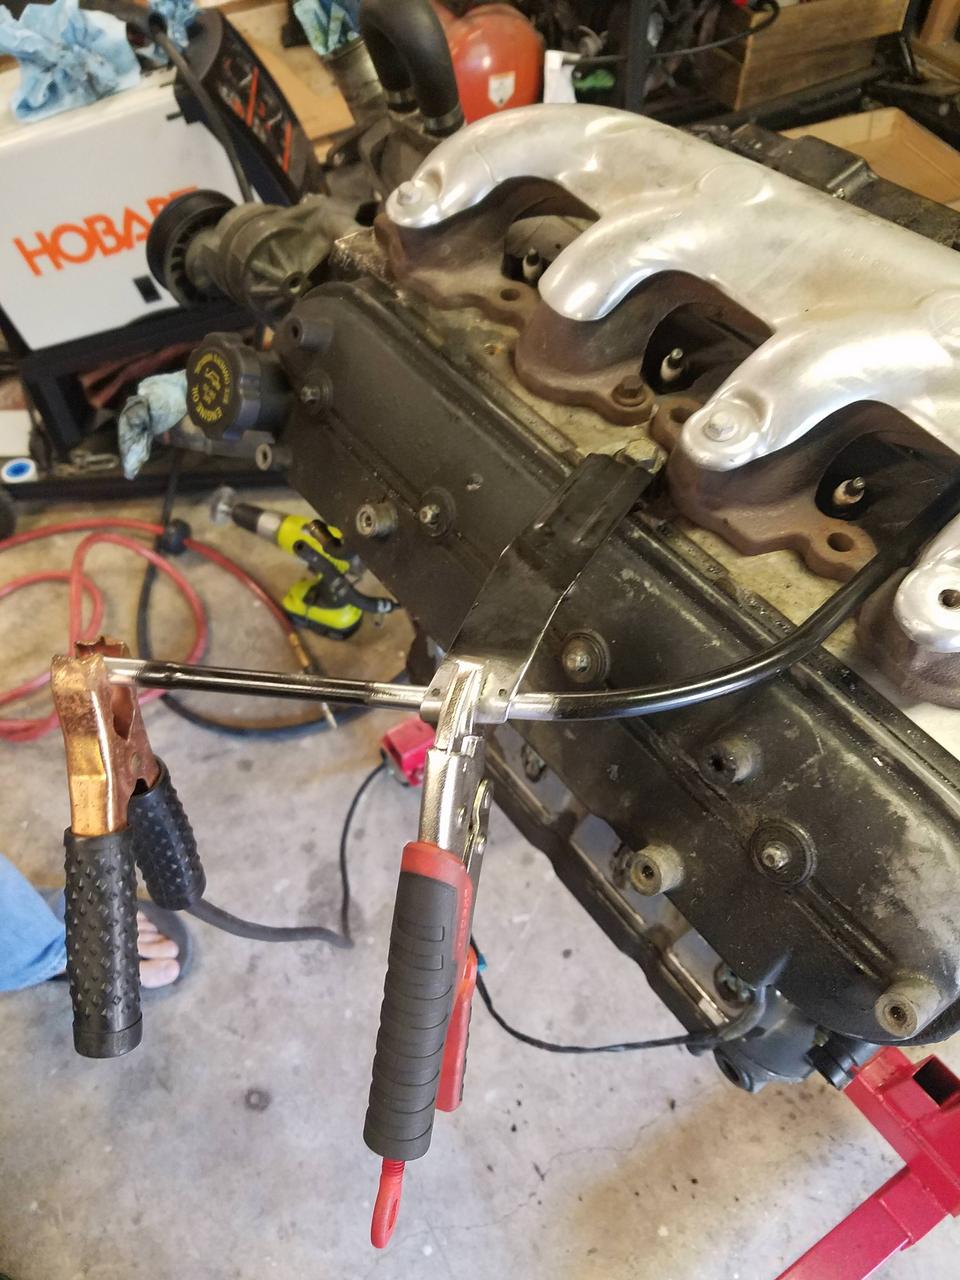
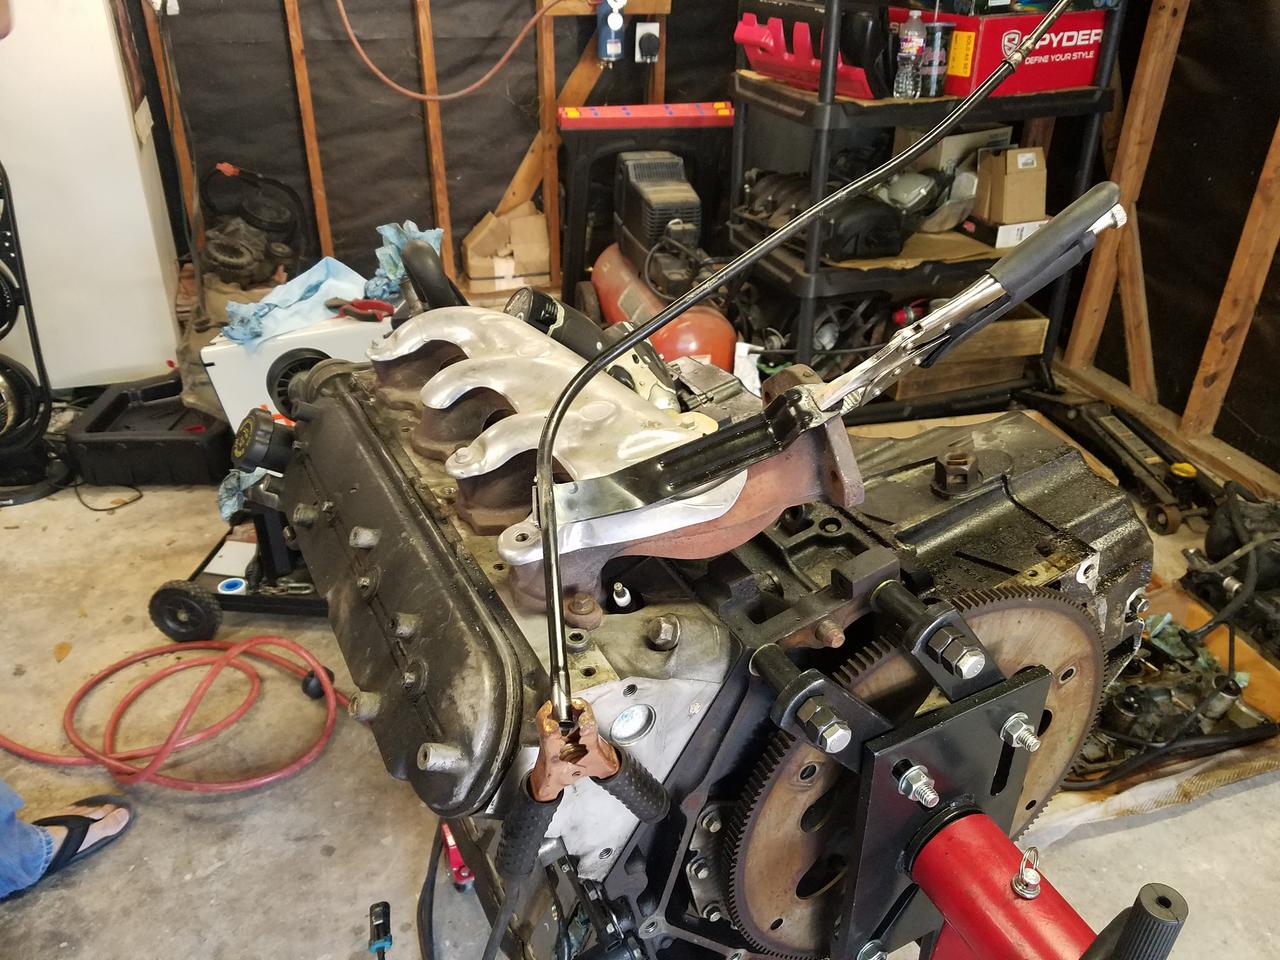
Sunday my friend James came by and we gave it another shot on that last one.
VICTORY
then we fixed the dipstick tube which broke somehow. because when you are welding why not keep welding and use your LS motor as a bench vise lol.
he had to take off so i ended up cleaning up the garage and organizing my tools again. they have been strewn about 2-3 work areas around the garage. after that i just sat and enjoyed the view for a little while before going in.
12-12-2017, 04:36 PM
#40
TECH Apprentice
Thread Starter
i had Monday and today off work so i relaxed Monday and got some work done today.
Pulled the test fit motor out of the chassis and pulled the parts off of it and put them where they go. then mounted the new hooker blackheart motor mount plates in place and made sure that all fit the motor thats going in.
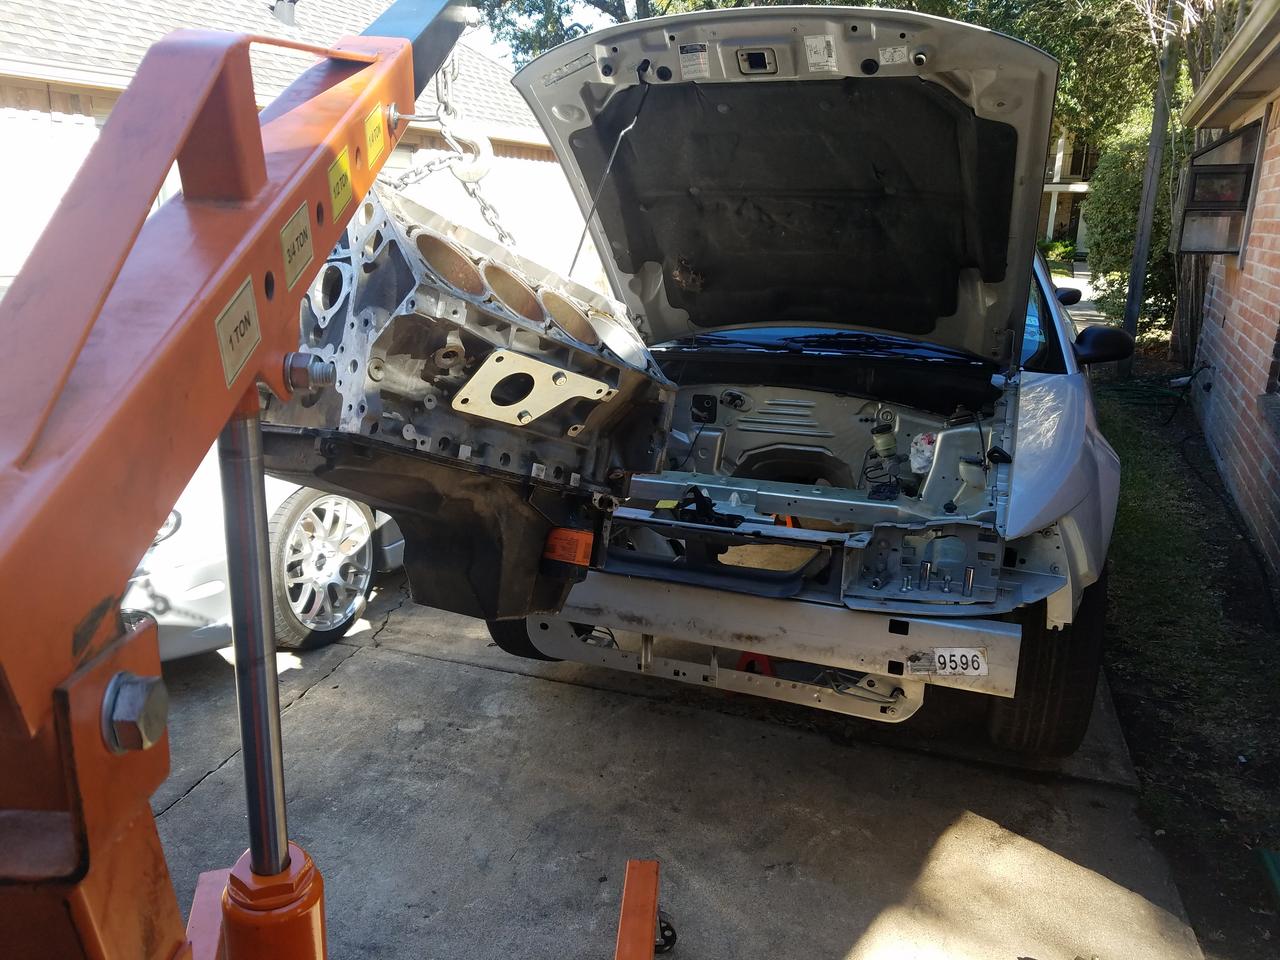
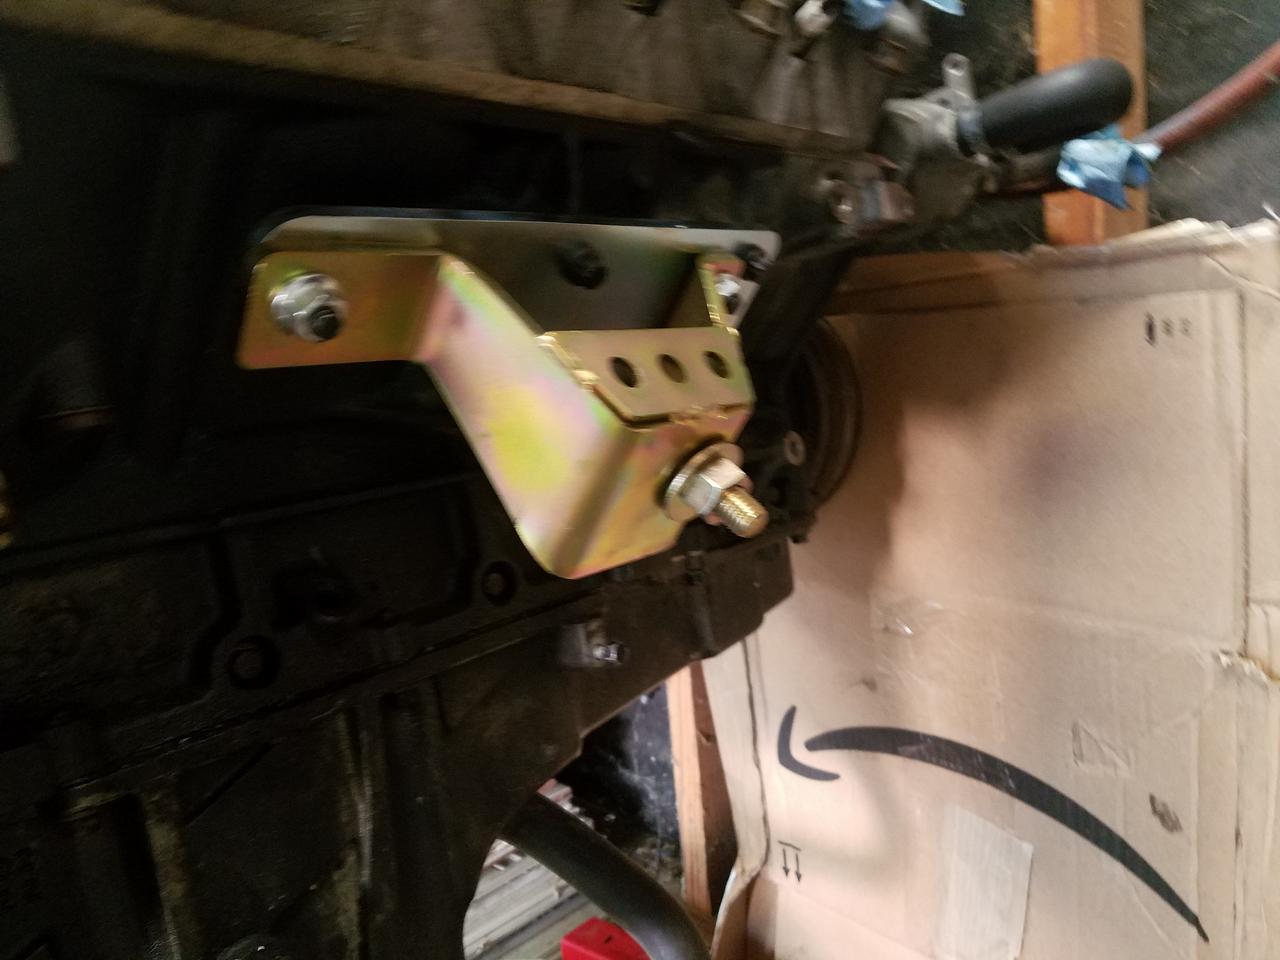
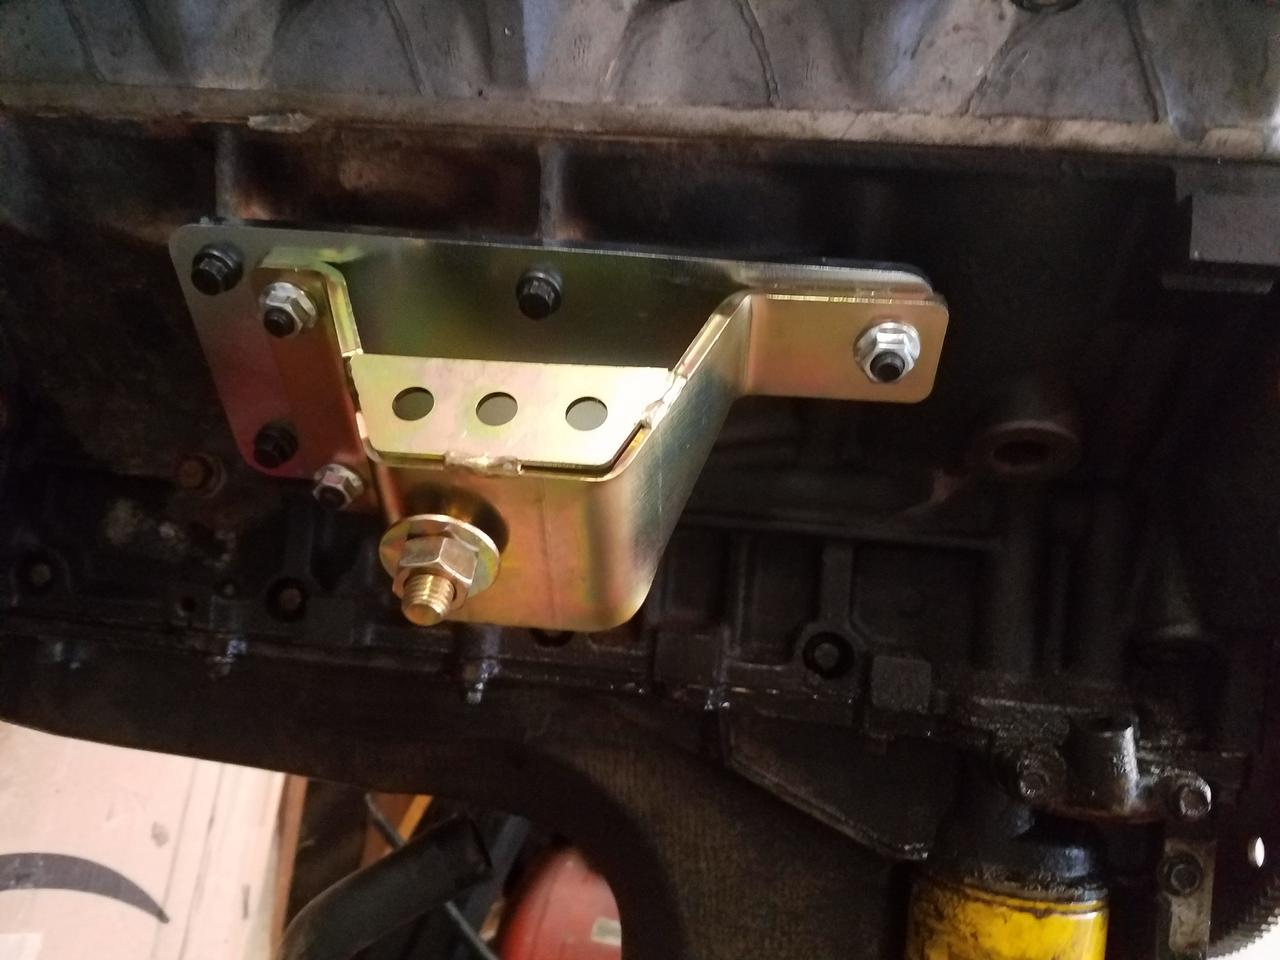
going to try and get this the engine and transmission into the car this weekend so i can start clearancing the floor. need to mark where that is and start hammering. hopefully be able to have it in place in the engine bay this weekend.
Pulled the test fit motor out of the chassis and pulled the parts off of it and put them where they go. then mounted the new hooker blackheart motor mount plates in place and made sure that all fit the motor thats going in.
going to try and get this the engine and transmission into the car this weekend so i can start clearancing the floor. need to mark where that is and start hammering. hopefully be able to have it in place in the engine bay this weekend.