


S14 l33

Thread Starter
TECH Apprentice
iTrader: (4)
Joined: Dec 2008
Posts: 317
Likes: 0
From: Broken Arrow, OK
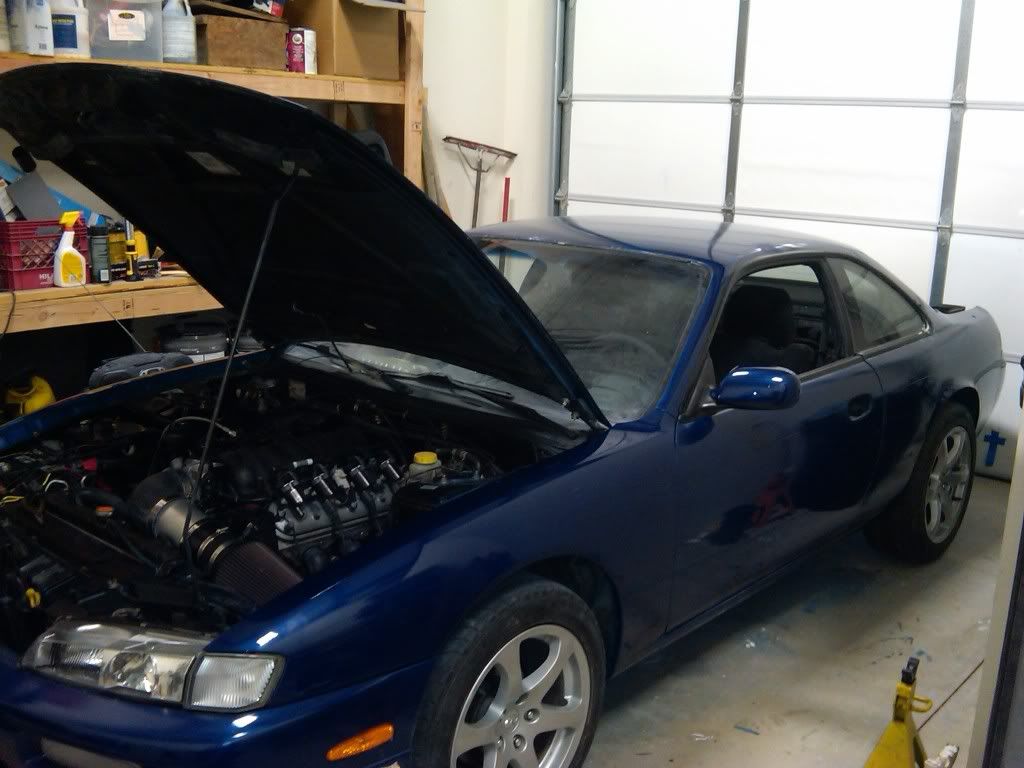
I can't wait to get her back on the road again with a working clutch and a freash coat of paint.
[B][gjohnson/B]\
Great job. Gonna be a sleeper for sure. I like how quiet your car is. I guess I am getting old. I like quiet vehicles vs the muscle car sound.
This swap didn't take long. Do you have any better pics of your frame mounts? I would imagine you some sort of gusset not shown in your pics.
Keep the pics coming.
.jpg)
Thread Starter
TECH Apprentice
iTrader: (4)
Joined: Dec 2008
Posts: 317
Likes: 0
From: Broken Arrow, OK
Well, here's a little update. I forgot to update this thread, so I'll copy and paste my updates from the other sites.
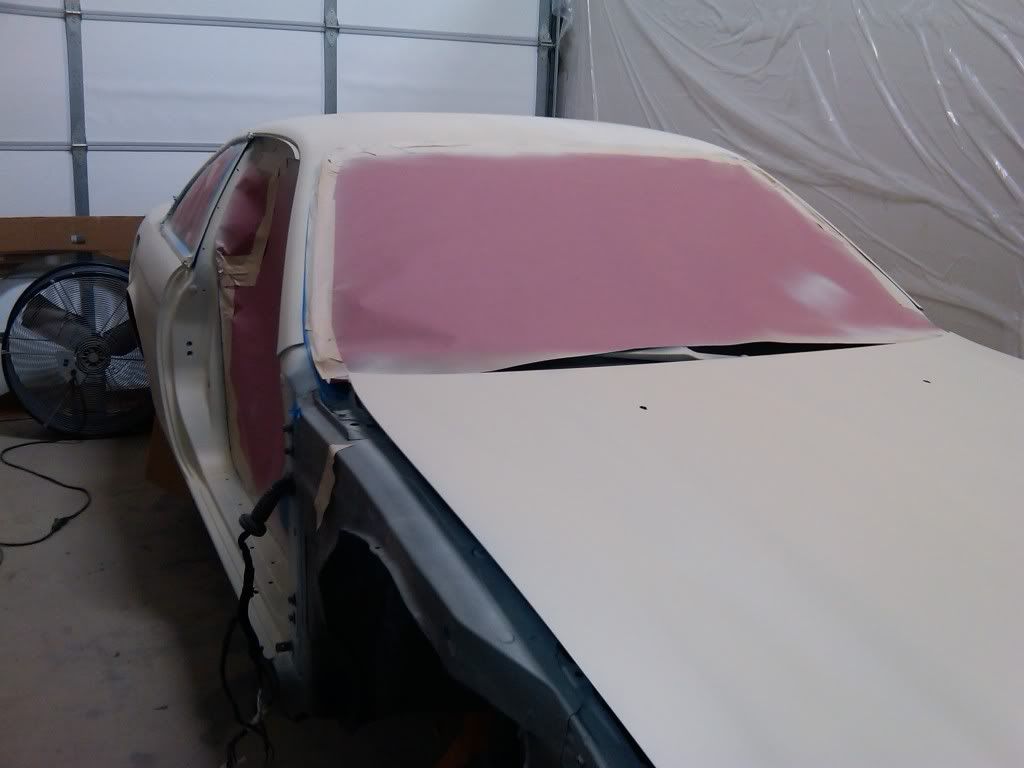
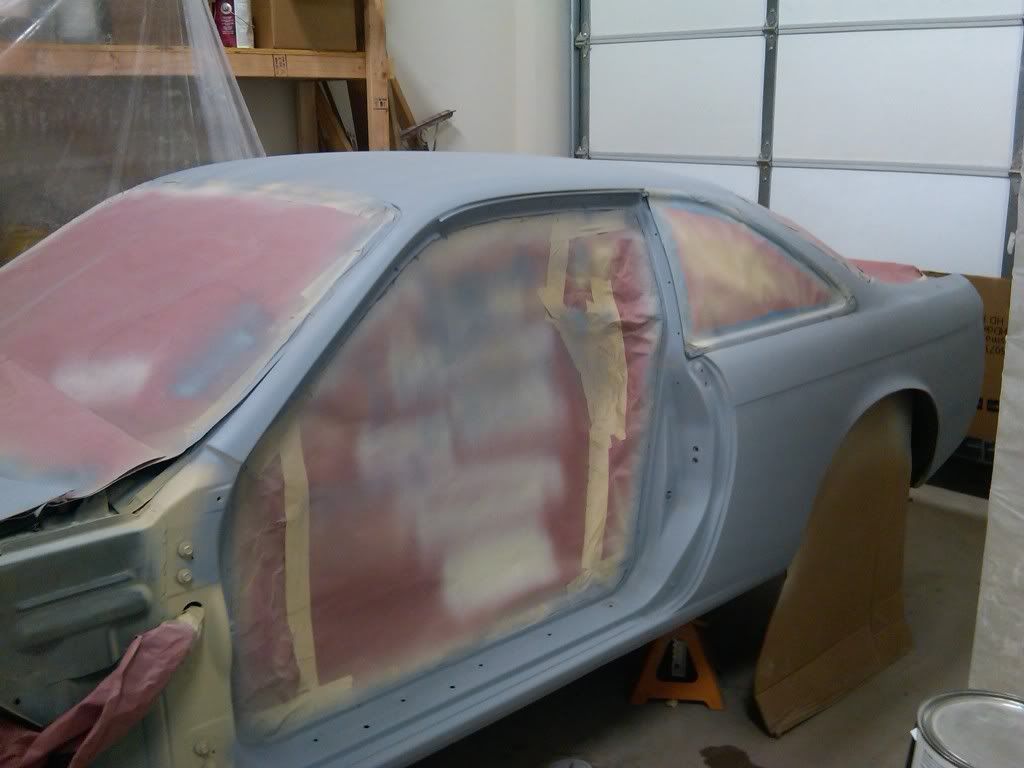
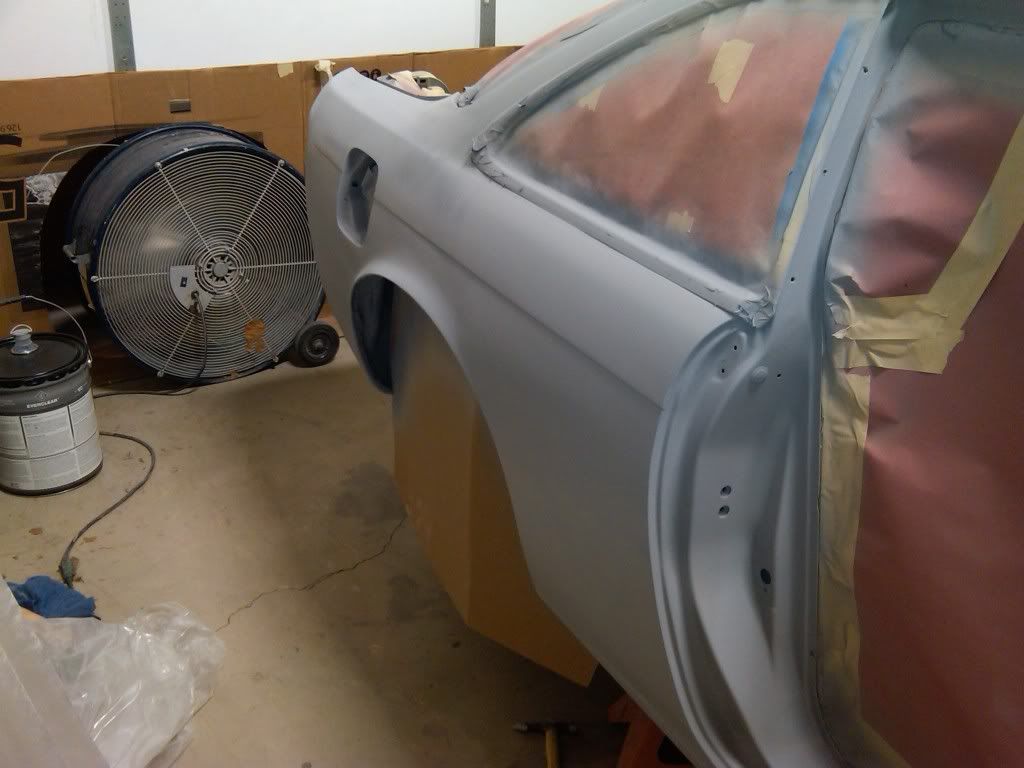
The Kouki has been at my buddies shop for a while now and we've been going at it when we have time, but I've spent 75% of all my time working on the rear quarter panel. The only way we could figure to get the fender back in shape was to either roll the fenders or go widebody. I decided to roll/pull the fenders.(figured I could go widebody later depending on how they turned out.) Also, beat on the quarter panels so long we had to torch them and rapidly cool them back down to shrink the metal. Had to cover it with a thin layer of bondo to, to smooth things out.
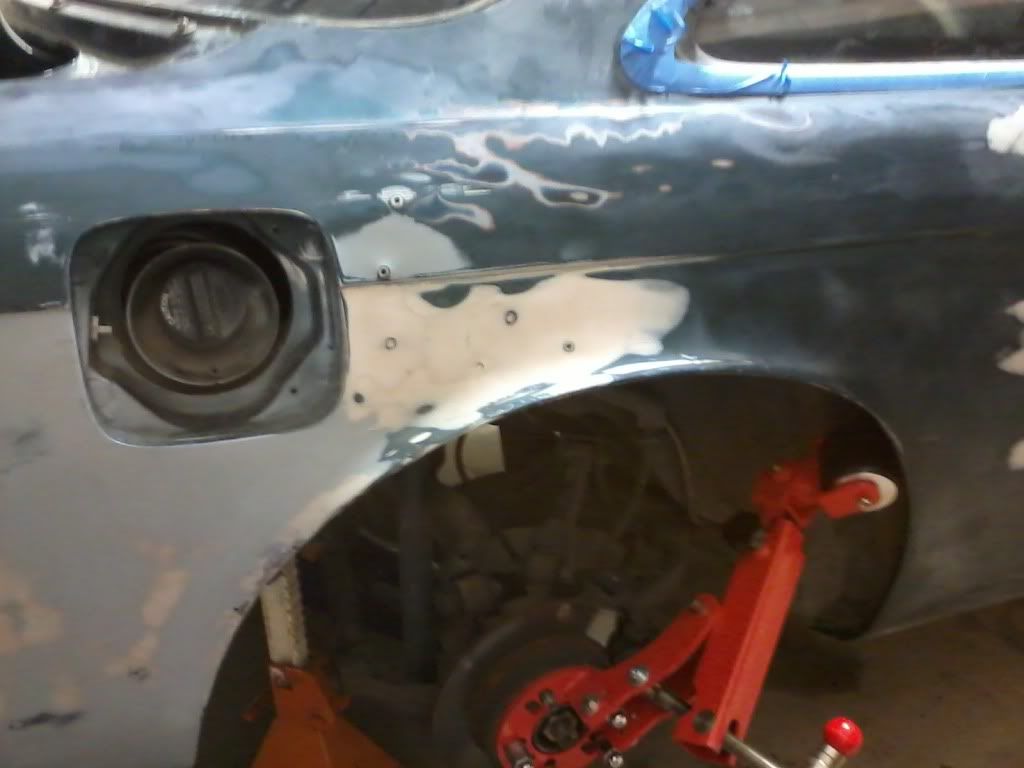
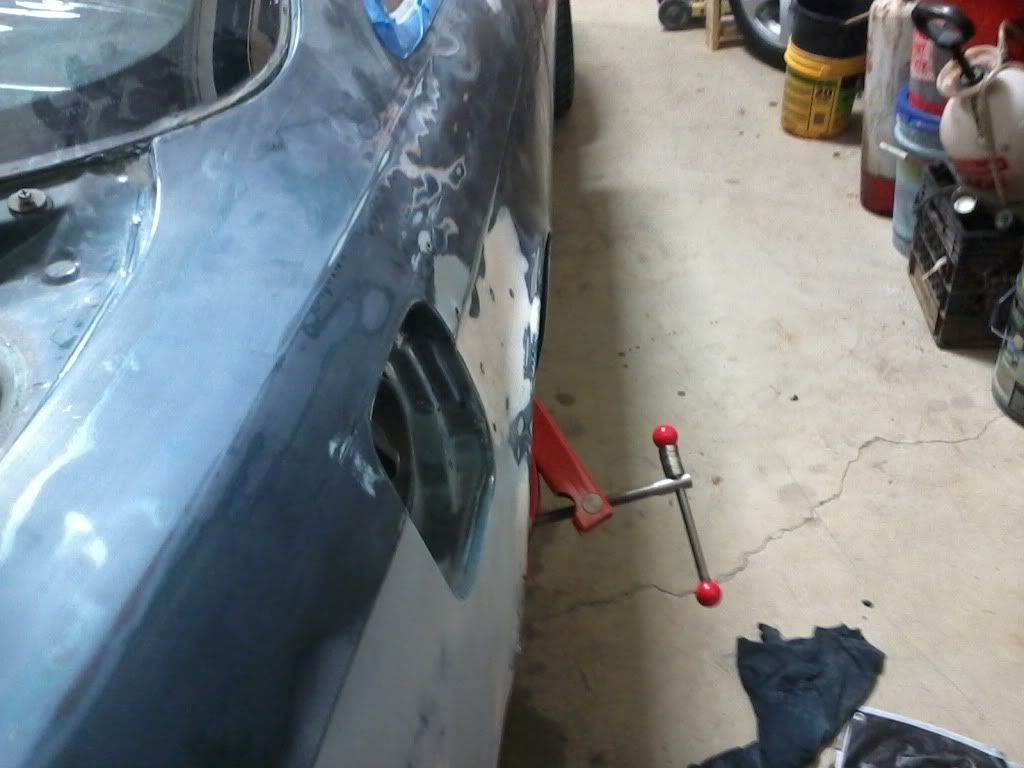
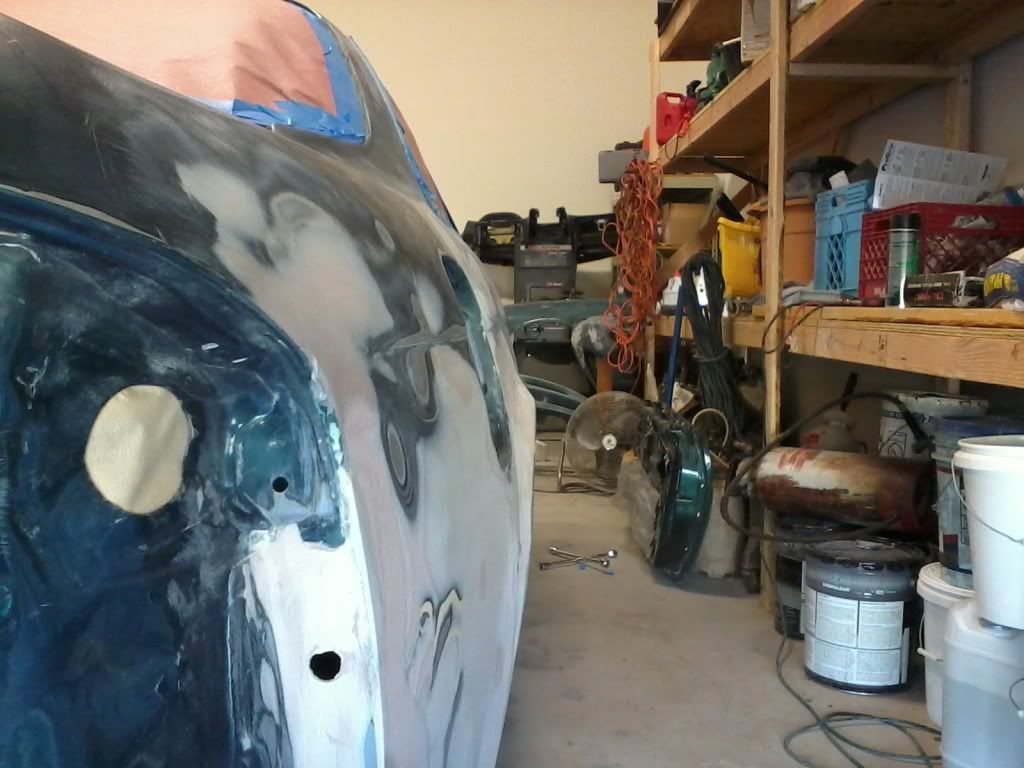
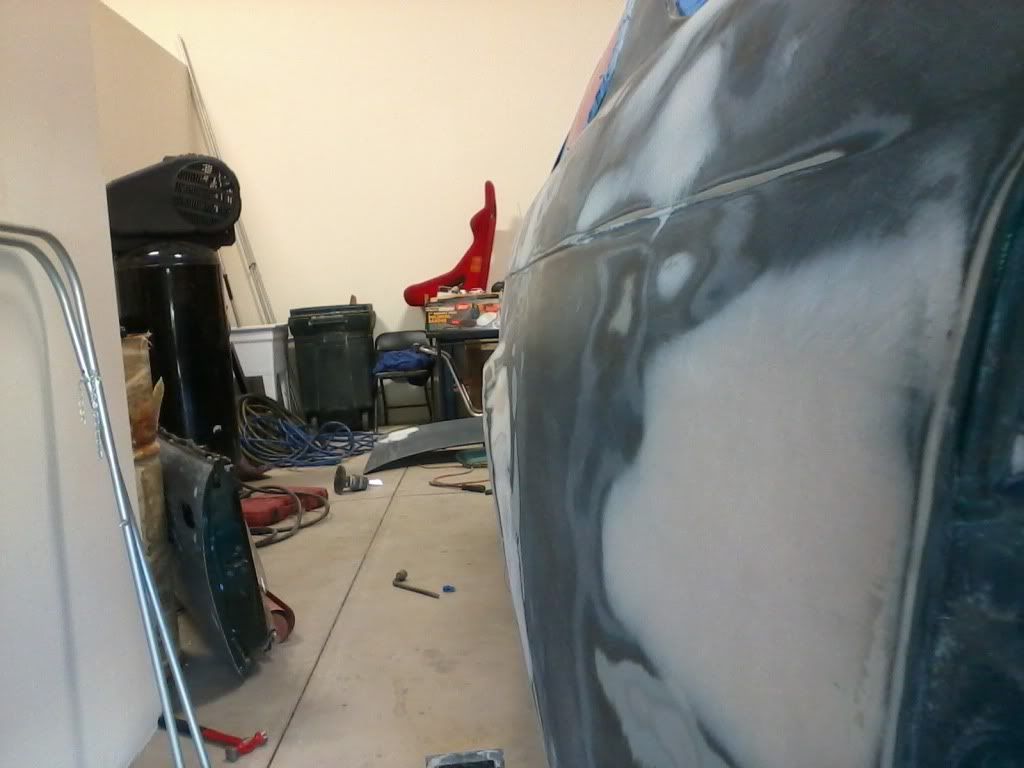
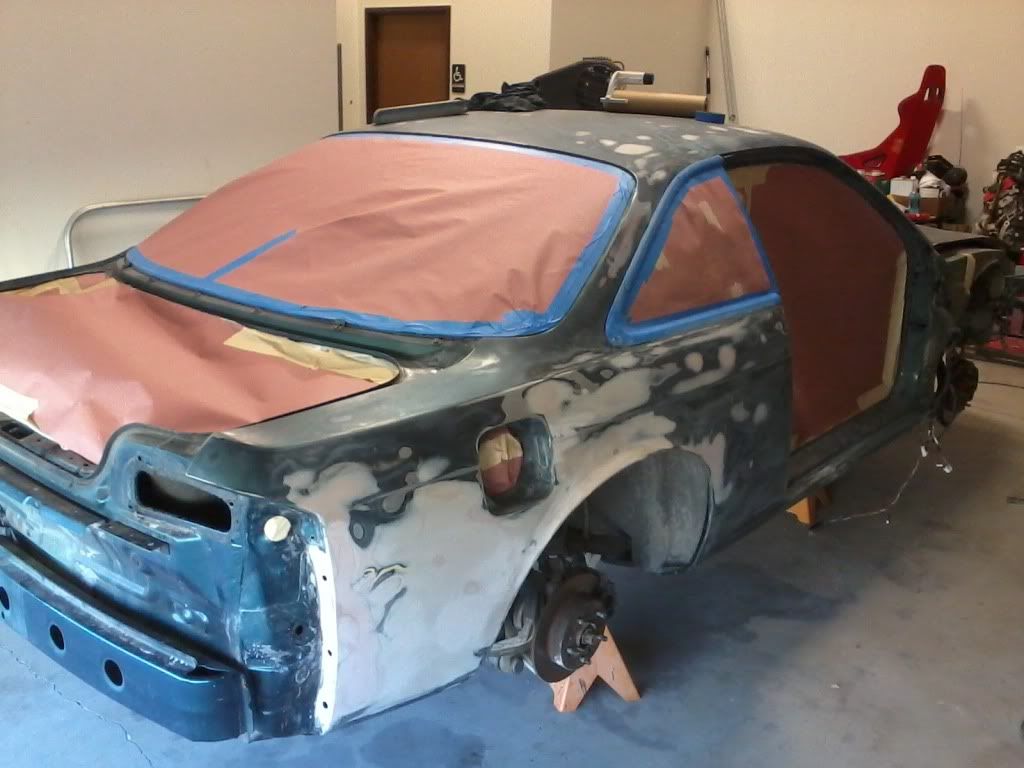
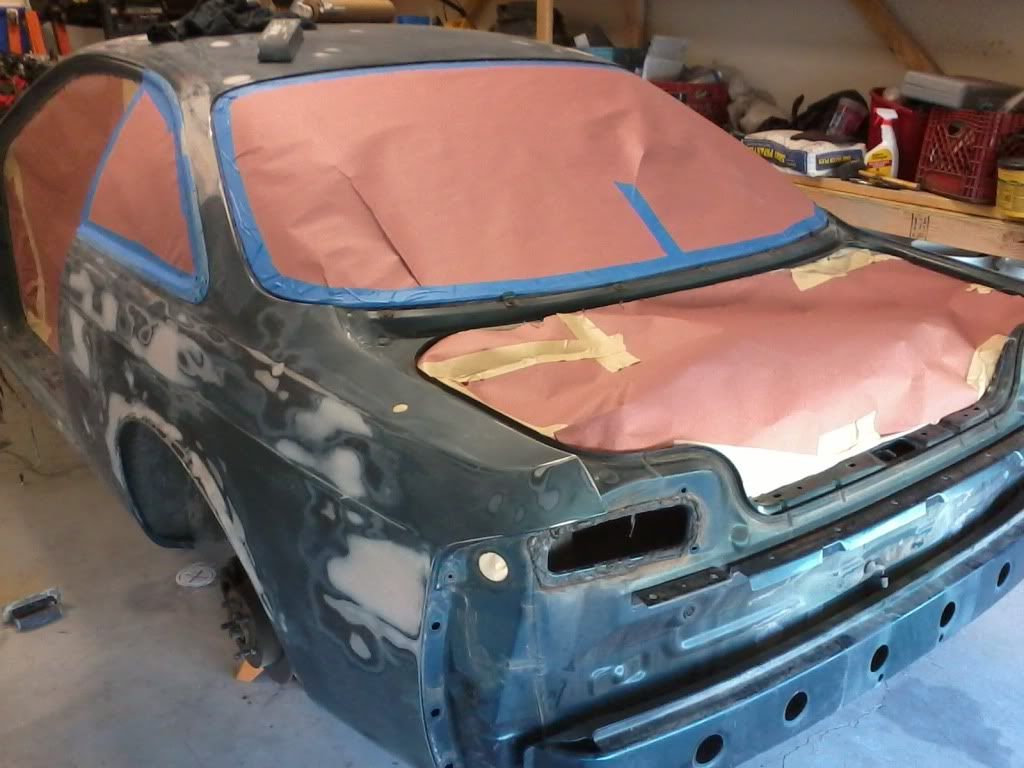

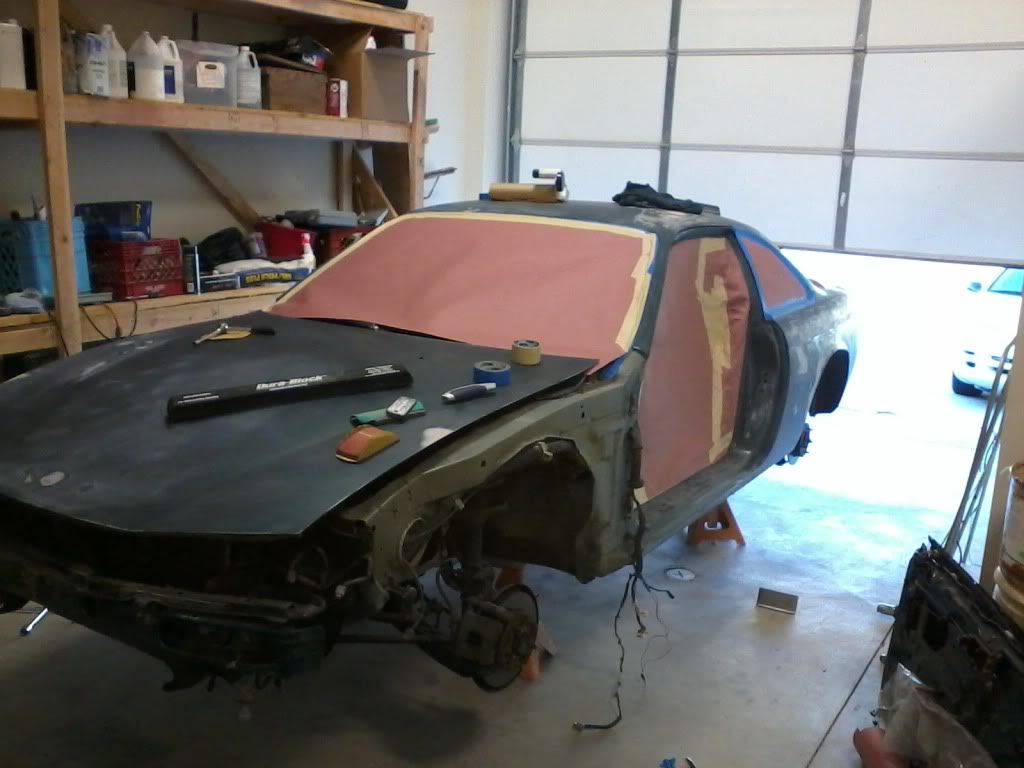
The Kouki has been at my buddies shop for a while now and we've been going at it when we have time, but I've spent 75% of all my time working on the rear quarter panel. The only way we could figure to get the fender back in shape was to either roll the fenders or go widebody. I decided to roll/pull the fenders.(figured I could go widebody later depending on how they turned out.) Also, beat on the quarter panels so long we had to torch them and rapidly cool them back down to shrink the metal. Had to cover it with a thin layer of bondo to, to smooth things out.
Thread Starter
TECH Apprentice
iTrader: (4)
Joined: Dec 2008
Posts: 317
Likes: 0
From: Broken Arrow, OK
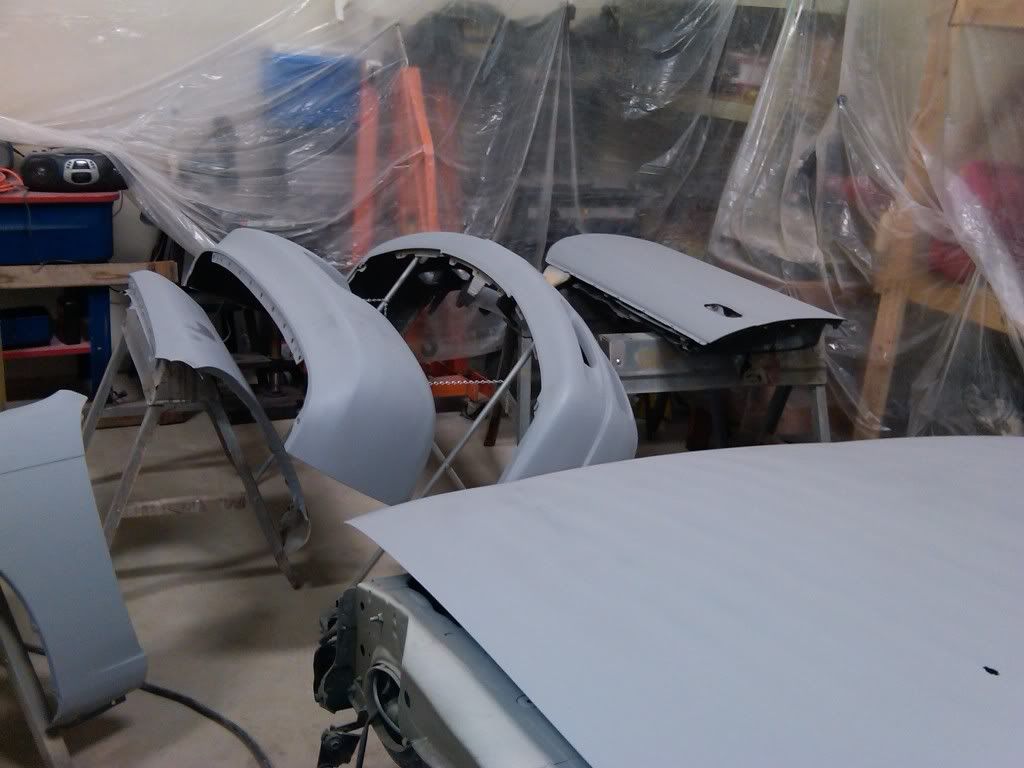
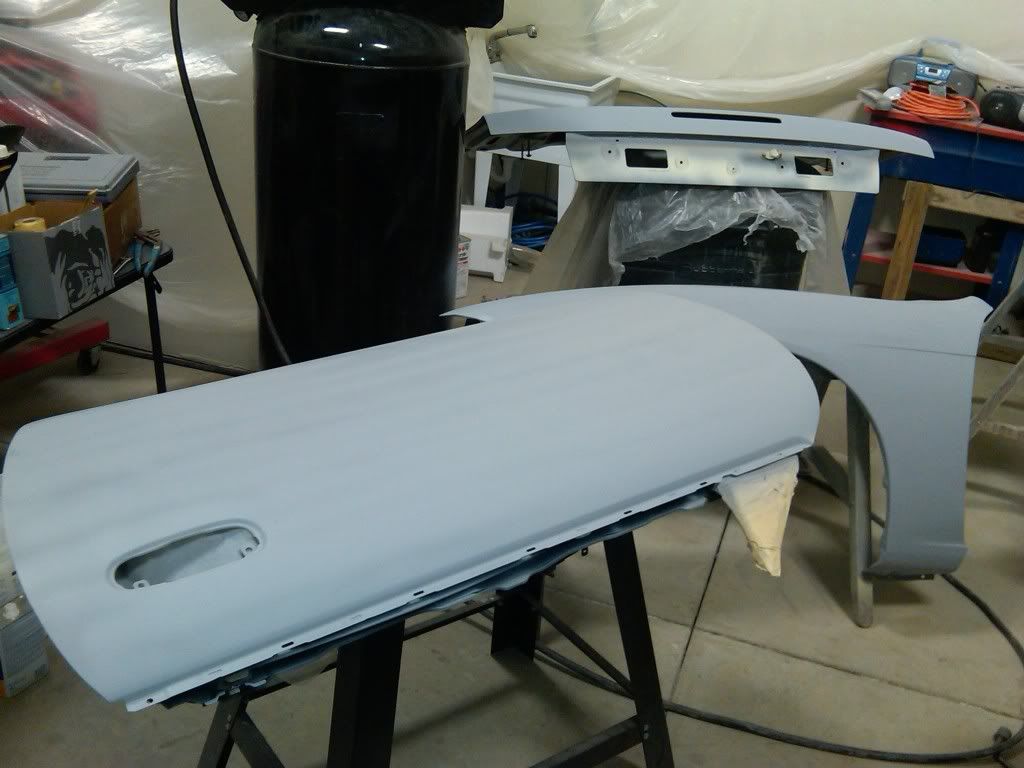
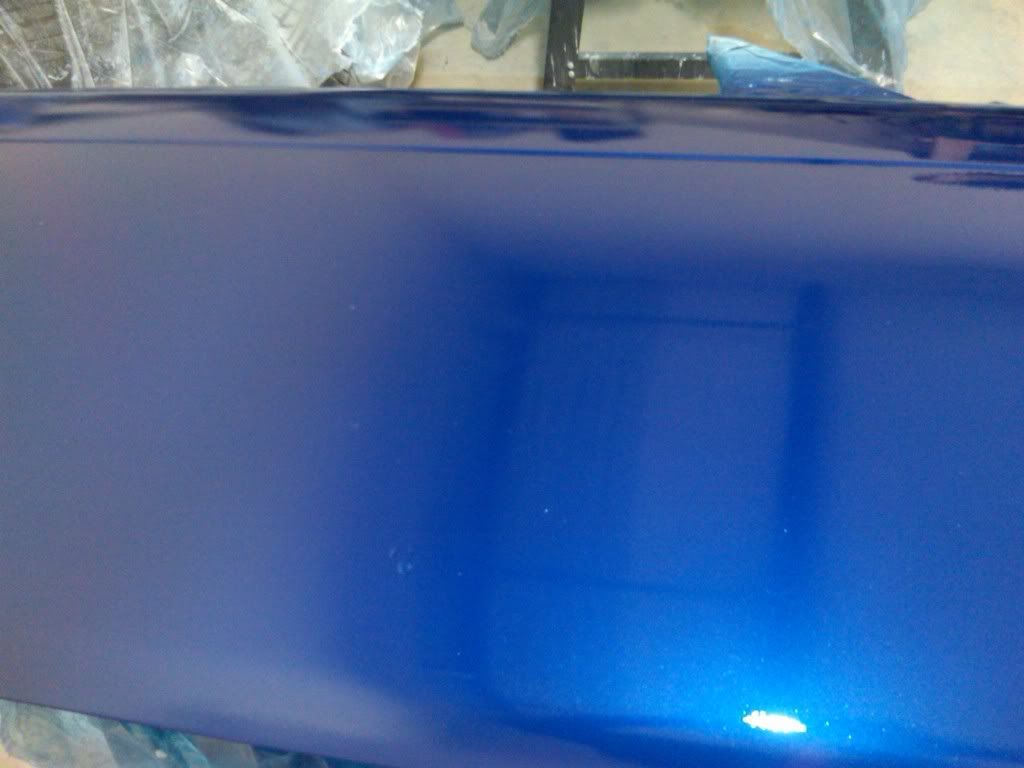
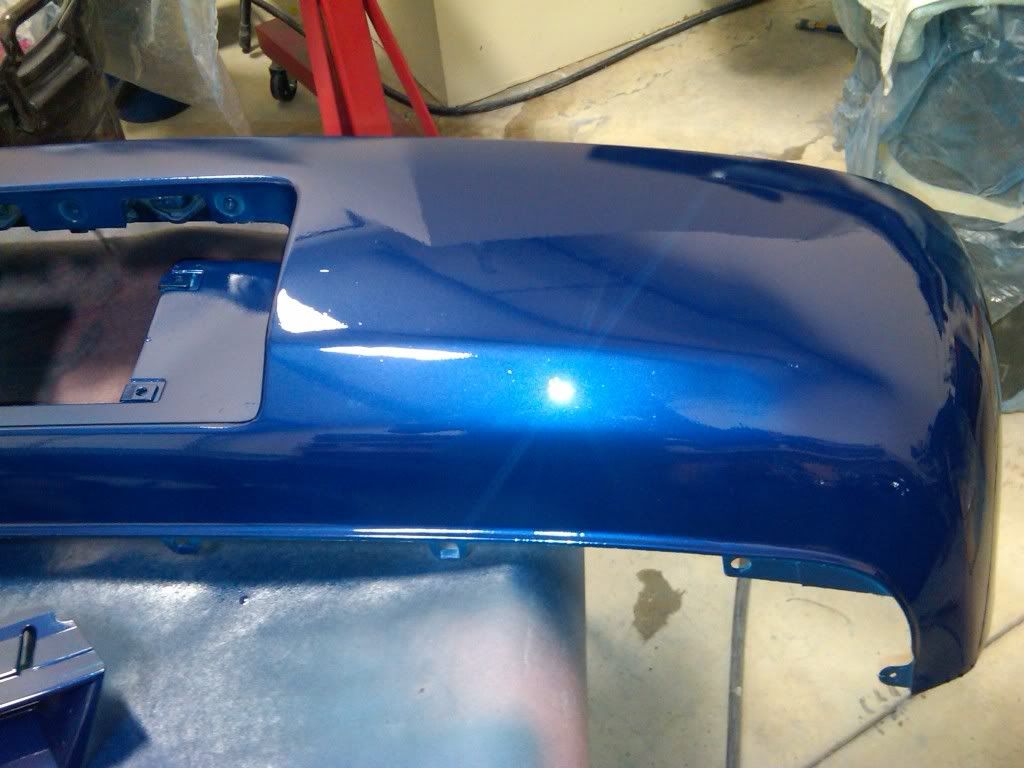
Well, color is going on but I still need work. I haven't cleared yet because of all the trash that was getting picked up while shooting, so it looks like I will have to sand my base with 800 grit first, before I can clear. That and I ran out of paint. Painted everything but the front bumper.
On with the pics. Sorry, there from my blackberry.
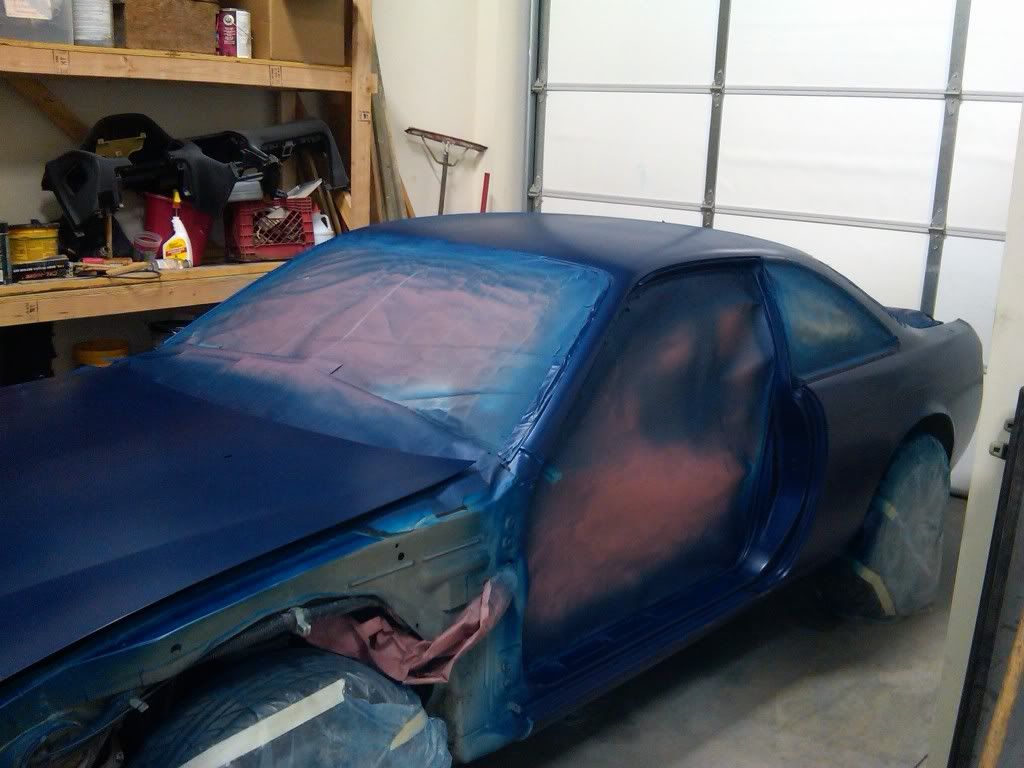
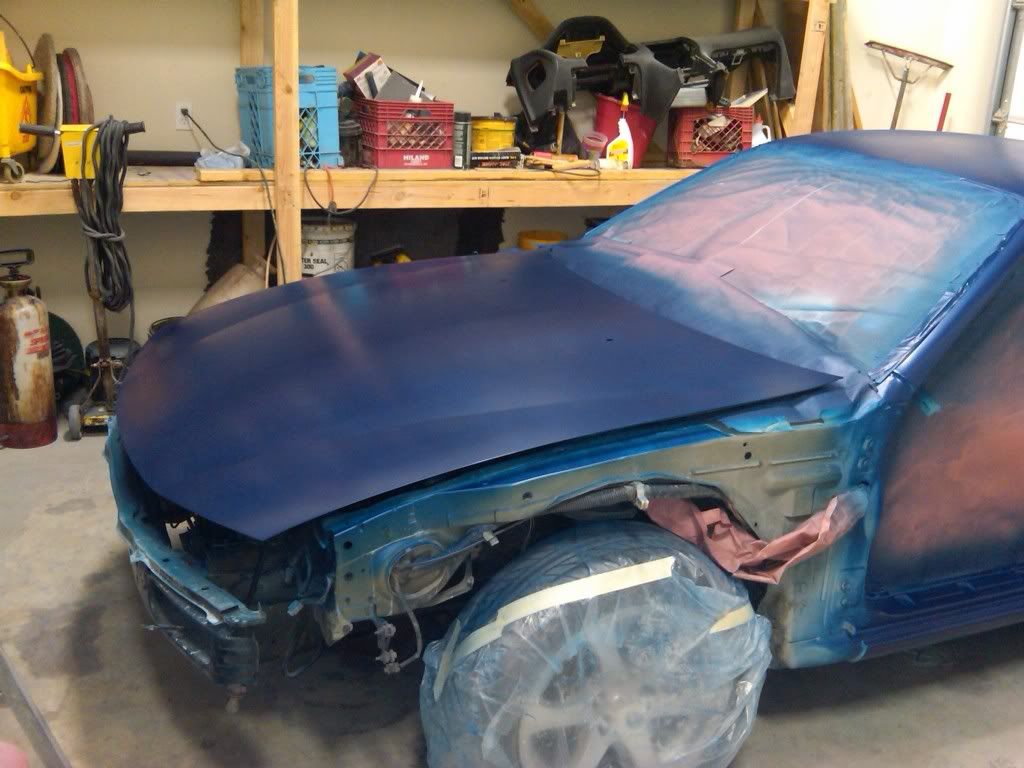
On with the pics. Sorry, there from my blackberry.
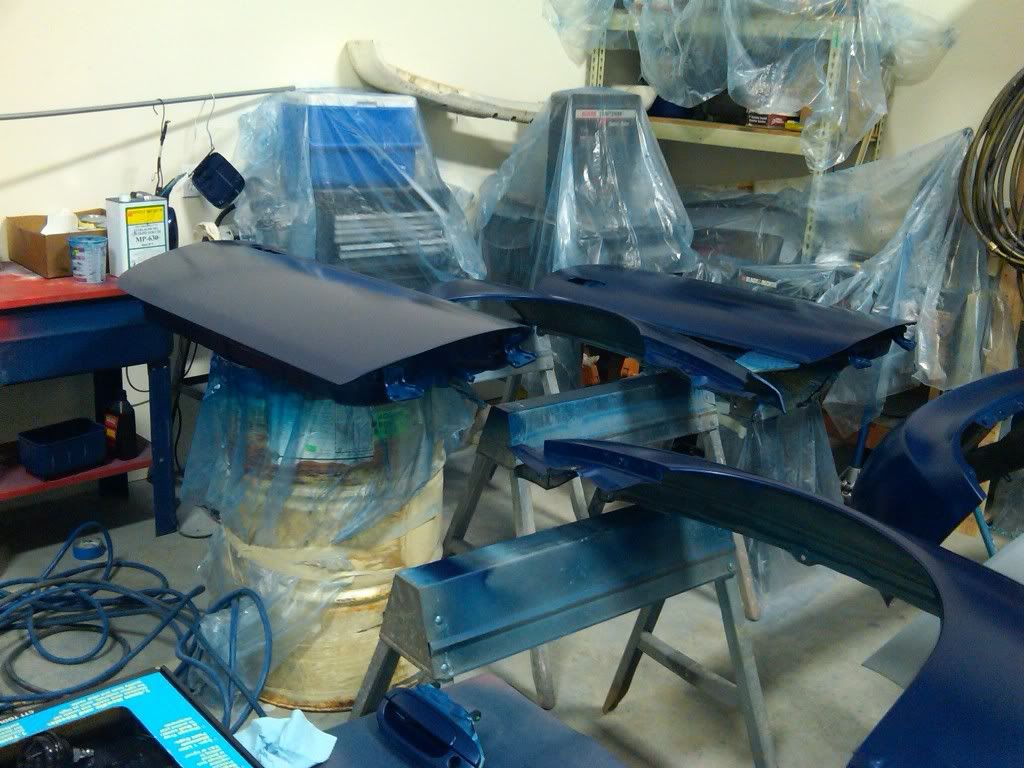
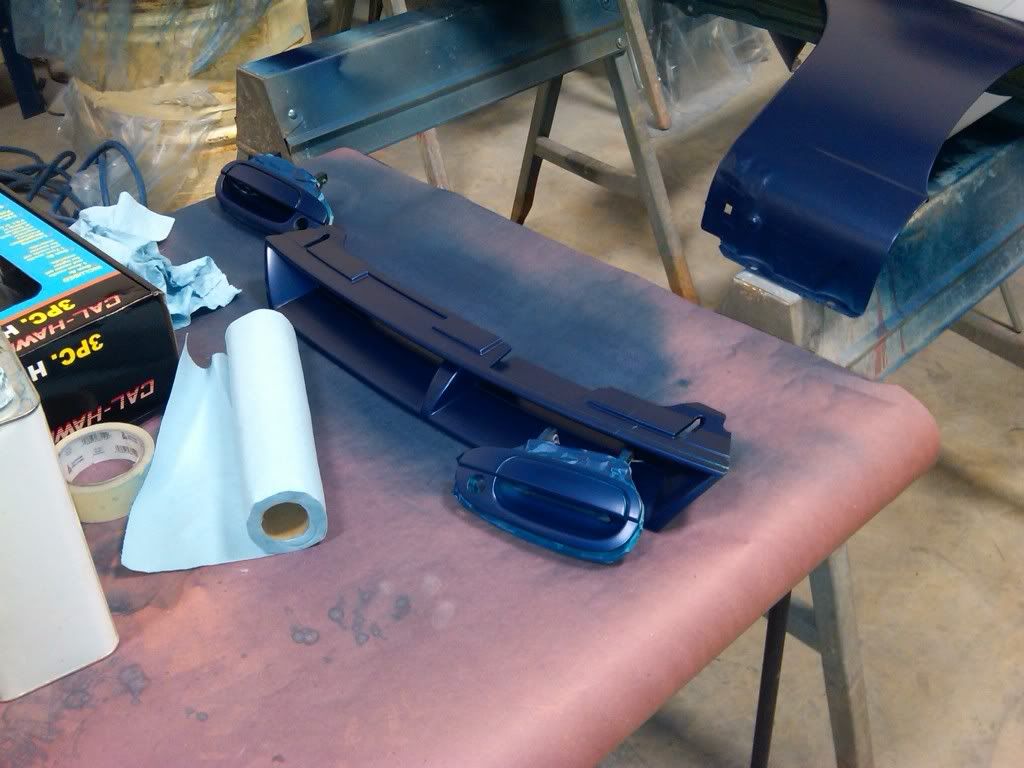
Ummmm. Quick question about the painting of the stuff lying on the sides(doors). I was always told to paint the stuff the same way they would be on a vehicle (standing up) That was when the paint dries the pigment in them matches the rest of the vehicle. How's it look when assembled?
LS1 Tech Stories
The Best V8 Stories One Small Block at Time

Topdon ONE vs. Artidiag 800 BT2: Which is the Diagnostic Tablet For You?
Pouria Savadkouei
Gas Monkey Built a 6-Wheel Ferrari Testarossa With a Corvette LT4 Engine
Verdad Gallardo
7 Most Reliable High-Performance Engines GM Has Ever Built
Verdad Gallardo
Amazing '71 Camaro Restomod Is Modern Muscle Car Under the Skin
Verdad Gallardo
6 Common C5 Corvette Failures and What's Involved In Repairing Them
Pouria Savadkouei
Retro Modern Bandit Pontiac Trans AM Comes With Burt Reynolds' Autograph
Verdad Gallardo
Top 10 Greatest Cadillac V Series Performance Models Ever, Ranked
Pouria Savadkouei
Top 10 Most Powerful Chevy Trucks Ever Made!

Hennessey's New Supercharged Silverado ZR2 Has 700 HP
Verdad Gallardo Thread Starter
TECH Apprentice
iTrader: (4)
Joined: Dec 2008
Posts: 317
Likes: 0
From: Broken Arrow, OK
Ummmm. Quick question about the painting of the stuff lying on the sides(doors). I was always told to paint the stuff the same way they would be on a vehicle (standing up) That was when the paint dries the pigment in them matches the rest of the vehicle. How's it look when assembled?
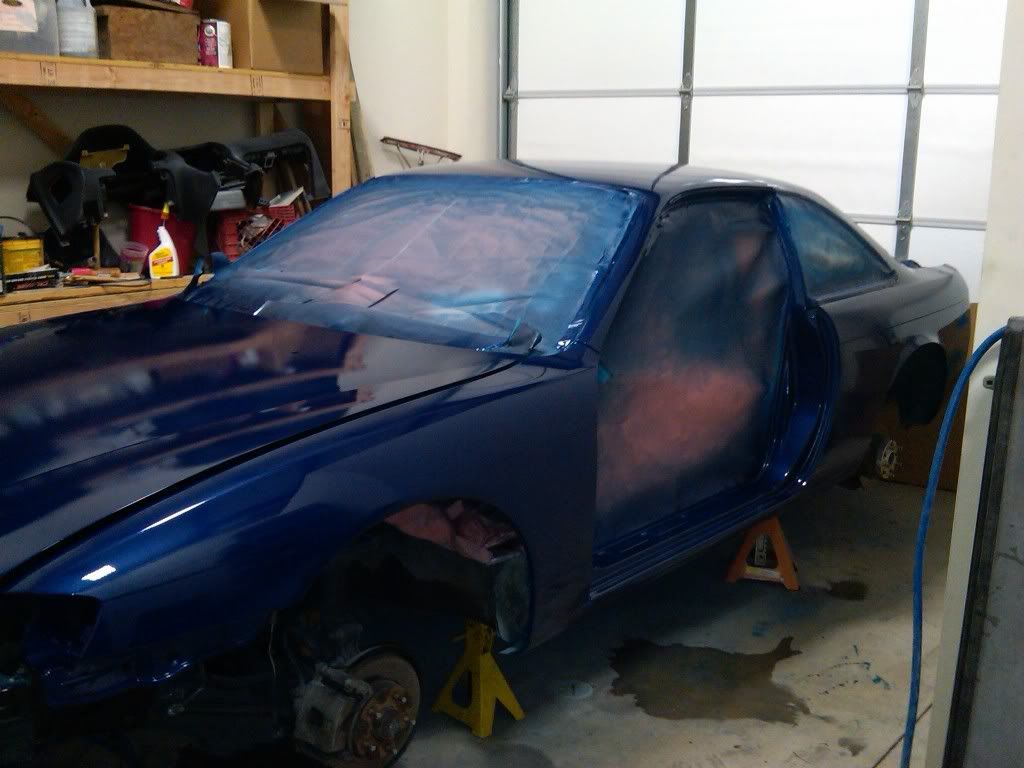
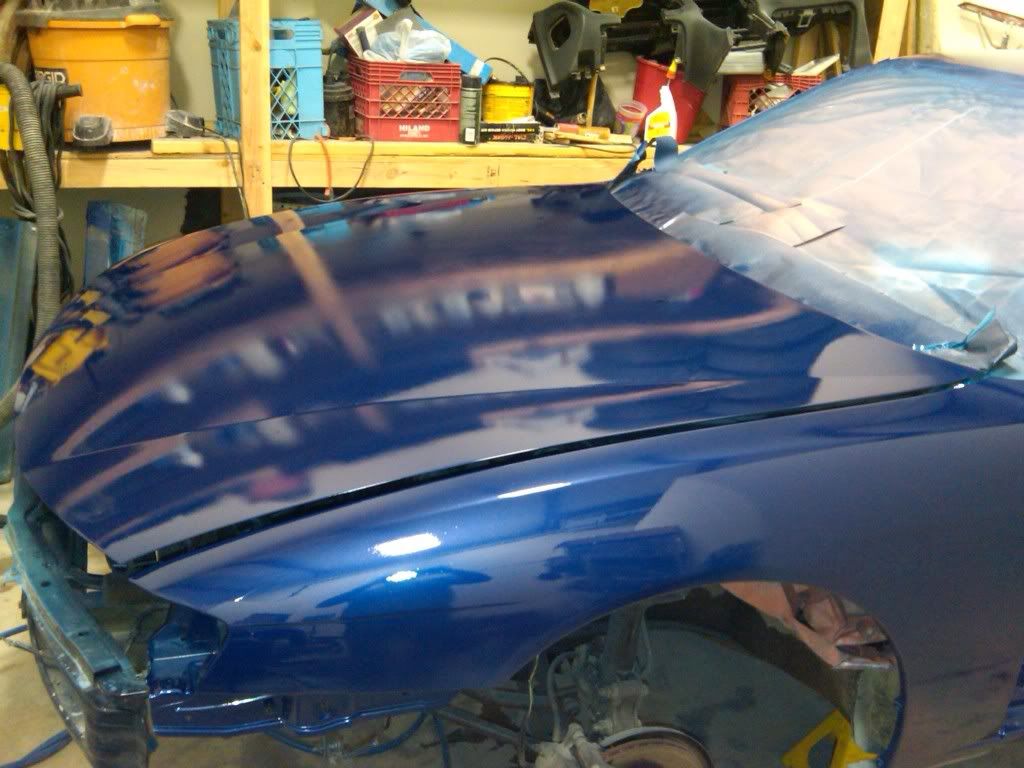
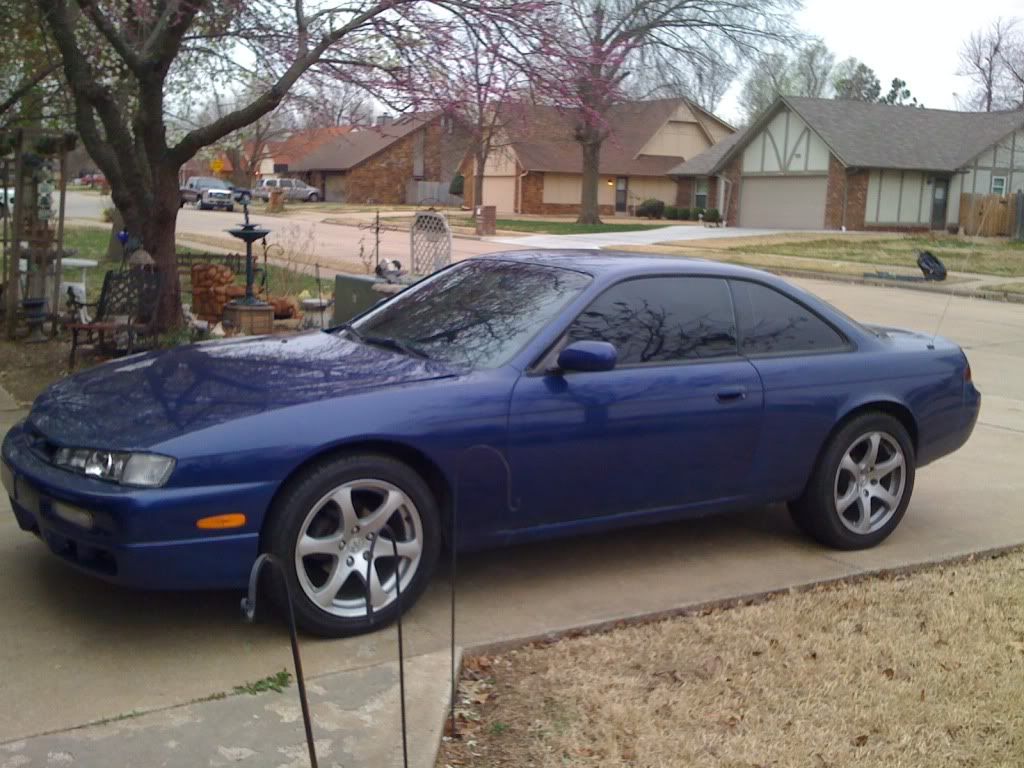
Alright, dusted the car then laid down clear coat. I'm loving the color so far. Sorry about the blackberry pics.


Staging Troll
Joined: Jan 2010
Posts: 119
Likes: 0
From: beaver PA
nice build, love the sleeper status!
its actualy a zenki with a kouki front end swap. koukis are 5 lug hubs, not 4, and the wrong tailights lol..no biggie though, easy to change if you wanted a kouki clone..
i may have missed it in the beginning..is it a 95 s14?
i may have missed it in the beginning..is it a 95 s14?
Thread Starter
TECH Apprentice
iTrader: (4)
Joined: Dec 2008
Posts: 317
Likes: 0
From: Broken Arrow, OK
Thanks for all the compliments guys. The car is actually a Kouki, it's a Base model 1997 240sx. The base models were 4 lug and the rear tails were swapped out for 95-96 tails before I bought the car.

Thread Starter
TECH Apprentice
iTrader: (4)
Joined: Dec 2008
Posts: 317
Likes: 0
From: Broken Arrow, OK
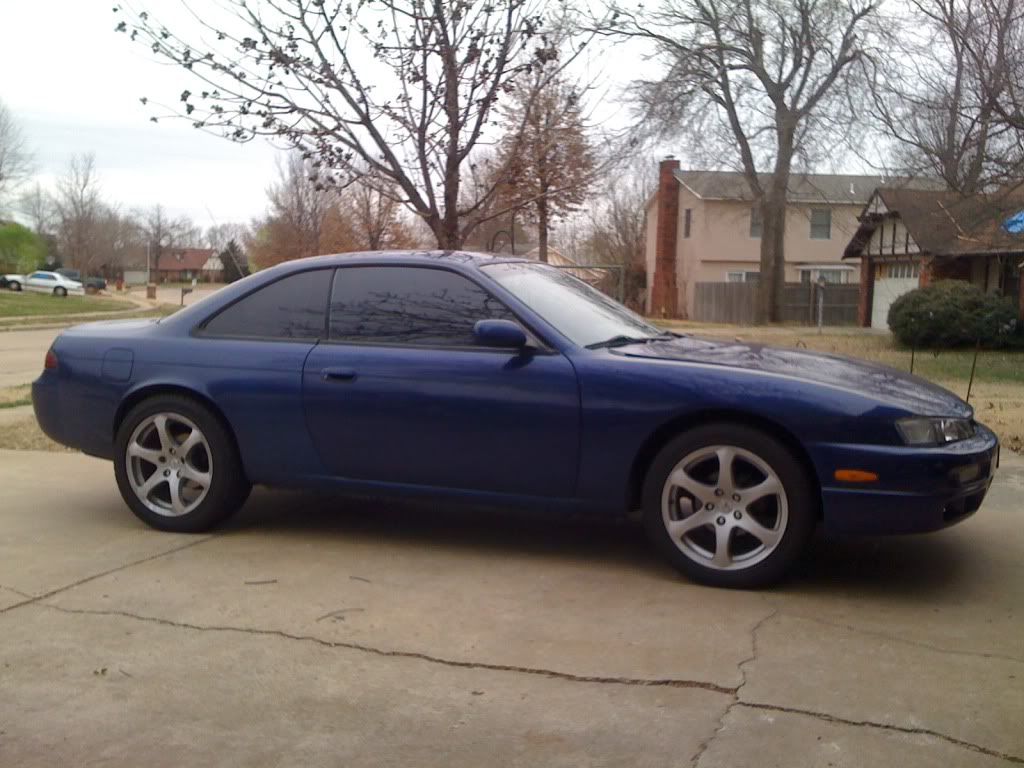
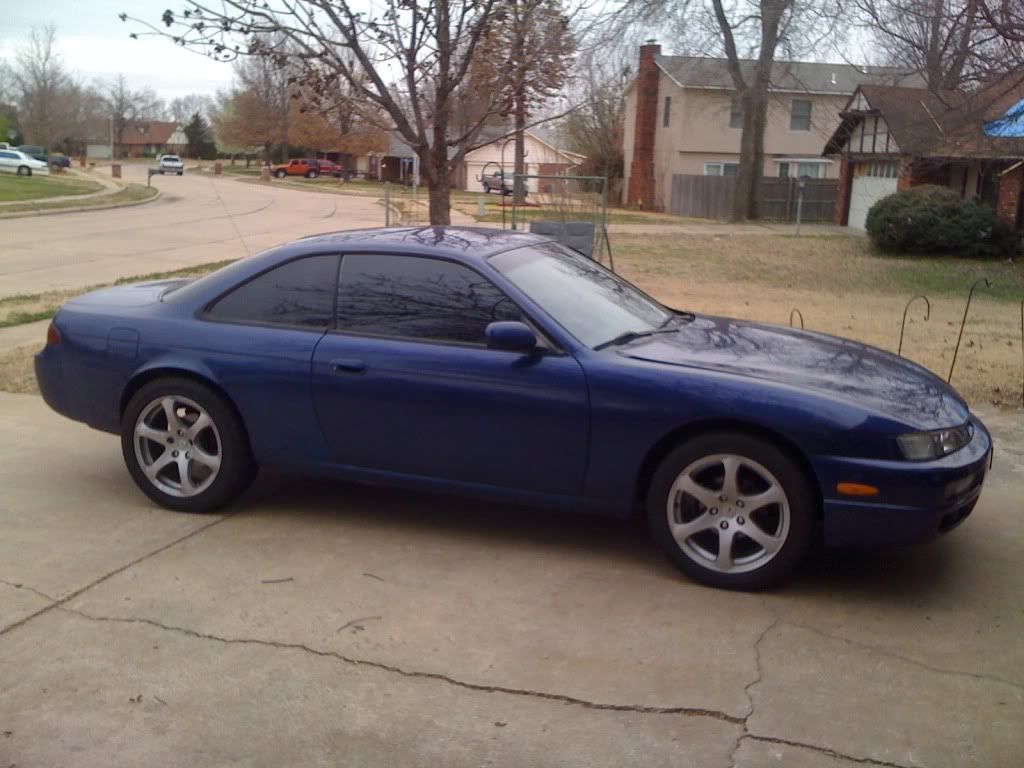
Well had some issues with my powersteering line. Apparently when I put the engine back in after replacing the clutch the powersteering line was laying to close to the exhaust manifolds and eventually it laid on the manifold and the stainless steel braided line burst. I had to replace the line and decided to go with a 45* hose end instead of the 90*. The line fits so much better and I have a lot more clearance around the manifolds. Since that was done I dropped my car off on Monday morning at the A/C shop and picked it up on Thurday afternoon. Custom A/C lines are now on the ride and the system has been vacuumed out. Will probably add freon tomorrow. After picking up the ride on Thursday I took it down the street 4 blocks and dropped it off for an alignment and then this morning dropped it off to have the tint redone. Car is looking good and I'm loving the tint. Only problem is the A/C lines cost me way more that I was hoping to spend, so it doesn't look like I will be able to pick up the lowering springs I had my eyes on or install my Z32 brakes. Guess I'll be saving up for a while again.
Oh, talked to my tuner earlier this week and I should have a roadrunner PCM tomorrow or early next week. Will be able to do a custom real time tune and get this bad boy running like it should.
Anyways, pics of the new tint.

Oh, talked to my tuner earlier this week and I should have a roadrunner PCM tomorrow or early next week. Will be able to do a custom real time tune and get this bad boy running like it should.
Anyways, pics of the new tint.