
1979 ford fairmonster
 05-20-2013, 09:42 PM
#21
Staging Lane
Thread Starter
Join Date: Jul 2011
Location: MN
Posts: 52
Likes: 0
Received 0 Likes
on
0 Posts
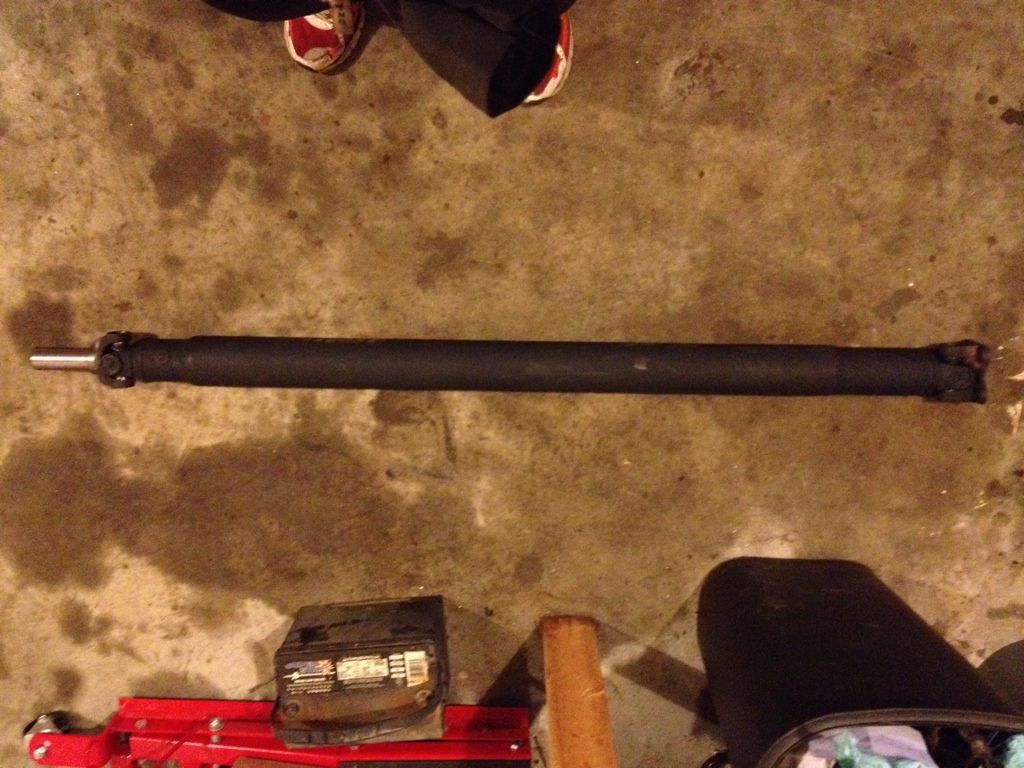
Went and had my driveshaft built at Driveshaft Specialties in Sioux Falls, SD. They did a great job and upgraded the shaft to a larger diameter at no cost to me. I added the 27 spline setup at their shop, all in all I think I paid $120 or something close. Pretty reasonable, I would totally recommend them to anyone wanting to do any work. I did end up having a fitment issue later on, but it was probably a 1/4 of an inch, I had to grind the end of the pinion bolt to get it to slide on, but after that I was good.

 05-20-2013, 09:57 PM
#22
Staging Lane
Thread Starter
Join Date: Jul 2011
Location: MN
Posts: 52
Likes: 0
Received 0 Likes
on
0 Posts
I ended up using an AJE trans crossmember for my project, it was the TH350/Powerglide model for those who care... seems like a confusing issue out there about which one works. It went in very easy, but the mount holes were off by about an inch, on center. So I had to drill out a couple holes to make everything fit together. Because of my lack of welding experience, and lack of a welder, I had to pay for these parts that could have been fabricated. OH WELL. AJE part worked great after that.
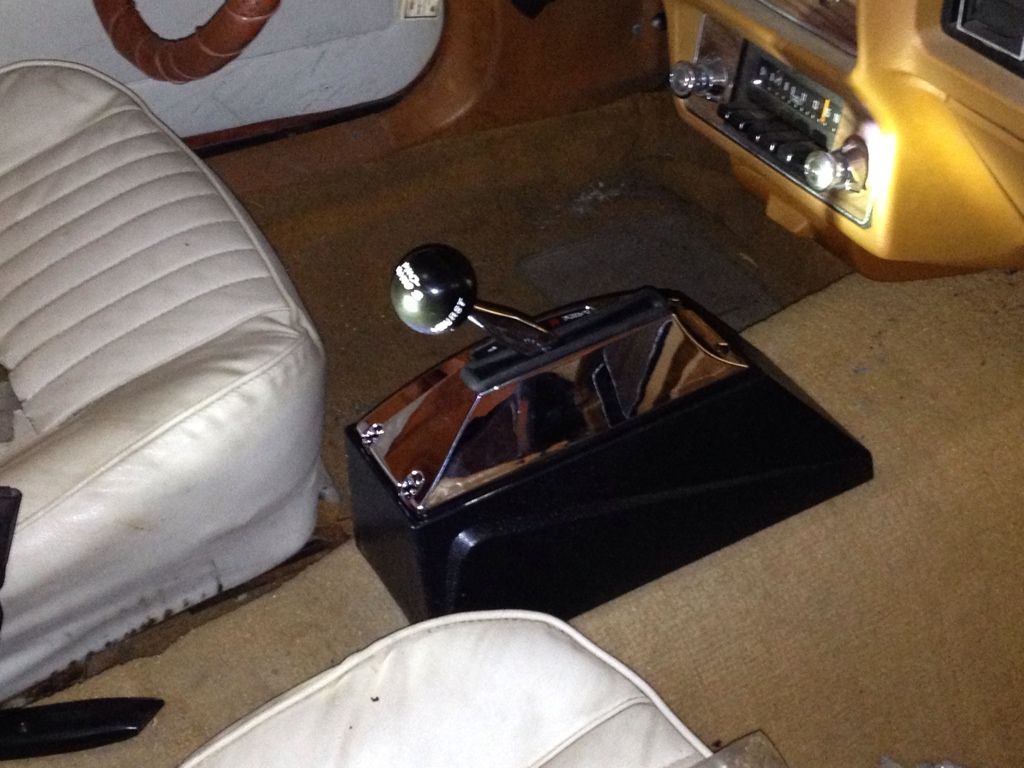
Also purchased a Hurst Pro-Matic 2. Mounted up easy, but I haven't rigged it yet. These things are sweet for guys who like to jam gears on an Autotragic. I sat in the car making engine noises and shifting that thing for 10 minutes, and then another hour after that while drinking PBR.

I made a quick vid on it because I couldn't find a decent one on this model when I was searching for these things.
Also purchased a Hurst Pro-Matic 2. Mounted up easy, but I haven't rigged it yet. These things are sweet for guys who like to jam gears on an Autotragic. I sat in the car making engine noises and shifting that thing for 10 minutes, and then another hour after that while drinking PBR.
I made a quick vid on it because I couldn't find a decent one on this model when I was searching for these things.
 05-20-2013, 10:14 PM
#23
Staging Lane
Thread Starter
Join Date: Jul 2011
Location: MN
Posts: 52
Likes: 0
Received 0 Likes
on
0 Posts
Next up was wiring. I followed another member's post for this one, if I find it I'll edit it back in.
Here's essentially what I did.
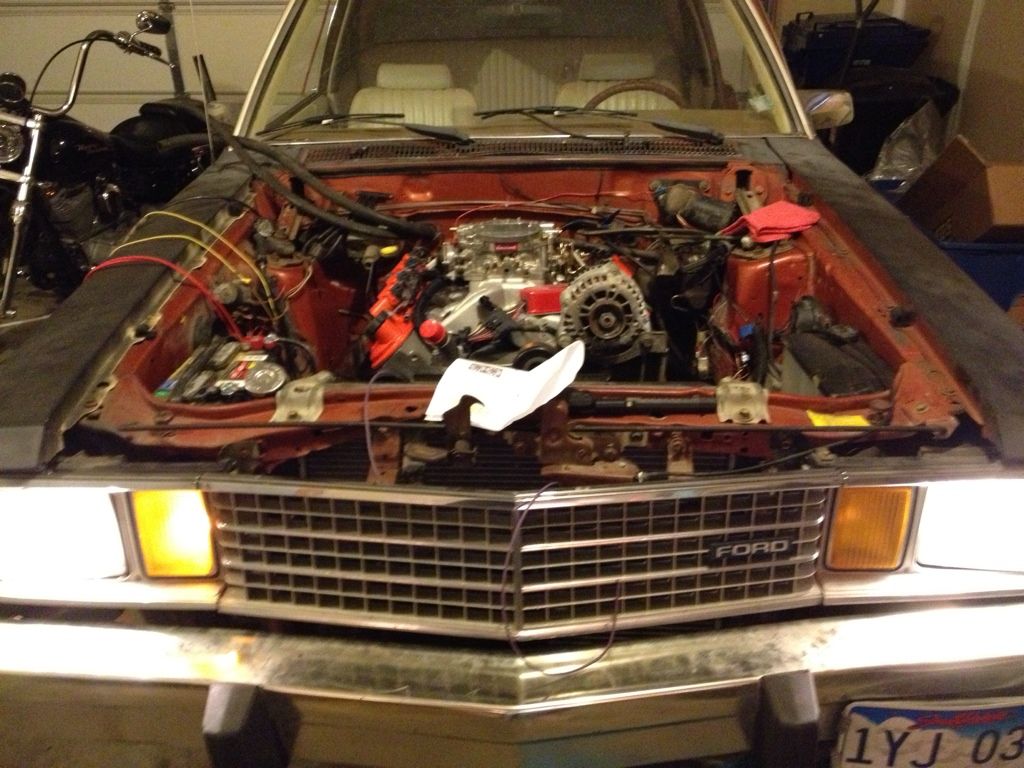
Batt Ground to engine block. Old ground strap at rear of engine to engine ground original on back of block, and another ground on the left side of the engine. Those three are good to go. I wired in my 3 relays from my fans and fuel pump over to the bottom side, or hot side, of the original starter solenoid. I ran power to the hot side of the solenoid along with the back post of the alternator to the hot side of the solenoid. Another cable from the large post of the engine starter rolls over the hot side of the starter. The small post of the starter goes to the cold original solenoid. Essentially, when the key is ON, everything turns on along with a signal over to the chevy engine starter. You are just including another solenoid. Some people thing there are too many switches here, but if you don't want to waste time pulling and rerouting wire, this works.
Sorry if it all sounds complicated, but if I find the original post, I'll edit it in.
Now the start, short because I didn't have my Rad running coolant yet, but it runs!
Here's essentially what I did.
Batt Ground to engine block. Old ground strap at rear of engine to engine ground original on back of block, and another ground on the left side of the engine. Those three are good to go. I wired in my 3 relays from my fans and fuel pump over to the bottom side, or hot side, of the original starter solenoid. I ran power to the hot side of the solenoid along with the back post of the alternator to the hot side of the solenoid. Another cable from the large post of the engine starter rolls over the hot side of the starter. The small post of the starter goes to the cold original solenoid. Essentially, when the key is ON, everything turns on along with a signal over to the chevy engine starter. You are just including another solenoid. Some people thing there are too many switches here, but if you don't want to waste time pulling and rerouting wire, this works.
Sorry if it all sounds complicated, but if I find the original post, I'll edit it in.
Now the start, short because I didn't have my Rad running coolant yet, but it runs!
 05-20-2013, 10:25 PM
#24
Staging Lane
Thread Starter
Join Date: Jul 2011
Location: MN
Posts: 52
Likes: 0
Received 0 Likes
on
0 Posts
More wiring..
I bought a Holley Red fuel pump along with a fuel pump relay kit and a dual fan relay kit from Jegs. The kits were nice and included a bunch of wire.. did I overpay for what I got? Maybe.. but it was convenient and simple and included all the parts.
I mounted my fuel pump just forward of my right rear brake on the frame. Used a little tubing cutter and an extra piece of fuel hose, hose clamps, and another fuel filter to make everything work. Wired up both my fans and relays in the engine bay along with my fuel pump relay in an afternoon, no problems. Fans aren't mounted to a temp sensor yet.
I also purchased a set of AutoGauge (Auto Meter) electric gauges that I thought would work and didn't look too bad. I also purchased the LS sensor adapter fittings kit from Auto Meter. Everything worked great, no problems. I'm still in the process of mounting everything, but it should be fine.
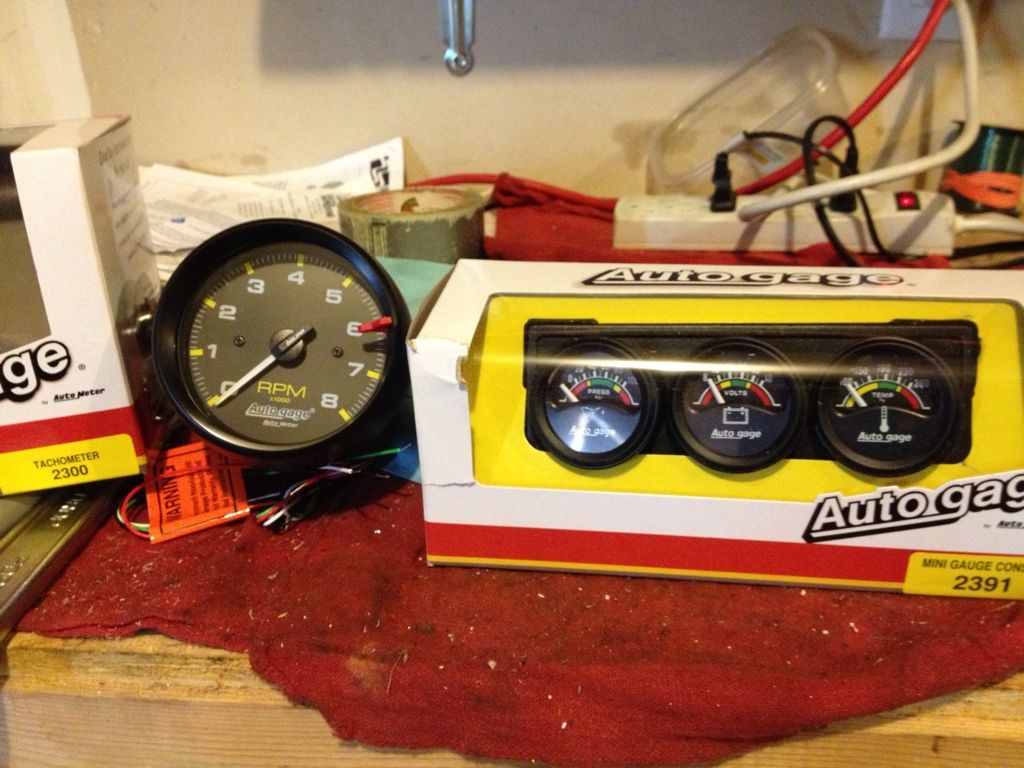
I wired up the set of three by daisy chaining all the power cables and grounds together to make it an easy install to the car. Way less splicing this way and any changes later will be easy.
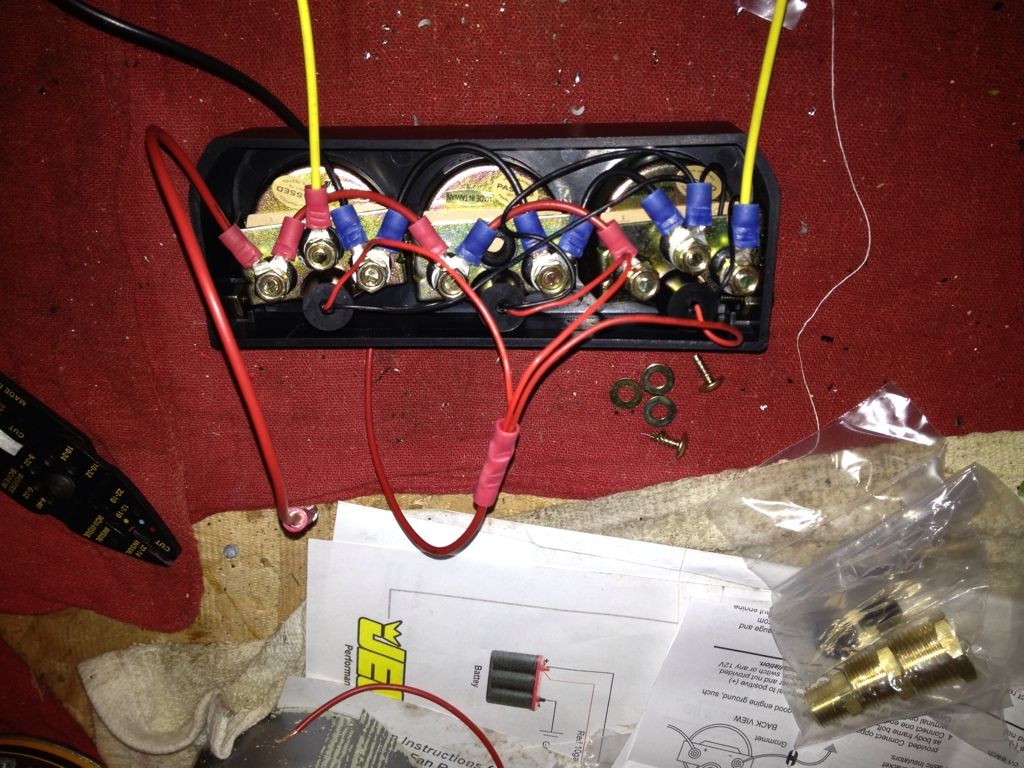
Ran the tach, oil press, and temp signal wires right through the original hole in the firewall by sticking an old pen housing through the rubber and threading everything through, then pulling the pen out over the top before hooking them up, worked great.
05-20-2013, 10:36 PM
#25
Staging Lane
Thread Starter
Join Date: Jul 2011
Location: MN
Posts: 52
Likes: 0
Received 0 Likes
on
0 Posts
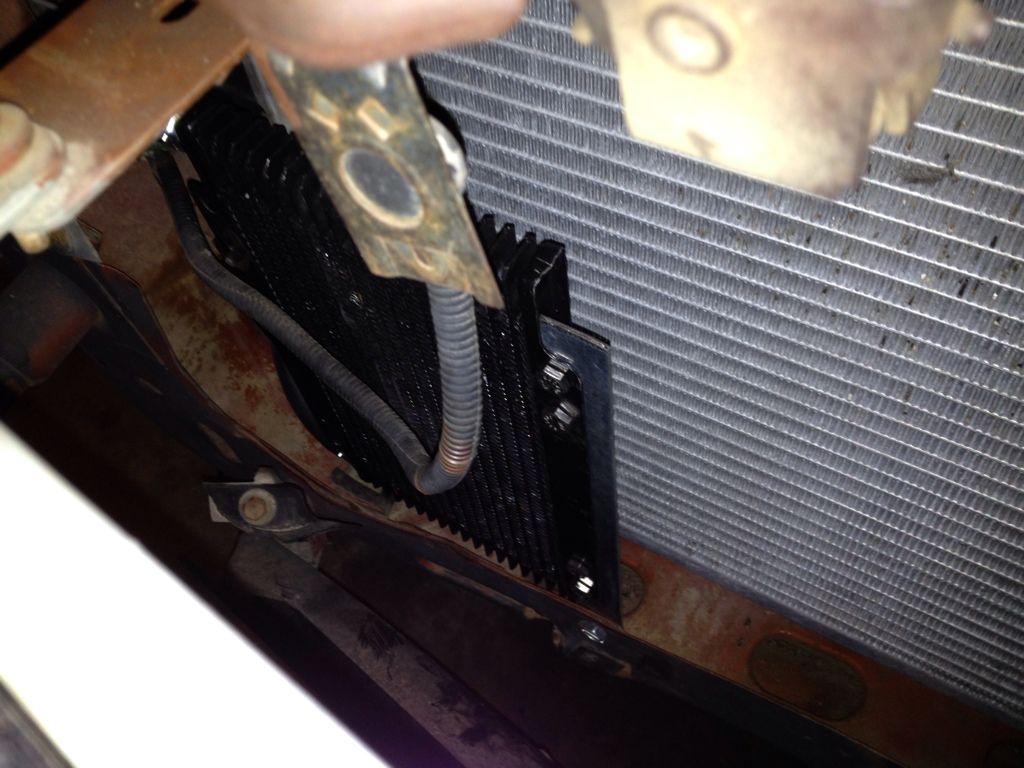
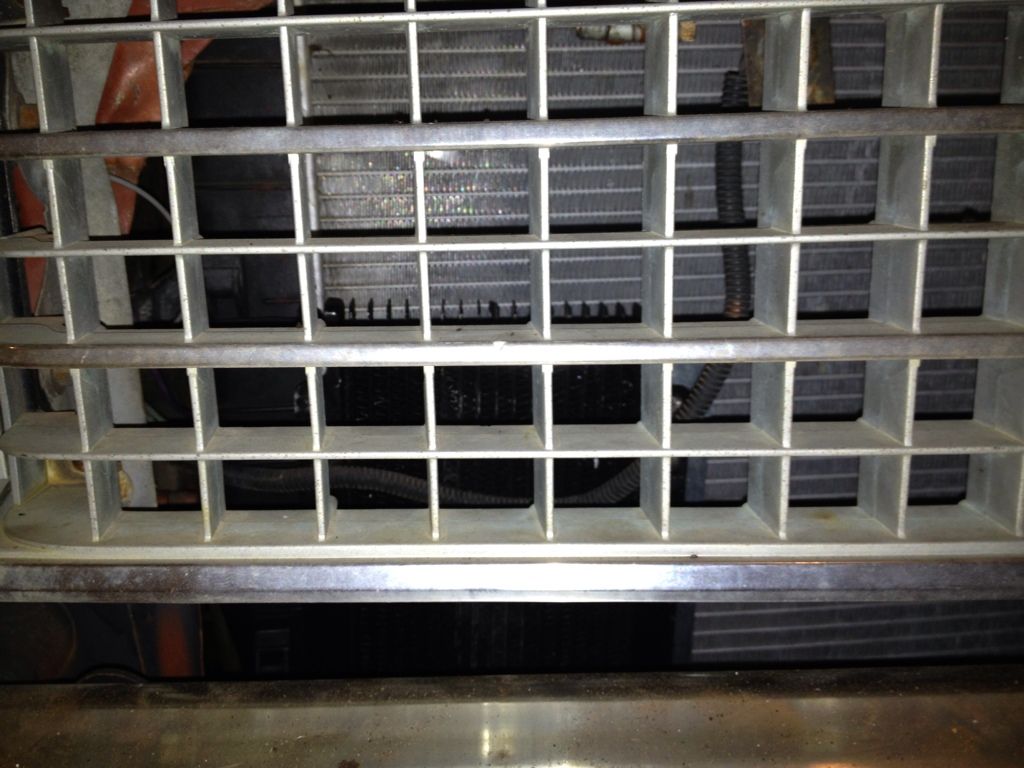
Mounted my trans cooler and lines by using a couple of pieces of steel I had and some nuts/bolts. Mounted it on the front, right side of the radiator on the lower frame mount. It is pretty dull in there and isn't really noticeable. Also protected by the bumper and should do its job just fine. I ran the cooling lines right along the right wheel well down to the trans using some cable clamps and self tappers. Also used a Mr. Gasket TH350 Trans dipstick tube. Had to exaggerate the bends, but it worked without too much trouble. I also have a kickdown cable to rig up.
Still need to set up my throttle linkage, modulator line as well.
I recently moved and am still getting my things straight. Also lost the use of my garage for major projects, so I'll be parking lot wrenching for a bit.
Another recent problem I have is my stuck torque converter. When I installed it, there wasn't a huge gap between the flywheel and T/C, but it would free spin for alignment. I do remember it wouldn't spin all the way around because it would eventually catch on the flywheel. I didn't think much of it until after I ran the engine a couple times. Now, I can't free the T/C off the flywheel and I'm wondering if I just need to finagle it around a bit or if it slipped off the pump in the trans and is actually stuck. I still need to round out the flywheel holes to mount the T/C, but I can't line anything up unless I spin the T/C.
My other large project is installing a bump steer kit and a new steering rack... but I have to do it in the parking lot. I'm not terribly worried, but I don't know what kind of alignment I'm going to get without adjustable caster/camber plates.
So that's where I'm at. Any comments or answers to my problems are appreciated. Updates to follow.
 05-21-2013, 08:12 AM
#28
Staging Lane
Thread Starter
Join Date: Jul 2011
Location: MN
Posts: 52
Likes: 0
Received 0 Likes
on
0 Posts
Never drove it. I'm going over to manual steering for ease of maintenance and simplicity purposes. I read everywhere that it was a required component though. You might want to check your pump.

 06-27-2013, 08:47 PM
#30
Staging Lane
Thread Starter
Join Date: Jul 2011
Location: MN
Posts: 52
Likes: 0
Received 0 Likes
on
0 Posts
Quick update. Installed my flaming river manual rack and steering shaft. Everything went in well without too much to do. The Team Z bump steer kit includes 5/8 bolts and hardware, which requires you to drill out the spindles to 5/8. Drilling through an inch of cast iron spindle sucks. I don't know about other bump steer kits, but this one is engineered well, other than drilling through 2 inches of cast iron. I will never do that again unless it is totally necessary. I wish I would have ordered the Maximum Motorsports shaft because it is narrower and welded. It is a very strong unit. I didn't want to mess with fitment issues between manufacturers anymore, so I went with flaming river, and it does the job, but you have to mess with set screws and nuts. Not the end of the world, but I think it is unnecessary if everything is welded nice and neat. I'll get some pics up soon. On to finishing the accessory drive and running cables for kickdown, shifter, and finishing wiring.
11-18-2013, 10:00 AM
#31
Quick update. Installed my flaming river manual rack and steering shaft. Everything went in well without too much to do. The Team Z bump steer kit includes 5/8 bolts and hardware, which requires you to drill out the spindles to 5/8. Drilling through an inch of cast iron spindle sucks. I don't know about other bump steer kits, but this one is engineered well, other than drilling through 2 inches of cast iron. I will never do that again unless it is totally necessary. I wish I would have ordered the Maximum Motorsports shaft because it is narrower and welded. It is a very strong unit. I didn't want to mess with fitment issues between manufacturers anymore, so I went with flaming river, and it does the job, but you have to mess with set screws and nuts. Not the end of the world, but I think it is unnecessary if everything is welded nice and neat. I'll get some pics up soon. On to finishing the accessory drive and running cables for kickdown, shifter, and finishing wiring.
i want to see what that exhaust looks like draggin' in the weeds!
06-06-2016, 09:17 AM
#32
well, due to life happening and some unforeseen acts of god, the fairmonster is currently residing at the home office of Aces High Speed Shop. after getting it running and driving, finkle moved twice, after the second move, the car was caught in a flood while being stored in an overflow parking lot. with nowhere to work on it, finkle and i decided we would meet up and i would bring the fairmonster home with me. after getting it home, i drained the fluids and got everything going again, i believe we got it straightened out soon enough and shouldn't have any issues.
that brings us up to date on the why's.
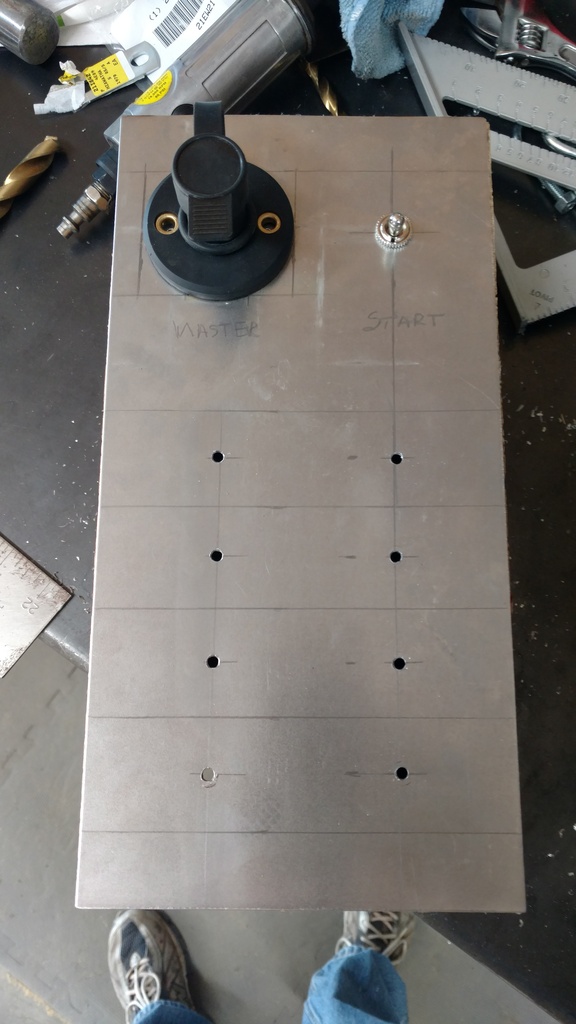
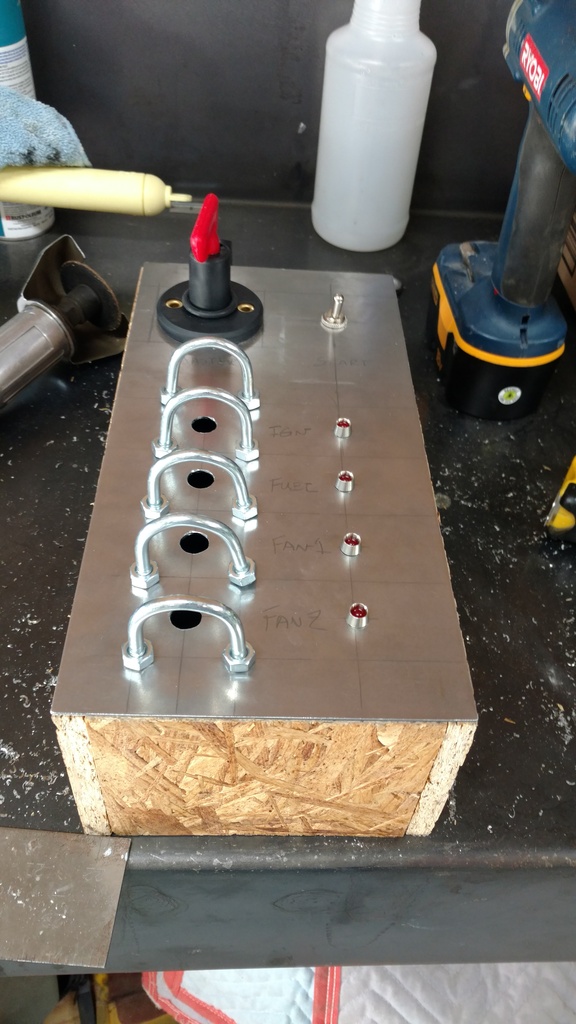
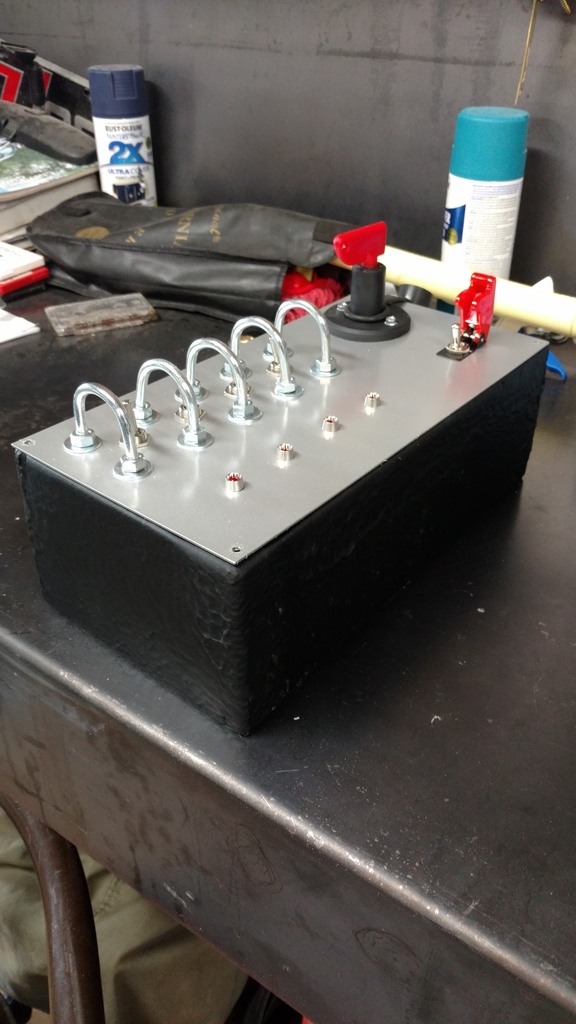
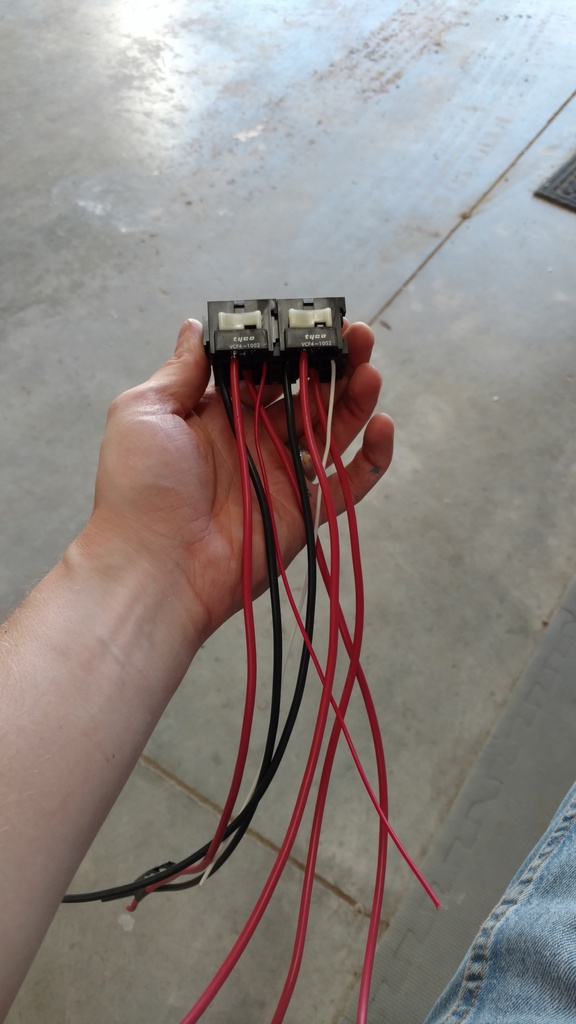
currently i'm in the process of wiring the car up with a custom made switch box to circumvent the 37 year old ford wiring. it will control the starter, ignition box, fuel pump, and both fans. the starter solenoid and ignition box are being placed on relays for more consistent power. once that is completed the next task is fab'ing up a complete exhaust system for the car.
that brings us up to date on the why's.
currently i'm in the process of wiring the car up with a custom made switch box to circumvent the 37 year old ford wiring. it will control the starter, ignition box, fuel pump, and both fans. the starter solenoid and ignition box are being placed on relays for more consistent power. once that is completed the next task is fab'ing up a complete exhaust system for the car.


 07-10-2016, 10:25 AM
#36

Looks good. Should be a total blast.