
93' 240SX 5.3L Turbo Build....


 05-06-2012, 11:47 PM
#23
On The Tree
Thread Starter
iTrader: (5)

Join Date: Jun 2007
Posts: 118
Likes: 0
Received 0 Likes
on
0 Posts
While waiting on the rest of the exhaust parts I decided to work on the fuel system this weekend. Started off by removing the lines, pulling the bulkhead, and draining the old gas.
I'm going to run a big in-tank pump (aeromotive 340LPH) so I'm going to be mixing some AN fittings and upgrading from 5/16 to 3/8 line. Also the pump needs some heavy gauge wiring to it which would not be possible with the factory nissan bulkhead. So I decided to build my own...
Started off by taking a blank Z32 bulkhead as a template
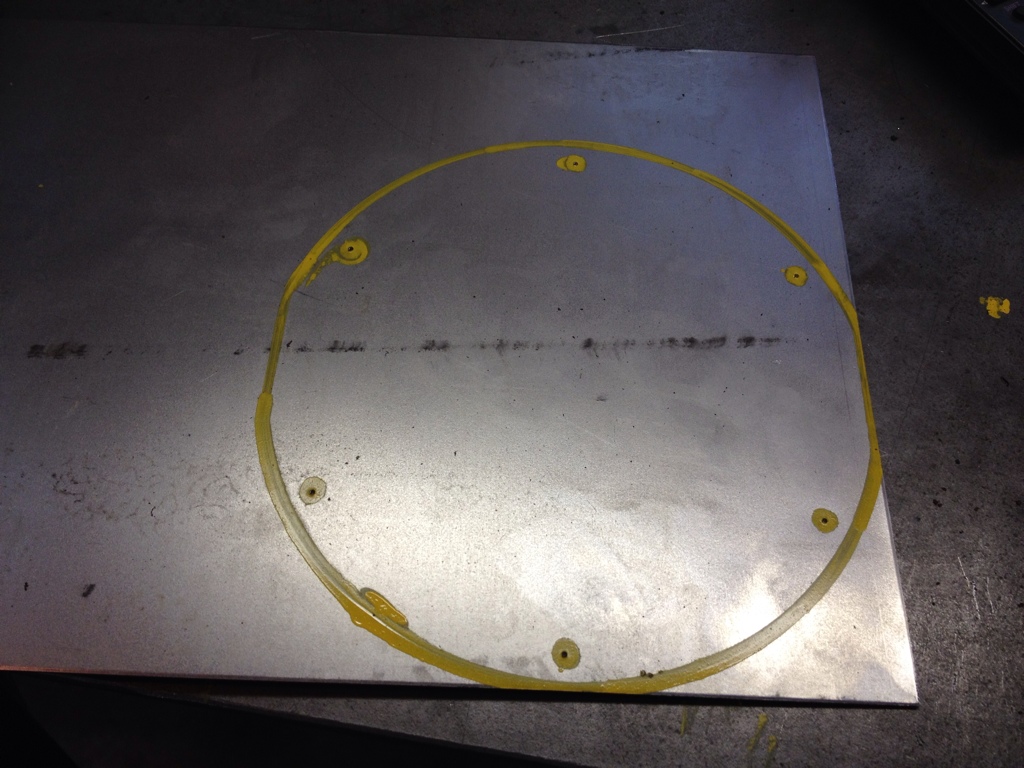
I plasma cut out the piece and then ground it smooth and drilled the holes. Test fit...
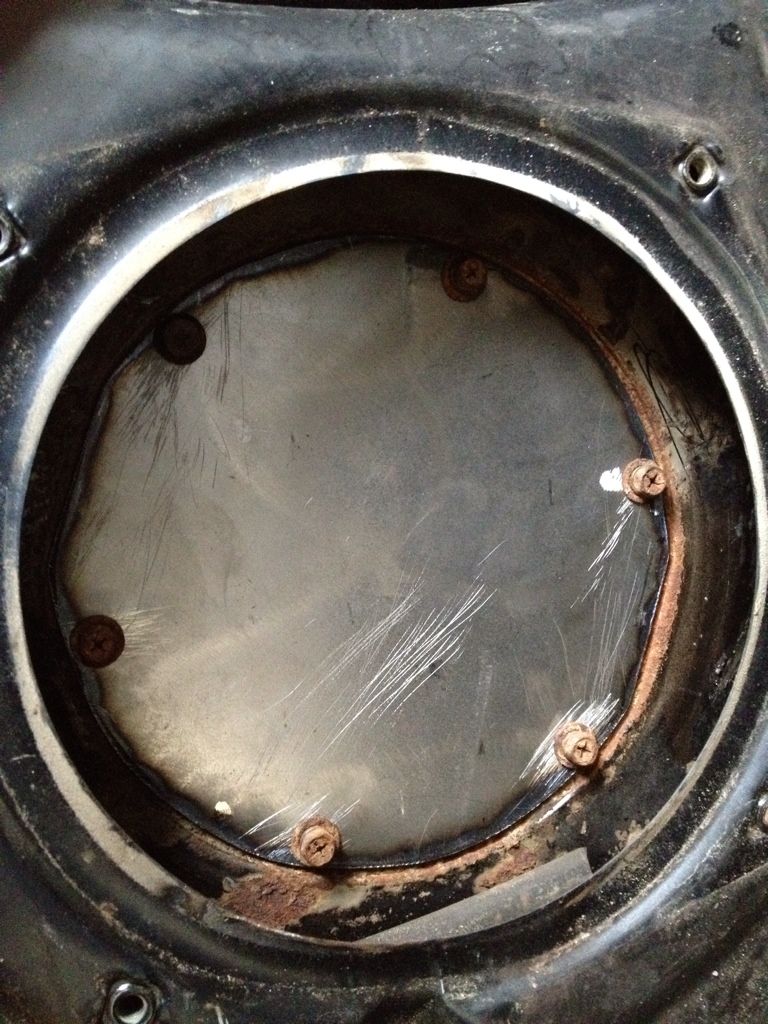
Instead of building the fuel pump/fuel level pedestal, I decided to rob the stock one off the bulkhead
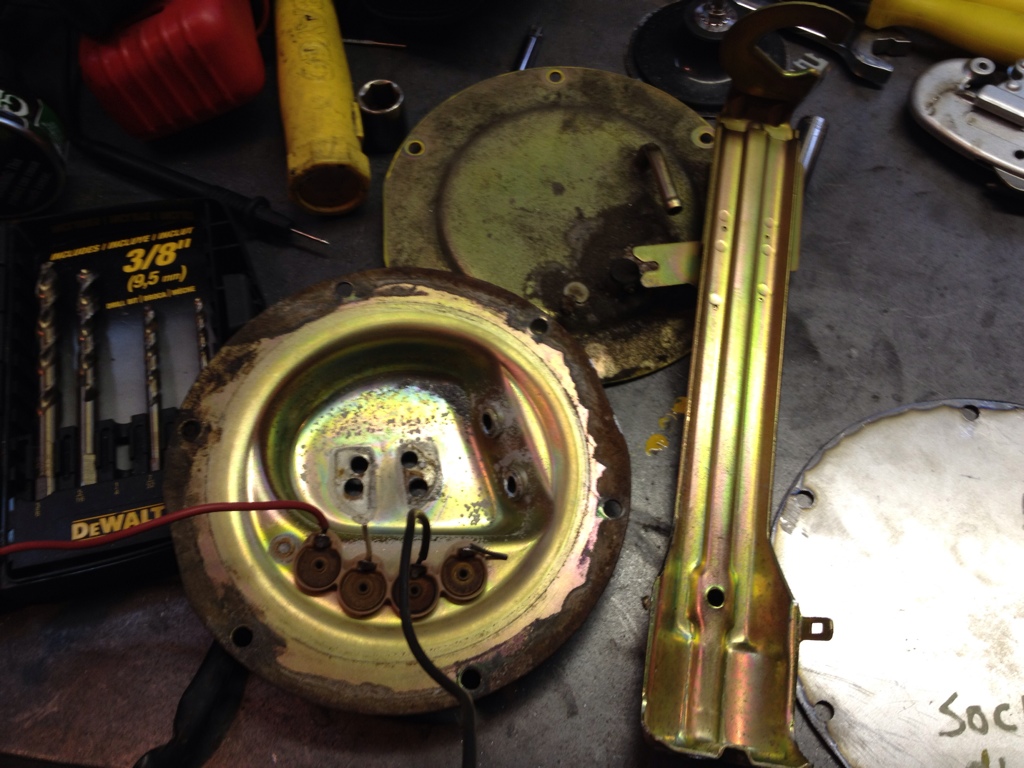
Then welded it to my new bulkhead
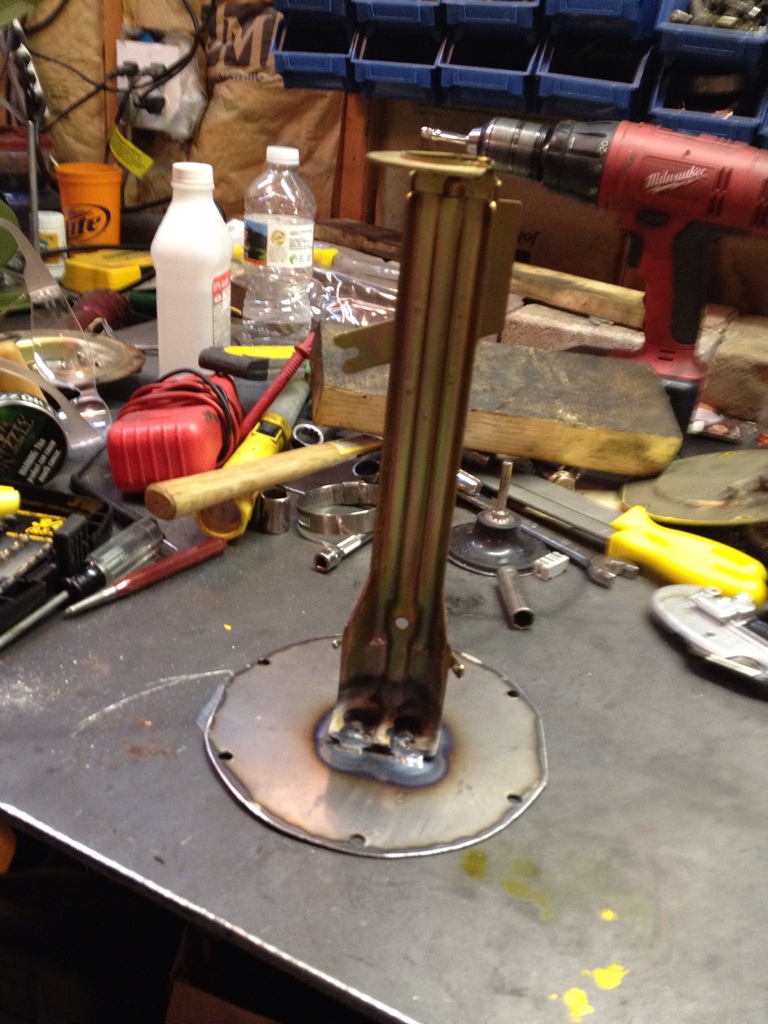
You can see a few pics up the stock bulkhead is recessed up about 3/4 of an inch so I chopped the pedestal, took off what I needed, and welded it back up
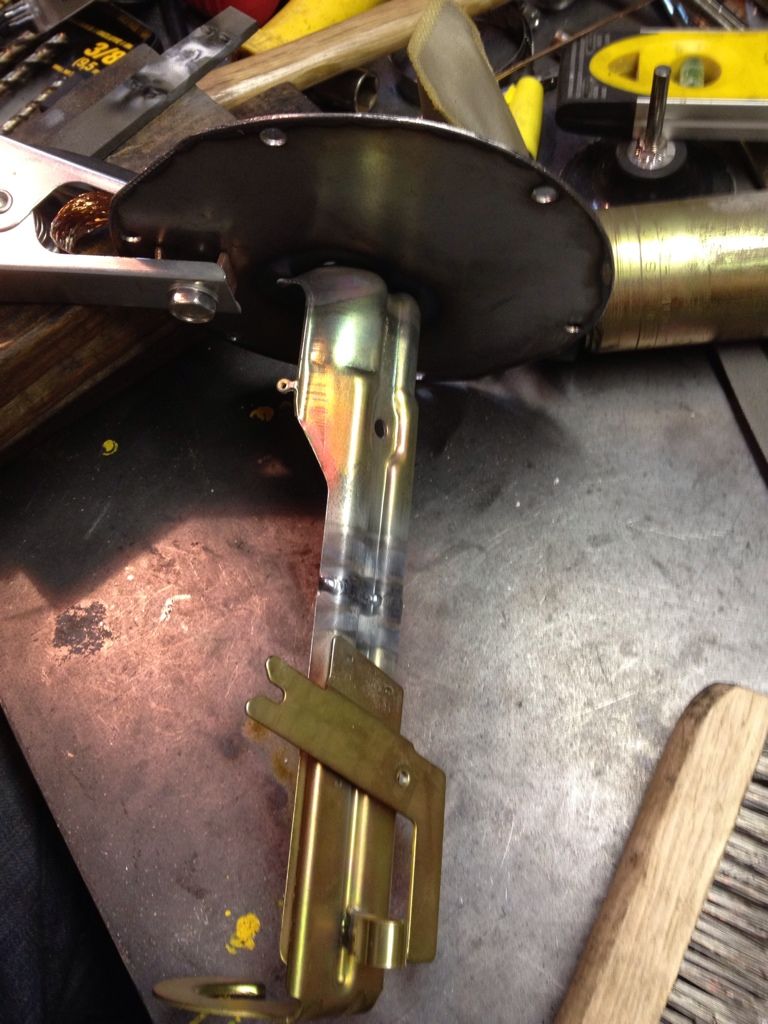
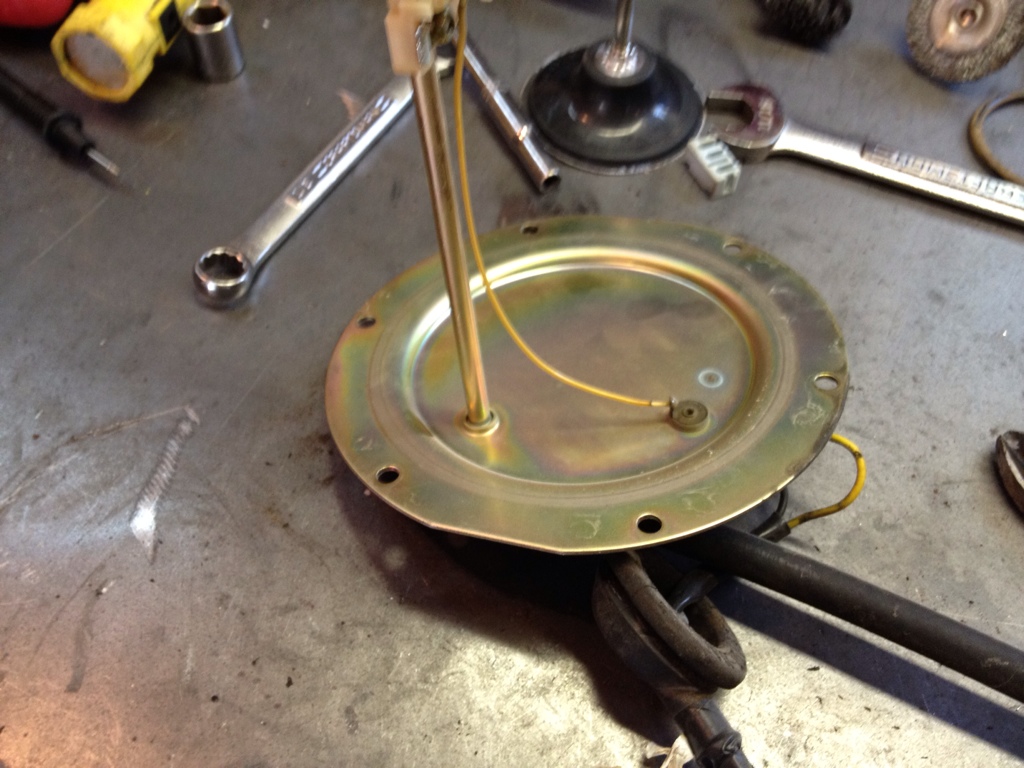
Test fit up the level sending unit and stock pump
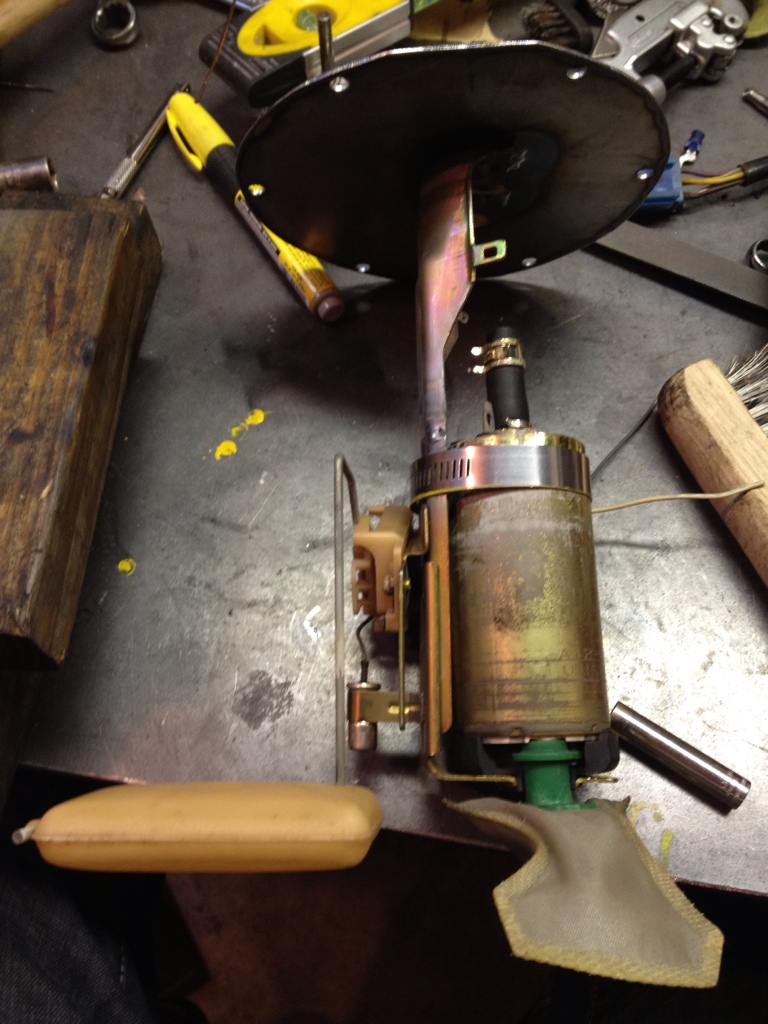
Can't do anymore until the pump comes in and I can drill this bulkhead for the 90 deg AN fittings and the 4 electrical connections (pump, sending unit)
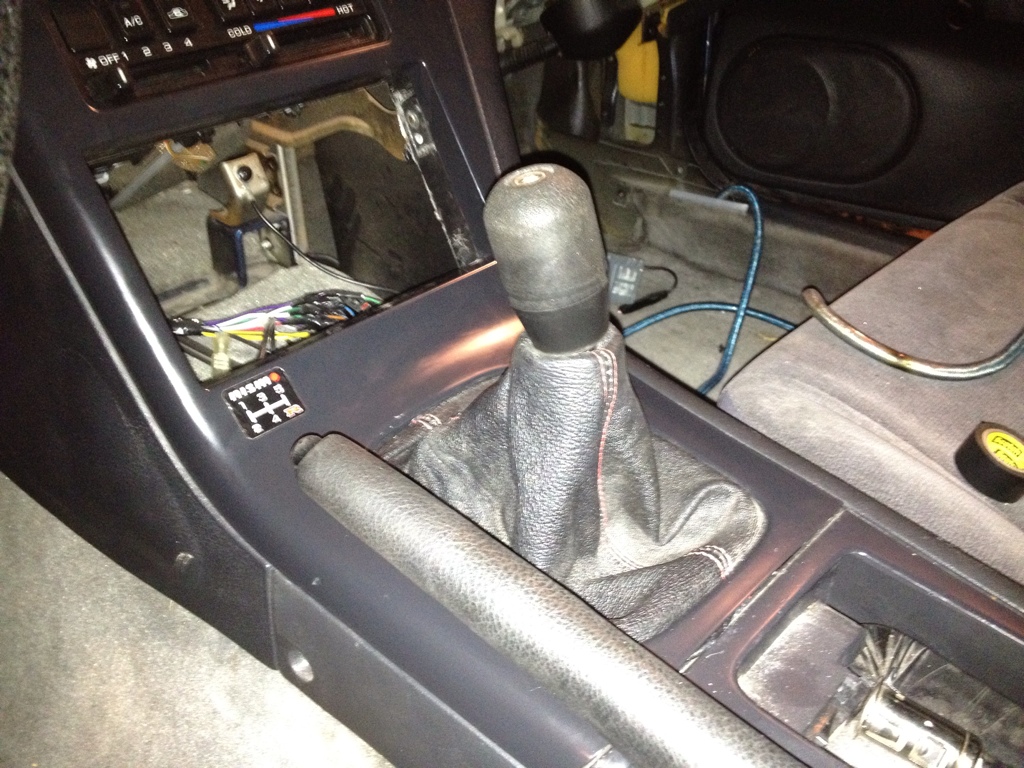
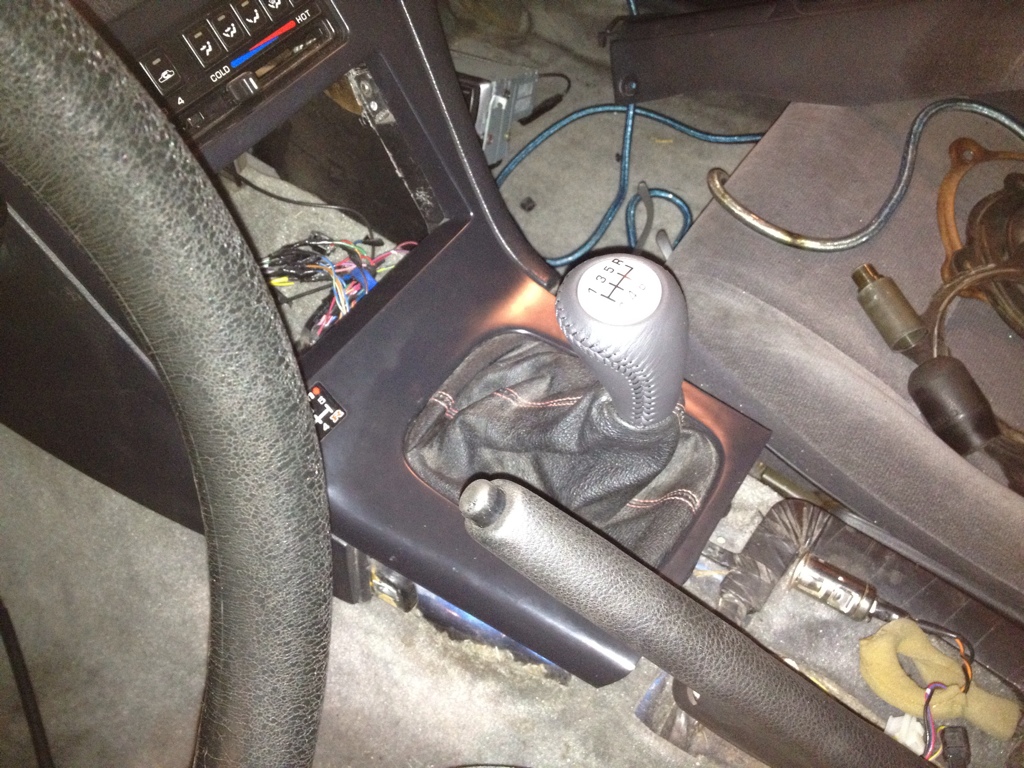
I then spent some time massaging the shifter bezel so the shifter boot and everything works well. I plan on finding a mustang shift ****, I believe there are some with the correct shift pattern on the ****
Cheers
I'm going to run a big in-tank pump (aeromotive 340LPH) so I'm going to be mixing some AN fittings and upgrading from 5/16 to 3/8 line. Also the pump needs some heavy gauge wiring to it which would not be possible with the factory nissan bulkhead. So I decided to build my own...
Started off by taking a blank Z32 bulkhead as a template
I plasma cut out the piece and then ground it smooth and drilled the holes. Test fit...
Instead of building the fuel pump/fuel level pedestal, I decided to rob the stock one off the bulkhead
Then welded it to my new bulkhead
You can see a few pics up the stock bulkhead is recessed up about 3/4 of an inch so I chopped the pedestal, took off what I needed, and welded it back up
Test fit up the level sending unit and stock pump
Can't do anymore until the pump comes in and I can drill this bulkhead for the 90 deg AN fittings and the 4 electrical connections (pump, sending unit)
I then spent some time massaging the shifter bezel so the shifter boot and everything works well. I plan on finding a mustang shift ****, I believe there are some with the correct shift pattern on the ****
Cheers
05-09-2012, 11:44 PM
#25
On The Tree
Thread Starter
iTrader: (5)
Join Date: Jun 2007
Posts: 118
Likes: 0
Received 0 Likes
on
0 Posts
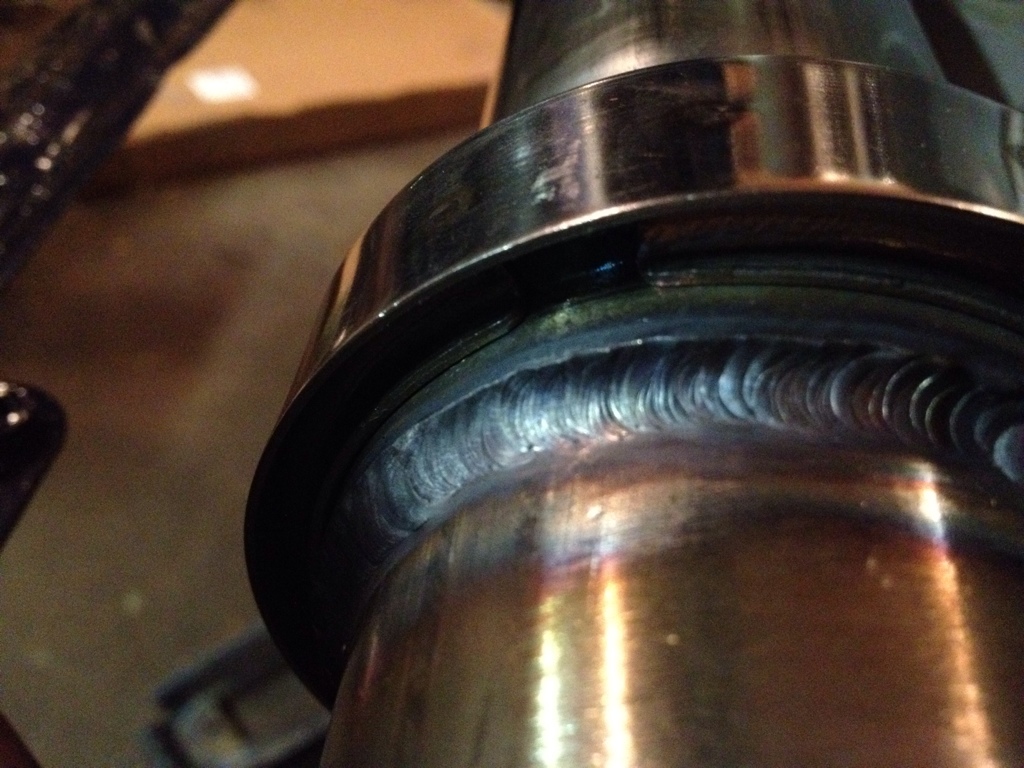
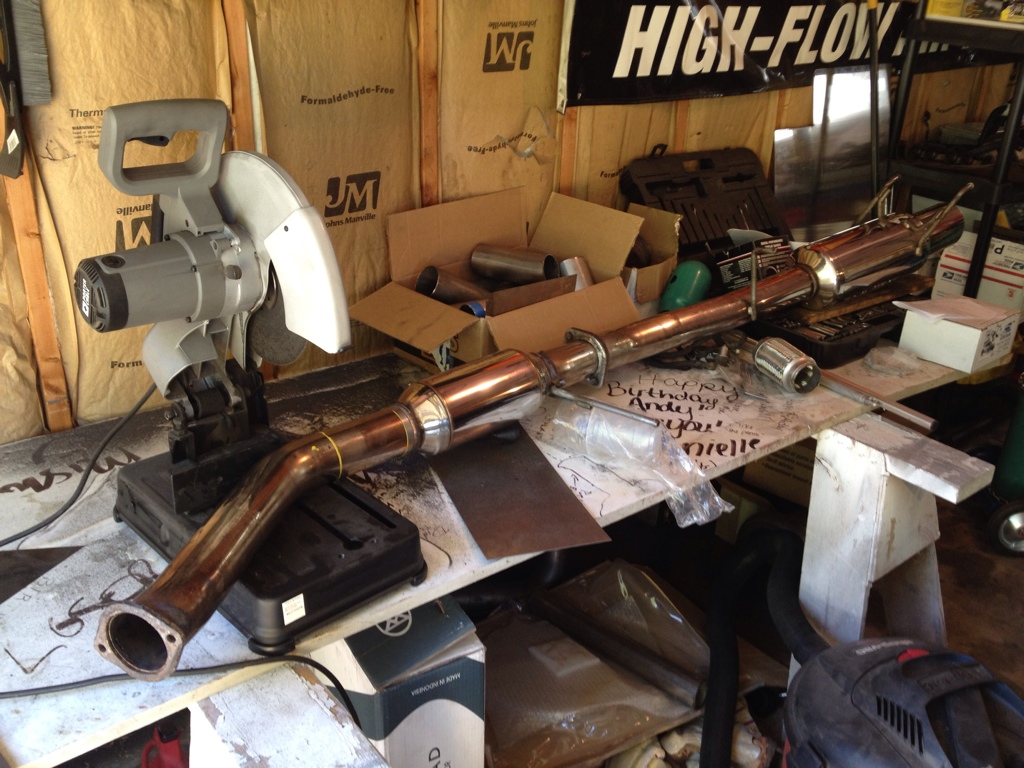
Crossover sectioncompleted
V-band weld on the crossover section
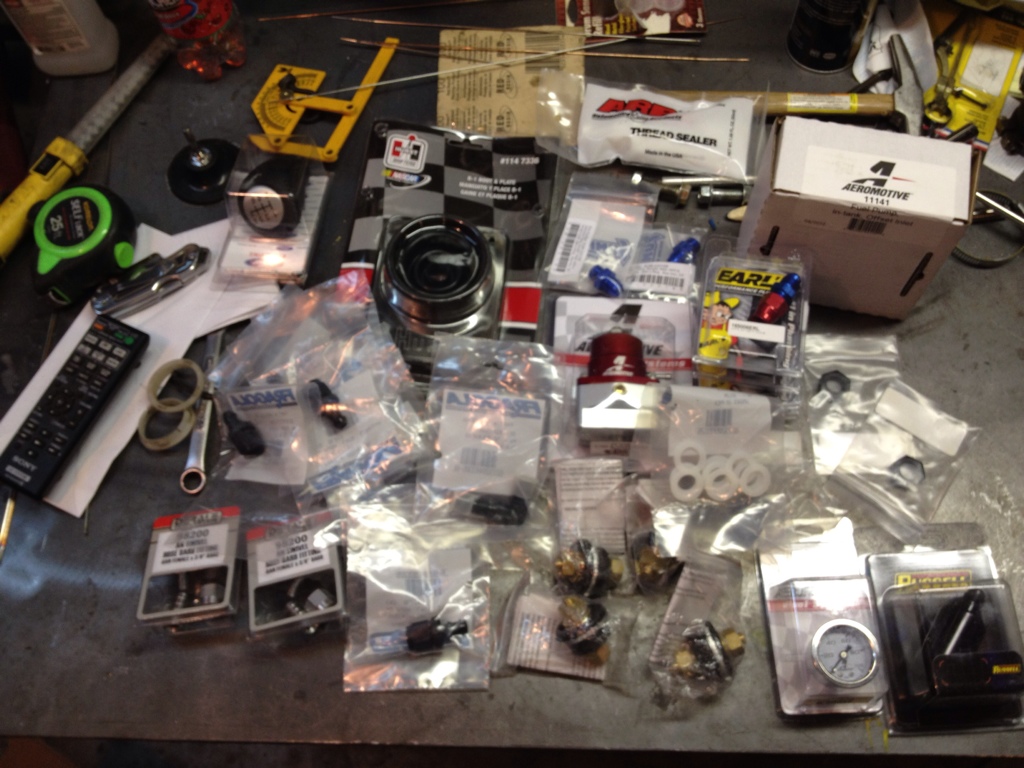
Got a boatload of parts in today.....
Test fit the ol' cobra shifter
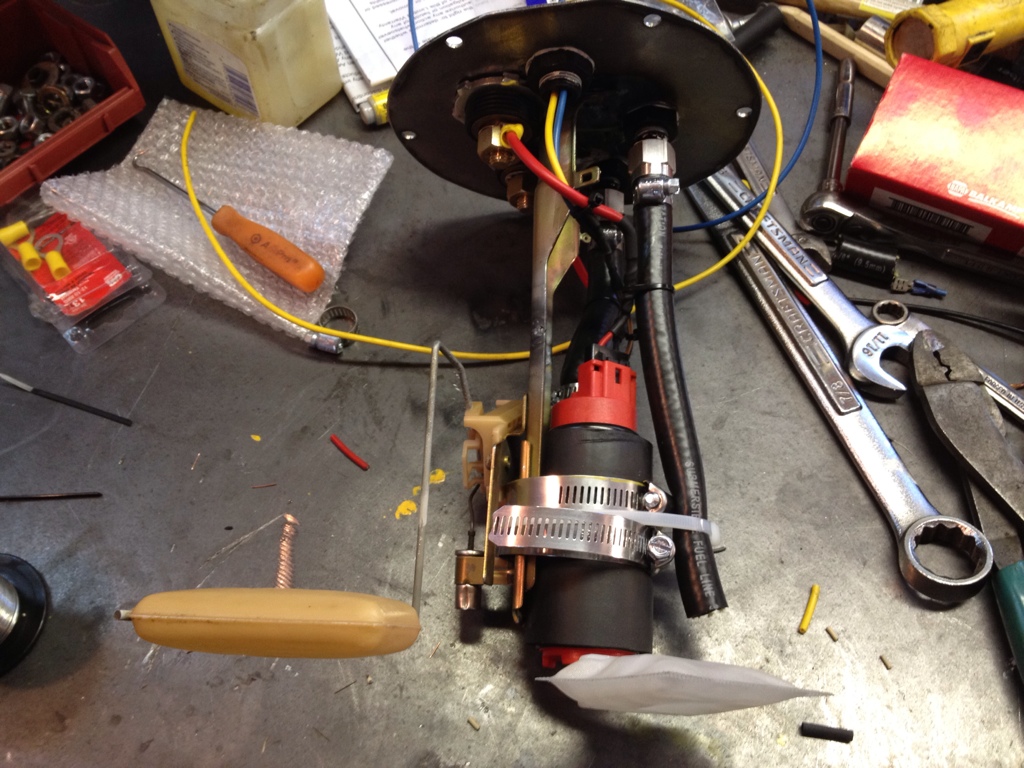
Aeromotive 340LPH in-tank

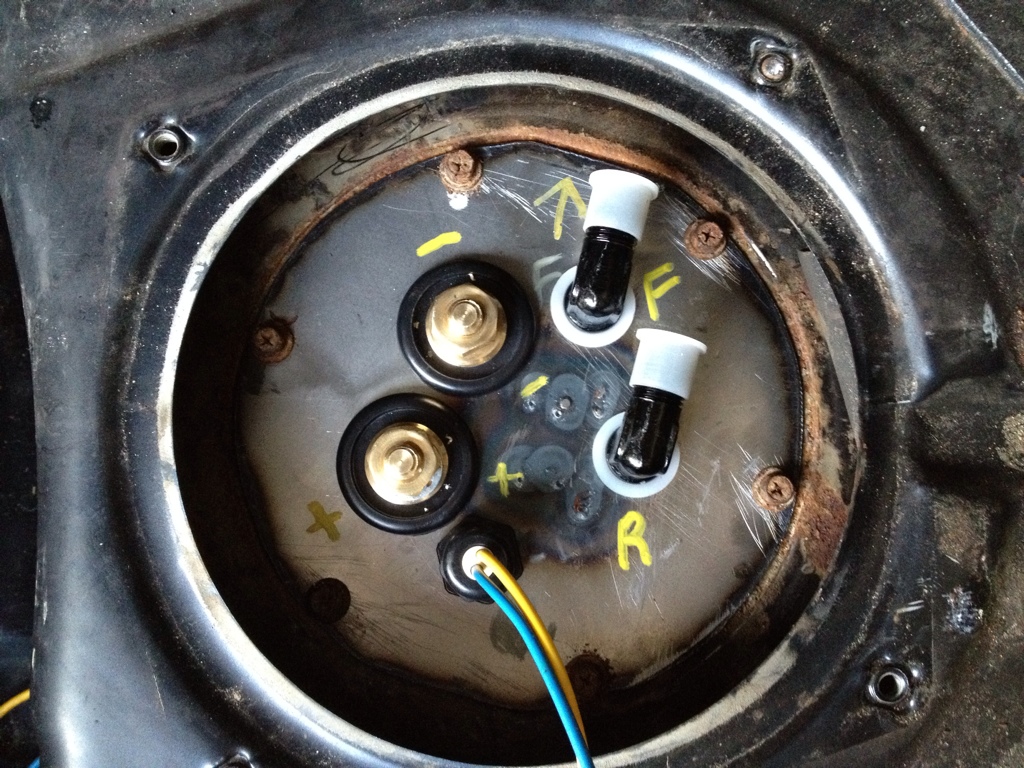
Bulkhead finished with provisions for large power/ground, the smaller fitting is for the level sending unit and gas light, and obviously the fuel feed and return
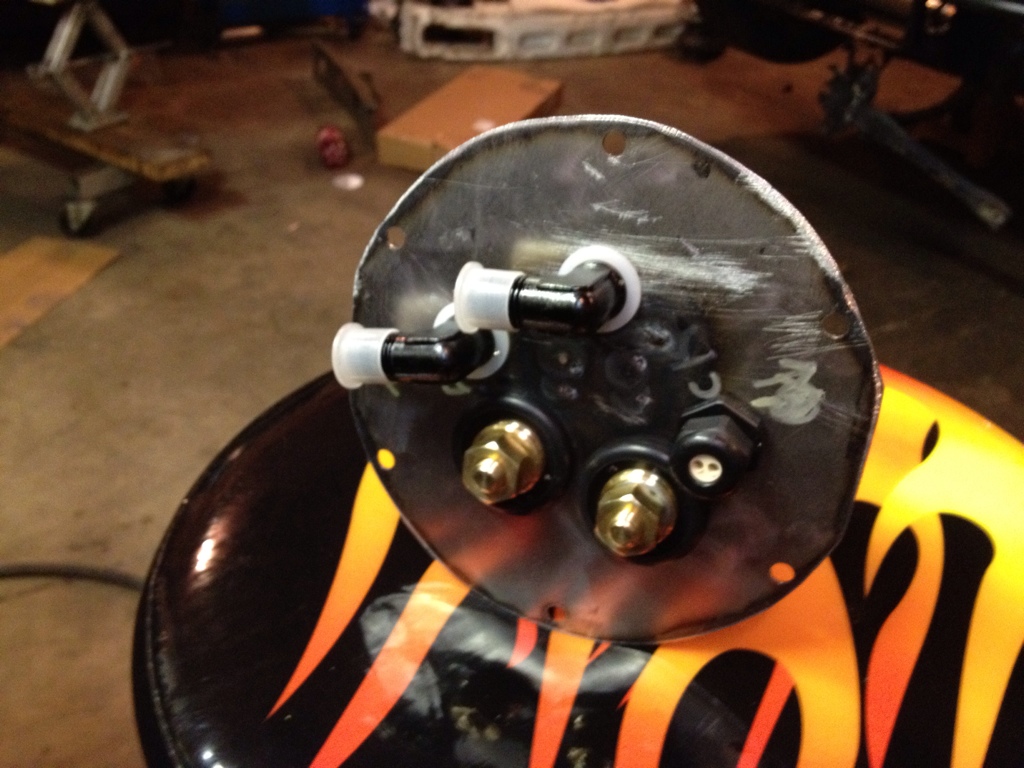
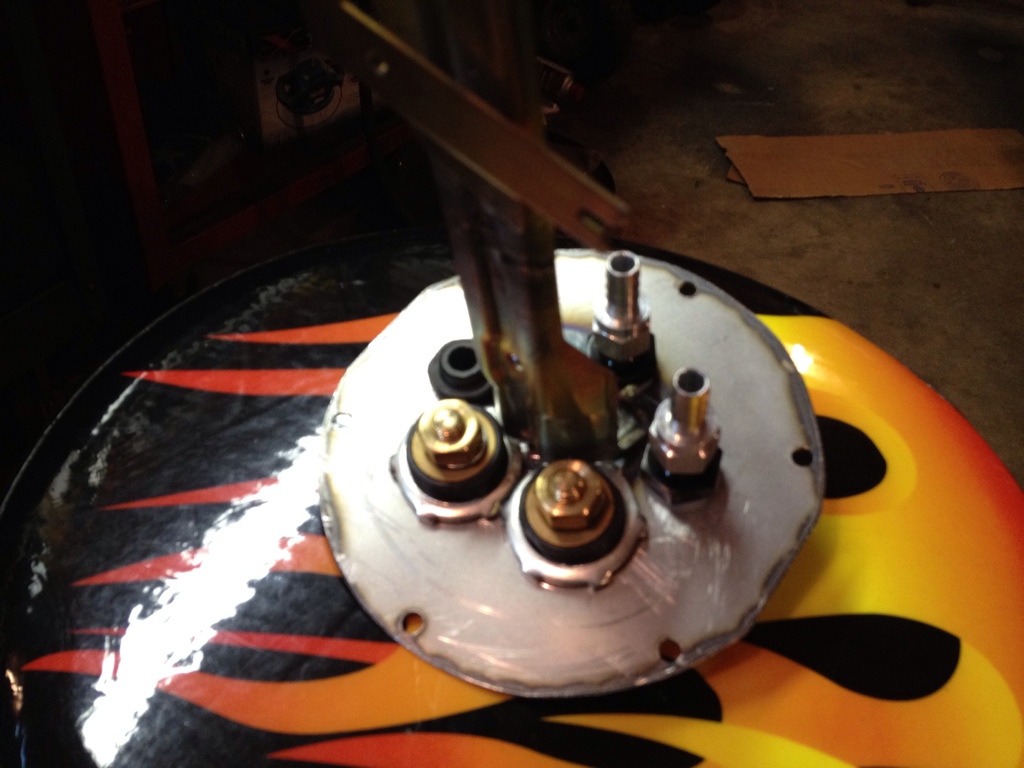
Mounted up
V-band weld on the crossover section
Got a boatload of parts in today.....
Test fit the ol' cobra shifter
Aeromotive 340LPH in-tank
Bulkhead finished with provisions for large power/ground, the smaller fitting is for the level sending unit and gas light, and obviously the fuel feed and return
Mounted up
05-11-2012, 12:39 AM
#26
On The Tree
Thread Starter
iTrader: (5)
Join Date: Jun 2007
Posts: 118
Likes: 0
Received 0 Likes
on
0 Posts
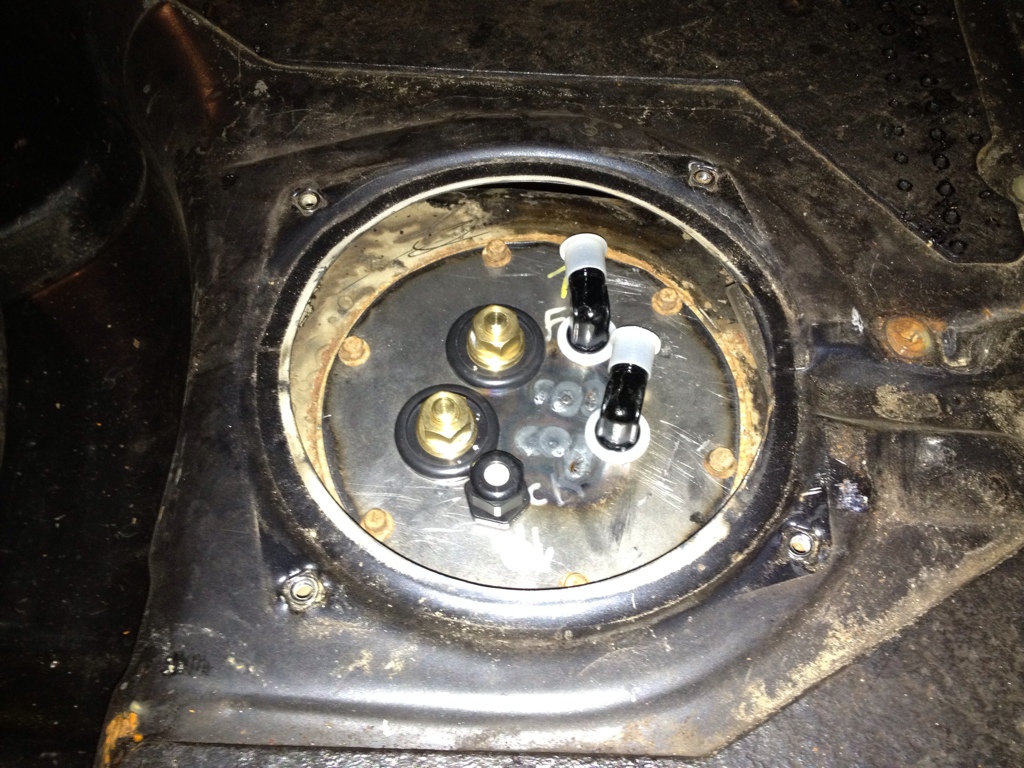
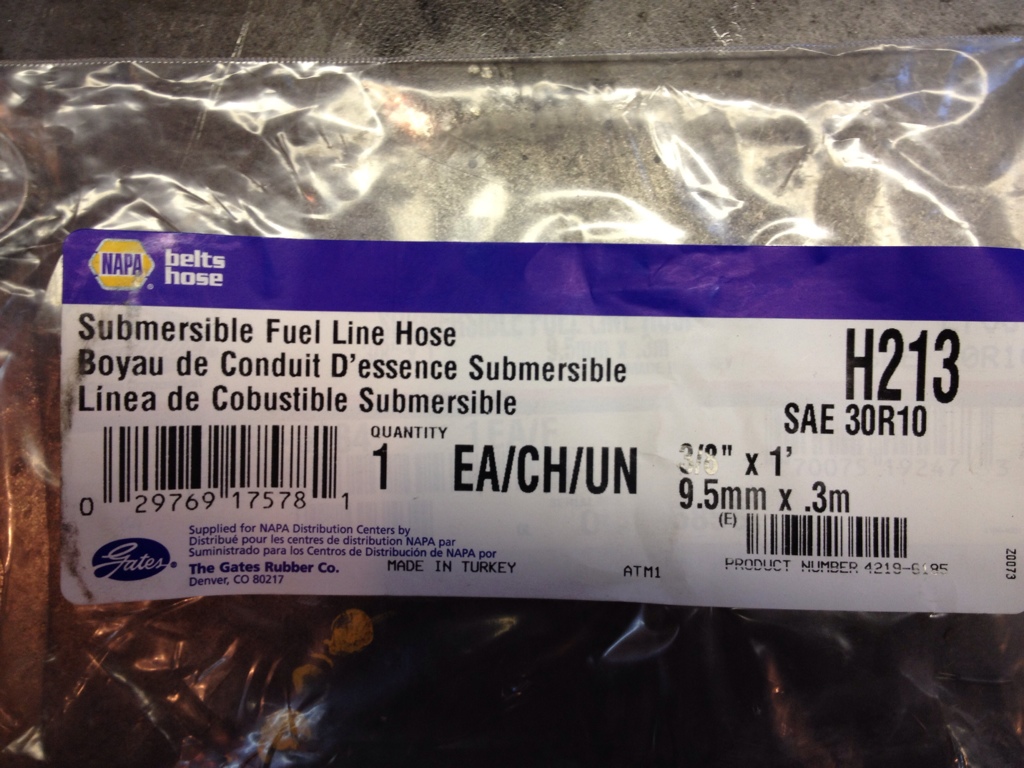
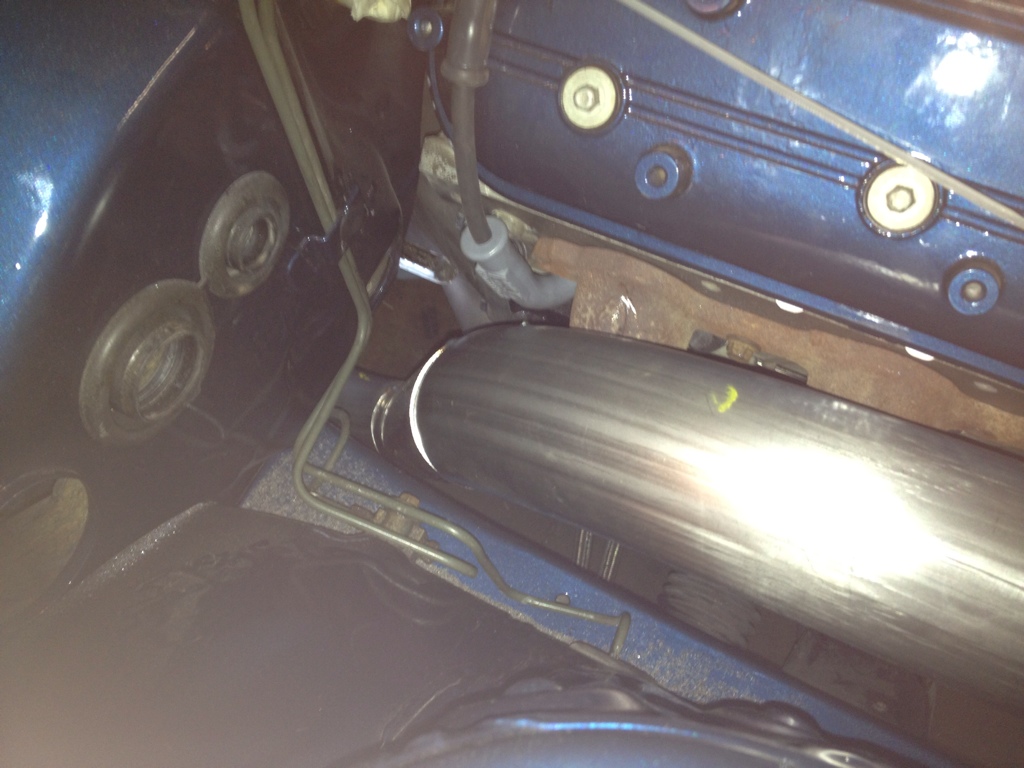
Picked up the heavy duty submersible fuel line for the fuel pump setup tonight....got the whole pump assembly wrapped up and installed in the car
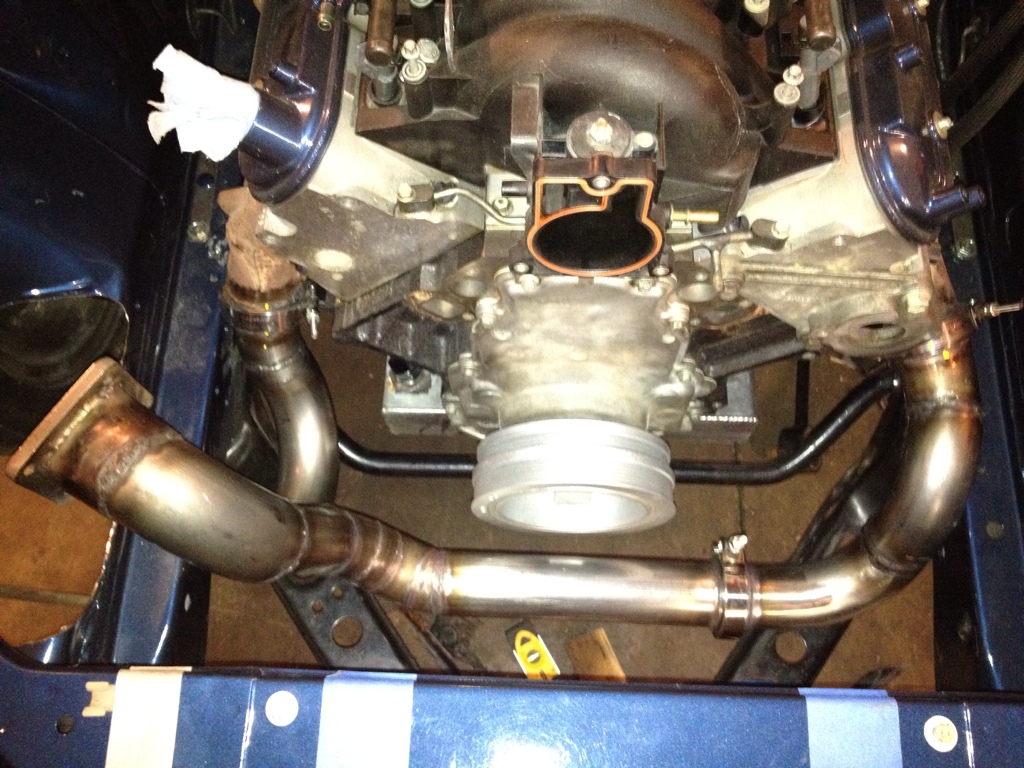
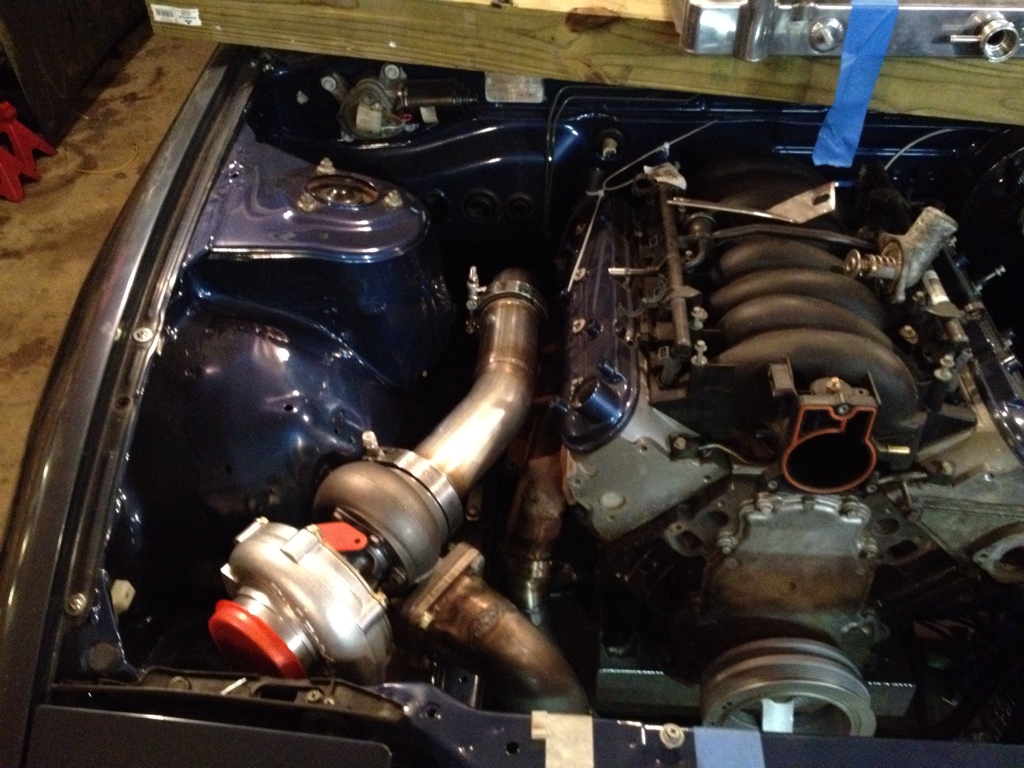
Then I switched back over to the front and started working on fabbing up the downpipe/exhaust. Wound up with this
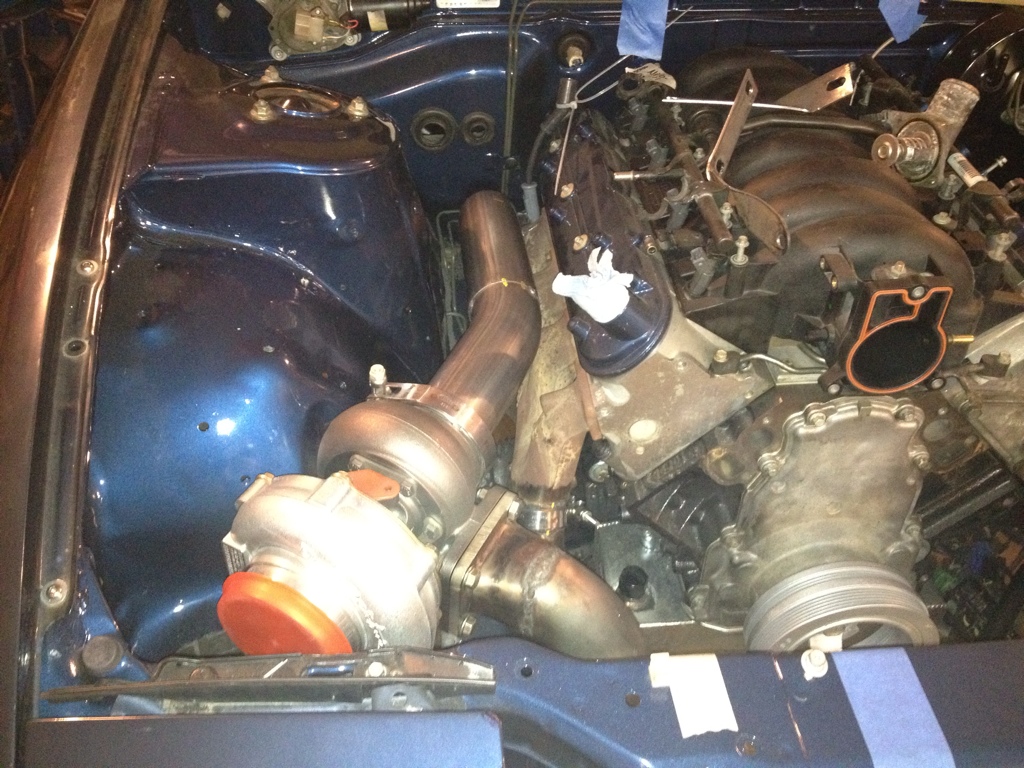
Also picked up some used FAST rails....
Then I switched back over to the front and started working on fabbing up the downpipe/exhaust. Wound up with this
Also picked up some used FAST rails....
05-11-2012, 11:10 AM
#30

i used this handle with my pro 5.0 in my s13. works great
http://www.ebay.com/itm/Pro-5-0-Delu...#ht_500wt_1158
when you order a 6 speed shifter ball make sure you order the mustang thread size. not hte camaro. b/c this handle uses mustang thread pattern
http://www.ebay.com/itm/Pro-5-0-Delu...#ht_500wt_1158
when you order a 6 speed shifter ball make sure you order the mustang thread size. not hte camaro. b/c this handle uses mustang thread pattern
05-11-2012, 12:37 PM
#31
On The Tree
Thread Starter
iTrader: (5)
Join Date: Jun 2007
Posts: 118
Likes: 0
Received 0 Likes
on
0 Posts
i used this handle with my pro 5.0 in my s13. works great
http://www.ebay.com/itm/Pro-5-0-Delu...#ht_500wt_1158
when you order a 6 speed shifter ball make sure you order the mustang thread size. not hte camaro. b/c this handle uses mustang thread pattern
http://www.ebay.com/itm/Pro-5-0-Delu...#ht_500wt_1158
when you order a 6 speed shifter ball make sure you order the mustang thread size. not hte camaro. b/c this handle uses mustang thread pattern
One challenge I'm having currently is figuring out the shift boot. The Pro 5.0 base circle is too big for the stock boot and some of the other boots I've tried out. The two bolts that are used as the stoppers stick out front and back too far for the boot to slip over easily
05-11-2012, 03:53 PM
#33
ya i had to custom boot too. basically my pro5.0 sticks up a litte forward in the tranny hole like yours. i then took some sheet metal cut out a square with half circle and screwed it down to try and seal up the rest of the tranny holes. after that i used one of those large universal mr gasket rubber boots. it slid over handle and whole 5.0 and i screwed that down to the tranny tunnel. made a custom shift boot out of some material for the 3rd cosmetic shift boot and it looks ok. i can put up pics if you like.
05-11-2012, 04:02 PM
#34
On The Tree
Thread Starter
iTrader: (5)
Join Date: Jun 2007
Posts: 118
Likes: 0
Received 0 Likes
on
0 Posts
If you could throw up some pics and maybe post the part # of the boot you used that would be helpful. I have a friend with an older K5 chevy blazer that has a nice circular boot on it and we're going to measure it after work here in a bit to see if its too large to fit between the console sides
 05-14-2012, 10:47 AM
#37
On The Tree
Thread Starter
iTrader: (5)
Join Date: Jun 2007
Posts: 118
Likes: 0
Received 0 Likes
on
0 Posts
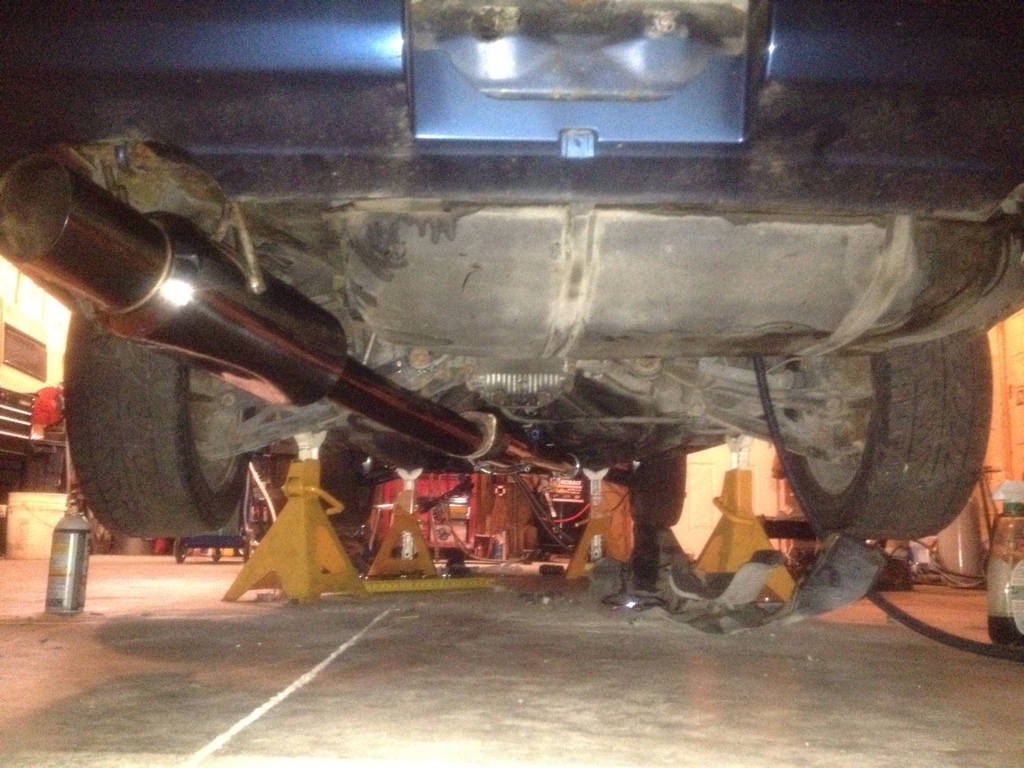
Got a soild day's work out in the garage yesterday. With the exception of running some hangars, I believe its finished.
The car came with a blitz NUR-Spec cat-back when I bought it, so I decided to just go ahead and use it. I got it out of my shed yesterday and gave it a good cleaning
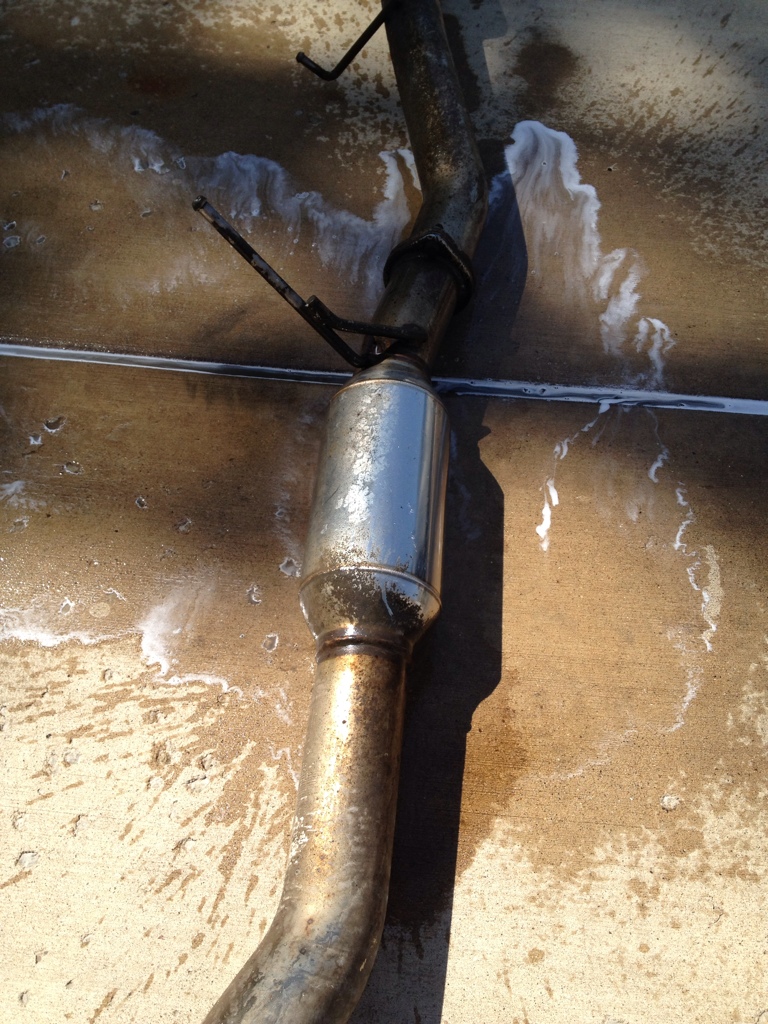
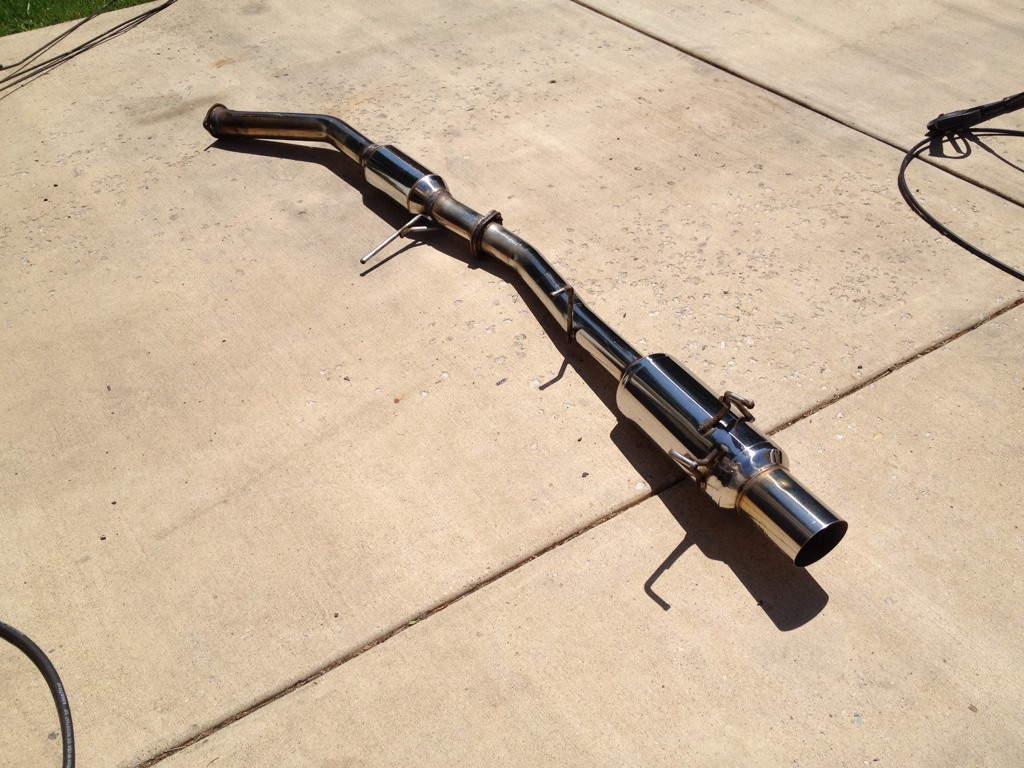
Now what better thing to do than go cutting it up?
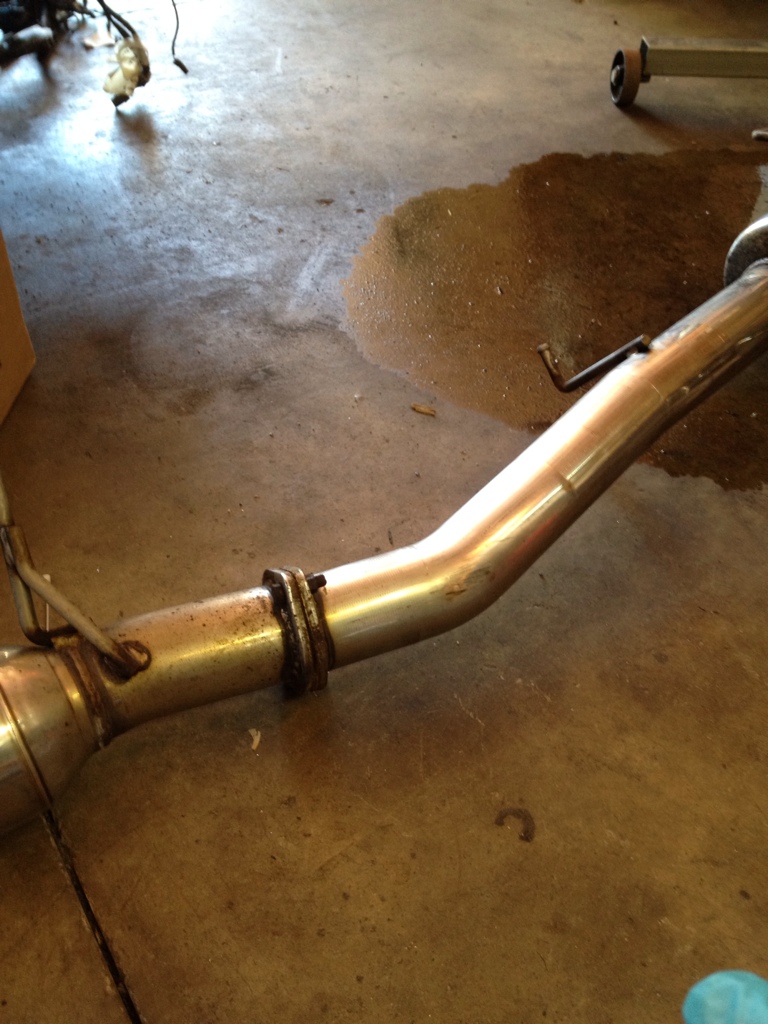
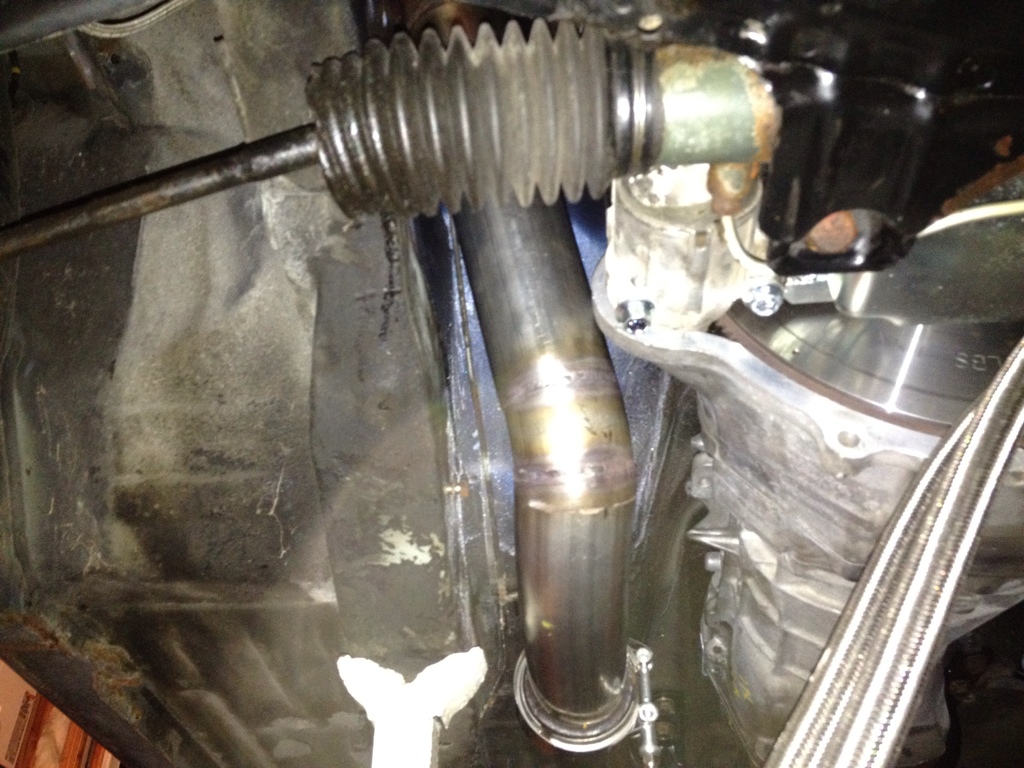
Got it hung back on the factory hangars and started building from the downpipe to it....Started off sectioning the downpipe and adding a V-band in up top
Another flange down below, The starter clearance looks closer than it actually is here..
"shot the gap"

And from the rear
The car came with a blitz NUR-Spec cat-back when I bought it, so I decided to just go ahead and use it. I got it out of my shed yesterday and gave it a good cleaning
Now what better thing to do than go cutting it up?
Got it hung back on the factory hangars and started building from the downpipe to it....Started off sectioning the downpipe and adding a V-band in up top
Another flange down below, The starter clearance looks closer than it actually is here..
"shot the gap"
And from the rear
05-14-2012, 01:32 PM
#40
TECH Apprentice
iTrader: (1)
Join Date: Mar 2009
Location: LA
Posts: 356
Likes: 0
Received 0 Likes
on
0 Posts
everything or just the rear end?, broke 2 R200 out of a 240's, and just broke a r200v out of a 300zx, got the diffs for free is why i'm still using them, probably going to backhalf the car, I'm not doing any competition so If I lose some handling capabilities by going to a live axle I really don't care as long as a ford 8.8" axle holds up. should be fun on a road course and enough to hold the power on a drag strip, dynoed right at 500hp off nitrous, I think a turbo setup would have been less stress on the rear end, who knows, going to try the Q45 diff, and once that breaks, going to a ford 8.8", then a ford 9" good luck with your car, looks great.