
93' 240SX 5.3L Turbo Build....
 05-14-2012, 10:14 PM
#41
On The Tree
Thread Starter
iTrader: (5)

Join Date: Jun 2007
Posts: 118
Likes: 0
Received 0 Likes
on
0 Posts
Thanks man, I've broken a lot of output shafts in my RB26 300ZX. Everything else has held up so far including some 1.4~ 60ft times at the drag strip. I probably wont be trying to get maximum stick on this setup as I've already got one drag car. I'll probably just spin the tires before anything happens, lol

 05-15-2012, 11:40 PM
#45
On The Tree
Thread Starter
iTrader: (5)
Join Date: Jun 2007
Posts: 118
Likes: 0
Received 0 Likes
on
0 Posts
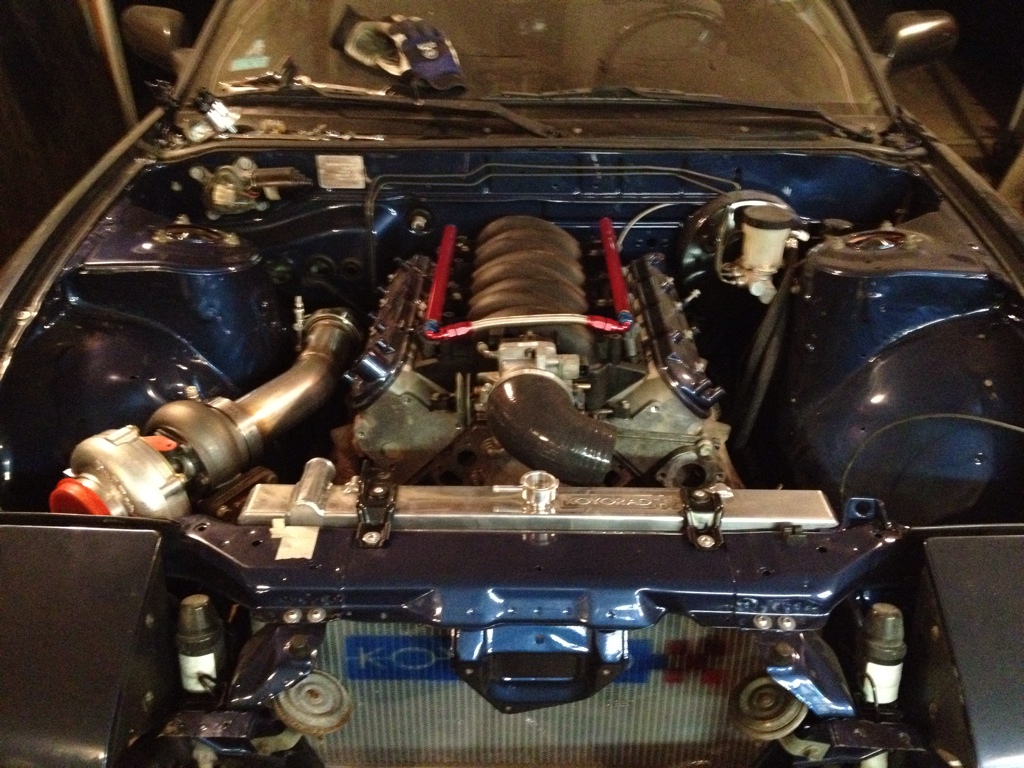
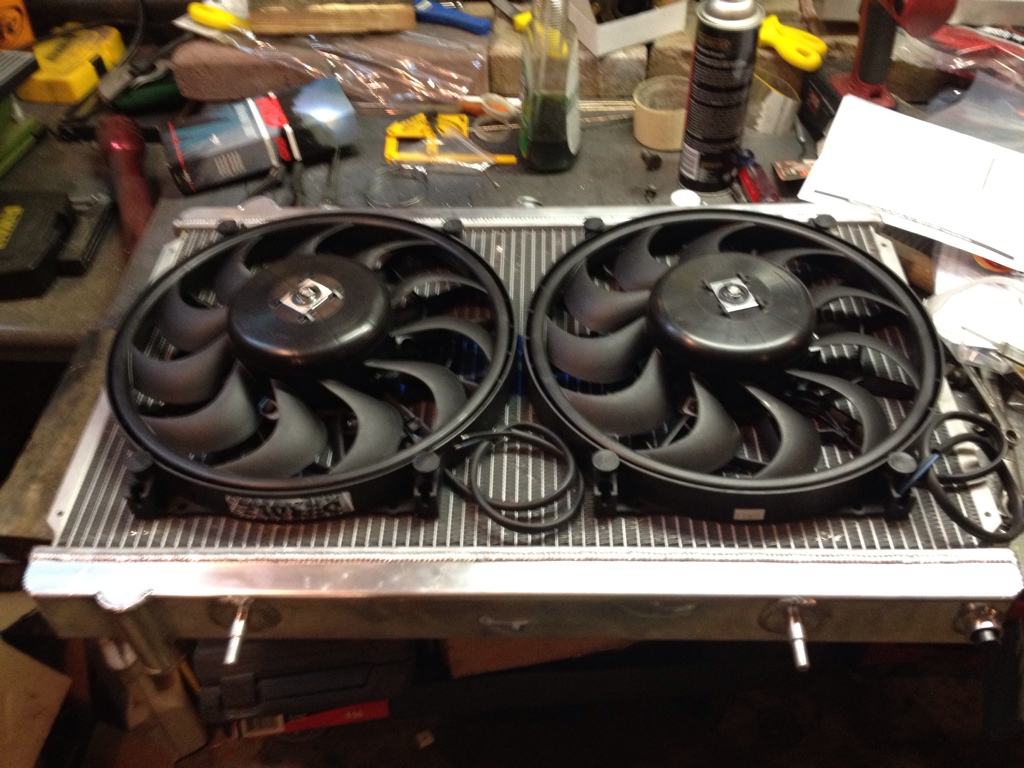
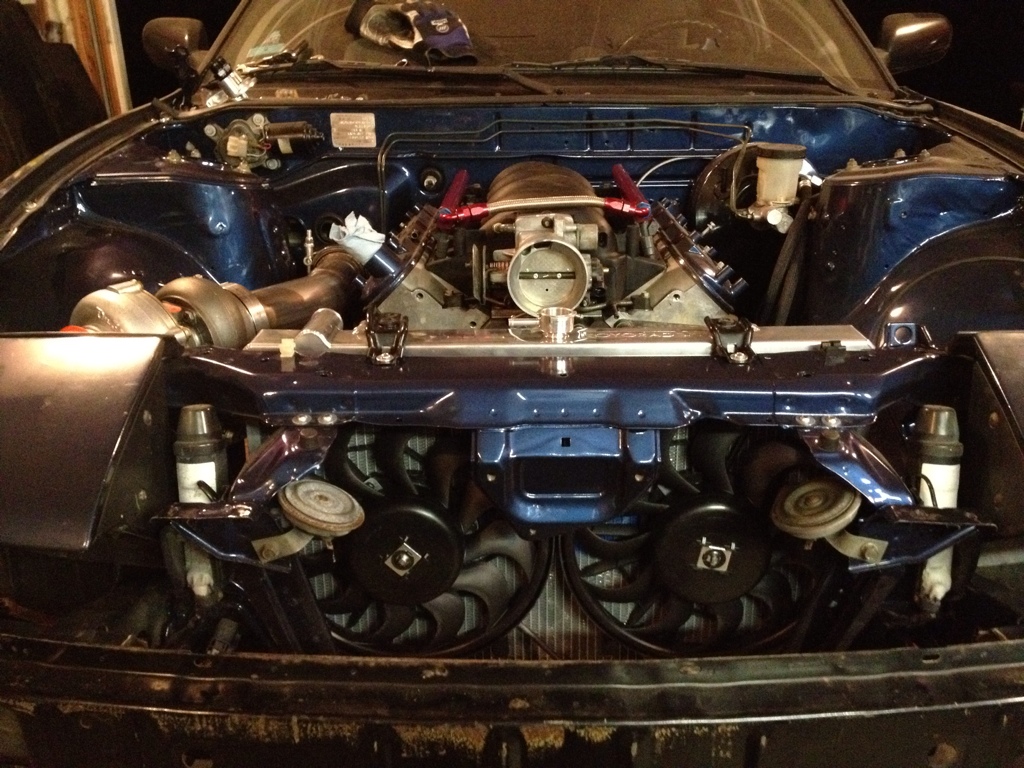
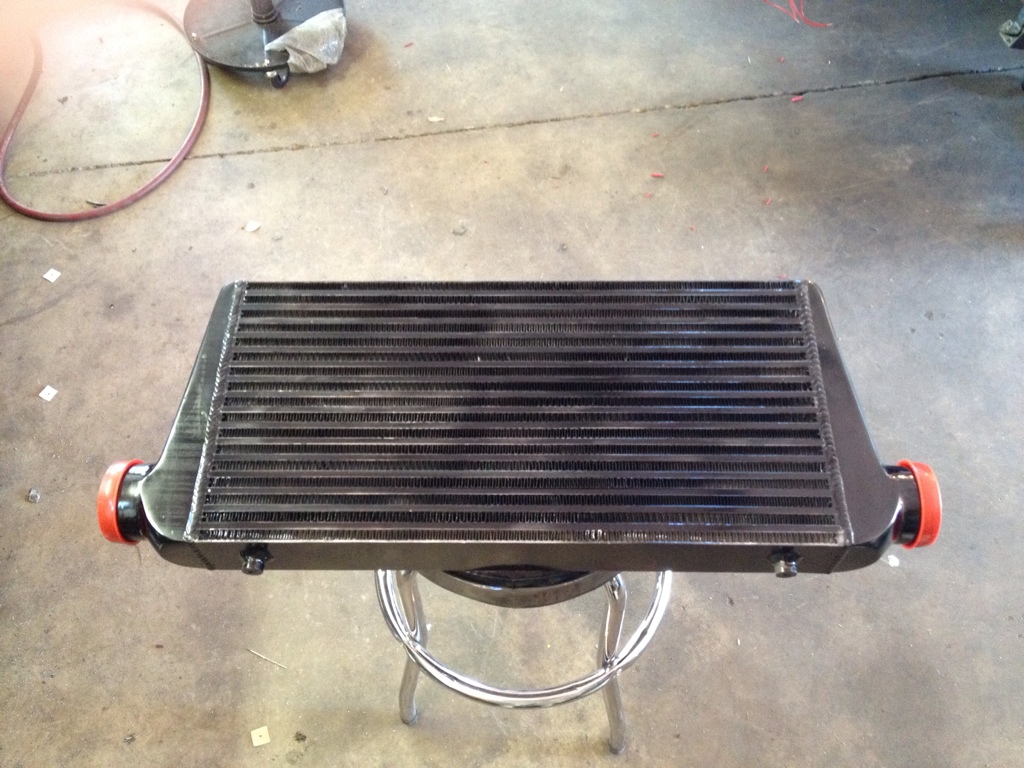
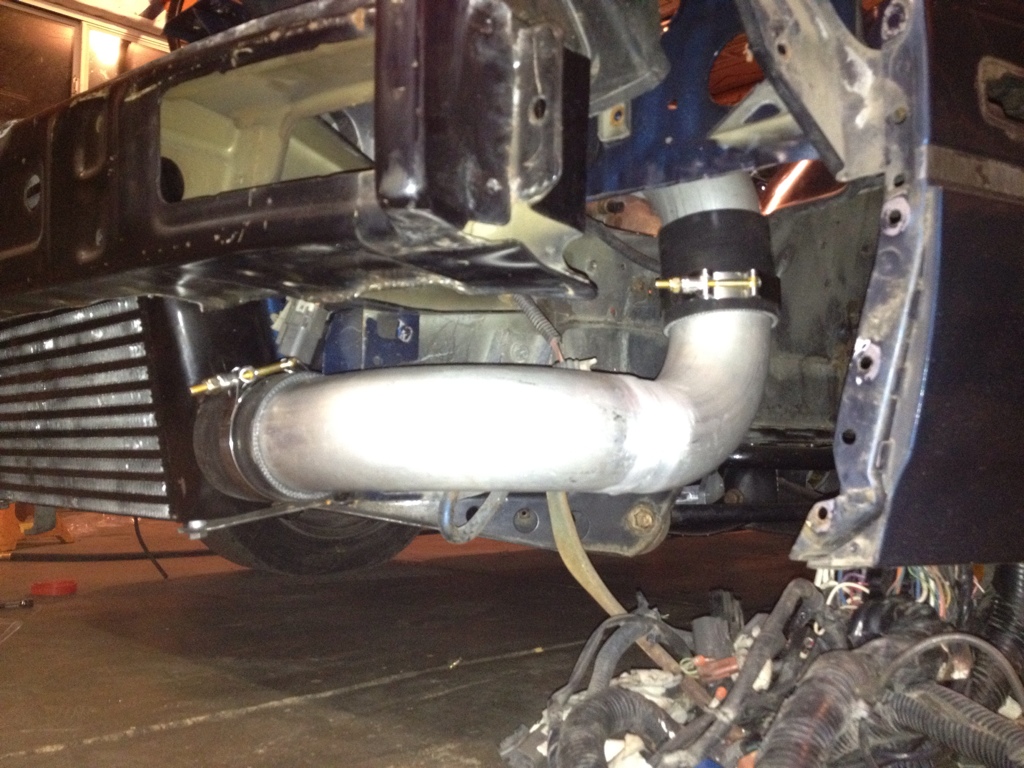
The FMIC arrived today, they didn't do a great job coating it but I'll probably go back over it once everything is finalized....
Test fit up

Lower brackets welded to the core support


Bumper installed
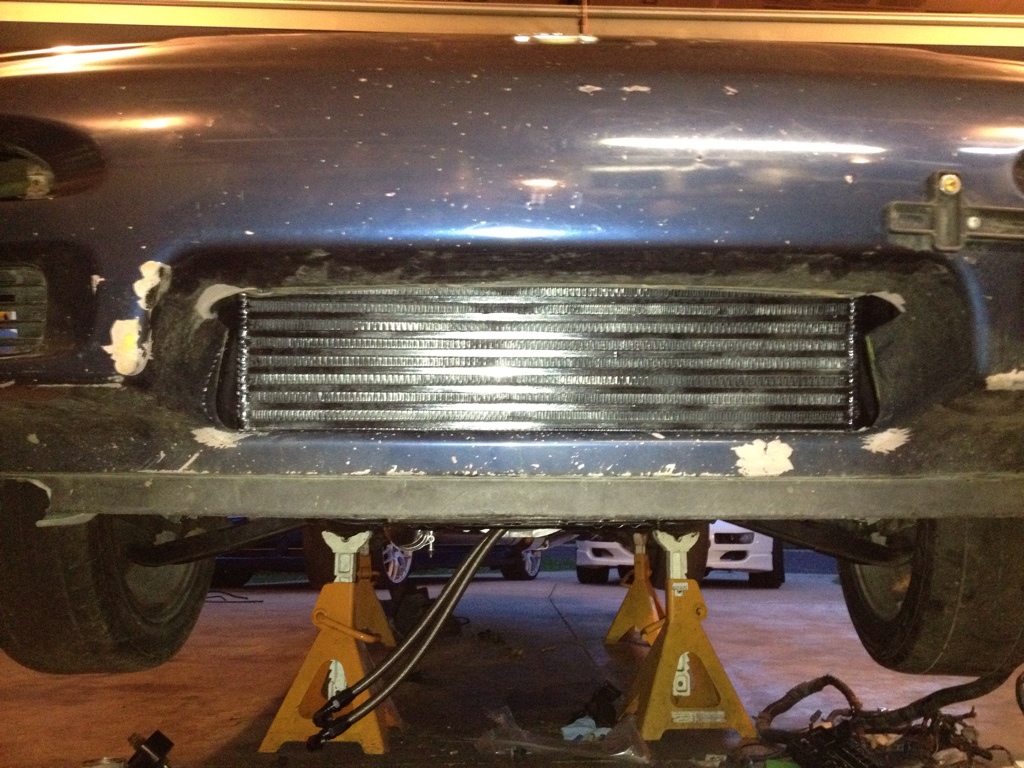
Next up is to get the IC piping ordered after figuring out what bends I needed tonight
Test fit up
Lower brackets welded to the core support
Bumper installed
Next up is to get the IC piping ordered after figuring out what bends I needed tonight
05-20-2012, 01:26 AM
#46
On The Tree
Thread Starter
iTrader: (5)
Join Date: Jun 2007
Posts: 118
Likes: 0
Received 0 Likes
on
0 Posts
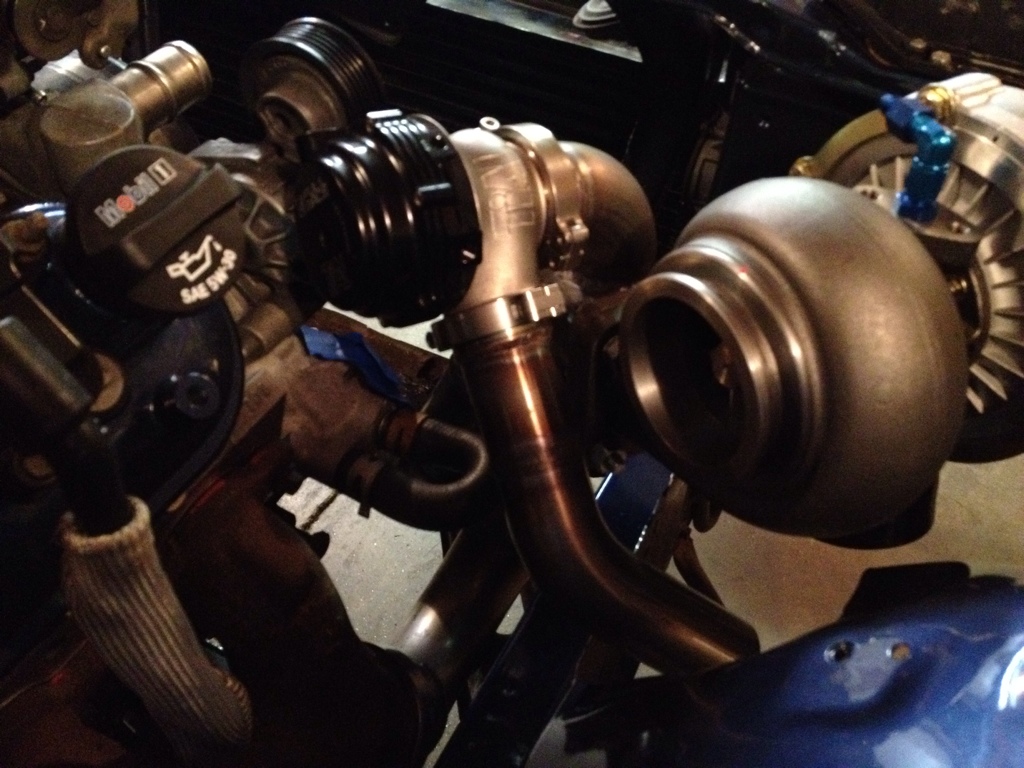
Started off by pluming the turbo oil return line....I cut it a little short so the line is too tight for my preference, I'm gonna get some more push-lock line and do it over...

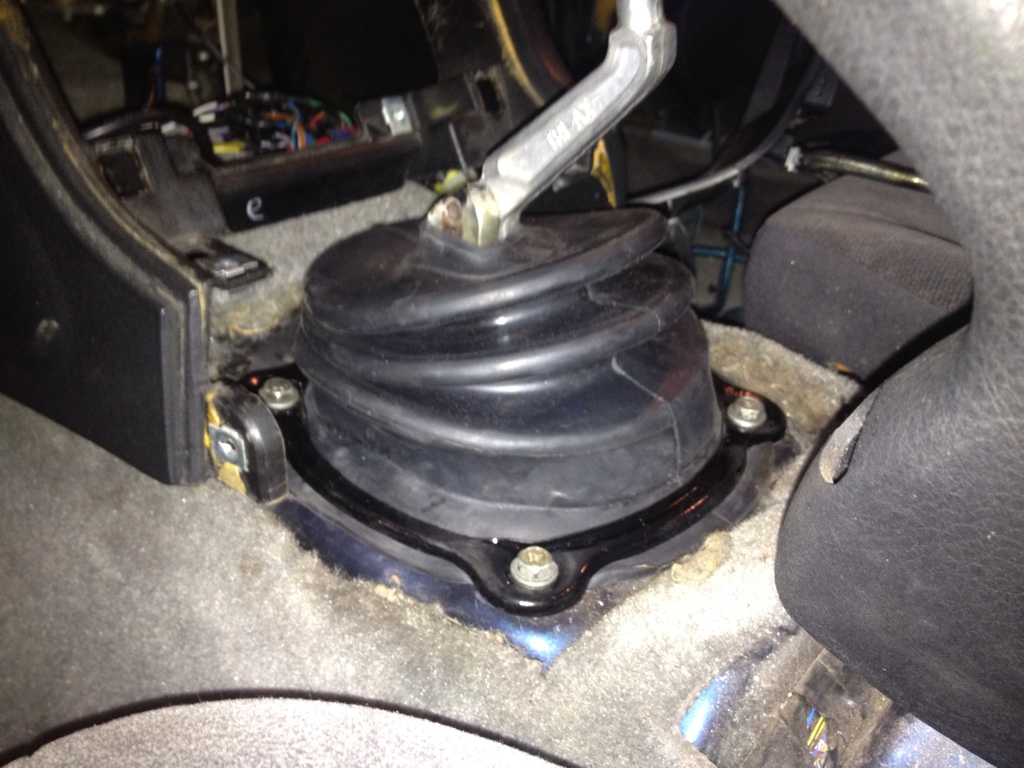
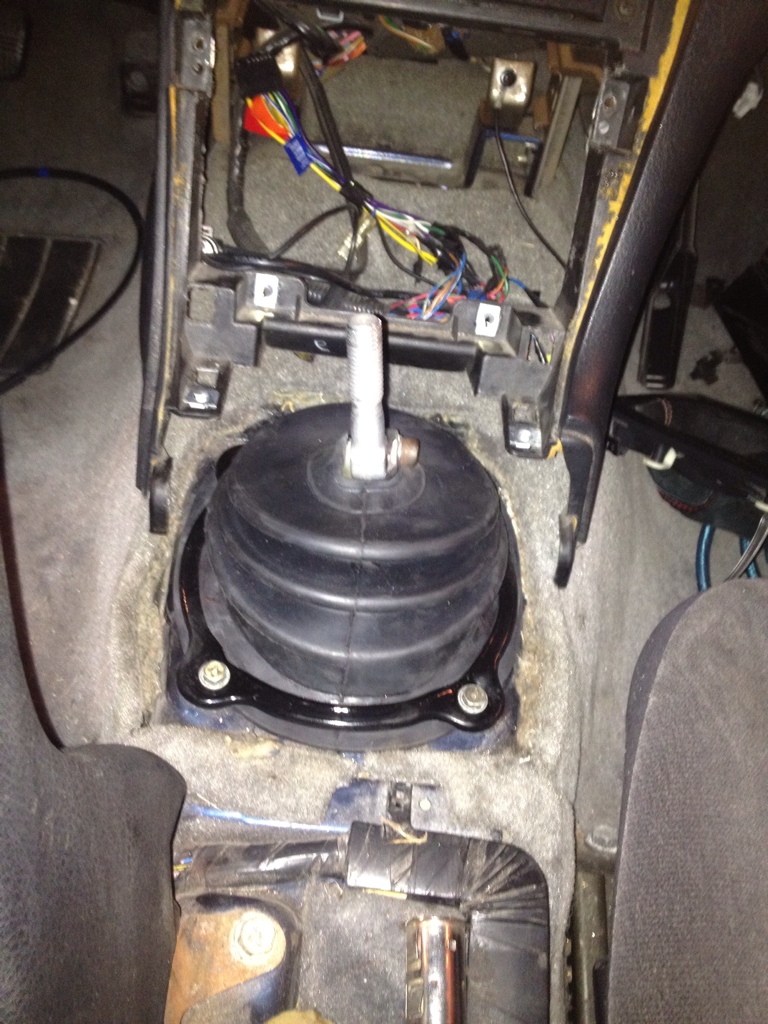
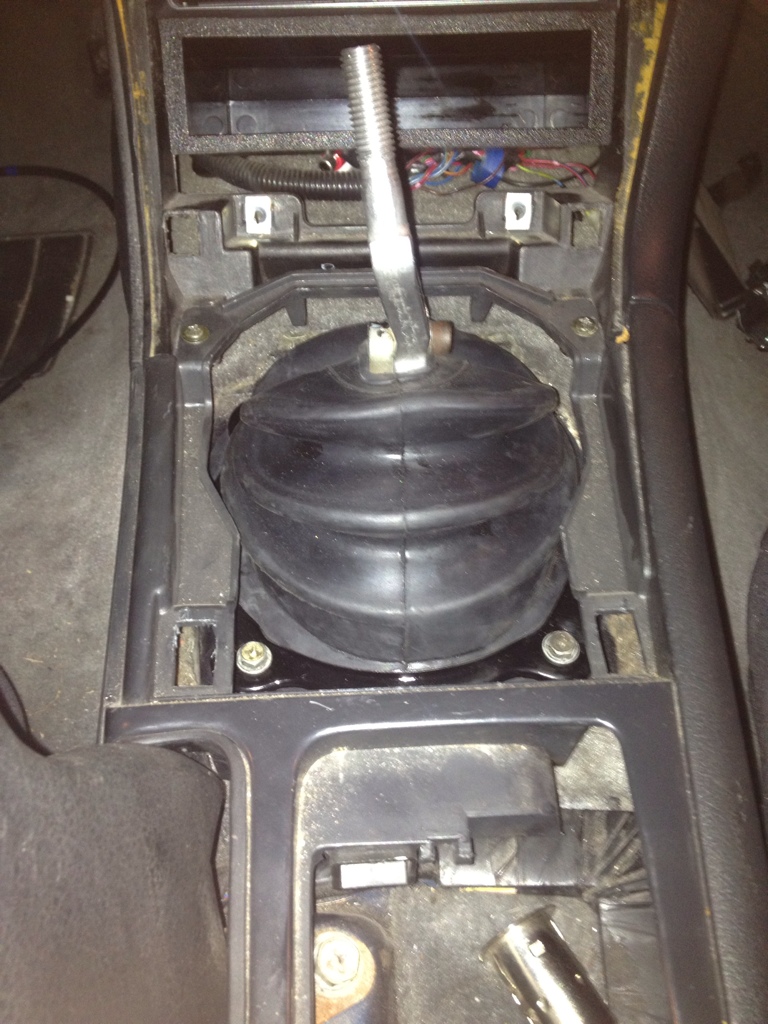
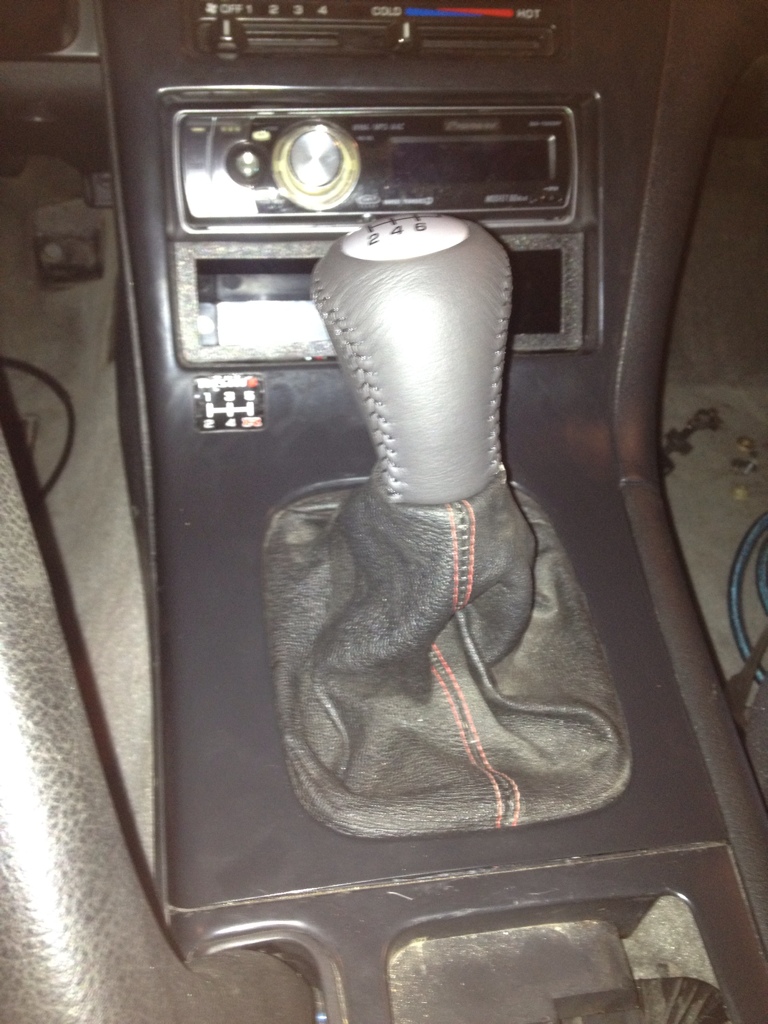
While joyriding in a friends 79 blazer to lunch last week, I noticed his shifter boot in his blazer might actually work on my car so I ordered one up and messed with that. Turns out this thing is PERFECT. Didn't trim the boot one bit and used the stock boot ring.

Moving on, my gas door wasnt popping open when I hit the release. Initially I thought it was a bad cable but I found out the gas door was actually missing the spring (which is actually just a metal tab) that made it pop. What do you do when you dont have one? You make one.....
Welded it on to the gas door and put some touch-up paint on it. Damn thing works like a charm now!

Next I decided to install my new throttle cable and get that all working. My manifold didnt come with a throttle cable bracket, so I just made one! I plan on painting it as well....
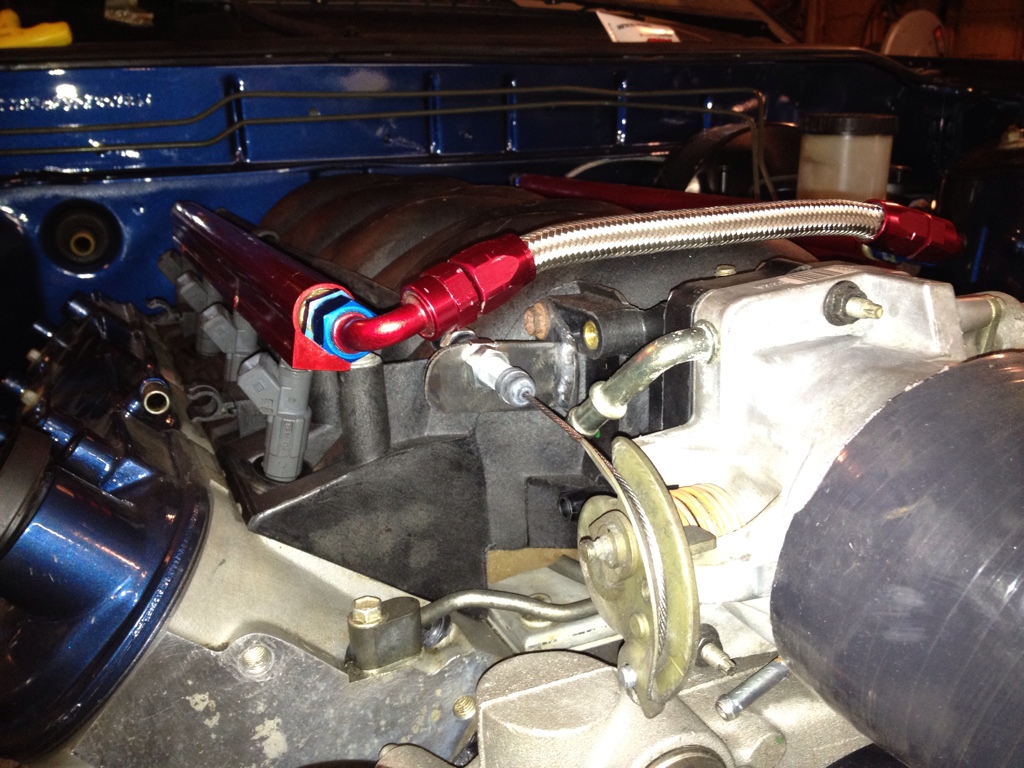
Secured the throttle cable
I then went back to the bulkhead and got all of the wires buttoned up and the cover installed
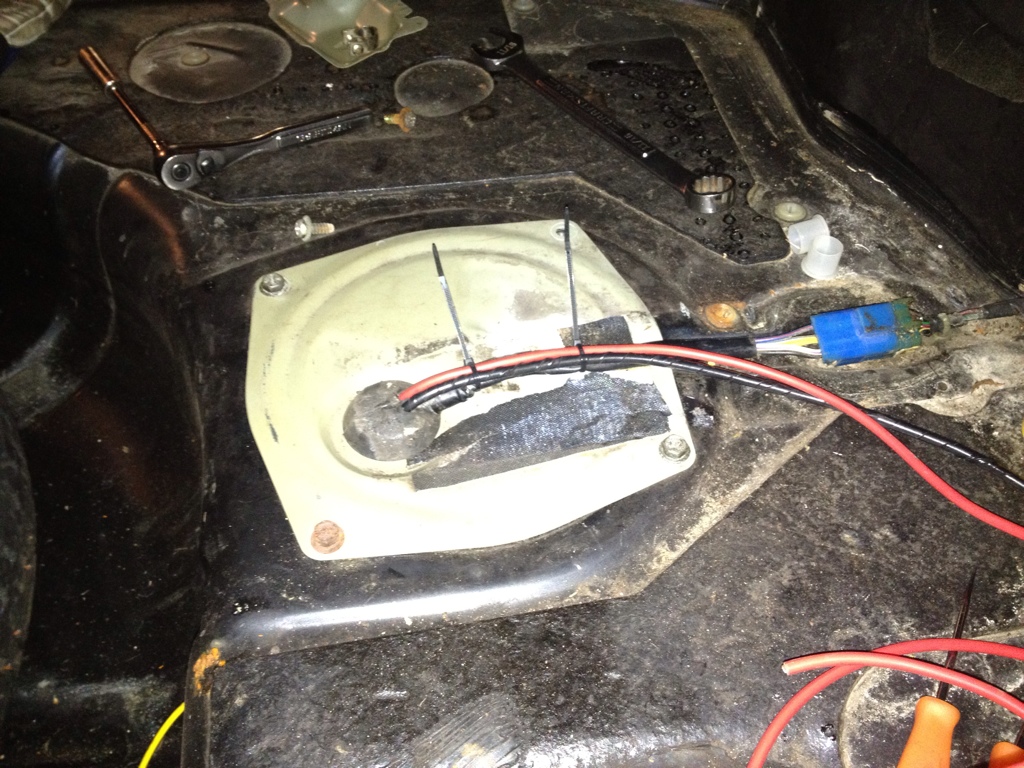
Also got the wiring necessary to put the battery in the trunk
While joyriding in a friends 79 blazer to lunch last week, I noticed his shifter boot in his blazer might actually work on my car so I ordered one up and messed with that. Turns out this thing is PERFECT. Didn't trim the boot one bit and used the stock boot ring.
Moving on, my gas door wasnt popping open when I hit the release. Initially I thought it was a bad cable but I found out the gas door was actually missing the spring (which is actually just a metal tab) that made it pop. What do you do when you dont have one? You make one.....
Welded it on to the gas door and put some touch-up paint on it. Damn thing works like a charm now!
Next I decided to install my new throttle cable and get that all working. My manifold didnt come with a throttle cable bracket, so I just made one! I plan on painting it as well....
Secured the throttle cable
I then went back to the bulkhead and got all of the wires buttoned up and the cover installed
Also got the wiring necessary to put the battery in the trunk
05-20-2012, 07:40 AM
#47

At first I was puzzled by the use of the clear pop bottle. But after reading what and why you did it, I like it alot! Pretty cleaver.
05-20-2012, 04:48 PM
#51
On The Tree
iTrader: (2)

Join Date: Oct 2007
Location: Dallas, TX
Posts: 190
Likes: 0
Received 0 Likes
on
0 Posts

I saw you used Roloc discs on the head surface and block? I would be careful with that stuff. I used it once on a head and took it to the machinist and he measured it and it was all chewed up, even though I was super careful. You might have head sealing issues if the heads are uneven.
05-20-2012, 08:31 PM
#52
On The Tree
Thread Starter
iTrader: (5)
Join Date: Jun 2007
Posts: 118
Likes: 0
Received 0 Likes
on
0 Posts
I saw you used Roloc discs on the head surface and block? I would be careful with that stuff. I used it once on a head and took it to the machinist and he measured it and it was all chewed up, even though I was super careful. You might have head sealing issues if the heads are uneven.
Roloc made for aluminum.....I've always used these and never had an issue with sealing, and I've built a large # of cars. Maybe this will be the time I have to stick my foot in my mouth but I suppose until it bites me in the *** I have no reason to use any other method.
05-28-2012, 03:45 AM
#54
On The Tree
Thread Starter
iTrader: (5)
Join Date: Jun 2007
Posts: 118
Likes: 0
Received 0 Likes
on
0 Posts
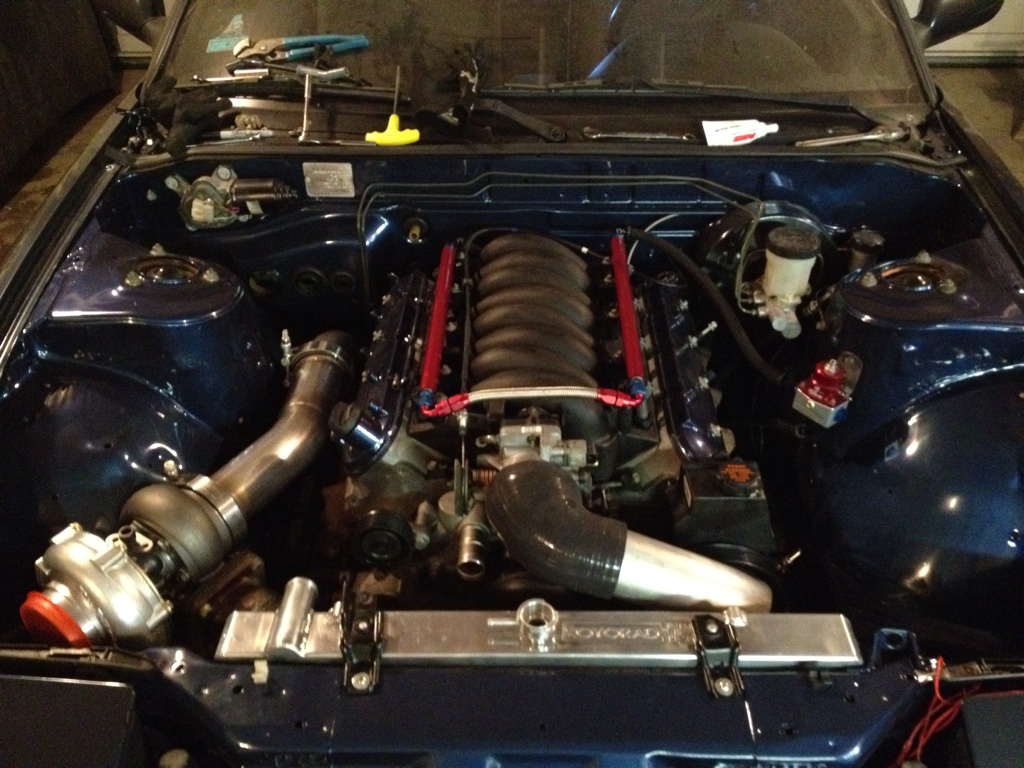
Been a while since I've had some time to work on it but I got the intercooler piping squared up tonight. Now I just need to weld on the BOV flange and some fittings for vacuum hose barbs


05-29-2012, 12:25 AM
#56
On The Tree
Thread Starter
iTrader: (5)
Join Date: Jun 2007
Posts: 118
Likes: 0
Received 0 Likes
on
0 Posts
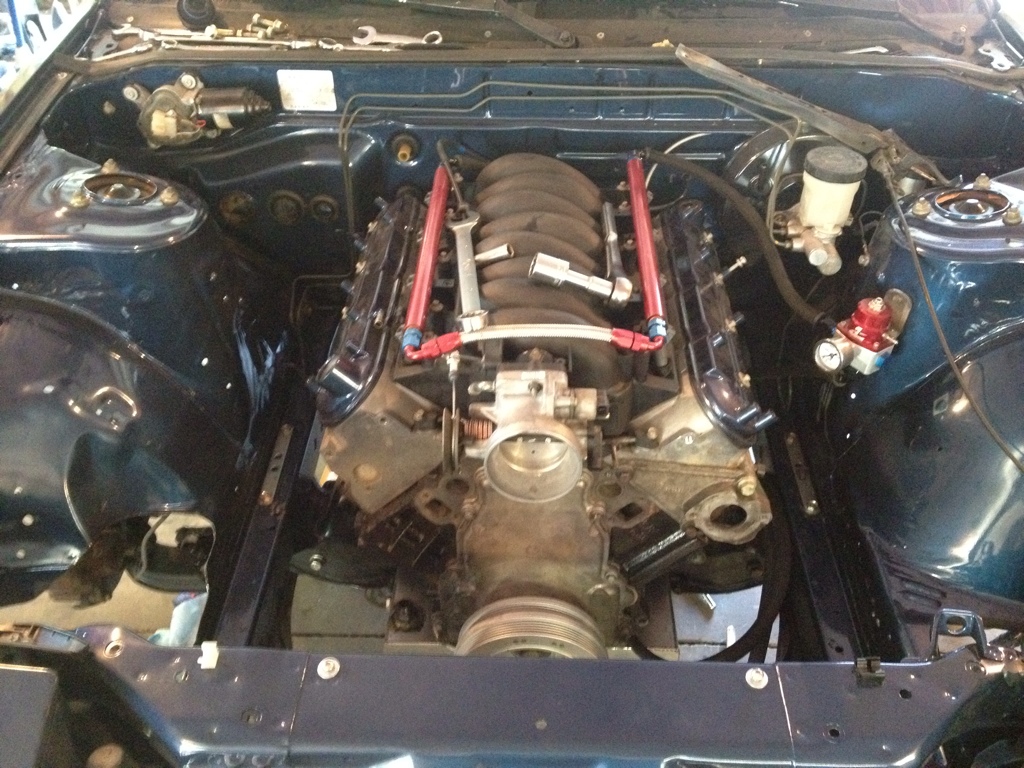
Got the BOV this weekend - HKS SSQ....
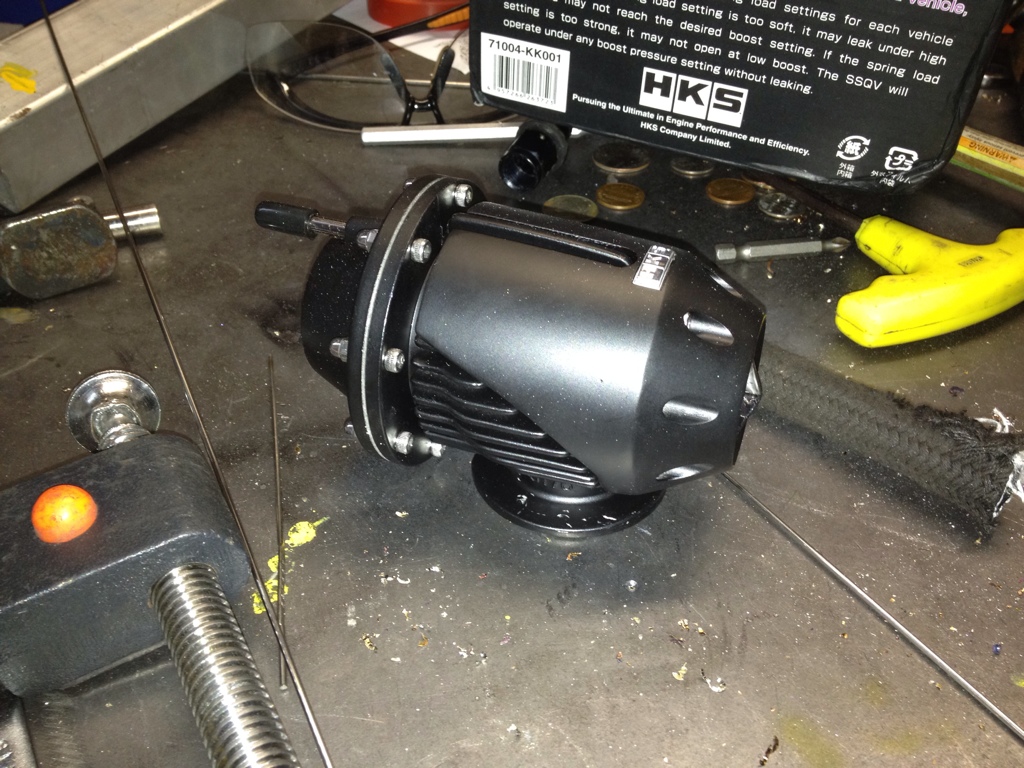
it would have been installed last night but I dropped the flange and it put it a little out of round. Normally it would have not been that big of a deal but that BOV uses a very tight tolerance C-Clip inside the flange and its already a bitch to install. I'll be ordering a new flange tomorrow.
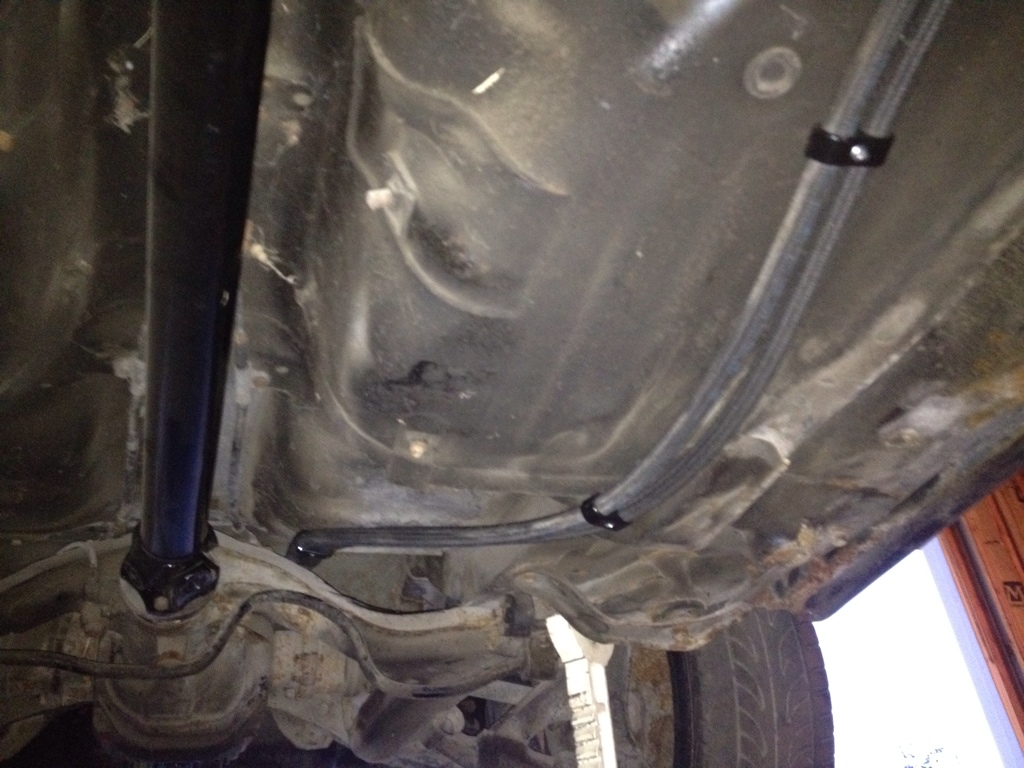
Today I got the fuel system completed. Secured the lines using some nifty clips and then I put some fresh gas in the tank, primed the system, and checked for leaks....all good.

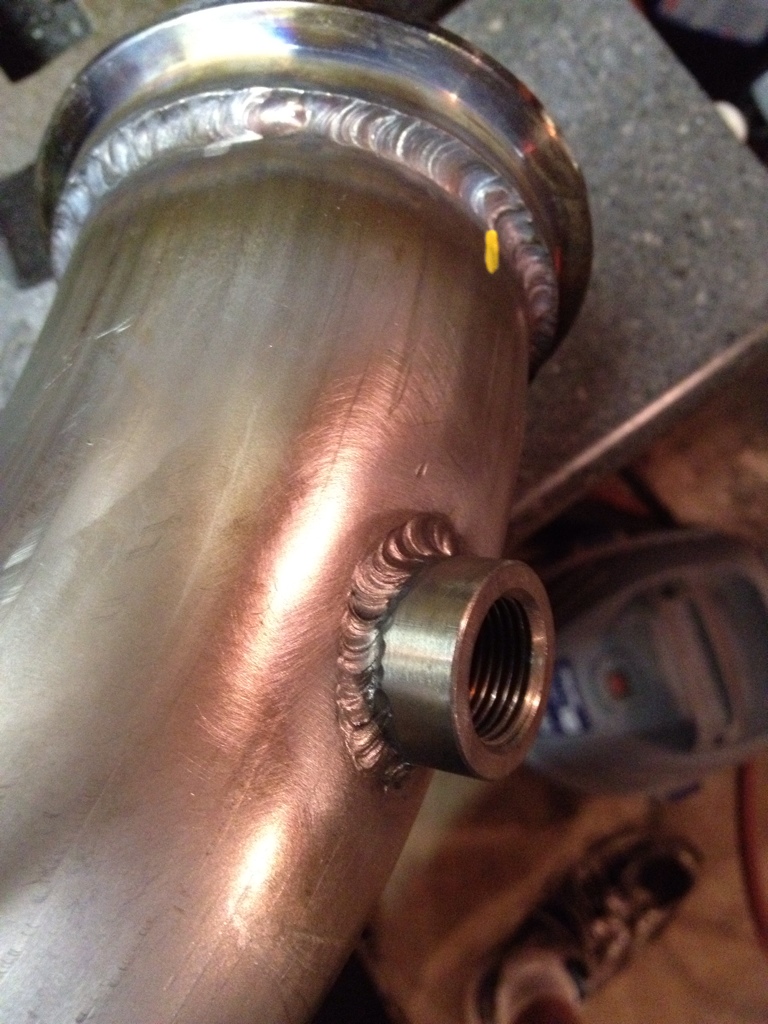
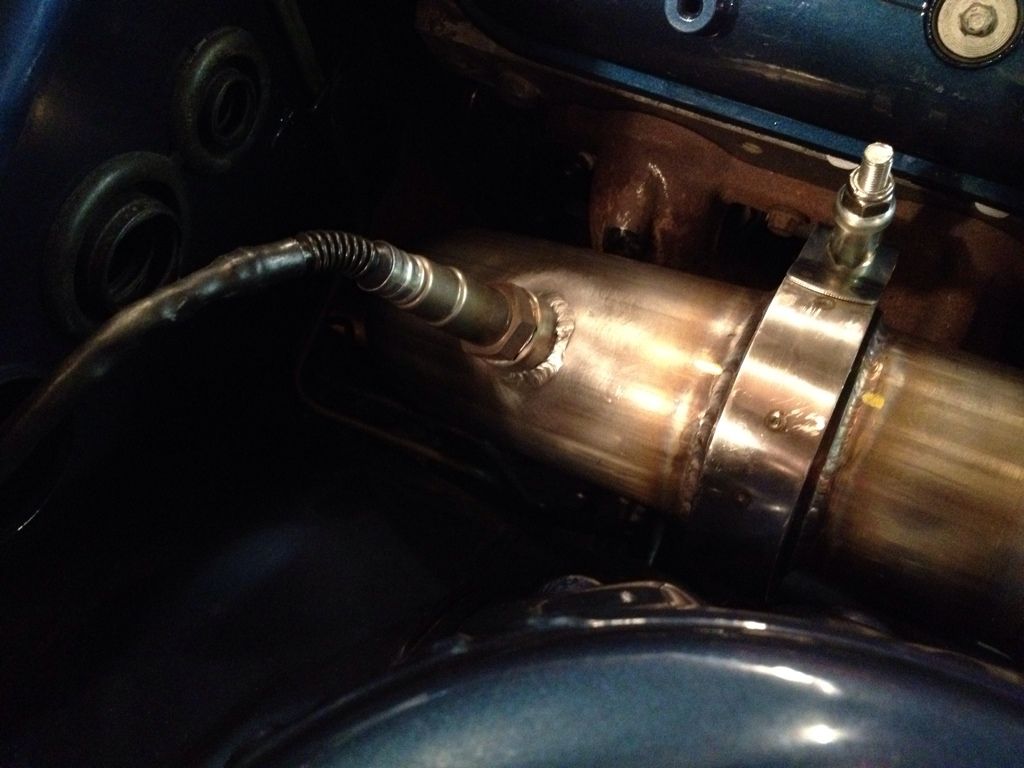
I then fixed some fitment issues I wasn't 100% satisified with the exhaust, and then welded the WB02 bung on and fitted up the sensor.
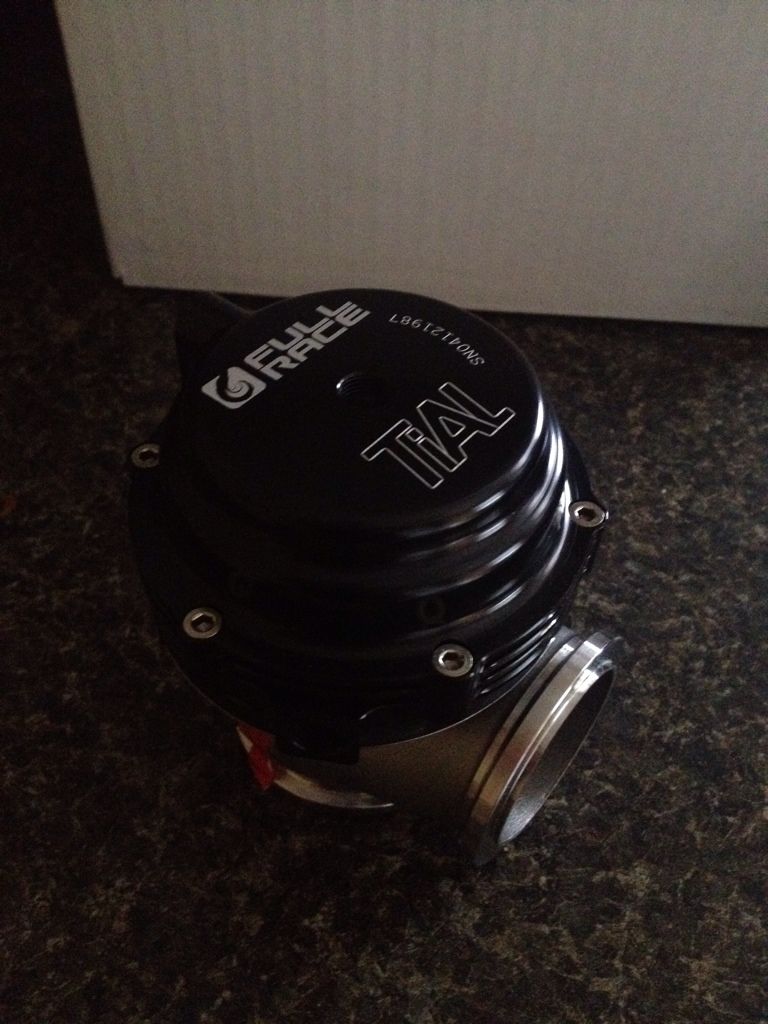
I also got my Tial 44mm wastegate in the mail
At this point there is a dwindling list of things to do:
1. Double-check the pushrod length and install pushrods
2. Install Sparkplugs, wires, boots, and coils
3. Weld on BOV flange and bungs for vacuum lines
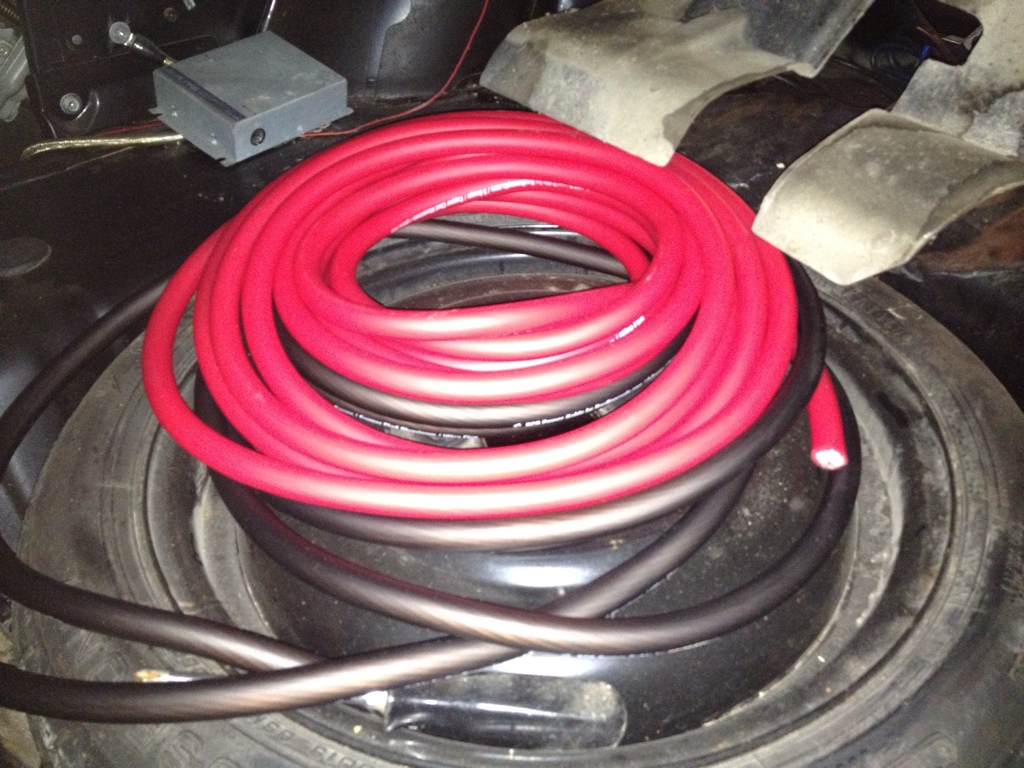
4. Install Battery Box & Battery, Run battery lines to the front
5. Engine Harness & Fan Wiring
6. Weld on flange for wastegate & route the dump tube
7. Mount the remote oil filter housing & run the turbo oil feed
8. Bleed the clutch & brakes
9. Get the radiator hoses figured out
Depending on homework this week, and how much trouble the wiring gives me there is potential it may start up without antifreeze next weekend...
it would have been installed last night but I dropped the flange and it put it a little out of round. Normally it would have not been that big of a deal but that BOV uses a very tight tolerance C-Clip inside the flange and its already a bitch to install. I'll be ordering a new flange tomorrow.
Today I got the fuel system completed. Secured the lines using some nifty clips and then I put some fresh gas in the tank, primed the system, and checked for leaks....all good.
I then fixed some fitment issues I wasn't 100% satisified with the exhaust, and then welded the WB02 bung on and fitted up the sensor.
I also got my Tial 44mm wastegate in the mail
At this point there is a dwindling list of things to do:
1. Double-check the pushrod length and install pushrods
2. Install Sparkplugs, wires, boots, and coils
3. Weld on BOV flange and bungs for vacuum lines
4. Install Battery Box & Battery, Run battery lines to the front
5. Engine Harness & Fan Wiring
6. Weld on flange for wastegate & route the dump tube
7. Mount the remote oil filter housing & run the turbo oil feed
8. Bleed the clutch & brakes
9. Get the radiator hoses figured out
Depending on homework this week, and how much trouble the wiring gives me there is potential it may start up without antifreeze next weekend...
05-30-2012, 12:28 AM
#57
On The Tree
Thread Starter
iTrader: (5)
Join Date: Jun 2007
Posts: 118
Likes: 0
Received 0 Likes
on
0 Posts
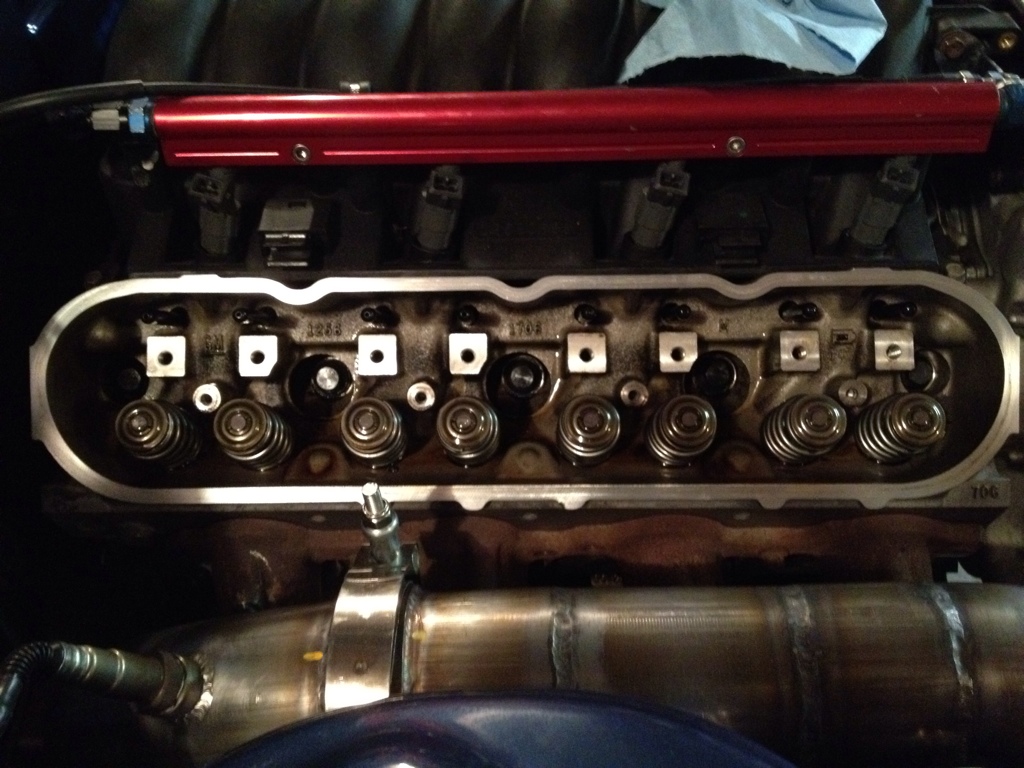
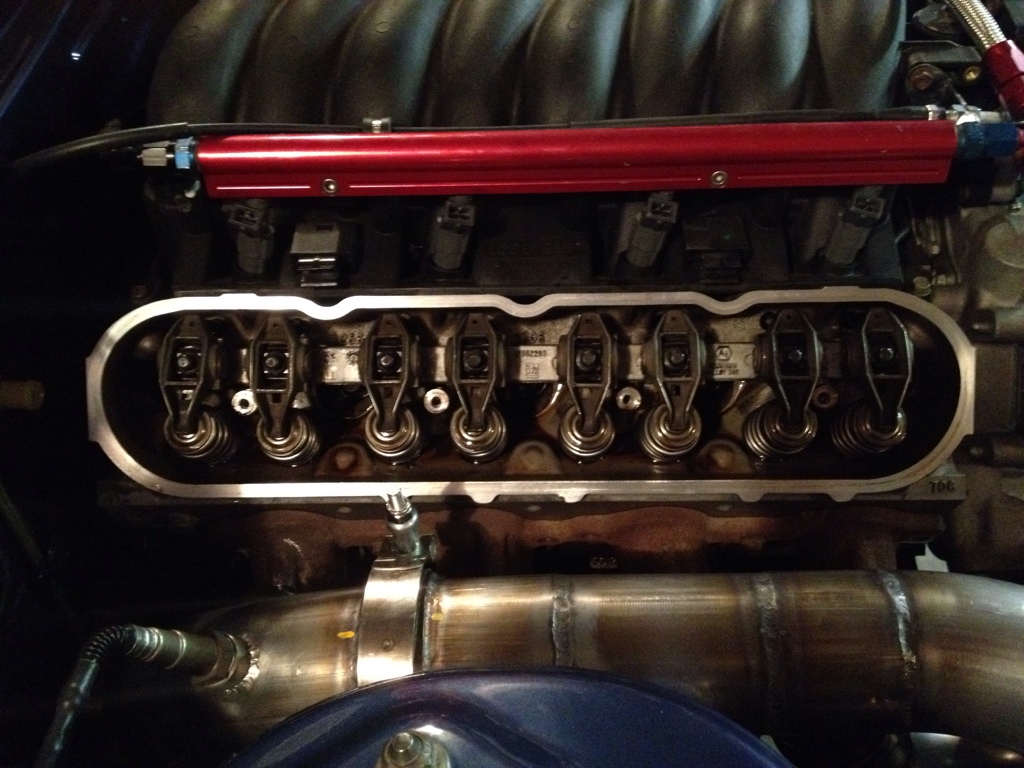
Today I finally got to pulling the valve covers and figuring out if the pushrods I bought were the right length, and then installed them.
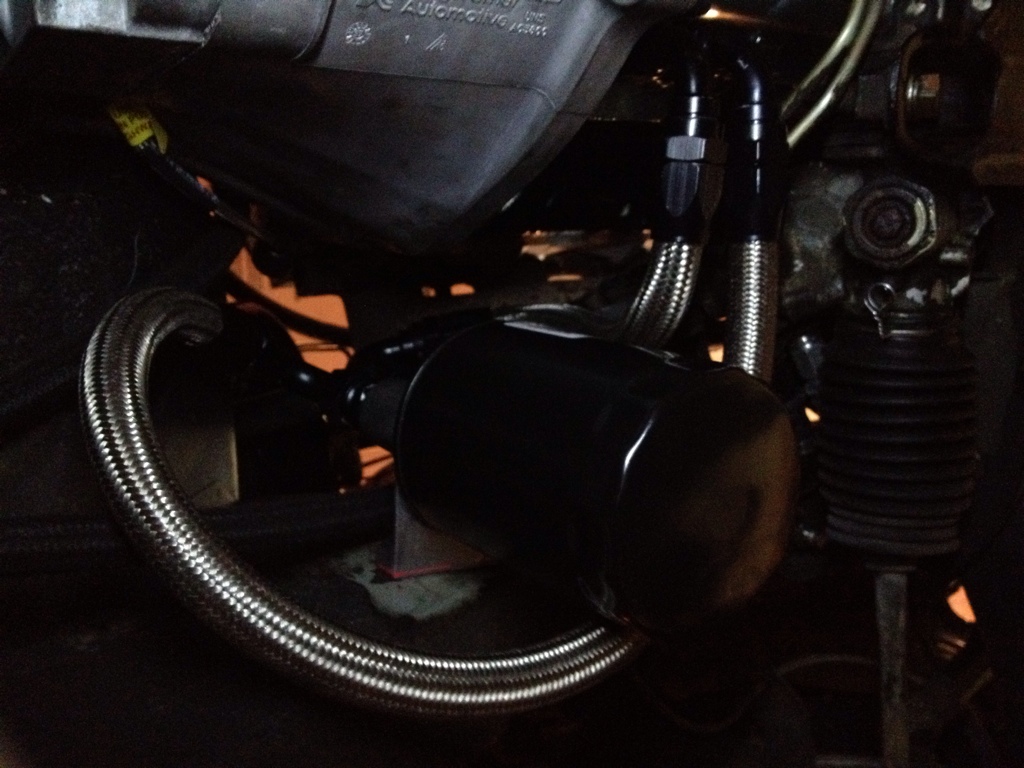
Then I mounted the oil filter relocation setup and plumbed the lines and T-d into the oil filter output for my turbo oil feed

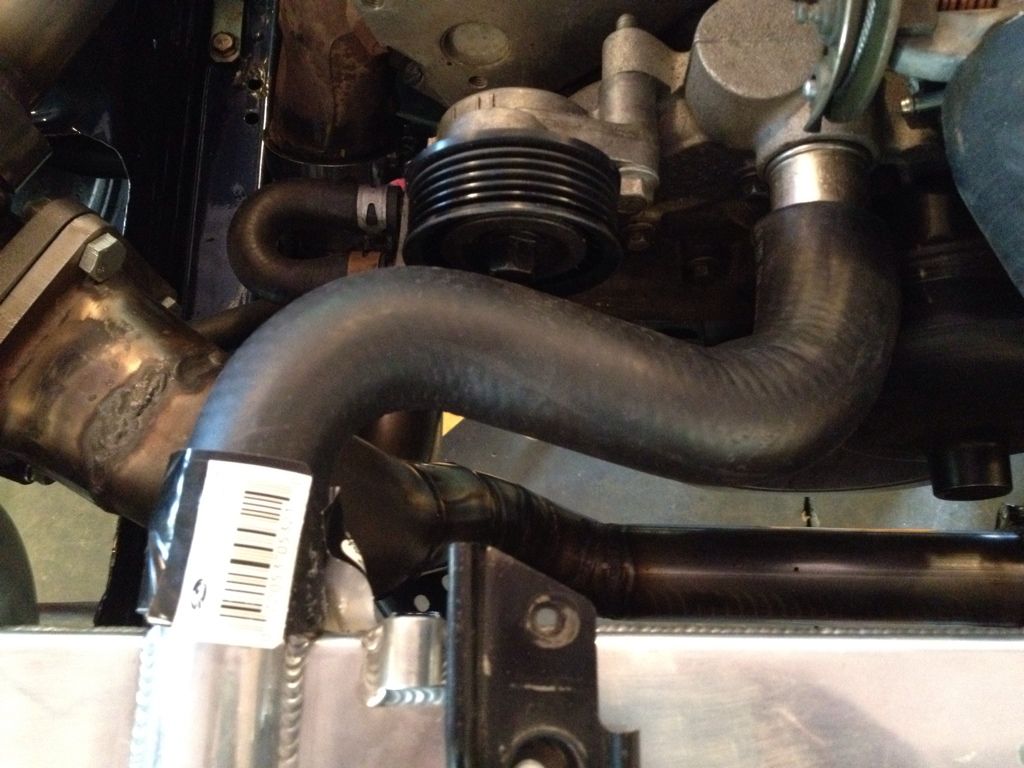
Also figured out which upper rad pipe I needed

Then I mounted the oil filter relocation setup and plumbed the lines and T-d into the oil filter output for my turbo oil feed
Also figured out which upper rad pipe I needed
 05-31-2012, 09:30 PM
#59
On The Tree
Thread Starter
iTrader: (5)
Join Date: Jun 2007
Posts: 118
Likes: 0
Received 0 Likes
on
0 Posts
Not really sure yet, I dont get too wrapped up in shooting for a particular number only to be let down, lol.
I just put it together as best I can and see what she does on the dyno. If I had to say a number would make me happy, anywhere between 500-550rwhp on 93 would do
This wont be much of a drag car, I've already got another nissan setup for that and these rear ends arent that great. I'll probably spend a lot of time getting this car sideways and making wooshie noises, haha
06-01-2012, 02:34 AM
#60
On The Tree
Thread Starter
iTrader: (5)
Join Date: Jun 2007
Posts: 118
Likes: 0
Received 0 Likes
on
0 Posts
Had to backpeddle a little bit yesterday. For some weird reason i was laying in bed the other night thinking about the car and something hit me about whether or not I cleaned the pan out after welding the bung on to the oil pan for the turbo oil return. I stuck a magnet down through the hole and found some small pieces so I had to pull the pan and clean it out...
Ghetto style...
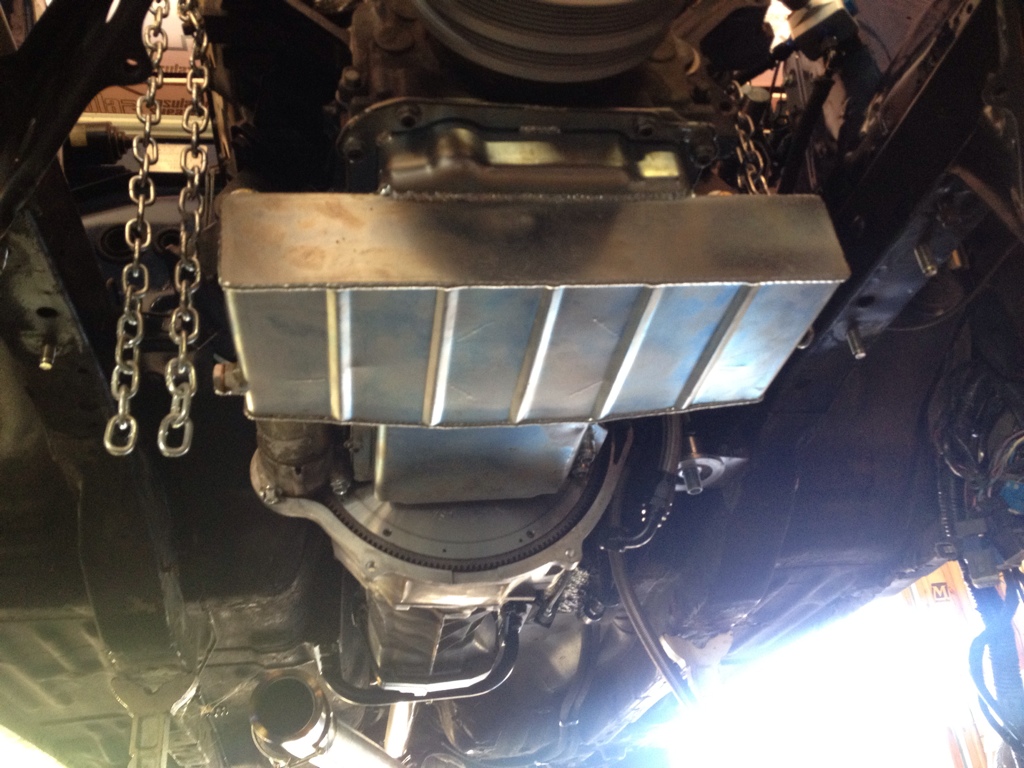
Found the pan like this

Pulled out several of these

All back together
Got the OEM dipstick tube hole blocked off

Plugs gapped and installed

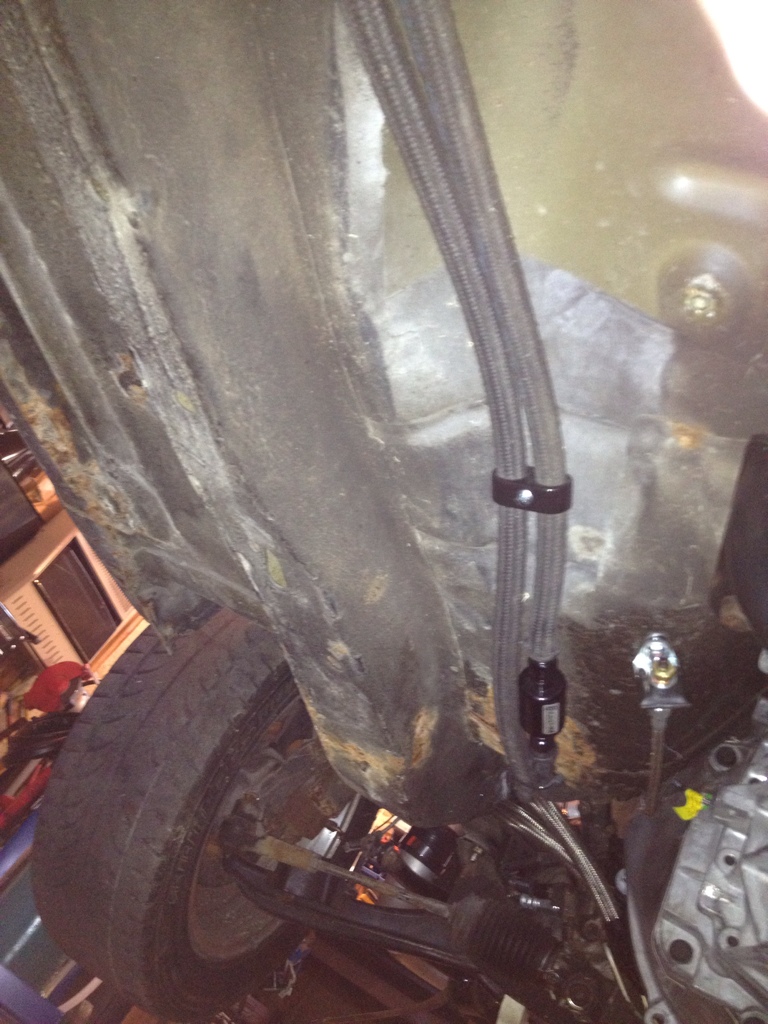
Bolted the oil return adapter to the turbo

Oil return line fitted

Tonight I began working on the wastegate setup. Here I welded the inlet flange to a 90
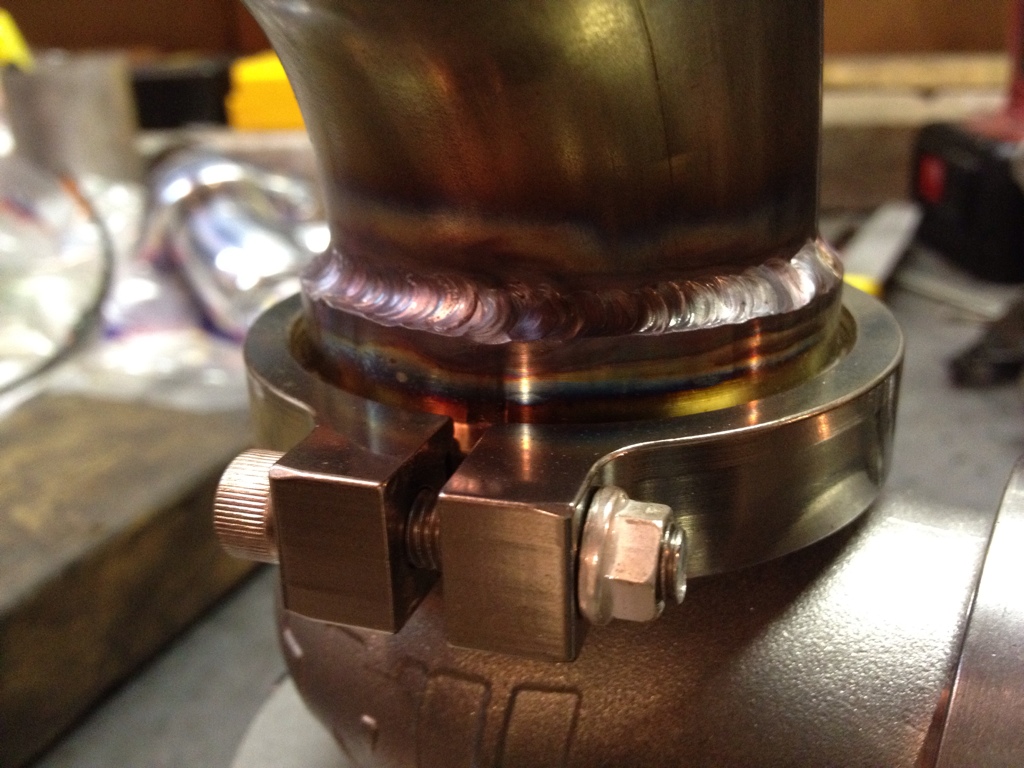
Then I cut the hole for it and welded it to the collector area

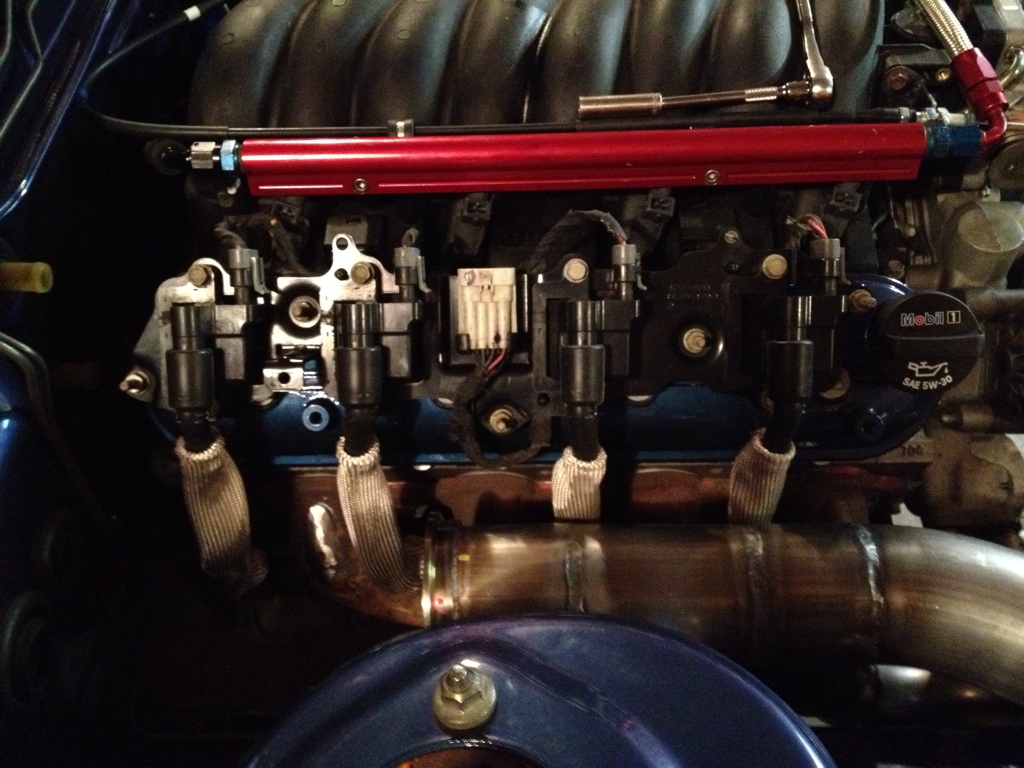
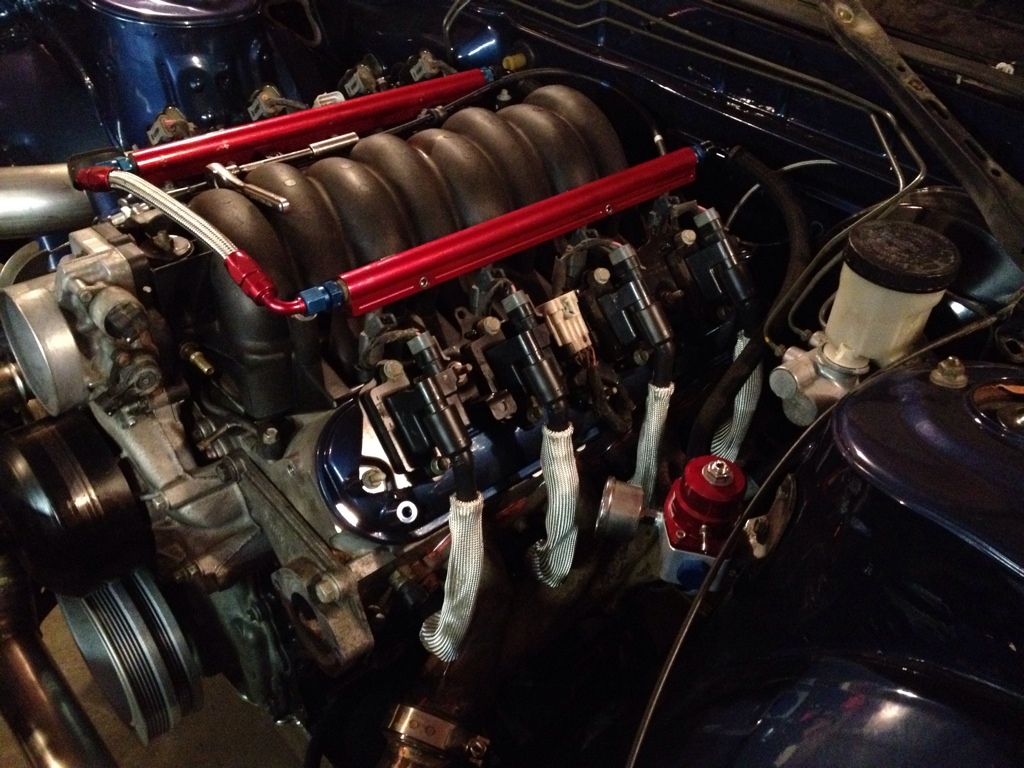
Took a break from welding and got the coil packs, wires, and boots installed
Then I welded the dump tube on to the flange

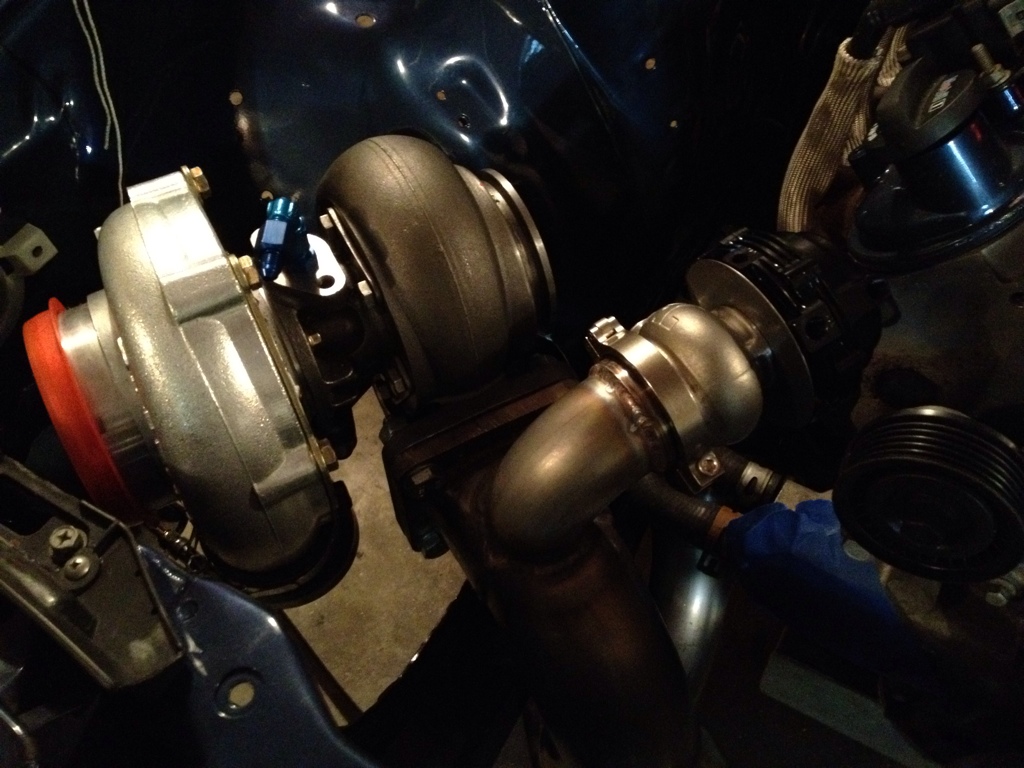
Installed
The complete setup


Ghetto style...
Found the pan like this
Pulled out several of these
All back together
Got the OEM dipstick tube hole blocked off
Plugs gapped and installed
Bolted the oil return adapter to the turbo
Oil return line fitted
Tonight I began working on the wastegate setup. Here I welded the inlet flange to a 90
Then I cut the hole for it and welded it to the collector area
Took a break from welding and got the coil packs, wires, and boots installed
Then I welded the dump tube on to the flange
Installed
The complete setup