LM7 into '86 C10
 03-14-2013 | 11:48 PM
#21
Thread Starter
TECH Regular

Joined: Oct 2011
Posts: 413
Likes: 159
From: Alaska
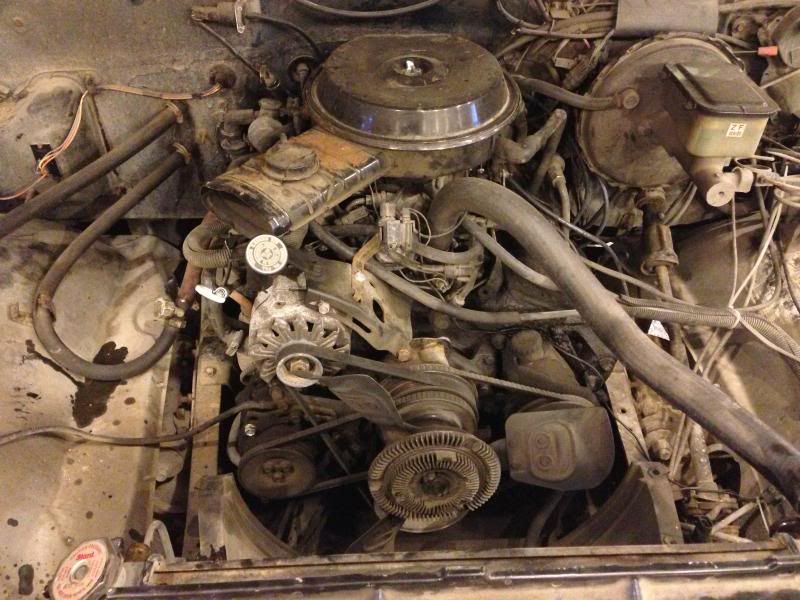
4.3L V6 is on it's way out. It will be getting rebuilt and used to power a 4runner. The 4runner currently has a hopped up 327, but it's a little too much for the truck, so the 327 will be used in another car. The 4.3 should be much tamer, better mileage, and not work the cooling system so much.
 03-16-2013 | 12:43 AM
#24
Thread Starter
TECH Regular
Joined: Oct 2011
Posts: 413
Likes: 159
From: Alaska
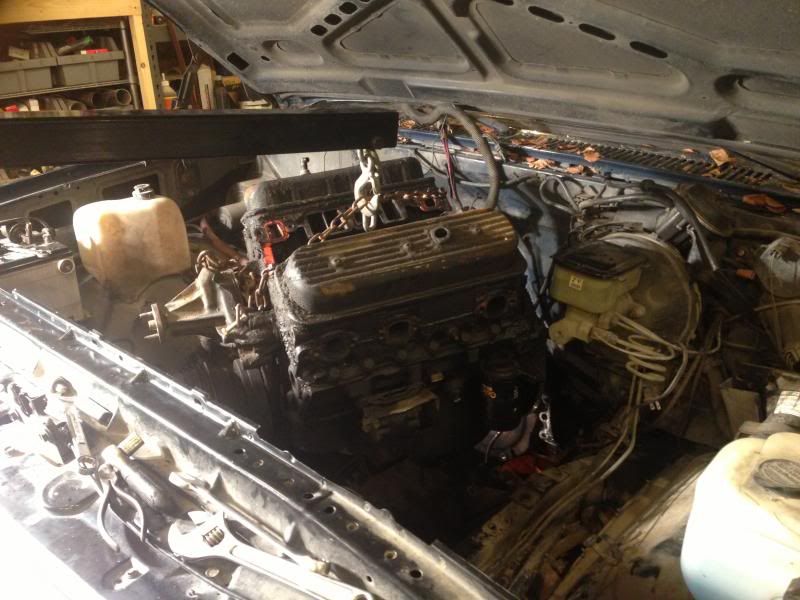
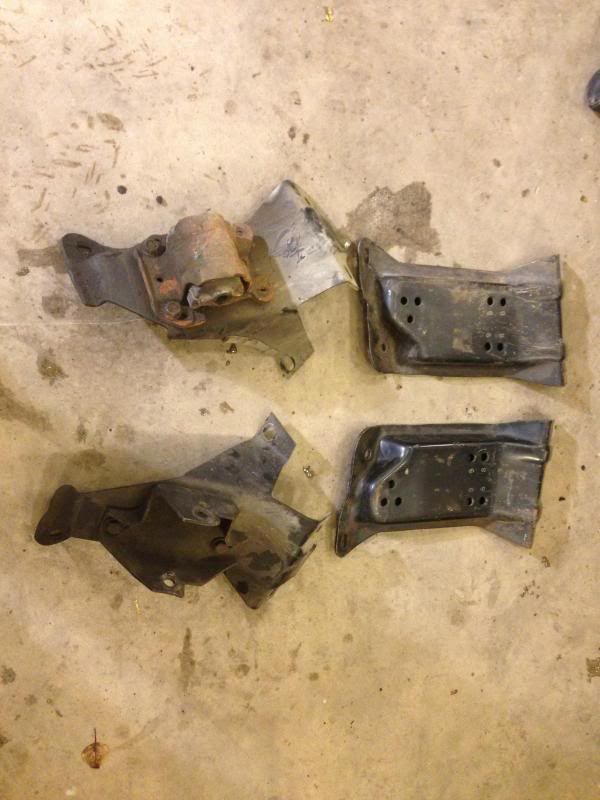
I wanted to get the engine set in today, but I found out that the V6 frame mounts are different than the V8/Inline 6 ones, so I spent most of the day running around sourcing a pair.
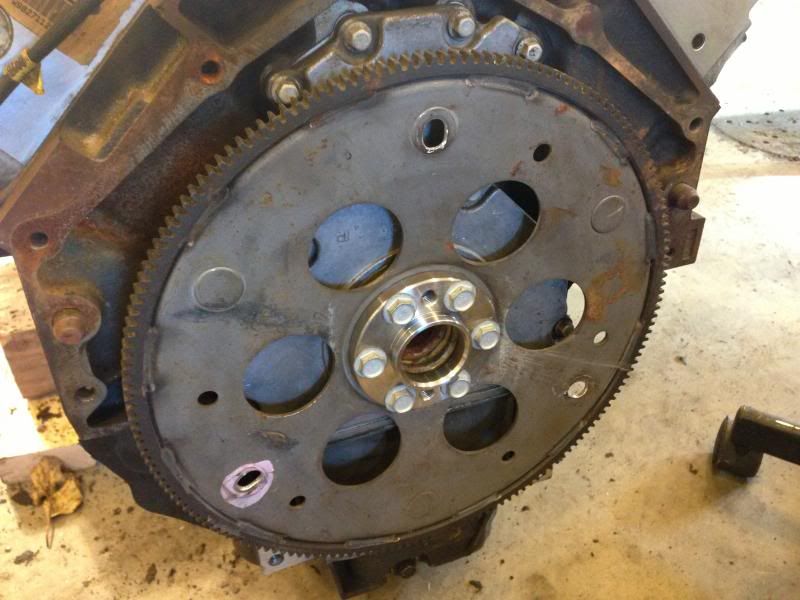
I at least got the flexplate and spacer bolted on, and the holes machined out for the 700r4 pattern. Also bought a brand new set of motor mounts, just need some more bolts from the hardware store in the morning and I'll be set to drop the engine in.
 03-16-2013 | 06:41 PM
#27
Thread Starter
TECH Regular
Joined: Oct 2011
Posts: 413
Likes: 159
From: Alaska
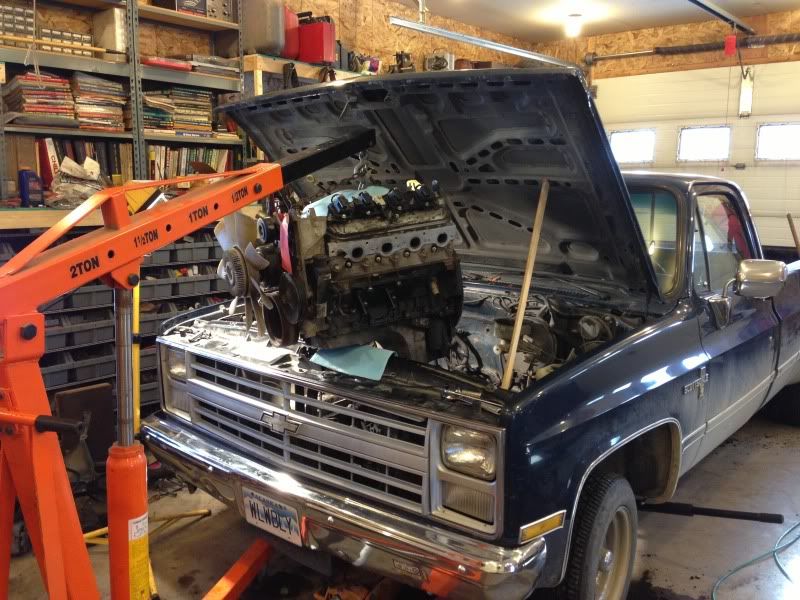
I got the crossmember cleaned up a bit, and got the frame mounts and motor mounts bolted down.
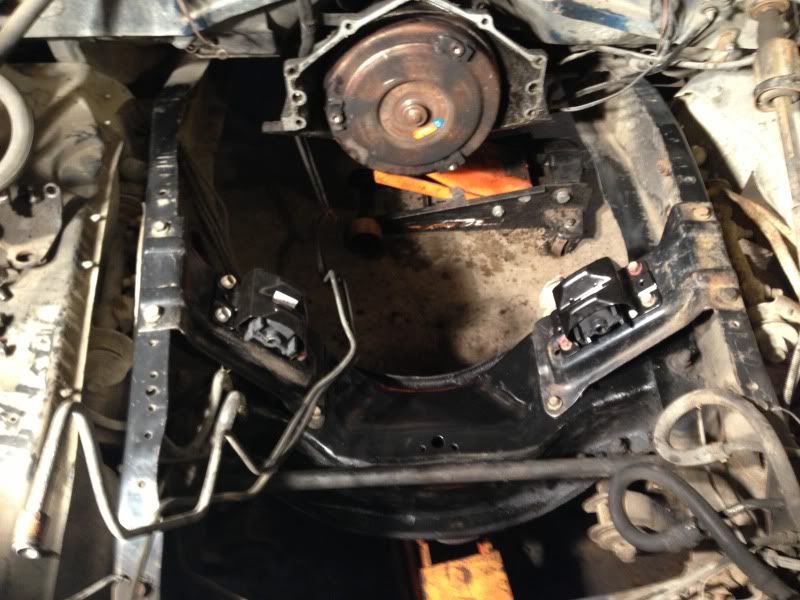
Perfect fit! Didn't even have to pull the hood!
Getting everything aligned.
And completely bolted in!
Now I have a question about the tranny dipstick for you guys running 700r4's...what do I bolt it to? Can I use a dipstick from a 99-03 truck, do those bolt up in a different spot?
Perfect fit! Didn't even have to pull the hood!
Getting everything aligned.
And completely bolted in!
Now I have a question about the tranny dipstick for you guys running 700r4's...what do I bolt it to? Can I use a dipstick from a 99-03 truck, do those bolt up in a different spot?
03-17-2013 | 02:19 AM
#29
Thread Starter
TECH Regular
Joined: Oct 2011
Posts: 413
Likes: 159
From: Alaska
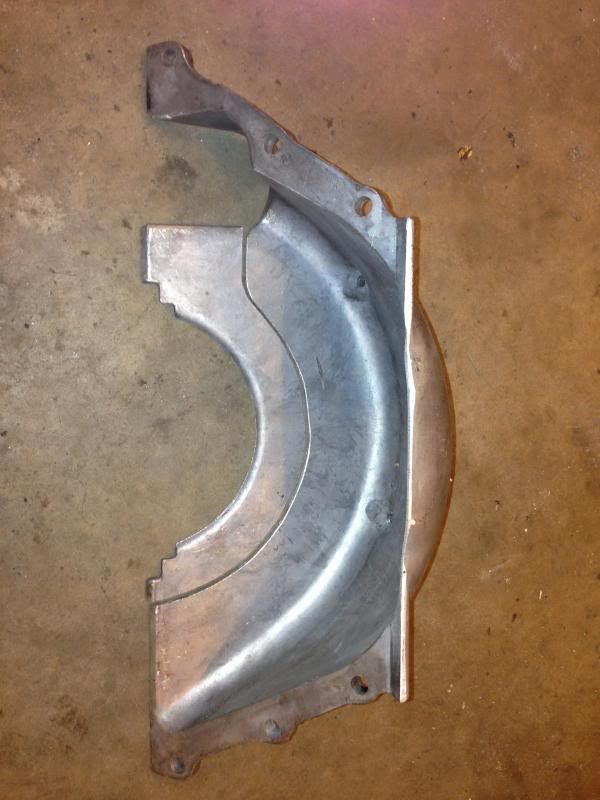
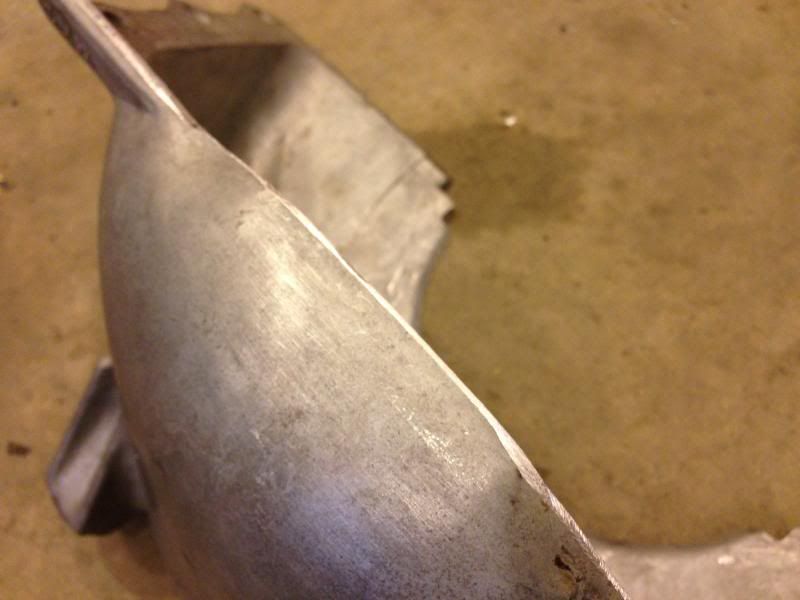
I started working on some of the little stuff, I got the torque converter bolted up and modified the tranny cover so it would bolt up.
This is the initial cut I made. At first, I thought getting rid of the raised lip would solve the problem.
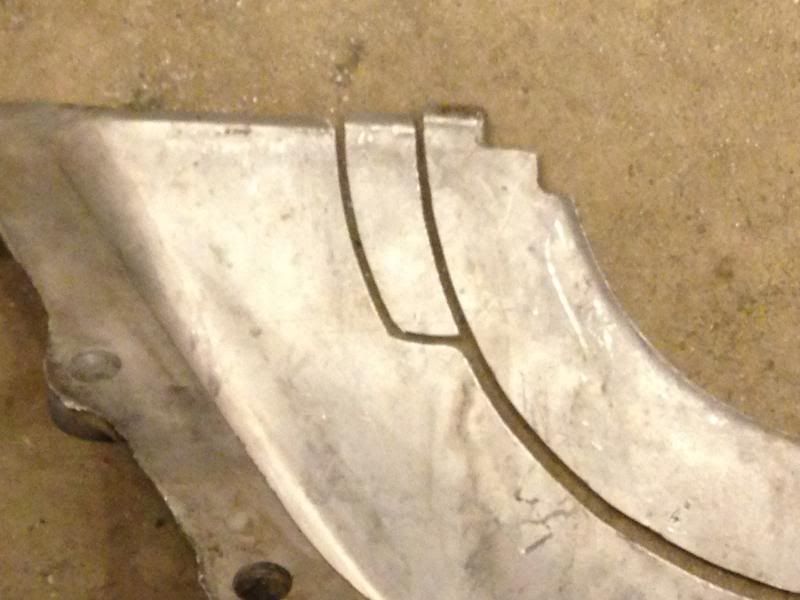
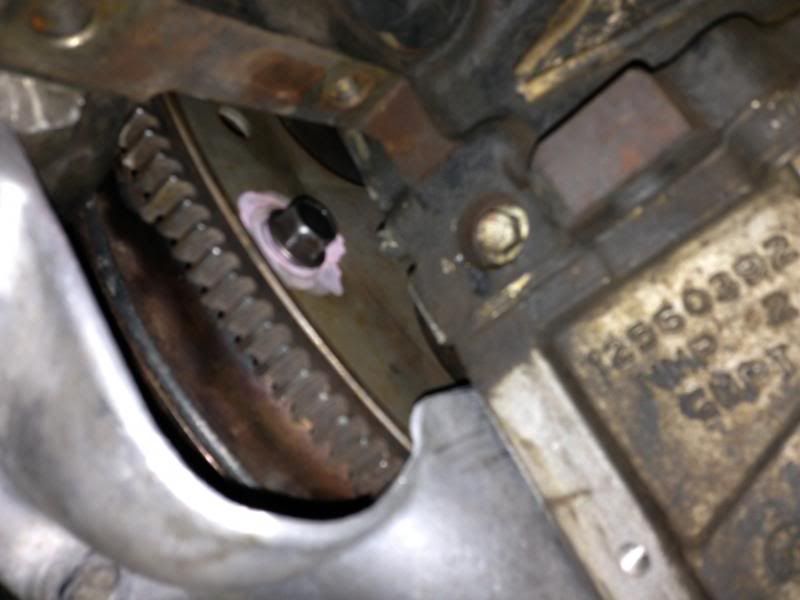
But I figured out that it was hitting on the two lower 10mm bolts holding the rear main seal cover on, so I made another small notch to clear.
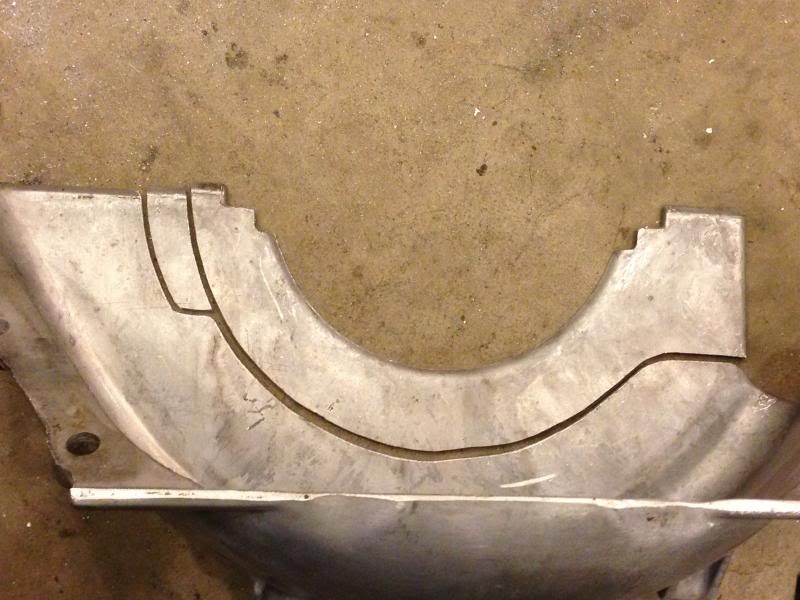
Close up
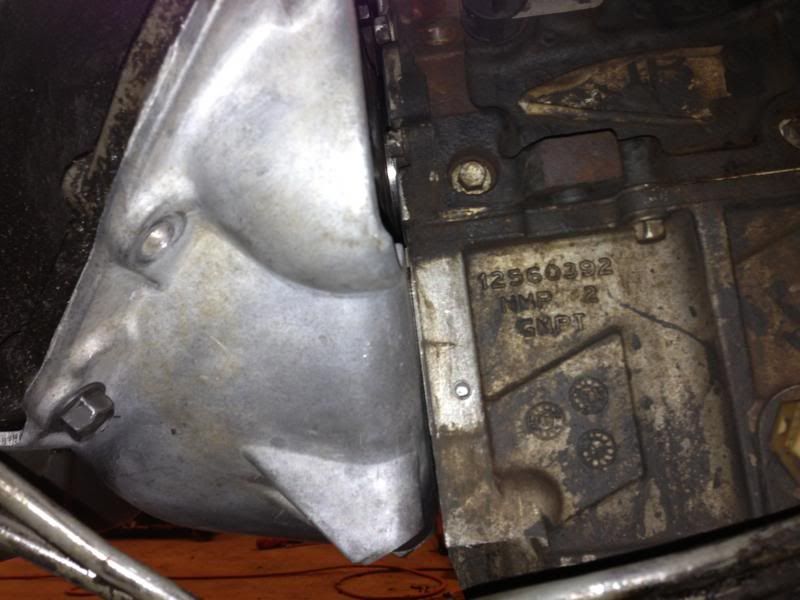
It also required grinding just a hair off of the bottom of the cover, right where it meets the tranny pan. It also required removing that little plastic cover on the driver's side of the block, no big deal.
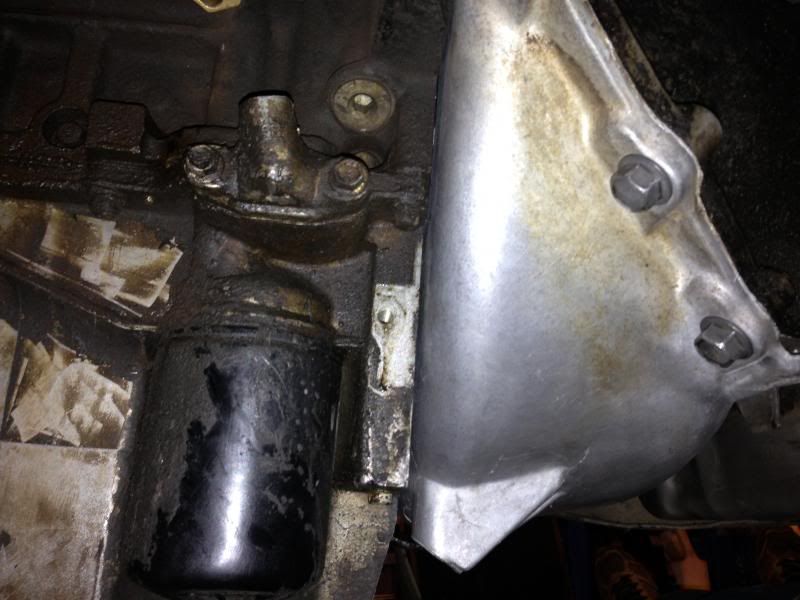
And this is how it fits. I may still need to modify it a bit more for the starter, but I doubt it. I will find out once I pick up a new one.
Perfect fit!
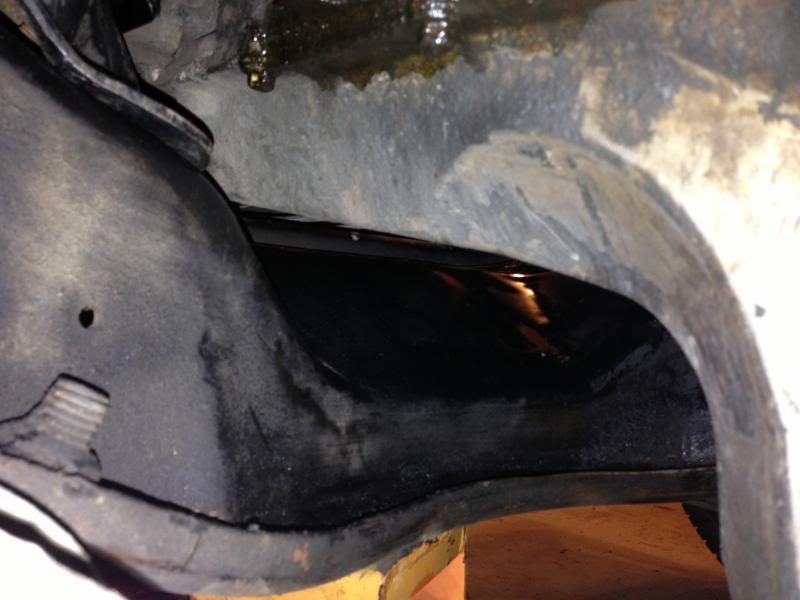
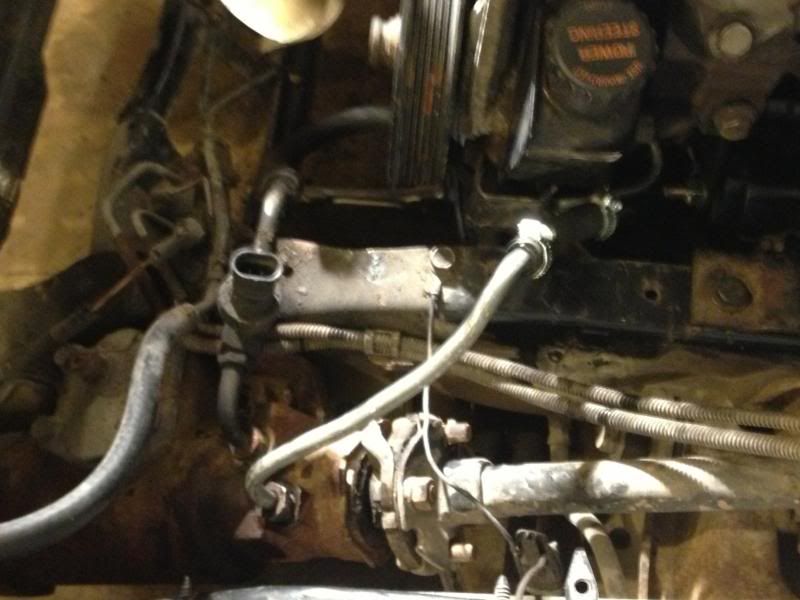
I also got the power steering hooked up at the end. The pressure side bolted right on, the return side I just made some slight adjustments to the metal line and shortened the rubber hose, and it looks factory.
Now I need a starter, alternator, belt, radiator and hoses, and an exhaust mainly.
03-18-2013 | 12:37 AM
#31
Thread Starter
TECH Regular
Joined: Oct 2011
Posts: 413
Likes: 159
From: Alaska
I picked up a set of Camaro LS1 exhaust manifolds today but they didn't fit, so I guess 2010+ Camaro manifolds it is!
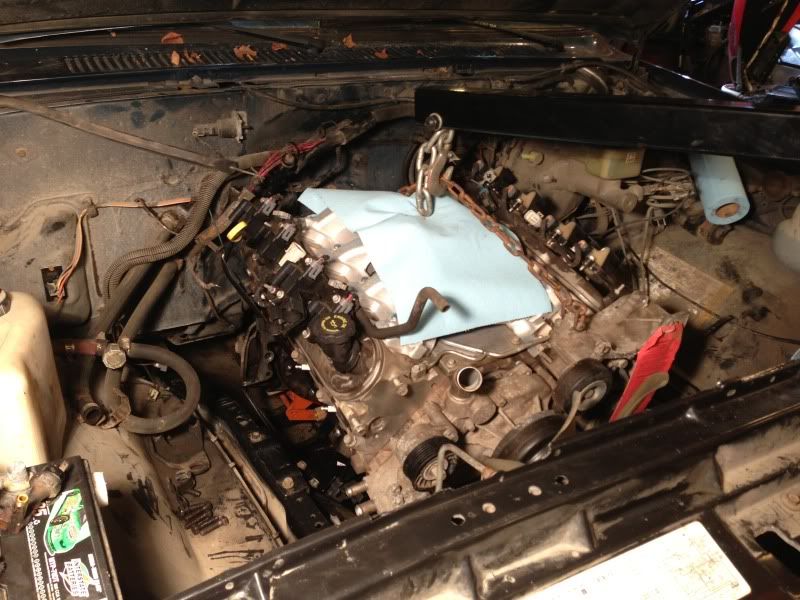
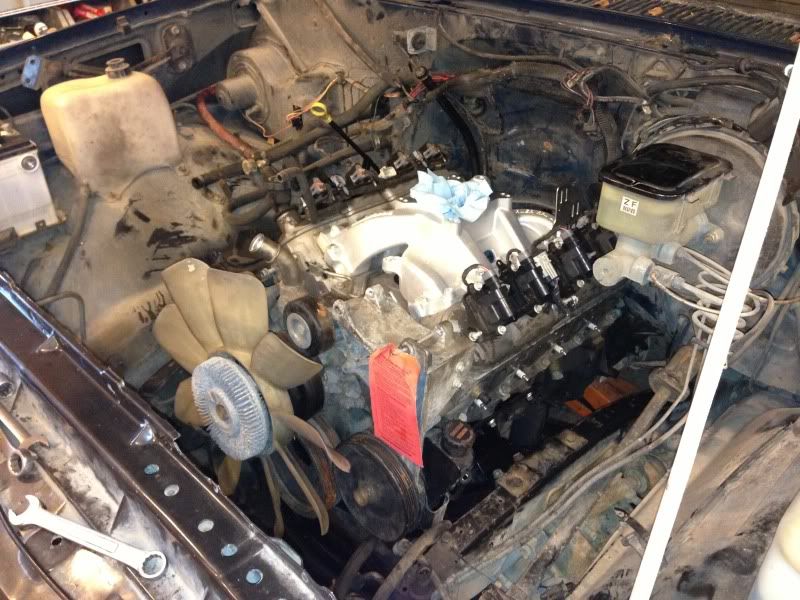
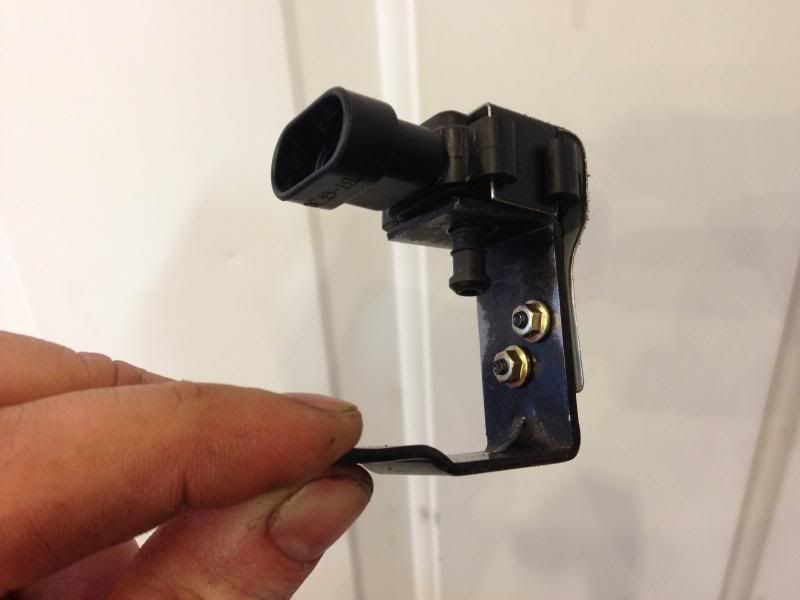
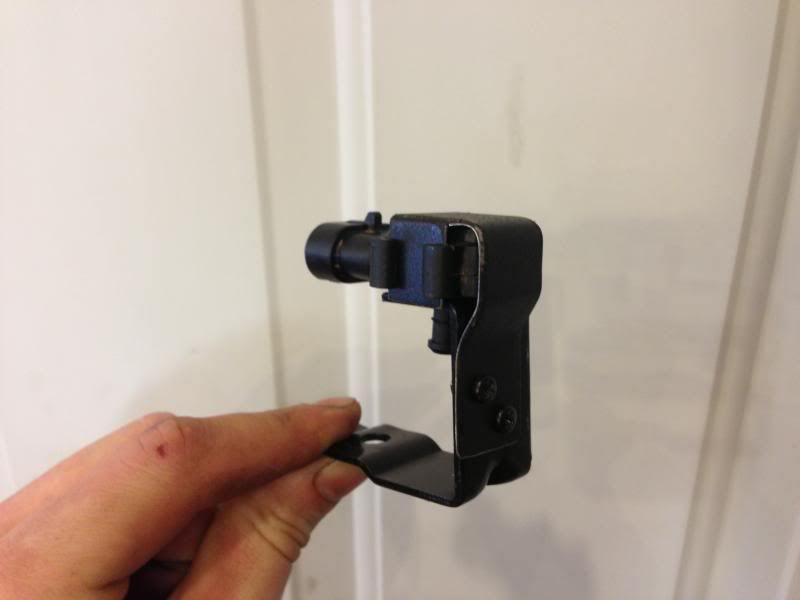
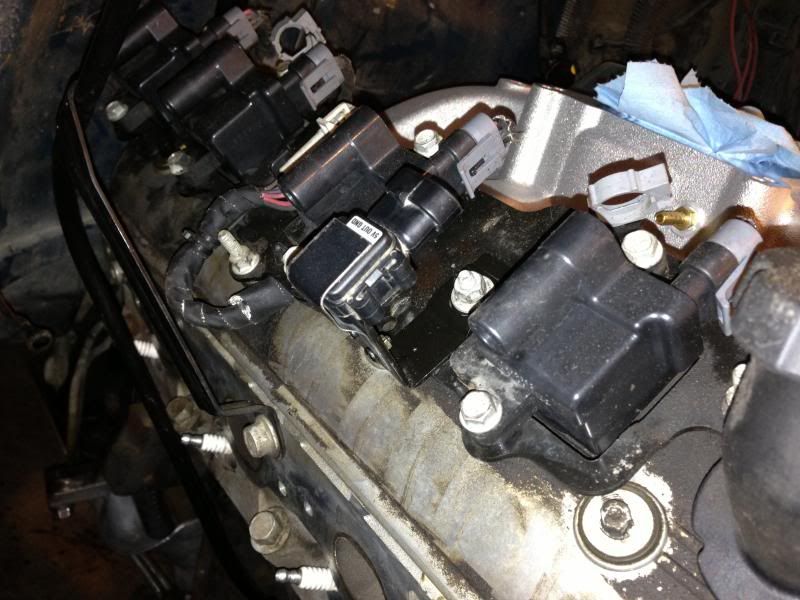
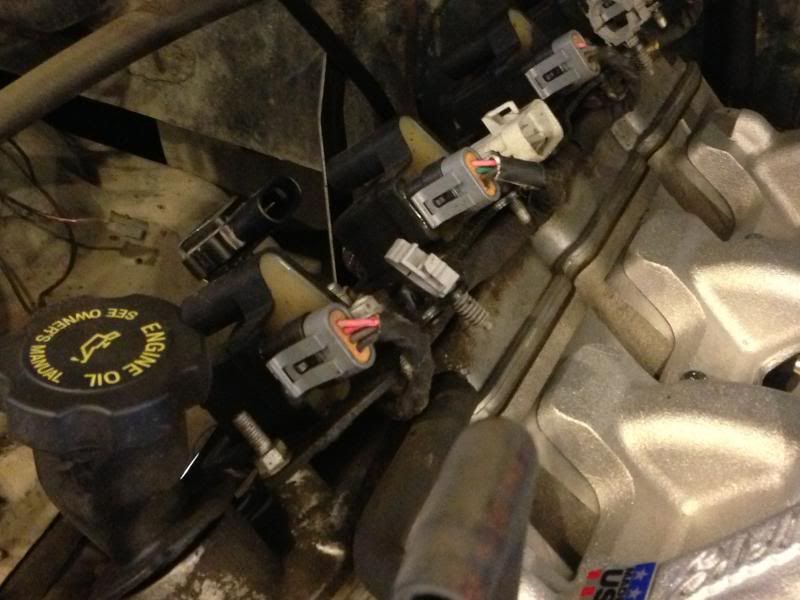
I did get a little bit done, made up the bracket for the MAP sensor using one of the now unused wiring harness brackets from the driver's side of the engine, and put it where the coolant line bracket used to go. Relocated that bracket to where the crappy stock clip for the cooling lines went on the fender well.
You almost can't even see it!
Also, from this
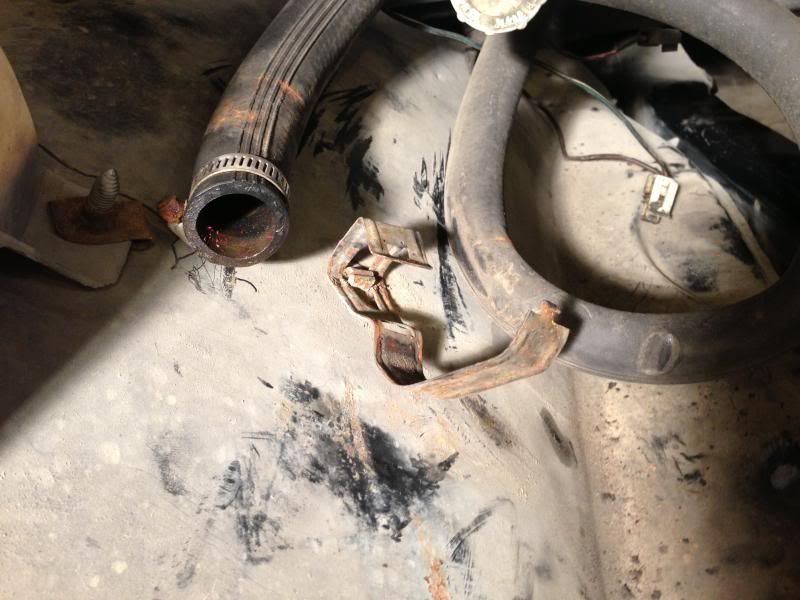
To this. Much cleaner!

Going to try and source a radiator and fan shroud tomorrow.
I did get a little bit done, made up the bracket for the MAP sensor using one of the now unused wiring harness brackets from the driver's side of the engine, and put it where the coolant line bracket used to go. Relocated that bracket to where the crappy stock clip for the cooling lines went on the fender well.
You almost can't even see it!
Also, from this
To this. Much cleaner!
Going to try and source a radiator and fan shroud tomorrow.
 03-18-2013 | 11:05 AM
#33
That sucks about the f-body manifolds that's what i planned on using. How bad did they fit. Any time with a lathe is a good time. I got a killer blueprint for a radiator hose coupler if you want it.
03-18-2013 | 12:56 PM
#34
Thread Starter
TECH Regular
Joined: Oct 2011
Posts: 413
Likes: 159
From: Alaska
 03-19-2013 | 03:16 AM
#39
Thread Starter
TECH Regular
Joined: Oct 2011
Posts: 413
Likes: 159
From: Alaska
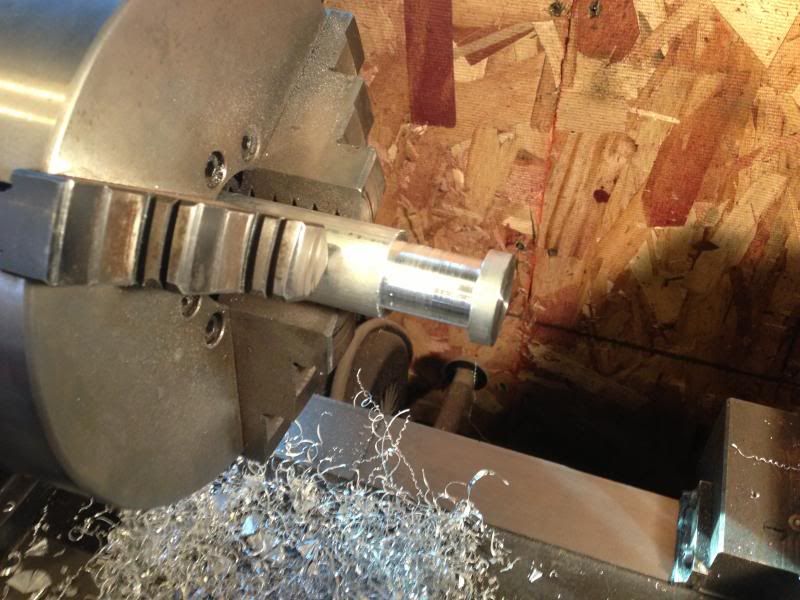
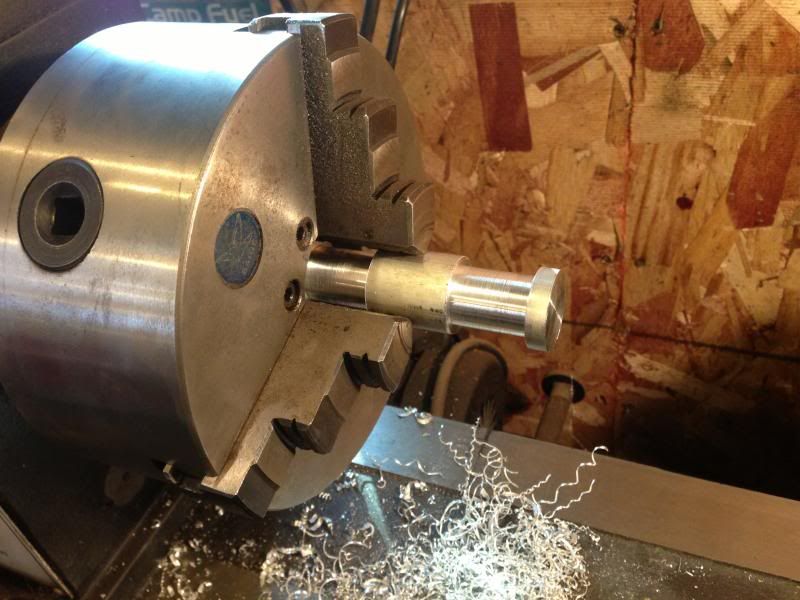
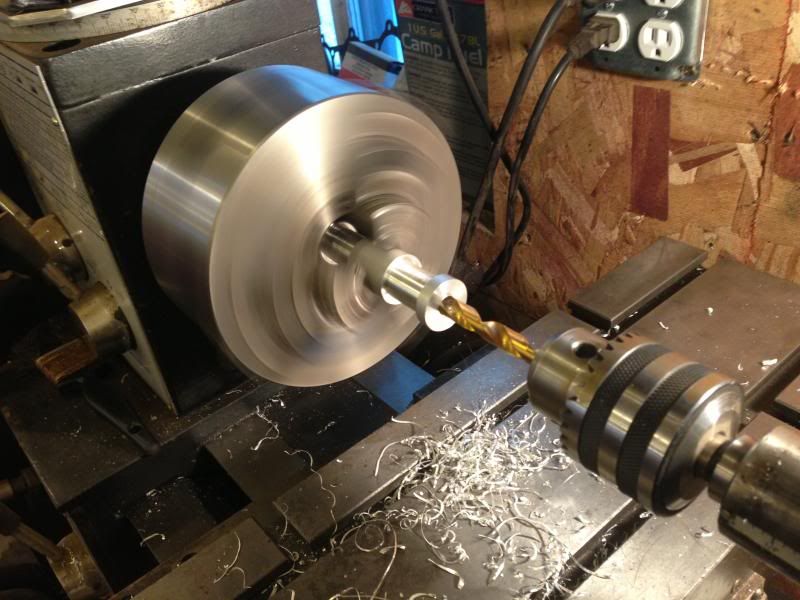
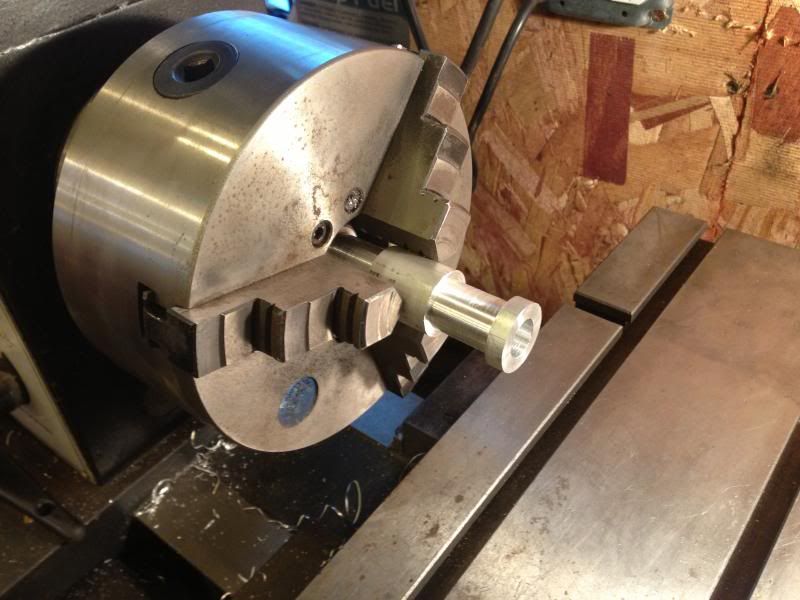
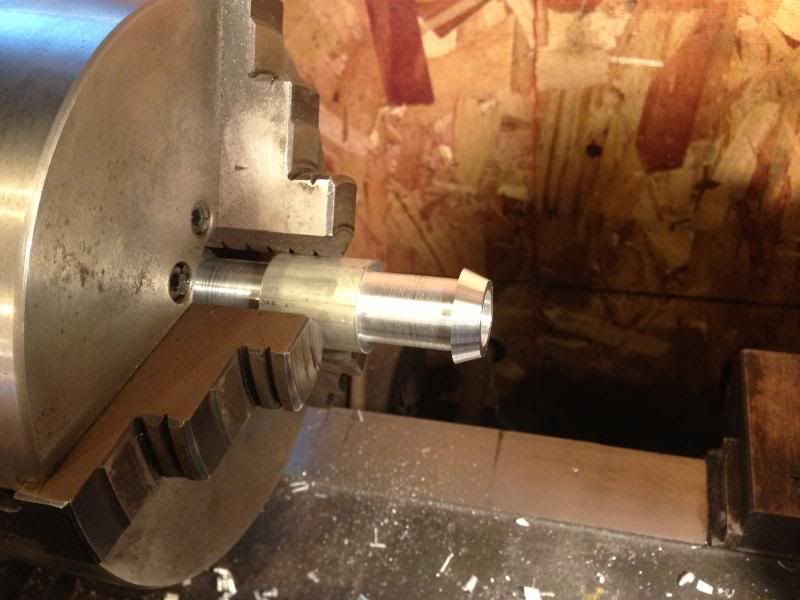
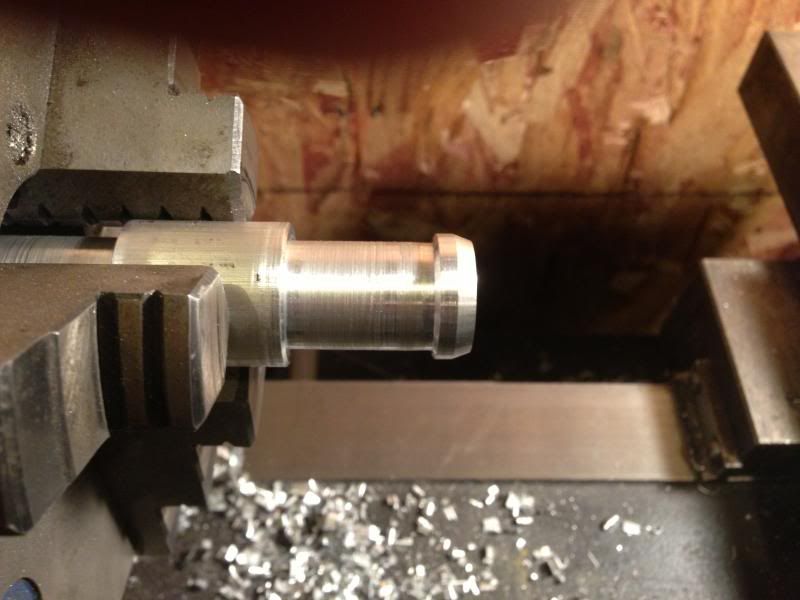
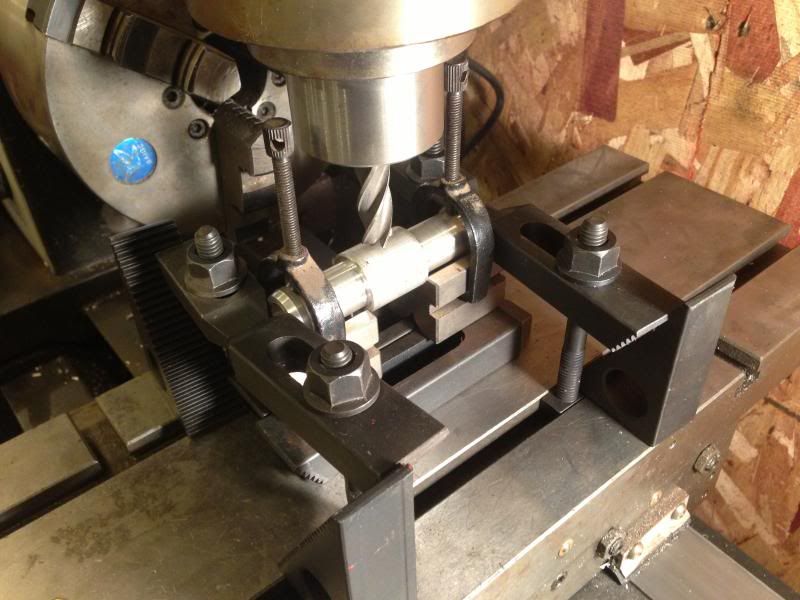
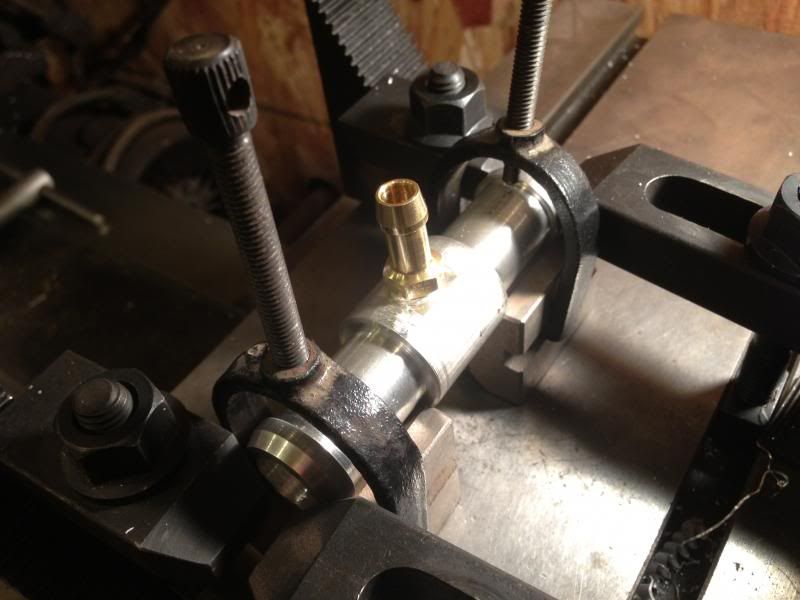
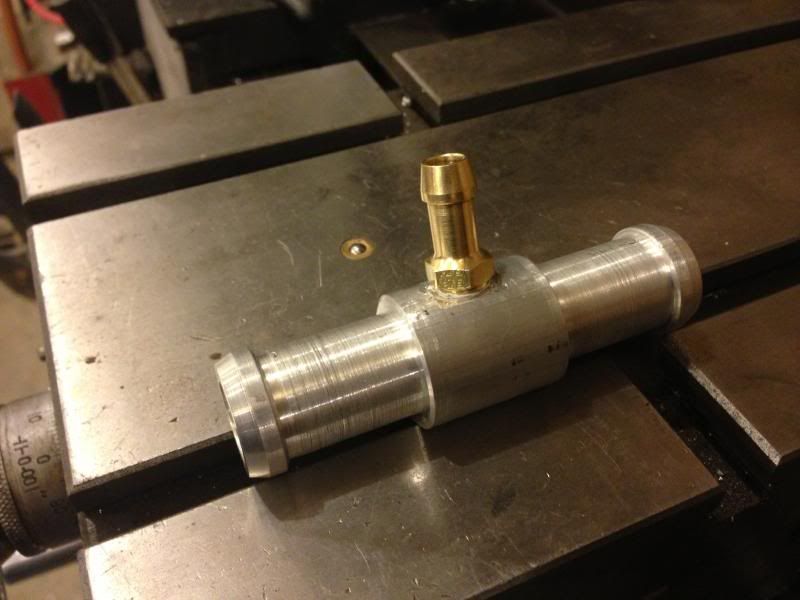
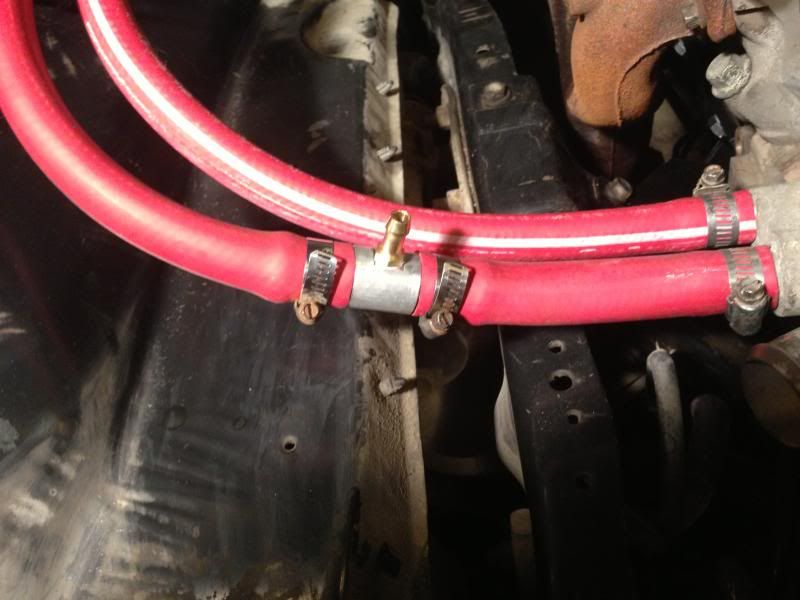
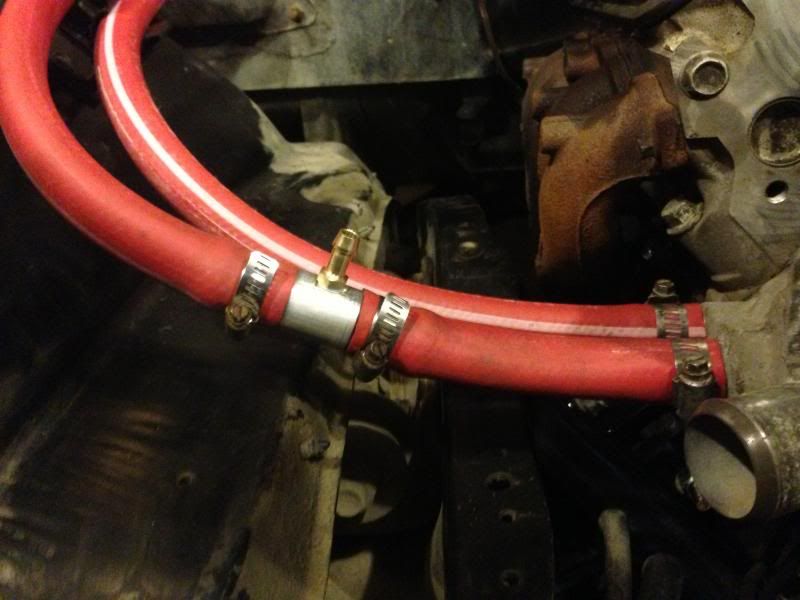
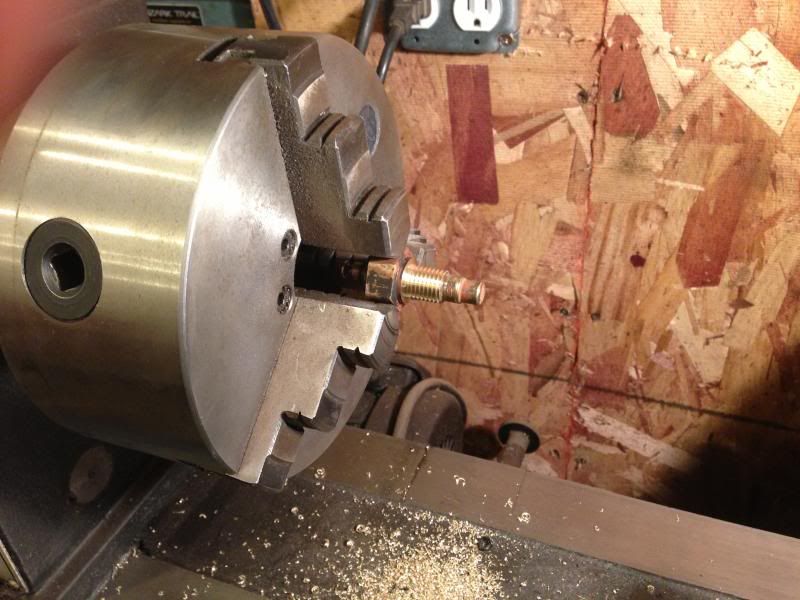
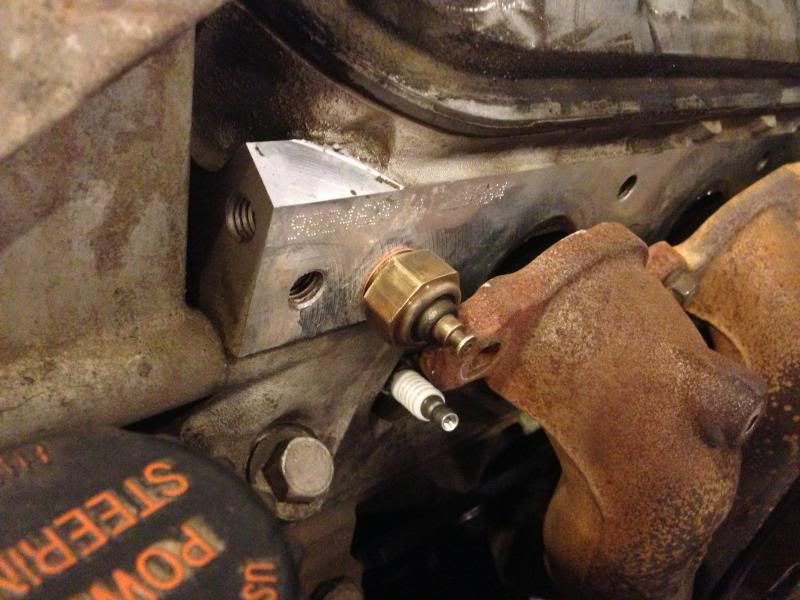
I also made up a T-adapter to act as a coolant crossover tube. The small fitting will connect to the steam tube from the heads. Made from a 3.5" long piece of 1" aluminum round stock. This will be a one-off piece, damn thing took forever!
 This should give a general rundown of the process if anyone was interested in making their own.