


LS1 Swapped 68' Camaro
Thread Starter
Staging Lane
Joined: Sep 2012
Posts: 87
Likes: 0
From: Kentucky
Last edited by BlackLS1Camaro; Aug 4, 2017 at 02:21 PM.
Thread Starter
Staging Lane
Joined: Sep 2012
Posts: 87
Likes: 0
From: Kentucky
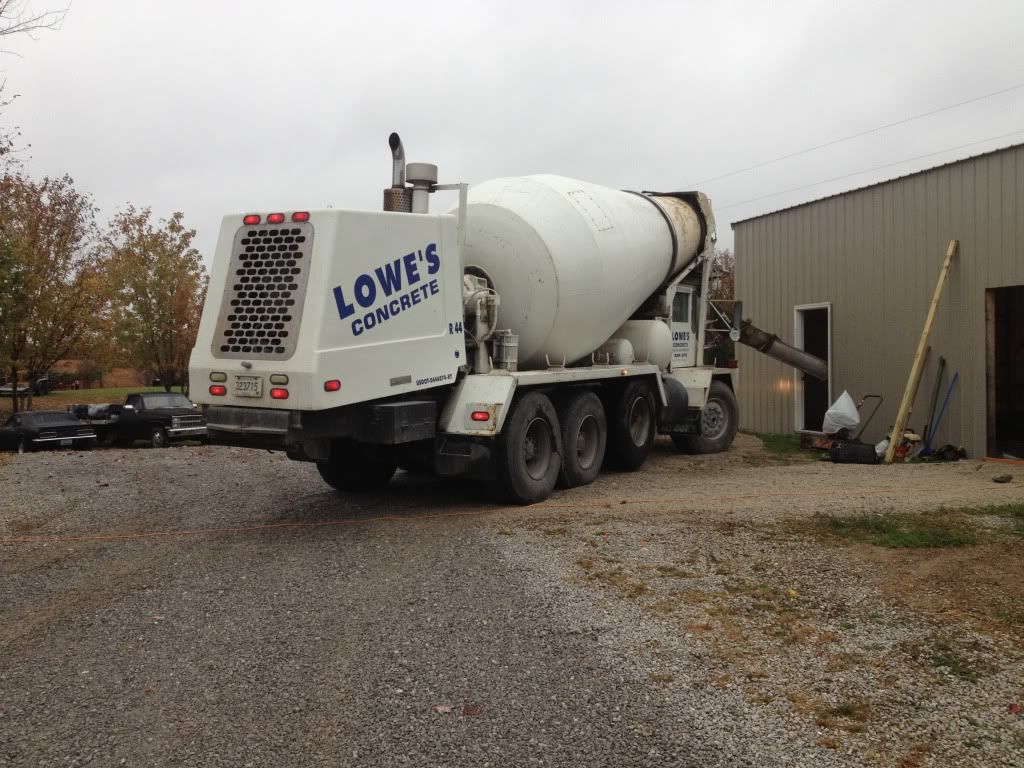
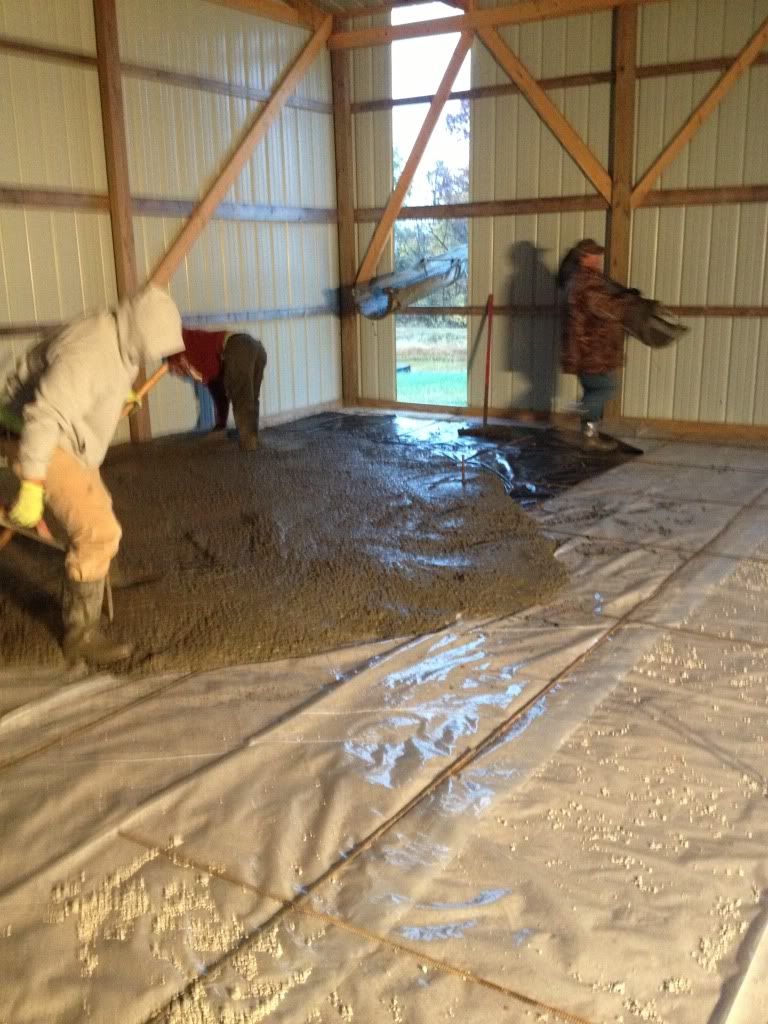
Good news... Finally getting around to getting some stuff done. A couple weeks ago the concrete trucks arrived at 7AM and we began pouring the concrete.
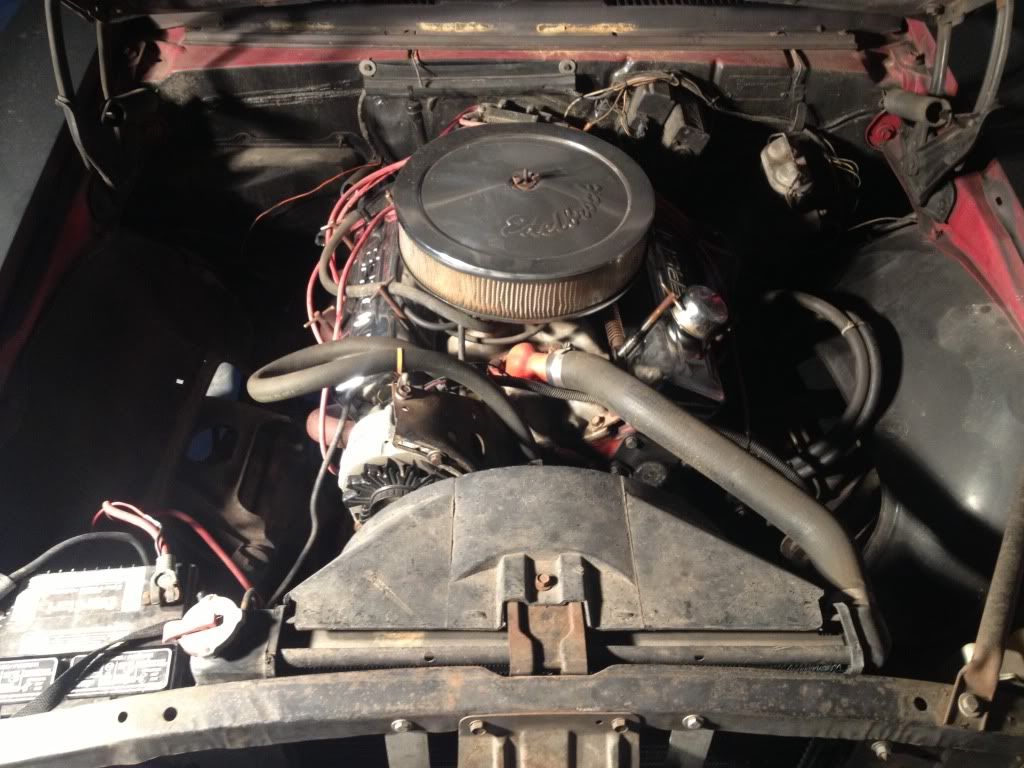
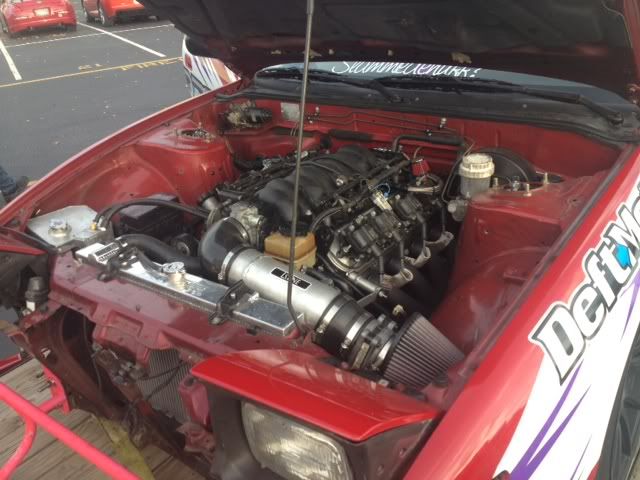
Now that I have a floor to work on me and one of my best friends started pulling the old engine.
One last shot.
Success!
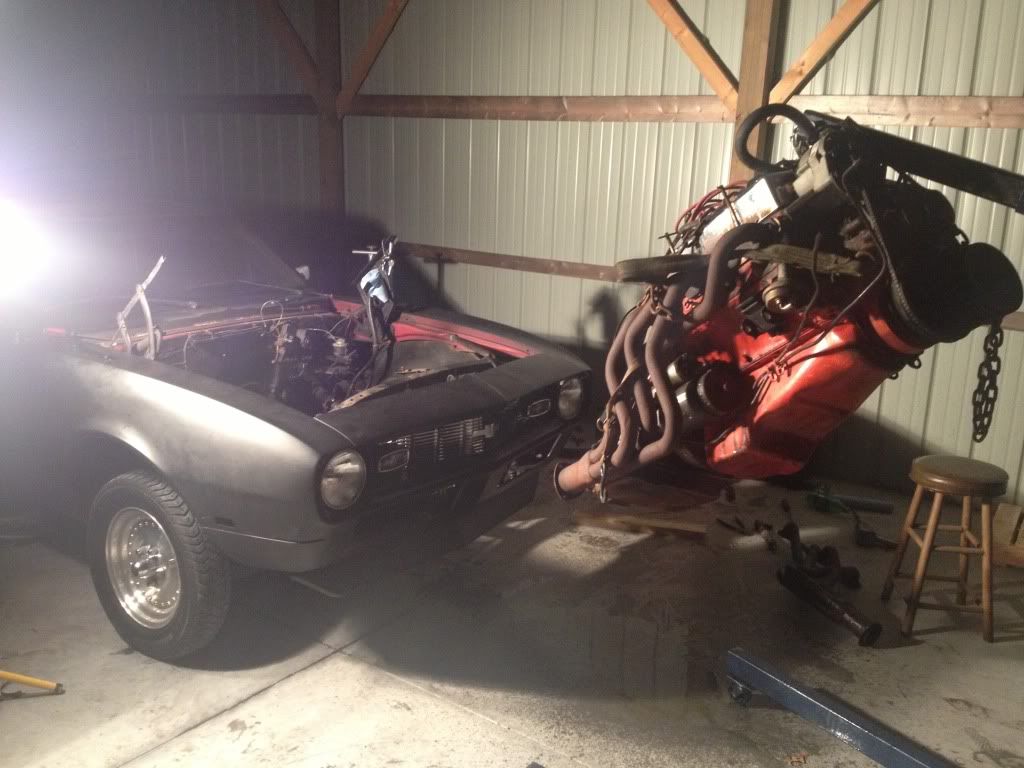
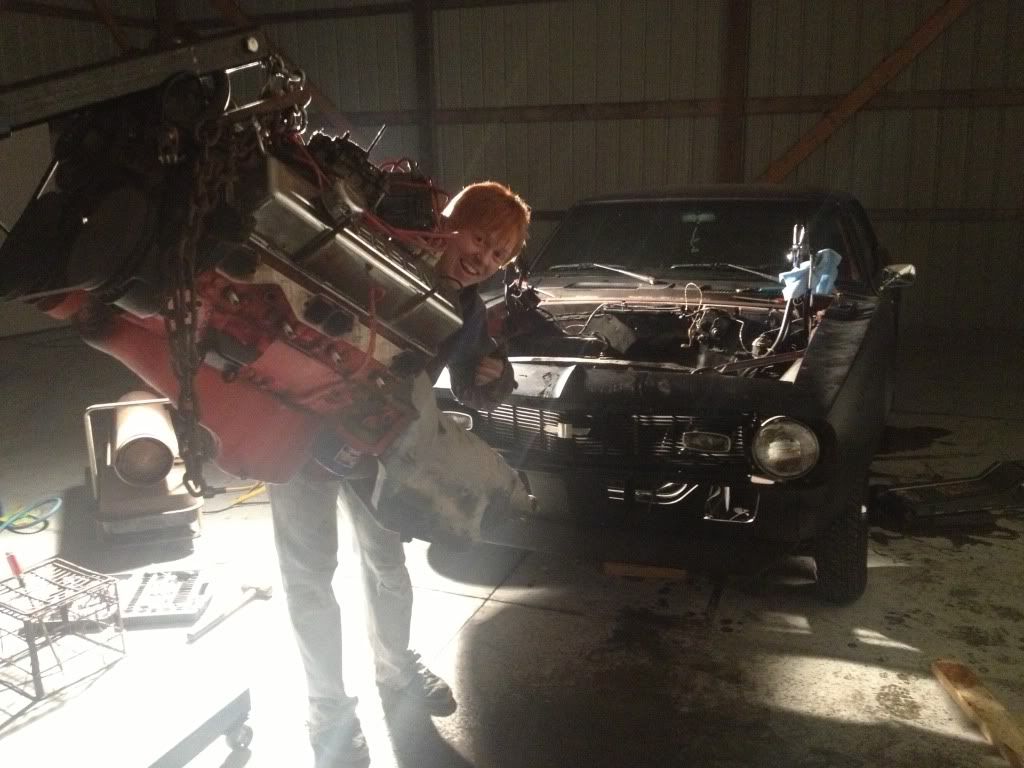
It took us several different times of re-adjusting the bite on the engine puller. But we finally got it out.
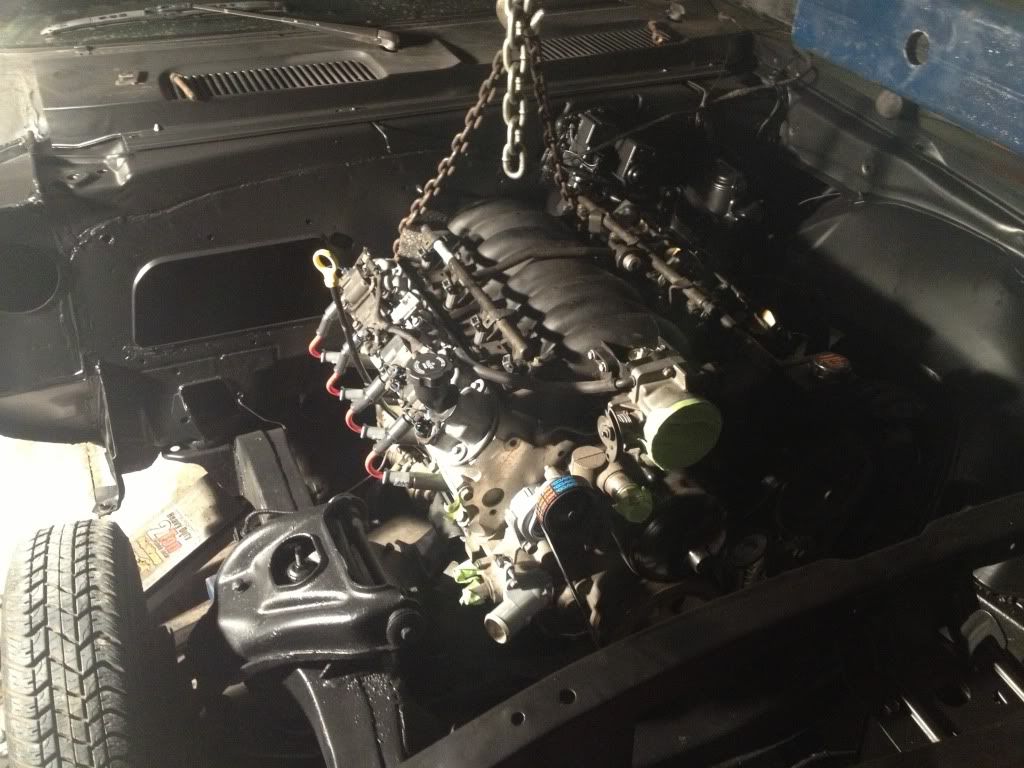
Looks good on the engine stand, but it's no paper weight. Time to get it in the car. Going to do a little subframe work, new bushings and clean it all up and run my lines.
Now that I have a floor to work on me and one of my best friends started pulling the old engine.
One last shot.
Success!
It took us several different times of re-adjusting the bite on the engine puller. But we finally got it out.
Looks good on the engine stand, but it's no paper weight. Time to get it in the car. Going to do a little subframe work, new bushings and clean it all up and run my lines.
Last edited by BlackLS1Camaro; Aug 4, 2017 at 02:22 PM.
Thread Starter
Staging Lane
Joined: Sep 2012
Posts: 87
Likes: 0
From: Kentucky
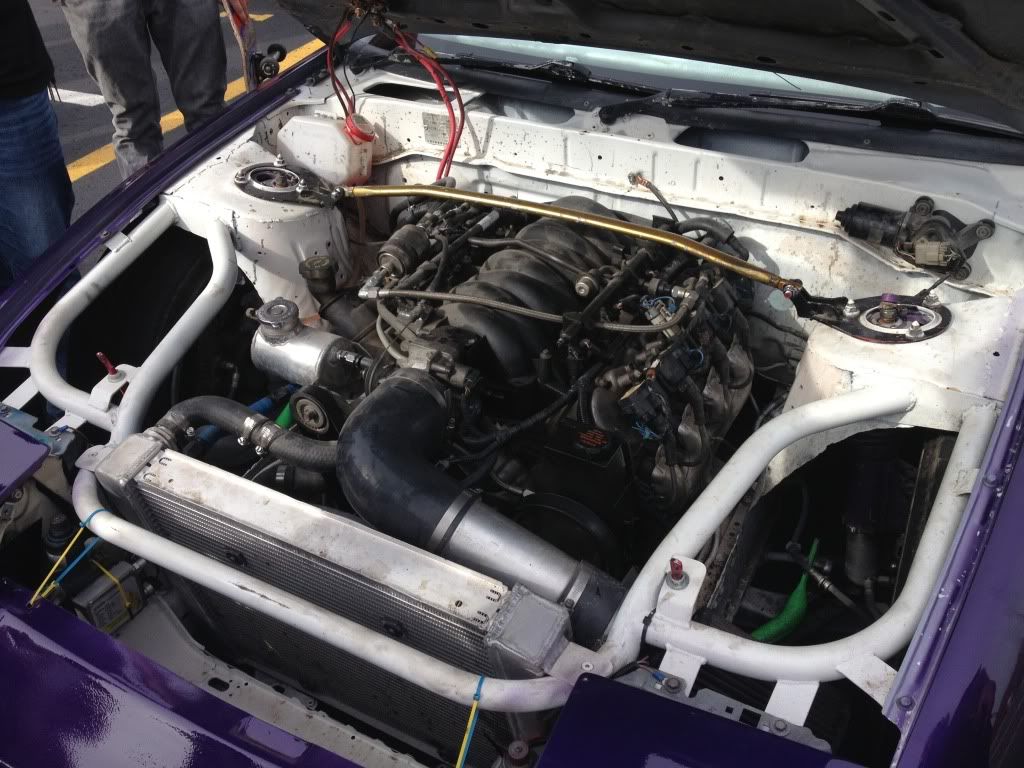
Things are getting closer till I get the motor in the car. A couple weeks has passed by which has gave me time to save up some money and do some more research. I rode with a few of my friends to ImportAlliance in Nashville, not really big on imports but there are some that are respectable. A few guys down there done LS swaps in their cars mainly for drifting competitions and what not. I talked to a few about their swap story, one guy made his own Wiring harness which is what I am going to attempt. Here's some of the LS swapped 240's I seen while there..
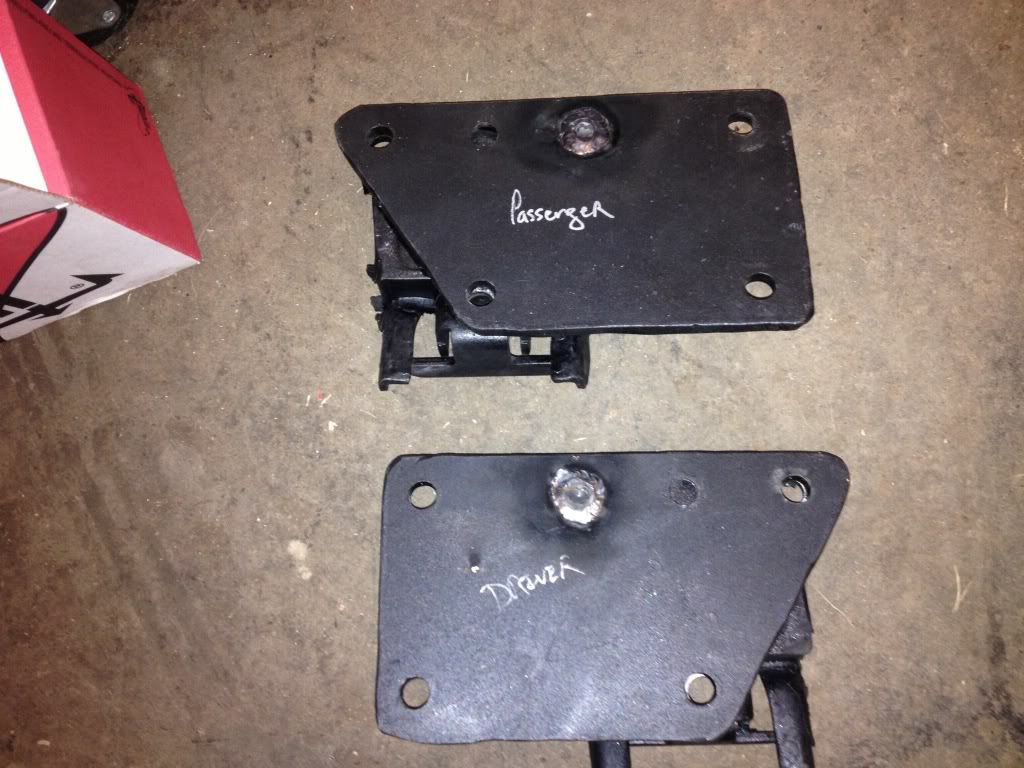
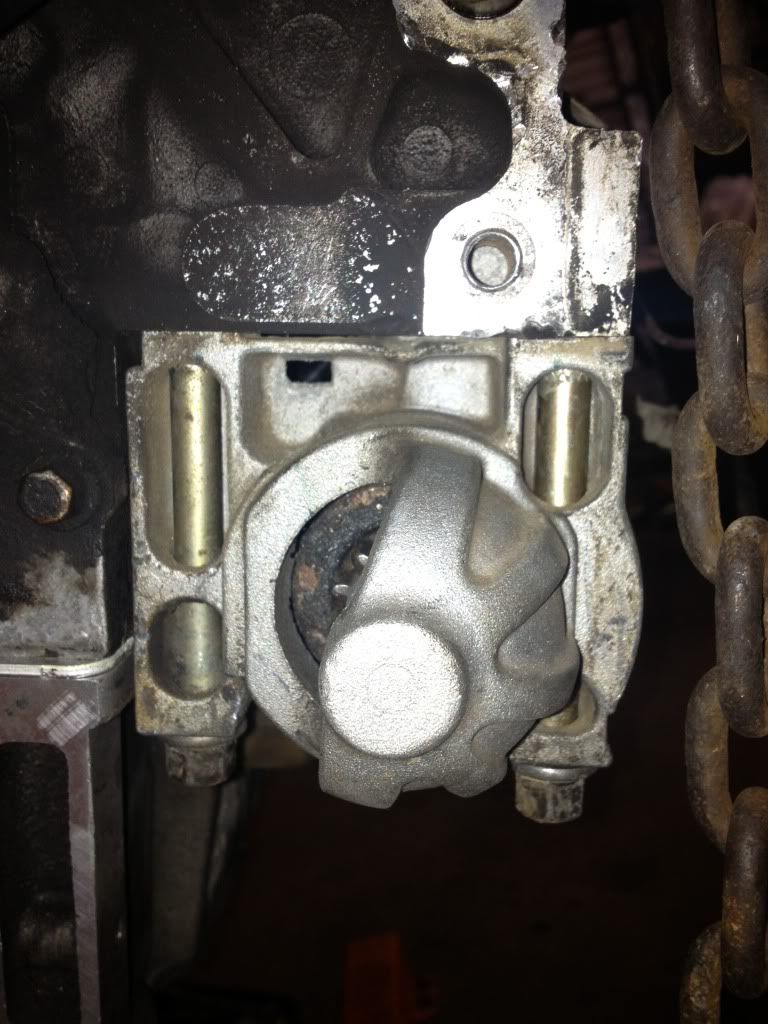
Back to the Camaro... Went by work and picked up a couple motor mounts and put them in the vice, took the grinder and went to town.
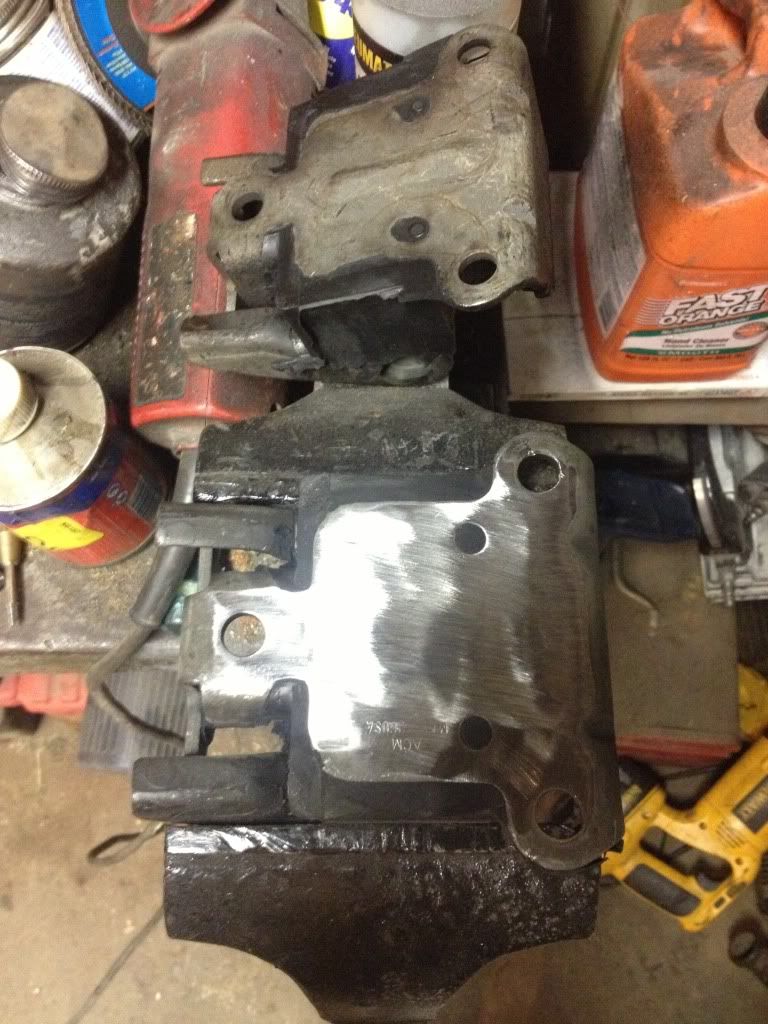
Test Fit, this is before I smoothed the edges with the grinder. Just wanted to see how they looked.
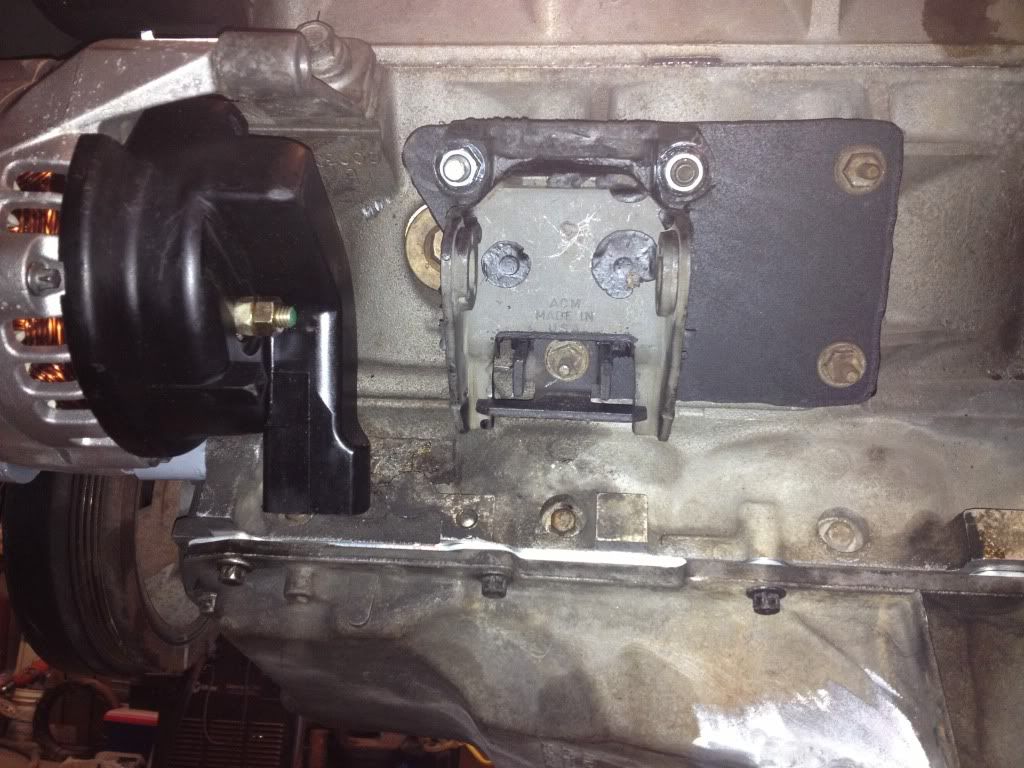
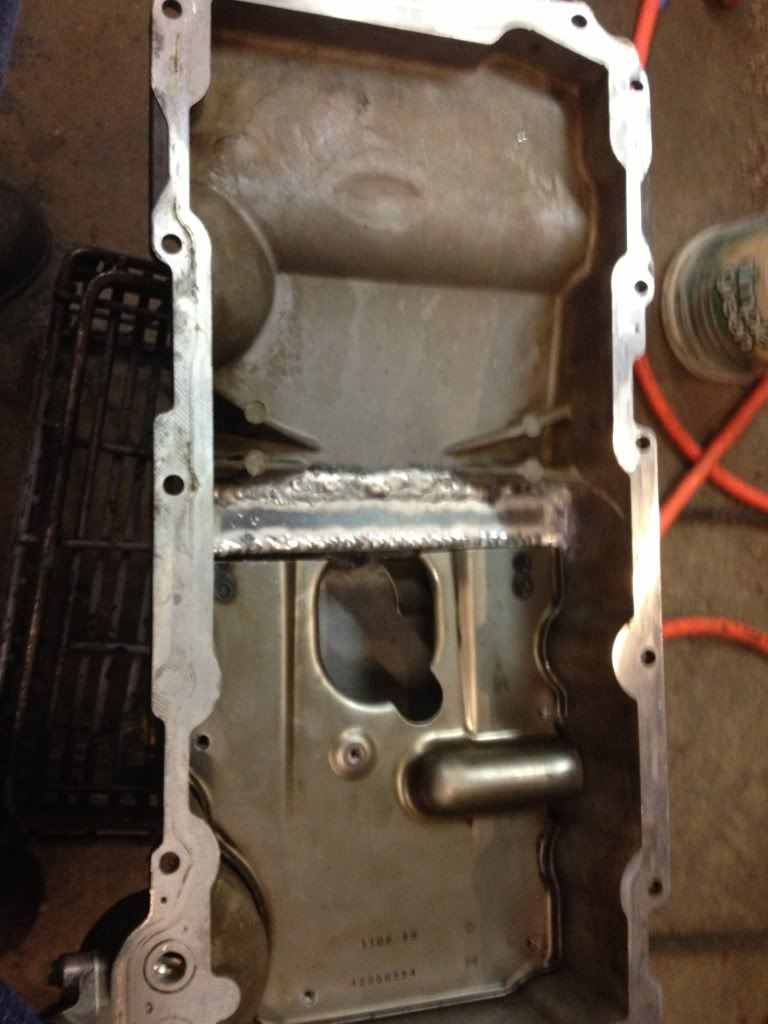
I used a regular bolt on the back of the plate and it was close to hitting the block and was sketchy. So I counter-sunk the holes and tig welded the bolts in so they set flush to the adapter plate.
Went with a 2-long bolt 5.3 Truck starter because of the added support on the block to keep it from chipping the starter or block corner like the Camaro one that was on it did to the old starter. Make sure you get the 2 long bolt one. It's just cheap insurance.
Heater core removal... Mice nests... Gotta love it.
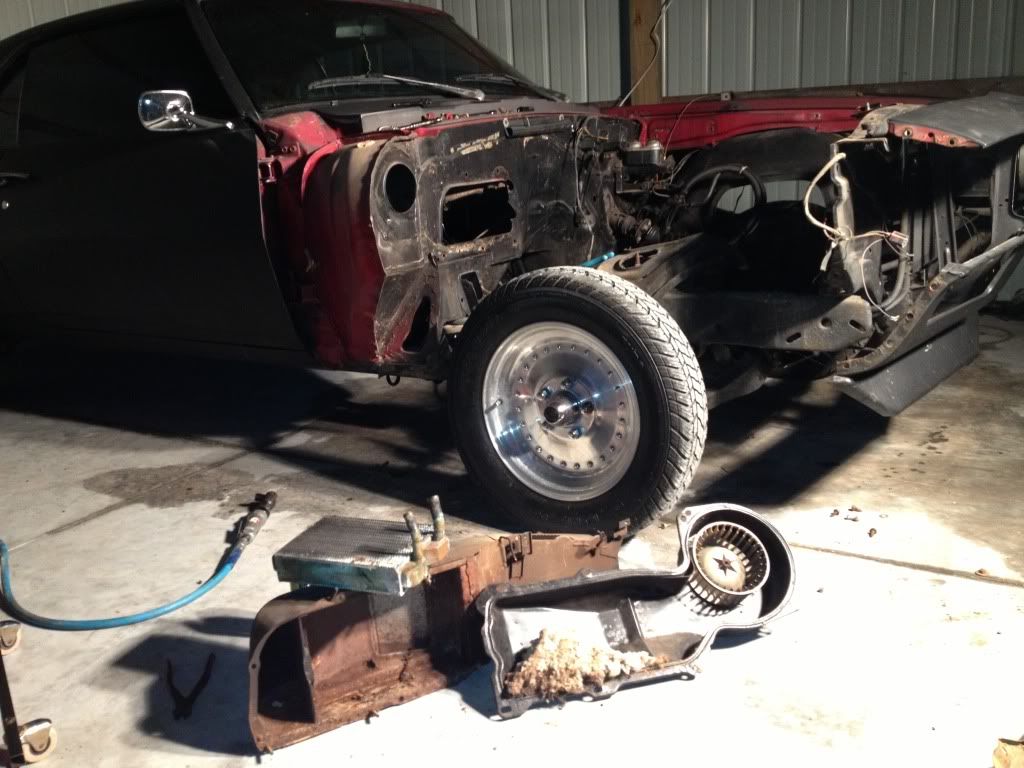
Went ahead and took the heater box assembly out and going to sandblast it and paint it while I have the chance. Heater Core should be here monday.
Here's the car now, looks like a mess but not for long.
Back to the Camaro... Went by work and picked up a couple motor mounts and put them in the vice, took the grinder and went to town.
Test Fit, this is before I smoothed the edges with the grinder. Just wanted to see how they looked.
I used a regular bolt on the back of the plate and it was close to hitting the block and was sketchy. So I counter-sunk the holes and tig welded the bolts in so they set flush to the adapter plate.
Went with a 2-long bolt 5.3 Truck starter because of the added support on the block to keep it from chipping the starter or block corner like the Camaro one that was on it did to the old starter. Make sure you get the 2 long bolt one. It's just cheap insurance.
Heater core removal... Mice nests... Gotta love it.
Went ahead and took the heater box assembly out and going to sandblast it and paint it while I have the chance. Heater Core should be here monday.
Here's the car now, looks like a mess but not for long.
Last edited by BlackLS1Camaro; Aug 4, 2017 at 02:23 PM.
Everything's coming along, nicely!
I wish that I had access to some of those tools/welders, etc, when doing my build.
Didn't know that Lowes did concrete. Is that the same Lowe's as the store?
Don't worry about oil & fluids spilling on the new concrete floor. I was concerned about messing up my concrete, until discovering that eventually, the stains fade and almost disappear!
The plate you made puts the engine forward 1" than the stock location if I remember correctly.
With zero setback plates what exhaust headers or manis are you going to use? It'll help me also with my decision on what to use.
When I tried a stock mani, the further the engine was forward the closer it gets to the steering box.
With zero setback plates what exhaust headers or manis are you going to use? It'll help me also with my decision on what to use.
When I tried a stock mani, the further the engine was forward the closer it gets to the steering box.
Thread Starter
Staging Lane
Joined: Sep 2012
Posts: 87
Likes: 0
From: Kentucky
Everything's coming along, nicely!
I wish that I had access to some of those tools/welders, etc, when doing my build.
Didn't know that Lowes did concrete. Is that the same Lowe's as the store?
Don't worry about oil & fluids spilling on the new concrete floor. I was concerned about messing up my concrete, until discovering that eventually, the stains fade and almost disappear!
I wish that I had access to some of those tools/welders, etc, when doing my build.
Didn't know that Lowes did concrete. Is that the same Lowe's as the store?
Don't worry about oil & fluids spilling on the new concrete floor. I was concerned about messing up my concrete, until discovering that eventually, the stains fade and almost disappear!
The plate you made puts the engine forward 1" than the stock location if I remember correctly.
With zero setback plates what exhaust headers or manis are you going to use? It'll help me also with my decision on what to use.
When I tried a stock mani, the further the engine was forward the closer it gets to the steering box.
With zero setback plates what exhaust headers or manis are you going to use? It'll help me also with my decision on what to use.
When I tried a stock mani, the further the engine was forward the closer it gets to the steering box.
LS1 Tech Stories
The Best V8 Stories One Small Block at Time

6 Common C5 Corvette Failures and What's Involved In Repairing Them
Pouria Savadkouei
Retro Modern Bandit Pontiac Trans AM Comes With Burt Reynolds' Autograph
Verdad Gallardo
Top 10 Greatest Cadillac V Series Performance Models Ever, Ranked
Pouria Savadkouei
Top 10 Most Powerful Chevy Trucks Ever Made!

Hennessey's New Supercharged Silverado ZR2 Has 700 HP
Verdad Gallardo
Coachbuilt N2A Anteros Is an LS2-Powered C6 Corvette In Italian Clothes
Verdad Gallardo
Awesome K5 Blazer Restomod Comes With C7 Corvette Power
Verdad Gallardo
10 Camaros You Should Never Buy

10 LS Engine Myths That Refuse to Die
Verdad Gallardo Well ill help you a little here on using the 4th gen fbody headers.
I have a set of long tubes but I don't know the brand, they may be pacesetters.
I also had my engine at 1/2" setback plates.
The passenger side has no issues with fitment. The collector area got close to the subframe, but it fit if I recall. Its Nothing that can't be fixed if it hits in any area down there by the subframe.
Drivers side almost fit, but I think the # 1&2 or just one tube pose a problem but nothing a little cutting and rerouting can't fix as it hit the steering box. Also the collector area shot out towards the driver door and hit the subframe. Easy to cut n re weld to make fit down there.
I may just have to do this also to make them fit, doesn't have to look pretty, just work.
Thread Starter
Staging Lane
Joined: Sep 2012
Posts: 87
Likes: 0
From: Kentucky
Thanks for the heads up, I was wondering how bad it was going to be to rework them but it doesn't sound too bad. I guess the best way would be set them up and sharpie what makes contact cut and re-weld the tubes. I hate to cut into a good set of headers but I'm gonna take a chance on it. I noticed how the ends by the collectors aren't even on mine like you said one side shoots to the frame. Guess that's how the fbody chassis is made, didn't pay attention when I took them from the donor car
Thread Starter
Staging Lane
Joined: Sep 2012
Posts: 87
Likes: 0
From: Kentucky
Not a whole lot to add but it's 1 in the morning and I have nothing to do but set around on the internet...
Next I started by working on the heater box assembly. I brushed on some Rust Neutralizer prior to sandblasting. It makes the thick rust easier to sandblast.
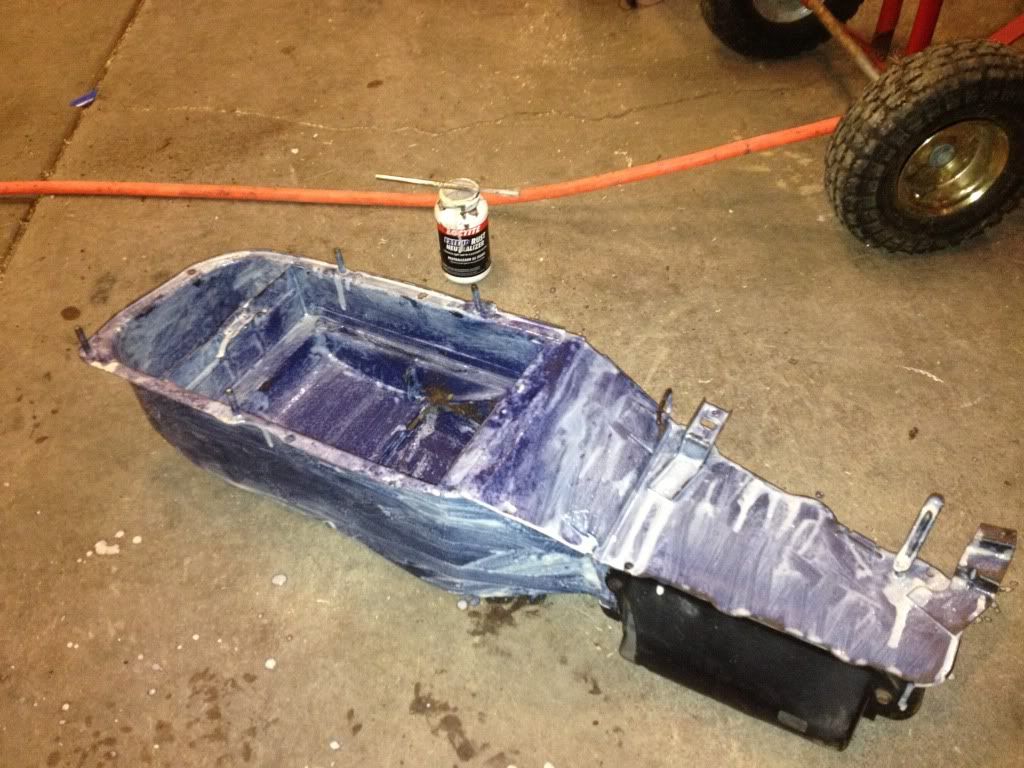
Heater cores for the first gen Camaro are discontinued at my work (Advance Auto) So I special ordered one from a company we get 2nd hand heating and cooling parts from.. turns out the aftermarket core is a bit thicker so I had to fabricate up a new retaining clip and made a firewall gasket out of sponge-foam.

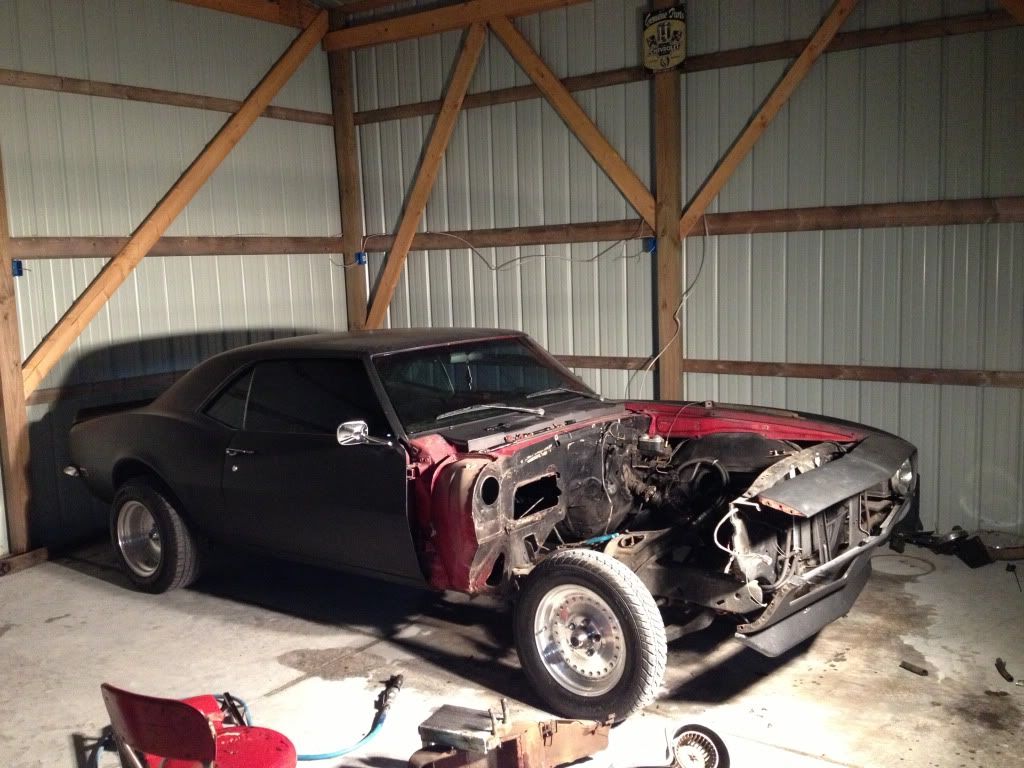
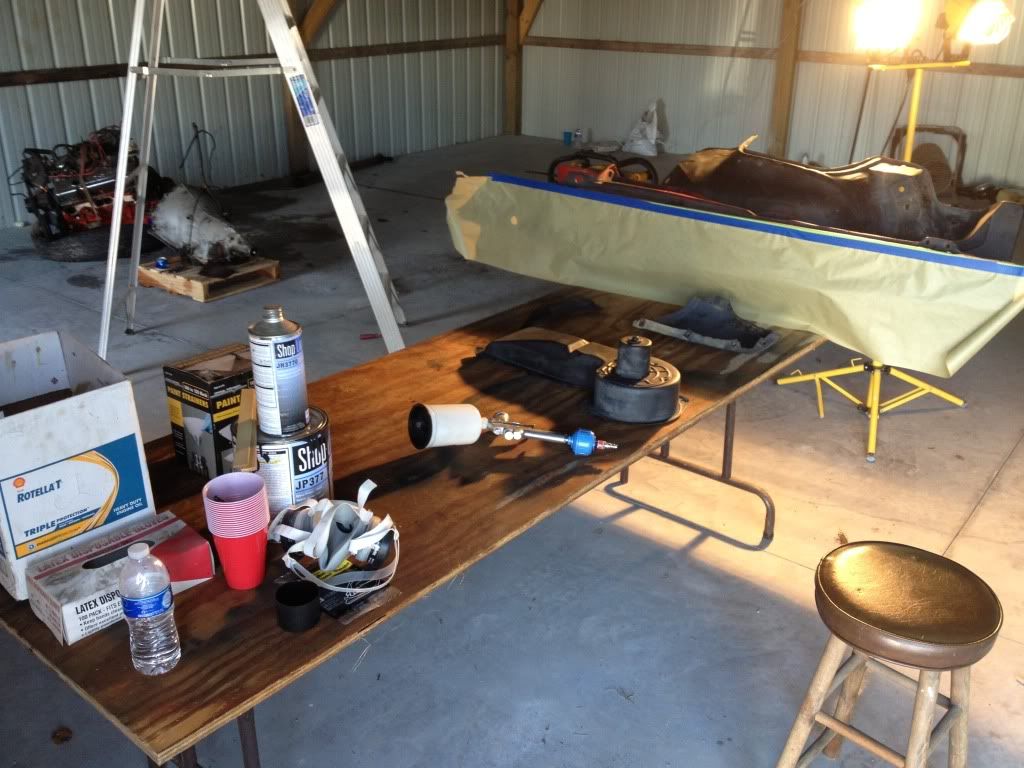
Next it was time to clean the engine bay up and paint it.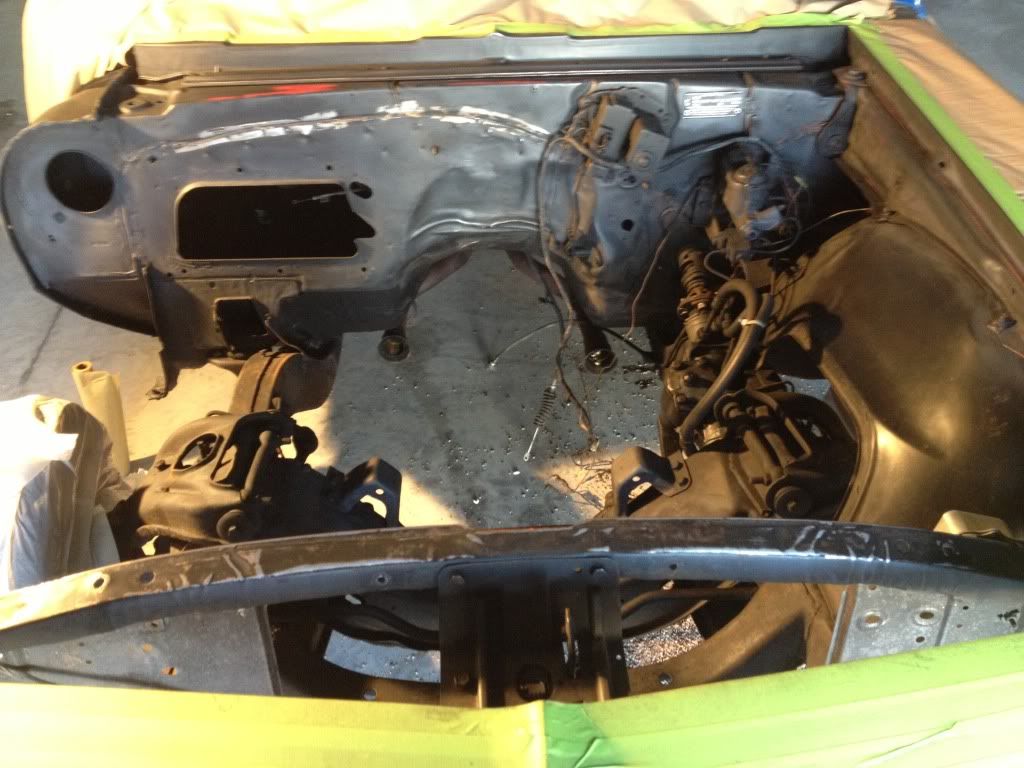
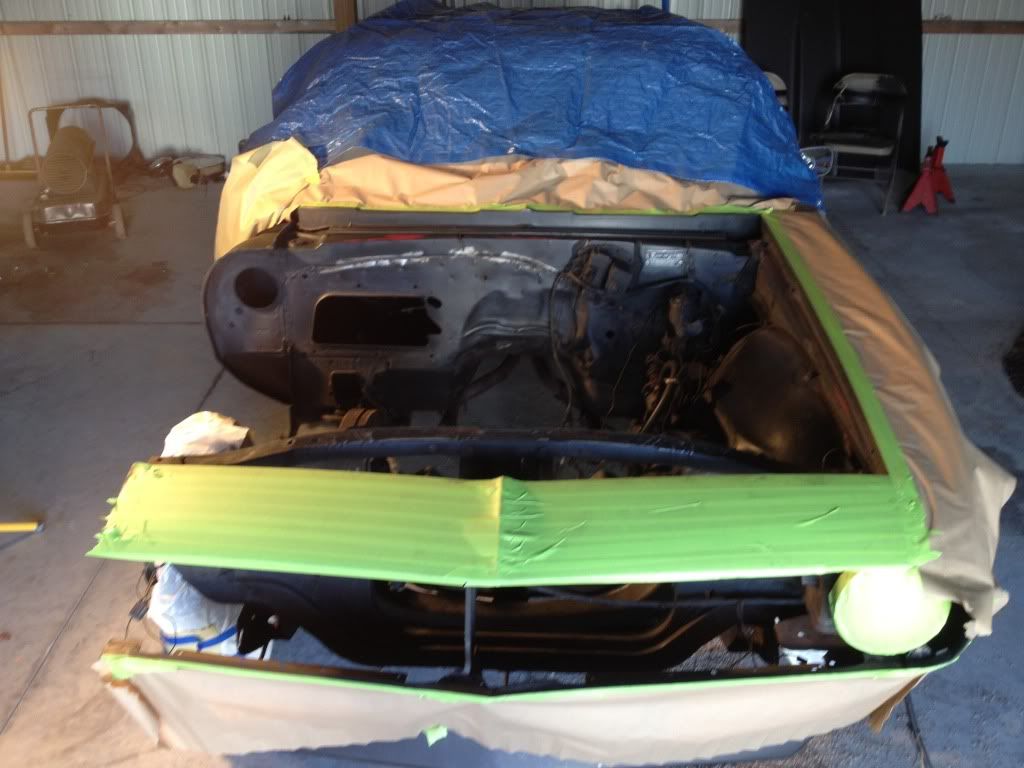
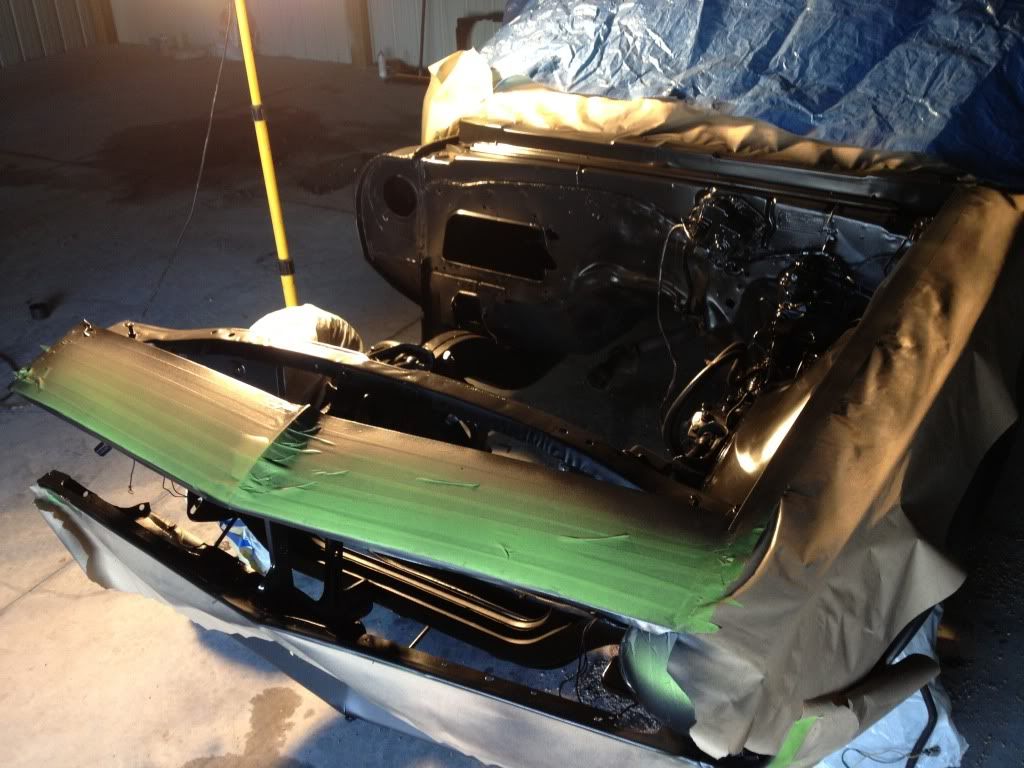
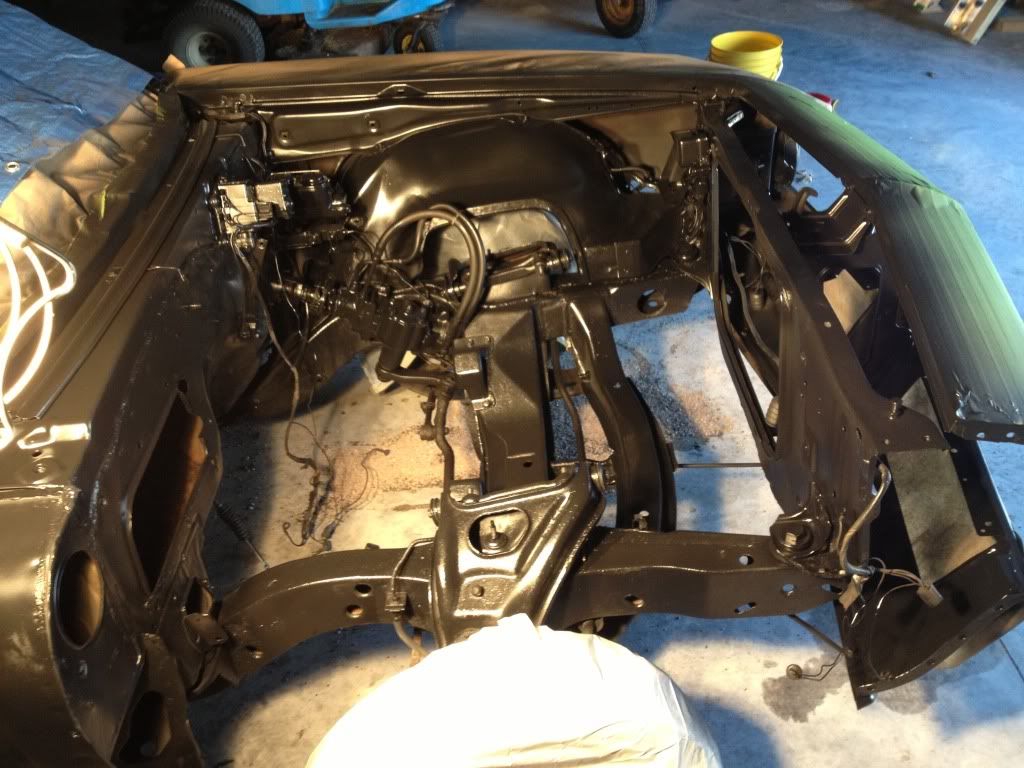
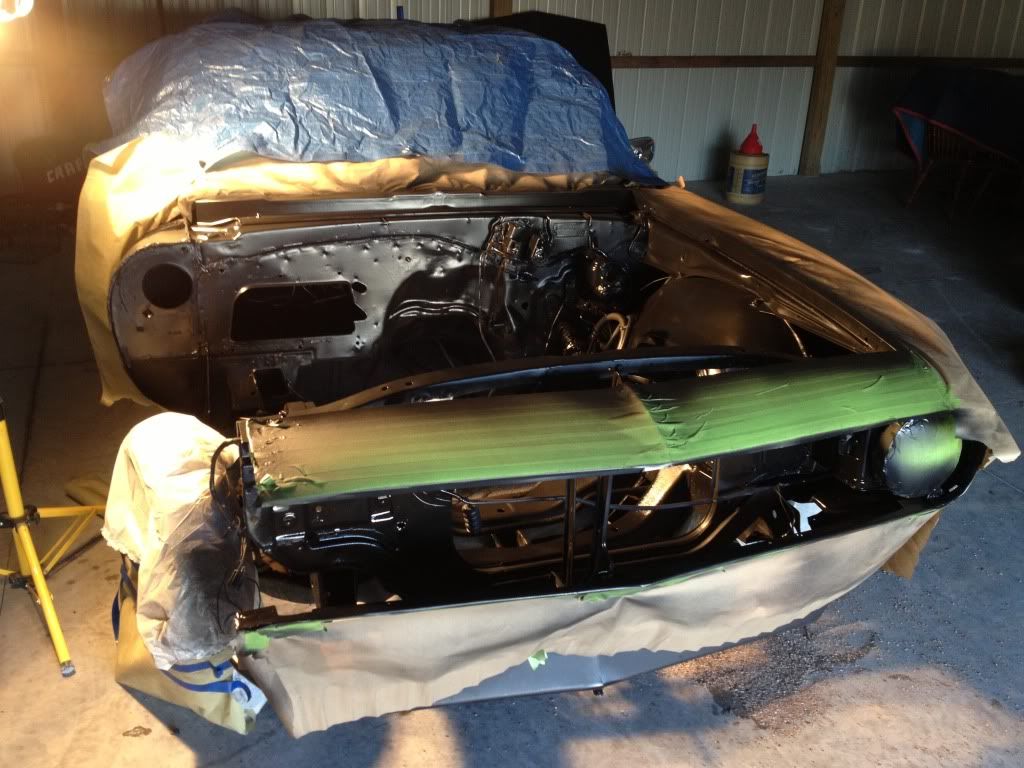
Some of you are wondering why I painted everything with the fender off on one side. Well, my engine puller didn't want to go high enough to clear the front of the car. Turns out it was low on jack oil.... I just left all the wiring in the engine bay because I didn't know I was going to have to use and what I wasn't.
Next I started by working on the heater box assembly. I brushed on some Rust Neutralizer prior to sandblasting. It makes the thick rust easier to sandblast.
Heater cores for the first gen Camaro are discontinued at my work (Advance Auto) So I special ordered one from a company we get 2nd hand heating and cooling parts from.. turns out the aftermarket core is a bit thicker so I had to fabricate up a new retaining clip and made a firewall gasket out of sponge-foam.
Next it was time to clean the engine bay up and paint it.
Some of you are wondering why I painted everything with the fender off on one side. Well, my engine puller didn't want to go high enough to clear the front of the car. Turns out it was low on jack oil.... I just left all the wiring in the engine bay because I didn't know I was going to have to use and what I wasn't.
Last edited by BlackLS1Camaro; Aug 4, 2017 at 02:24 PM.

Thread Starter
Staging Lane
Joined: Sep 2012
Posts: 87
Likes: 0
From: Kentucky

Thread Starter
Staging Lane
Joined: Sep 2012
Posts: 87
Likes: 0
From: Kentucky
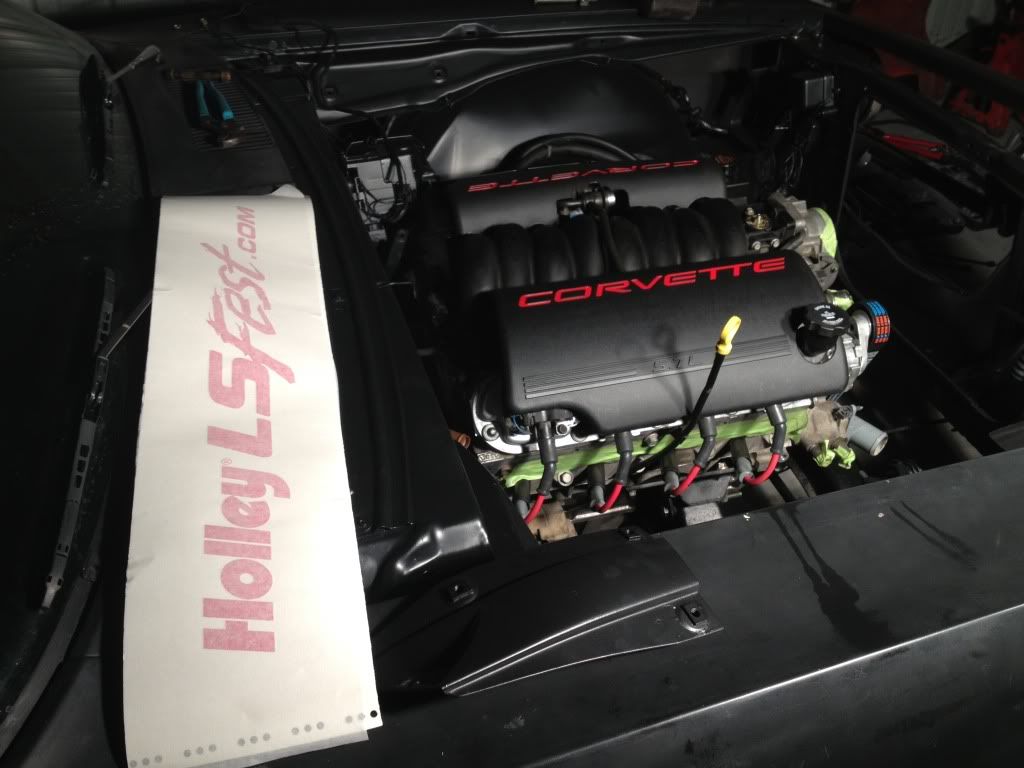
Well the engine came with a set of long tubes, I plan on reworking those and getting them ceramic coated (hopefully) I dont want to drop a million dollars into headers when I can remake what I have.
Thread Starter
Staging Lane
Joined: Sep 2012
Posts: 87
Likes: 0
From: Kentucky
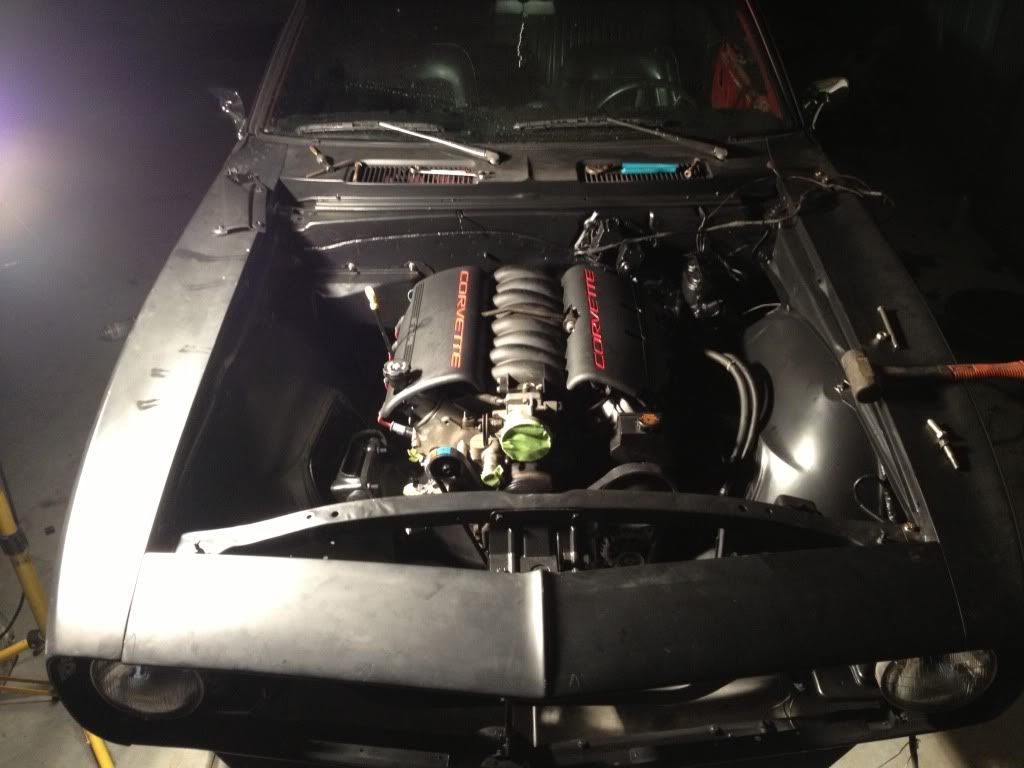
Getting closer...
Broke down and bought a stall converter from Jegs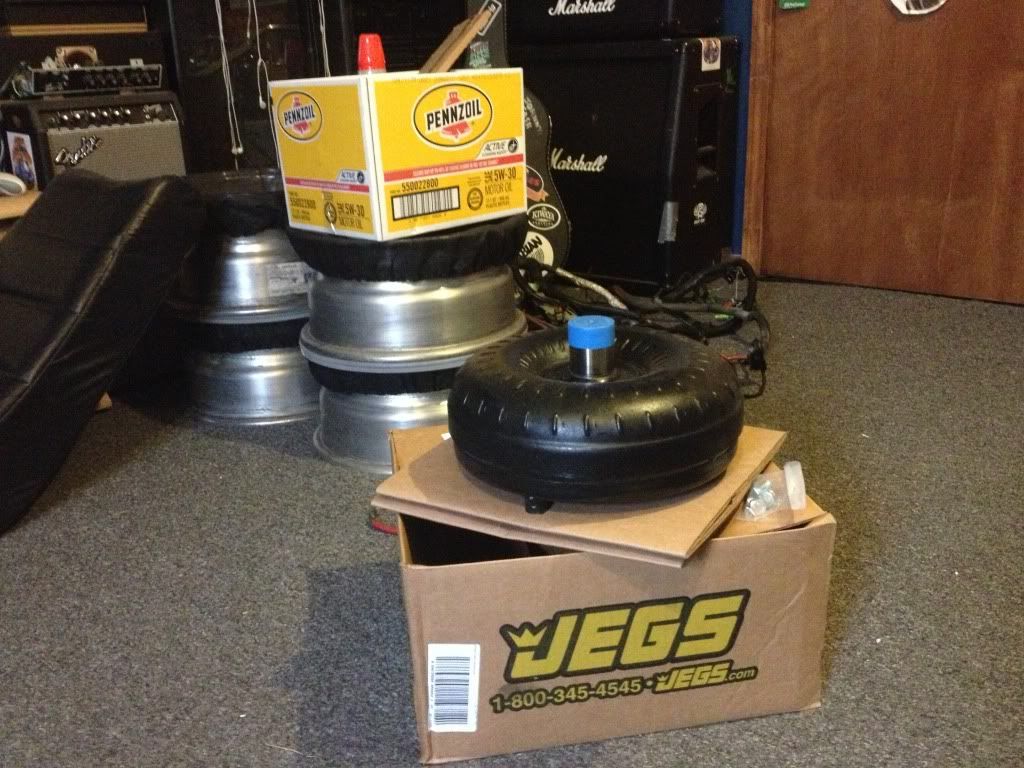
I still have to elongate the holes on the stock LS1 flexplate I bought to make the TH350 converter bolt up correctly, but here's the basics.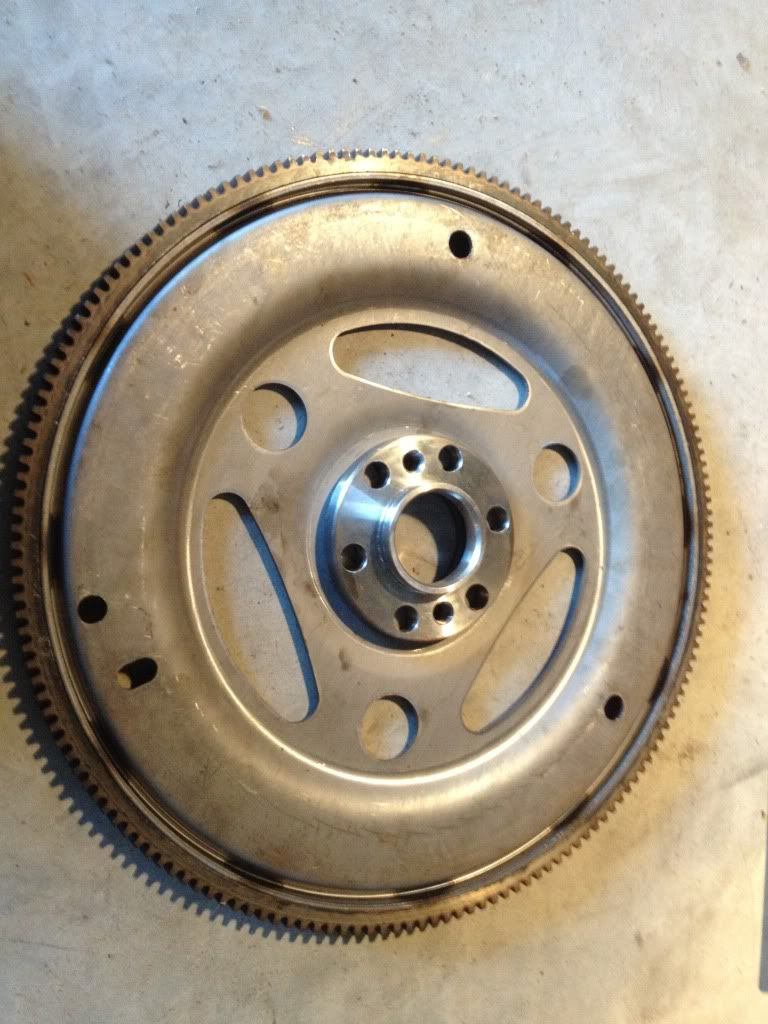
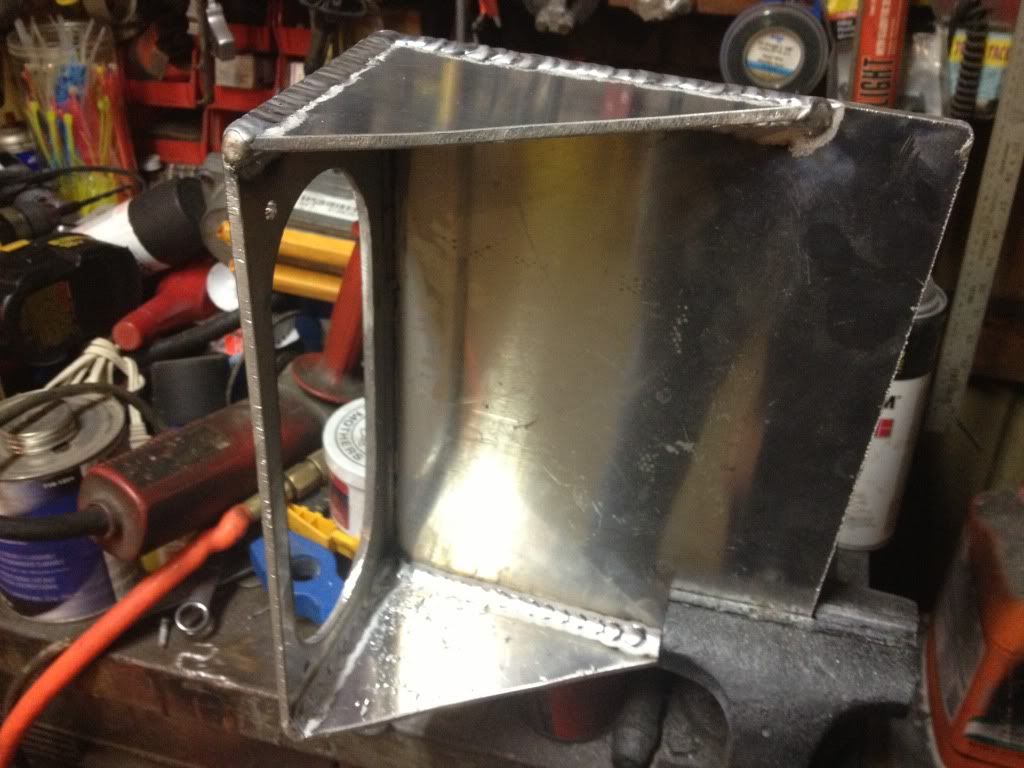
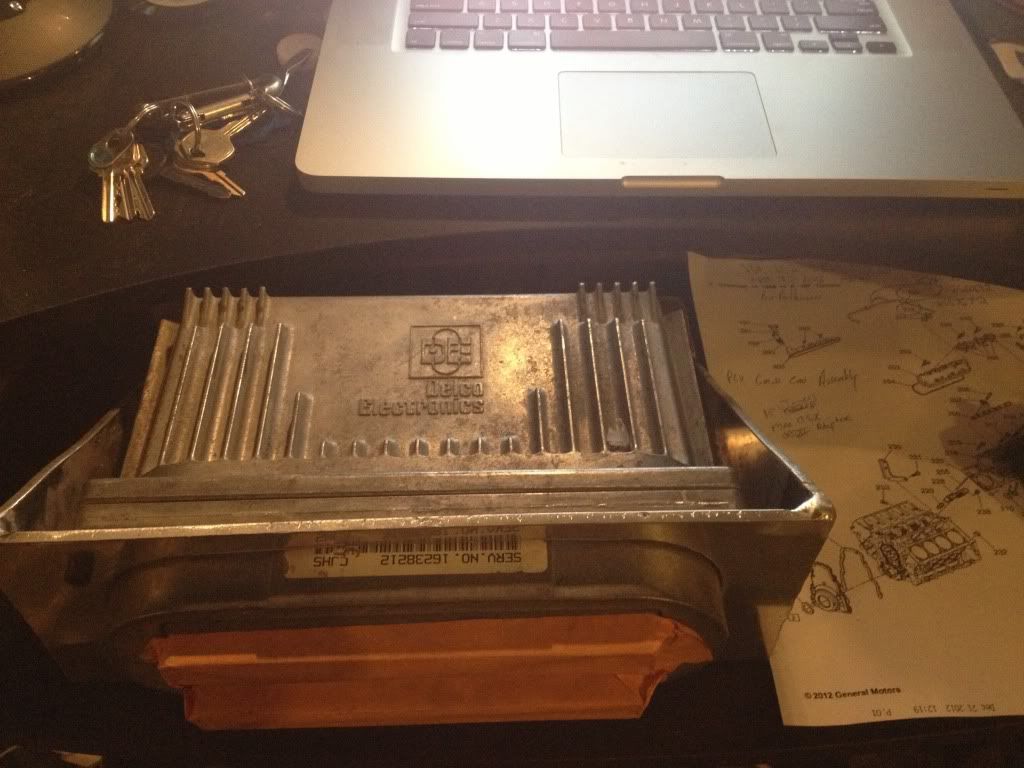
Hopefully will work on the drivetrain some more soon, been busy with Christmas and running lights to the new garage. I took a break to do some small stuff like make a PCM mount out of aluminum.
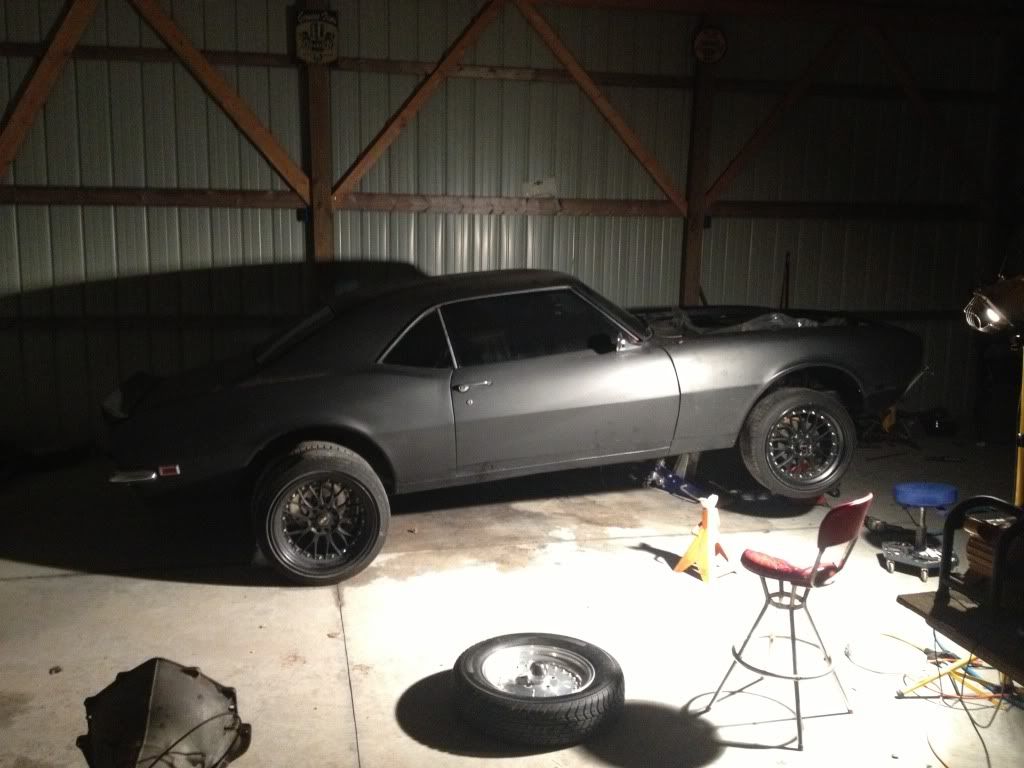
My buddy brought his wheels over and let me try them out, I don't know if i'll end up going with these or not. Kinda want to find some black Z06 wheels..
Will post more soon!
Broke down and bought a stall converter from Jegs
I still have to elongate the holes on the stock LS1 flexplate I bought to make the TH350 converter bolt up correctly, but here's the basics.
Hopefully will work on the drivetrain some more soon, been busy with Christmas and running lights to the new garage. I took a break to do some small stuff like make a PCM mount out of aluminum.
My buddy brought his wheels over and let me try them out, I don't know if i'll end up going with these or not. Kinda want to find some black Z06 wheels..
Will post more soon!
Last edited by BlackLS1Camaro; Aug 4, 2017 at 02:25 PM.
Looks good with those wheels in the pic.
I still can't wait on the header fitment when you rework the 4th gen headers. Any idea when you may start that project? if not i may just break down n spend the high dollar money they cost n go from there. Or I may have found a used set of ls swap headers for $300 so I may go that route but the coating isn't the greatest on em.
I still can't wait on the header fitment when you rework the 4th gen headers. Any idea when you may start that project? if not i may just break down n spend the high dollar money they cost n go from there. Or I may have found a used set of ls swap headers for $300 so I may go that route but the coating isn't the greatest on em.