When you click on links to various merchants on this site and make a purchase, this can result in this site earning a commission. Affiliate programs and affiliations include, but are not limited to, the eBay Partner Network.
Well...2013-2014 was certainly a wild ride. Memorial Day Weekend 2014 we saw the river...which is 200+ YARDS away from the house decided it was going to give us 4" of water inside. I had the car stored in a barn on the back of the property...it was fine, but the entire ground floor needed some TLC last year before I could entertain working on the track beast.
The folks at Winding Road declined to do my cage because I wanted to keep my windows and they wanted to gut the doors and put bars in it. When I insisted that I have operational windows, they said no. So...I've ordered a cage for it from AutoPower to weld in...myself.
Over the Christmas holiday I built a cart to set the body on while I have the suspension off...so at least I can move it around and get it out of the way. It's looking pretty cool...I'll have to post up some pictures when I get a chance. The car is on it, and the suspension is stripped out and I'm in the process of cleaning, sanding, polishing everything that's aluminum in the suspension. Yes...it's going to be shiny...and since it's a track car it'll be a bit easier to keep it clean. I've been getting the D44 cleaned and ready for final stages of polishing, but have run out of materials and am waiting on the UPS truck to bring more. Work keeps getting in the way but it pays the bills and gets the UPS and FedEx trucks bringing in parts.
So far, it's still slow but that will change as things get ready to go back on the car. It was a flood car, so there is fine red silt everywhere and it's ALL coming out before I go any further. The rear frame/bumper support is aluminum and the inside has it caked 1/8" thick inside. So...off to work I go. This weekend is going to have lots of die-grinder noises and such...pictures will come.
I promise
Been on the phone with Katech last month...I think the motor choice is gonna change a bit. Too many issues with LS7's running hard on track. There's a class-action lawsuit against GM right now for their covering up a bad valve-guide problem but Katech has a pretty sweet LS3 427 for SCCA racing. I'm now thinking along the lines of a C6ZR1 motor in a C4 ZR-1.
A 427 with the new Edelbrock 2.3L supercharger on top, running E85 fuel. I'm thinking it'll be a hoot...I'm pretty sure I've got the cooling issues all figured out (in my head, at least).
if you decide to go C6 rear stuff I have a diff and rear suspension parts laying around. I was going to stuff all of it in the back of an old c3 but thought better of it.
a stout LS3 with well ported heads can put out LS7 power and be plenty durable and cheap
nice project, I've got Larry Merrow's old "LSV" 390 LT5 95 ZR-1 which serves me very well (94k miles)
some may not like the "heart of the beast" being vacant, but I dig the project!
Well, the heart was out of this beast a long time ago...
I wanted a track car with lots of power and able to stuff fat tires inside the fenders. The ZR-1 allows me to do that in spades...and an LS is sure a lot cheaper to mod than the LT5 would be. I was just looking in Jegs...complete CNC LS3 heads are $1500 for the set...flowing 365 CFM on the intake. It's crazy cheap! I spent nearly 2x that for a set of Brodix T1 M2 227's for an old-school Chevy smallblock.
Stuff keeps coming in...got my Banski heim-link rear kit today. Still working on the suspension so I can set her back down on the ground.
I did the banski rear suspension kit and was very pleased with it made a big difference in the ride quality and the car seems to hook better with it too
We had a flood, and stuff got delayed so we could get back in the house...
Updates on the progress so far:
I stripped all the suspension off the car and started cleaning it up...cleaning got more intense and before I knew it it was as clean as I could get it...
Meanwhile...I TIG welded the pinch-seams on the frame front to rear to strengthen the frame.
Pinch-seams welded, ground and primed
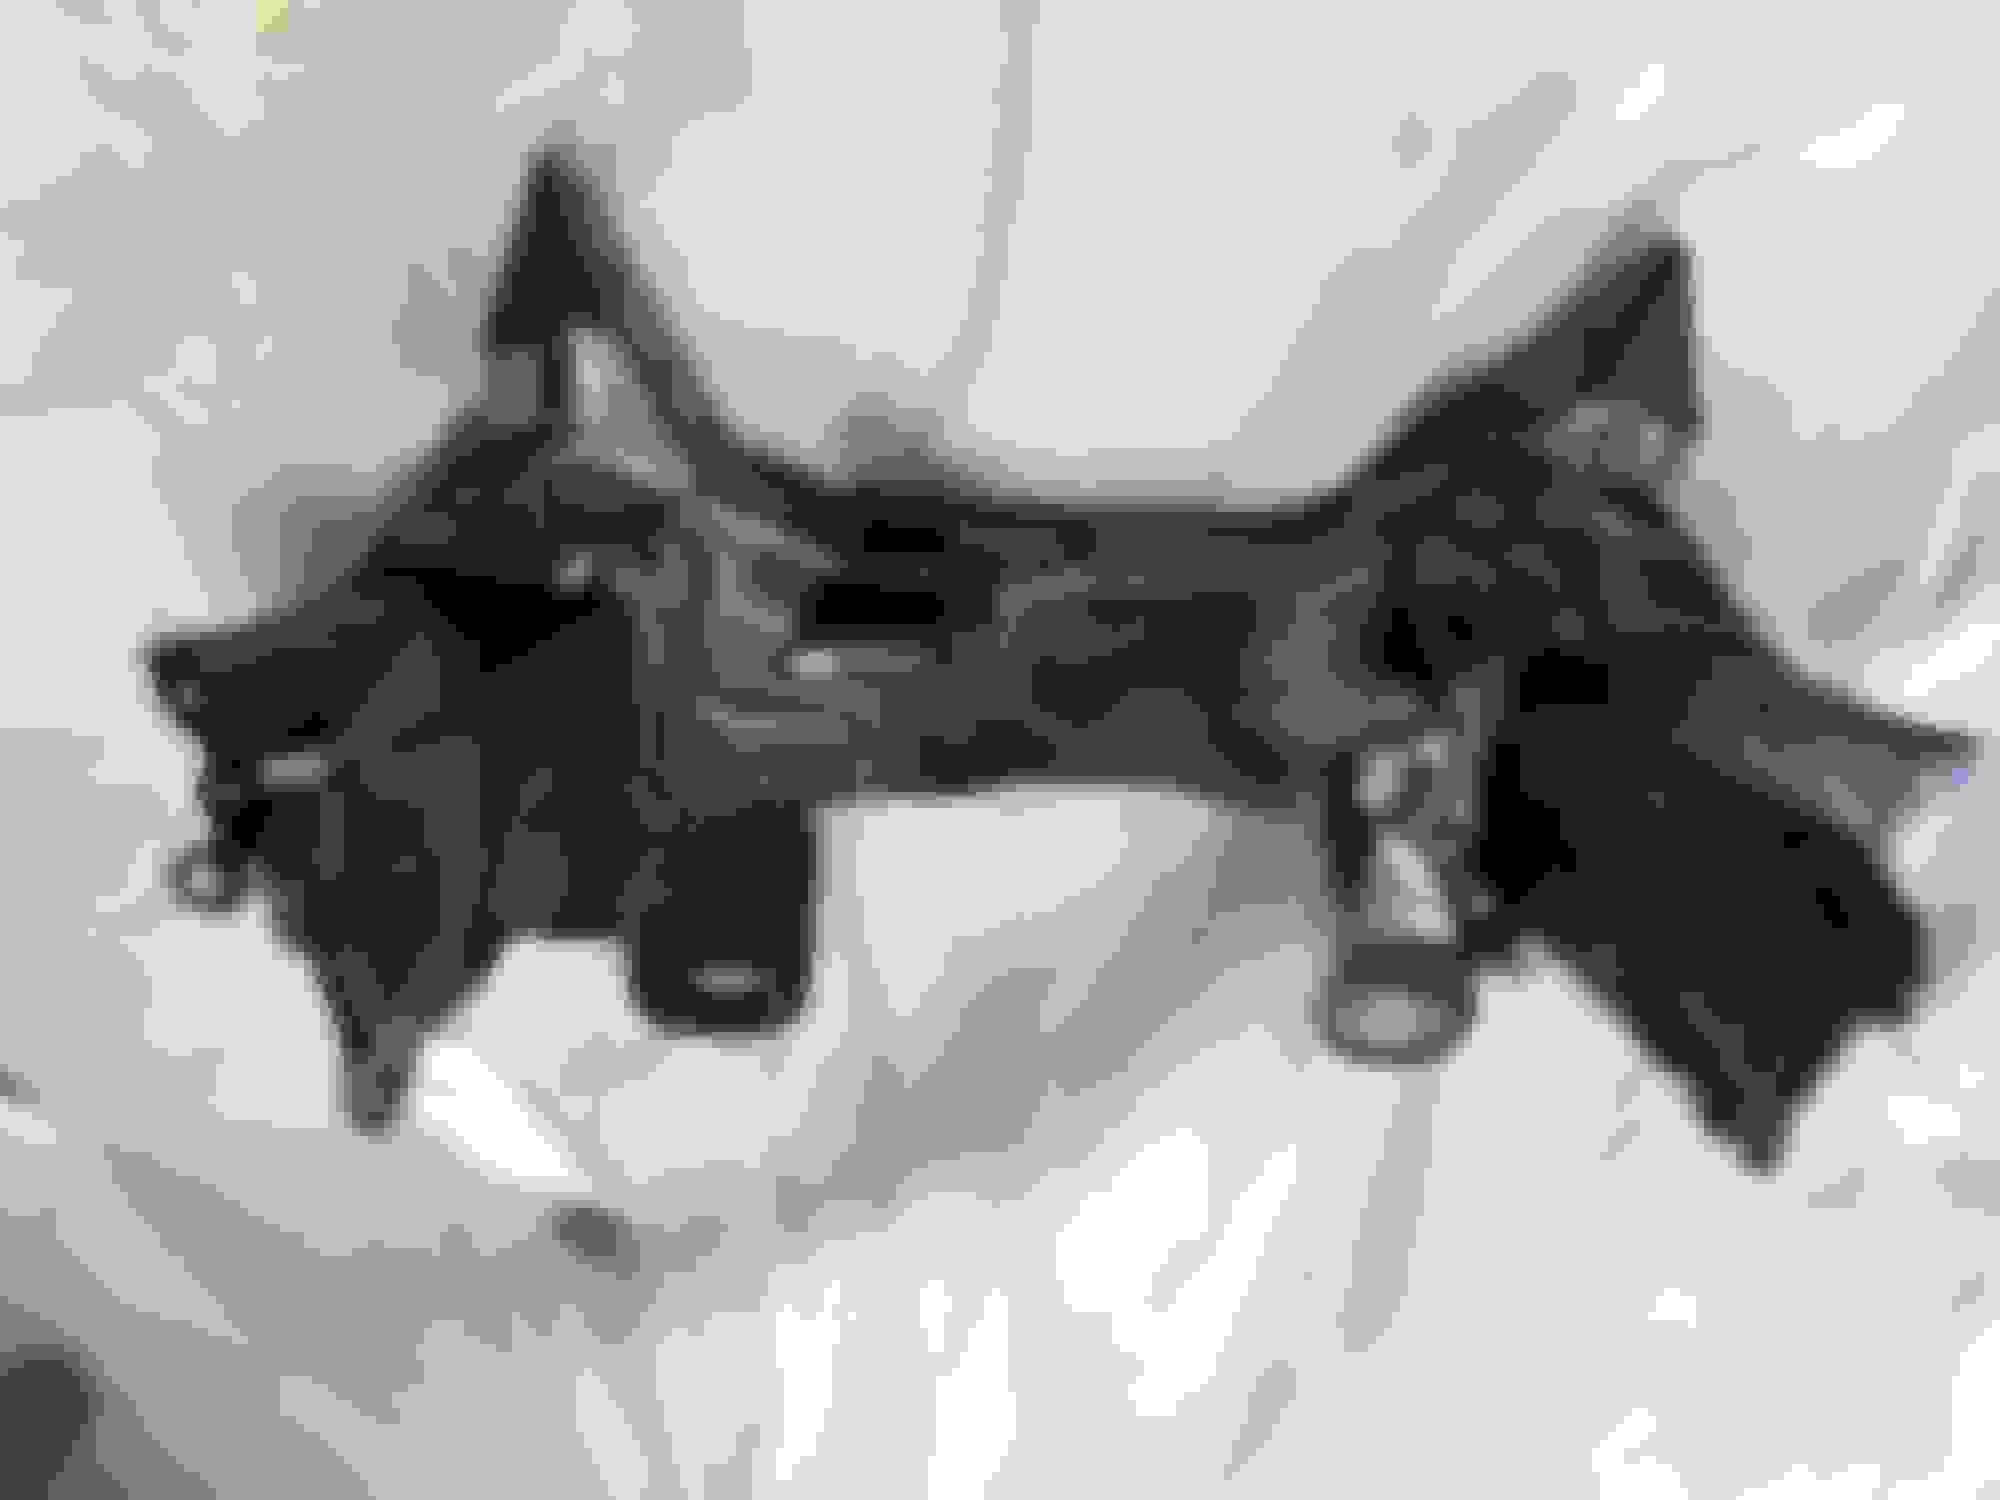
Front cross-member completed and ready for paint
The frame was a real bitch...in Bowling Green they welded everything BEFORE going into the galvanizing tanks. Welding galvanized is NOT something I care to do again...it spit and popped at me constantly because even though I could clean the outside I couldn't clean in between the parts. It was a nightmare...but it's done.
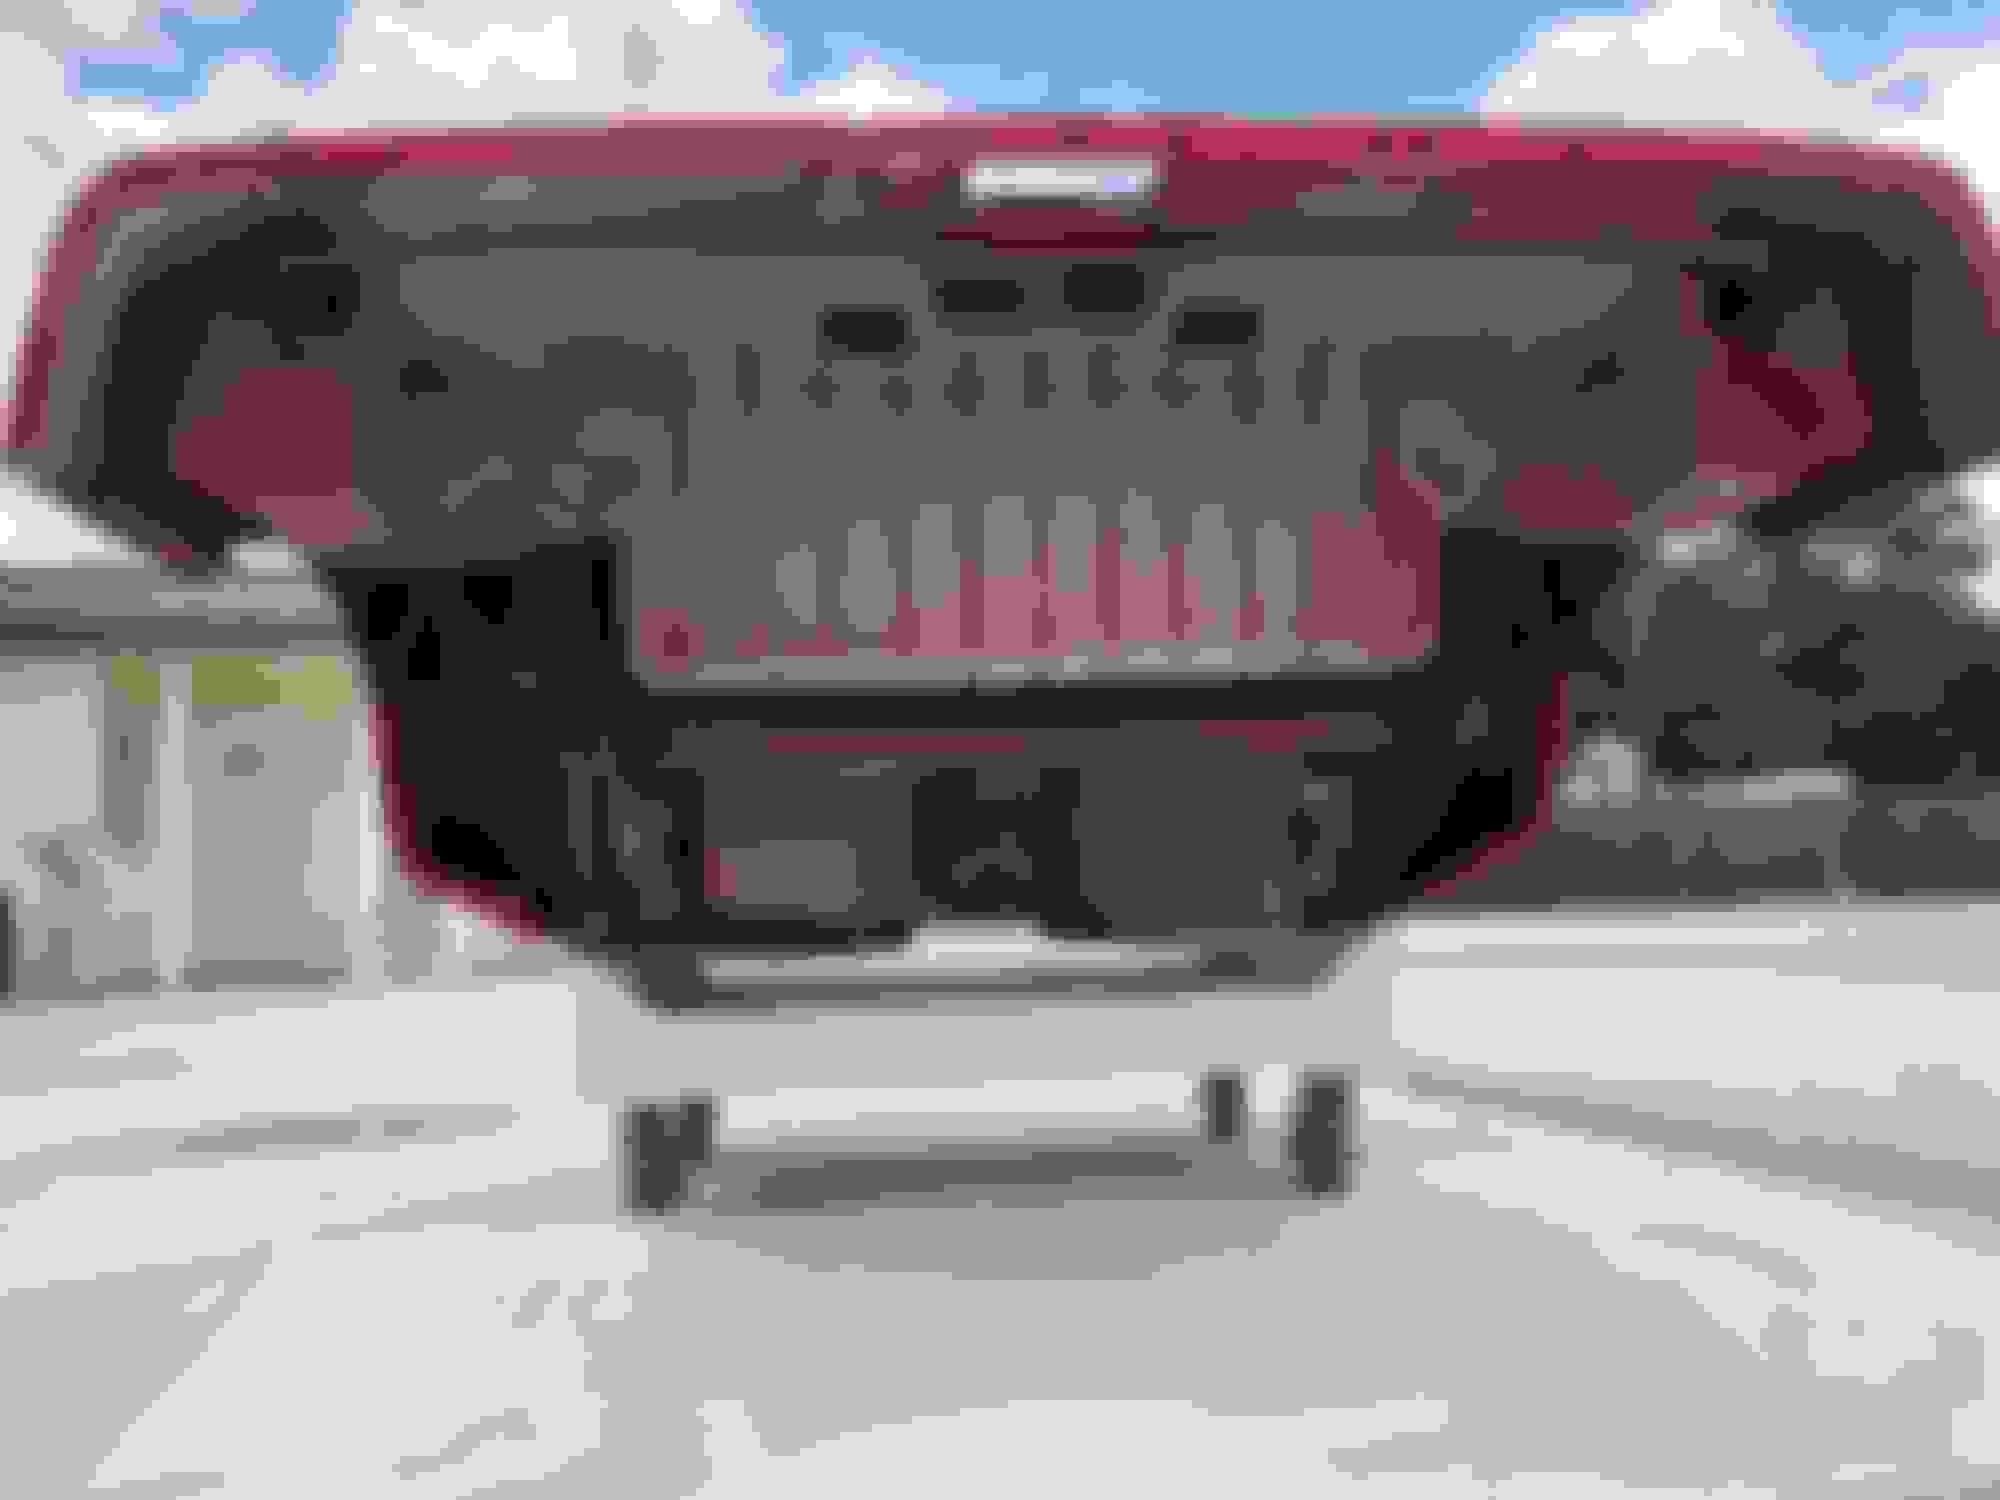
I got the car blasted clean and started working on the areas underneath in back to detail it and get her cleaned up for paint before the suspension went back in.
Then I hit the frame with some 200-grit, cleaned it and sprayed some Eastwood epoxy frame paint on it...
Now came the fun part...finding all the parts to go back on it! We've moved stuff at least 3 times since the flood...but I'm getting a handle on it.
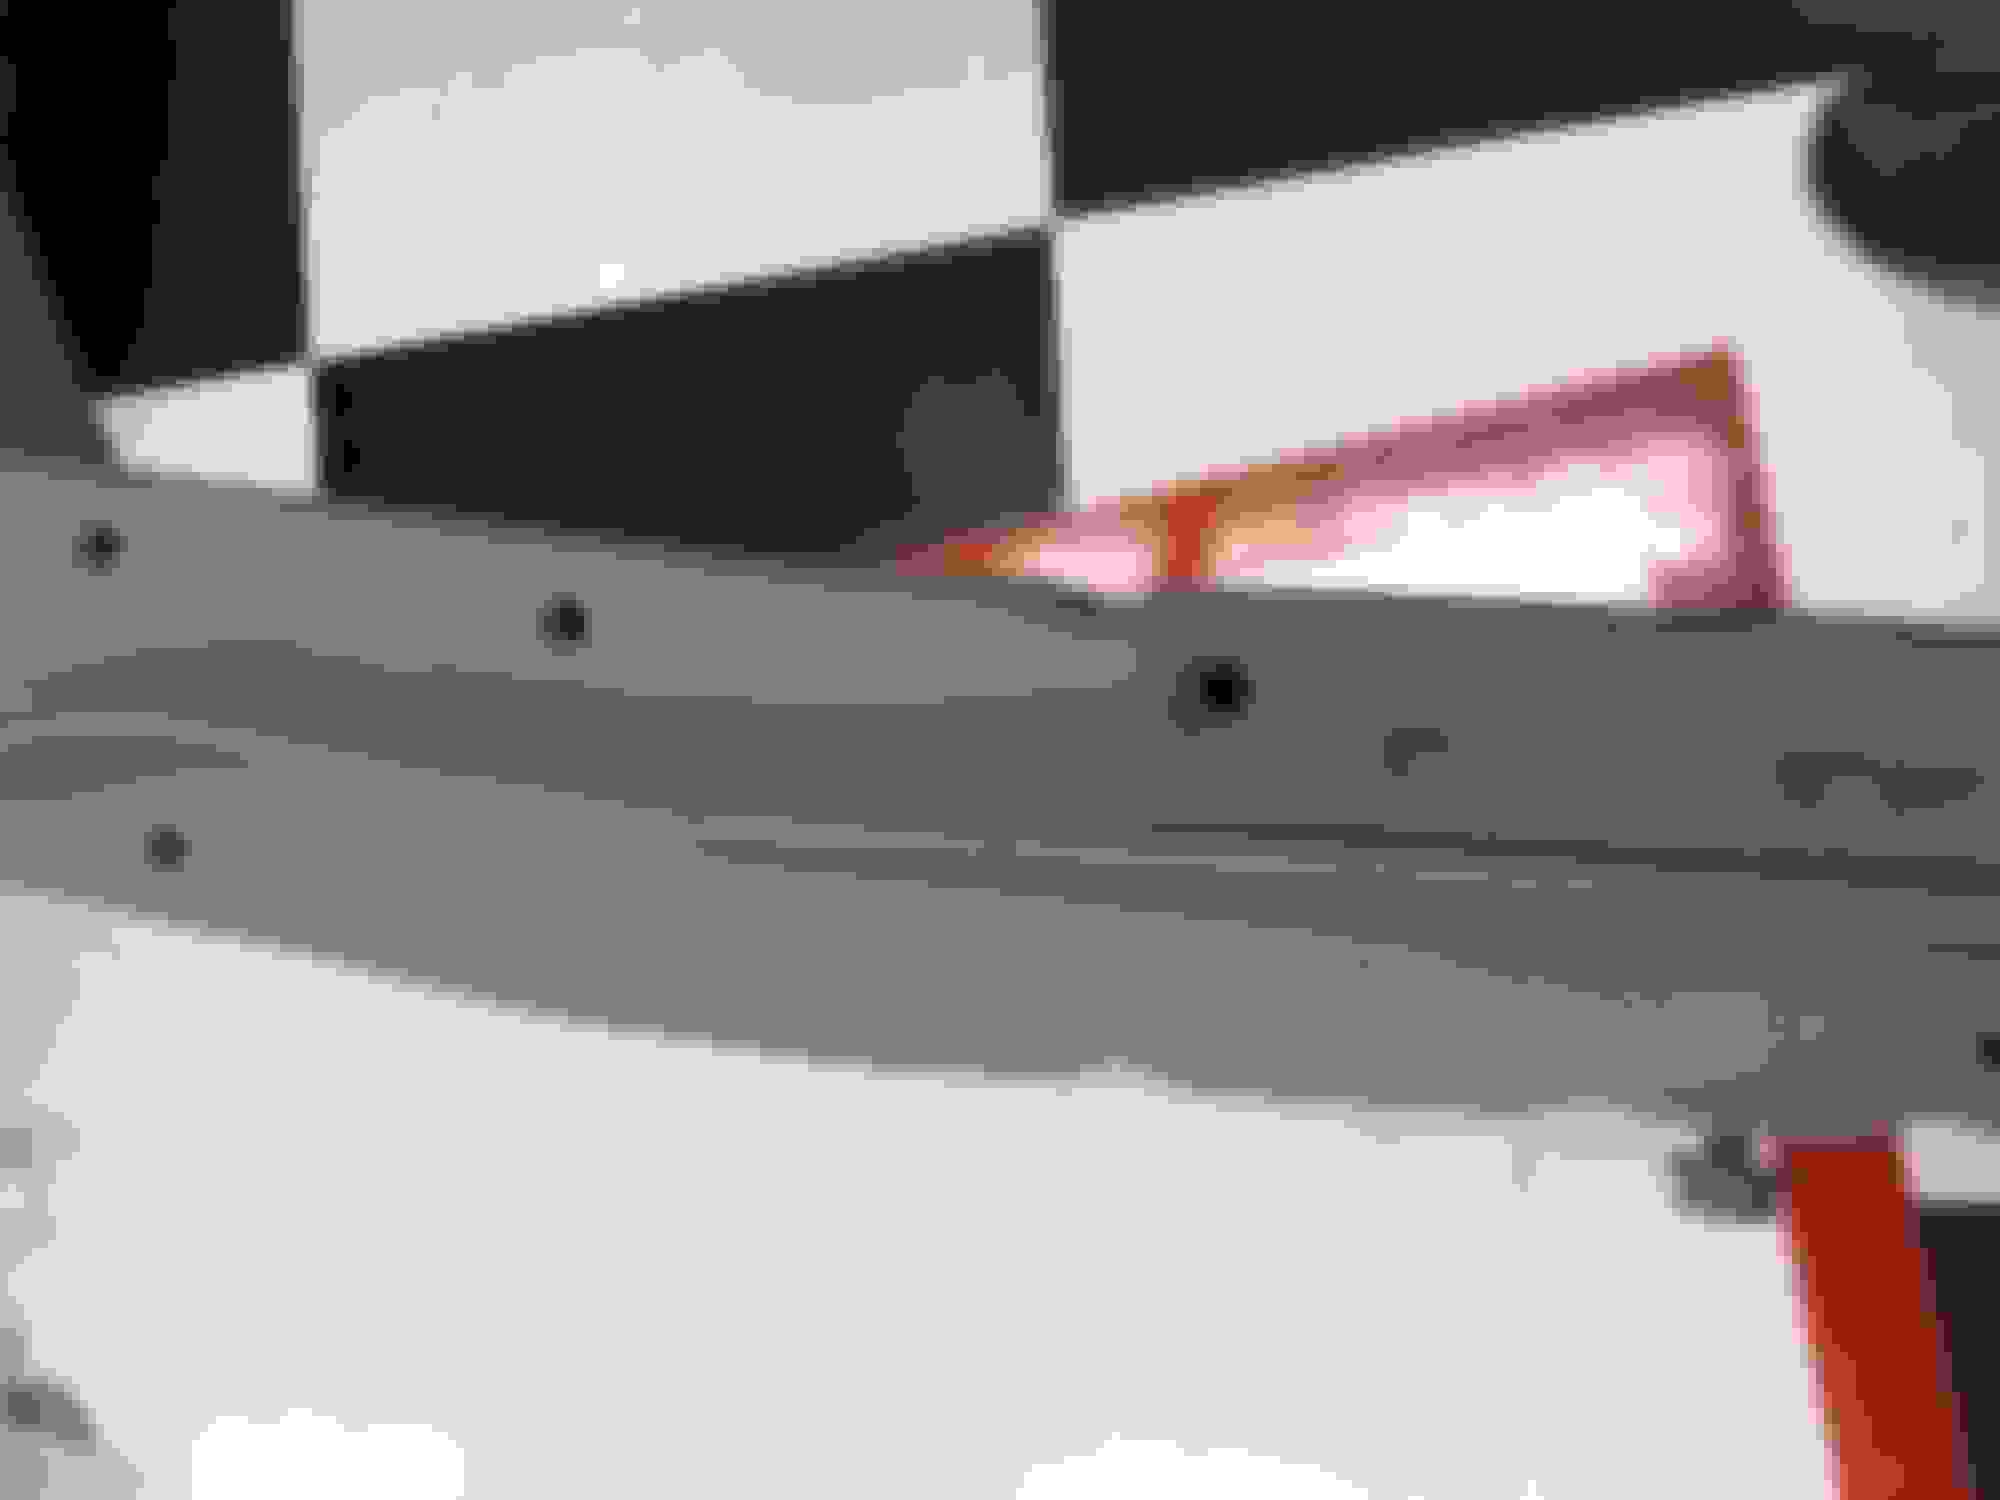
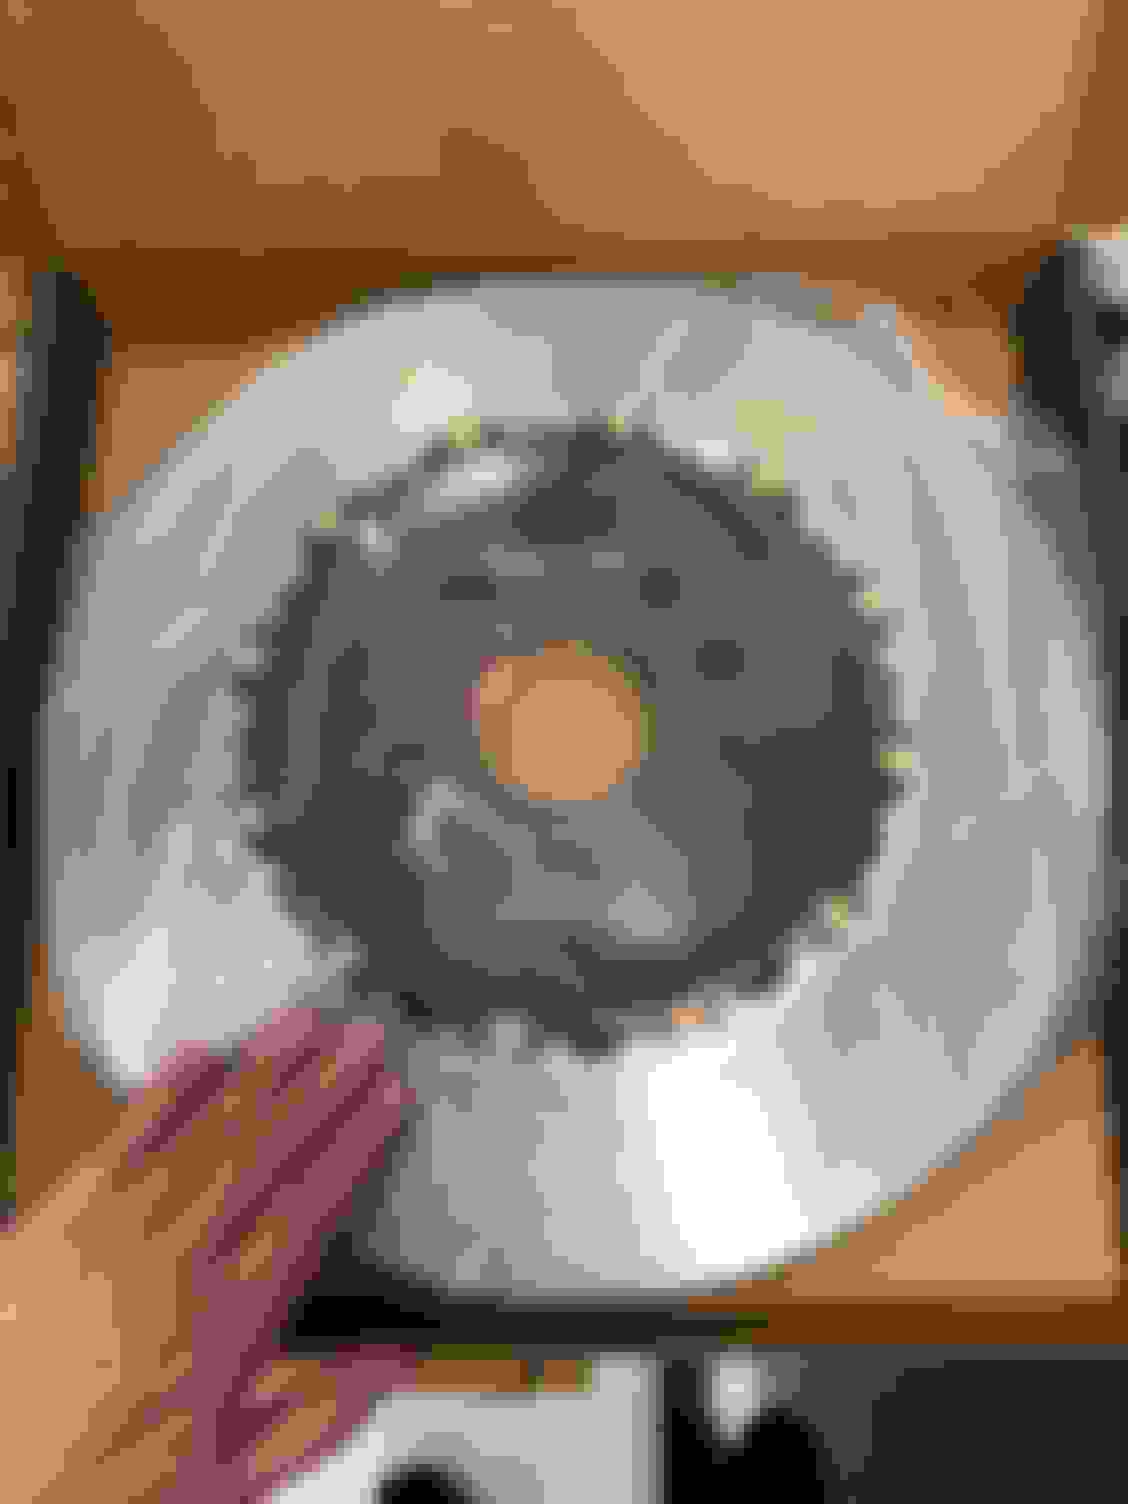
Now came the question mark...could I get the brakes I bought to fit? I got a killer deal on a new set of C7 Z07 brakes from a GM friend...and ordered steel Z07 rotors from GiroDisc (15.5" x 36MM)...
Ventilated Piston Cups
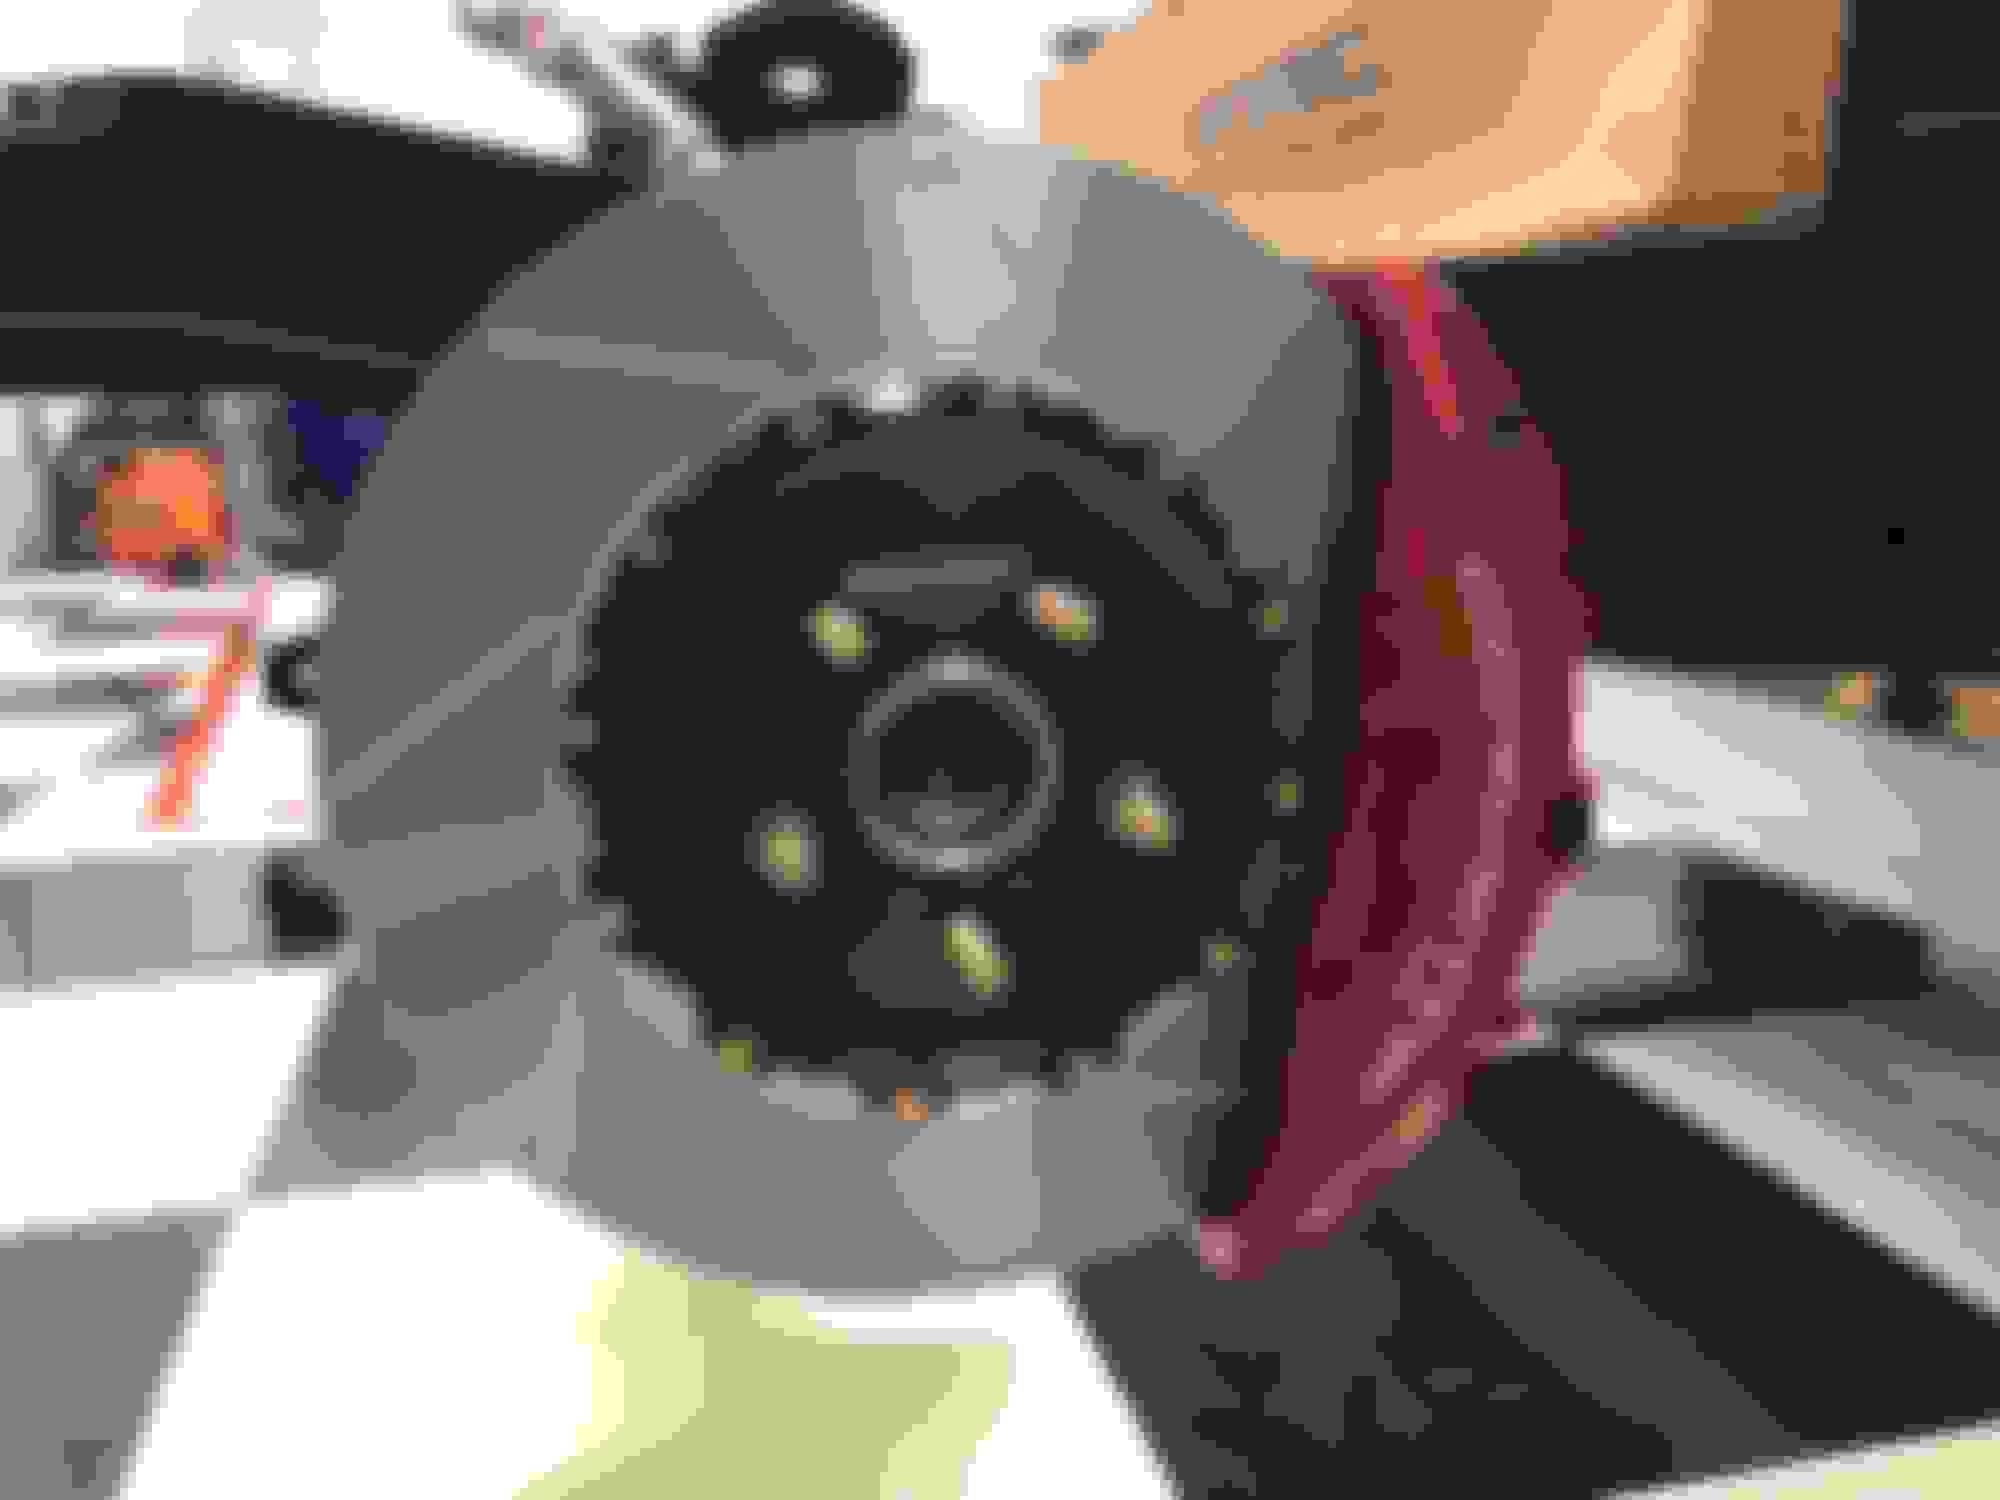
So...the conversion brackets I bought didn't even come close... After sitting there looking for about 10 minutes while sipping a beer I tried mounting them to the steering knuckles where the stock J55's mount. The holes were within 3/32" of lining up perfectly! The Z07 calipers have a slightly narrower spread, so a die-grinder and a carbide burr and a few minutes later it fit.
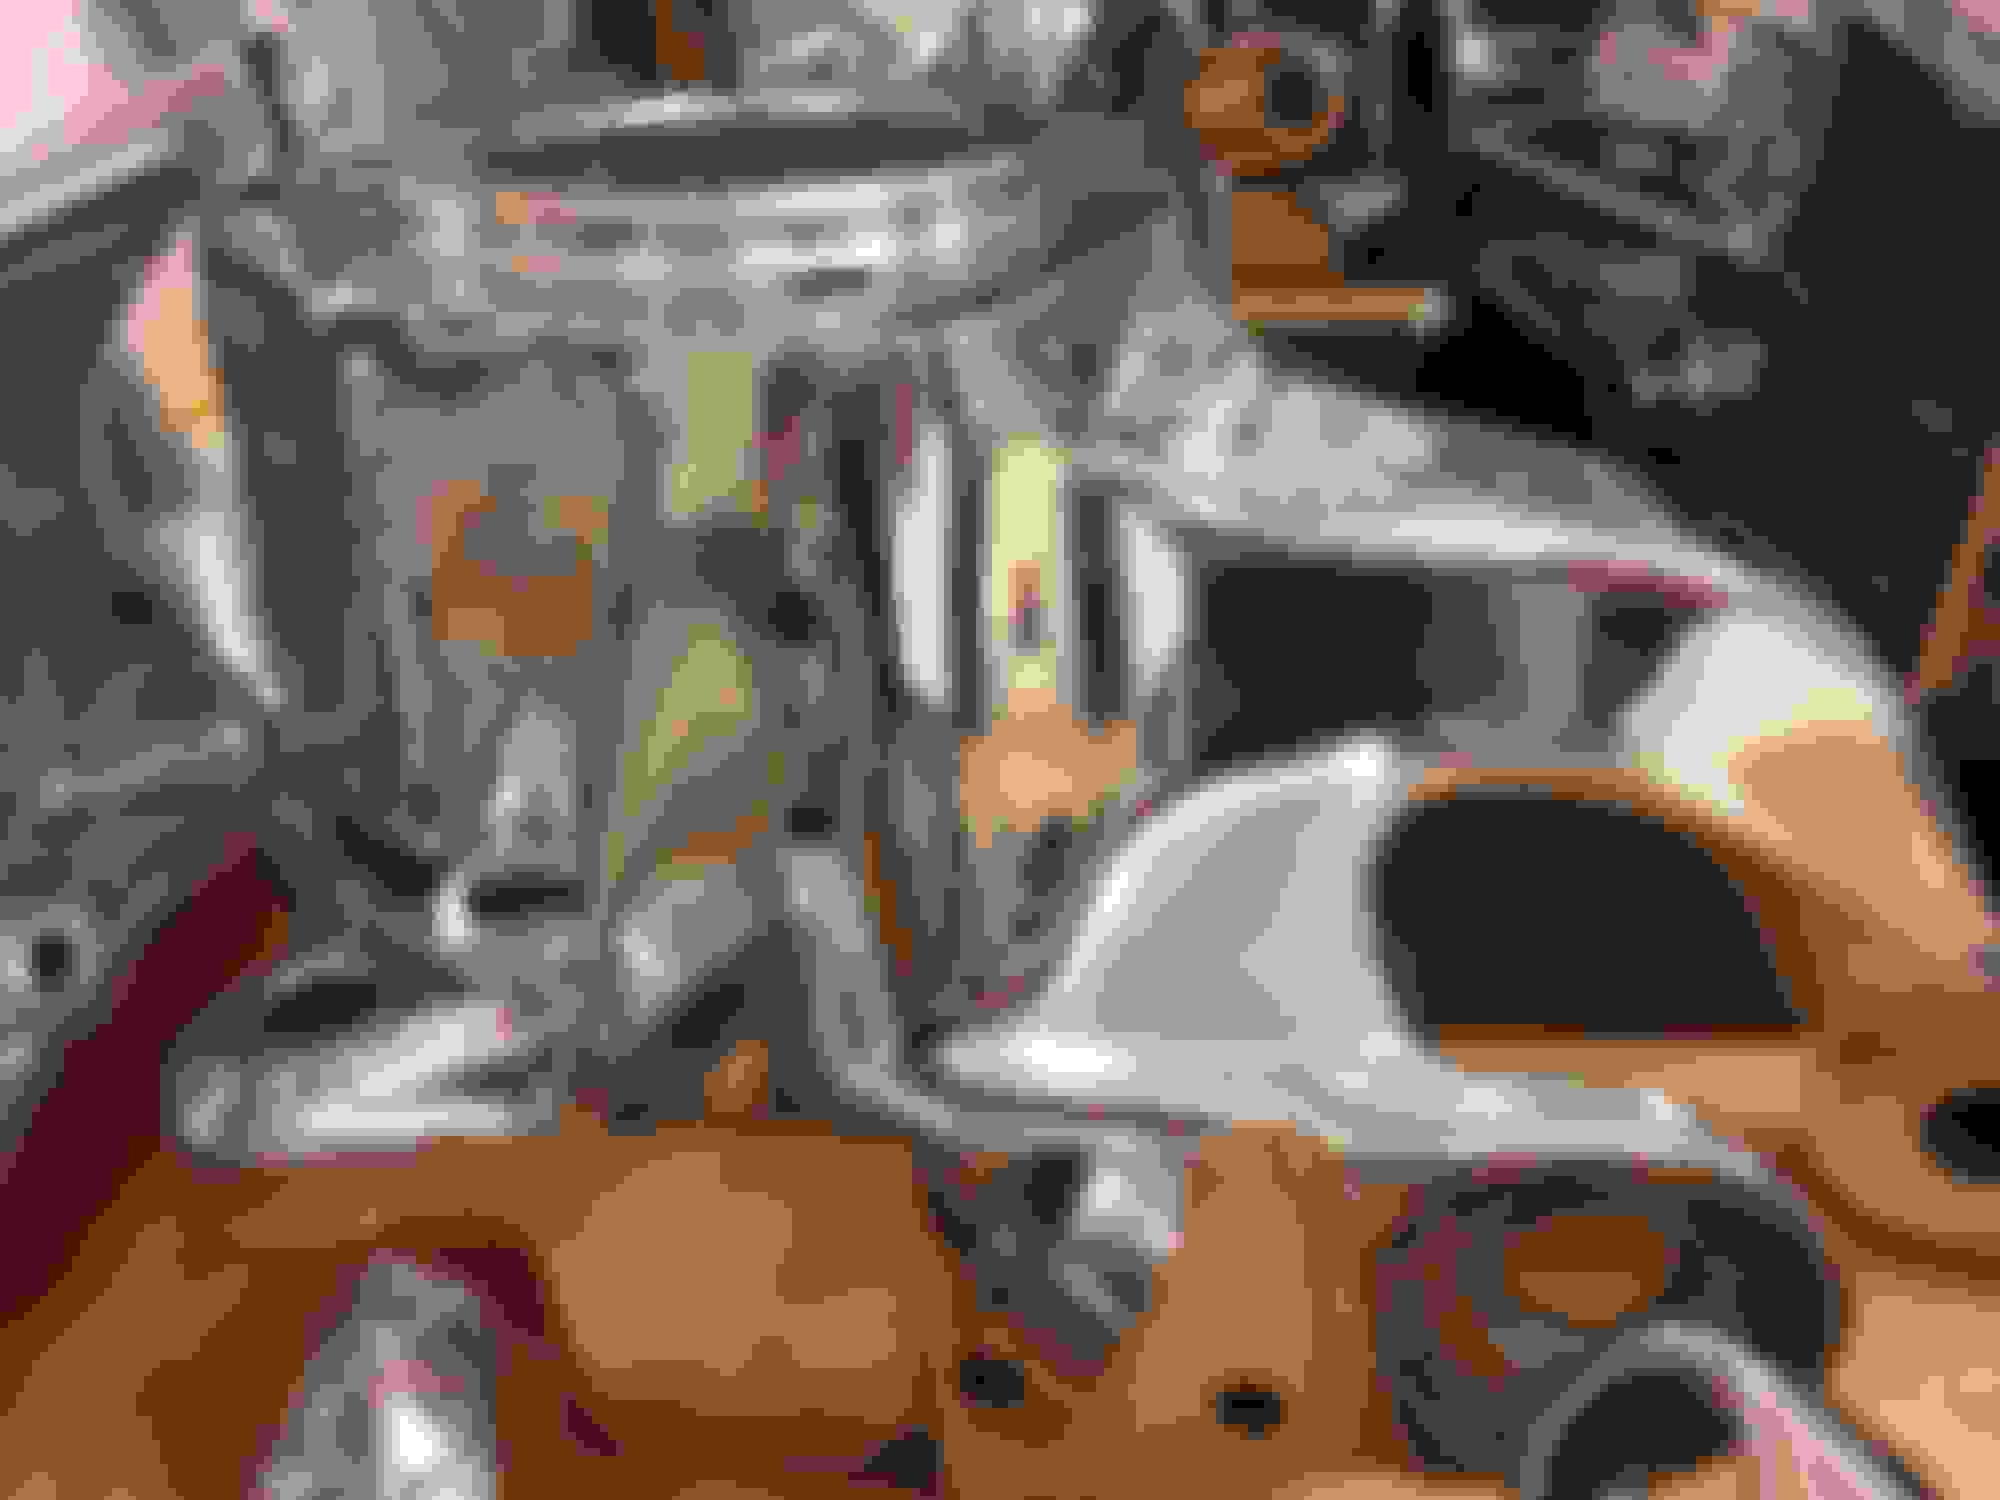
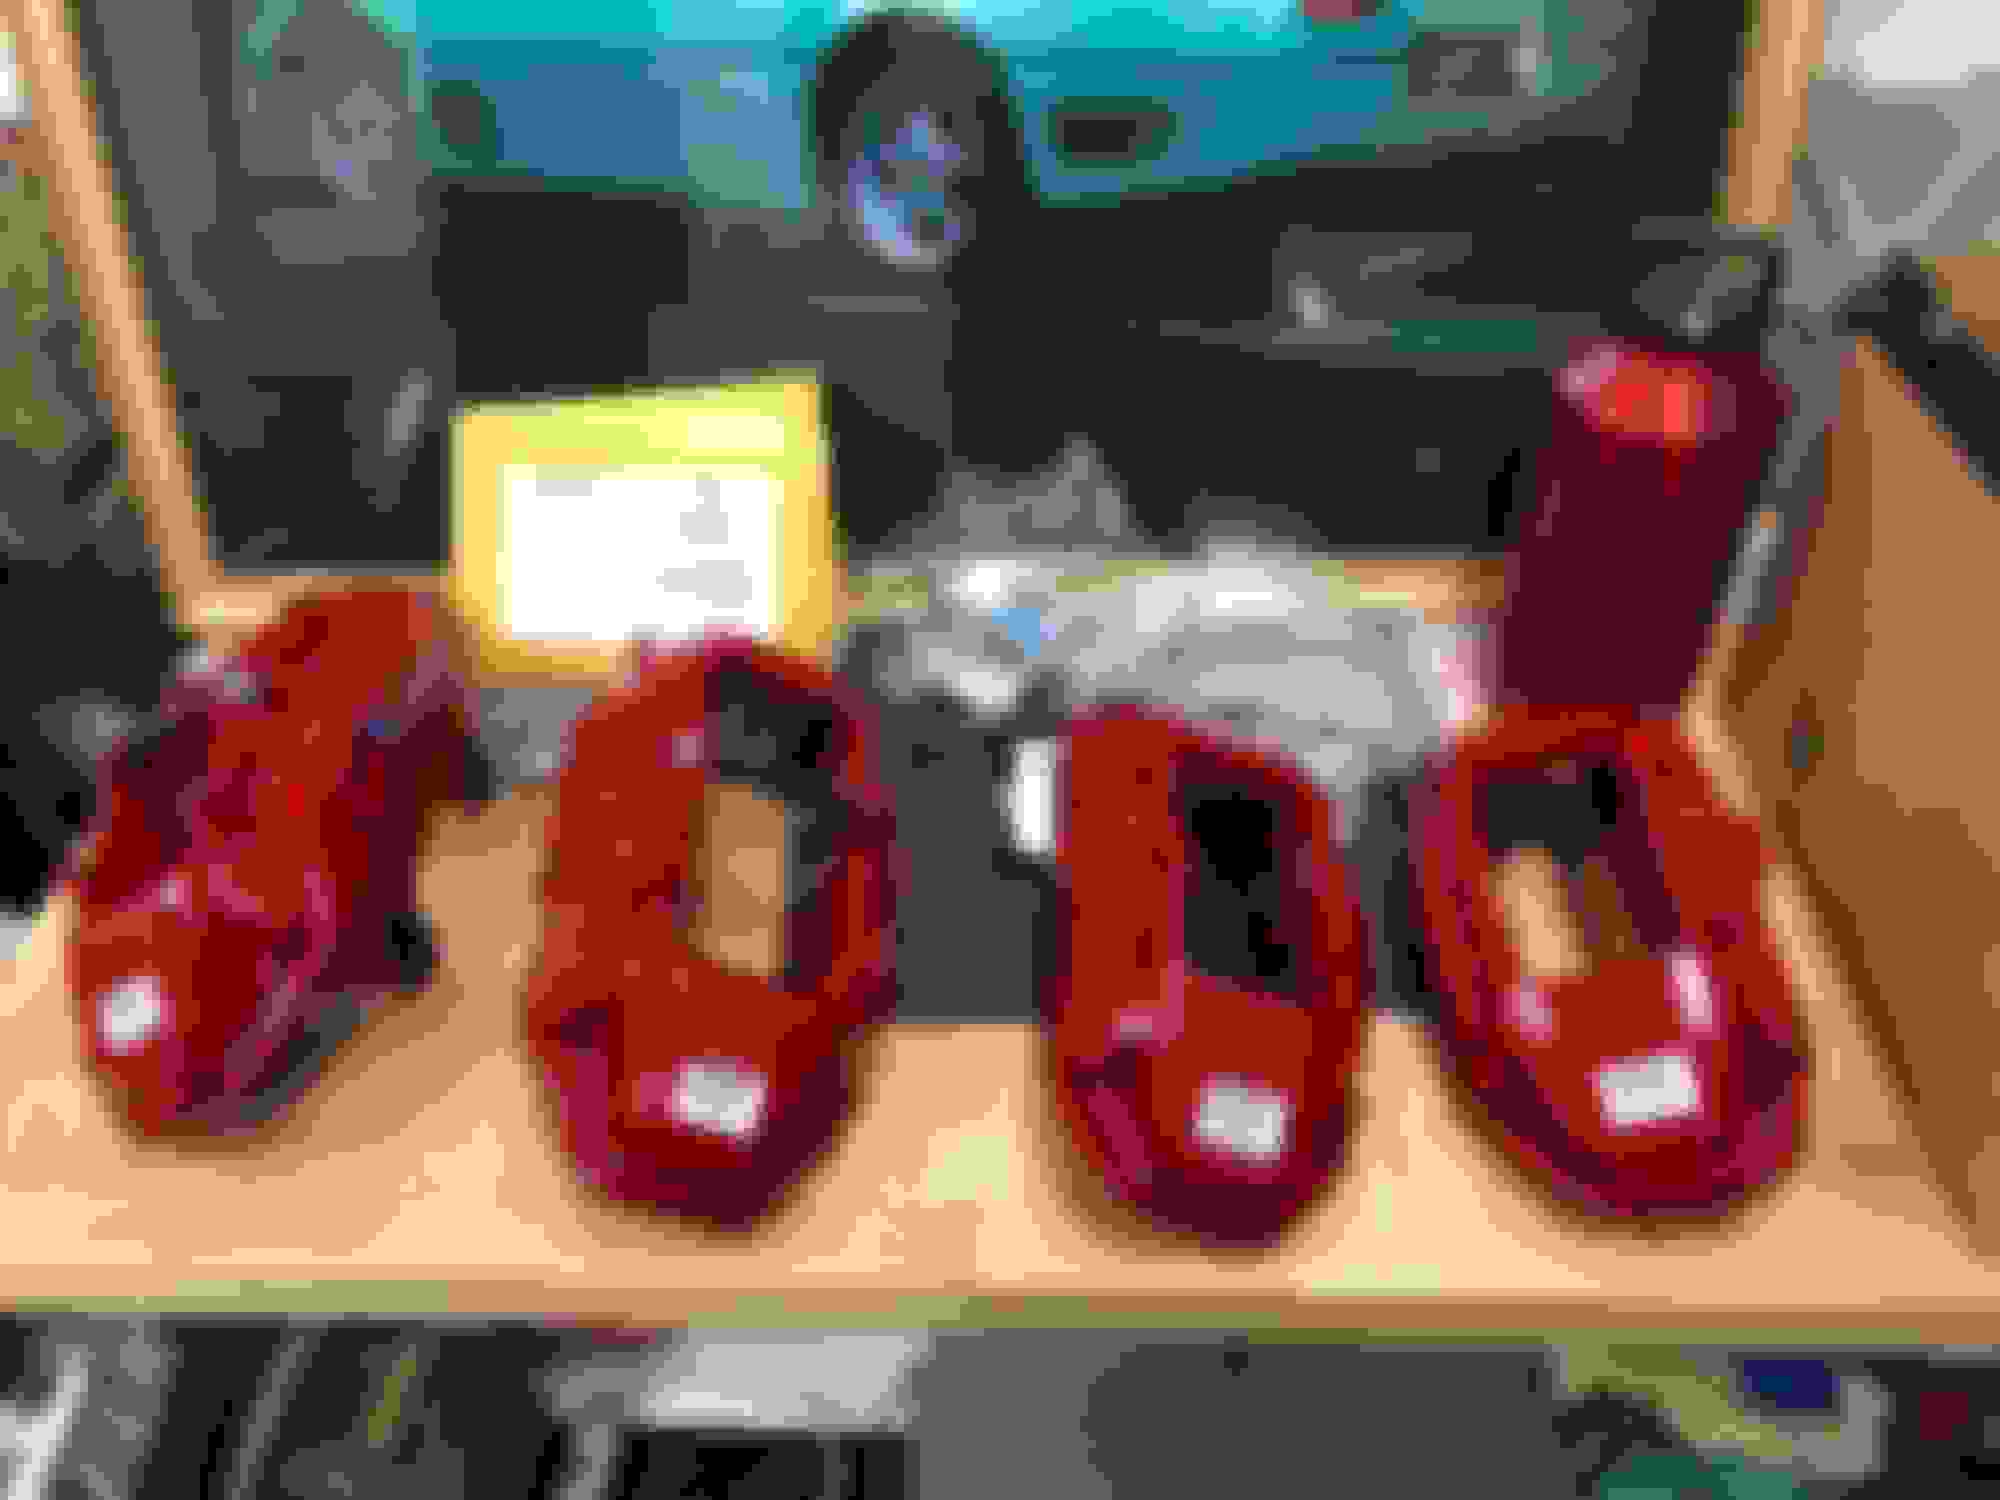
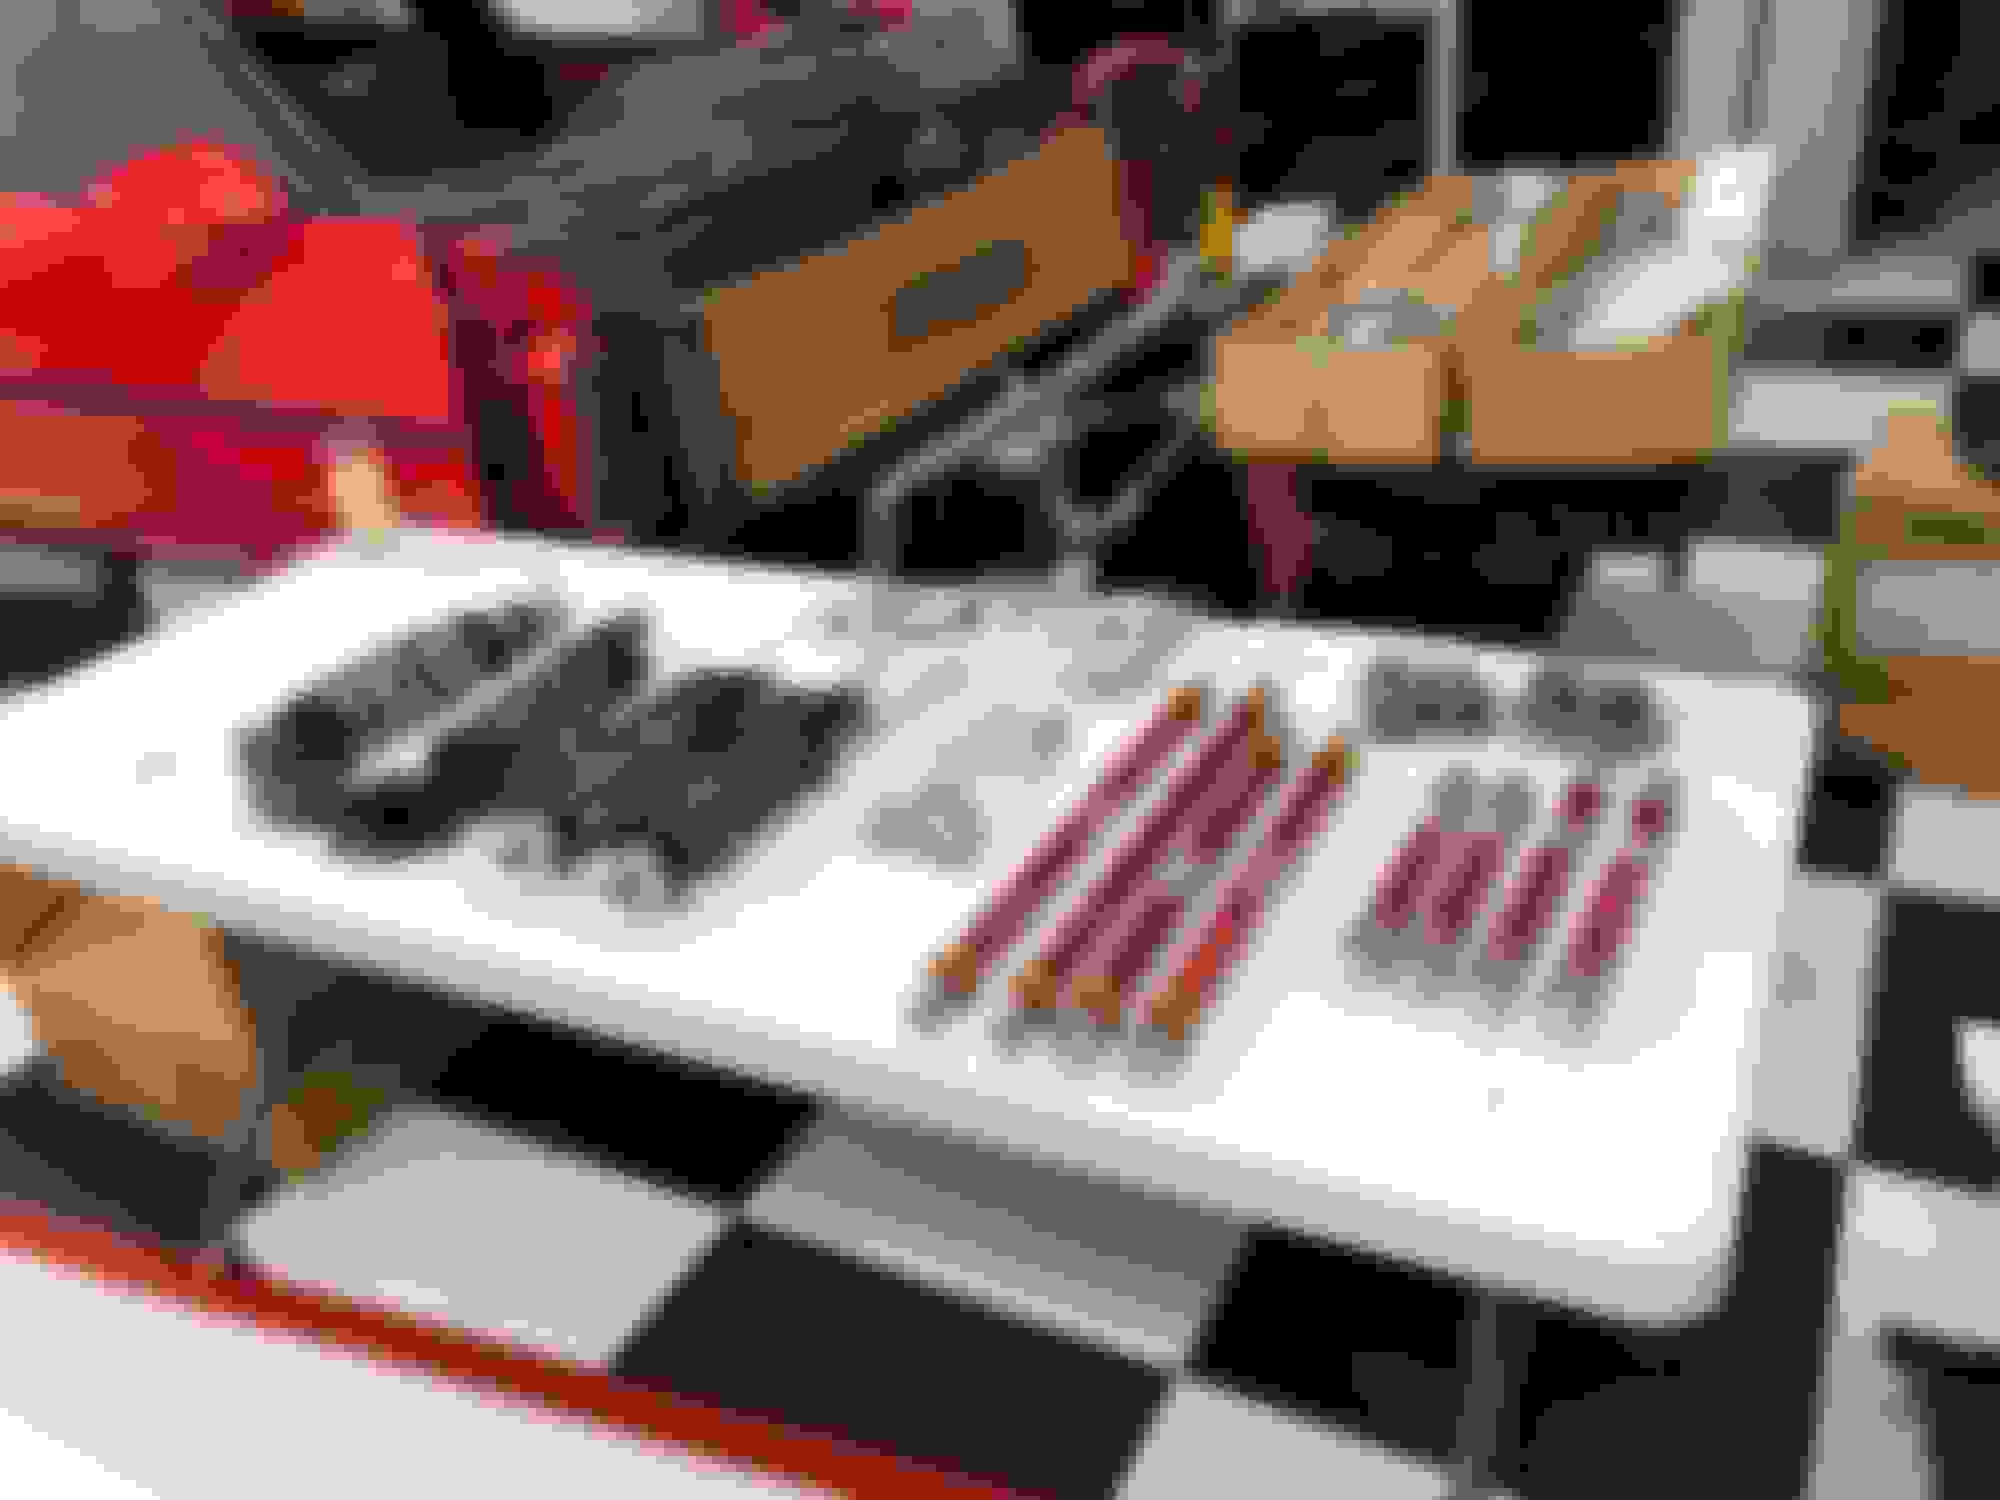
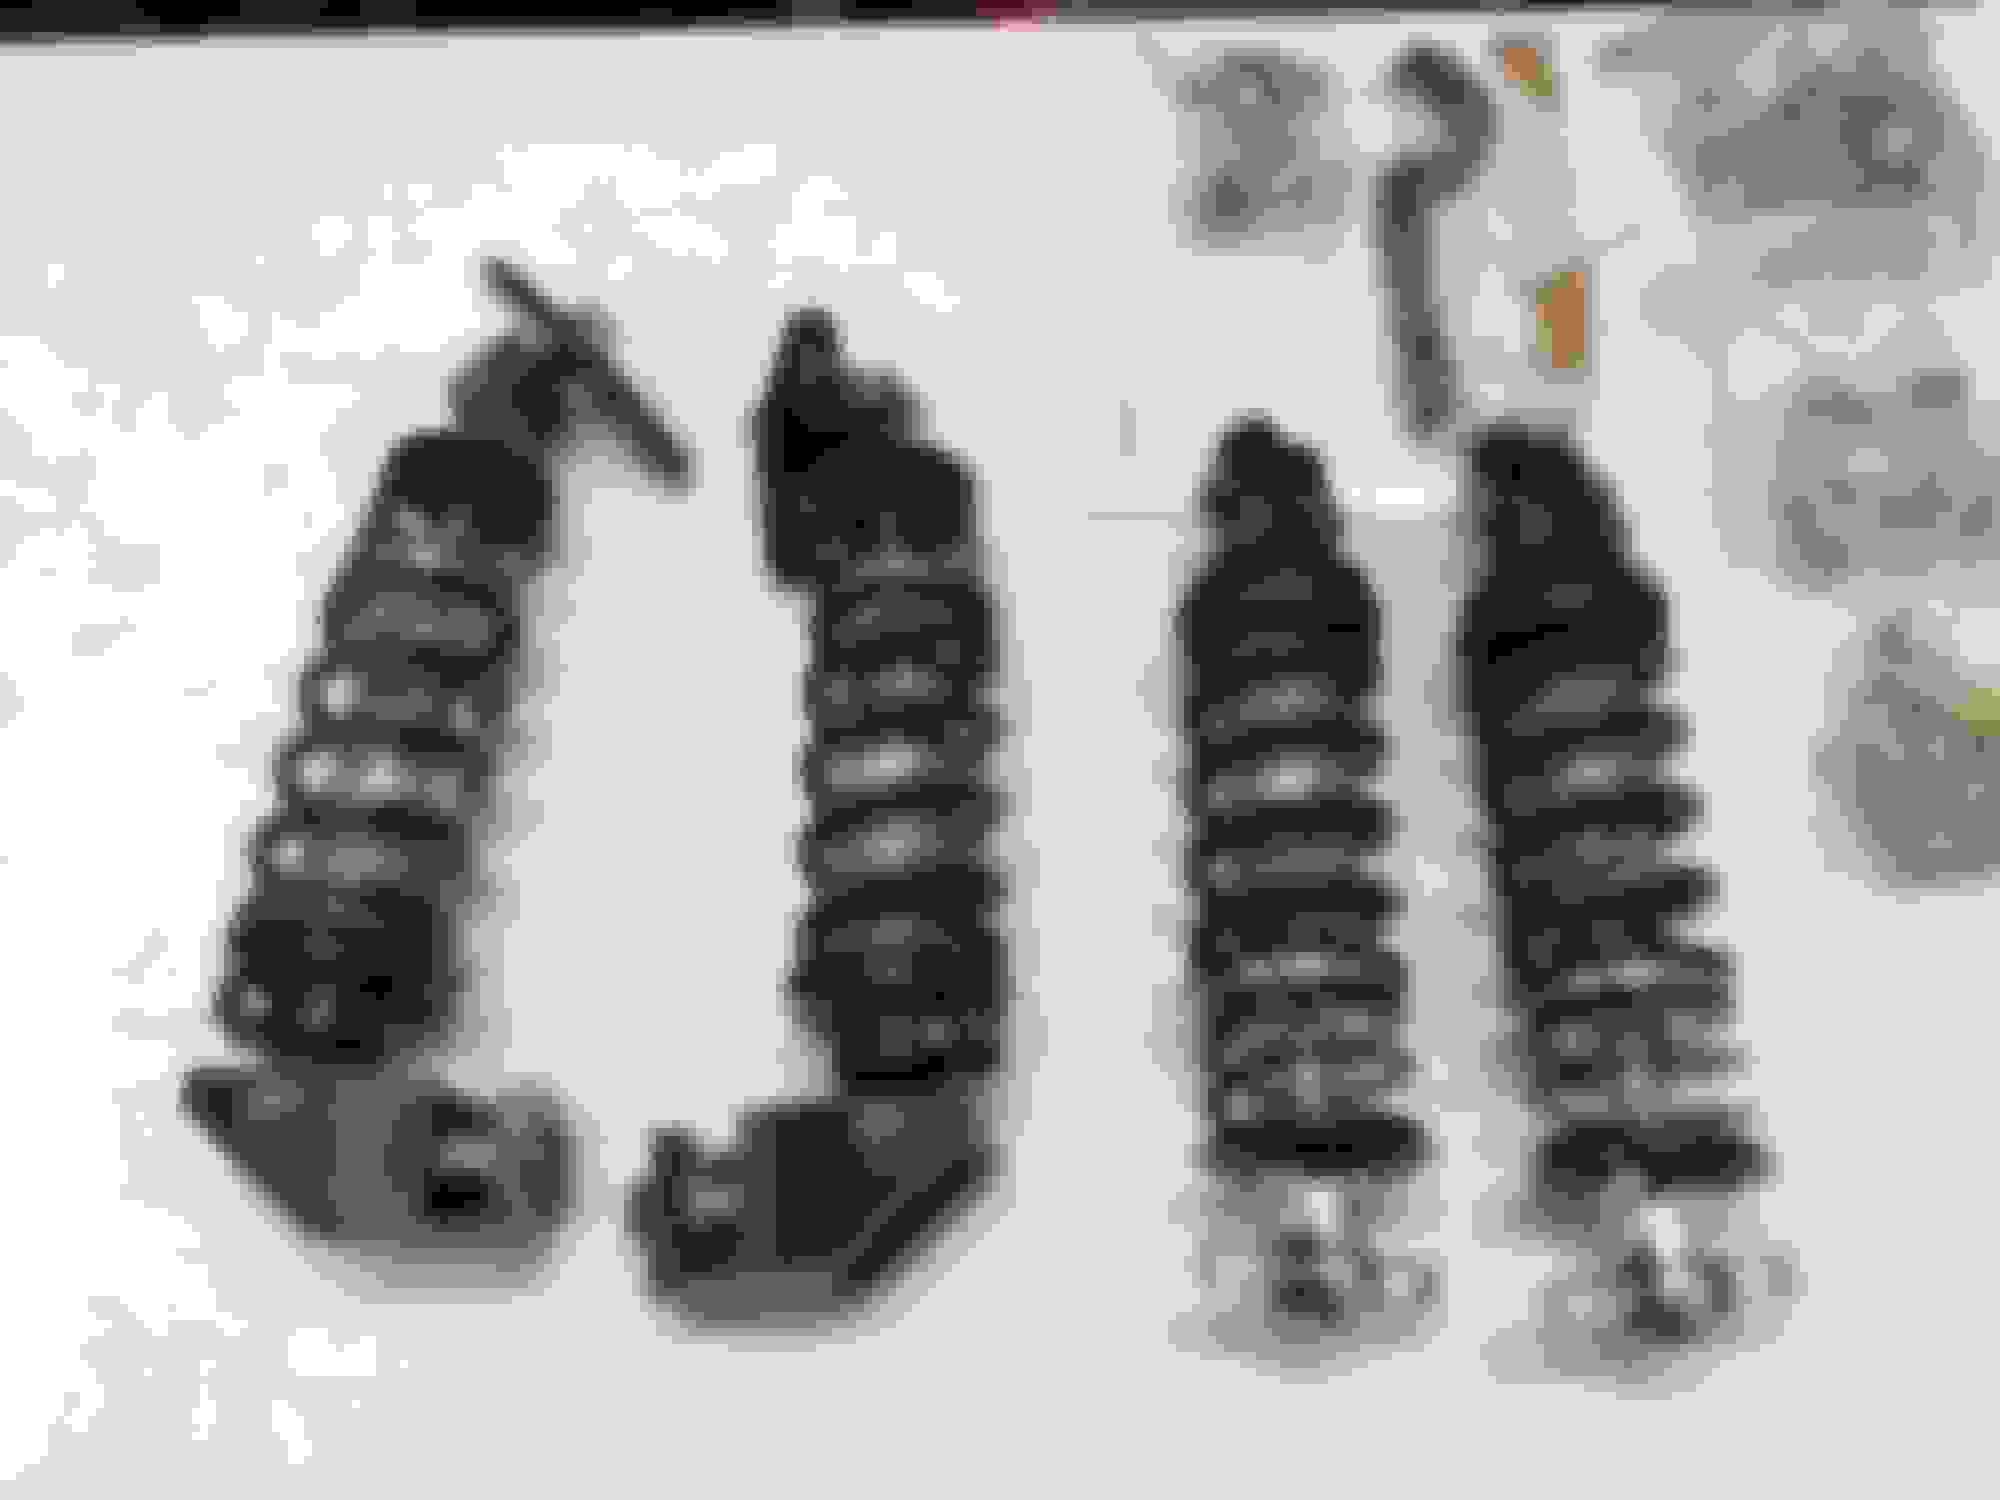
So...now I'm waiting on D44 seals to arrive in the next few days so I can reassemble the rear end, hang it and get the rear knuckles on. Meanwhile...I unpacked some stuff that will accompany it...
Van Steel QA1 coil-overs double-adjustable
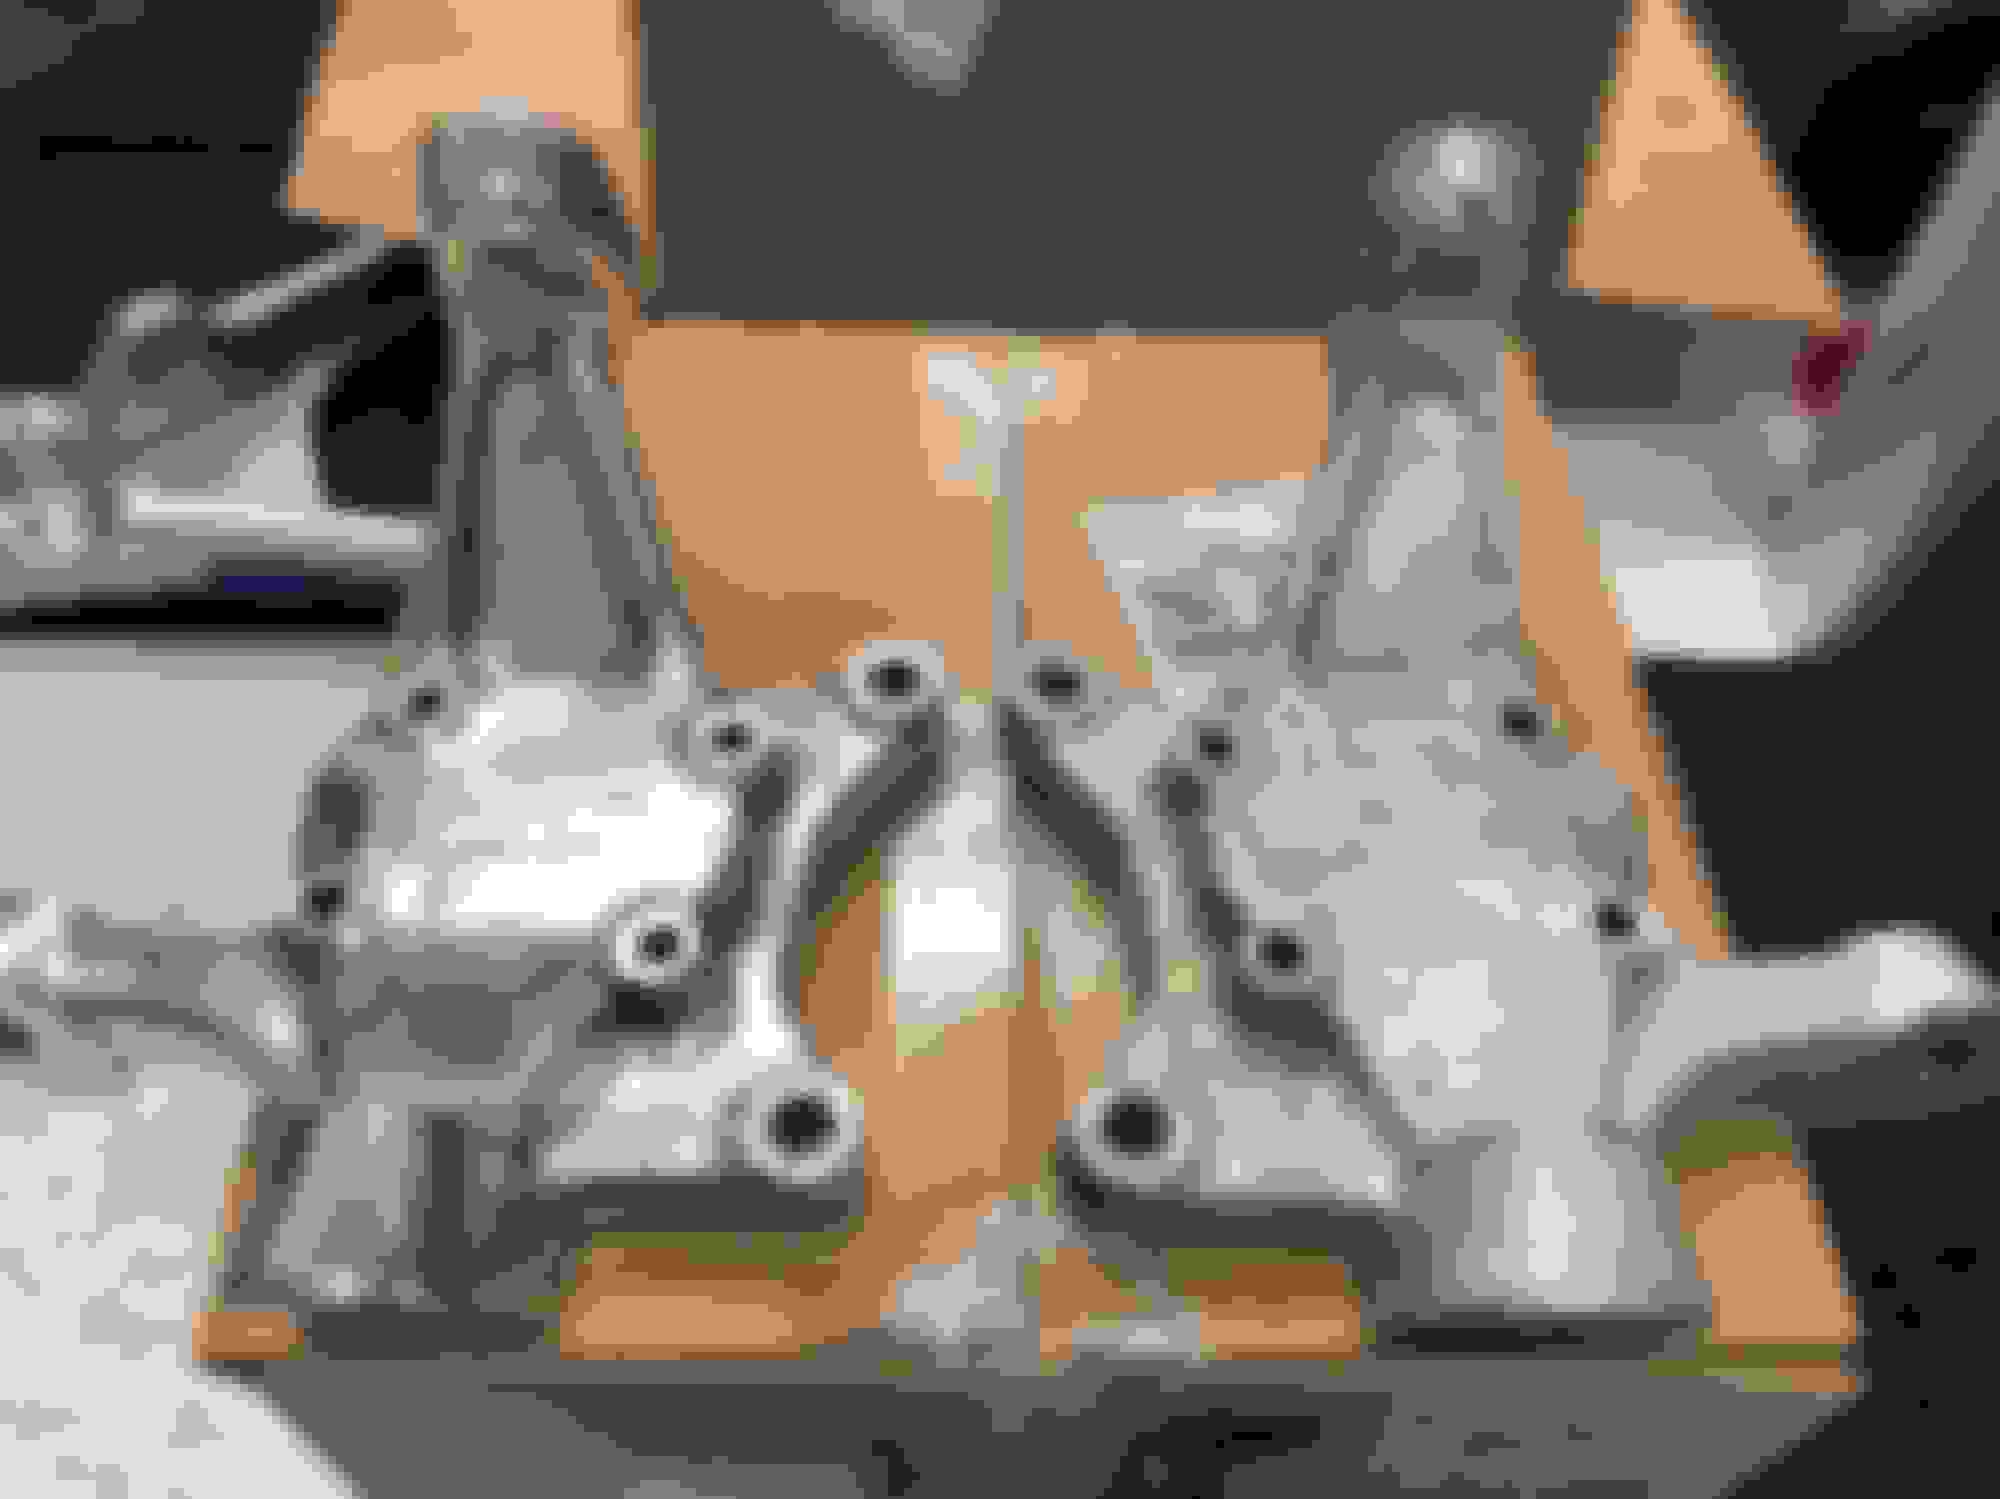
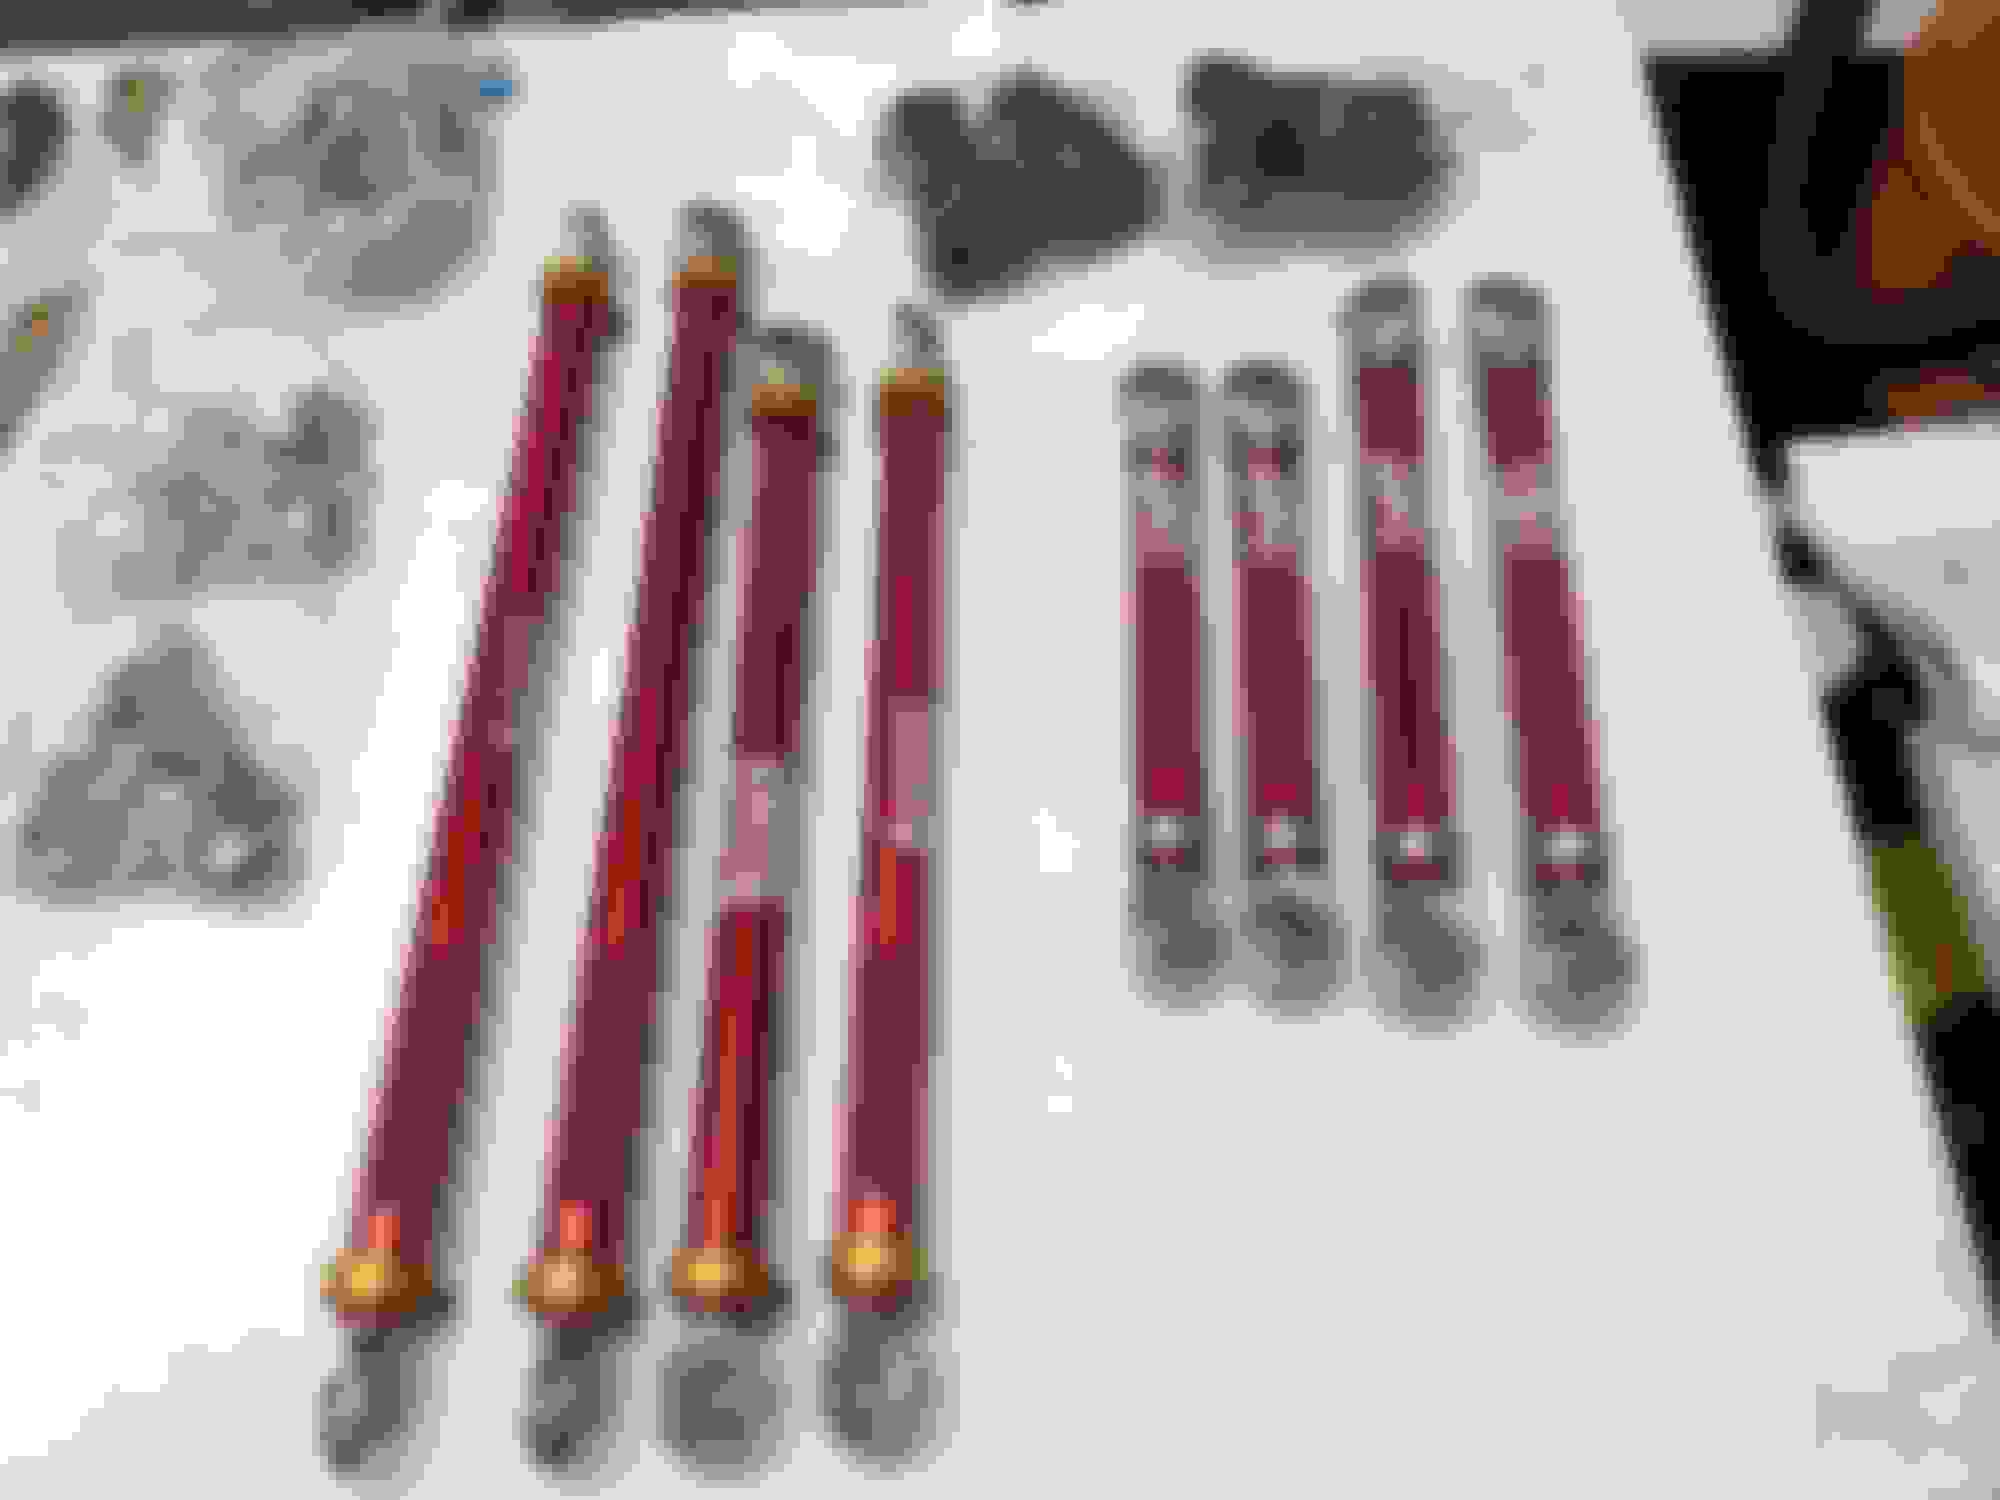
Banski trailing links (right) and camber & toe rods for the D44 rear end.
bowling green did not weld the frame before it was galvanized. I made those stampings and they were electro-plated high strength-low alloy steel. we did a similar experiment on one of our challenge car frames.but we cut off most of the pinch weld flange before welding it to get as close to a tubular structure as possible.chevy then tested the frame and verified a significant improvement in stiffness. powell racing who built the challenge cars did the modification.---nice work on all of the polishing and buffing.
bowling green did not weld the frame before it was galvanized. I made those stampings and they were electro-plated high strength-low alloy steel. we did a similar experiment on one of our challenge car frames.but we cut off most of the pinch weld flange before welding it to get as close to a tubular structure as possible.chevy then tested the frame and verified a significant improvement in stiffness. powell racing who built the challenge cars did the modification.---nice work on all of the polishing and buffing.
I was told that on one of the factory tours...just going from what was passed to me.
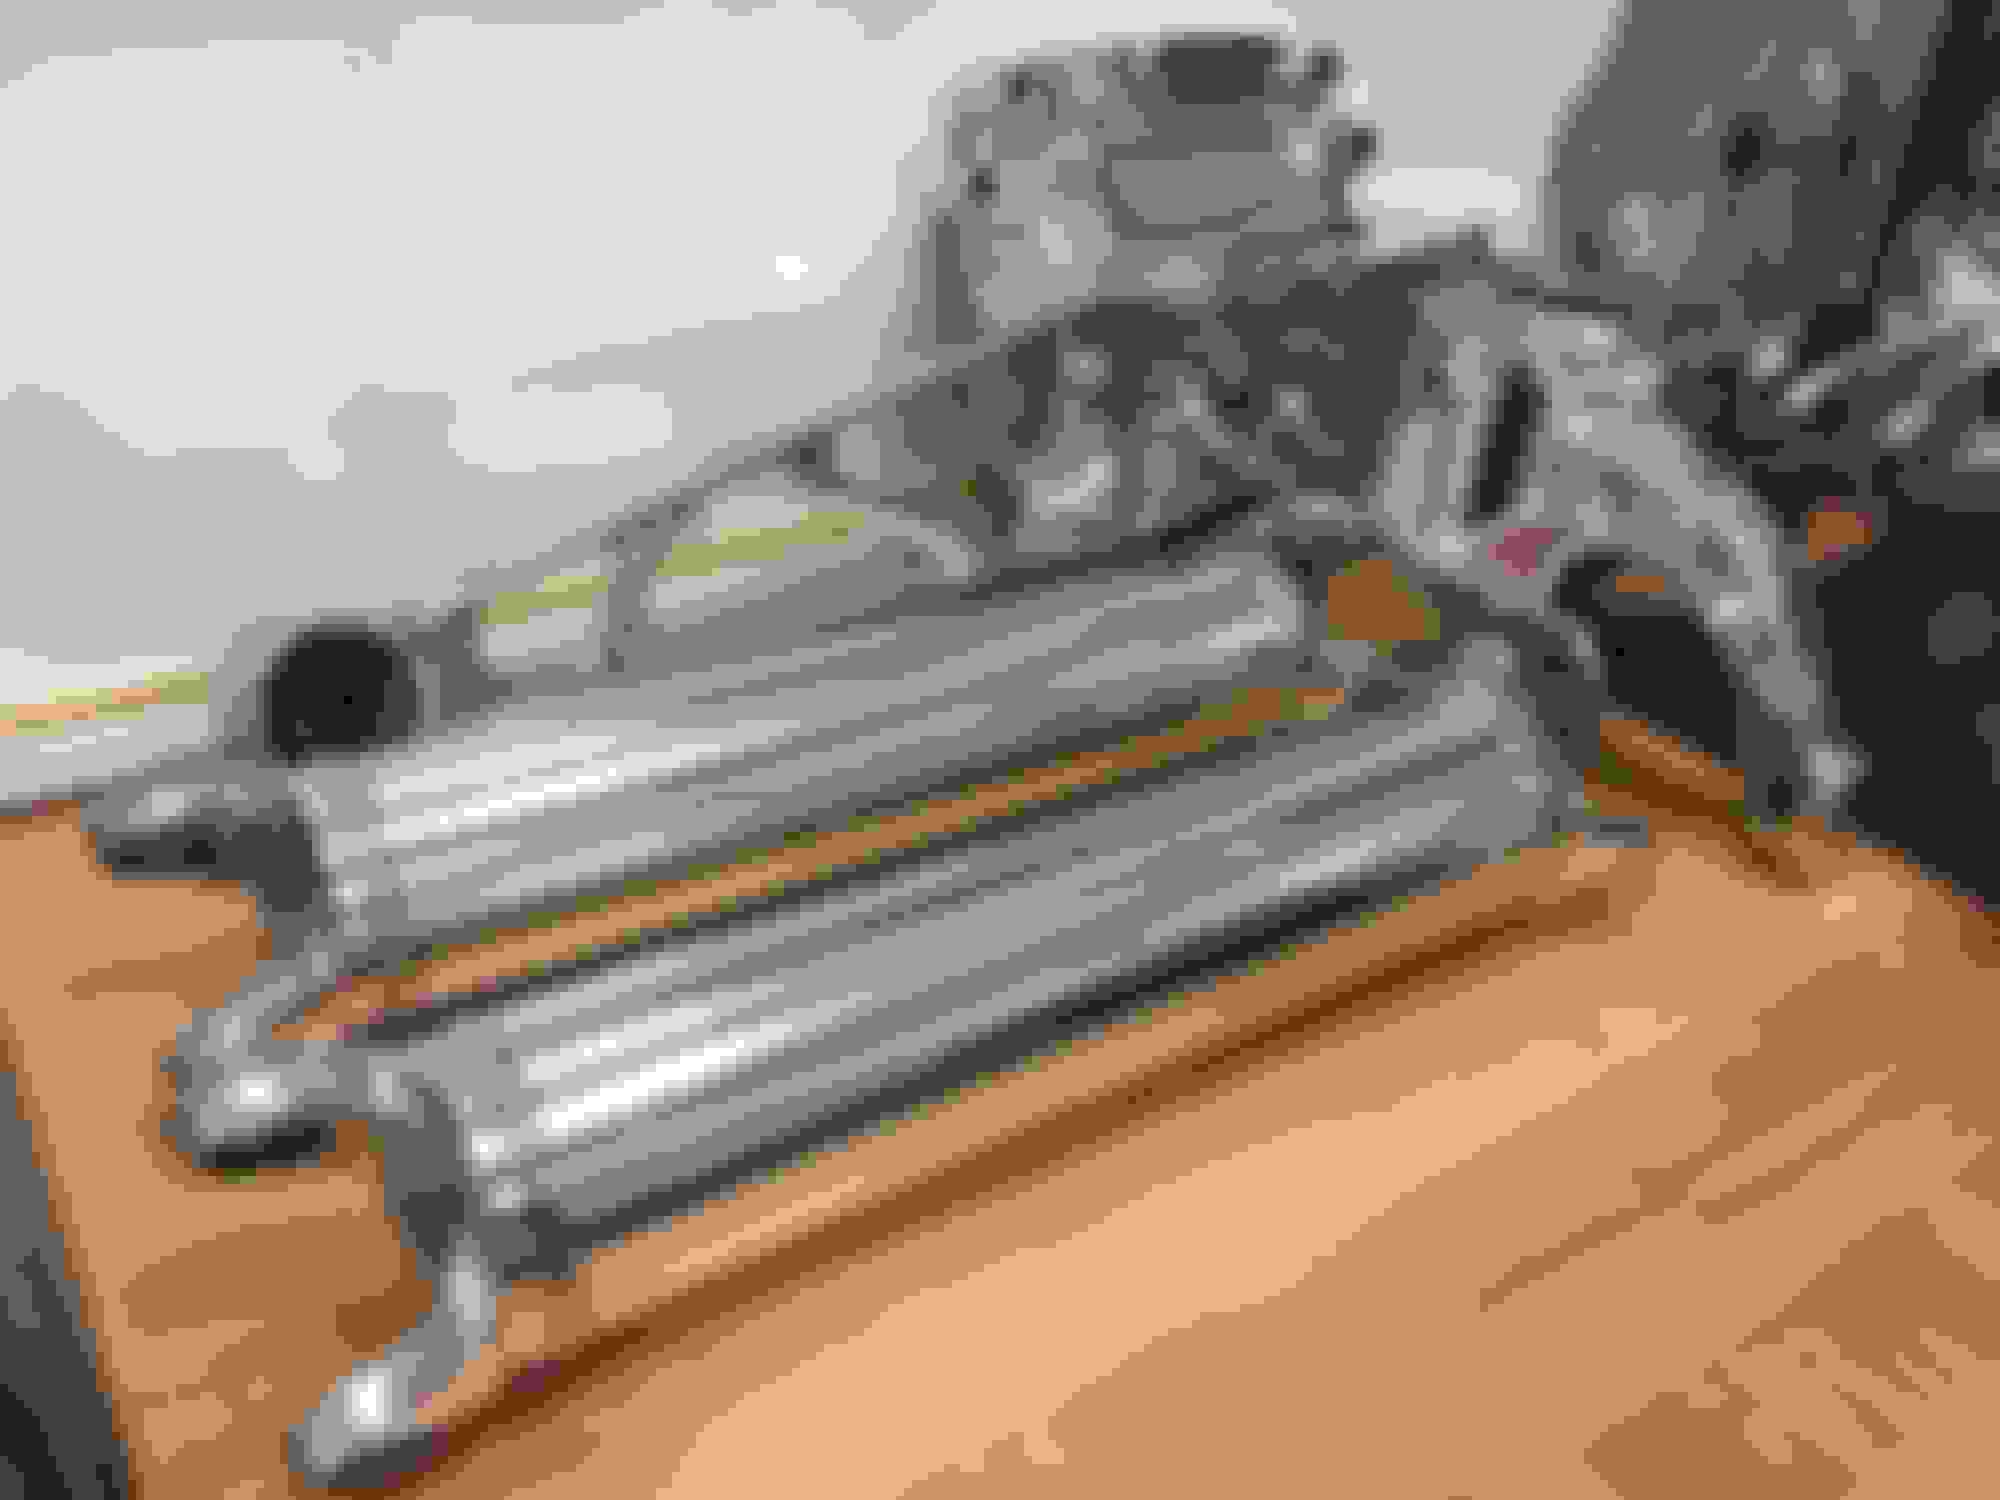
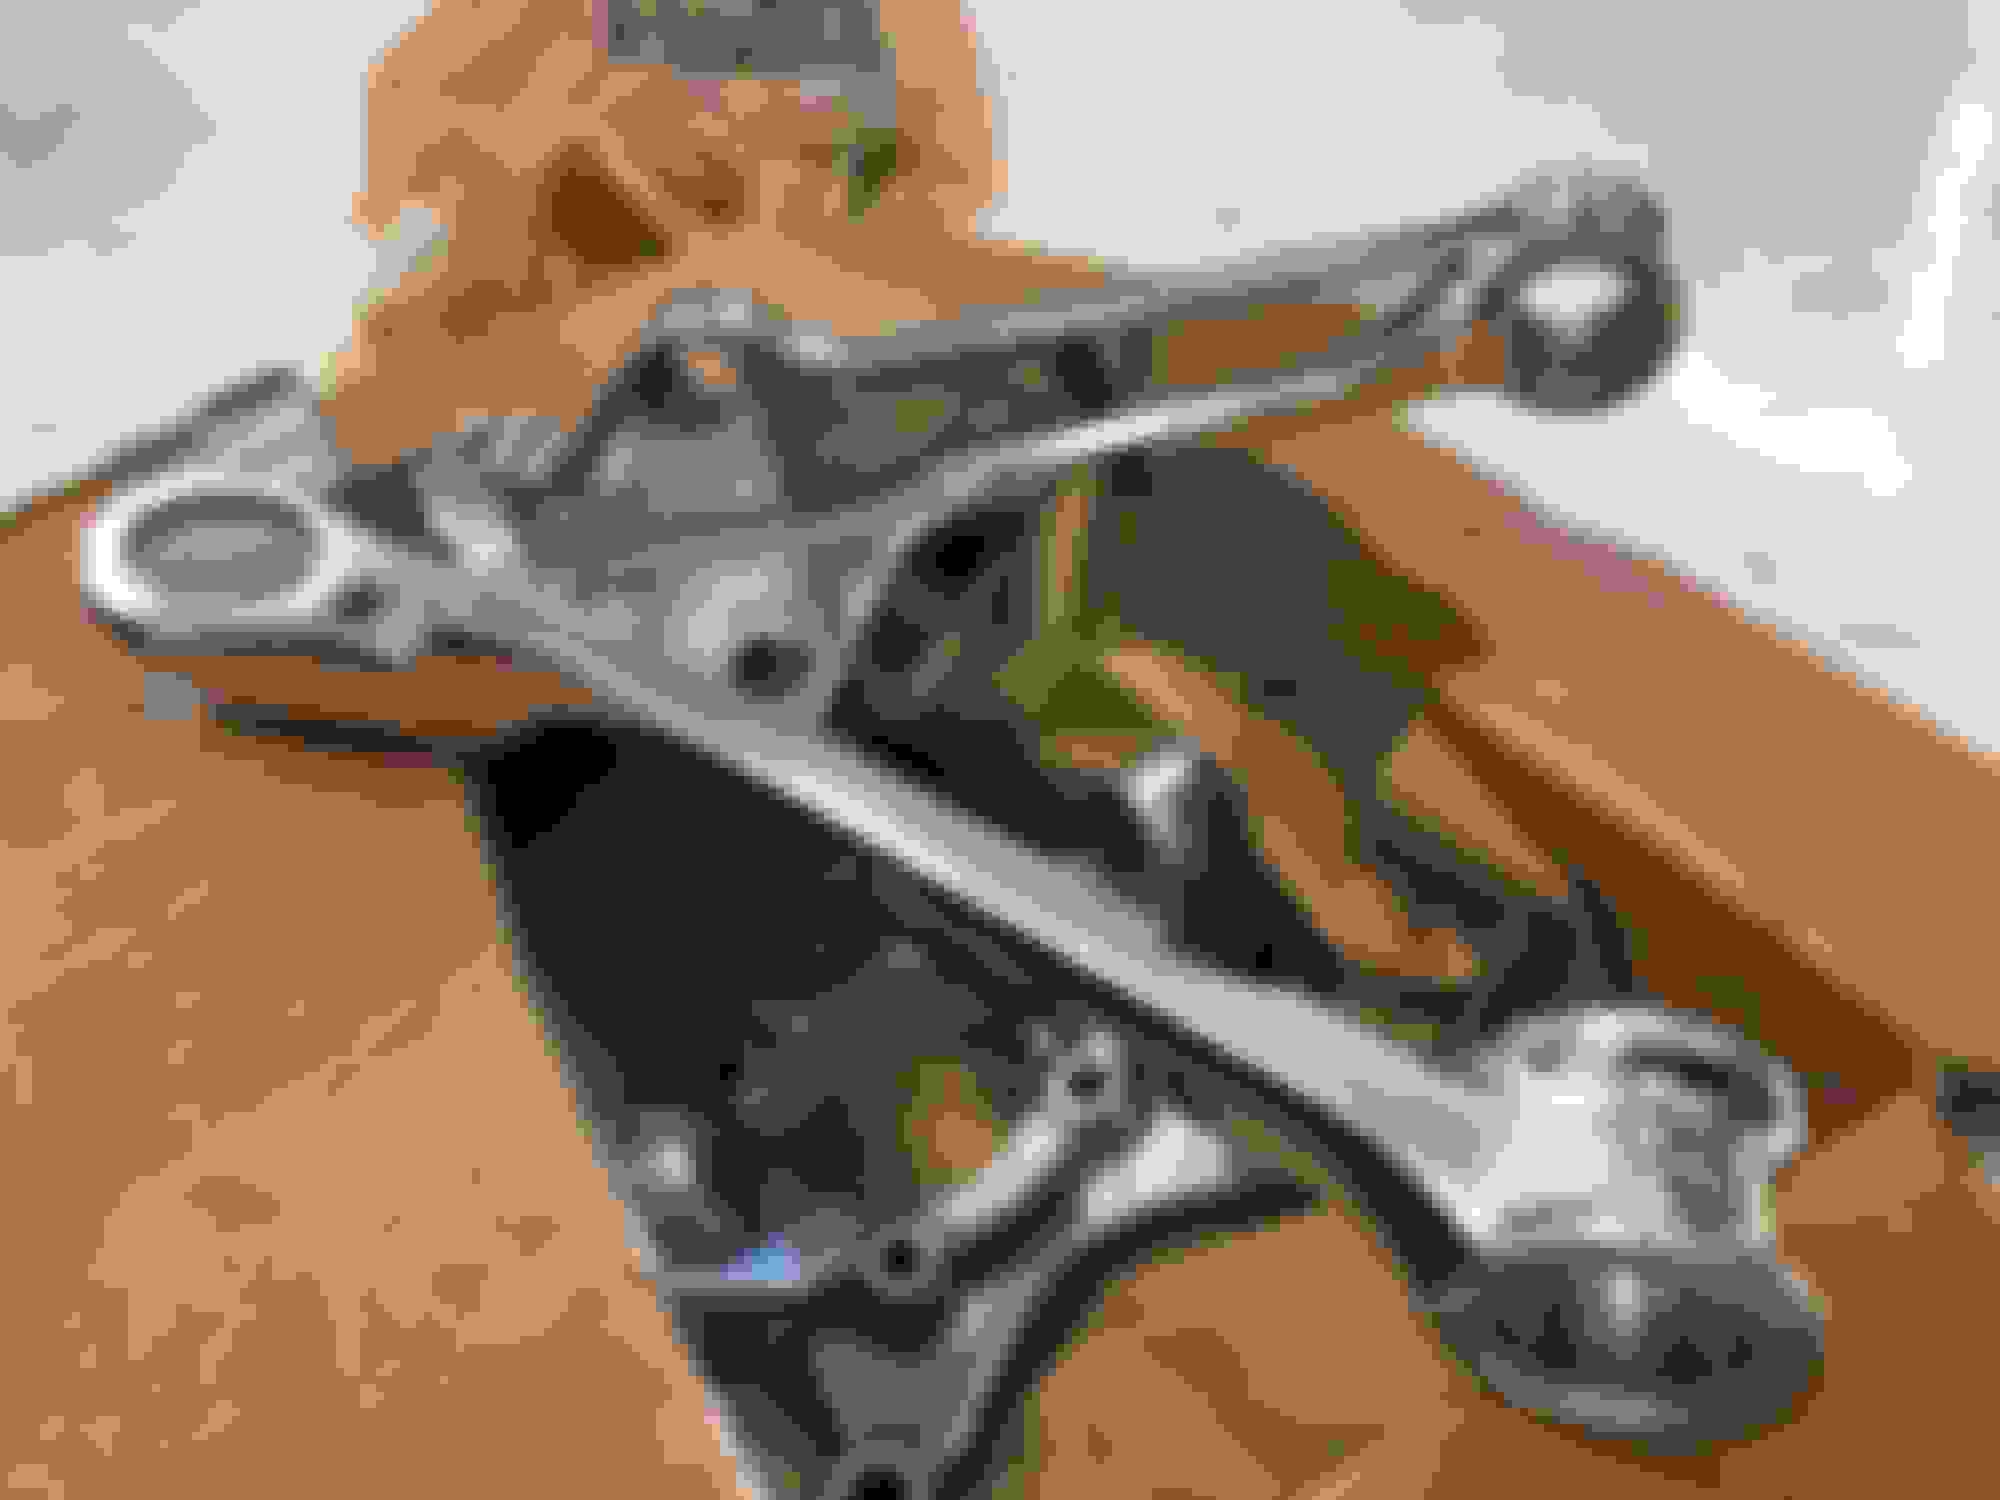
The suspension came out nicer than I thought it would...it's almost going to be a shame to put her on the track!
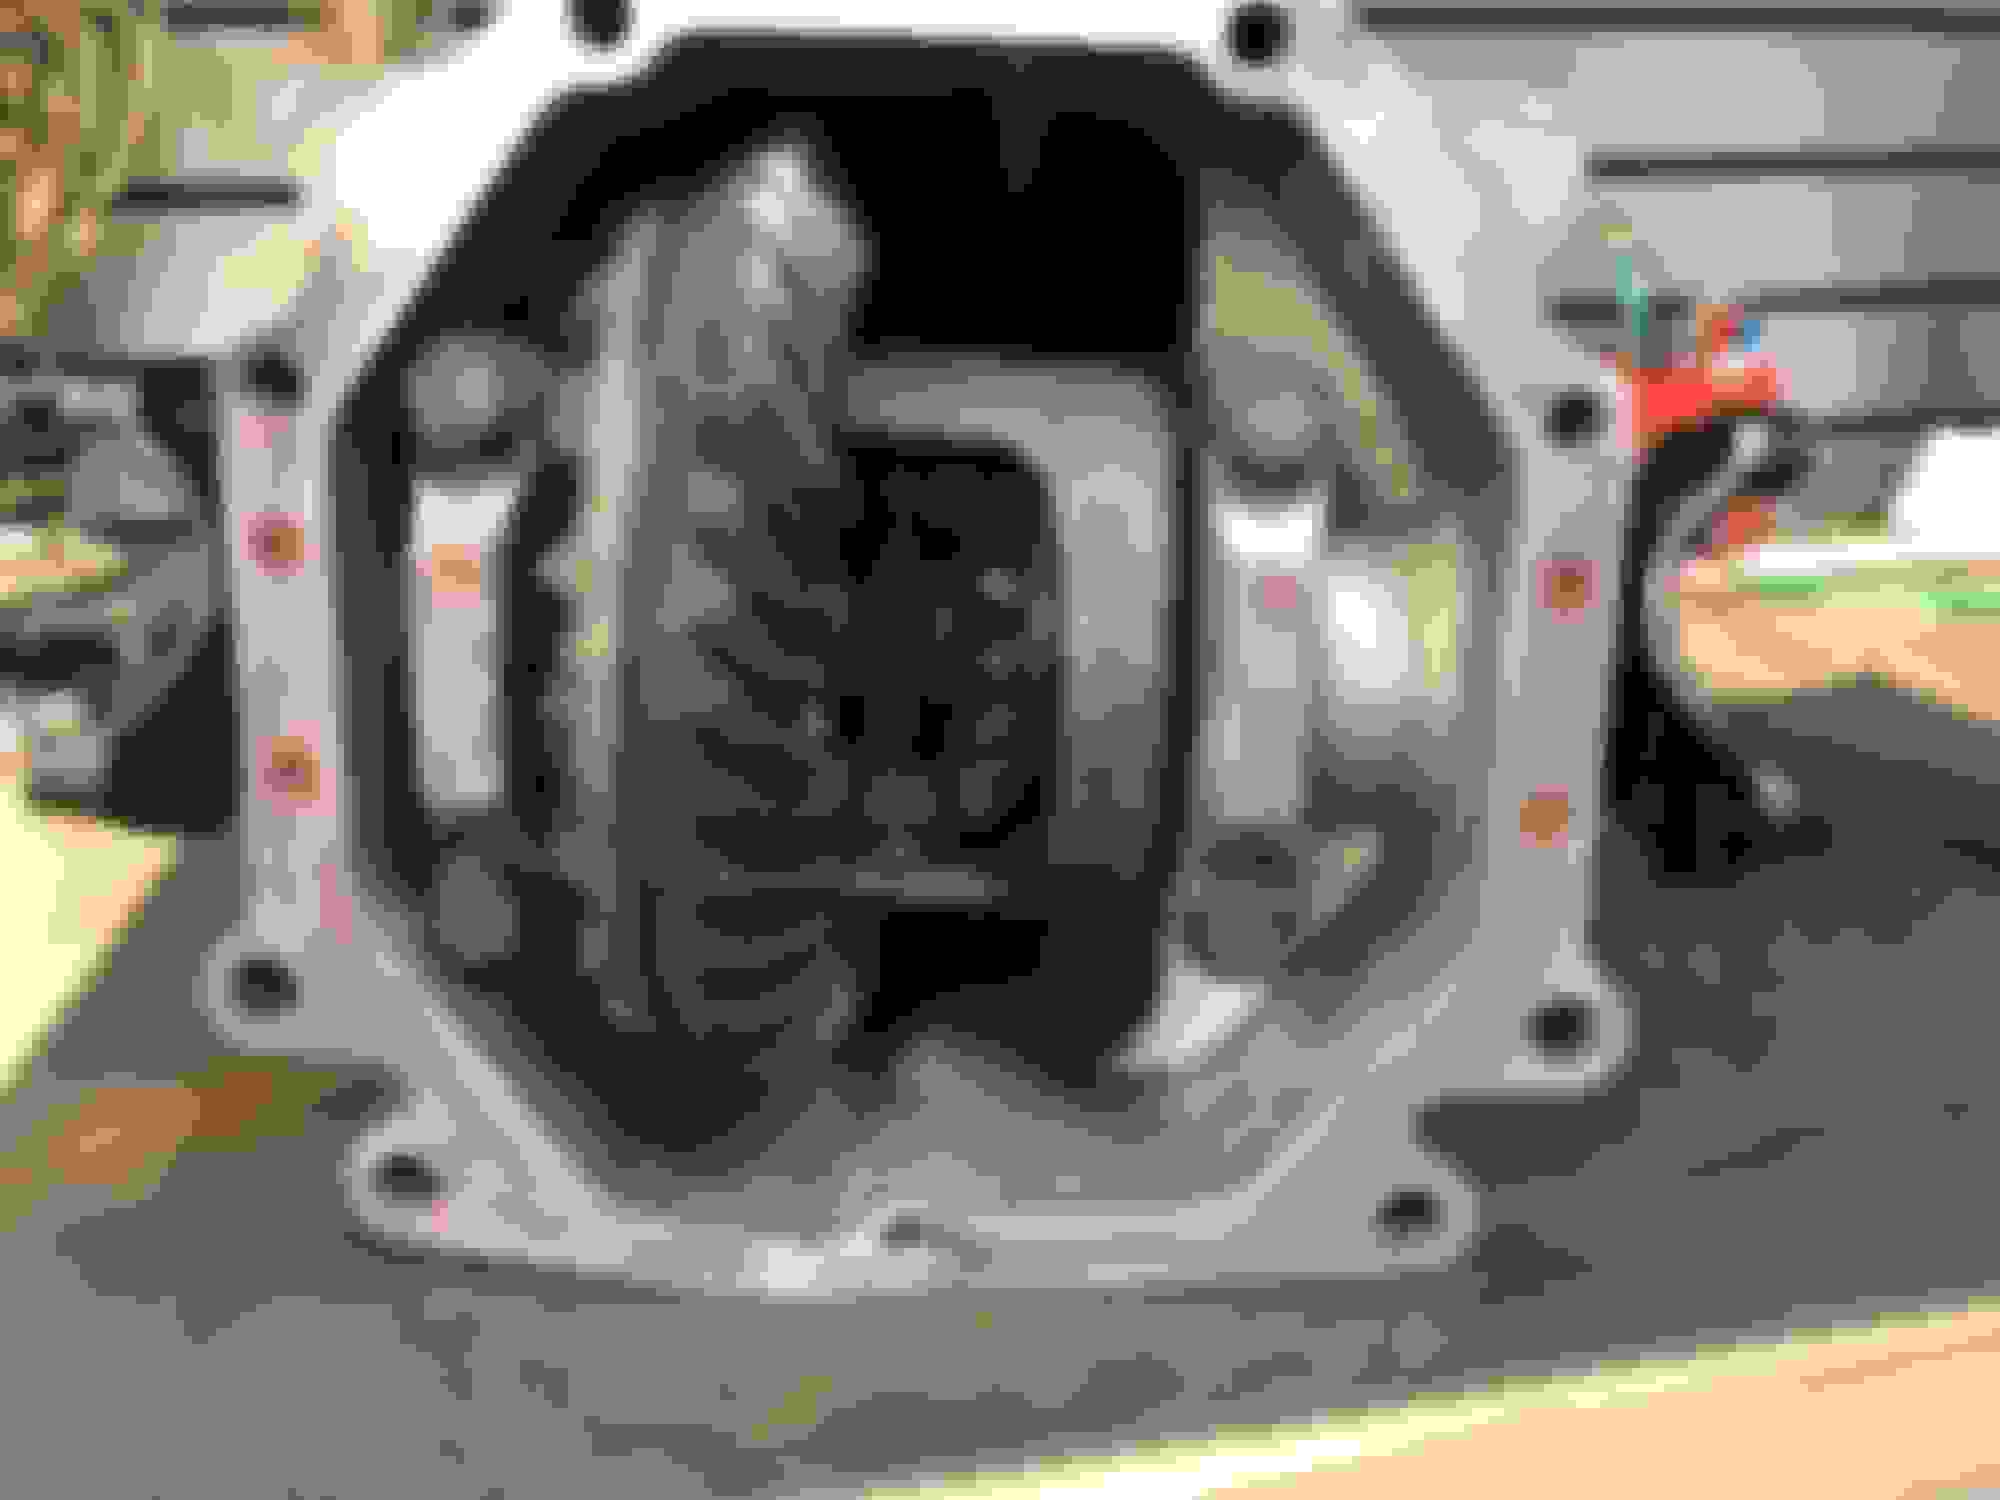
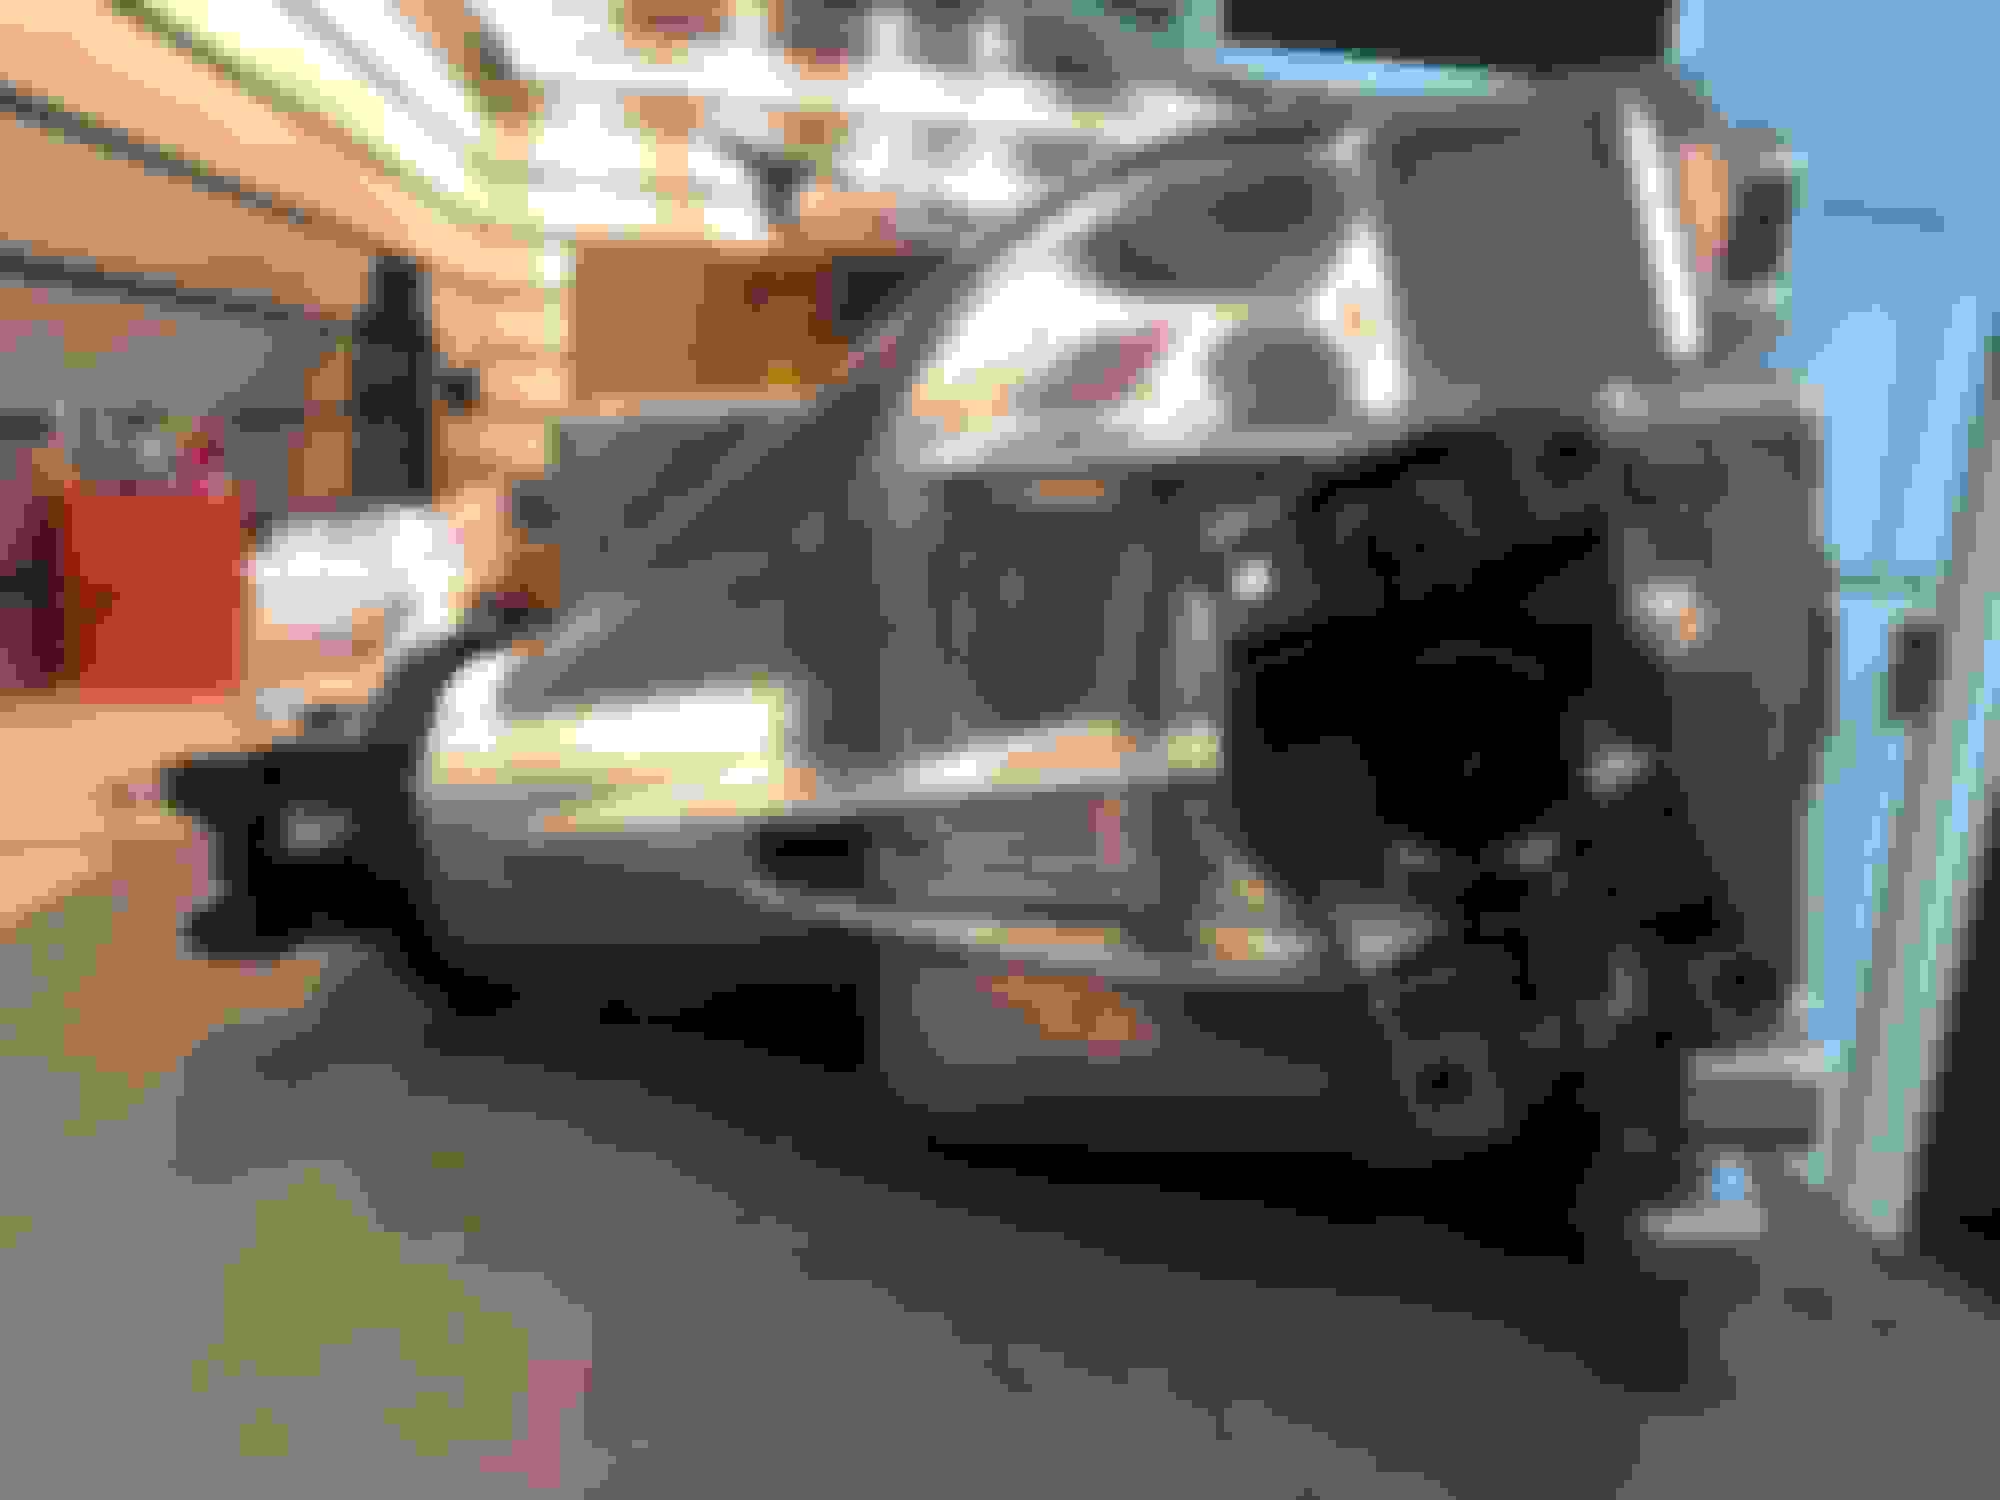
I started putting the DANA 44 together over the weekend. The input yoke and the stub-axles were looking pretty nasty next to this freshly polished carrier so I hit them with a wire wheel and cleaned them up before hitting them with some paint.
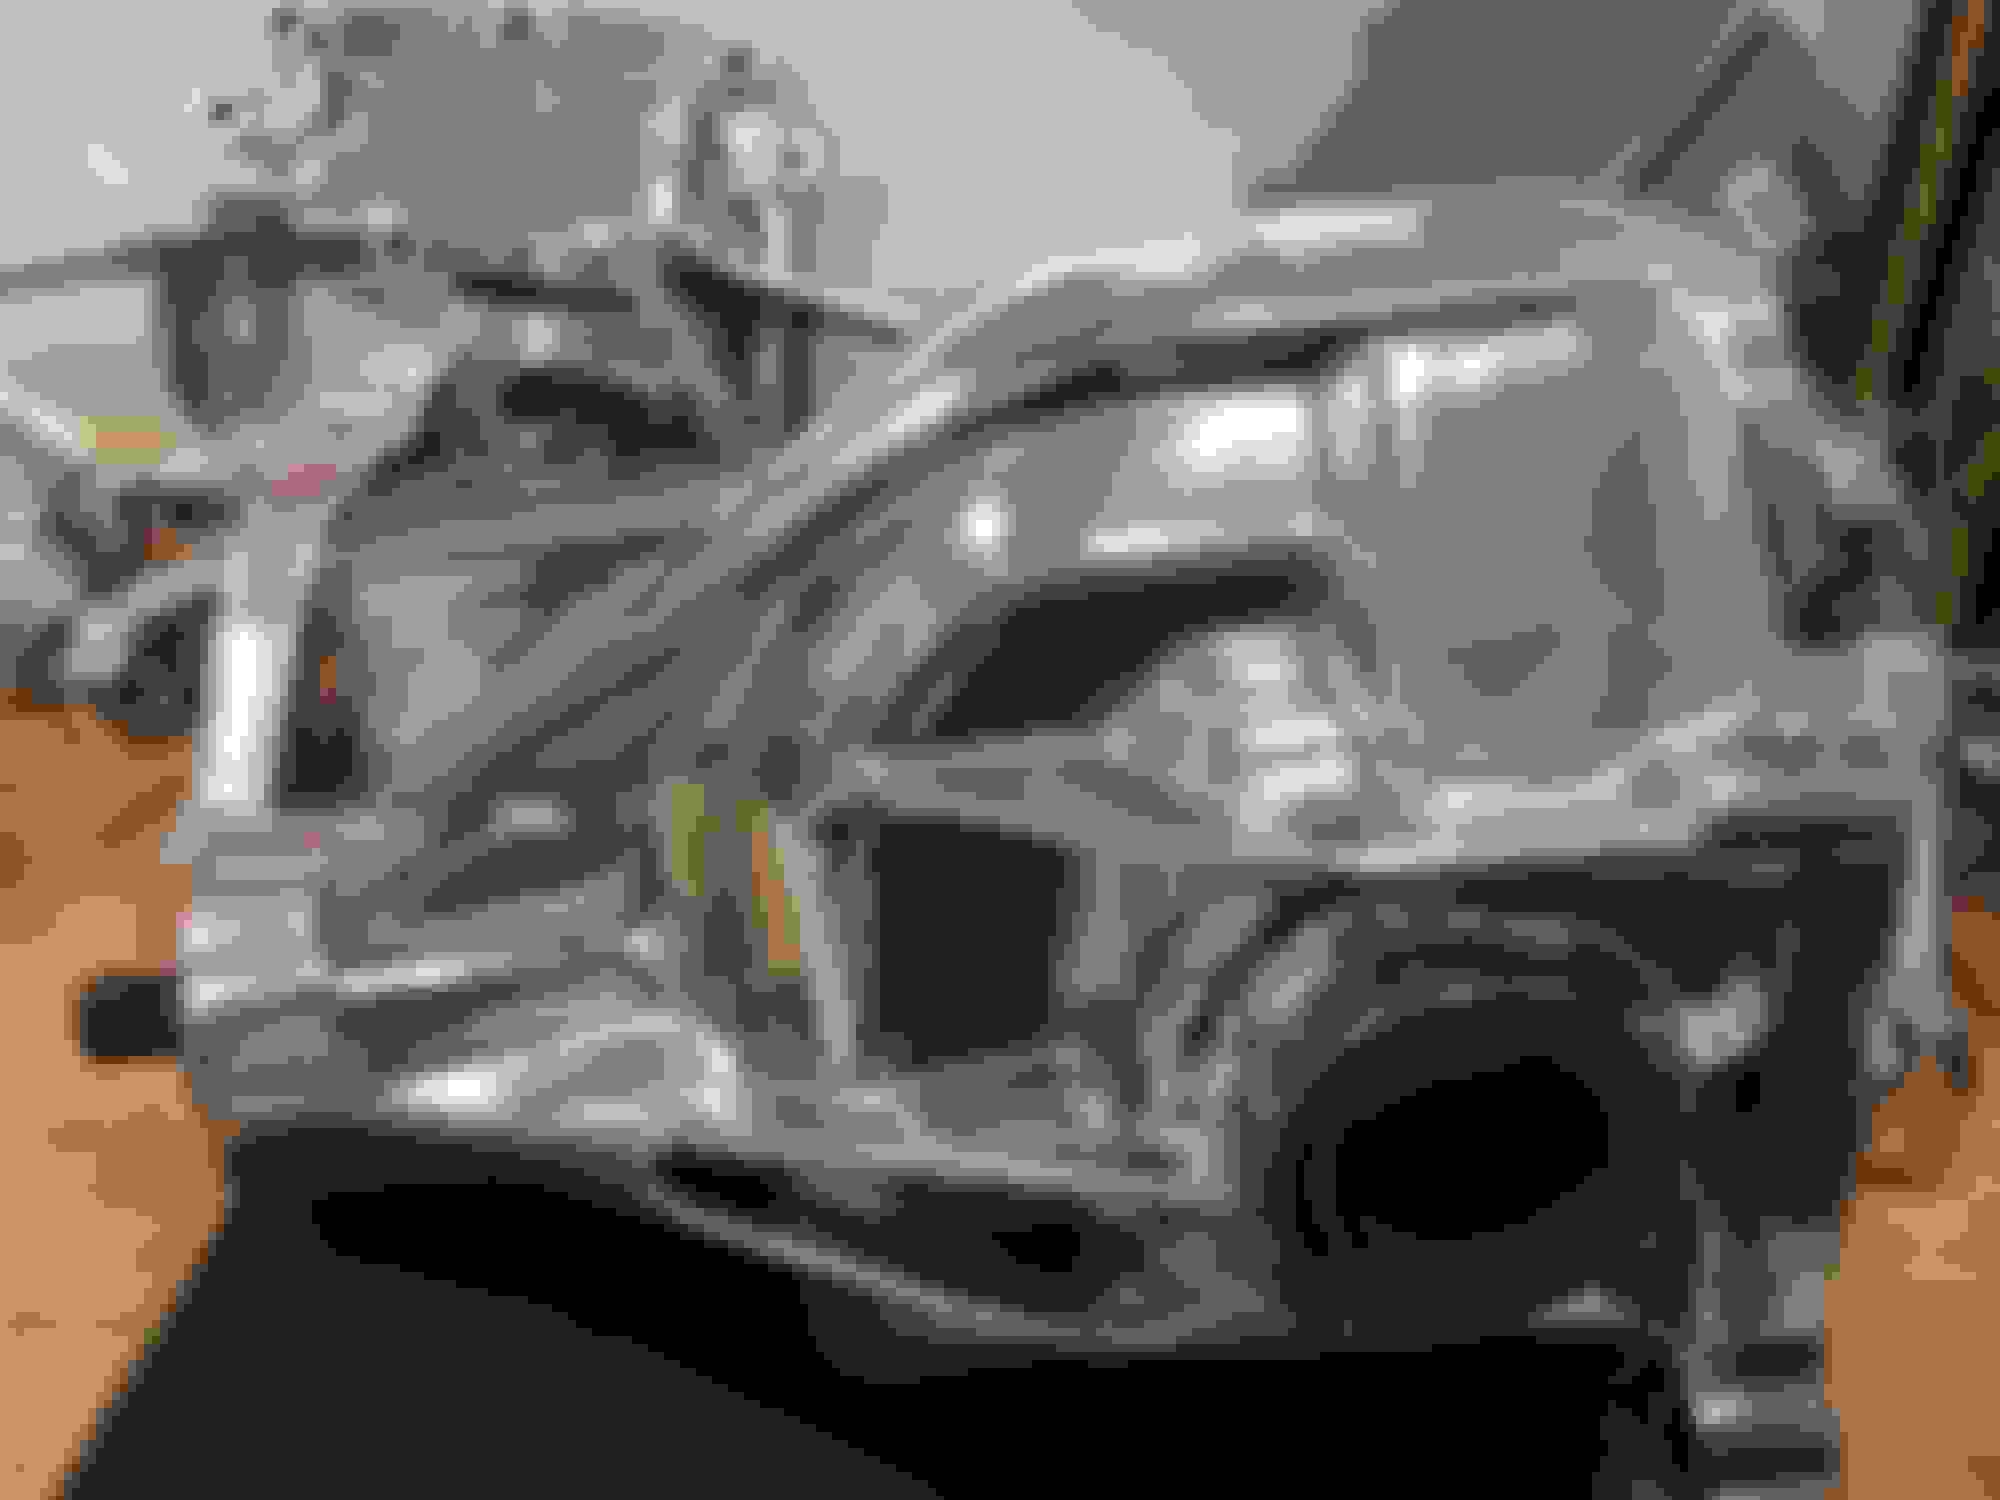
There was a BUNCH of rouge inside the carrier from the polishing phase, so I first had to liberally spray the inside down with engine degreaser and wash it out with hot water. After that, I put it out in the hot Texas sun and let it sit for a few hours to bake it dry...
It's pretty clean in there now...once I got ready to assemble the carrier with the bat-wing I liberally sprayed the inside with WD40 to keep everything from rusting until I get it in and fill it with gear oil.
It's now assembled and ready to stab back into the car...most likely sometime today.
I should have some more progress pictures later today...
Gorgeous work! With above its so clean its almost a shame to flog this car around the track. Show worthy work
It's going to be easy to KEEP it clean now that I've gone to these lengths...
I've coated all the polished aluminum with ceramic coating...I should only need to re-apply once a year (if that) and any crud from the track should spray off easily.
We had a flood, and stuff got delayed so we could get back in the house...
Amazing thread revival! Sorry to hear that the long delay was due to getting flooded out, I can't imagine how tough that has to be to recover from!
Originally Posted by 1991Z07
It may just be parallax from the angle the photo is taken at, but it doesn't look like the rotor is centered in the caliper. I had a 2-piece rotor failure on track a few years ago and I think one possible contributing factor was that the caliper wasn't centered over the rotor, which I think would've put some side loading on the rotor in some situations. I didn't realize there was a misalignment until after the fact, unfortunately.
You seem plenty competent, so you probably don't need me to point something like that out, but just in case...
Amazing thread revival! Sorry to hear that the long delay was due to getting flooded out, I can't imagine how tough that has to be to recover from!
It may just be parallax from the angle the photo is taken at, but it doesn't look like the rotor is centered in the caliper. I had a 2-piece rotor failure on track a few years ago and I think one possible contributing factor was that the caliper wasn't centered over the rotor, which I think would've put some side loading on the rotor in some situations. I didn't realize there was a misalignment until after the fact, unfortunately.
You seem plenty competent, so you probably don't need me to point something like that out, but just in case...
Yeah...it's the angle the photo was taken from. I'll need to get some spacers cut to make it absolutely 100%, but it's within 1/64" as it is right now. I'm sure they will be on and off a few more times before this is all over. I just want to see if I can get it on the ground this weekend...at least temporarily.
I still find silt in places on the ground floor when I don't expect it. We got off lucky...we only had 4 to 5 inches while people down river from us had 6+ FEET in theirs. I'm certainly counting my blessings.


 01-29-2016, 05:30 PM

 but it pays the bills and gets the UPS and FedEx trucks bringing in parts.
 So...off to work I go. This weekend is going to have lots of die-grinder noises and such...pictures will come.