


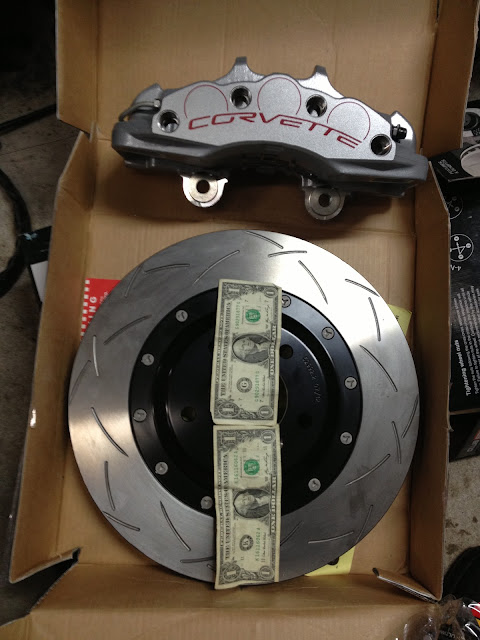
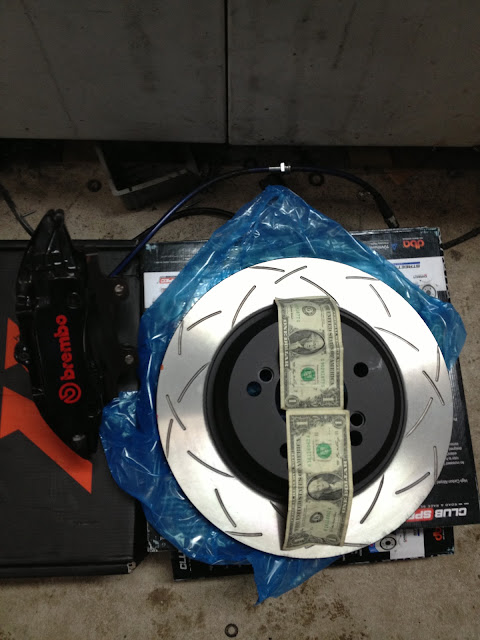

E36 M3 - LS3/TR6060 Swap
OP, Let me know how you install the dbw pedal. I've seen a few post on bimmerforums, and youtube videos, but im still up in the air if im going with DBW or switching back to DBC. Are you going to use the ls3 ac compressor aswell?
Yeah I am hoping to use the LS3 AC compressor. Do you know what people use if switching the LS3 to a DBC? Which throttle body and what is done with the PCM? Using a DBC would be a plus to then be able to use the e36 cruise accuator and not have to use something different to get cruise to work.
Yeah I am hoping to use the LS3 AC compressor. Do you know what people use if switching the LS3 to a DBC? Which throttle body and what is done with the PCM? Using a DBC would be a plus to then be able to use the e36 cruise accuator and not have to use something different to get cruise to work.
I think im going with the holley throttle body, because it comes with a bracket. If I go DBC, I will use a Ls1 PCM and Harness, custom built by Bill at BP Automotive. Not sure about your Ls3, I think you have a 58x reluctor wheel, but my LS2 is out of a 06 GTO, so I have a 24x reluctor already, so I just have to switch the knock sensors. My other reason to go back to ls1 is for cruise and AC. The LS2 ac compressor is controlled through the BCM Module, and I don't know if it's possible to make the ac work without the bcm module, along with not knowing if it will even fit yet. I think I could wire the ac on a seperate switch using a rpm window, but haven't really done my homework on that yet.
Last edited by bmwhybrid; Feb 12, 2013 at 09:41 AM.
Yes the LS3 has the 58x wheel so I would have to use an adapter to use the LS1 411 PCM. I would rather use the LS3 stuff because I have it all. I think some people just have the e36 turn the AC on and the engine will adjust to the added load.
I haven't done a ton of research on this front yet.
I haven't done a ton of research on this front yet.
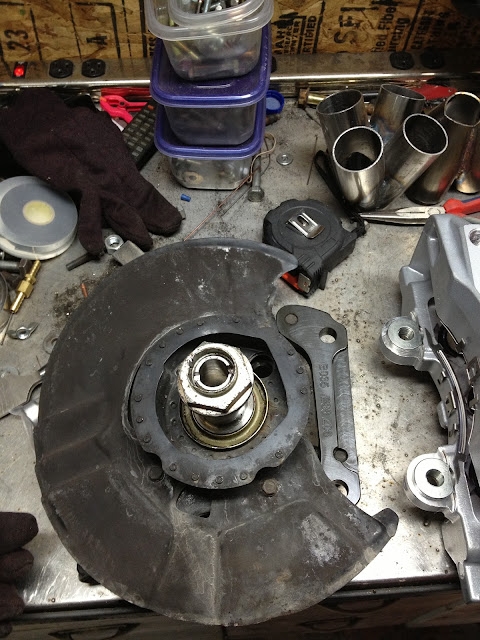
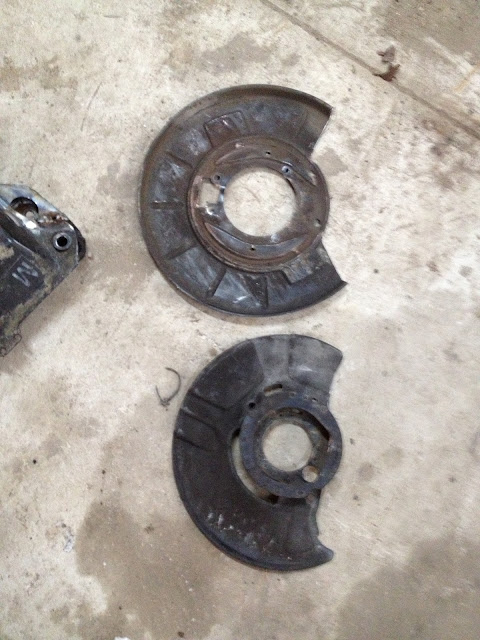
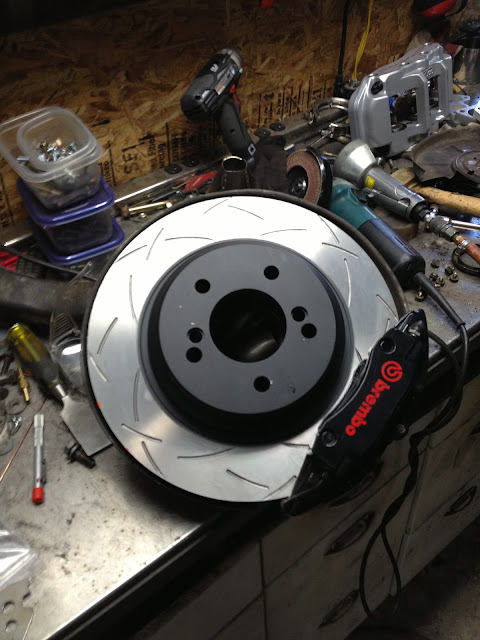
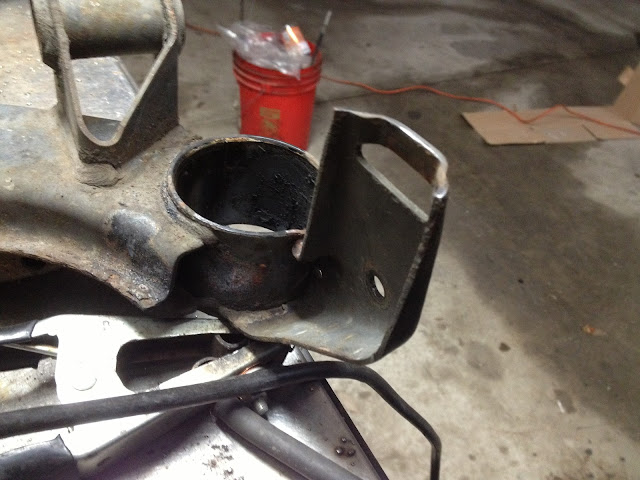
Backing plates have to be trimmed a little bit to clear the new brakes.
You can see here how the fronts have to be trimmed.
I forgot to take pictures as I did the back but here is how they look after the changes.
Rear brakes just sitting on...I wanted to make sure the lip of the backing plate didn't need to be trimmed.
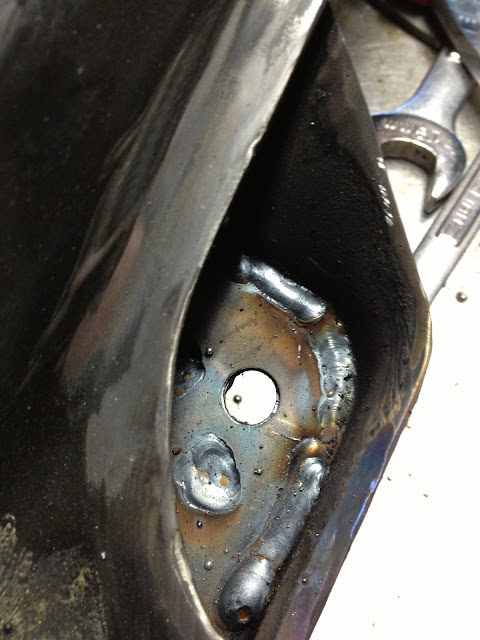
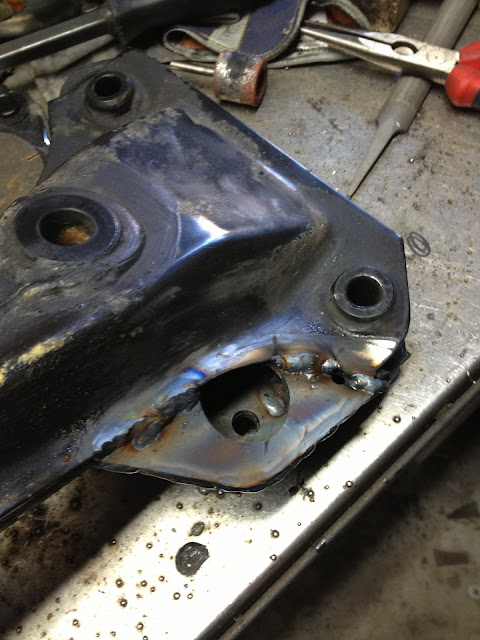
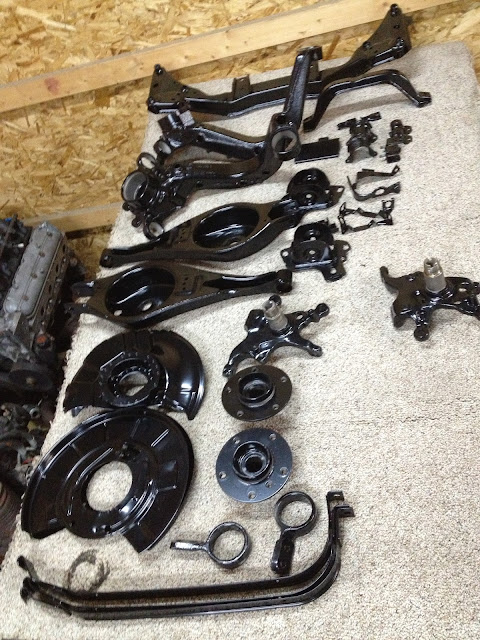
Reinforced the front subframe. Plates from rallyroad.net
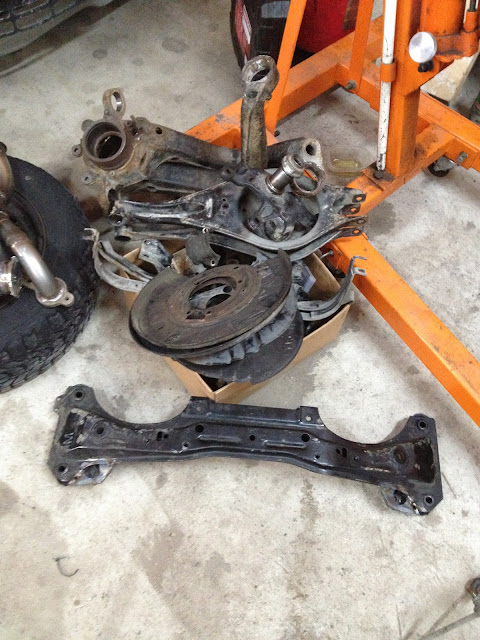
Pile ready to go to the powder coater tomorrow
You can see here how the fronts have to be trimmed.
I forgot to take pictures as I did the back but here is how they look after the changes.
Rear brakes just sitting on...I wanted to make sure the lip of the backing plate didn't need to be trimmed.
Reinforced the front subframe. Plates from rallyroad.net
Pile ready to go to the powder coater tomorrow
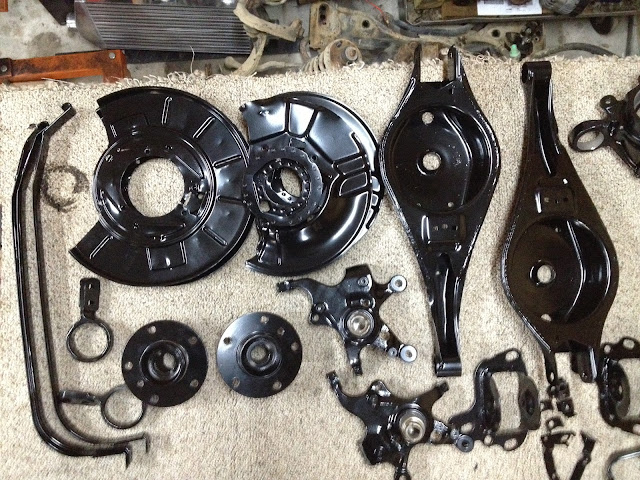
Got the batch of stuff back from the coater. More will be going in a week or so...

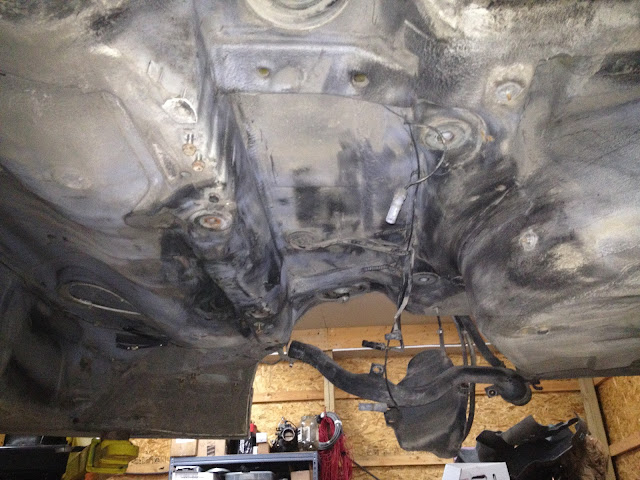
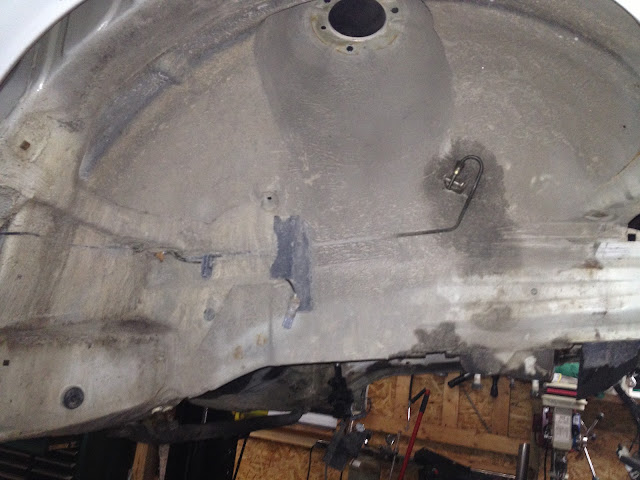
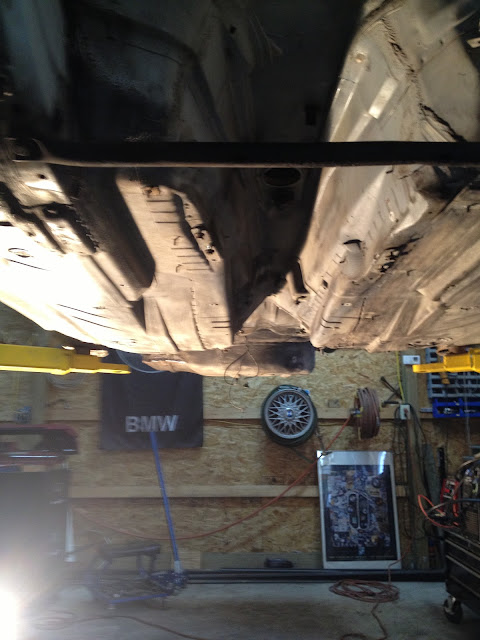
Been spending some time cleaning the bottom off...mostly lots of dirt.
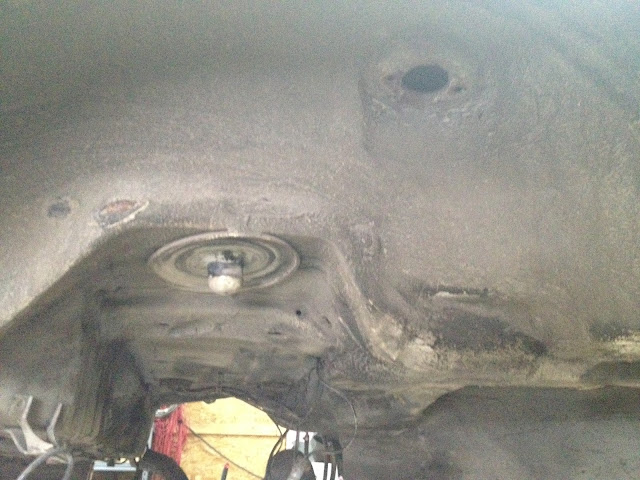

Front...passenger side before
drivers side after the first cleaning
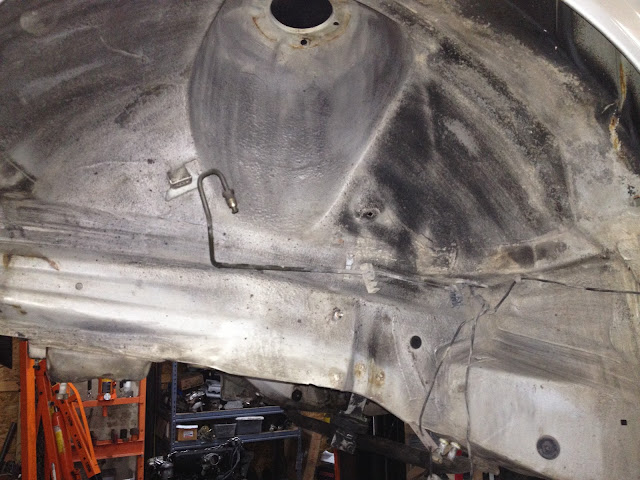
Been spending some time cleaning the bottom off...mostly lots of dirt.
Front...passenger side before
drivers side after the first cleaning
LS1 Tech Stories
The Best V8 Stories One Small Block at Time

Gas Monkey Built a 6-Wheel Ferrari Testarossa With a Corvette LT4 Engine
Verdad Gallardo
7 Most Reliable High-Performance Engines GM Has Ever Built
Verdad Gallardo
Amazing '71 Camaro Restomod Is Modern Muscle Car Under the Skin
Verdad Gallardo
6 Common C5 Corvette Failures and What's Involved In Repairing Them
Pouria Savadkouei
Retro Modern Bandit Pontiac Trans AM Comes With Burt Reynolds' Autograph
Verdad Gallardo
Top 10 Greatest Cadillac V Series Performance Models Ever, Ranked
Pouria Savadkouei
Top 10 Most Powerful Chevy Trucks Ever Made!

Hennessey's New Supercharged Silverado ZR2 Has 700 HP
Verdad Gallardo
Coachbuilt N2A Anteros Is an LS2-Powered C6 Corvette In Italian Clothes
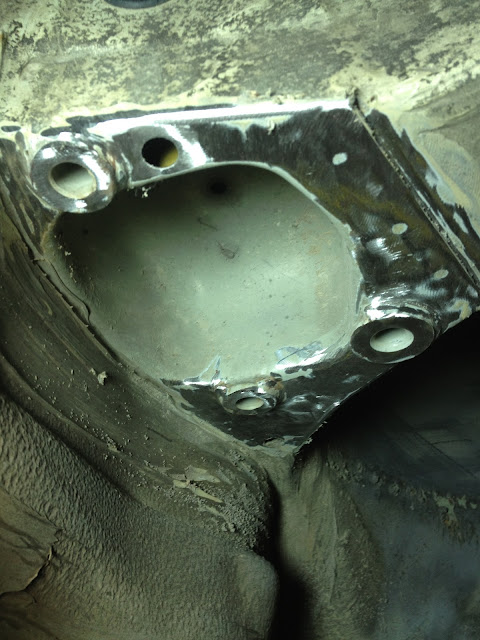
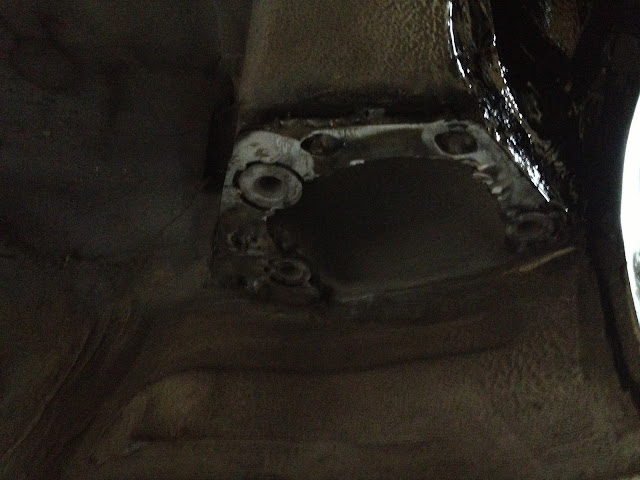
Verdad Gallardo Installed the reinforcement plates around the rear trailing arm mounting points. The body was in good shape here but adding just just becasue everything is apart.
Cleaned up...
Before the plate went on it was painted with weld through zinc paint (sorry no picture)
Plate welded in place...I really dislike welding upside down. It's hard to tell from the picture but the openings in the plate are just about filled with weld. Also welded around the outside and inside perimeter. Tacked at the landing points for the trailing arm bracket. Had to use the flap disc to make sure everything was smooth.
Rear sway bar reinforcement installed
Before
After

Also pushed all the bushings out of the rear subframe so it is ready to be coated.
More cleaning on the bottom...this is after wire brushing and then washing with soap and water and a rinse.
Started painting the wheel wells

Cleaned up...
Before the plate went on it was painted with weld through zinc paint (sorry no picture)
Plate welded in place...I really dislike welding upside down. It's hard to tell from the picture but the openings in the plate are just about filled with weld. Also welded around the outside and inside perimeter. Tacked at the landing points for the trailing arm bracket. Had to use the flap disc to make sure everything was smooth.
Rear sway bar reinforcement installed
Before
After
Also pushed all the bushings out of the rear subframe so it is ready to be coated.
More cleaning on the bottom...this is after wire brushing and then washing with soap and water and a rinse.
Started painting the wheel wells


More done on the bottom....only one picture right now as the battery went dead right as I was taking the picture.
Might need a little touching up here and there once it is all dry. Bottom of the frame rails up front still need to be cleaned.

Can't wait to stat hanging new parts. Its going to be so nice with everything clean.
Might need a little touching up here and there once it is all dry. Bottom of the frame rails up front still need to be cleaned.
Can't wait to stat hanging new parts. Its going to be so nice with everything clean.


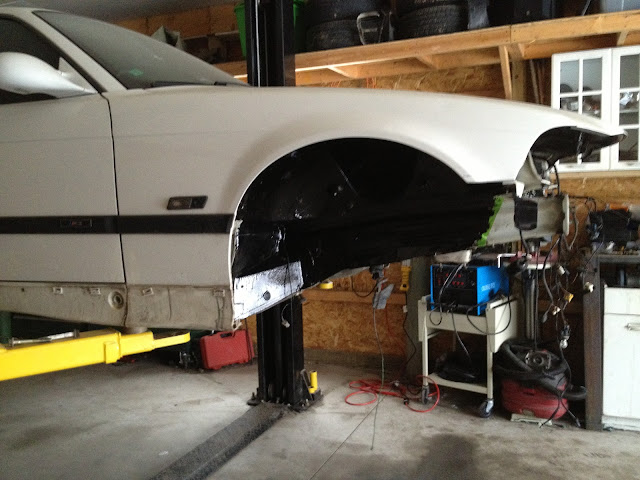
Started fitting the engine today...
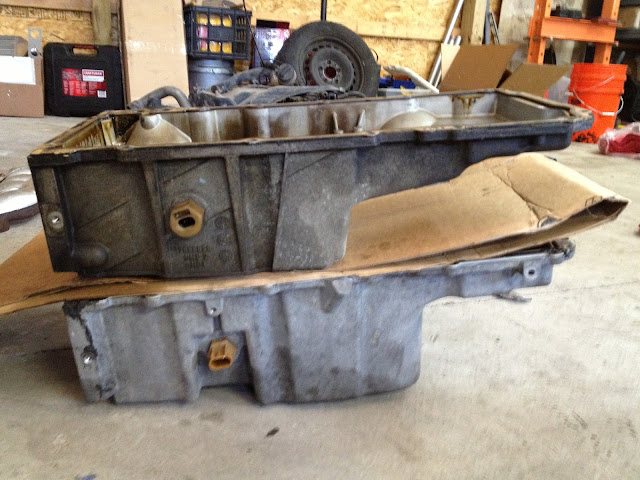
First of all the LS3 oil pan does not fit.
I happened to have an LS1 oil pan on hand (I knew it was a good idea to hang onto it).
Here is the difference between the two pans
Sitting in the bay


underside


First of all the LS3 oil pan does not fit.
I happened to have an LS1 oil pan on hand (I knew it was a good idea to hang onto it).
Here is the difference between the two pans
Sitting in the bay
underside


It sure is nice working with new parts....everything is so clean.
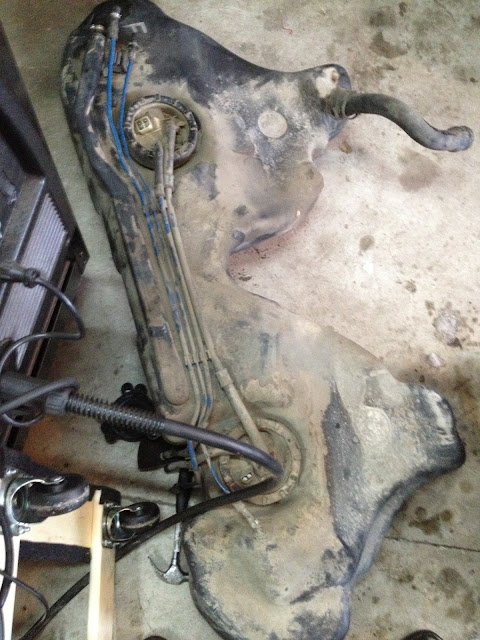
Gas tank is cleaned and about ready to go back in. Once the new fuel pump is installed.


Before...
Front Spindles
Before the bearings went on..new dust shields, etc

All put together (full torque once they are on the car)


Upper rear control arms, bushings pressed in

Rear Trailing arms, new bushings and wheel bearing. Just need to press the hubs in


Gas tank is cleaned and about ready to go back in. Once the new fuel pump is installed.
Before...
Front Spindles
Before the bearings went on..new dust shields, etc
All put together (full torque once they are on the car)
Upper rear control arms, bushings pressed in
Rear Trailing arms, new bushings and wheel bearing. Just need to press the hubs in