
32 Ford Truck Build 5.3 H/C 4L60E
 09-07-2013, 12:44 AM
#21
TECH Enthusiast
Thread Starter
iTrader: (15)
Join Date: Aug 2006
Location: DFW....TX
Posts: 624
Likes: 0
Received 0 Likes
on
0 Posts

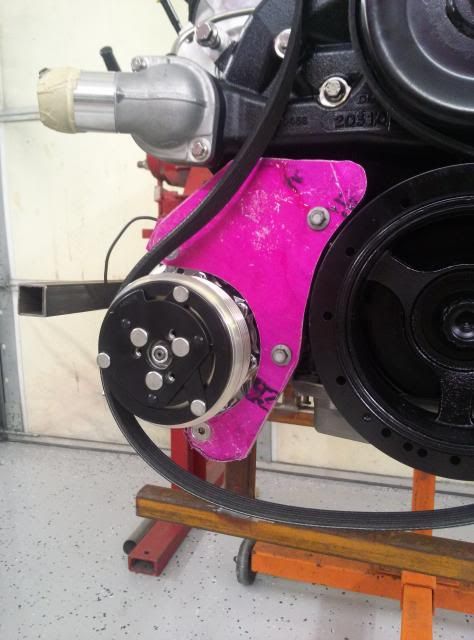
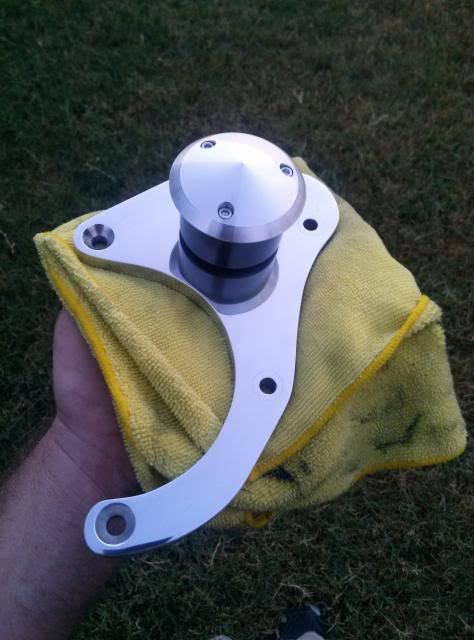
Got the engine out to the shop to work on the AC compressor bracket after hours. I dont have it finished yet as Im waiting for a specific shoulder bolt from billet specialties to finish the rear bracket. I also had to order more ARP fasteners from totally stainless.
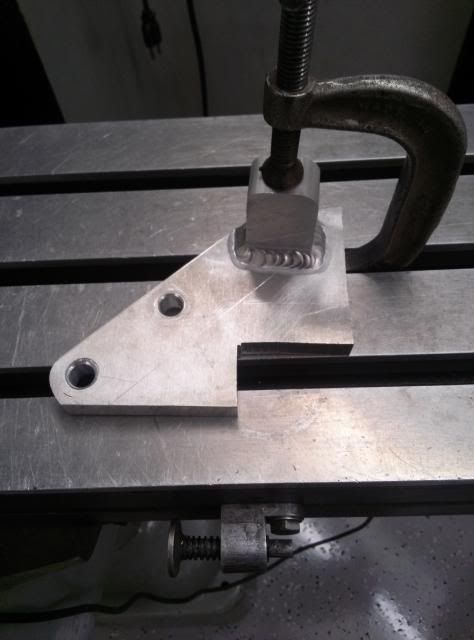
Bracket in the rough. Dont mind the random 1" square tube. It is the reference point of where the frame is when the engine is in the truck.
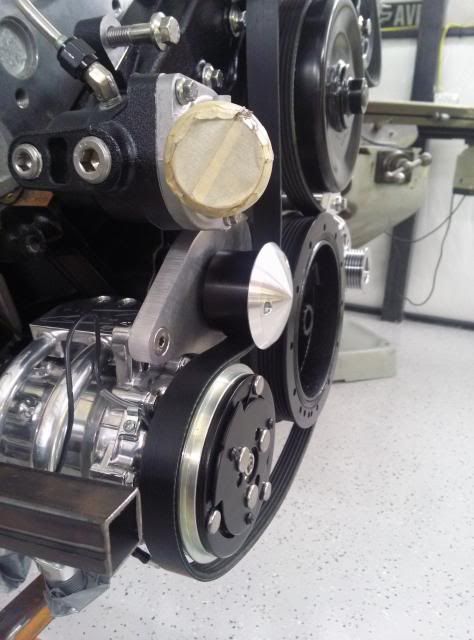
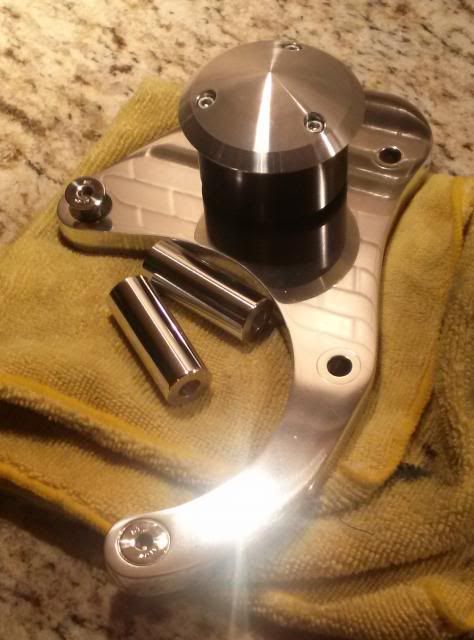
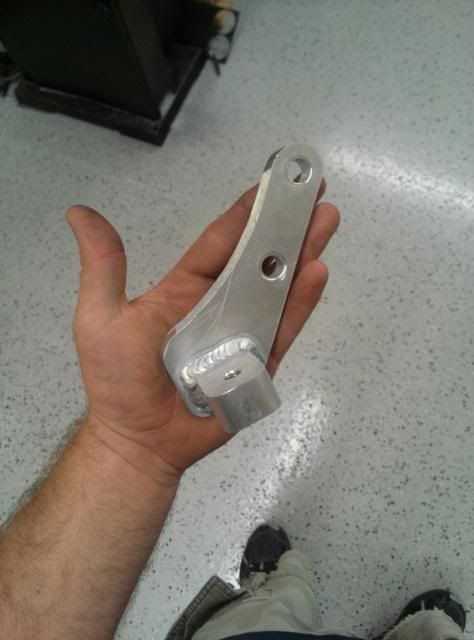
Bracket in its final shape with a 2.25" March idler pulley.
A bit of elbow grease
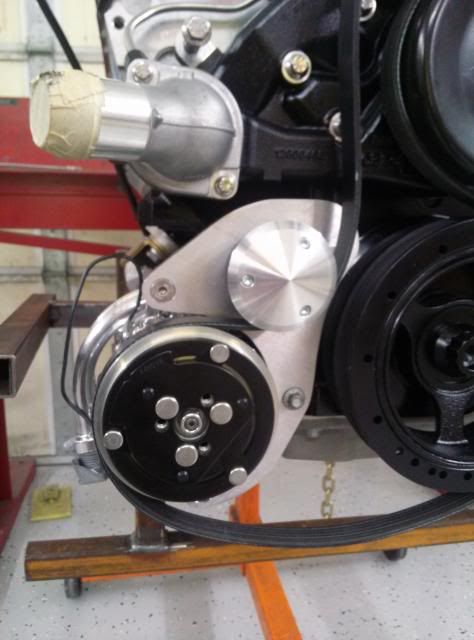
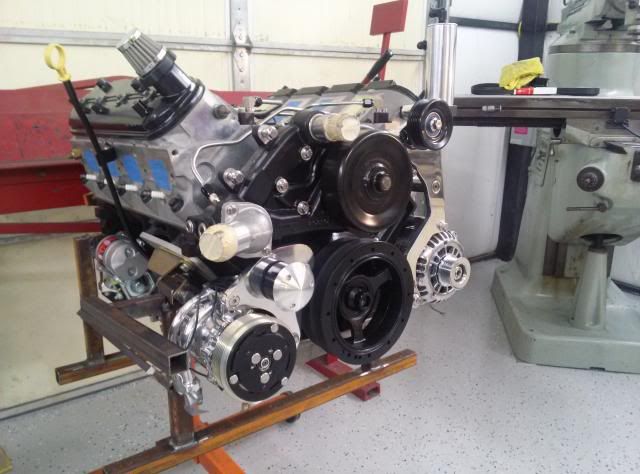
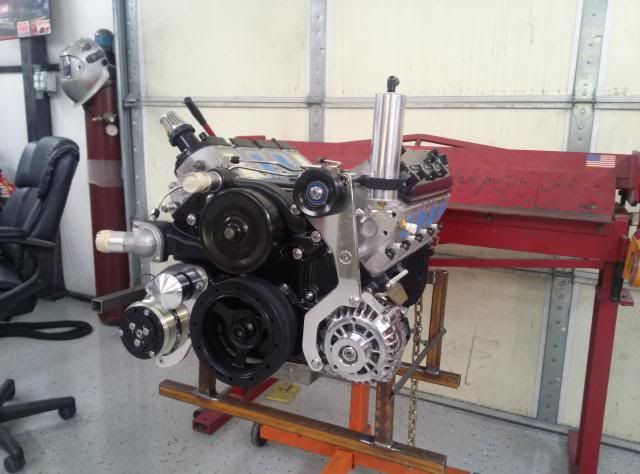
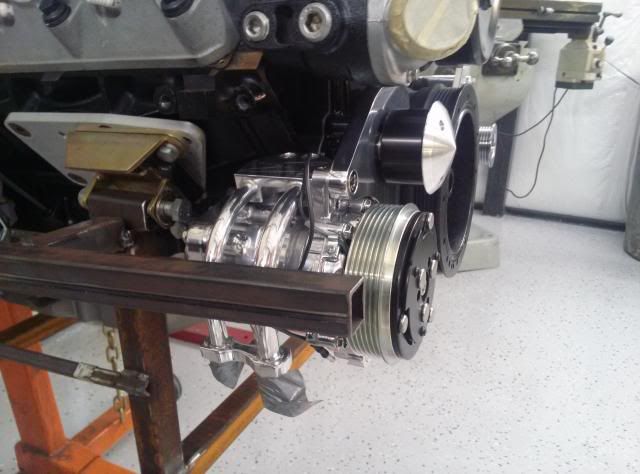
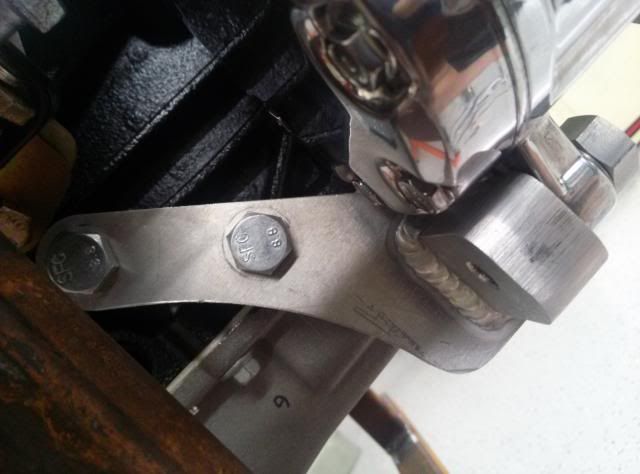
Mounted back on the engine (the valve covers are boxed up and the intake is being polished)
Bracket in the rough. Dont mind the random 1" square tube. It is the reference point of where the frame is when the engine is in the truck.
Bracket in its final shape with a 2.25" March idler pulley.
A bit of elbow grease
Mounted back on the engine (the valve covers are boxed up and the intake is being polished)
 09-19-2013, 04:24 PM
#22
TECH Enthusiast
Thread Starter
iTrader: (15)
Join Date: Aug 2006
Location: DFW....TX
Posts: 624
Likes: 0
Received 0 Likes
on
0 Posts
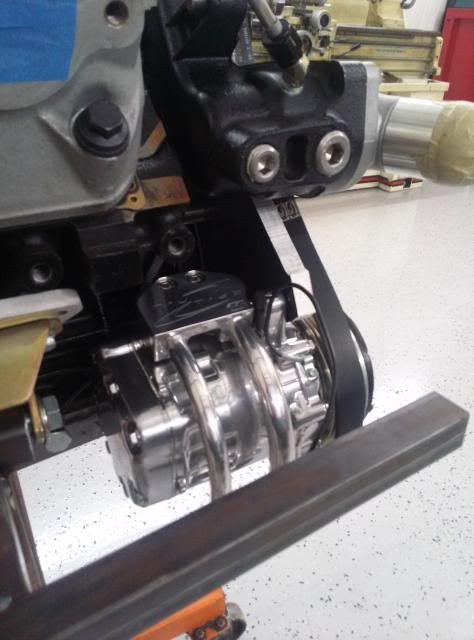
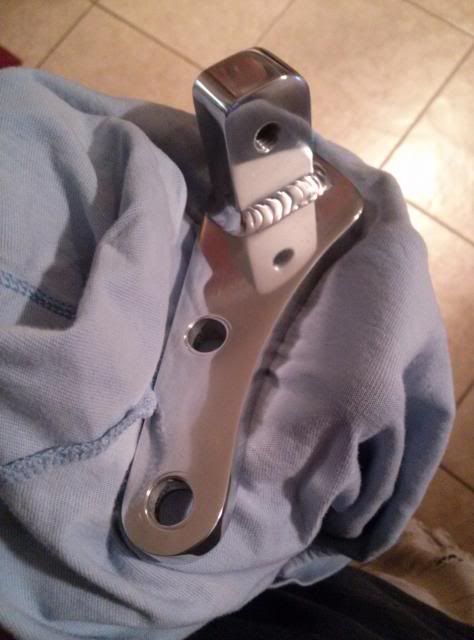
Rear bracket from start to finish
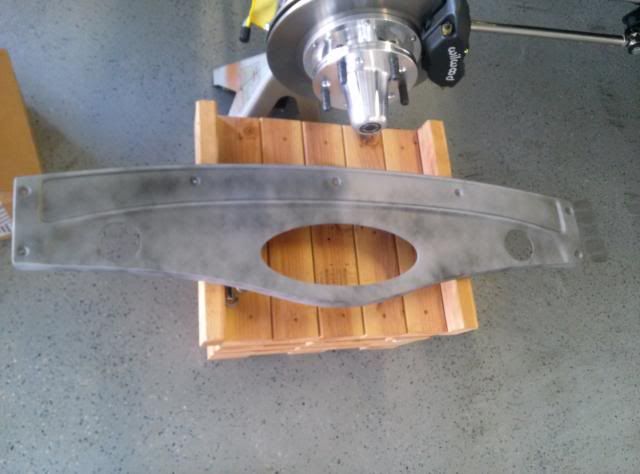
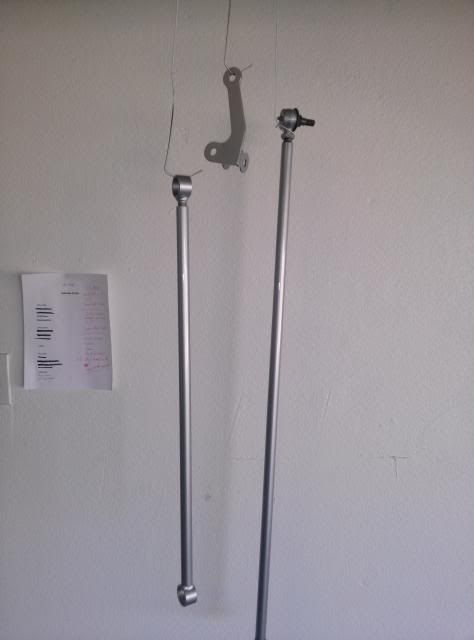
Got the Dash, front panhard bar, and drag link sealed, primed, and painted
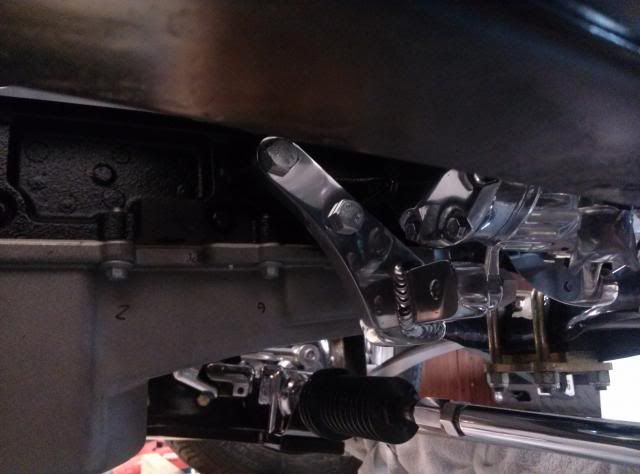
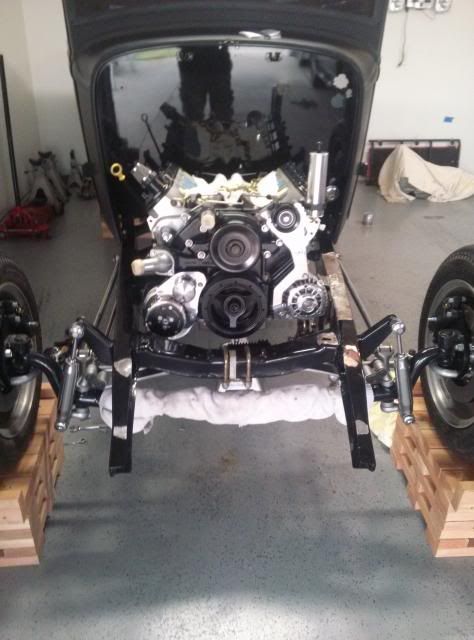
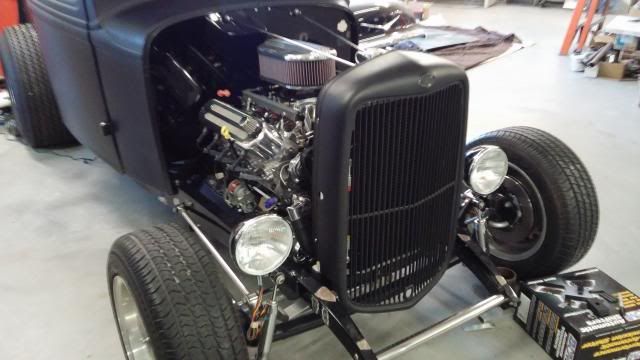
Engine back in the Chassis
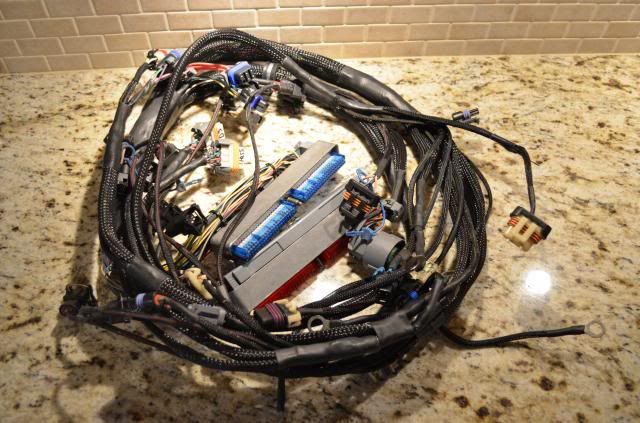
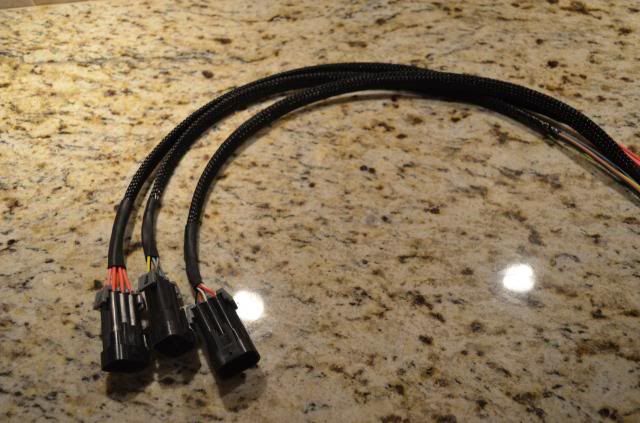
Also got the harness and pigtails back from BP-Automotive. He installed the PCM Pins and pinned the PCM connectors for me.
Got the Dash, front panhard bar, and drag link sealed, primed, and painted
Engine back in the Chassis
Also got the harness and pigtails back from BP-Automotive. He installed the PCM Pins and pinned the PCM connectors for me.
10-12-2013, 03:42 PM
#23
TECH Enthusiast
Thread Starter
iTrader: (15)
Join Date: Aug 2006
Location: DFW....TX
Posts: 624
Likes: 0
Received 0 Likes
on
0 Posts
Tiny update:
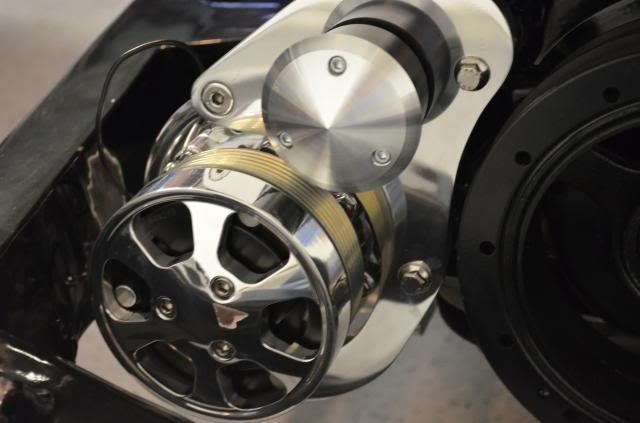
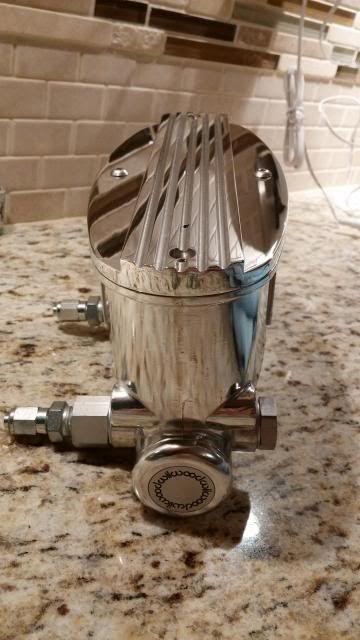
I got ahold of one of the billet specialties compressor covers that only comes in their tru trac kits
Got the Battery Tray Finished and painted

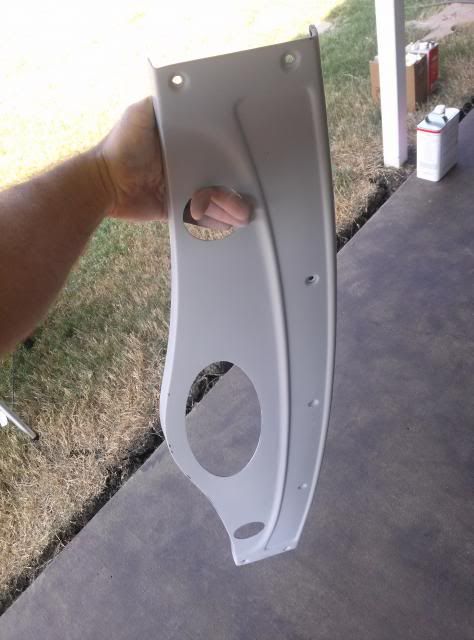
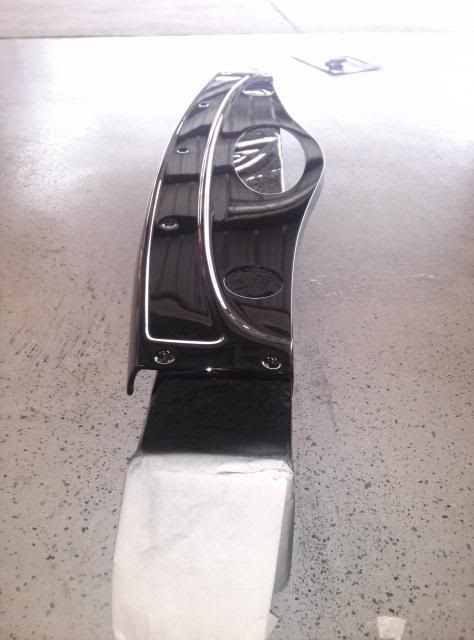
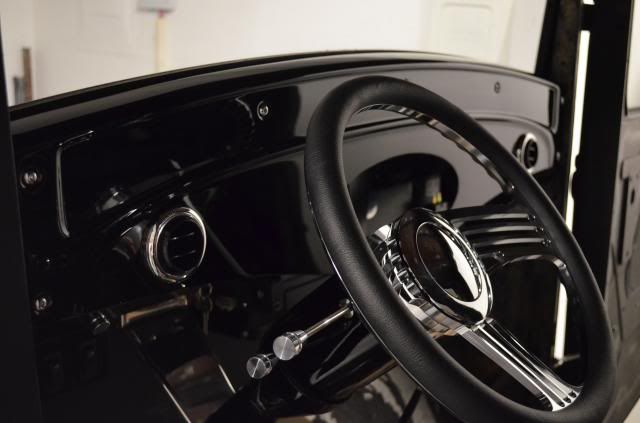
Fitting the Dash to get the idea... I still think I may take the column an Dash and shoot them a Satin Dark Charcole or Dove Gray color to better fit the interior
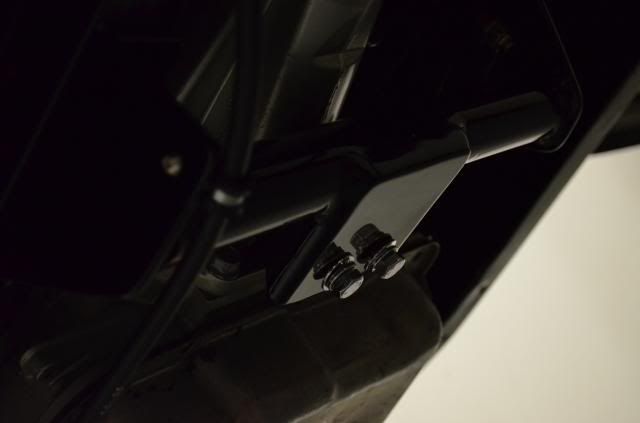
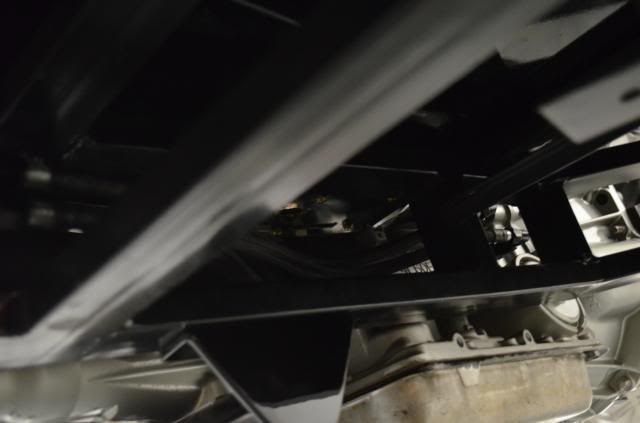
Transmission crossmember painted and cooler lines run (sorry for the dark pics)
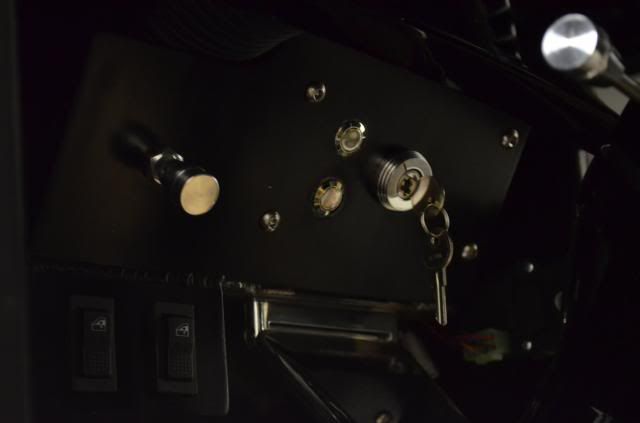
Under dash switch panel
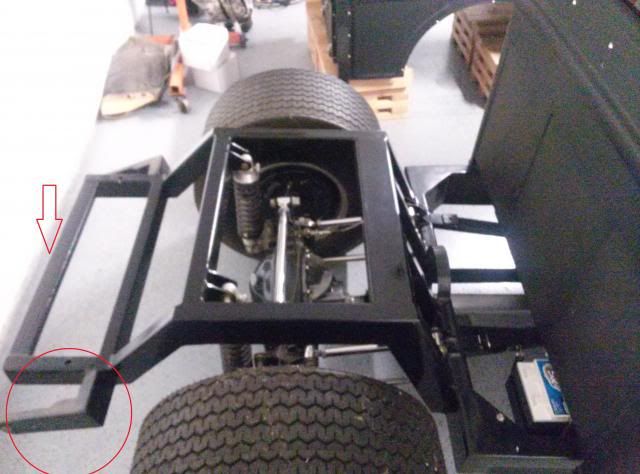
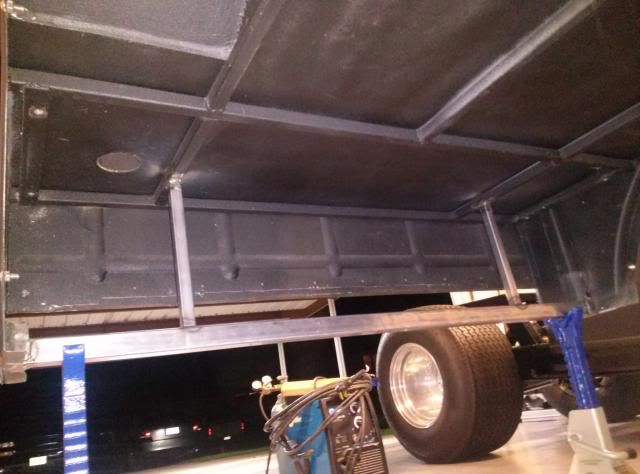
Got the bed off the truck to cut out the old battery tray and inspect it and the rear frame. I have attached a picture of the two things that has to be removed and changed. The circled area is a bracket that held the spreader bar. This was cut off and I will not be running the rear spreader bar as it serves no purpose. The arrow is a 1x2 that was welded in with the 2in width sideways and took up valuable space for the new fuel tank. This was changed to a 1x3.
Fixed
I also found that the front crossbar that is also the front mounts for the bed, was the original 80 year old metal cross bar that was cut up about 6 different times. So I cut it all out and remade the cross bar and tied it into the rest of the bed frame.
You can see the old cross bar on the bed in this picture... see all the holes.... yeah thats years of drilling holes for god knows what.
Fixed
Also got some parts **** from the guy that polished the Vic Jr. It should be back next week sometime.

I got ahold of one of the billet specialties compressor covers that only comes in their tru trac kits
Got the Battery Tray Finished and painted
Fitting the Dash to get the idea... I still think I may take the column an Dash and shoot them a Satin Dark Charcole or Dove Gray color to better fit the interior
Transmission crossmember painted and cooler lines run (sorry for the dark pics)
Under dash switch panel
Got the bed off the truck to cut out the old battery tray and inspect it and the rear frame. I have attached a picture of the two things that has to be removed and changed. The circled area is a bracket that held the spreader bar. This was cut off and I will not be running the rear spreader bar as it serves no purpose. The arrow is a 1x2 that was welded in with the 2in width sideways and took up valuable space for the new fuel tank. This was changed to a 1x3.
Fixed
I also found that the front crossbar that is also the front mounts for the bed, was the original 80 year old metal cross bar that was cut up about 6 different times. So I cut it all out and remade the cross bar and tied it into the rest of the bed frame.
You can see the old cross bar on the bed in this picture... see all the holes.... yeah thats years of drilling holes for god knows what.
Fixed
Also got some parts **** from the guy that polished the Vic Jr. It should be back next week sometime.
 10-17-2013, 08:08 PM
#26
TECH Enthusiast
Thread Starter
iTrader: (15)
Join Date: Aug 2006
Location: DFW....TX
Posts: 624
Likes: 0
Received 0 Likes
on
0 Posts
Got the brake lines started. Using 3AN stainless fittings and 3/16 stainless lines... Not real happy how these came out so they may change.
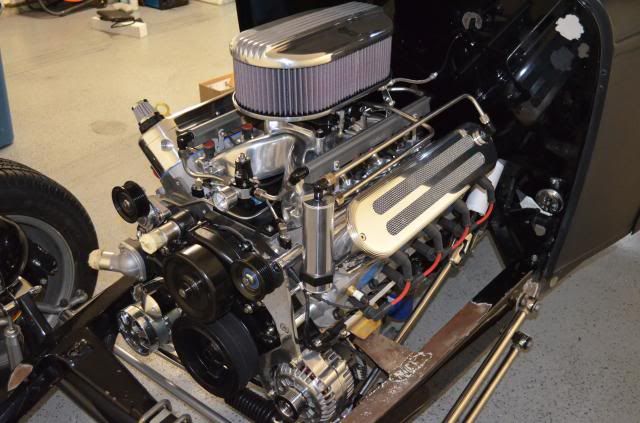
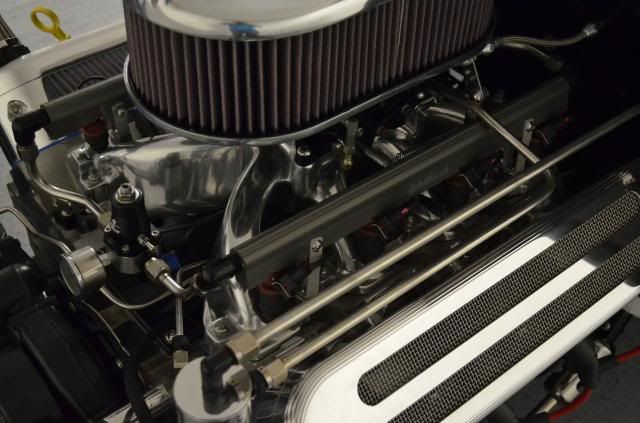
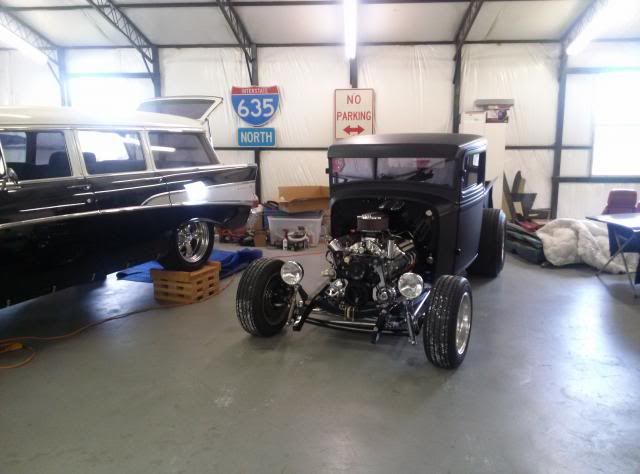
Intake came in and I couldn't resist tossing it on the engine


Intake came in and I couldn't resist tossing it on the engine


 11-01-2013, 05:29 PM
#28
TECH Enthusiast
Thread Starter
iTrader: (15)
Join Date: Aug 2006
Location: DFW....TX
Posts: 624
Likes: 0
Received 0 Likes
on
0 Posts
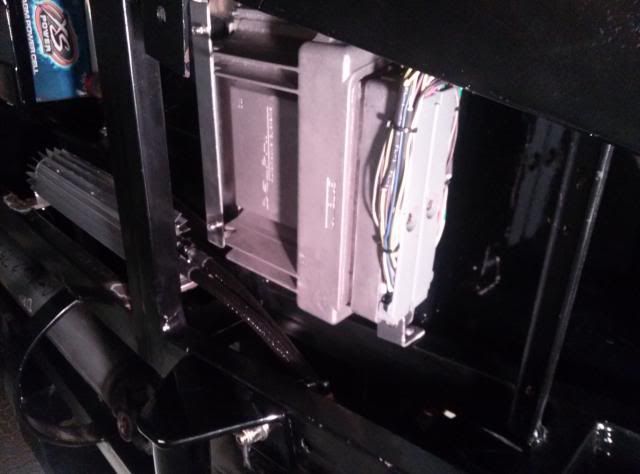
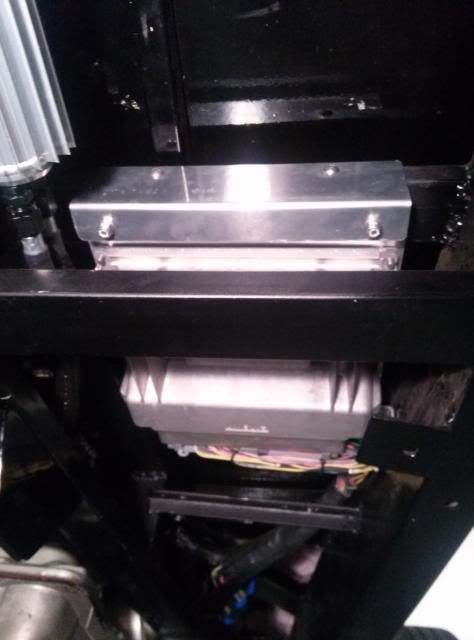
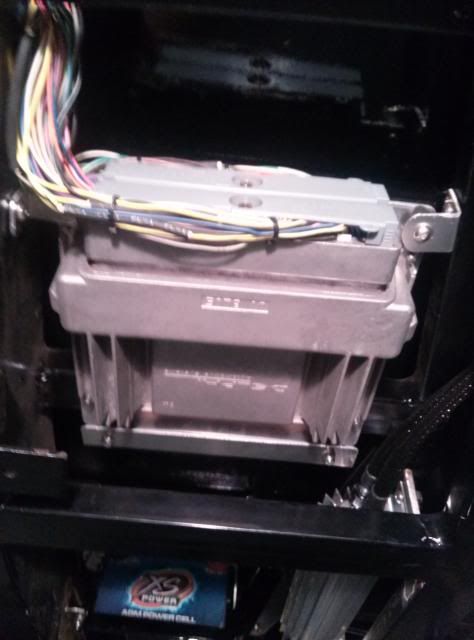
Well Finally got the PCM mounted. I used MSD isolators to avoid any possibility of shorting it out.
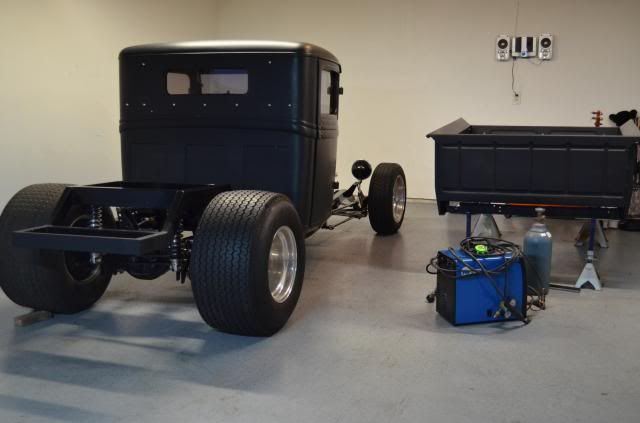
Shortly after cleaning the garage up I got a call from the boss and he let me know my "spot" in the shop had opened up...
So I immediately loaded it up and had it at the shop at 8am the next morning.
In it's spot
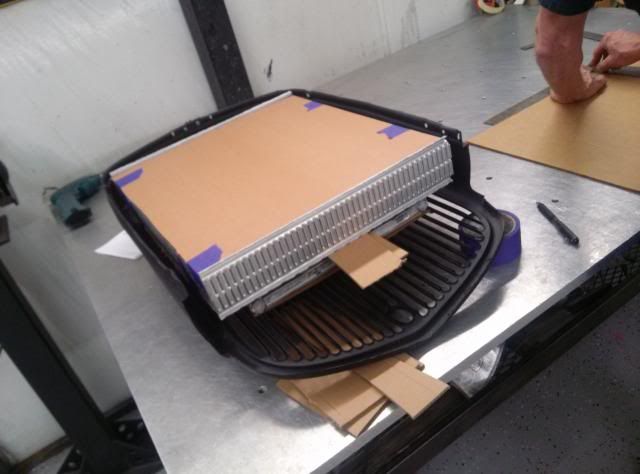
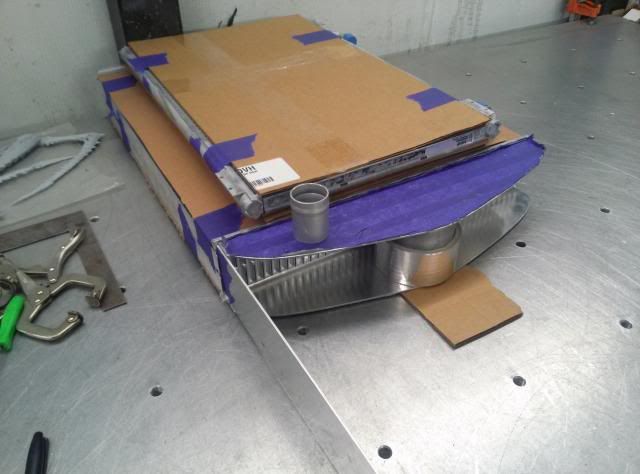
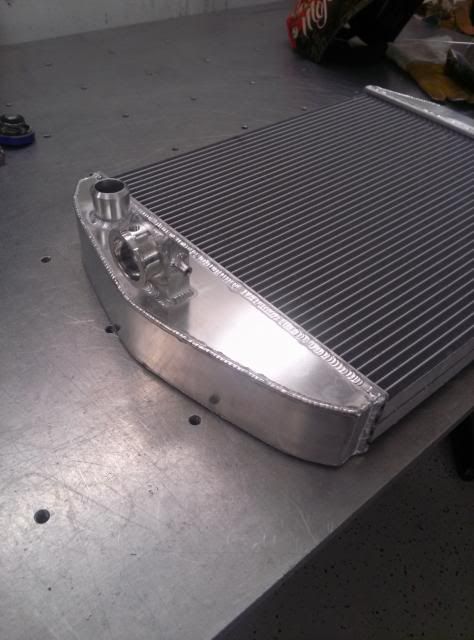
Started on the radiator first... FML
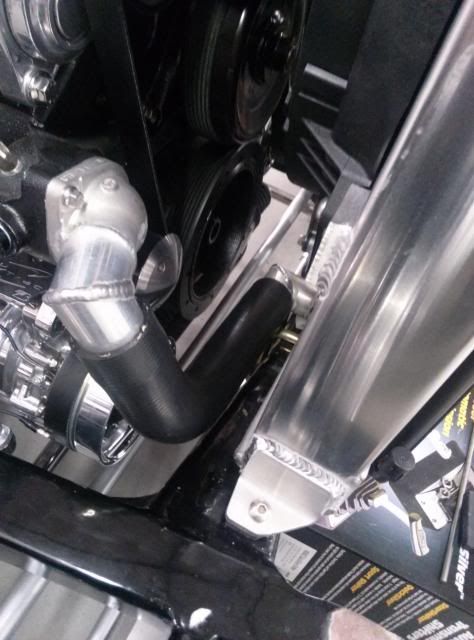
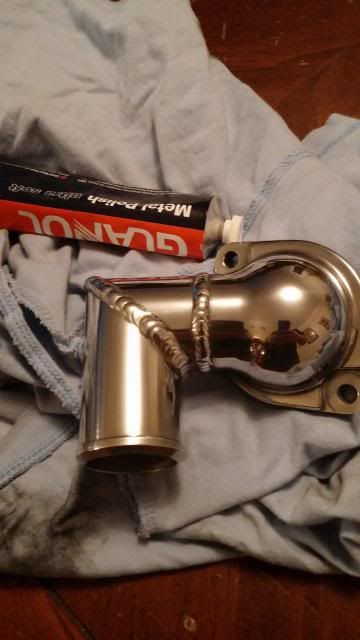
Next I pulled out the outlet from the waterpump and welded up a 90 to kick it straight up to the inlet of the radiator.
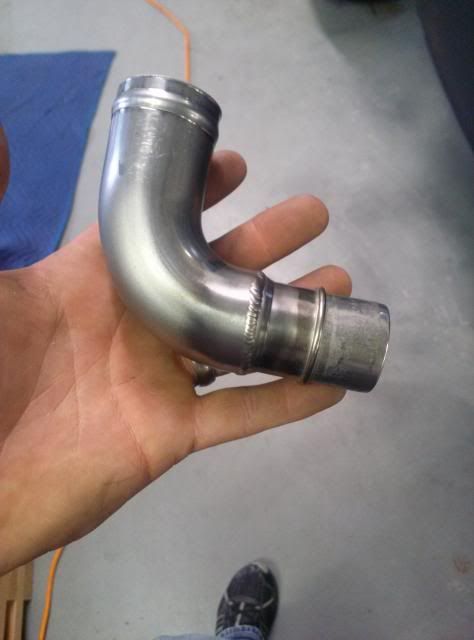
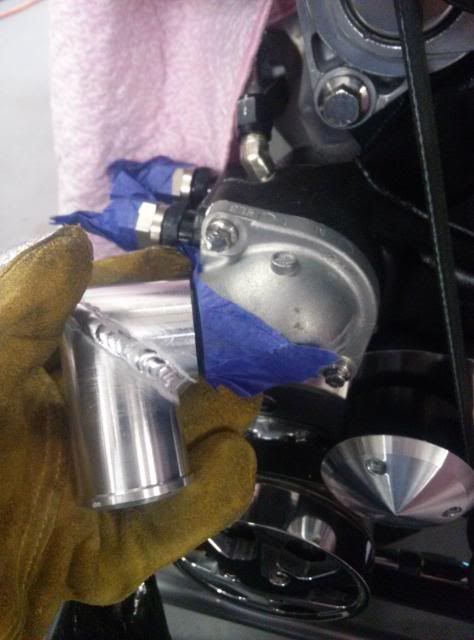
After much thought I cut up the thermostat housing and made some parts on the lathe to make my own housing. This will be a huge help in getting the outlet of the radiator hooked up.

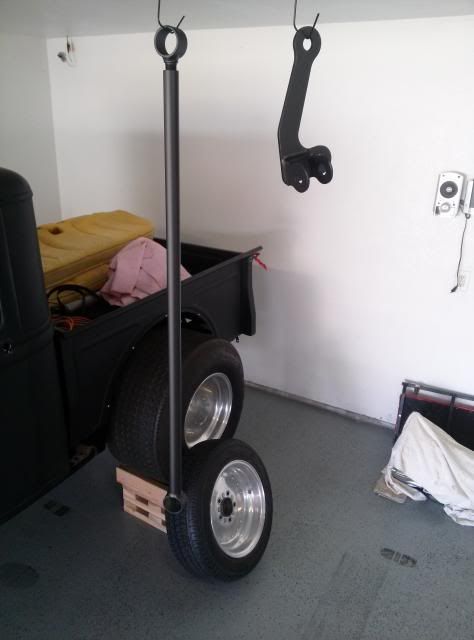
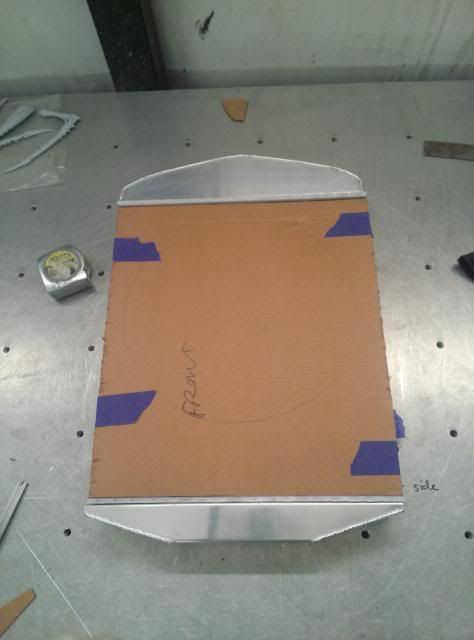
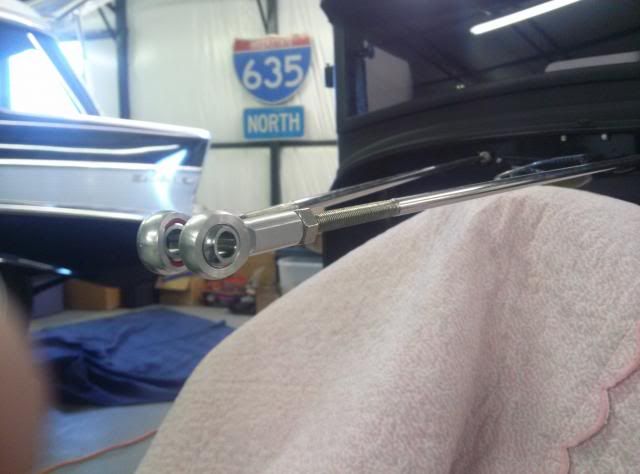
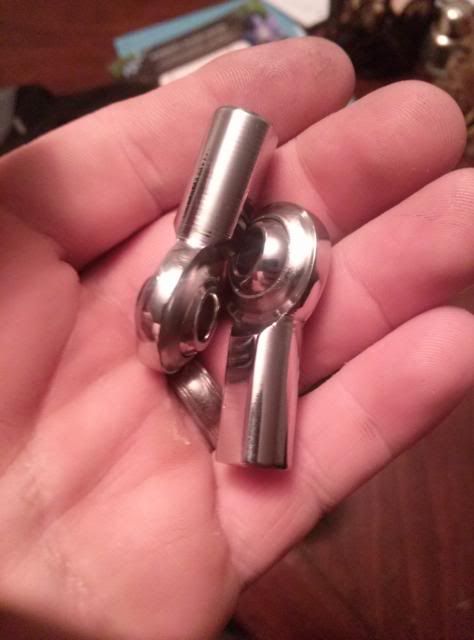
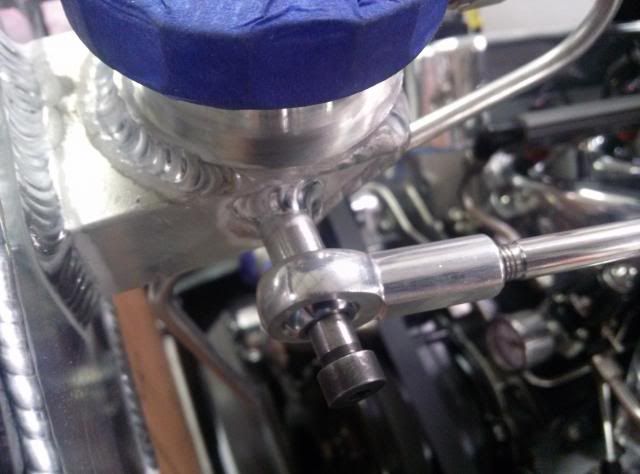
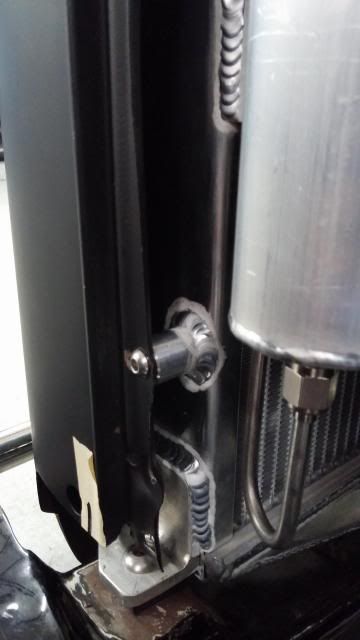
My rod-ends made it and screwed them on to give you the idea of how we are using the radiator support bars. Beats the hell out of using nuts to pinch a bracket on top of the radiator. The rod ends in the first pic are aluminum. The lower pic is stainless. I think I'm going to run the stainless ones after a bit of work on the buffing wheel.
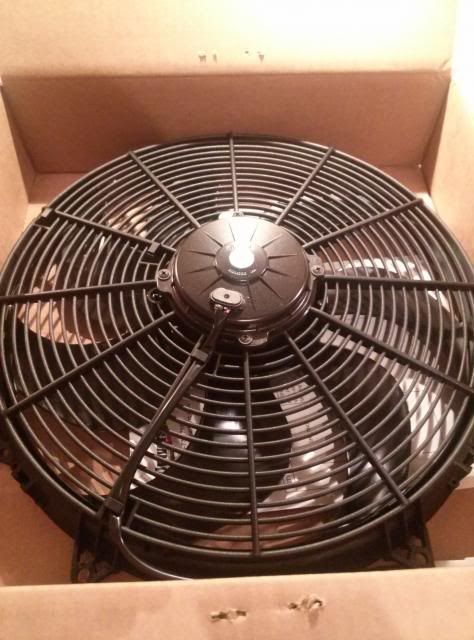
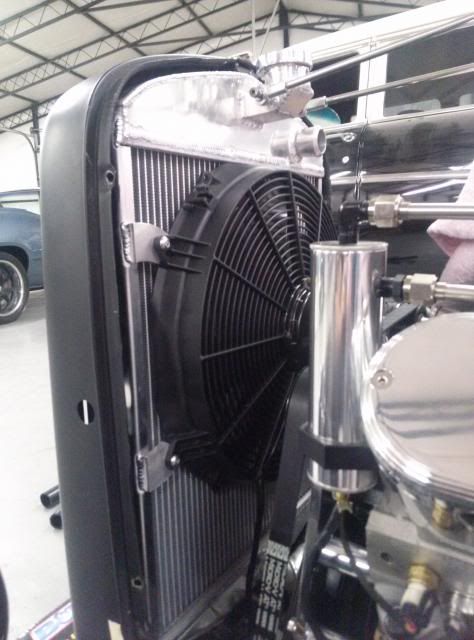
Also got my big nasty Spal 2082 Fan... 16" Paddle blade is wicked and should pull the truck along with the CFM it pulls... HYBRID? LMAO
Shortly after cleaning the garage up I got a call from the boss and he let me know my "spot" in the shop had opened up...
So I immediately loaded it up and had it at the shop at 8am the next morning.
In it's spot
Started on the radiator first... FML
Next I pulled out the outlet from the waterpump and welded up a 90 to kick it straight up to the inlet of the radiator.
After much thought I cut up the thermostat housing and made some parts on the lathe to make my own housing. This will be a huge help in getting the outlet of the radiator hooked up.
My rod-ends made it and screwed them on to give you the idea of how we are using the radiator support bars. Beats the hell out of using nuts to pinch a bracket on top of the radiator. The rod ends in the first pic are aluminum. The lower pic is stainless. I think I'm going to run the stainless ones after a bit of work on the buffing wheel.
Also got my big nasty Spal 2082 Fan... 16" Paddle blade is wicked and should pull the truck along with the CFM it pulls... HYBRID? LMAO
11-13-2013, 09:58 PM
#29
TECH Enthusiast
Thread Starter
iTrader: (15)
Join Date: Aug 2006
Location: DFW....TX
Posts: 624
Likes: 0
Received 0 Likes
on
0 Posts
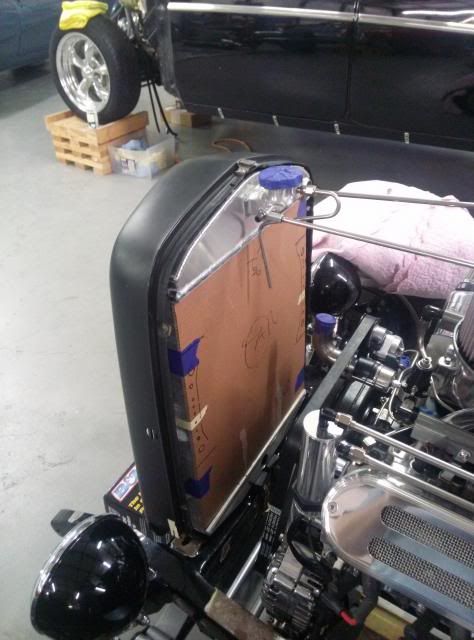
About got the radiator finished. Just need to make the lower frame tabs and the grille mounts.
 http://i93.photobucket.com/albums/l59/sprayed99/CAM01009_zps94f26f39.jpg
Everything fits good so we proceeded
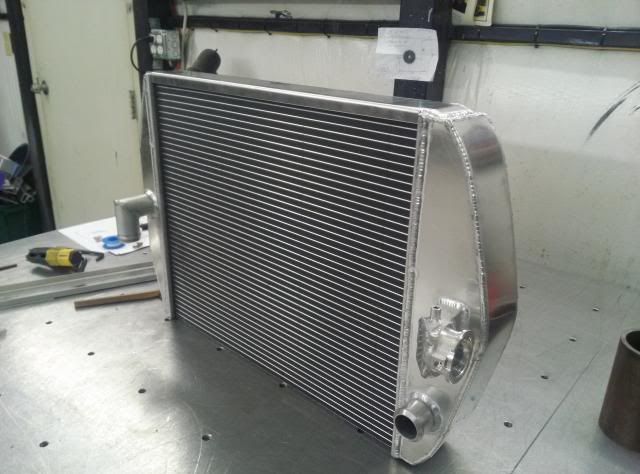
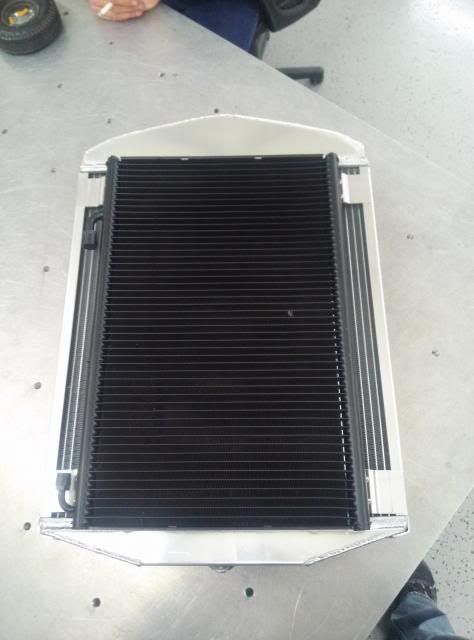
Drying off after being tested in the tank

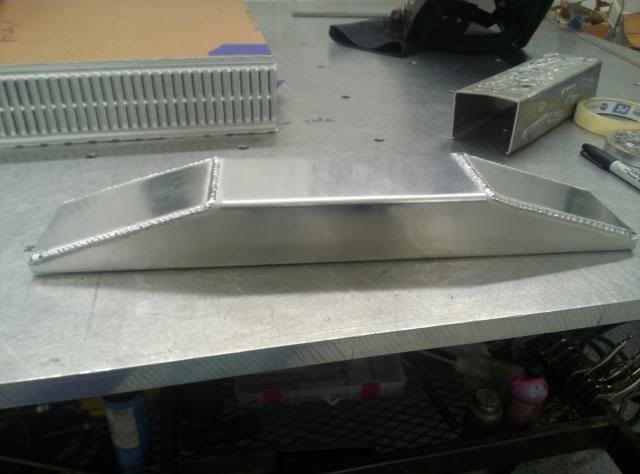
Condensor tabs made and them welded to the radiator
Boss man welding on the radiator
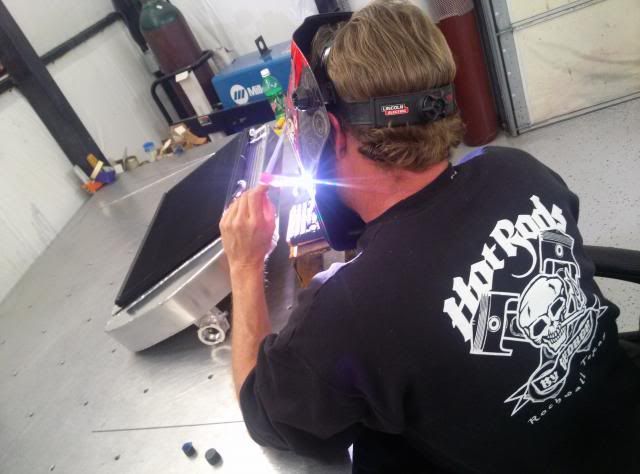
Also managed to get the fan stuff done before shutting it down for the night. More to come.
http://i93.photobucket.com/albums/l59/sprayed99/CAM01009_zps94f26f39.jpgEverything fits good so we proceeded
Drying off after being tested in the tank
Condensor tabs made and them welded to the radiator
Boss man welding on the radiator
Also managed to get the fan stuff done before shutting it down for the night. More to come.
11-14-2013, 08:11 PM
#31
TECH Enthusiast
Thread Starter
iTrader: (15)
Join Date: Aug 2006
Location: DFW....TX
Posts: 624
Likes: 0
Received 0 Likes
on
0 Posts
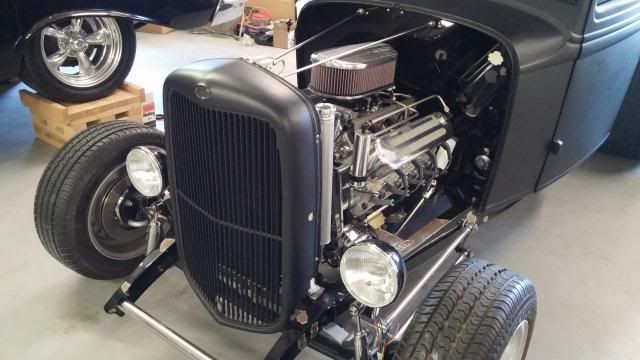
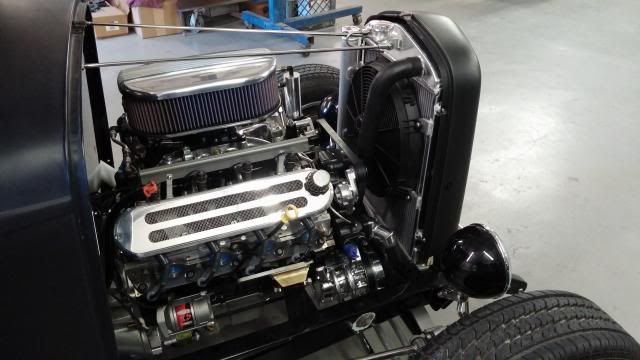
0411 PCM out of a 2001 tahoe. Modified harness from the same tahoe. Edelbrock Vic Jr EFI intake and a Accufab 4150 throttle body. The injectors are bosch red tops. This does not use a MAF.
11-14-2013, 08:25 PM
#32
Wow. Just wow.
absolutely freaking awesome. period.
absolutely freaking awesome. period.
__________________

Standalone LS Swap Harnesses IN STOCK!
LSX, LTX Stand alone swap harnesses. S10 LSX conversion PLUG AND PLAY harnesses, 24x conversion PLUG AND PLAY harnesses. LT1 to LSX PLUG AND PLAY Harnesses.
sales@bp-automotive.com
www.bp-automotive.com
1-888-467-4491
Standalone LS Swap Harnesses IN STOCK!
LSX, LTX Stand alone swap harnesses. S10 LSX conversion PLUG AND PLAY harnesses, 24x conversion PLUG AND PLAY harnesses. LT1 to LSX PLUG AND PLAY Harnesses.
sales@bp-automotive.com
www.bp-automotive.com
1-888-467-4491
11-22-2013, 11:26 AM
#35
TECH Enthusiast
Thread Starter
iTrader: (15)
Join Date: Aug 2006
Location: DFW....TX
Posts: 624
Likes: 0
Received 0 Likes
on
0 Posts
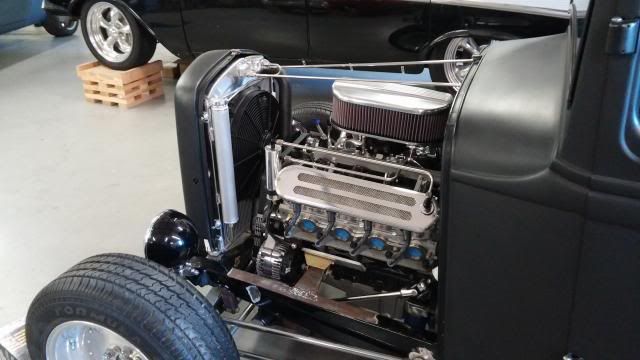
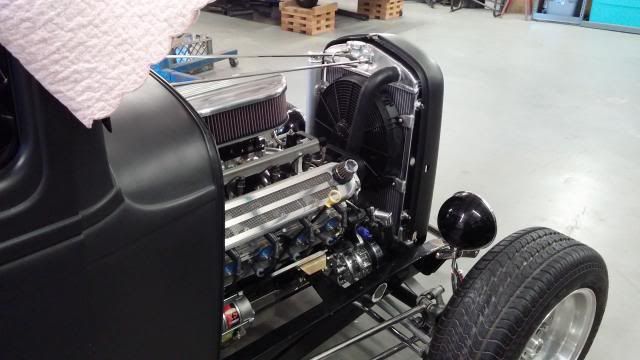
got the frame mounts done and the thermostat welded up. The upper and lower hoses are fitted. Next will be mounting the grille and making an overflow tank then the cooling system will be done.

01-17-2014, 01:19 PM
#36
TECH Enthusiast
Thread Starter
iTrader: (15)
Join Date: Aug 2006
Location: DFW....TX
Posts: 624
Likes: 0
Received 0 Likes
on
0 Posts
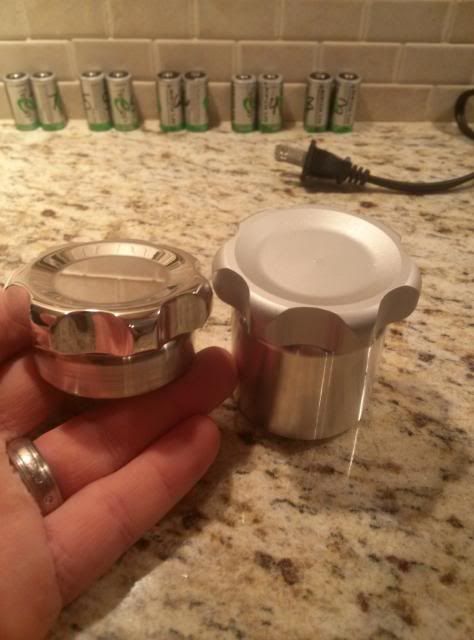
A few polished items and the master cylinder cap we made to match the air cleaner top.

Radiator is finished along with the overflow tube and the grille mounting.
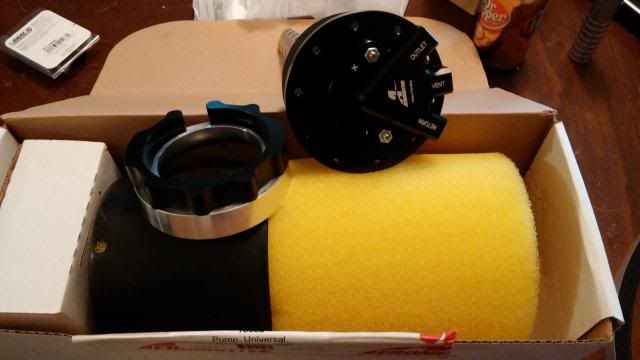
Also this bad boy arrived.
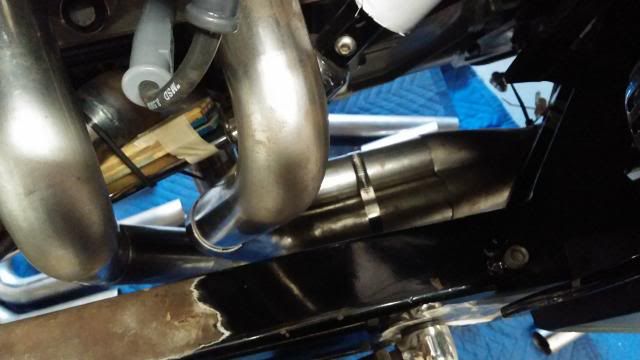
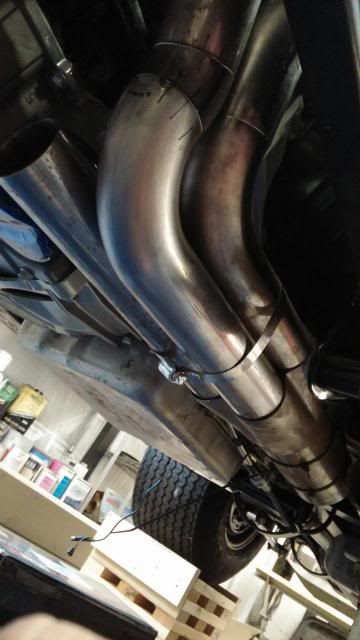
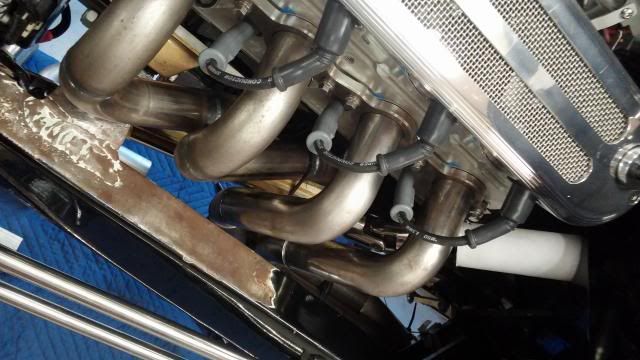
Also started on the headers. The start of the primaries are 1.750" on the shortest run it is 8.75" and the longest it is 9.125" then they step to a 1.875" then go into the collector. All the steps are hidden by the frame rail to try to keep the number of visible welds down. I have about a 12% length difference from the longest to the shortest primary. I wanted it closer to 10% but the space I have dictates where the tubes can go.
PICS


Radiator is finished along with the overflow tube and the grille mounting.
Also this bad boy arrived.
Also started on the headers. The start of the primaries are 1.750" on the shortest run it is 8.75" and the longest it is 9.125" then they step to a 1.875" then go into the collector. All the steps are hidden by the frame rail to try to keep the number of visible welds down. I have about a 12% length difference from the longest to the shortest primary. I wanted it closer to 10% but the space I have dictates where the tubes can go.
PICS
01-17-2014, 01:23 PM
#37
TECH Enthusiast
Thread Starter
iTrader: (15)
Join Date: Aug 2006
Location: DFW....TX
Posts: 624
Likes: 0
Received 0 Likes
on
0 Posts
In your case you have a hood and probably an area where you can run a carb hat or an elbow and utilize an intake tube. I would build the intake tubing out of aluminum and use the LS3/LS7 card style MAF and weld the bung into the intake tube.


 03-07-2014, 05:52 PM
#40
TECH Enthusiast
Thread Starter
iTrader: (15)
Join Date: Aug 2006
Location: DFW....TX
Posts: 624
Likes: 0
Received 0 Likes
on
0 Posts
You have the best of both worlds from both tubing sizes. Do some research on step headers and you will get the idea. It also helps having the ability to slide the 1.75 into the 1.875 tube for ease of building them.