When you click on links to various merchants on this site and make a purchase, this can result in this site earning a commission. Affiliate programs and affiliations include, but are not limited to, the eBay Partner Network.
I love your attention to detail on all the bent metal lines. My OCD loves the clean look, but my attention span makes it hard for me to pull that off. It looks like you have all your bend starting points marked out nicely too.
Will do when I buy.
Do you buy from them direct? It seems like they sell through distributors?
Doug
I'm a dealer since they have the best bang for the buck RAD core support system for the TriFive's Cars and Task Force Trucks. Just email their sales department and tell them what you want. They do PayPal and can probable have it shipped out same day.
I love your attention to detail on all the bent metal lines. My OCD loves the clean look, but my attention span makes it hard for me to pull that off. It looks like you have all your bend starting points marked out nicely too.
TROGDOOOOORRRRRR!!!!!
Sorry, your avatar distracted me.
If you thing this one is detailed wait till you see my fathers truck with its remote turbo, oiling system for the turbo, hard lines for the waste gate and BOV as well and pass through fuel rails. Not even getting into the hydraulic hand brake. Its going to be evil clean!
Well this has been a long time coming. Sorry for the delay. Customer had some changes, so I had to warp up the projects in front of him before I could continue on this project. Its not fair to the guys who have been waiting when the guy in the middle suddenly goes. "I want to add this"
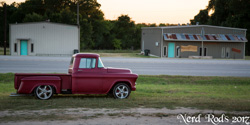
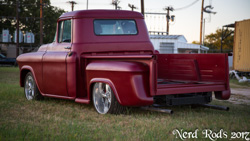
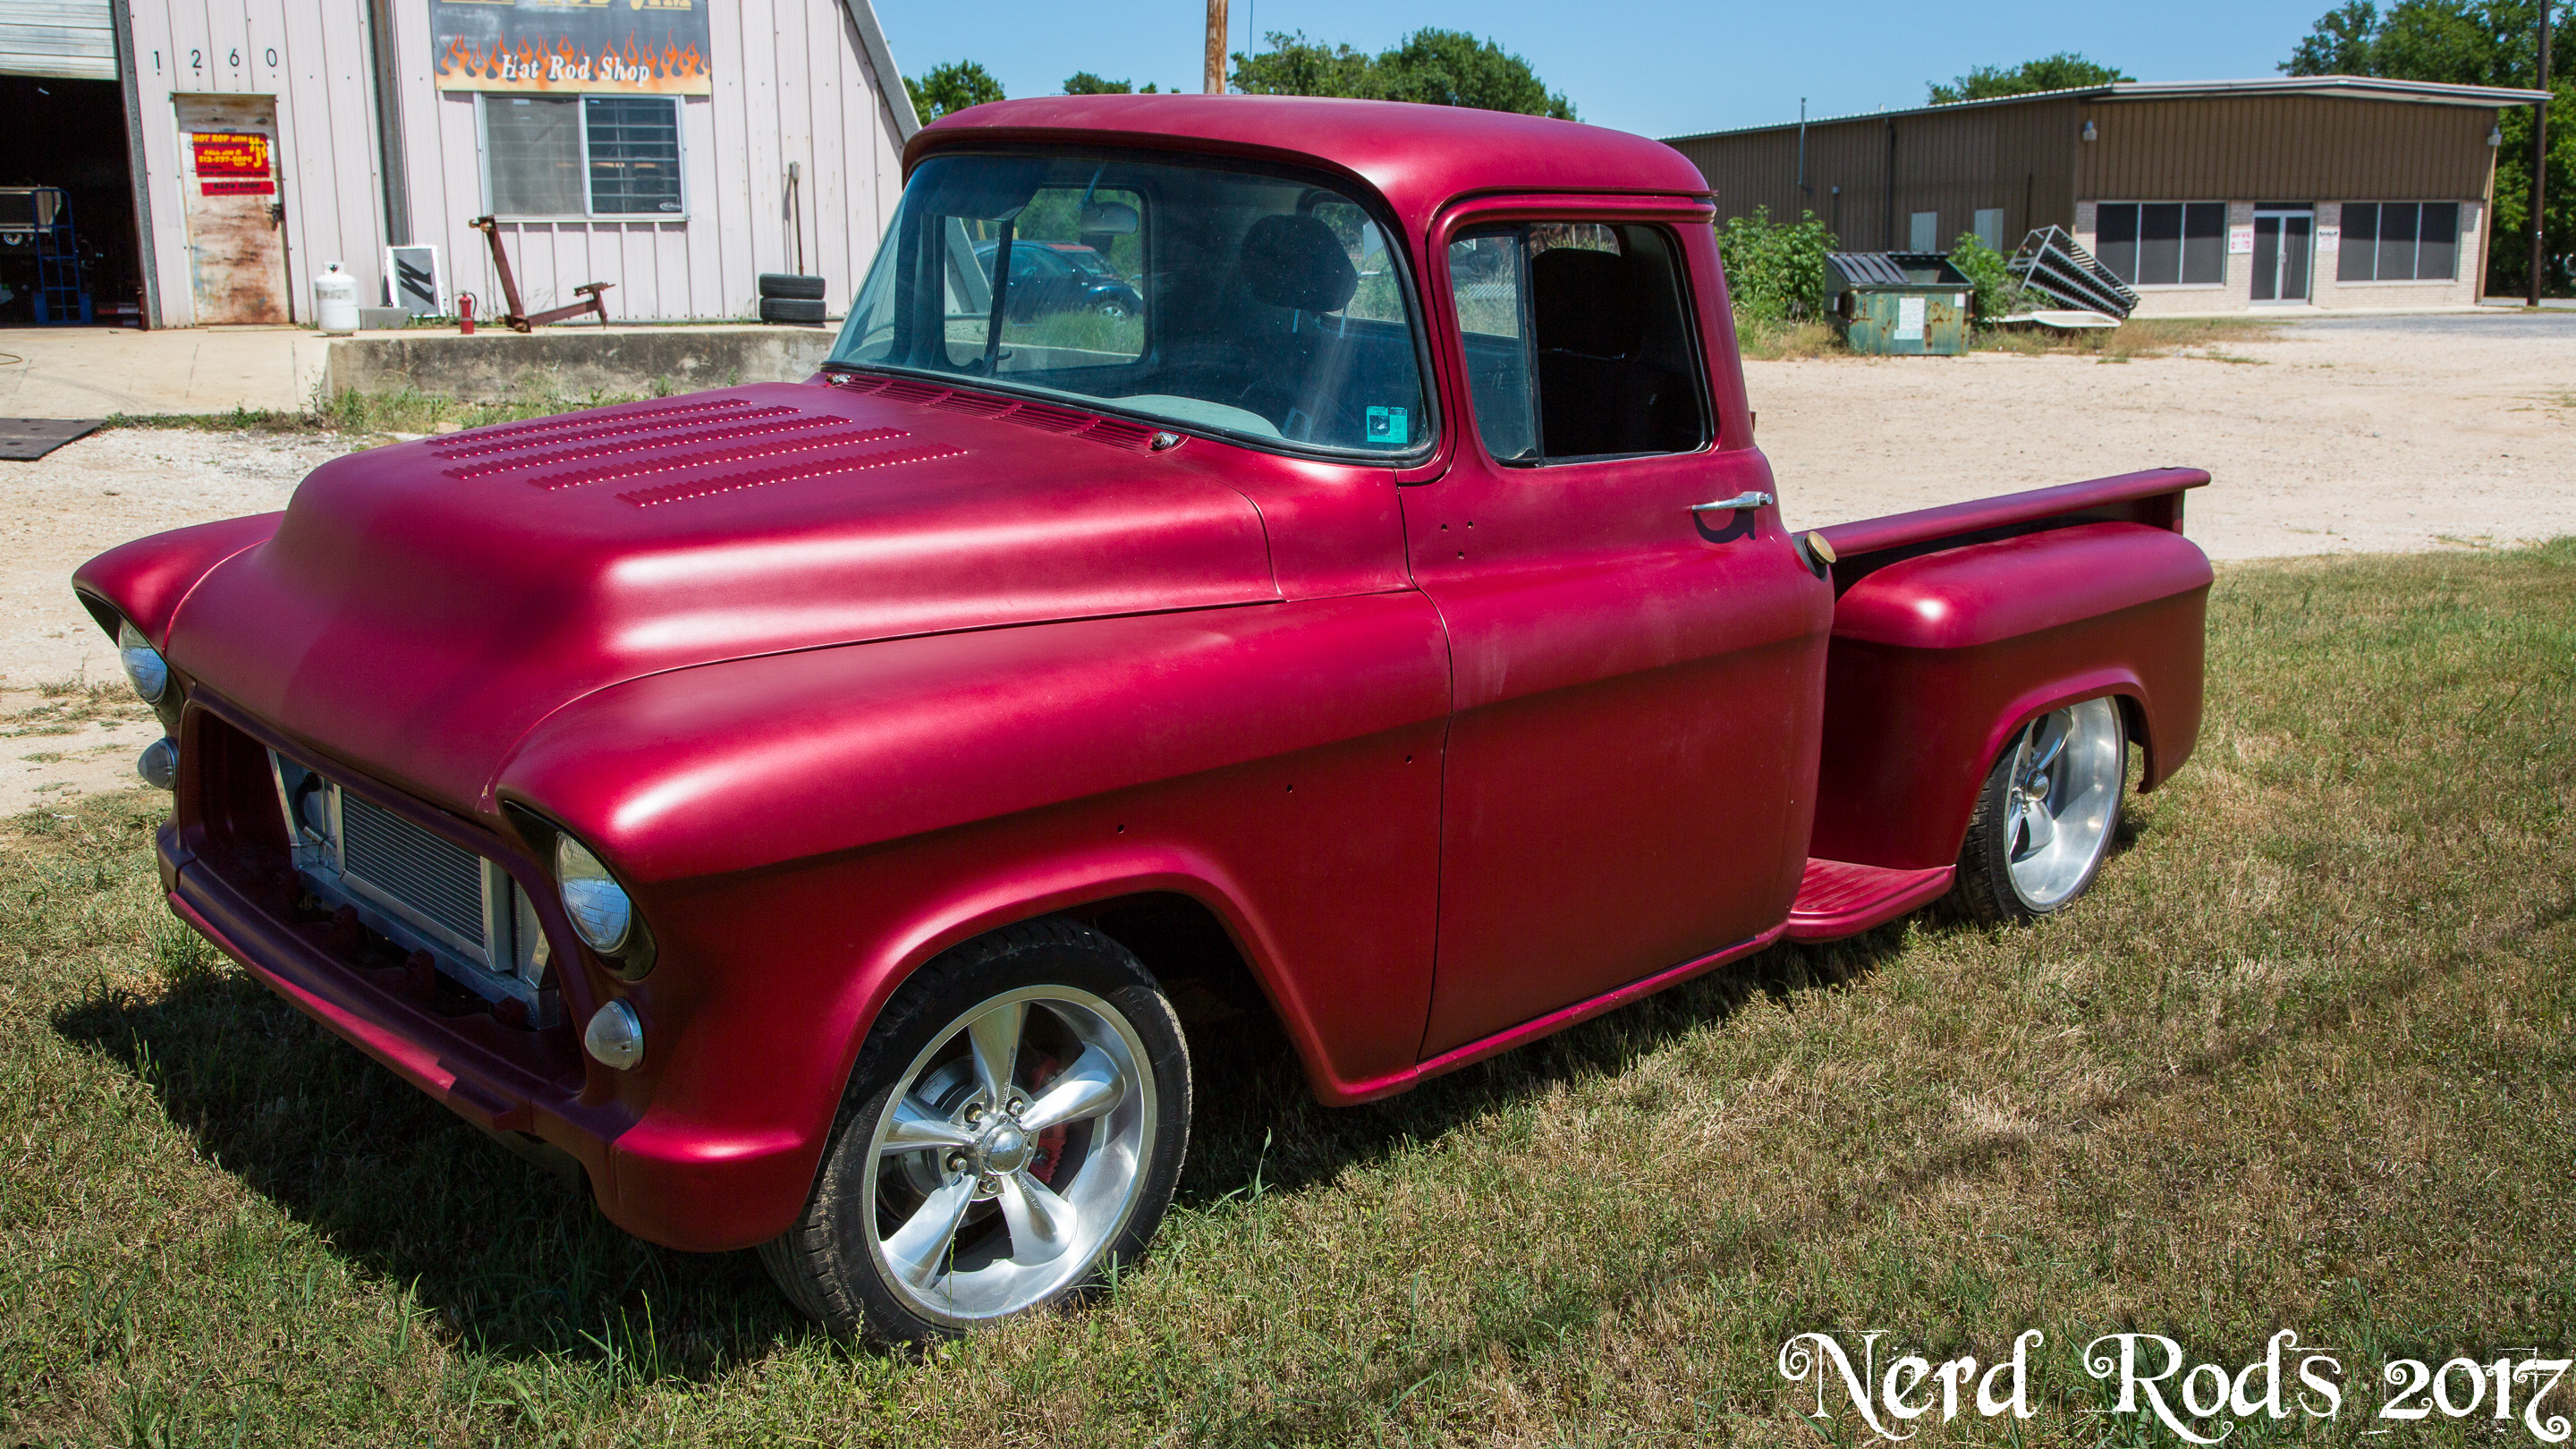
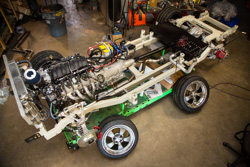
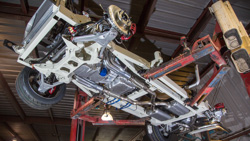
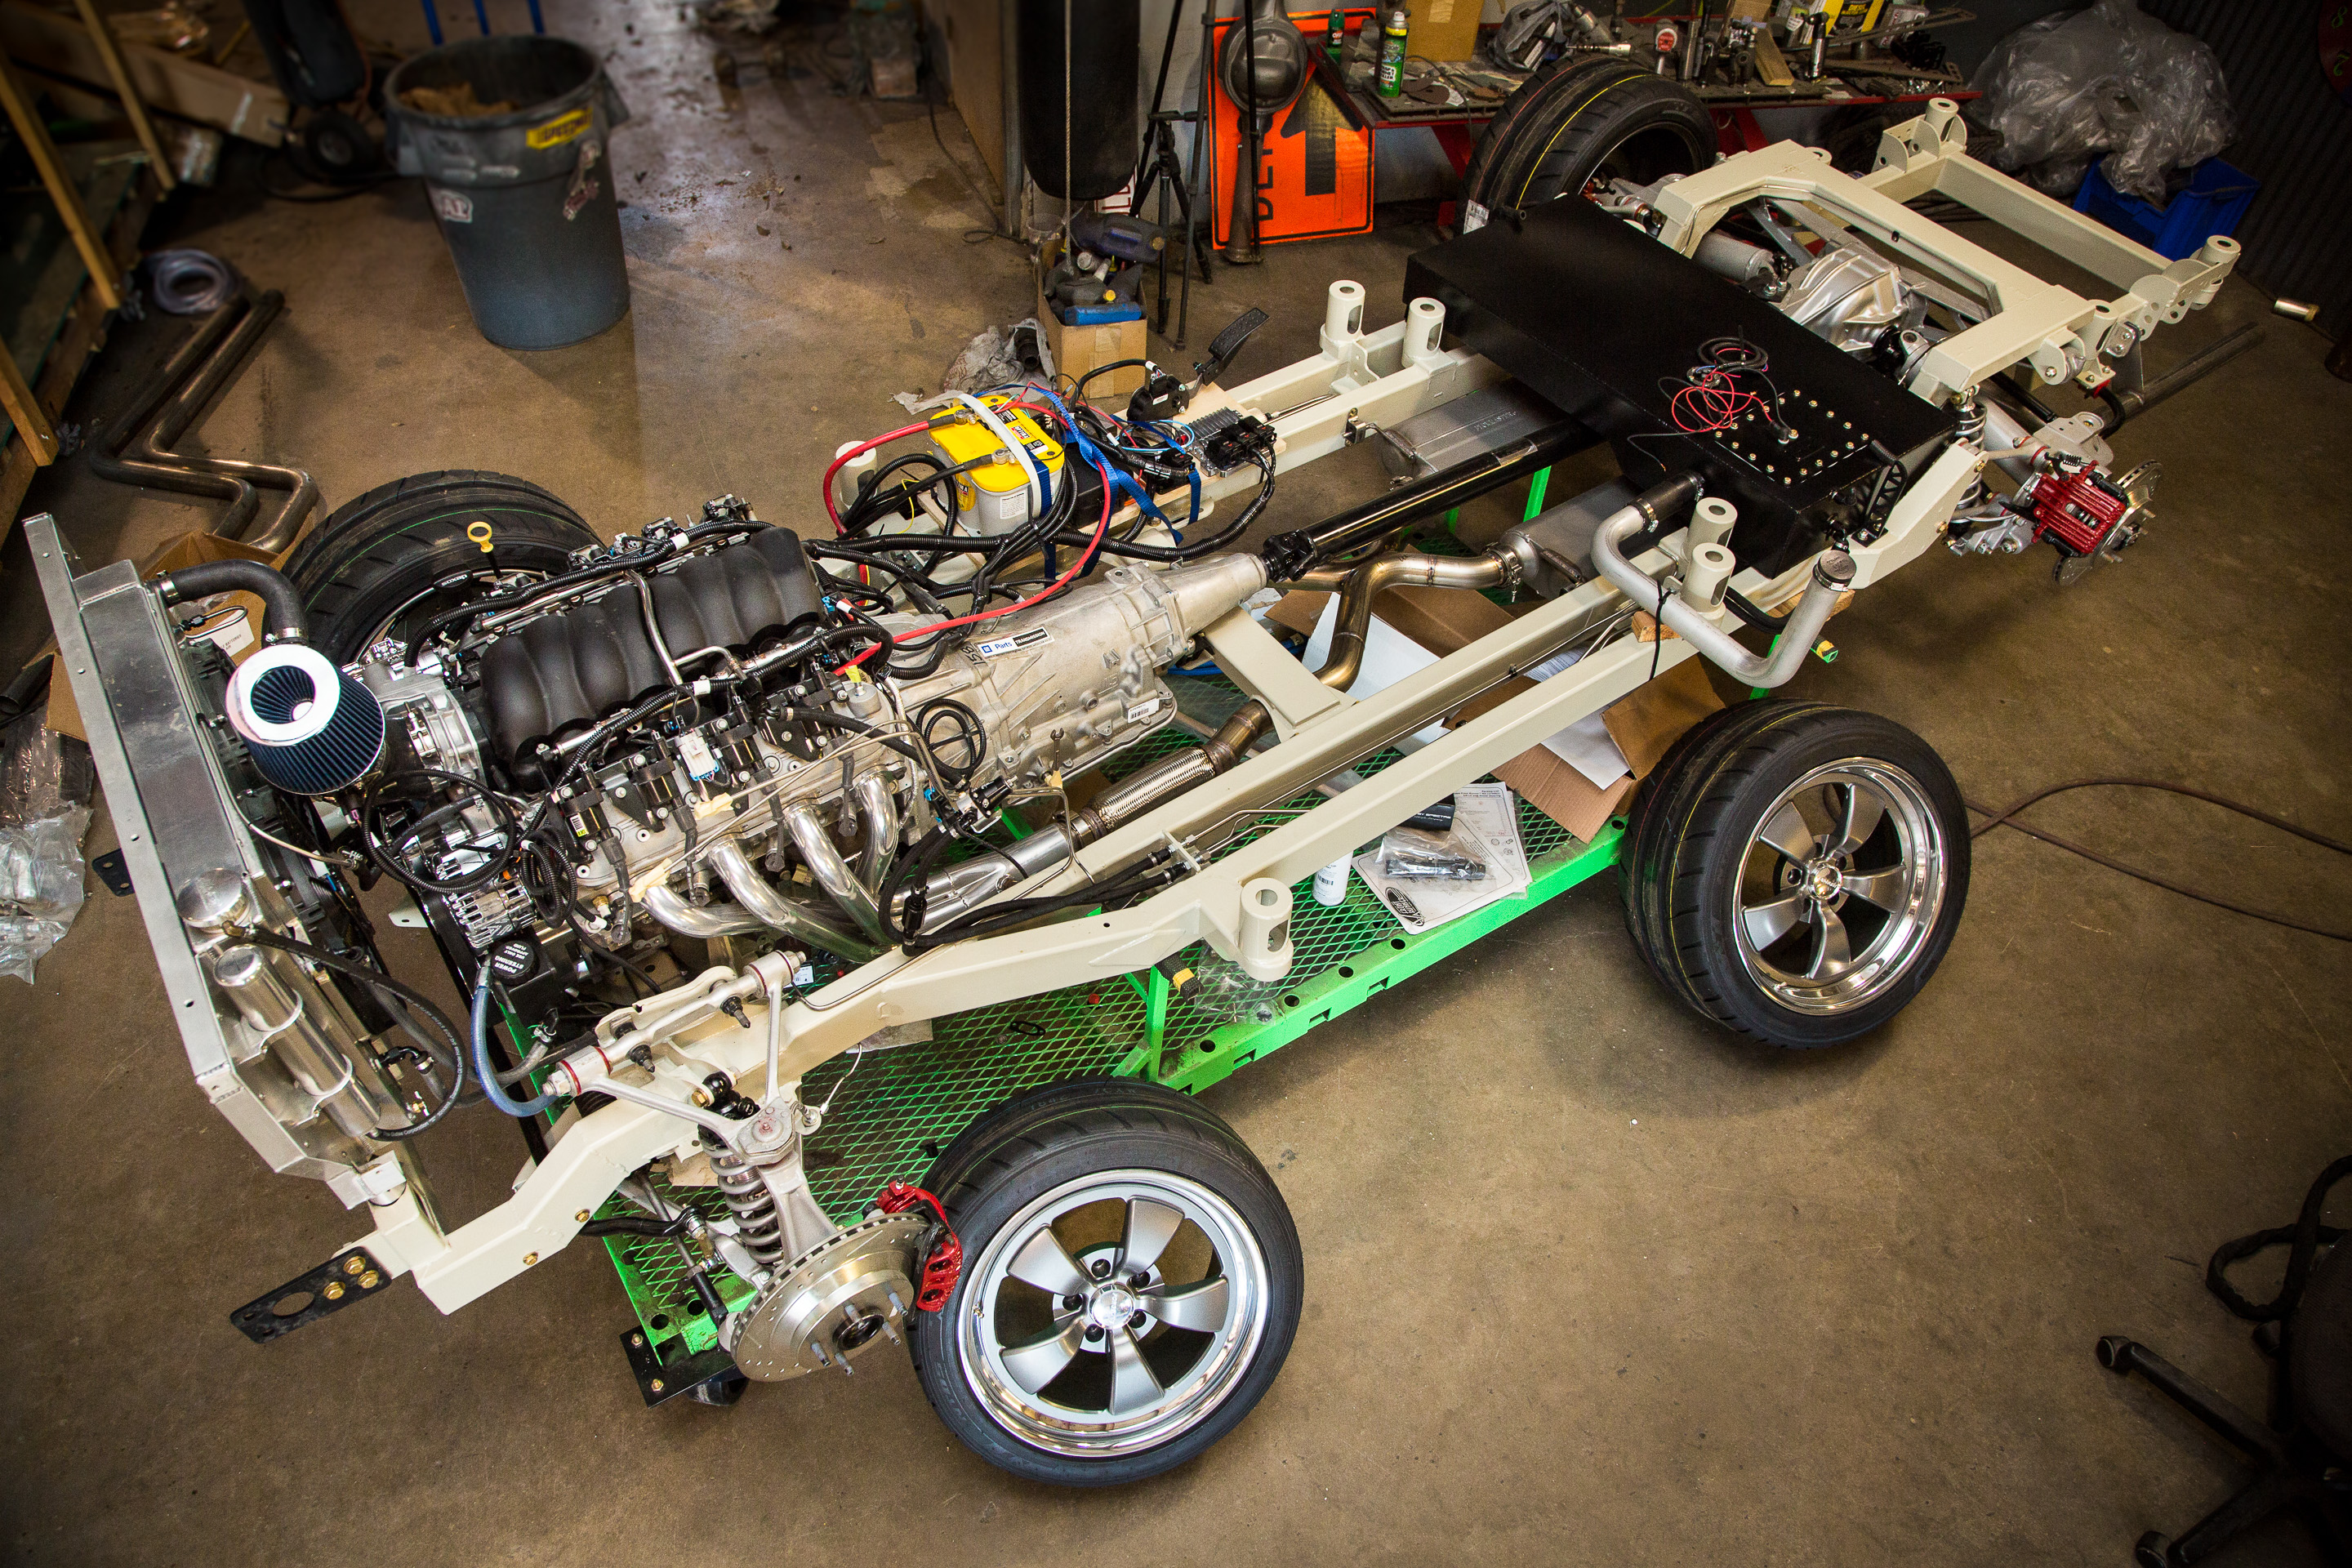
So! Its got all the sheetmetal on there. Got some good photos outside while we were cleaning the shop the other day. This beast needs its wiring and then its time to drive it!
But here are a few details as well. We shipped two of these out a few weeks back and we're knee deep in a few other projects.
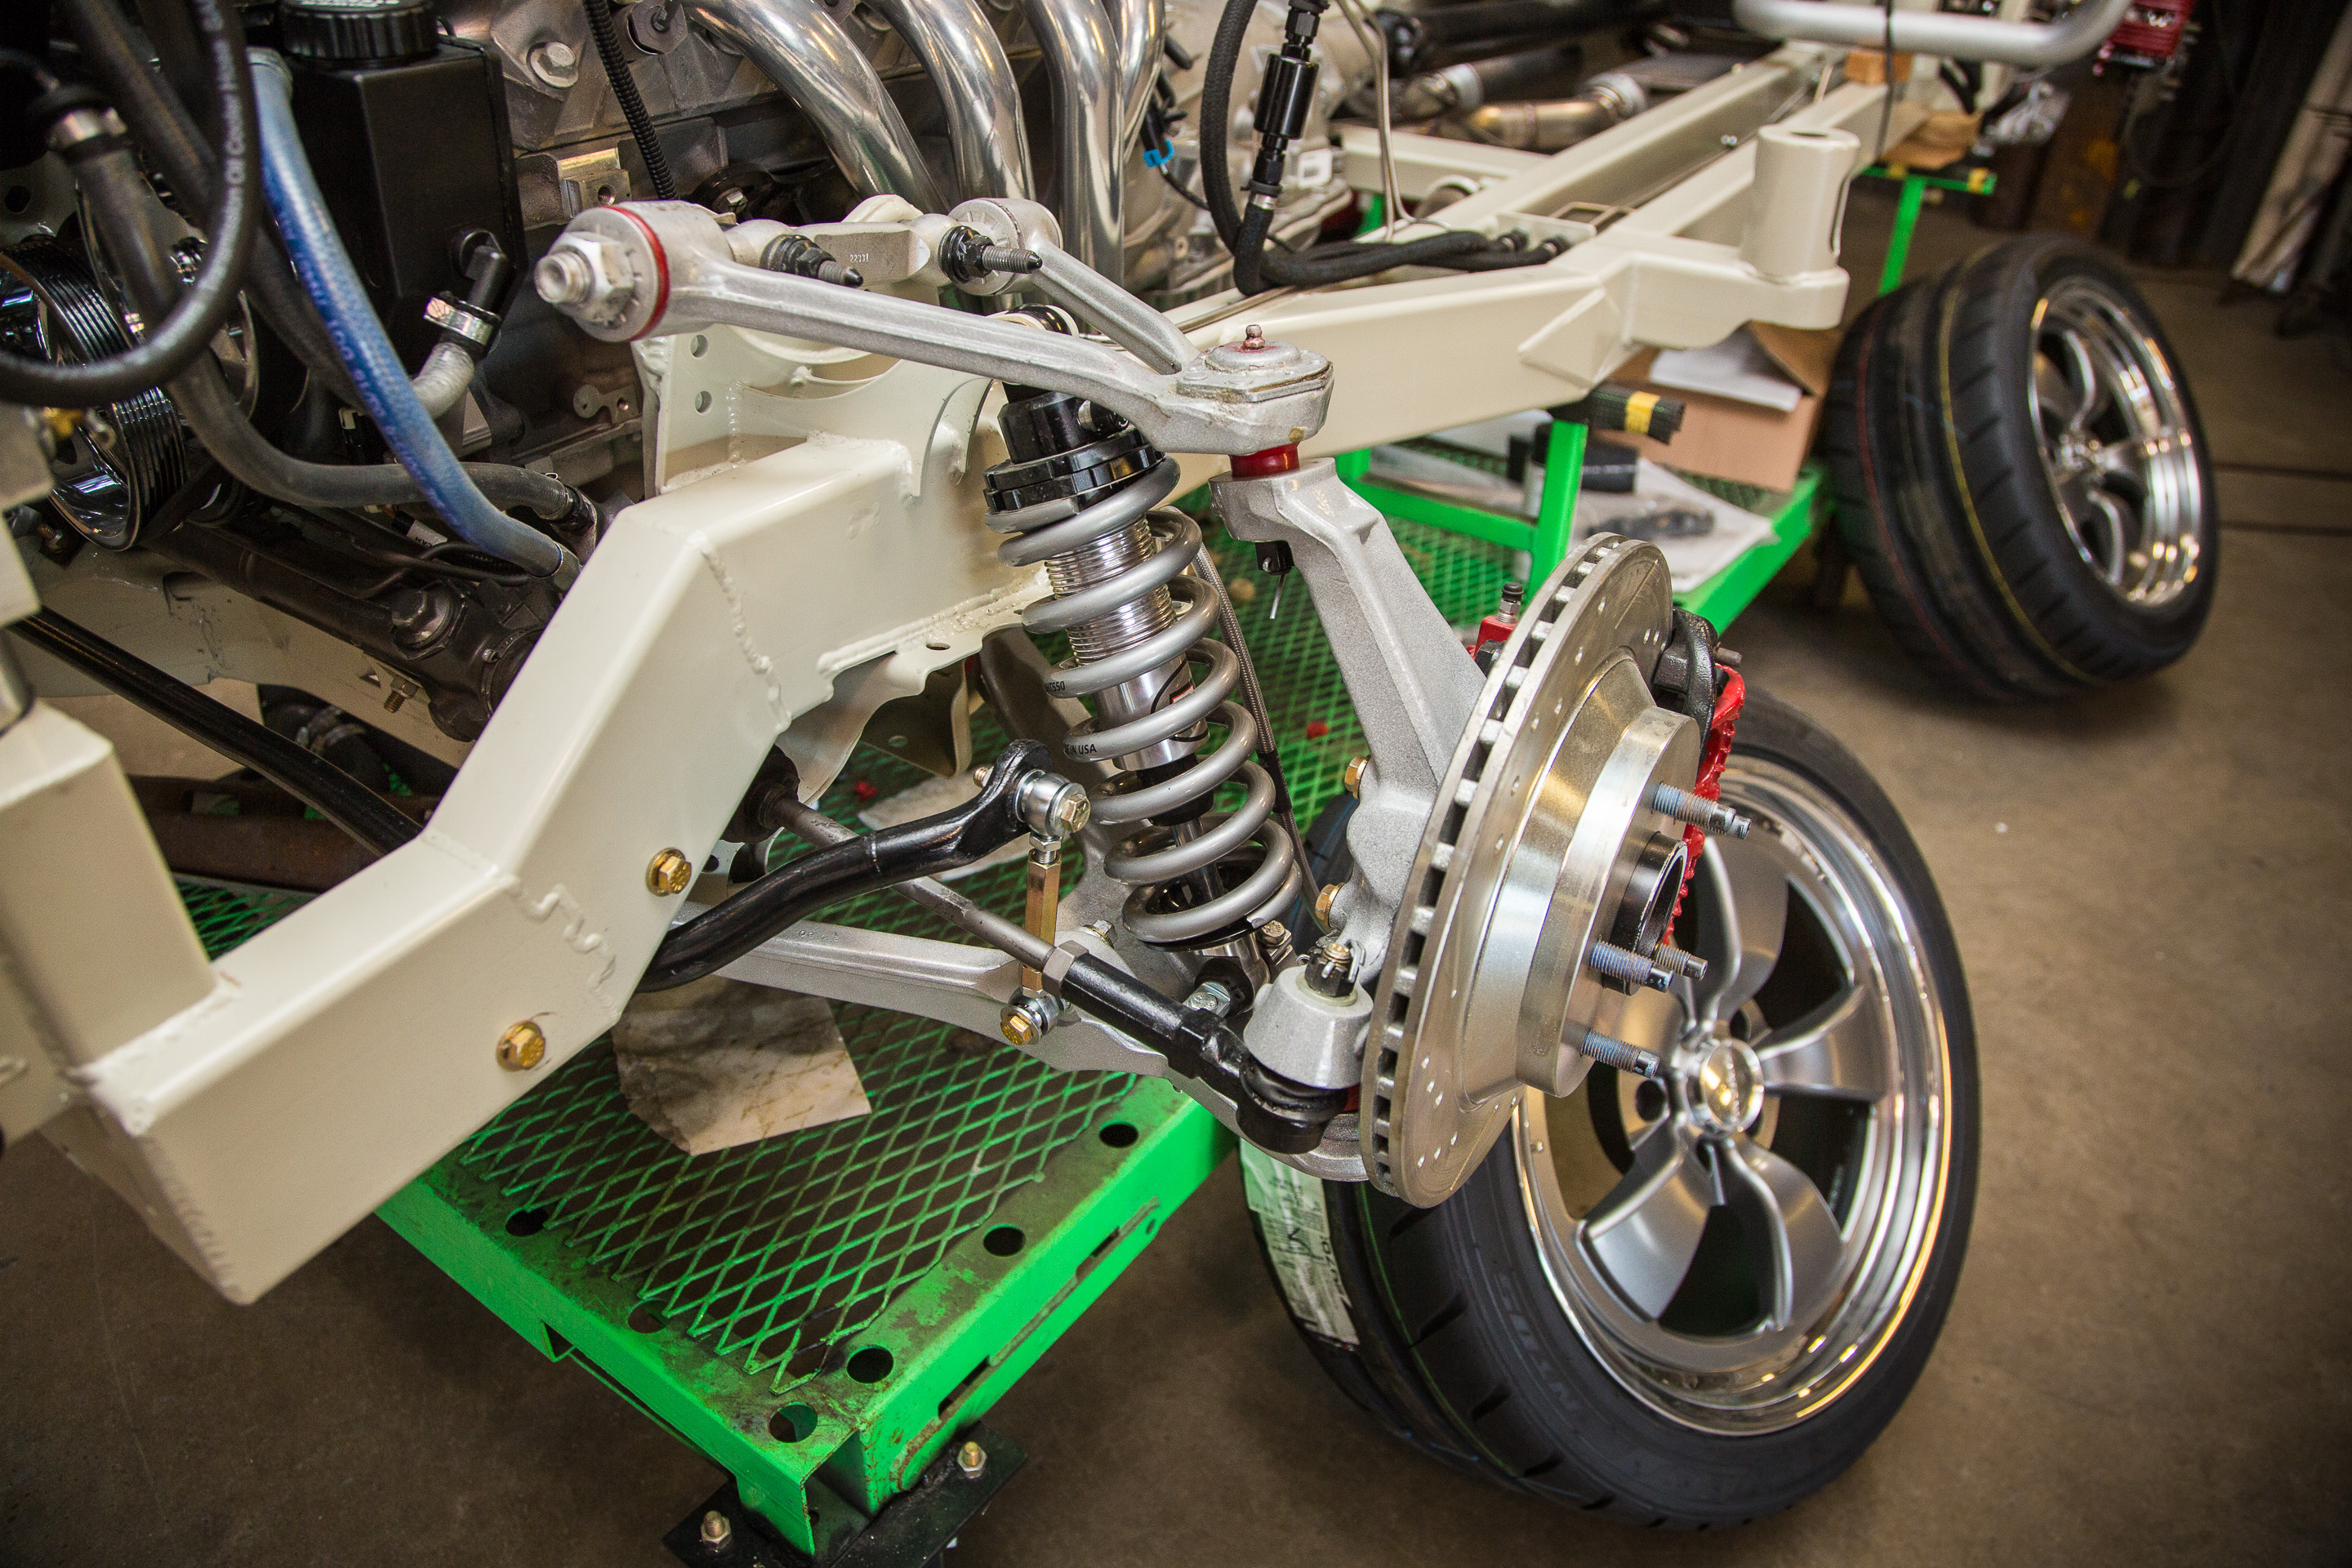
LS3 Connect and Cruise, 480 HP kit, PRC Radiator Core Support, C4 Corvette Suspension, QA1 Double Adjustable Coil Over Shocks, Front and rear swaybars, Stainless Steel 2.5" mandrel bent exhaust, Flow masters delta 50 series mufflers, and my new billet shock mounts and exhaust hangers.
I also took her out to eat the other day. A meal for her then a meal for me. I did figure out the filler neck and OE style fuel cap don't play well with fueling so I'm going to add a external vent check valve with a rollover protection lock on it to the system and see if that helps fueling.
One might remember me testing the tank and 90� angles of the fuel system to see if the vent and angles would flow enough to prevent back burping on the fuel and it worked so I just need a bit more venting and something to let off pressure as the mass warms up and cools off.
It's been a fun several weeks but it looks like this is going to happen sooner than later. I have a few other minor things that need to happen on Georges truck as well. Rear swaybar linkage that got more complex that I would have liked but they are correct and that's more important at the moment.
And then dumbluck today. I "assumed" that 14mm misalignment washers would be available with the 14mm rod end. And I was wrong. But as luck would have it the �" misalignment washes I have are on the same size sphere used on the 14mm rod end. So one 14mm drill bit and a moment or two later on the lathe and we're good to go.
I also have 14mm X 1mm shims ordered for the bump steer adjustment and the 14mm X 110mm bolts ordered. I'm psyched to see if this is going to work as well as I hope it will. If not I still have the option to shorten the steering arm length for a few more degrees of steering angle at a mild sacrifice of bump steer at the extreme end of the suspension travel spectrum. Like all suspension its a compromise inside of a compromise inside of a compromise.
The goal will be both steering arm and rear sway bar linkage at the same time when all the parts are here in a week or so.
I got the parts in and they are welded up, I just need to make them pretty then install them. I'm working on a small mountain of assorted parts to get powder coated at the same time. Motor mount plate, shock adapters, swaybar linkage, and the mounting brackets for the rear swaybar linkage. The plan is to get them installed a bit later this week.
A lot of work. How well do these pieces com together? Do they kinda stay together so you can tack them?
The round tubing is a pain in the butt. I'll probably try to rethink that design. The rest just need a clamp or two to keep them from twithing when you tack them in place. The problem is the volume of welding. You end up welding about half then taking to the blasting cabinet to take the scale off. I'll probably ditch those two linkage for scrap so I can take a bit more care on the prep. Its so thin that it heats up super fast and gets oxidized all over.
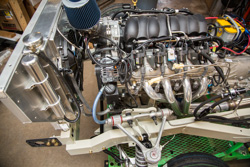
This worked out much better than the previous one. The customer is trying to get by a cheap as possible but when the intake air temps were the same as the operating temp the engine wouldn't run almost at all. So we made it a real cold air intake this time to solve that problem.
Note two, when it got up to temp the fans didn't come on. If you started with a truck engine that had a mechanical fan then the electric fan controls are disabled in the software. So that was fun to figure out. If you get no ground signal at your fan relay then you know its the tune file.
A few other things to do then its time to blow it apart and make it pretty.
Fortunately its highly functional. It was 103�F the other day and the ITA Temp Sensor right by the TB showed 100�F driving around town while the engine was sitting at 195�F with both fans feathering off and on as necessary. So for this project that's missions accomplished.
And so it begins! 100 mile shake down complete! Taking a few things off to look for problems and then install new goodies to test and evaluate. She gets closer to going home with each little bit of work.
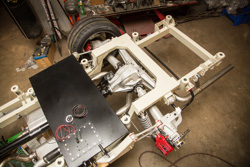
Custom Ackerman steering arms are going on with this round and the sway bar modifications and new linkages as well.
Long story short, there wasn't enough thread engagement for me to be happy with it so the temporally fix is a cut and weld BUT THIS IS ONLY FOR ME TO TEST THE STEERING ARMS, THIS WILL NOT BE DEVILED TO THE CUSTOMER OR SOLD AS PART OF THE KIT. All caps because someone still won't read it and will want to be a hero for pointing out that this isn't a perfect execution. I trust my welds on a thread angle more than I trust 5mm thread engagement.
I also had to move the sway bar a bit to clear the new steering linkage trajectory, hints the spacer blocks on the mount.
Sorry for the delay, I'm helping a friend build his new family home so that's eating up several days a week right now plus manufacturing and production on the other chassis projects in the shop dosen't leave much time. Good thing I'm single or I'd never get to work on my projects.
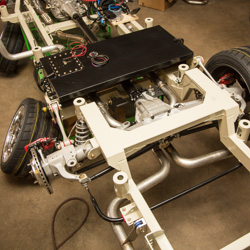
First, I was correct, the inner tie rods on the truck were not correct. They were the 84-87's on an 88-96 rack. That's why I had to cut them. So that will probably be an easy fix. Here are a few shots from another chassis in the shop with the steering arms bolted up.
Down side this only has 14mm of thread engagement on the rod end. While "the diameter of the shaft" in threads worth of engagement is acceptable by most books this just doesn't feel like enough for an almost all tension stress. So I'll probably still replace the end. Go to a male 14mm rod end and have a 14mm threaded sleeve made for the two the both thread in from each end. Cut a little off the rack and pinion's inner tie rod and call it much safer for the kit.
Now the report on the steering and driving feel.
I have put a few miles on the truck around town and on a longer trip to the Austin Cars and Coffee this last Sunday. The verdict at the moment is that it feels much better now that you are not fighting the steering with each turn but the turning radius is only slightly improved. Noticeably improved but not completely. I feel like its good enough for most customers since the "fighting steering wheel" feel is gone but it could be better. I've not gone back to my "test site" because of the local carnival is in town and the ferris wheel is right in the middle of the concrete I use for that particular test. The butt measuring tape says 4-8 feet tighter since the wheels aren't fighting each other any more but I won't say any more till I get an accurate testable metric to confirm.
I'm going to try one more prototype on the red truck with a "drift racer" trick and shorten the arm length to increase the angle of the steering arm. This isn't the best way to get more turning radius since it also creates "Ackerman migration" that exacerbates the farther you turn but if guys have happily been suffering bad Ackerman and bad turning radius this whole time I think Bad Ackerman and an acceptable turning radius are more desirable outcome. We'll see what I can do. I need to fix up a computer to start plugging in numbers to my suspension geometry program and see what I can do with the pivot location to make this workable.
Also find me on Instagram or Facebook for some daily updates user name NerdRods on both.


 02-04-2016 | 11:12 AM