66 Chevelle LSA/4L90E Conversion


Thread Starter
TECH Fanatic


Joined: Jul 2008
Posts: 1,569
Likes: 173
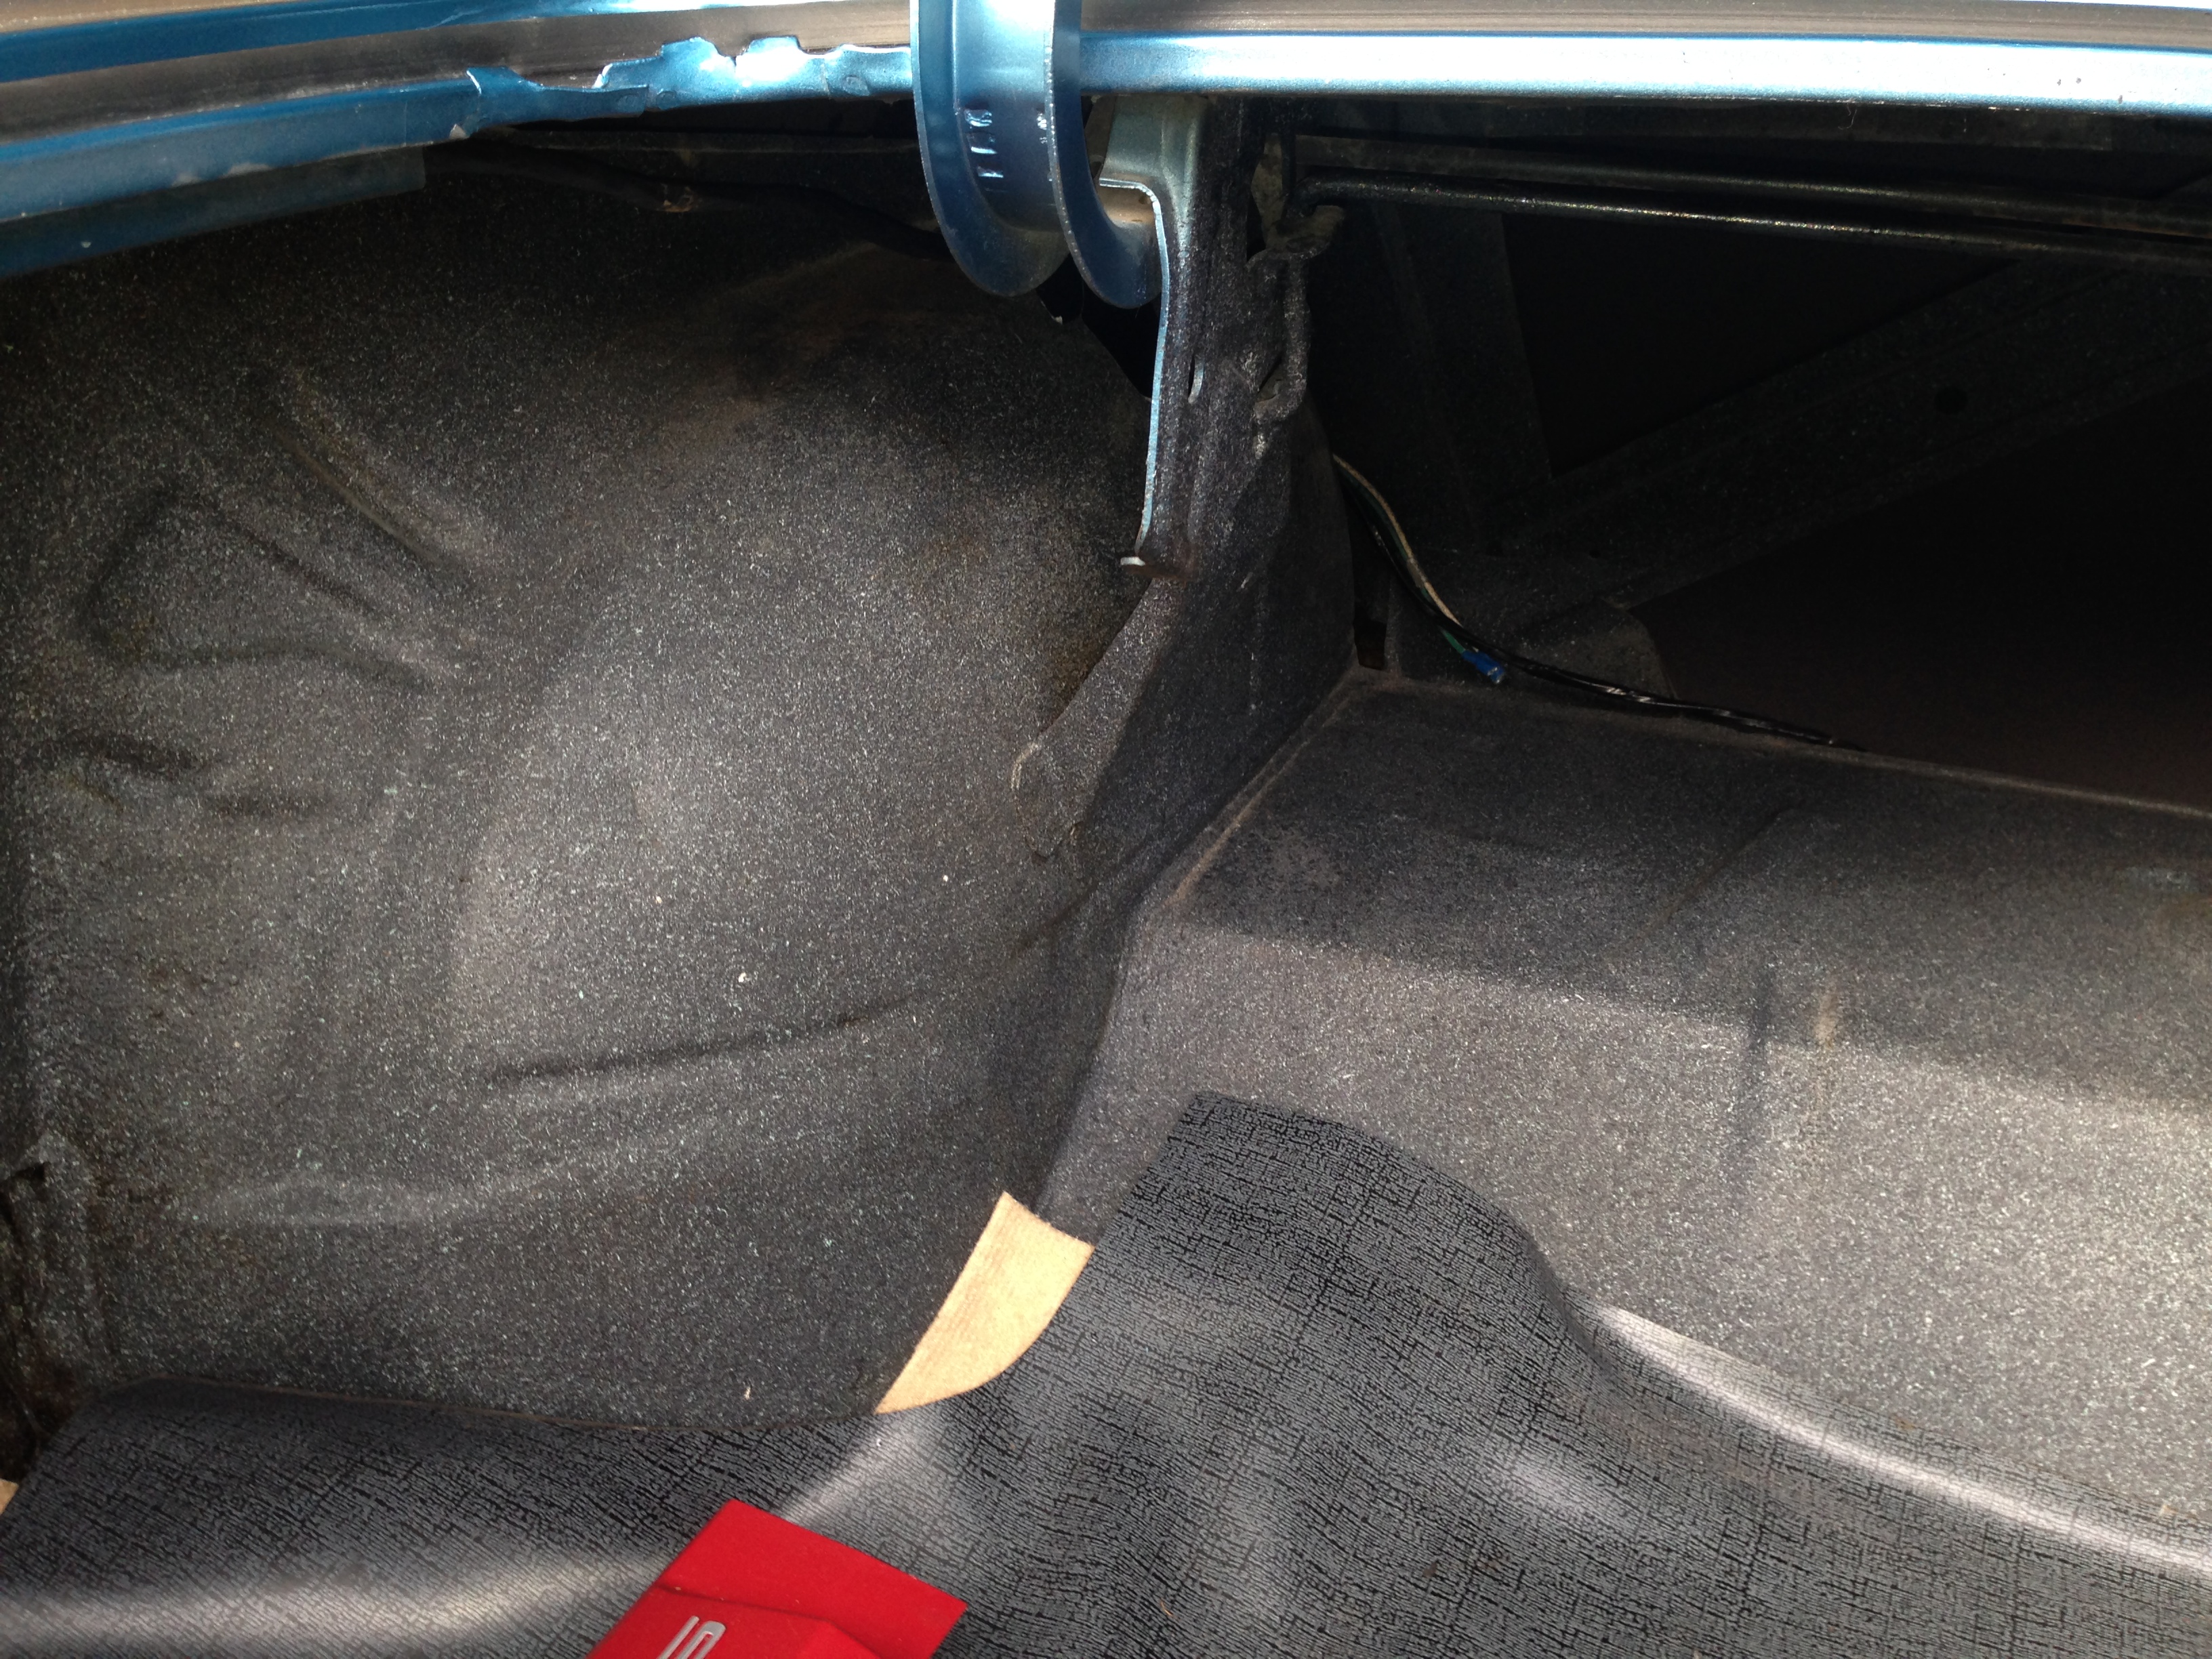
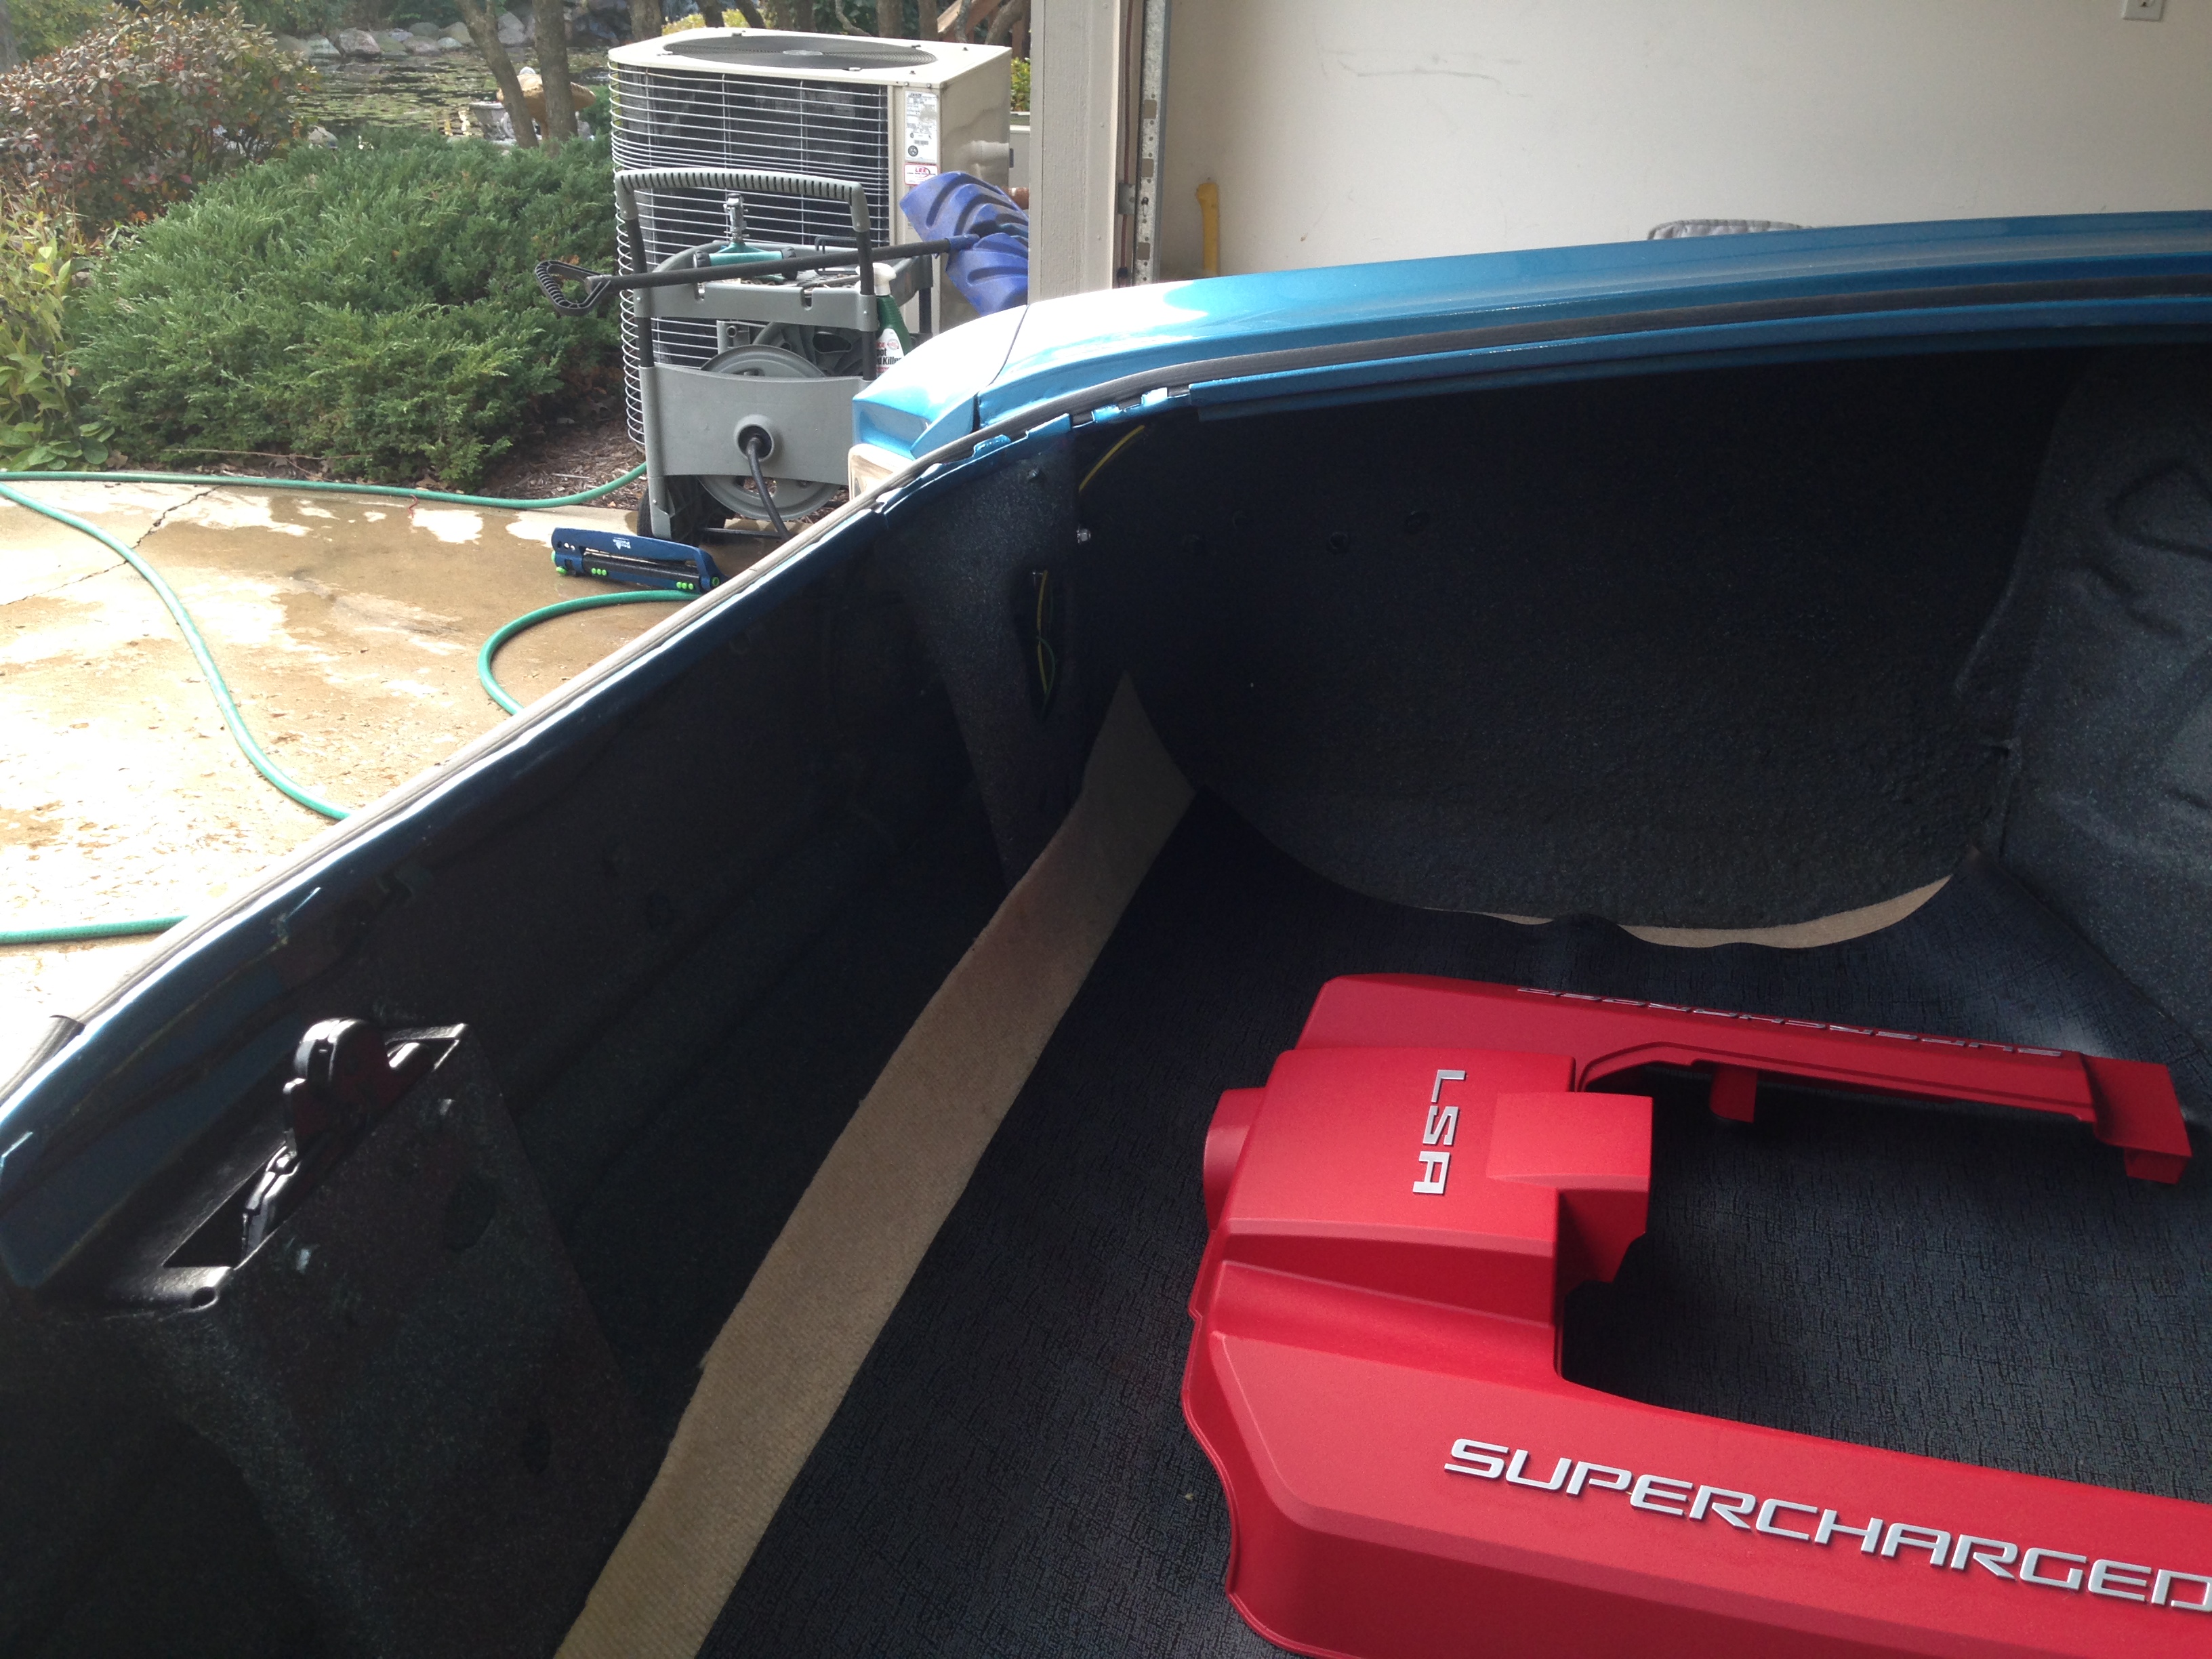
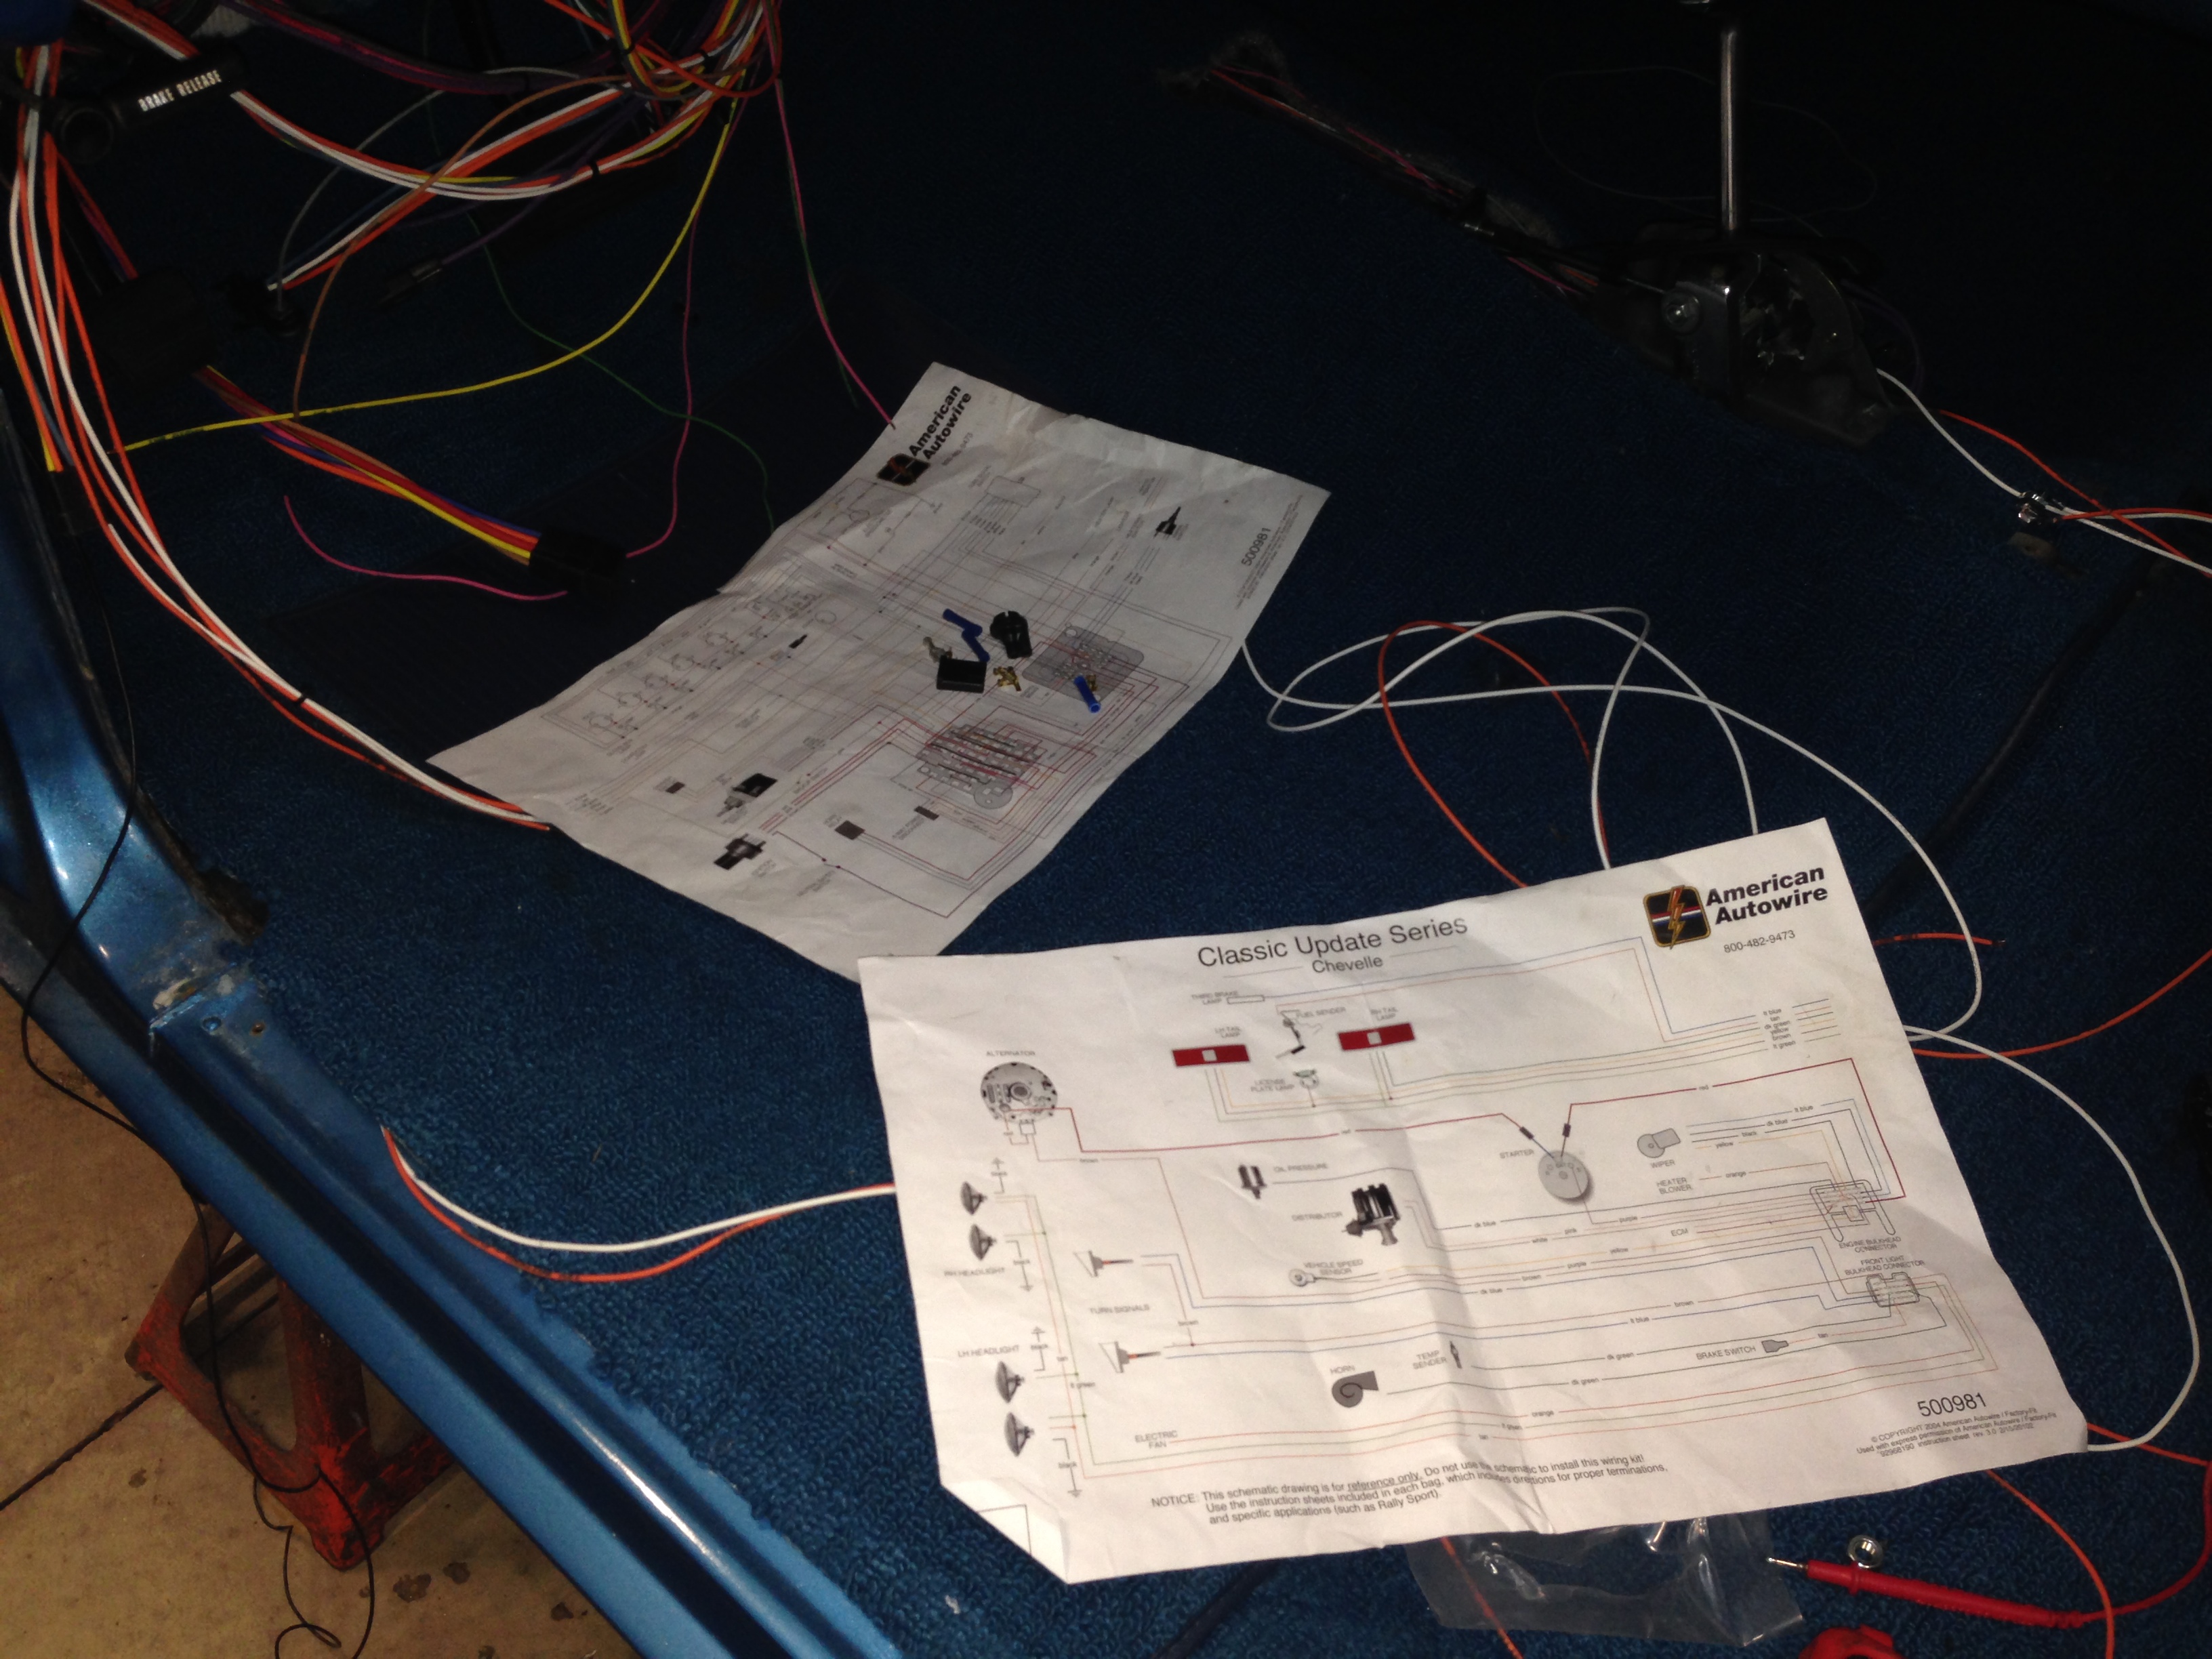
Two steps forward today........So......While waiting for my Princess to come home to help with Bleeding the brakes......I decided to wrap up another loose end.......I bought an American Autowire custom wire kit and needed to get in the trunk and get the rear harness in......along with the Dakota Digital LED tail lights.......Got everything installed and hooked up......the back of the car is now finished.......Checked on the Rick's Vaporworx Stainless tank and it is supposed to be shipping this week.......Now........Getting back to the brake issue.......
I was taking the easy way out and bled the fronts first as I could do that somewhat easily as the steering column is still out so I could reach thru the firewall and work the brake pedal to get at least a partial pedal by doing the drivers side first....Absolutely wrong ....but by convienence I did it that way......So......I was told to do the rears first......Duhhhh!!!!........So....I removed the front brake line and installed the bench bleeder in the front chamber....when she got home we started bleeding the rears...........Nothing.....no pedal.....just a few drops of fluid...........Darn!!!............after 10 minutes of nothing happening......I decided to change brake lines around and hook the rear line to the front port and moved the bench bleeder stuff to the rear port........Started bleeding the rears using the front and it looked like a drinking fountain out of the rear calipers......so....the rear brakes lines were O.K...........switched the lines back to normal and I now have front and rear brakes.........Bingo!!!...........I'm not even gonna try and figure it out.........Still waiting to hear from Ridetech to see if their parts increased the turn radius so I can get the oil pan clearance issues resolved.......I'll call them again tomorrow.....
Ken
 Any complaints or snags with it so far?
 Thread Starter
TECH Fanatic
Joined: Jul 2008
Posts: 1,569
Likes: 173
A wiring expert would probably really enjoy this set-up........nothing is taped so that's a lot of extra work.....and the Dash harness is going to have a million extra wires that won't be used.........In retrospect........I probably would have been better off getting a complete factory set-up and just trimming off the wires not required.
Ken
Thread Starter
TECH Fanatic
Joined: Jul 2008
Posts: 1,569
Likes: 173
Now that the stupid Brake issues are gone......I took the day today and got all the Disc Brake emergency brake cables integrated into the system and it's all finished up and working perfectly........The wildwood expanding internal brakes built into the rotors are ......Lets just say a lot "Better" than the Seville rears used on the last couple swaps......Great job Wilwood!!!!...........I also started getting the console wiring made and installed .......doubled checked the Neutral safety switch and the back up light switch and everything works where and when it's supposed to......I also got the info on the turning radius of the Ridetech suspension.........It is a slightly larger turn radius than stock but they said not to worry about it.........So.......I'm not gonna worry......LOL........Time for a Nap!!!
Ken
Ken
A wiring expert would probably really enjoy this set-up........nothing is taped so that's a lot of extra work.....and the Dash harness is going to have a million extra wires that won't be used.........In retrospect........I probably would have been better off getting a complete factory set-up and just trimming off the wires not required.
Ken
Ken
That said, I've only gotten as far as cutting the hole in the firewall and installing the fuse panel before his job put our schedules at odds.

I like the LED tail lights.
Thread Starter
TECH Fanatic
Joined: Jul 2008
Posts: 1,569
Likes: 173
Started the weekend off by starting to re-install the proportioning valve back into the brake system........LOL....My K-D Taiwan built flaring tool ended up being non-useable.......I should have bought one of those good ones for $200, but I thought that this $80 one would be able to make maybe at least 20 flares.........LOL........Wrong.........Advise to anyone doing this stuff......Don't buy any of this foreign "JUNK"...........
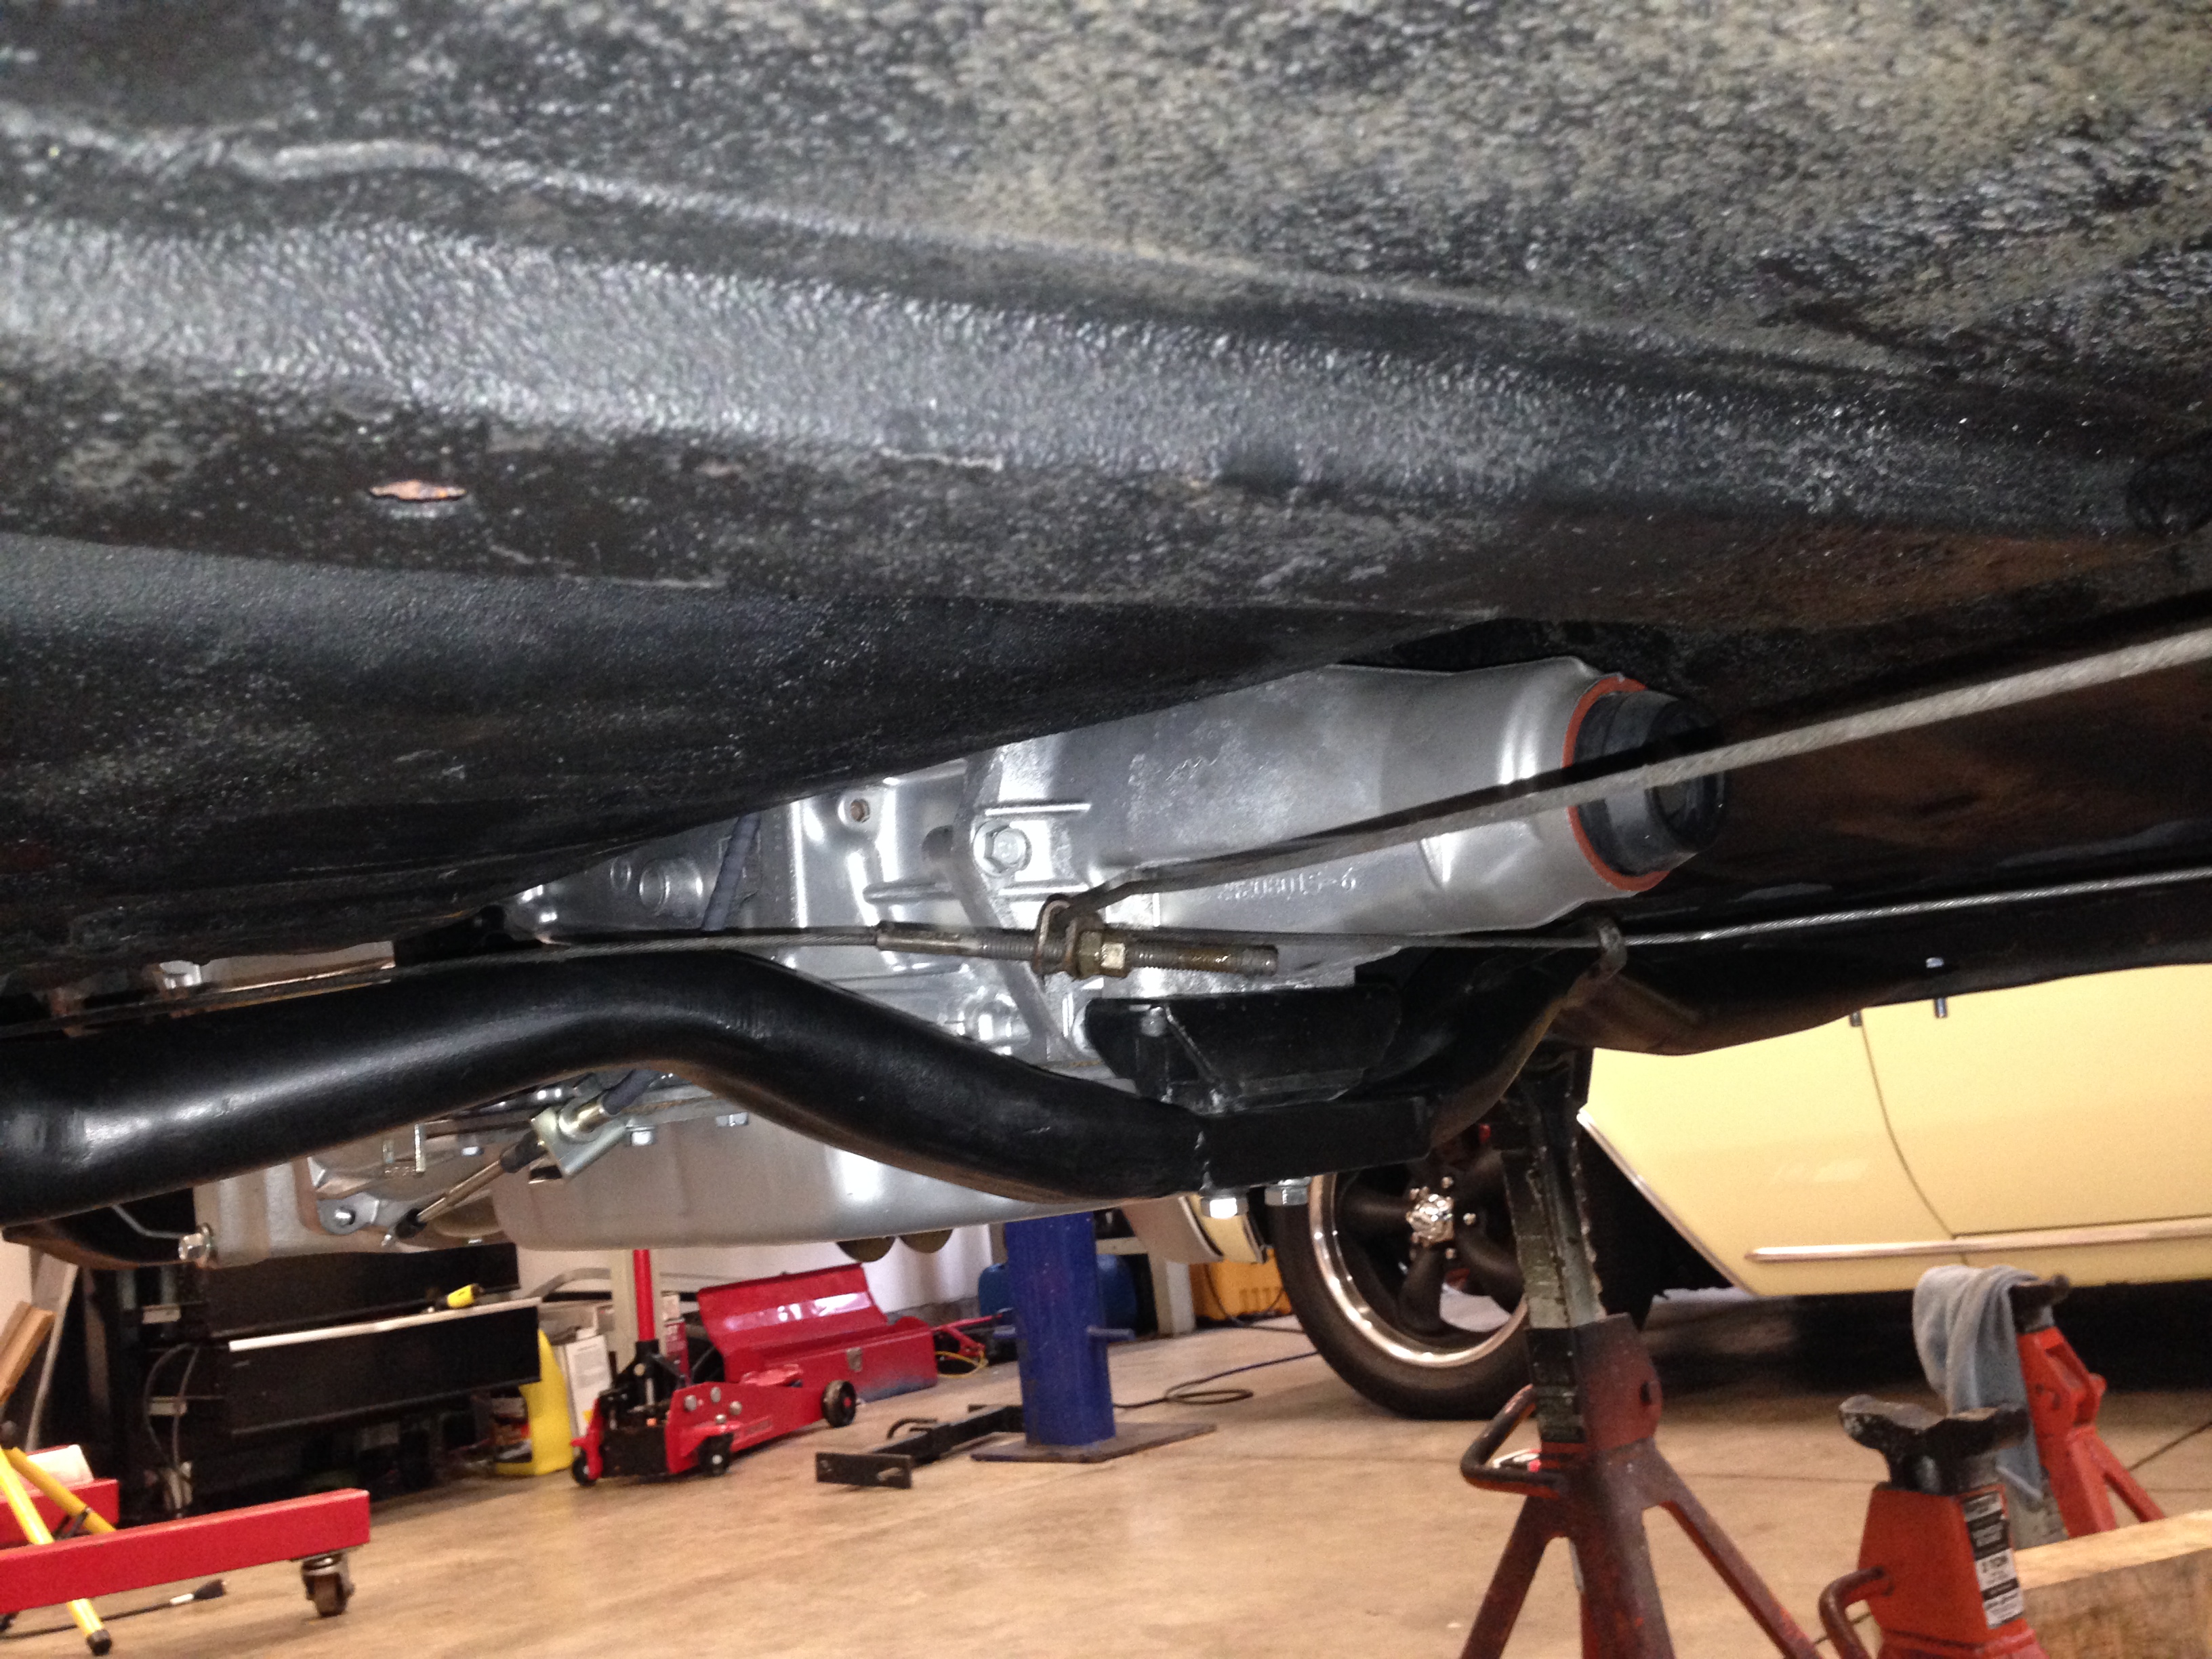
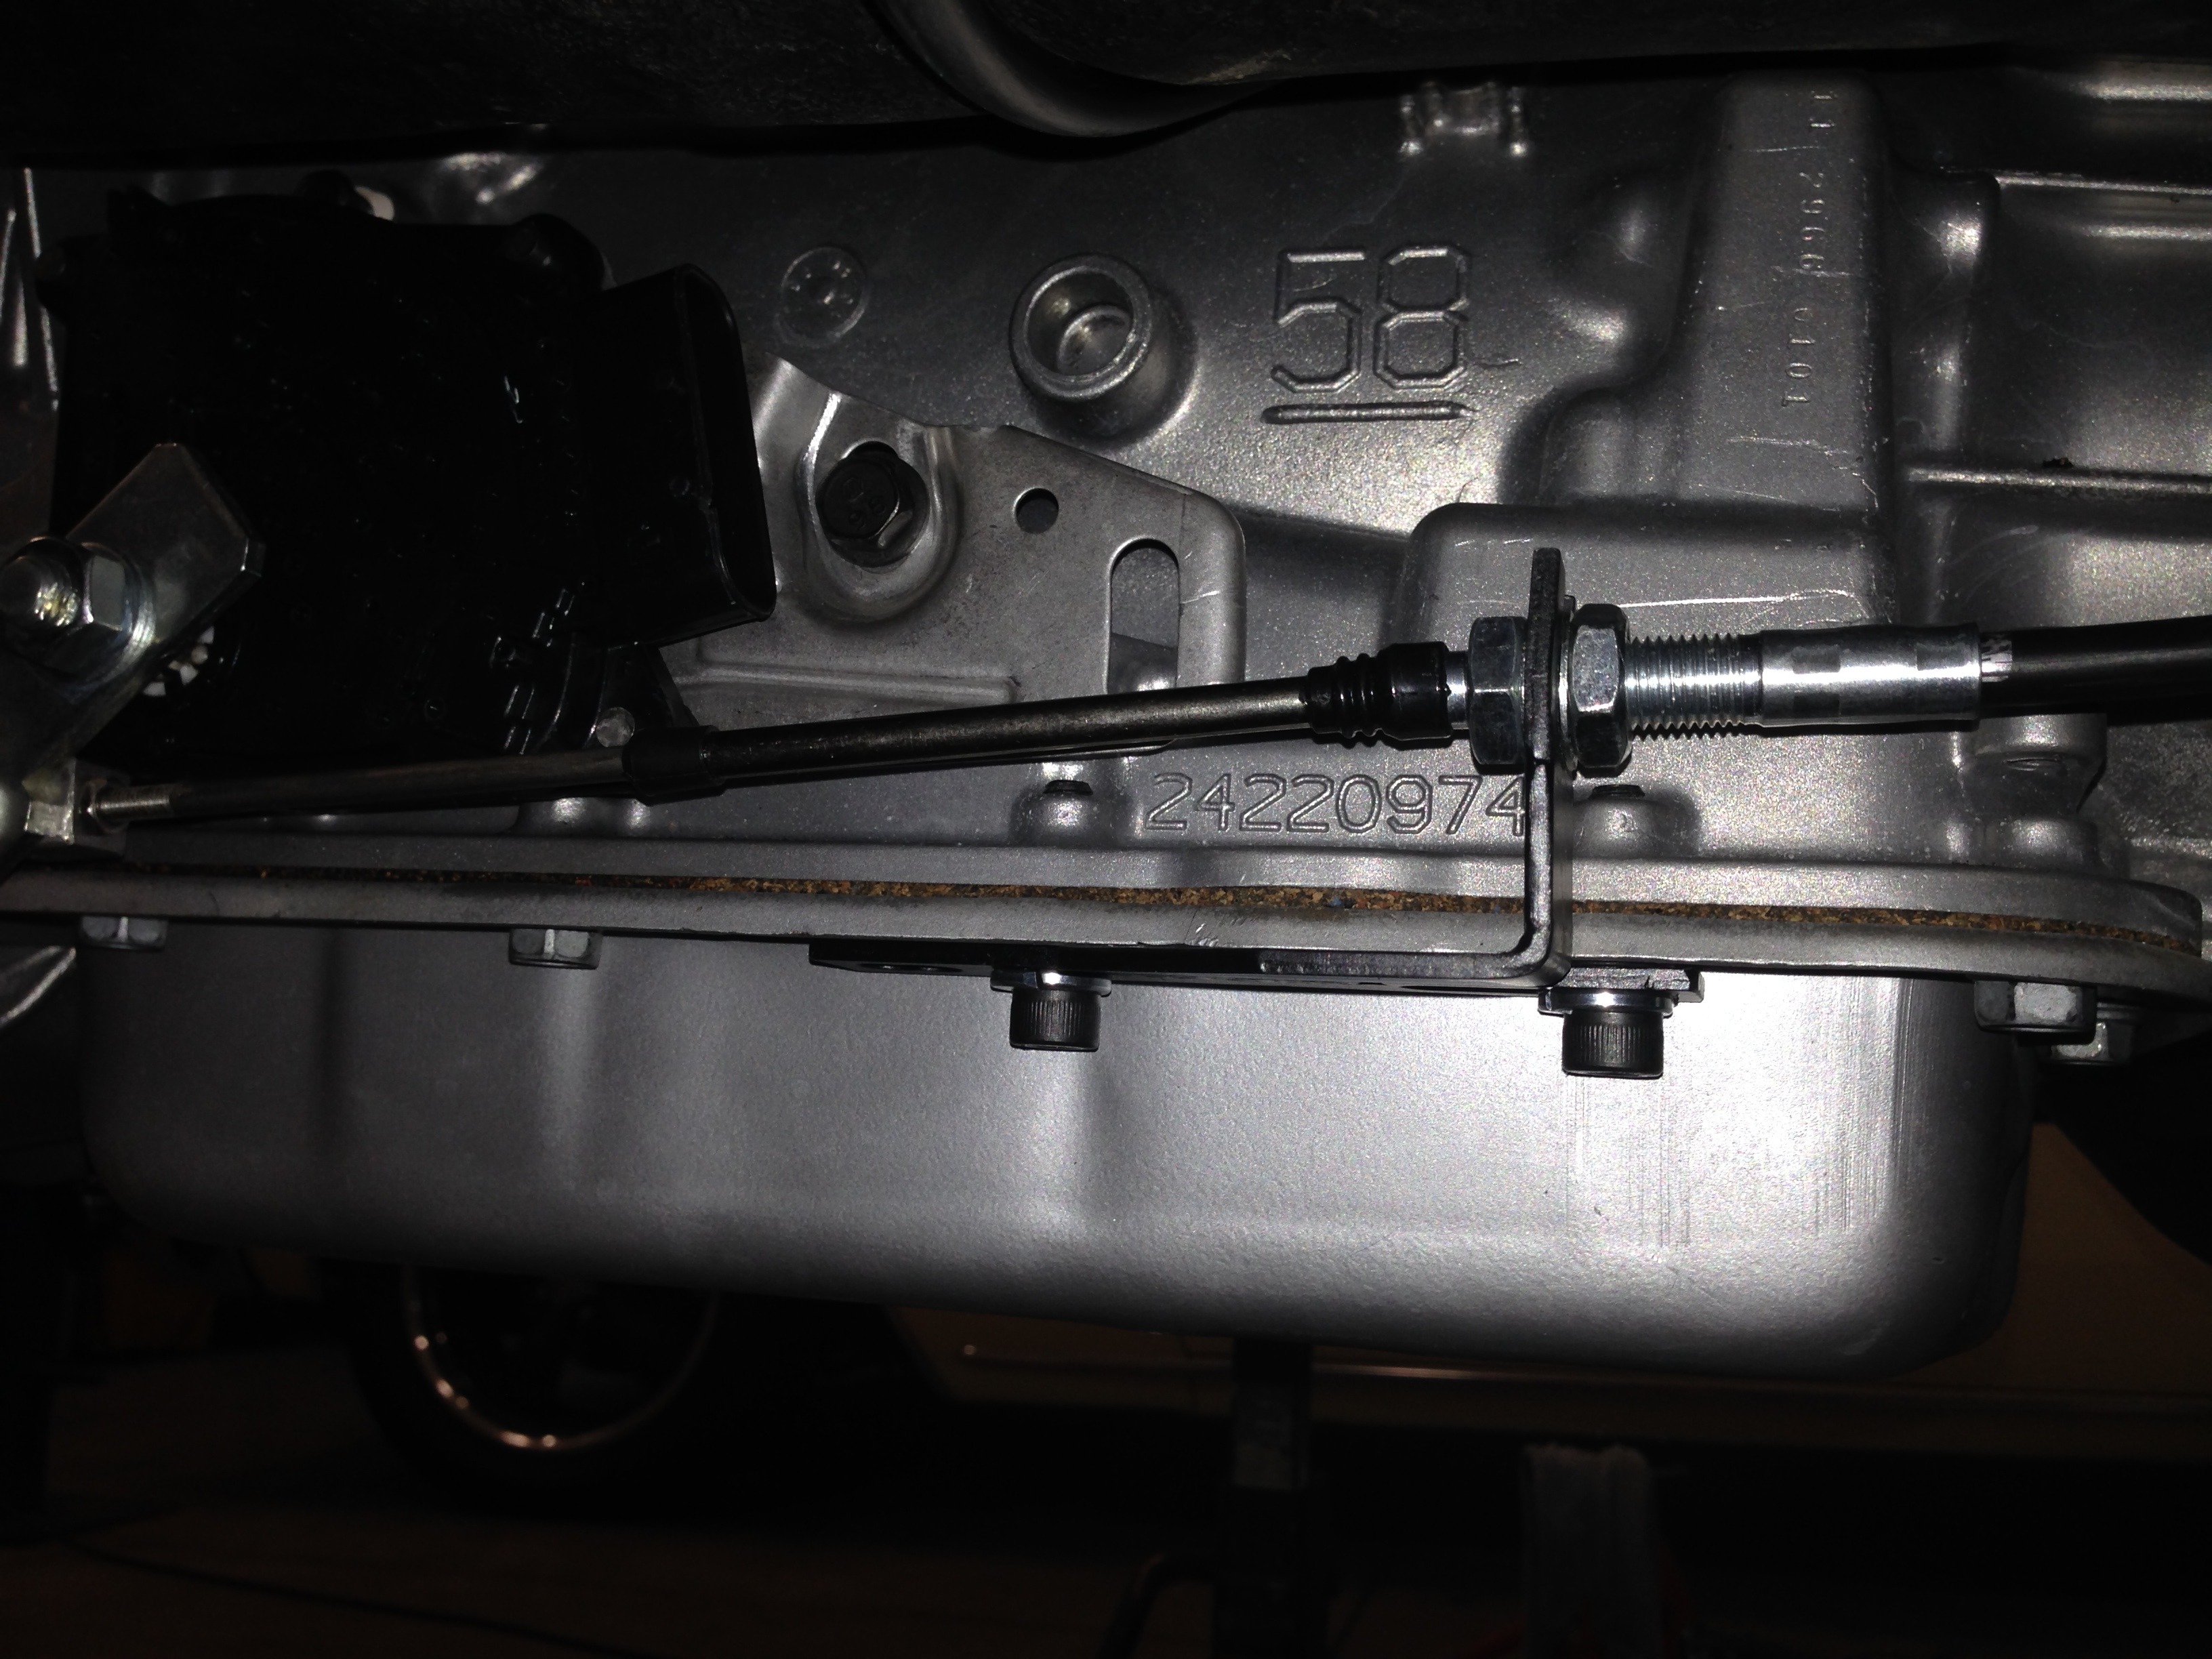
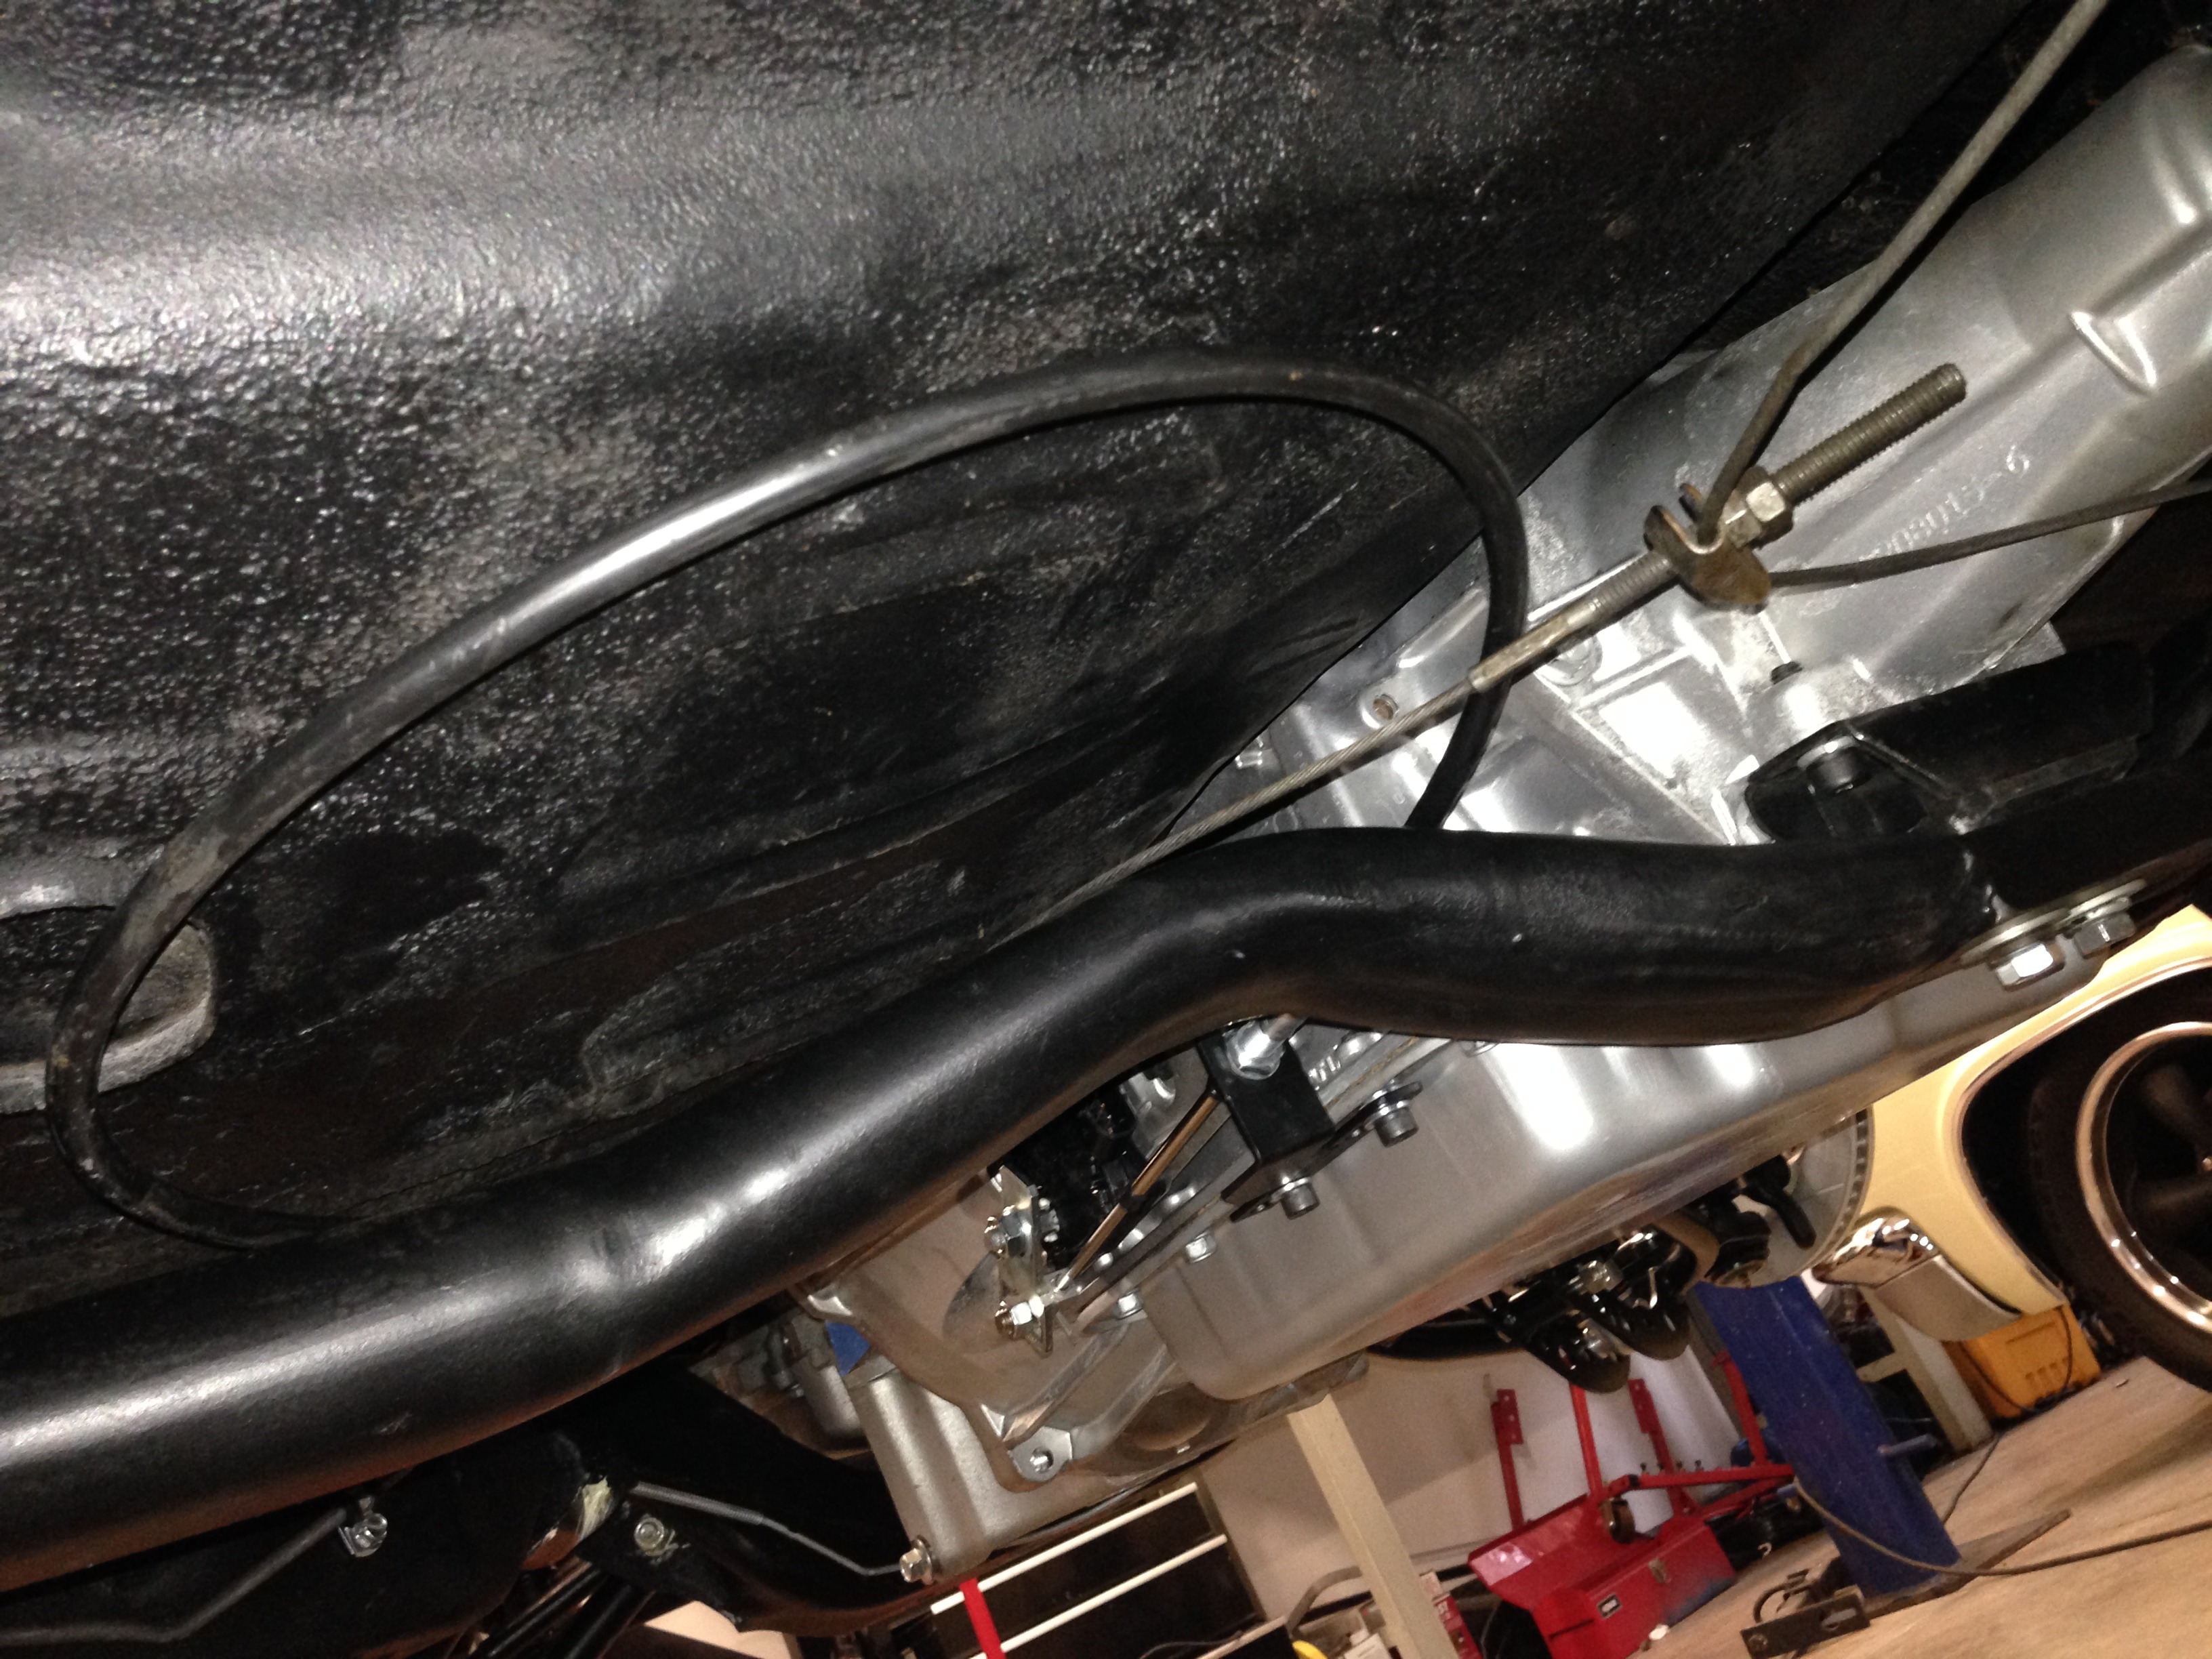
The next thing I had to deal with was after buying and installing the "Shiftworks" cable conversion kit for the console shifter.......Everything was fine until I installed the cable to the transmission........It seems the supplied cable was a little too short and didn't have enough length to allow for the cable's bend radius......the cable came right thru the floor and had to be bent straight down to the mounting bracket and bent again to fit the trans mount........So....I ended up having a Lokar cable laying around and after installing it.....everything was smooth......I just need to make some clevis adaptors to get everything to mate together...........
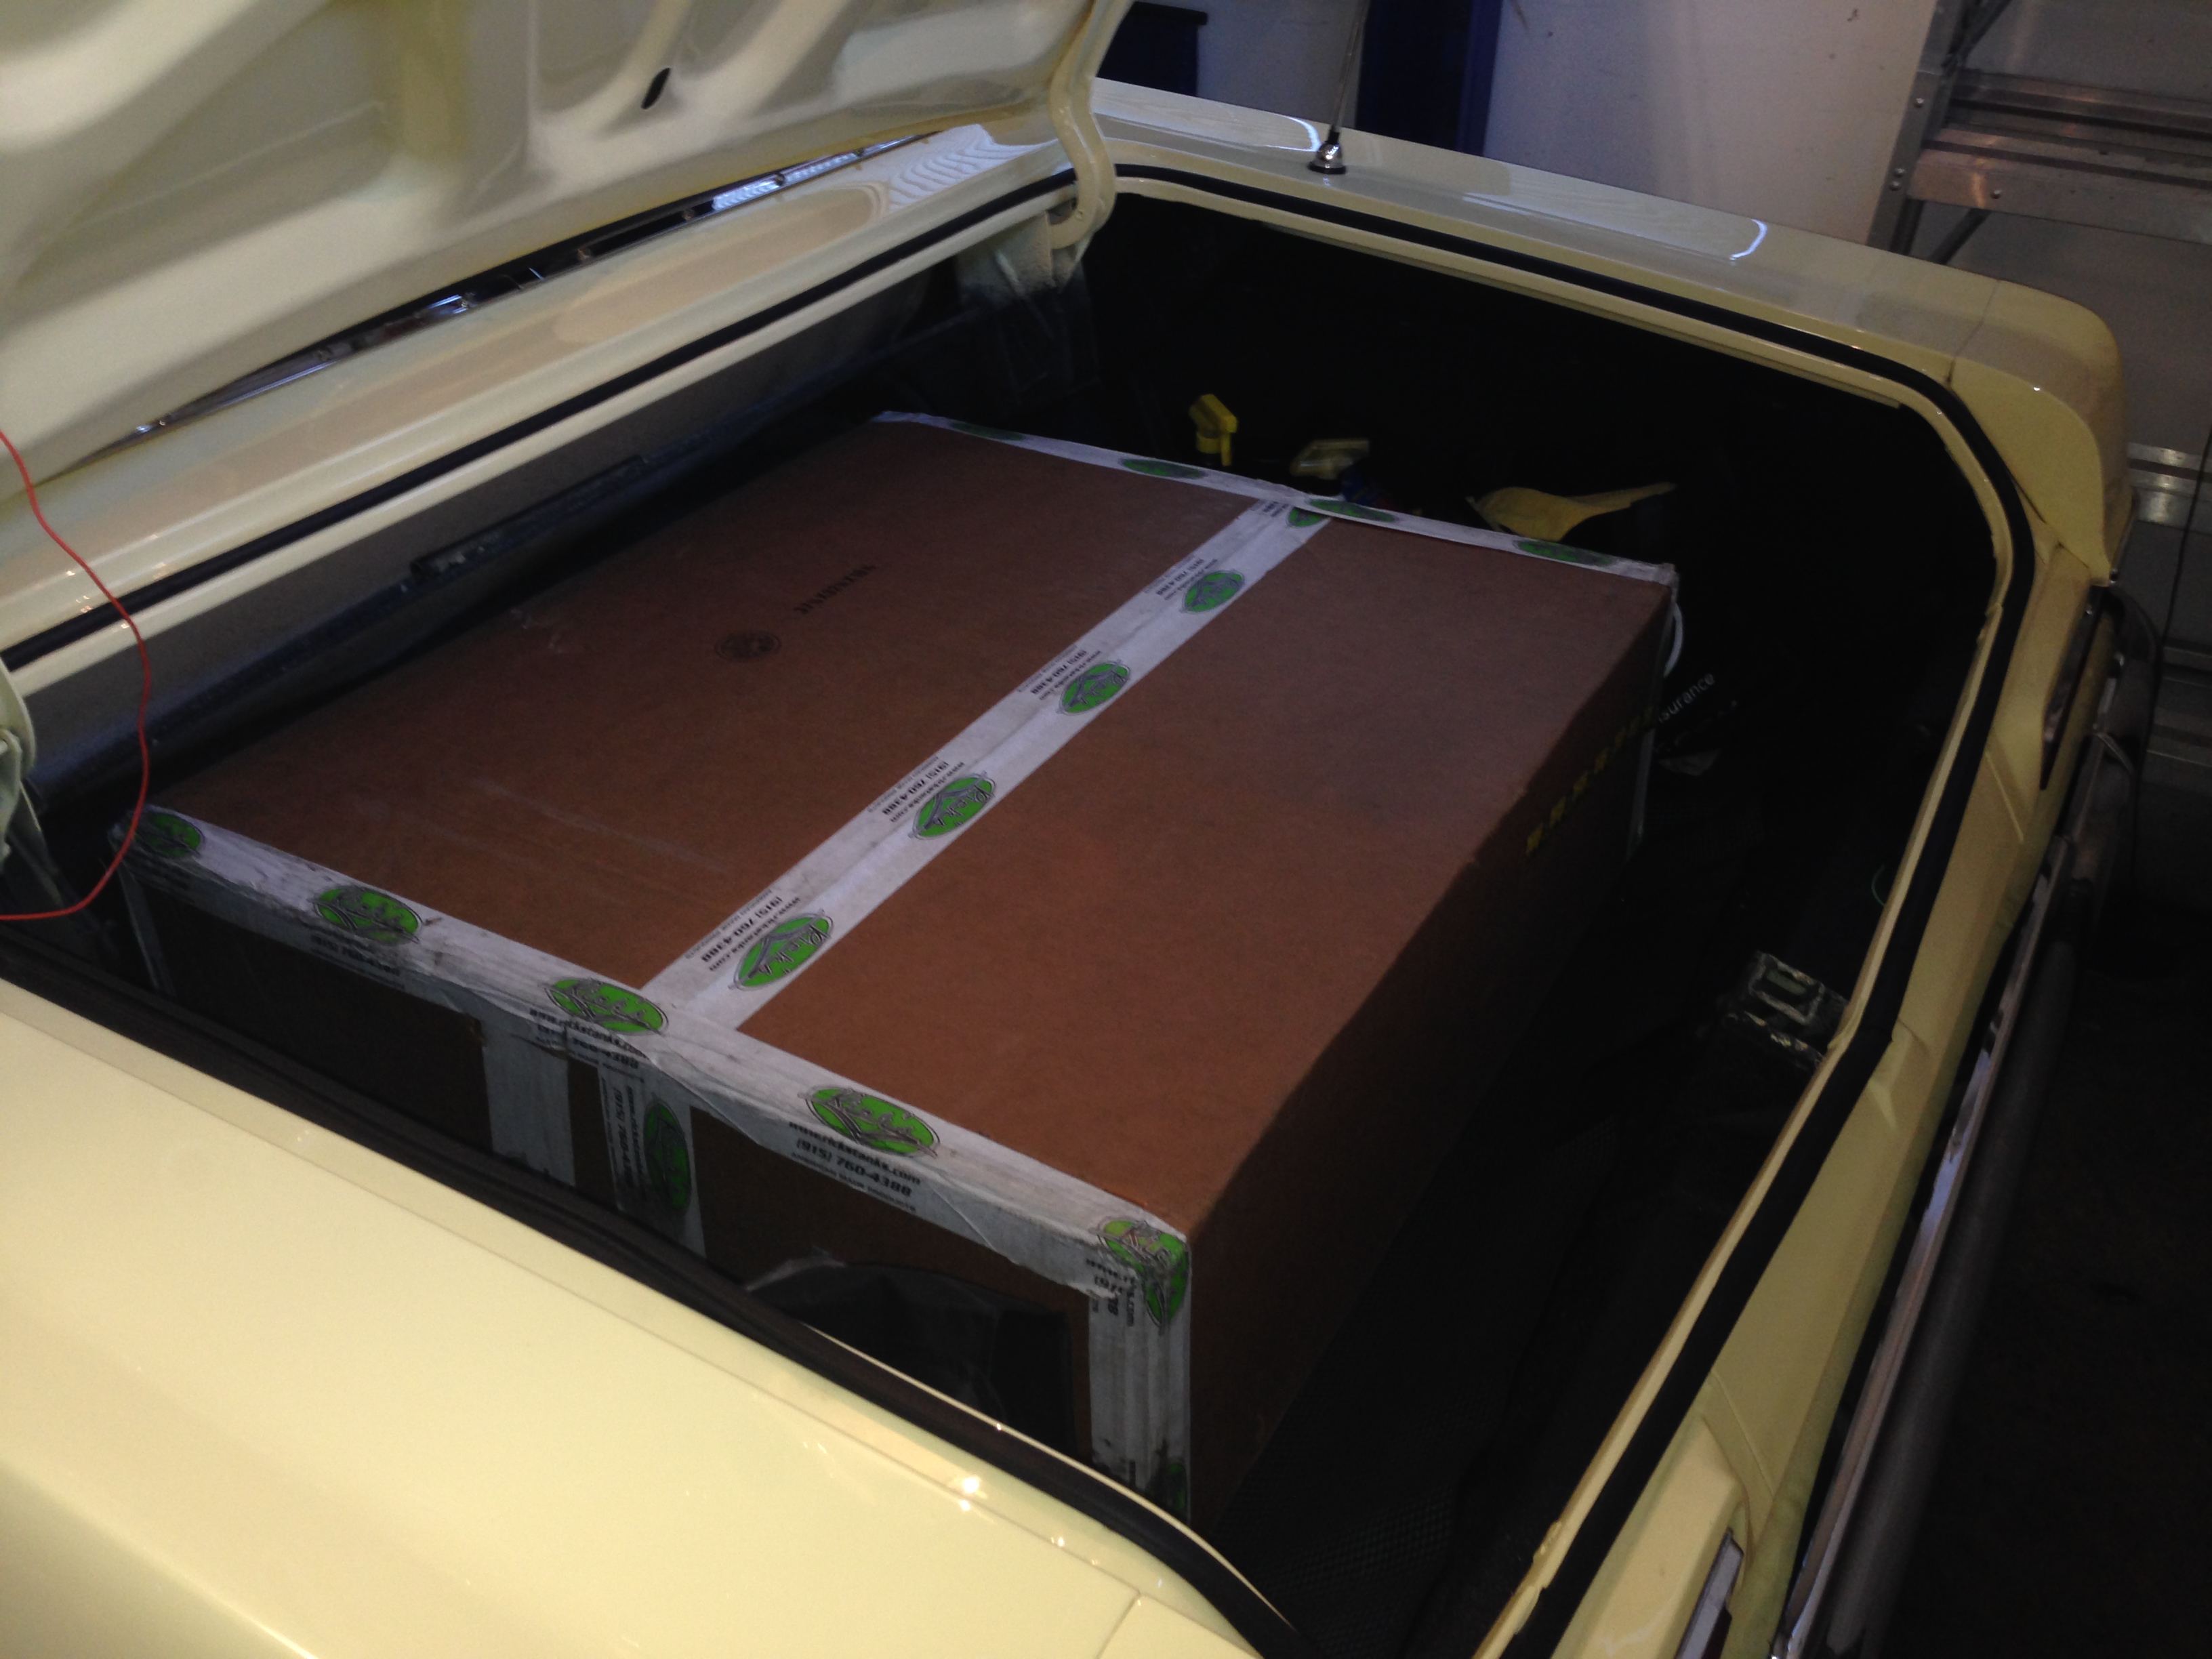
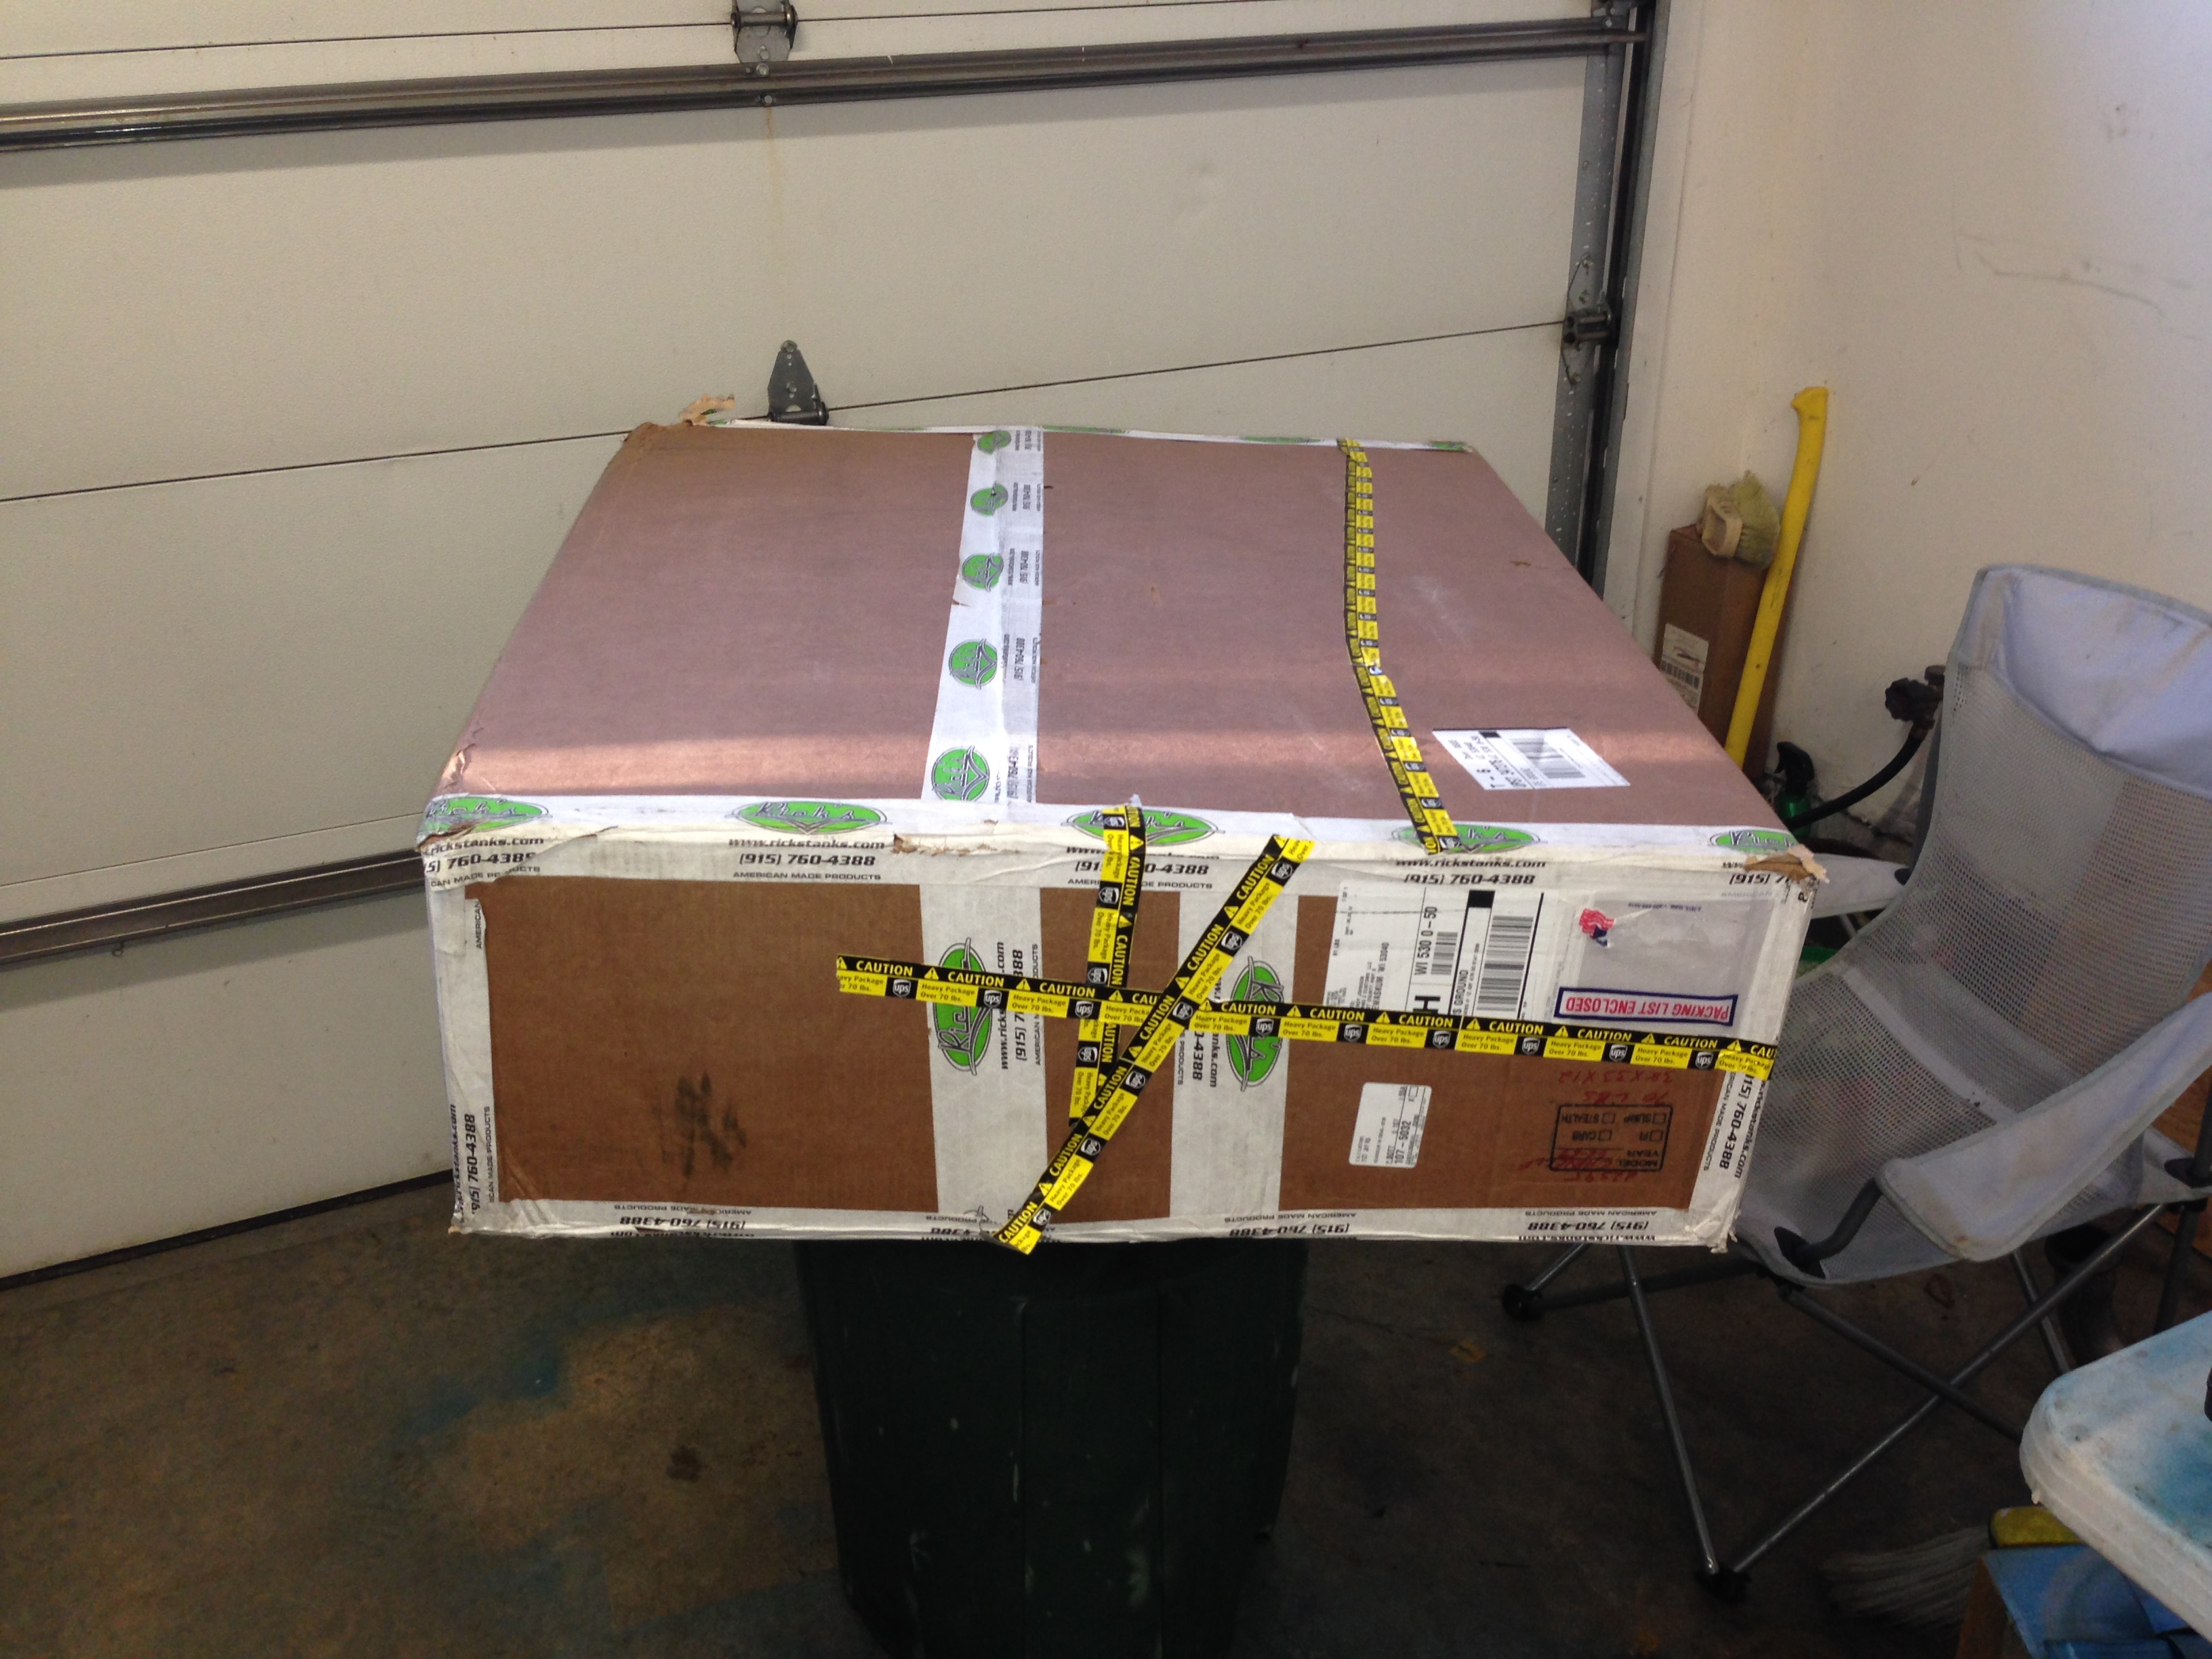
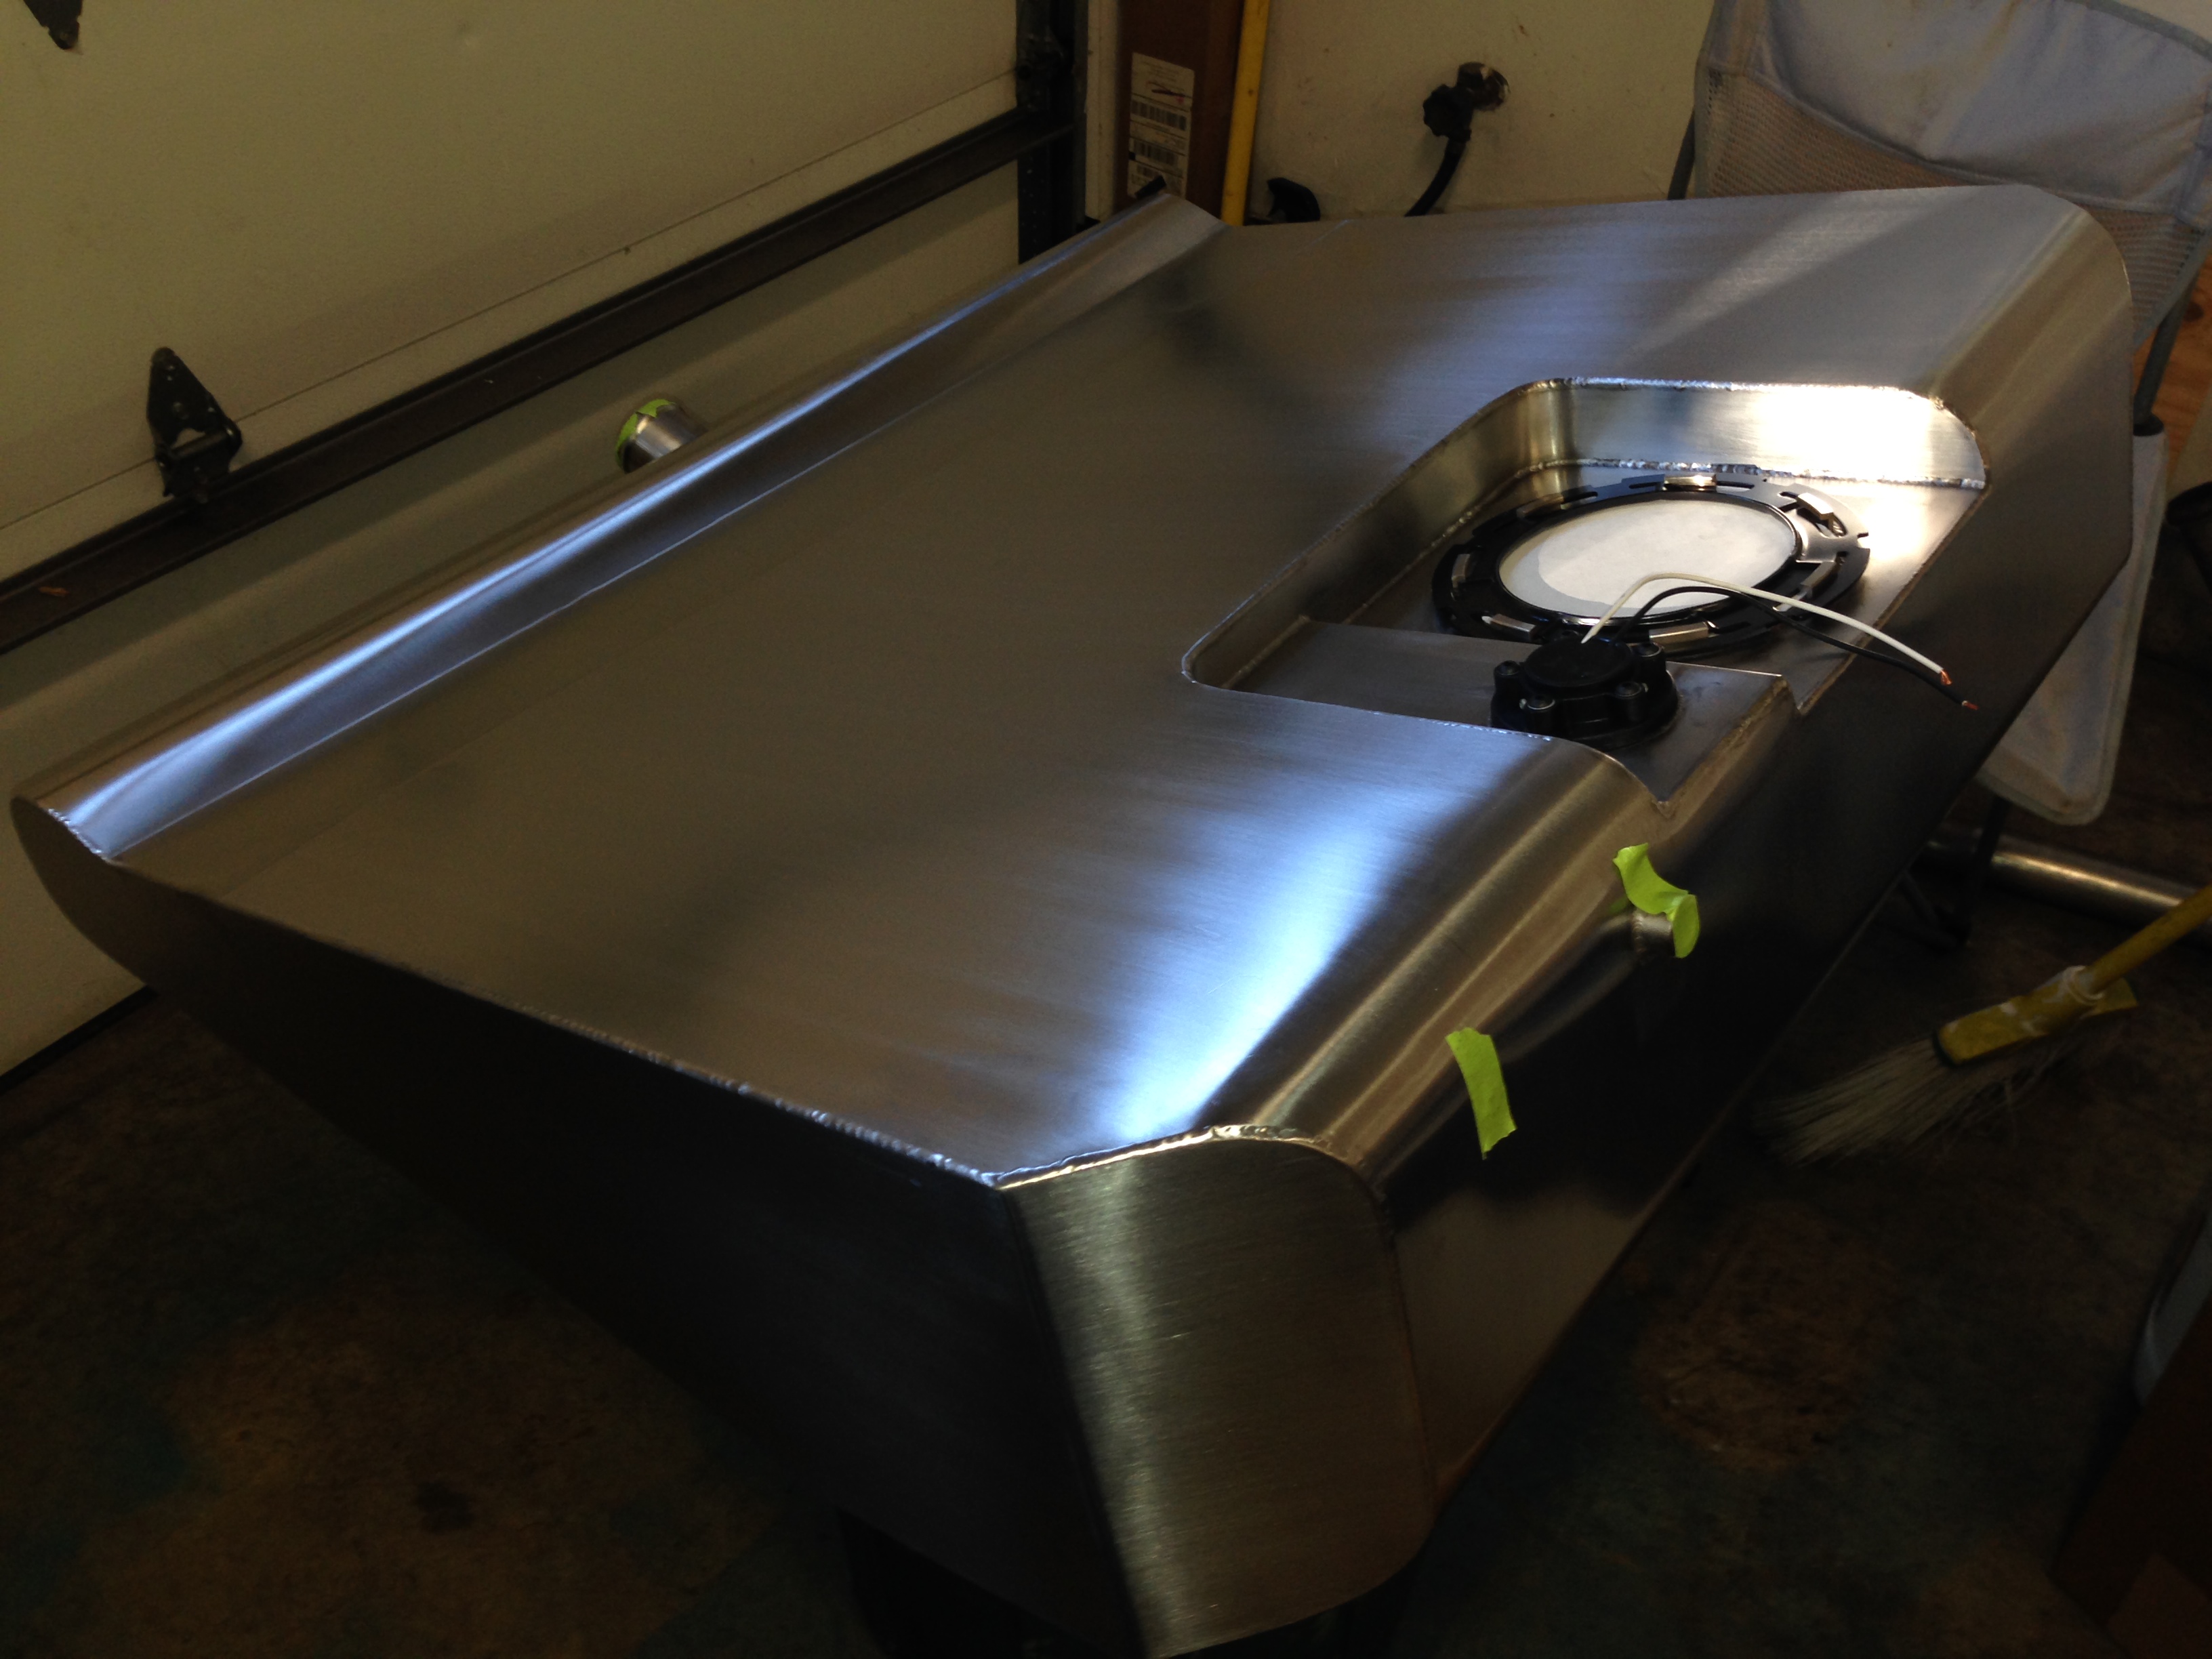
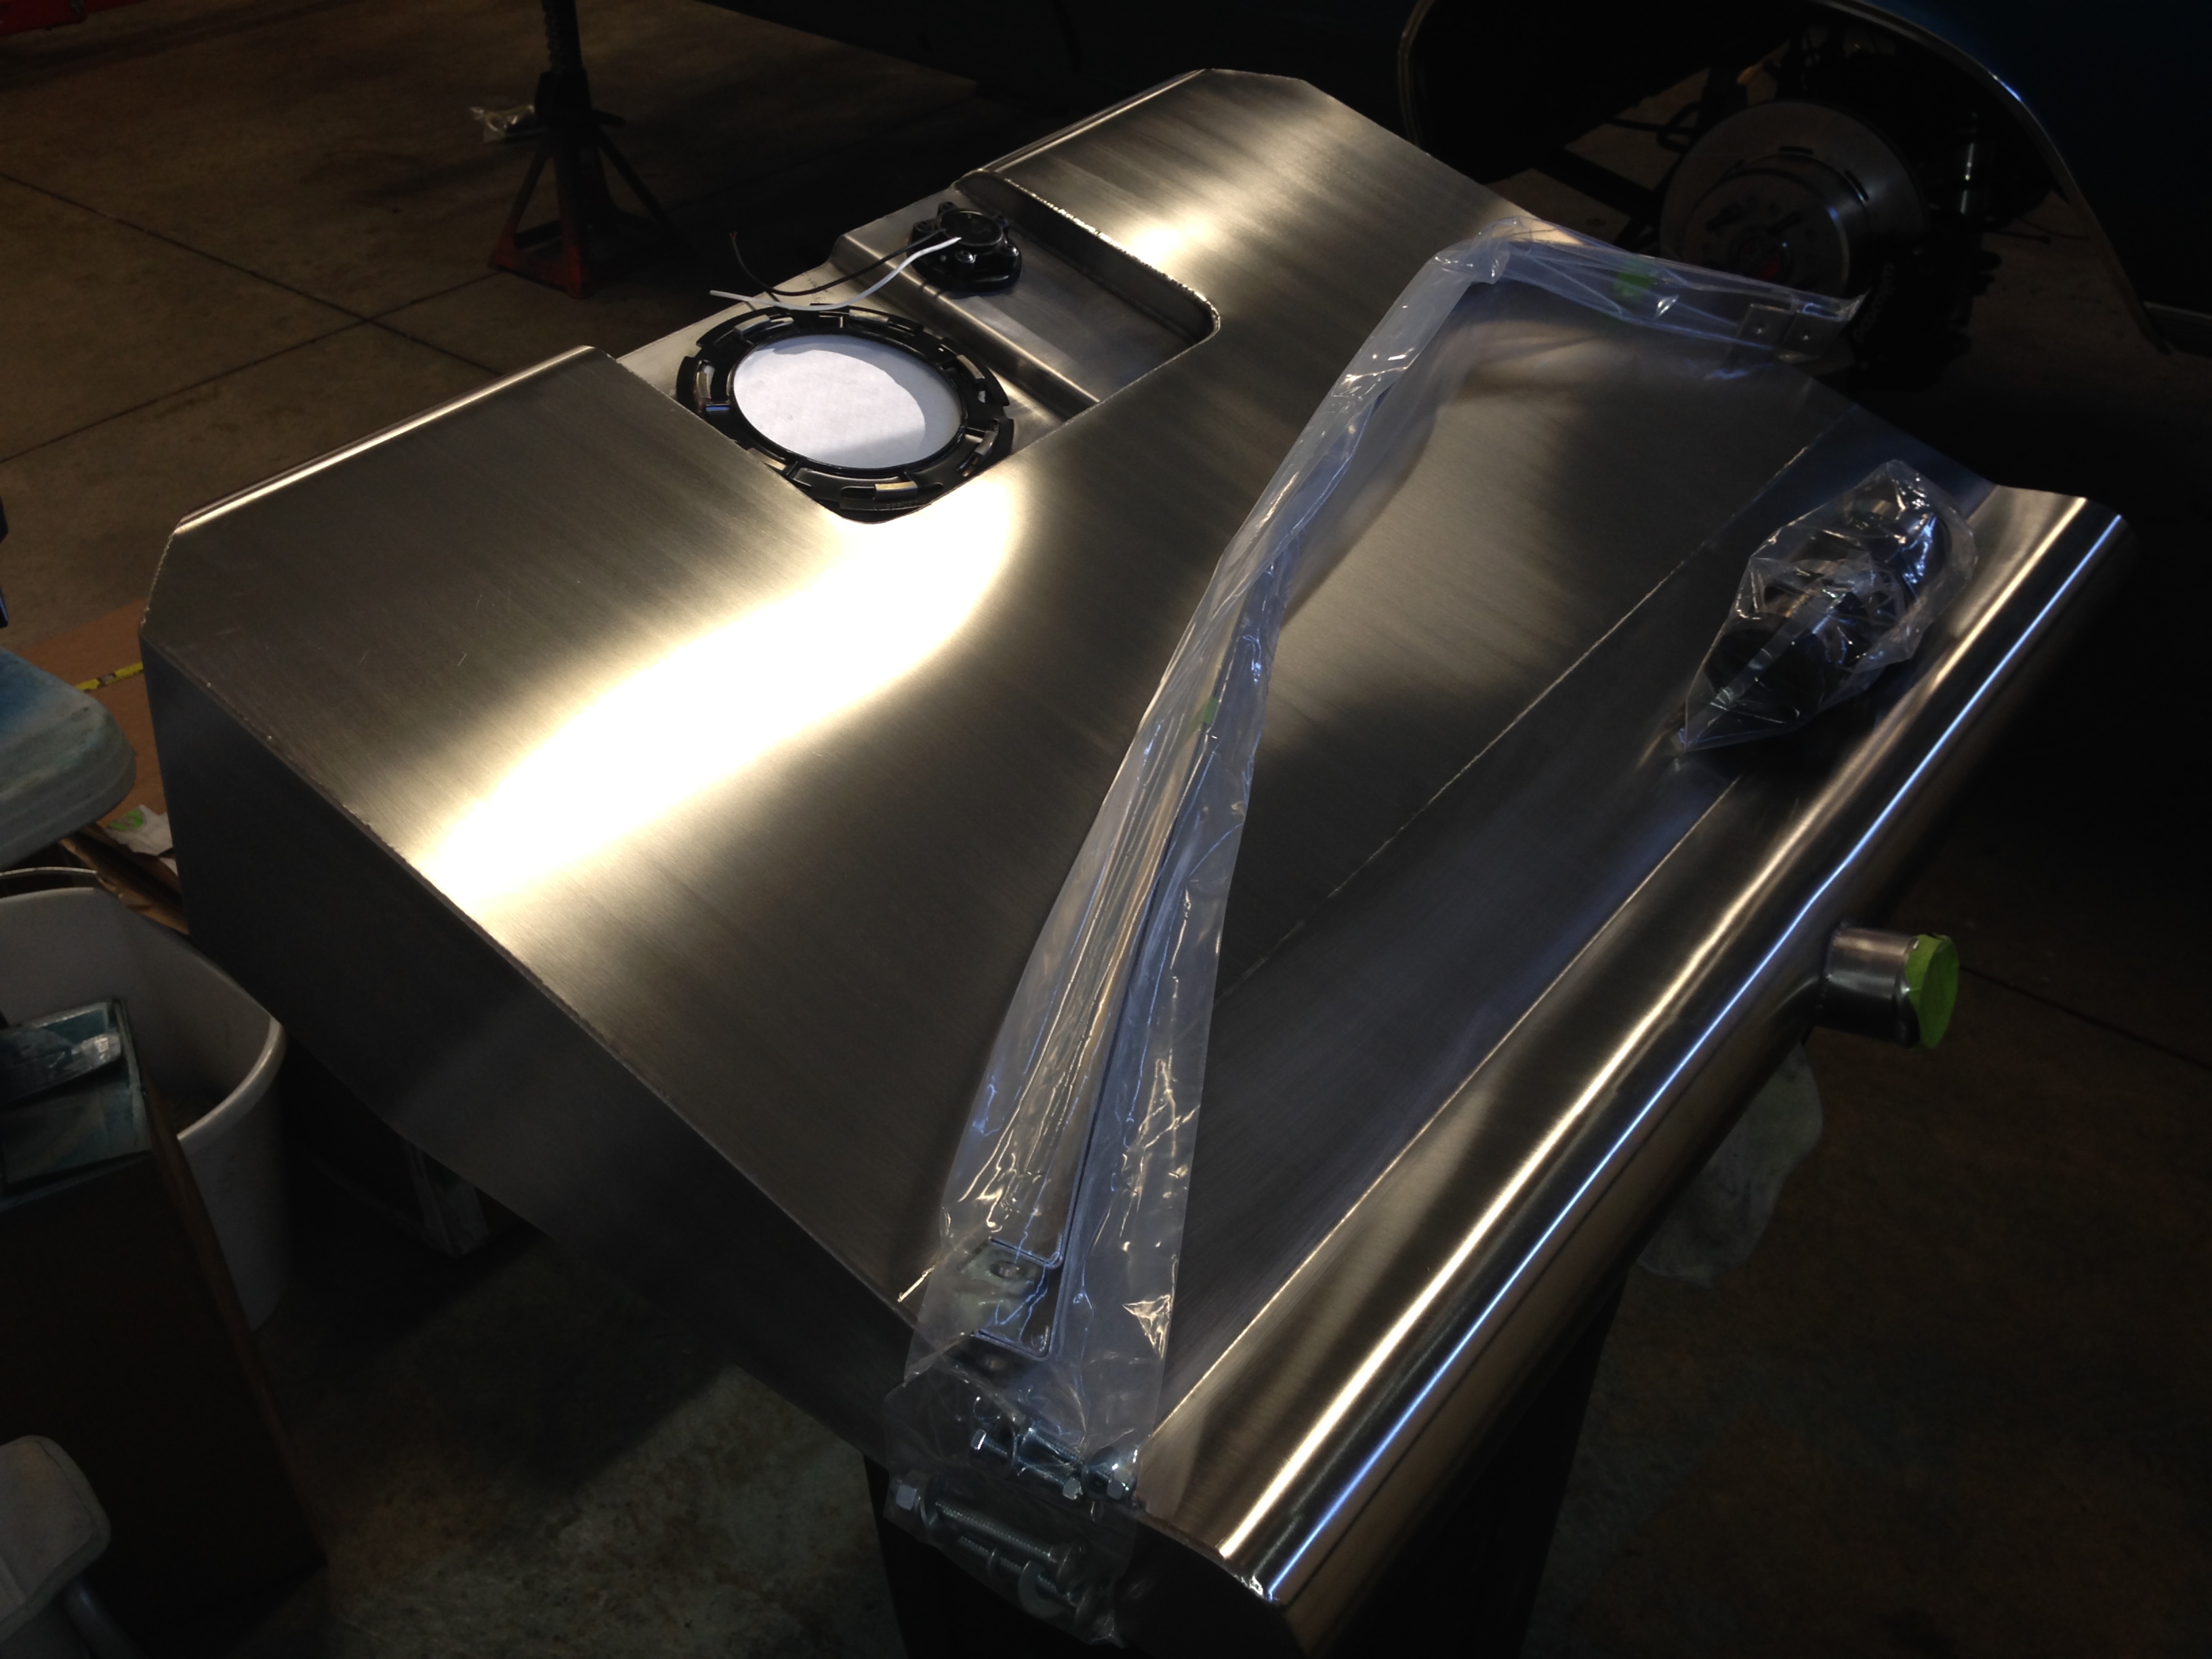
The Rick's tank showed up and I picked it up with the Impala (the only car around with a trunk big enough to fit).......got it home and "Wow".......what a quality piece of work......Great Job Rick's........

The next thing I had to deal with was after buying and installing the "Shiftworks" cable conversion kit for the console shifter.......Everything was fine until I installed the cable to the transmission........It seems the supplied cable was a little too short and didn't have enough length to allow for the cable's bend radius......the cable came right thru the floor and had to be bent straight down to the mounting bracket and bent again to fit the trans mount........So....I ended up having a Lokar cable laying around and after installing it.....everything was smooth......I just need to make some clevis adaptors to get everything to mate together...........
The Rick's tank showed up and I picked it up with the Impala (the only car around with a trunk big enough to fit).......got it home and "Wow".......what a quality piece of work......Great Job Rick's........


Thread Starter
TECH Fanatic
Joined: Jul 2008
Posts: 1,569
Likes: 173
It's a Rick's Vaporworks tank..........I believe it holds around 20 gallons
http://www.rickstanks.com/
Thread Starter
TECH Fanatic
Joined: Jul 2008
Posts: 1,569
Likes: 173
So.....I think one of the mysteries of the world was solved today.......Remember.....this is a just restored car when I bought it.....and......when I got it home I wanted to drive the car as it was for a while before taking it apart.......But...I found out the tail light circuit had some issues and would pop a fuse every time.......(no tail lights or Brake lights).......I unplugged everything to the back of the car and the fuse still popped........Hummm!!!.......I removed the fuse panel as it seemed that was all that was left......I found some issues on the back of the panel and straightened them out and thought I had everything fixed.....Put it back together and popped another fuse........That's when I decided to take the car apart and rewire the entire car.........
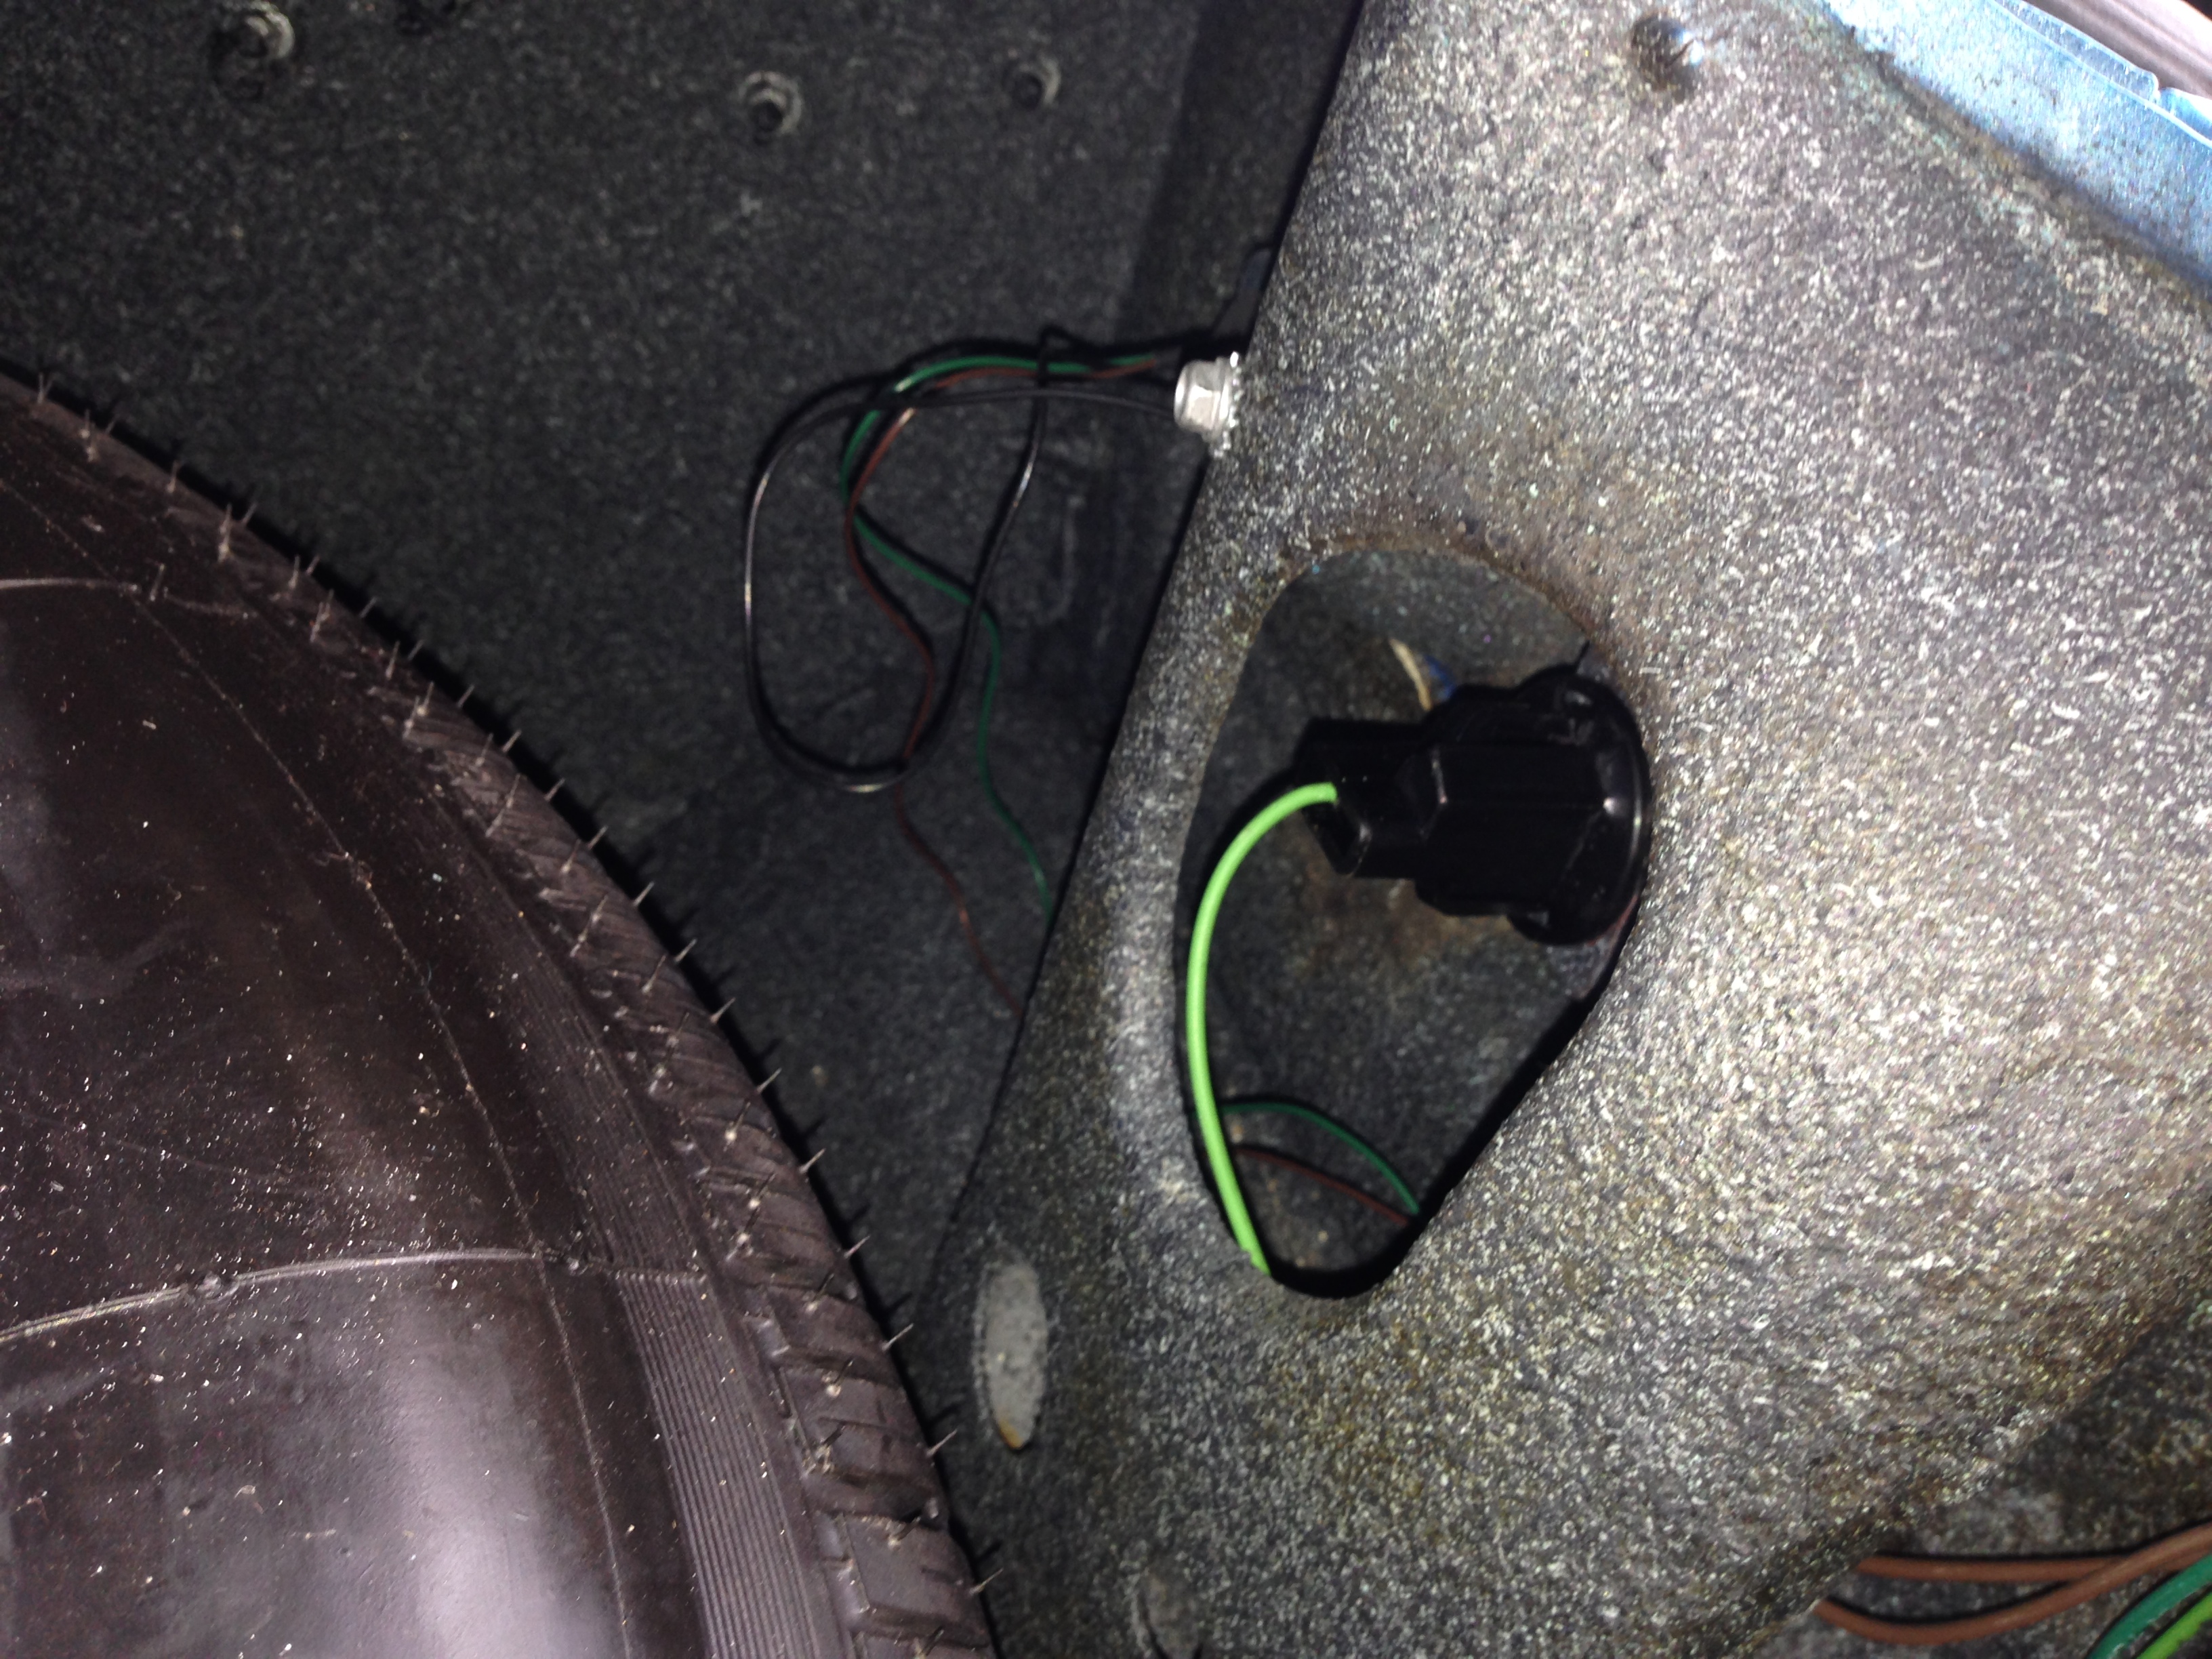
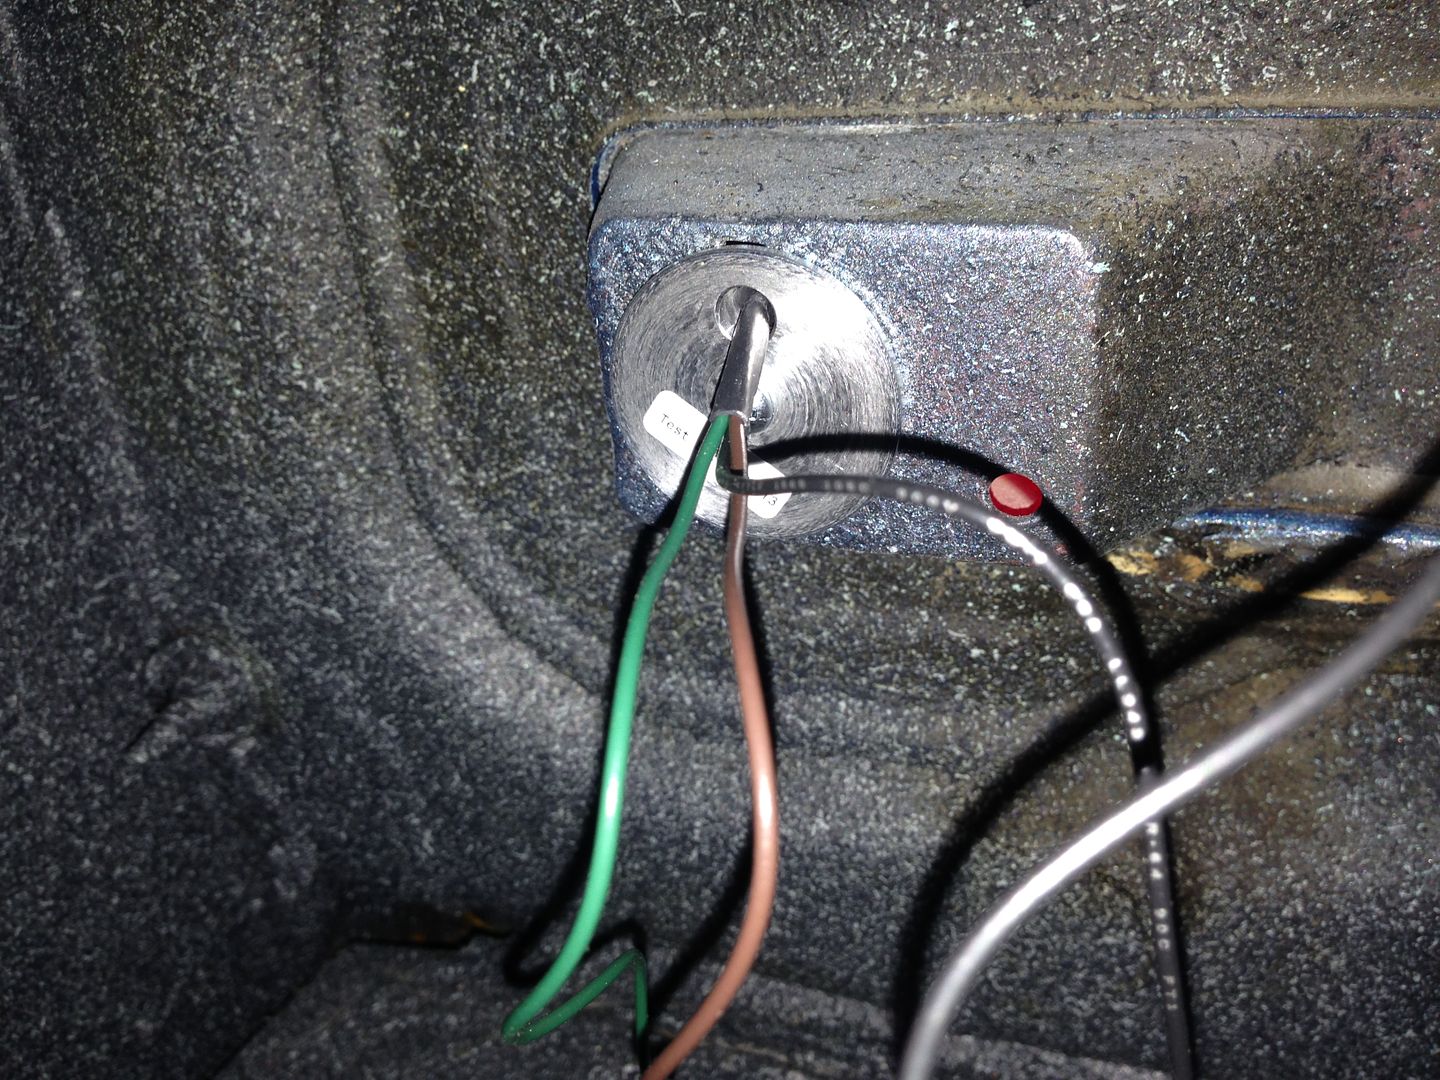
So....After getting the console wiring completed today I decided to re-install the console and check everything out.....while doing that I decided to just add power to the repro console clock just to make sure it worked..........I have a little dry cell 12v battery and added a couple of jumper wires for power........hit the terminals and "Zap!!!"...........checked it out again and "Zap!!!" again...........Hummmm!!!!.......Dead Short!!!........looked closer at the terminals and noticed that the Insulator washer was on top of the screwed down terminal rather than between the terminal and the case creating a dead short........Humm!!!.......Somebody in China wasn't told how to assemble the unit correctly........swapped the parts around and everything works correctly.........so ....the power feed for the console must be wired into the tail light circuit and now it seems the Clock was the problem all along..........Long winded story but maybe it will help somebody else with a similar issue downstream..........Heres a picture of the terminal after correction......still kinda hard to see and a Mickey Mouse way of getting the power thru the case....
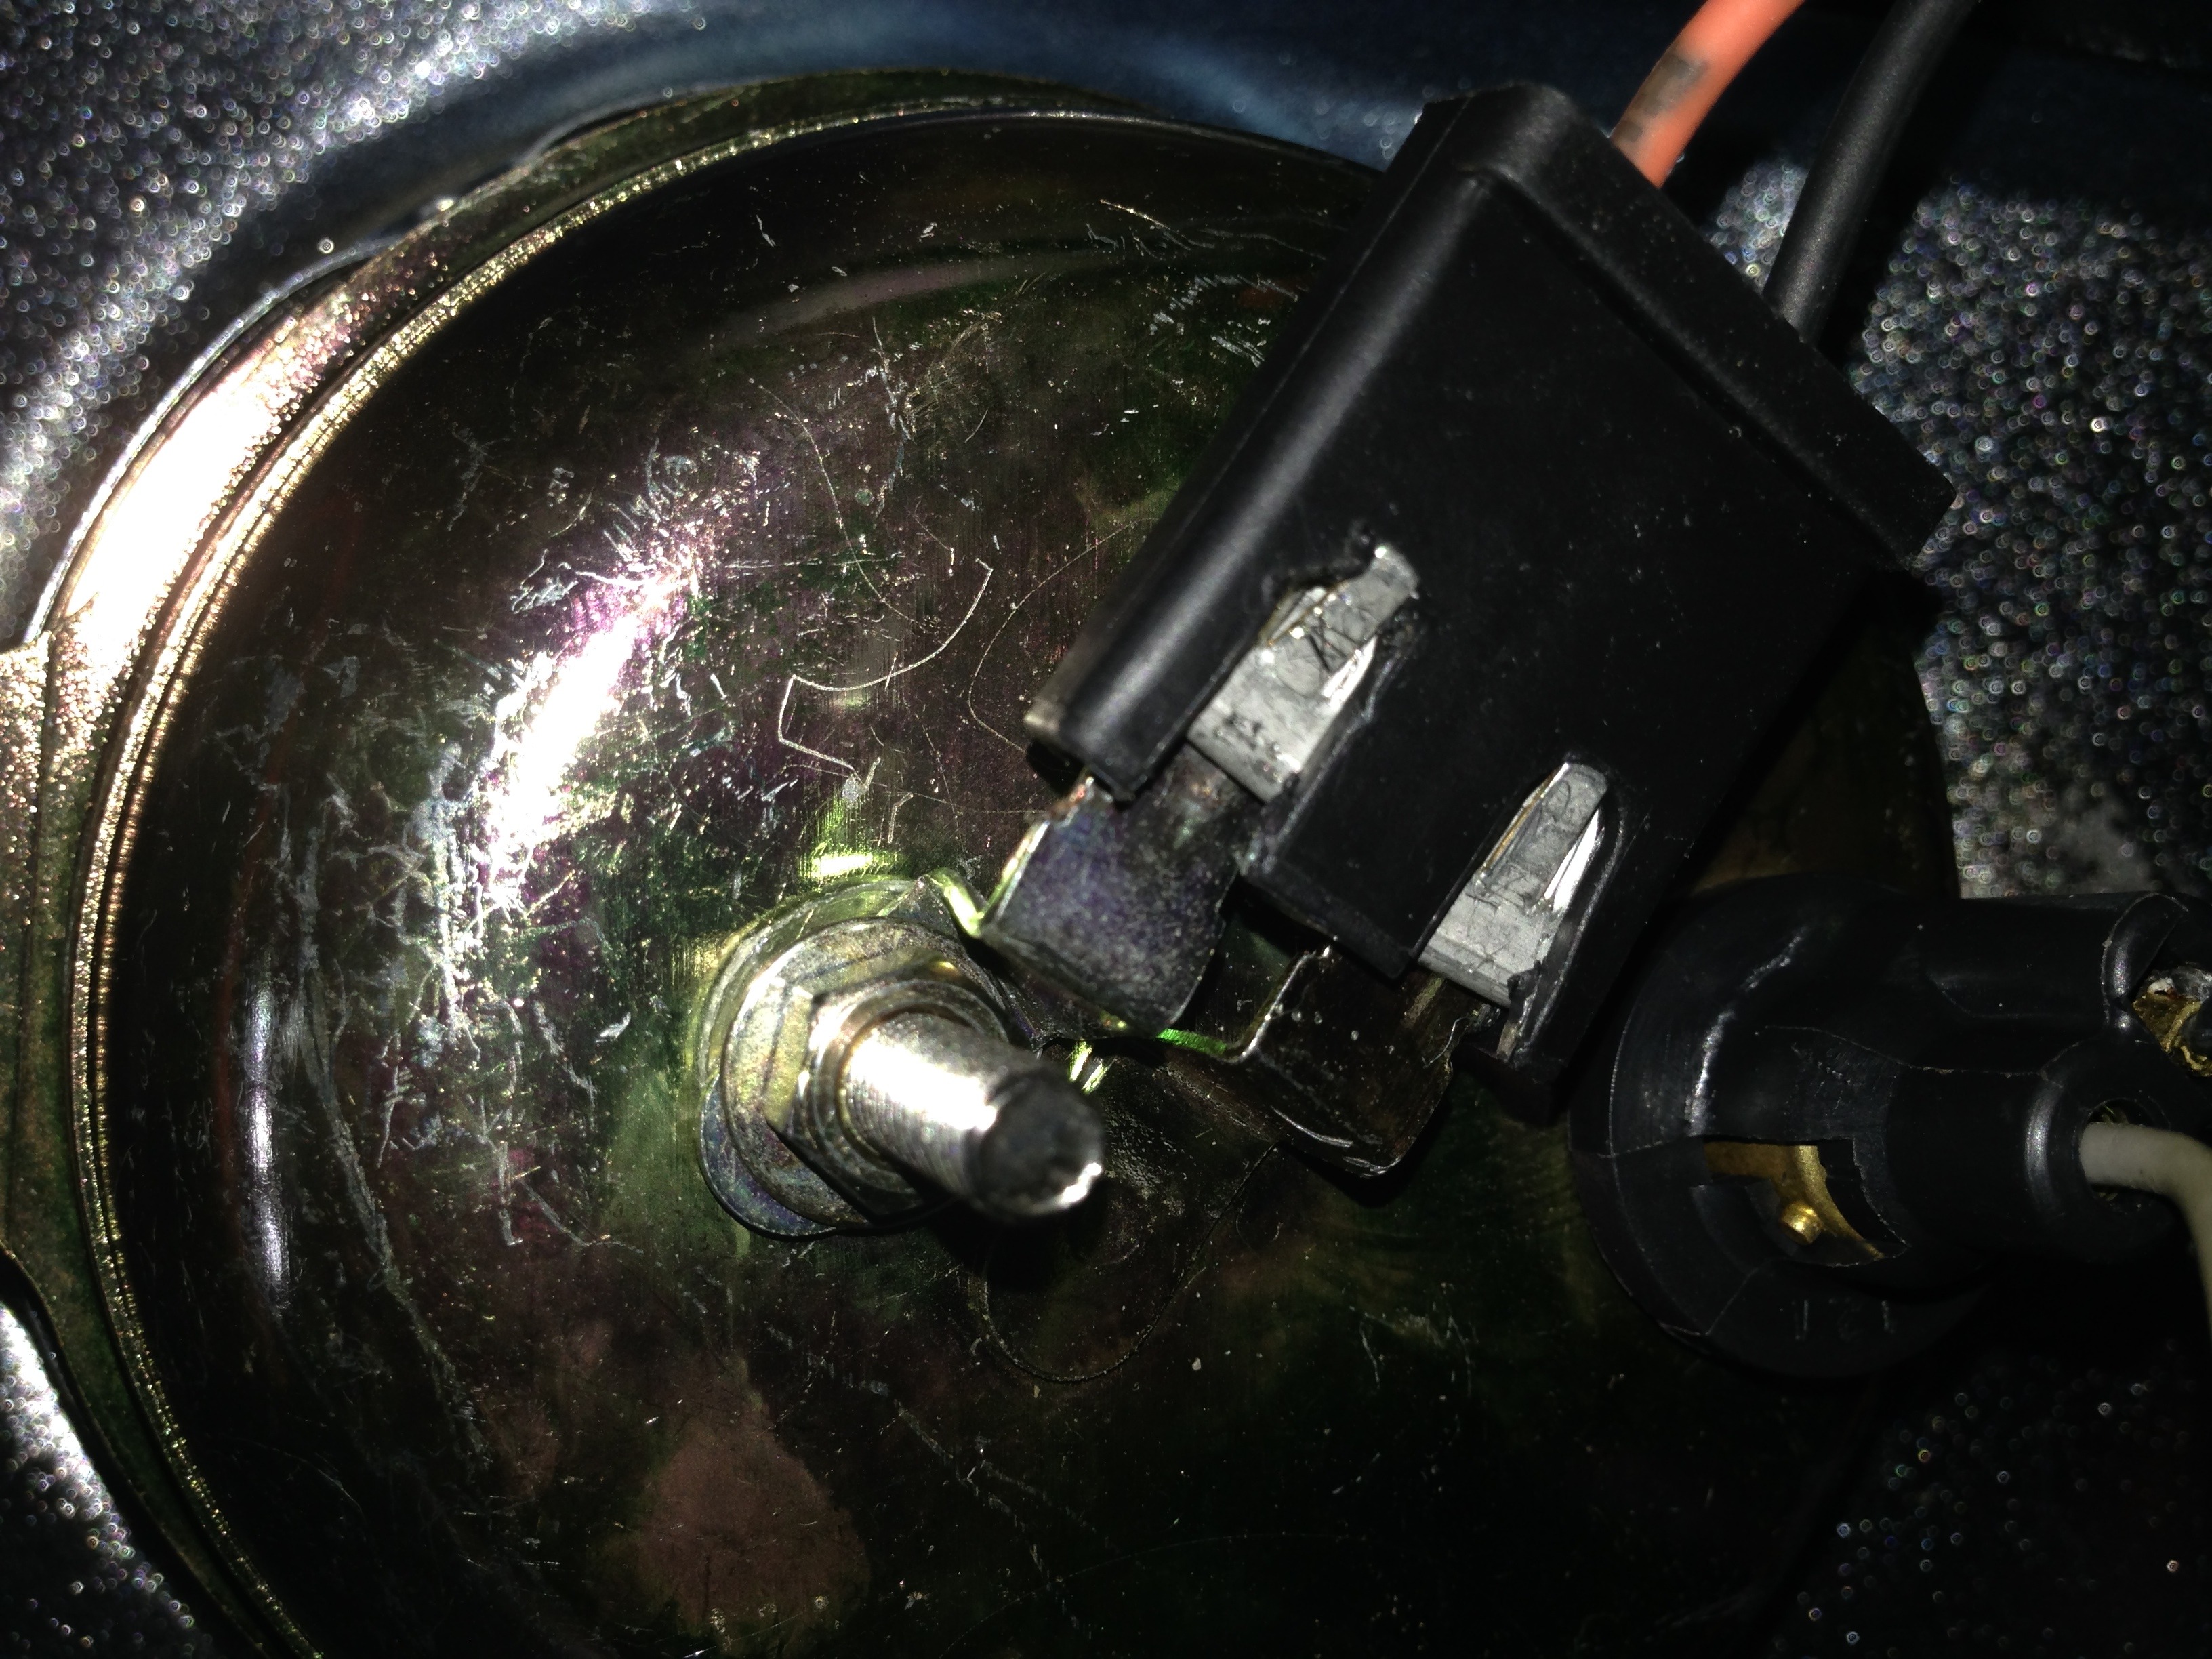
So....After getting the console wiring completed today I decided to re-install the console and check everything out.....while doing that I decided to just add power to the repro console clock just to make sure it worked..........I have a little dry cell 12v battery and added a couple of jumper wires for power........hit the terminals and "Zap!!!"...........checked it out again and "Zap!!!" again...........Hummmm!!!!.......Dead Short!!!........looked closer at the terminals and noticed that the Insulator washer was on top of the screwed down terminal rather than between the terminal and the case creating a dead short........Humm!!!.......Somebody in China wasn't told how to assemble the unit correctly........swapped the parts around and everything works correctly.........so ....the power feed for the console must be wired into the tail light circuit and now it seems the Clock was the problem all along..........Long winded story but maybe it will help somebody else with a similar issue downstream..........Heres a picture of the terminal after correction......still kinda hard to see and a Mickey Mouse way of getting the power thru the case....
Thread Starter
TECH Fanatic
Joined: Jul 2008
Posts: 1,569
Likes: 173
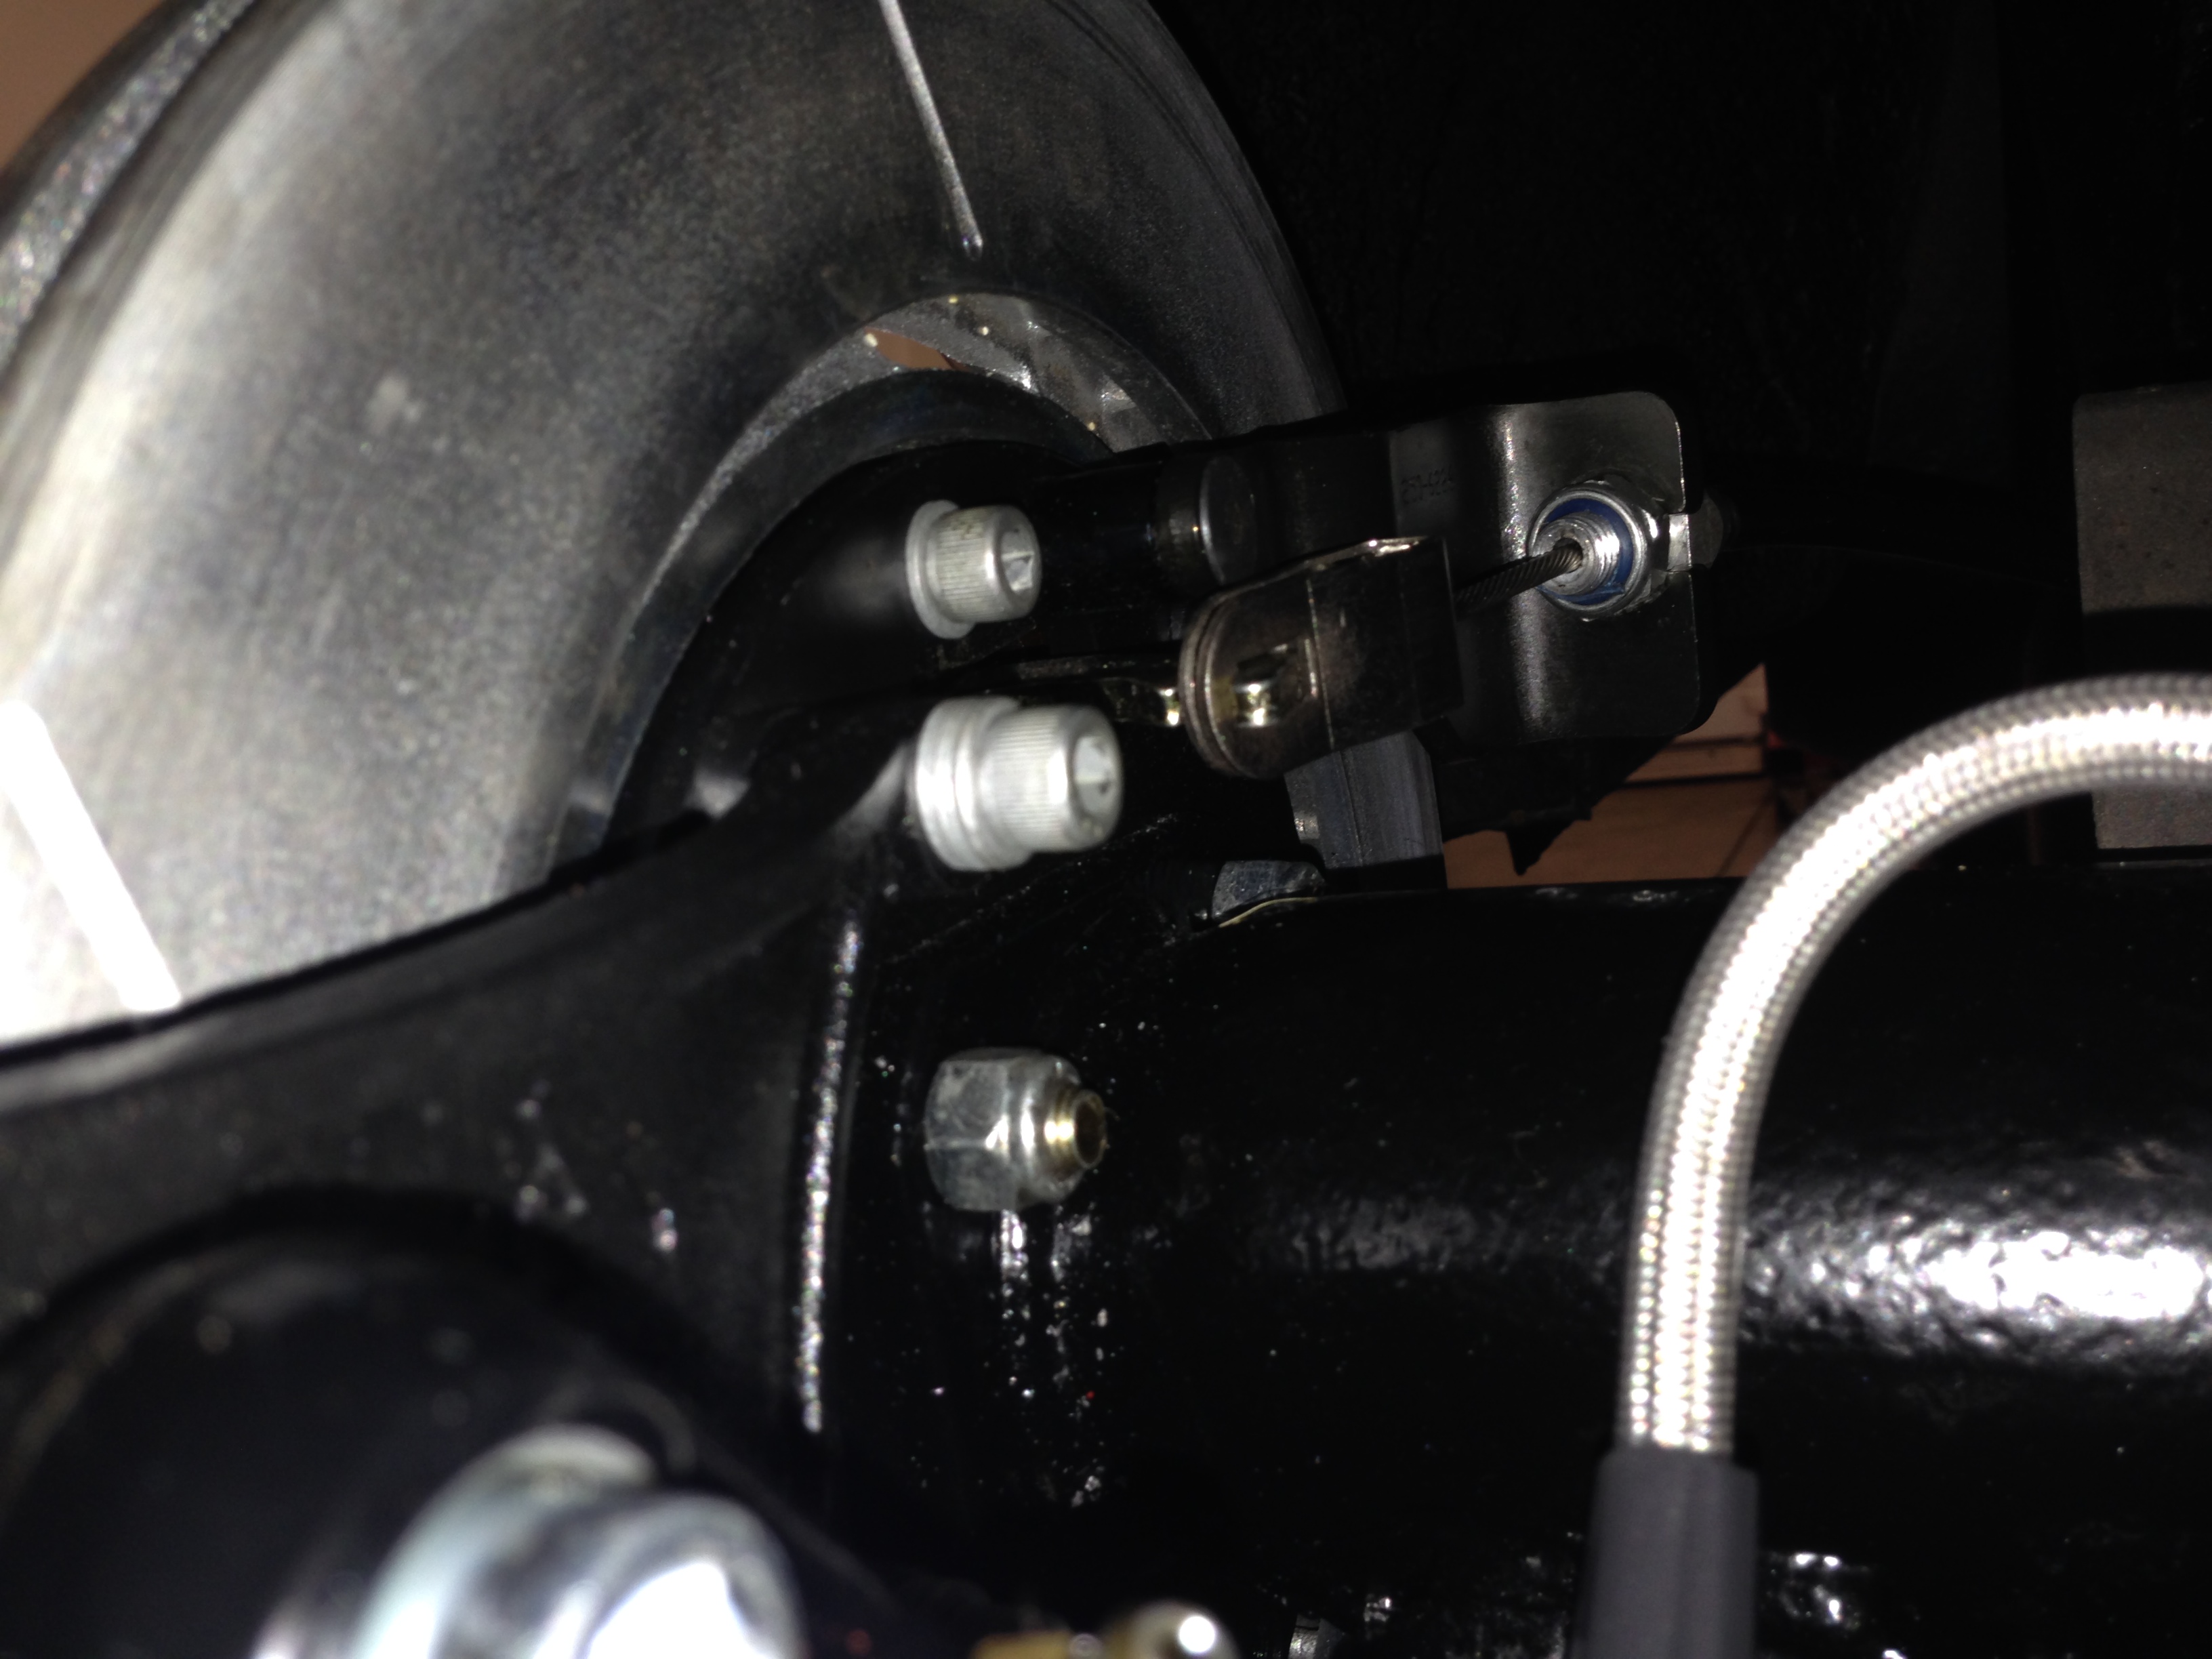
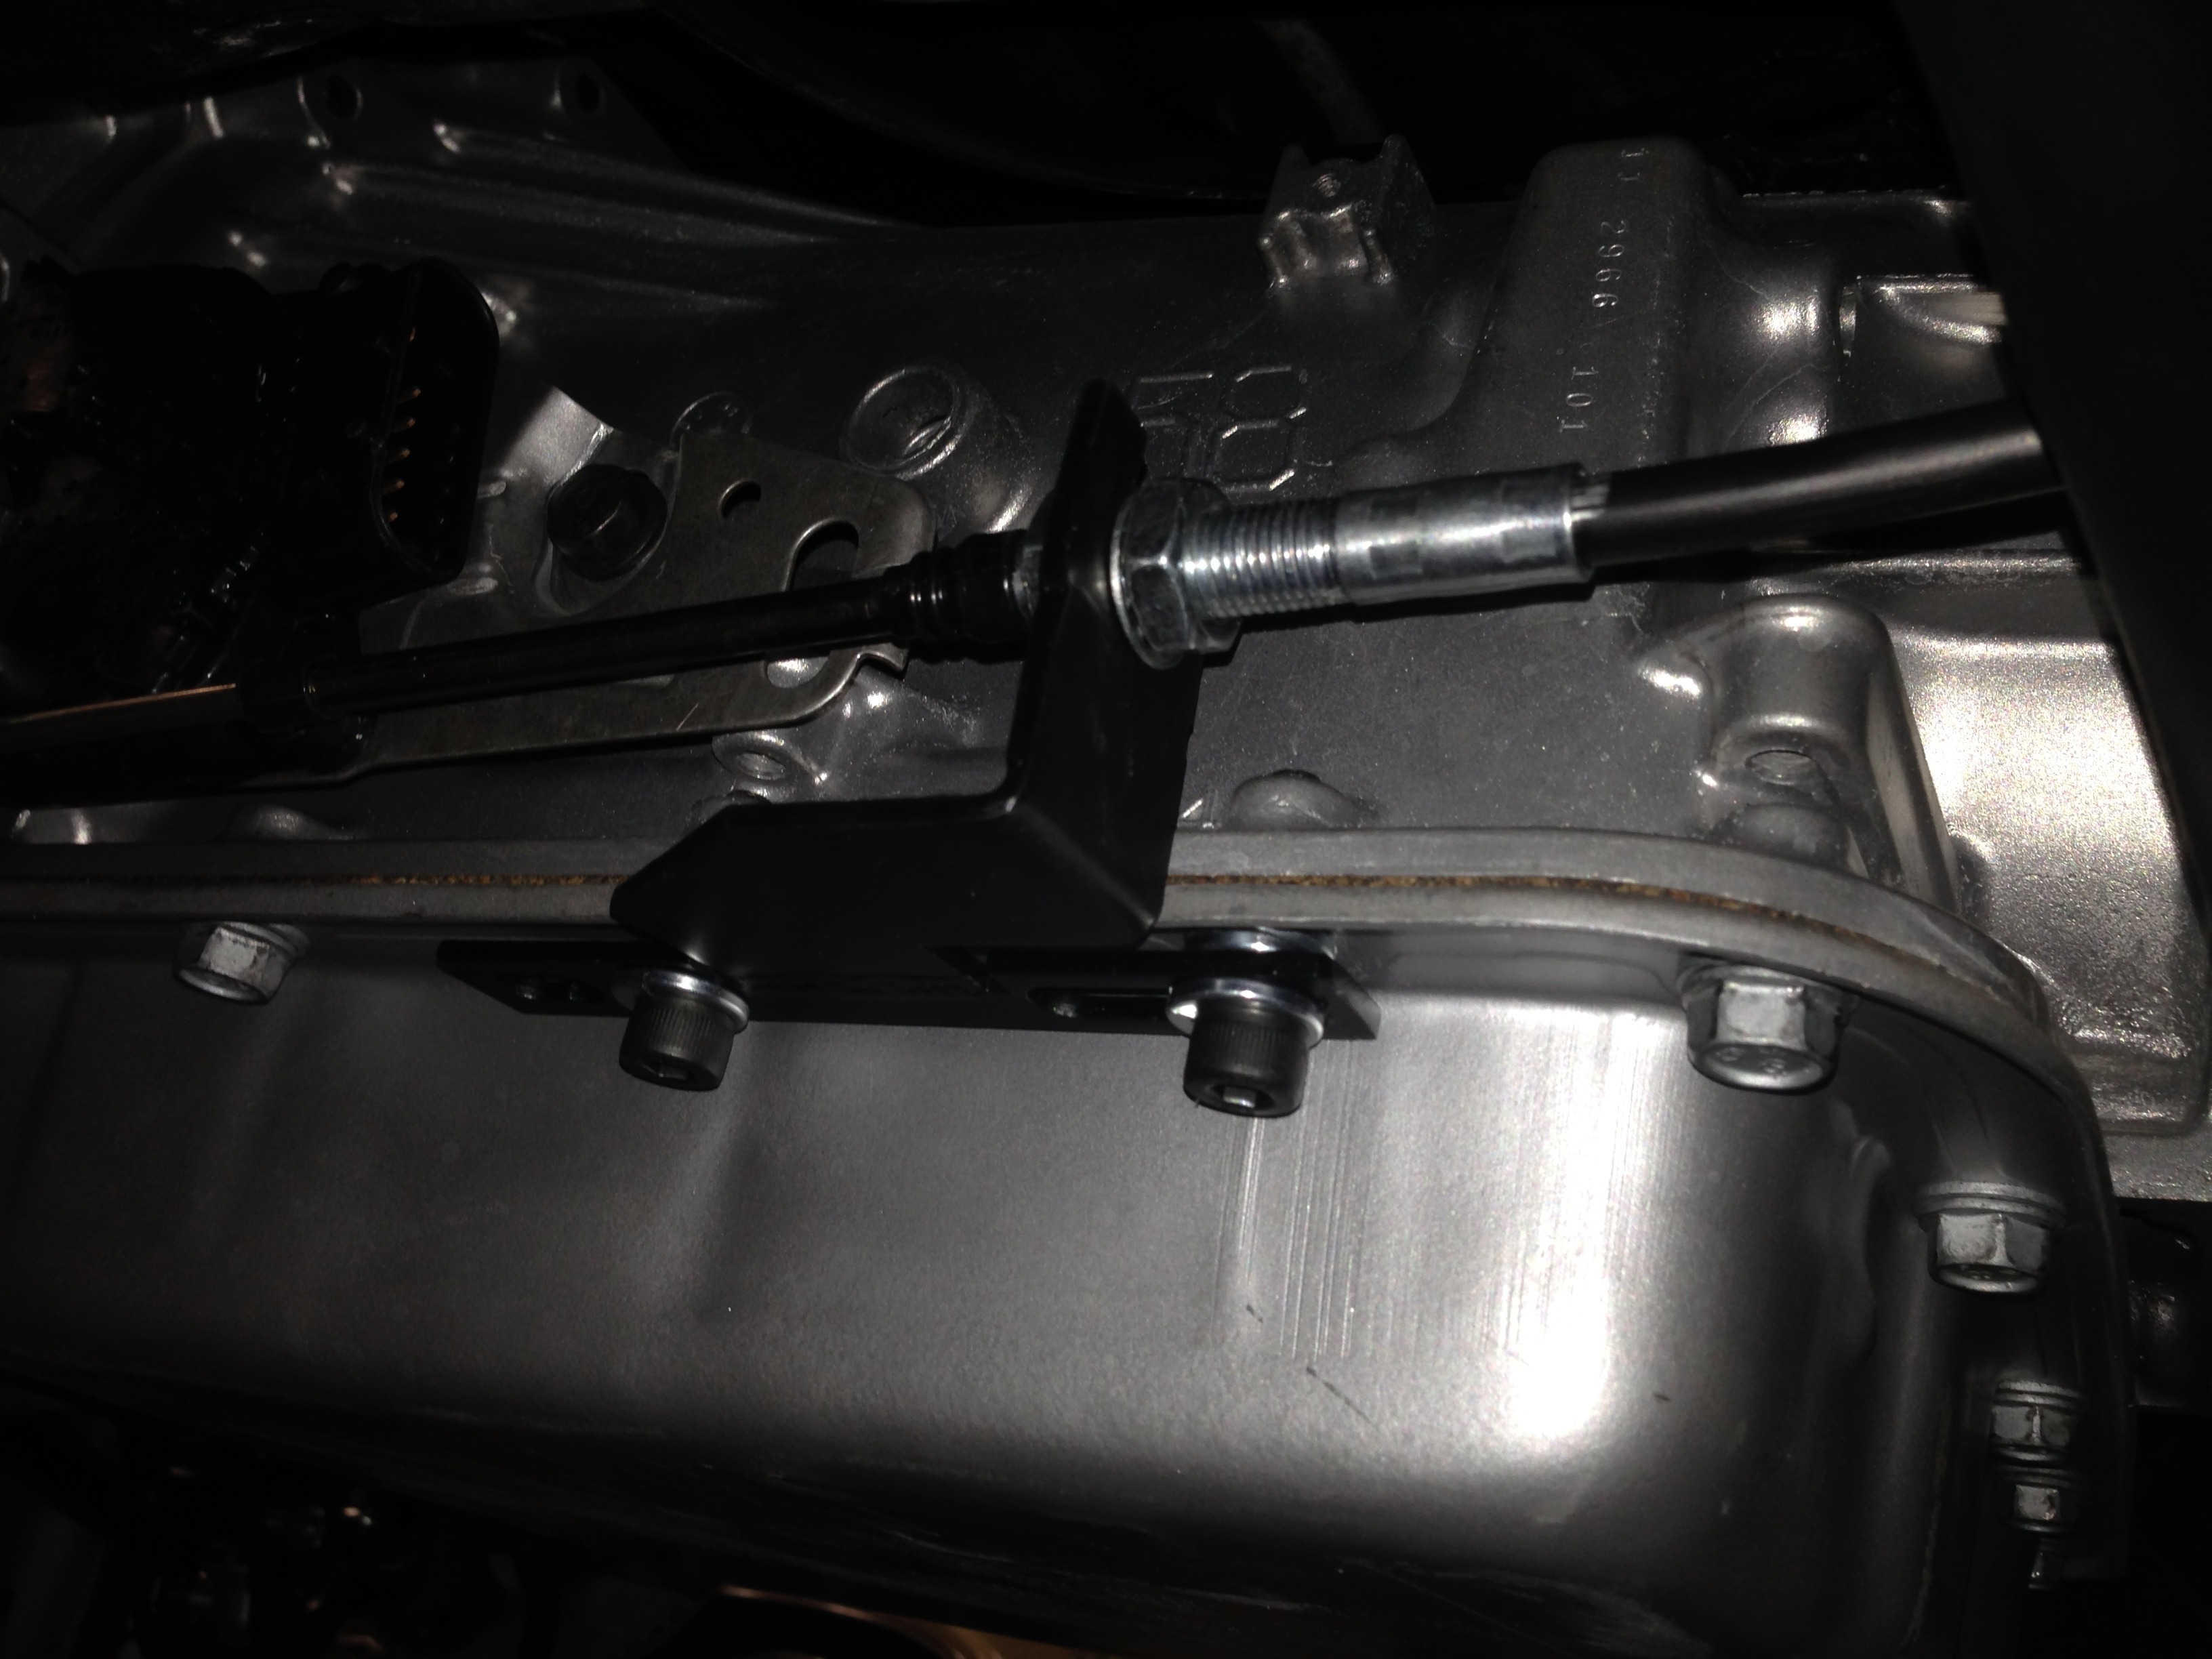
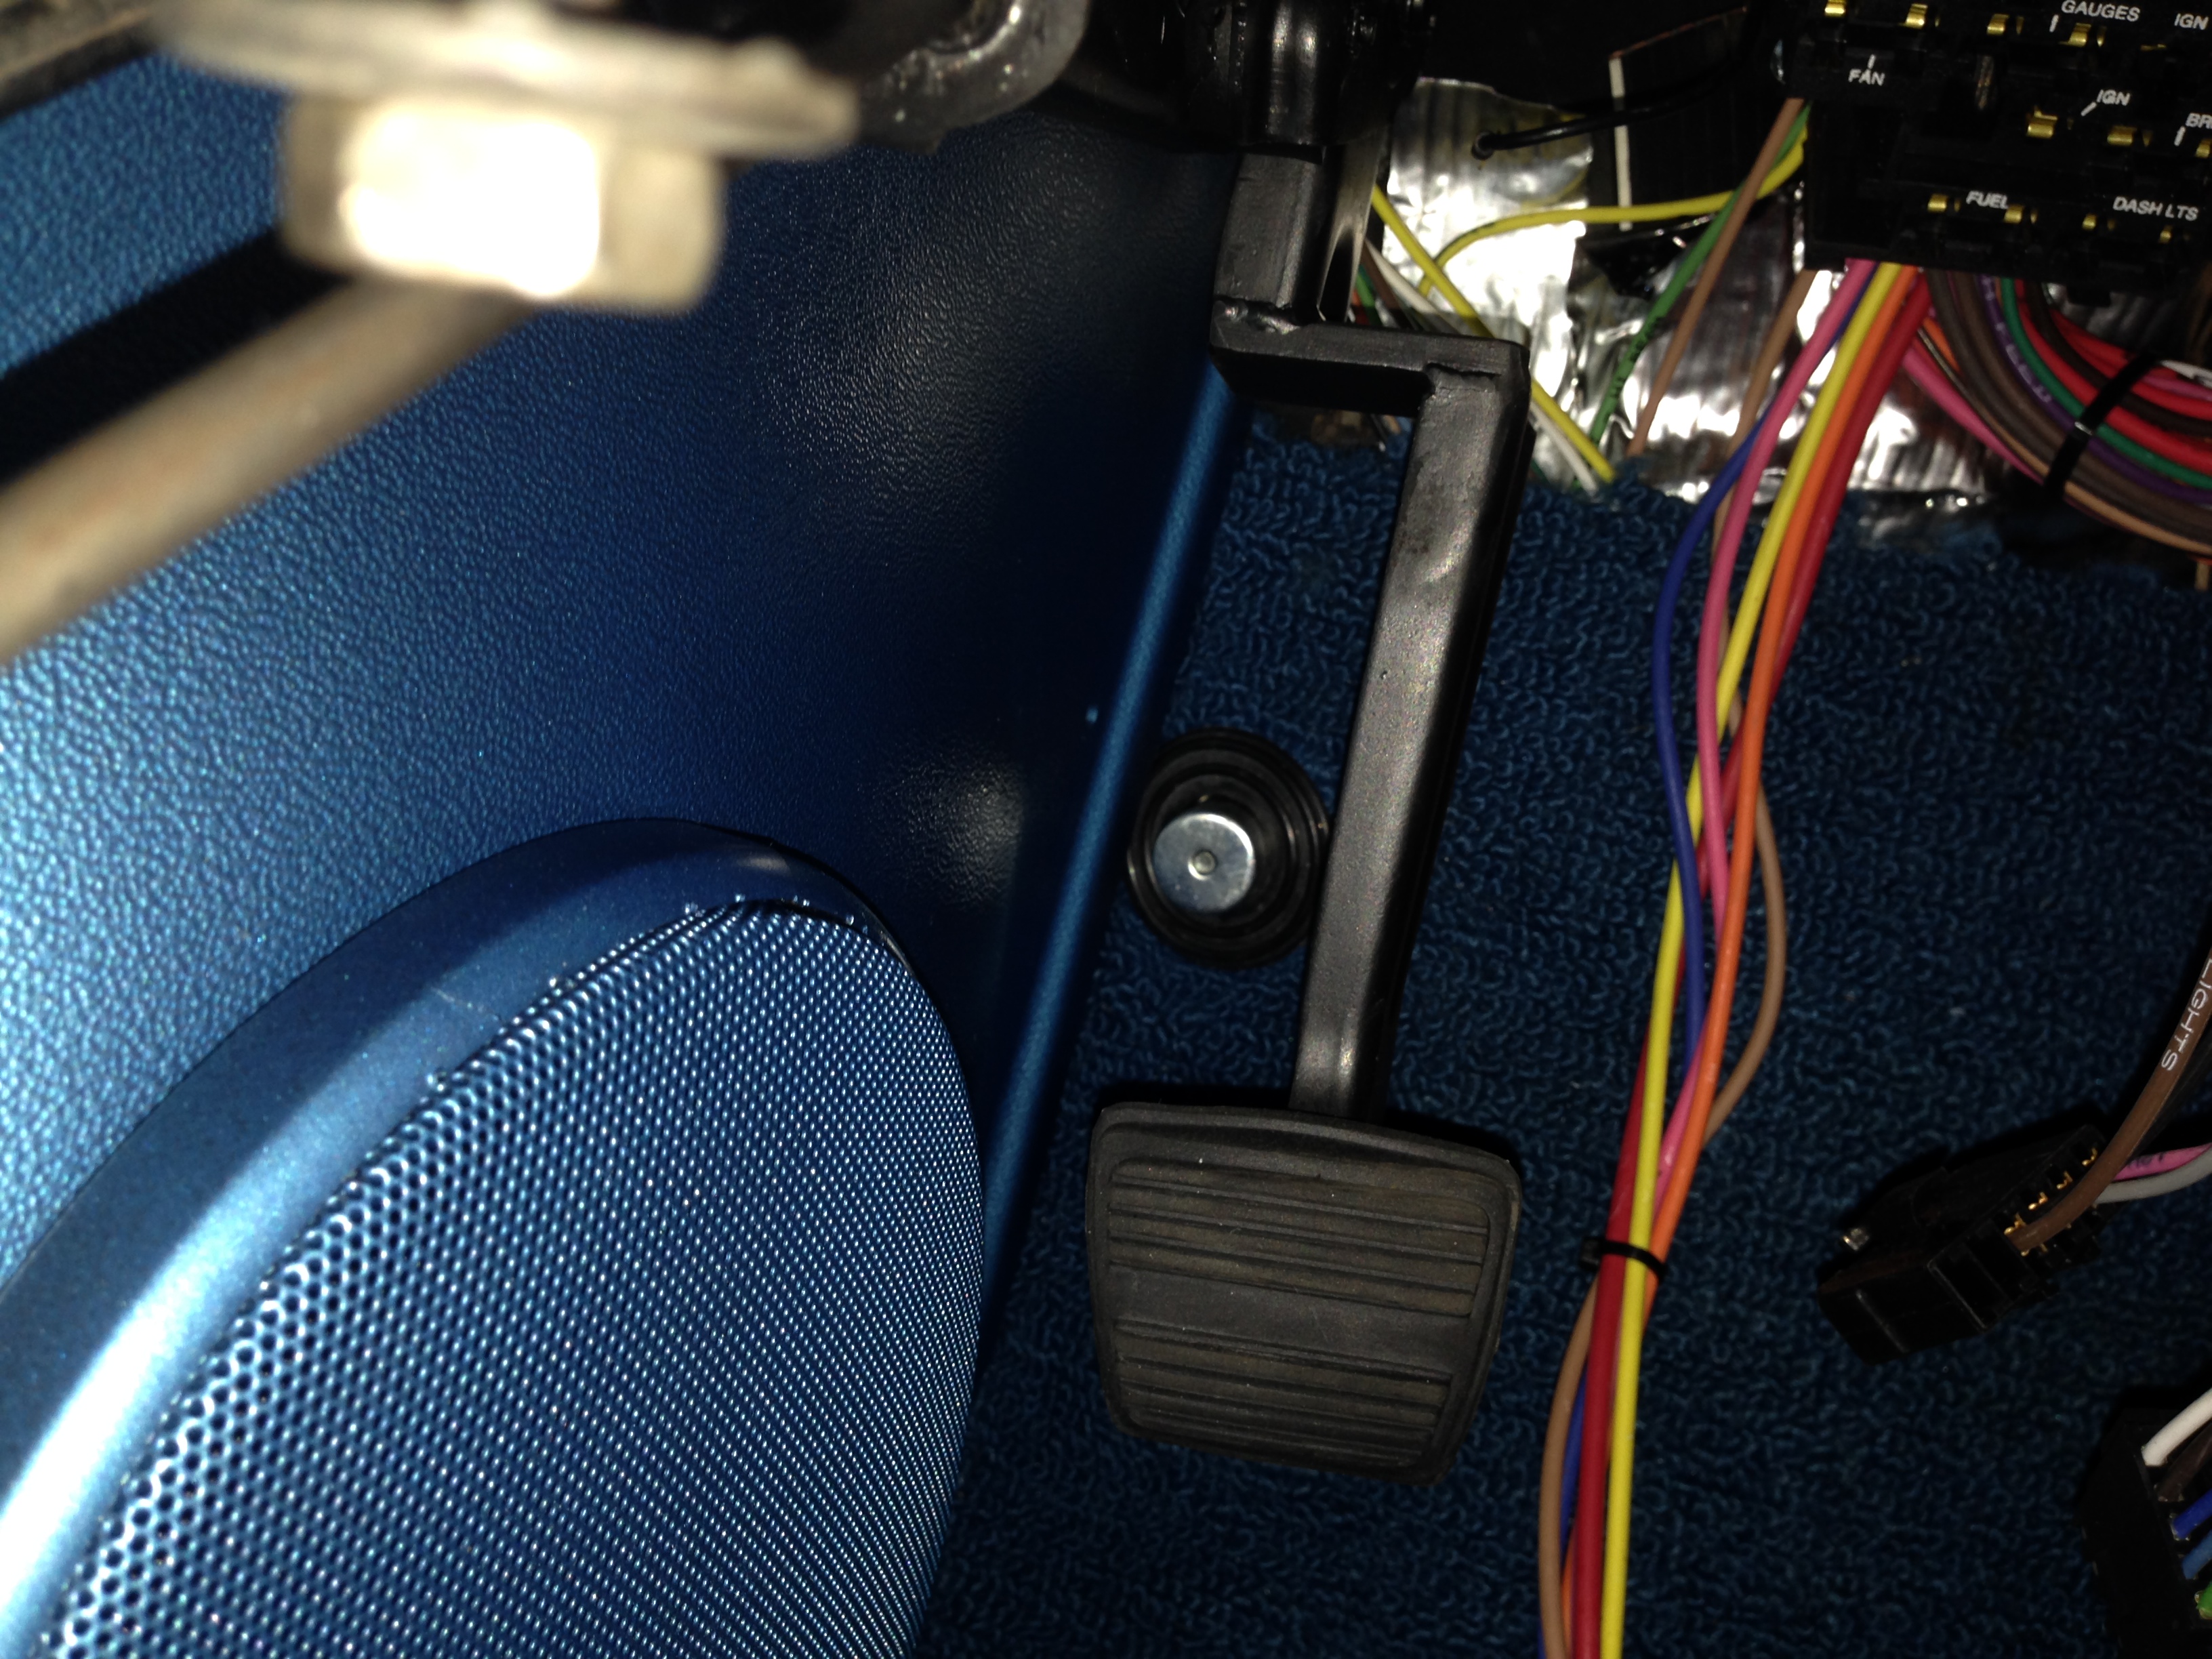
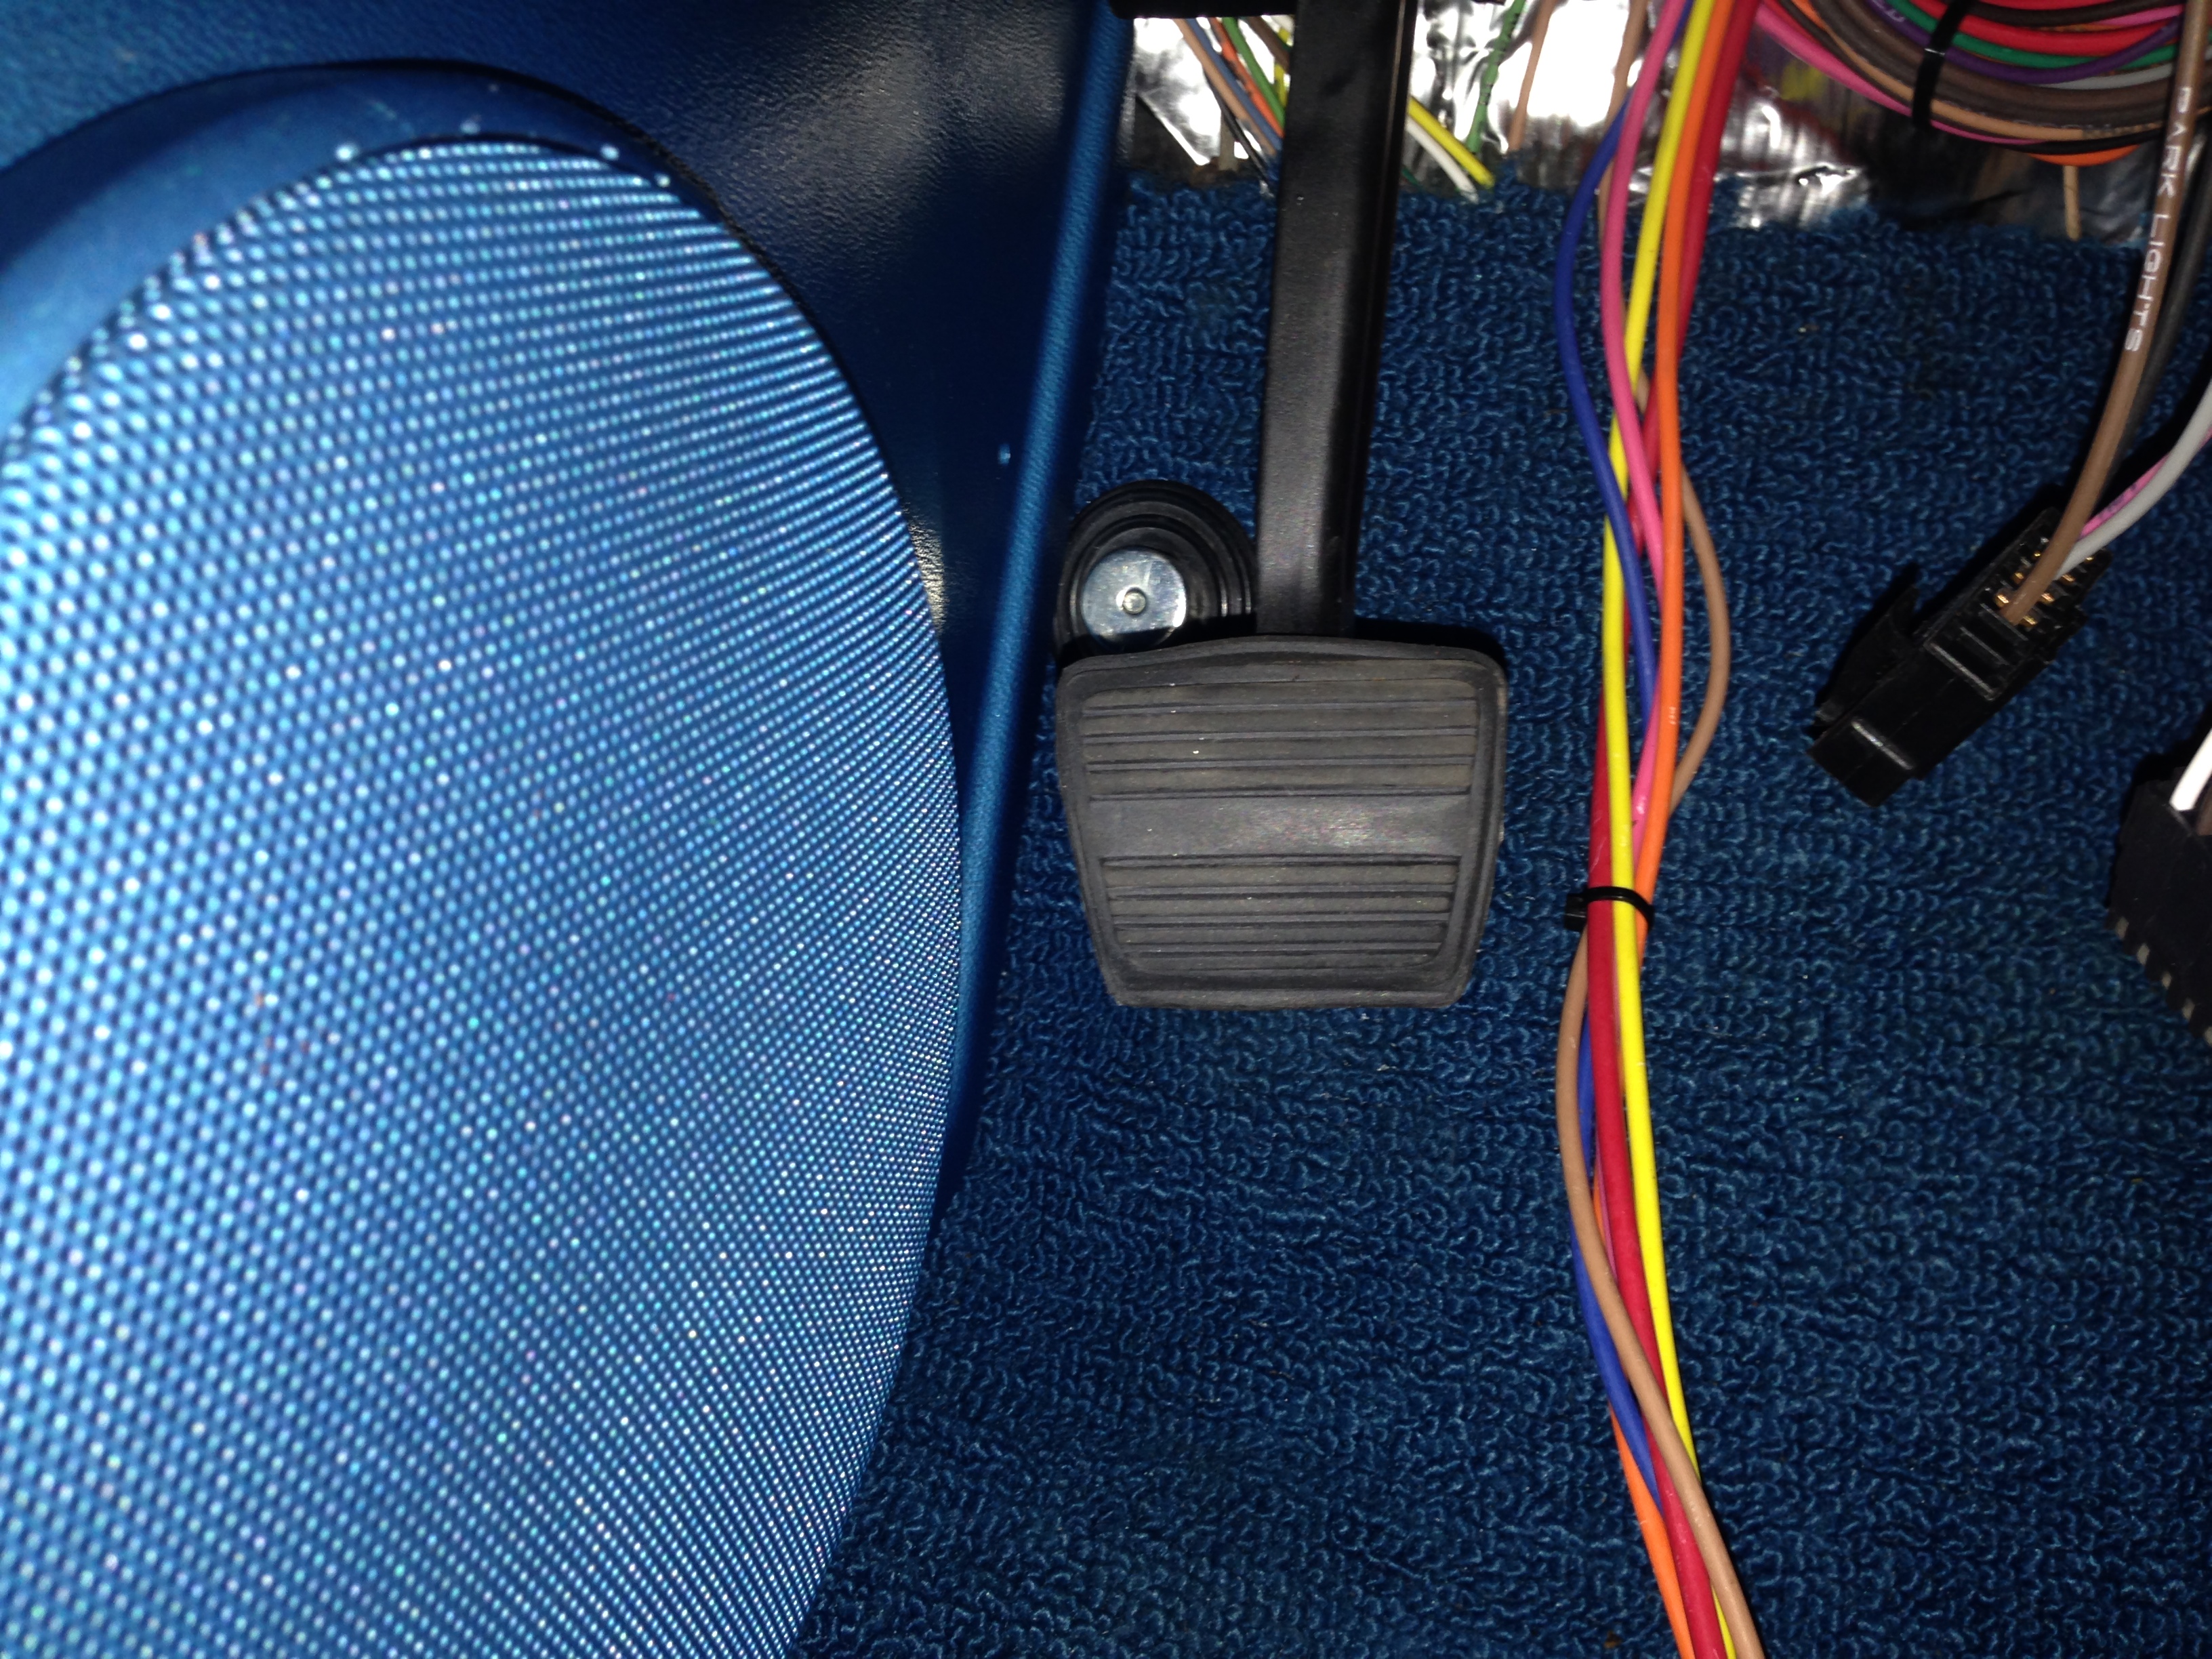
Since I changed the shift cable assy on the trans.......I didn't like the way the mounting bracket presented the cable to the trans shift arm........so....I made a new bracket today and installed it when I got home.......Everything is now more in line and it shifts perfectly......I also got my kick panel speakers in from Custom Autosound......got them painted and noticed that the Parking Brake pedal nad the Speaker were fighting for the same space.......so......cut and rewelded the pedal over 1 1/4" and solved that issue.......another couple things crossed off the list.......
Ken
Ken
TECH Resident
Joined: Nov 2007
Posts: 816
Likes: 0
From: Texas
Nice work Ken as always. Just an FYI for future reference you can just add a 1 inch spacer strip were the parking brake mounts to the dash and it will angle the pedal over and clear the speaker without having to go to the trouble of cutting and welding the pedal but hey as I said it looks great going to be a really nice ride when your done.
Rocky
Rocky
Thread Starter
TECH Fanatic
Joined: Jul 2008
Posts: 1,569
Likes: 173
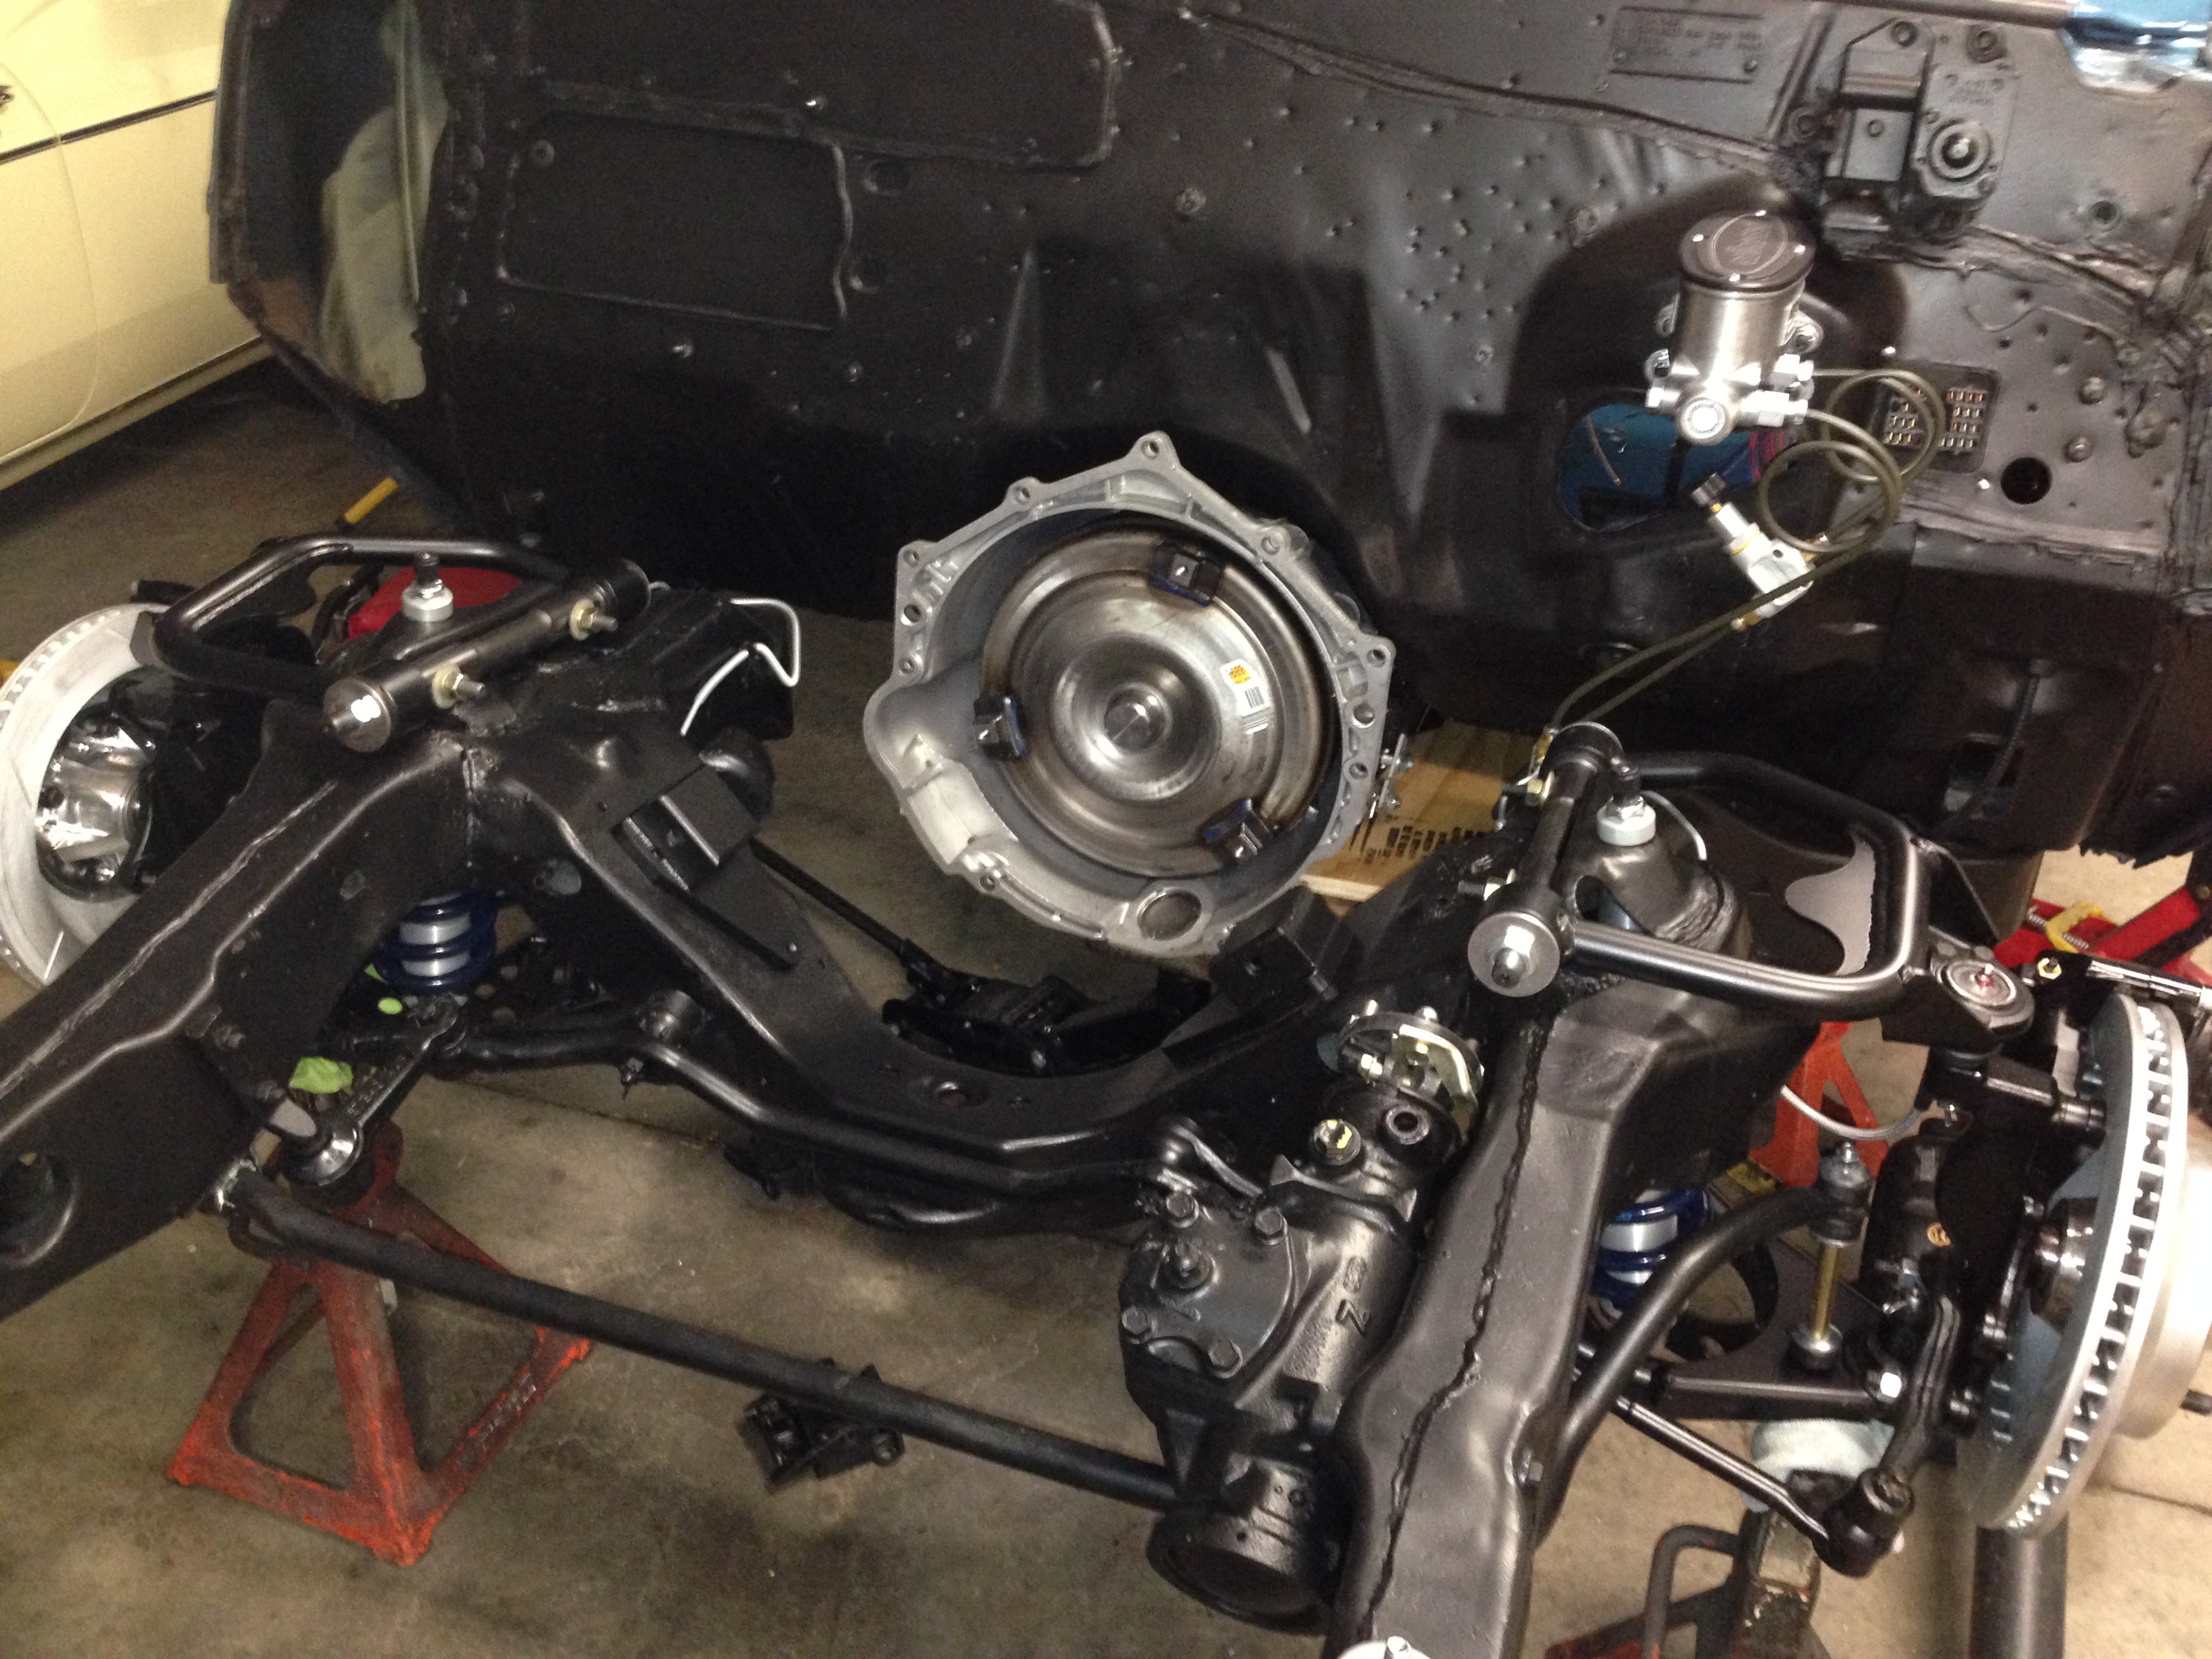
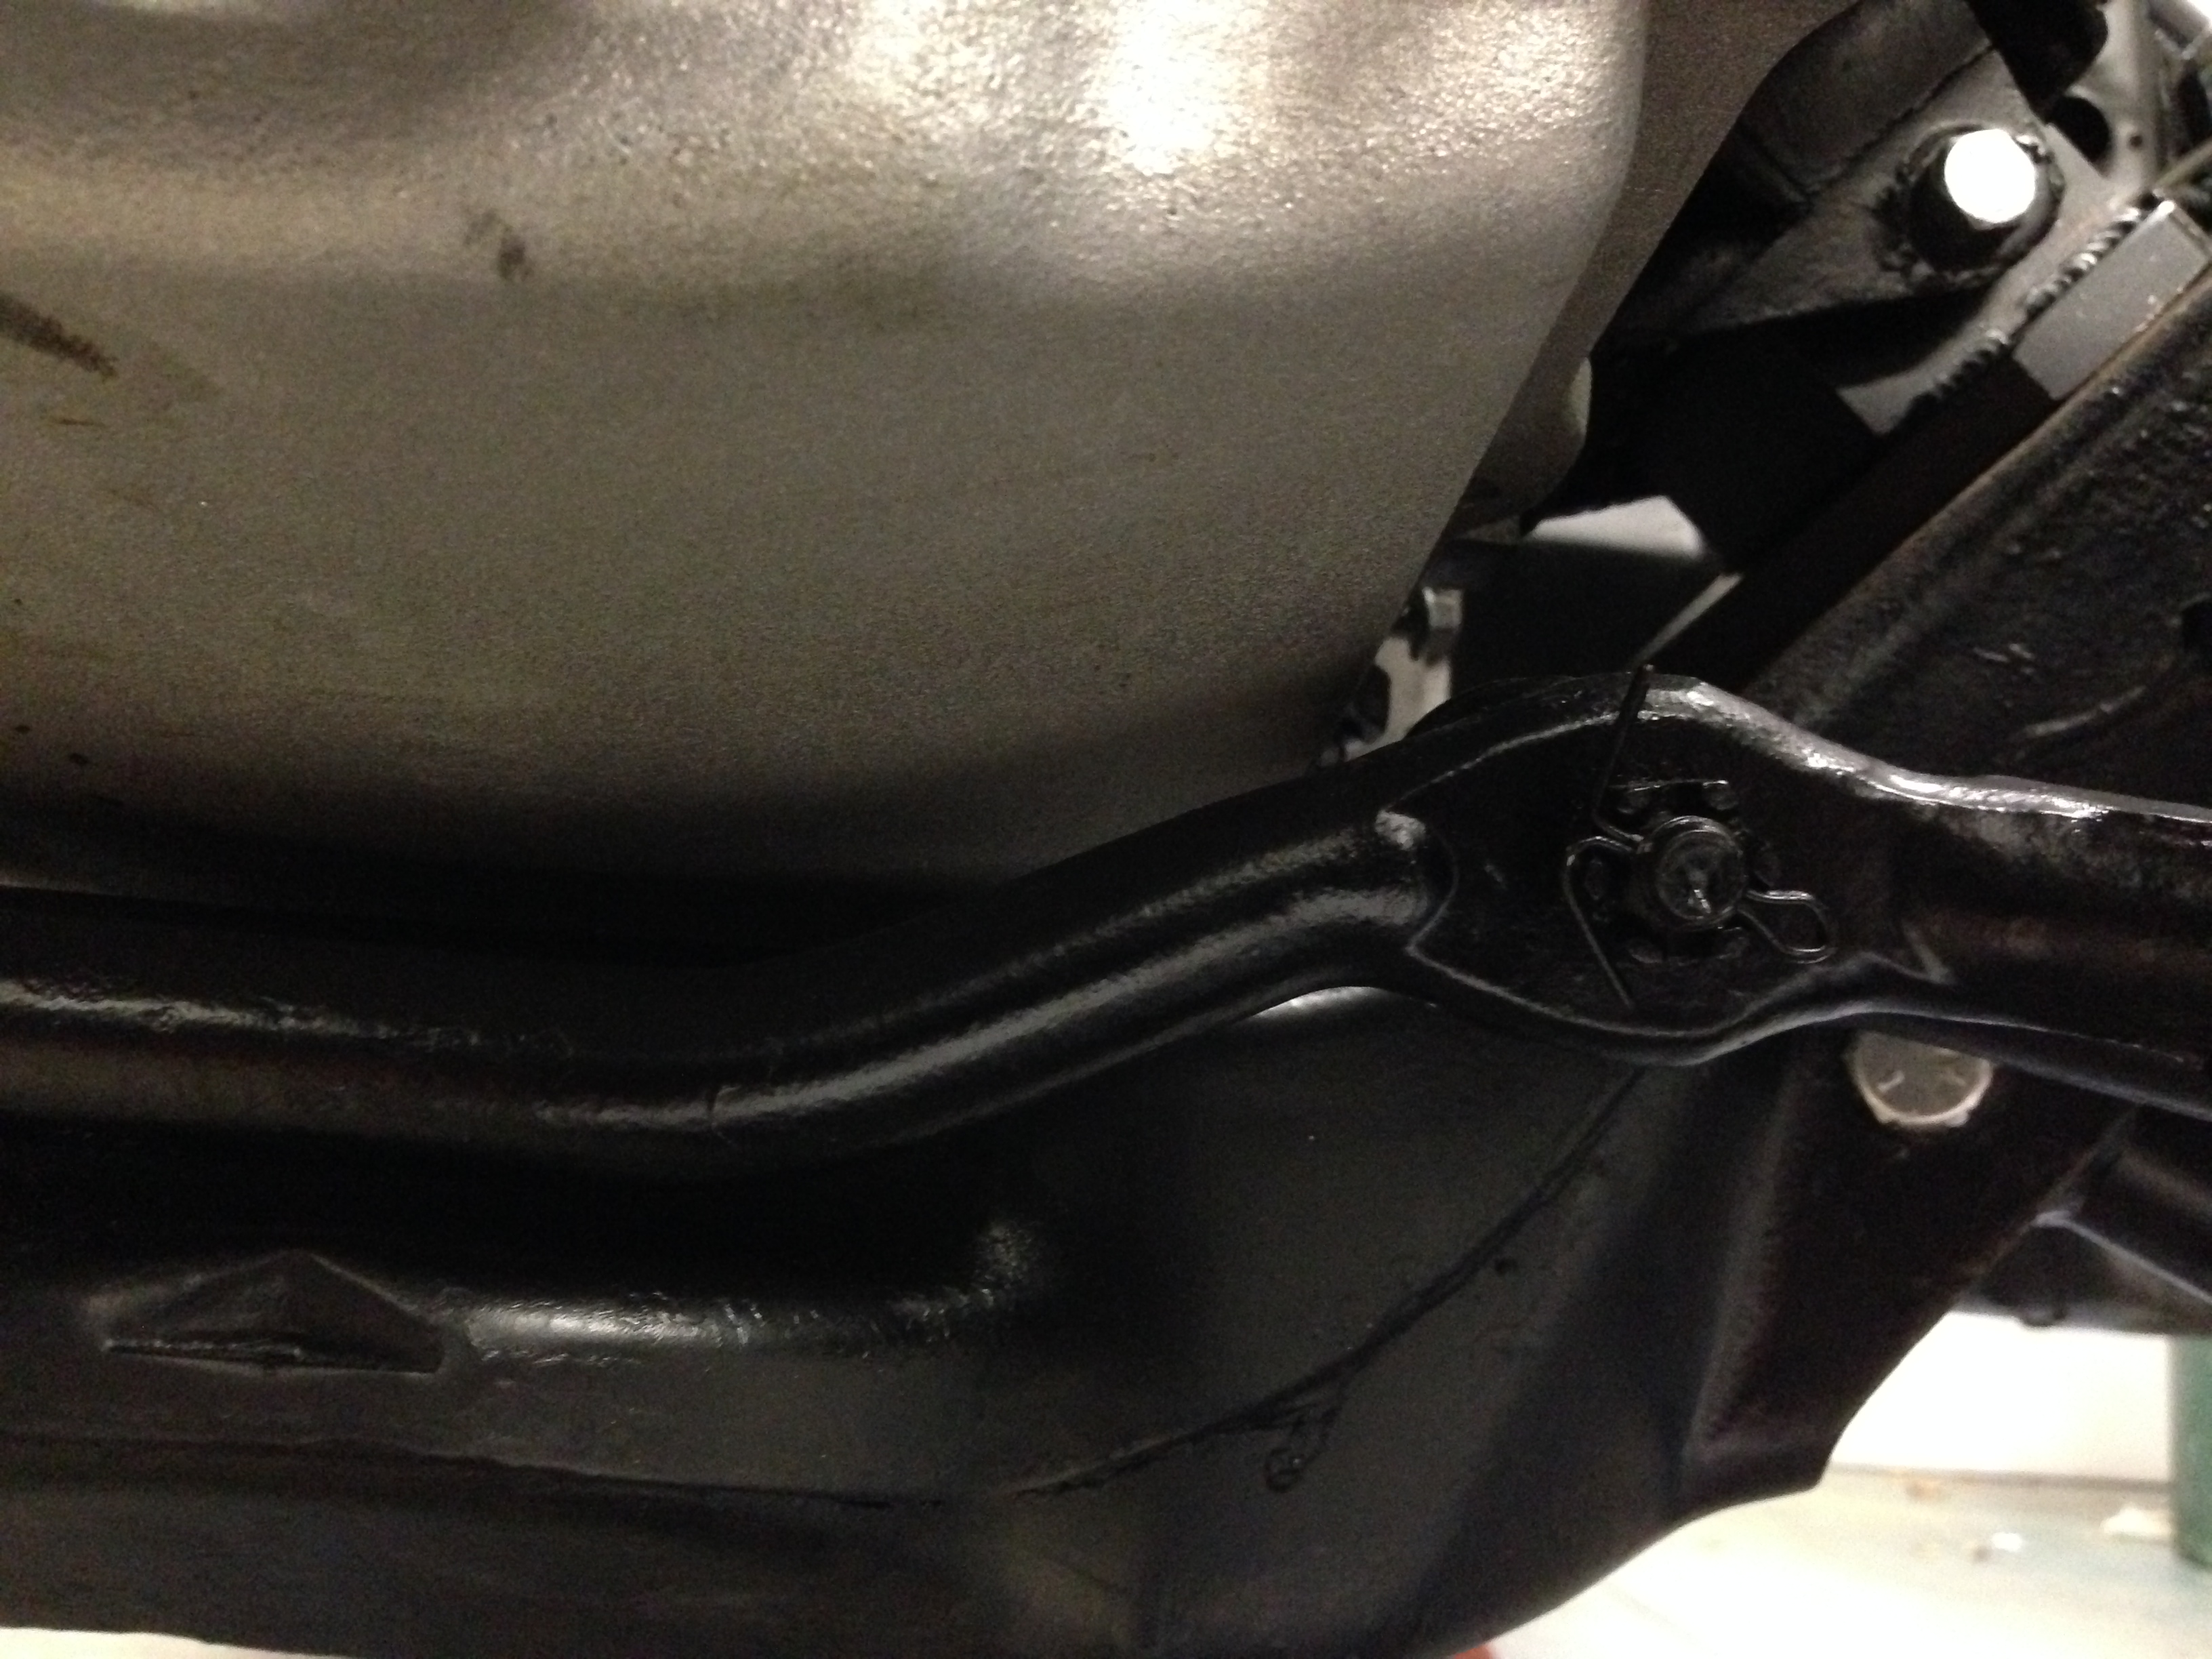
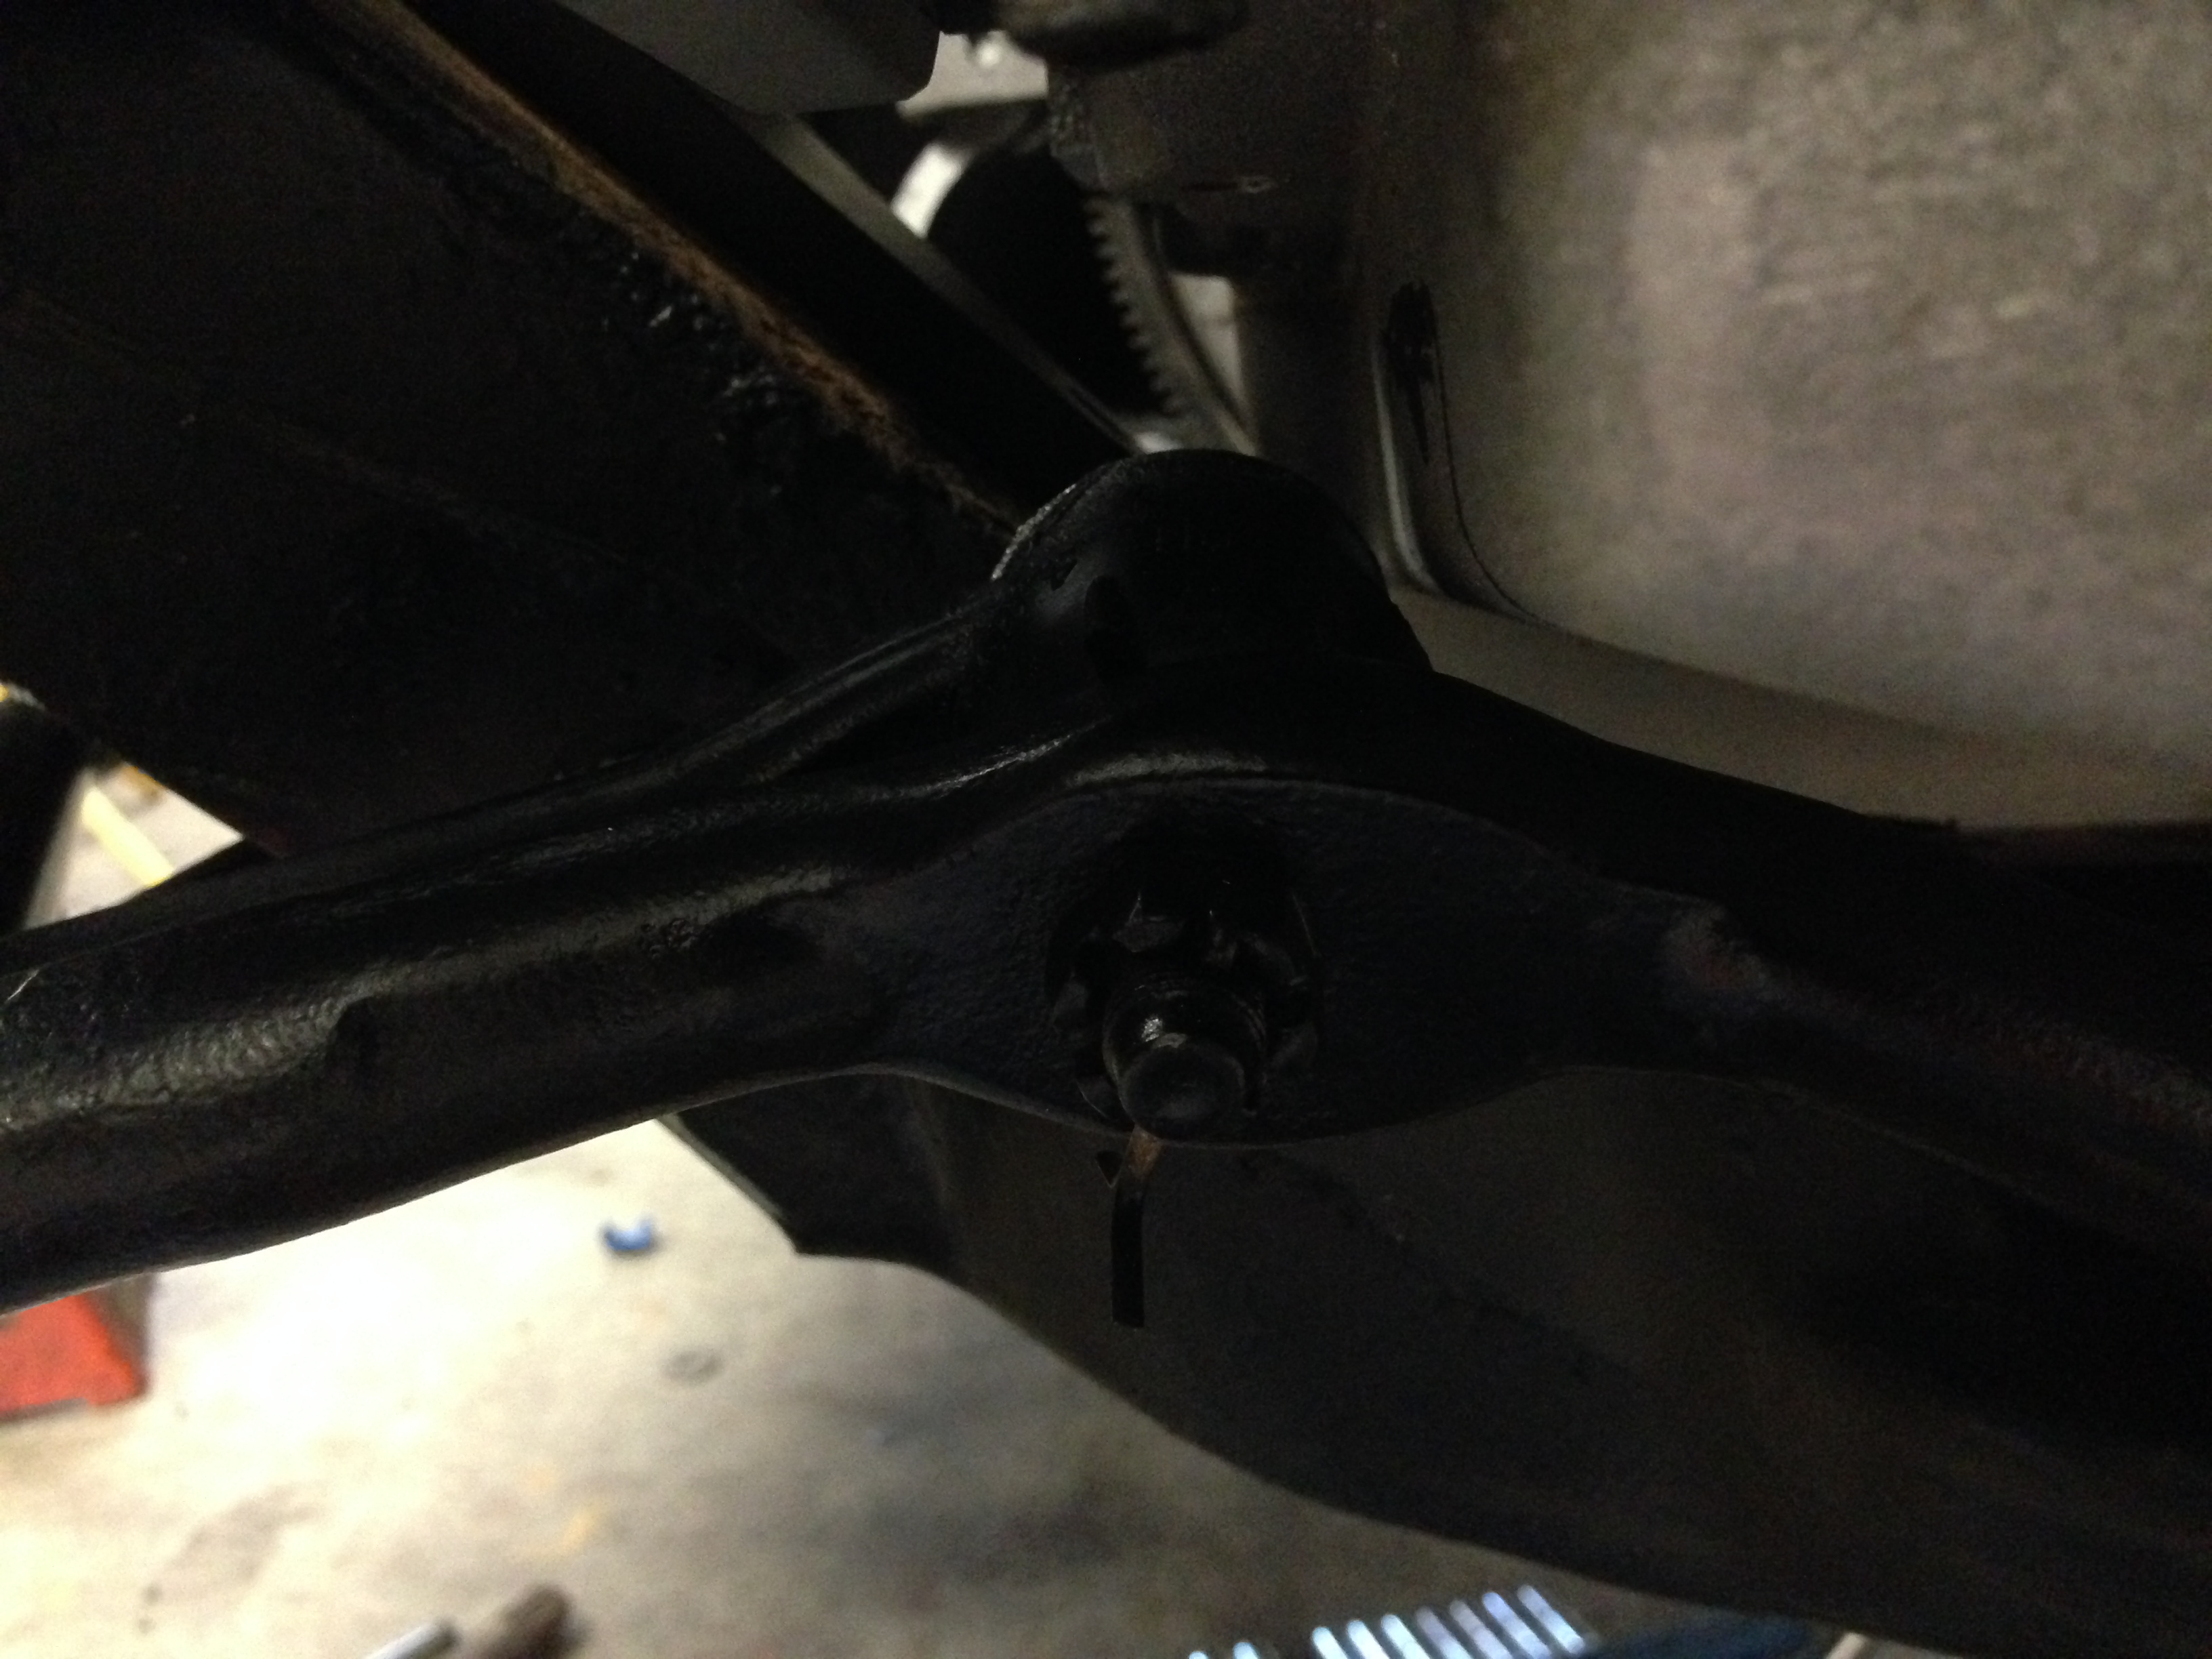
Got a couple of issues ironed out today......#1 was getting the oil pan/steering clearance issue resolved.......Now.....almost everyone with a Chevelle / A body LS swap has steering rod end/ oil pan clearance issues where some notching of the pan is required.........After getting the weight of the car on the front control arms today........I then started measuring everything with a load on the suspension.........what I had was a clearance issue turning to the left.....but turning to the right I had plenty of room between the rod end and the oil pan after hitting the steering stops.......so .....after checking every thing out I noticed that the center drag link was not centered to the engine.......after measuring everything six times......I went ahead and centered the drag link , then adjusted the steering rod ends to get everything balanced back out.....I now had clearance in both directions between the rod ends and the oil pan when at the travel limit in both directions..........Got Lucky......the engine must sit just high enough for things to work........
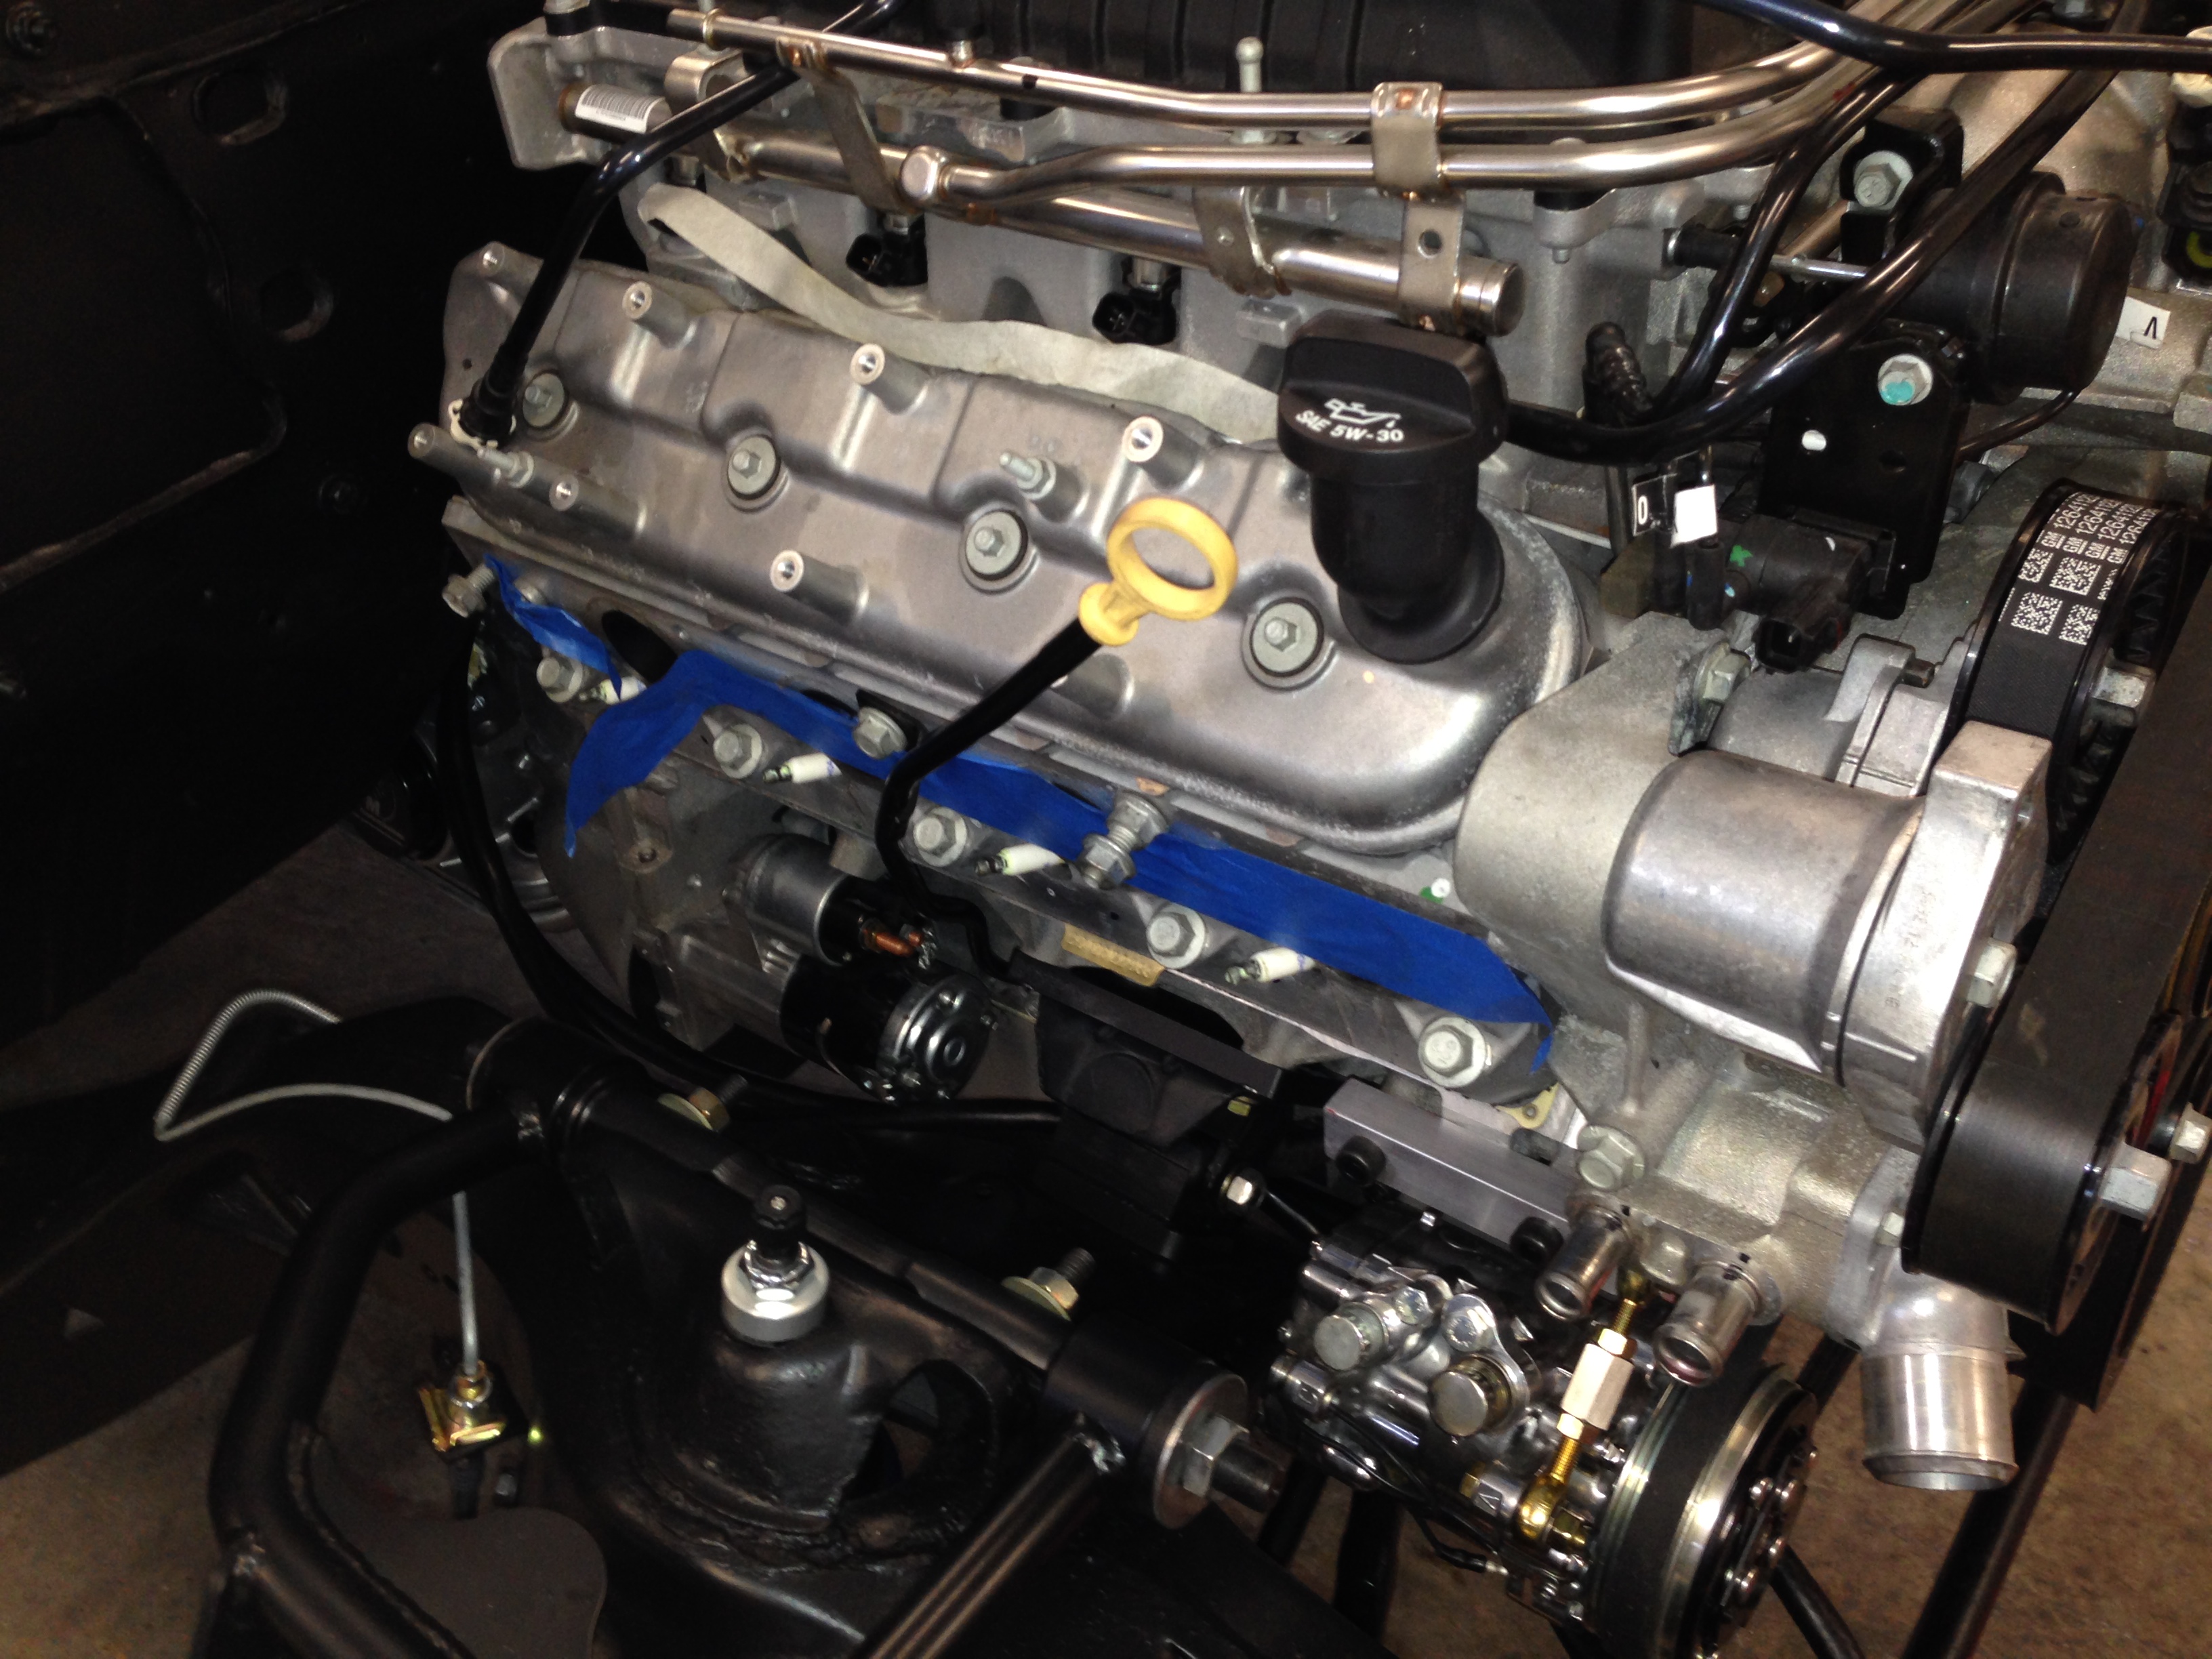
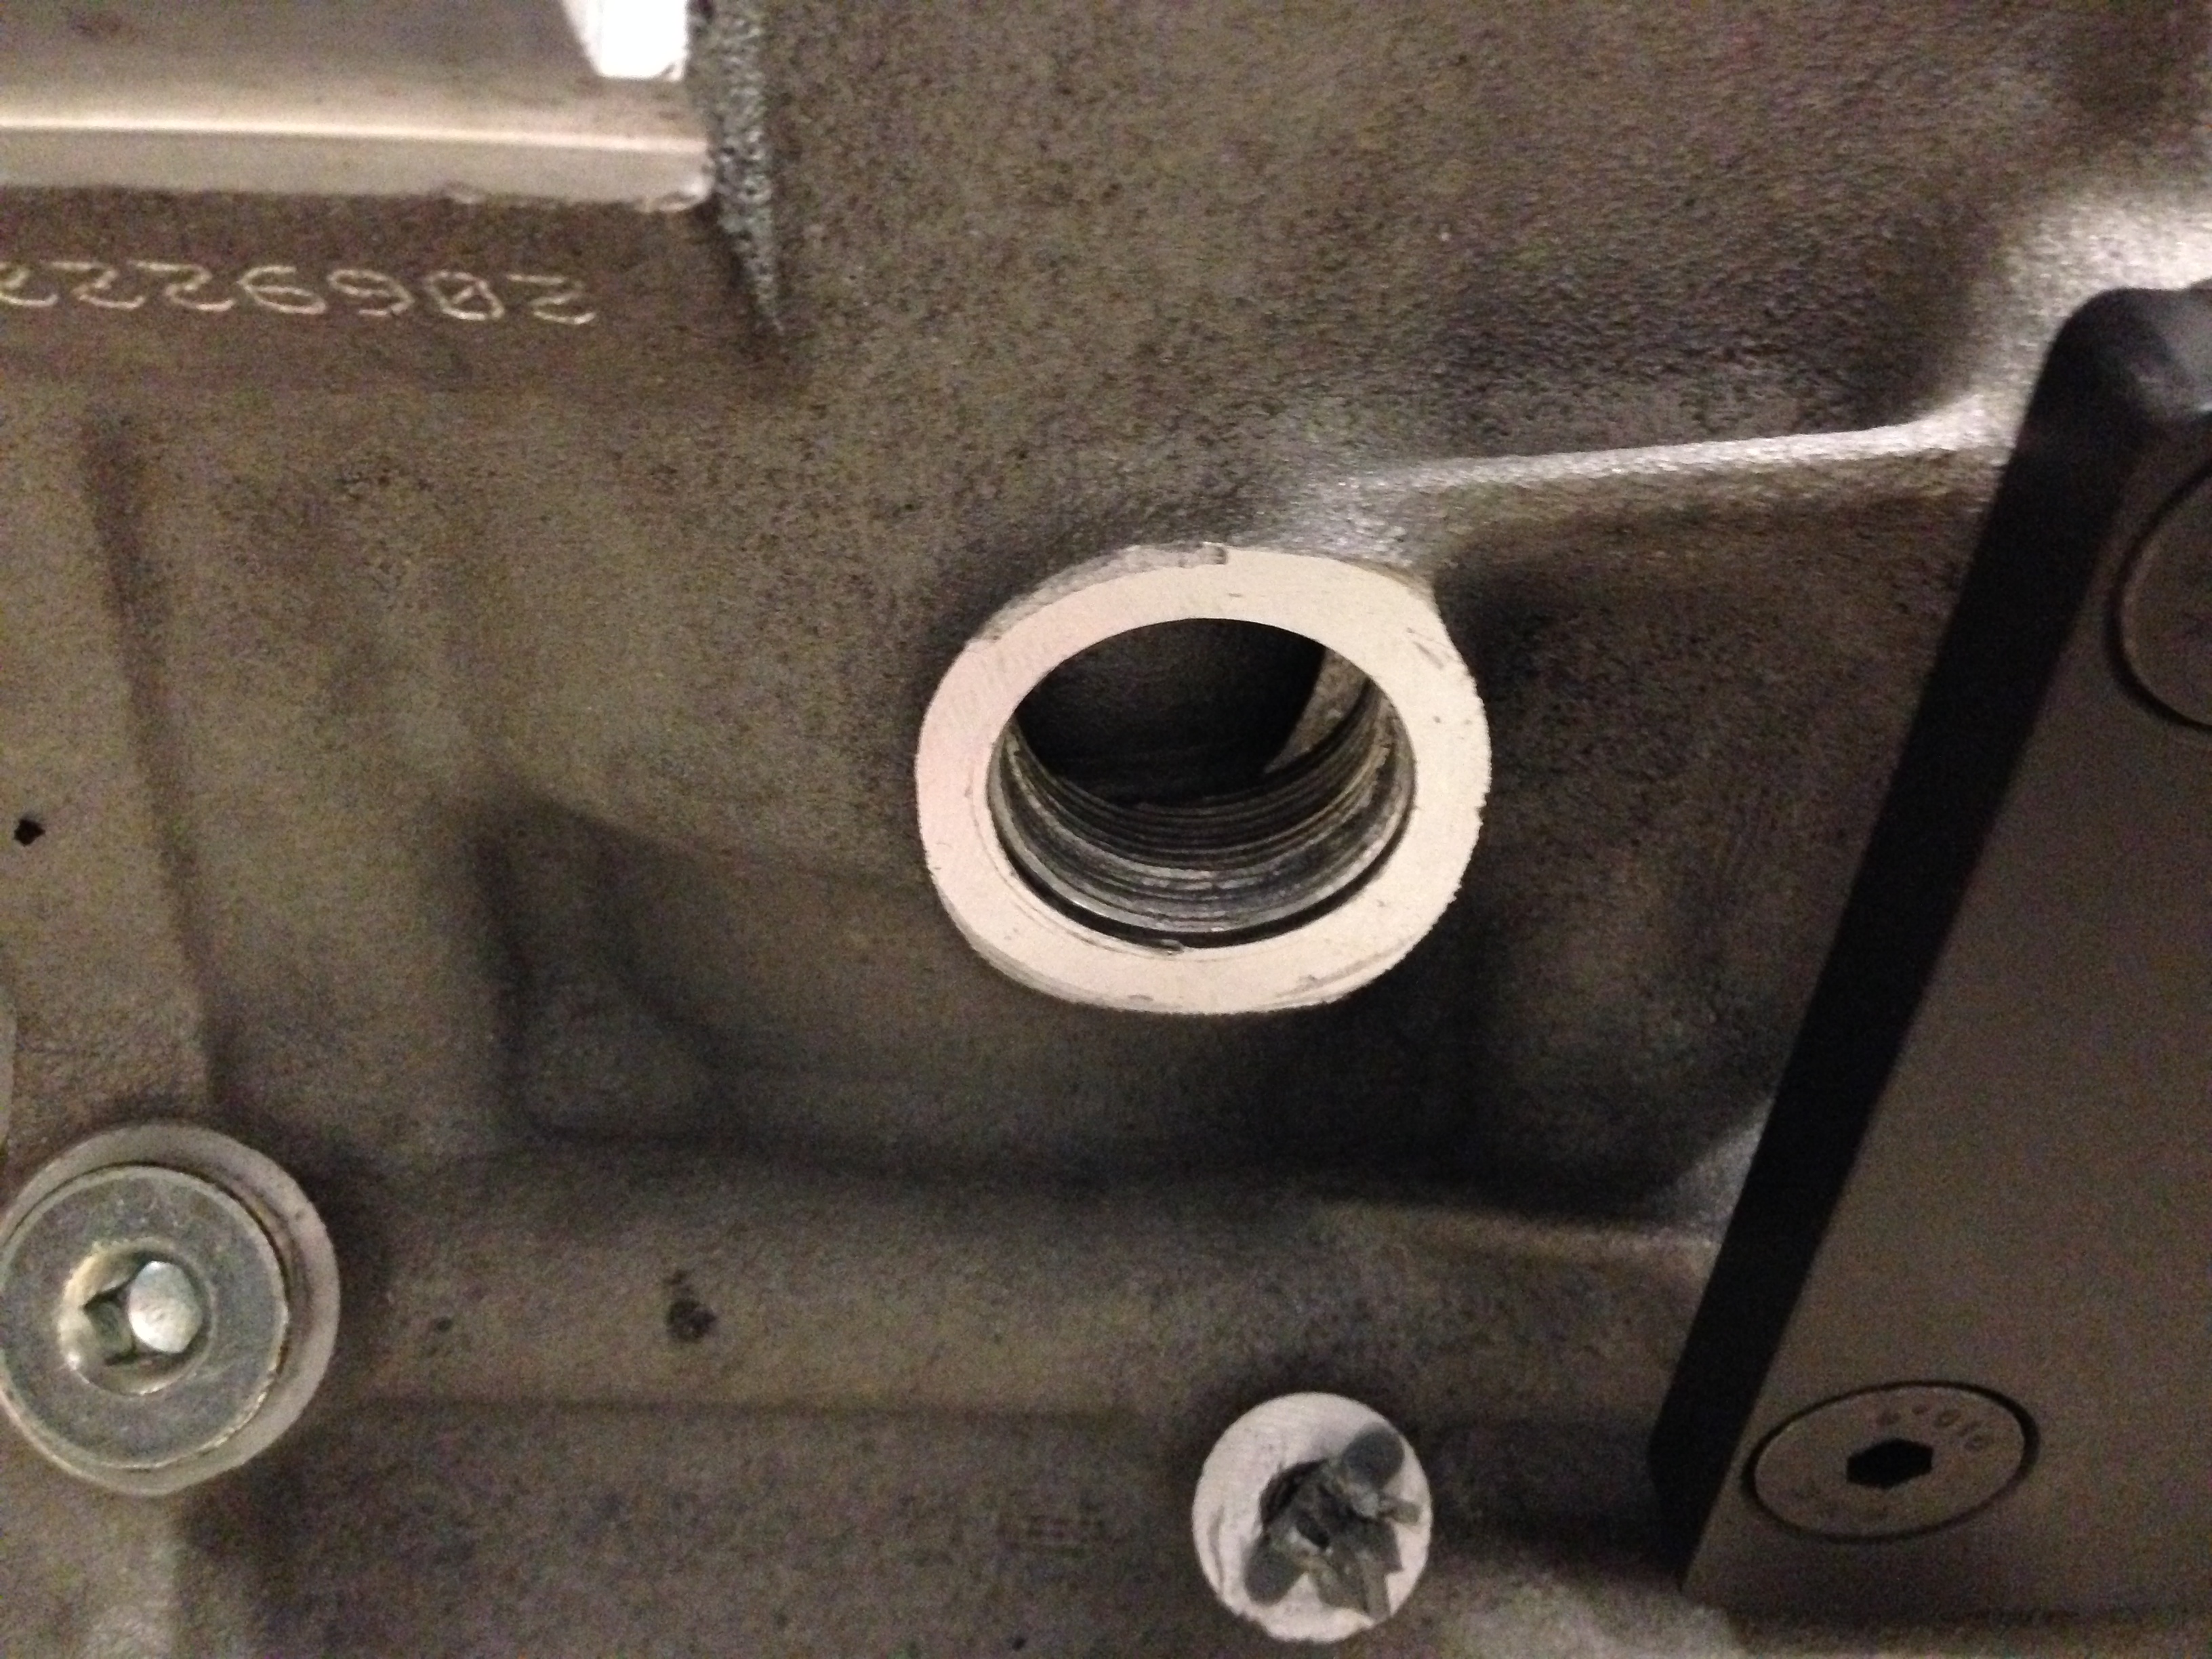
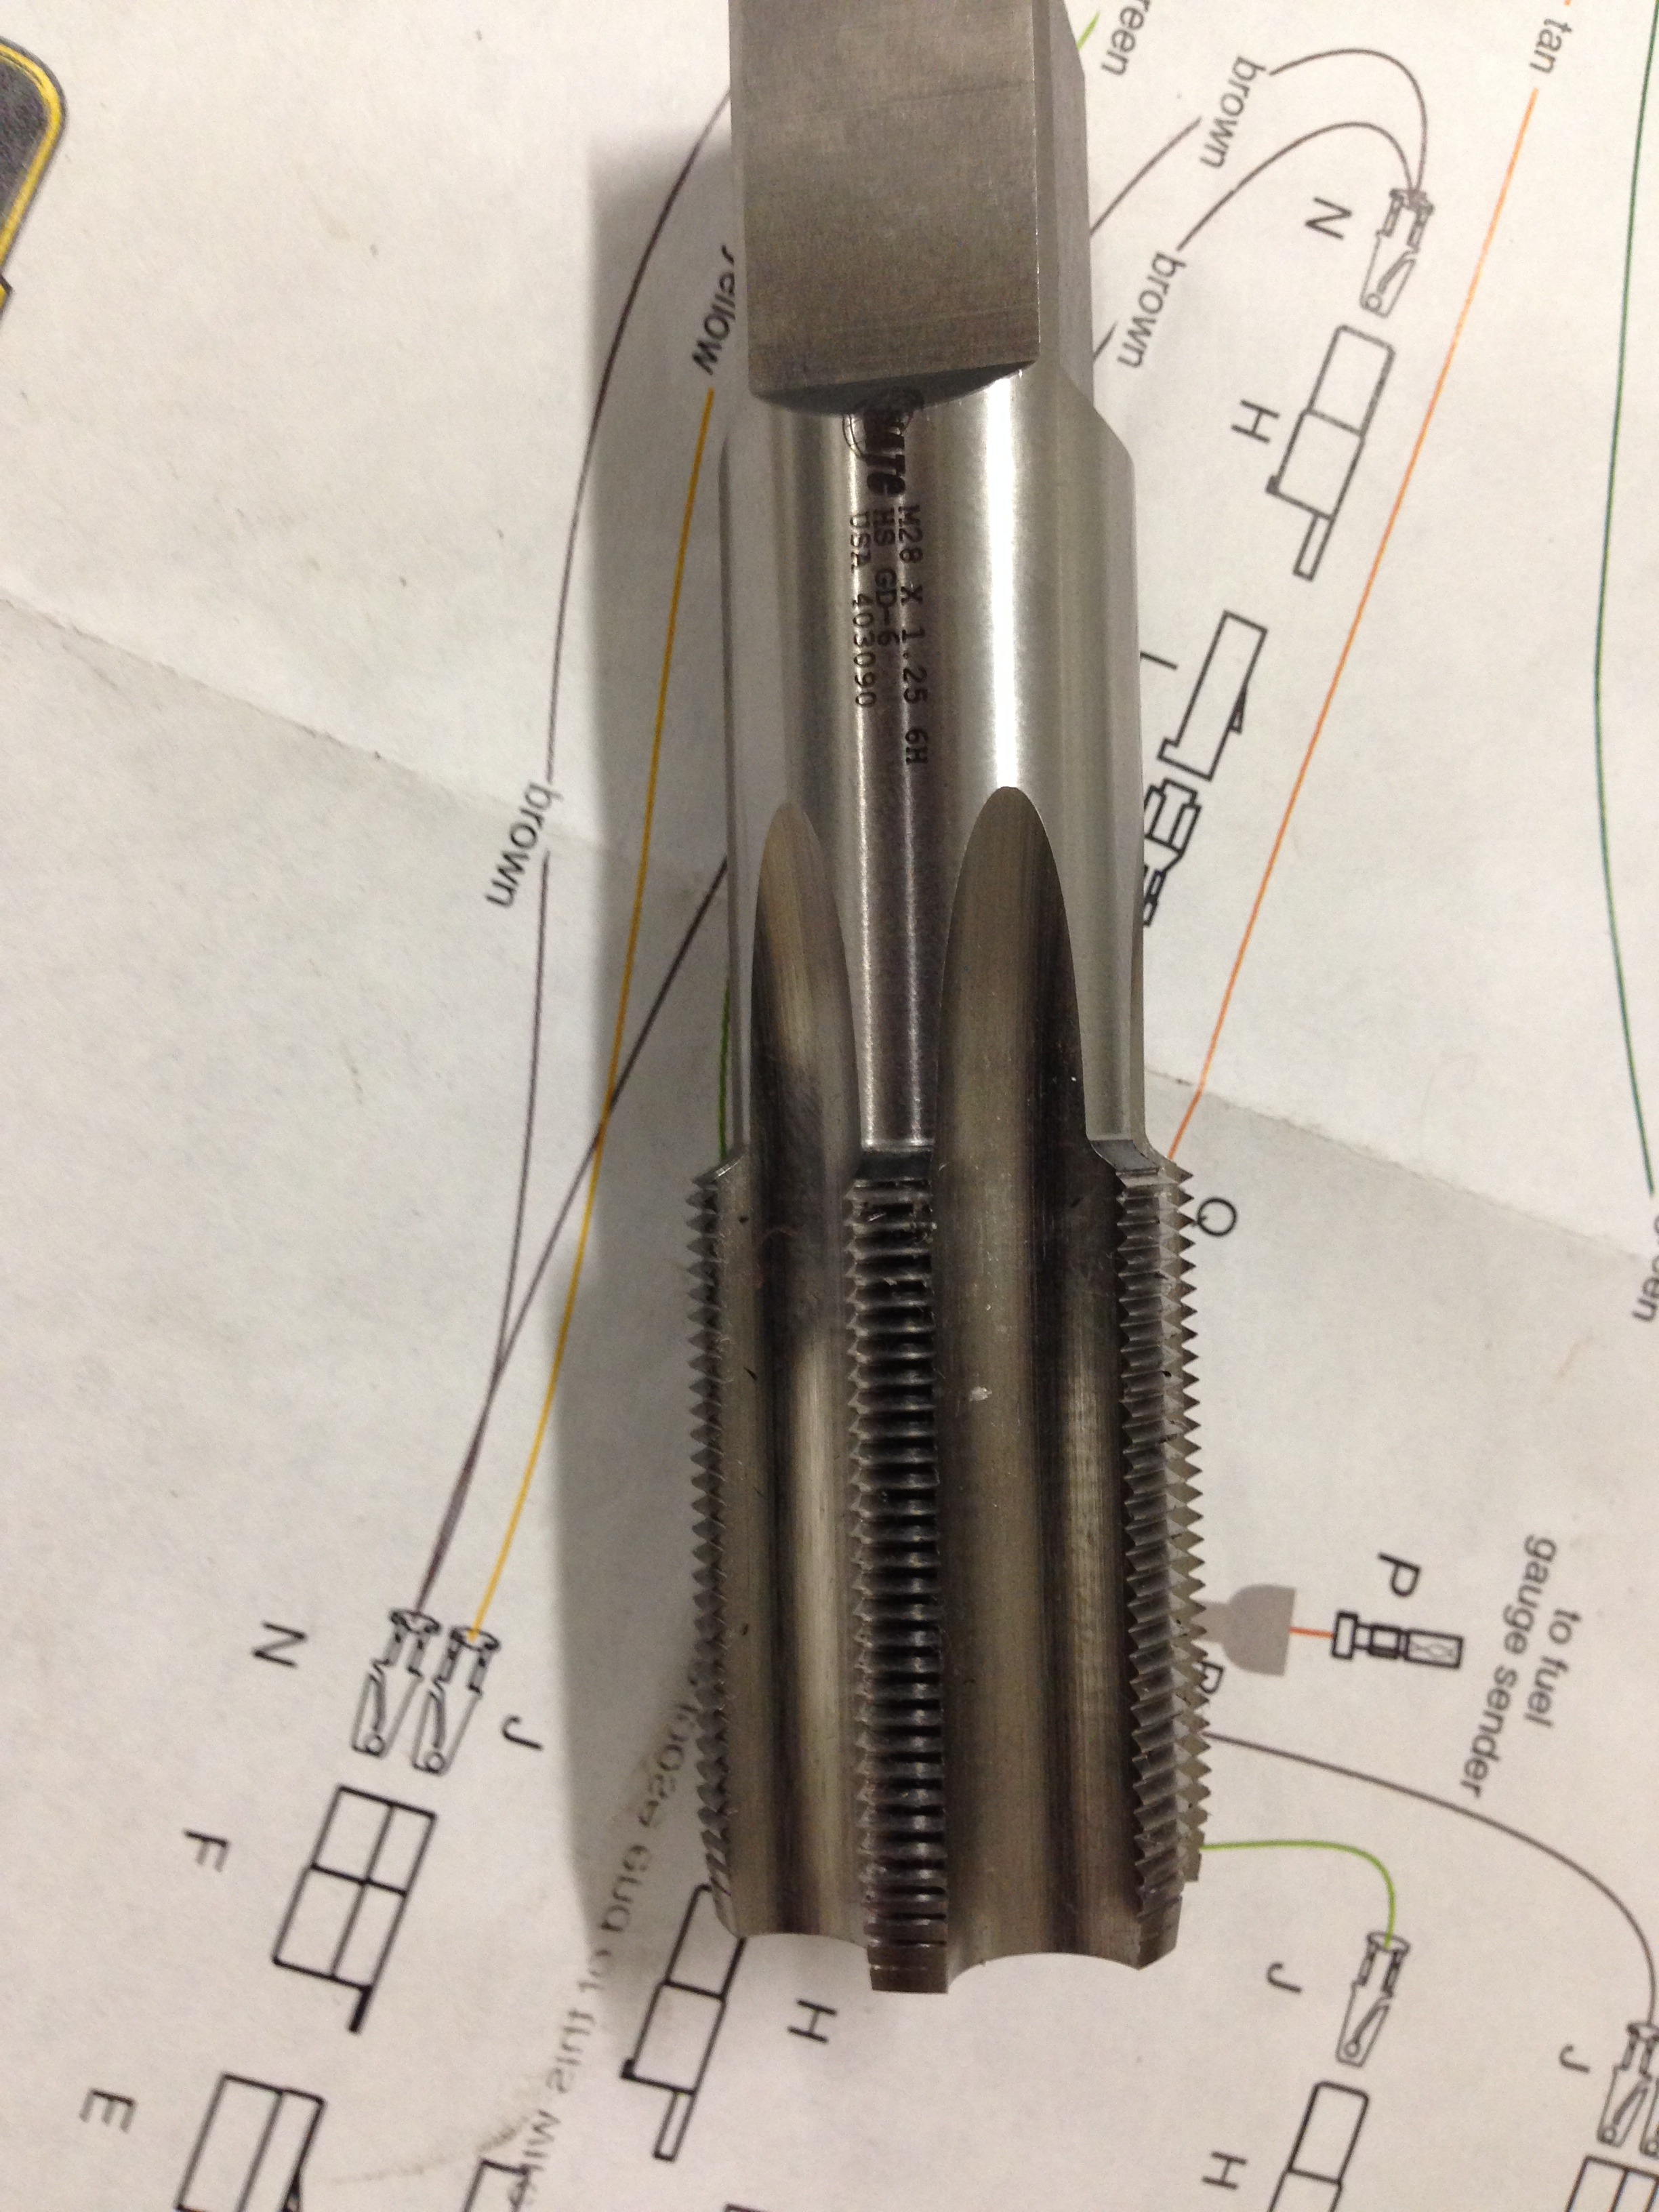
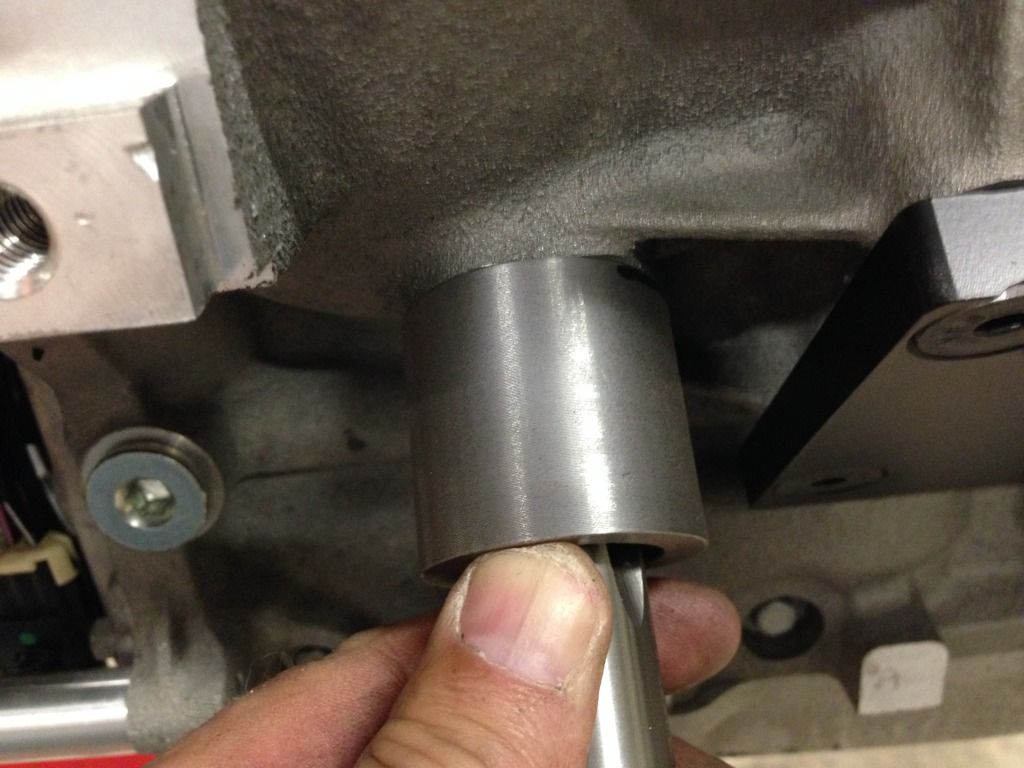
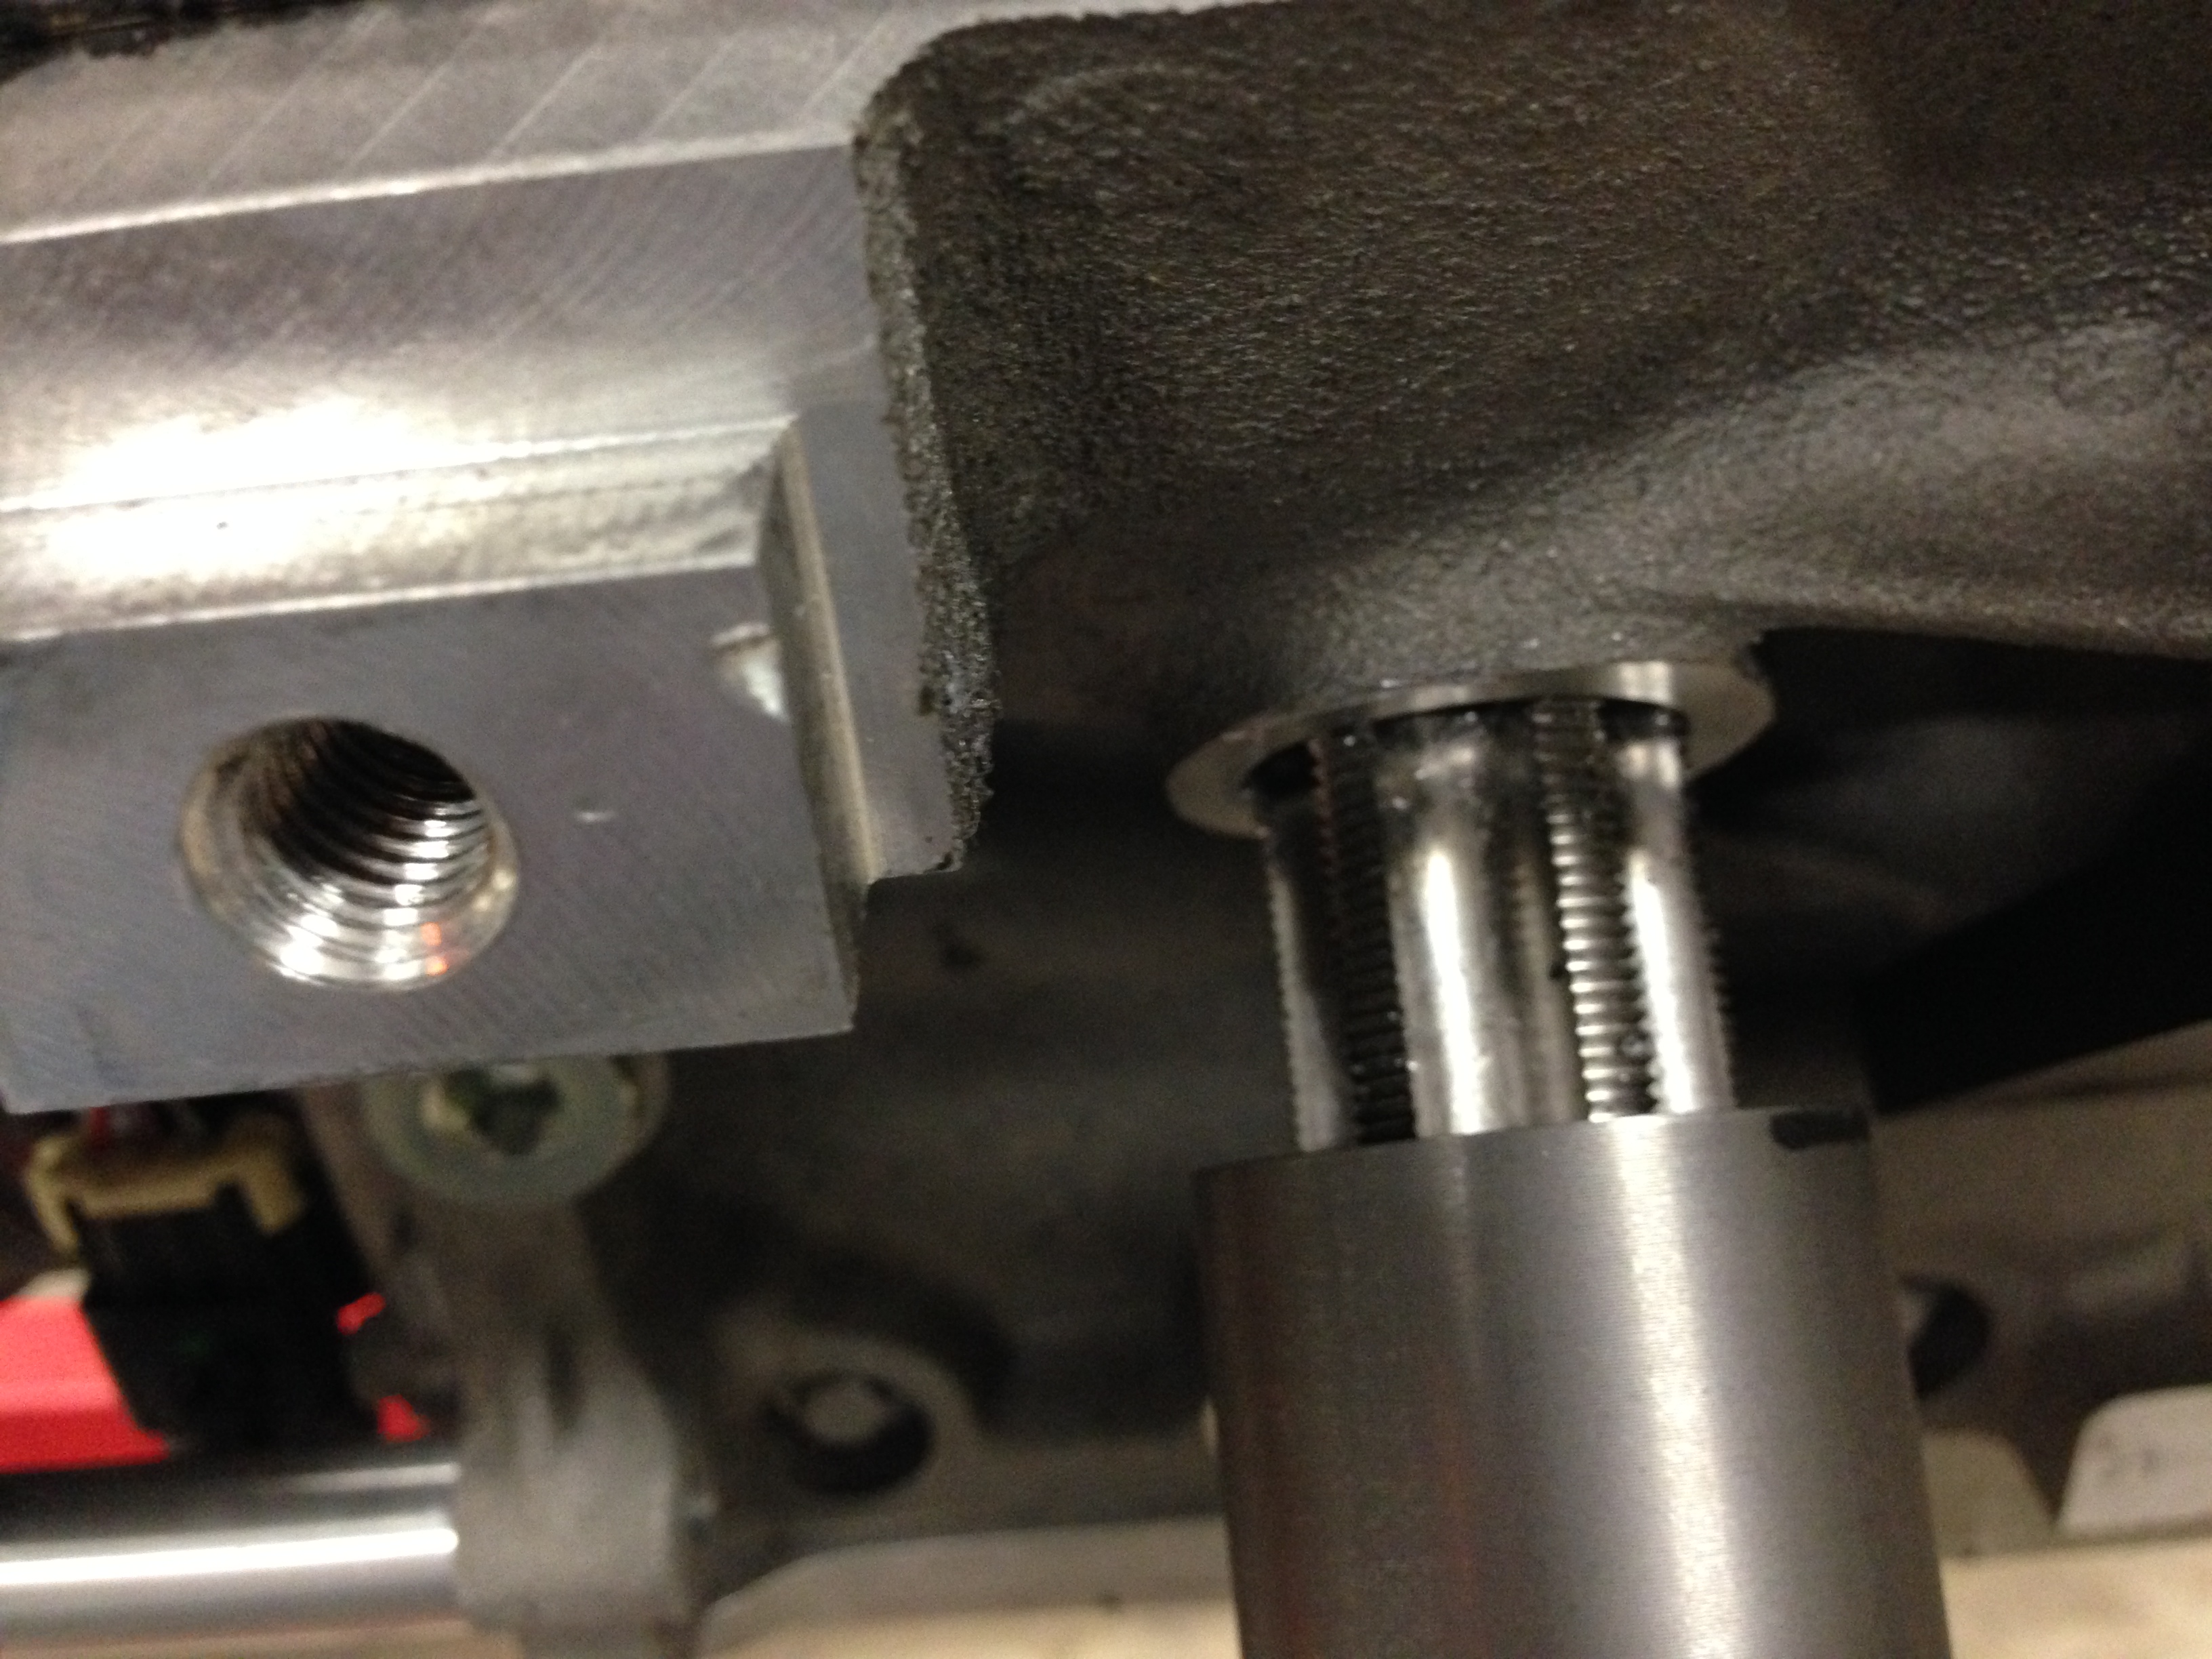
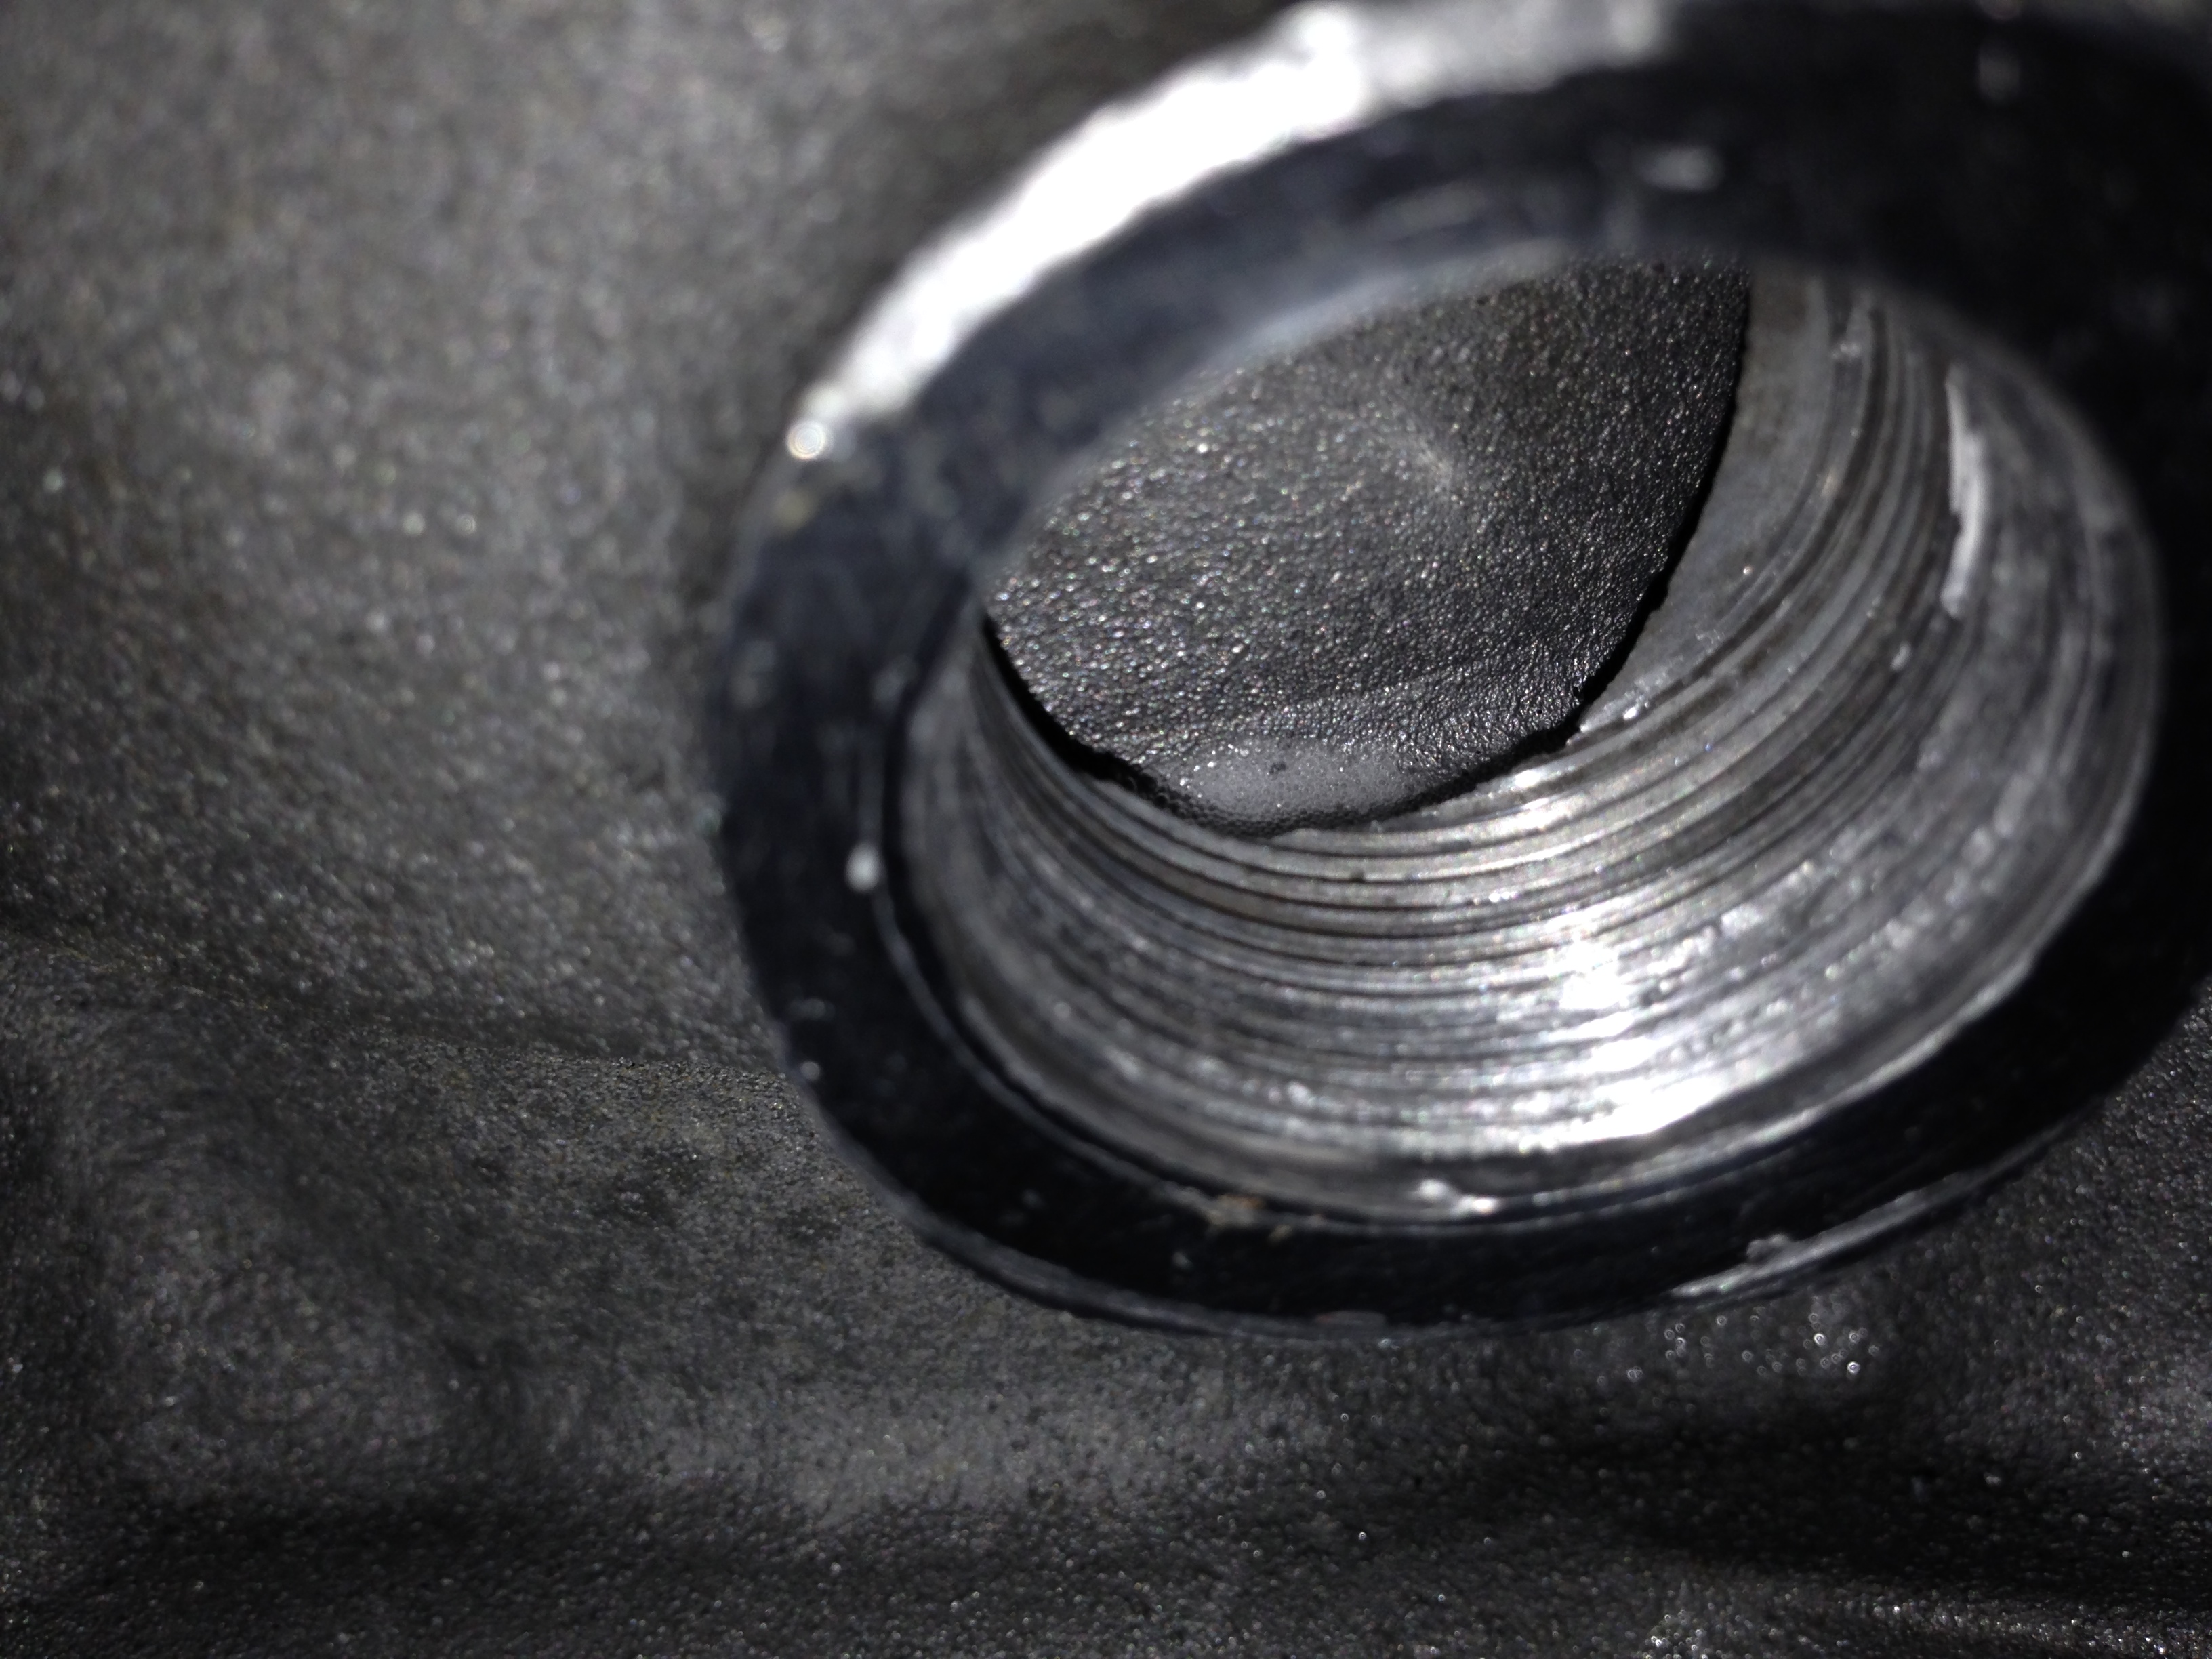
The next problem that needed to be resolved required the engine to be removed for the fix...... when I removed the original Camaro oil pan that had the factory engine coolant heat exchanger for cooling the engine oil........there was a fitting that fed the coolant out of the block to the cooler........when I removed that fitting , the sealant that the factory used ended up galling the thread while unscrewing the aluminum fitting........so ......the threads were screwed up in the block and needed to be repaired so I could screw in and seal the opening with a new fitting that I will make at the shop..........So......In checking the threads it ended up that GM uses a non standard thread.........M28x1.25 pitch...........you can get a 1.0 or a 1.5 mm pitch but not a 1.25.........so.....I had no choice other than to have a tap made by a specialty Tap manufacturer..........Now....Because the threads were galled in the block and didn't want to take a chance of the tap going in on a angle and making things worse.....I made a sleeve that was a slip fit for the tap so I could hold the sleeve on the sealing face of the hole ......this allowed me to keep the tap square ...............Held it in place and started tapping and I got Lucky as it picked up the existing threads and cleaned them out perfectly.......Cool.......I'll make a new fitting tomorrow and get the engine in for the last time ( I hope)........
Ken
I had the same thing with the fitting. I got lucky and found a tap on ebay for $100, and got even luckier when the tap worked (I didn't build a sleeve like yours). I bet the dealerships keep one of these taps on the ready....
Last edited by Hart_Rod; Nov 12, 2013 at 10:34 PM.
Thread Starter
TECH Fanatic
Joined: Jul 2008
Posts: 1,569
Likes: 173
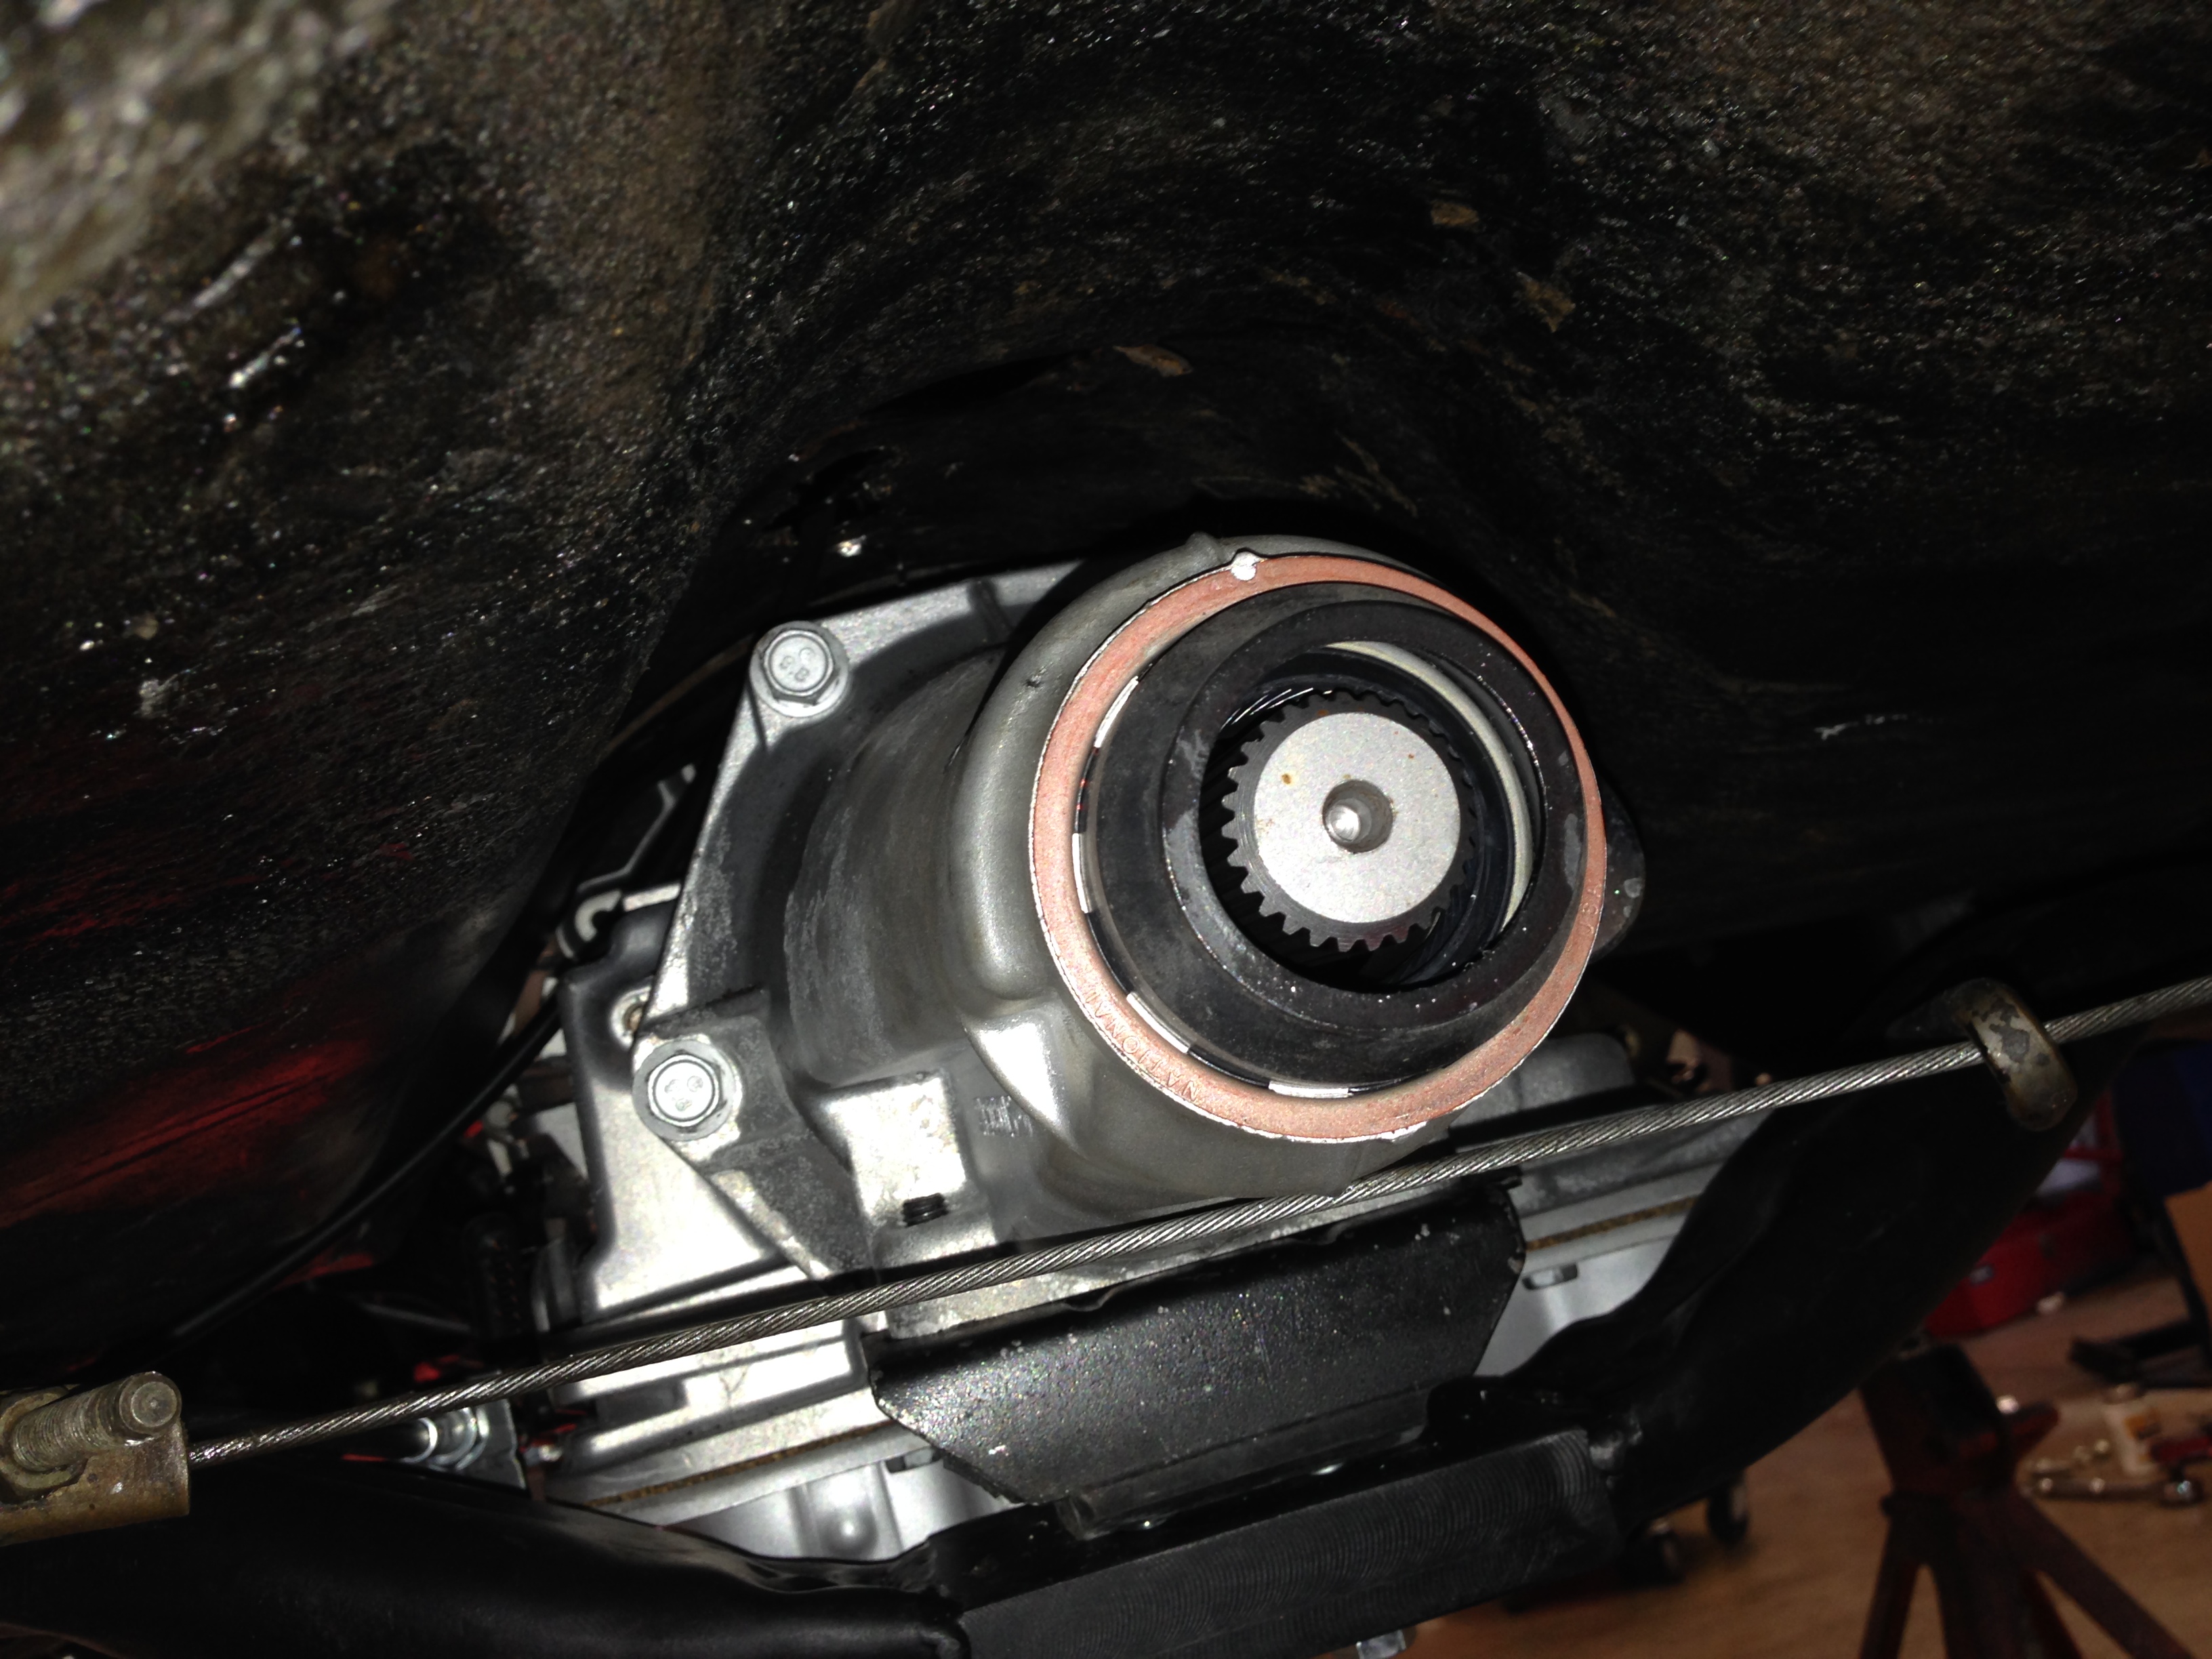
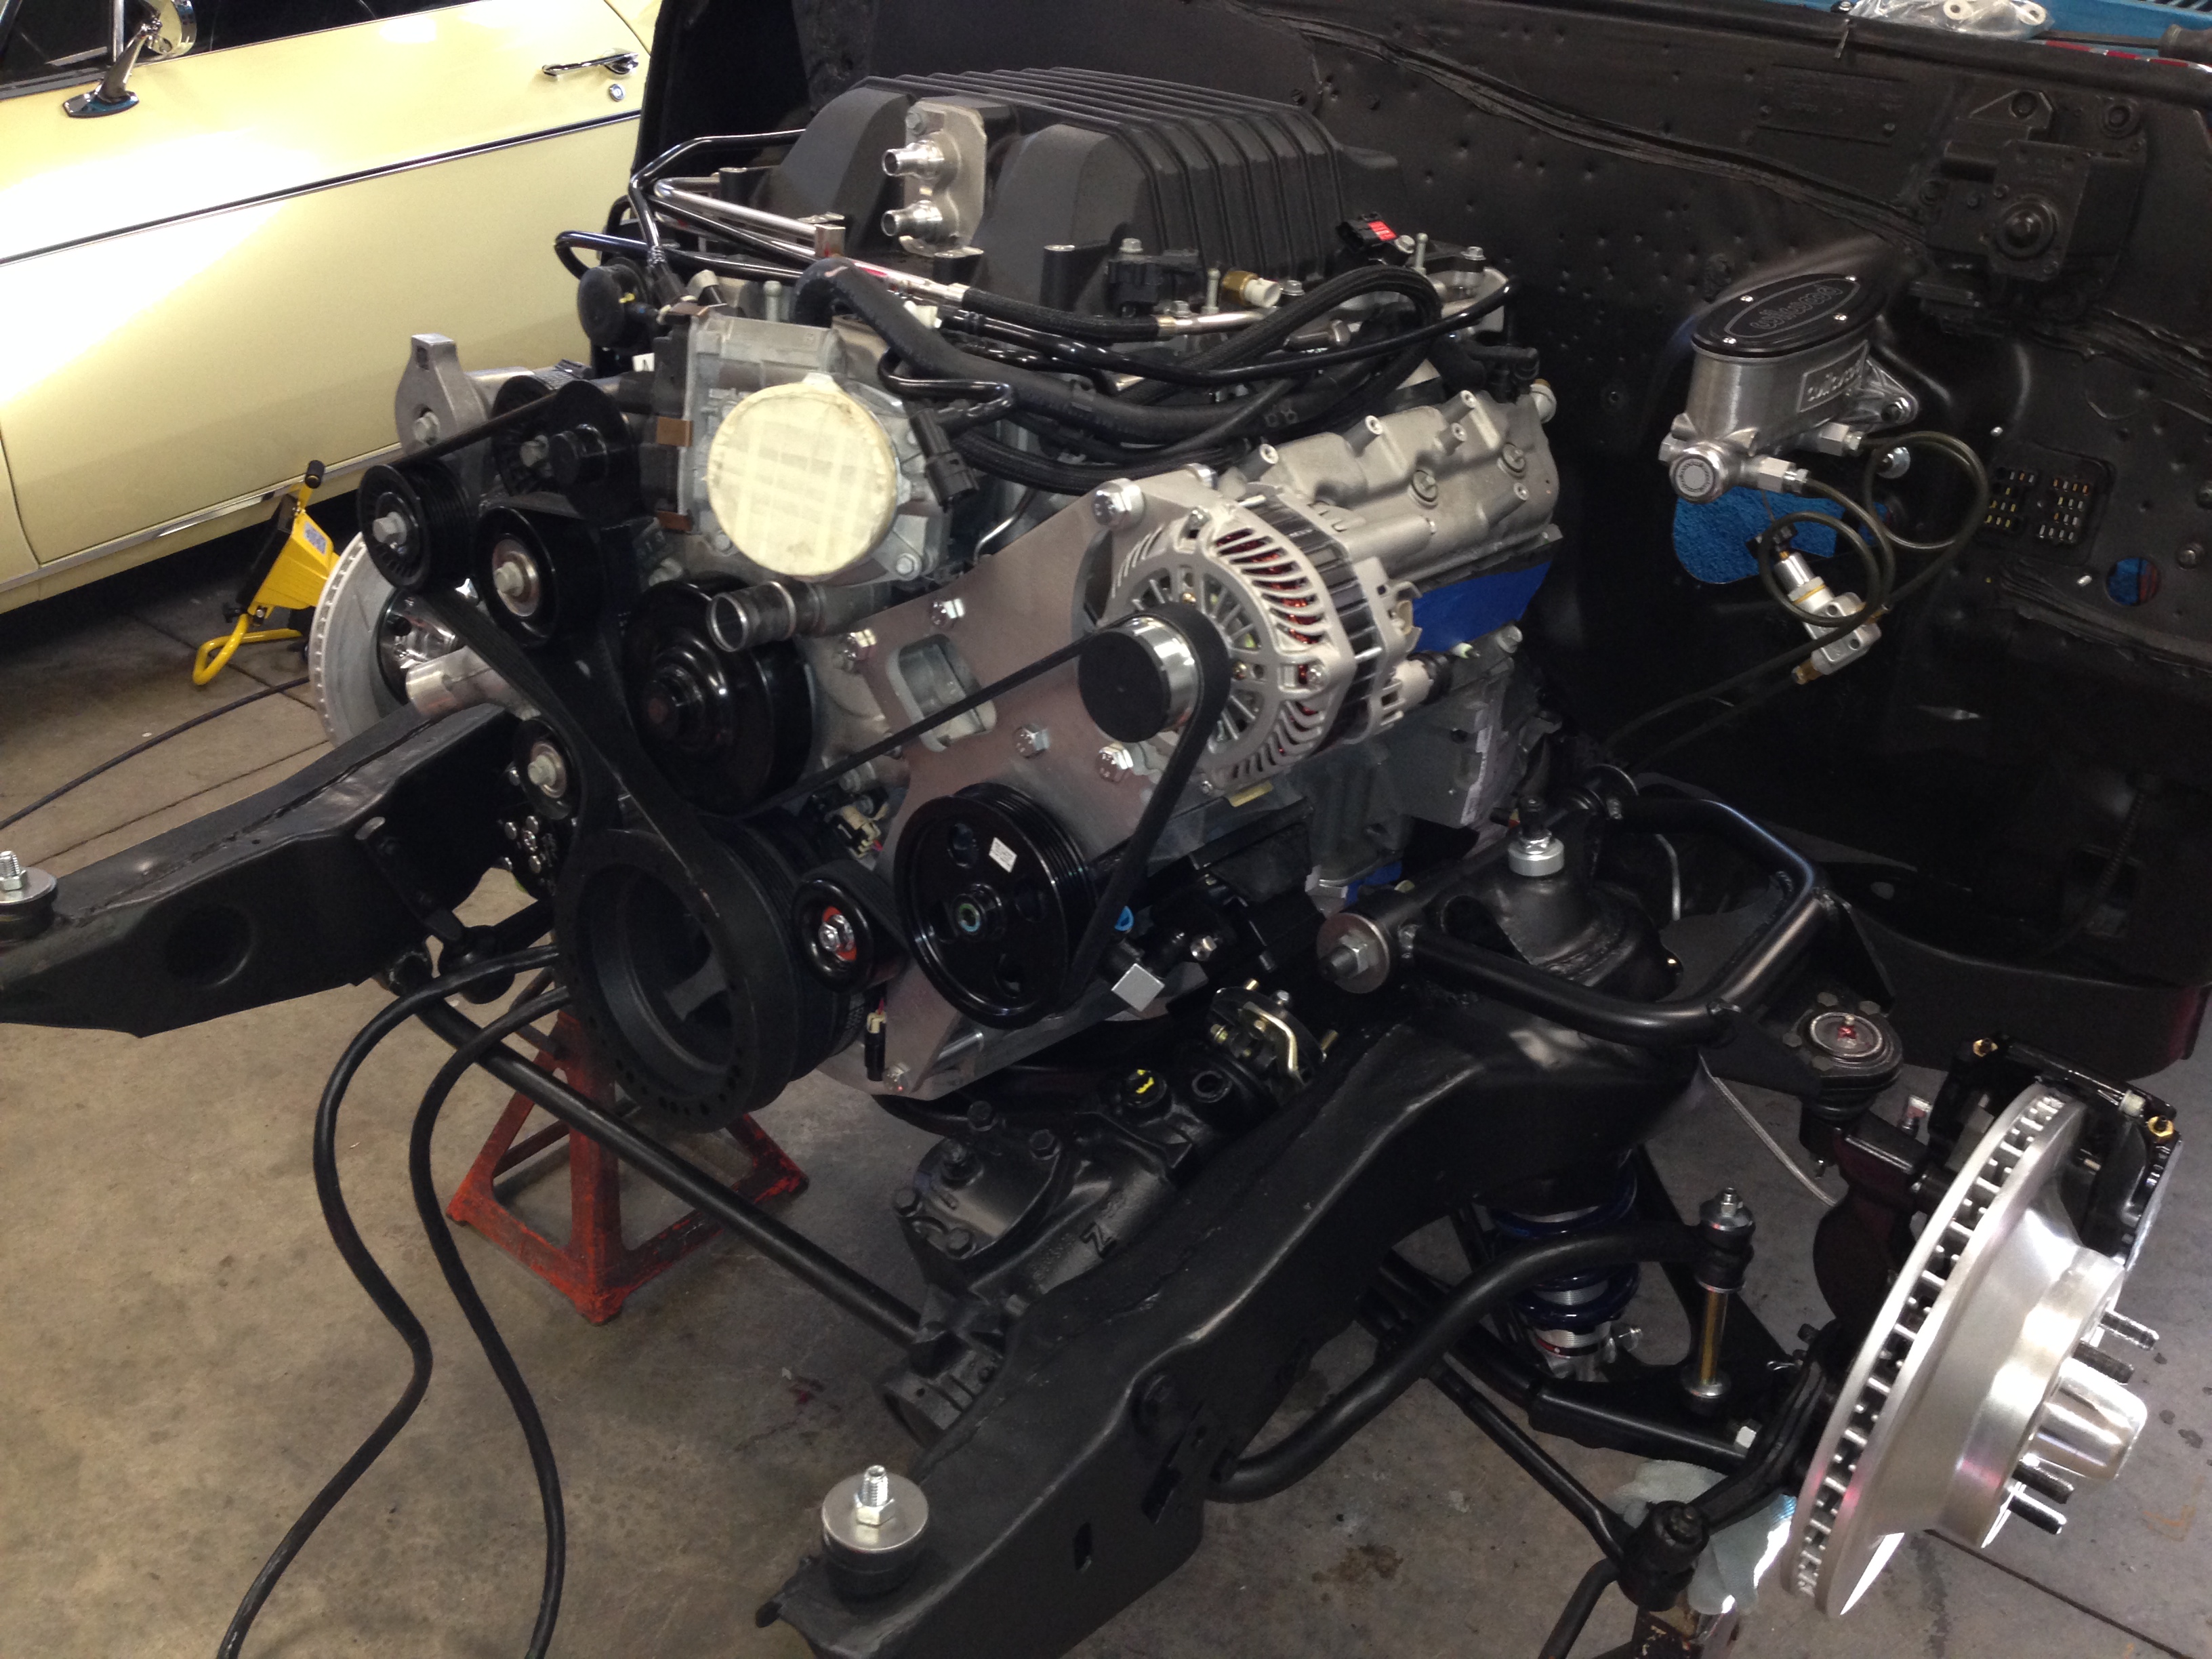
Got the engine put back in today hopefully for the last time.........had to go and get a new yoke for the driveshaft......measured everything and having the driveshaft made........Everything else bolted up beautifully