
My 69 Camaro LS1 Swap
 07-02-2014, 06:41 AM
#41
I like your radiator and fan setup. I was planning to use the original big block radiator and the 4th gen fans, but after seeing your setup, I may go with the 4th gen radiator to ease the plumbing hook ups and fan mounting. I see you used the 4th gen master cylinder for the brakes. Is that also the 4th gen booster? I am using the 4th gen master cylinder, but couldn't figure out how to incorporate the booster so I went with an aftermarket 8" dual diaghram
 07-02-2014, 12:31 PM
#42
Teching In
Thread Starter
Join Date: Sep 2005
Location: Grand Haven, Michigan
Posts: 45
Likes: 0
Received 0 Likes
on
0 Posts

I like your radiator and fan setup. I was planning to use the original big block radiator and the 4th gen fans, but after seeing your setup, I may go with the 4th gen radiator to ease the plumbing hook ups and fan mounting. I see you used the 4th gen master cylinder for the brakes. Is that also the 4th gen booster? I am using the 4th gen master cylinder, but couldn't figure out how to incorporate the booster so I went with an aftermarket 8" dual diaghram

I also had to open up the holes on the firewall a bit to get stuff to fit.
 07-03-2014, 09:10 AM
#43
That is excellent, I considered doing that, but it looked like more than I wanted to tackle and I was concerned about the lcelarance with the coil packs.
I am very interested in how you made the 4th gen radiator work. Can you show me some additional photos of how you made it all work. I am looking for details on how the radiator and shroud actually mount to the rad support.
I am very interested in how you made the 4th gen radiator work. Can you show me some additional photos of how you made it all work. I am looking for details on how the radiator and shroud actually mount to the rad support.
07-03-2014, 09:17 AM
#44
I looked at those pictures again. I think I need more photos of the tabs on the bottom.
So to install the radiator, you drop it below the mounts on the core support, push it up to lock into the mounts and then hold it up with the tabs?
So to install the radiator, you drop it below the mounts on the core support, push it up to lock into the mounts and then hold it up with the tabs?
07-03-2014, 05:53 PM
#45
Teching In
Thread Starter
Join Date: Sep 2005
Location: Grand Haven, Michigan
Posts: 45
Likes: 0
Received 0 Likes
on
0 Posts
That is how it mounts. I will get some pictures of the tabs on the bottom this weekend. Basically I welded 3 flat plates that had a threaded hole to the support. Then I made 3 L-brackets that screw onto those to hold the radiator up.

 07-11-2014, 06:56 AM
#49
Teching In
Thread Starter
Join Date: Sep 2005
Location: Grand Haven, Michigan
Posts: 45
Likes: 0
Received 0 Likes
on
0 Posts
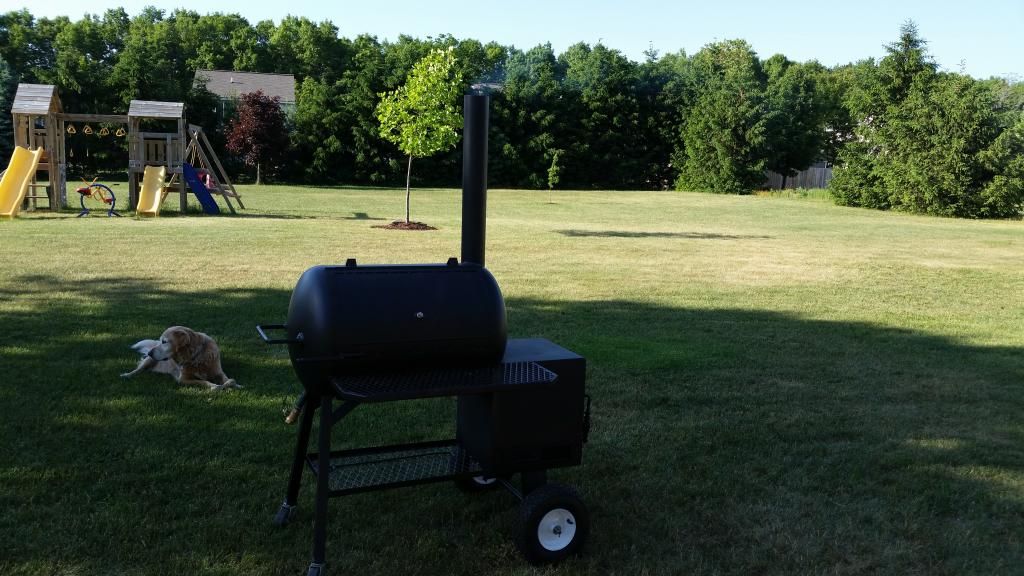
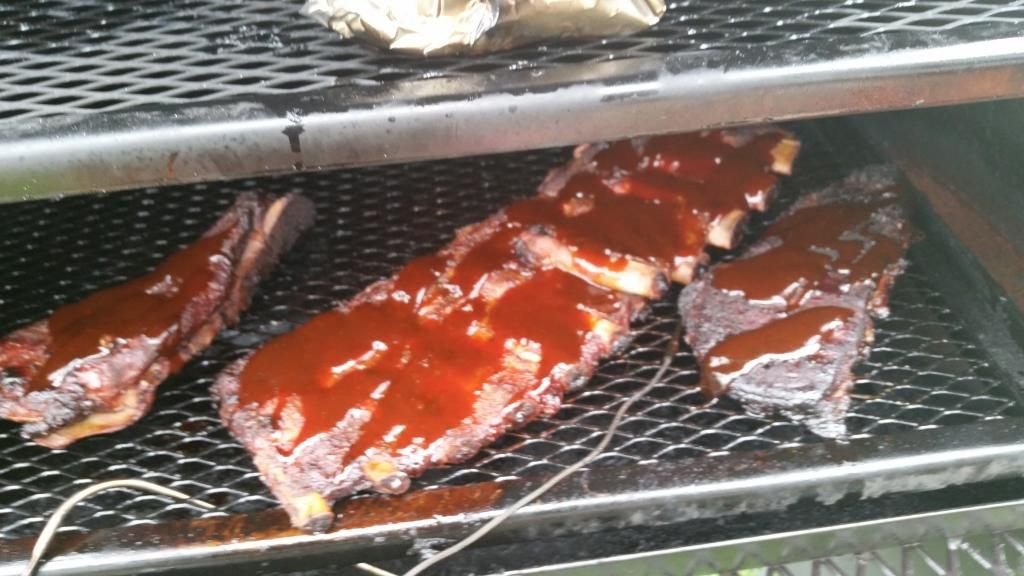
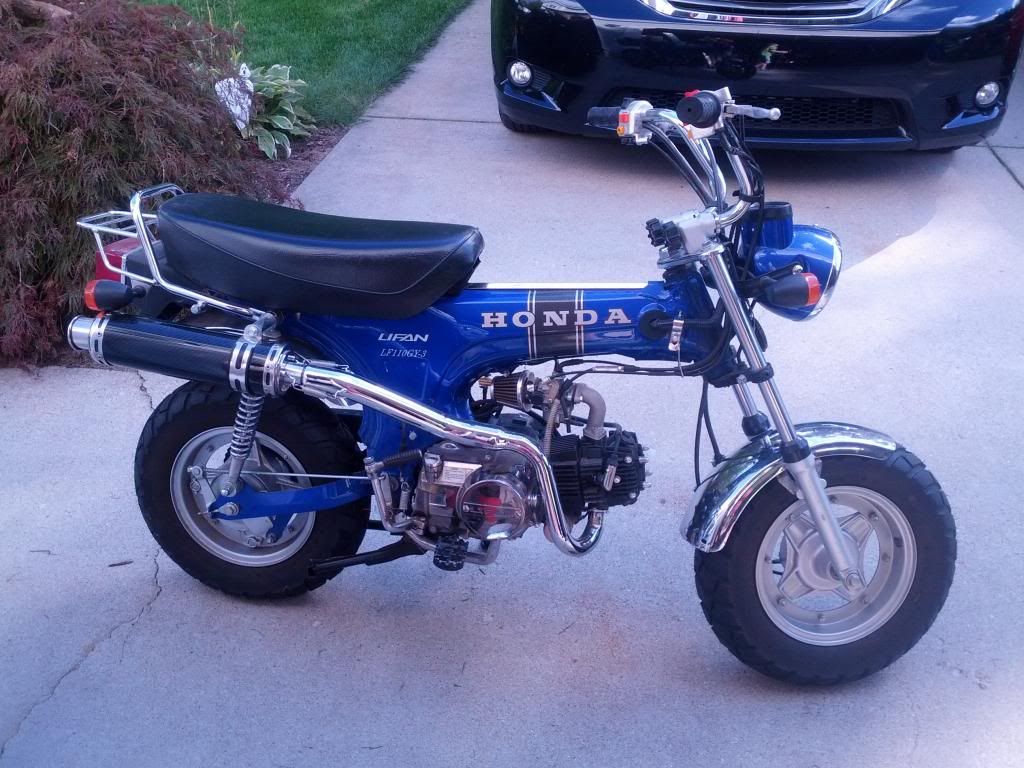
I hear ya. I am so close. Literally just need to get my hood on, get the wiper motor setup, and get the exhaust buttoned up. I have too many hobbies for my own good. My dad just recently built me a smoker, so that is a new hobby. Also gotta have the CT70's! Here are a couple teasers.


 07-11-2014, 01:27 PM
#51
Teching In
Thread Starter
Join Date: Sep 2005
Location: Grand Haven, Michigan
Posts: 45
Likes: 0
Received 0 Likes
on
0 Posts
The blue one is a 2006 Lifan 110cc and the Purple one is a 72 CT with a 125 auto. I built that one and powdercoated it. She was pretty rough to start with. I have an original motor all rebuilt that will be going back on it. I wanna find a Z50 next. The kids are getting to that age now.