
71 Trans Am LQ4 swap (Mucho pics!)


 06-16-2015, 11:37 AM
#43
TECH Apprentice
Thread Starter
I finally got the harness completed, installed, and wired up. I built the fuse box myself using the guide on lt1swap.com.
I hope to have the exhaust on it by this weekend. It's just a basic H pipe setup running into two knockoff Flowmaster 40's dumped before the axle. I'm going to get the computer tuned by Frost. Hopefully when that comes back I should have the car moving under its own power!

 06-18-2015, 05:08 PM
#45
TECH Apprentice
Thread Starter
I haven't had the hood back on the car yet, but I see no reason why it wouldn't fit. The alternator sits below the fenders. It'll be close, but shouldn't cause any issues.
06-19-2015, 07:54 AM
#46
Teching In
Join Date: Feb 2014
Location: Kentucky
Posts: 12
Likes: 0
Received 0 Likes
on
0 Posts

Like the blue engine. Looks better without the vette covers. Jmo. I am doing a swap on a malibu. Almost at the wiring stage. I have a harness from a van. Little different than the truck. I guess I just need to dive in. Nice pics keep it up.

Last edited by KyleBblazercrazy; 06-19-2015 at 08:00 AM.
06-19-2015, 08:04 AM
#47
Teching In
Join Date: Feb 2014
Location: Kentucky
Posts: 12
Likes: 0
Received 0 Likes
on
0 Posts
I have seen several people relocate the coils to the firewall or even the inner fender. This allows the valve covers to be seen. Also it gives the engine compartment a cleaner look. You just need longer plug wires and adjust the injector connections. But it looks cool. I thought about doing it my self but my vc aren't that impressive.
06-19-2015, 10:58 AM
#48
TECH Apprentice
Thread Starter
Doing the harness is pretty easy actually. Removing the wires you don't need from the harness is child's play. The only thing I wish I did was build the fuse box and OBD2 port outside the car. I jumped ahead of myself and installed the harness by snaking in through a hole in the firewall. So now I had to take the passenger seat out so I can build the fuse box and port. I got it done, just did it the harder way.
I have seen several people relocate the coils to the firewall or even the inner fender. This allows the valve covers to be seen. Also it gives the engine compartment a cleaner look. You just need longer plug wires and adjust the injector connections. But it looks cool. I thought about doing it my self but my vc aren't that impressive.
06-29-2015, 08:30 AM
#49
TECH Apprentice
Thread Starter
Small update:
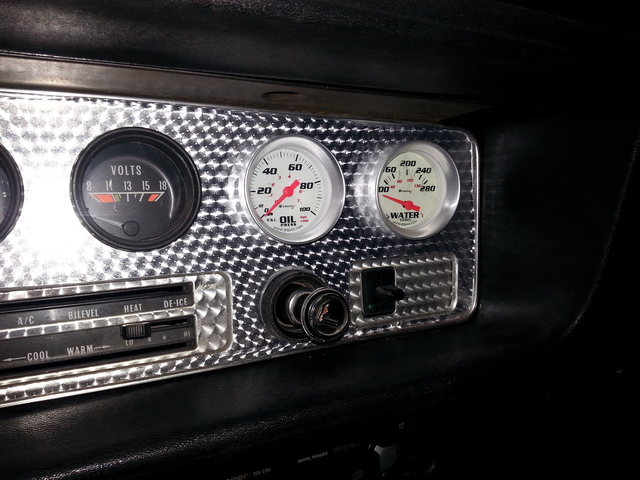
I'm waiting for my computer to come back before I can fire the car up, so in the mean time I've been completing small tasks. The first was installing new Temp and Oil gauges. I like the silver face on the T/A bezel! I also took a pillar pod made for a 99-07 Silverado and decided to start molding it into my pillar. I took a heat gun and got it to mold to the shape of the pillar and mounted it using adhesive. I'll come back with some filler and mold it into the pillar. I don't think anyone makes these for our cars, so I figured I'd give it a shot. I'll be putting a wideband in it.
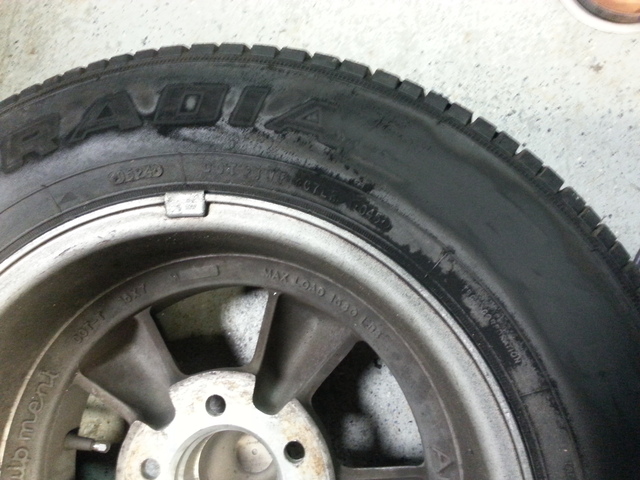
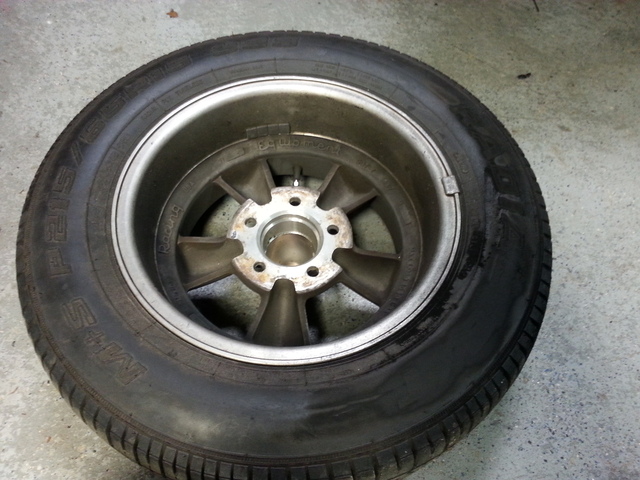
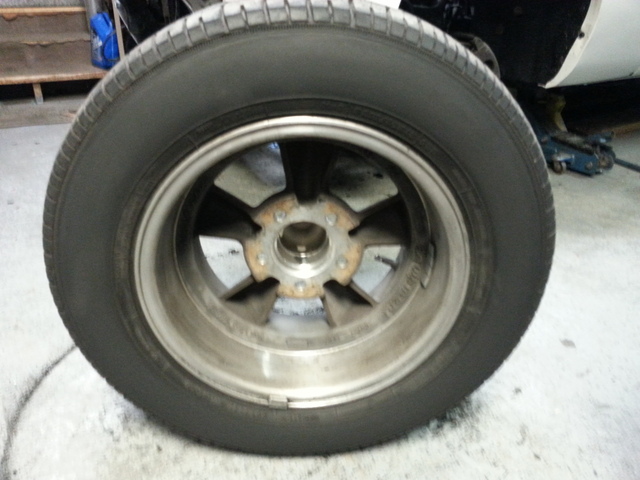
The last few pics are the sidewalls of my tires that I sanded smooth. I have big plans for these! I'm sure some of you might know what I'm doing here, but for those that don't I'm planning on running "Billboard" style Good Year lettering often found on Cobra's.
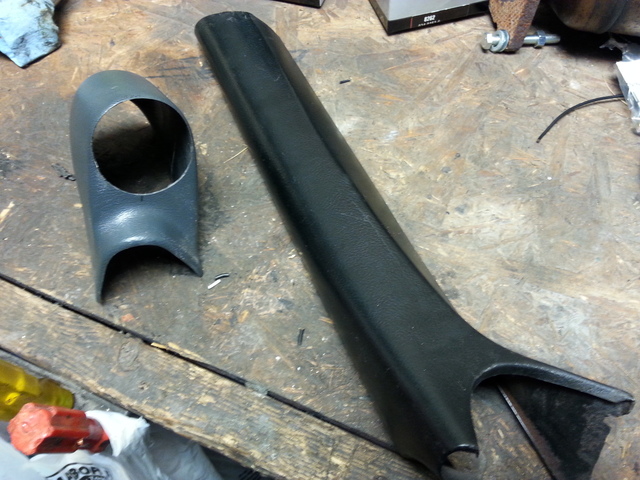
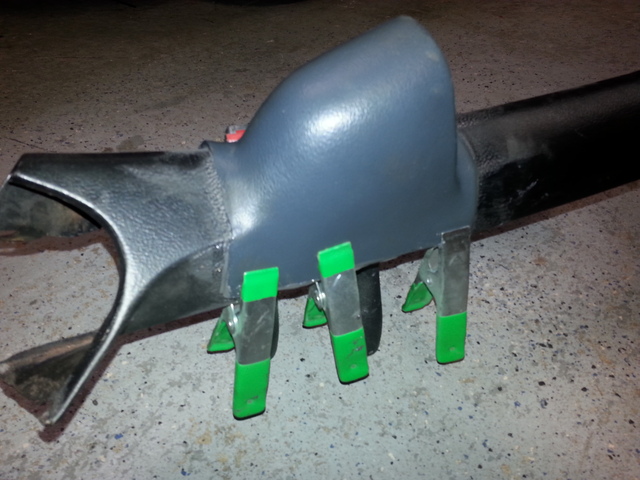
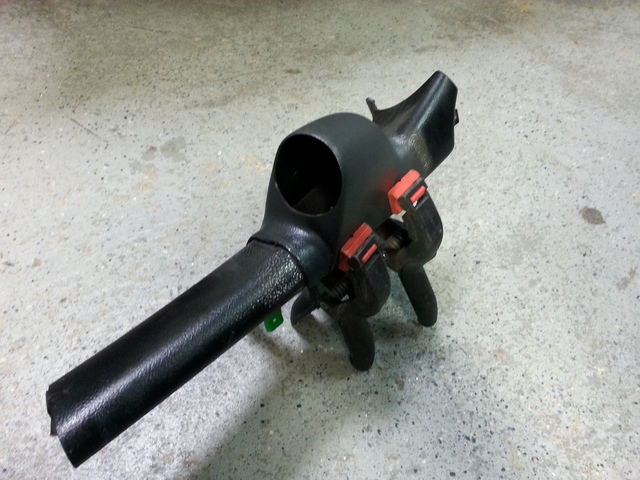
I'm waiting for my computer to come back before I can fire the car up, so in the mean time I've been completing small tasks. The first was installing new Temp and Oil gauges. I like the silver face on the T/A bezel! I also took a pillar pod made for a 99-07 Silverado and decided to start molding it into my pillar. I took a heat gun and got it to mold to the shape of the pillar and mounted it using adhesive. I'll come back with some filler and mold it into the pillar. I don't think anyone makes these for our cars, so I figured I'd give it a shot. I'll be putting a wideband in it.
The last few pics are the sidewalls of my tires that I sanded smooth. I have big plans for these! I'm sure some of you might know what I'm doing here, but for those that don't I'm planning on running "Billboard" style Good Year lettering often found on Cobra's.


 06-29-2015, 09:54 AM
#51
TECH Apprentice
Thread Starter
That's where I placed the new oil and temp gauges in the first pic. I like the aftermarket gauges better, plus I didn't have the original sending units for the stock gauges.

 07-02-2015, 11:21 AM
#55
TECH Apprentice
Thread Starter
Thanks man!
I actually finished the wiring the other day, hooked the fuel system up, put the battery in and turned the key to the on position. The system primed and the DBW throttle works, so I guess I did something right. I need to chase down a few fuel leaks but so far so good. I'm really struggling with getting the factory steel line to seal with the AN line at the flare.
Question:
The purple wire for the starter is just my old one right? I don't have to do anything with the purple wire from the stock LS harness?
07-03-2015, 07:19 PM
#56
TECH Apprentice
Thread Starter
I got the car fired up today! Still need to run the exhaust and make an air intake but the car finally moves under its own power again!
Turned the key, fired over within 2 seconds, idled right down and ran smooth as silk. I was actually able to drive it back in the garage instead of push!
Turned the key, fired over within 2 seconds, idled right down and ran smooth as silk. I was actually able to drive it back in the garage instead of push!
07-07-2015, 03:04 PM
#57
TECH Apprentice
Thread Starter
07-14-2015, 05:38 PM
#58
TECH Apprentice
Thread Starter
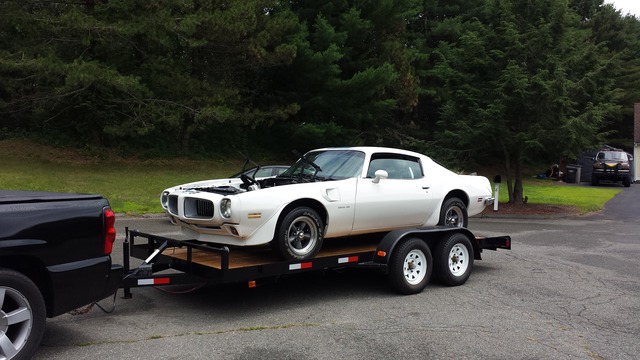
Got an earlier opening at the exhaust shop, so I loaded it up and headed down today. I also received my lettering for the tires, and I think its gonna look sick!


 07-15-2015, 05:01 PM
#59
TECH Apprentice
Thread Starter
Just got back from the exhaust shop. The car sounds very good, and just from driving around the yard I can tell the car should be pretty fun!
07-16-2015, 07:43 PM
#60
TECH Apprentice
Thread Starter
I worked on the car a little today. I got the wideband installed, coolant filled and circulated, and got the electric fan wired up and working.
I'm getting two codes. One is driver side overly rich condition, and the other is passenger side lean condition. This is verified through the wideband, as its installed in the driver side pipe and after warming up its reading 10.0 flat. Its steady @ 14.5 afr until the car starts to warm up, then it goes full rich.
Any ideas on where to start looking?