When you click on links to various merchants on this site and make a purchase, this can result in this site earning a commission. Affiliate programs and affiliations include, but are not limited to, the eBay Partner Network.
I originally wanted to mount the turbo perpendicular to the motor towards the drivers side like most do, that way I could neck down from the 5" outlet to 4" and make my exhaust routing, but I really underestimated the lack of space AND the size of this T6 S475. I could MAYBE hang it down low passenger side off the frame rail with the exhaust outlet facing straight towards the motor mount/the space I planned for the exhaust, but then oil return becomes my concern, and it would be super tight regardless. All in all rear mount is going to be ideal at this point.
So is that turbo going to be wrong for a rear mount? I know the T6 isnt super responsive as a front mount, i imagine it will be quite a bit more laggy as a rear mount...
I meaaannn, ideally it'd be a T4 version, but I'm gonna give it a go with the T6 first and a quick spool valve and see how it goes. Worst case I swap the hotside and all that, but I think it will be okaayyy. I'll probably call LJMS before ordering the QSV for T6 though.
QSV for those that haven't ever heard of them, I hadn't until I started researching rear mount setups
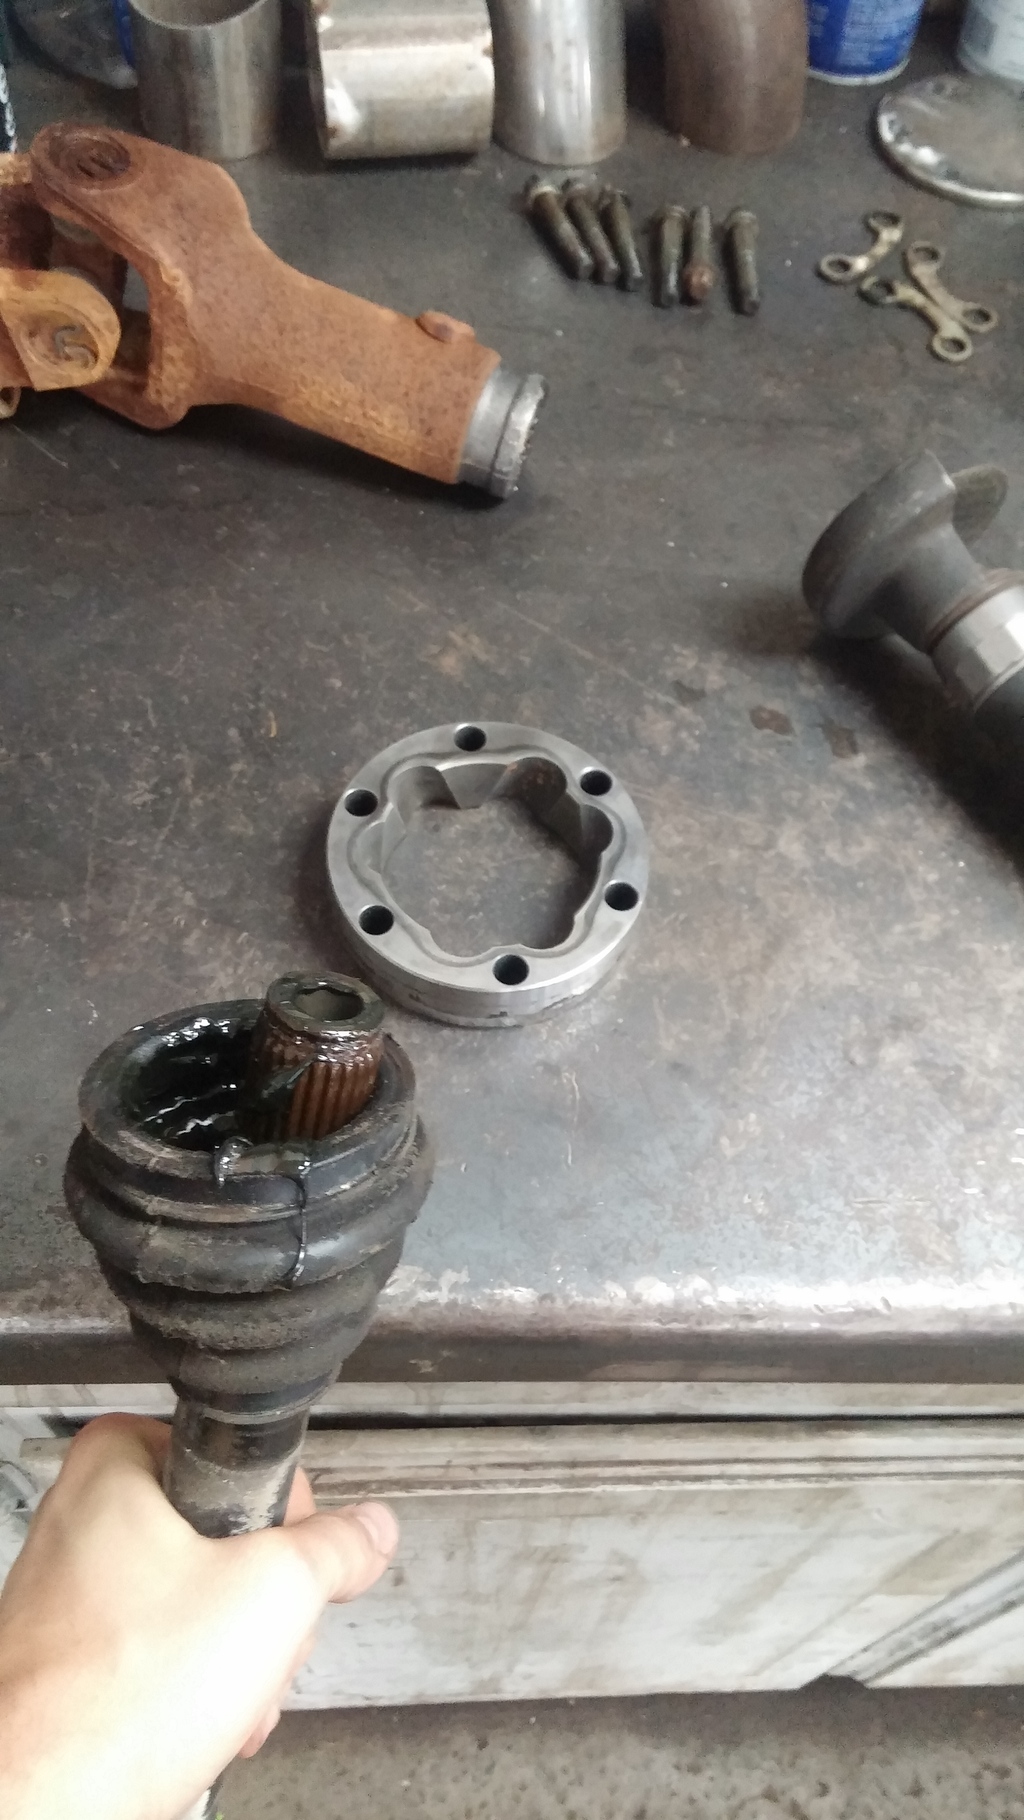
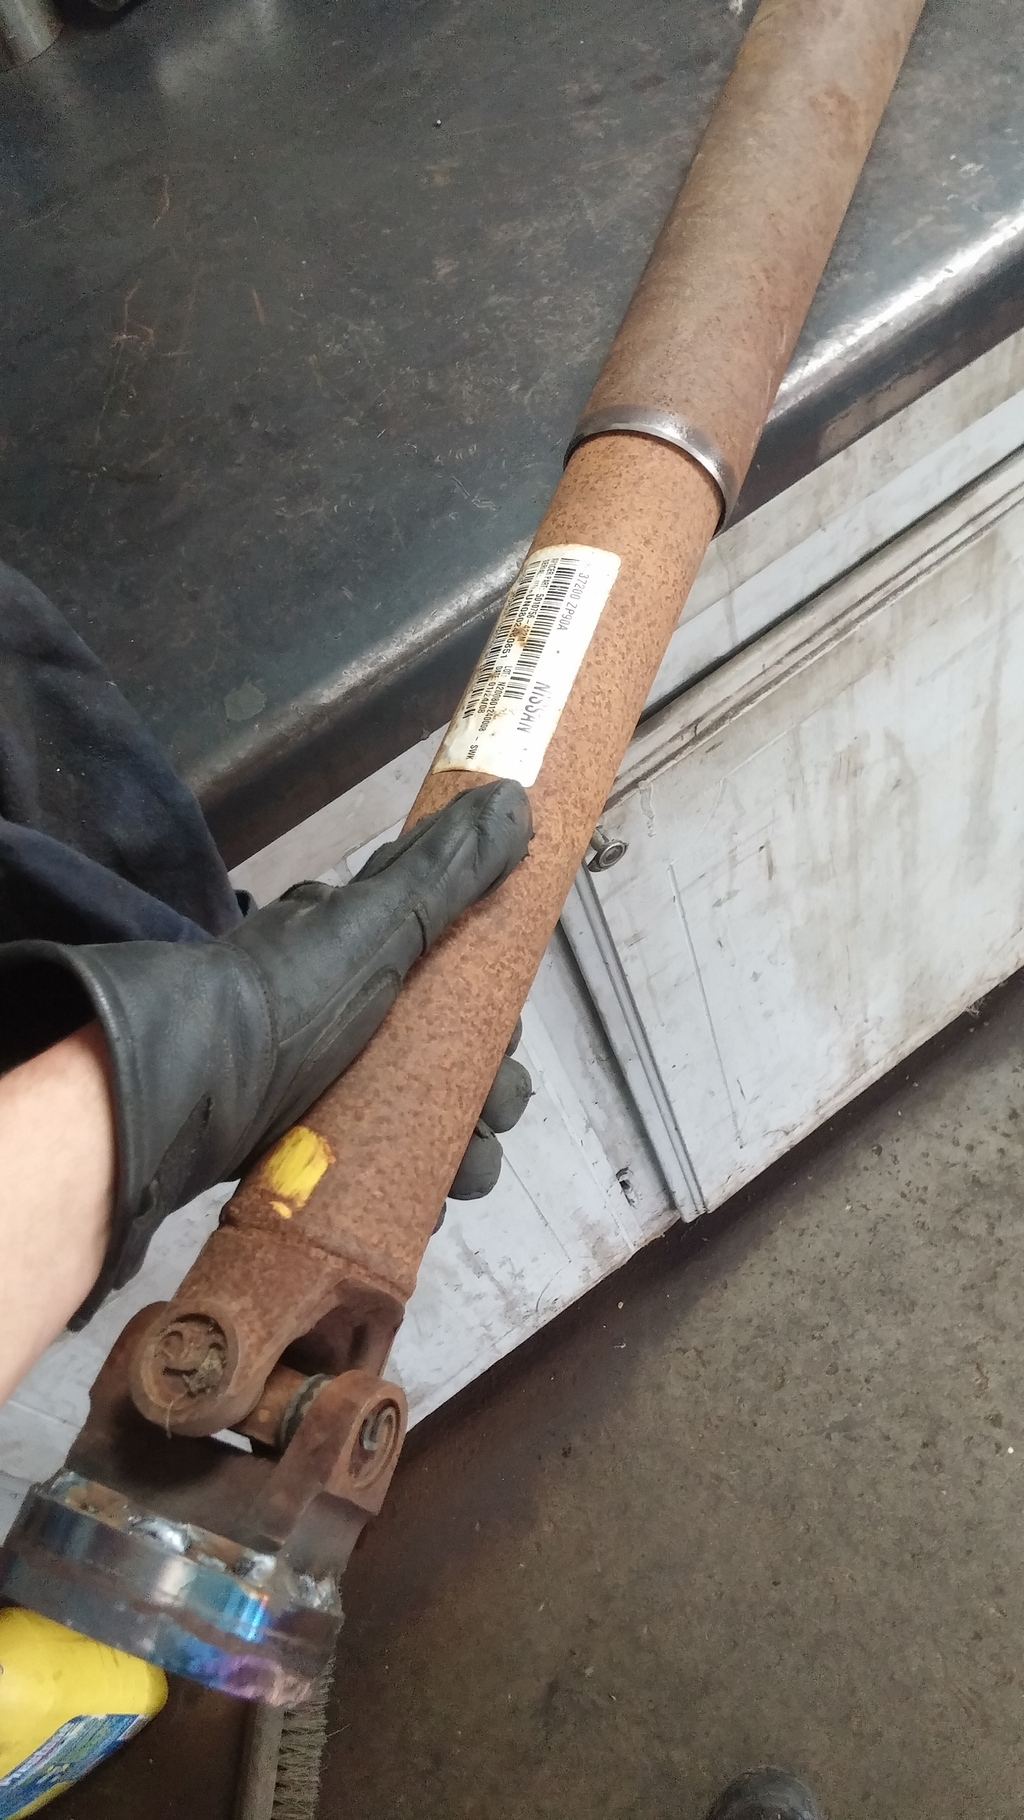
With my DSS shaft on order with 5-6week delivery time, I figured I'd make a driveshaft of sorts so I can at least move the car in and out of the shop on it's own while I wait for the DSS one.
Took apart an old stock axle and used the ball/cage housing thinger as it's the same bolt patter as the M3 pinion flange.
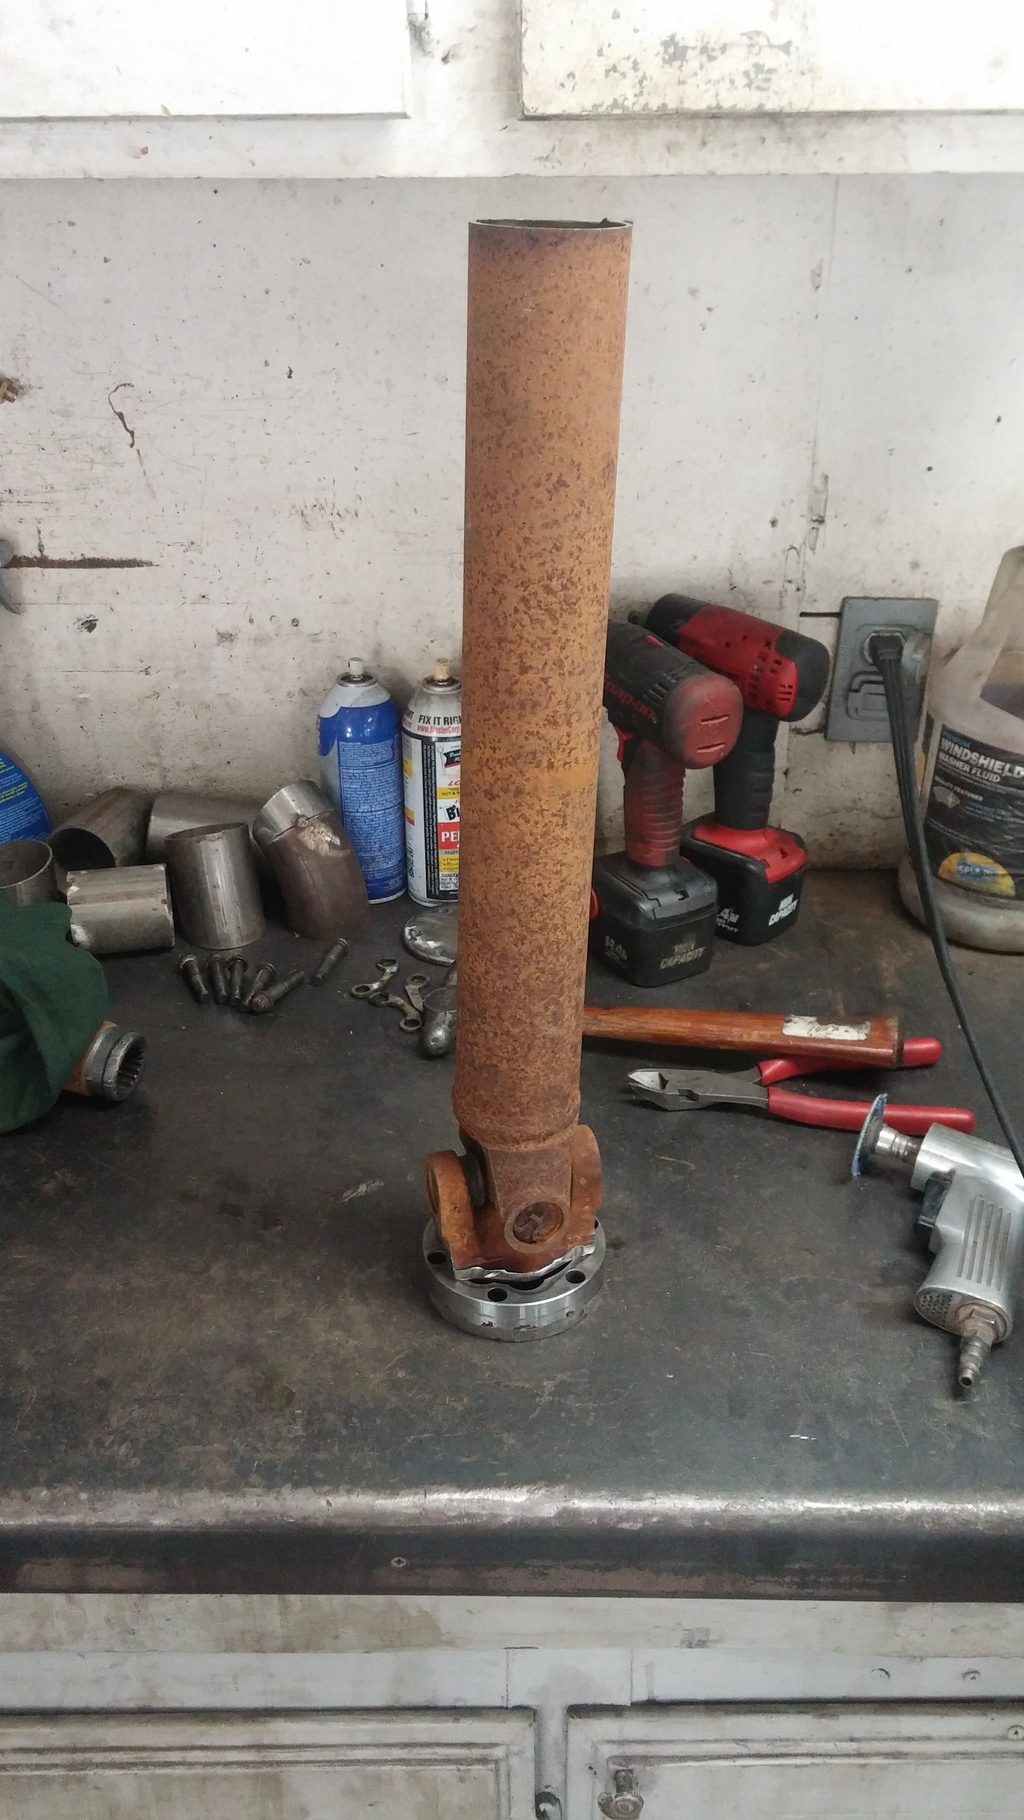
Went to the junkyard in the pouring rain and found a 2wd chevy colorado shaft for my front yoke, and a transfer case to frond diff shaft from a nissan frontier for the small square rear yoke flange.
Cut some off the frontier diff flange as well as cutting the other end off.
Centered on the axle/pinion flange adapter haha
Colorado shaft cut
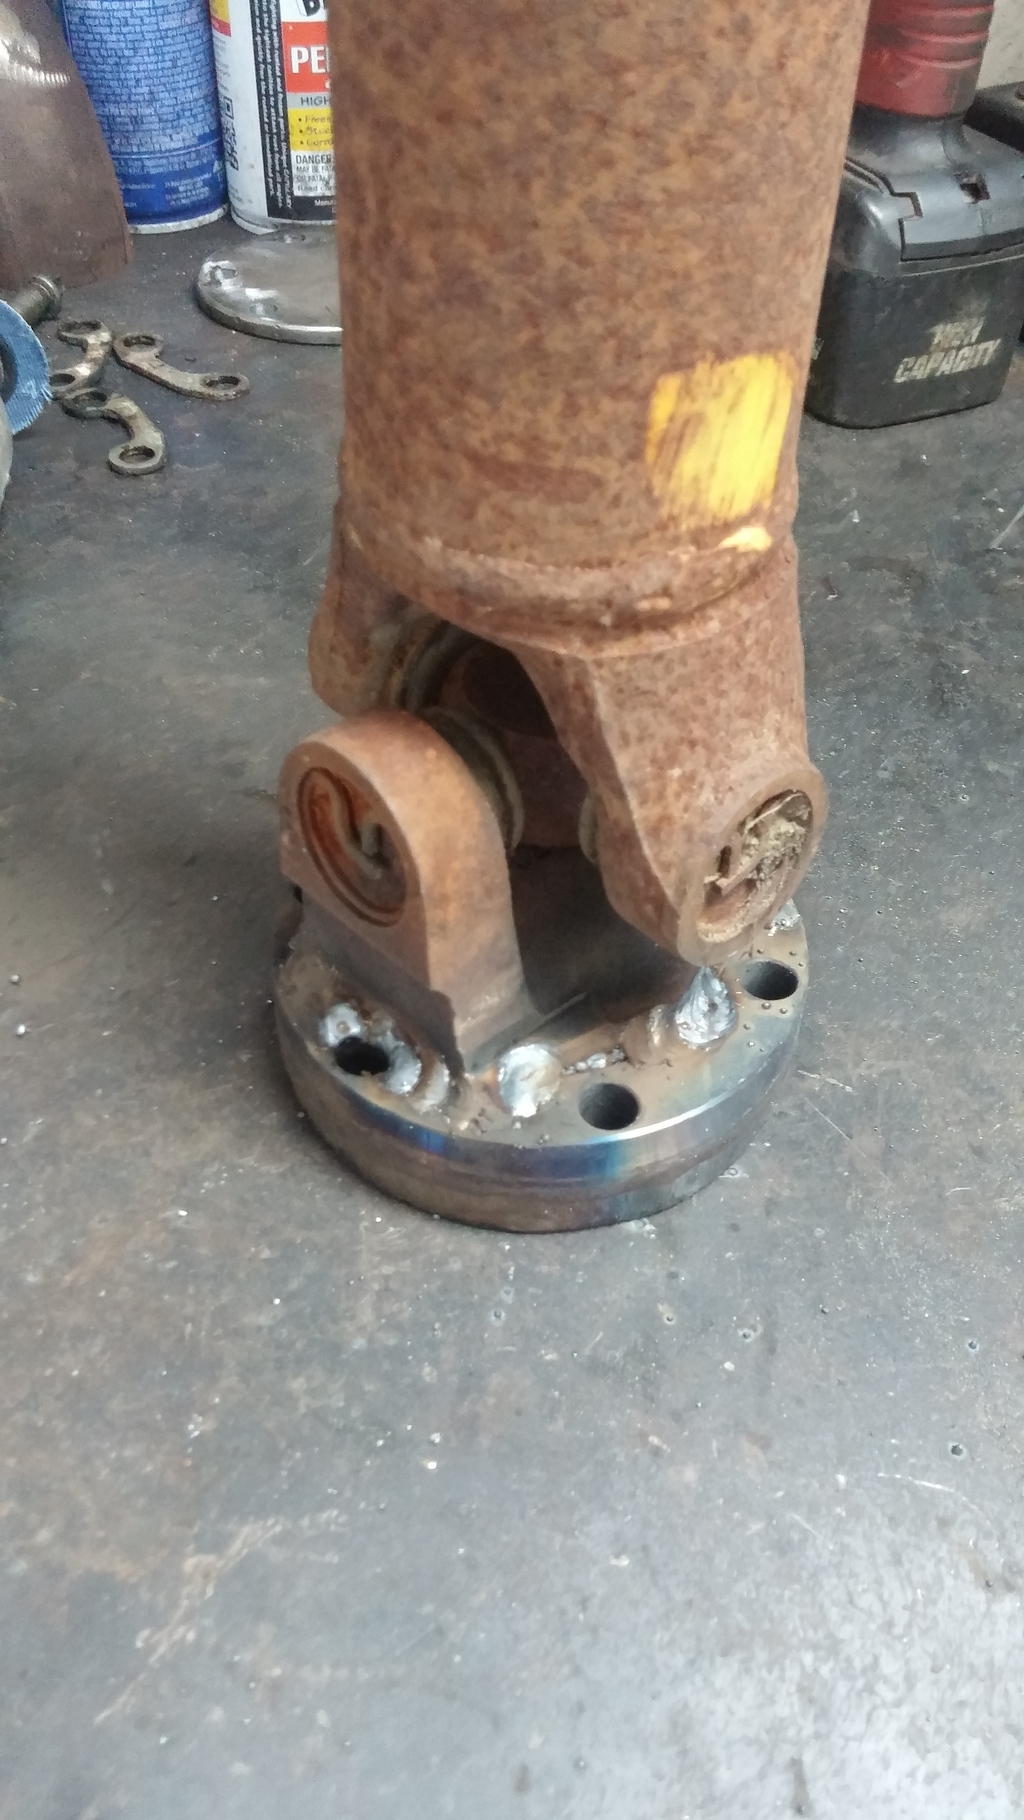
Welded the flange perimeter and the inside
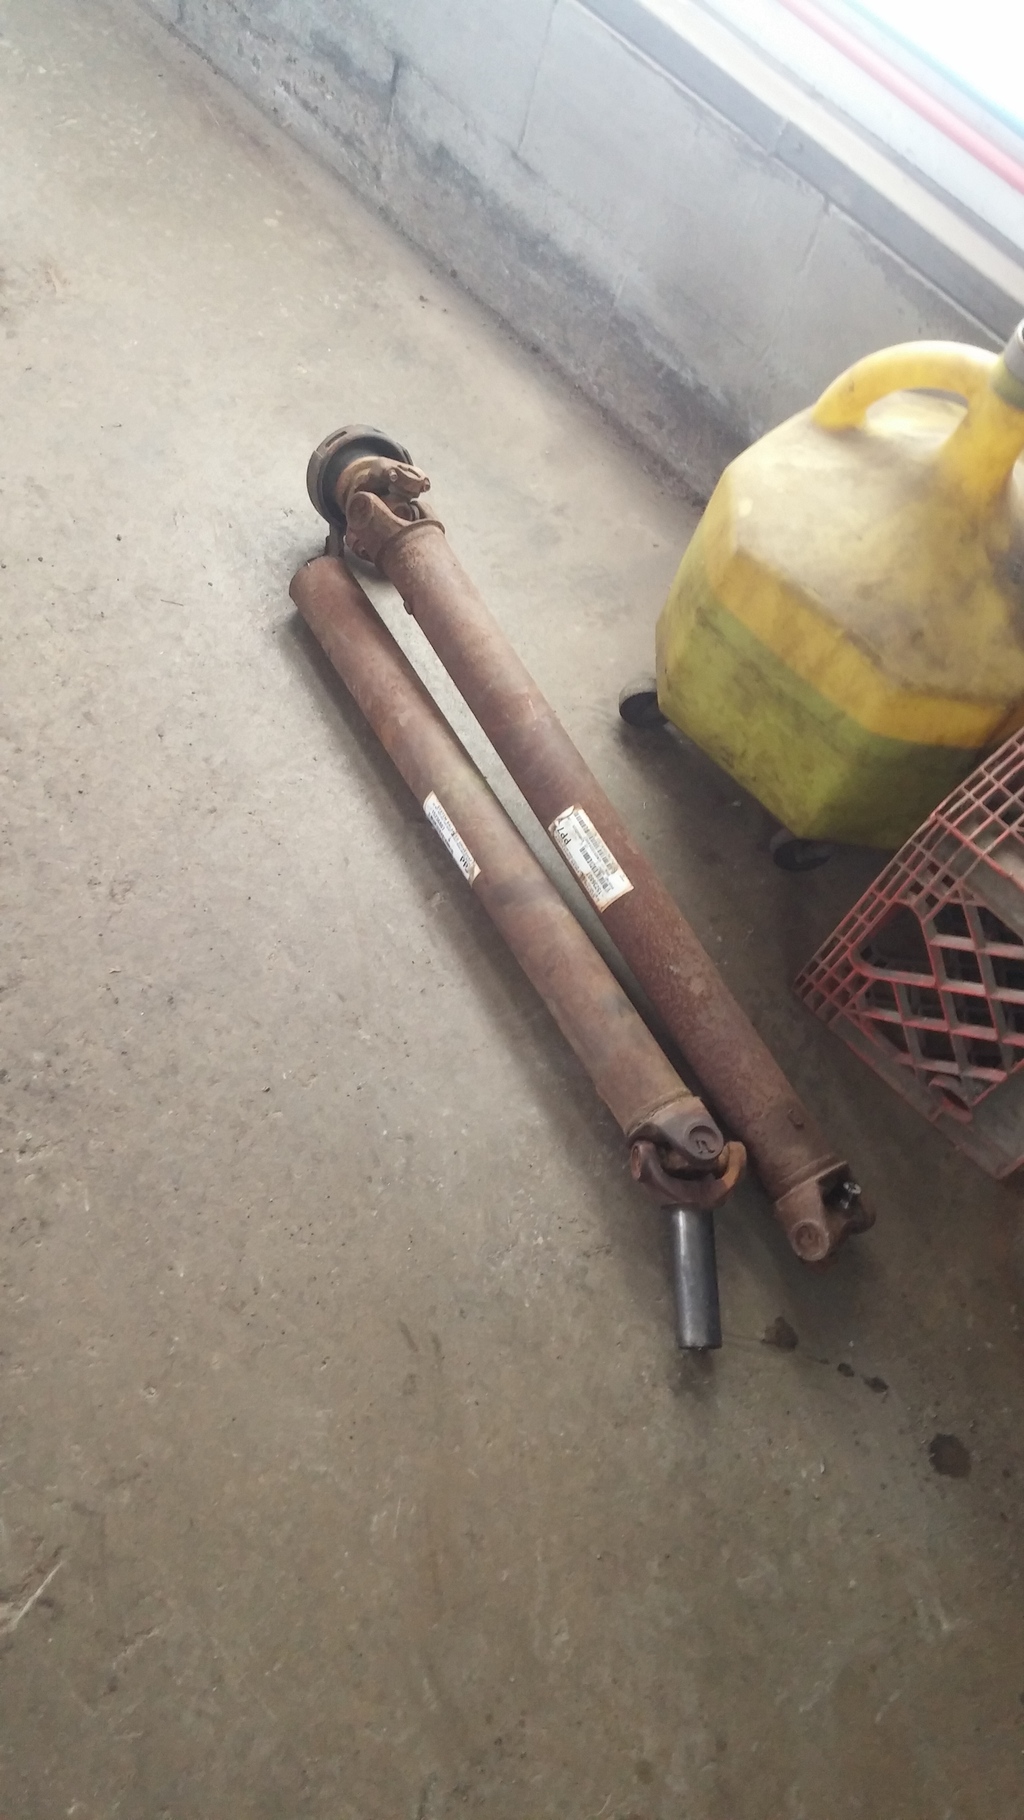
While in the junkyard I was looking for two shafts that would fit inside one another....these looked close...and turned out they were almost perfect.
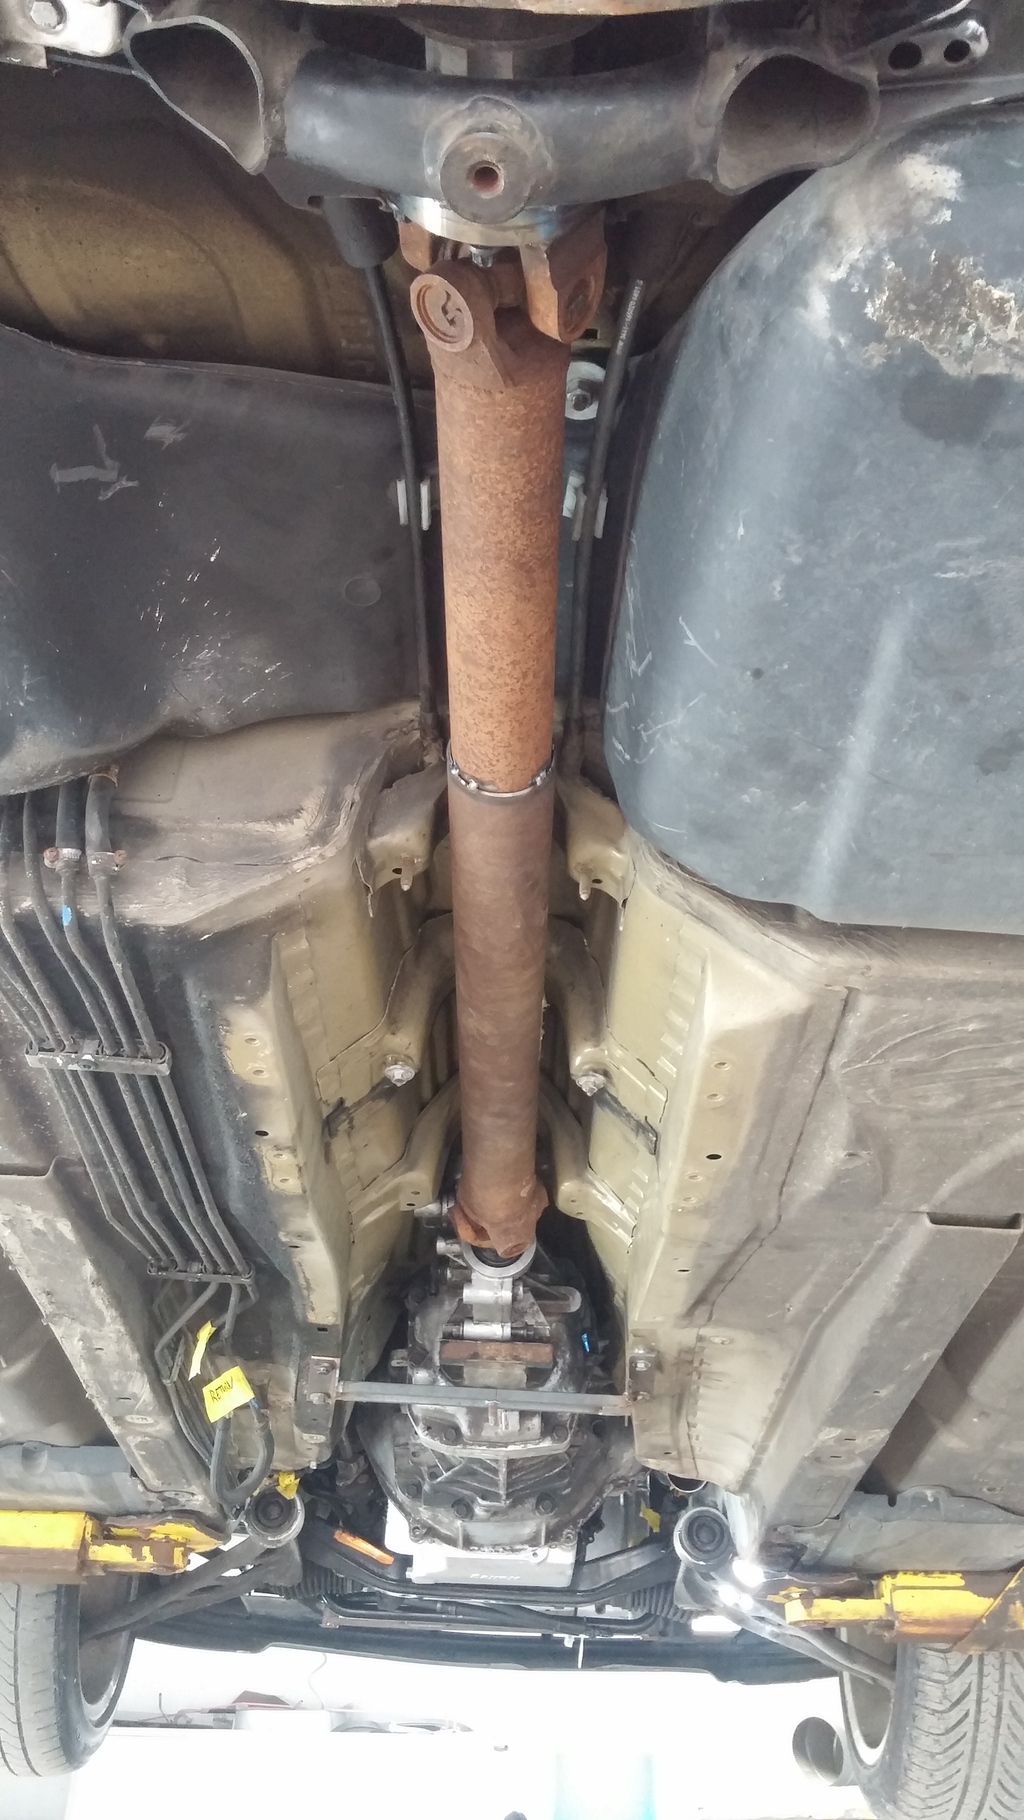
In the car and tacked
Used small strips of stainless to try and center it...again, this is just to move the car in and out of the garage...
4 out of 6 bolts aayyyy
All welded up with some rosette welds
Next I started tackling some exhaust work on the drivers side
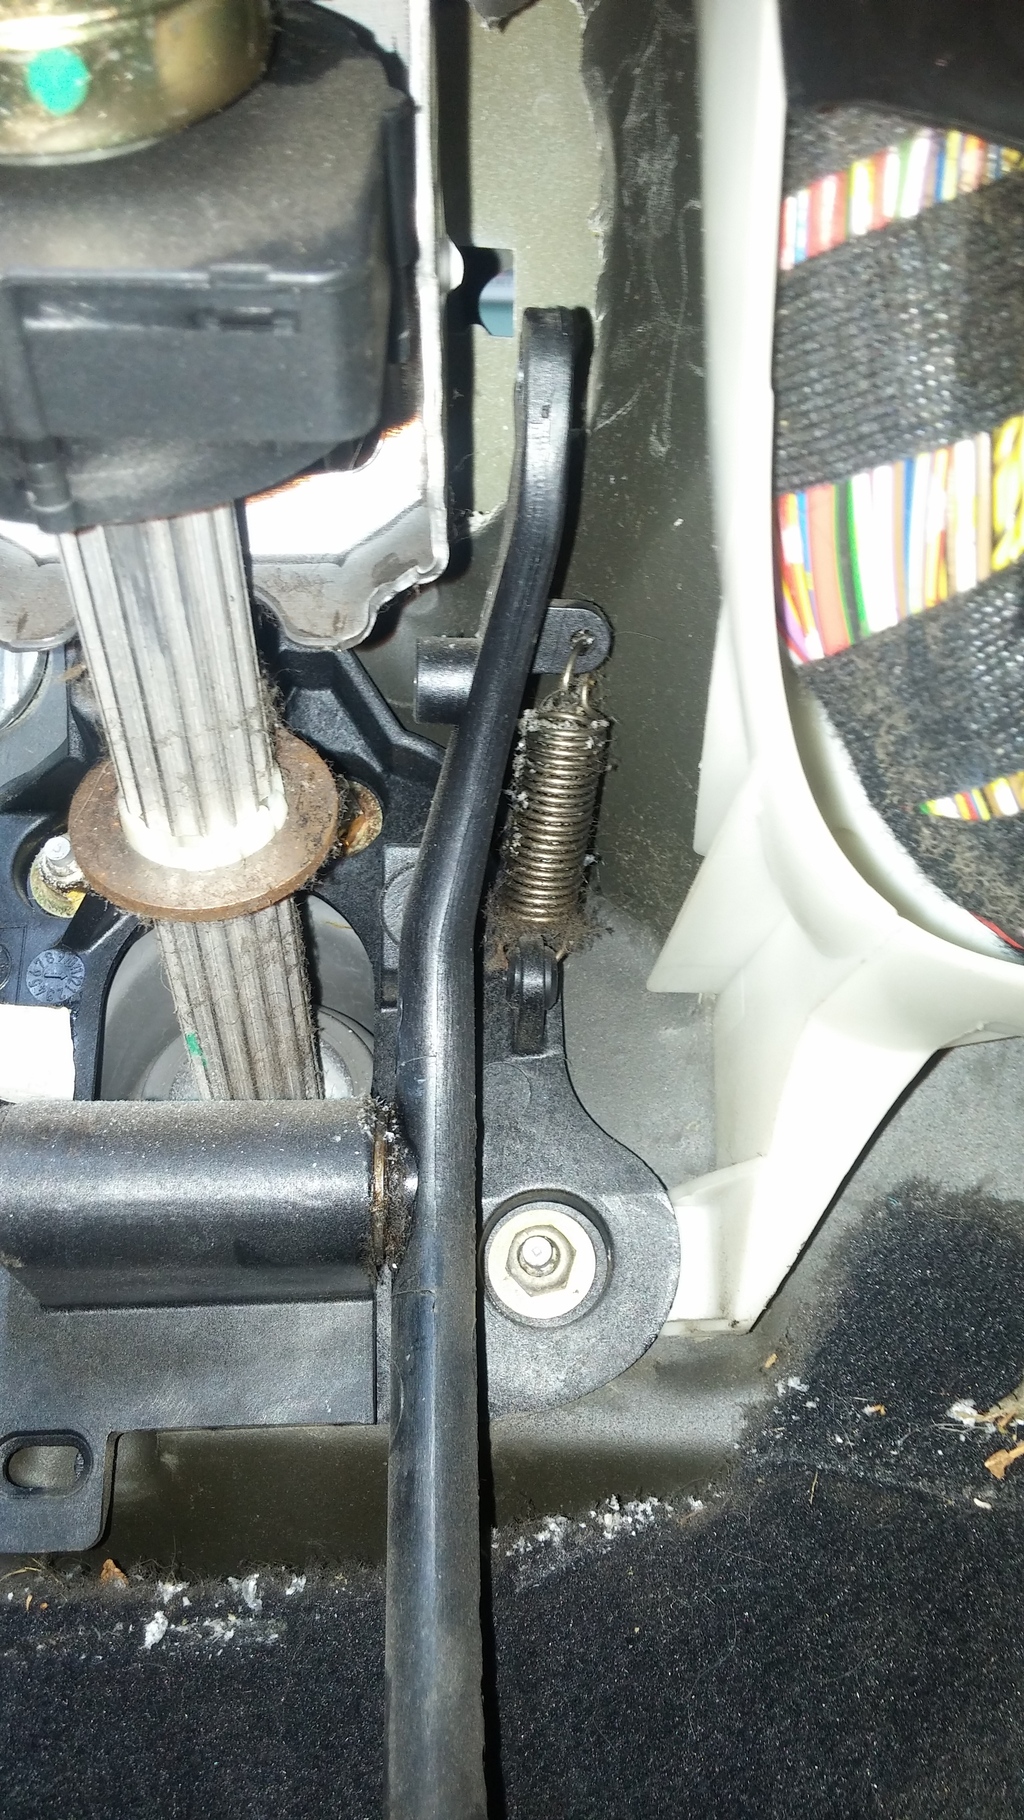
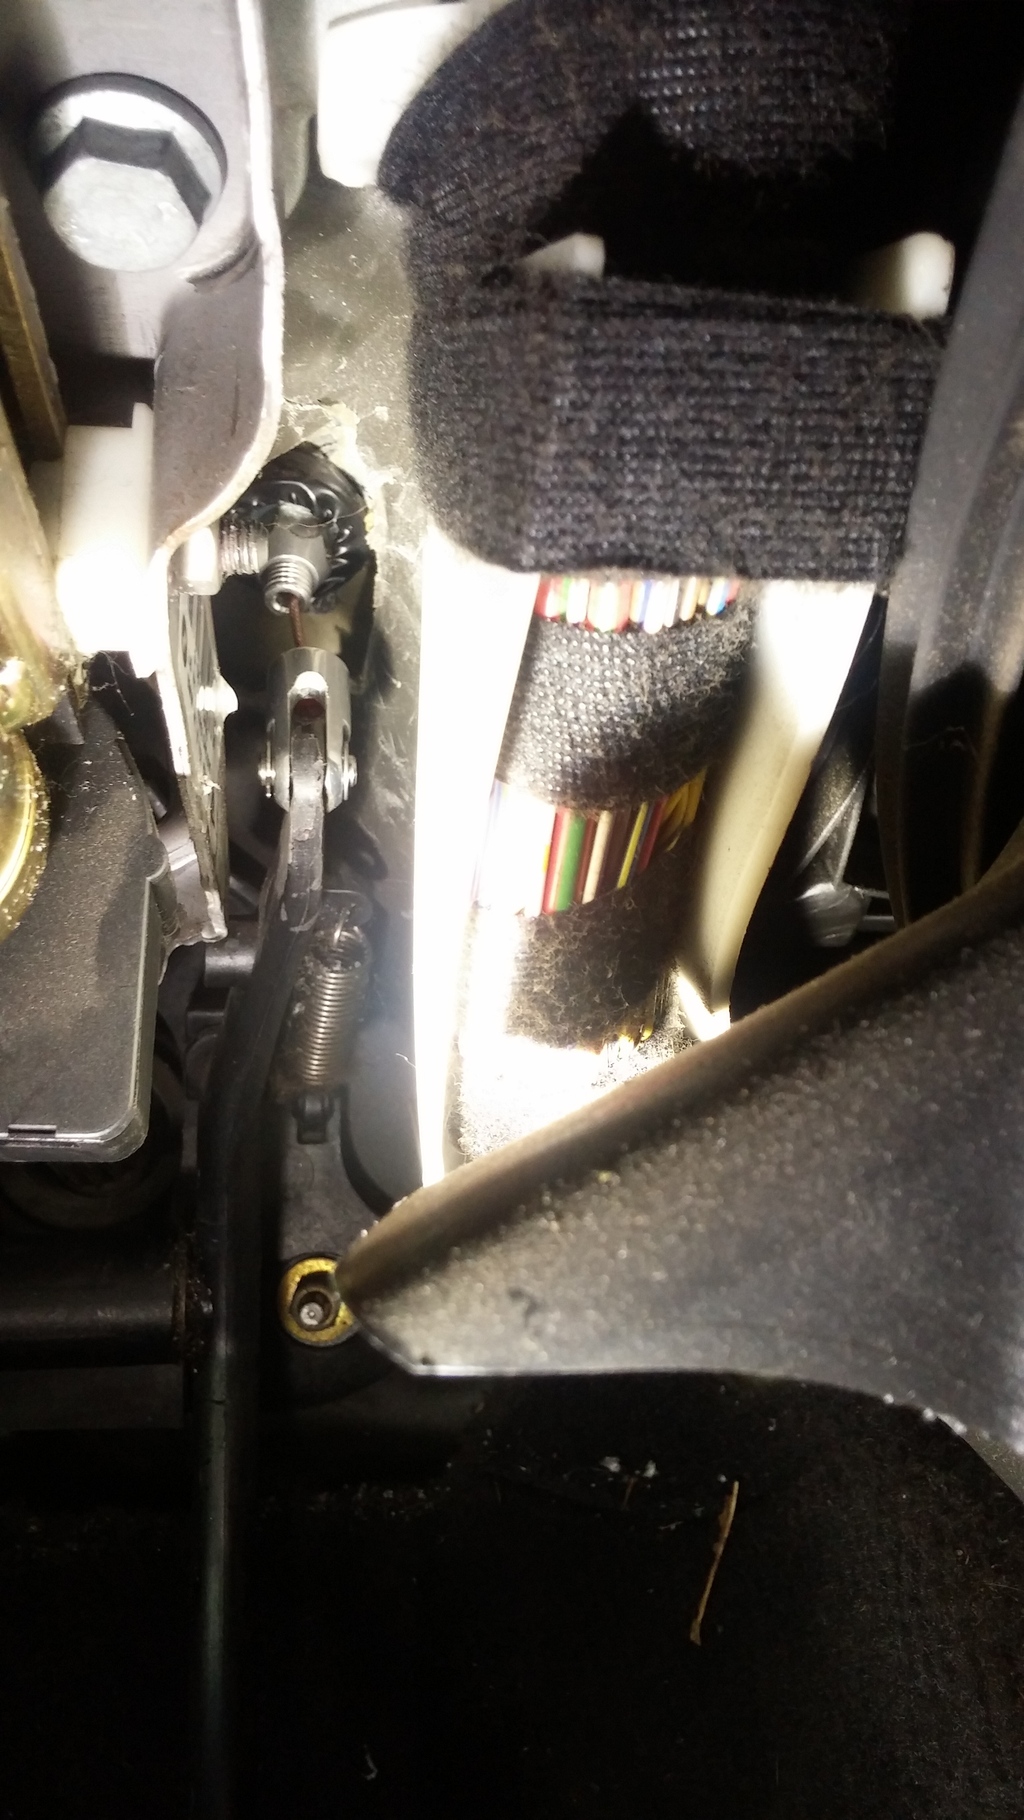
Last Saturday was spent fighting with stupid throttle cable mounting. The firewall hole is on an angle, so with the universal Lokar flat mount, the cable is put on a wicked angle and doesn't attach to the pedal very well. Pedal had to be trimmed width wise for the clevis of the Lokar cable to fit. Air hammered the firewall to try and straighten it as much as possible...still had to use a stack of washers, with a few washers cut in half to offset the firewall angle. All in all just a huge pain. Luckily I had my father and a friend of ours there to help out.
Manual pedals pretty self explanatory. Three bolts, drill one hole (see below, you can slightly make out the dimples below the master inlet hole, drill that and you're good) and trim the dash/kick panel thinger and you're set.
Throttle cable hole and the pedal end
Lokar cable and ARP hardware for the flywheel/pressure plate.
Cable routing. I purchased the 48" long cable and ended up cutting off damn near exactly 12" once all said and done. If I do another I'll just buy the 36" cable and save $10-15...but if you don't like my routing or want extra to play with, get the 48".
Firewall/throttle cable mount, ENGINE side
Final angle of the throttle cable and pedal end. Pedal travel is smooth now. You can see a little bit of the stack of washers, use electrical tape or whatever tape to hold them together, makes life easier when fishing them up there. Before all the cut and angled washers and hammering the firewall the angle of the cable outlet to where it attaches was waayyy off and the pedal did not pull smoothly or return on it's own.
That's pretty much all I did that weekend. I did some customer work on a 240sx/LSx swap subframe and some wiring harness stuff for said customer....but that throttle cable really wore me out crawling in and out of there upside down on my head alllll day.
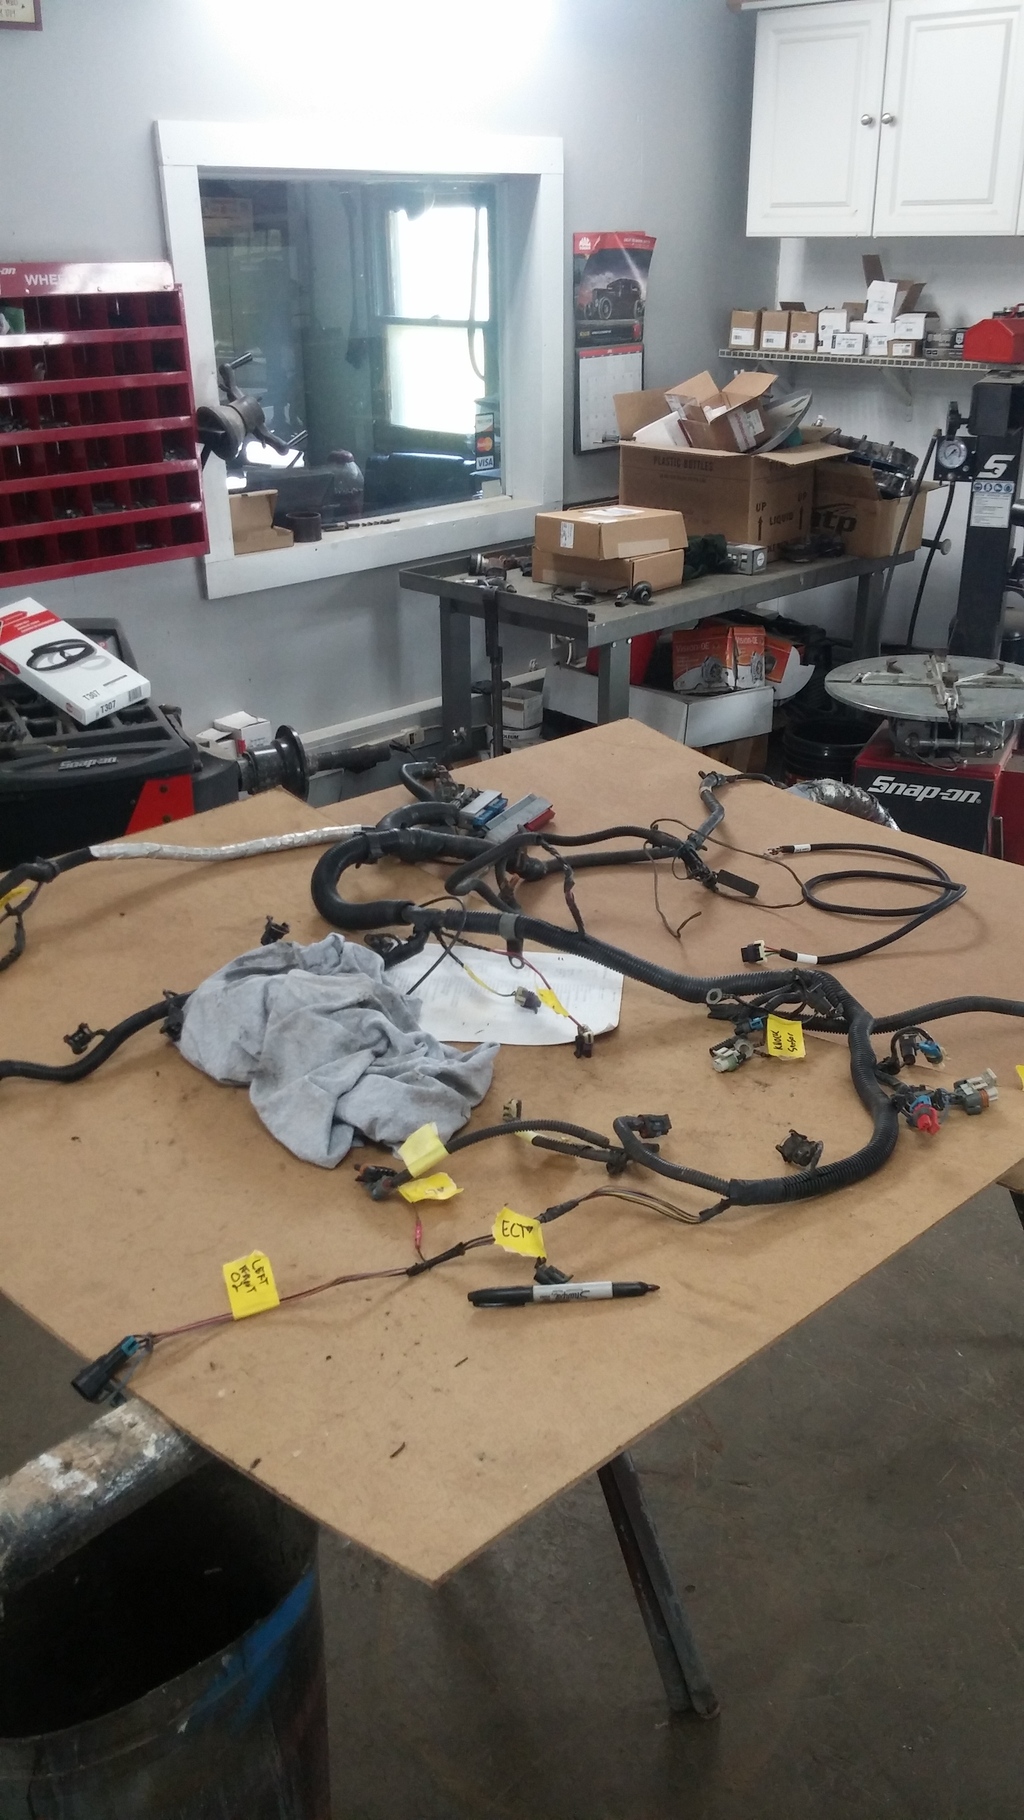
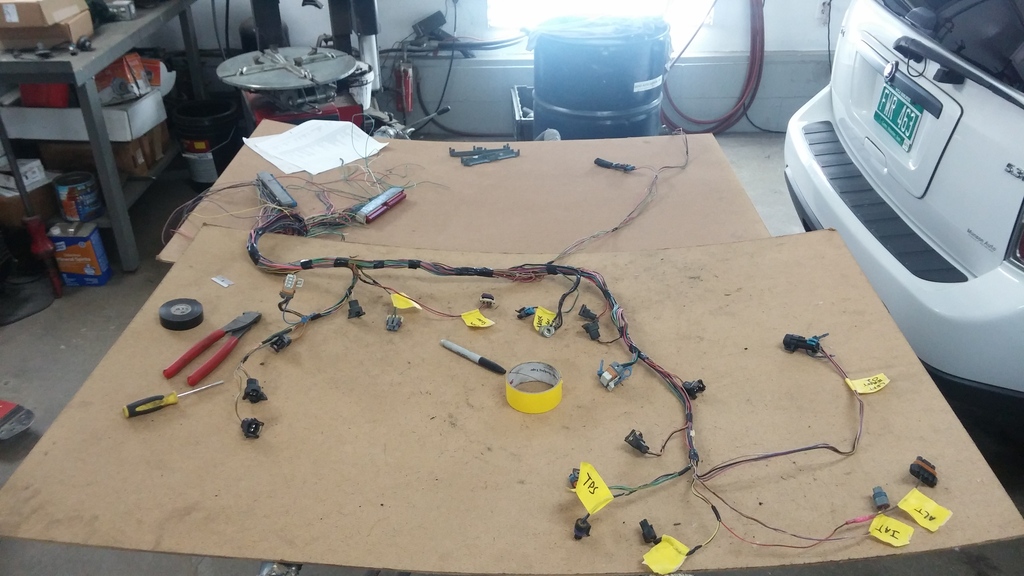
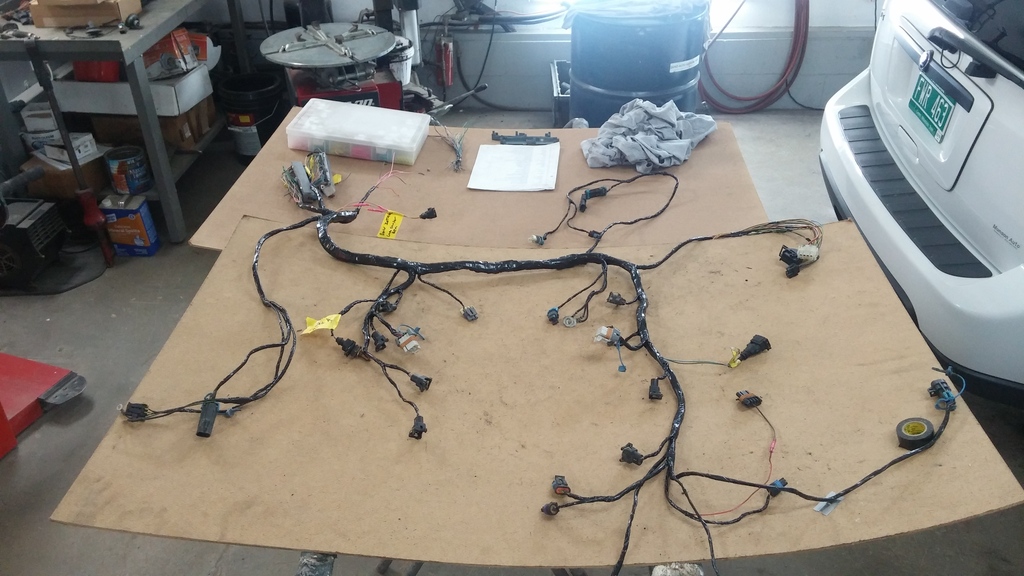
Jump to this past weekend. Saturday I got to work on my own engine harness. Start with labeling everything
All trimmed and labeled, prior to test fit and what not
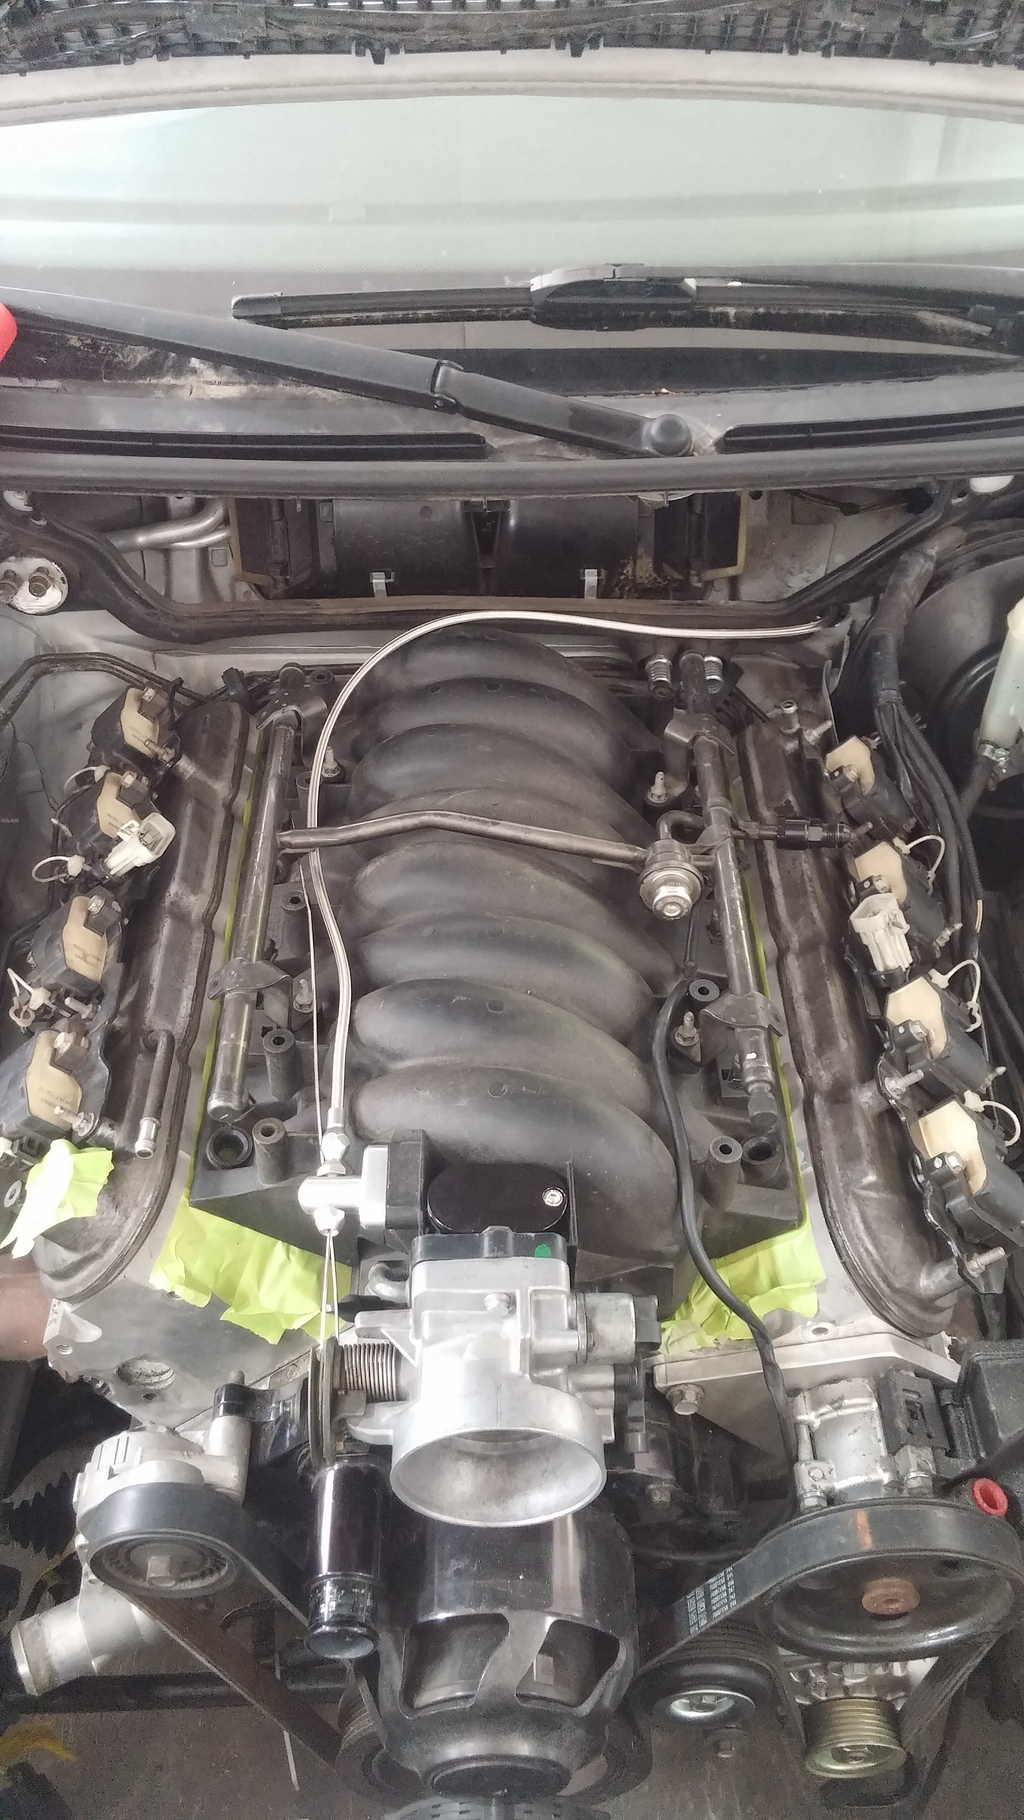
Engine harness laid out and the BMW engine harness laid out
Both merged together. Had a few things to extend and run here and there. Mainly extending BMW stuff to where I wanted it and since this is a gen 3 harness on a gen 4 motor, I had to extend the cam sensor connector from the back of the engine to the front. Gen3 motor cam sensor is at the back of the block behind the intake manifold, and Gen4 cam sensor is in the front timing cover. Gen4 reads off of a timing gear on the front of the cam vs Gen3 marks on the back of the cam.
That took most of the day Saturday, haven't been doing the 9am-9pm thing like the first few weekends haha.
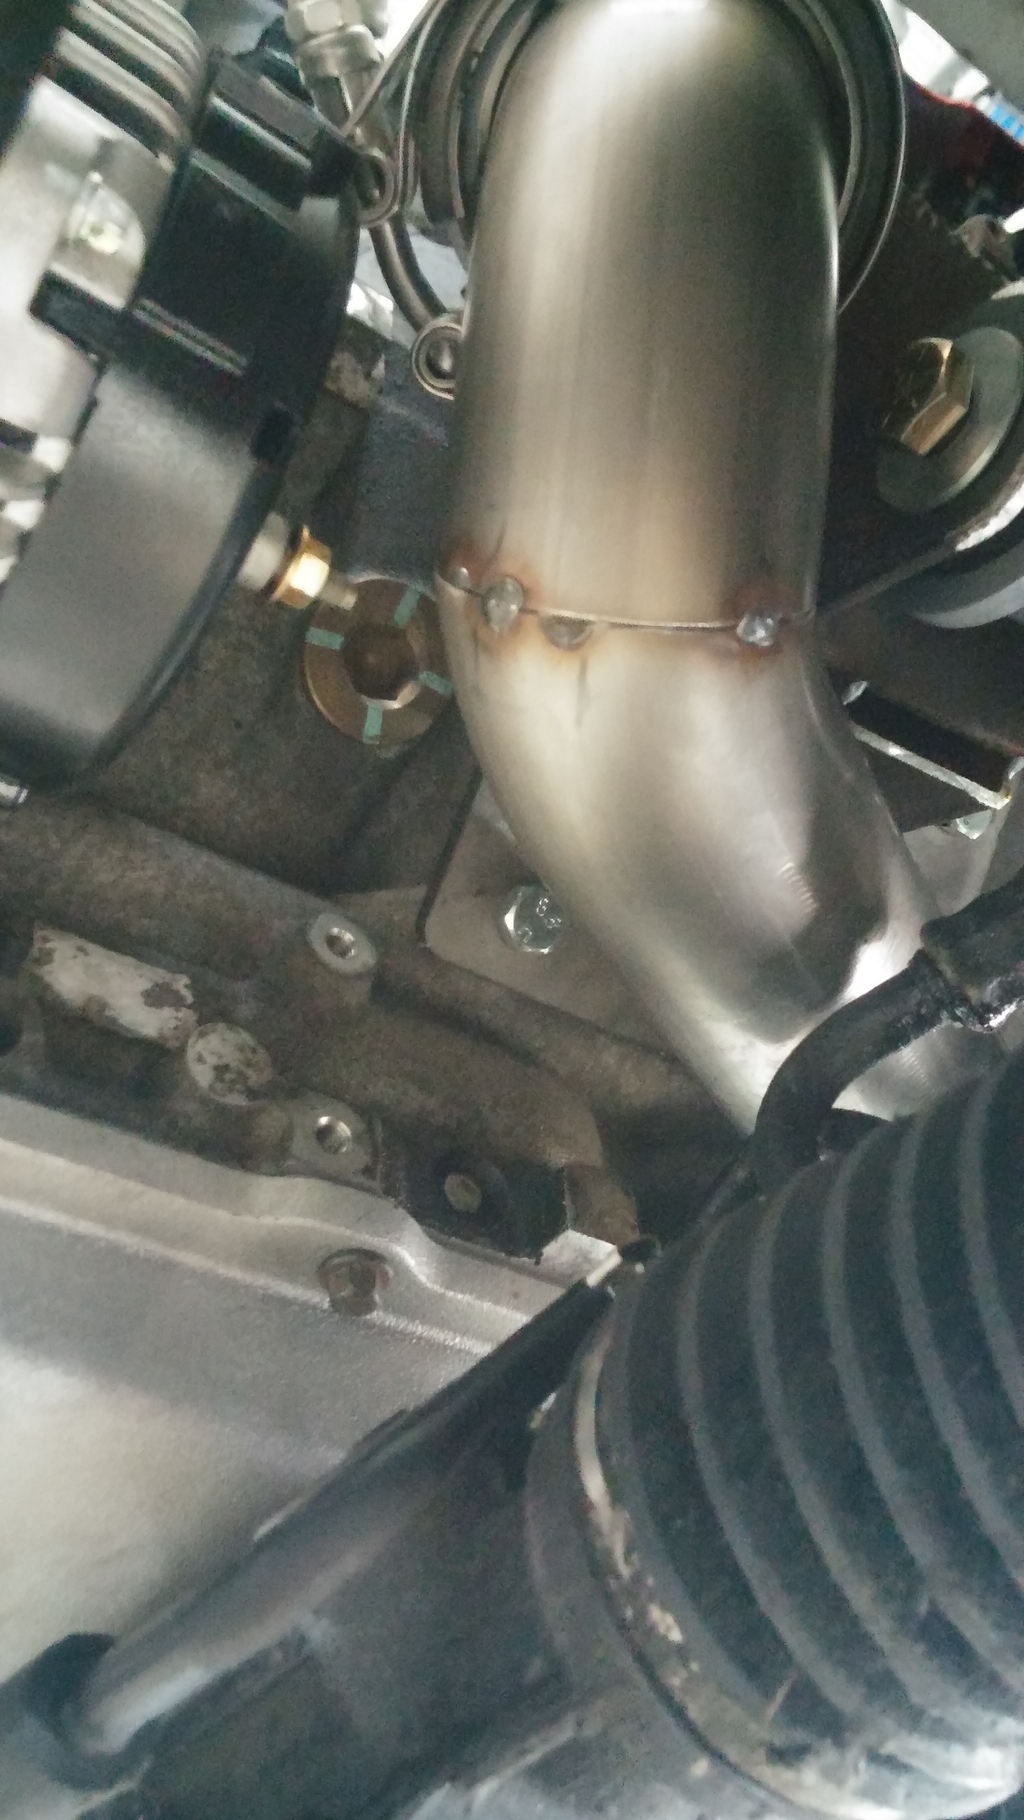
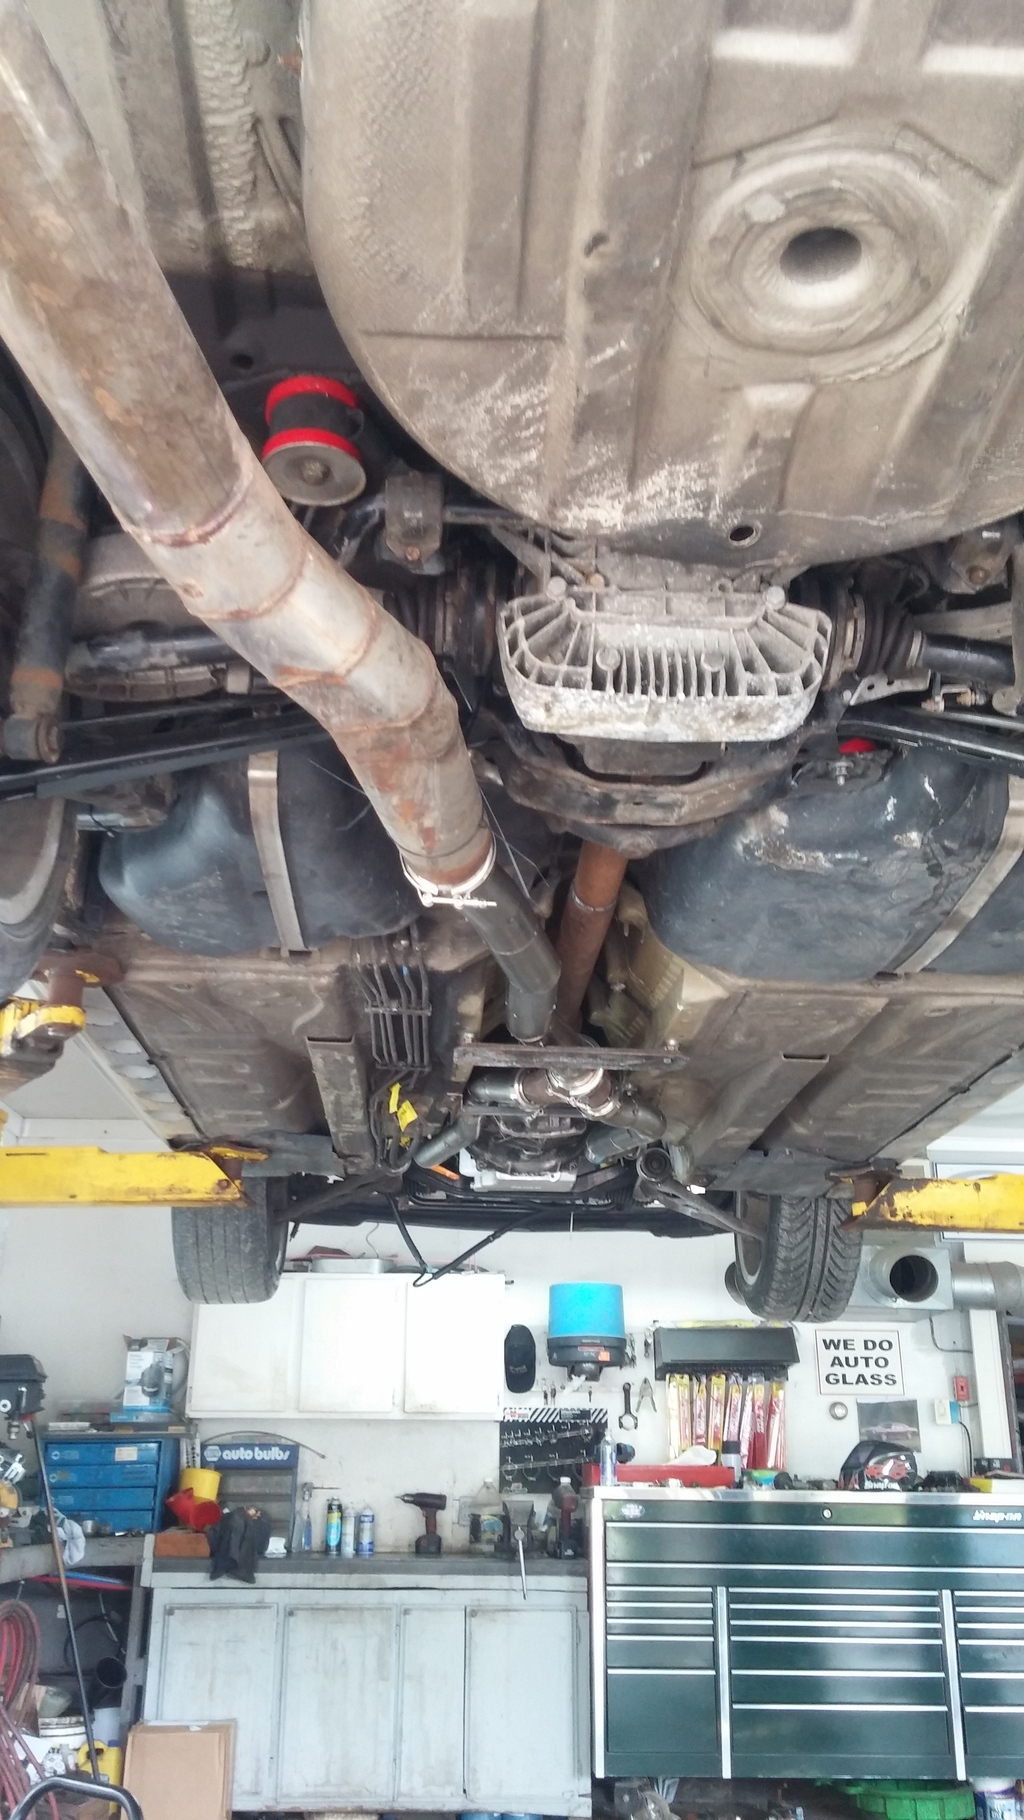
Sunday I tackled the exhaust. I didn't take as many pictures of this because once I get on a roll it's hard to stop and take pics, I just wanna get it done haha.
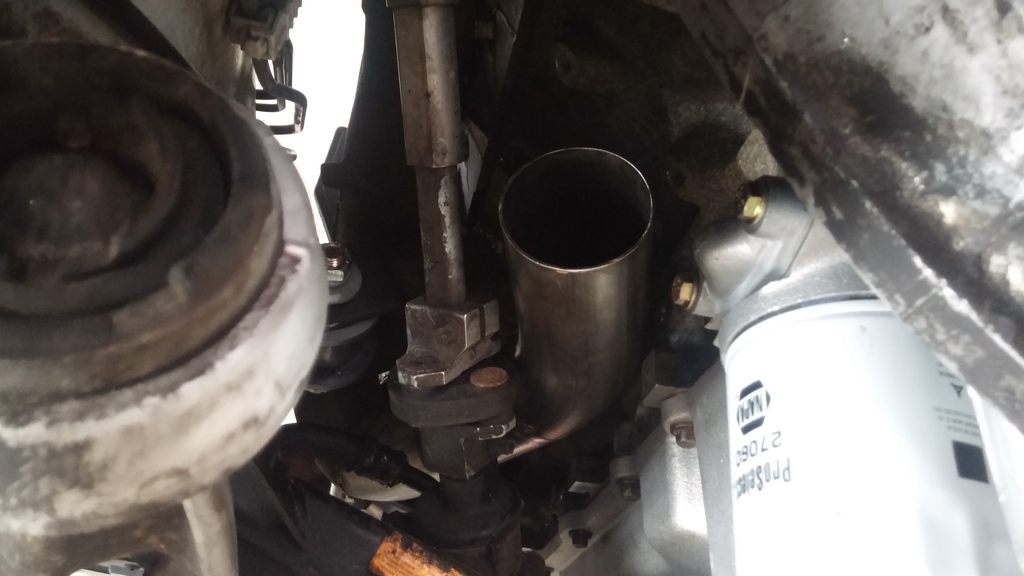
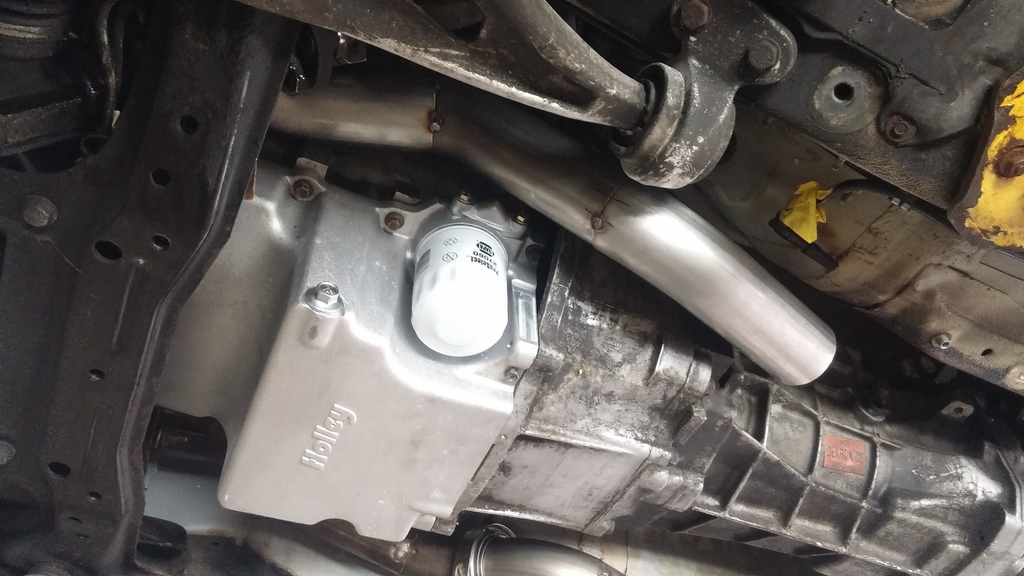
Drivers side has been V-banded by the oil filter, (where the pipe ended in previous pics) then run close the trans in the trans tunnel away from the fuel lines and back to the merge. The Passenger side is V-banded just after the starter, also hugs the trans and then onto the merge. On the passenger side, by hugging the trans close, it gives me room to run a 3" charge pipe back up to the front of the car once I go rear mount turbo.
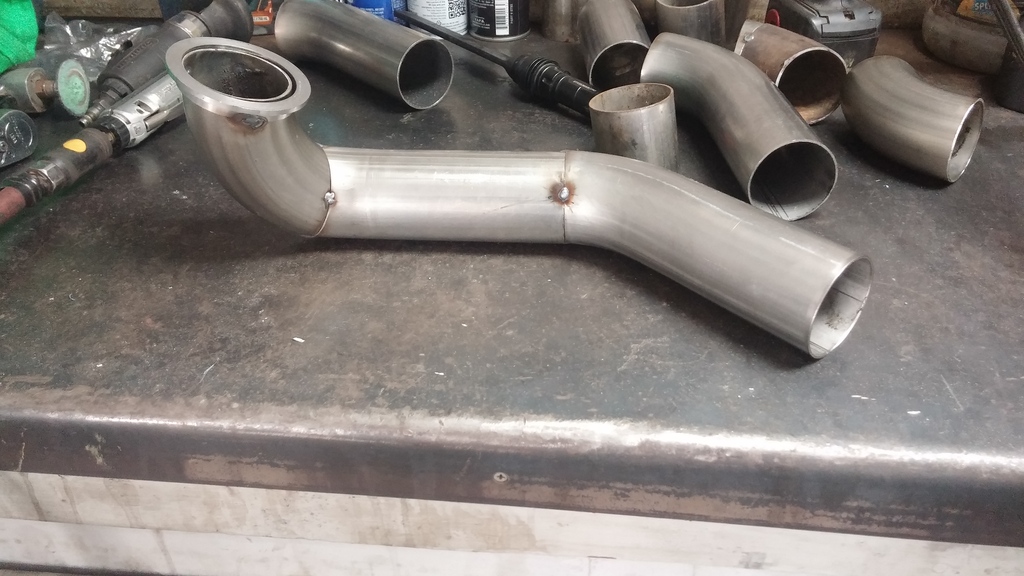
The merge is a factory stainless piece off of a 2500hd Sierra/Silverado, just something I had laying around that ended up working perfectly. 2.5" inlets, 3" outlet haha.
Don't mind the strapping tacked to the merge then self tapped to the chassis...I had to hold it up there where I wanted it somehow :facepalm:
All done. V-bands will be rotated properly when everything is assembled for good haha.
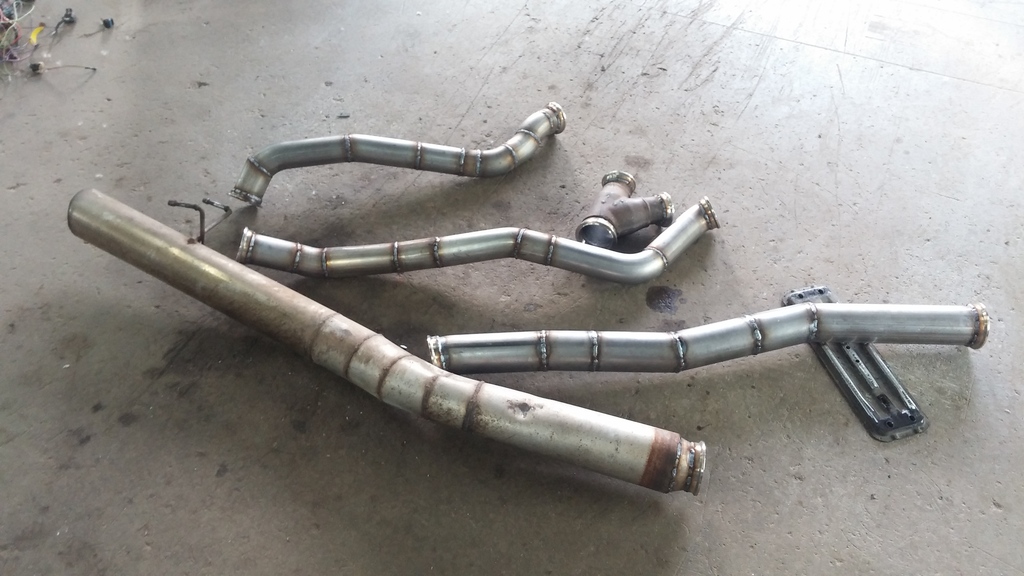
So basically, off the merge it's V-banded, 3" straight section welded to a factory exhaust hanger support thinger. V-banded again to a 3" to 4" cone and onto a 4" stainless tail piece off of my very first/original S13 LS1 swap.
Picture inline/level with the lowest frame rail of the car...with v-bands rolled into proper position it'll only be about .5" lower than the frame rail, fingers crossed i don't rip anything off.
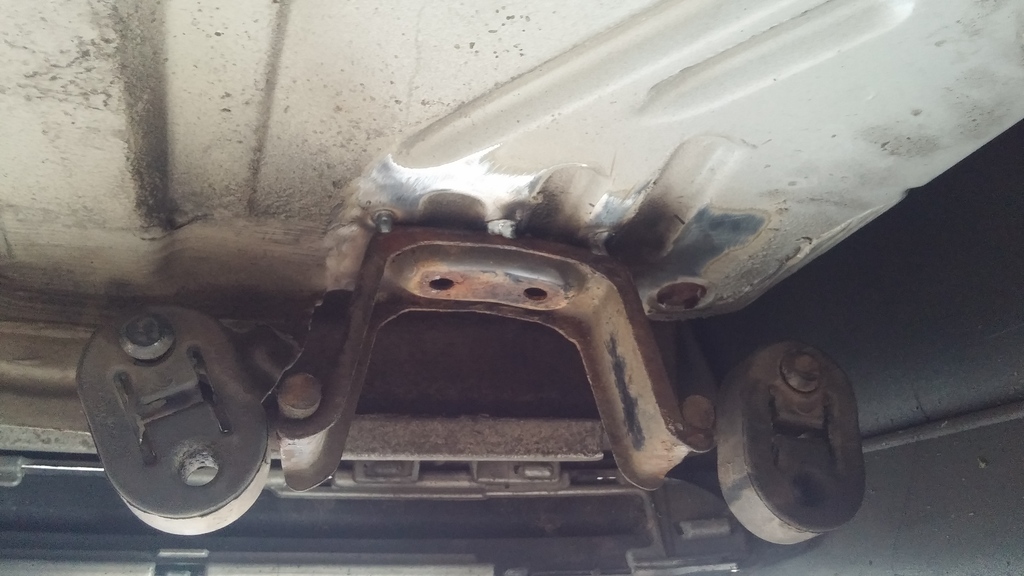
Everything welded up. Take a look at the hangers on the back of the tailpipe...
So those hangers were built for a S13 240sx obviously...well at some point my father or myself removed the stock hanger assembly from one of the many S13's we've had....it worked perfectly, threw it on the tailpipe, had a buddy hold it in place, tacked it to the chassis. DONE.
And that's it! I'll be throwing a small glasspack in the rear 4" tailpiece to try and quiet it down a bit, but whatever.
Basically, all that's left is to add fuel and a computer and jumper some wires and it should fire up and move around on it's own. Plan is to remove the motor/trans at some point this week. Throw all the clutch and hydraulics together. Redo some brake lines in the engine bay, paint the engine bay, then put the motor back in. Oh, I've got a newer brake booster and master too, one without the outlet for the goofy secondary booster thinger that'll go in while the motors out too.
Parts on order as of today:
-ECU
-MGW shifter
-03-04 Mustang Cobra shift ****
-Muffler and gold foil tape
*Hopefully*...if all goes well I will start it up and move it around the yard under it's own power at the end of next weekend!!! Time will tell!
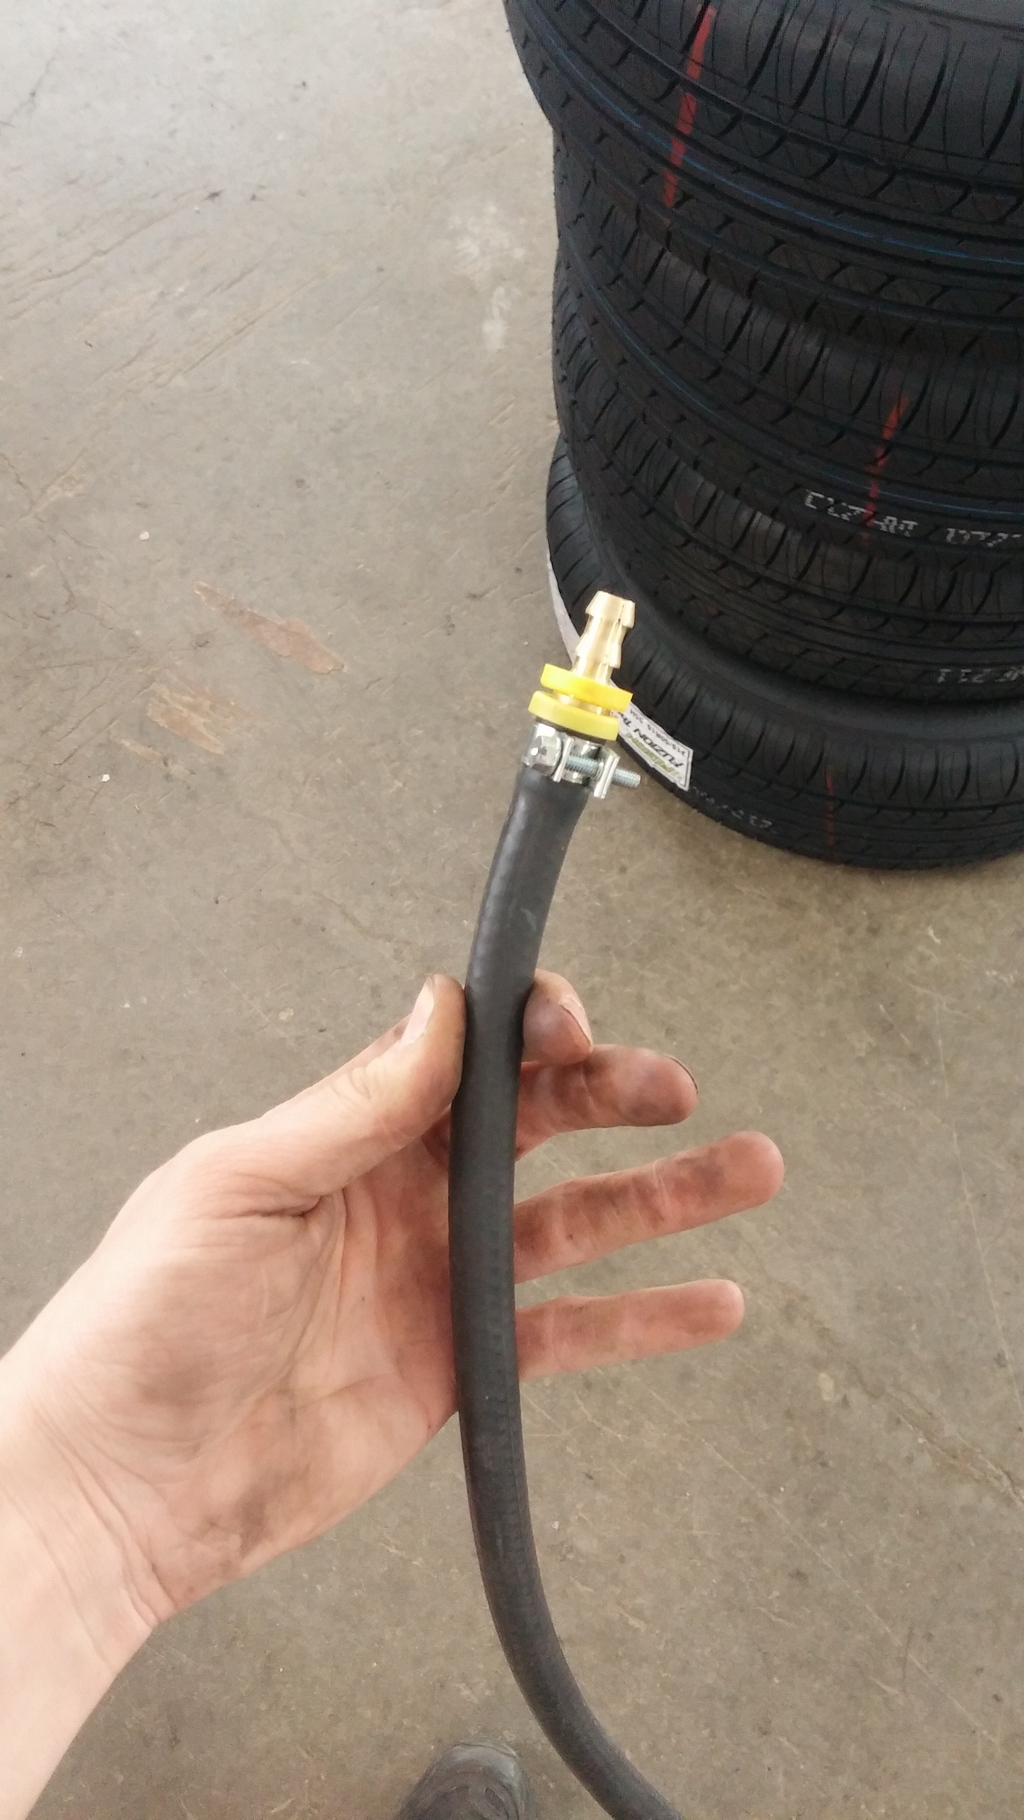
Small update. Father and I got most of the fuel line/filter setup done today between customer work.
Started off at the sender, this car has 5/16" fuel sender outlet....can anyone confirm that M3 is 3/8" sender outlet? Anyway, 5/16" hose off the sender to an adapter to step up to 3/8" hose. I know this isn't ideal and may cause some slight pressure changes, but the corvette fuel filter/regulator is farther down stream so I'm not too worried about it for now, seeings how it will get changed when going to turbo anyway. Either M3 sender and 3/8" line all the way, or I'll drop the coin on the Radium Engineering surge tank setup.
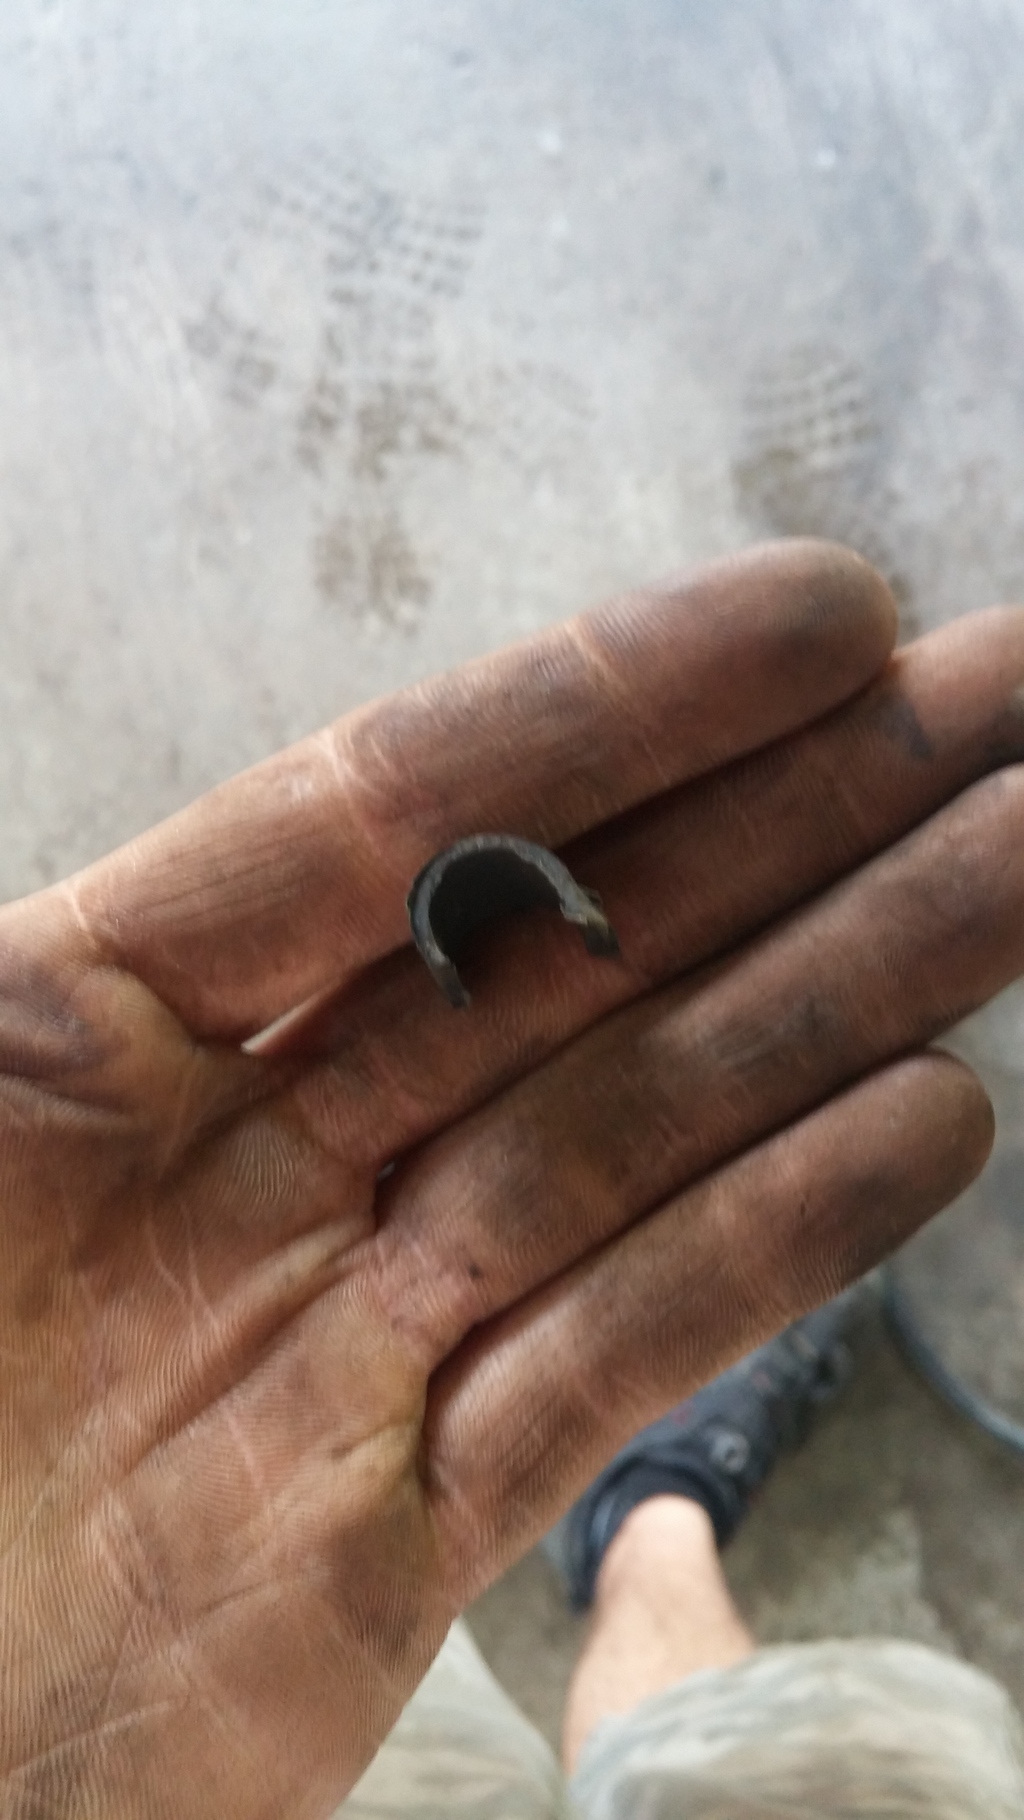
Factory line holders are for 5/16", I removed the inner rubber part and the 3/8" line barely fits. Ground down some edges on the metal retainer as well, otherwise it worked out.
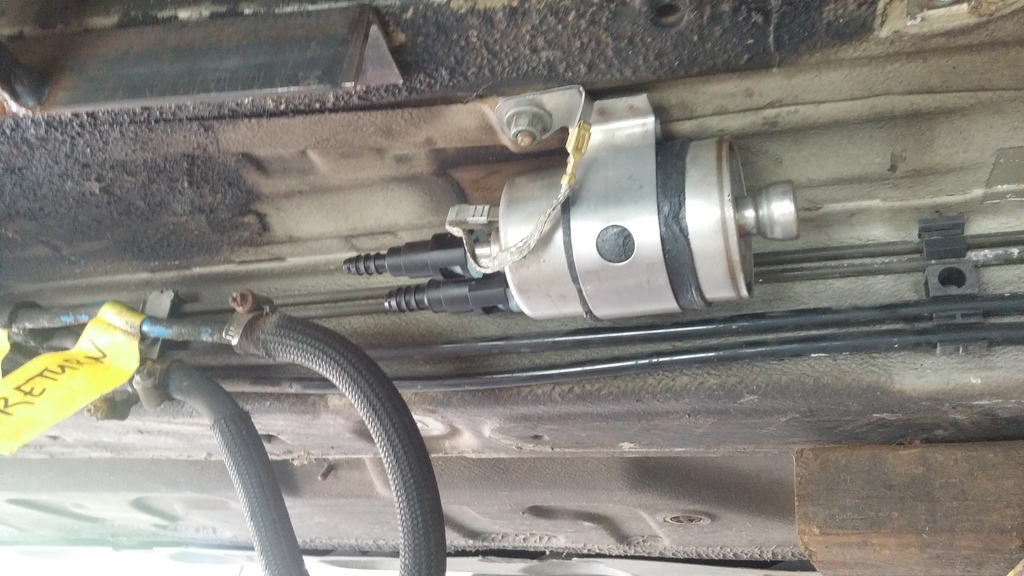
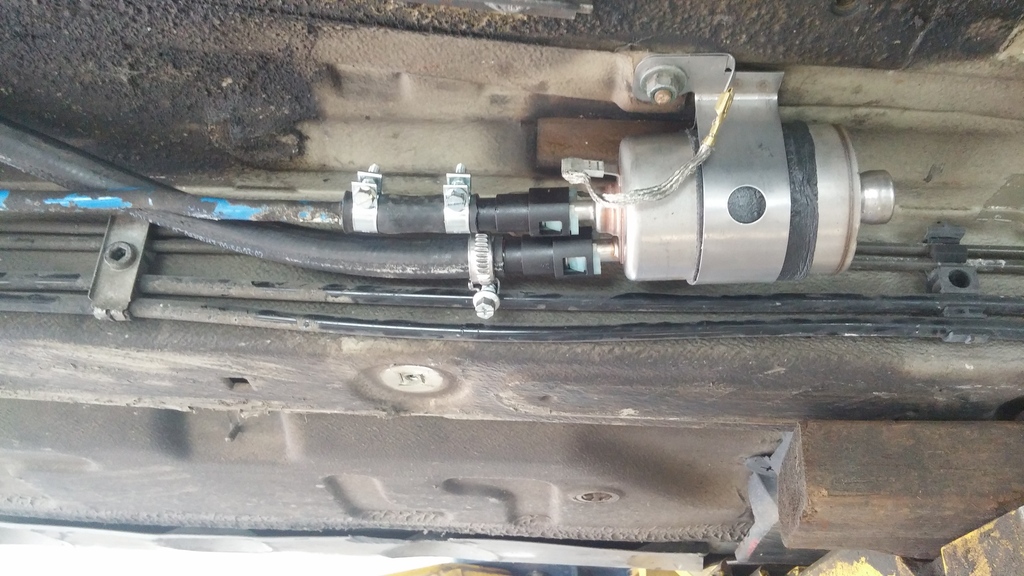
Filter bolted to factory location, all hoses up to it connected.
Out of the filter I'll be making a hardline dual GM quick disconnect male to male adapter, then from there -8an line up to the fuel rail. I should be able to finish that up tomorrow once parts arrive.
While I was away at the gym my father decided to tackle the power steering lines. He did some fanagling and gained more clearance around the exhaust and got the lines all marked up to be joined/built at the local hydraulic place. Pics to come tomorrow!
Hey,
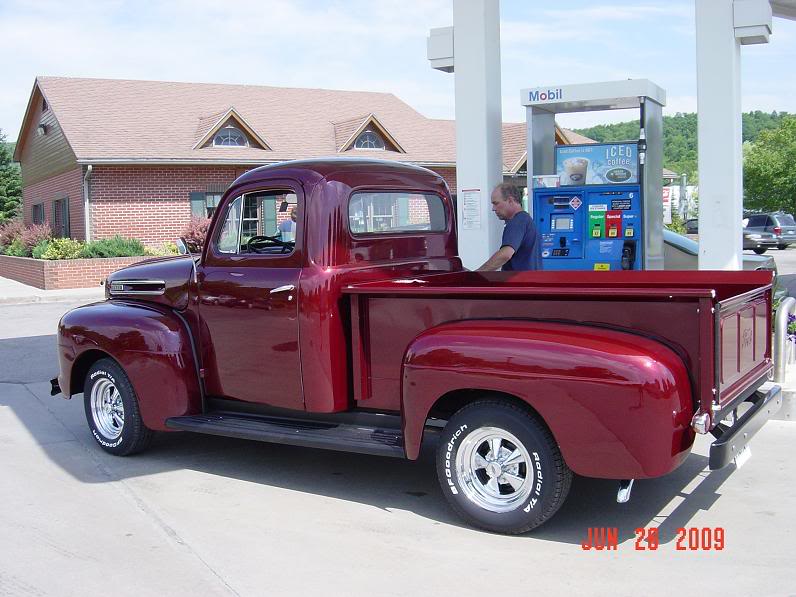
Thanks! Awesome truck you built; it looks very similar! Yeah, it is the perfect platform for a late-model (LSx!!!) drivetrain in my view. I love having kick *** AC, a comfortable ride, plenty of power, and decent mileage.
Sorry for the distraction to your build thread, here. Eager to see some video of it running. The truck you built would almost be a twin.
coil-overs and limit straps are visible from here. I designed my own triangulated 4-link setup. Works great.
My little boy. I hope one day to build projects like you and your dad! He's 3.5. Hasn't welded anything yet, but that's a matter of time... LOL
There is a guy on the bimmer forums who has put a rear mount with quick spool valve on his LS swapped E36. Hes scrapping the project though and going with the bigger E39 and a engine bay mounted turbo.
Thats my car! I'm curious to see how the OP's setup works out.
@unnatrl did you ever end up running your rear mount setup? Any feedback or things you would do differently?
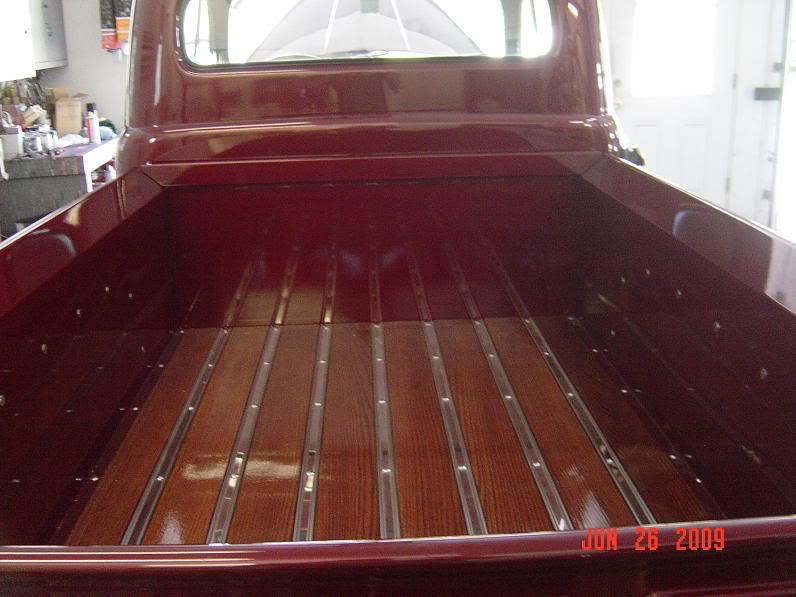
@dw sd I'm sure your boy will be out there fabricating soon enough! Maybe 24v swapping his PowerWheels!? The '51 we did took quite a while, owner wanted it ALL original metal so we had a lot of patching to do. Tree fell on the factory hood so it wasn't repairable and we couldn't find a '51 hood reasonably so we ended up using a '52 IIRC. Got it all finished and 5 weeks after the owner backed it into his bench vise and we had to redo a rear fender haha.
Got some work in on the car today after customer work.
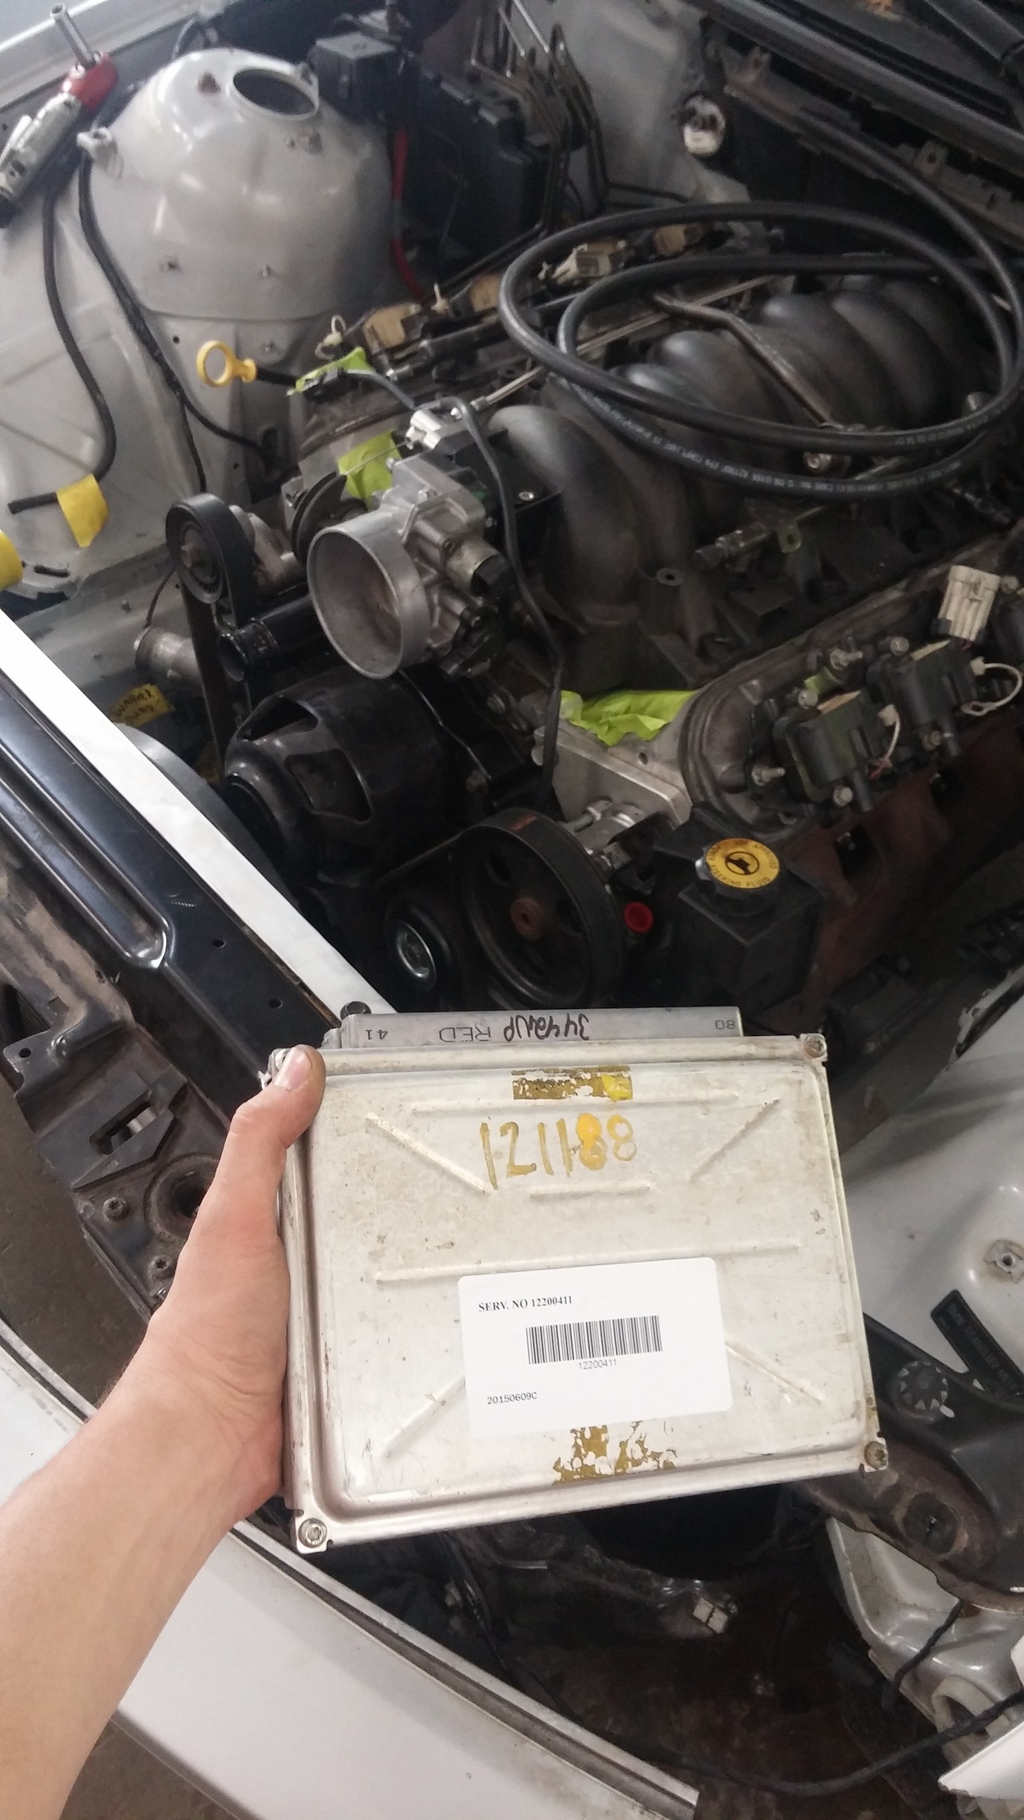
'411' ECU showed up from SpareECM. Rodney from SpareECM is a great guy, used him in the past, ECU's always in good shape and fast shipping! Nice to be able to call someone and talk with someone who knows their product and not just a desk person.
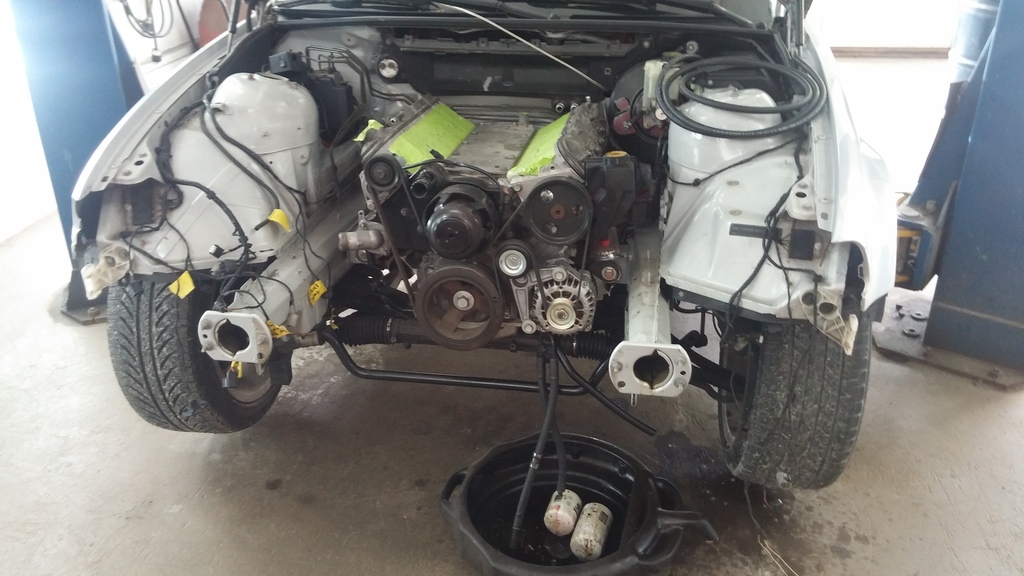
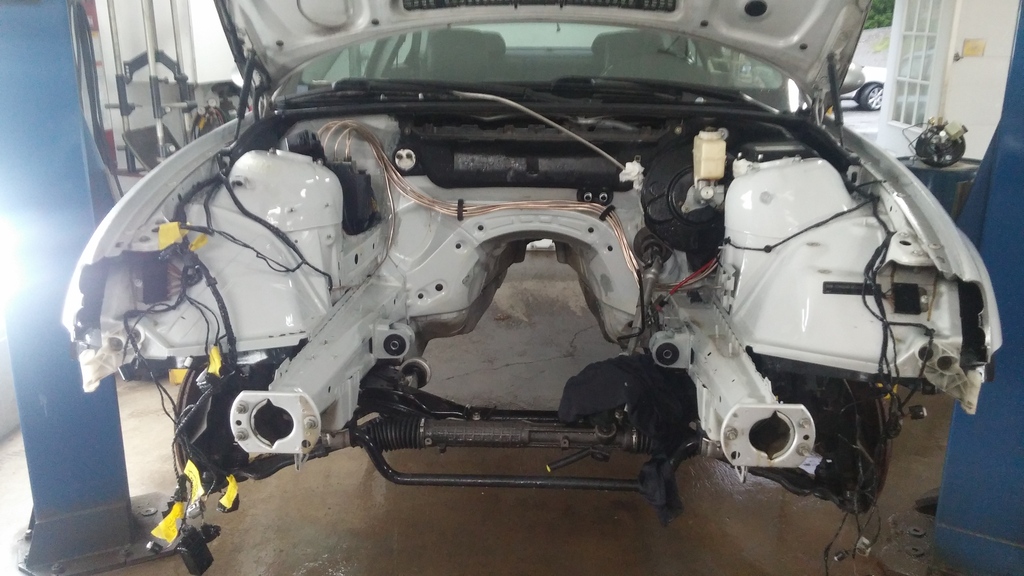
Starting the tear down
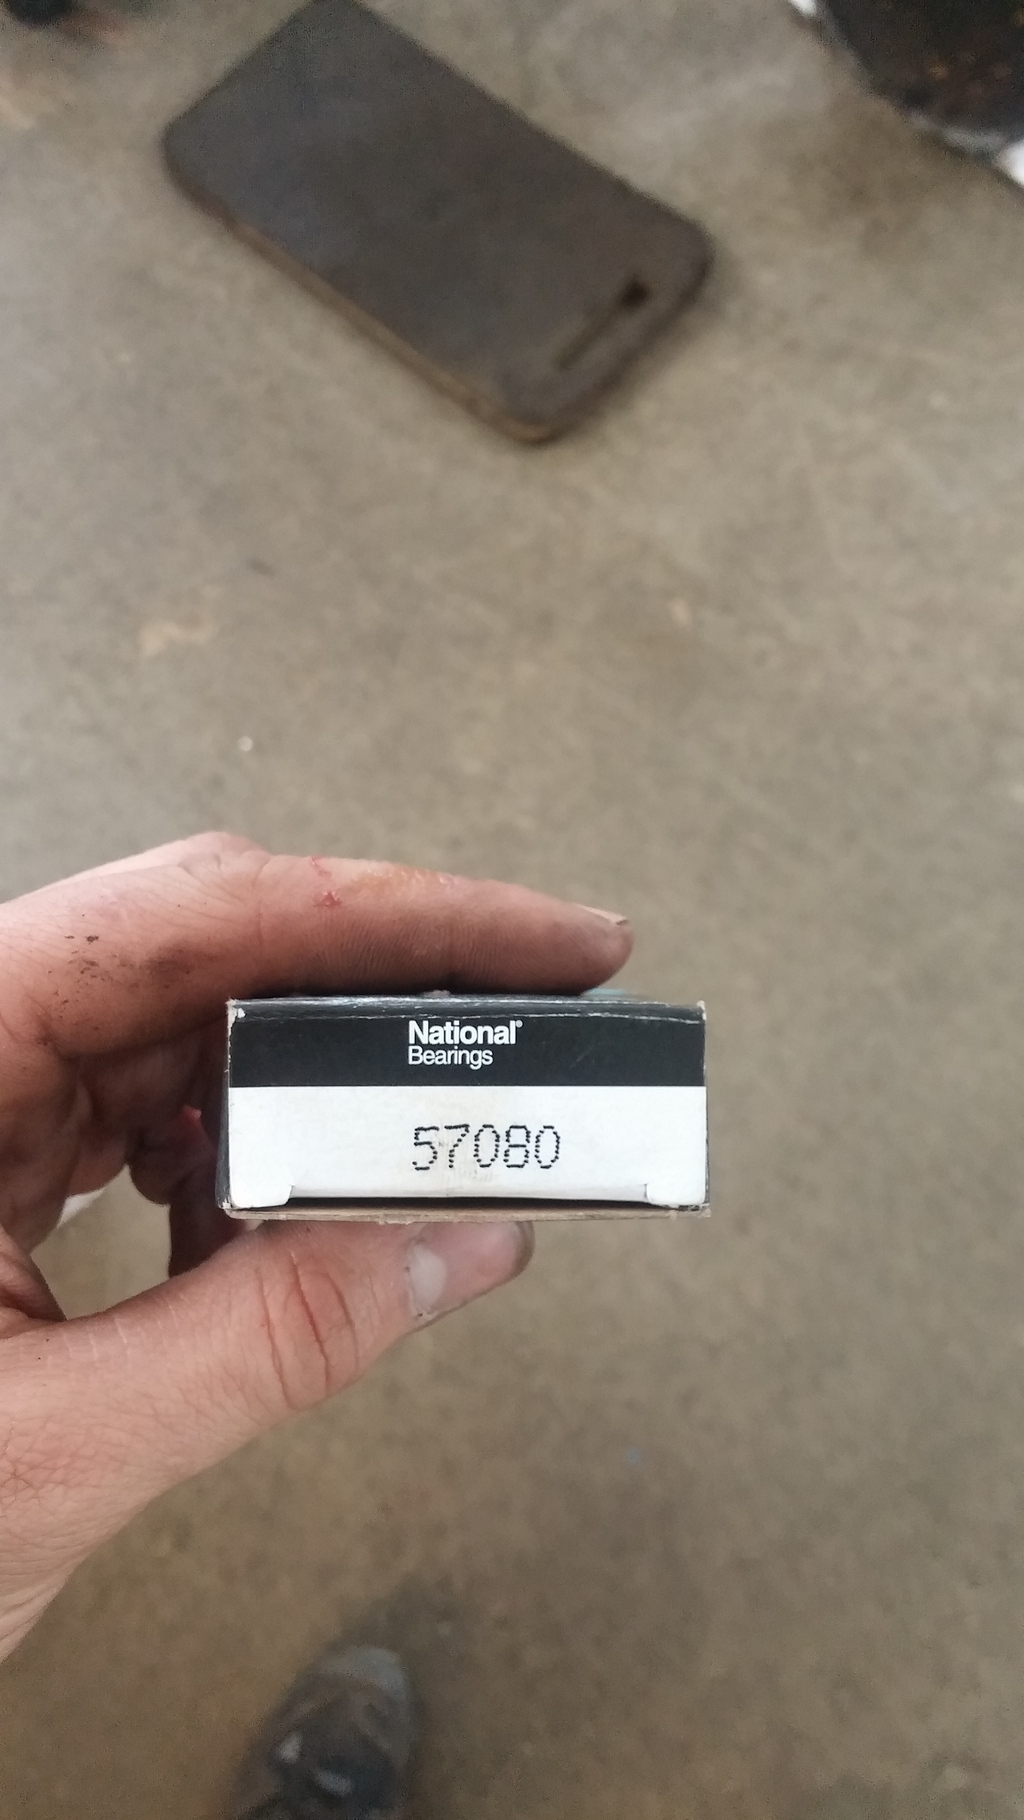
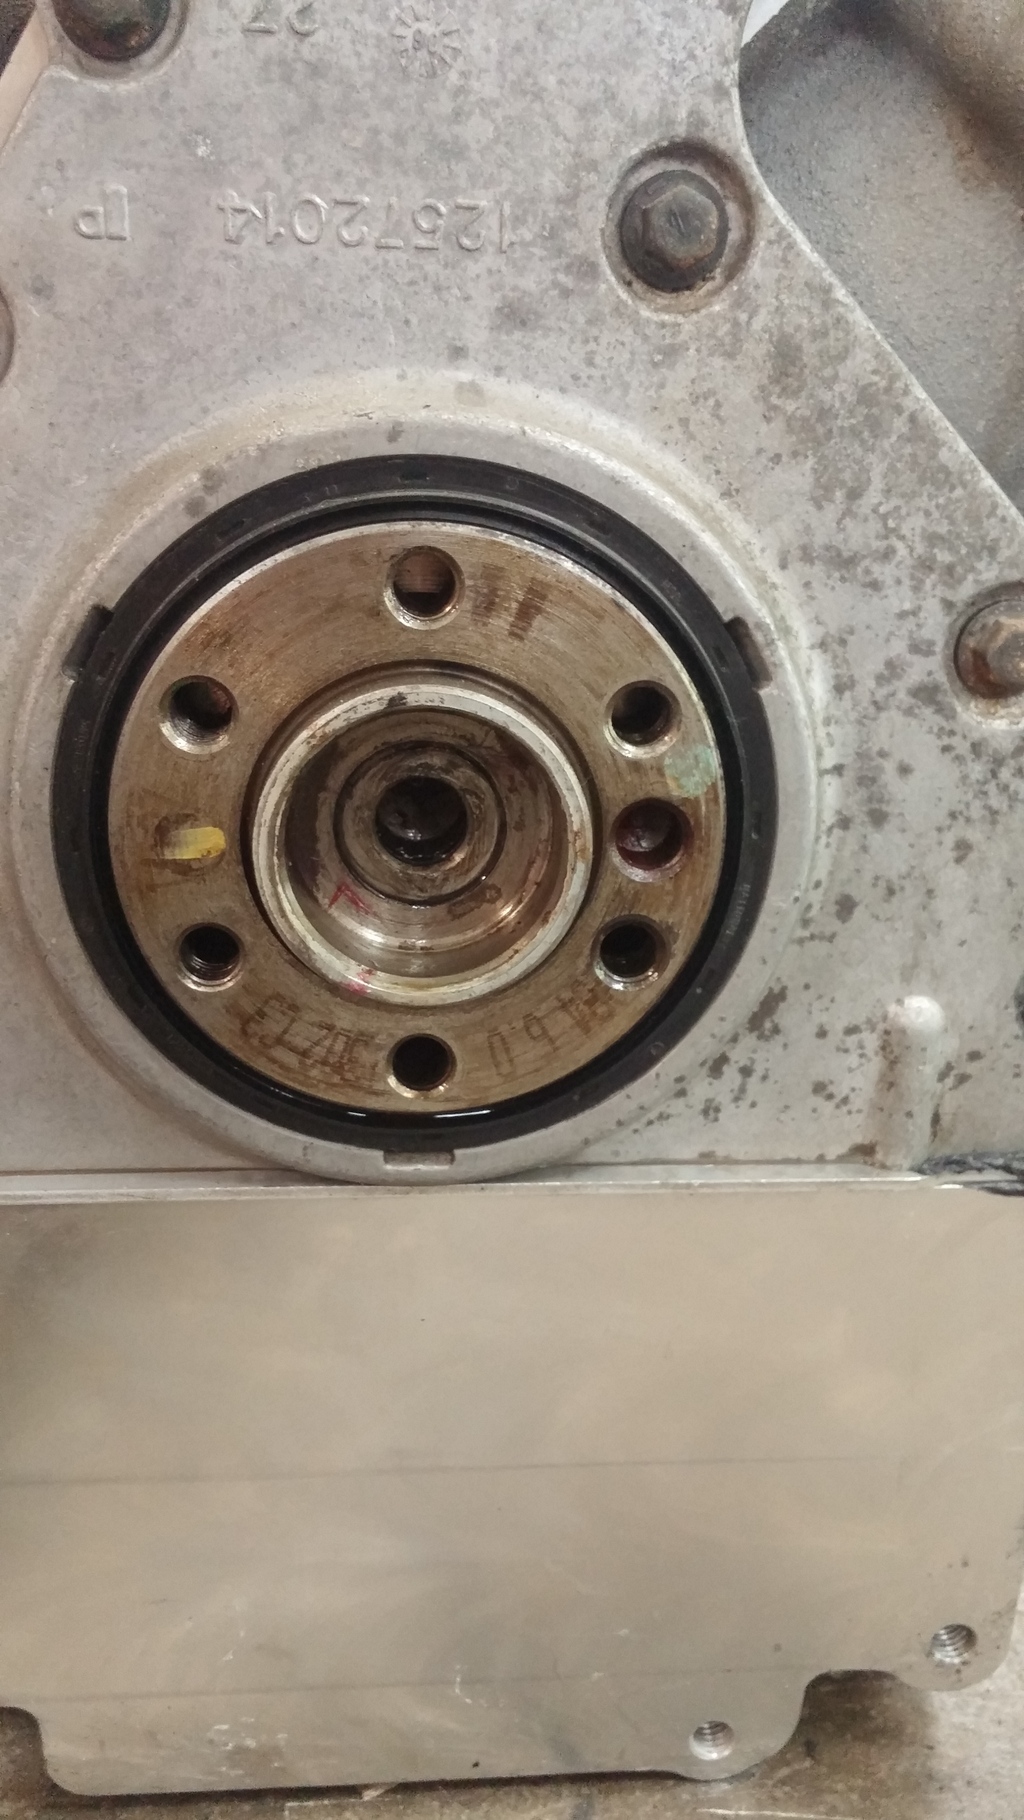
I love the removable rad support on these cars, makes life so much easier. Whole drivetrain out in about 25minutes. Seperated the trans and started assembling clutch stuff. Pilot bearing and PN for anyone swapping. I prefer this needle bearing pilot jobbie vs the bronze bushing I've seen out there
Installed
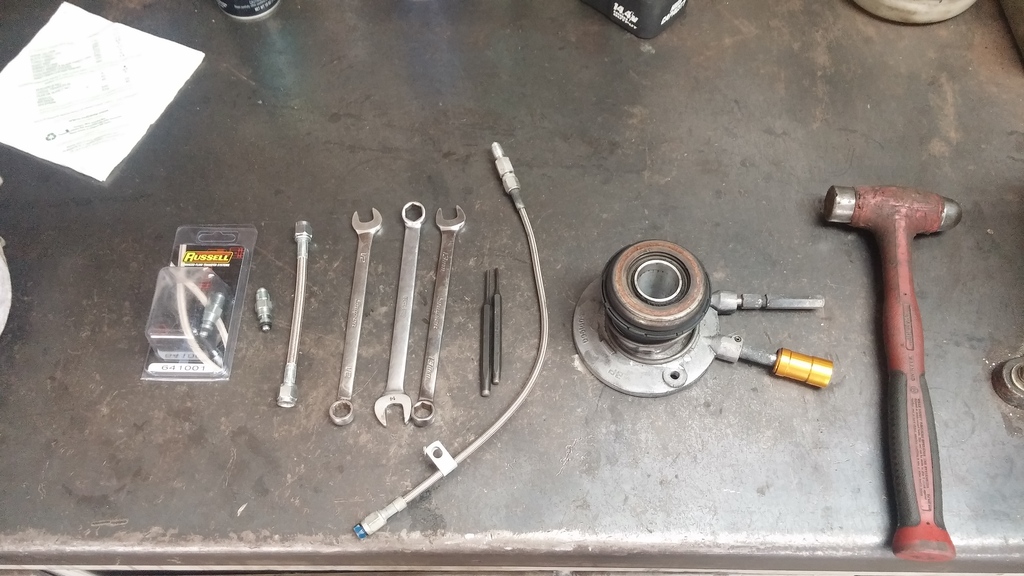
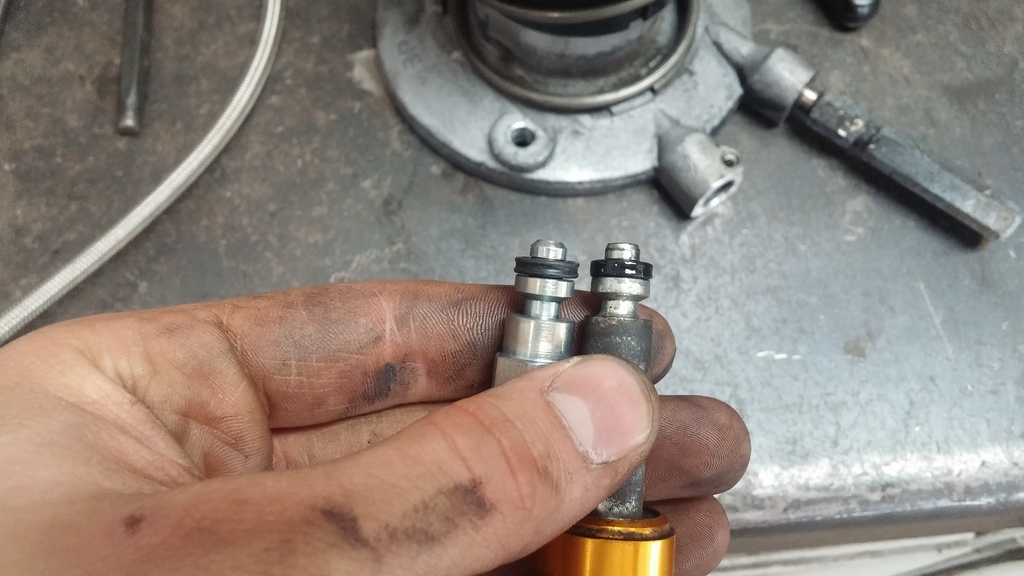
Then onto assembling the slave cylinder bits. I'm not a fan of the factory quick disconnect, always had bleeding issues with it compared to switching to an AN style setup like below.
So this setup is pretty simple for those that haven't done it. Russel quick disconnect to -4AN fitting (part number in pic below), they also offer a -3an version for those wanting to go that route. I'm using an Allstar Performance premade 6" -4an hose to connect to the slave inlet and just get outside the trans enough to make my line up to the master output. All you gotta do is punch out the factory roll pin, remove the old fitting and o-ring, slide the new one in, put the rollpin back in place and you're set.
O-ring gets stuck almost every time, make sure you fish it out.
Russell fitting vs GM fitting
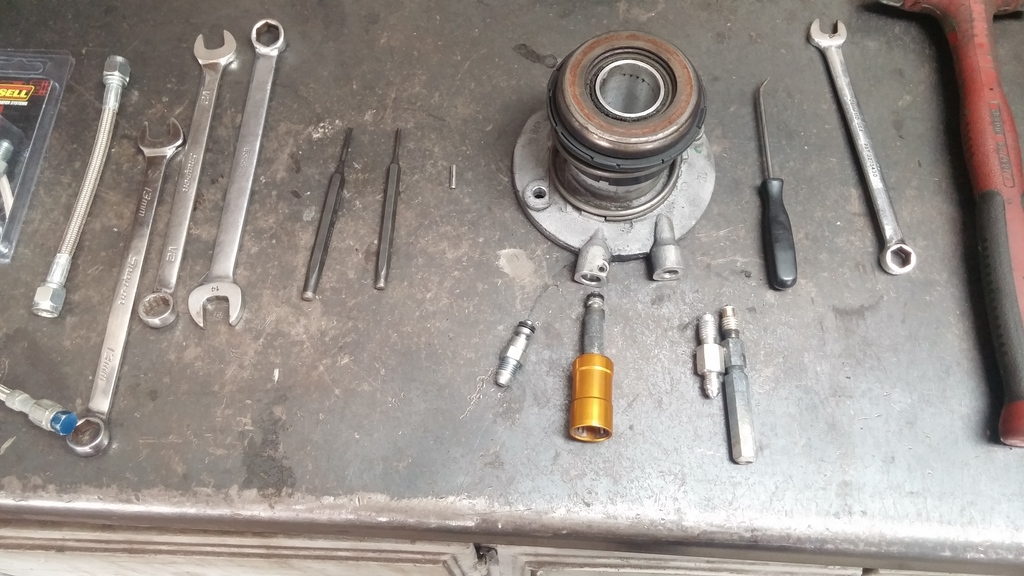
Both sides disassembled
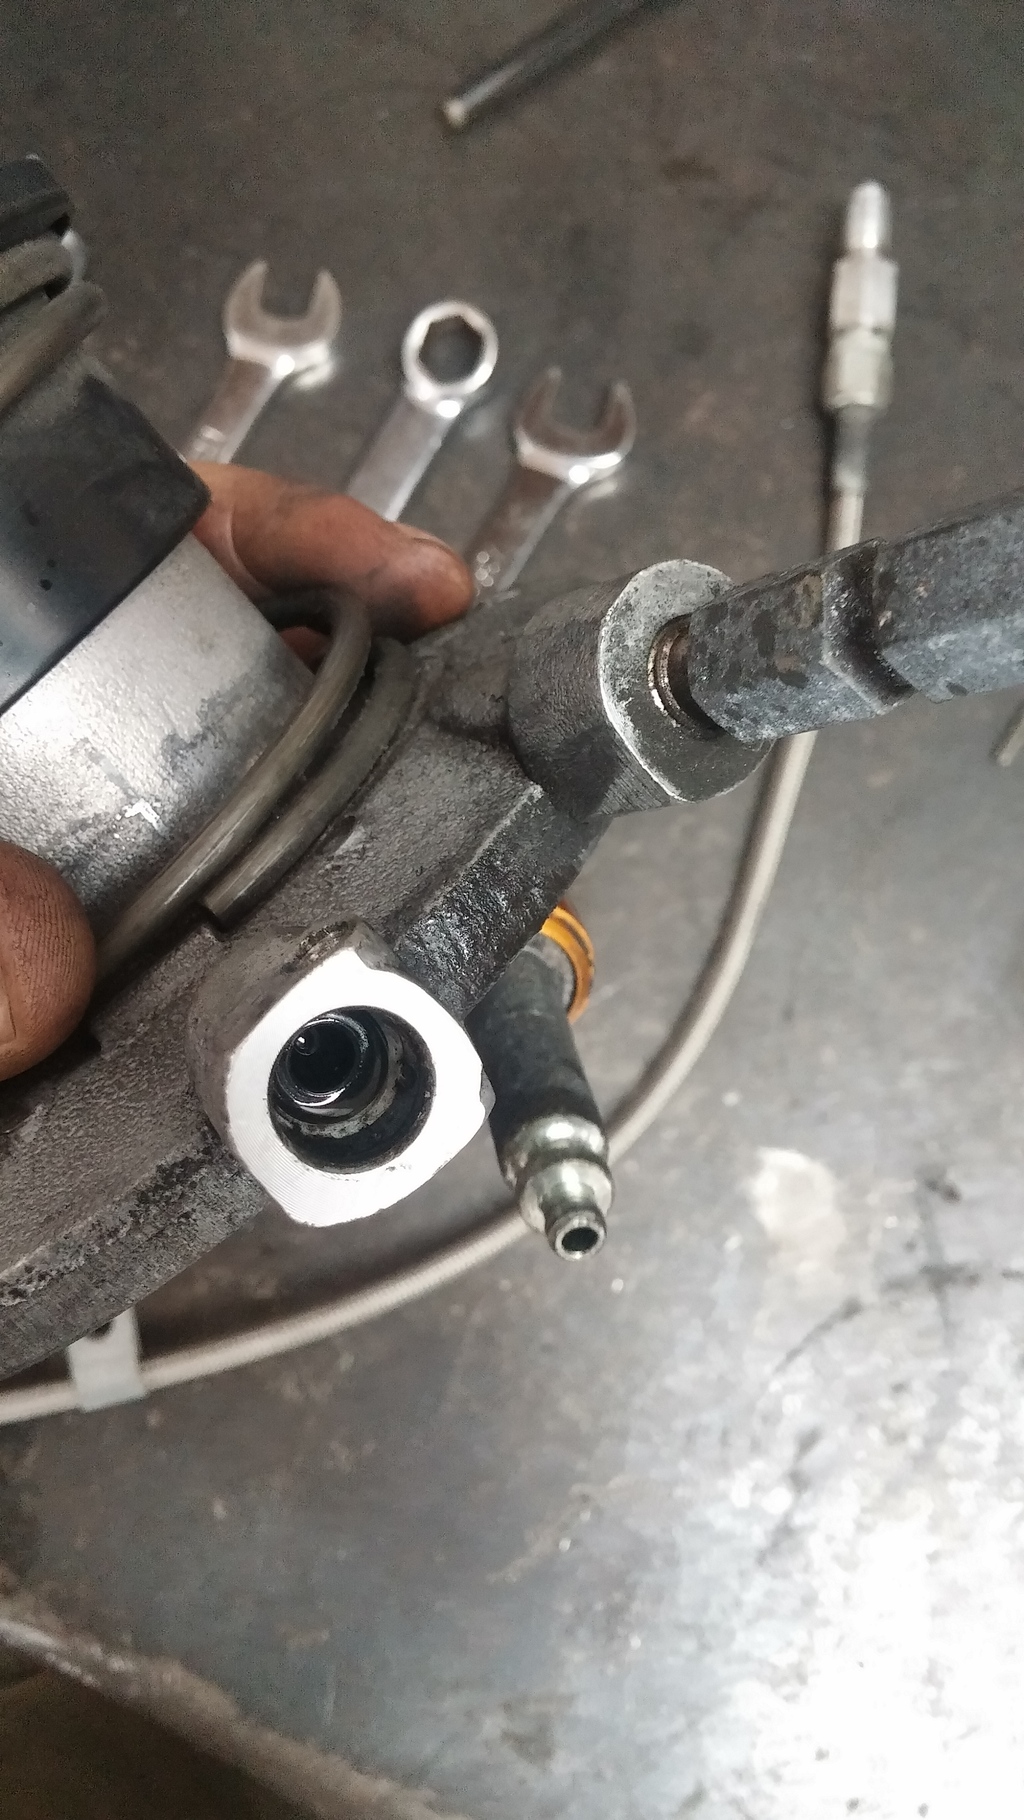
End product. I don't currently have a part number for the bleeder adapter, it came in a kit I bought a while back. If anyone has that part number, or even the thread pitch of the stock slave bleeder outlet, I'd appreciated it. But regardless, it goes from the outlet to -3an, then to a roughly 12" -3an premade hose, with a cap at the end for bleeding.
Pro tip, don't tighten or put the lines onto the slave before sliding them onto the trans input shaft...they won't bend and fit through the transmission holes/outlets haha.
Had this Spec level 3 that came with the trans, at least I think it's a level three, it's a 6 puck disc *shrug*....gonna throw it in and see whats up. Hopefully it holds up for a while, and if it doesn't slip I'll run it till it does haha.
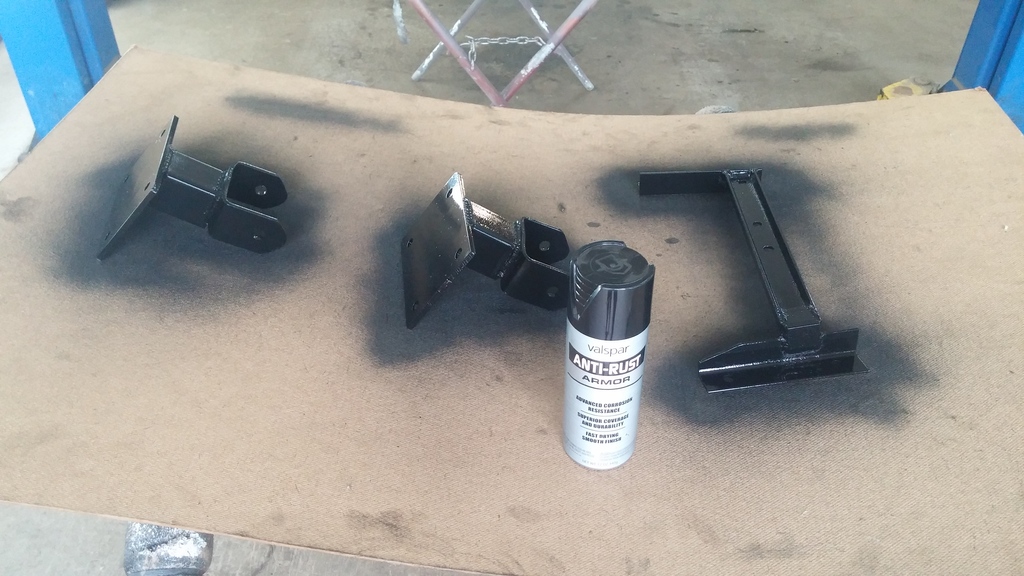
With all the mounts out I threw some paint on them.
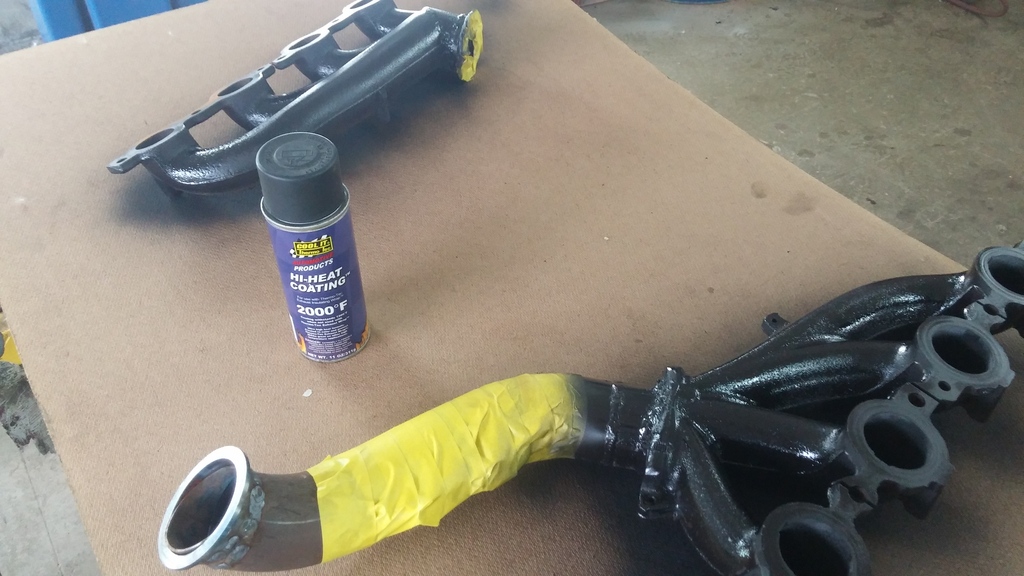
Manifolds off and getting some high temp black coating
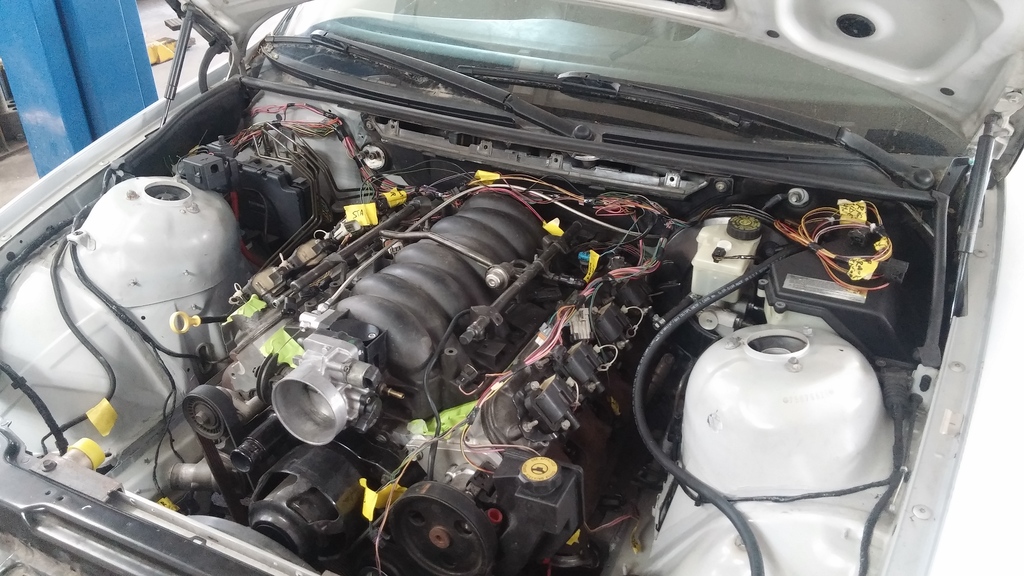
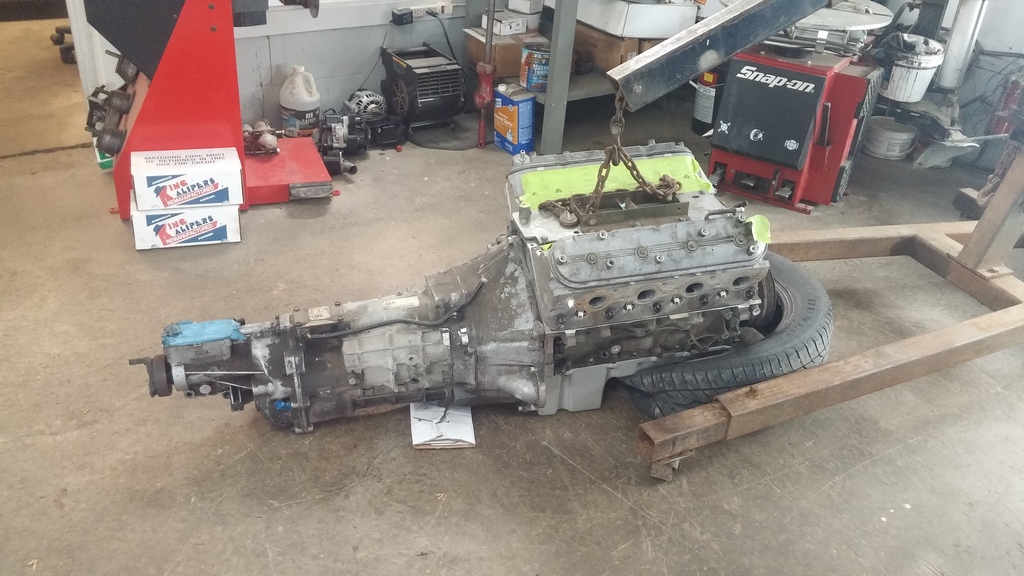
Motor and trans ready to go back in
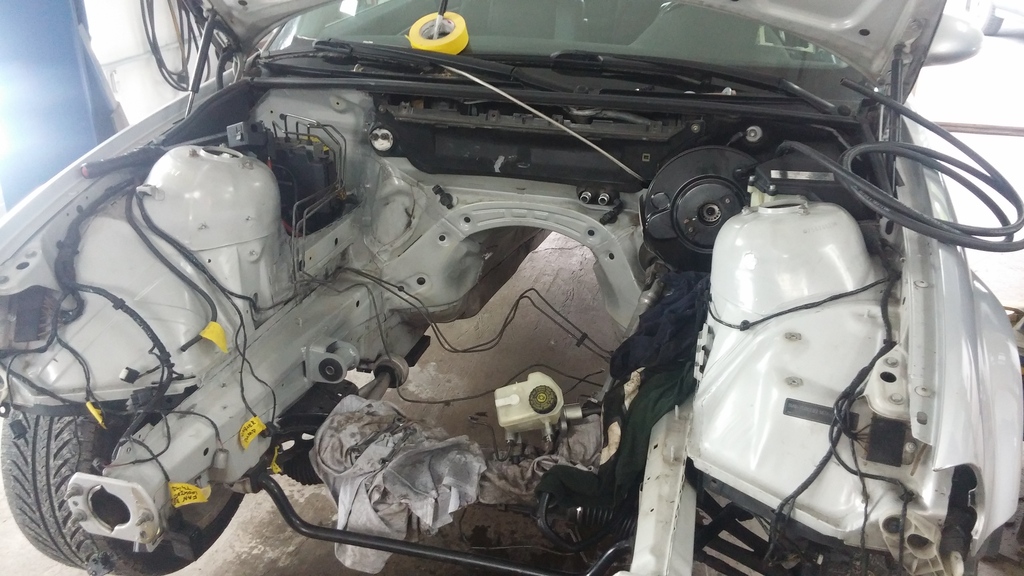
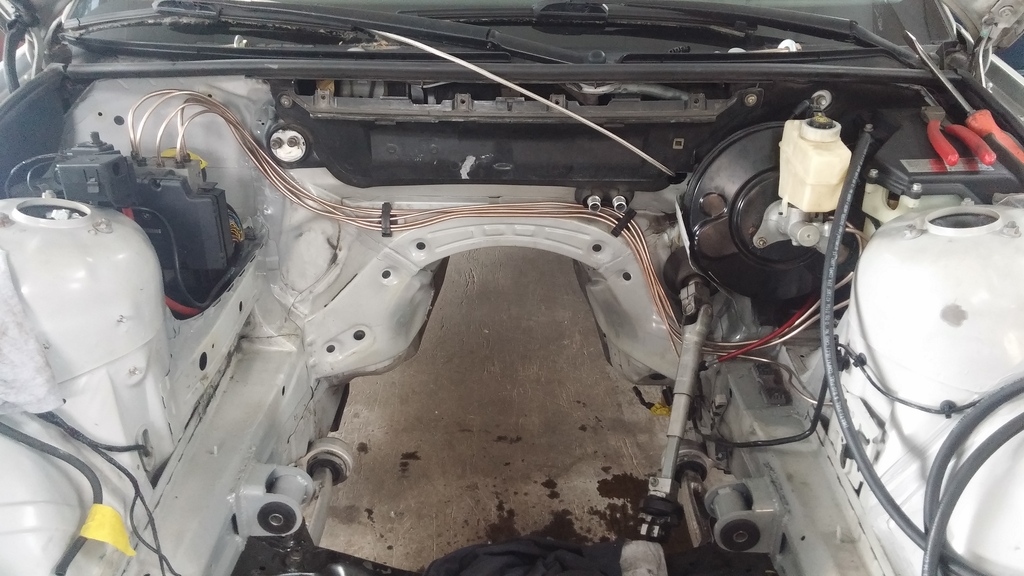
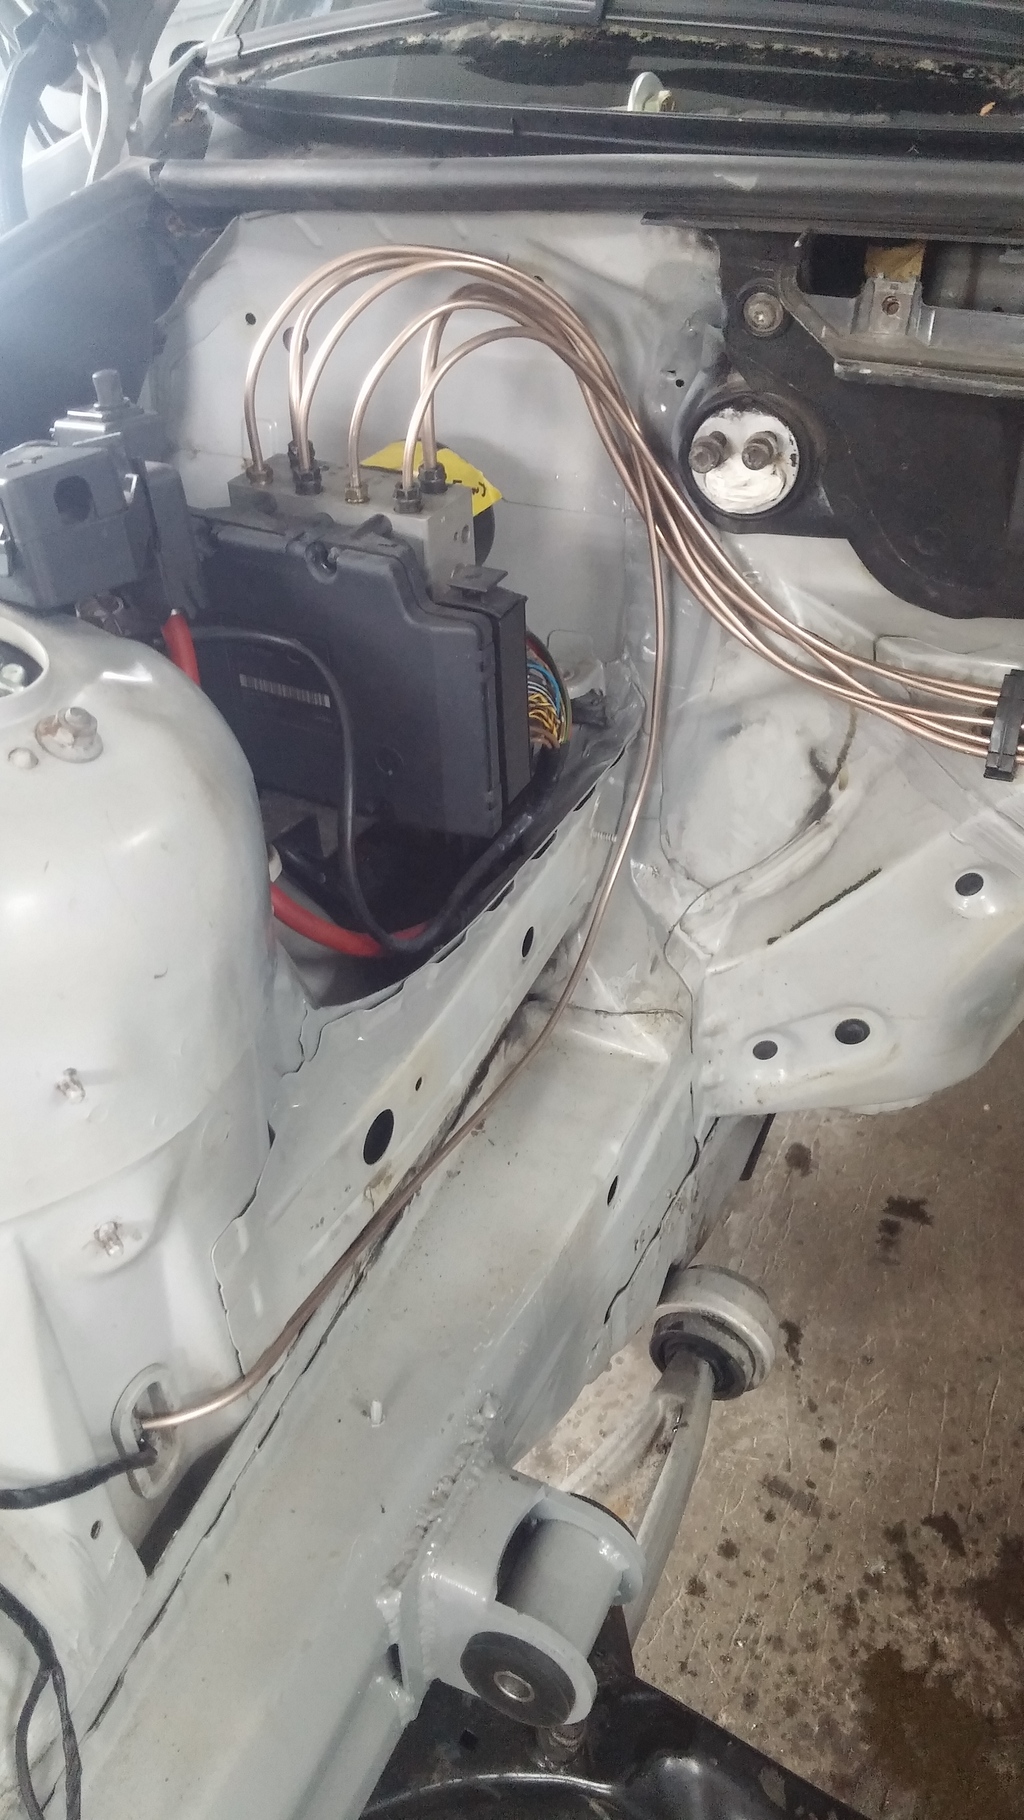
Dad had time after work so we dug into replacing the factory brake lines from the master to the ABS block. Nothing was wrong with the stock lines, just didn't like the routing and they were taking up some more space in some spots than was necessary.
Once the lines were all done I degreased the engine bay again, then used some stuff we call "sand soap", bottle says something I can't remember, but basically wet the surface, use this soap stuff and a red or grey (depending on the surface and job you're doing) scotchbrite style pad and sand the area you're going to paint, then hose it off clean and let it dry. So yeah, did that, and letting it dry over night. Tomorrow things will get taped off and painted while I button up some other miscellaneous random things for the motor (coolant crossover thingers and misc sensors).
Dakota Digital tachometer conversion box showed up today. Shifter tracking hasn't updated even though it had a delivery date for today....2nd time this has happened with UPS in the last 3 weeks.... It'll probably show up Monday or Tuesday...hopefully. Shift **** was sent USPS first class, so who knows when that will get here. Luckily I have some stock stuff I can use to move the car in and out of the shop.
I don't currently have a part number for the bleeder adapter, it came in a kit I bought a while back. If anyone has that part number, or even the thread pitch of the stock slave bleeder outlet, I'd appreciated it.
I did drive mine before tearing it apart. It was fun, but definitely not what I was after. A lot of my issues came from trying to retain a/c and swapping to the 4L80e. The combination of the iron 6.0, 80e and all the supporting mods were way too heavy for the E36. The 80e took a ton of room and required compromises on how the charge pipe and exhaust was routed. I had to lower the front subframe with spacers, build a custom multi jointed steering shaft, etc. A T56 and ditching the a/c would help resolve a lot of the problems.
As far as the rear mount, look at Zombies build thread. I took all of his advice and found spooling the turbo wasn't an issue. I would recommend placing it where you can put a decent muffler. Mine was ridiculously loud with a straight 4" downpipe.
Keep in mind, my daily driver is a stock E36 M3. I didn't want to loose the BMW feel. The modifications that were required to make the parts "fit" made the car feel like a clunker. It's all going into an E39 540, as it is a larger chassis that can handle the weight. Keep up the good work. I'm rooting for you!


 05-28-2015, 12:25 PM