

My Turbo LSX Z31 Build.


 06-02-2016 | 11:29 PM
#103
Thread Starter

Joined: Dec 2010
Posts: 636
Likes: 4
From: San Antonio TX
 . There's been multiple people making 1xxxhp to the wheels through the stock trans. Several of which see good amount of track(circuit) abuse , but most see alot of street abuse. The advantage I have over all these previously mentioned vehicles is I weigh considerably less. I figure if grenade my 3 stock ones I'll pursue a more reliable avenue. The 98+ 300zx twin turbo transmission is stronger than our US units.
Thanks for the kind words man
 06-03-2016 | 06:59 AM
#104
TECH Apprentice
Joined: May 2012
Posts: 372
Likes: 0
From: Danbury, Ct
badass car man. the fab work on that turbo kit is beautiful as well! bet your happy you painted the bay because it looks 10 times better! I went with a gold box to but I didn't get any stickers or tshirts!!
06-03-2016 | 12:12 PM
#105
Thread Starter
Joined: Dec 2010
Posts: 636
Likes: 4
From: San Antonio TX
Thanks for the complements. I must've ordered my gold box @ just the right time.
06-03-2016 | 01:29 PM
#106
I had a buddy that had one of these. That thing was fun even though it was n/a. I did develop a sweet spot for these and still turn my head when I see one. This is a really nice build! I'm eager to see more.
06-03-2016 | 10:05 PM
#107
Thread Starter
Joined: Dec 2010
Posts: 636
Likes: 4
From: San Antonio TX
Stay tuned the future will have more quality work
 10-11-2016 | 12:32 PM
#109
Thread Starter
Joined: Dec 2010
Posts: 636
Likes: 4
From: San Antonio TX
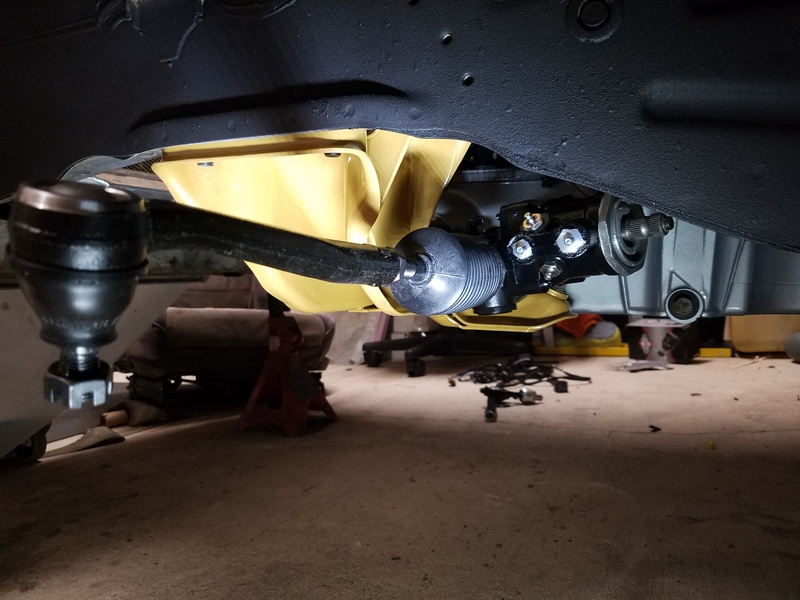
Well the time has come for another update on my build. It's a small update but an update none the less. The 1st item on the list was buttoning up my manual rack. By installing new grease fittings, tie rods, & boots.These are grease fitting sizes were used M12x1.0mm, M14x1.5mm, & M16x1.5mm.


 10-11-2016 | 12:33 PM
#111
Thread Starter
Joined: Dec 2010
Posts: 636
Likes: 4
From: San Antonio TX
Check out this 14+ year old unopened 1 liter pepsi. Well it expired over 14 years ago. Found it under the driver side seat. Needless to say it went to the trash immediately.


The pile that went to the trash.


The pile that went to the trash.

 10-11-2016 | 12:34 PM
#112
Thread Starter
Joined: Dec 2010
Posts: 636
Likes: 4
From: San Antonio TX
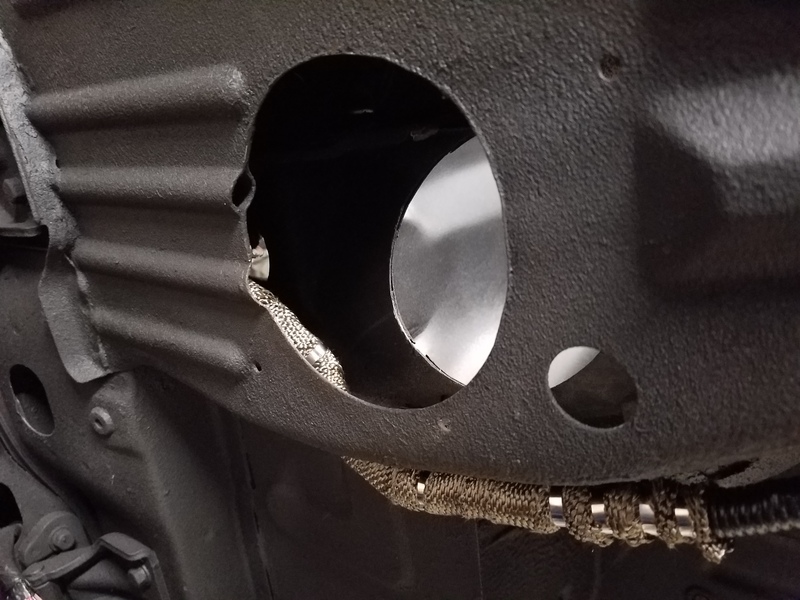
Then I drilled a hole into my firewall for my engine wiring harness. The hole I saved during the engine bay work was too far away for the harness to reach. Unfortunately I did the engine bay work before I purchased my ecu & harness. 


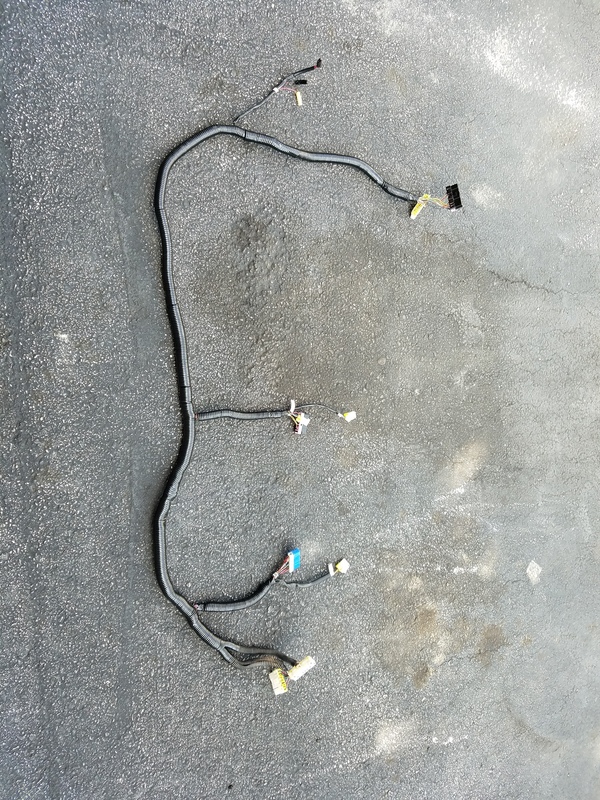
Figured I might as remove all unwanted wires from each of the factory wiring harnesses. Each terminated wire was properly depinned from the connector. Armed with the Z31 FSM I identified & labelled all connectors. The label maker I used is the Dymo Rhino 5200. It's hands down the best label maker I've ever used/owned.
Chassis Harness
Before


After


 10-11-2016 | 12:34 PM
#113
Thread Starter
Joined: Dec 2010
Posts: 636
Likes: 4
From: San Antonio TX
Factory Engine Harness
Before

After
Body Harness
Before

I relocated the relays inside the cabin. Which meant I had to extend all the front accessory harness sections(headlights, turn lamps, horn& side markers) here's the after.


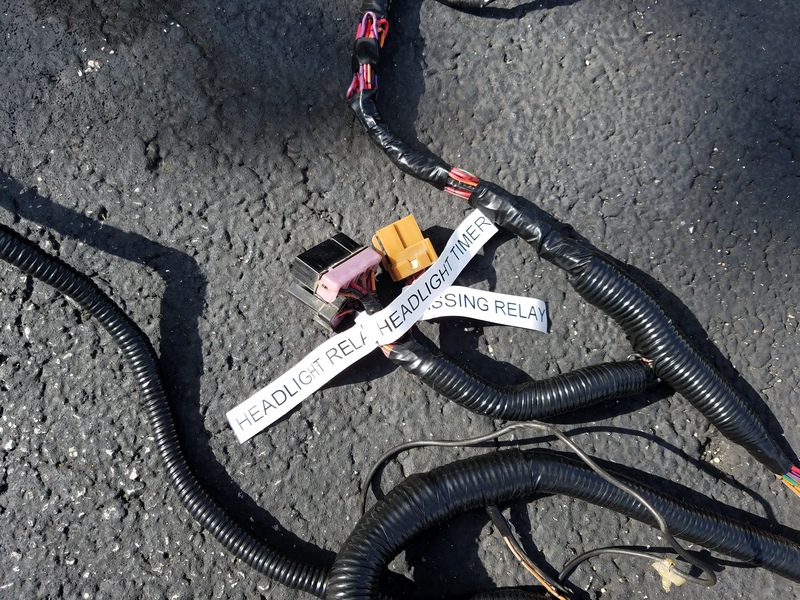
Before

After

Body Harness
Before

I relocated the relays inside the cabin. Which meant I had to extend all the front accessory harness sections(headlights, turn lamps, horn& side markers) here's the after.


 10-11-2016 | 12:35 PM
#114
Thread Starter
Joined: Dec 2010
Posts: 636
Likes: 4
From: San Antonio TX
Out of curiosity I weighed the all terminated wires. It weighed in at 10.4 Lbs exactly. To be honest it wasn't worth the 60+hrs I spent terminating, labelling, & reworking the harnesses. I also replaced all factory loom & re-wrapped all the harness with fire resistant electrical tape. I could've done it faster but even if it only took 30 Hrs, it would still be too much in my opinion.


The only section that's mostly installed is the front body harness. The rest of it is kind laying in its place at the moment. Here's pics of the partially installed front body harness.
Driver side

Passenger side
Wrapped this portion with DEI Titanium heat wrap for extra protection from the downpipe.


 10-11-2016 | 12:35 PM
#115
Thread Starter
Joined: Dec 2010
Posts: 636
Likes: 4
From: San Antonio TX
Seemed like the perfect time to remove majority of the sound deadening. Considering everything inside the cabin removed. I've removed my fair share of sound deadening out of several different vehicles over the years. I've found dry ice to be the fastest, easiest, & cleanest. The dry ice method leaves minimal amount of residue. The only downside is dry ice is kinda pricey. But well worth it in my opinion. I also like to use maximum strength Goo Gone to remove all left over residue. It literally wipes off after letting it soak 5 minutes. Here's some pics of sound deadening removal process.
Before


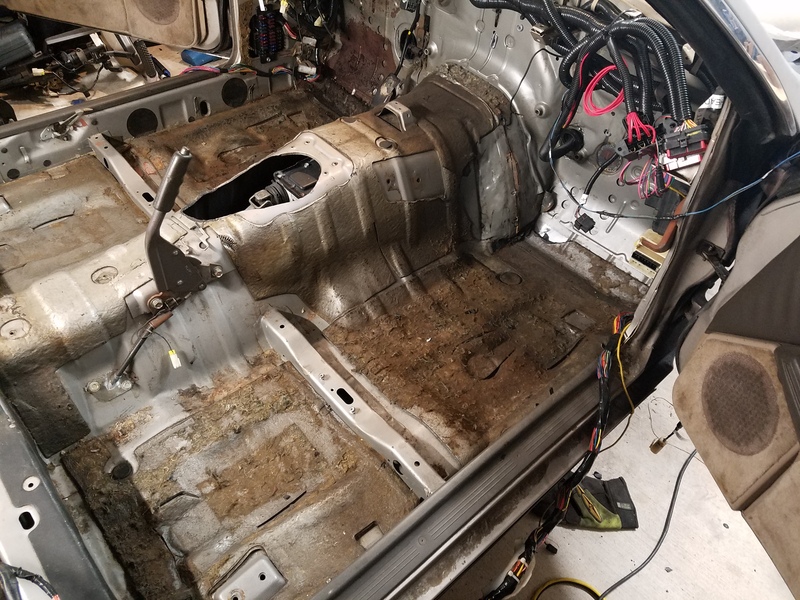

During


I lucked out by removing some pretty large pieces of sound deadening.

Before


During


I lucked out by removing some pretty large pieces of sound deadening.
 10-11-2016 | 12:36 PM
#116
Thread Starter
Joined: Dec 2010
Posts: 636
Likes: 4
From: San Antonio TX
After


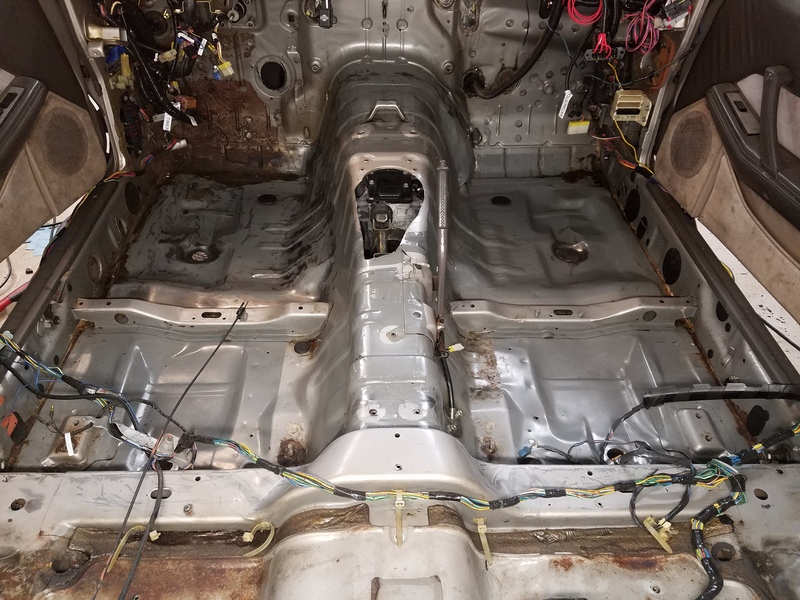
The speedo cable leaked terribly. It heavily saturated the firewall sound deadening. Just the firewall sound deadening I removed weighed in at 18.1 Lbs! I was shocked to say the least.
Here's some pics of the gear oil that was leaked everywhere.


Weighing of the firewall sound deadening alone.


As you can see the brake master cylinder was leaking just as bad. It leaked so long it overfilled the brake booster. Then leaked out the back of the booster, eating a large area of paint. Which I circled with red.

Here's the remaining sound deadening being weighed. It came in at 33.5 lbs.

 10-11-2016 | 12:36 PM
#117
Thread Starter
Joined: Dec 2010
Posts: 636
Likes: 4
From: San Antonio TX
Moving on I finally got my hot side of the turbo kit cermic coated. It's a shame to cover those fantastic welds but, it's for the greater good. Shot a quick pic when I dropped it off. Ignore the parts under the red x. They're not mine.

The hot side ended up looking great after Ceramic coating.


The hot side ended up looking great after Ceramic coating.


 10-11-2016 | 12:38 PM
#120
Thread Starter
Joined: Dec 2010
Posts: 636
Likes: 4
From: San Antonio TX
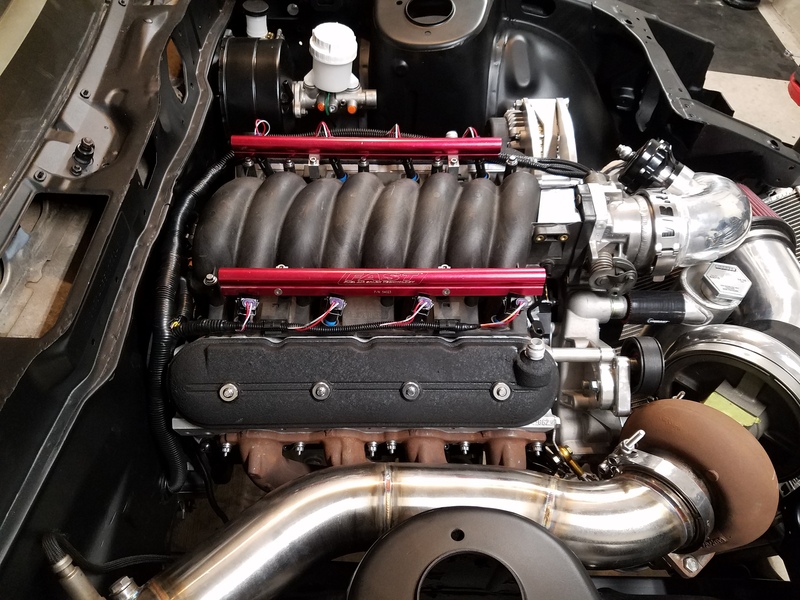
I also installed a new shorter serpentine belt. Due to my fear that excessive heat would cause my serpentine belt to prematurely fail.
Old serpentine belt


New serpentine belt


Old serpentine belt


New serpentine belt


