When you click on links to various merchants on this site and make a purchase, this can result in this site earning a commission. Affiliate programs and affiliations include, but are not limited to, the eBay Partner Network.
i just noticed I did have the driver side before pic up . I'll get one.
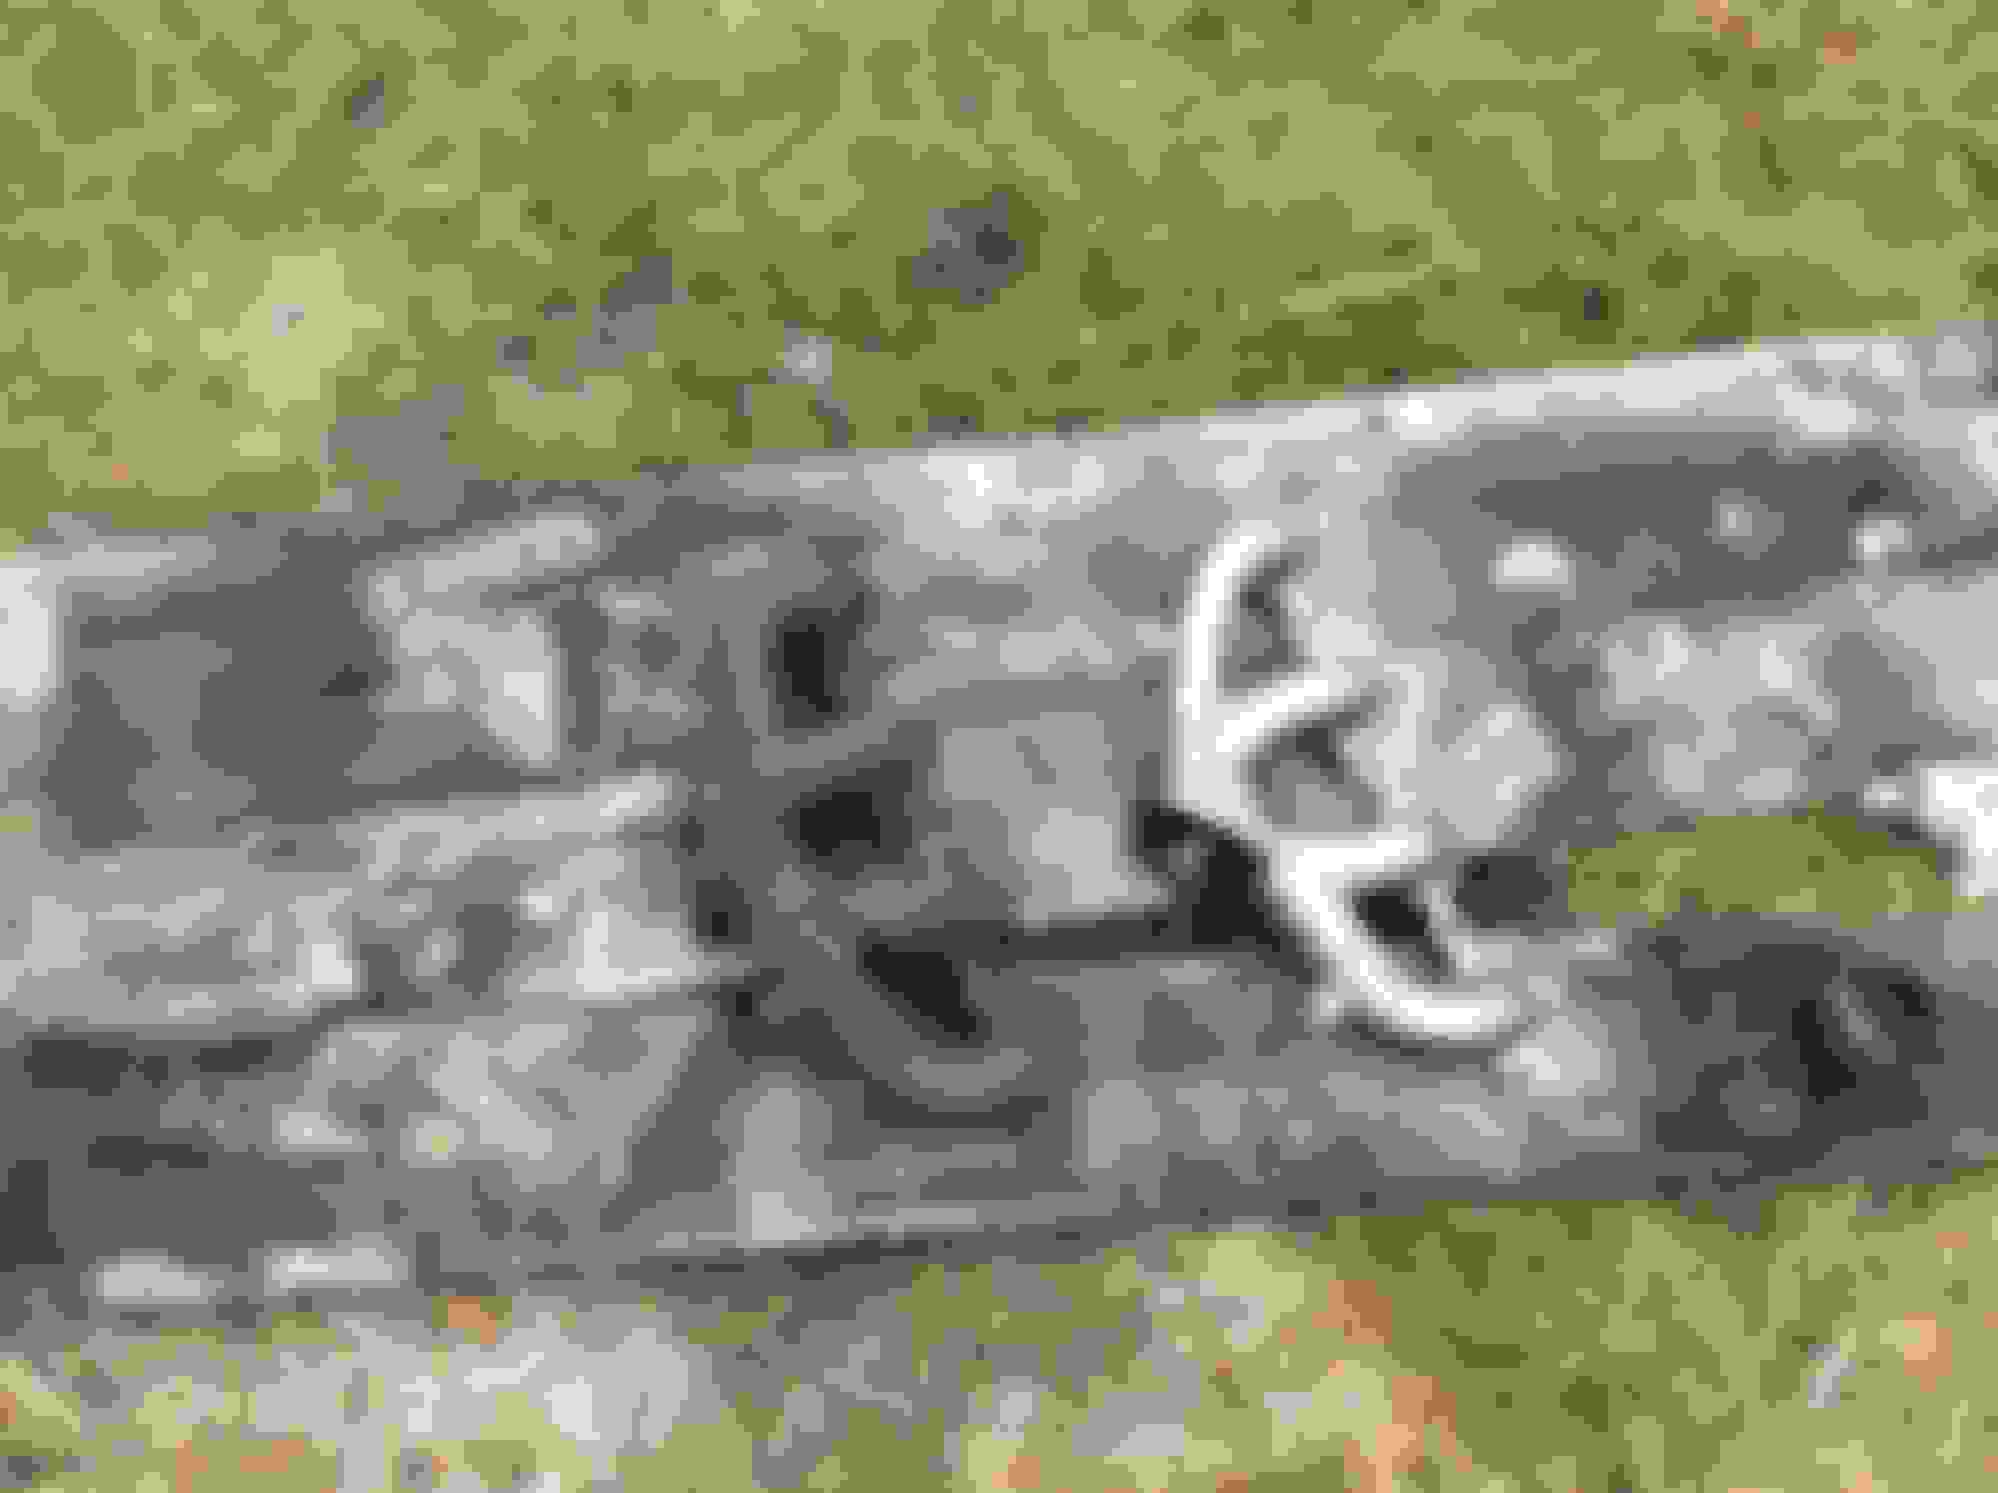
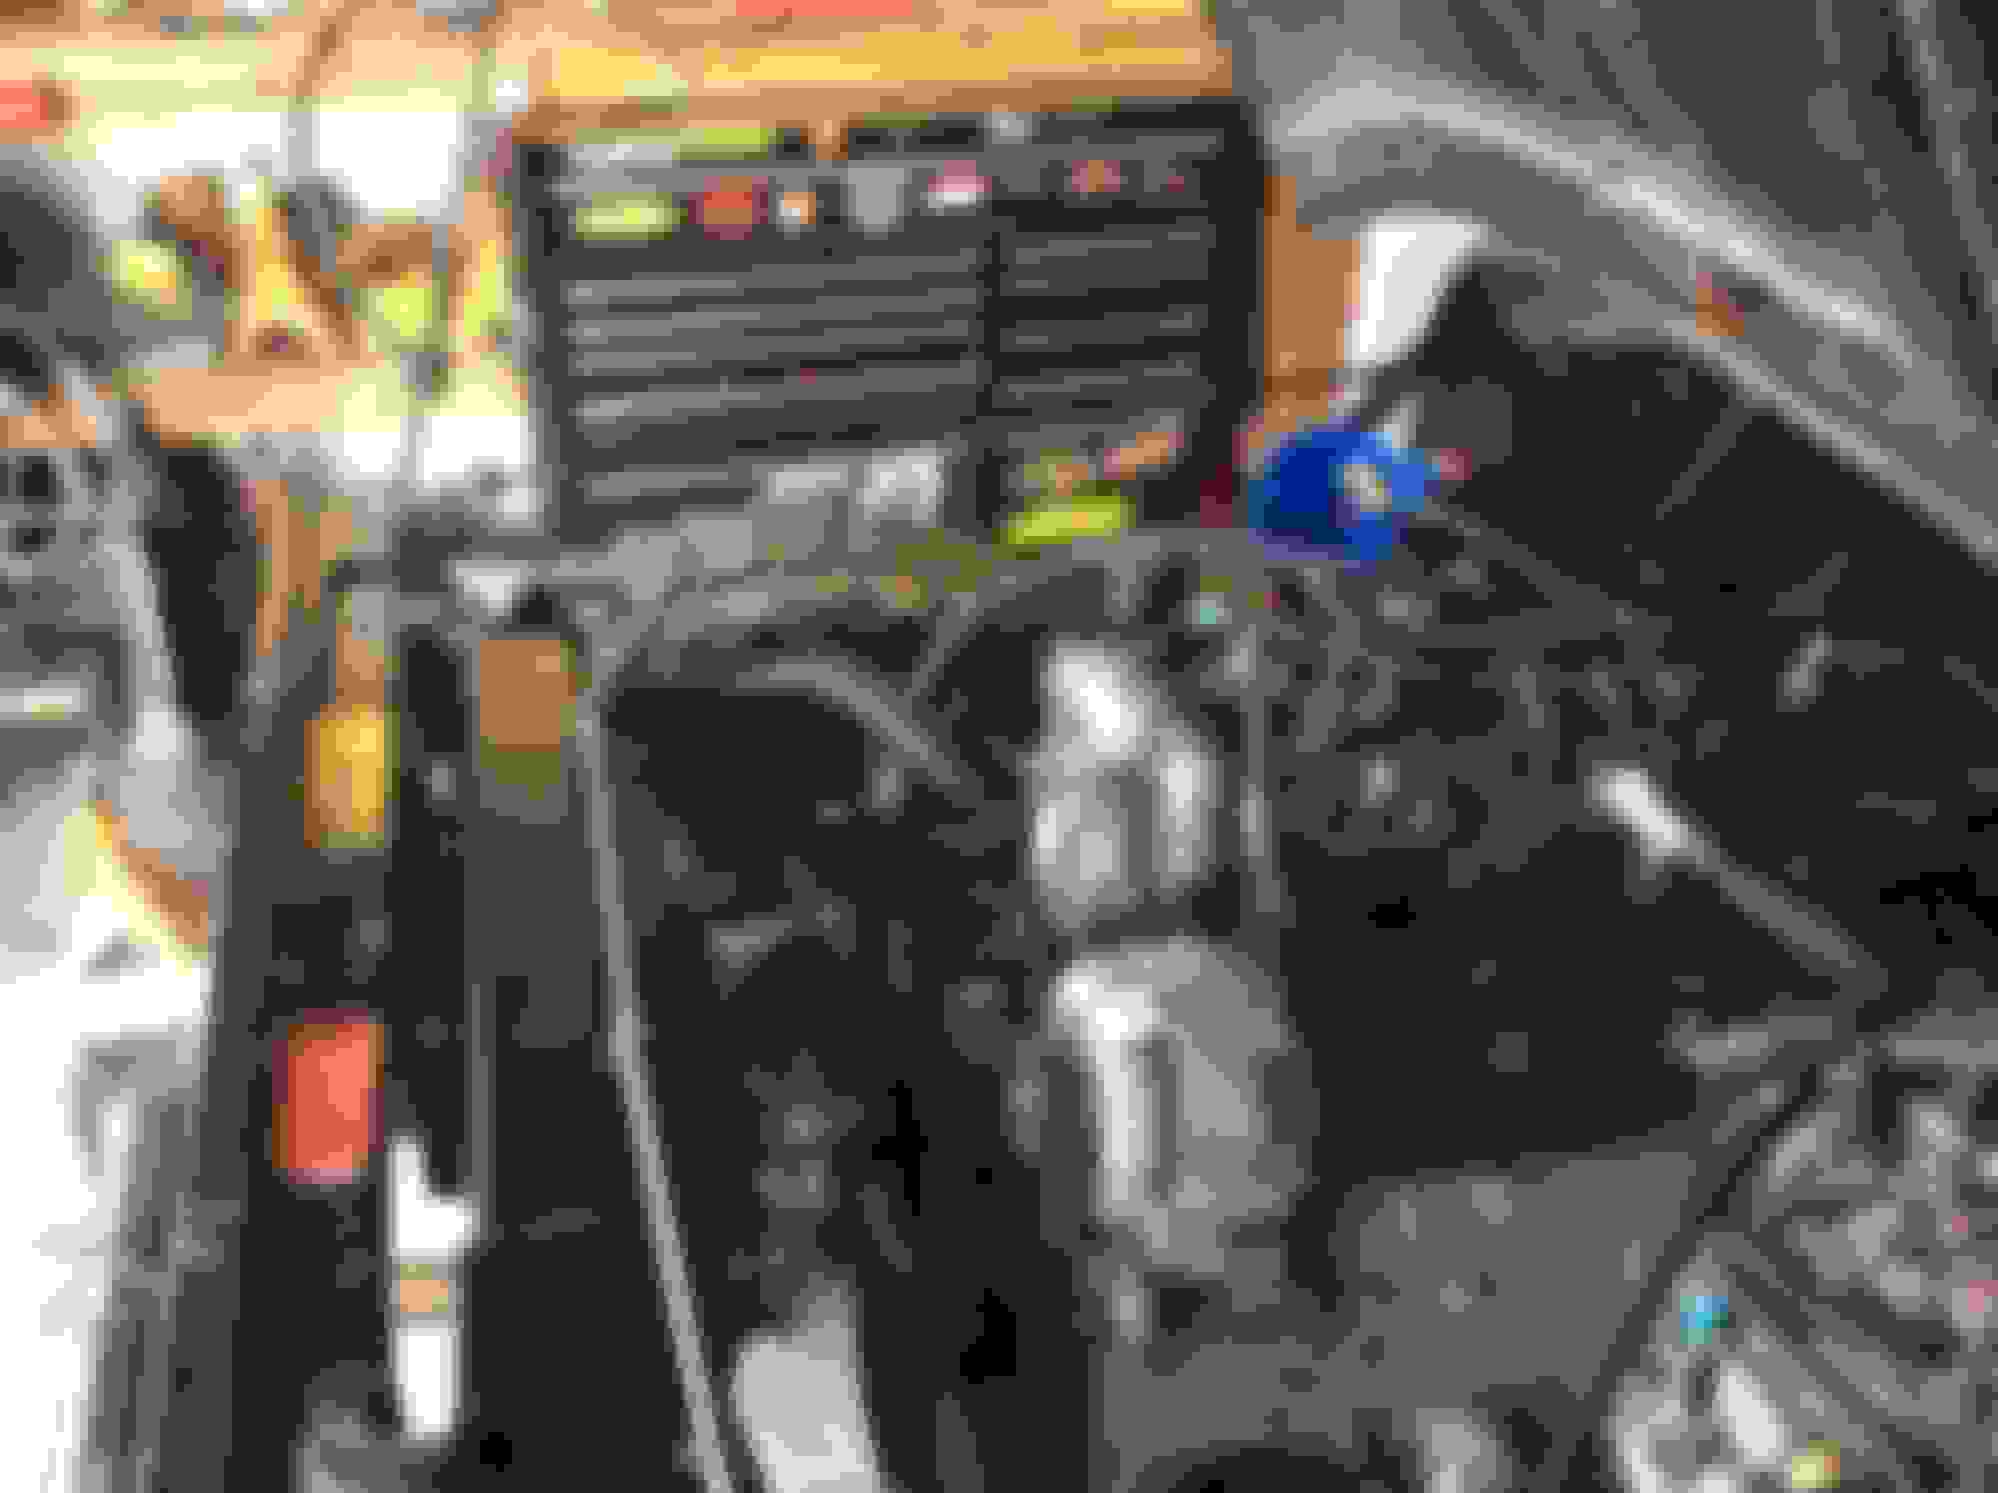
yeah drilling those holes was not a big deal ,
if you want to know I can get the big drill bit I used size . The pic only shows the piolet holes , then I drilled a 9/16 hole in the center . Not sure it's actual size just Grabes s big out of my draw that fit the best. then used a carbide cutter like for porting cast iron heads and went to town.
still by far the least amount of work I have ever done to stuff an engine for a swap.
i just noticed I did have the driver side before pic up . I'll get one.
yeah drilling those holes was not a big deal ,
if you want to know I can get the big drill bit I used size . The pic only shows the piolet holes , then I drilled a 9/16 hole in the center . Not sure it's actual size just Grabes s big out of my draw that fit the best. then used a carbide cutter like for porting cast iron heads and went to town.
still by far the least amount of work I have ever done to stuff an engine for a swap.
No worries on the drill bit. I'll figure it out. I was just hoping, from what I read, those were THE manifolds to use. Those Novak mounts worked great. And the installs I see, those guys used the Novak mounts. So I don't understand where the issue came from unless Novak made some changes. I'm a complete novice on installs..actually an accountant. And those Novak mounts were the ticket to an easy install. I hope to get my engine/trans/case installed in a few weeks. I guess I'll have some additional work to get them in. Looks good on the install.
Yeah , I'm not sure, I have read so many differnt build with everyone having a little differnt experience with fit. But I will say you will be time ahead for sure with novack mounts.
Modding the engine plate is the least of my worries . You will get it.
Smog laws are pretty loose here, I have a single high flow cat after the Y just for the visual inspection. I see where having to run dual's would lead to problems.
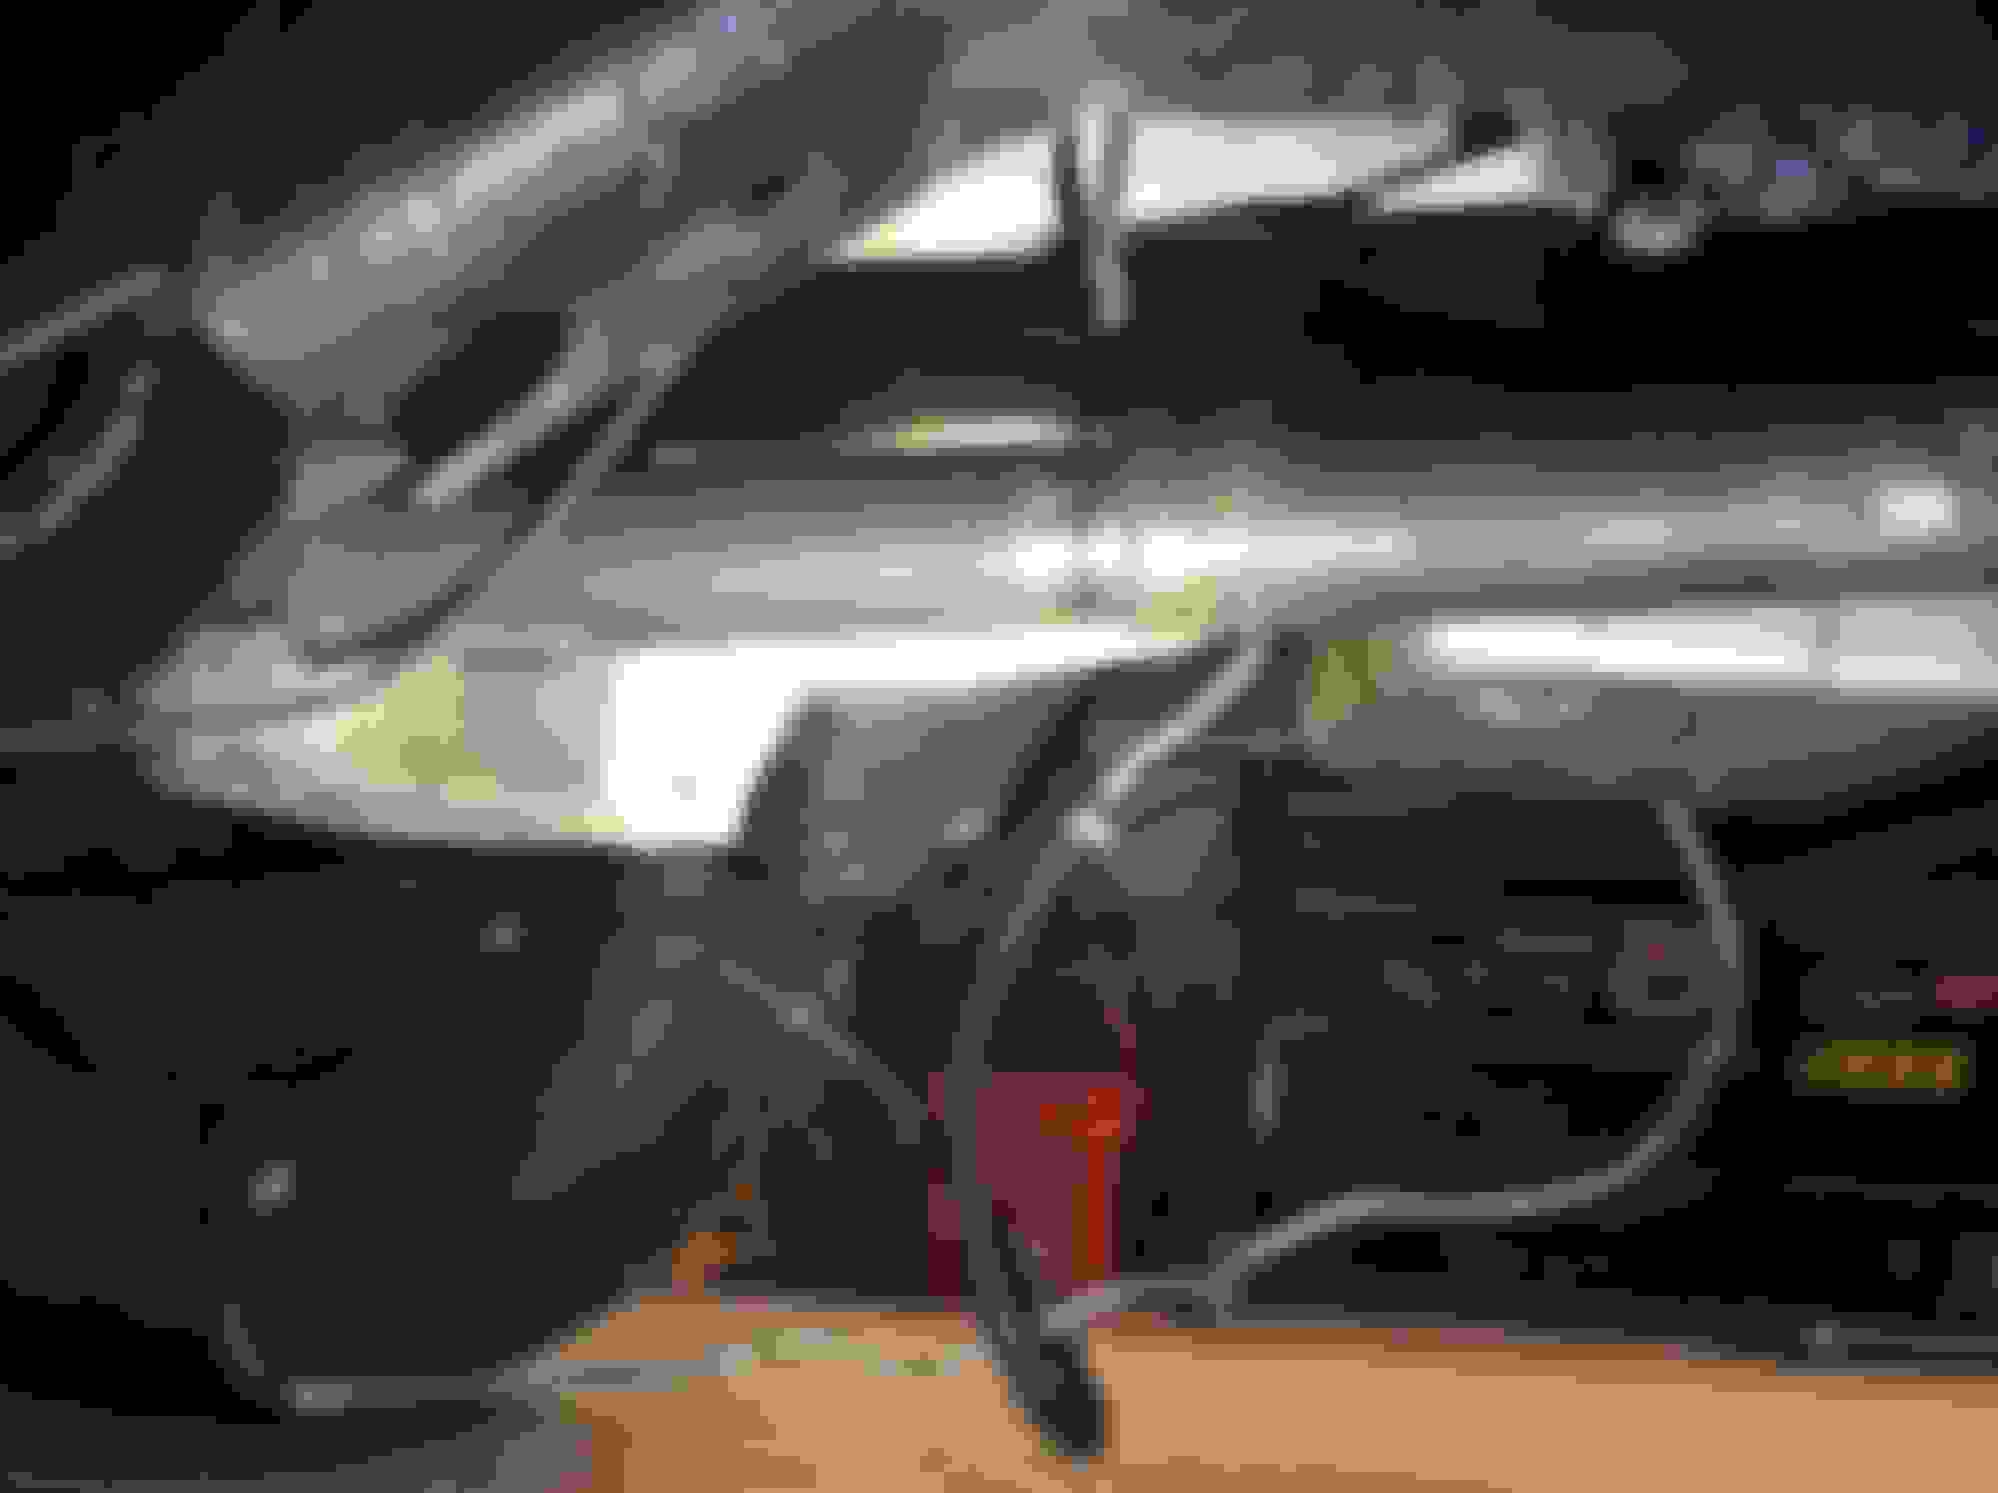
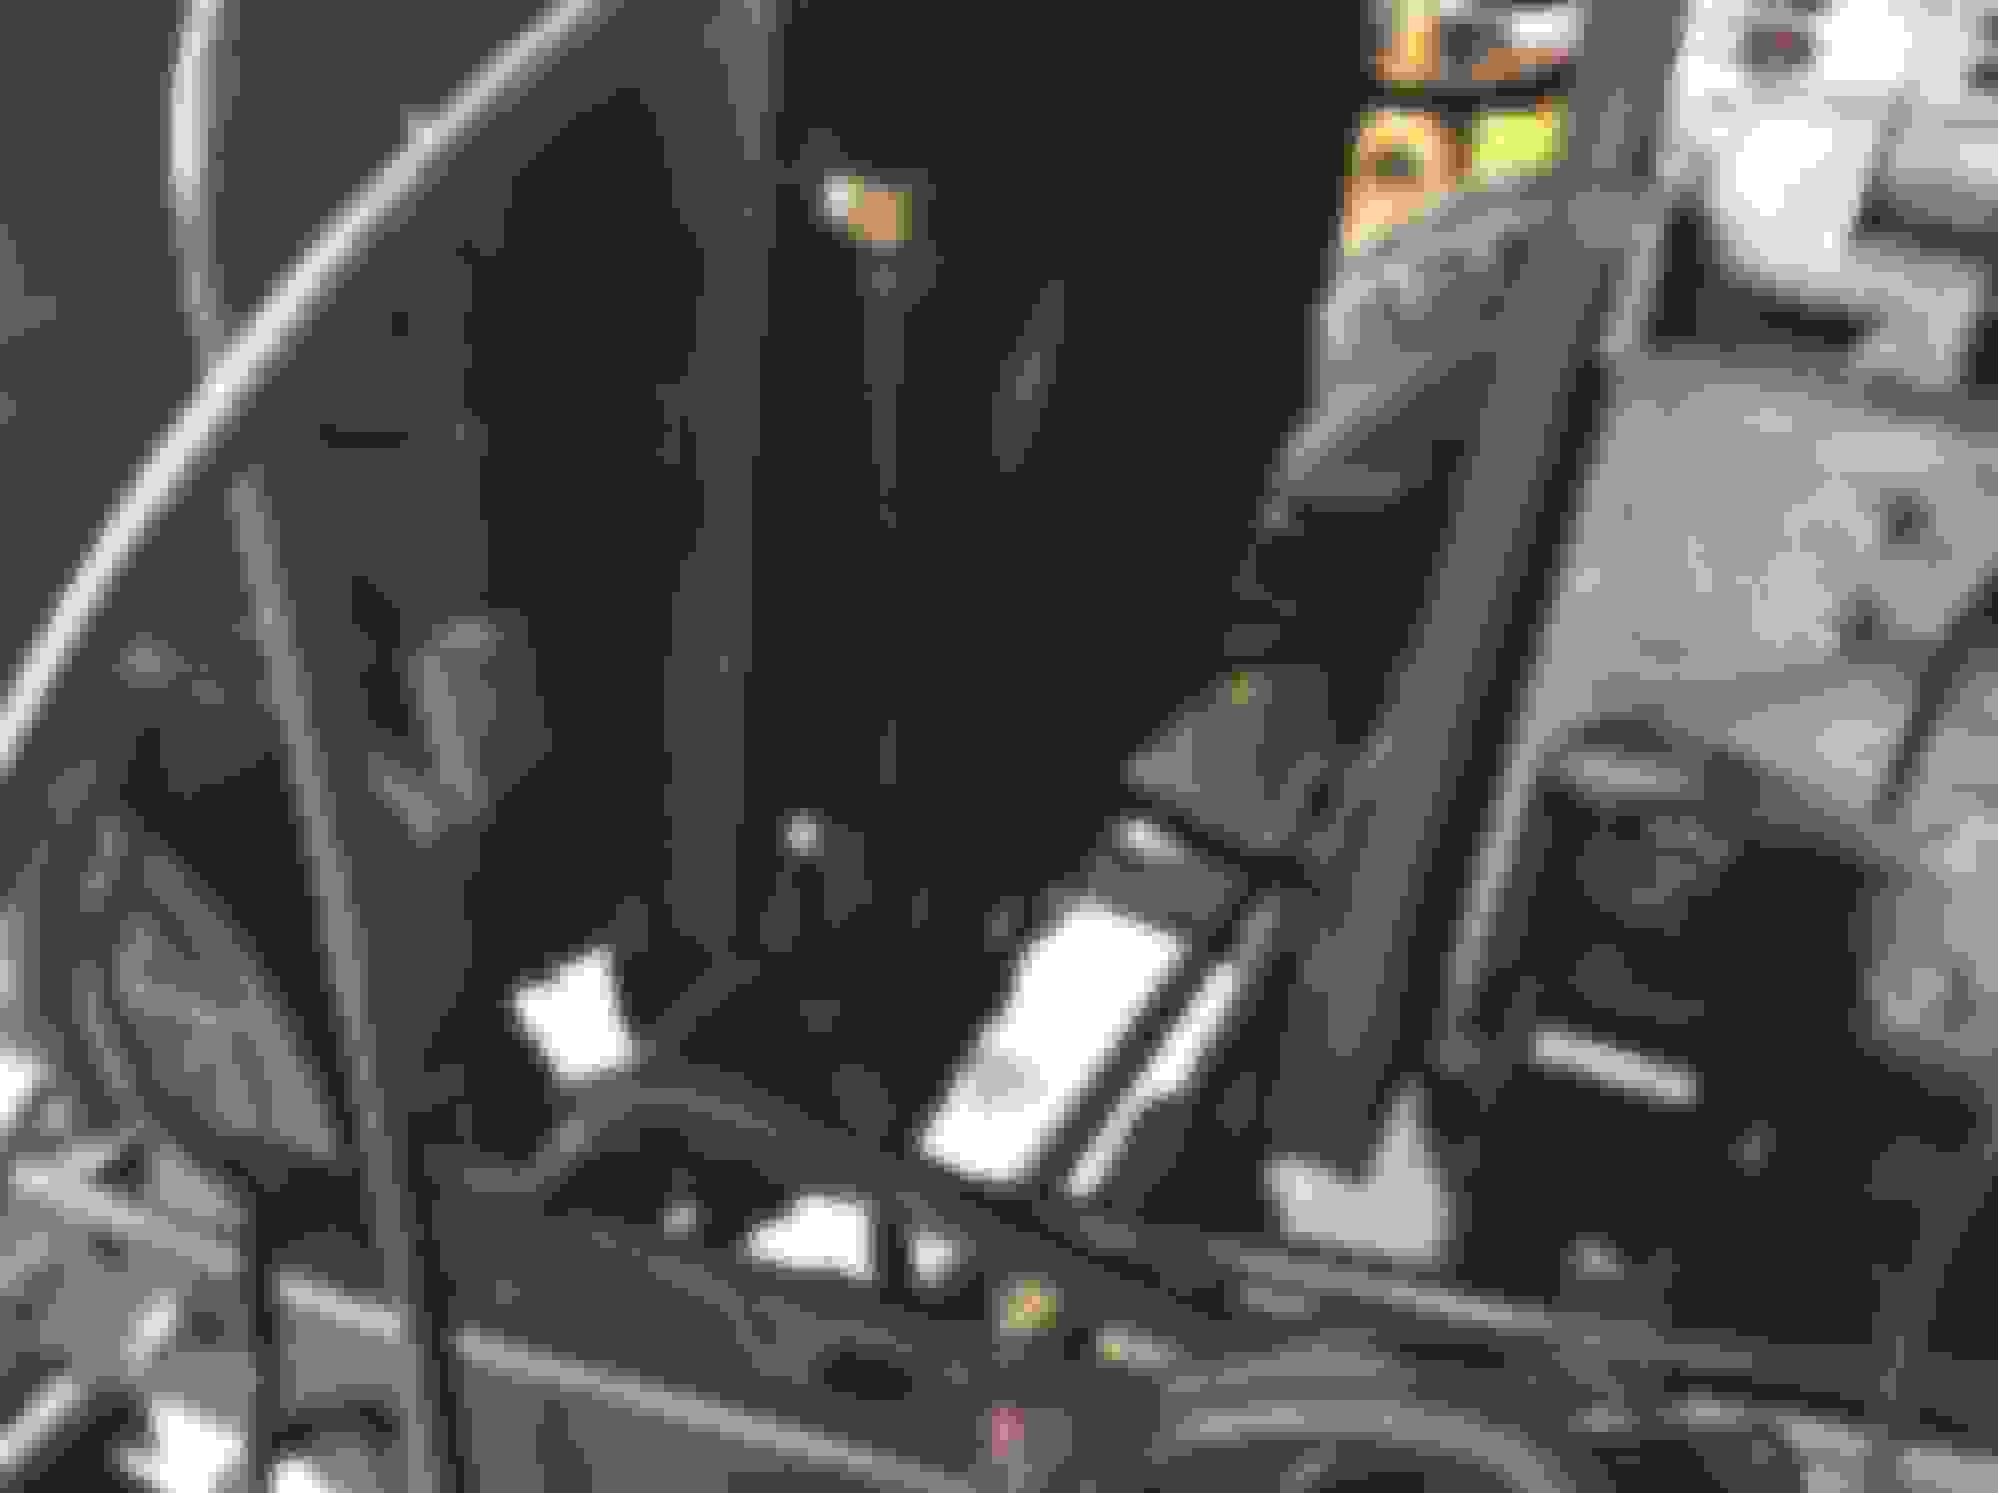
The holes i drilled were wrong I offset it to the wrong side. I stood on the wrong side of the crossmember when I measured . I did a 1" offset to match the engine mounts to make the drive train all parallel .
All said and done I will need a 3/4' spacer between the transfer mont and T case adapter . For my drive trains to sit roughly at 0 degrees
Moving it back 1.5" was so money. Almost dead center of the factory crossmember
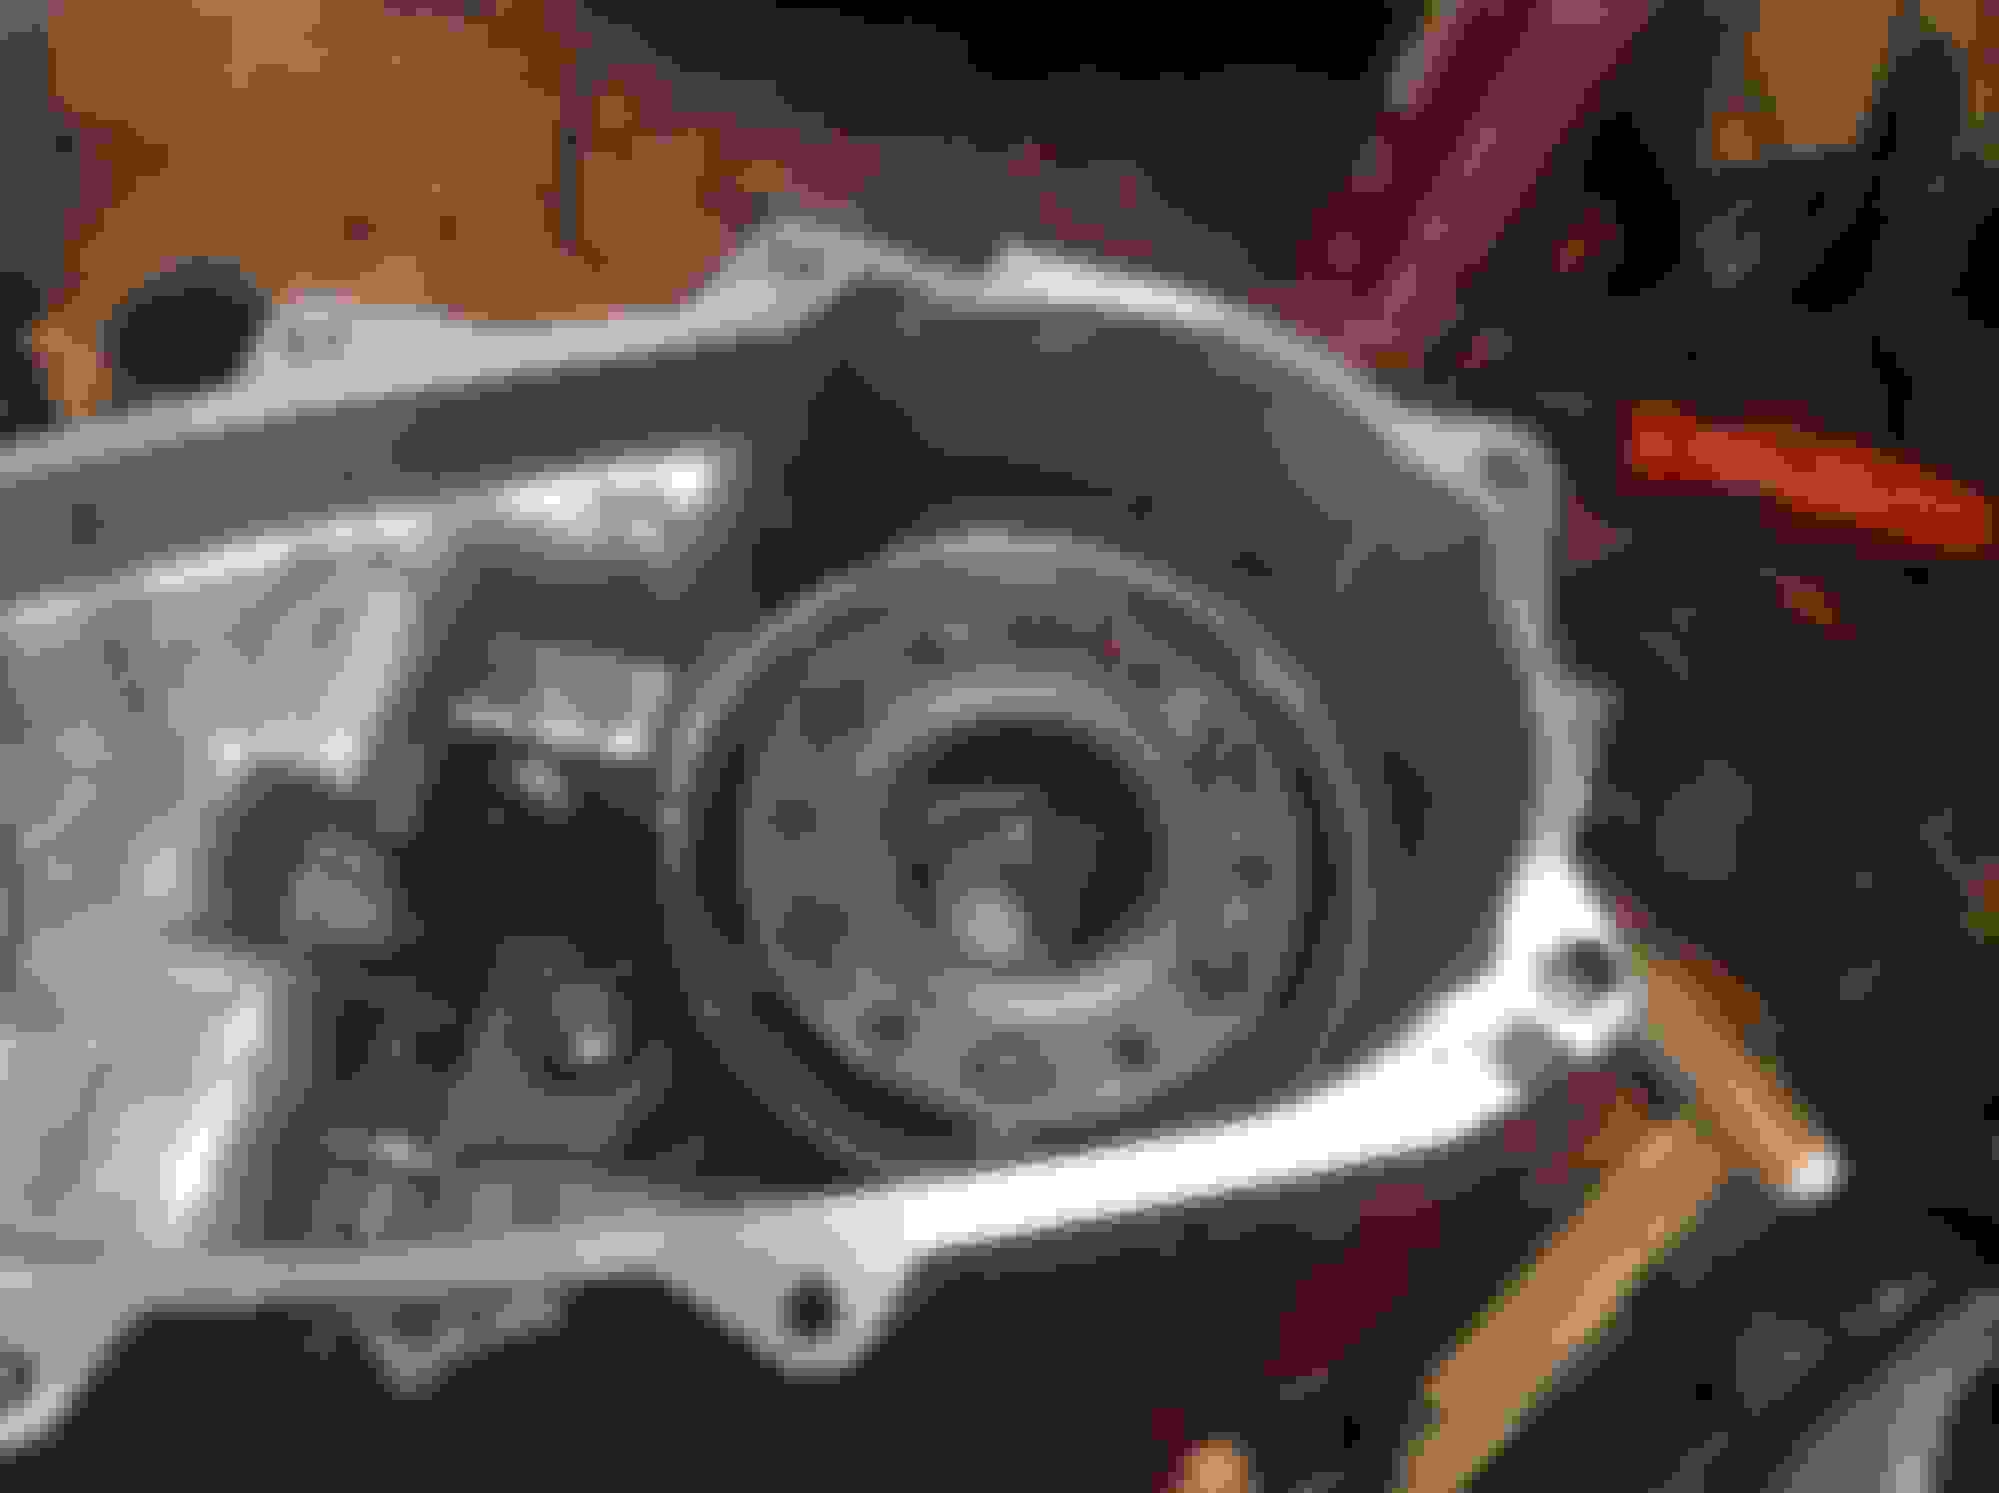
By the Way that's a factory s10 blazer 4x4 transfer mount to match the adapter I'm using. Its and el cheapo one for now.
Last edited by Project101; 11-05-2016 at 09:58 AM.
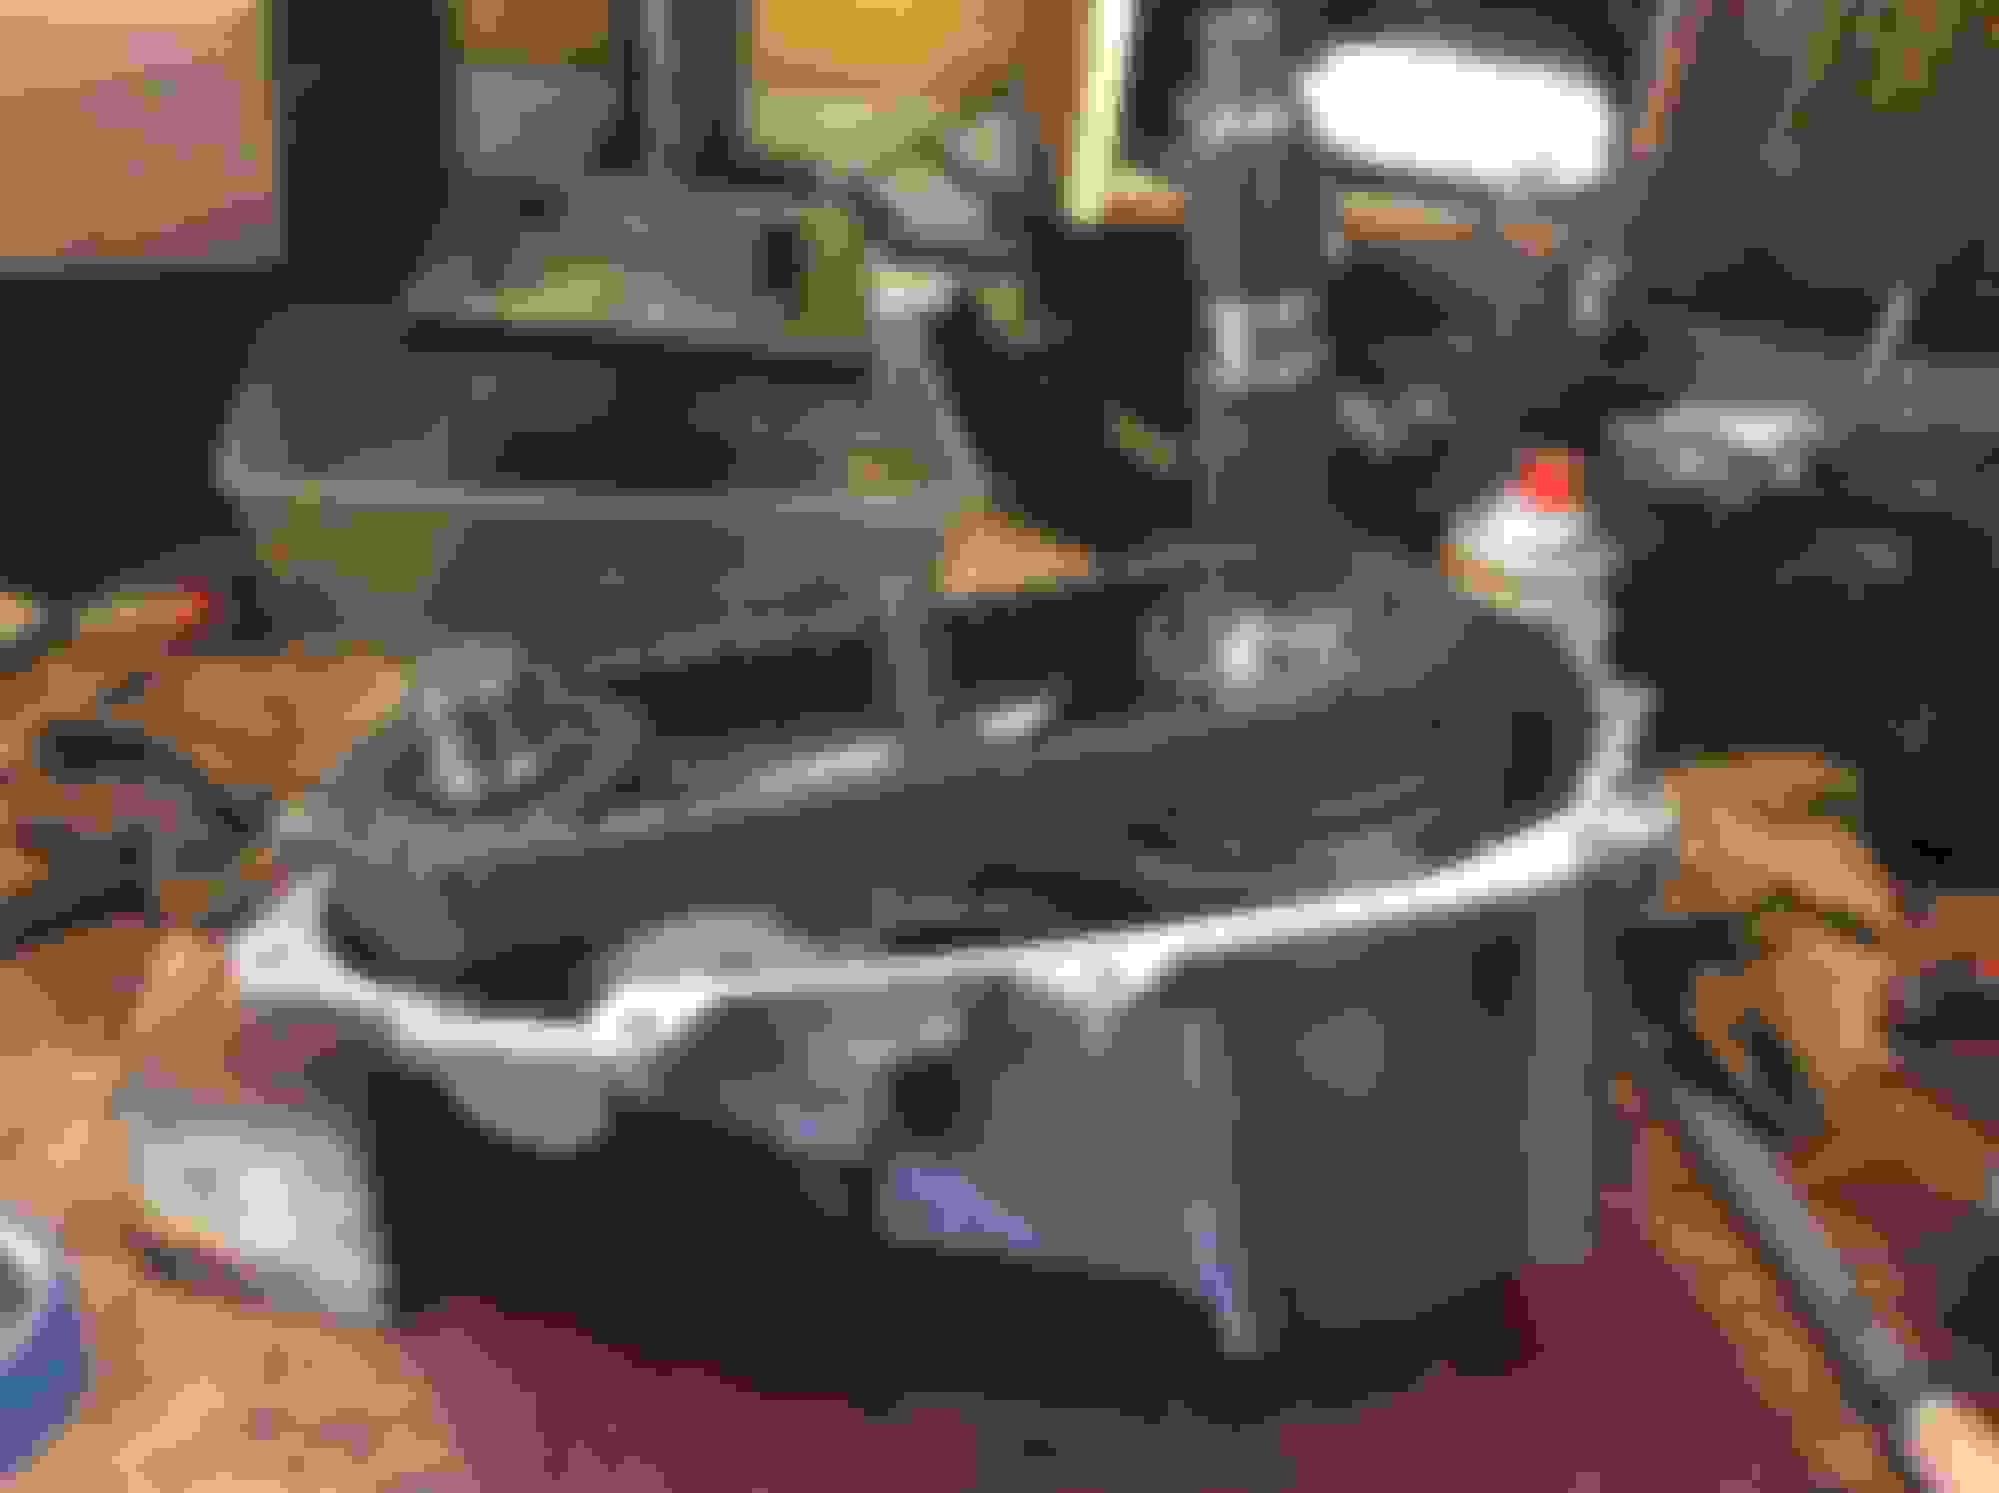
Ok so now it's time for the transfer case .
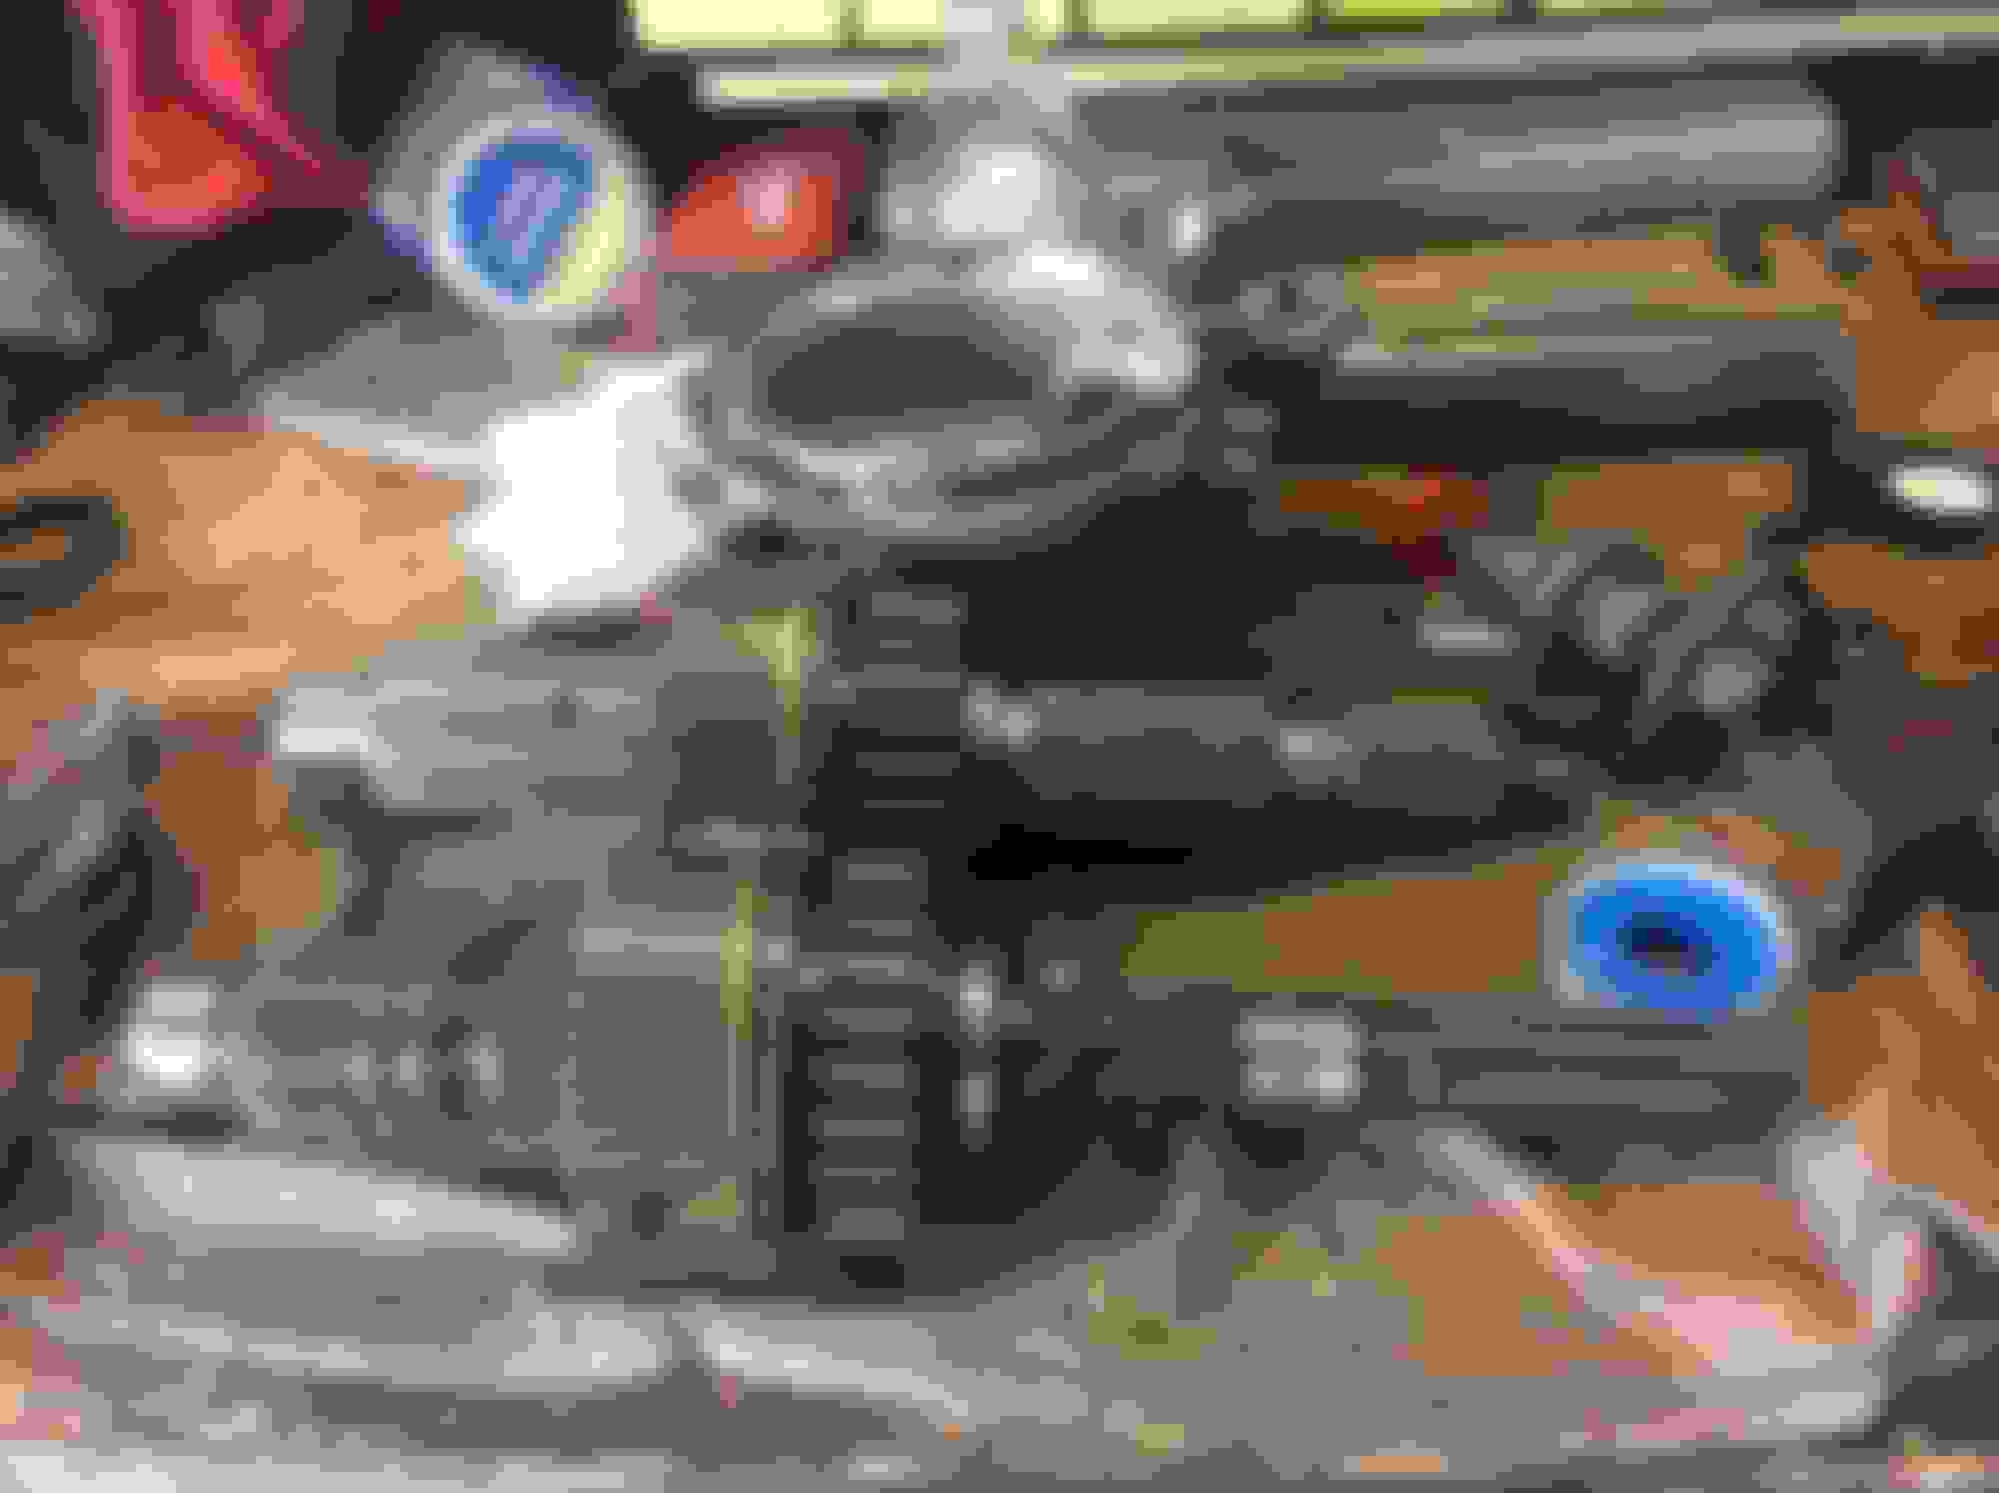
I'm sticking with a np231 , though it's somewhat of a bastard case. I used a Chevy 5 bolt pattern 231HD and put my jeep SYE one . Even lucked out a found the coveted 6 pinion planetarys in my case I was told it would be a 4 pinion with which would still be an improvement over the jeep 3pinion.
Replaced all seals and a few bearing due to some weird wear on the old Chevy shaft. I also used a factory Chevy s10 blazer 4 bolt to 5 bolt t case adapter to an AA 6 bolt to 4 bolt adapter (turns new style case to old style 700r4 4bolf , also has vss built in.
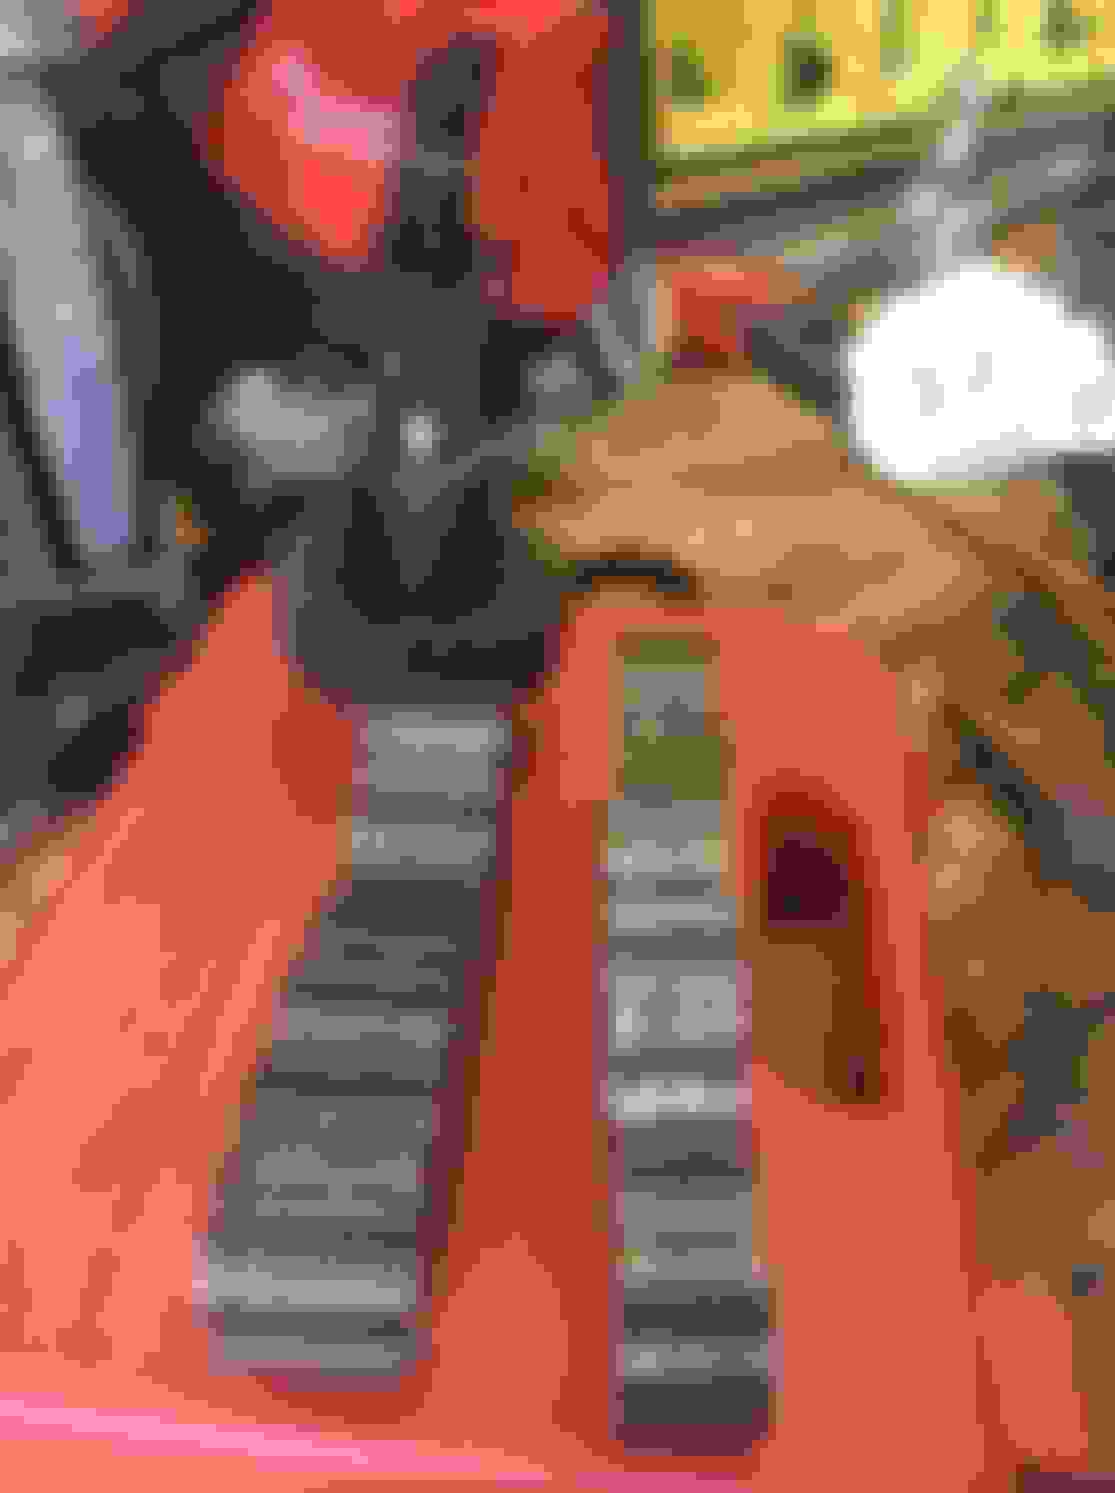
In pic 1 ..know it's been covered a bunch before. But dang the Chevy HD chain is way more betta!!! As well as the gears ��
In the 4th pic notice the old pocket bearing has a lot more needels �� I was in a hury so I just picked up a random auto zone bearing. Make sure to buy the Torrington one it has more rollers.
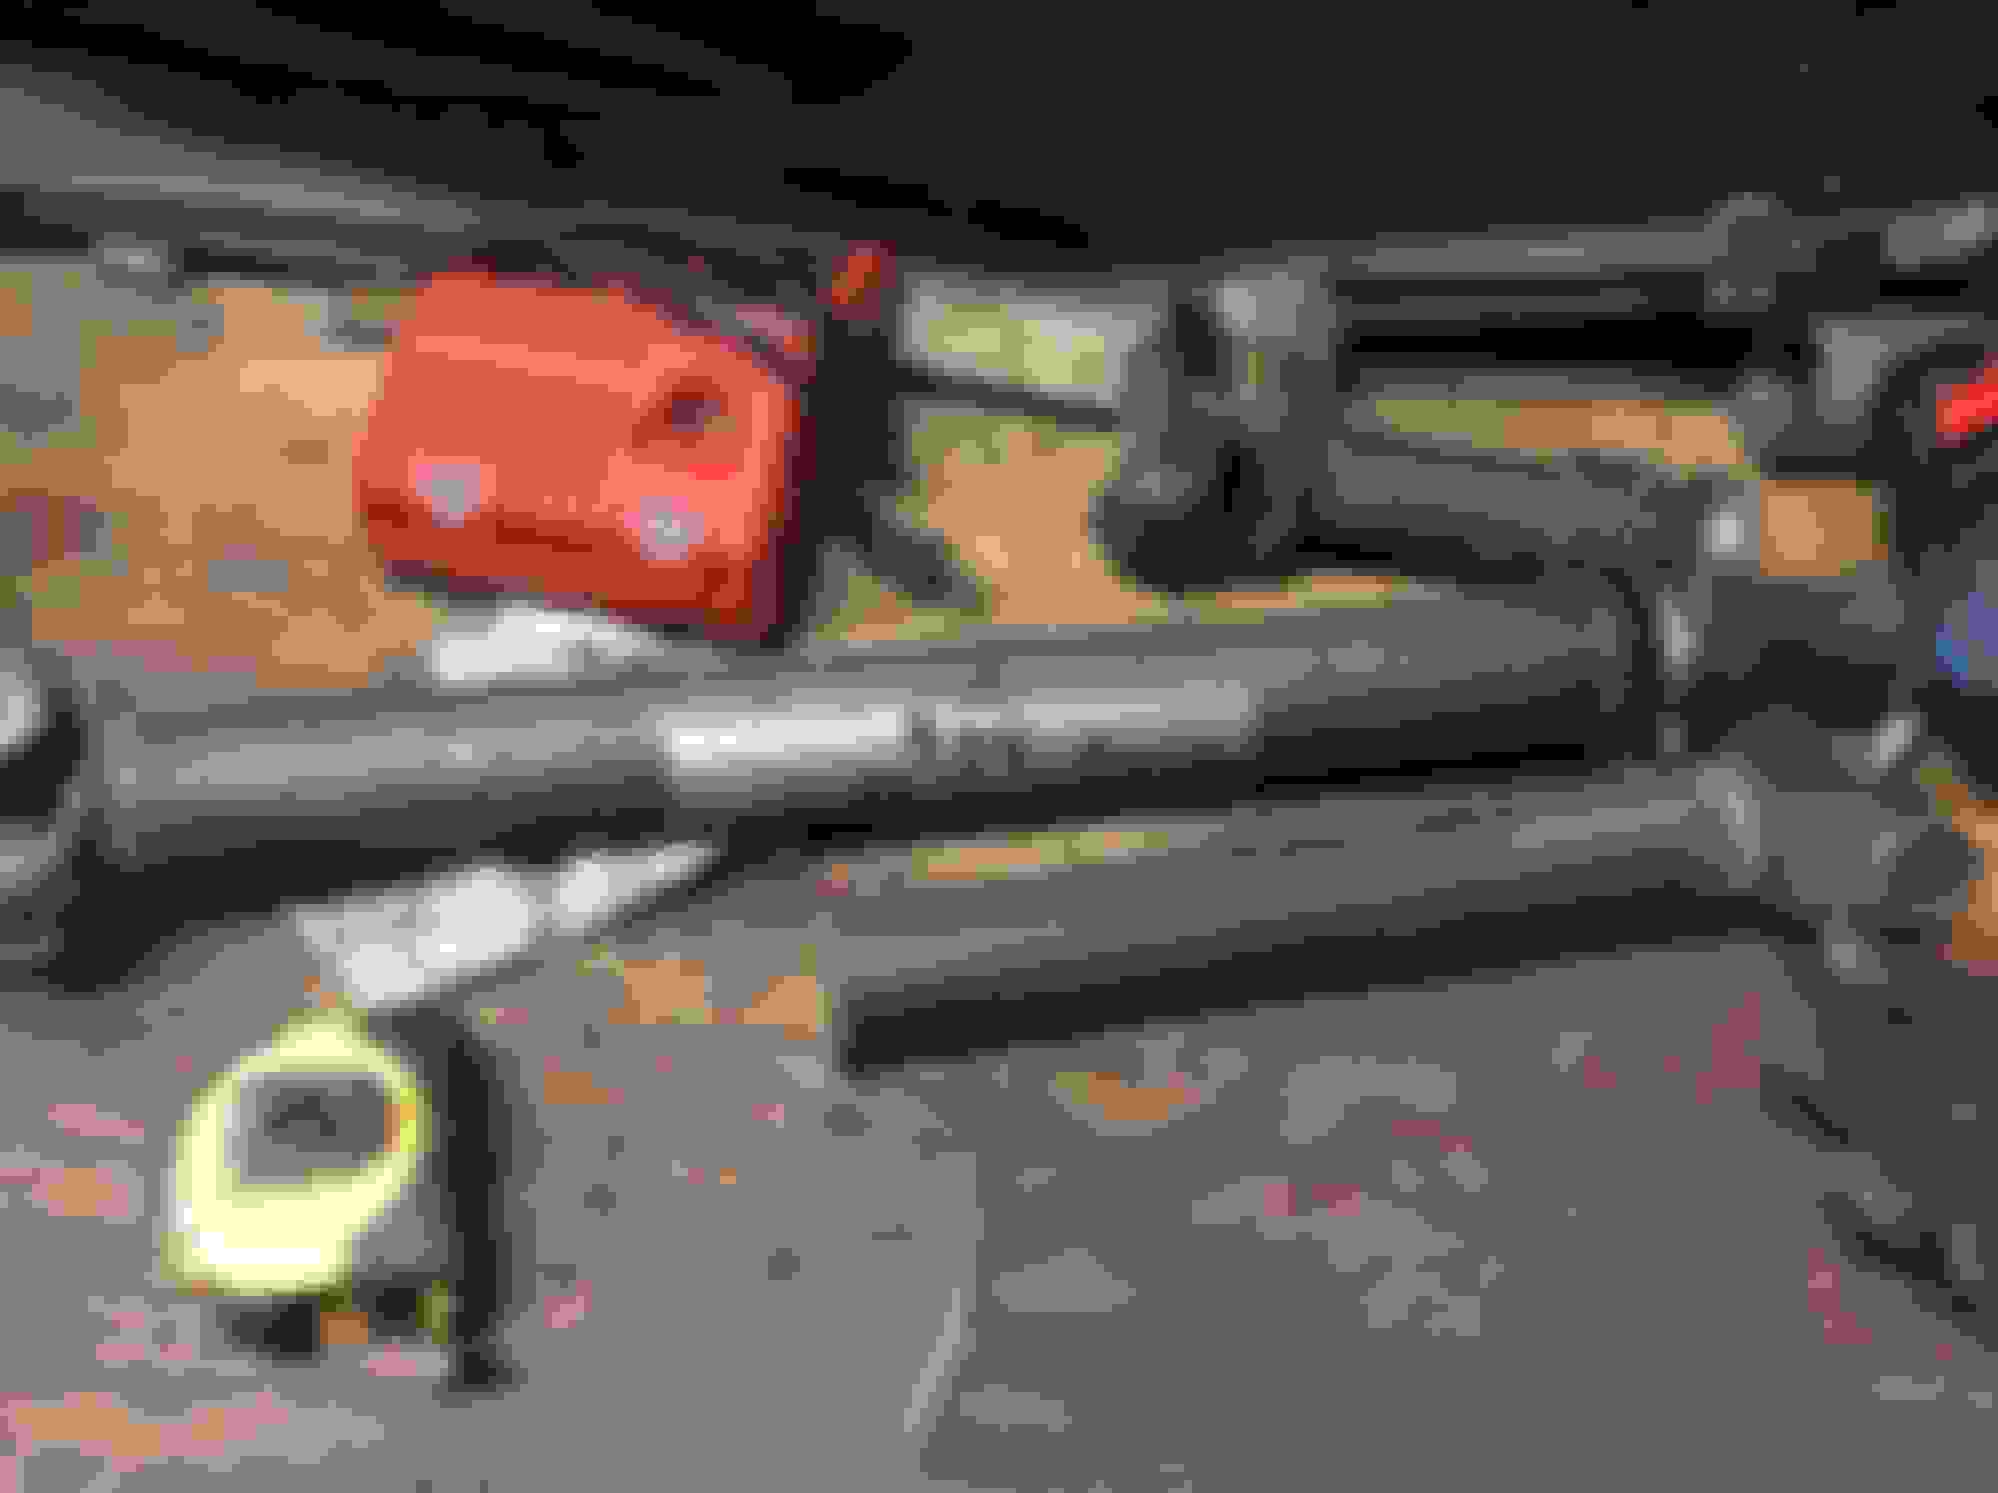
I started on the exhaust today as well.
I was all fired up to go full stainless . Then after the added cost of tri mix for my welder and the added Learning curve , it no longer sounded fun.
And for $100 shipped to my door one 2. 5" alumized u j bend and one 7.5' of alumized .
Could pass it up.
Now I'm trying to find a universal 3" muffler back kit for a reasonable price.
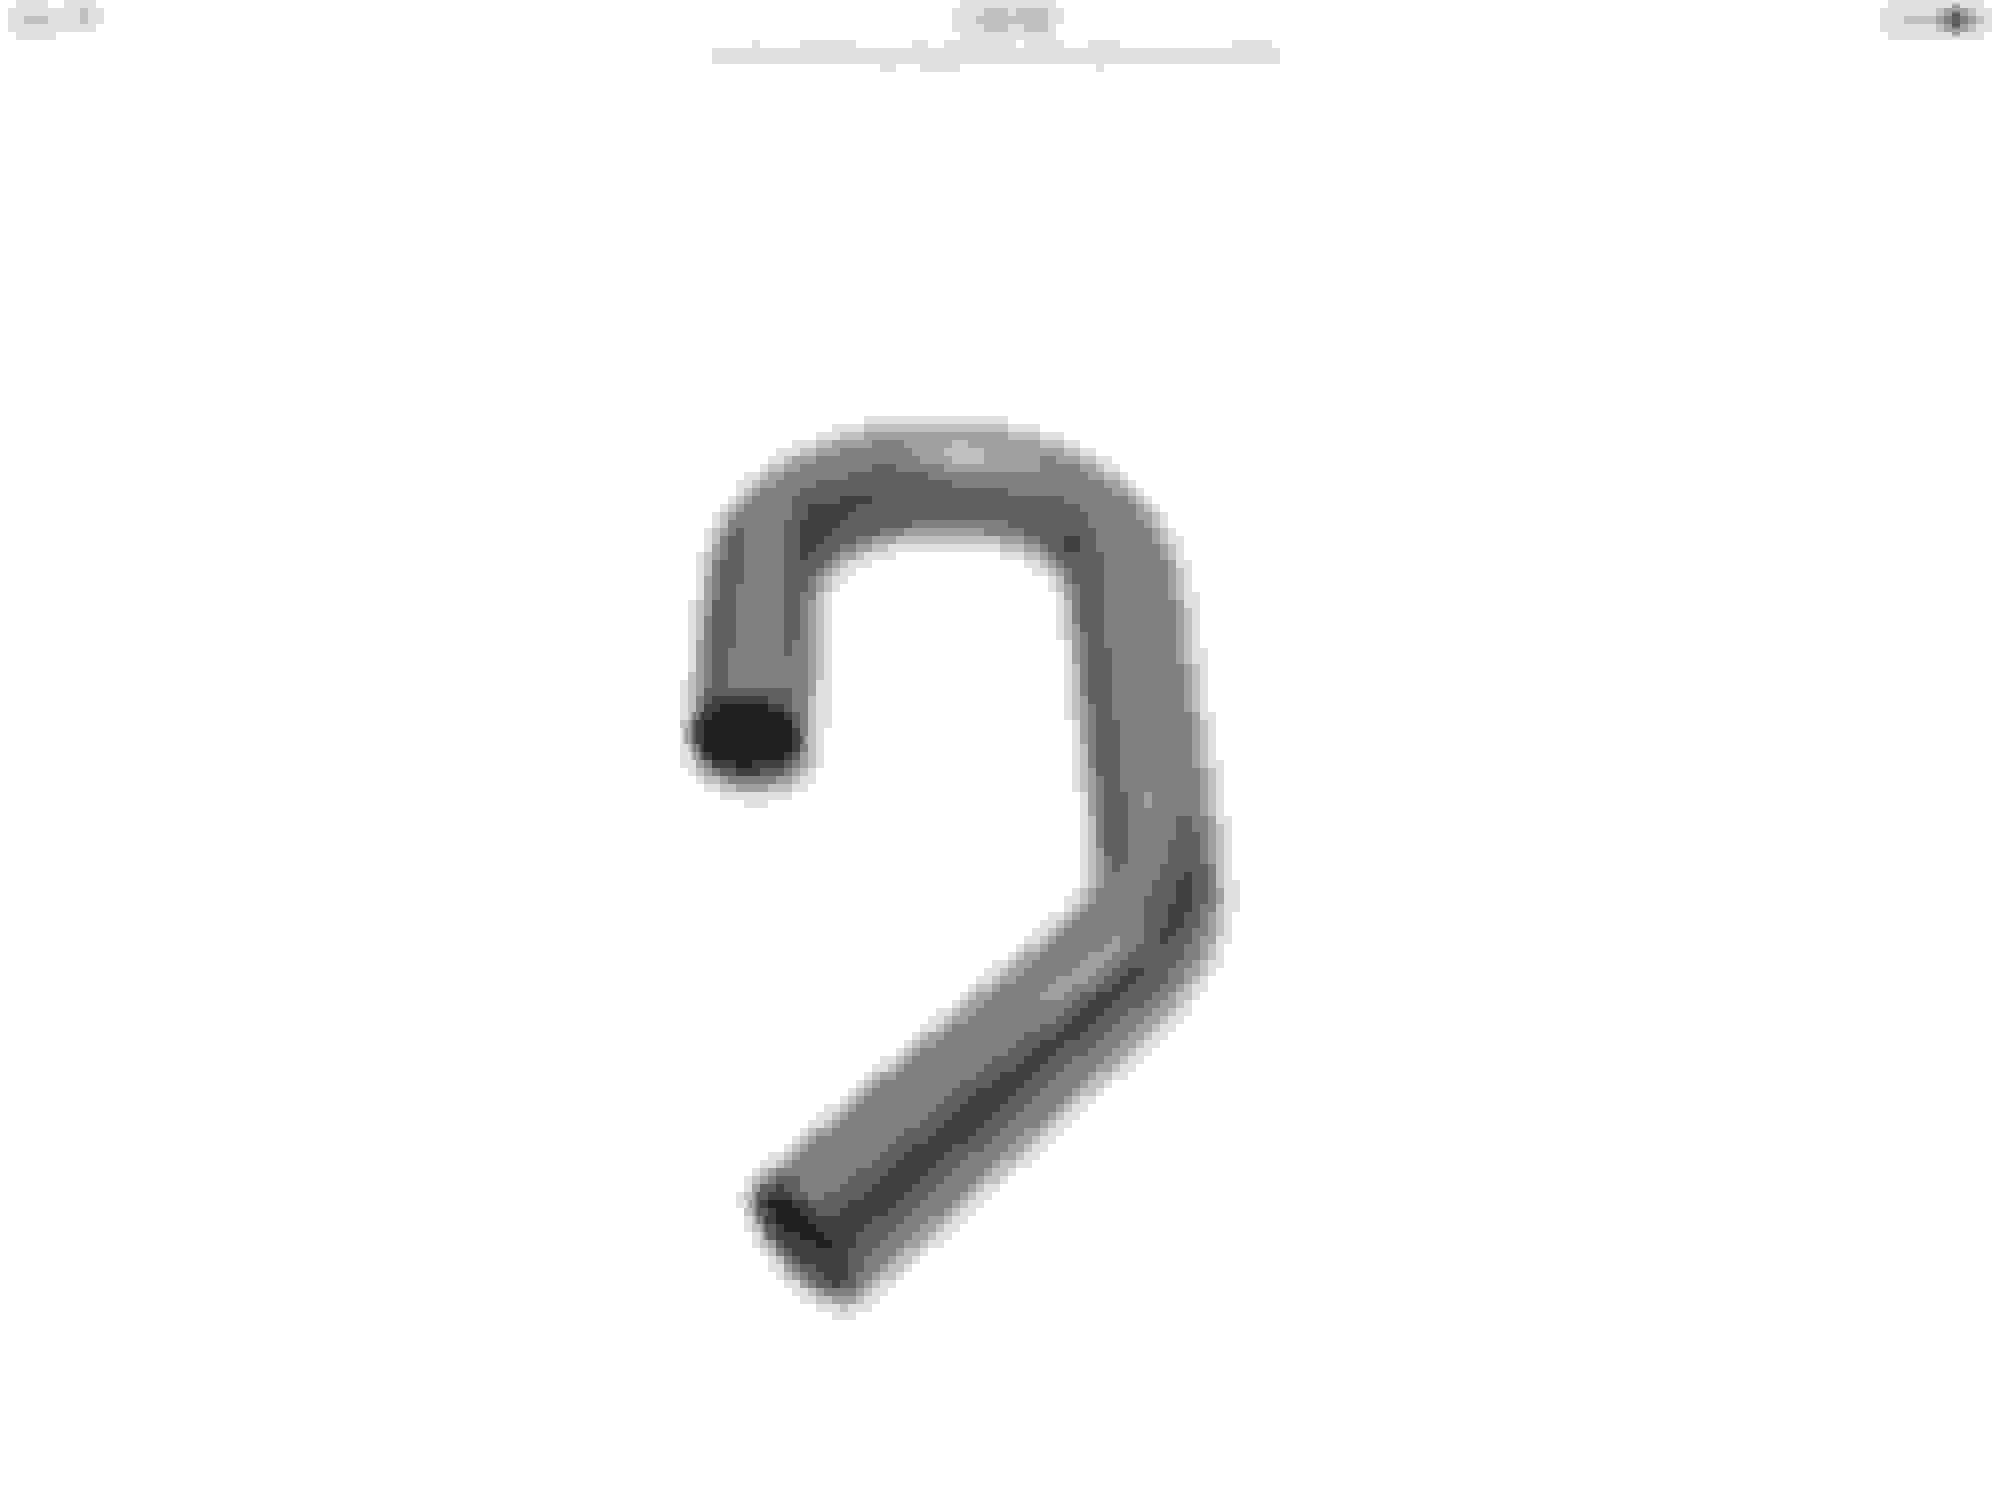
This is the u j bend pretty usefull I pulled 2 90s and one 45 .
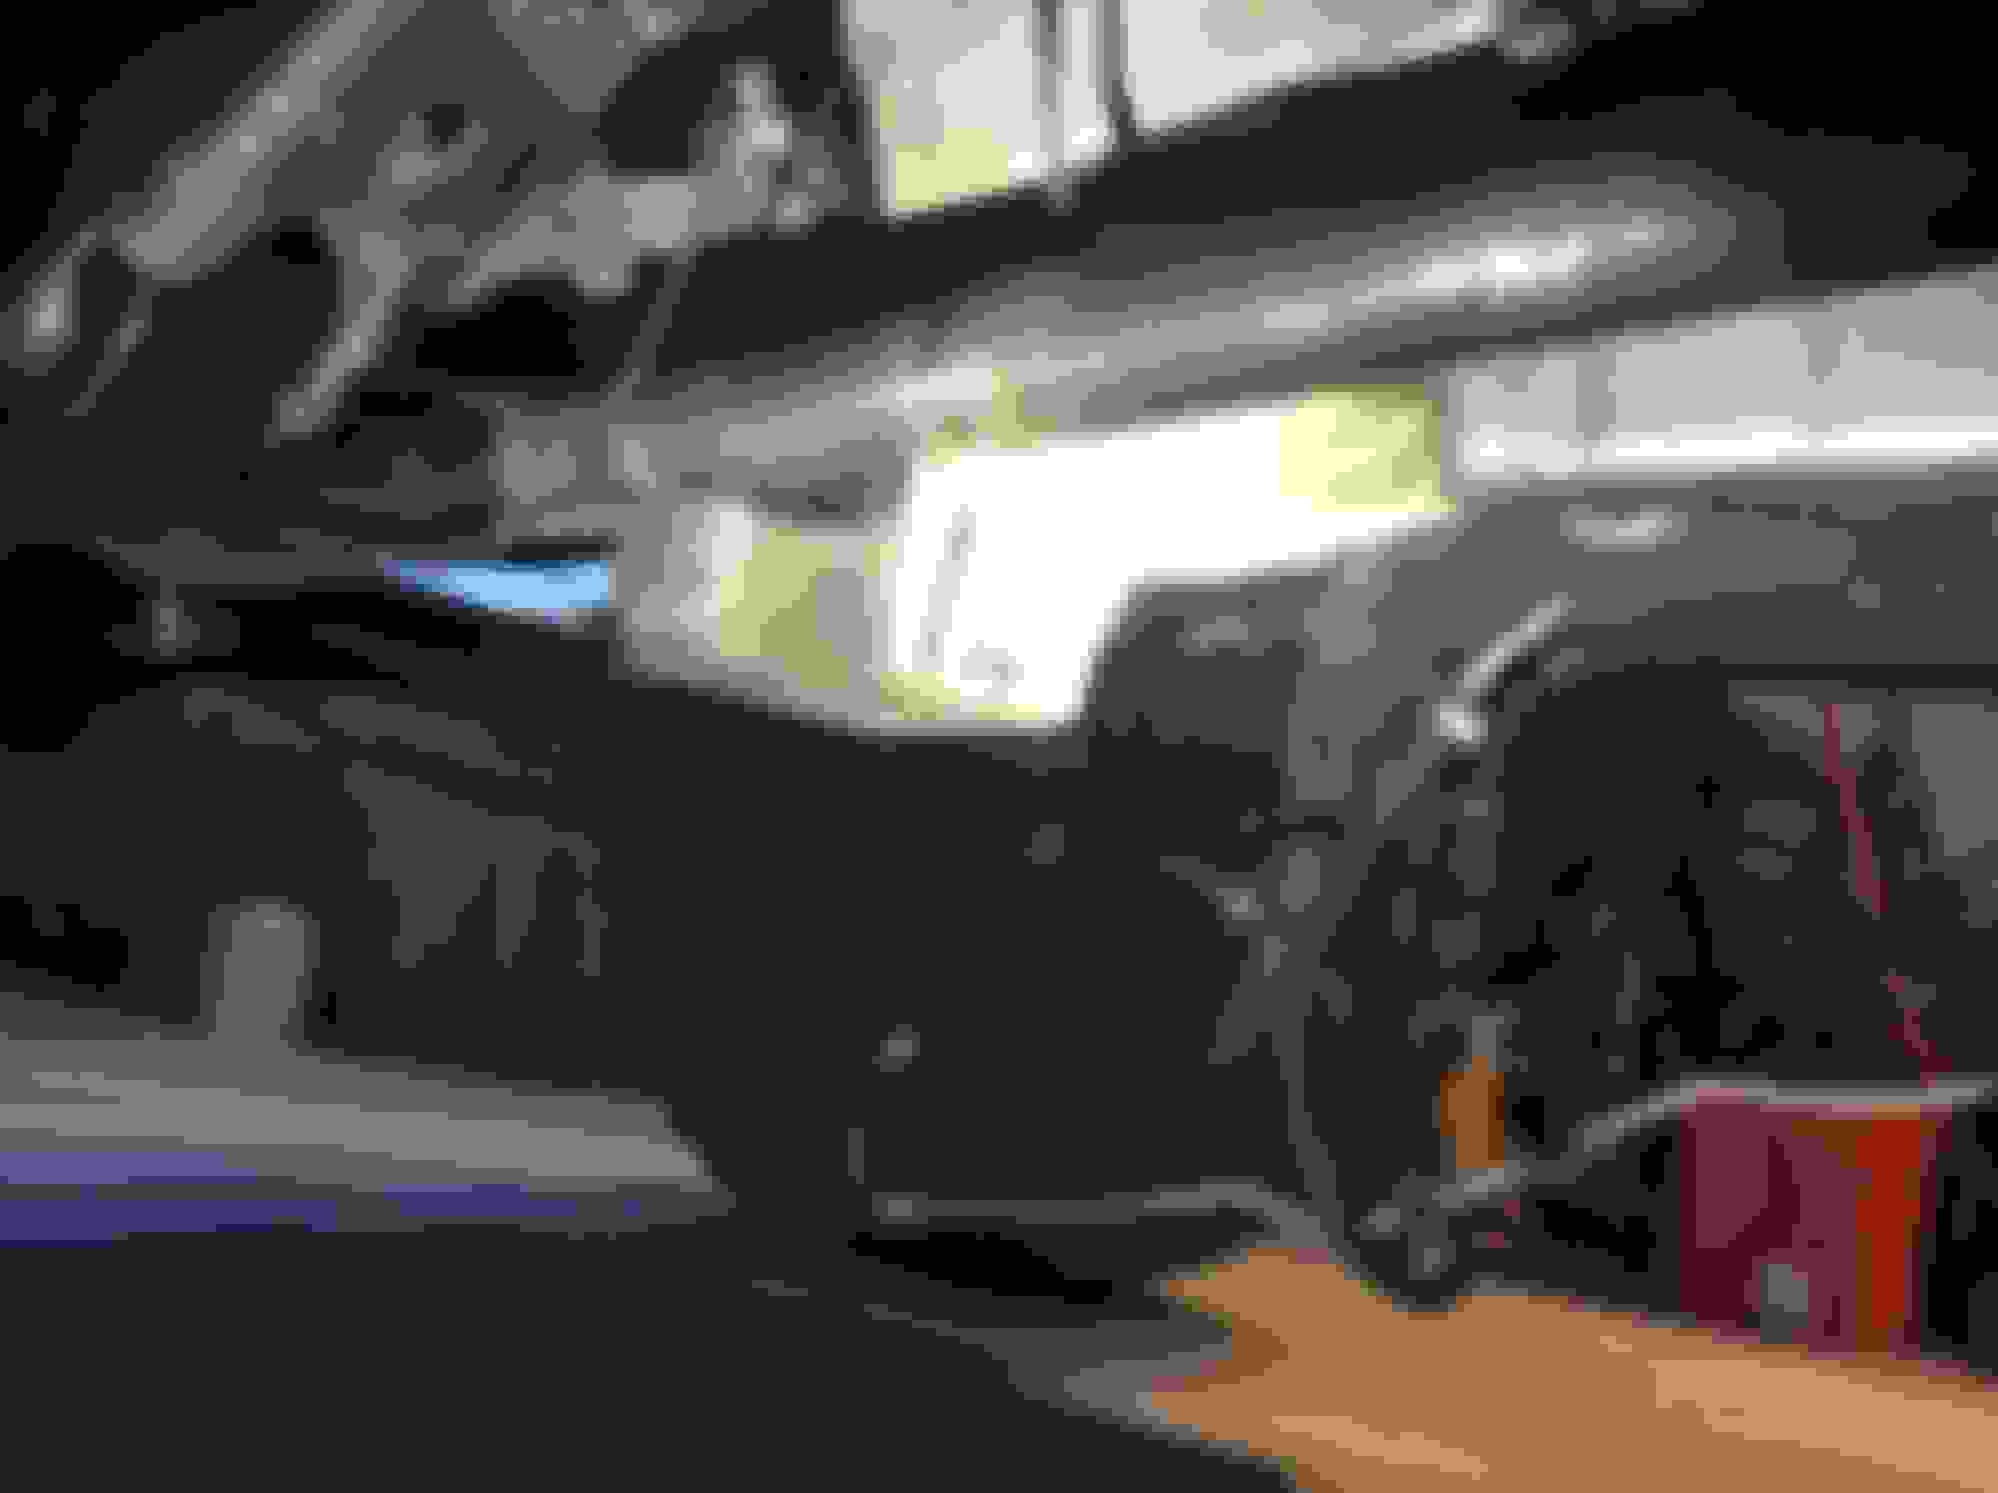
Decide I wanted to clock the cats and while I was their I angled the passenger side cat up
This is what I ended up with
Driver side cat needed to be clocked as well as angled up.
Almost forgot ,I installed a 12" Lokar shifter. It was pretty easy but took a lot longer than I thought. Even better yet I got the factory s10 4x4 shifter to work. �� Just had to pretty much change the whole thing , but it's all I had and did I have to buy anything.
But hey at the end of the day the trans and t case shift ��
After being swamped at work and family I got a few days workin on the jeep. I finished welding the exhaust . pulled the engine and trans /taxes back out and finished welding the engine mounts and painted everything and the resinstalld everything hopefully for the last time .
I as well built my front shaft, using the stock jeep yj front shaft 1.75 OD to sleeve the a stock jeep xj double carbon front shaft. OD 2". Was super easy and fast I'm super stoked . Hope it holds lol.
Old shaft slid into xj front shaft.
Just another pic 1.75 OD STOCK YJ front<br/>2.0' xj front shaft
Mounted .i put a dial indicator and got within .007 round should be fine in 4 low.
Ok I bought stock Chevy truck cooler lines and for the most part I didnt have to mod them that much, I have sense high temp cleared coated my cats installed all coolant hoes and power steering hoes which all bolted right up ���� and moved my jeep coolant sensor to the back passenger head with a threaded oil pressure sensor adapter. Also place the factory jeep oil pressure sensor to the back of the engine I. The factory LS location.
And I fired it up


 10-29-2016, 07:13 PM