57 Nomad Project

Thread Starter
TECH Fanatic


Joined: Jul 2008
Posts: 1,570
Likes: 173
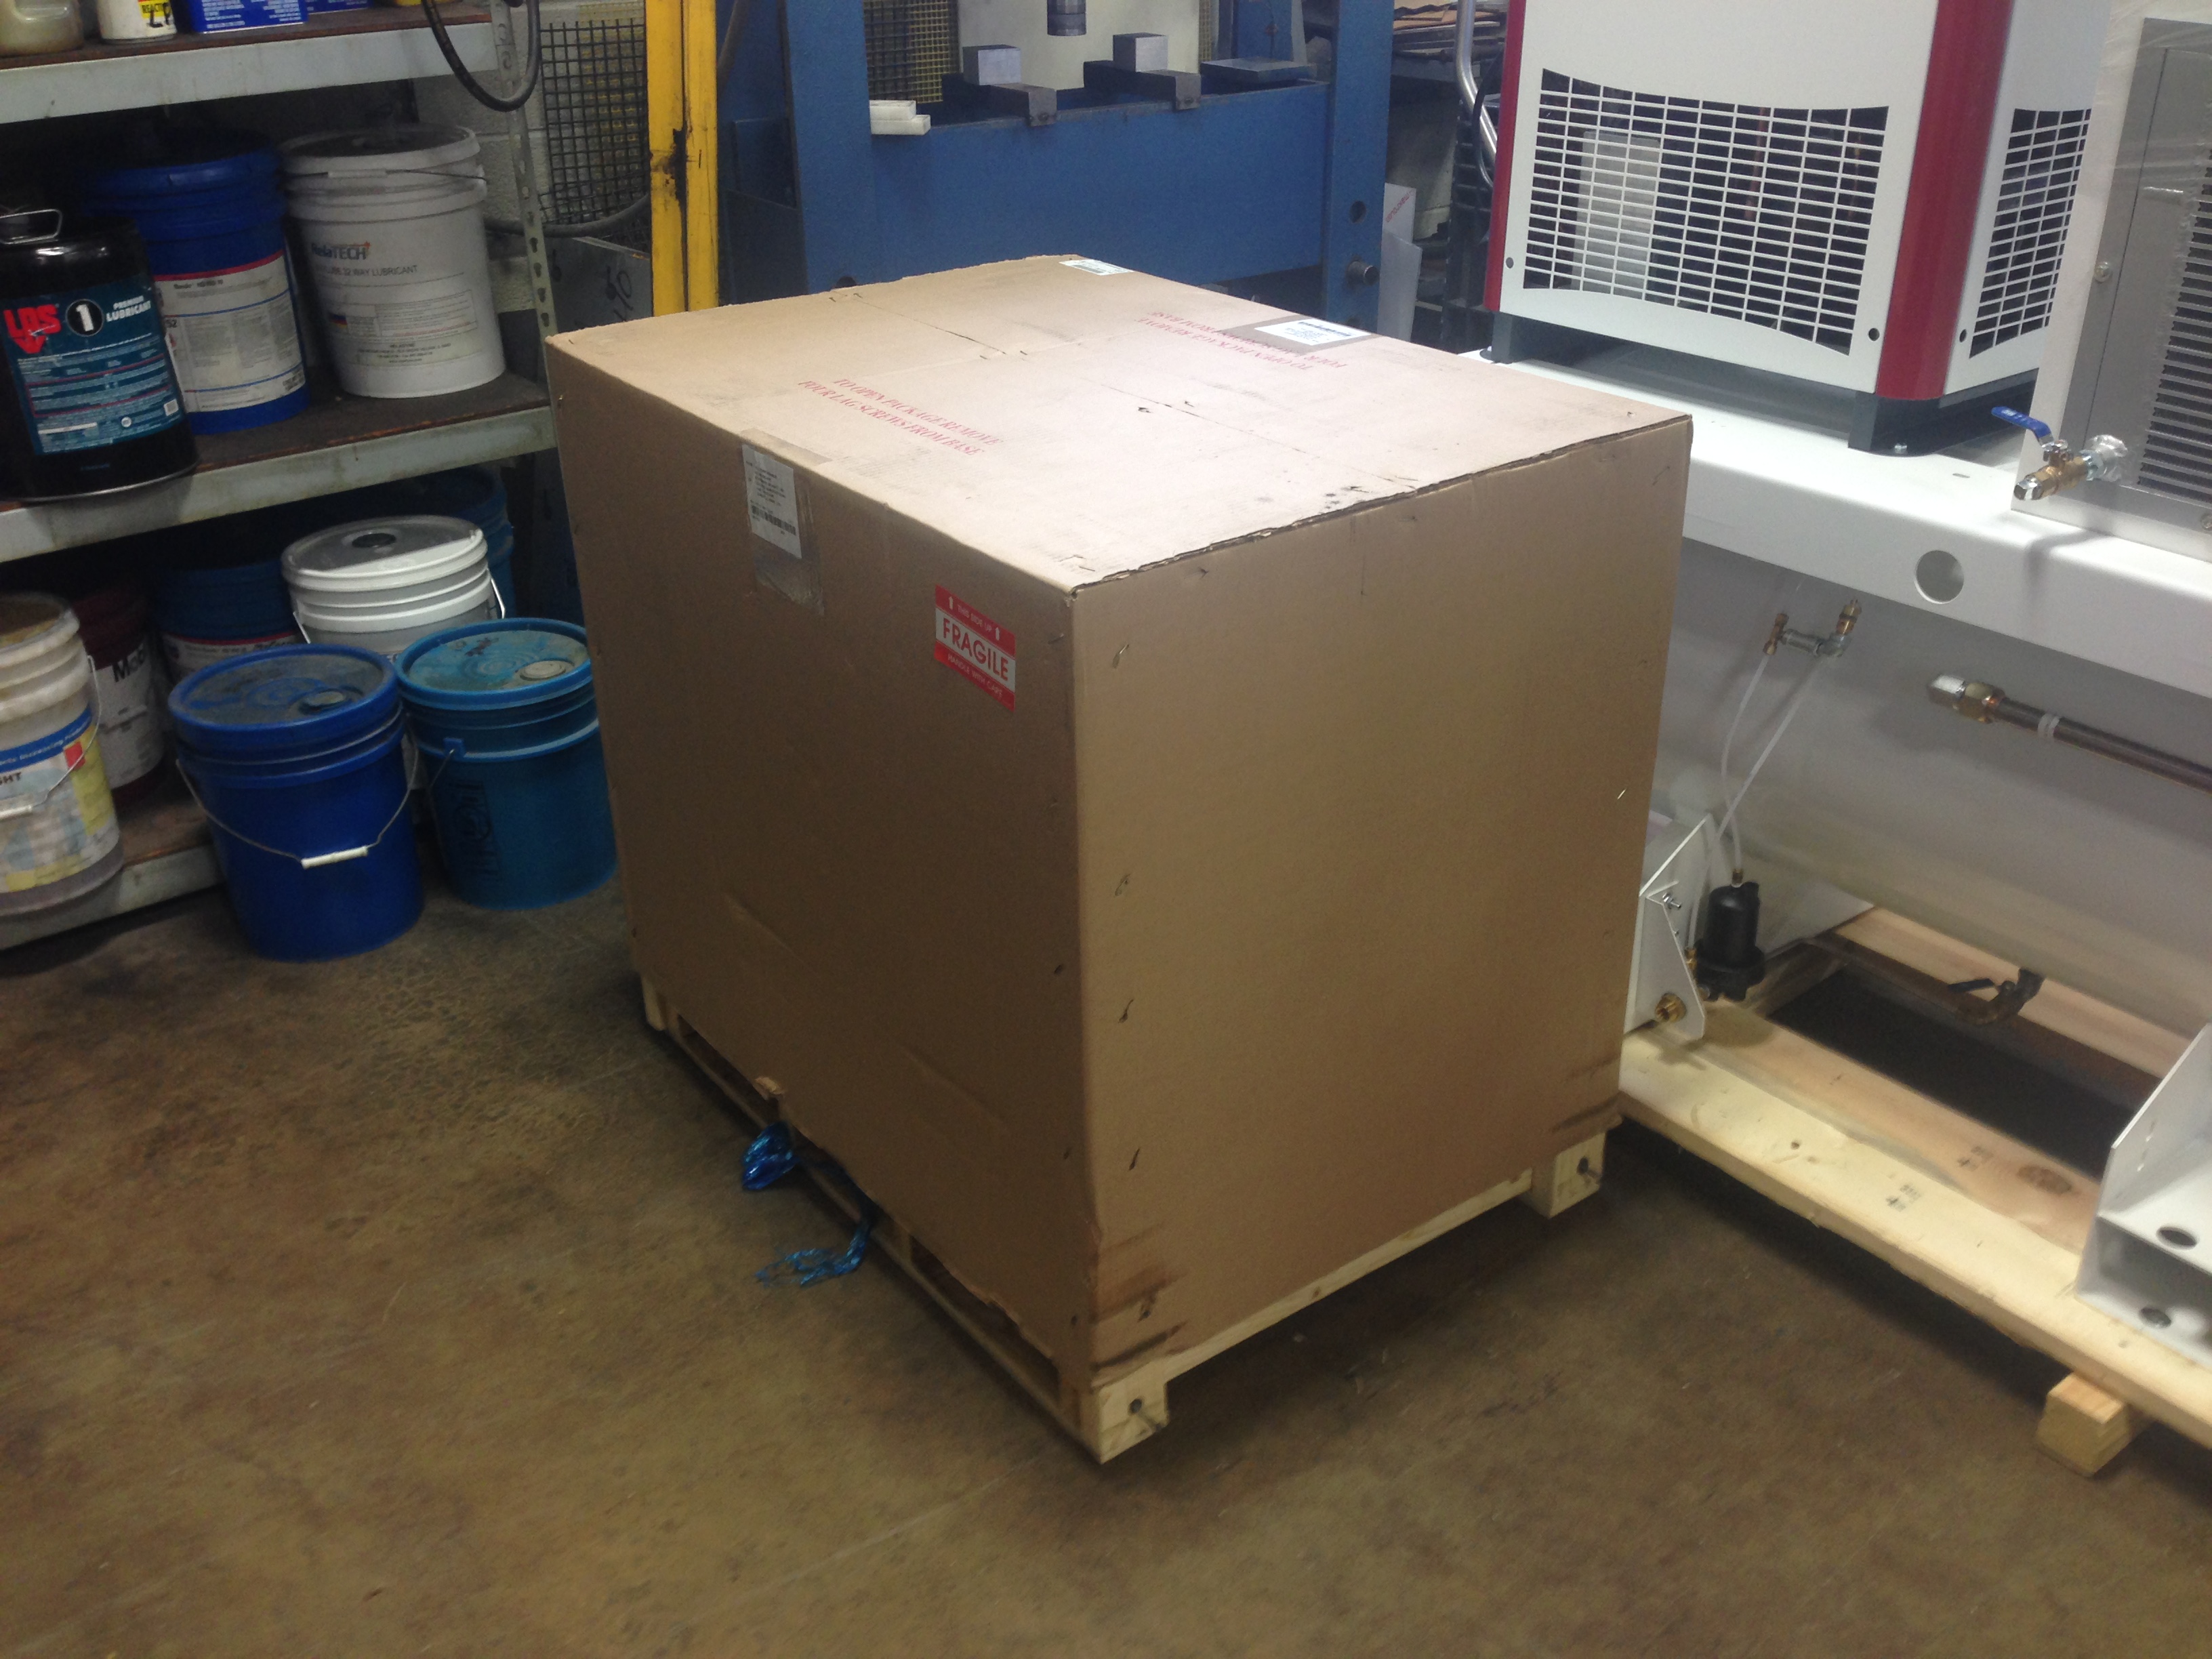
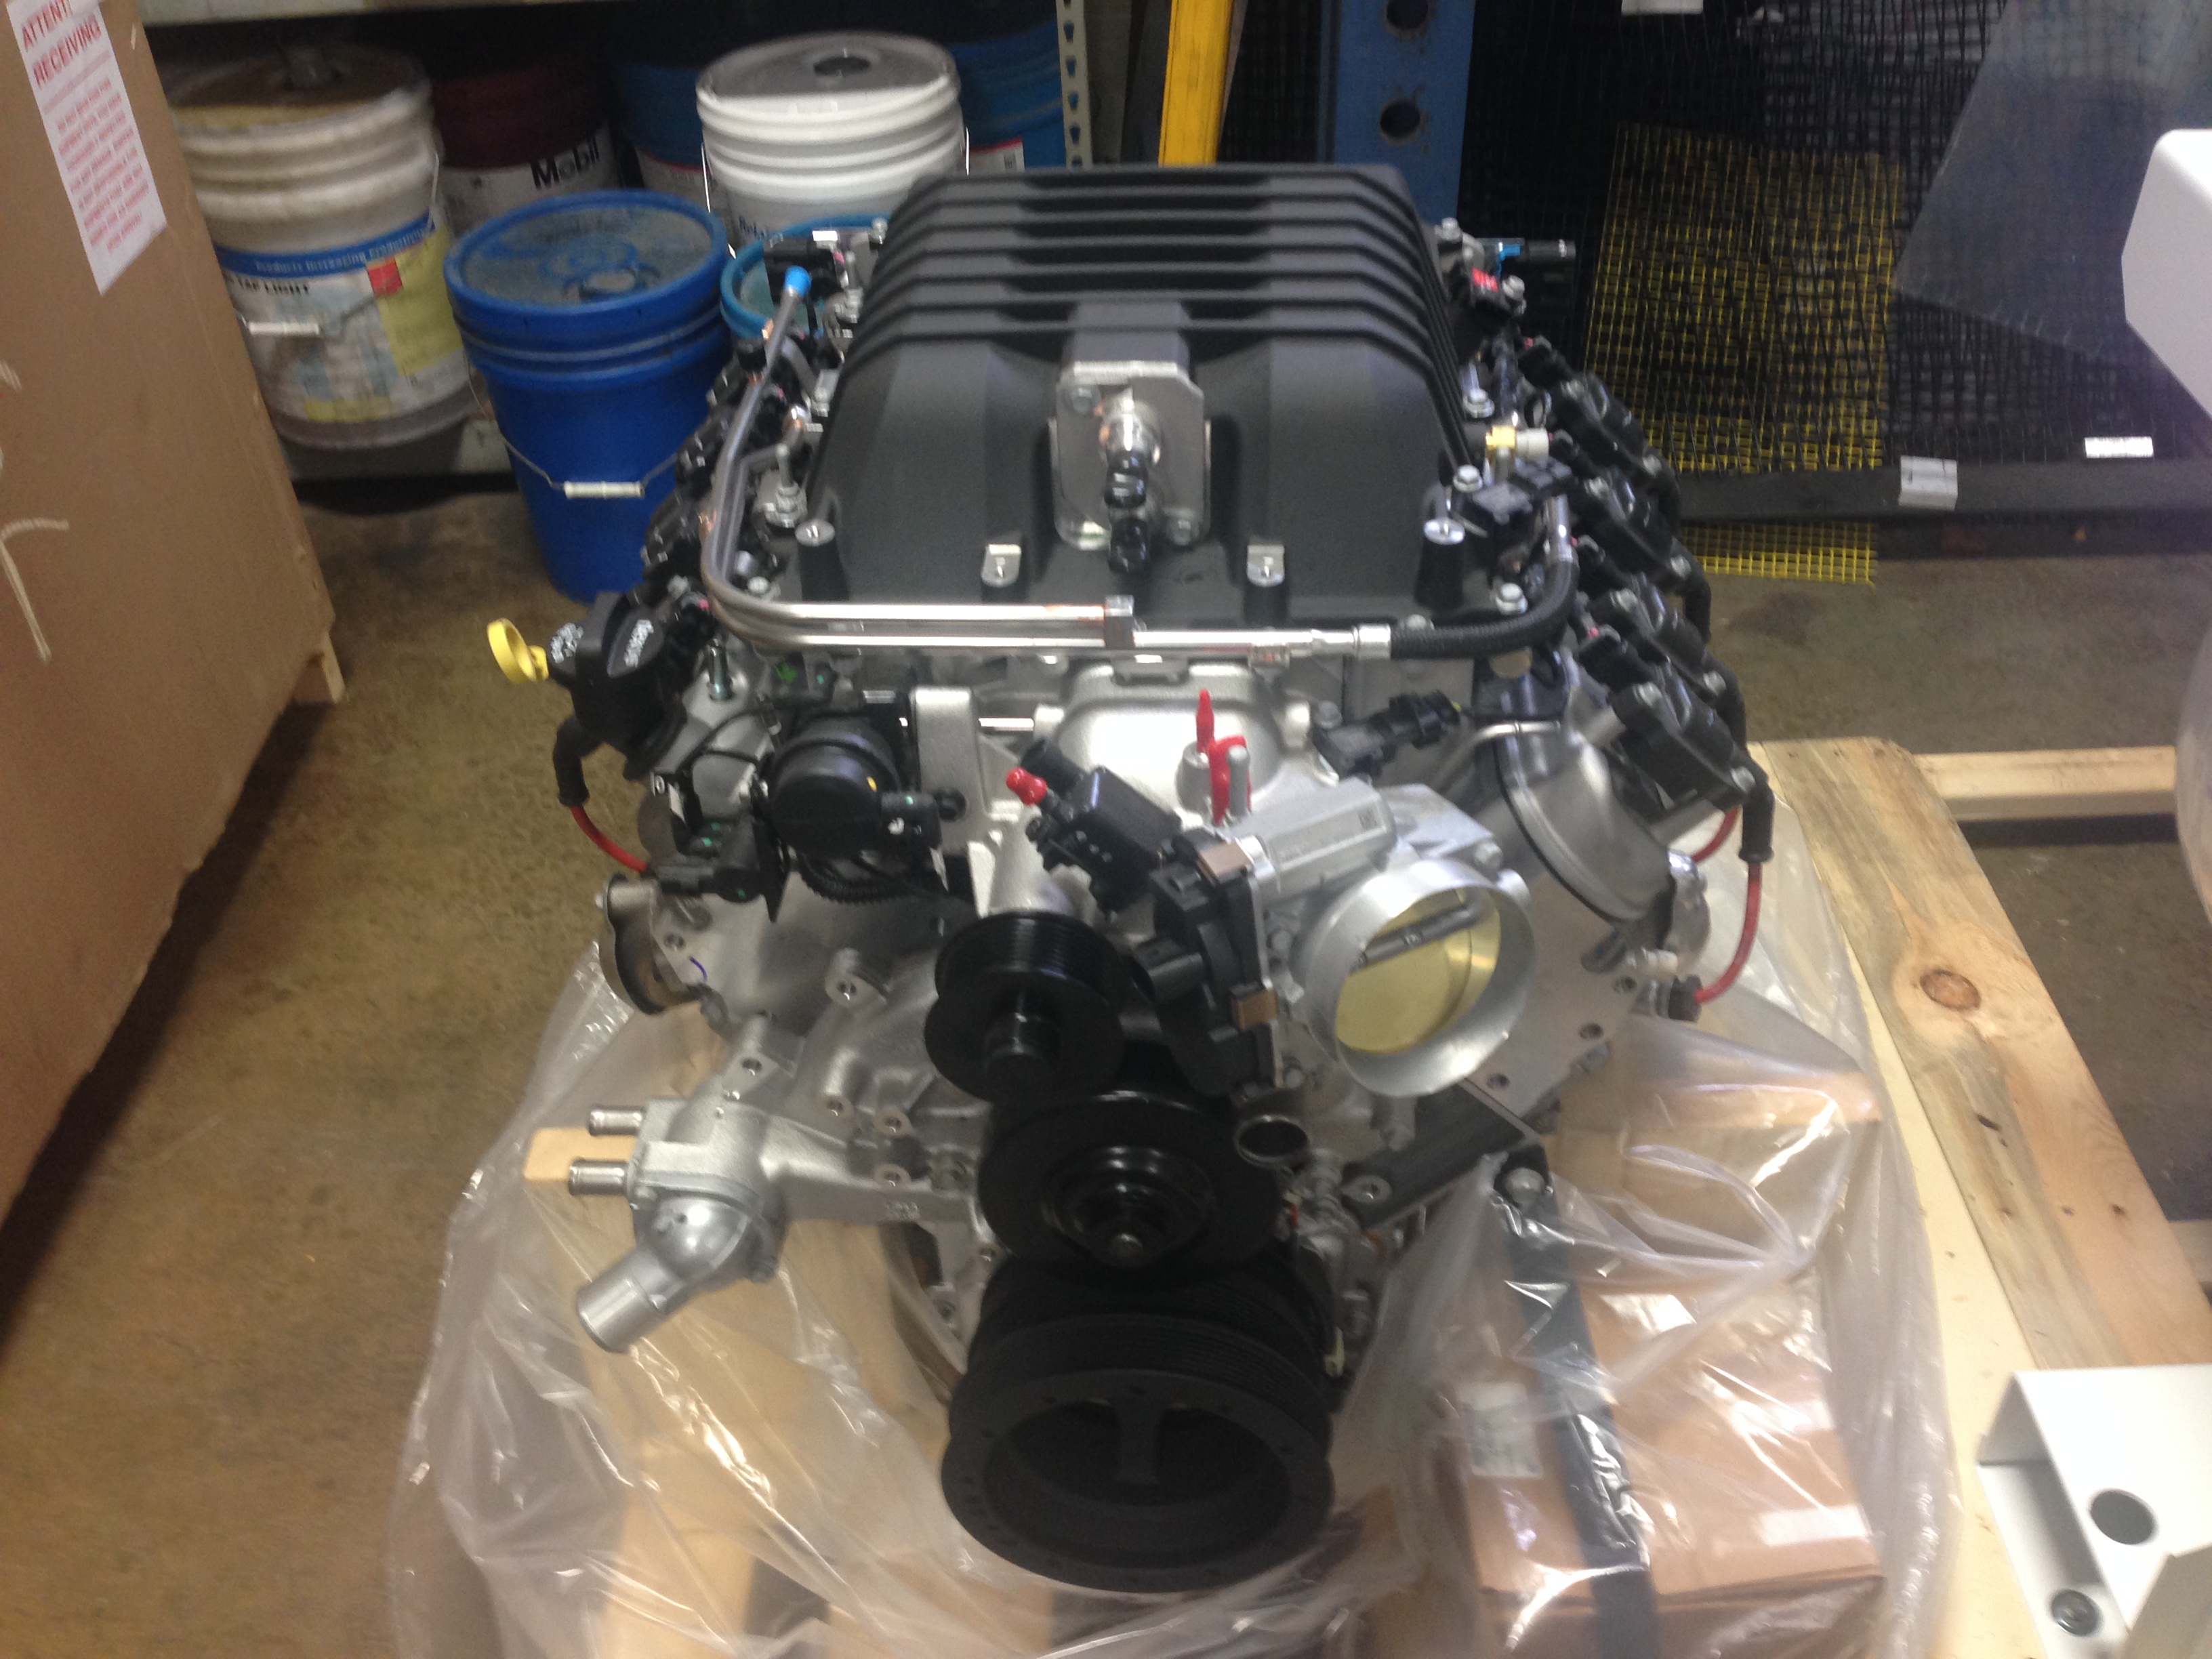
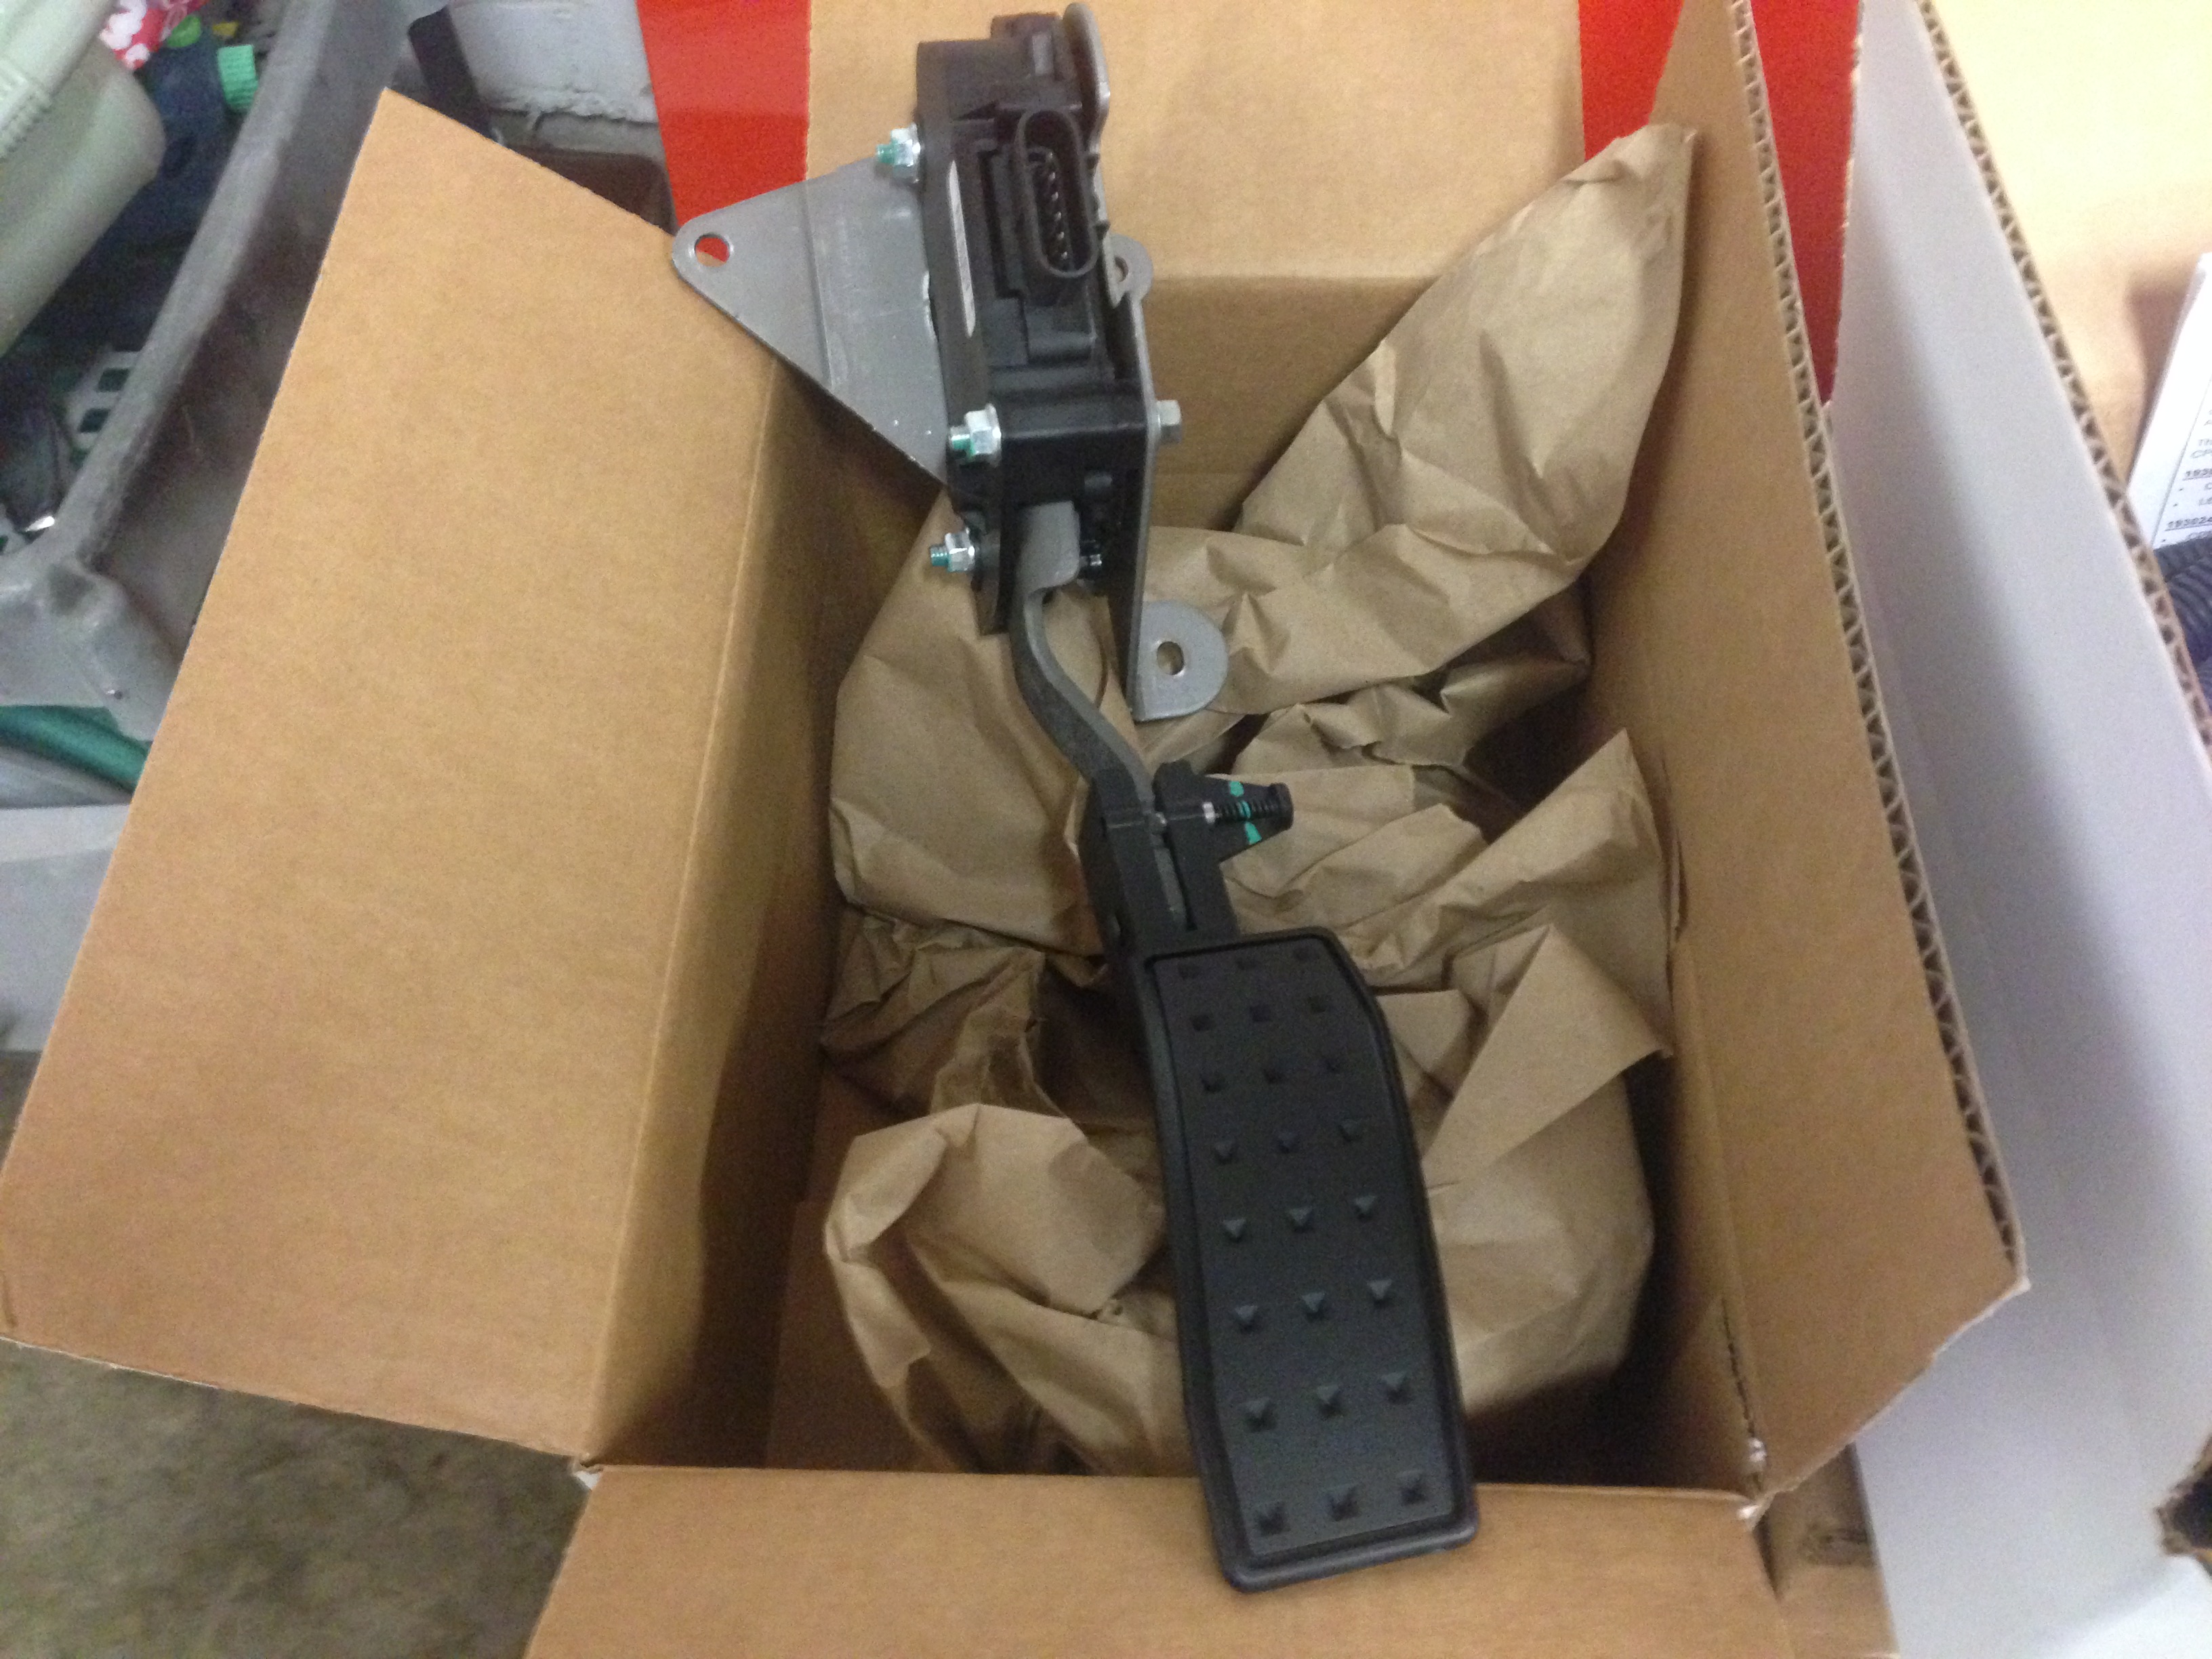
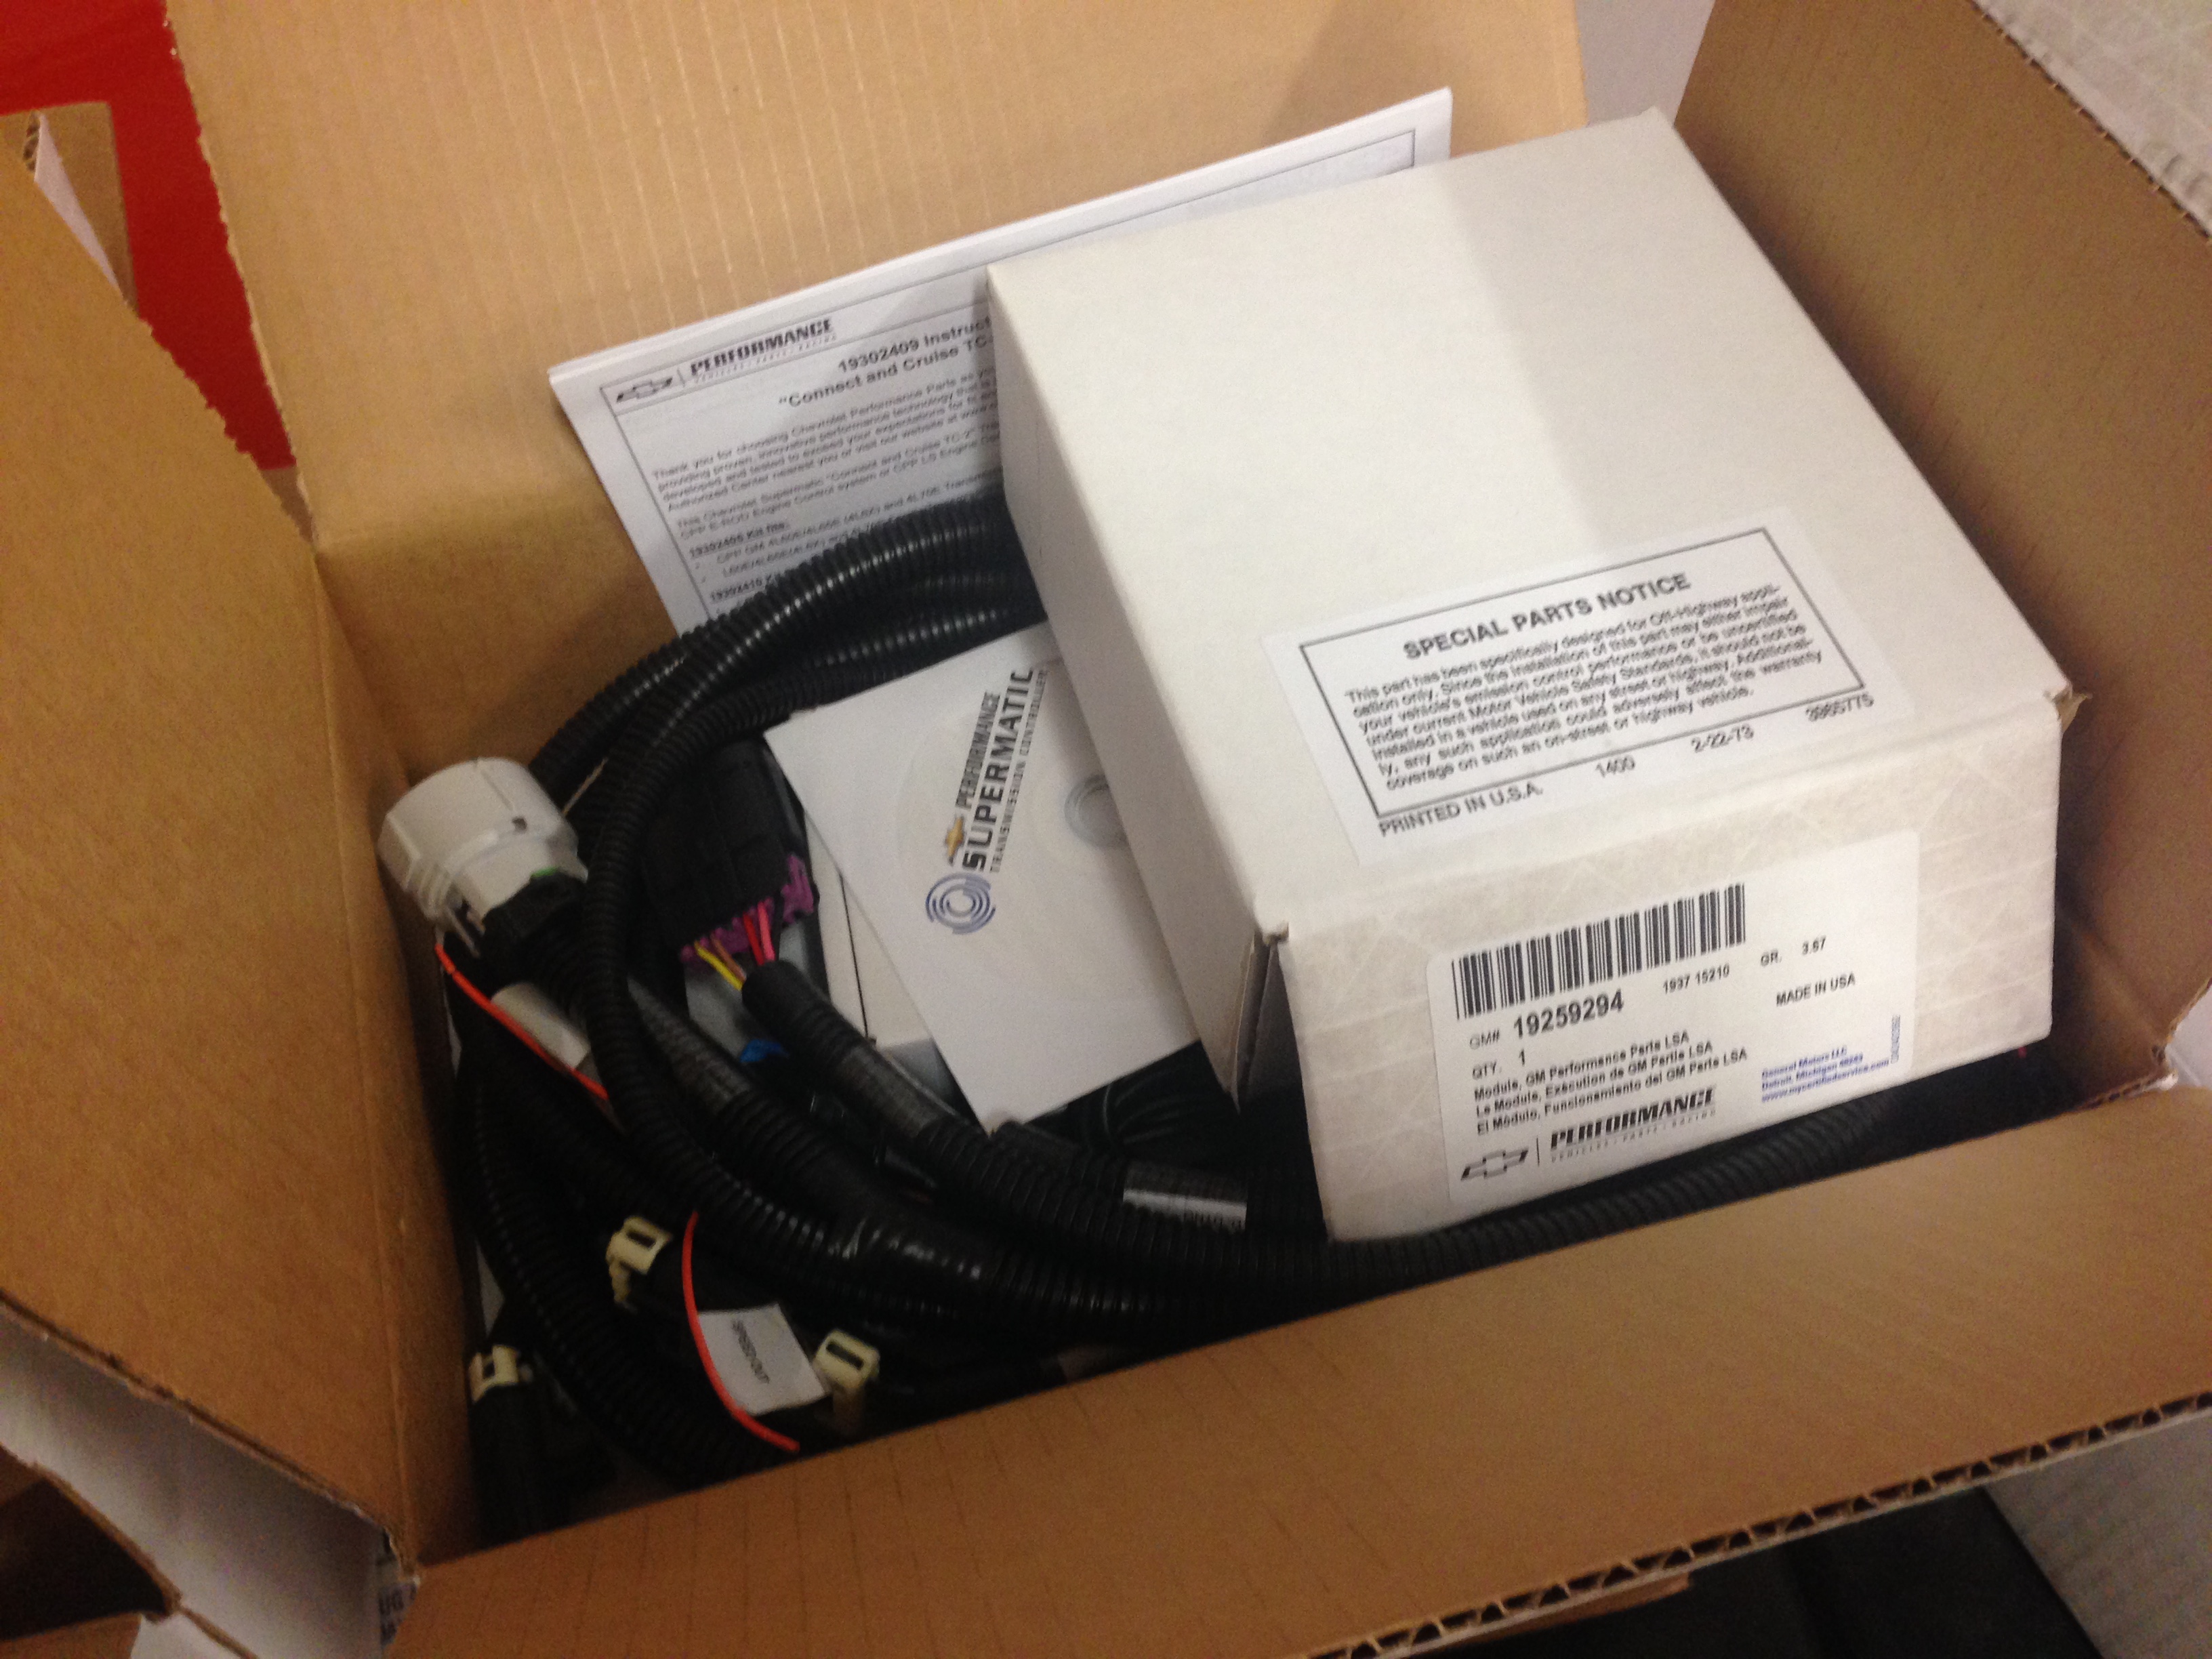
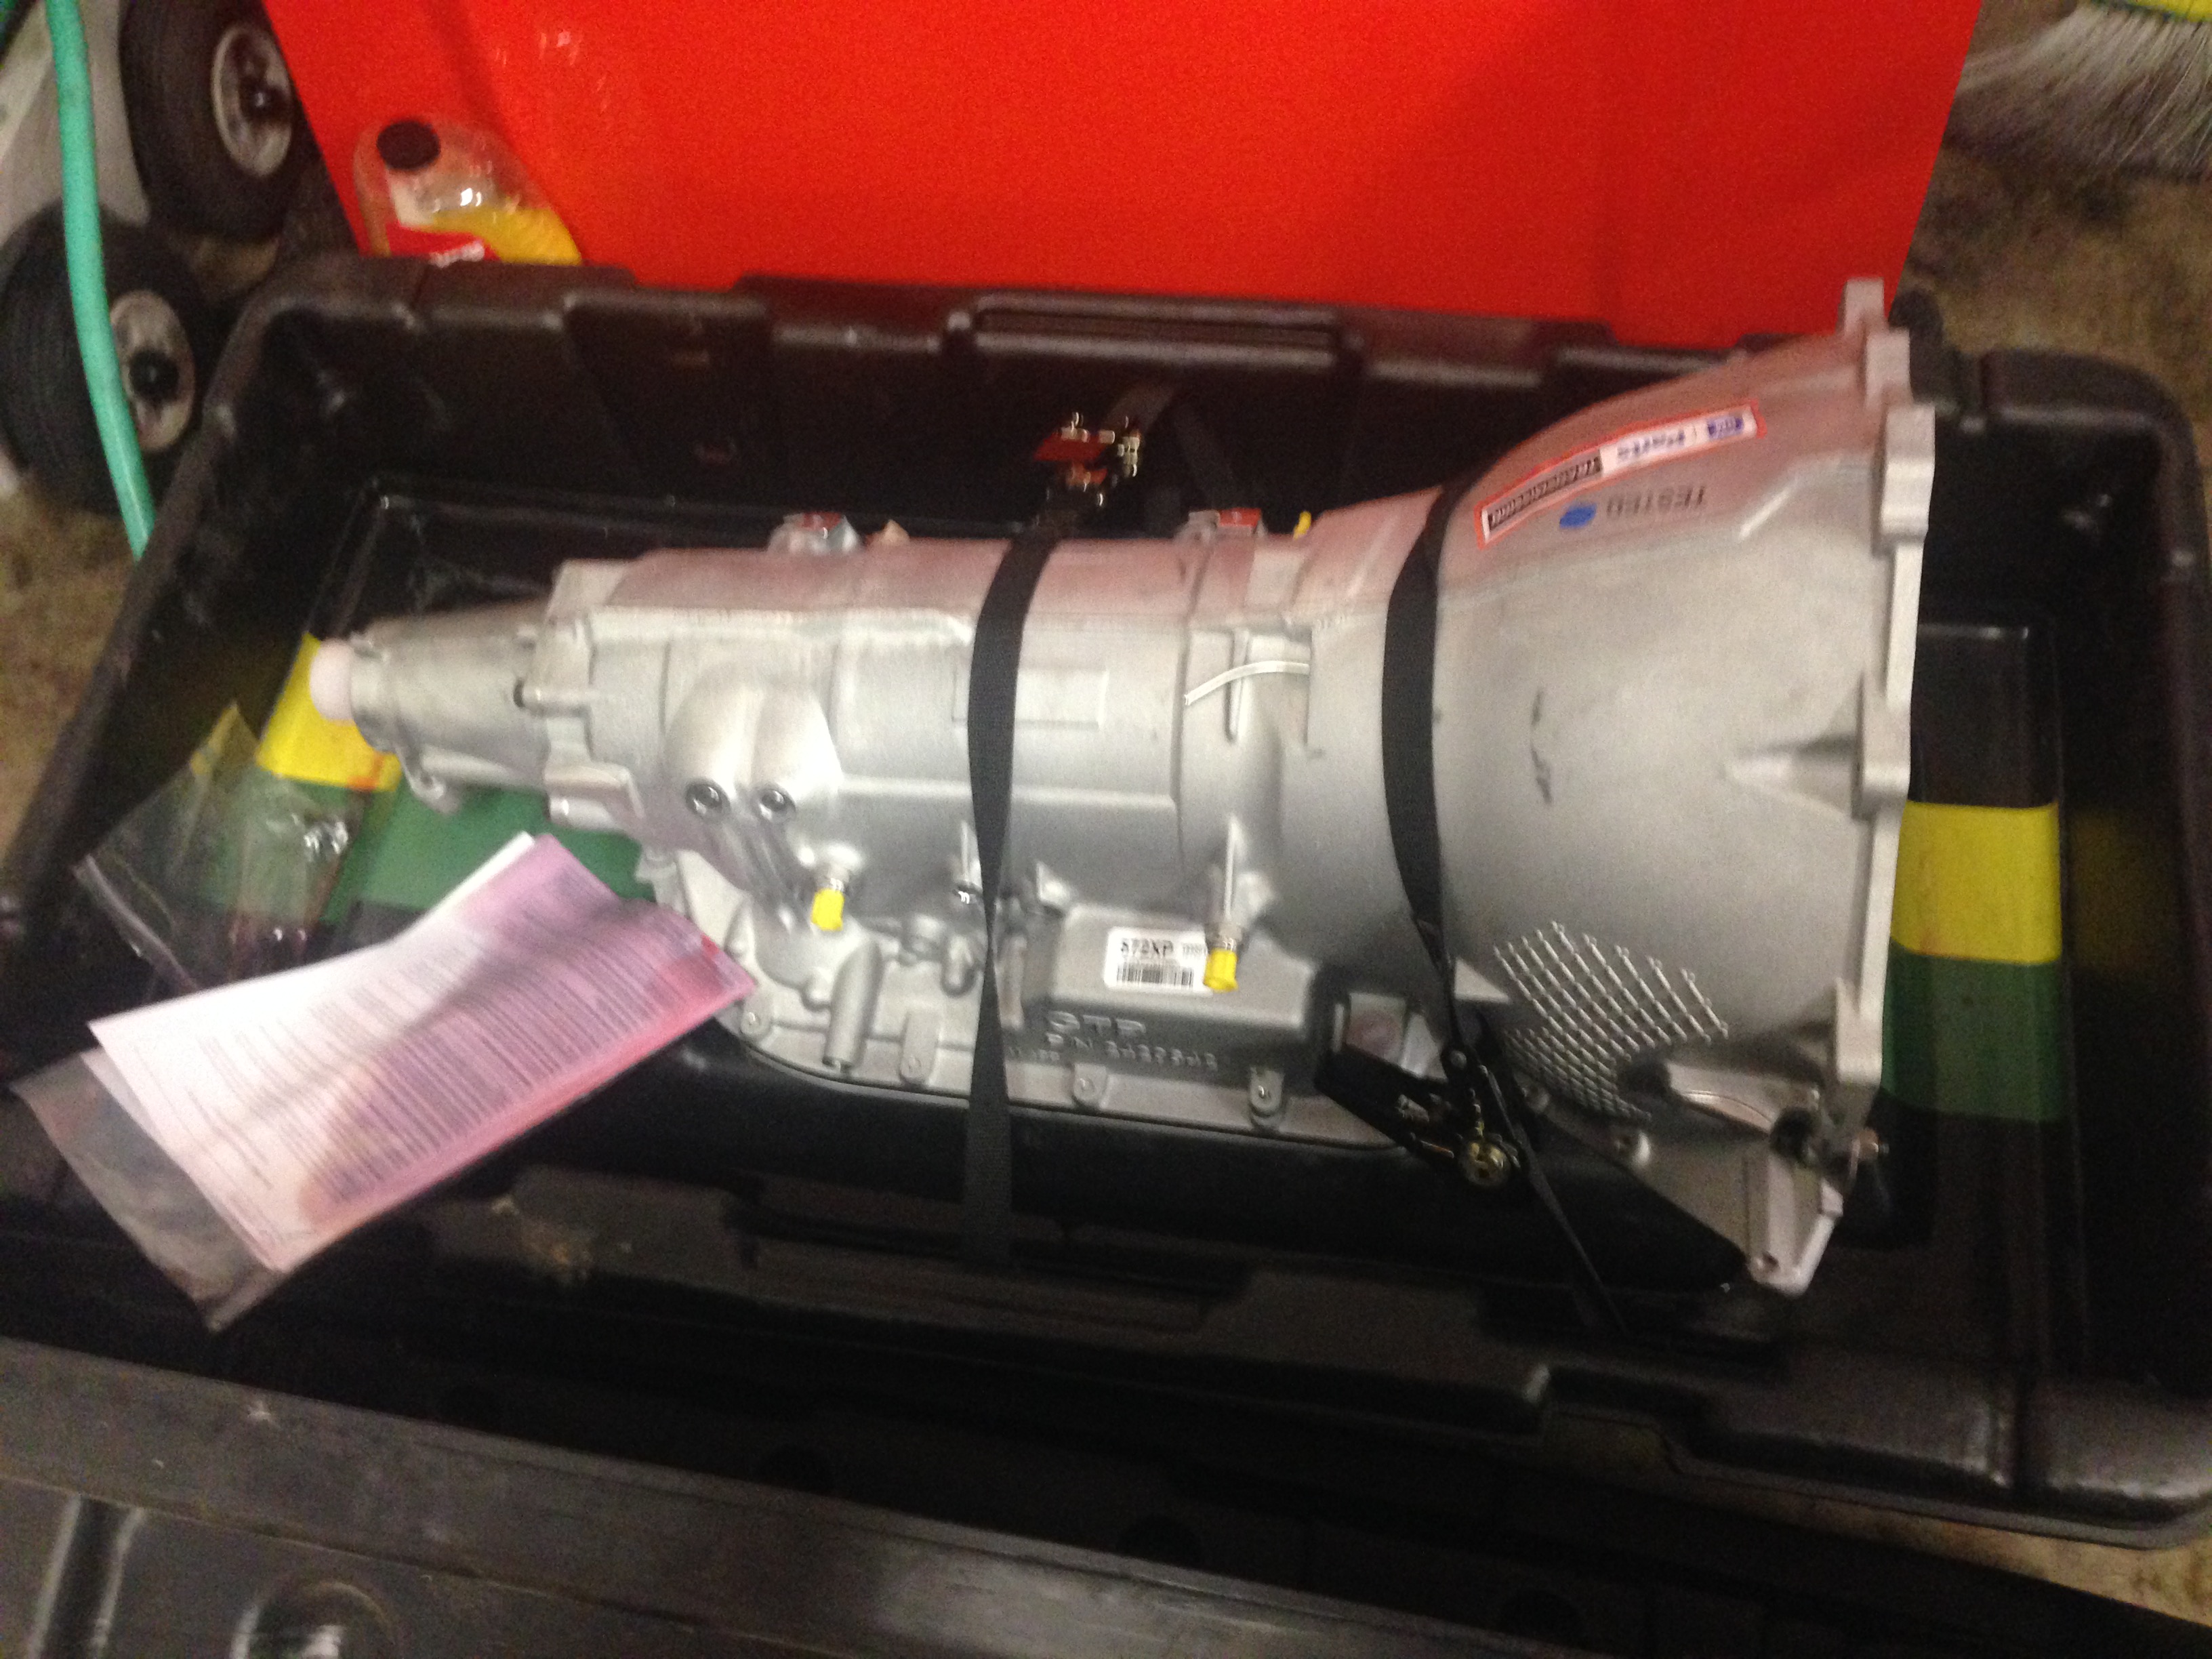
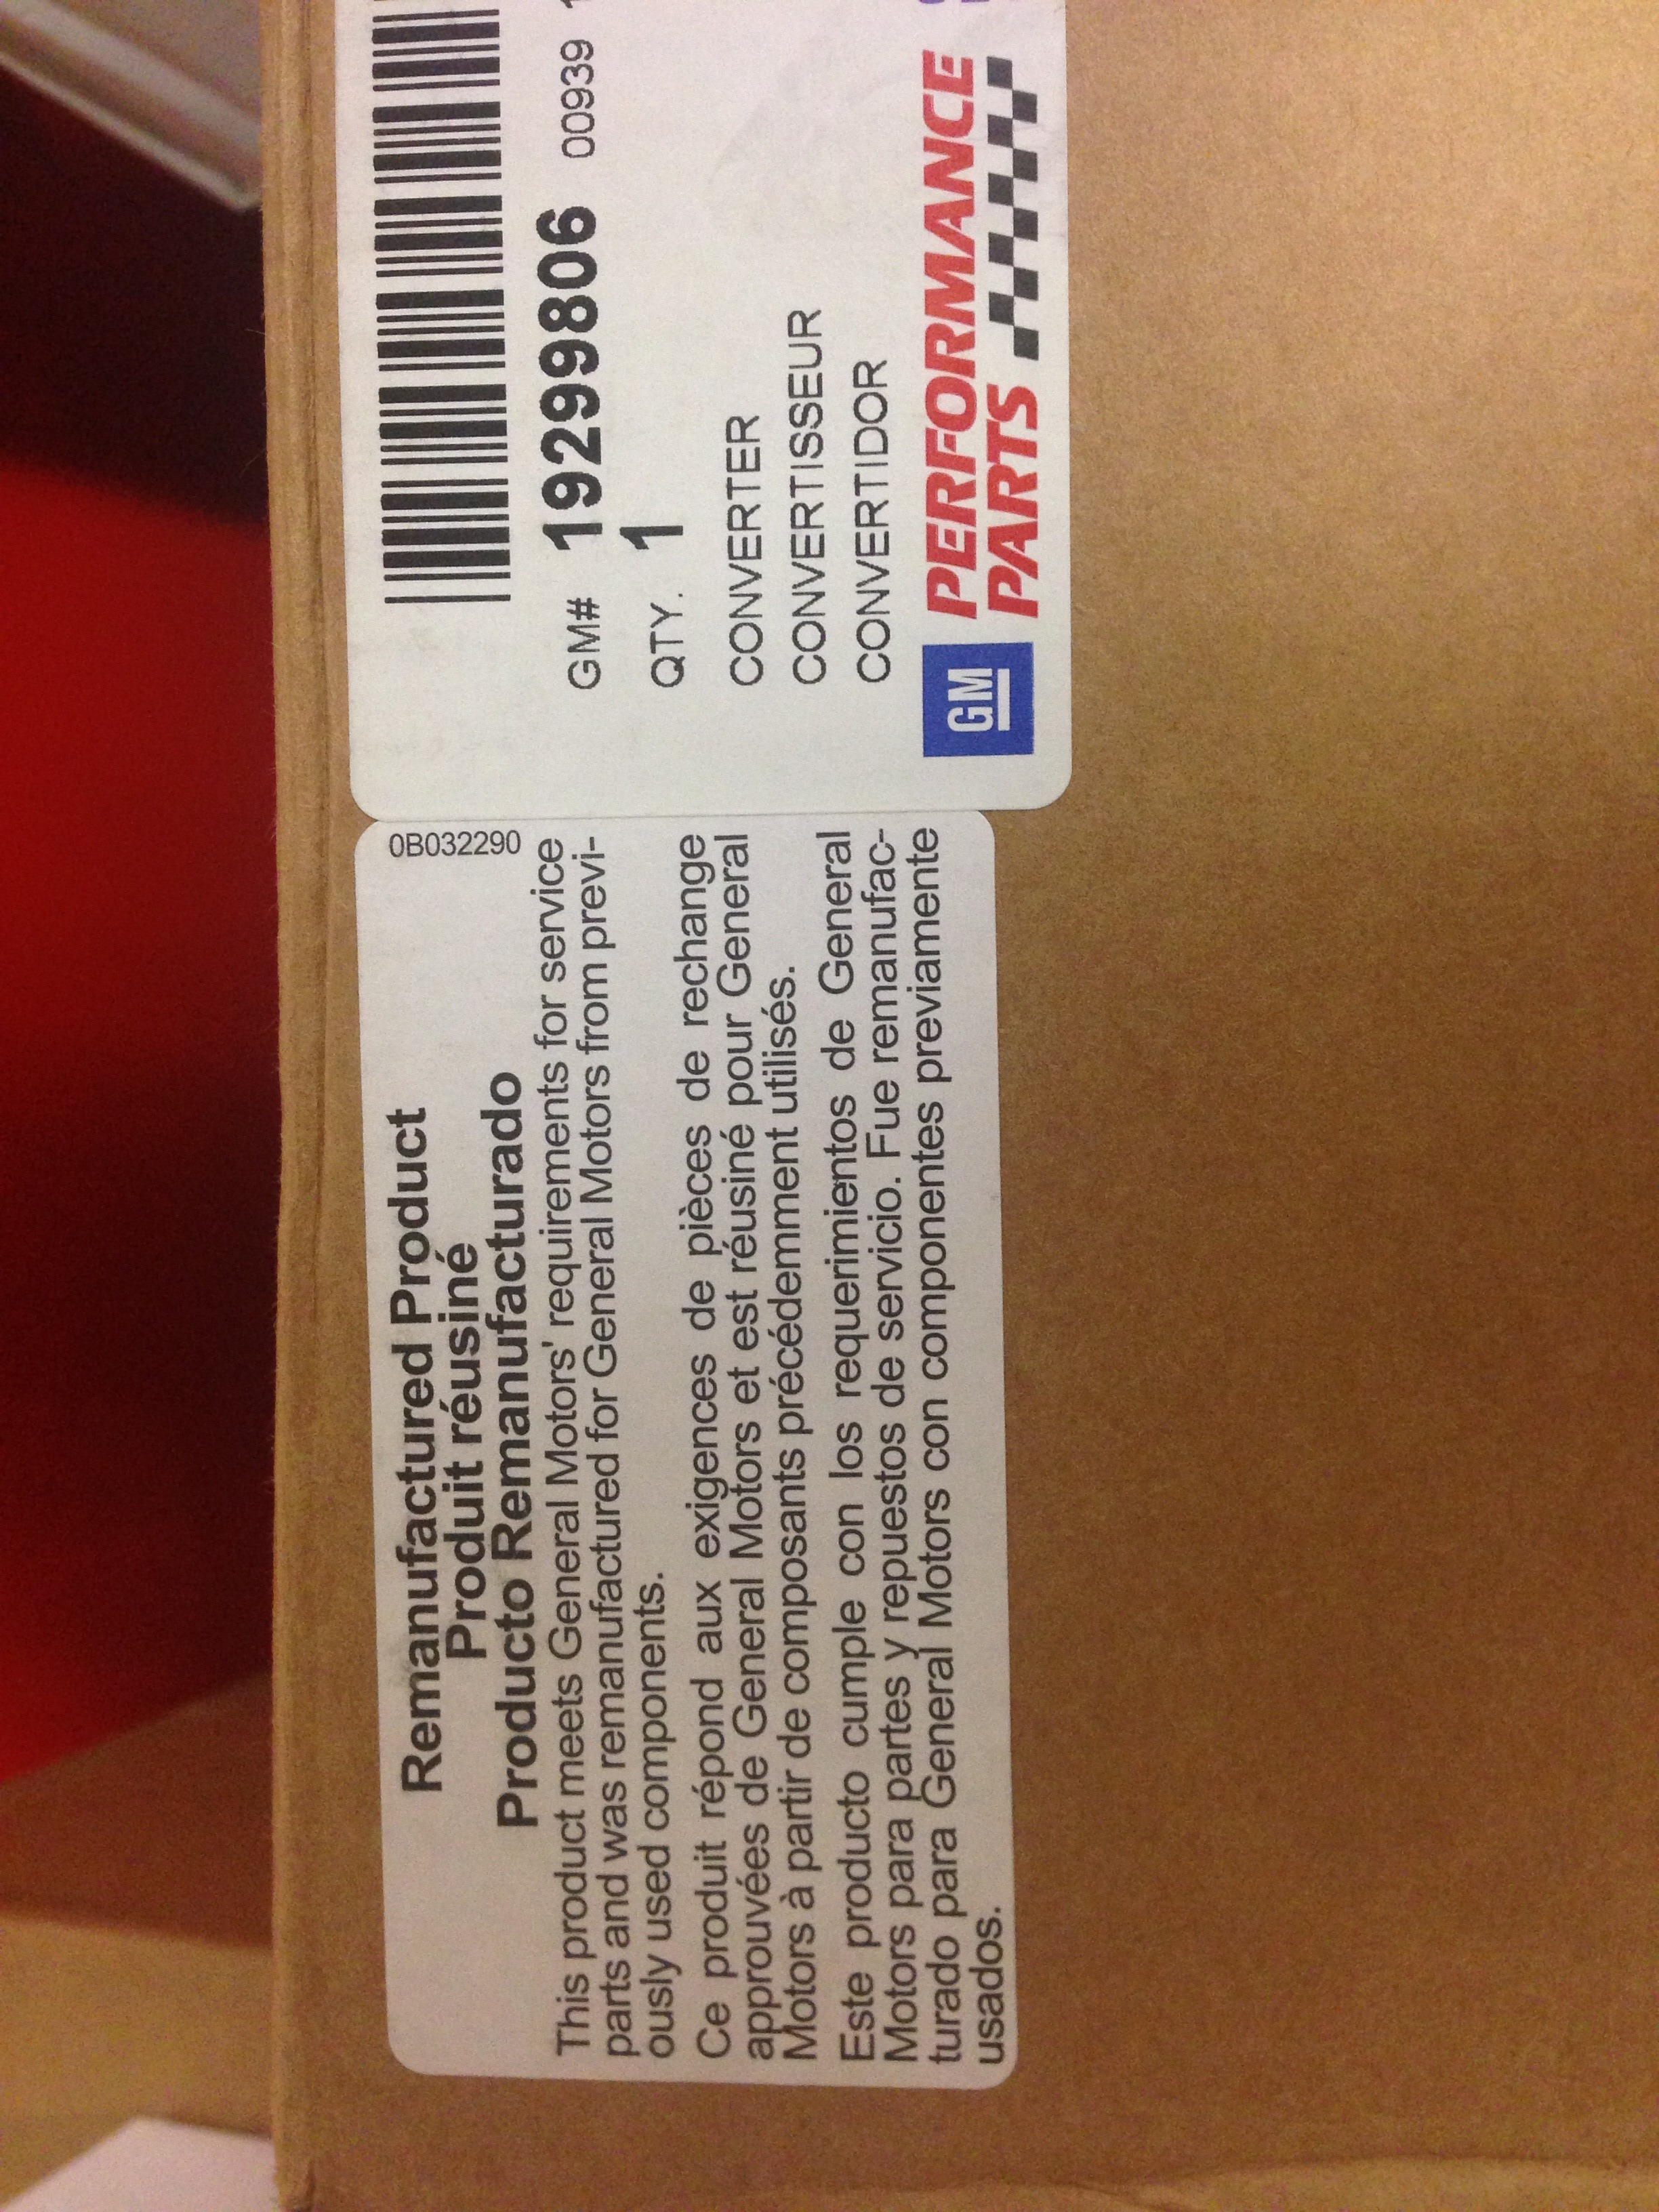
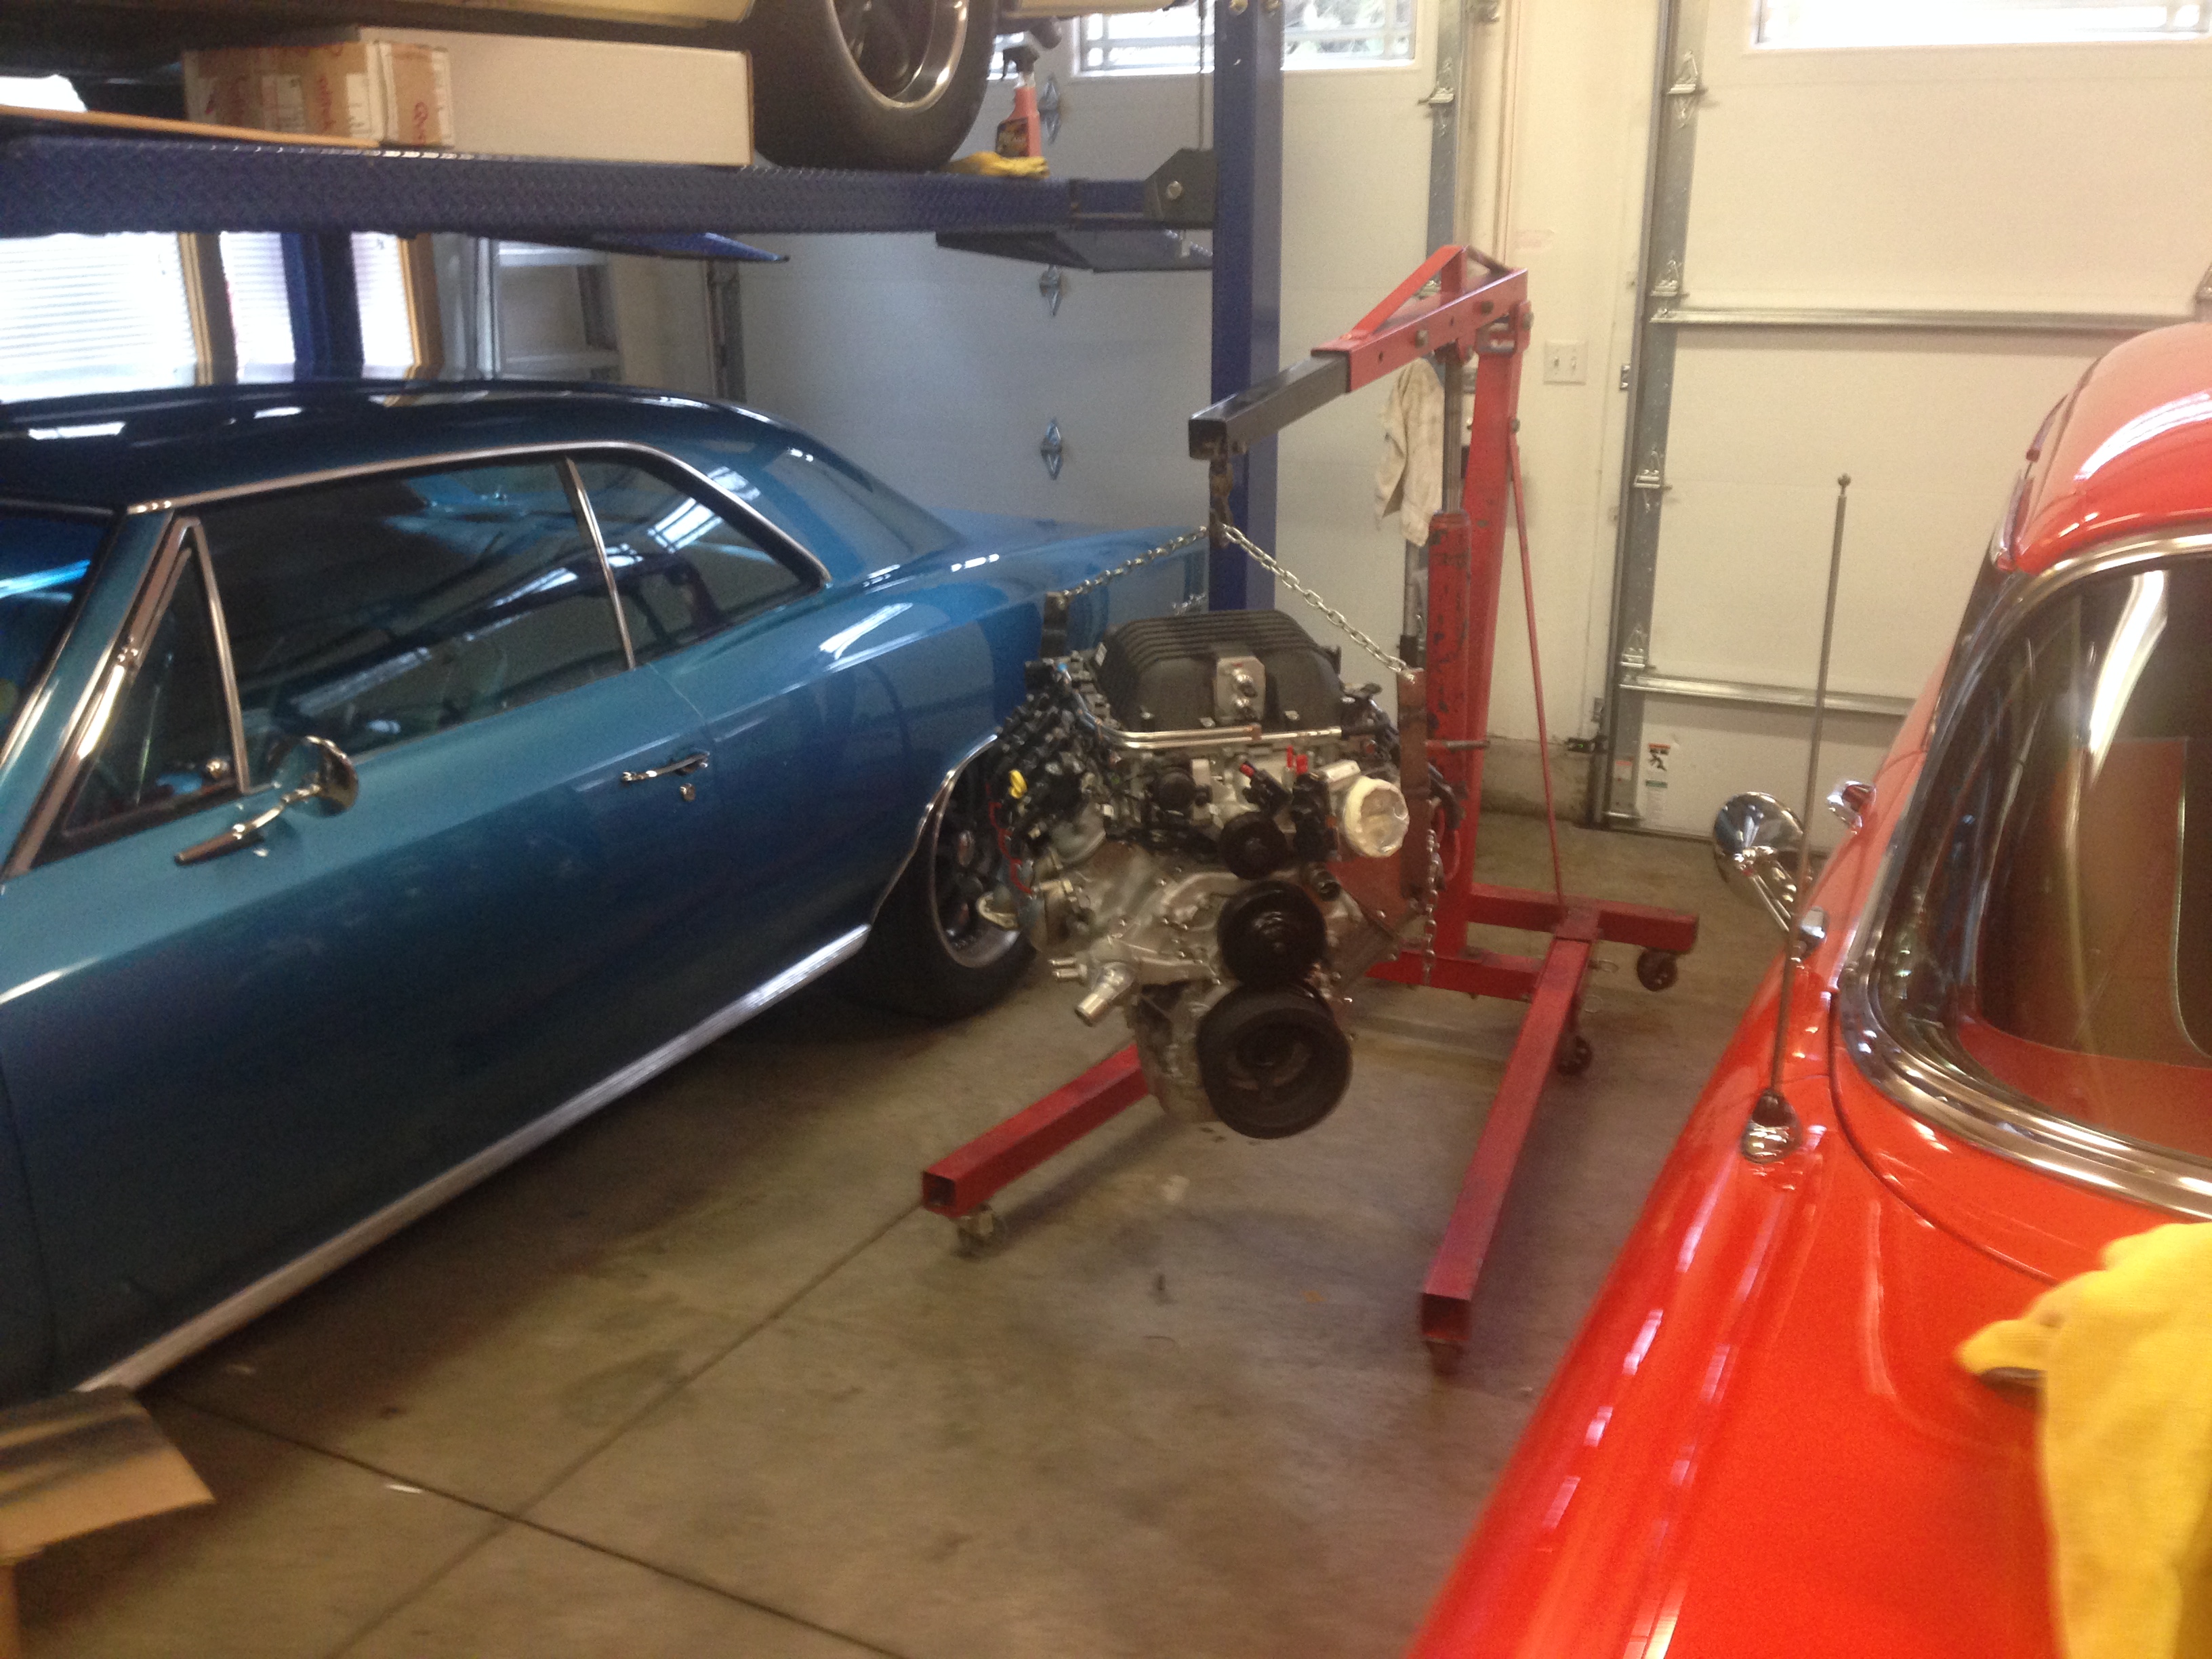
Been gone for a week.....But..... When we got back a lot of "Stuff" showed up.......The new Vintage Air unit showed up....and the Drivetrain got here also......I ordered the GM "LSA Connect and Cruise " set-up.....As I was going thru the boxes with all the new parts........I noticed that the Torque Converter was a reconditioned unit..........WTF...... Anyhow.......Things will start to move again......Here are a bunch of Pic's ...........

Thread Starter
TECH Fanatic
Joined: Jul 2008
Posts: 1,570
Likes: 173
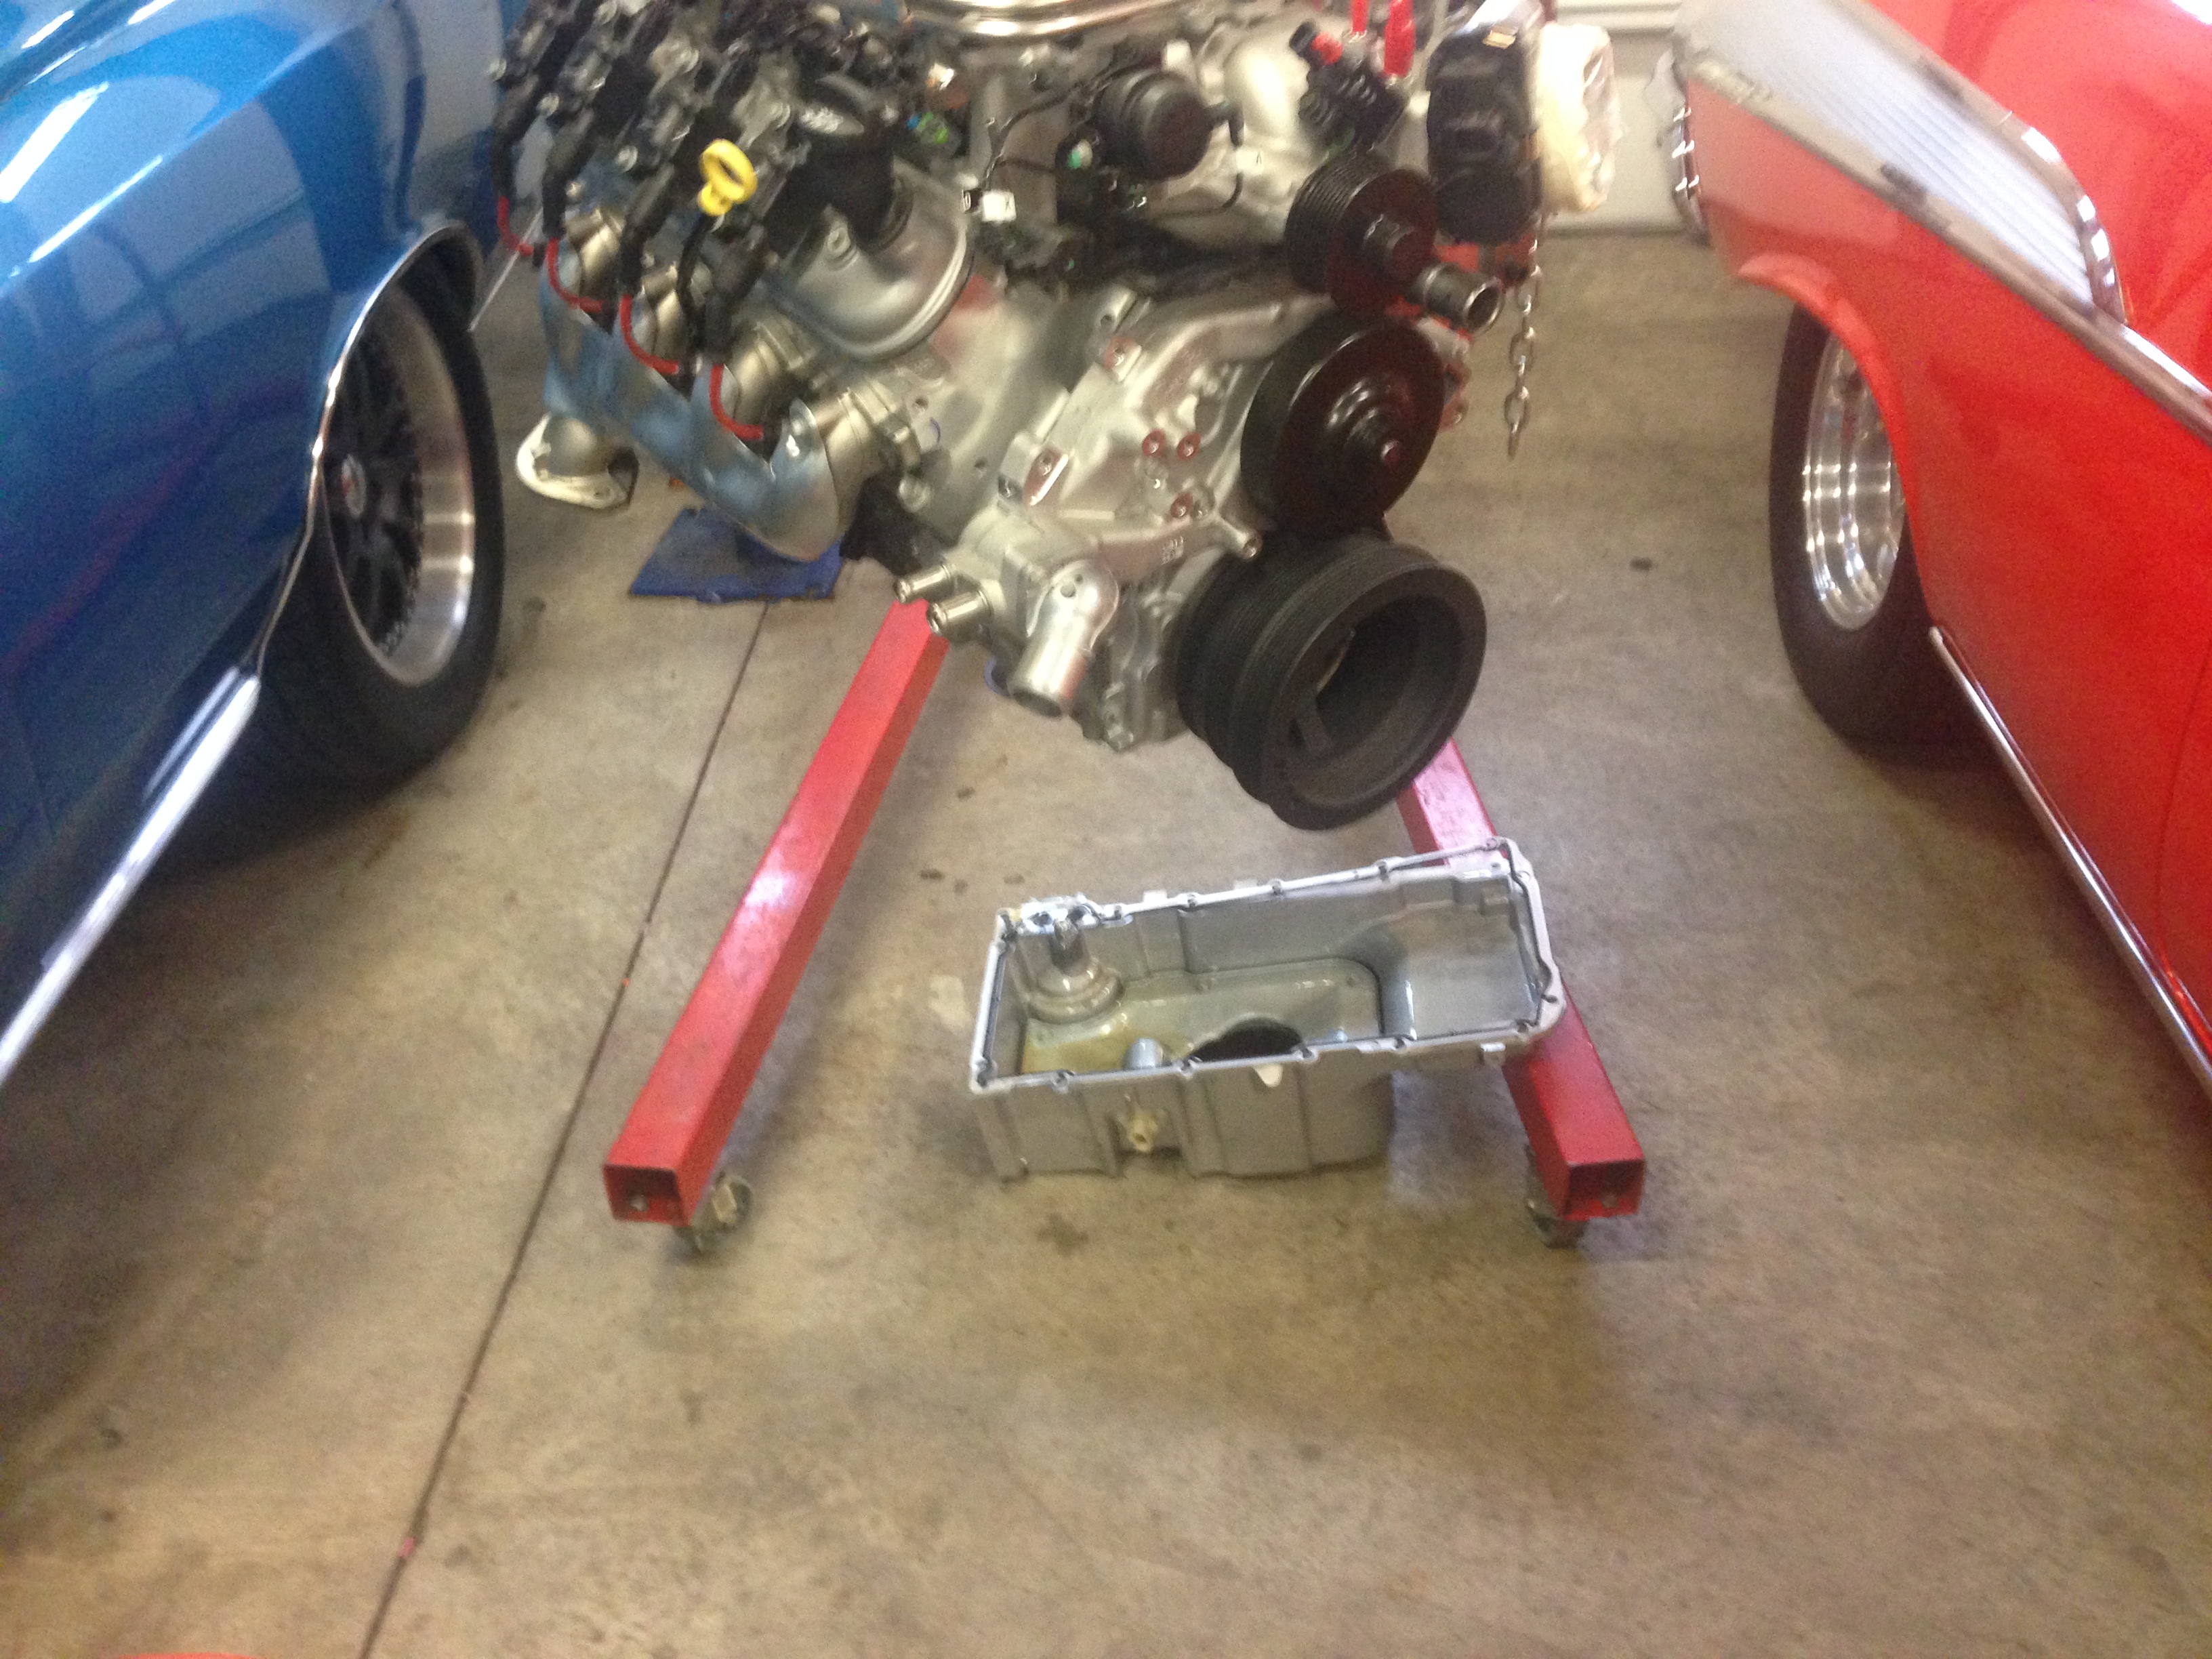
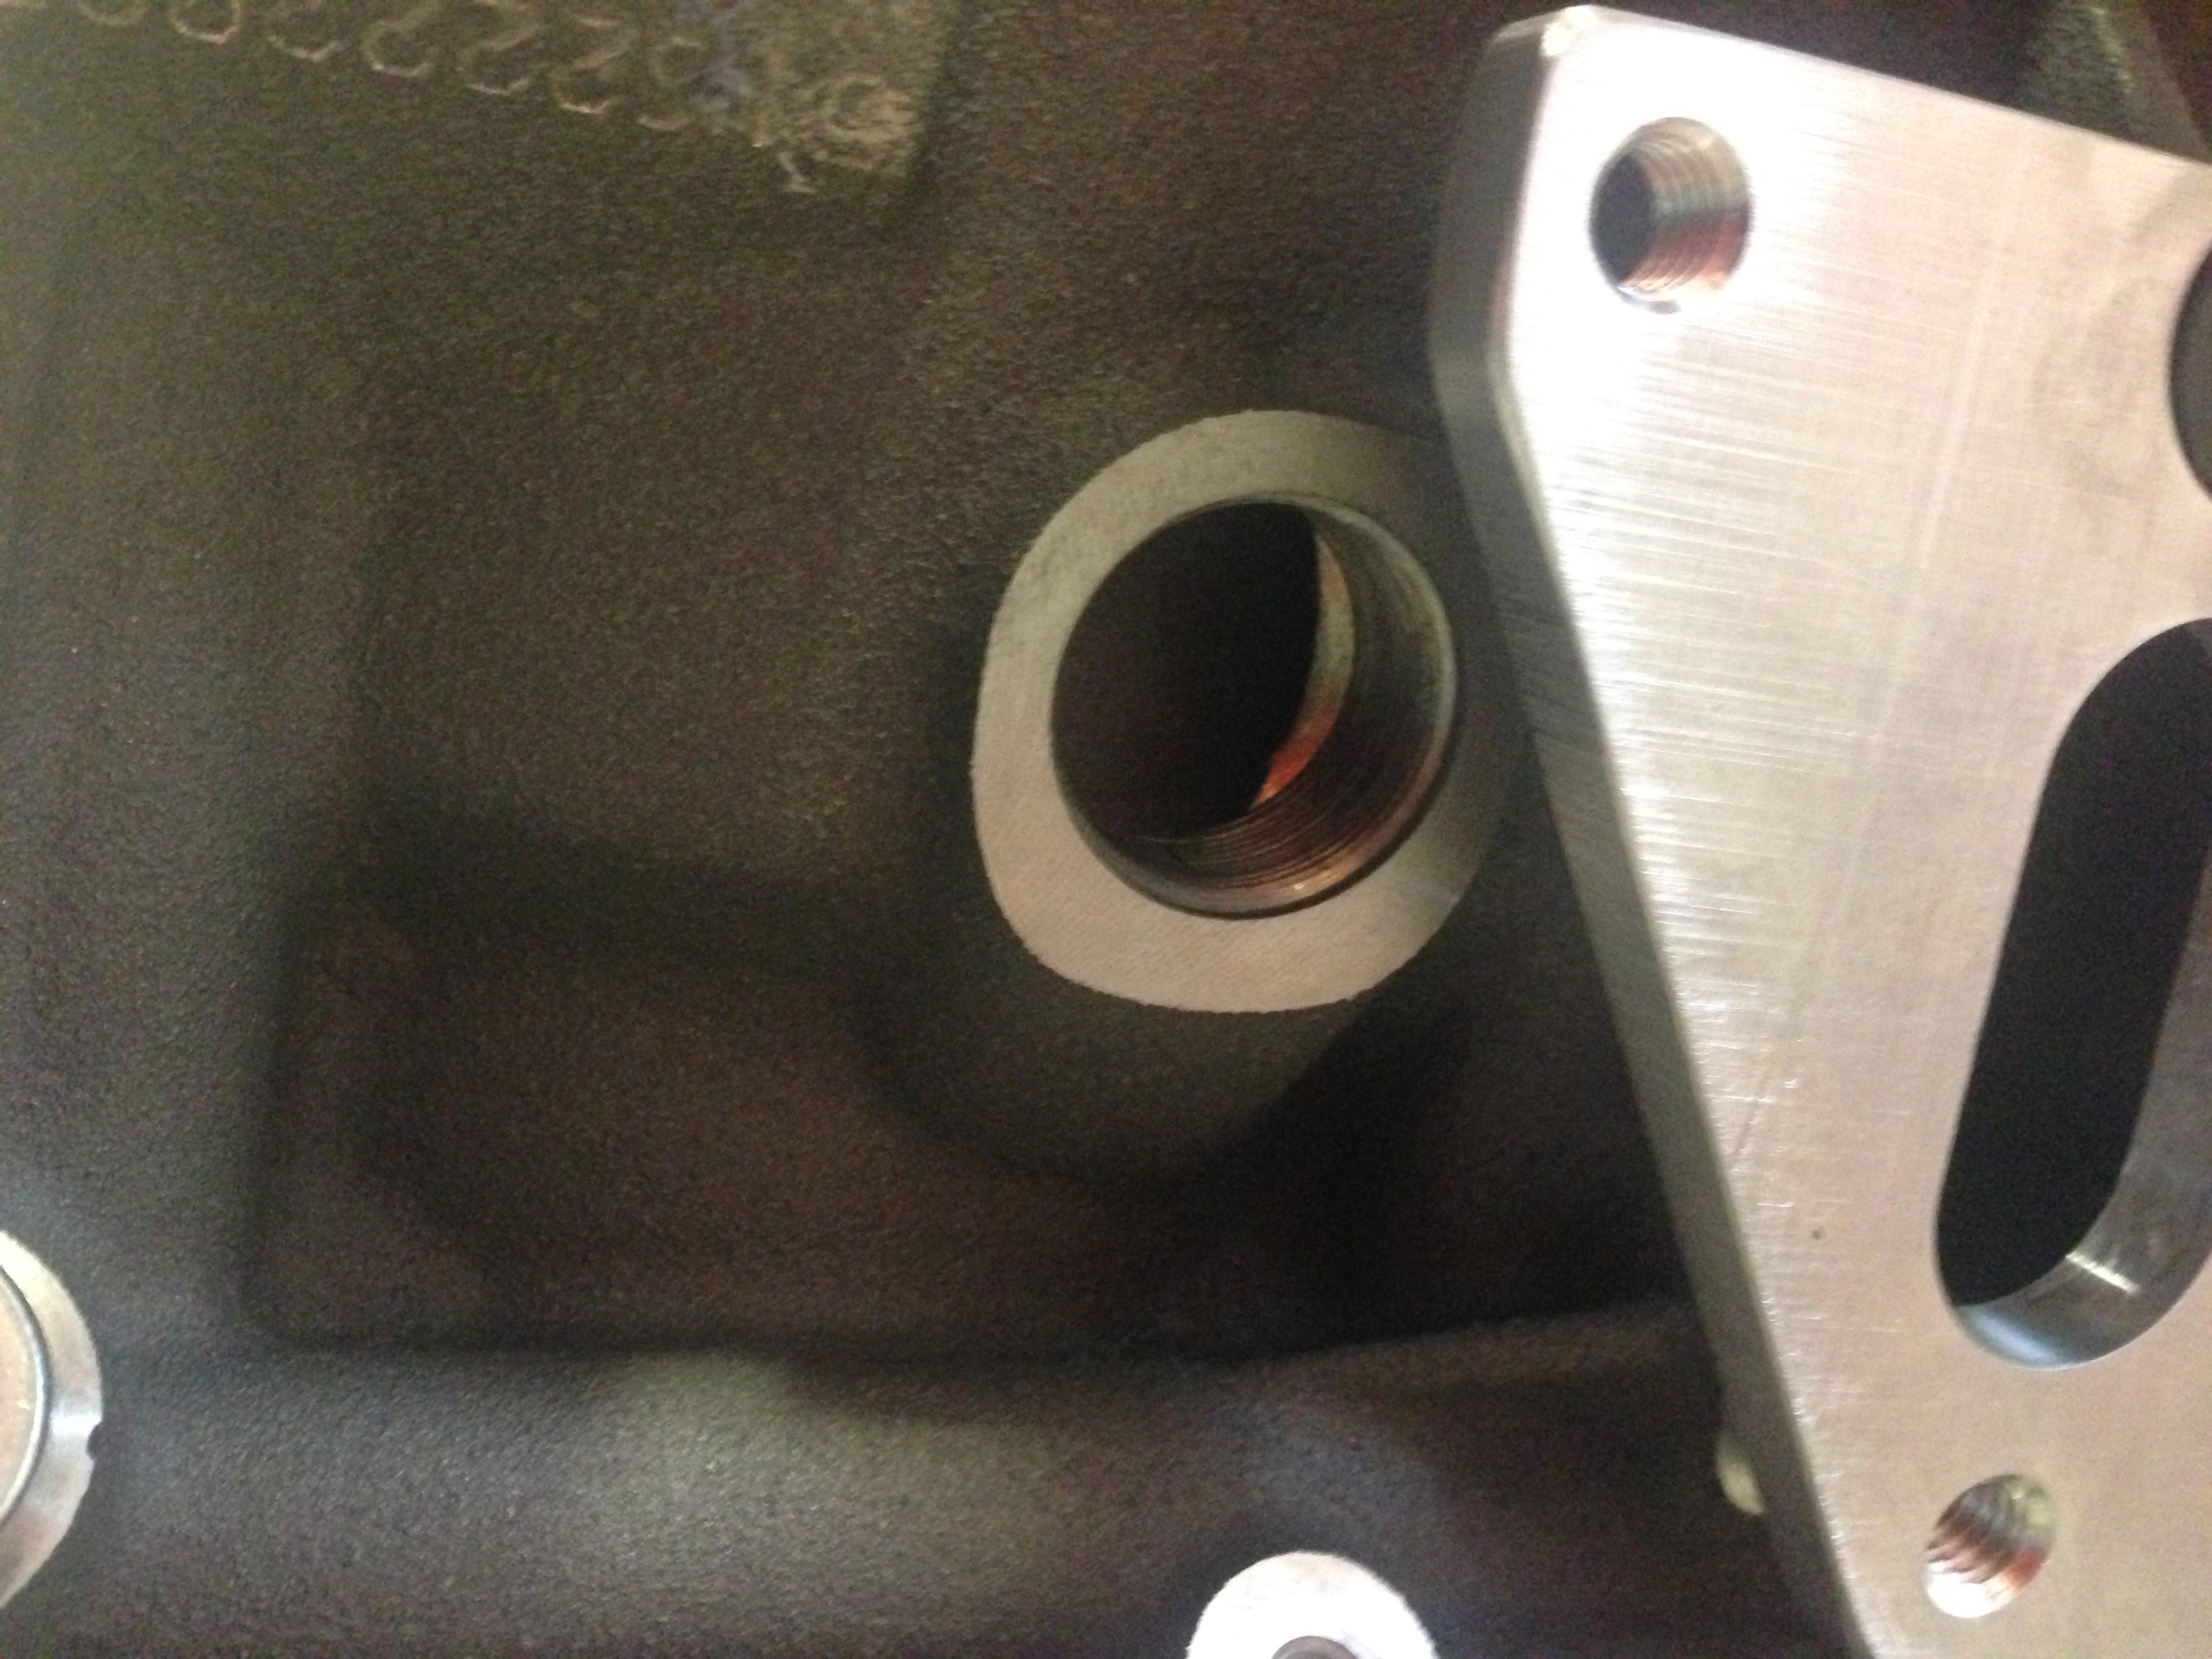
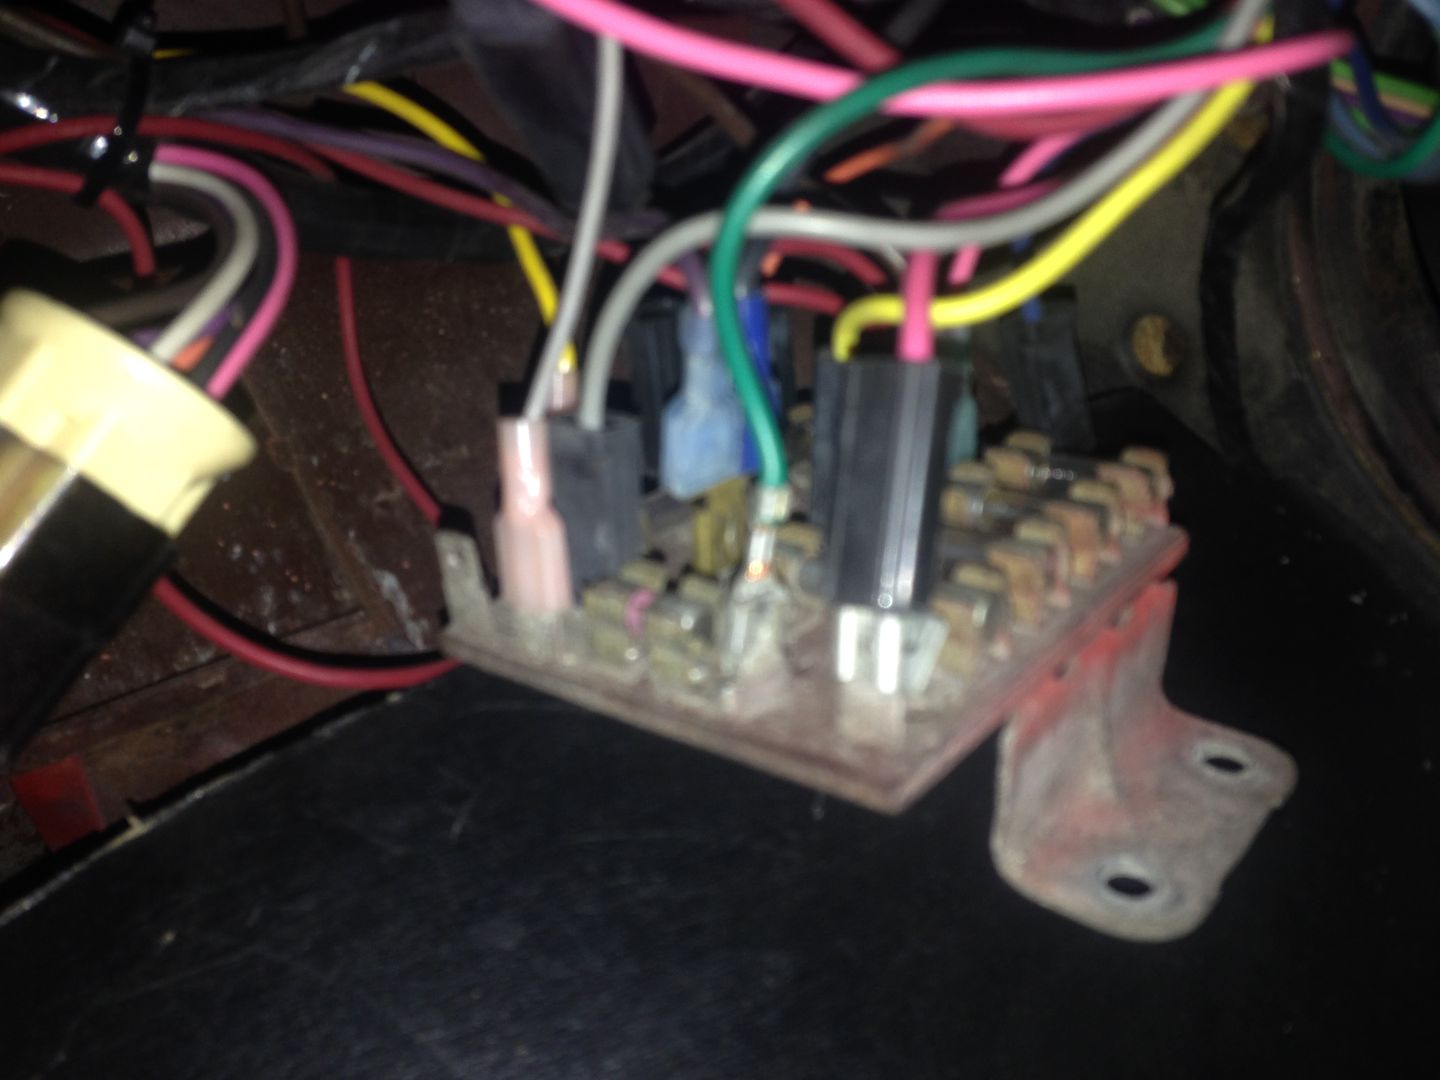
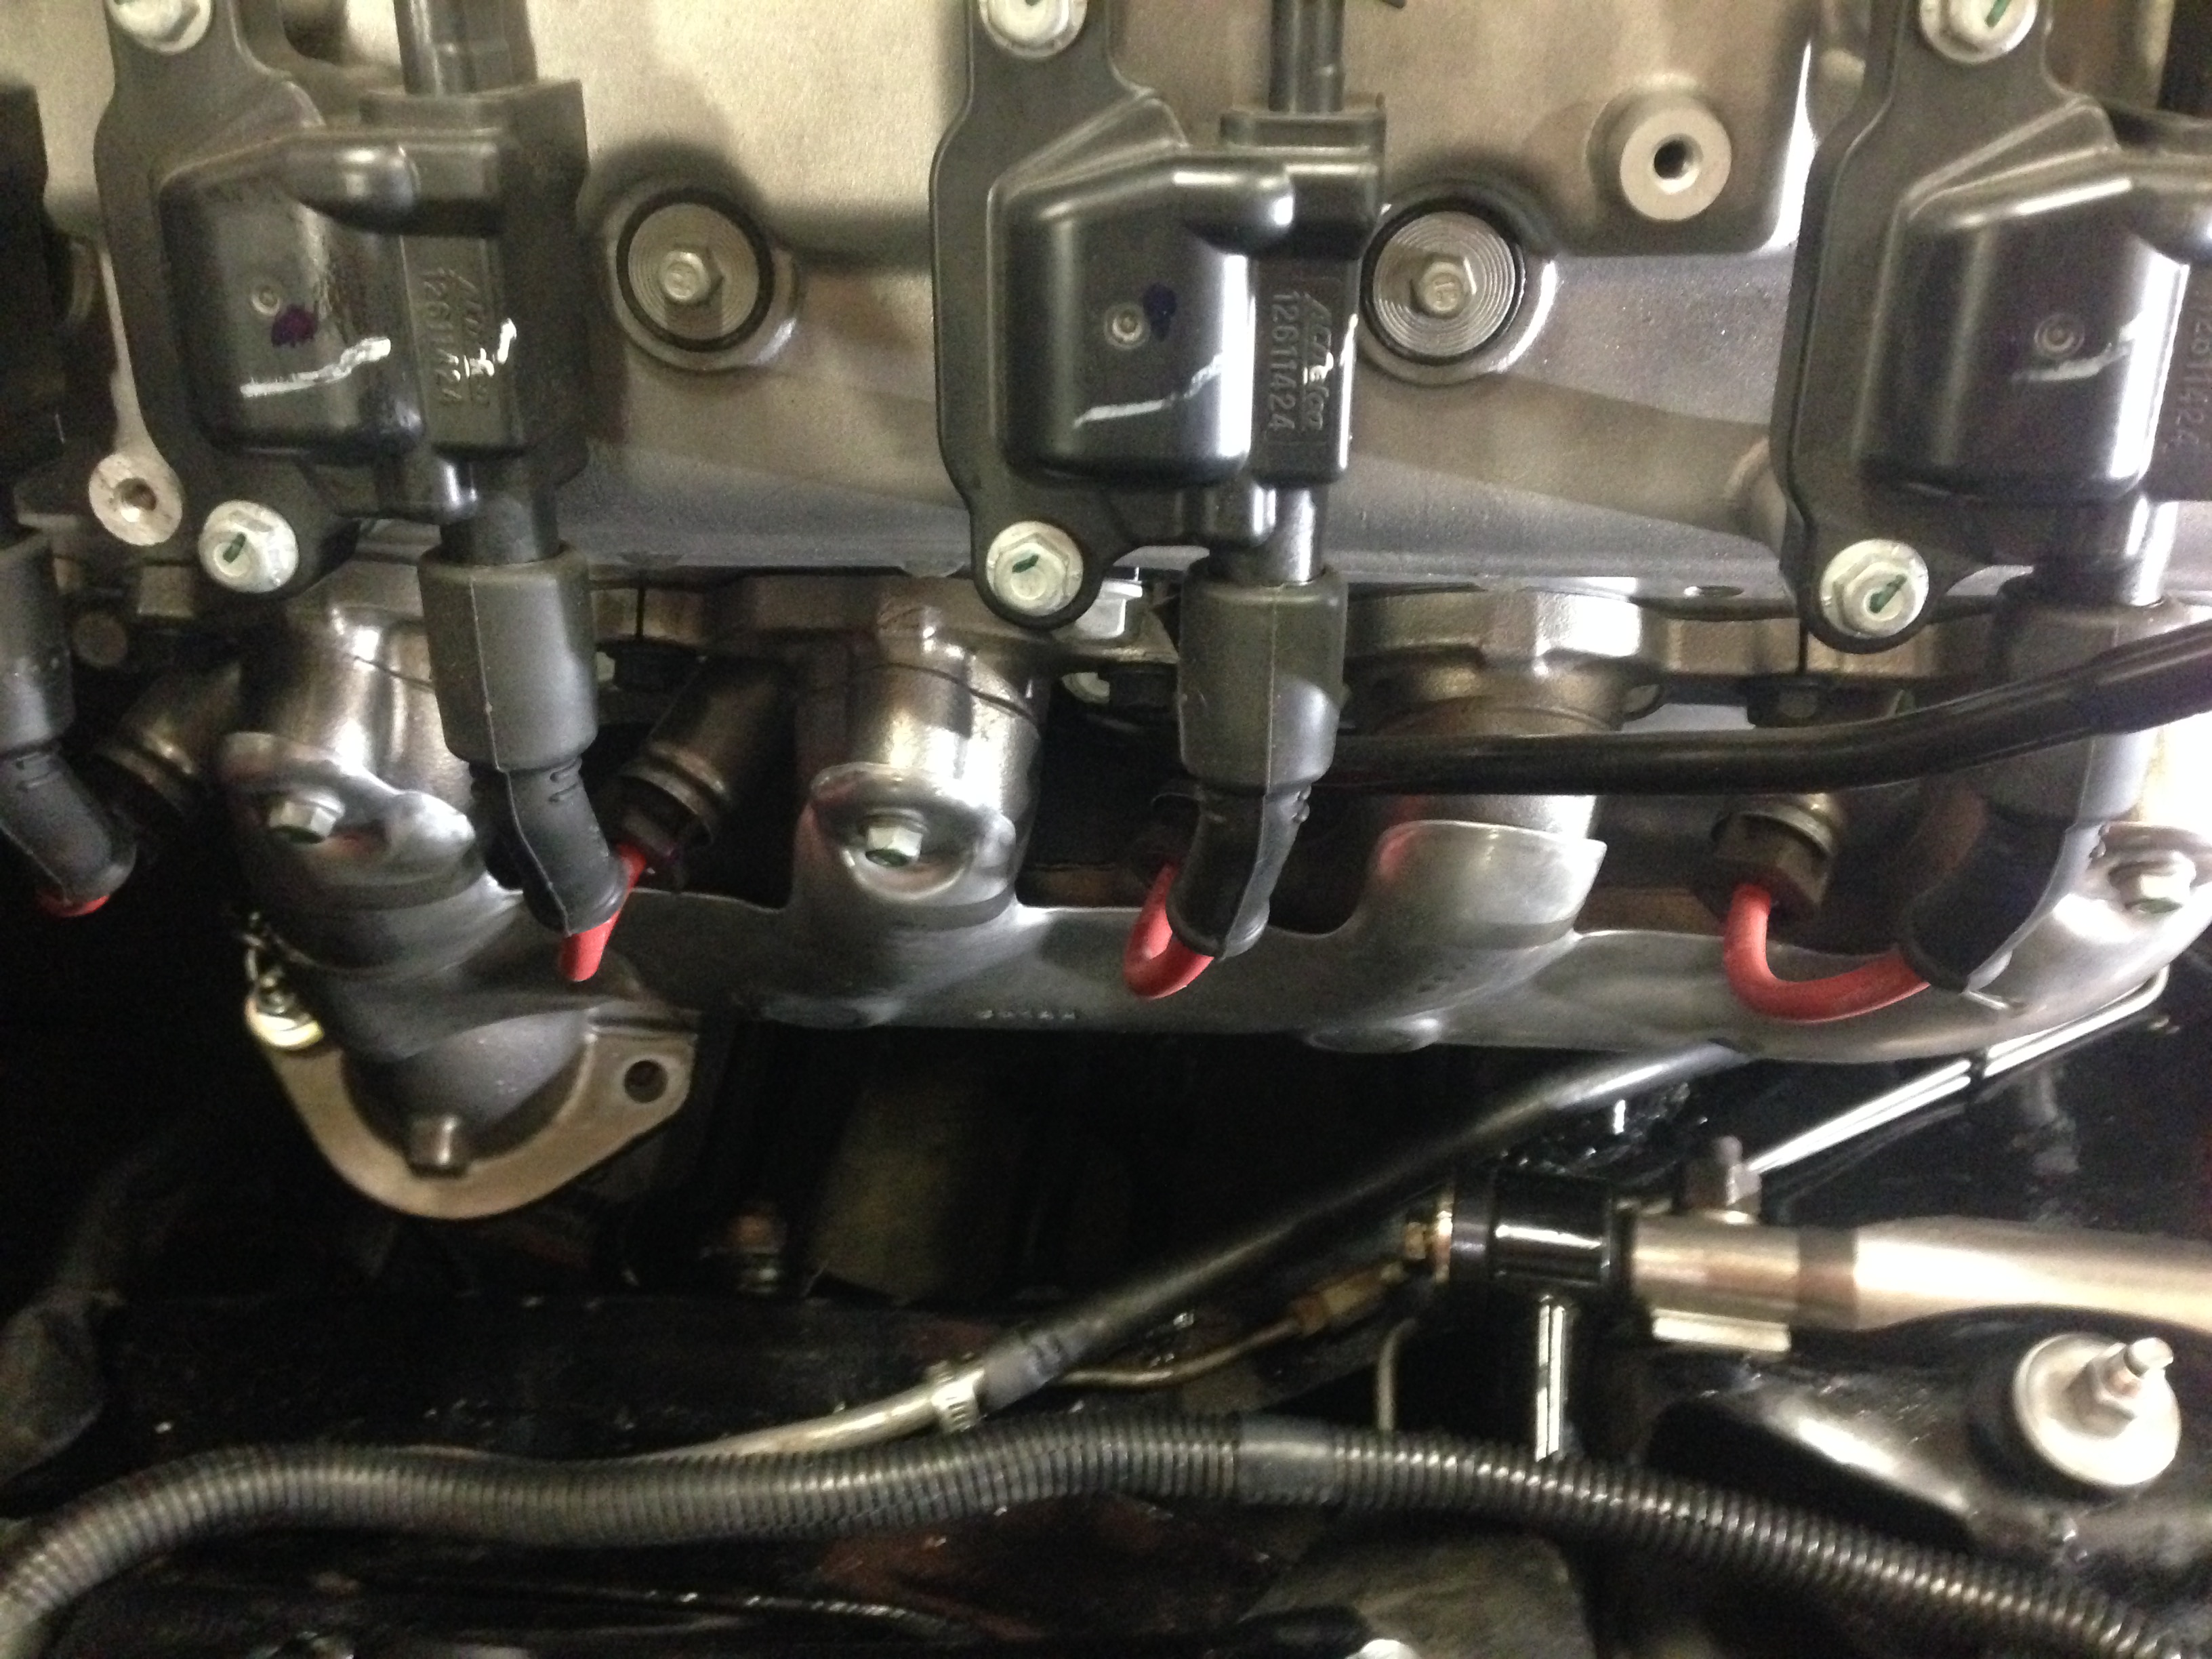
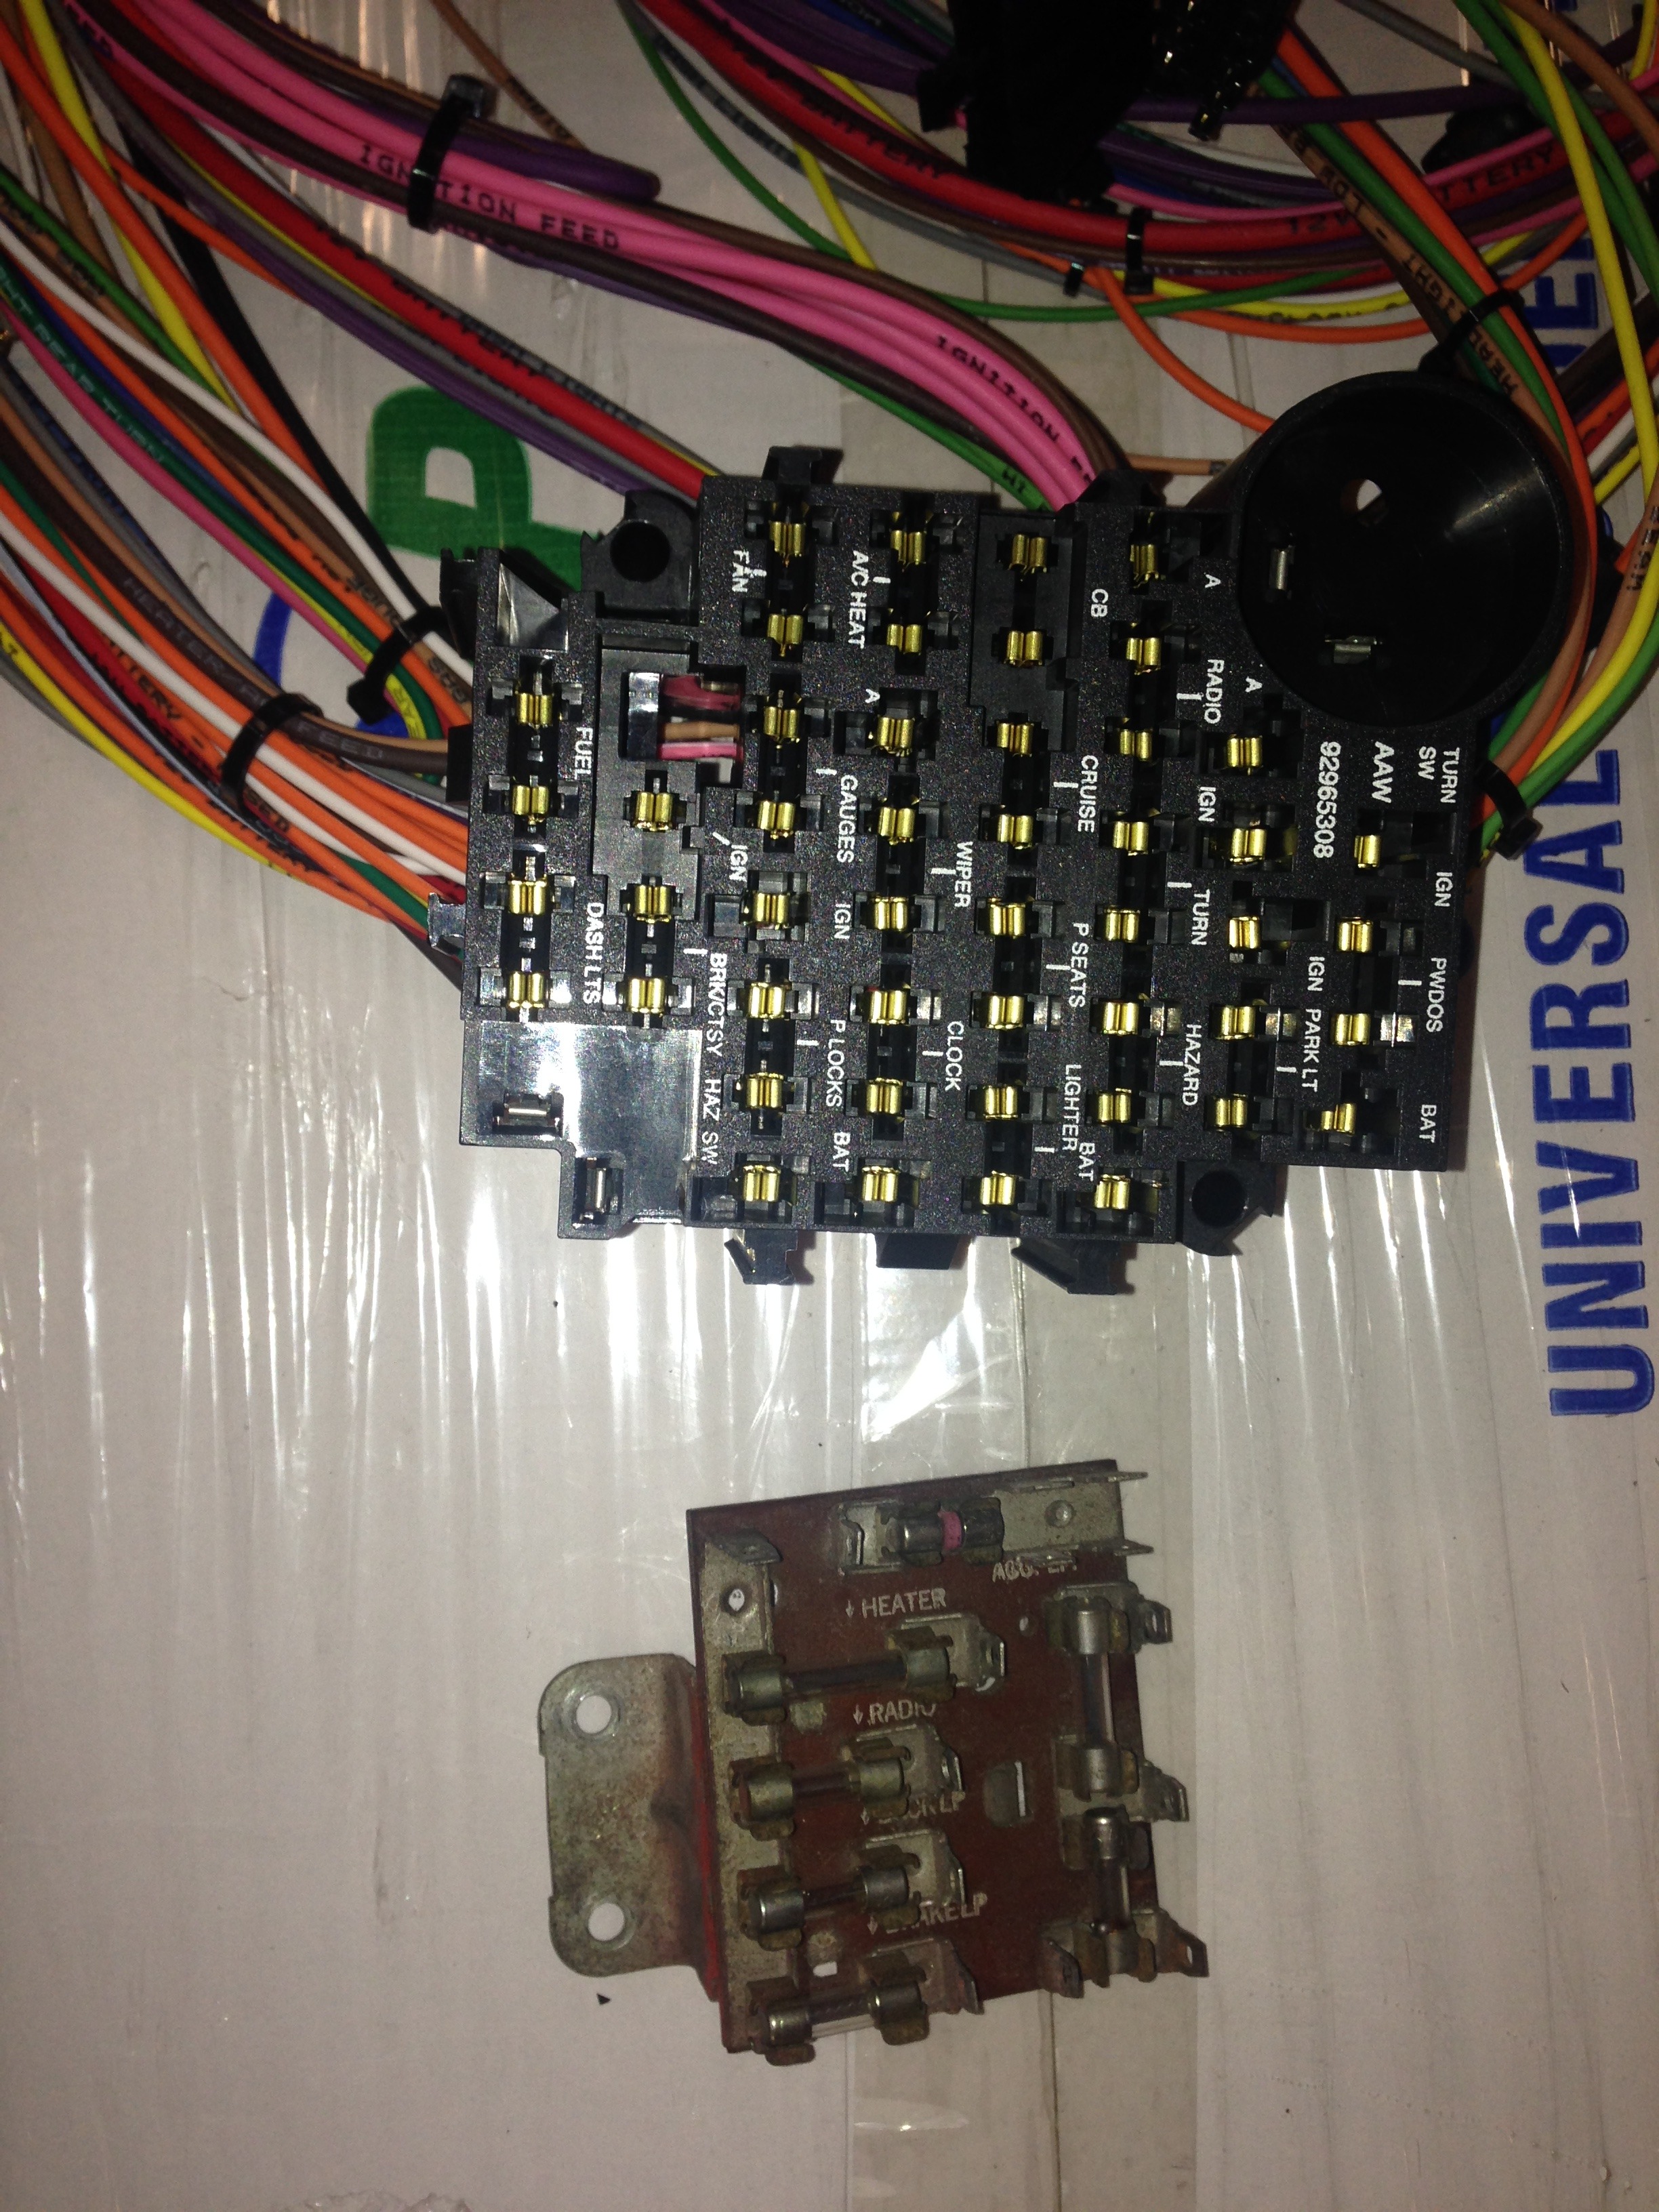
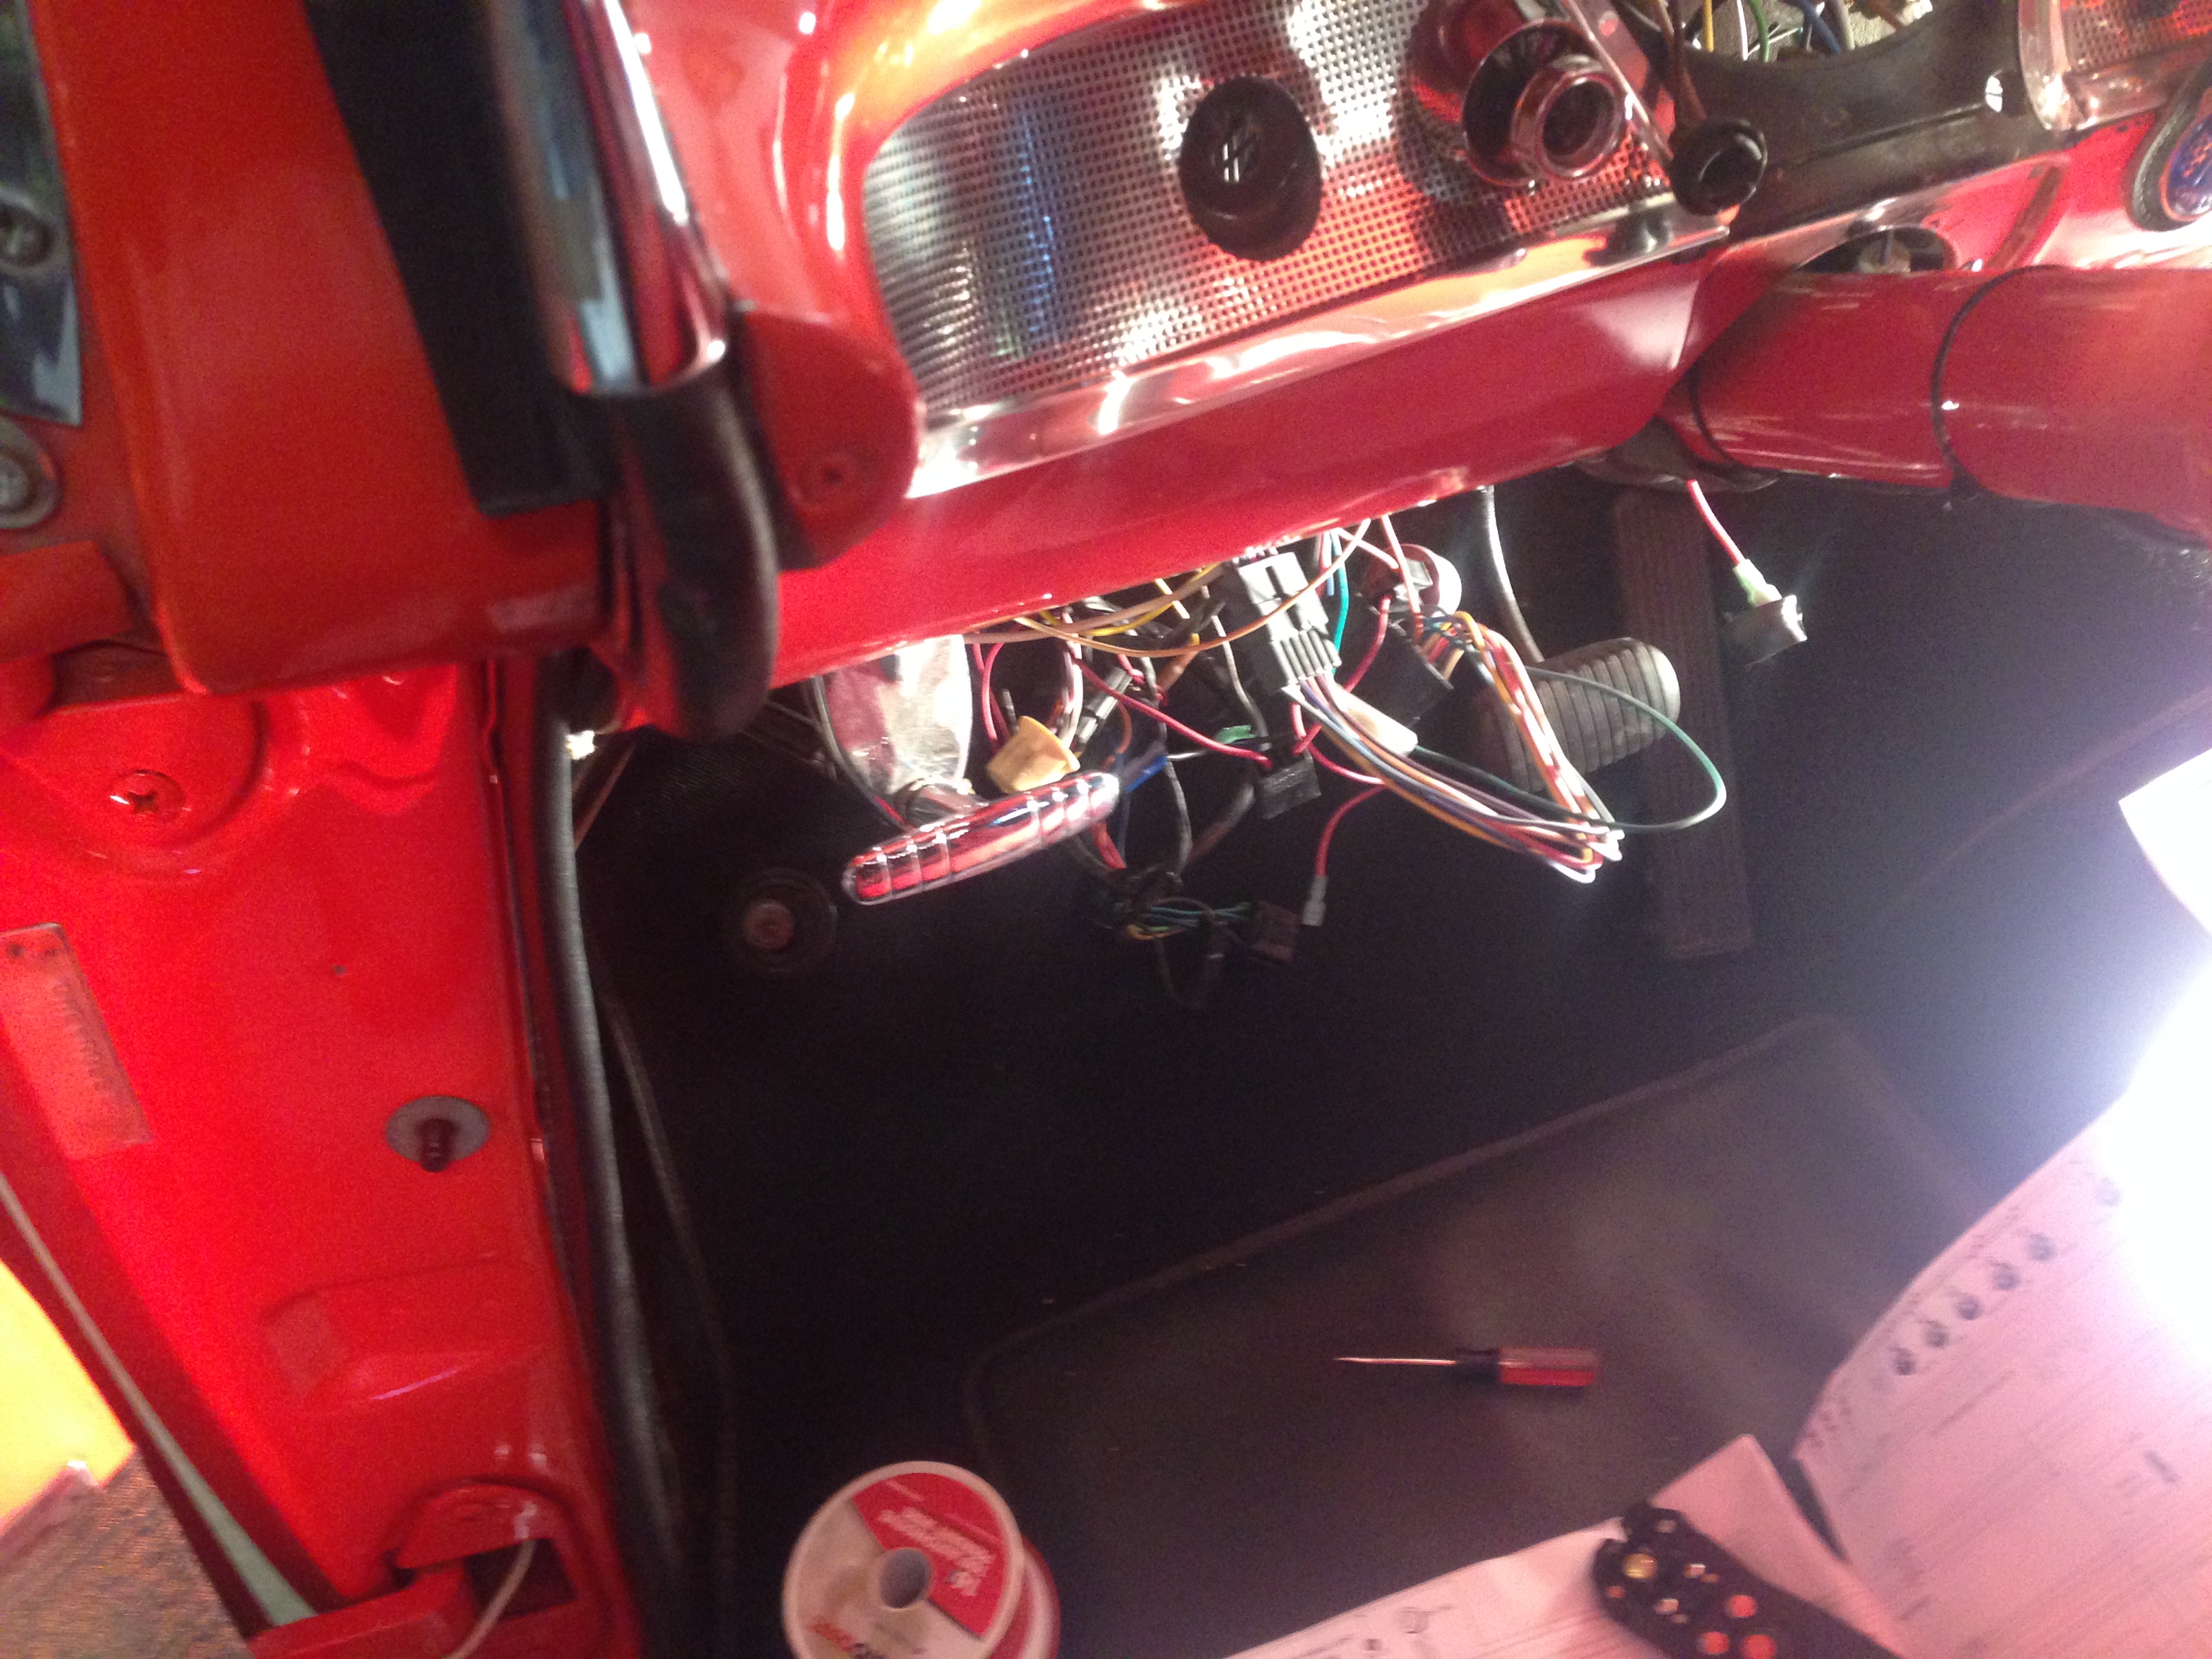
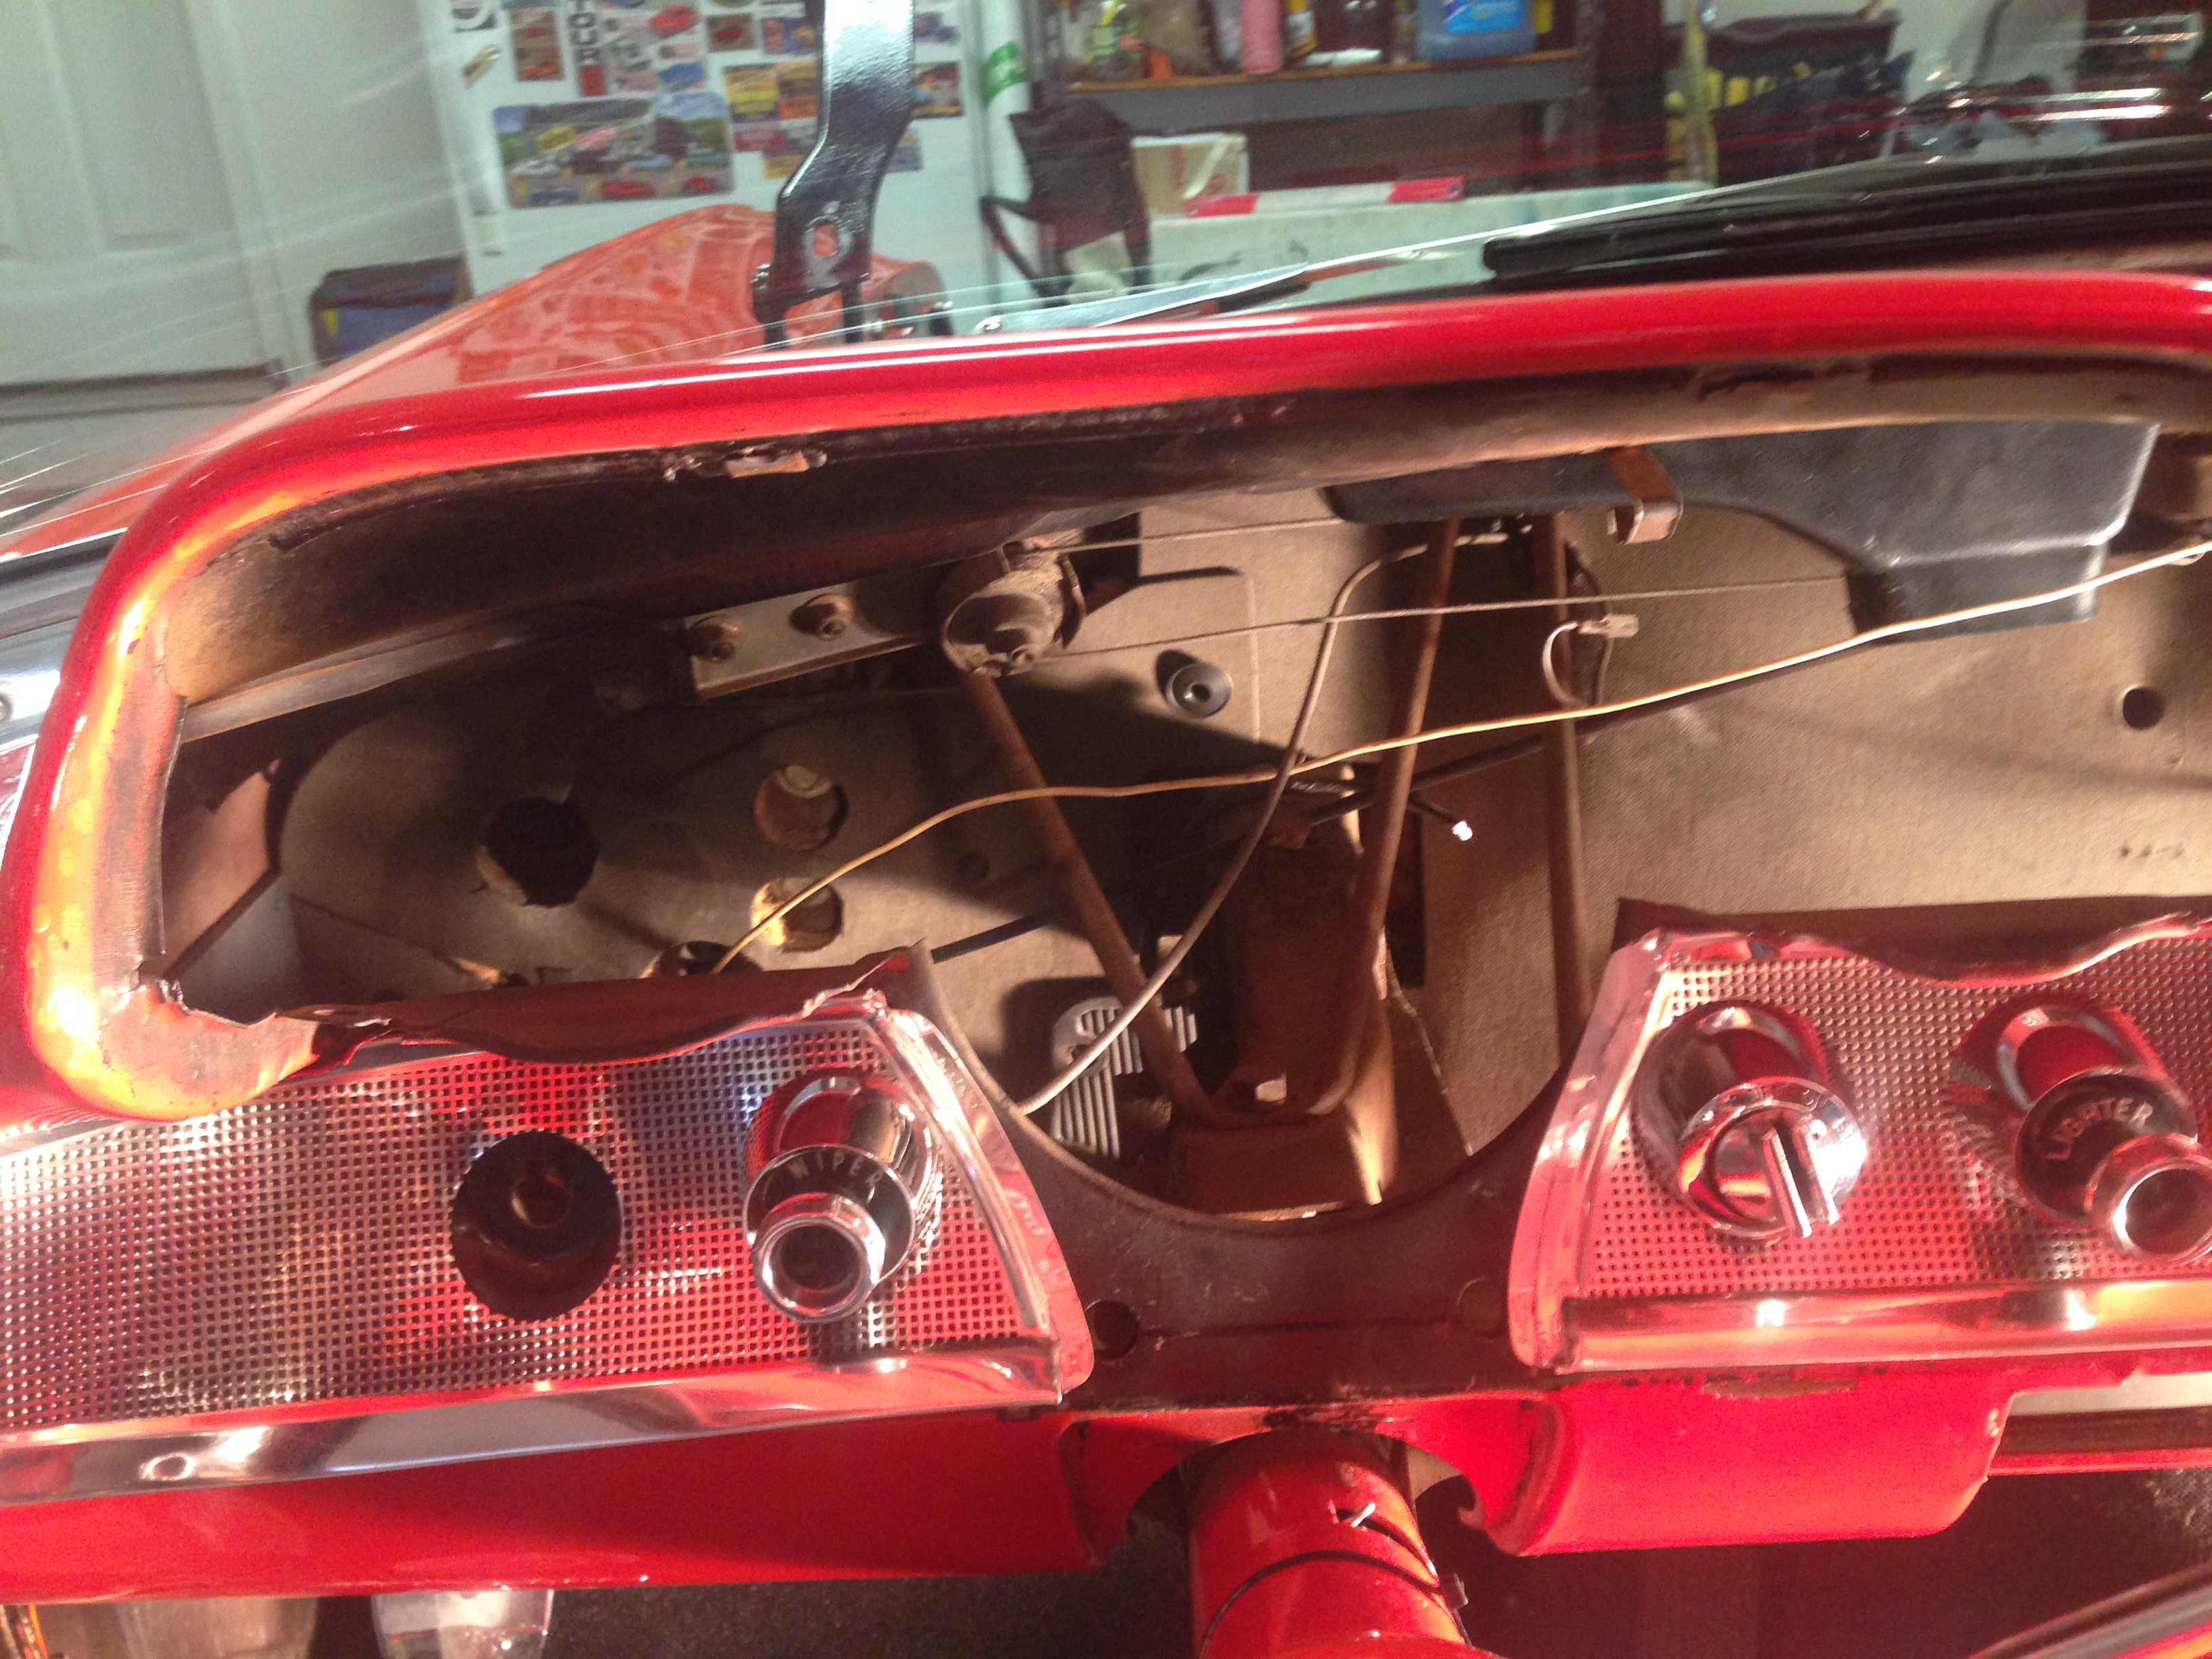
I finally got the engine home (Thanks Gary !!).........So, the first thing I did was to swap out the stock oil pan for the Holley 302-1 pan.........Gotta love the new gasketing systems........a heck of a lot better than the old cork and rubber leakers......LOL...While changing the Pan I noticed that GM left out a plug in the block that was meant for the Integral Oil pan Oil Cooler .......The engine didn't come with that cooler so I don't understand why they didn't put it in.....not a big deal, but I had to order one and it mounts behind the motor mount adaptor plate and the motor mounts....so...If I install the engine and it just happens to work out that everything fits......I would have to take back out again to put that stupid plug in.......So....I started getting the new A/C system ready for install....then in looking at the original wiring and fuse panel under the dash, I decided to basically rewire the car and get away from the Glass Fuse system.........I was amazed at how simple the original fuse panel is with limited fusing and circuits.........I will leave the rear body harness alone and rewire the rest using an American Autowire Classic update system.........Oh Well........I have to do it correctly......with the dual fan set-up for cooling and the Intercooler pump,Fuel Pump and everything else that go's with the new drivetrain.......it just makes sense.......Also....I sent the dash cluster out for stripping of the Chrome.....It's stripped, now I need to get it painted for the Dakota Digital Gauge install.......
Thread Starter
TECH Fanatic
Joined: Jul 2008
Posts: 1,570
Likes: 173
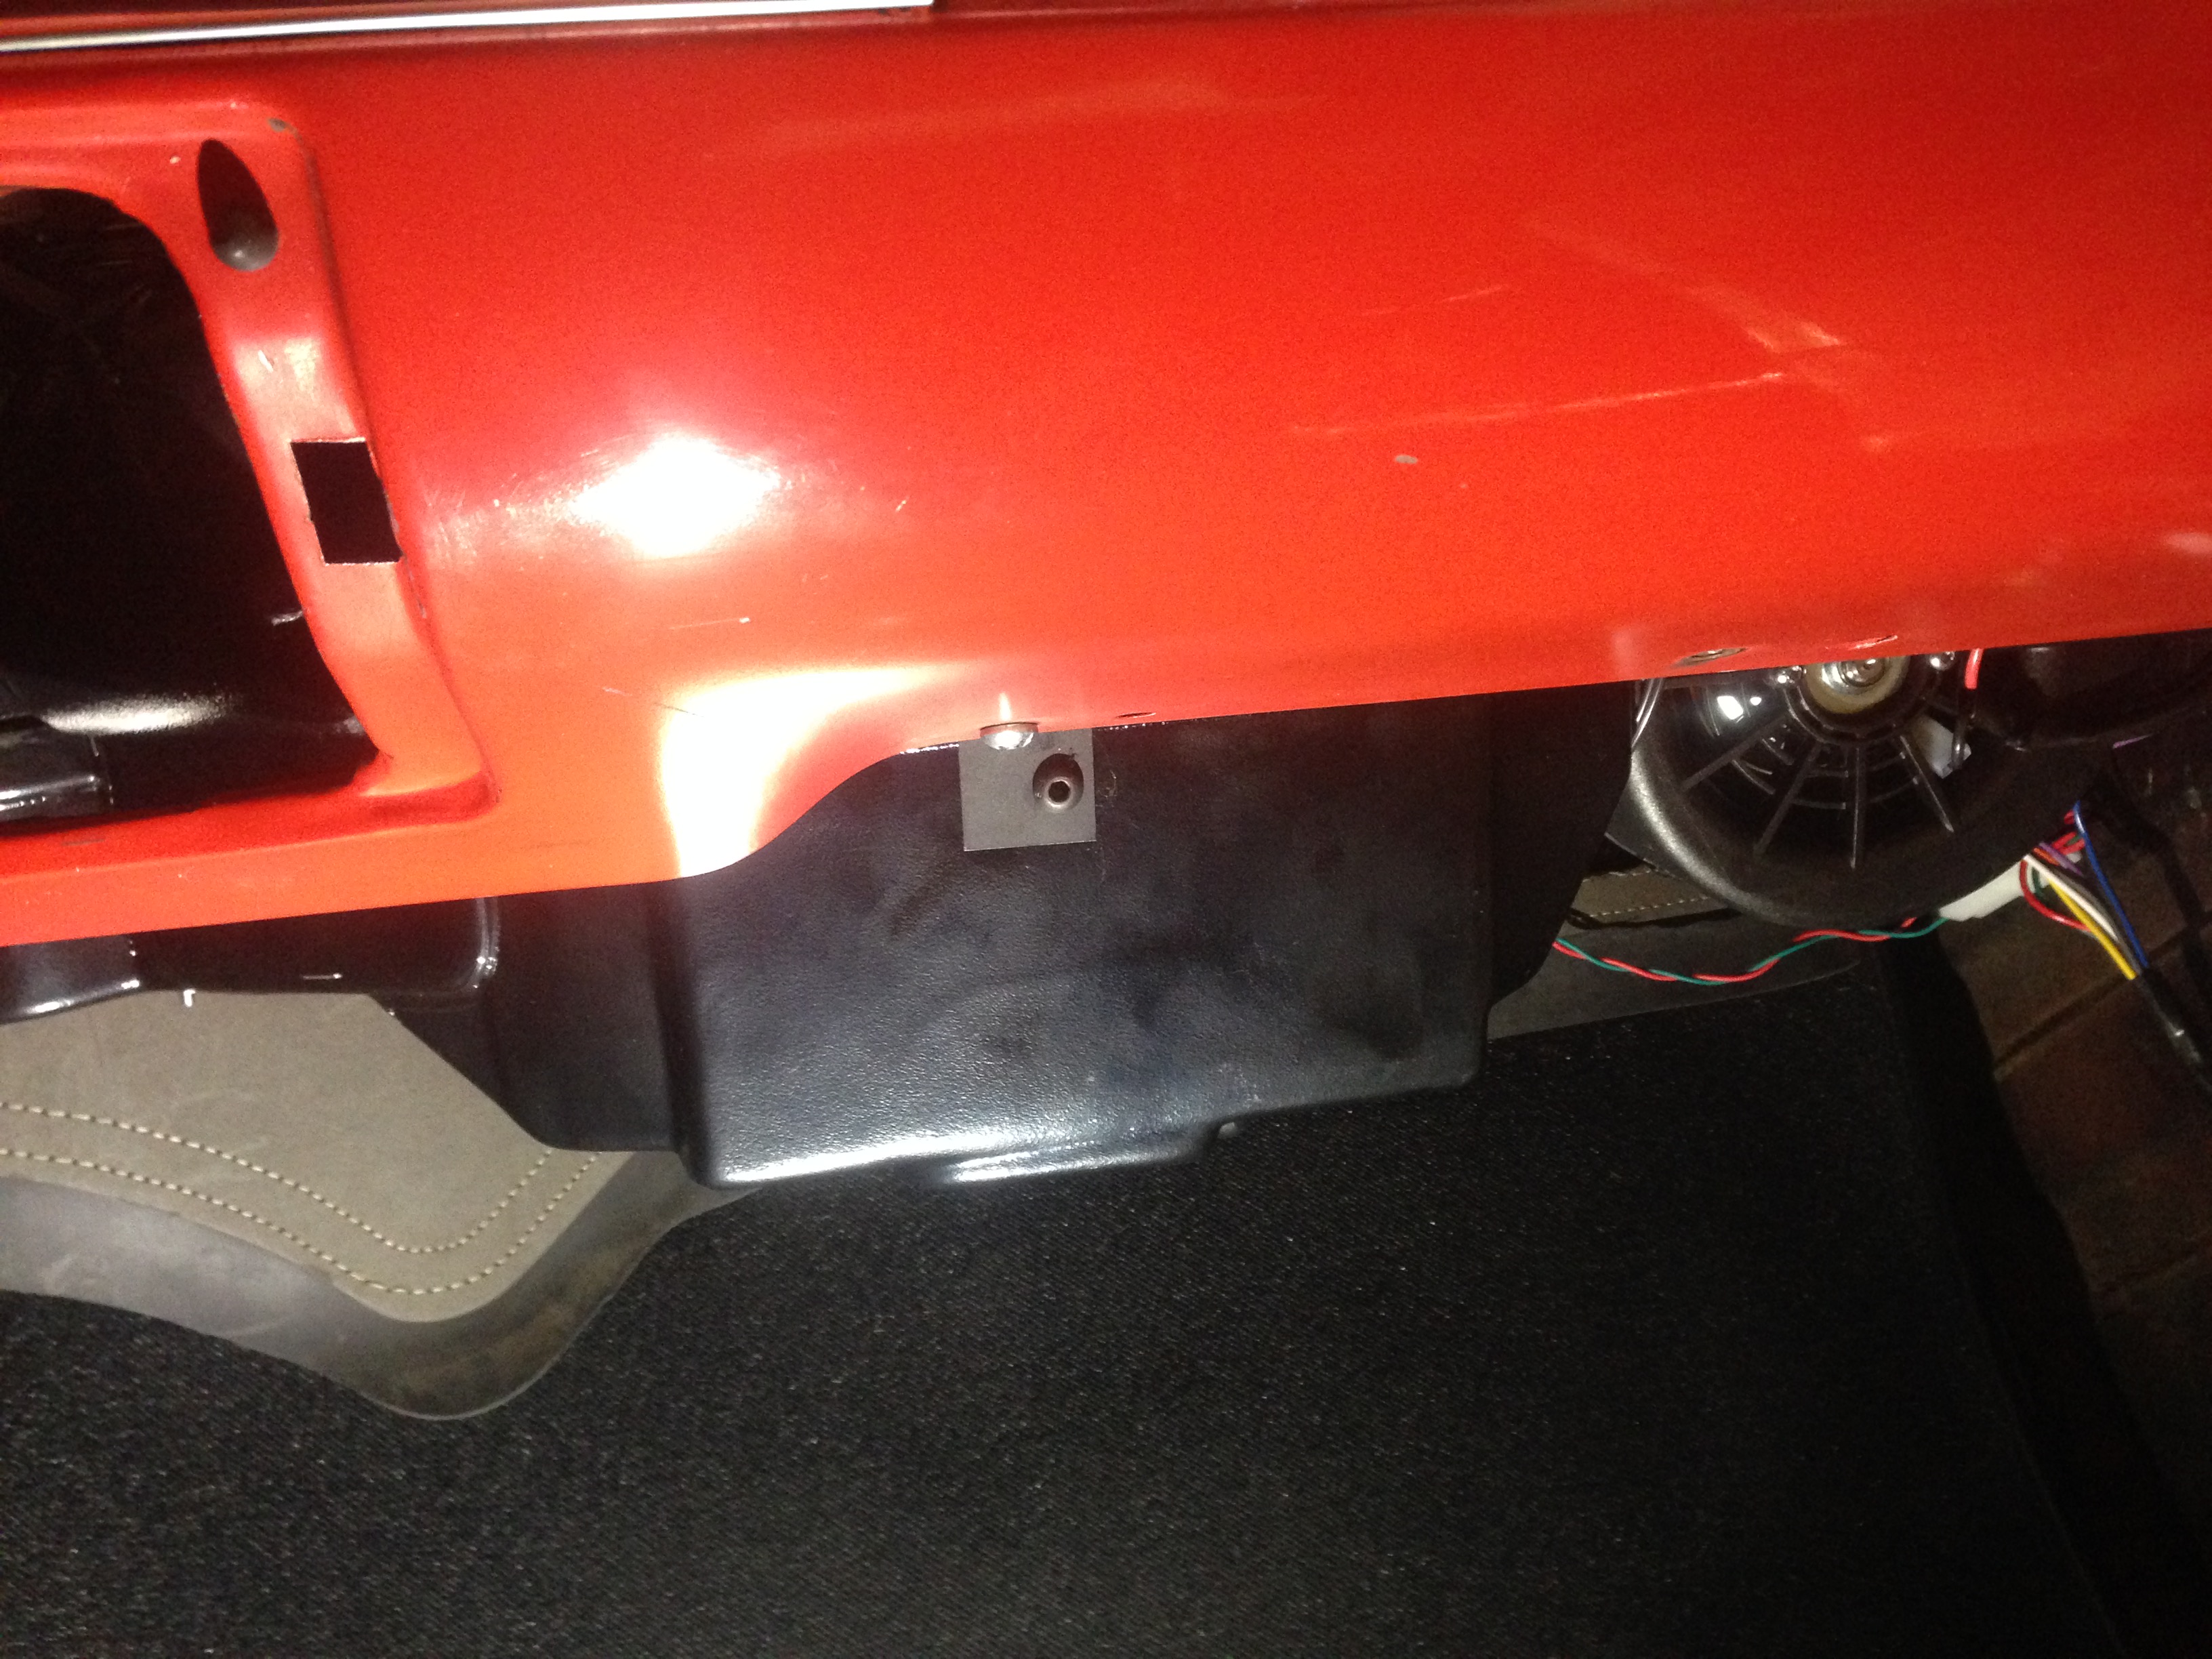
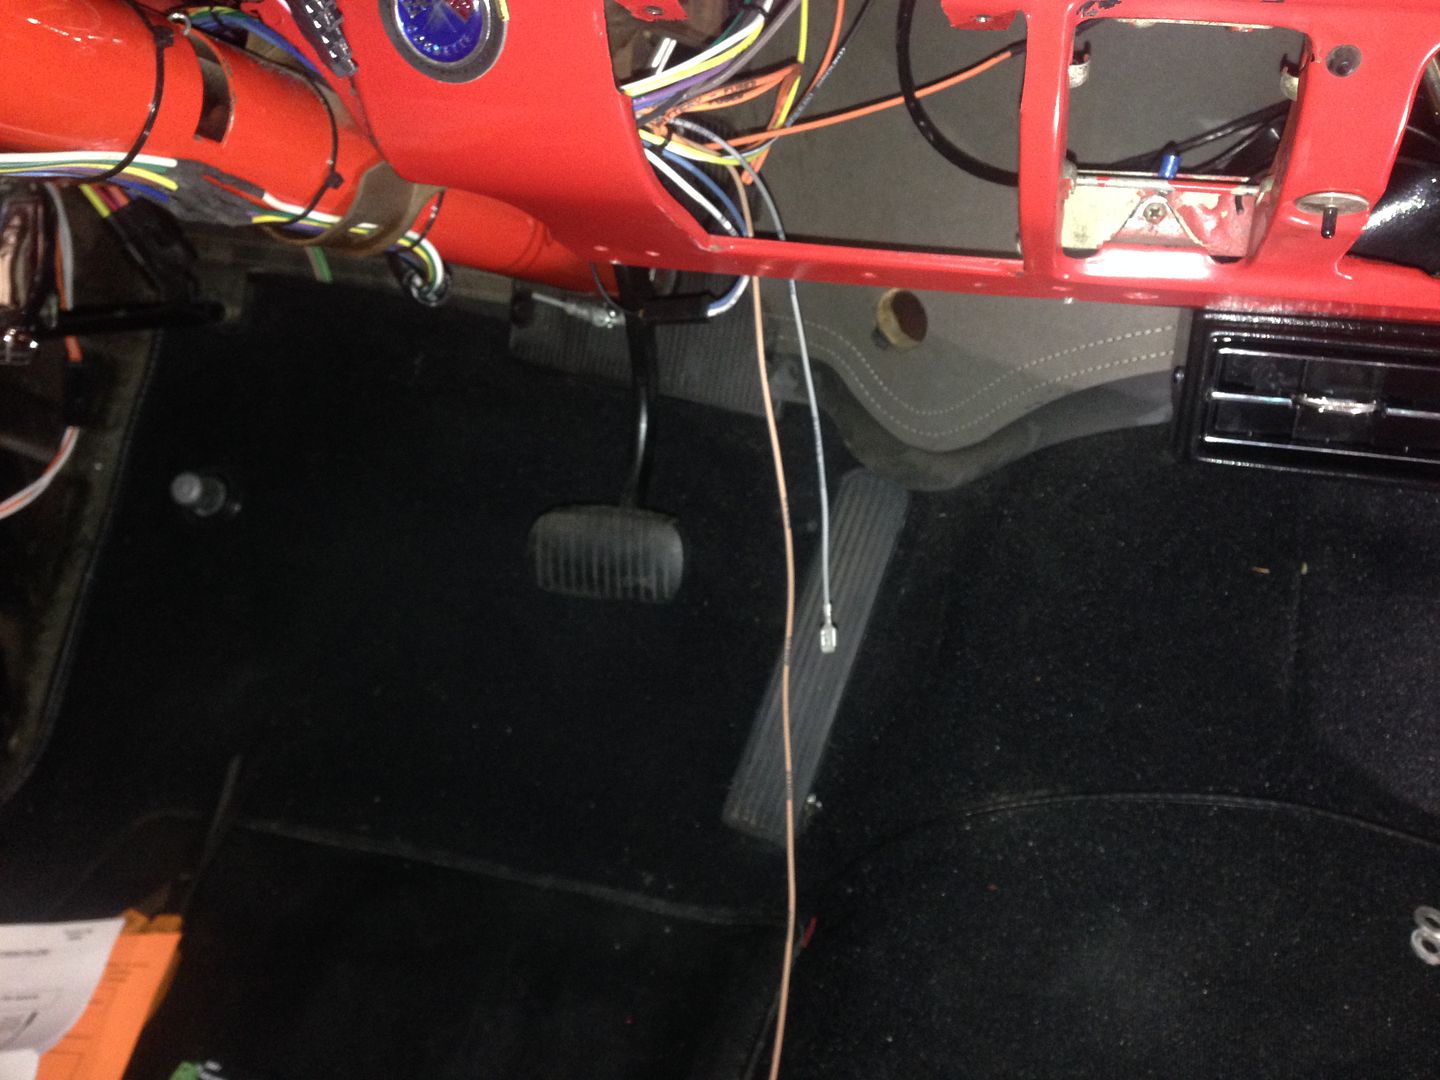
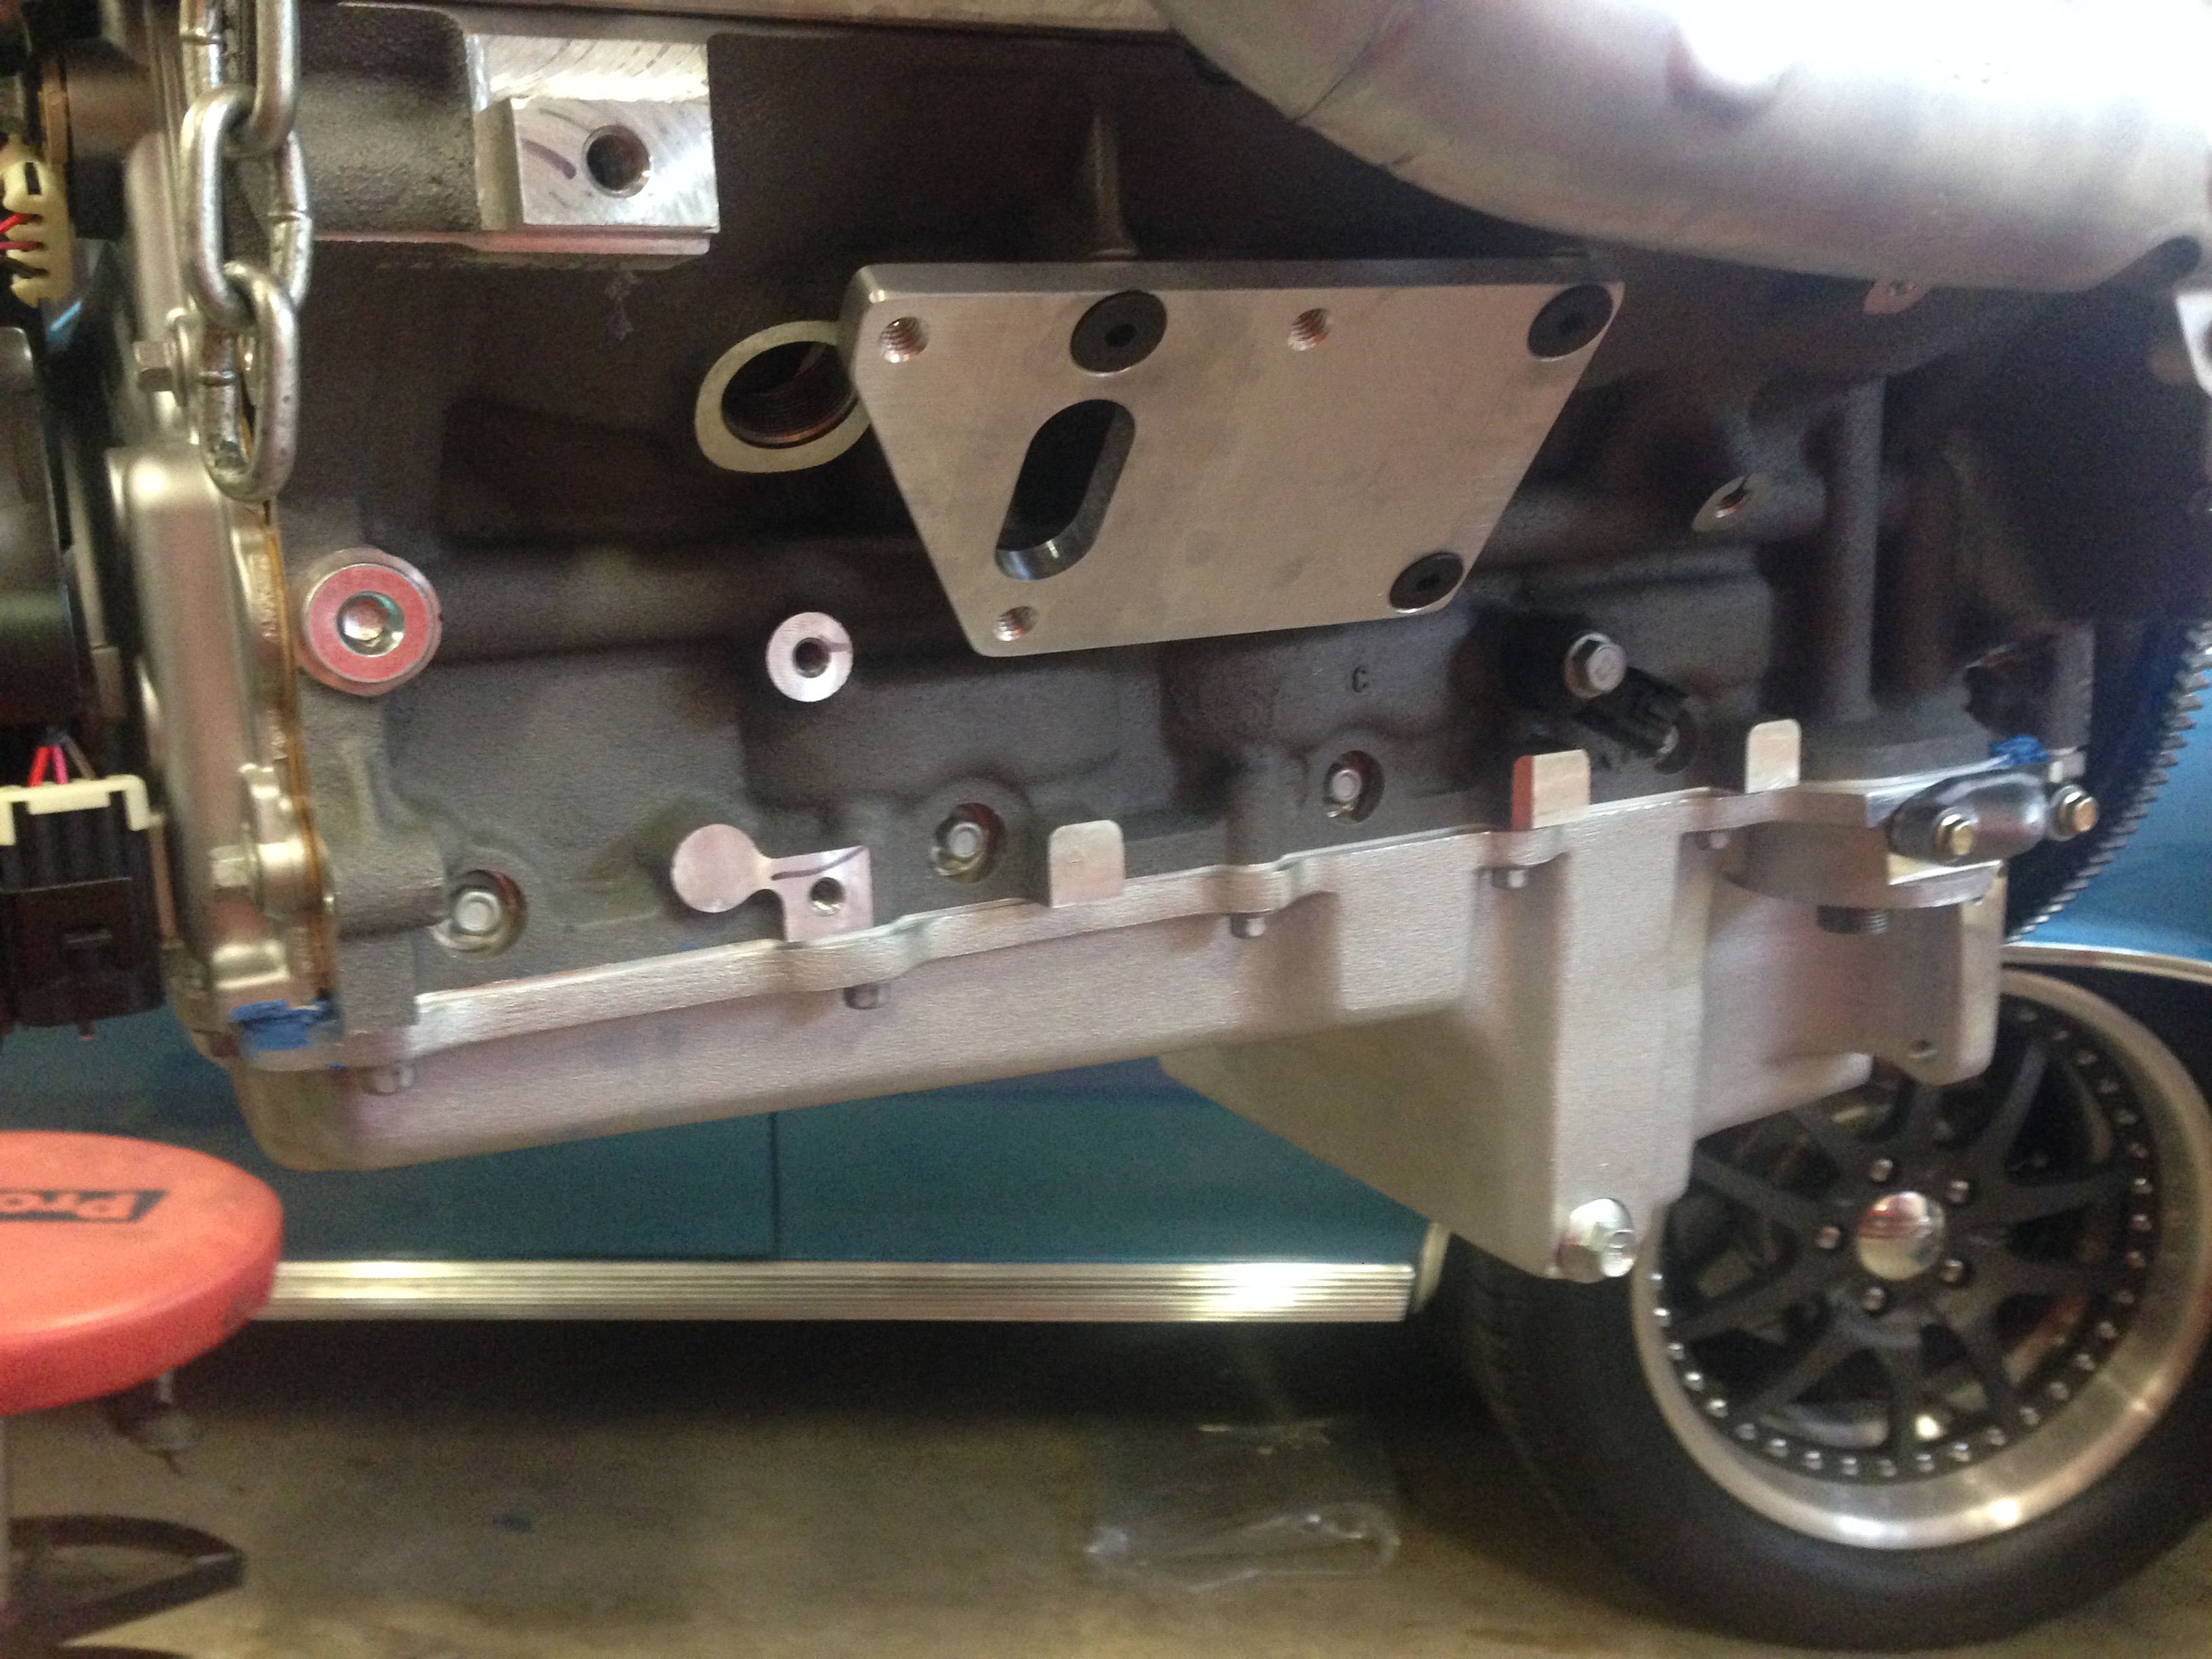
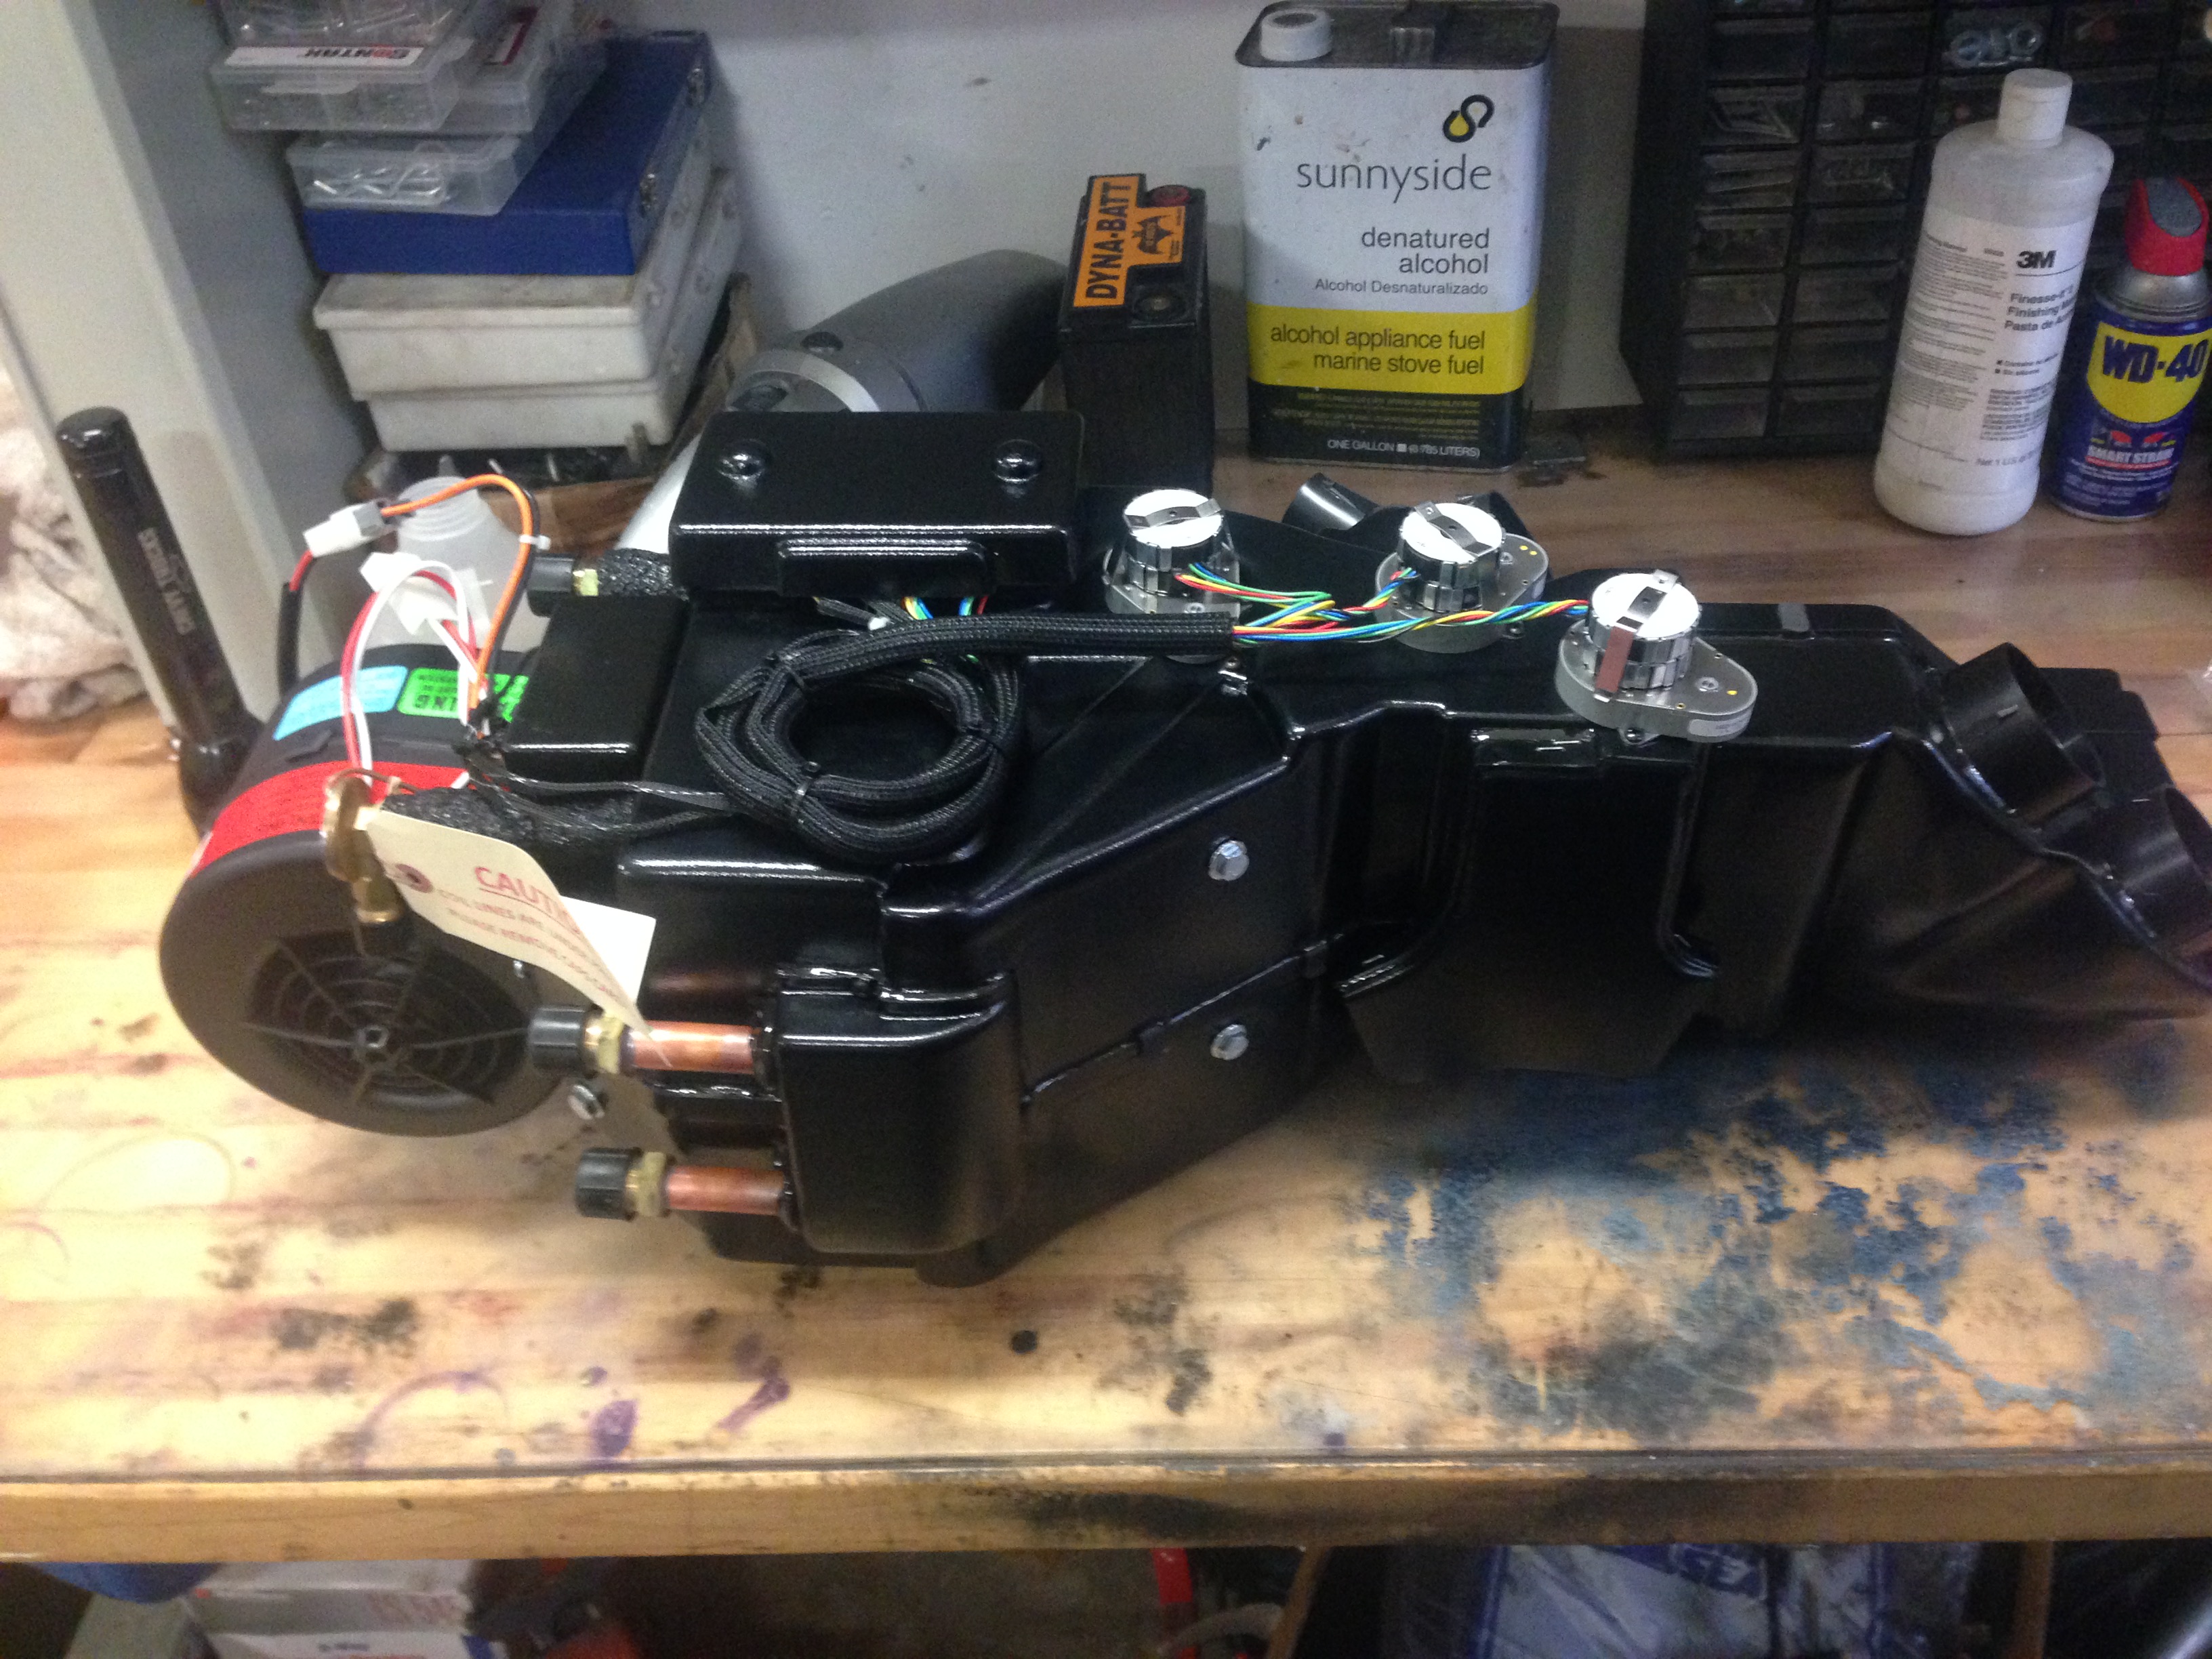
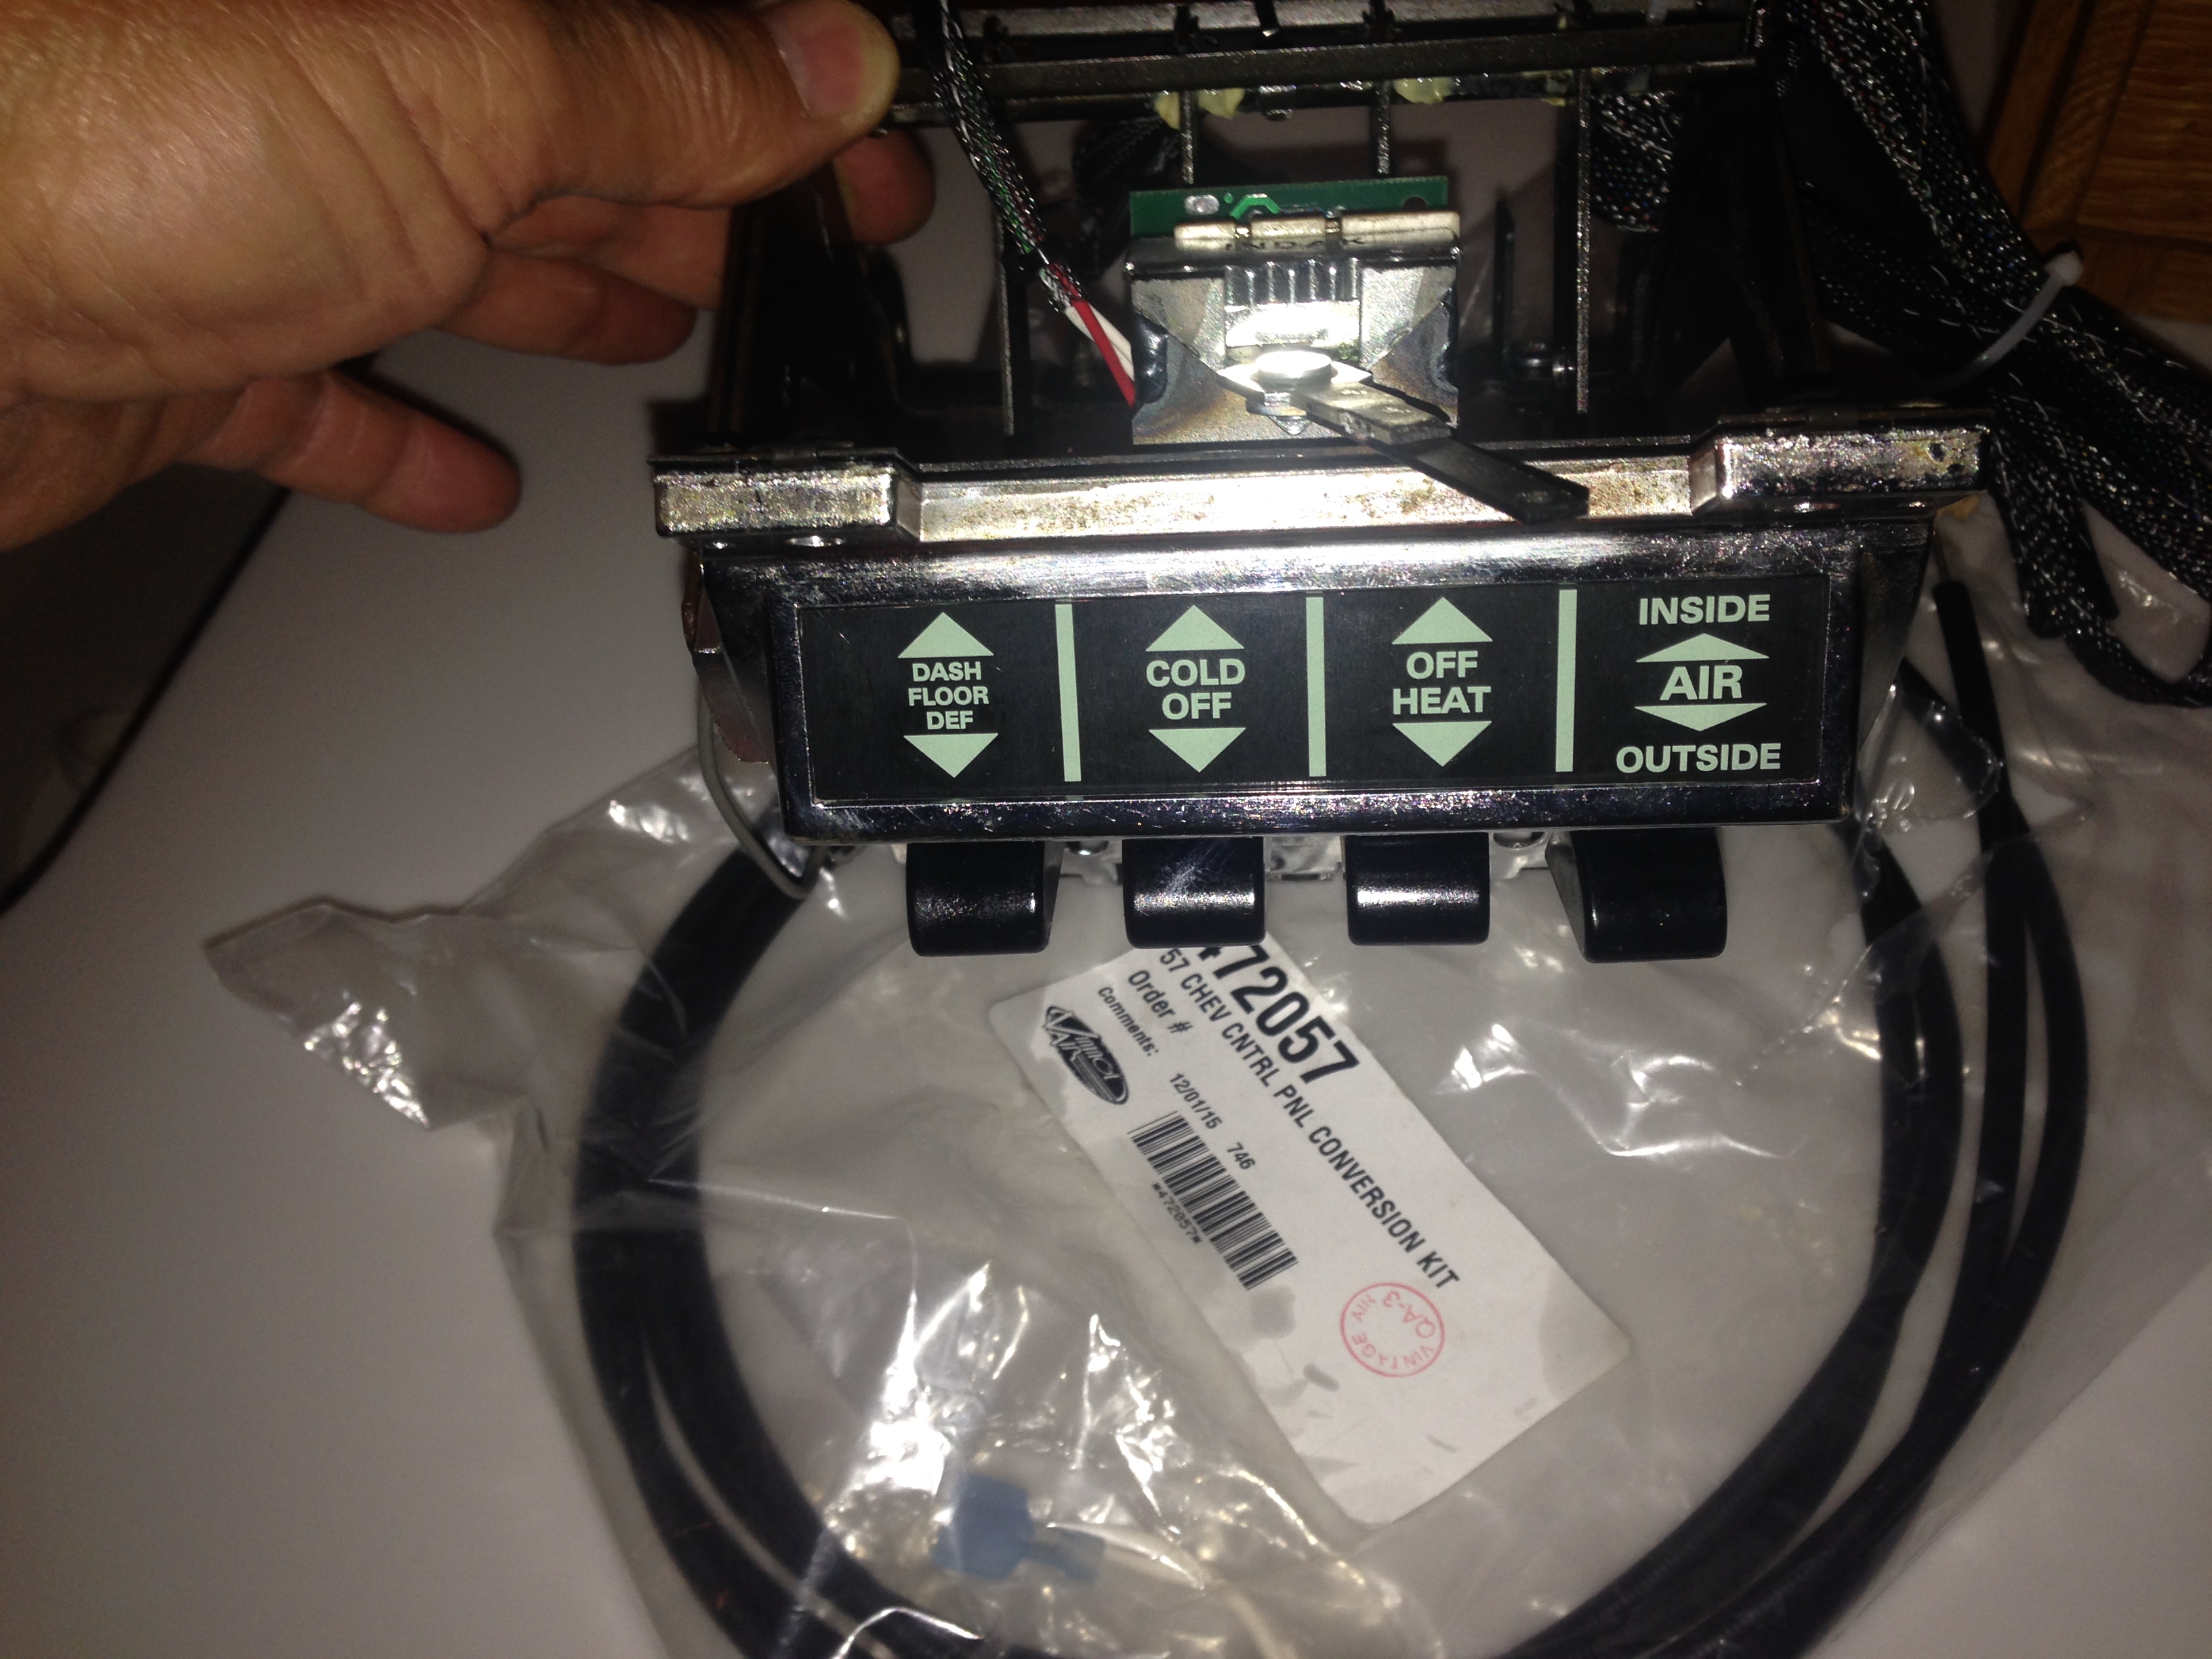
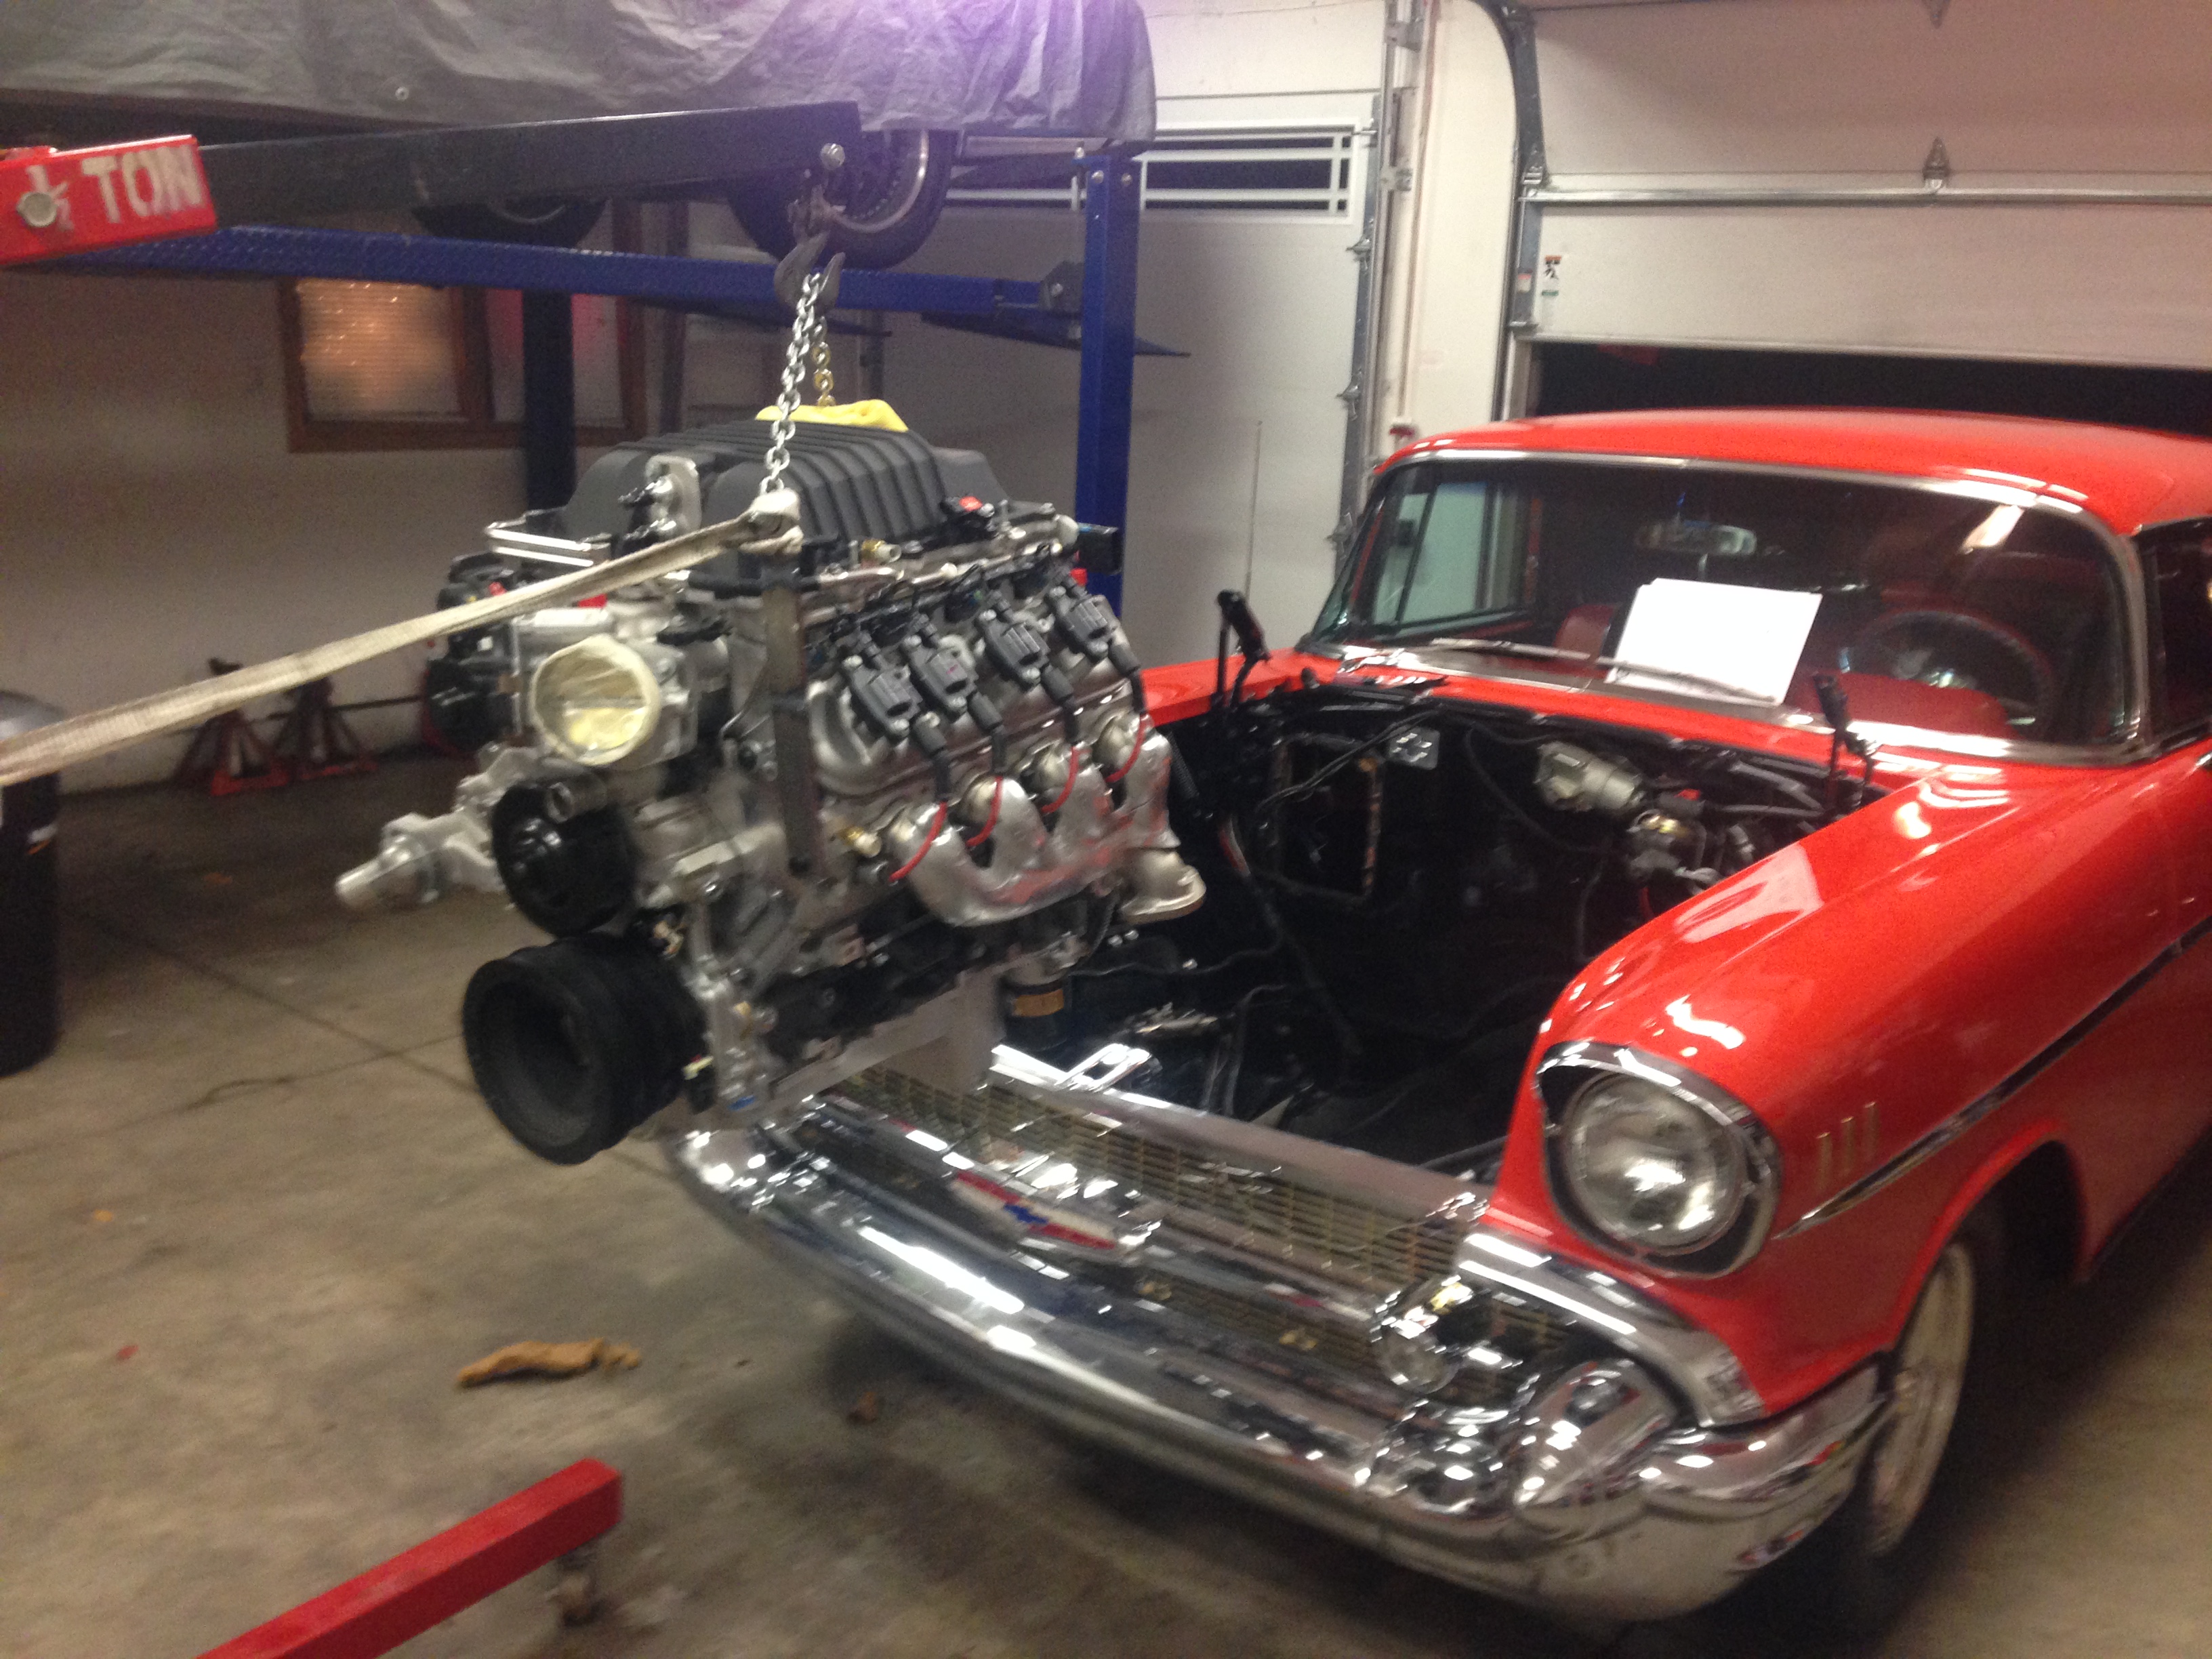
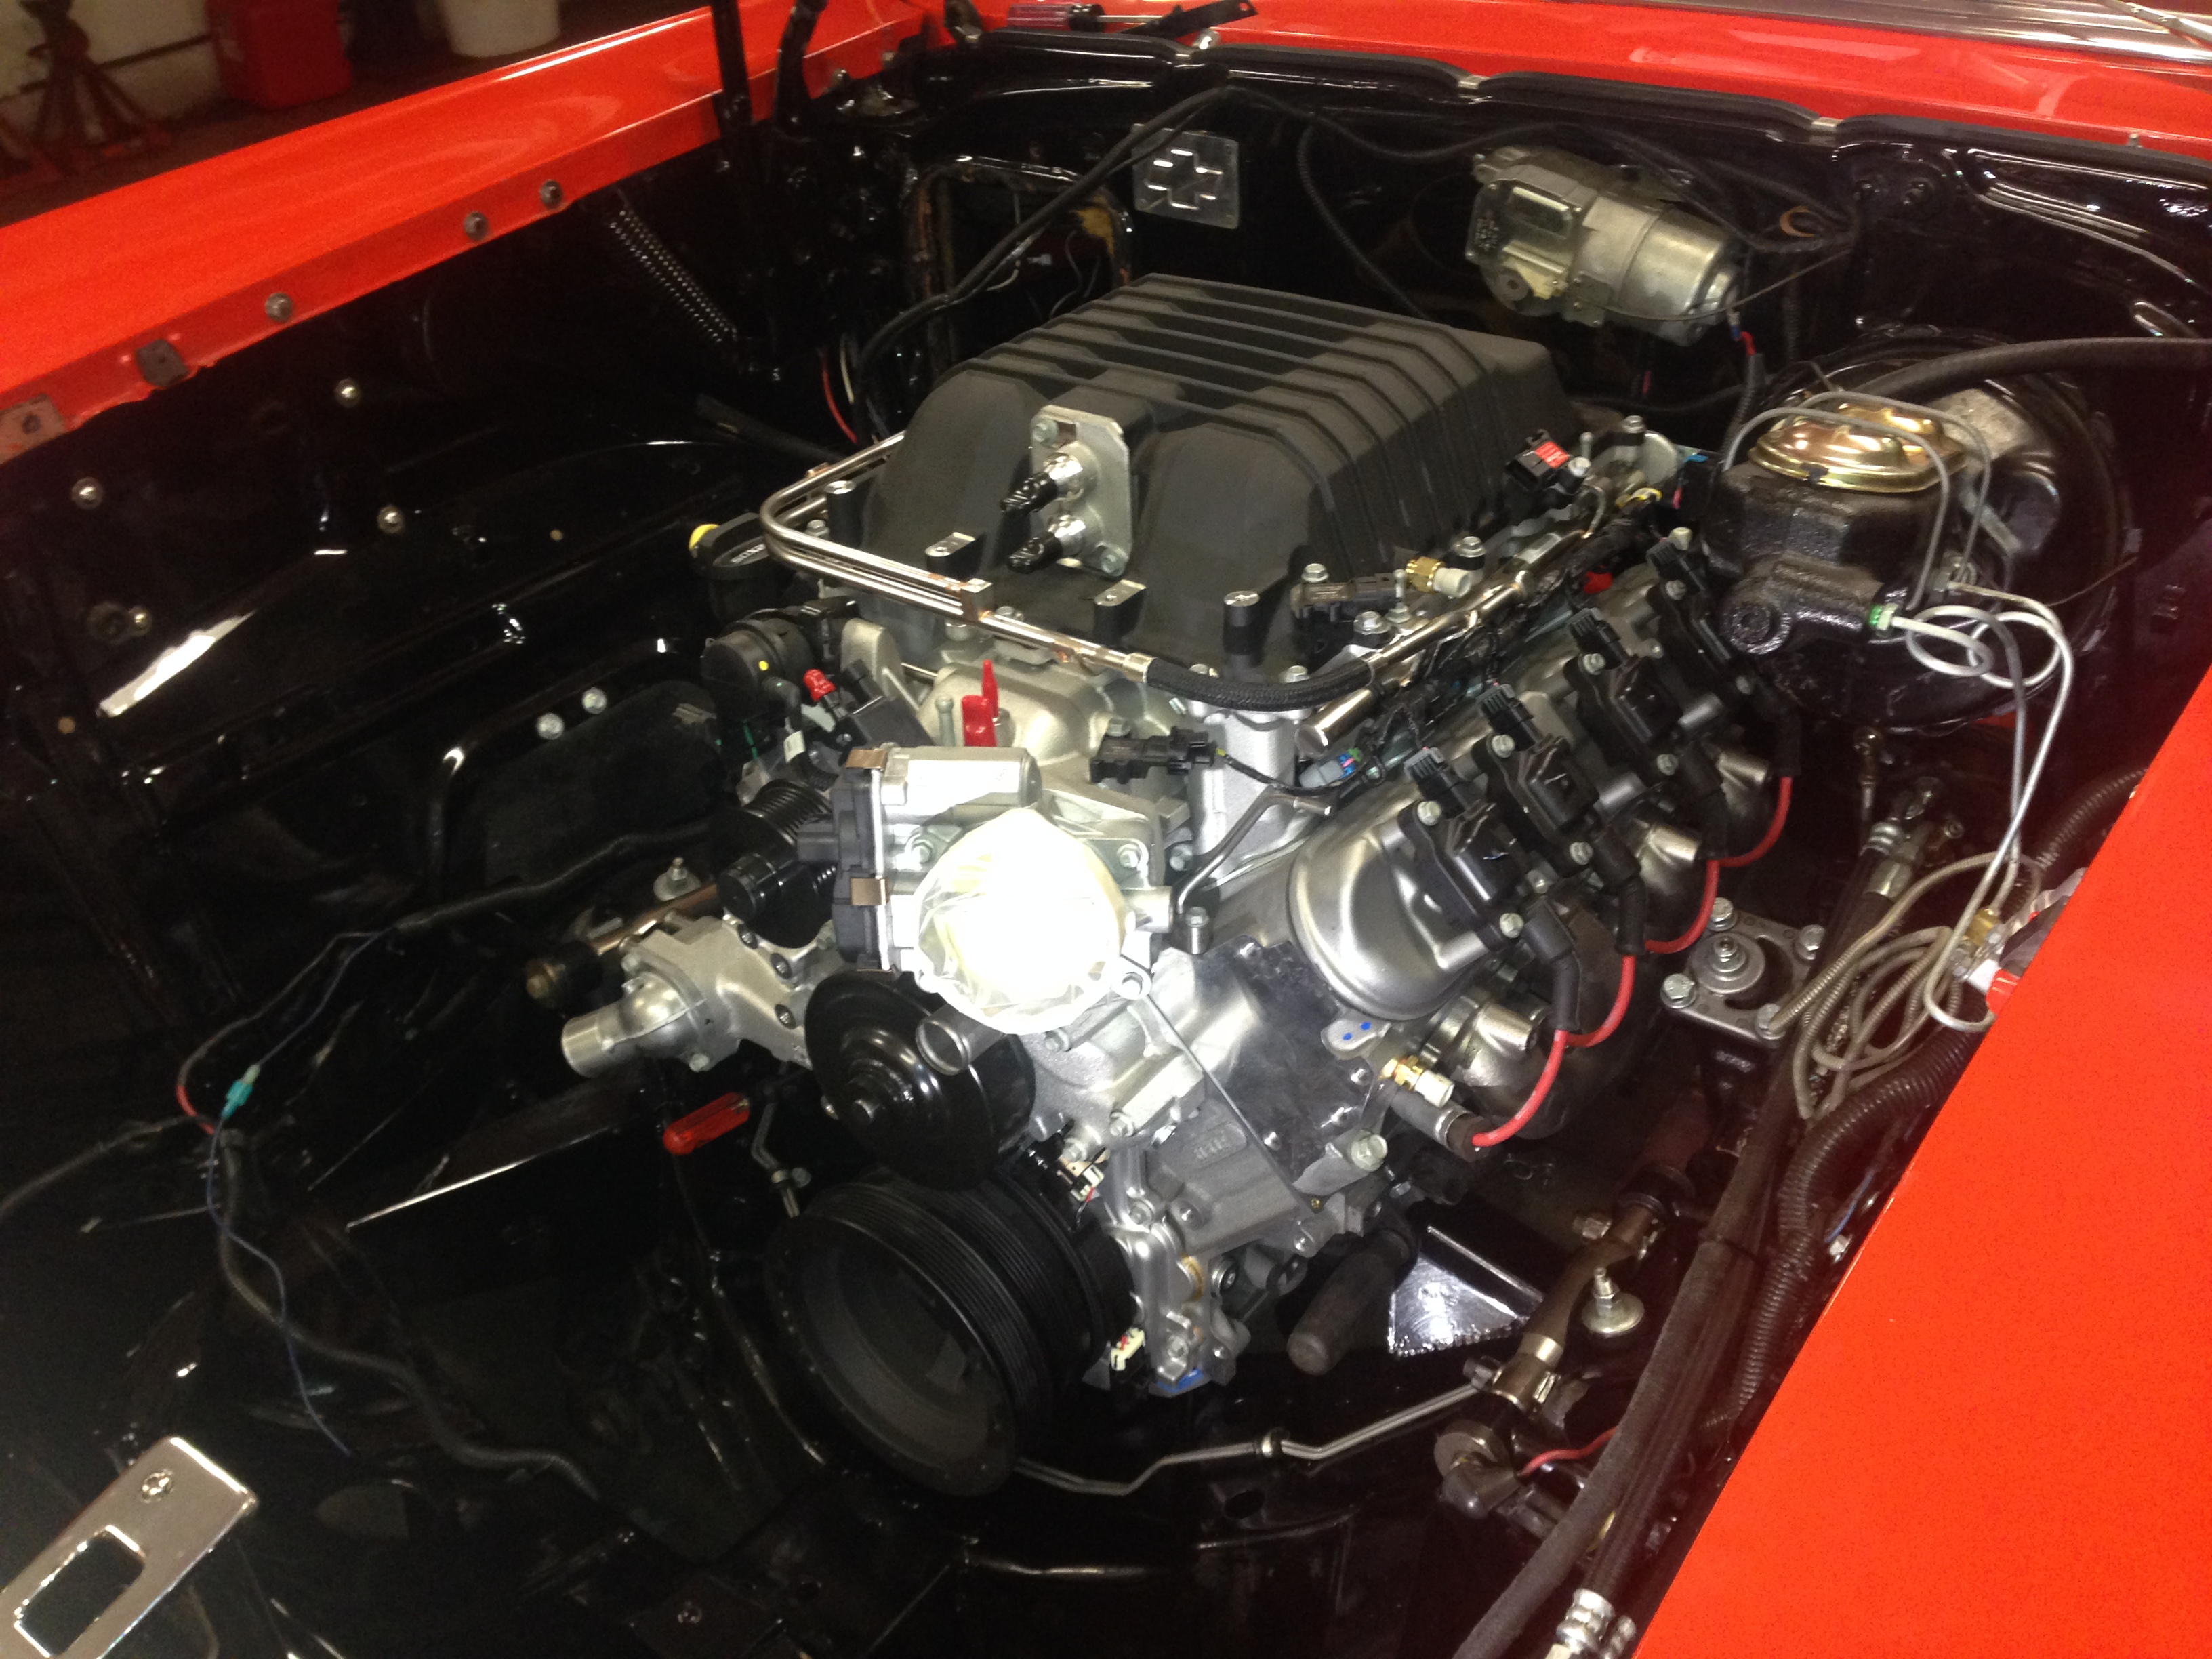
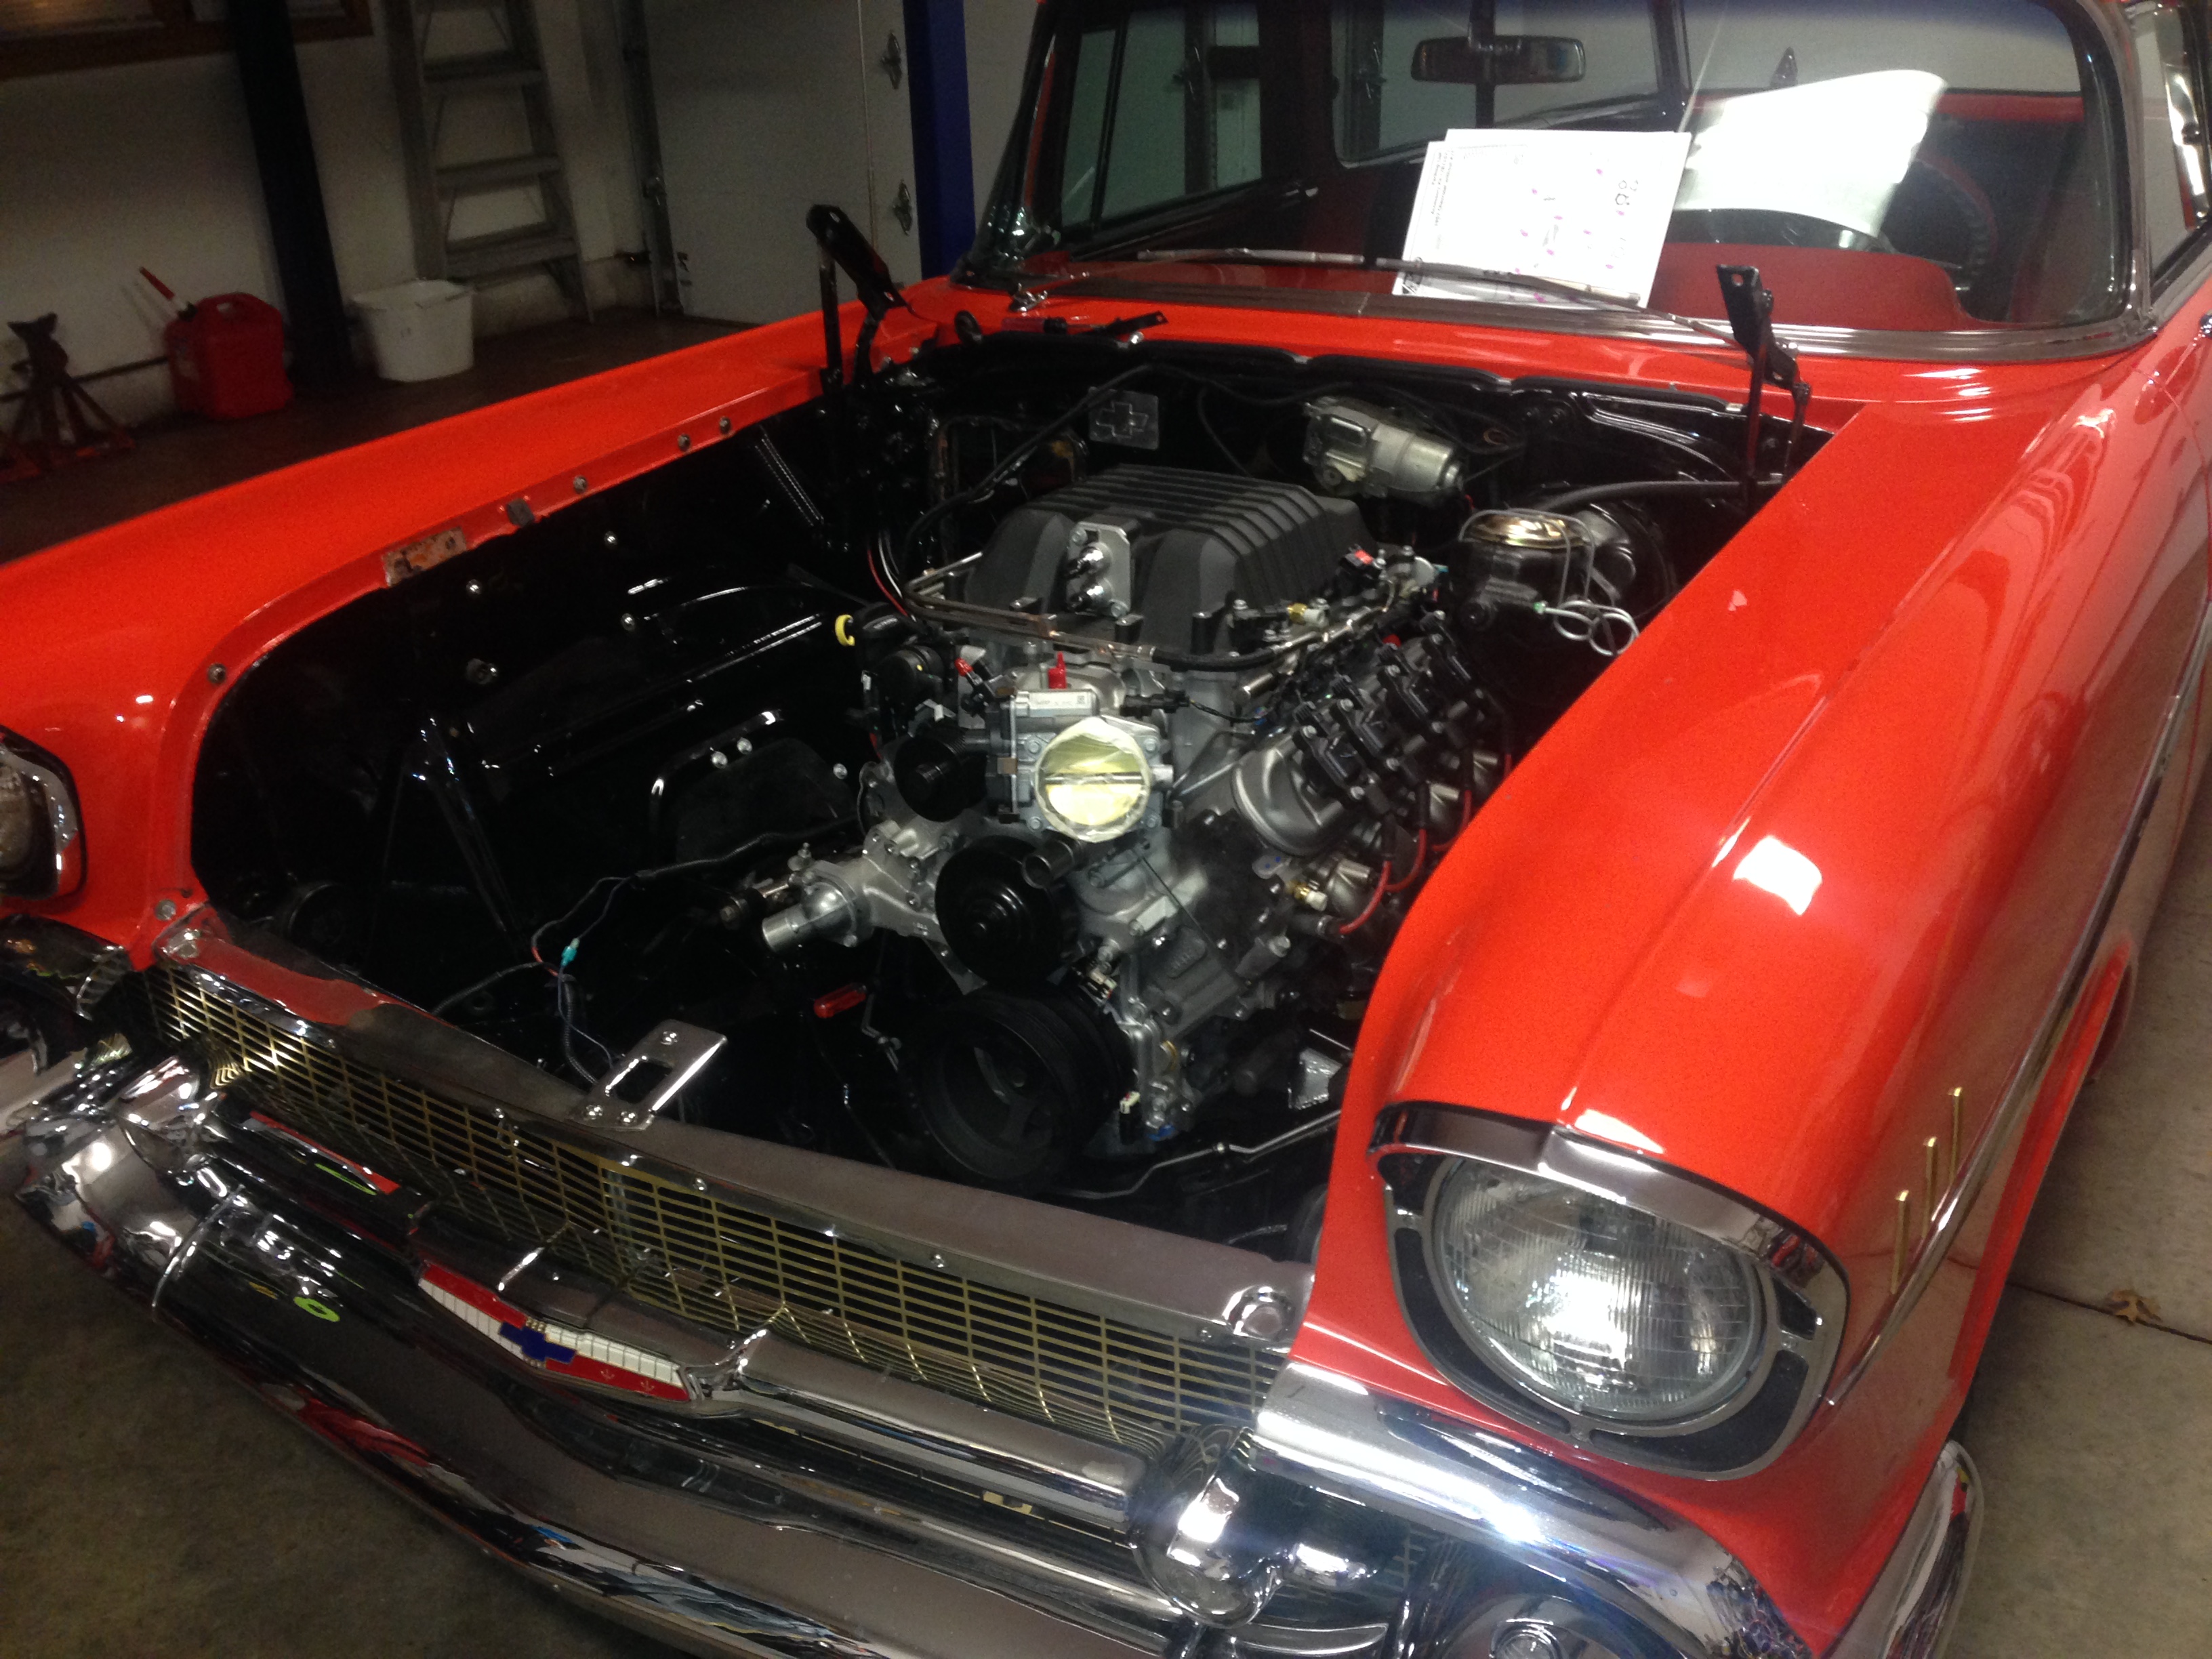
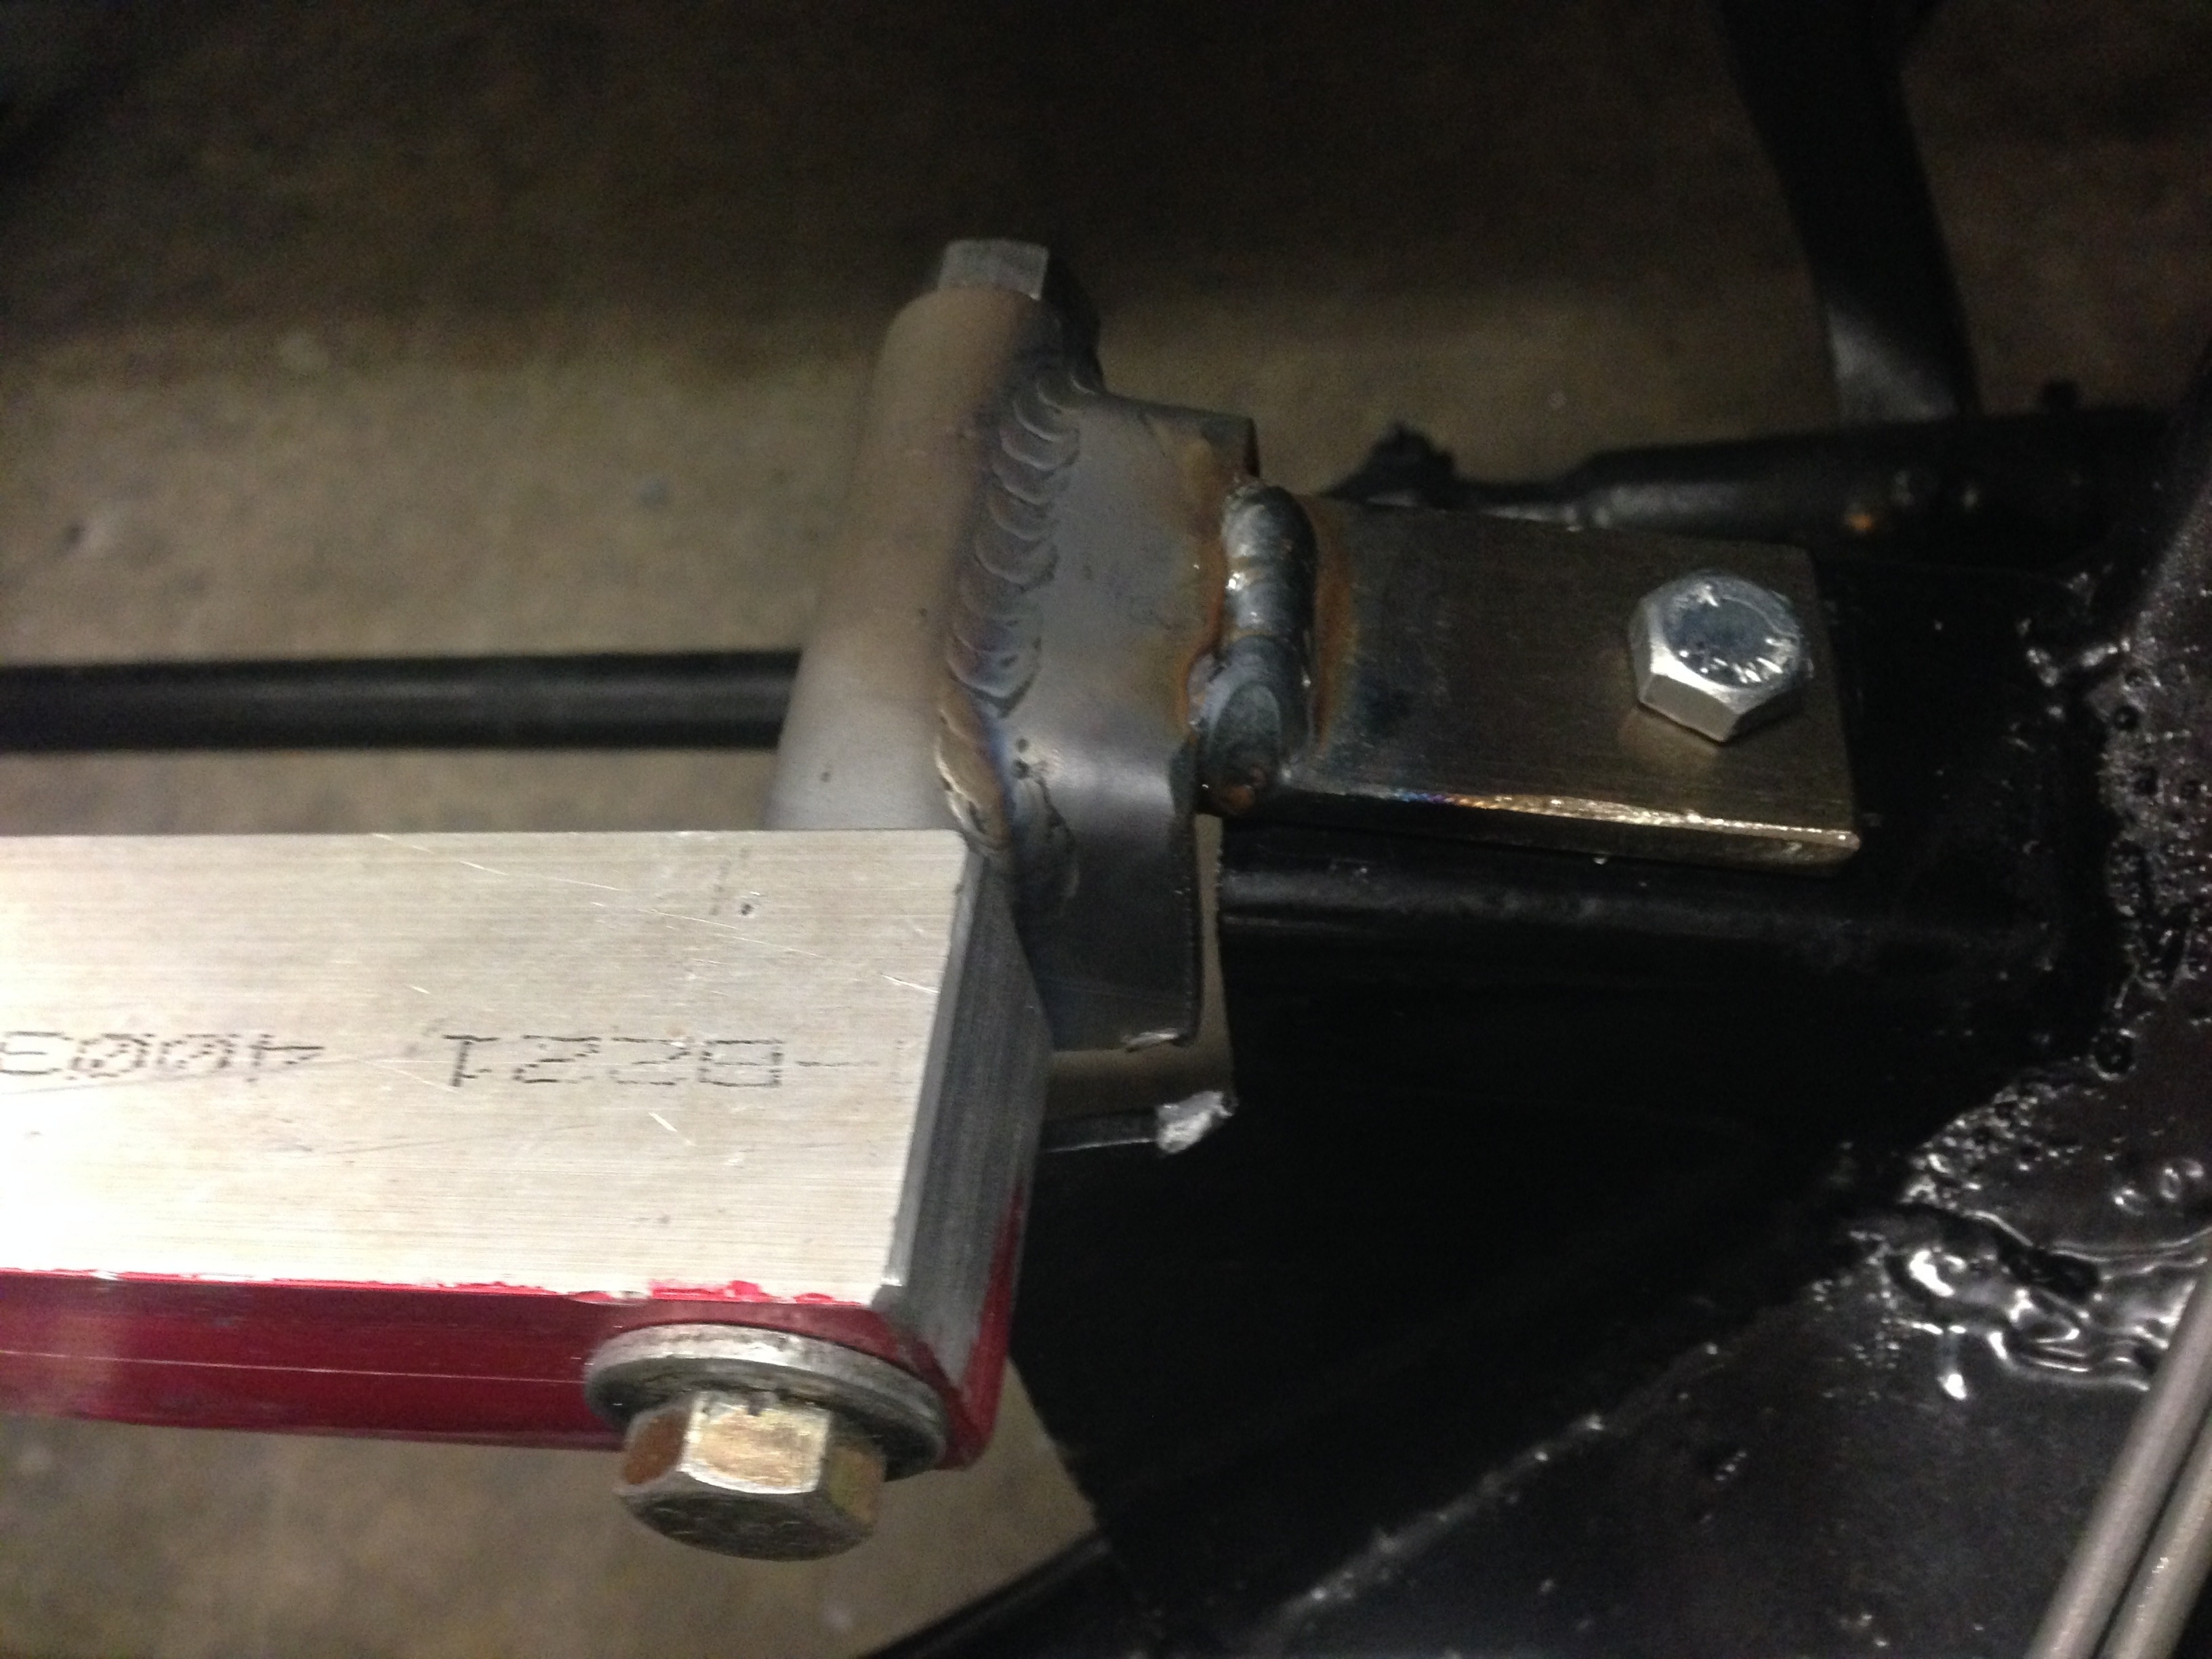
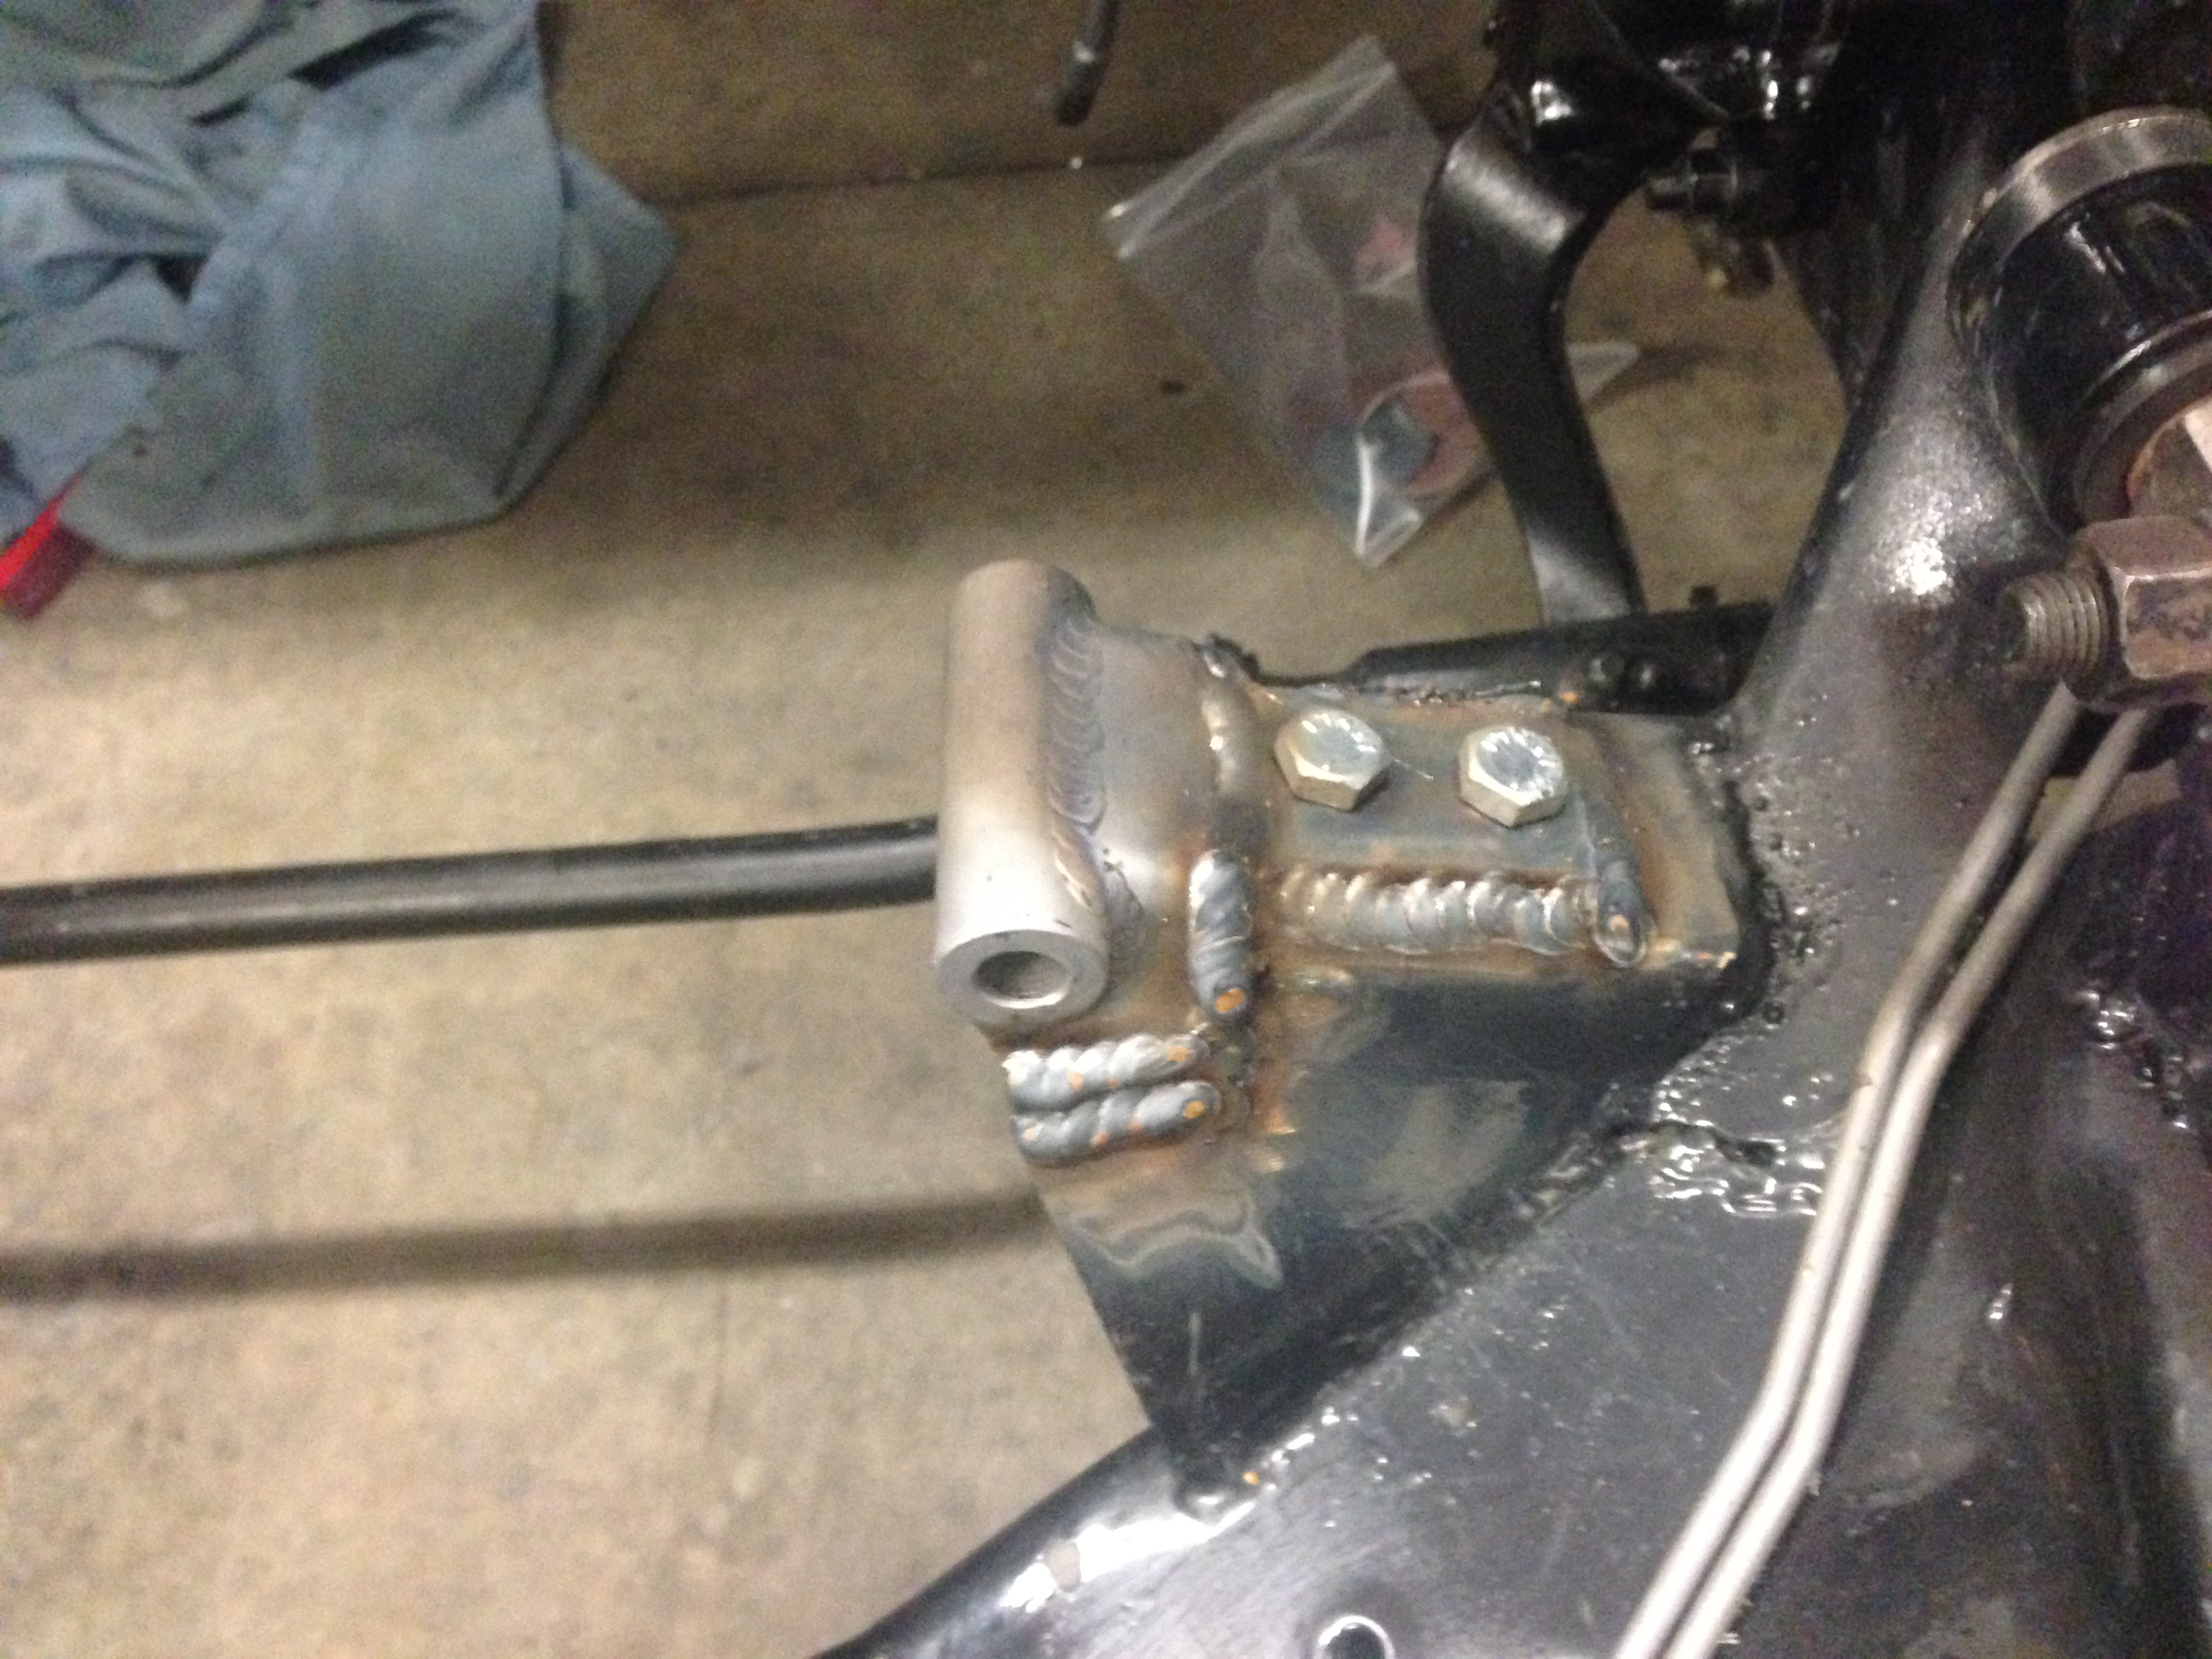
While waiting for the new wiring kit to arrive I converted the stock heater controls over to the Vintage Air electronic set-up......I could have installed the A/C unit but I figured it would have gotten in the way while rewiring....also while the engine was out.....I noticed that the frame mounts that were welded in by the original builder were not parallel to each other......and I noticed that the rubber engine mounts had taken a set to the angle being out of position........I figured that since it worked before...........LOL.......As you can see in the pictures the engine fits in the 57 perfectly with the stock Camaro exhaust manifolds .........got Lucky.....Till I went to put the motor mount bolts in...........Close but no cigar.........Gonna pull the engine back out and cut the mounts out and do it correctly..........Just can't put it together in that "Bind" condition.........
Stock Heater controller
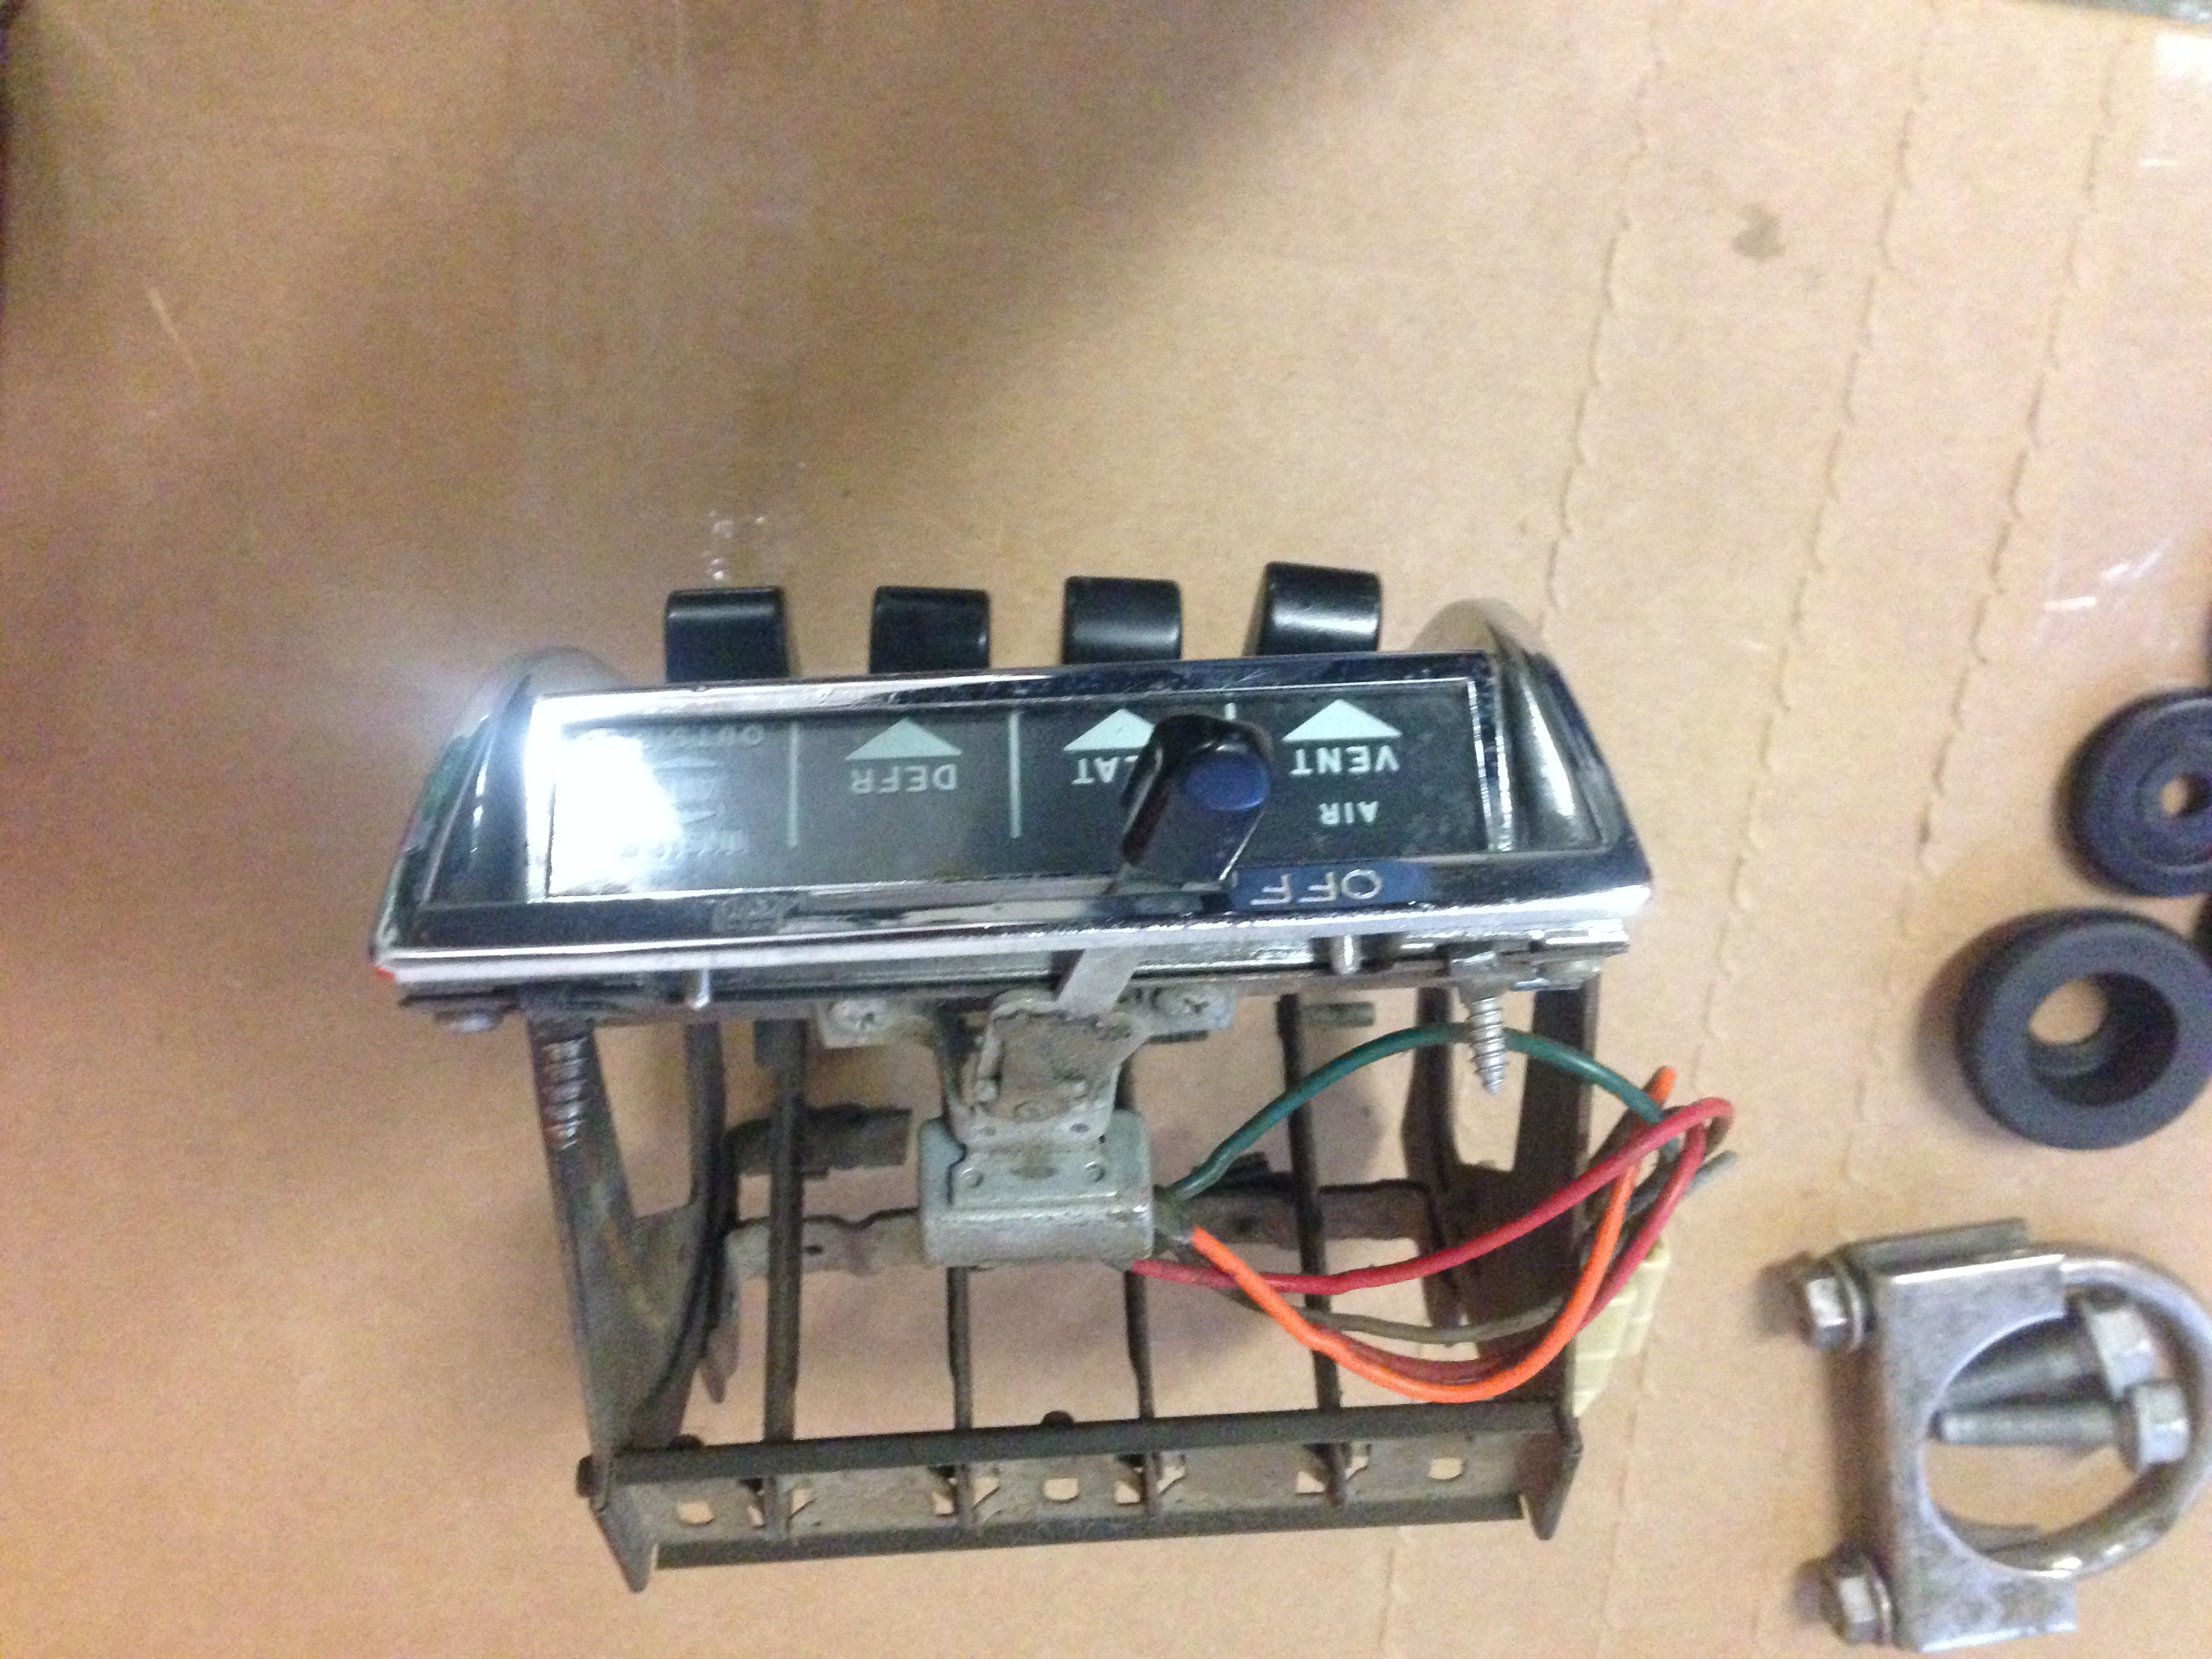
with the Electronic conversion
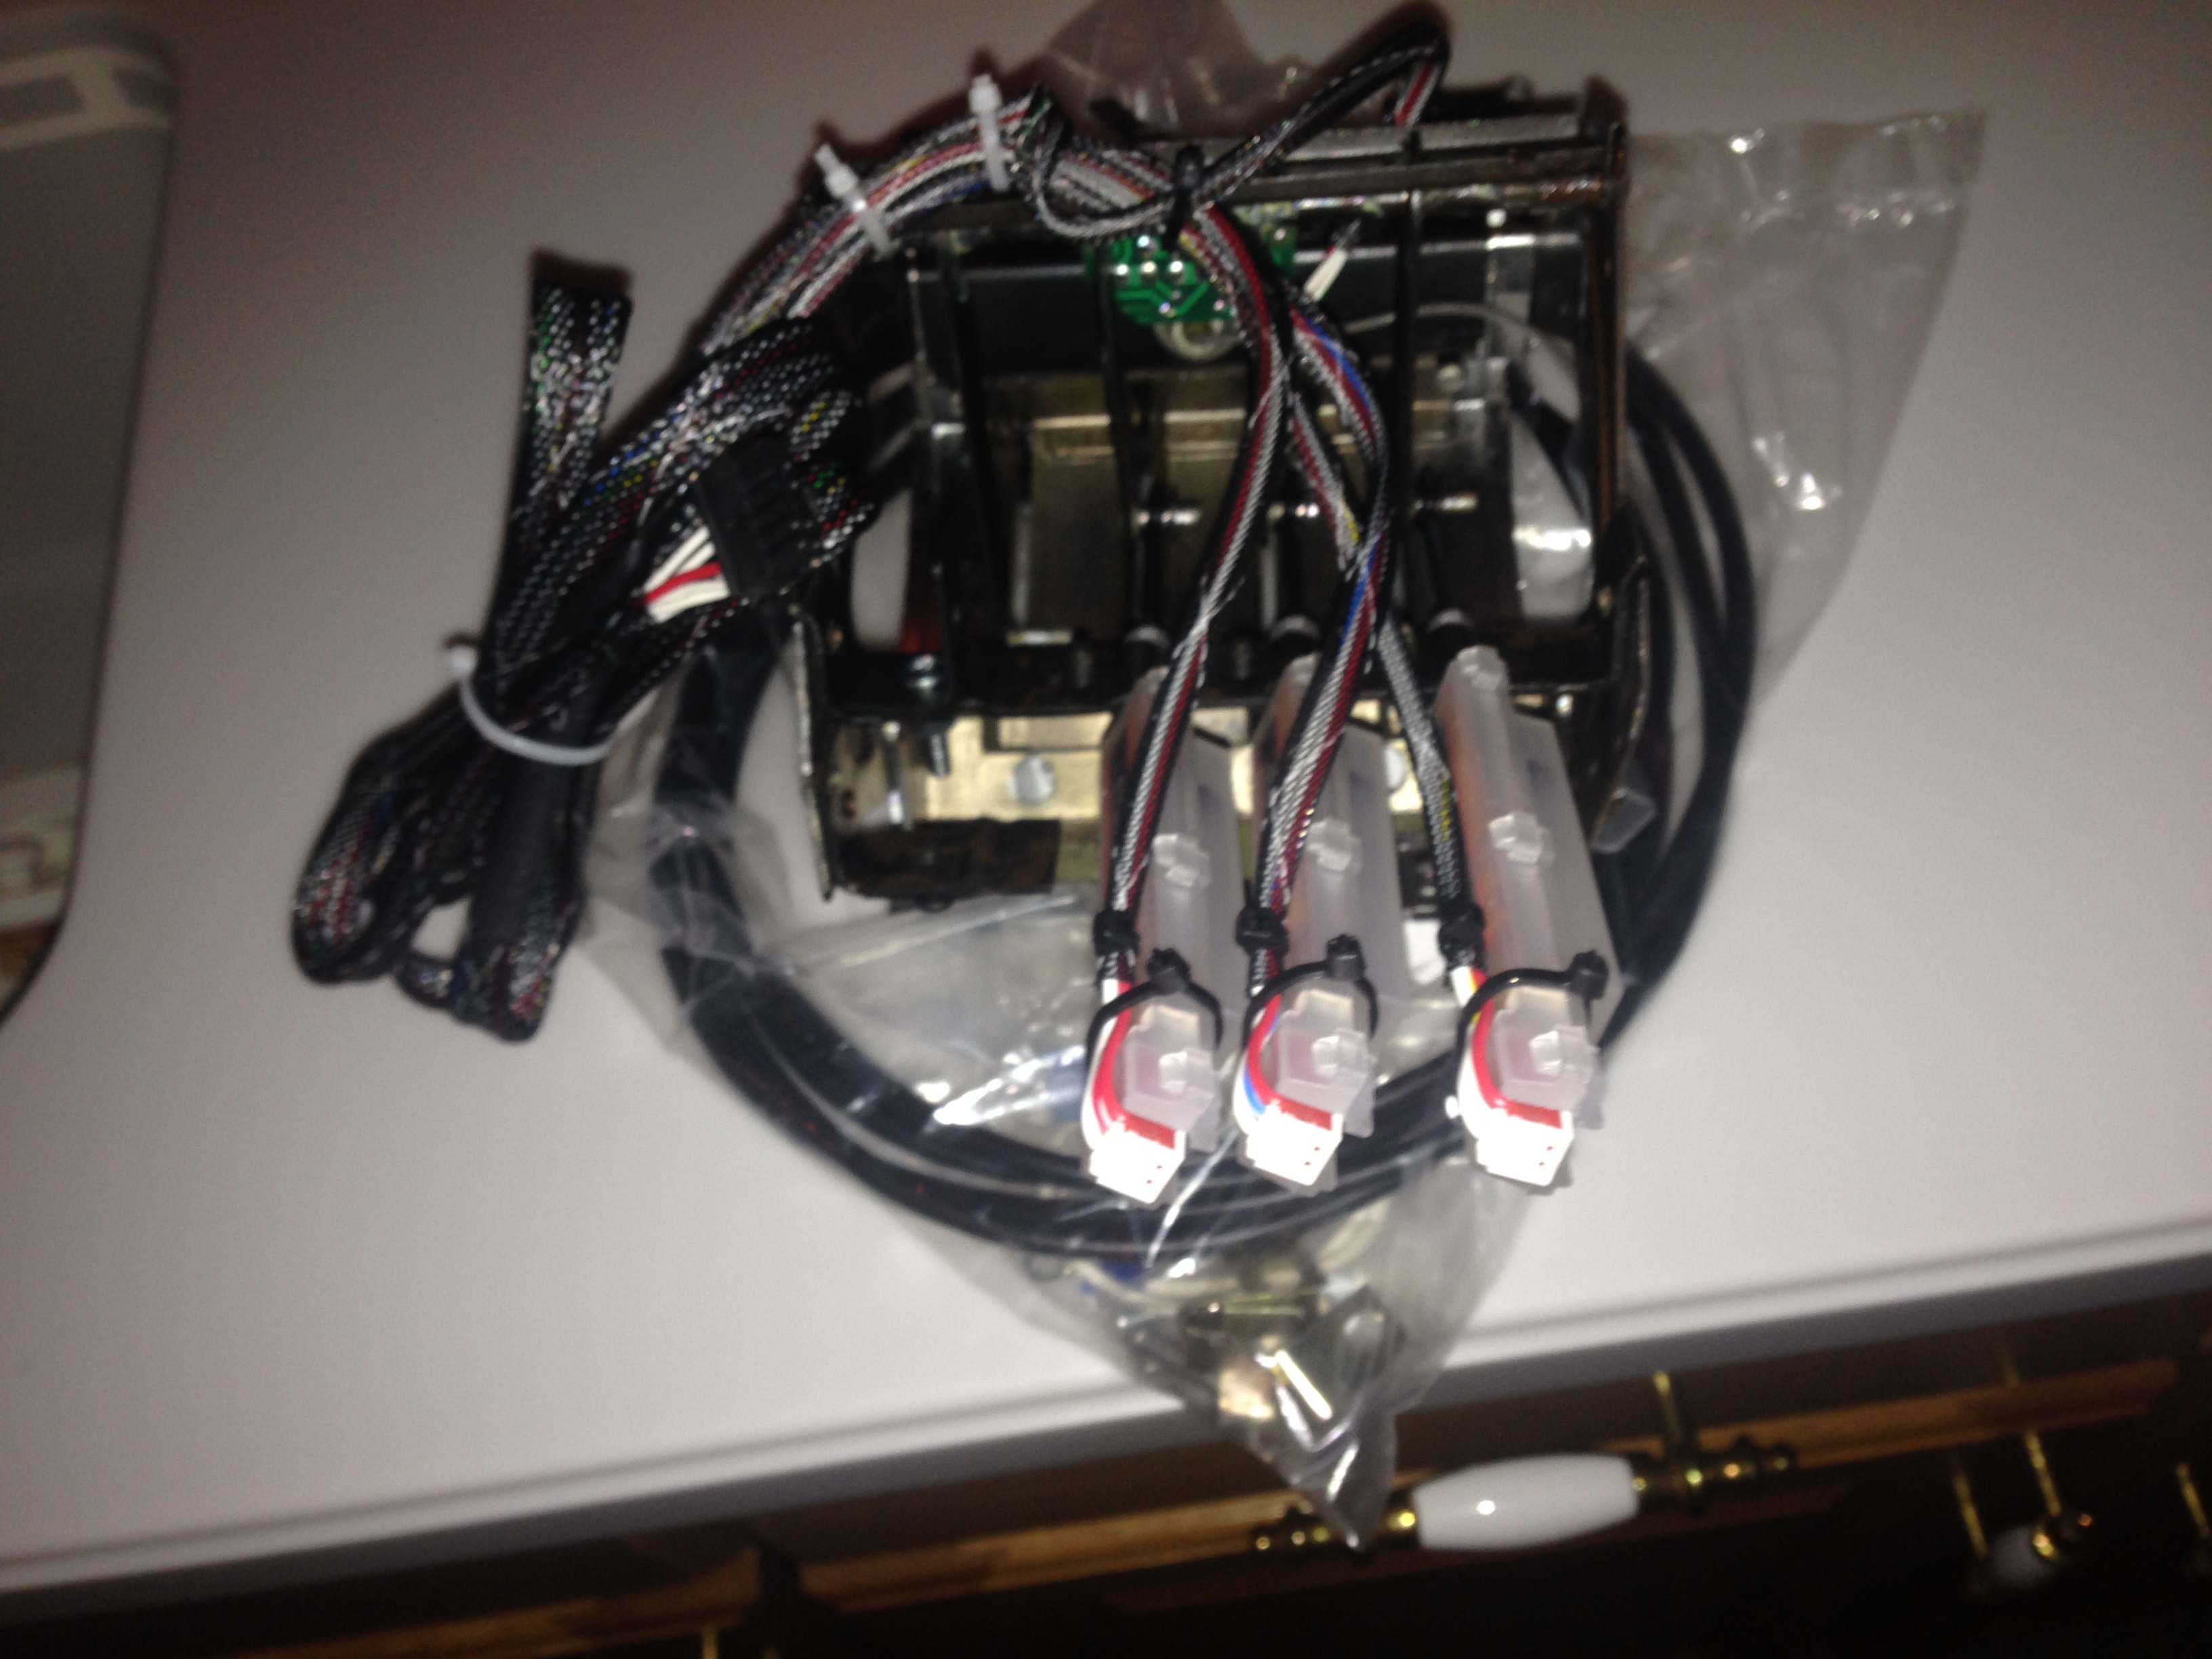
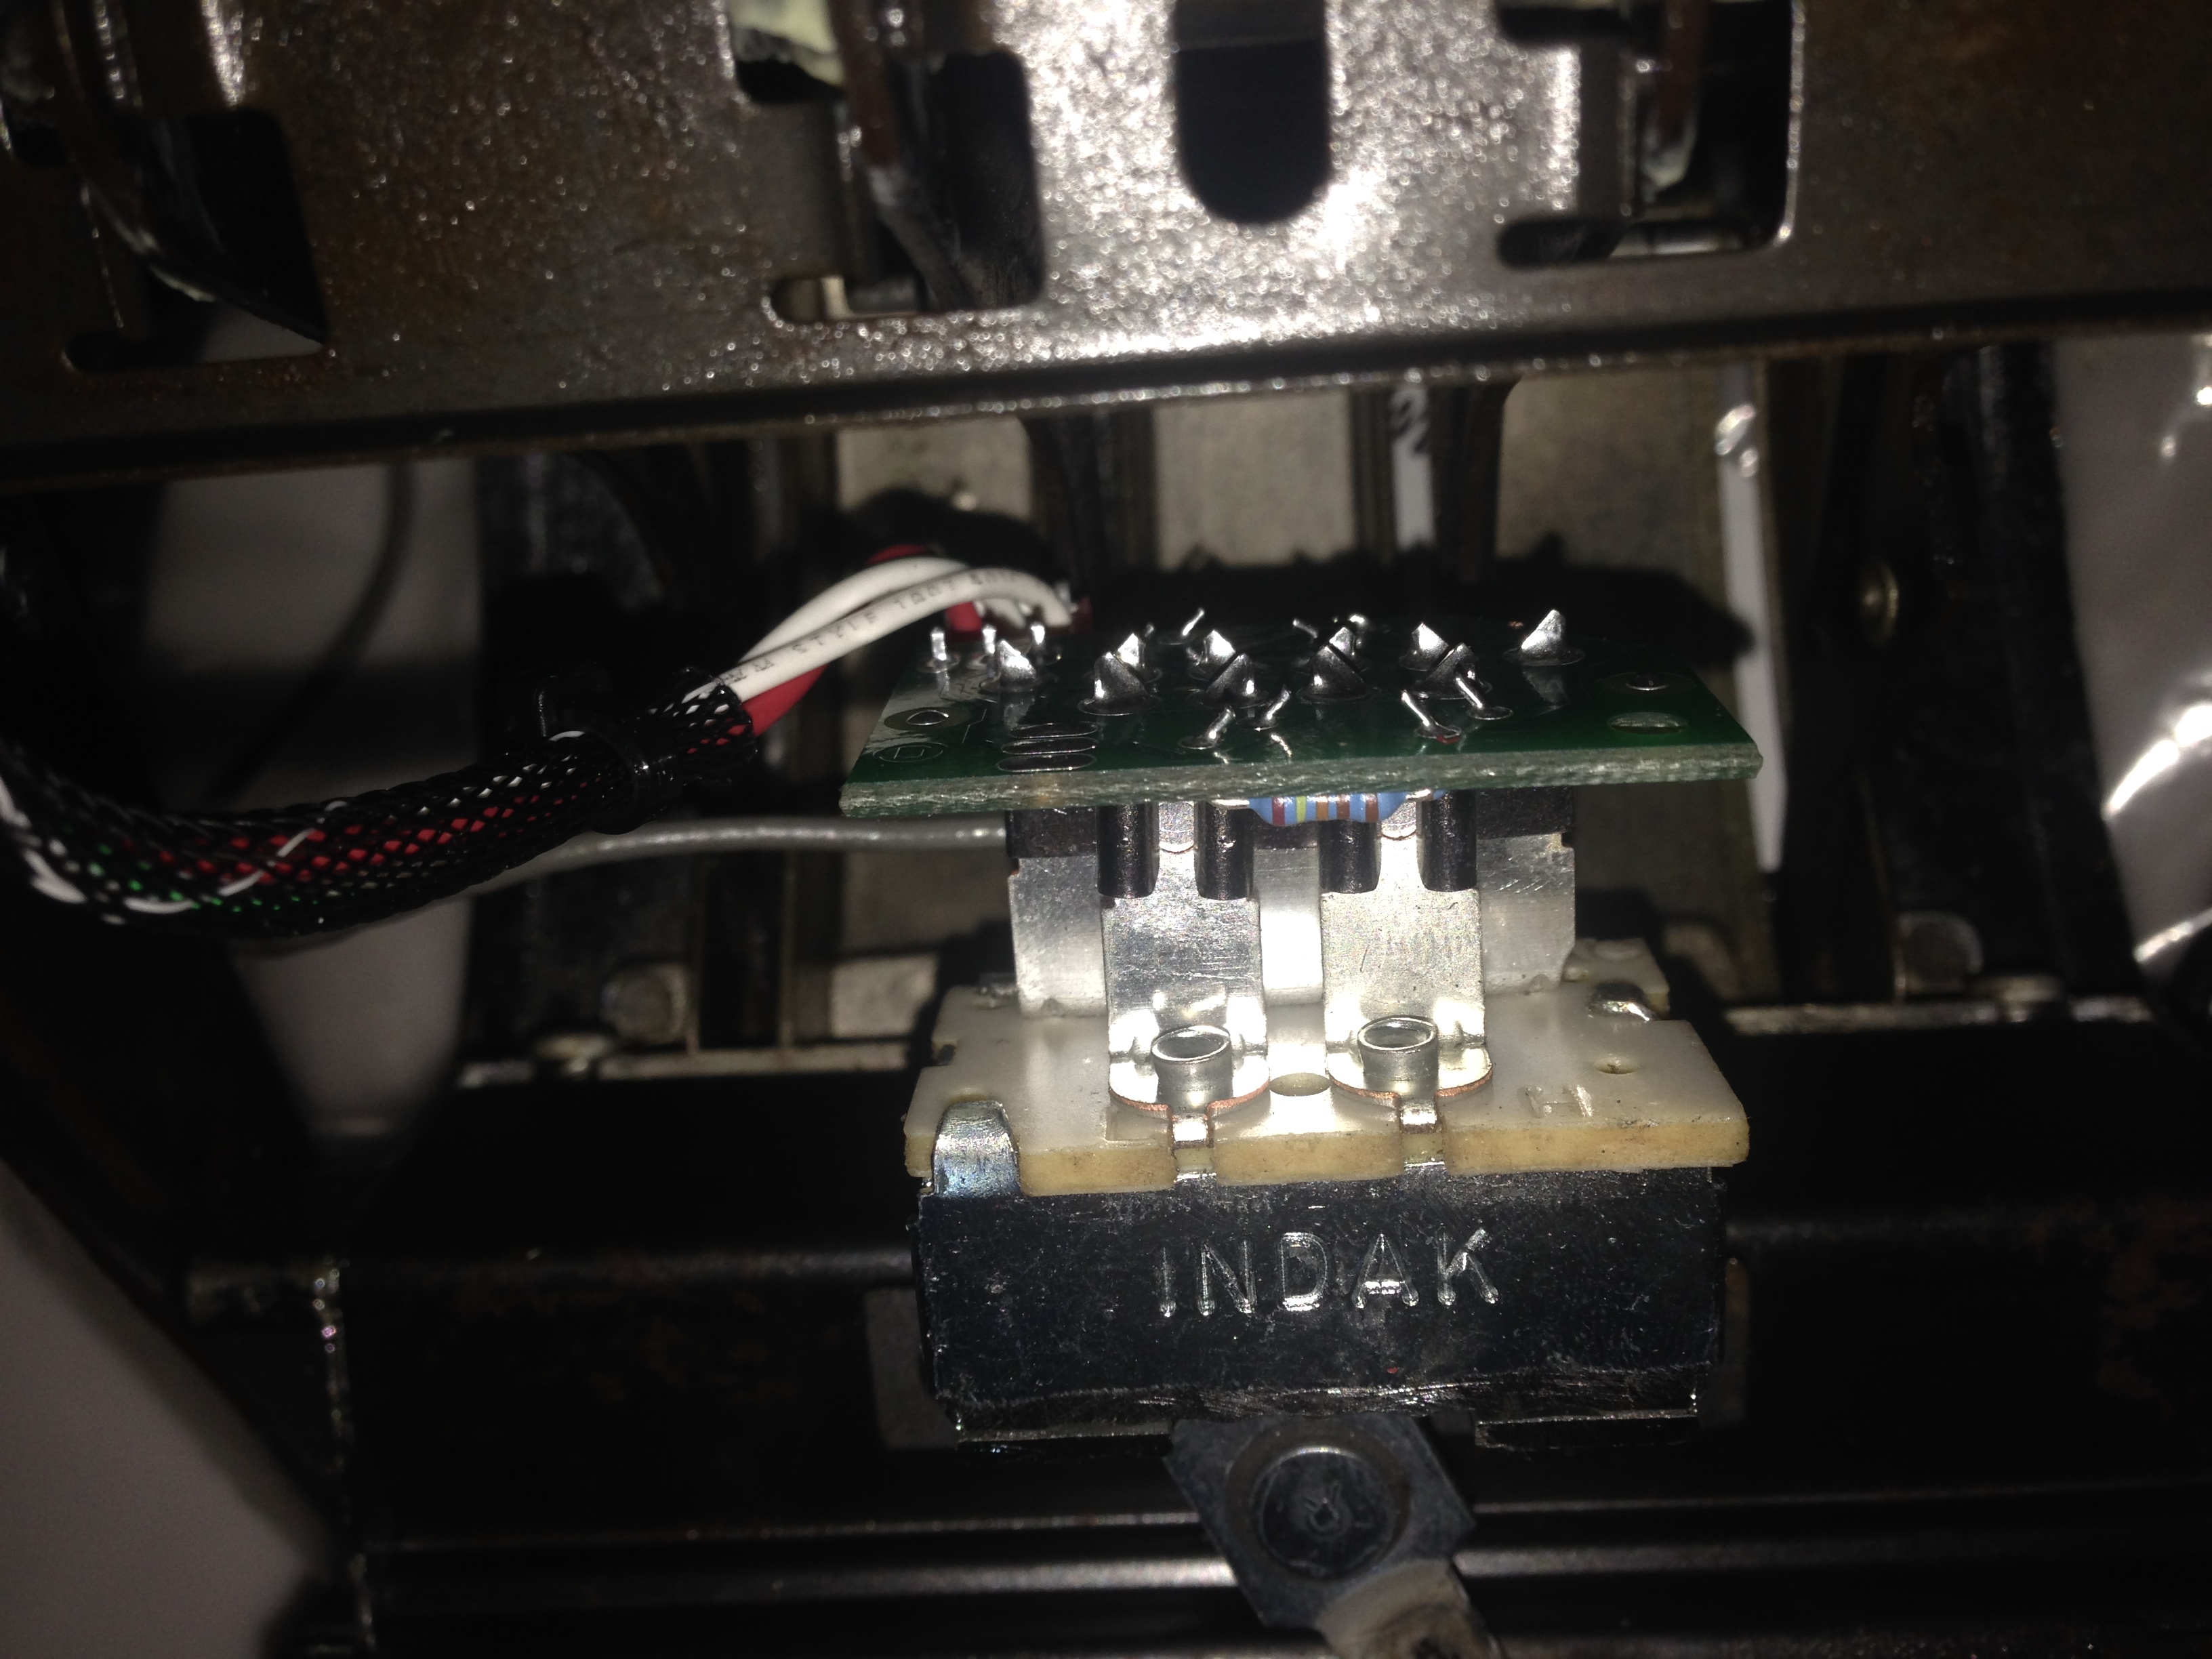

Stock Heater controller
with the Electronic conversion
LS1 Tech Stories
The Best V8 Stories One Small Block at Time

Topdon ONE vs. Artidiag 800 BT2: Which is the Diagnostic Tablet For You?
Pouria Savadkouei
Gas Monkey Built a 6-Wheel Ferrari Testarossa With a Corvette LT4 Engine
Verdad Gallardo
7 Most Reliable High-Performance Engines GM Has Ever Built
Verdad Gallardo
Amazing '71 Camaro Restomod Is Modern Muscle Car Under the Skin
Verdad Gallardo
6 Common C5 Corvette Failures and What's Involved In Repairing Them
Pouria Savadkouei
Retro Modern Bandit Pontiac Trans AM Comes With Burt Reynolds' Autograph
Verdad Gallardo
Top 10 Greatest Cadillac V Series Performance Models Ever, Ranked
Pouria Savadkouei
Top 10 Most Powerful Chevy Trucks Ever Made!

Hennessey's New Supercharged Silverado ZR2 Has 700 HP
Verdad Gallardo
Thread Starter
TECH Fanatic
Joined: Jul 2008
Posts: 1,570
Likes: 173
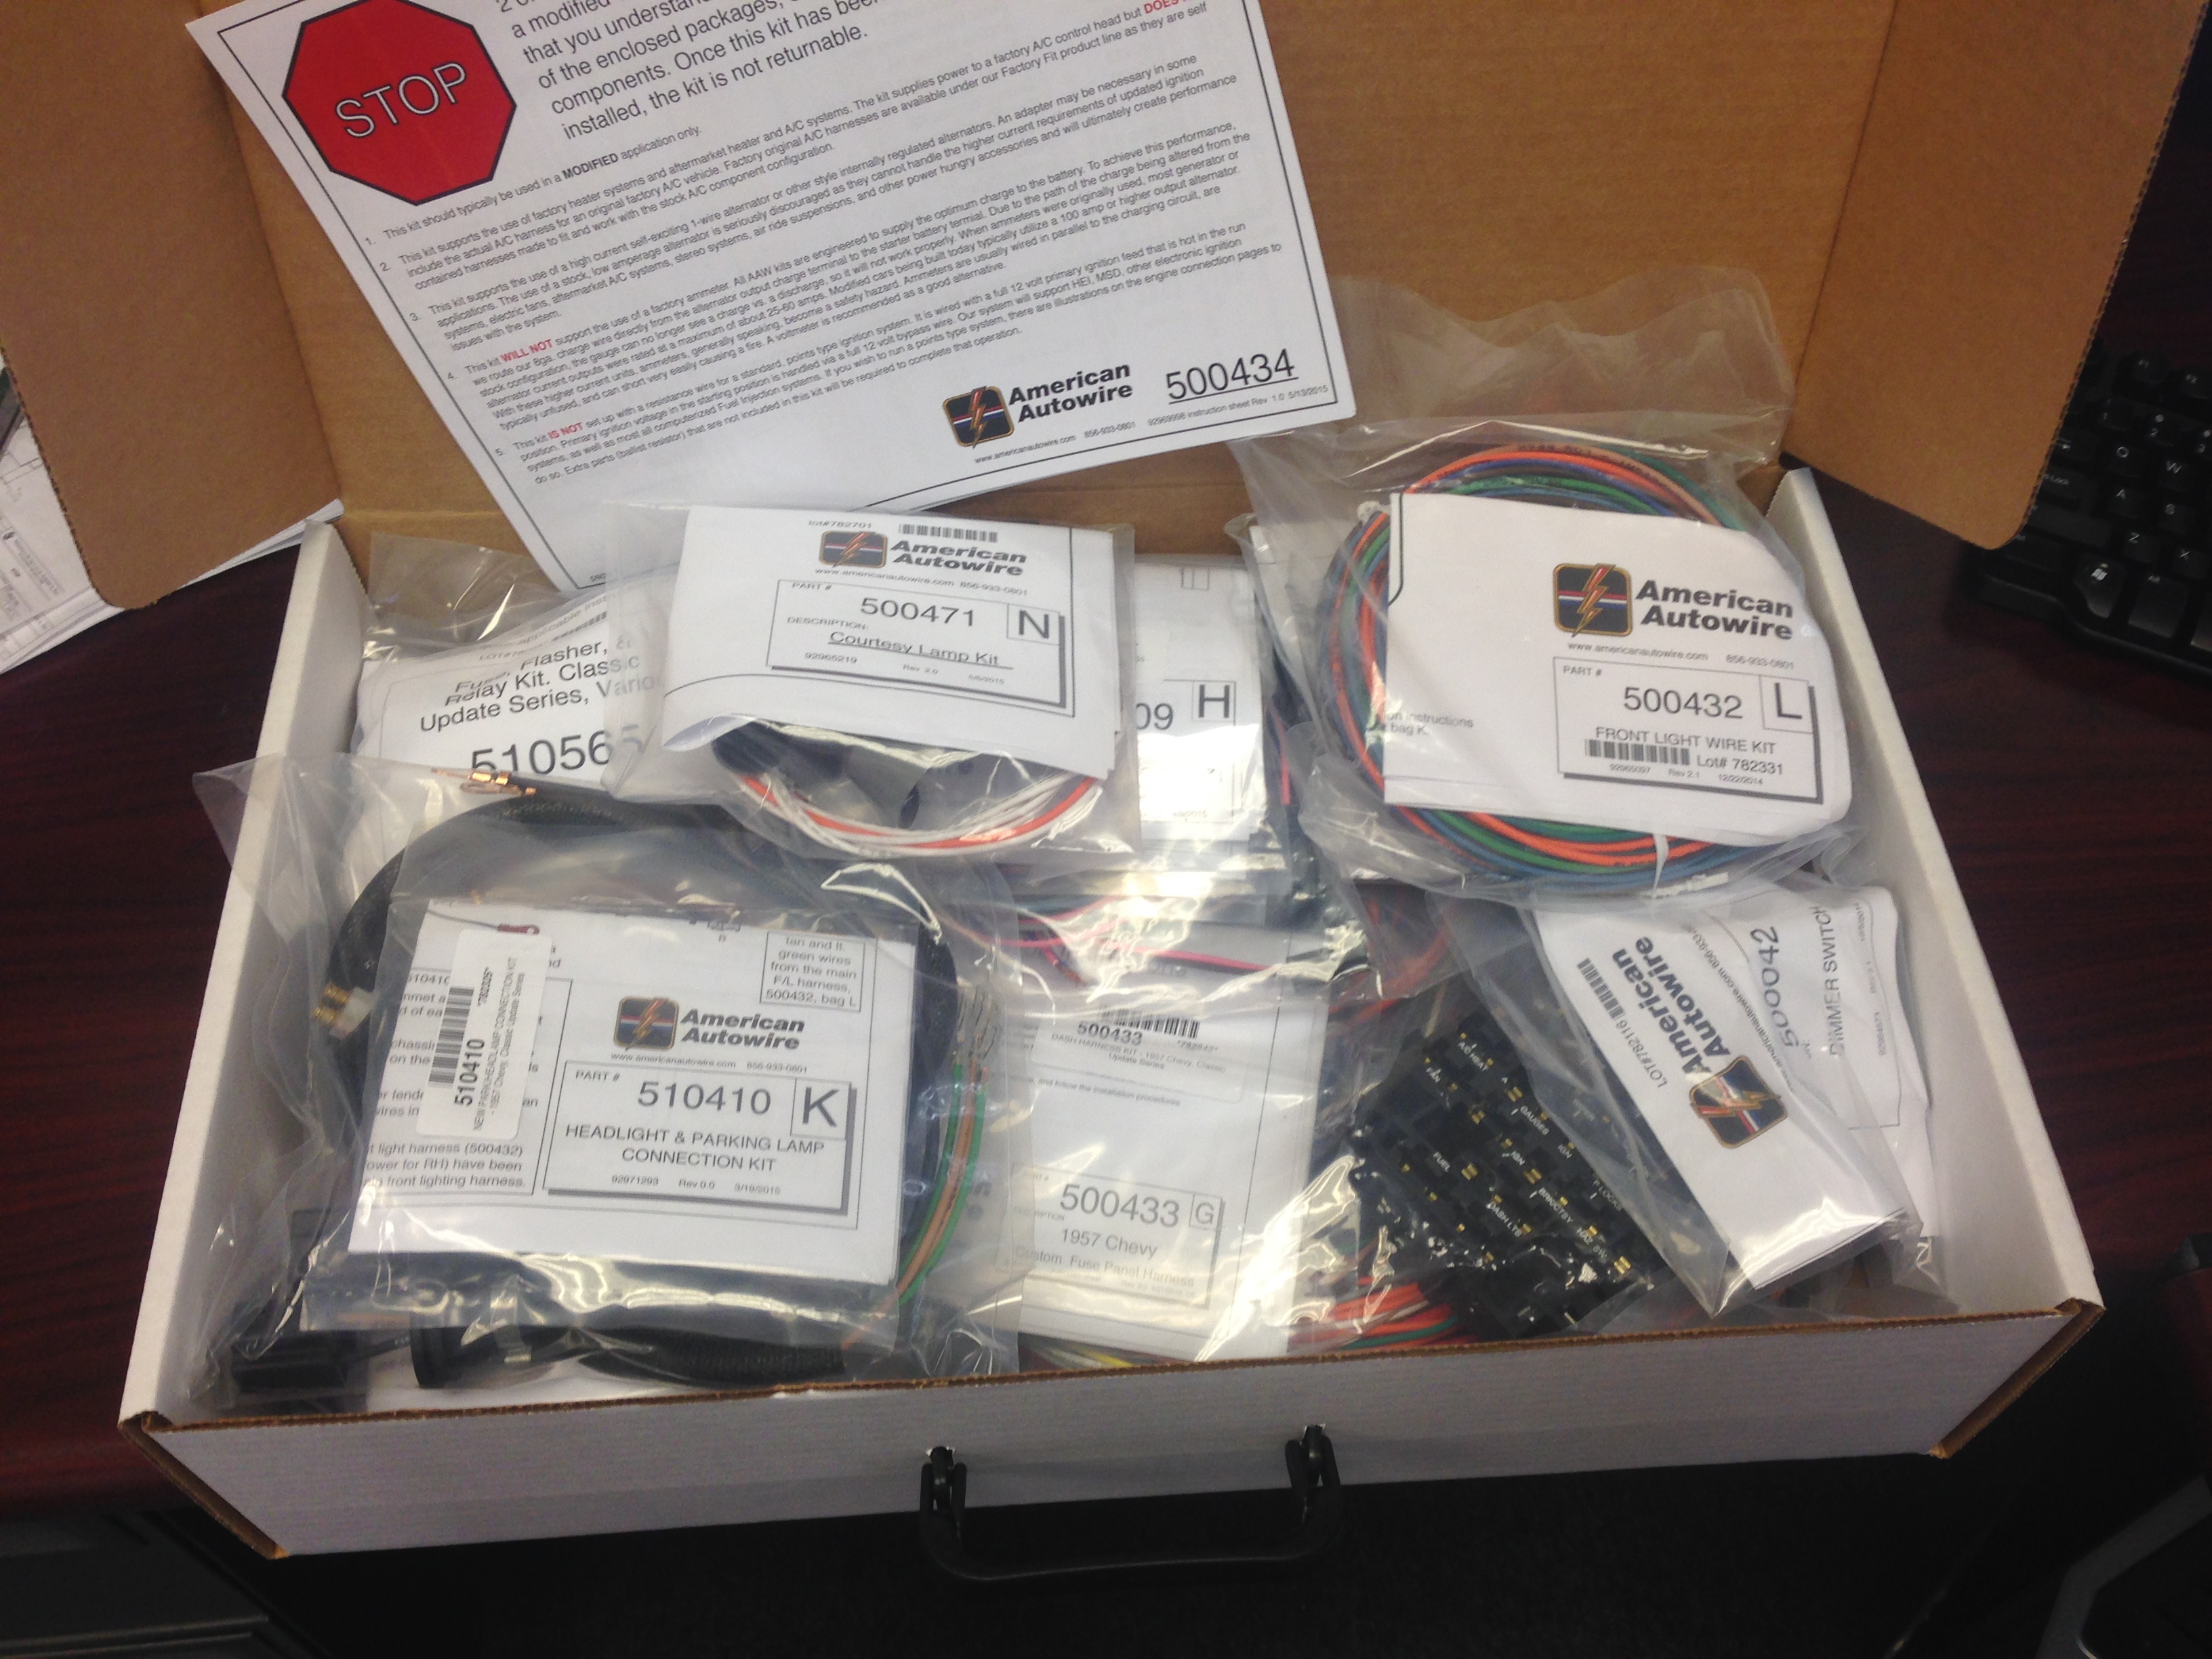
Things are moving from the waiting for "Stuff" mode to the Get'r Done mode.......... Thanks to Donny Bock at American Autowire I now have the right stuff to upgrade the Nomad......
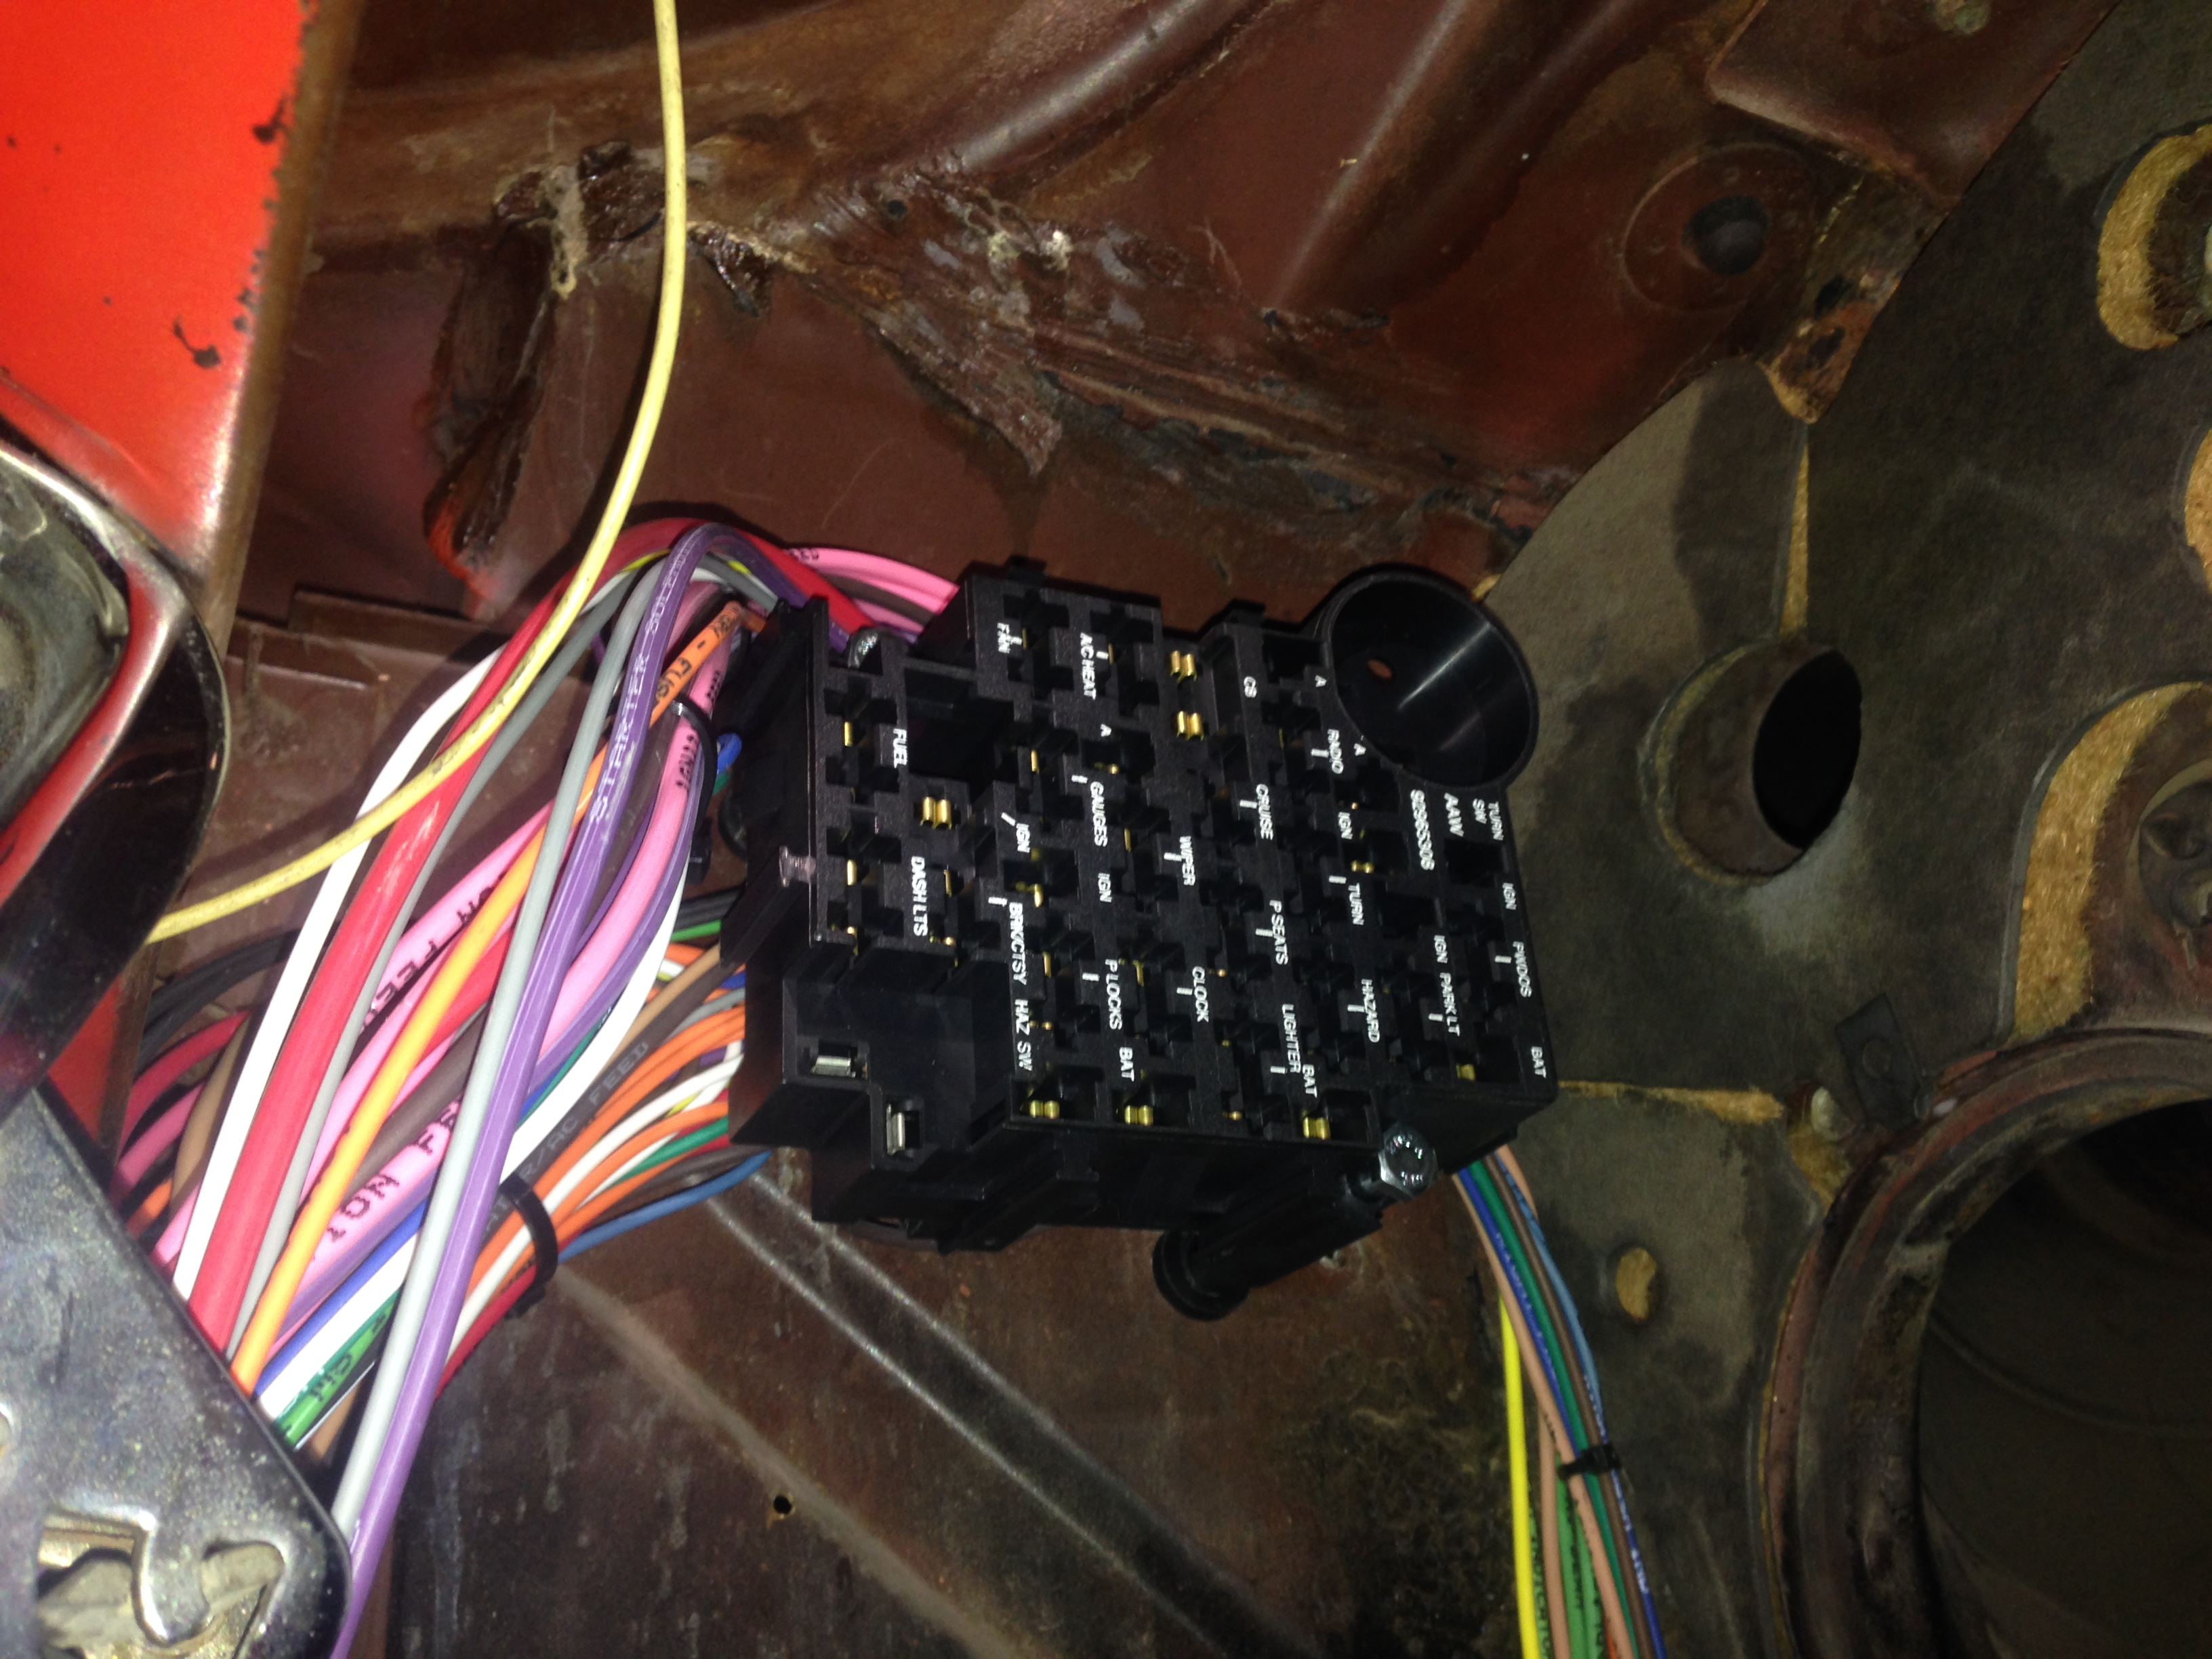
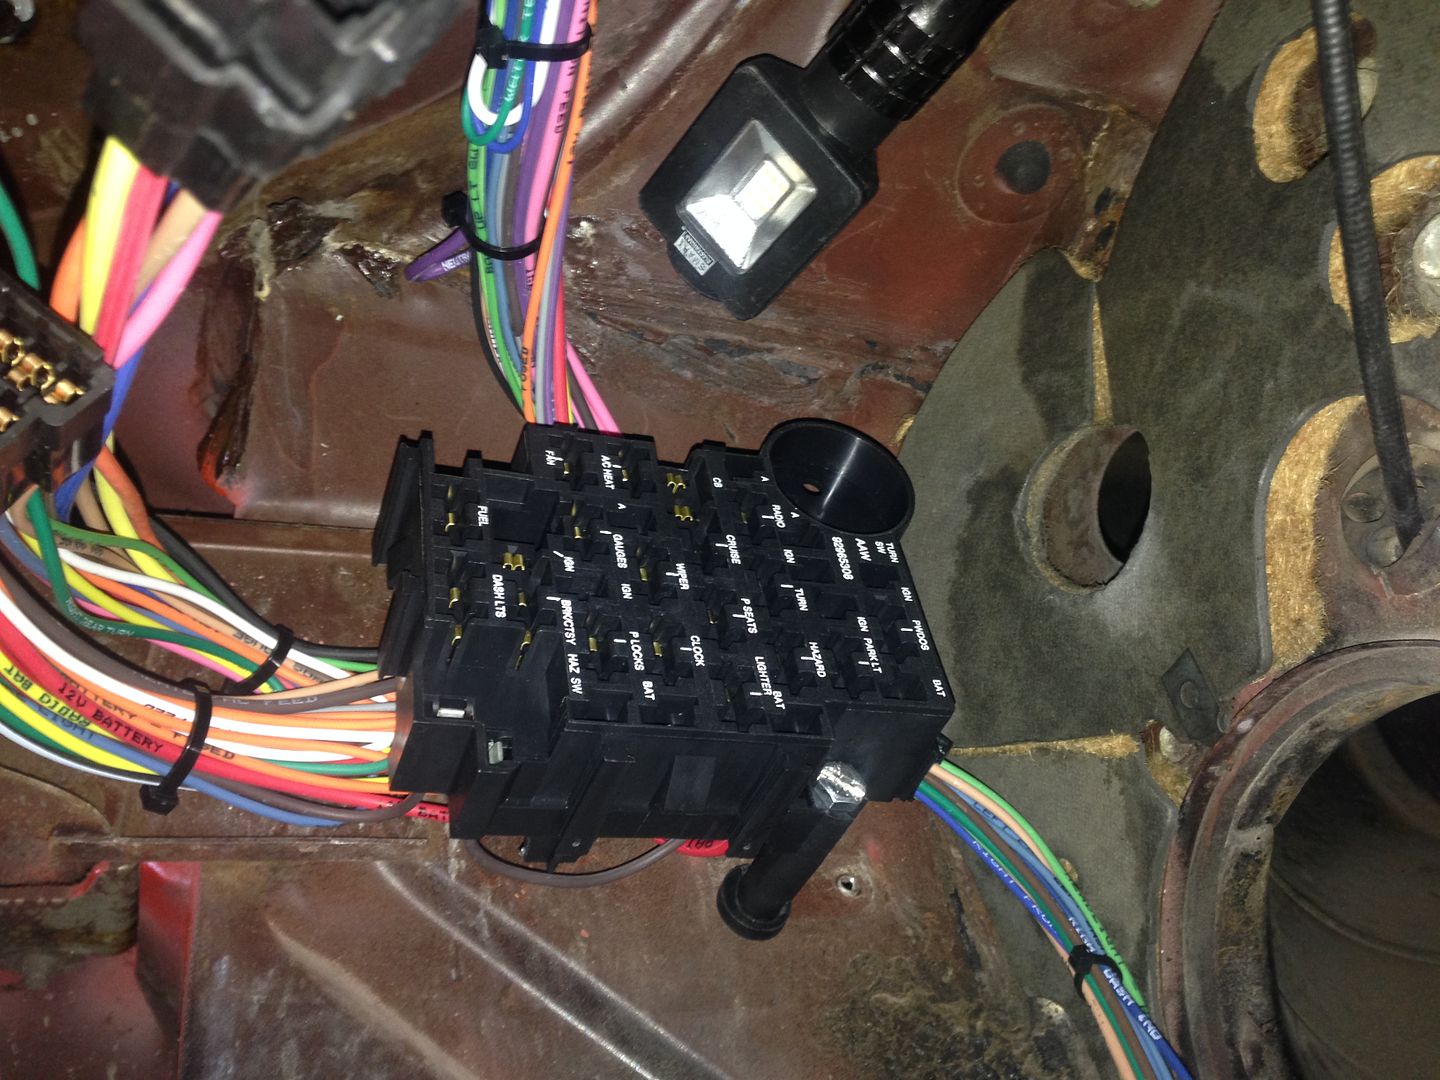
We are going to replace the "Old" with the "New"
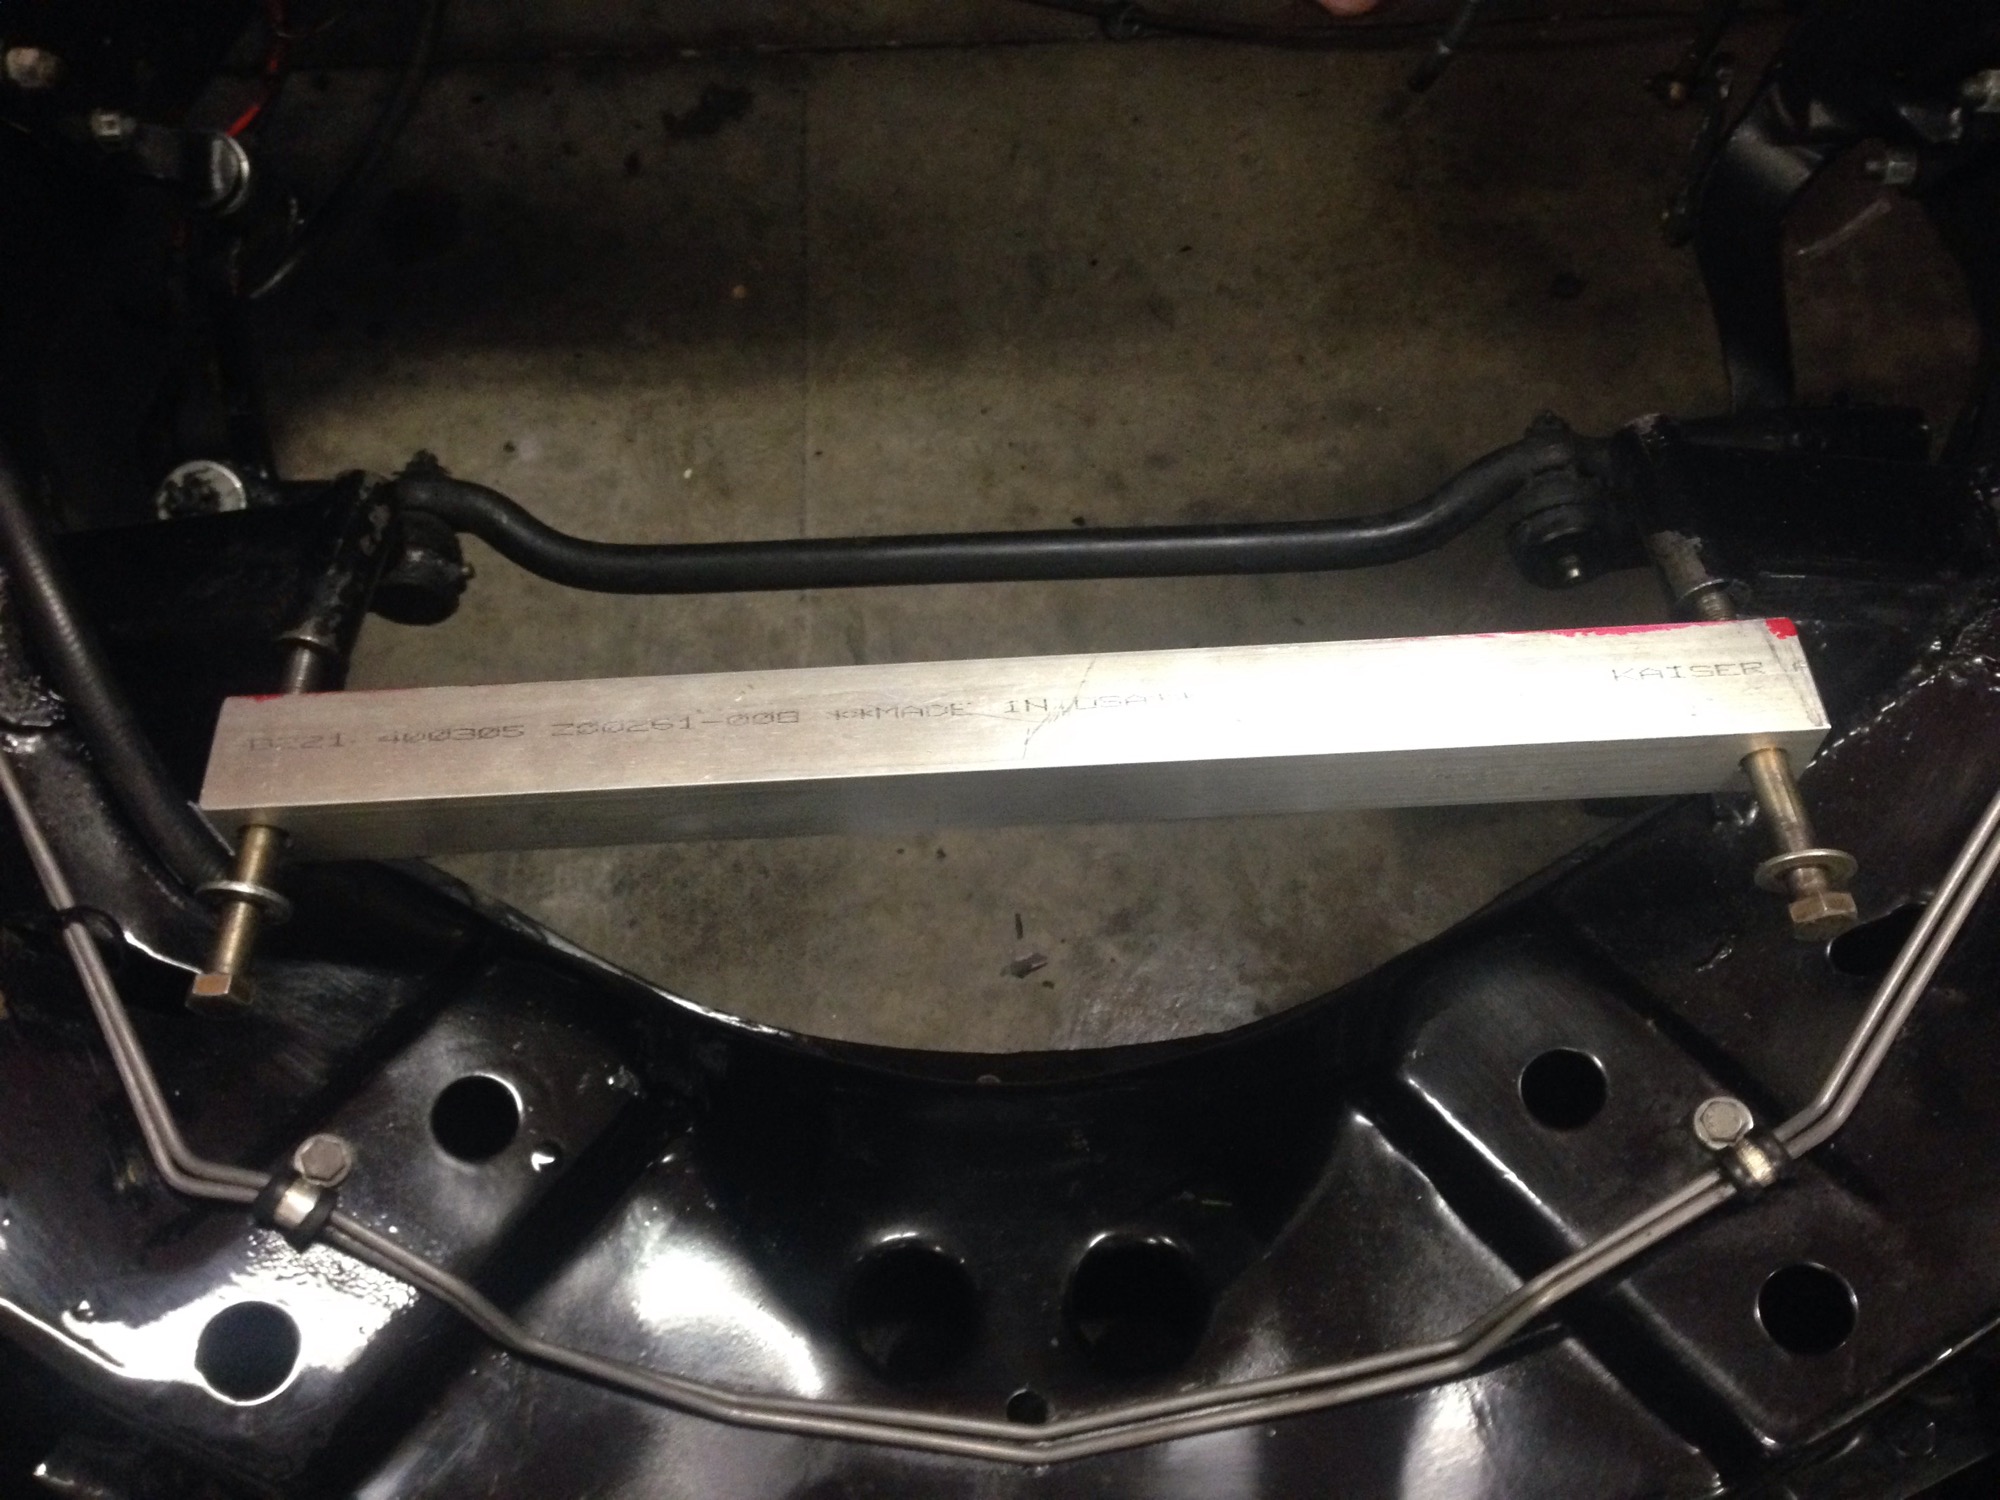
Then........It's kind of hard to see how far out the frame mounts are......I made the Aluminum Jig to the 16.5" centerline as required and the mounts are way out.......I cut them out and will modify them correctly......
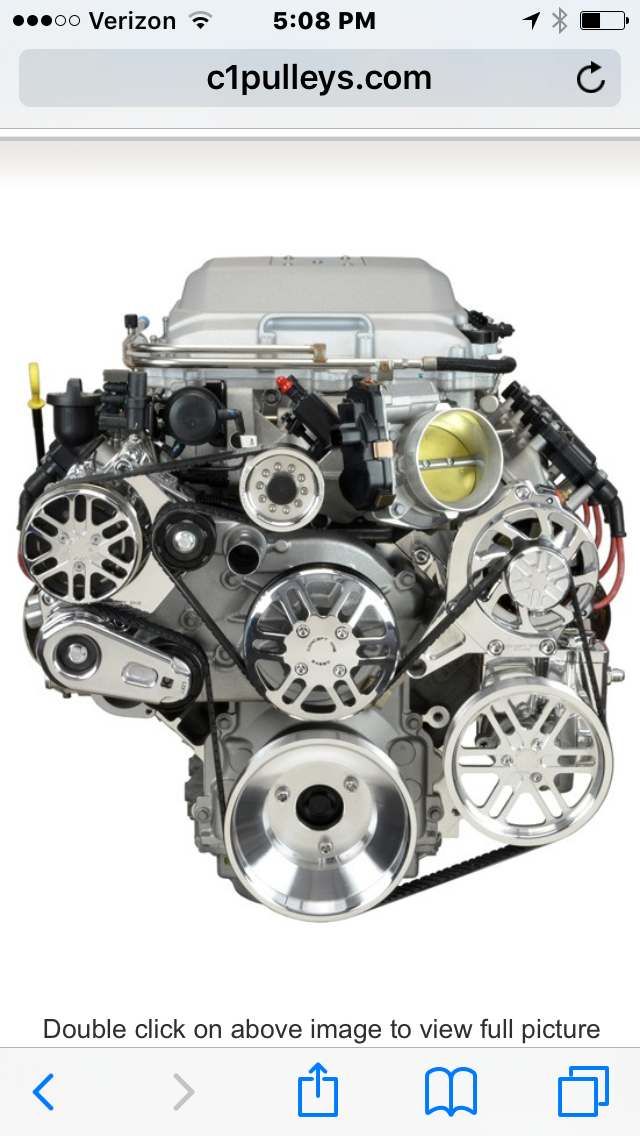
Also.....after test fitting the engine in the car.......It became apparent that my plan to mount the A/C compressor down low like I did in the Chevelle just wasn't going to work.......Darn......Mounting the compressor up high on a LSA engine is not that simple.........so.........I decided to bite the Bullet and buy a Concept 1 front drive system.........and with this system I had to remove the front snout assy from the engine so I can send it to Lingenfelter to get a new Hub installed on the Supercharger shaft for the Concept 1 Pulley......


Here we go............
We are going to replace the "Old" with the "New"
Then........It's kind of hard to see how far out the frame mounts are......I made the Aluminum Jig to the 16.5" centerline as required and the mounts are way out.......I cut them out and will modify them correctly......
Also.....after test fitting the engine in the car.......It became apparent that my plan to mount the A/C compressor down low like I did in the Chevelle just wasn't going to work.......Darn......Mounting the compressor up high on a LSA engine is not that simple.........so.........I decided to bite the Bullet and buy a Concept 1 front drive system.........and with this system I had to remove the front snout assy from the engine so I can send it to Lingenfelter to get a new Hub installed on the Supercharger shaft for the Concept 1 Pulley......
Here we go............

I'm sure it was a pain, but that is a really nice looking A/C mount! Looks like it was made for it, which is the one thing most high mount brackets lack when they hang way out on one side.

TECH Senior Member
Joined: Jul 2009
Posts: 8,034
Likes: 664
I love that FEAD. It looks really, really good.
Ken,
Which fuse block is the new vs. old ? lol. Big difference. AAW does make some nice stuff. I like how they over simplify the instructions so a average Joe can do it.
I'm just glad to see someone like you do the car some justice.

Thread Starter
TECH Fanatic
Joined: Jul 2008
Posts: 1,570
Likes: 173
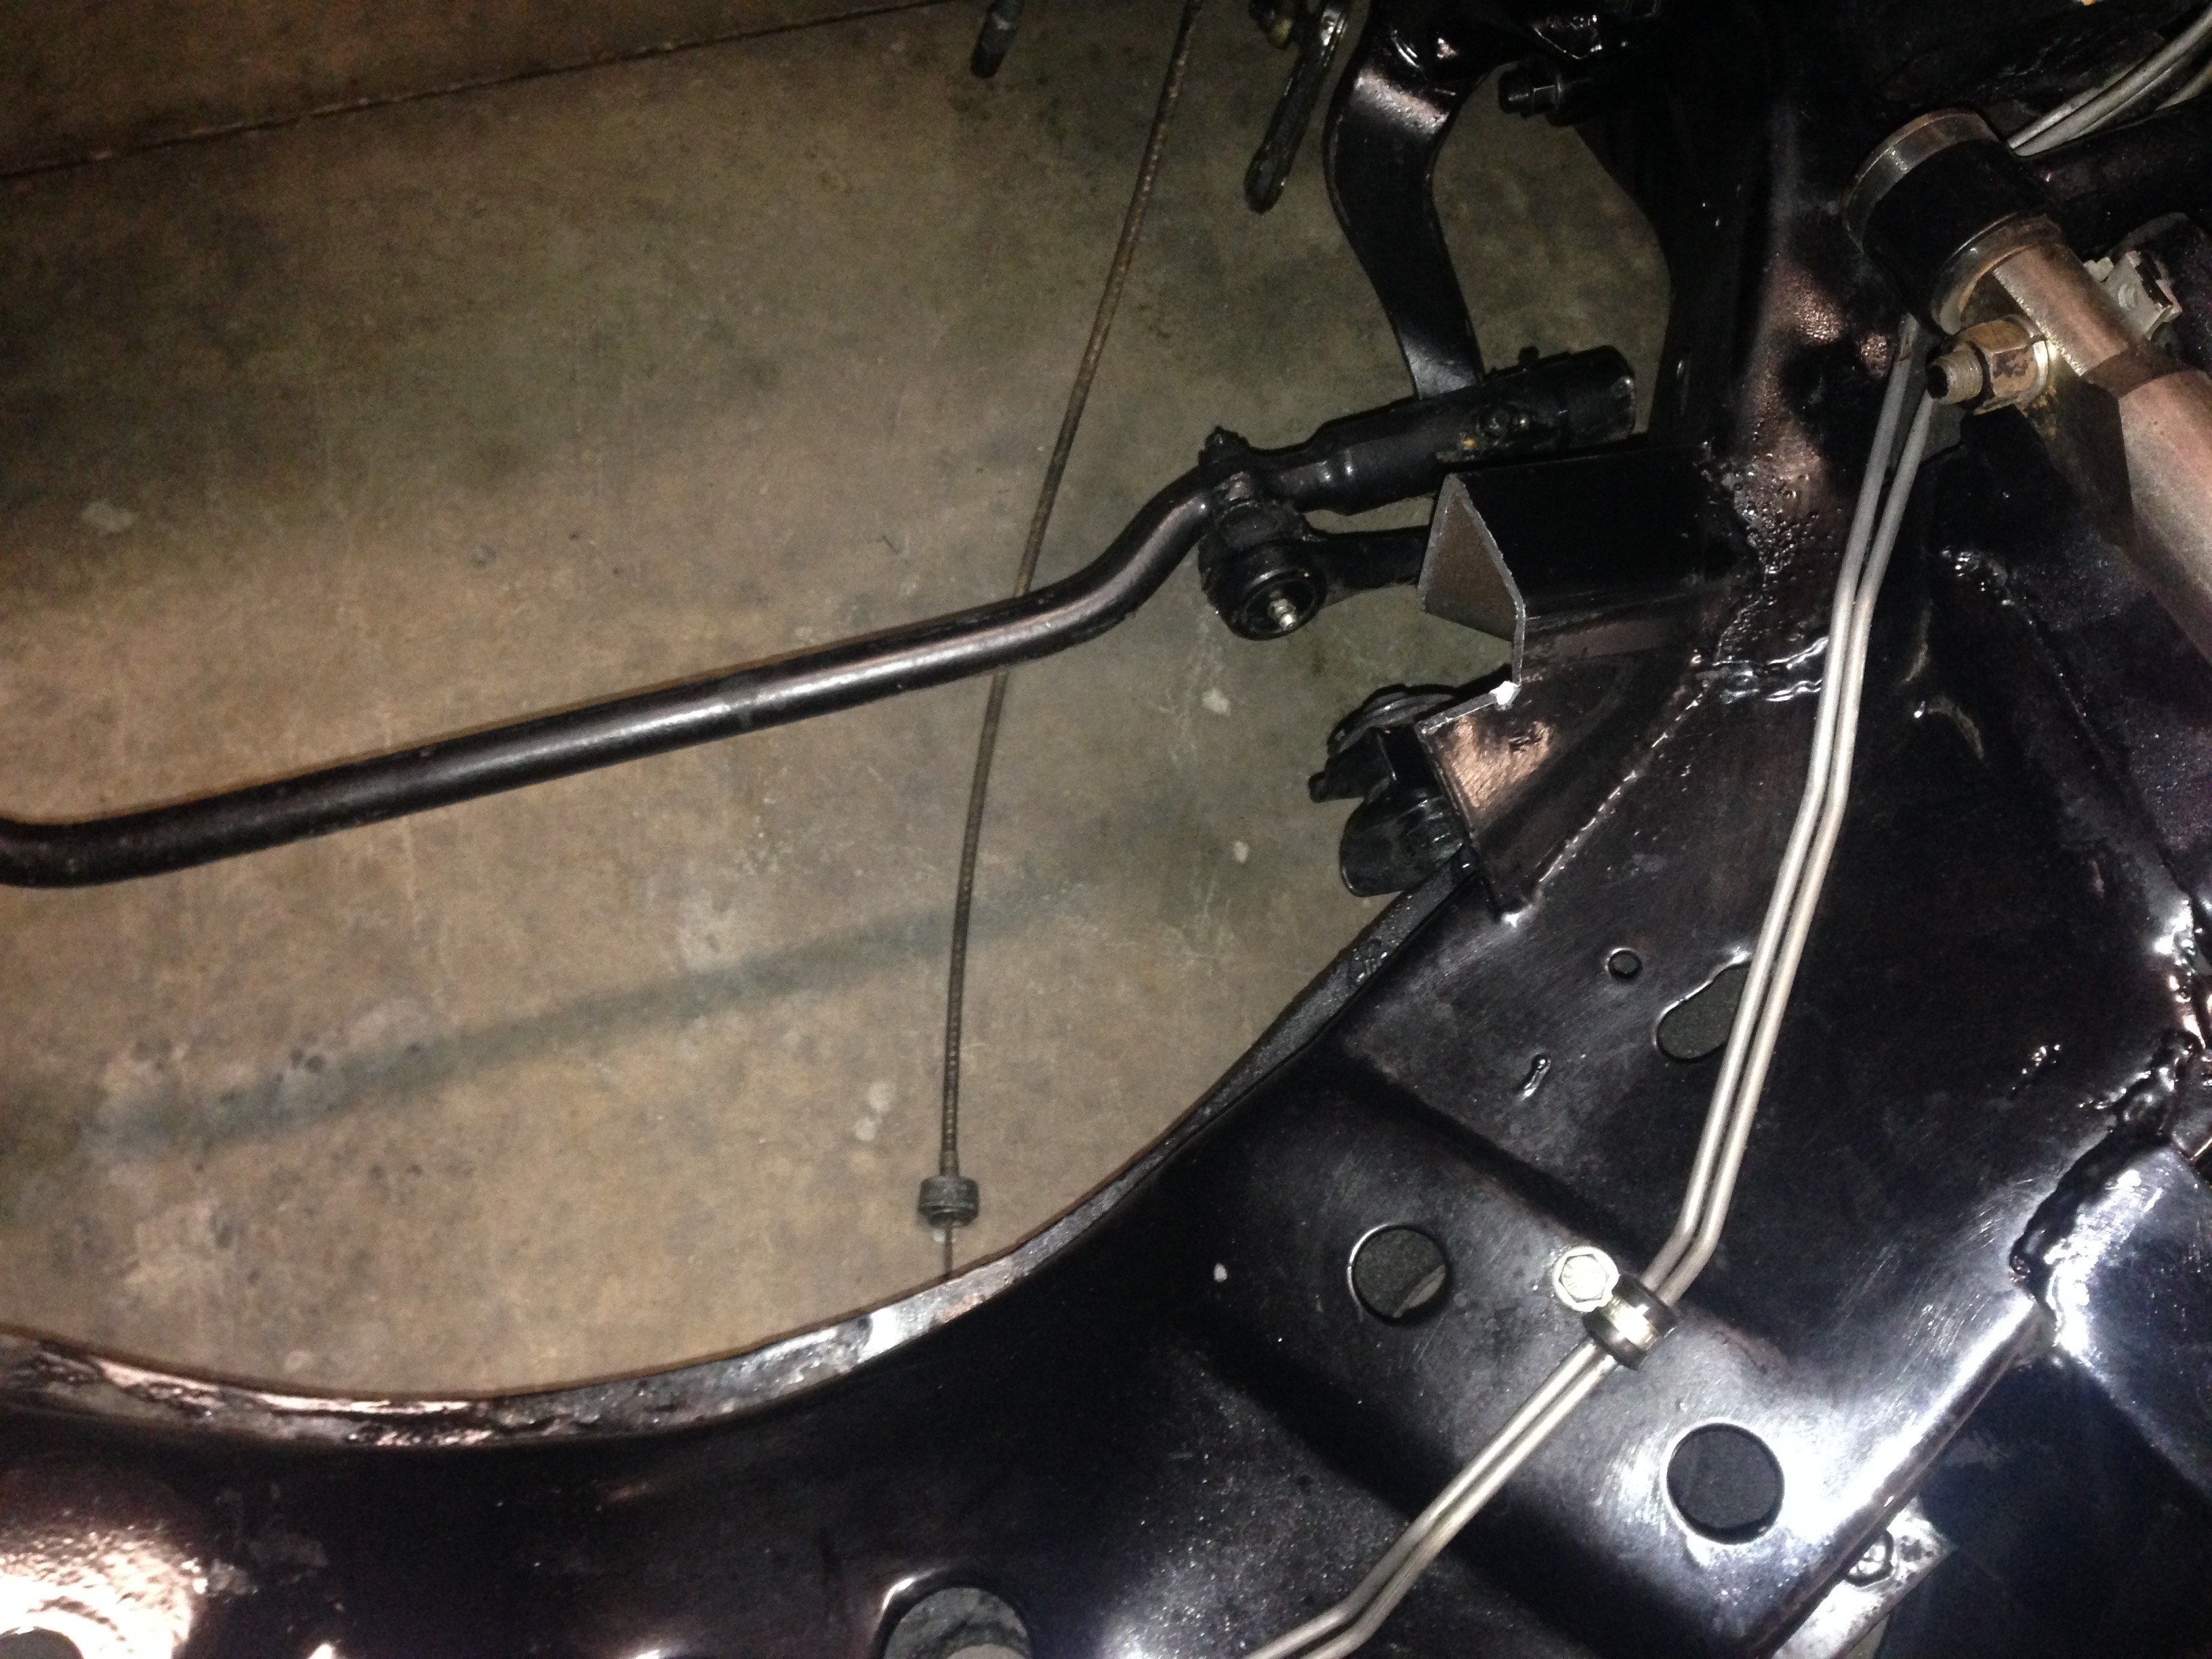
I finally got the motor mount situation corrected.......Lets just say the old engine fit.......but it wasn't correct....I cut out the mounts and basically raised the mount position 1/4" to give me a little more pan clearance and made the mounts the same height relative to the frame (there was 3/16 difference)........I welded the spacer plate to the cut off mount......used my Jig and bolted the mounts in ......after everything checked out I welded them in......Side story........I have a good 110 volt Miller wire welder and got an education about extension cords......LOL.......I now have a new 12 Gauge wire one in the garage.........."I are Smart" now.........
Cleaned and painted the mounts and put the engine back in.......Fits "Perfect".......Still waiting for the Supercharger "snout" to come back from Lingenfelter with the pulley mod for the Concept 1 Front Drive set-up......So...I started the wiring process with American Autowire Classic update kit ....Here are some pic's

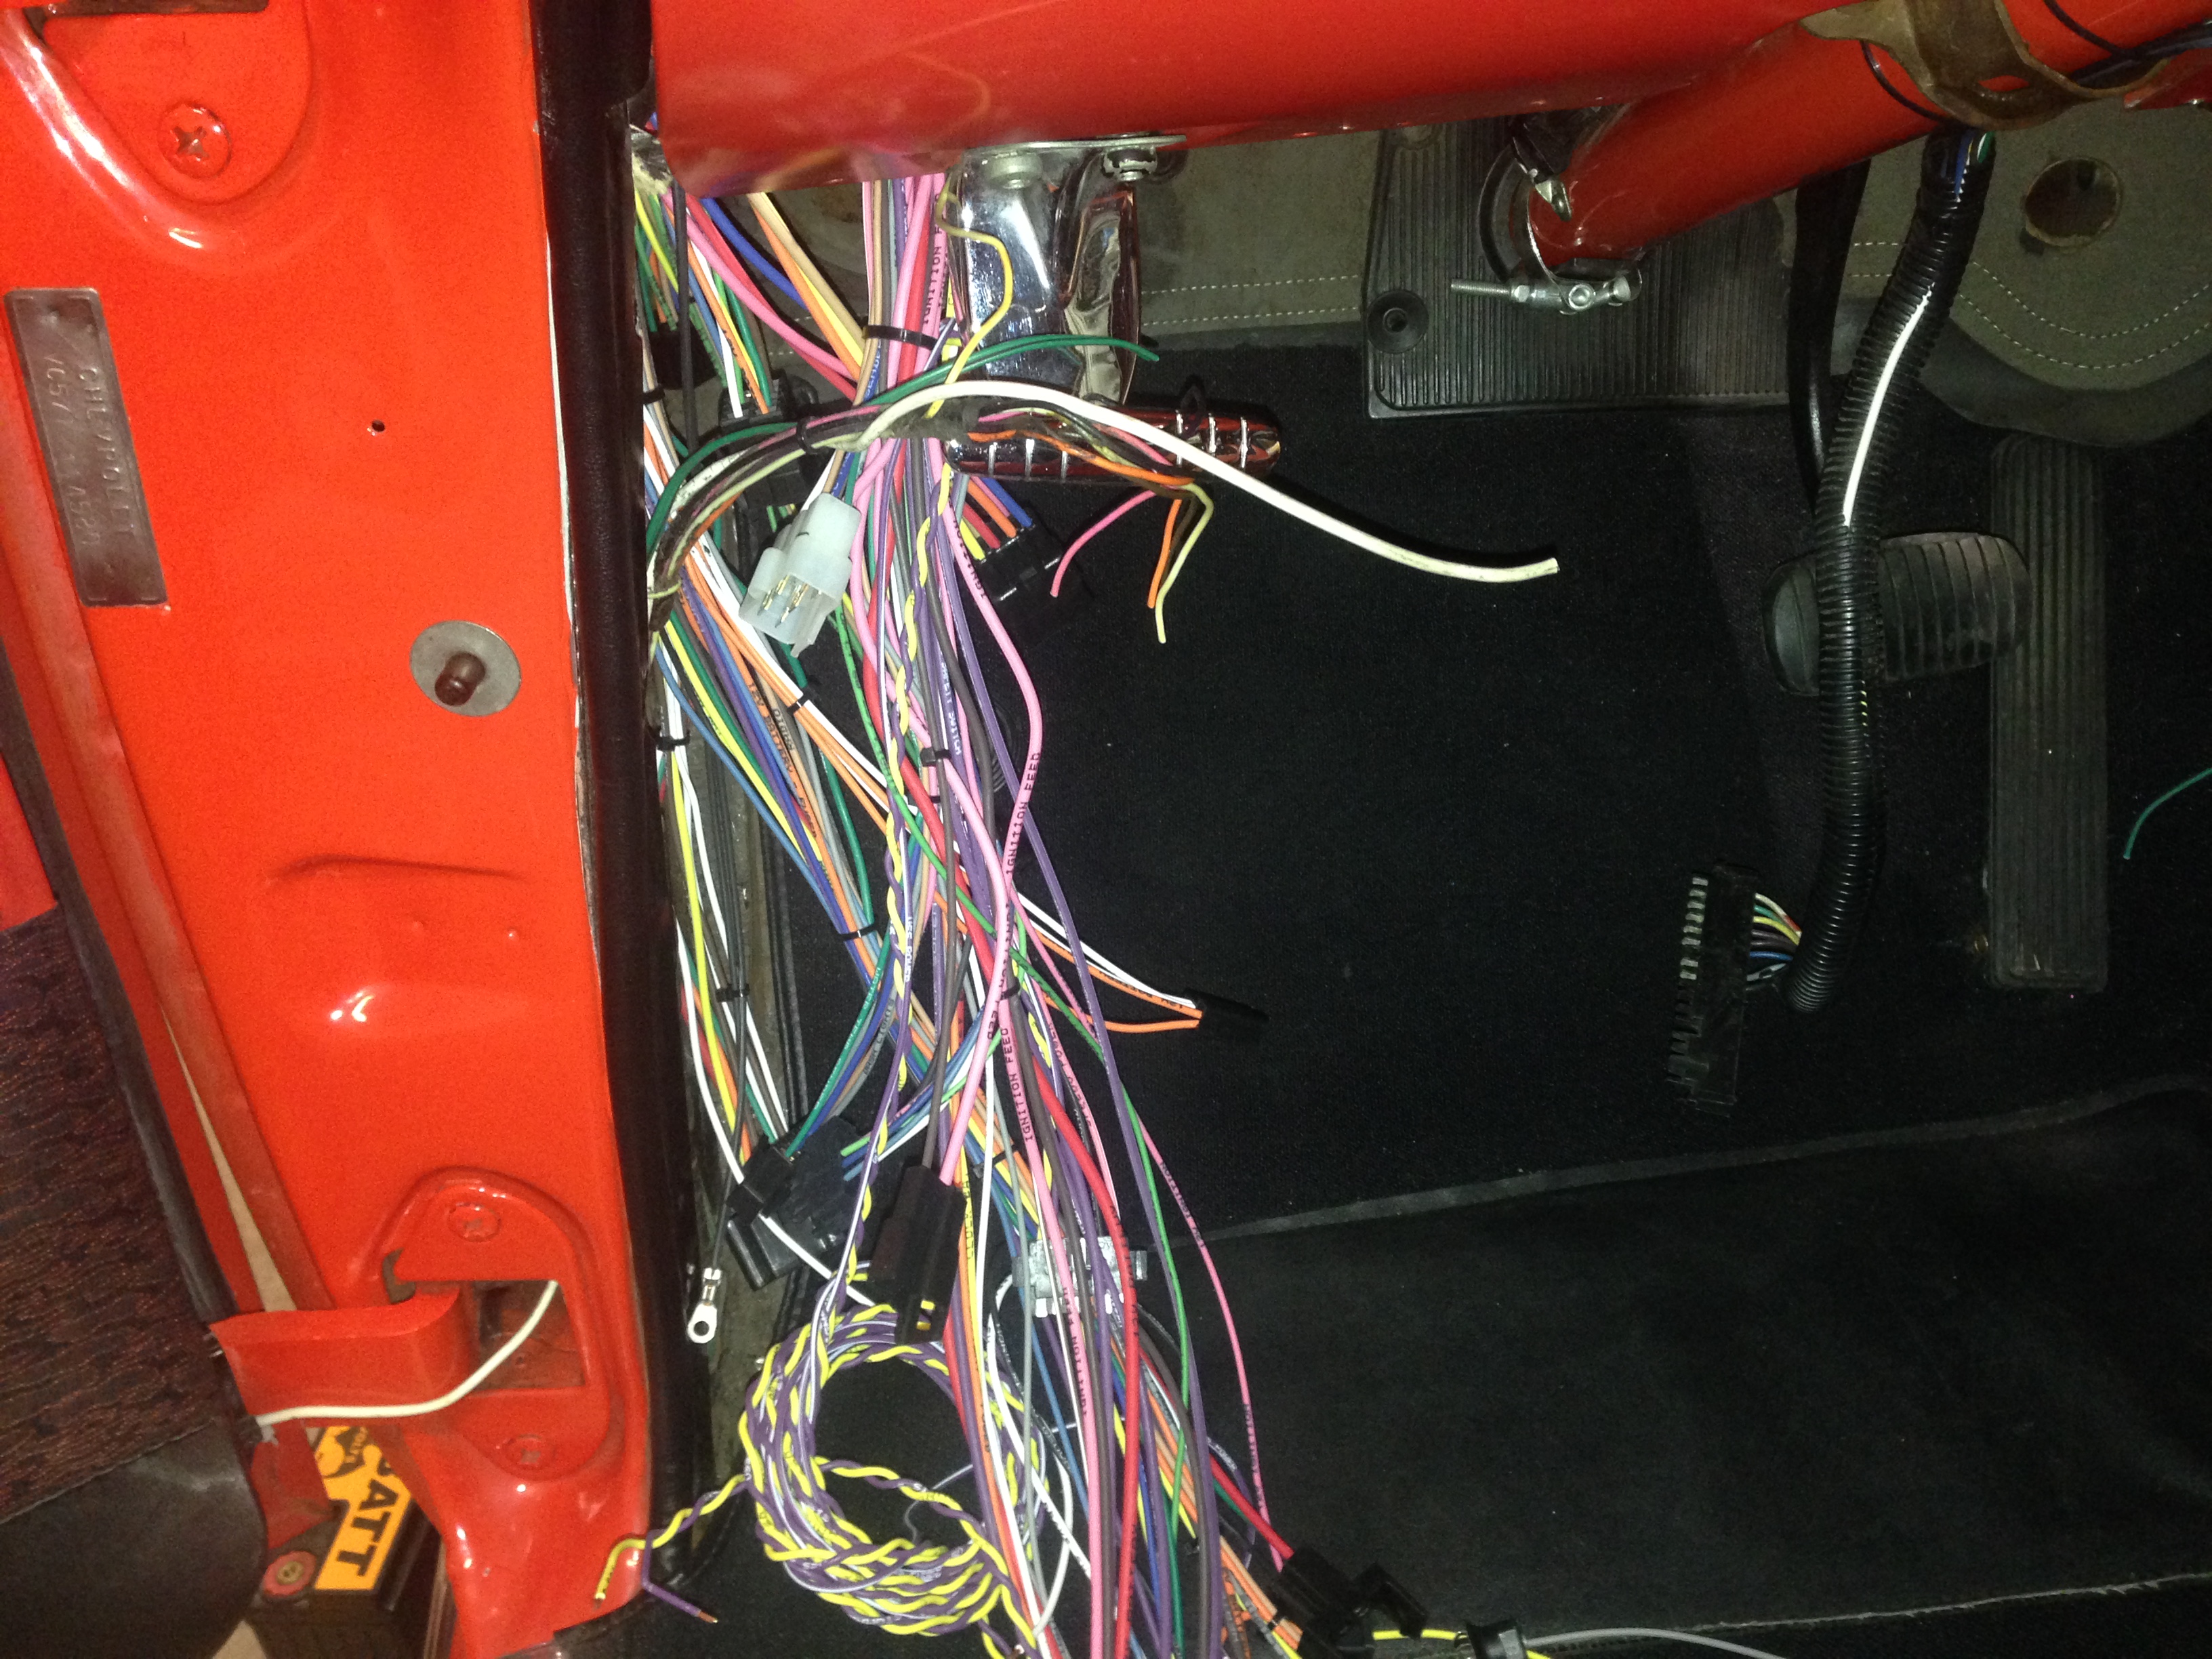
Cleaned and painted the mounts and put the engine back in.......Fits "Perfect".......Still waiting for the Supercharger "snout" to come back from Lingenfelter with the pulley mod for the Concept 1 Front Drive set-up......So...I started the wiring process with American Autowire Classic update kit ....Here are some pic's
Thread Starter
TECH Fanatic
Joined: Jul 2008
Posts: 1,570
Likes: 173
In retrospect..........I can't even imagine trying to get all the electrical power required for this conversion thru the stock fuse panel.....Thanks to Donny Bock at AAW for pushing me into the rewire....In the mean time I have a good portion of all the wires run ......the mass of wires in earlier pictures are now in place and just need to be zip tied in place after getting the Dakota Digital modules wired and in place........I also have the new A/C unit installed under the dash and everything wired......the Supercharger snout should be coming back from Lingenfelter next week and the new front drive should be showing up also.....I also did some checking on Transmission dimensions and it looks like I have to move the trans mount back 3 1/2" on the frame from where the 700R4 was........Time to move the car's around and get the 57 up on the lift ........