When you click on links to various merchants on this site and make a purchase, this can result in this site earning a commission. Affiliate programs and affiliations include, but are not limited to, the eBay Partner Network.
Si ive had this car since I was 18 it used to be my daily driver when i was young, dumb and full of ***. Decided like most not right in the head people around here that i had to "make if better and faster"
well then life got in the way , you know work, marriage, mortgage kids. But Finally a wife, house, and two kids later it's making some progress. Started picking up some parts......
Picked up a used 5.3 from craigslist for $900.
an S475 from ebay for $700ish ( cant really remember)
9" rear end
then it was off to the chassis shop for a ten point cage and back to my garage.... or so I thought
And at the time I had more money than time so I said "hey you wanna install the motor and maybe fab up the turbo kit for me" and that's where this really snow balled lol
Issue #1 - I wanted to use the truck manifolds down and forward but they hit my power steering box, and up and forward is just too F-ugly so I switched to a manual box.
so once we got that sorted out and played around with several turbo and intercooler locations this is what e ended up with
Got some caltrac split mono leafs and speedway sliders and mounted the rear end with 275's. it looked pretty good but still wasn't low enough for my taste.
Bought a sumped stock tank from Glenns performance - was a pretty nice piece for the price but I couldn't stand the look of the sump on the back of the car so out it went...........
while waiting to see what I wanted to do next decided to have some crappy sheet metal replaced... well actually it turned into the passenger quarter and Both door skins
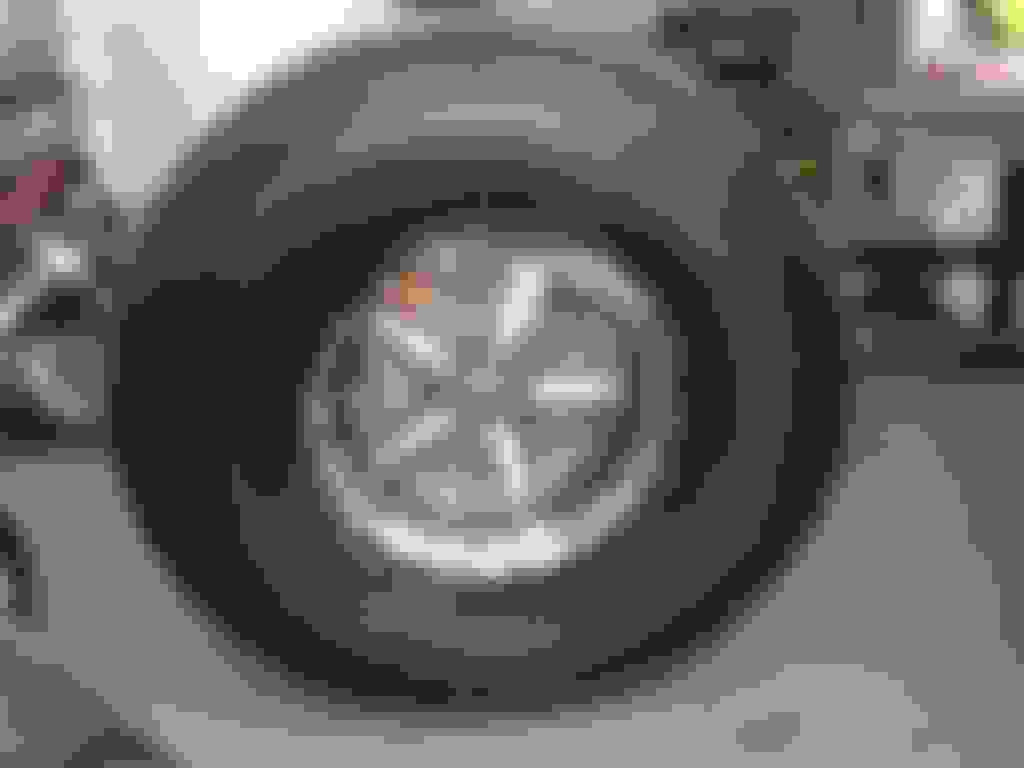
then like every other person with out a plan from the start I changed my mind and wasted some more money doing things the hard way and decided to mini tub it with some 315's (or so I thought) also picked up some respectable looking rims for a change.
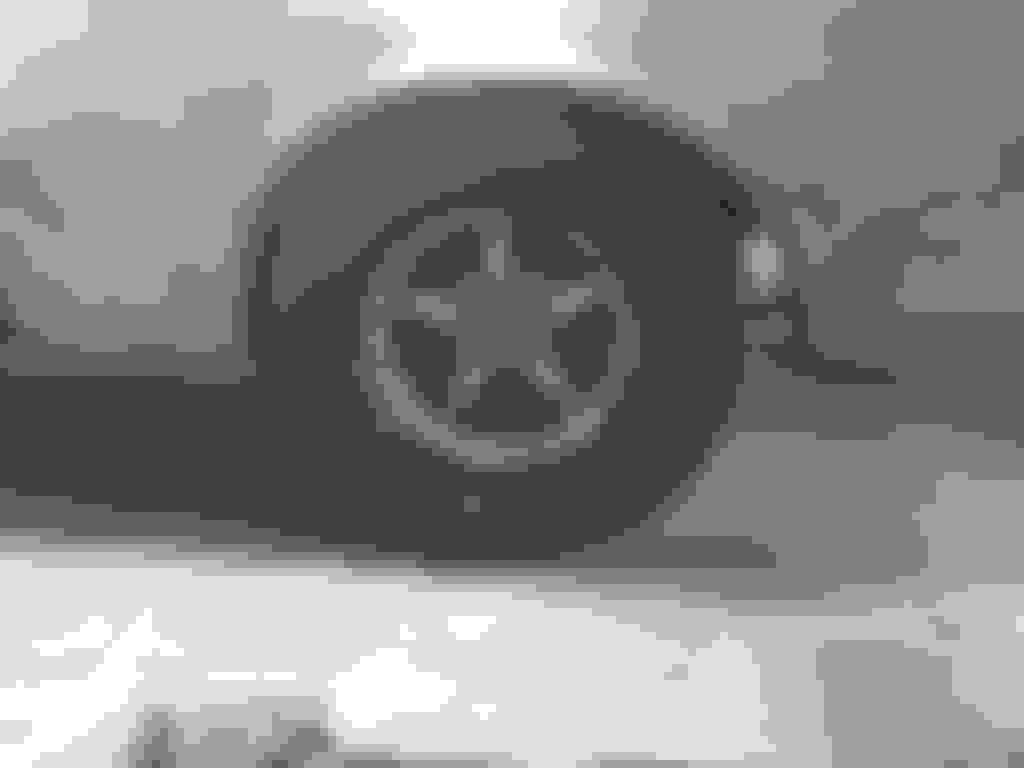
well that turned out to be a fail. a 4x4 Camaro wasn't exactly what I was going for . they hit pretty much in every spot they could
so had to sell those tires and got some 295's that fit
Modified the stock front subframe a bit, and got a turbo 400 trans.
got she sliders mounted up and made a few misc brackets to relocate the leafs for the mini tub.
so once all that was done. realized it looked a little off. this is the tire location with the rear end in the stock location. (here goes that snow ball again)
had to notch the hood bracing a bit for the edelbrock proflo to clear but it fit under the stock hood so I was pretty happy.
Well it was time to finally make a decision on what to do about the rearend location and a fuel tank. I coulnt bring myself to run a fuel cell as this will be a street car again and I want the trunk space. so ended up with a custom tank........ and.......... cut out and raised the stock trunk floor so its flat inside the trunk and not really visible from behind the car.. rear end was moved back about 3/4" to center the wheel in the wheel well. and that lead to the snow ball of shock mounting since nothing lined up anymore. but a few notched in the rear end back brace and a jungle gym added to the roll cage inside of the trunk and we were all set.......
Even get to use the stock filler location which im pretty excited about
started getting lots of misc details dealt with
routing of fuel lines, anti roll bar shocks mounted etc.
and also all those ugly overlapping seams in the rear of the car for a much cleaner look
welded up the front fender extensions since I wont be running a front bumper
and got rid of all of the trim holes
and then what is quite possibly my favorite change is got rid of the ugly *** stock wiper motor location... cut out the stock mount and relocated it under the drivers side fender, just have to weld a little rod to the wiper arms and can use all stock parts.
here she is finally making the trip back to my garage.......... I have more to update put honestly im just tired of typing so i'll get the rest updates soon to show the recent progress
okay so as promised here's the rest of the updates to where I am now. Once the car was back I got it re-torn apart to start on the misc body work and painting / detailing for final assembly which I foresee being done at least some point in my life time, im shooting for before my 3 1/2 year old turns 16 lol ..............but based on recent progress that may be pushing it
Had some work to do on the firewall and sort out the joys of the 80's and 90's where every ******** with a ball peen hammer would make an HEI "FIT"
Also started cleaning and painting the engine and turbo accessories.
Made a quick paint rack out of some cheap 2x3's from homedepot, I already had the casters and used some 1/8" round bar to make some hooks to hand the parts. im into this for less that $20 and cant believe I've never done this before it is SOOOO much better that trying to paint **** all over the floor on cardboard of what ever is lying around.
posted these in the forced induction section before but I cant stand the look of the Edelbrock logo on the top of the PROFlo manifold so I took a grinder and a flap wheel to mind then sanded it smooth and ran a skim coat of filler on it. I think it looks a ton better all smoothed out.
With all of the misc painting done on the engine and turbo system I got back to work on the engine compartment.
Started to repair that I thought was a small rust repair that had been done terribly and bondo'd over.
so I started cutting.
and cutting. and cutting....... well by time I was done I had to basically cut out the entire area form site to side until I found some solid sheet metal to get a patch onto.
now before you judge remember I never claimed to be a welder lol but for me I think it turned out alright. I forgot to take a pic of the 100% finished product but here it is almost done
I didn't get any pics of the IN progress filler and Epoxy primer work but i'm post them up when I get done ...... and that's where I'm currently at.
plan is to get the engine compartment and firewall all smoothed out, Epoxy primed and painted then stab the engine and trans back in the car.
Gas Monkey Built a 6-Wheel Ferrari Testarossa With a Corvette LT4 Engine
Slideshow: The controversial Ferrari F6 swaps its original flat-12 for a Corvette Z06-derived LT4 V8 and sends power to four rear wheels through a custom-built drivetrain.
7 Most Reliable High-Performance Engines GM Has Ever Built
Slideshow:These GM engines didn't just make huge power, they survived abuse, boost, track days, and six-digit mileage with a reputation for refusing to quit.
6 Common C5 Corvette Failures and What's Involved In Repairing Them
Slideshow: From wobbling harmonic balancers to failed EBCMs, these are the issues that define long-term C5 ownership and what repairs typically involve.
Retro Modern Bandit Pontiac Trans AM Comes With Burt Reynolds' Autograph
Slideshow: A modern Camaro transformed into a retro icon, this limited-run "Bandit" build blends nostalgia with brute force in a way few revivals manage.
Top 10 Greatest Cadillac V Series Performance Models Ever, Ranked
Slideshow: Cadillac didn't just crash the high-performance luxury vehicle party, it showed up loud, supercharged, and occasionally a little unhinged...