When you click on links to various merchants on this site and make a purchase, this can result in this site earning a commission. Affiliate programs and affiliations include, but are not limited to, the eBay Partner Network.
Ive been slowly aquiring parts to get this pig going, I picked up some more parts for my build recently.
I scored a nice deal on some Auto Meter mechanical gauges that were open box as mine were missing.
Dash insert from a seller off of ebay for gauges.
Lokar throttle cable.
Fuji mini mite 4 to paint the car.
Epoxy primer, some high build primer and a gallon of base.
I still need to pick up a cowl hood and the whole dash pad assembly.
Coversion pieces from dakota digital to use the mechanical speedo.
Bushings for front end rebuild, ball joints, brake pads and painted my calipers red.
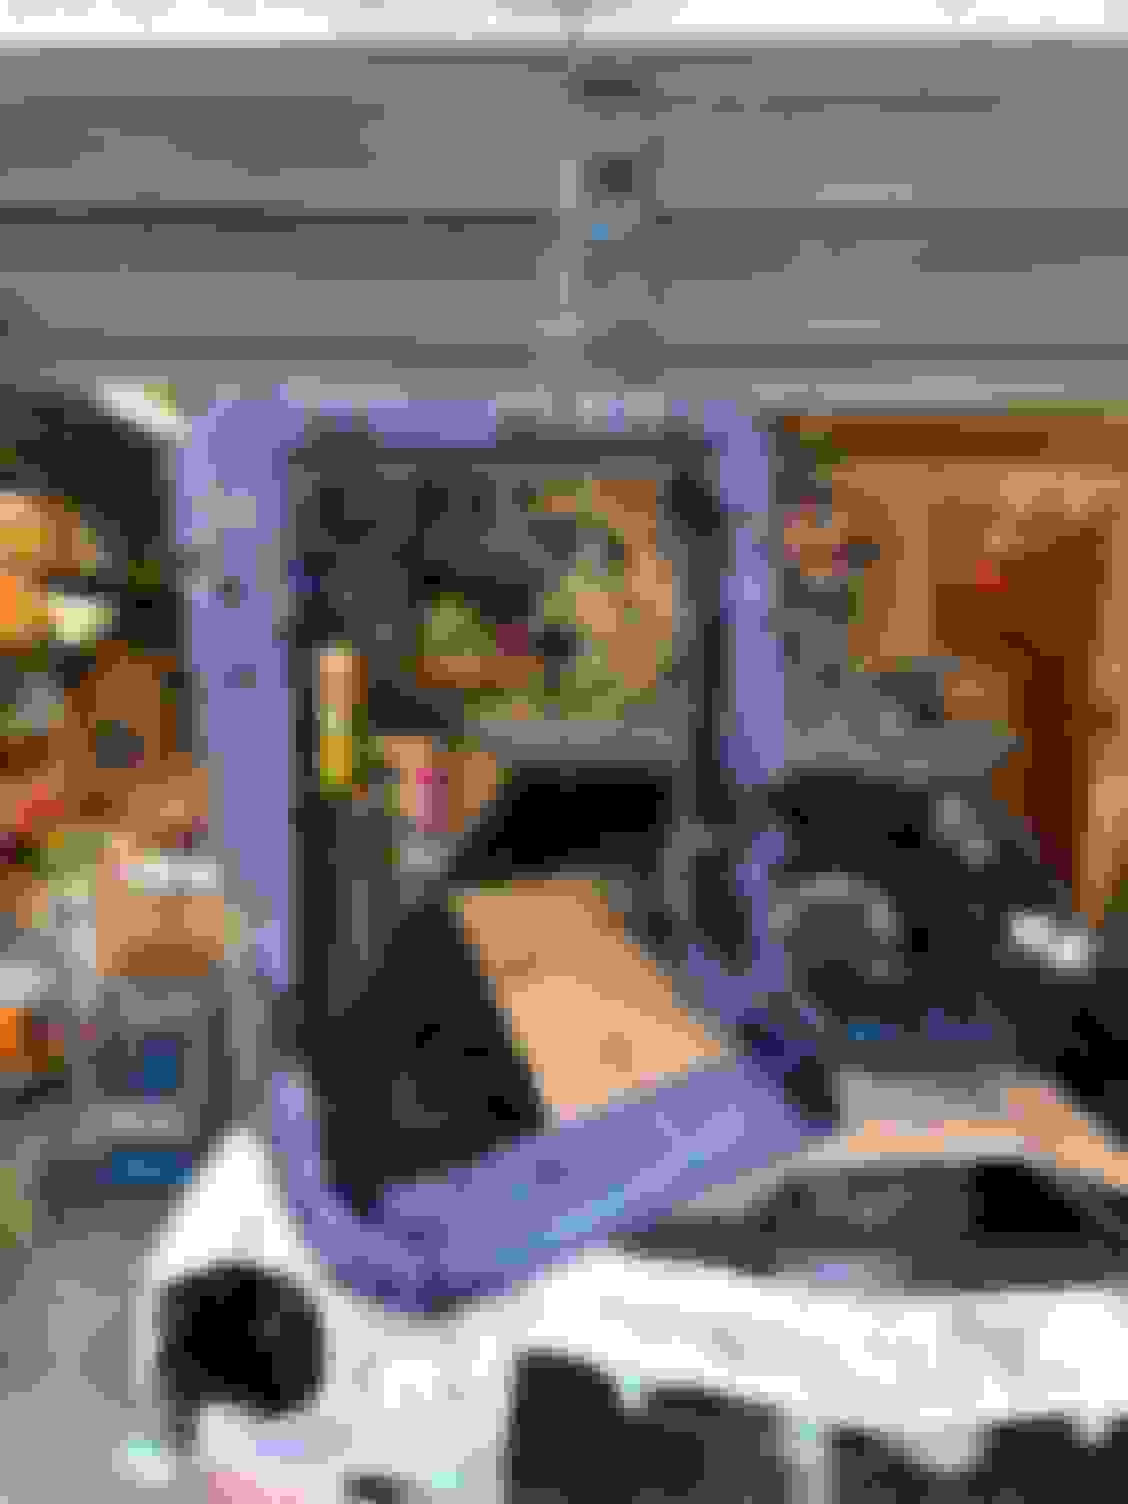
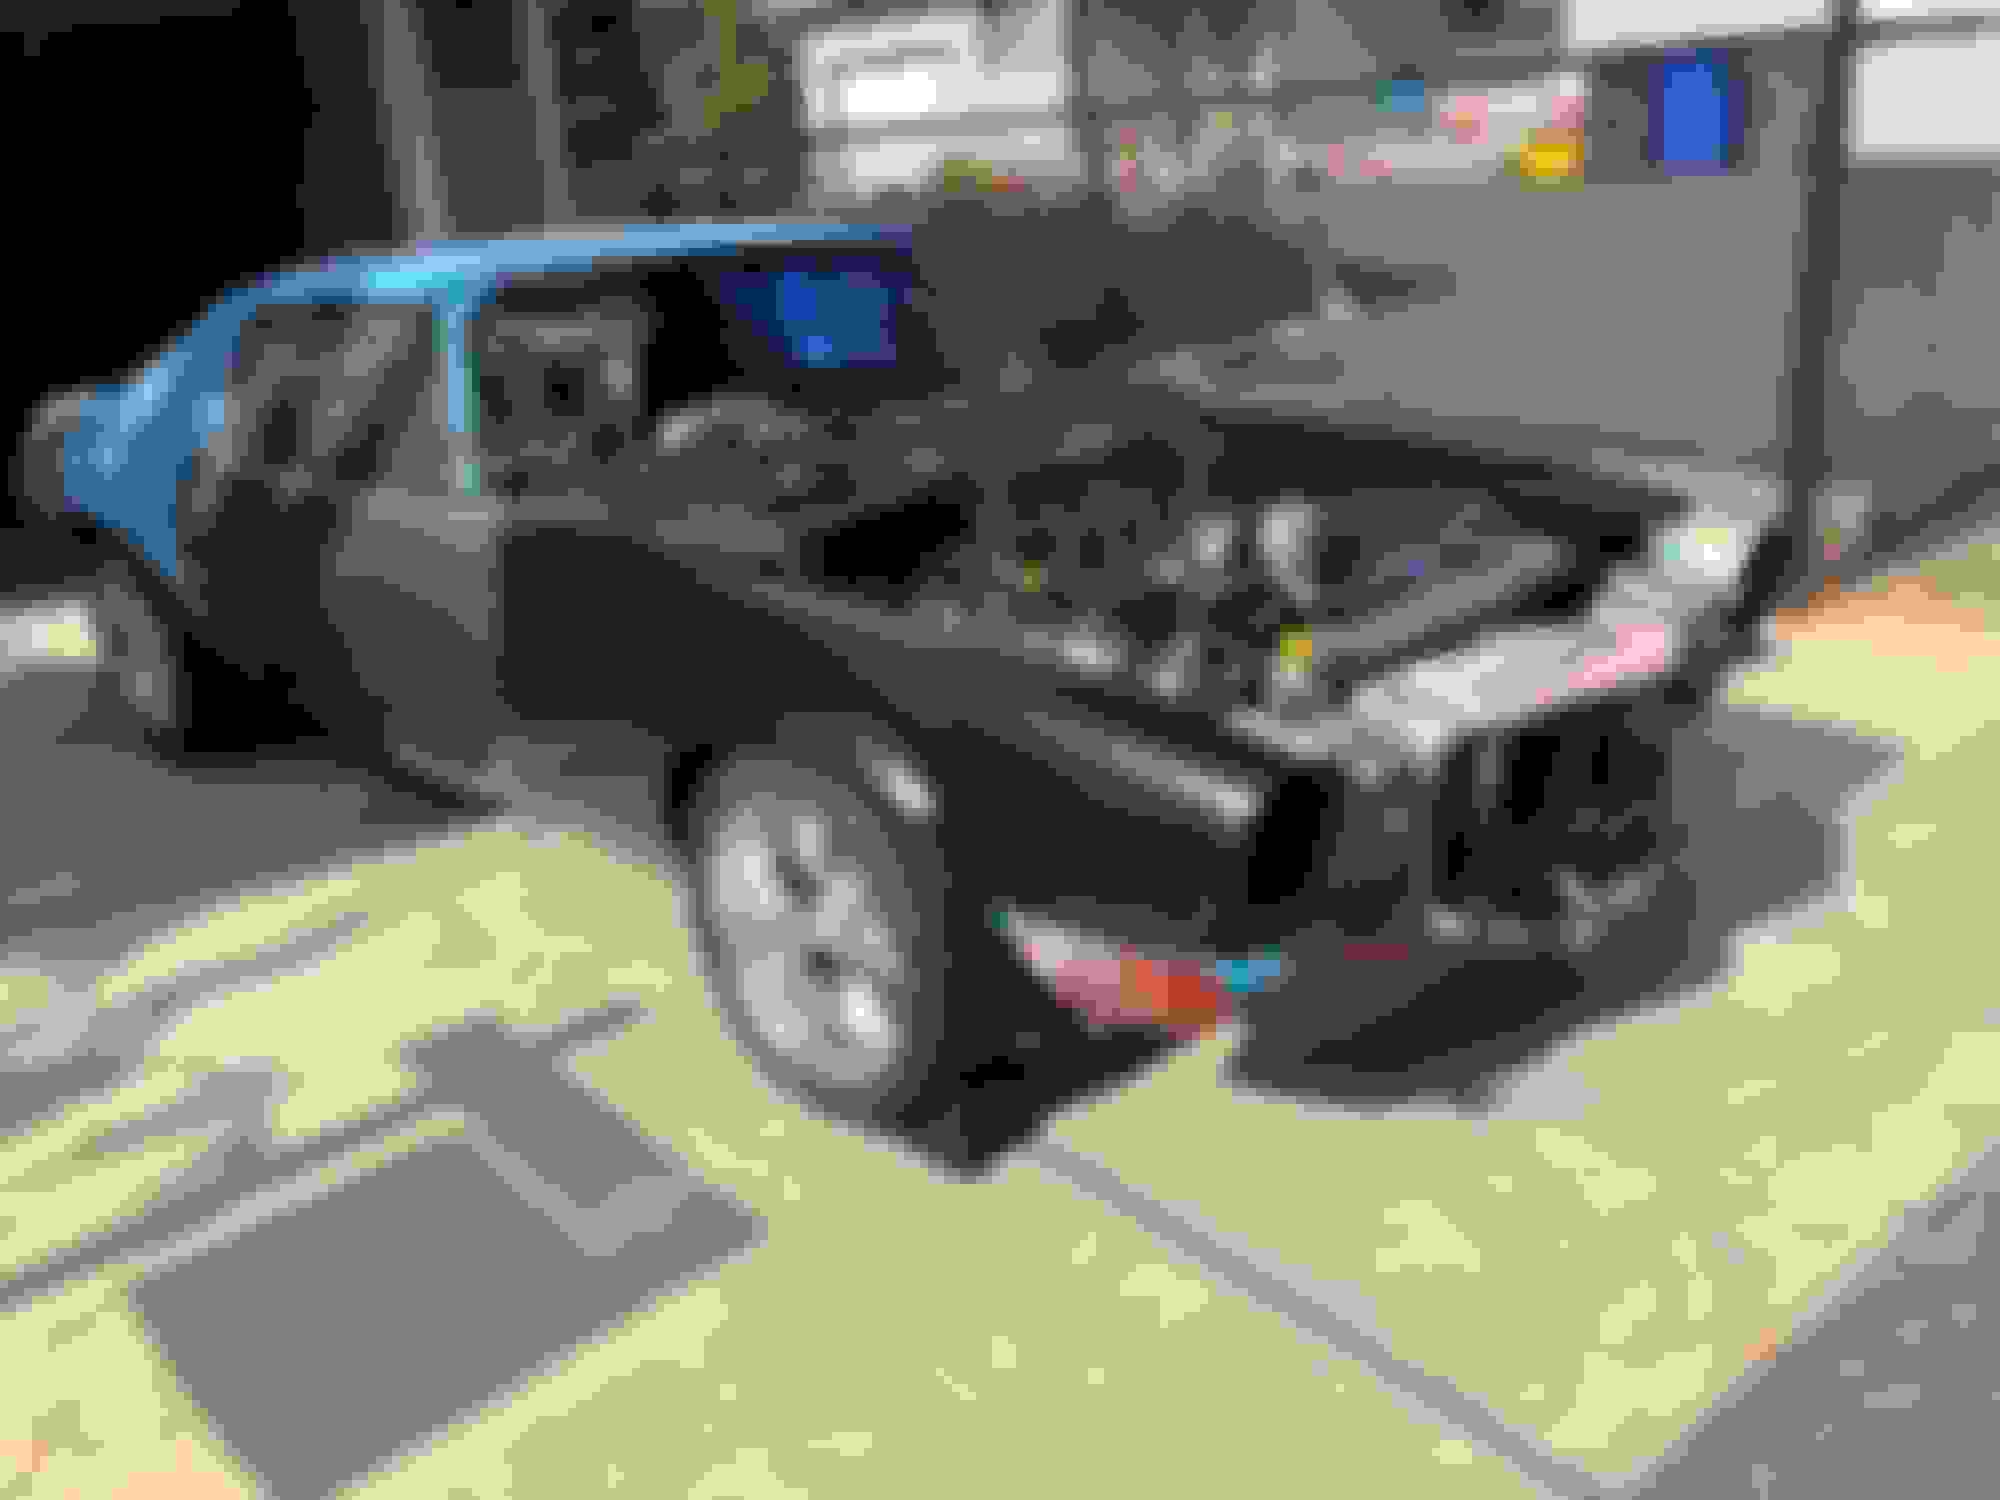
I also picked up the rims I am going to be running AR Torque Thrust II 7x8 - 17x9.5 and me being me I had to put them on.
I got anxious today and I had to get rid of some boxes, mounted the flywheel, clutch and pressure plate, along with the bellhousing and the transmission. Hooked up some fuel lines to the tank along with the battery I bought for it and fired it up. For a motor I took a chance on that came out of a rolled Tahoe the thing fired right up, not bad for $300 with the ecu.
Quick question, I picked up a direct replacement tank. There are 3 barbed lines, which I am assuming are for the evap/vent. Can I plug all those or do I need to atleast use one as a vent line, can I put a hose with a filter for a breather on the end?
Started working on my subframe a week ago, screwed up my back a while back so I am limited in the amount of things that I can do before It starts messing with me.
I picked up a new cowl hood for it, along with a new dash for the interior the other day. The front window is out, now I am cleaning up parts of the cowl in order to get a new window in.
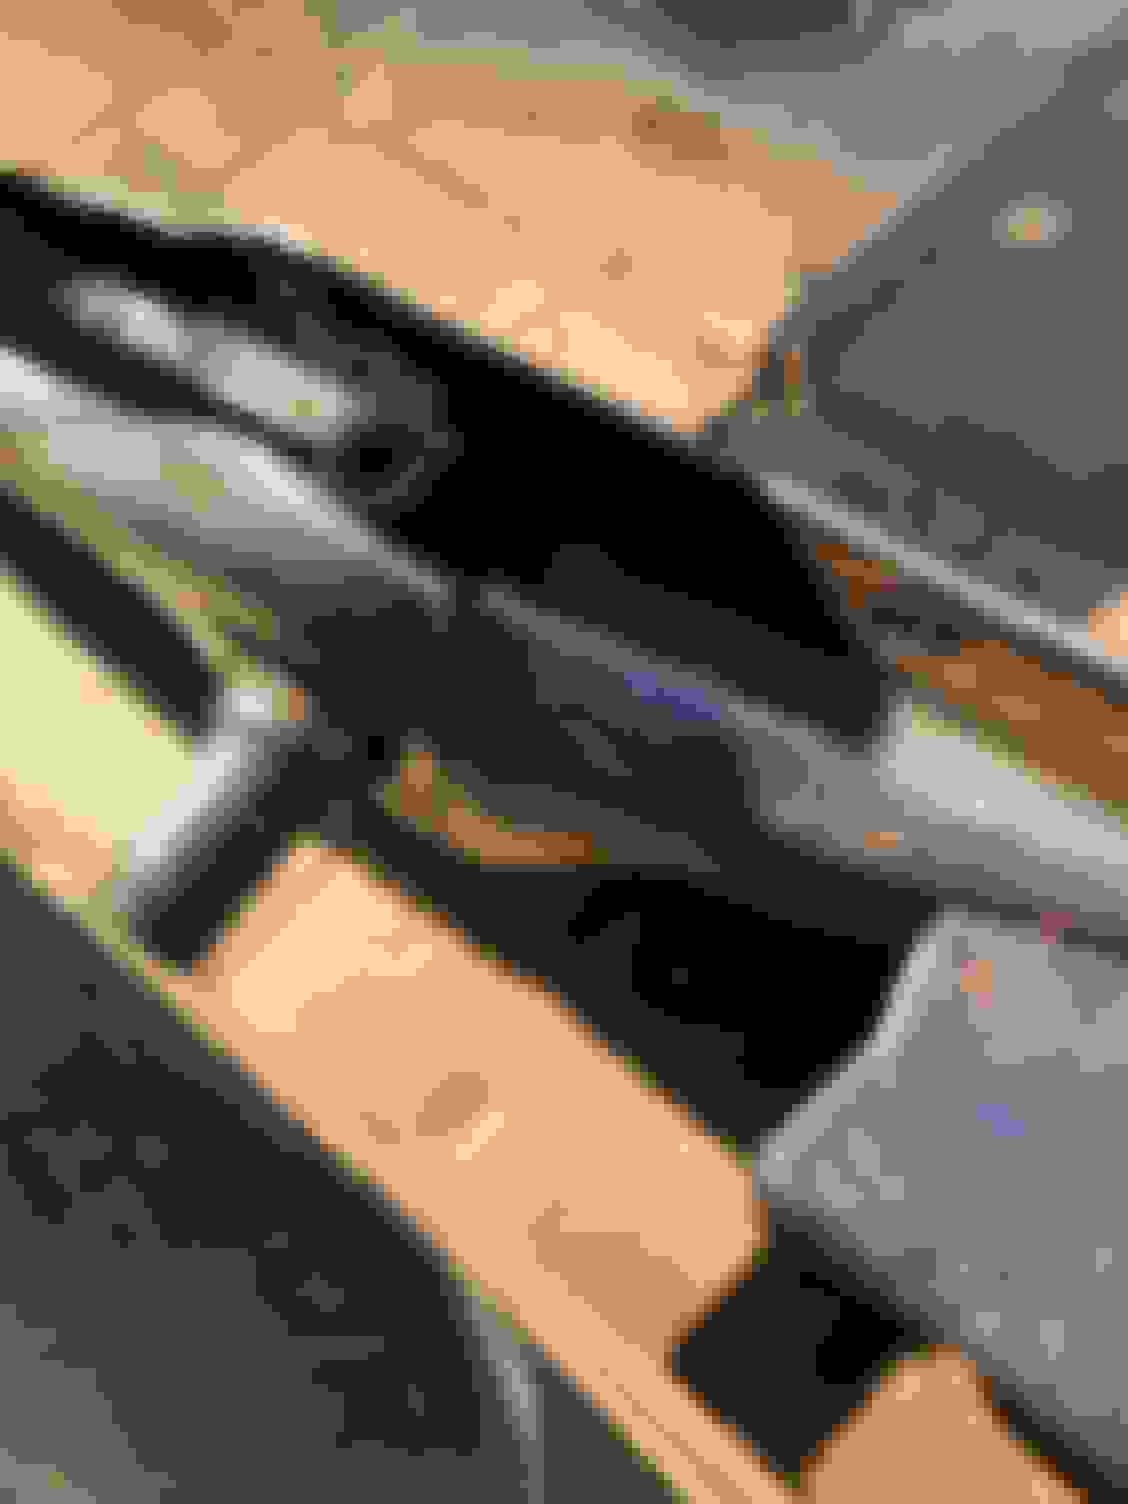
I tore down the front end to rebuild it with new bushing and add my new coil overs.
Dirver side rotor wouldnt even spin freely, piston was locked up.
45 years of build up, the swaybar link Bolt ended up stripping on the passenger side, so I cut it off with a sawzall
All of the frame will be wire wheeled, I received new steering components to rebuild my linkage. I also pressure washed my control arms.
Long time no post, I have been super busy with a new baby, job promotion which is moving me to another state. So long story short I had to get the pig running to get on the car trailer to move, here are some long over due progress pictures.
New dorman f body pan due to the truck pan hanging waaaaaay below the crossmember
new airshocks for the rear for now
pan installed, tucked up great
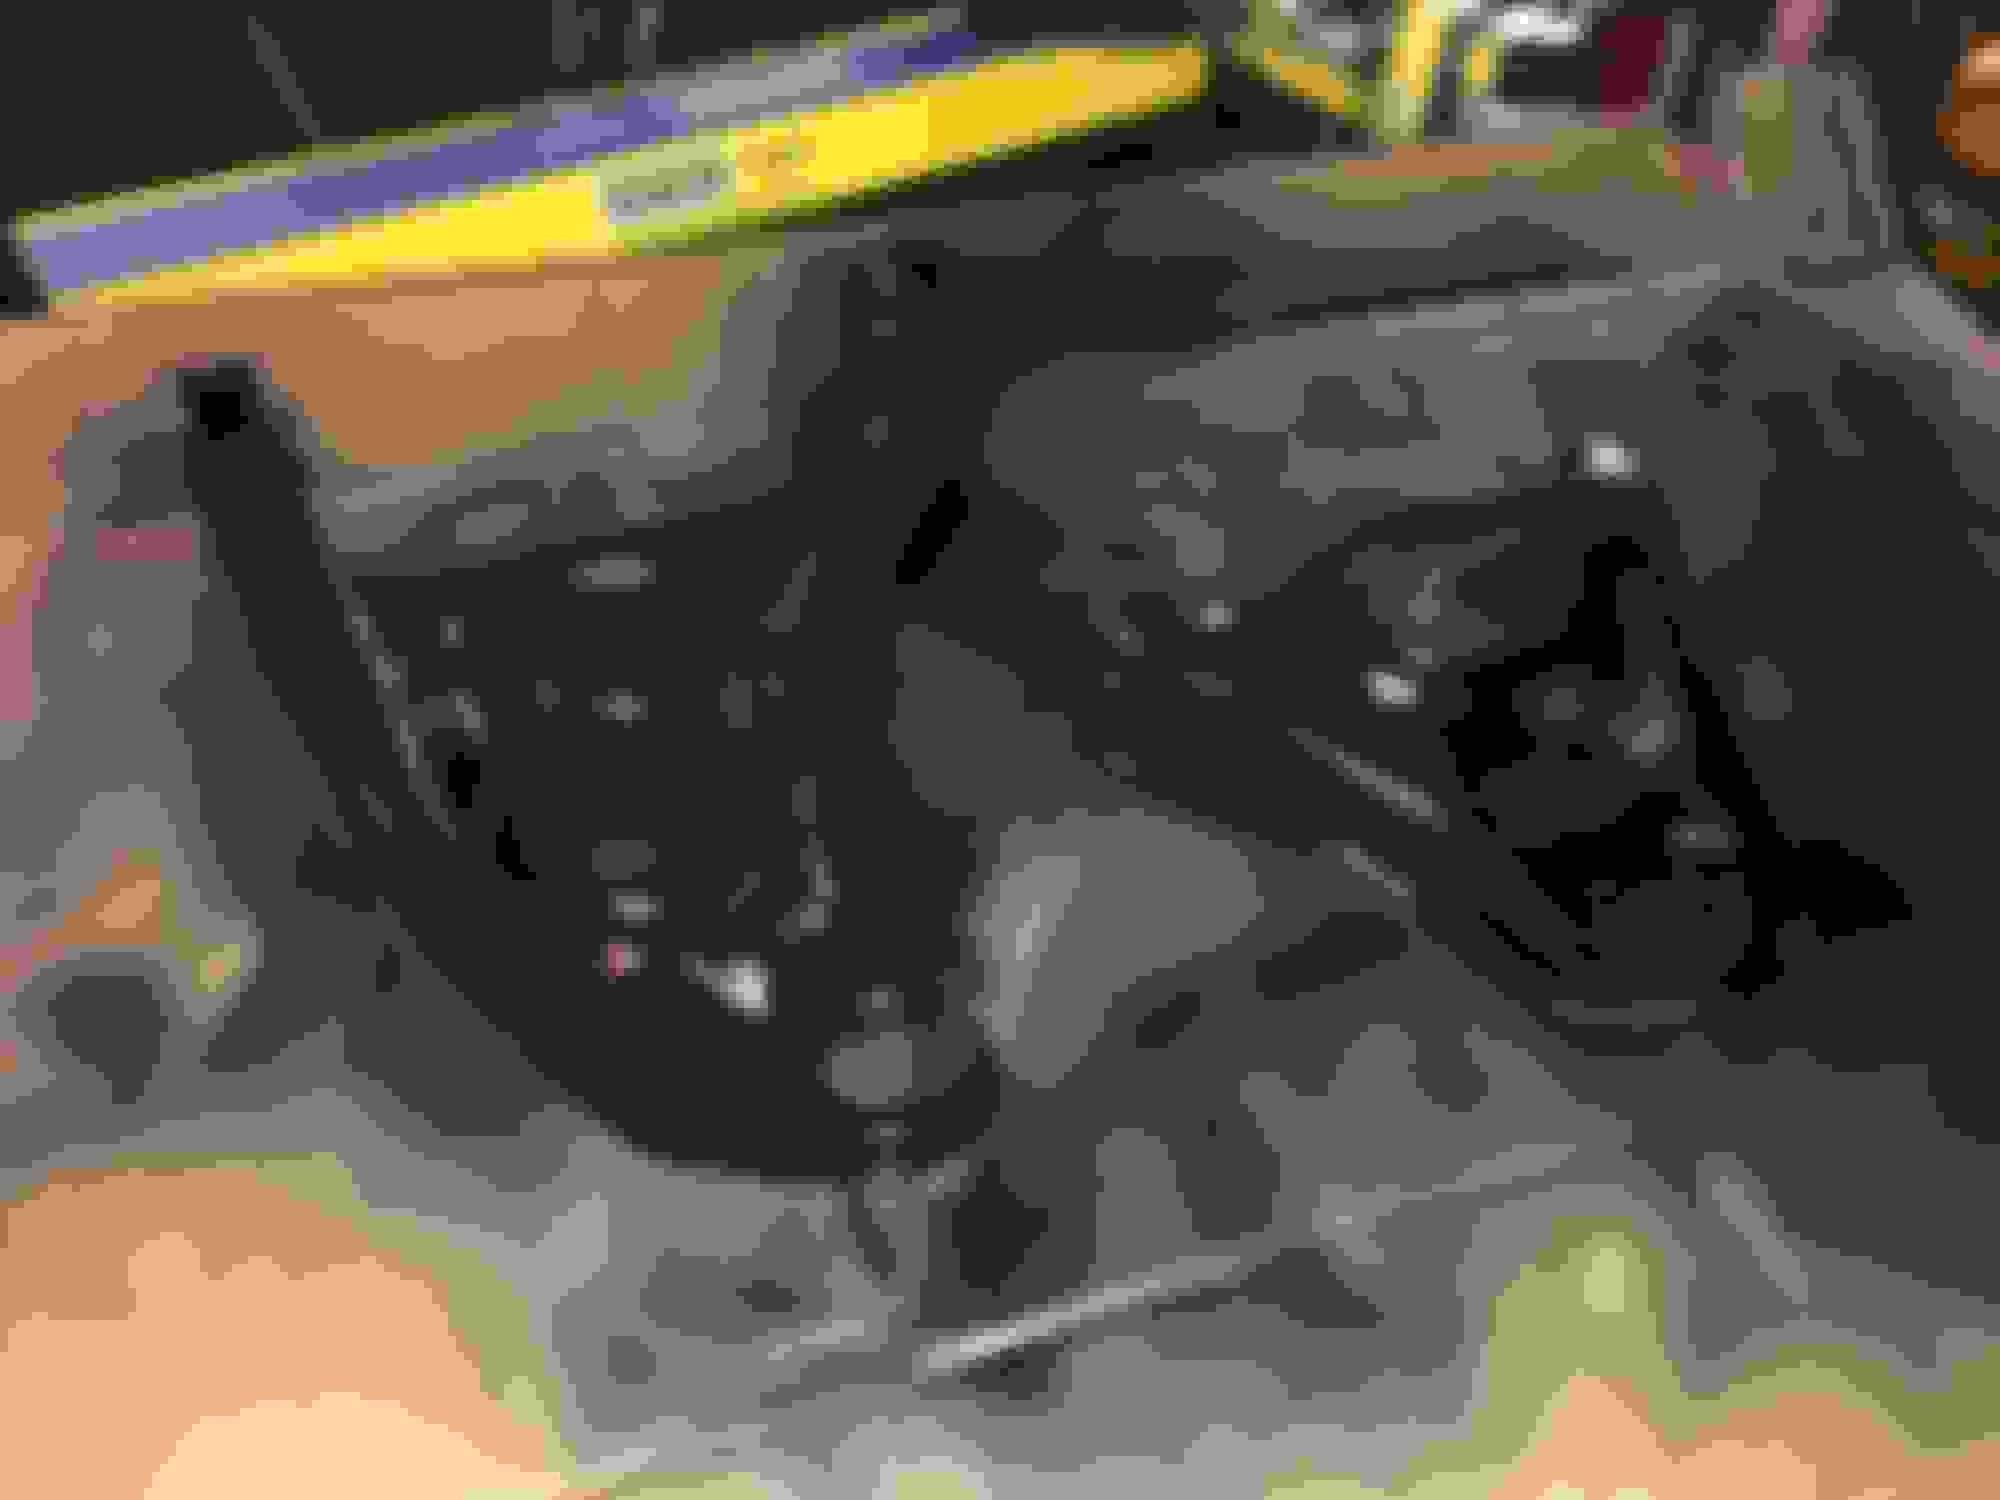
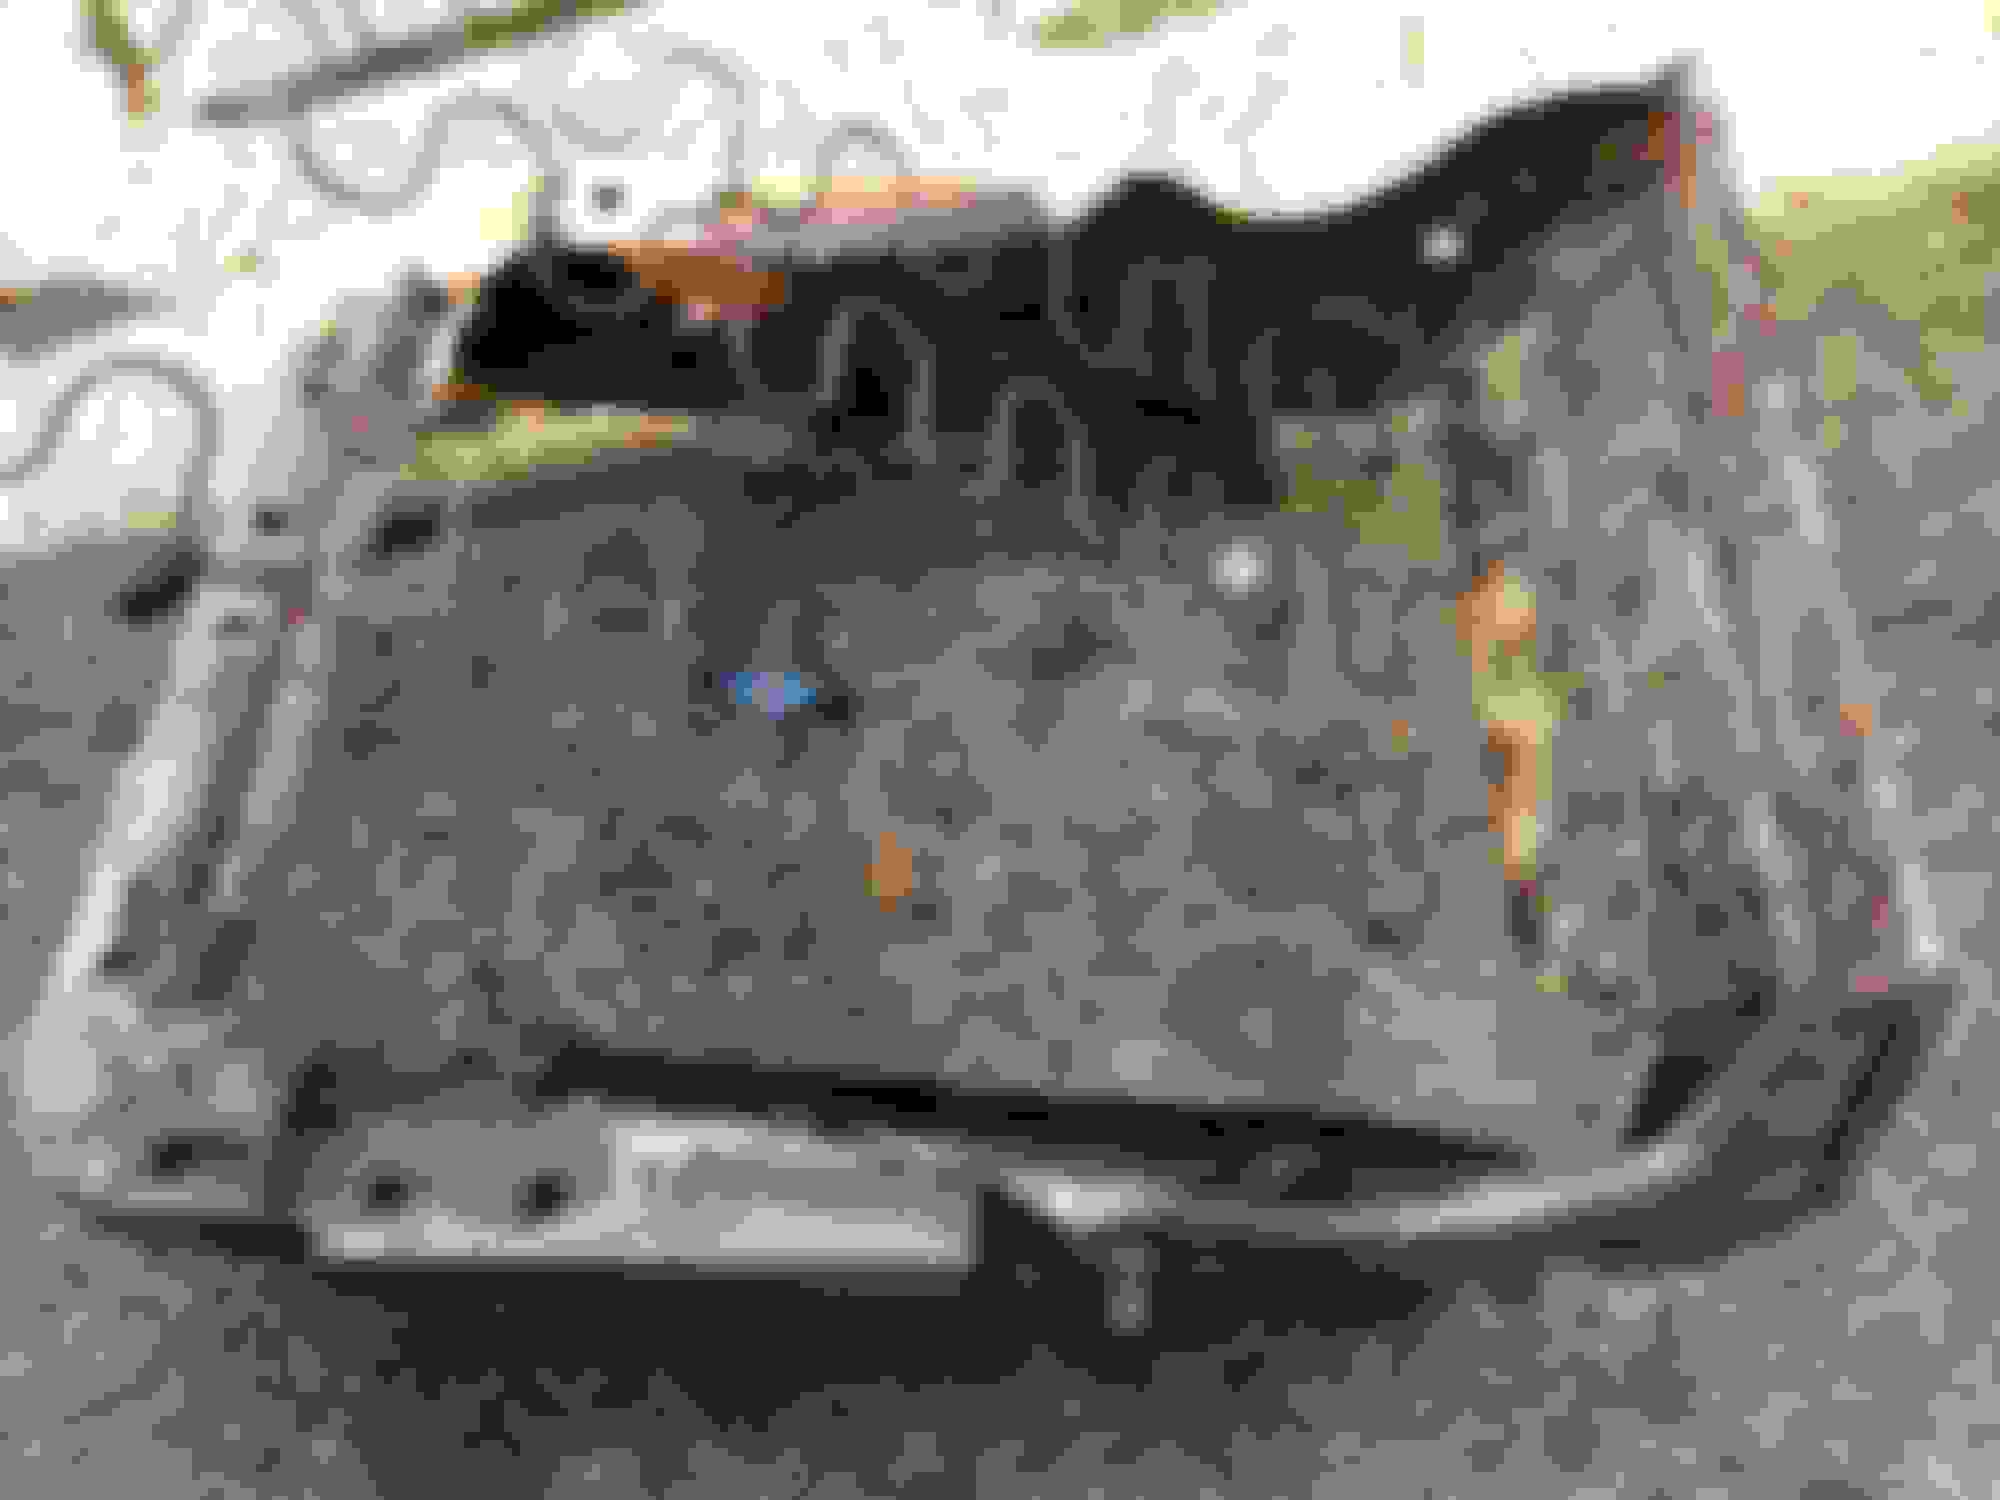
tore down the subframe and sandblasted all the parts, repainted everything
rebuilt suspension
coilovers installed with bushings
had the original rotors turned, then i painted them and reinstalled with new bearings, seals and the rebuilt/painted calipers
Strarting to put the car back together to move states.
Some more progress pics along with a little bit of seat recovery.
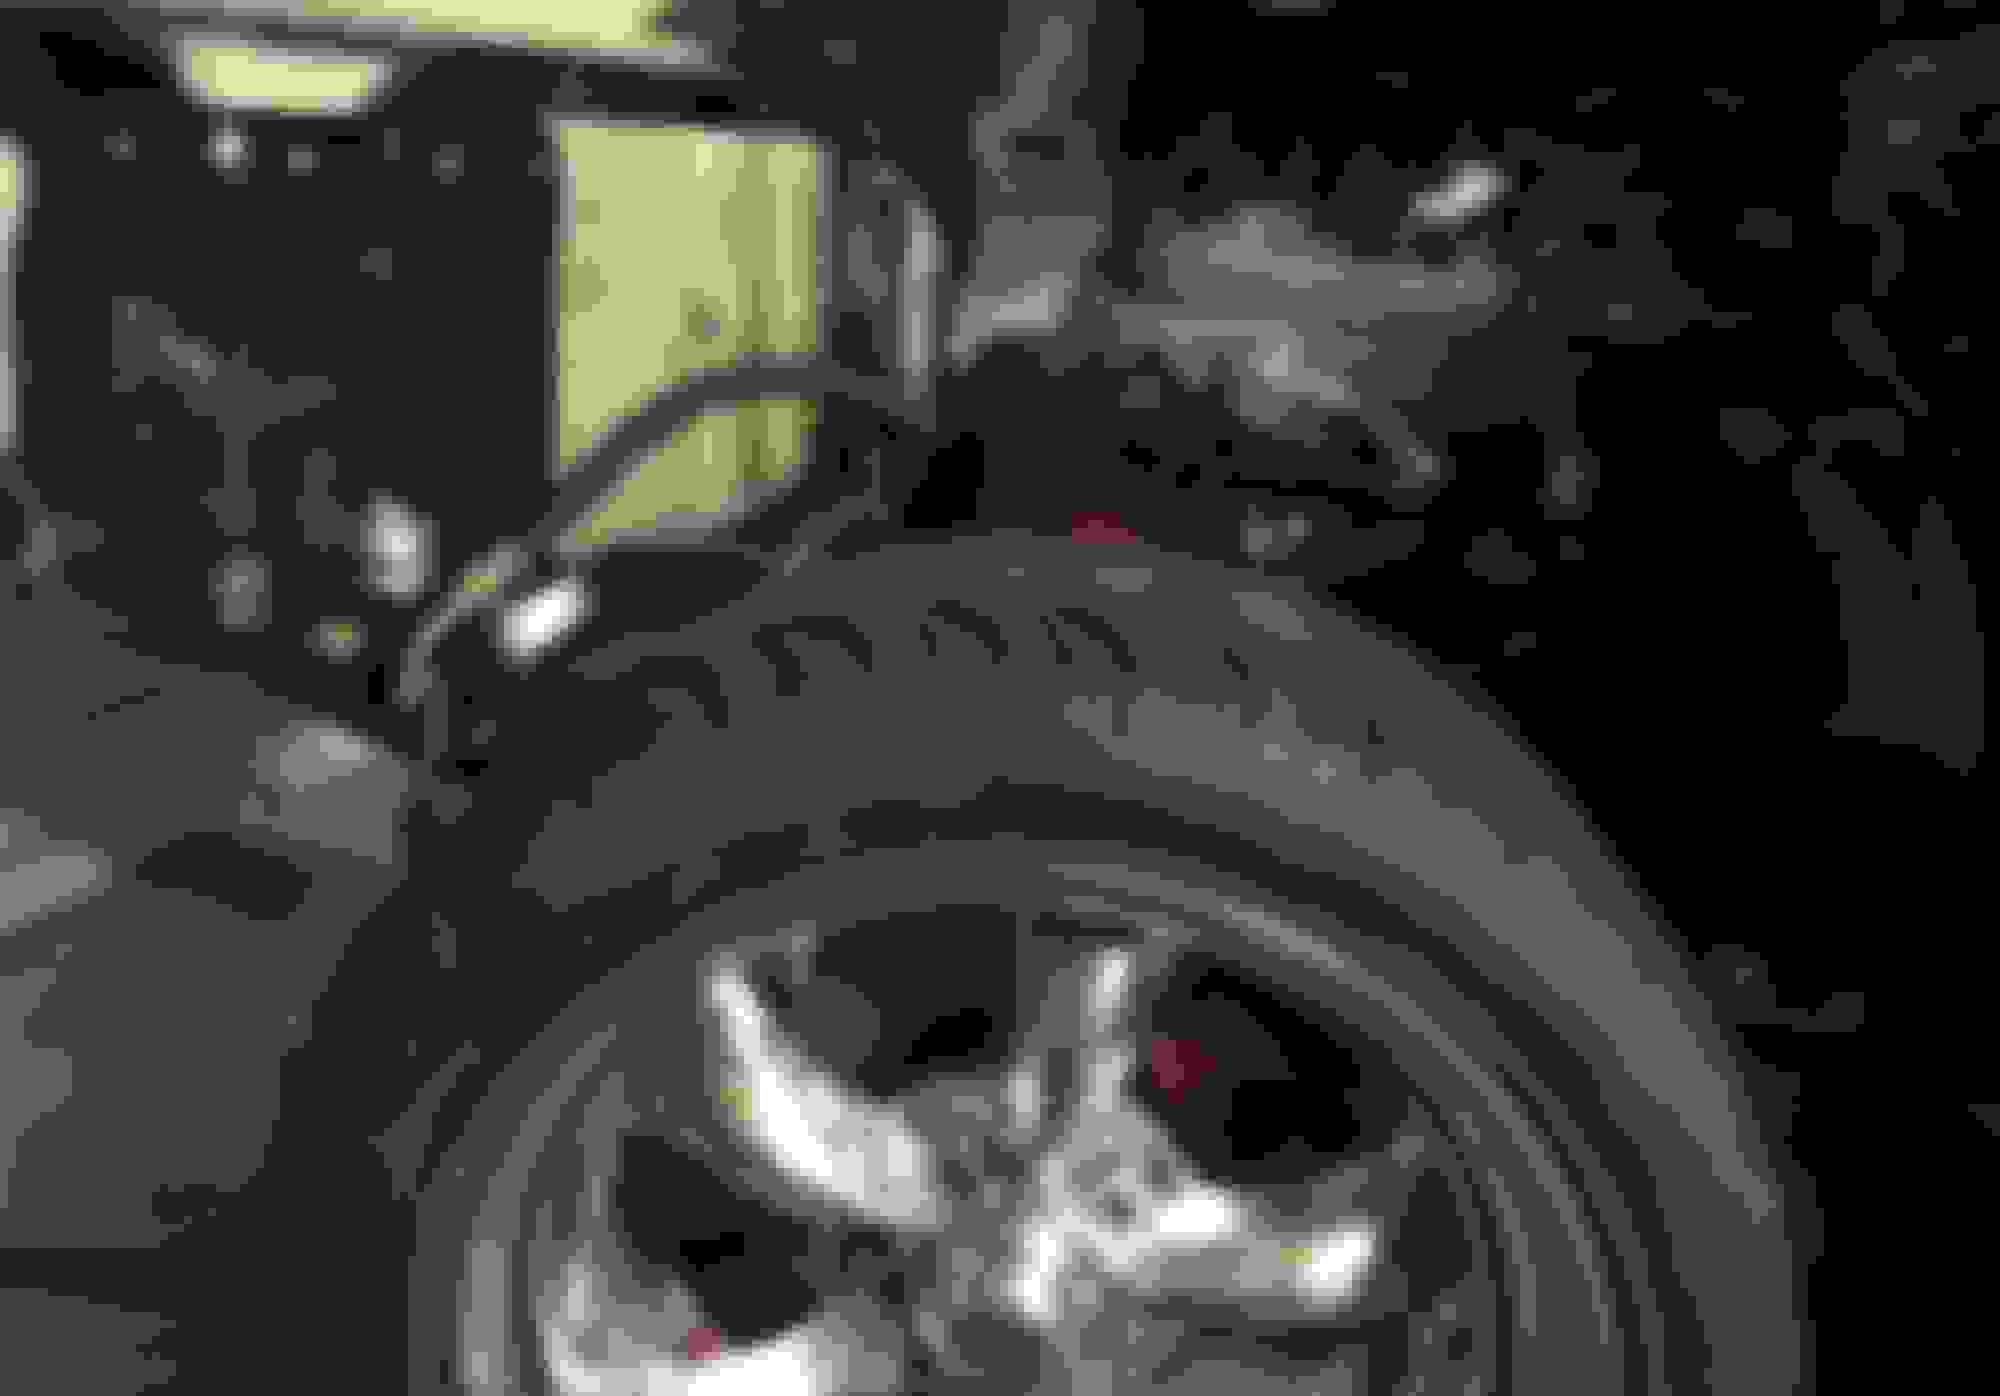
mounted the rims and tires back on that I am using
new fender on, starting to look decent
got the front end just bolted on with the hood set in place to lower the car to the ground
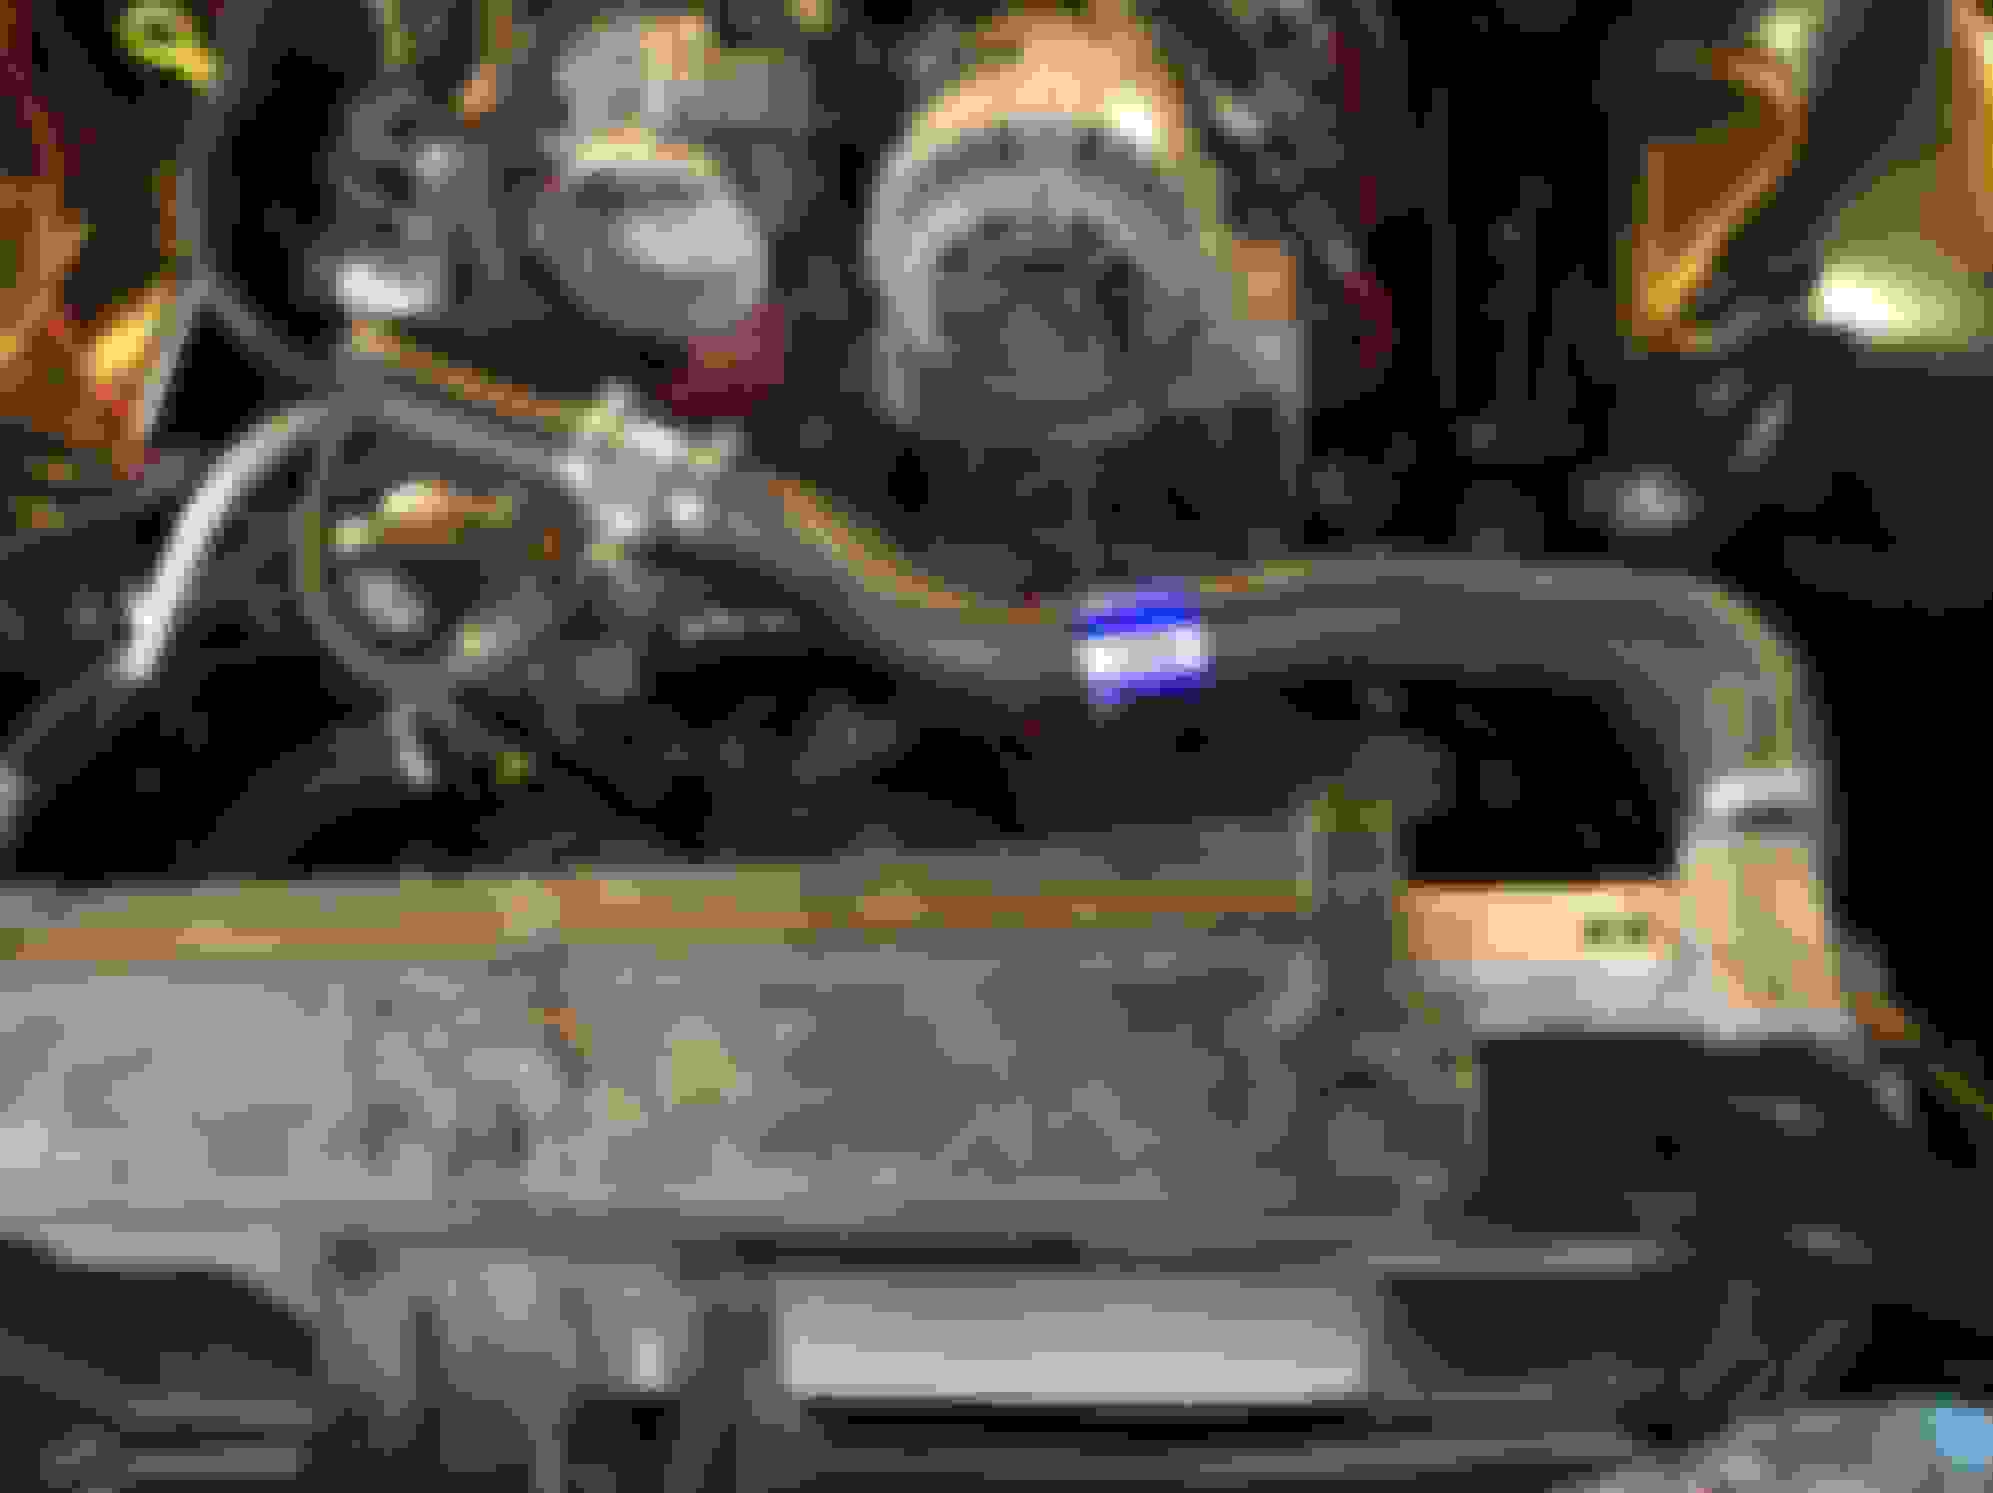
put the radiator in with a custom hose napa/gates to fit the old style radiator
modified the throttle connector on the gas pedal to fit the new lokar piece to the tb
while I was tearing into it I decided it was time to start tackling the seats, man these things were beat up.
seat fram in all its broken springs cracked frame glory
cracks
and more cracks
welding up the side that always breaks + adding some screws to reinforce the seat frame
used some rust convertor to help prep the metal and keep rust off
painted with new springs, I had the springs custom cut and bent at a furniture upholstery shop. turns out they were idiots and bent my springs the wrong way. Nothing a couple pipe wrenches and some elbow grease and foul langauge couldnt fix
several hog rings, foam bases and vinyl cover later. starting to look like a seat again


 06-04-2017 | 05:33 PM