
LS swapping my LS - L92/LS3 into C5
 12-31-2017, 08:27 AM
#41


Thats a really good deal IMO. And seeing and hearing it run in person gives you a pc. of mind. Does the springs you got in the cam kit you just ordered take the L92 valves into consideration?


 01-01-2018, 07:52 PM
#44
Thats what I thought, or at least what I have on a Gen IV 4.8 I have here for parts. I asked because I thought he mentioned using a 3 bolt cam, which would have a rear sensor setup, unless I got confused and mixed up some threads I was reading.
Thanks for clearing that up though. I wasn't sure on the Gen IV 6.0 if they just used the older style block setup or not.
Thanks for clearing that up though. I wasn't sure on the Gen IV 6.0 if they just used the older style block setup or not.
01-02-2018, 01:25 AM
#45
TECH Senior Member

A 3-bolt Gen III cam can be used in a Gen IV, you just need the right timing sprocket.
01-02-2018, 09:00 AM
#46

The VVT Delete kit I bought comes with a 3 bolt cam gear, which is 4x to keep the Gen IV sensor happy. So I have a 3 bolt cam, which is adapted to a 4x cam gear, which is then adapted back to a 1x signal to keep the LS1 computer happy. LOL
01-22-2018, 09:49 AM
#47
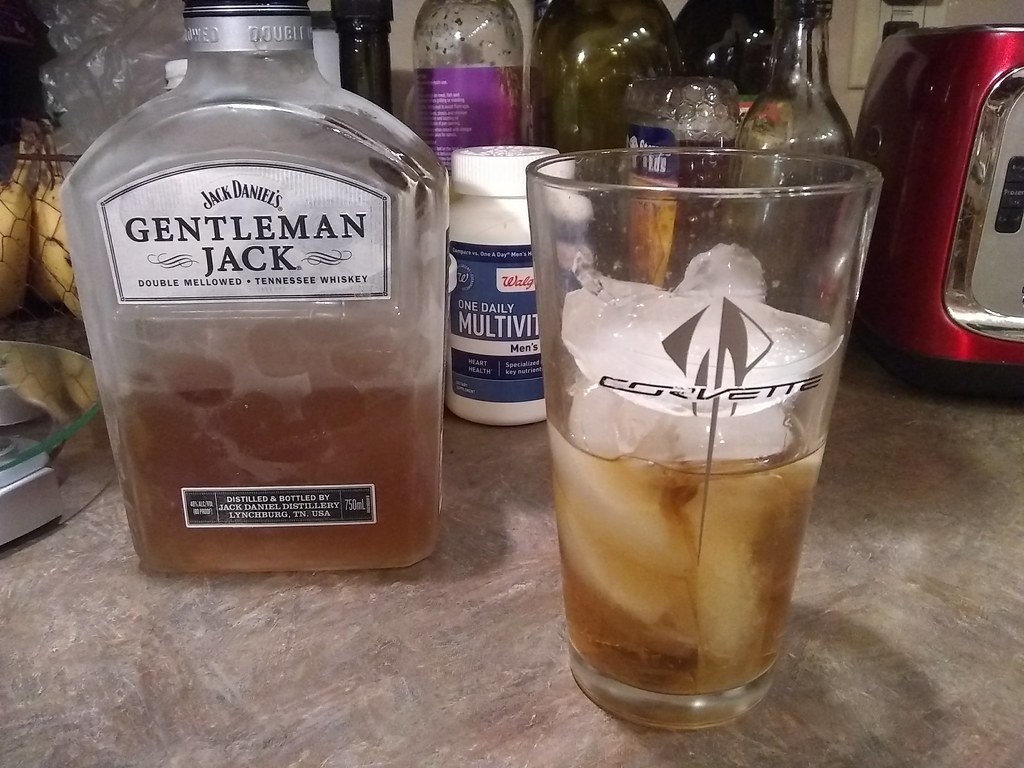
It has been really cold here
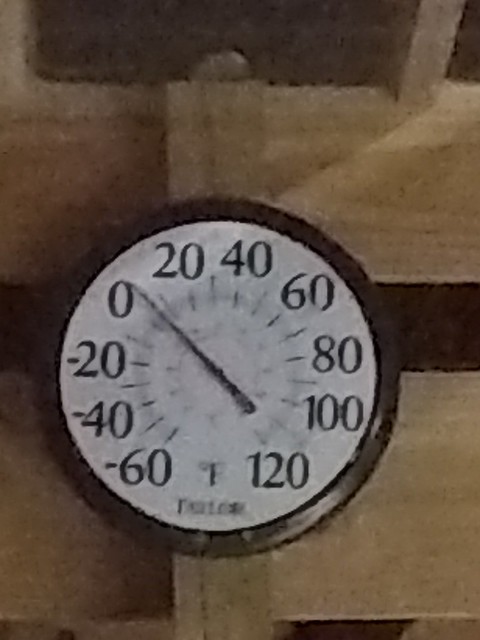
So I've been doing my best to stay warm. The glass came all the way from the NCM in Bowling Green.
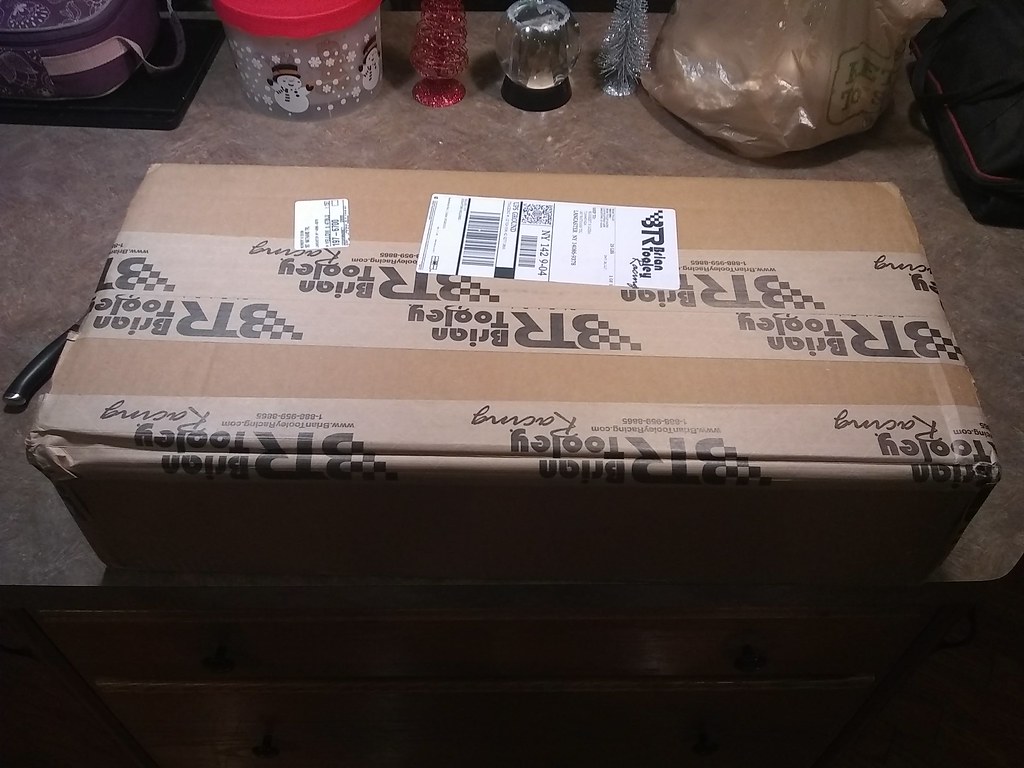
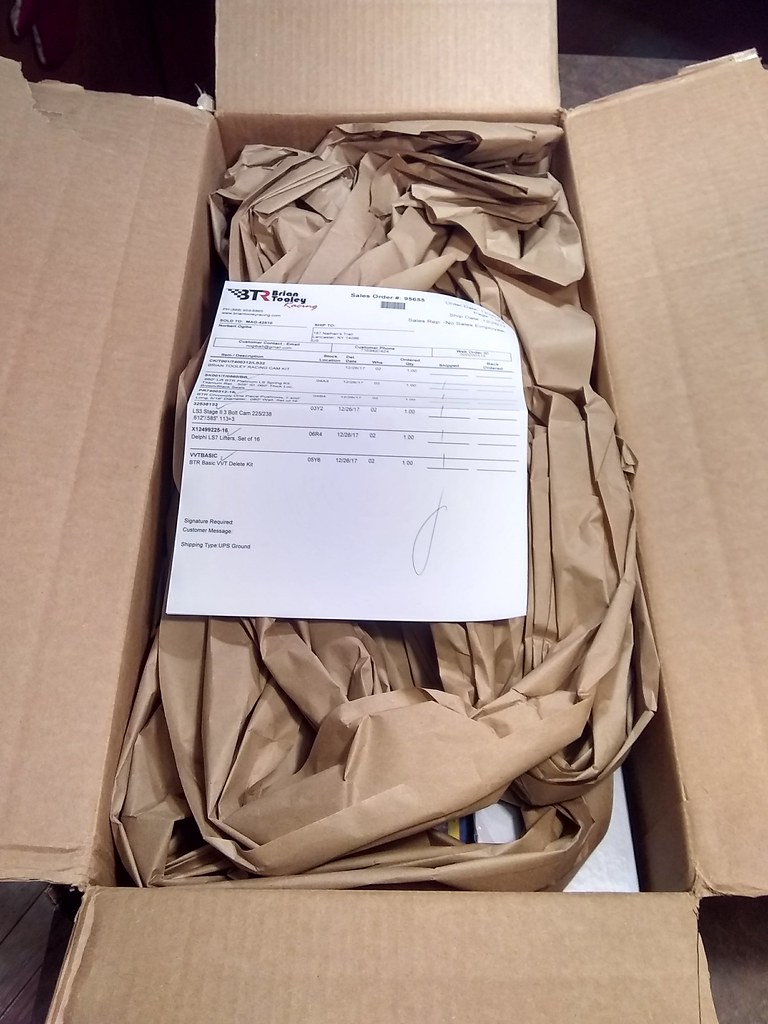
Some parts came in...

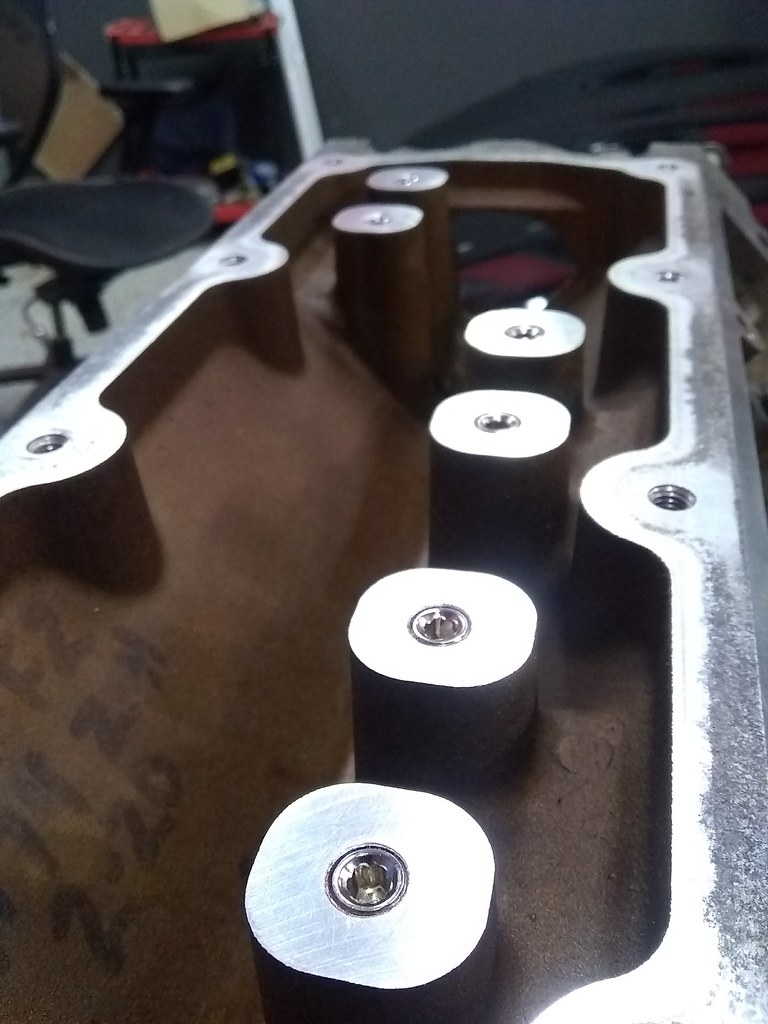
Drilled drainage holes in the lifter trays. Never did this on any other LS engine builds, but then again I never ran those cars on the road course.
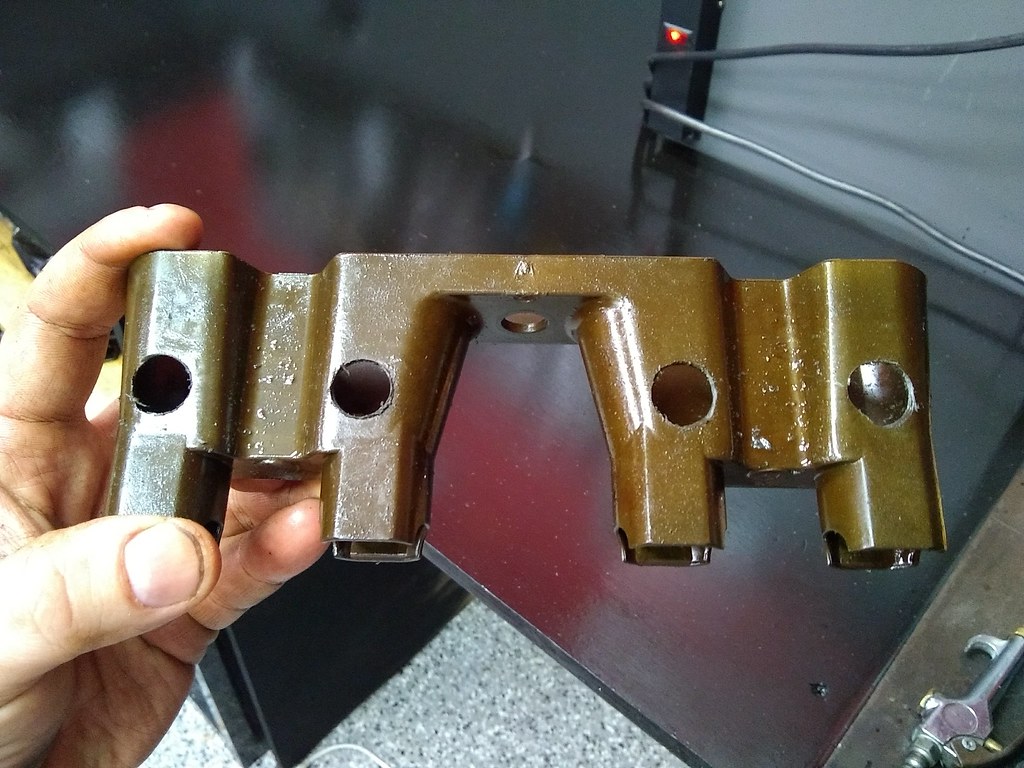
Although the L92 valley cover features O-rings to seal these DoD towers, I will drill and tap them for 1/8" pipe plugs for peace of mind. (This will occur with the engine upside down on the stand, to prevent chips from falling into the oil galleys.

Spent an hour per side with a razor blade, solvent, and rags cleaning the deck surface.
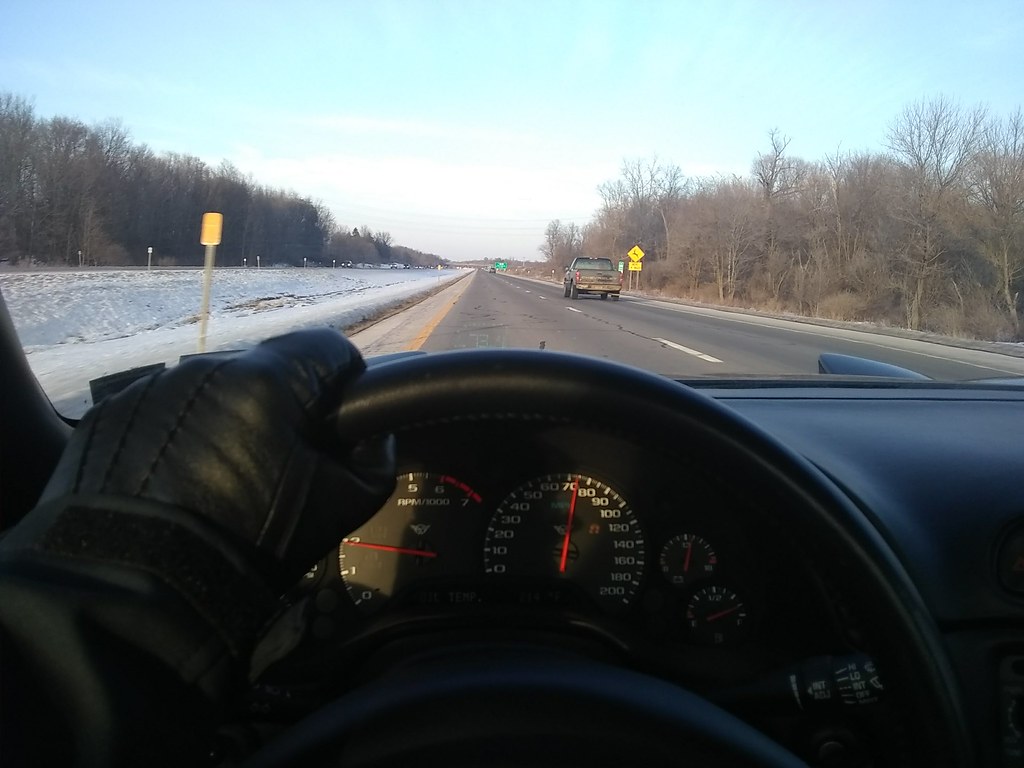
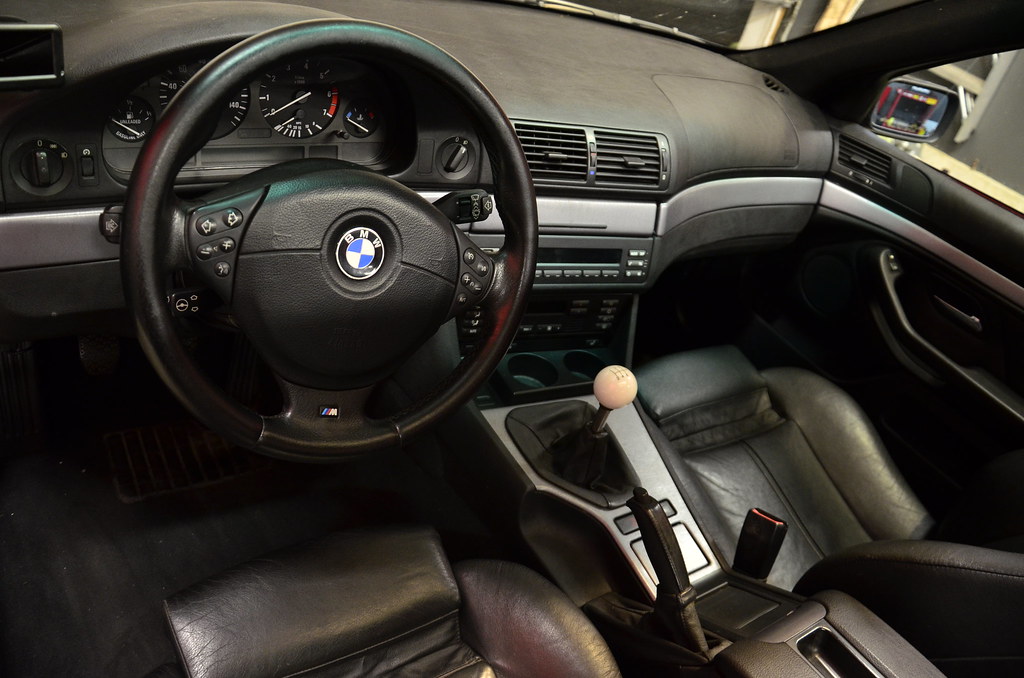
The weather was actually decent over the weekend, so I took the car out for a cruise to a buddy's place to pick up a part:
Which was a threaded adapter, allowing me to use this old cue ball **** with the MGW shifter assy.
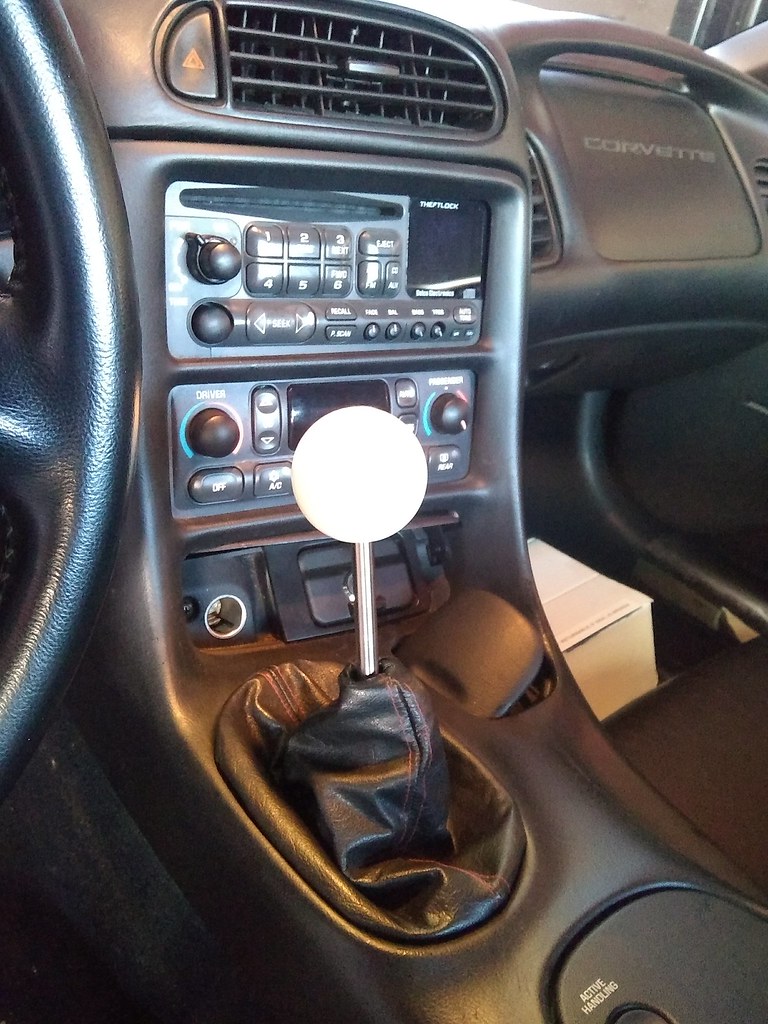
The cue ball has sentimental value, I ran it in my old LS swapped BMW, everybody hated the **** and thought it didn't match the character of the car, which I thought was hilarious.

Finished up the weekend on Sunday night pulling the old valve springs off the heads while watching the game.

So I've been doing my best to stay warm. The glass came all the way from the NCM in Bowling Green.
Some parts came in...
Drilled drainage holes in the lifter trays. Never did this on any other LS engine builds, but then again I never ran those cars on the road course.
Although the L92 valley cover features O-rings to seal these DoD towers, I will drill and tap them for 1/8" pipe plugs for peace of mind. (This will occur with the engine upside down on the stand, to prevent chips from falling into the oil galleys.
Spent an hour per side with a razor blade, solvent, and rags cleaning the deck surface.
The weather was actually decent over the weekend, so I took the car out for a cruise to a buddy's place to pick up a part:
Which was a threaded adapter, allowing me to use this old cue ball **** with the MGW shifter assy.
The cue ball has sentimental value, I ran it in my old LS swapped BMW, everybody hated the **** and thought it didn't match the character of the car, which I thought was hilarious.
Finished up the weekend on Sunday night pulling the old valve springs off the heads while watching the game.
01-29-2018, 09:41 AM
#48
Snuck in a couple hours Sunday night to finish tapping the DoD towers for 1/8 NPT. The pipe plugs came from Summit racing and were very affordable (I used the steel ones). These were torqued in place using Red Loctite as extra security.
The old L92 valley cover was nasty and the o-rings were smashed pretty flat. Pretty sure these would have eventually caused a low oil pressure situation...
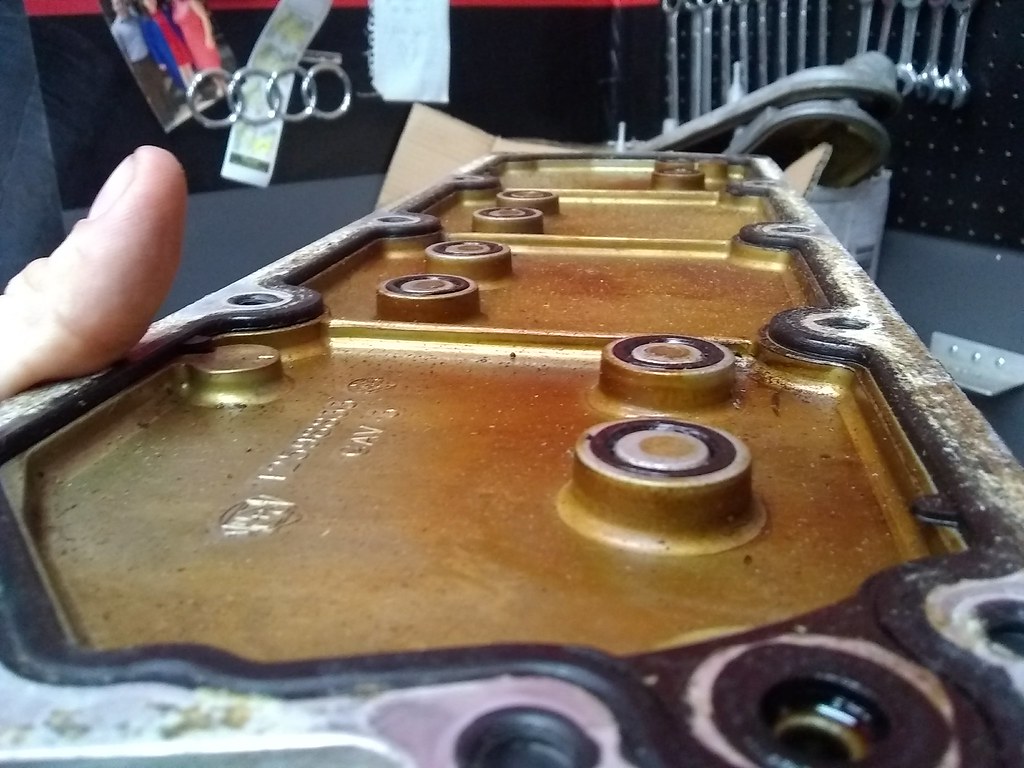
Buying a whole new L92 cover (which included all new o-rings, bolts, and the main gasket) was somehow cheaper than buying the o-rings individually, so that went on and got torqued to 18 ft-lbs.
I dropped off the heads at Klispie's, a local machine shop that I used in the past. To keep costs down, I removed all the valve springs/seals/keepers/retainers, but kept each valve in its original location. The guys over there bead blasted the heads to look brand new again. As a precaution, the heads were checked for flatness and only needed a .006" skim cut on each to bring them back in again. Pics to come, I really have to start using my Nikon for this again.
The old L92 valley cover was nasty and the o-rings were smashed pretty flat. Pretty sure these would have eventually caused a low oil pressure situation...
Buying a whole new L92 cover (which included all new o-rings, bolts, and the main gasket) was somehow cheaper than buying the o-rings individually, so that went on and got torqued to 18 ft-lbs.
I dropped off the heads at Klispie's, a local machine shop that I used in the past. To keep costs down, I removed all the valve springs/seals/keepers/retainers, but kept each valve in its original location. The guys over there bead blasted the heads to look brand new again. As a precaution, the heads were checked for flatness and only needed a .006" skim cut on each to bring them back in again. Pics to come, I really have to start using my Nikon for this again.

 02-05-2018, 07:40 AM
#50
Lots happening recently, spring is approaching quick so it's time to get stuff done.
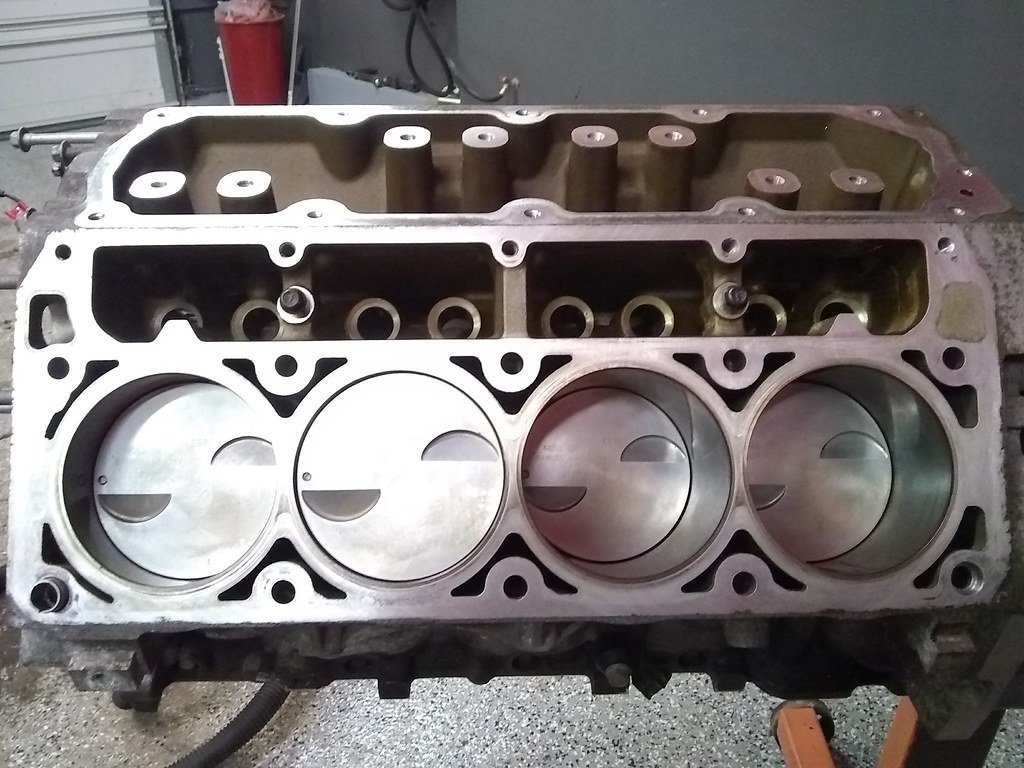
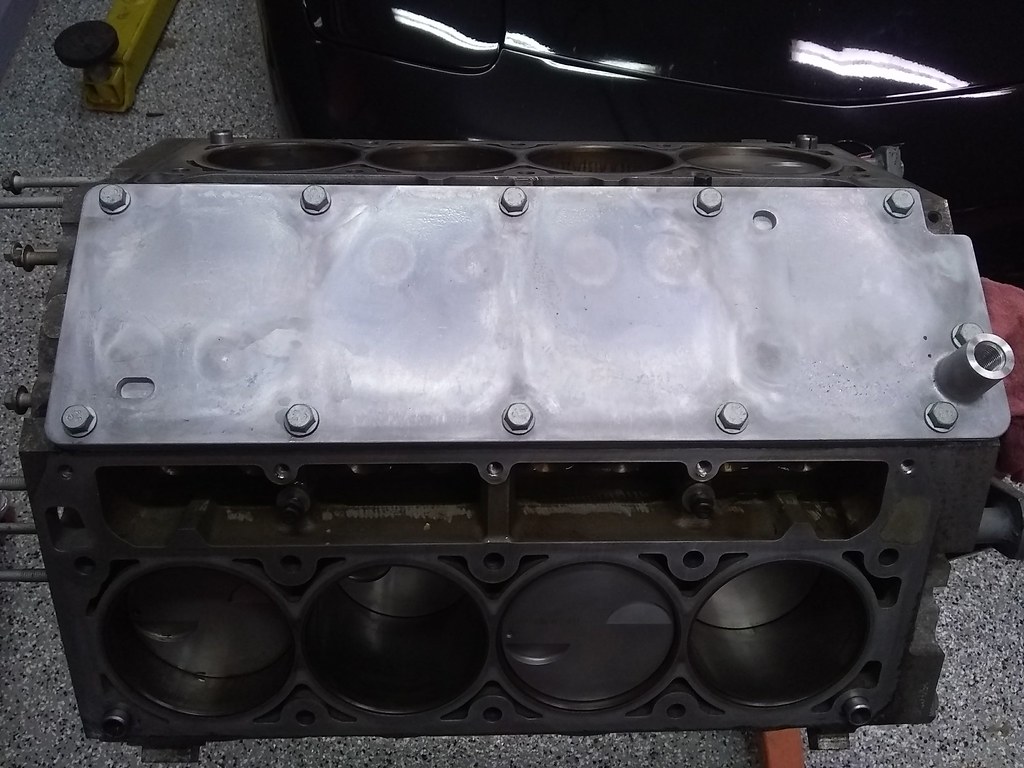
Although the aluminum block was fairly low mileage it was obviously a north eastern truck with lots of scale and oxidation on the surface. This was after a couple cans of degreaser, brake cleaner, and compressed air...
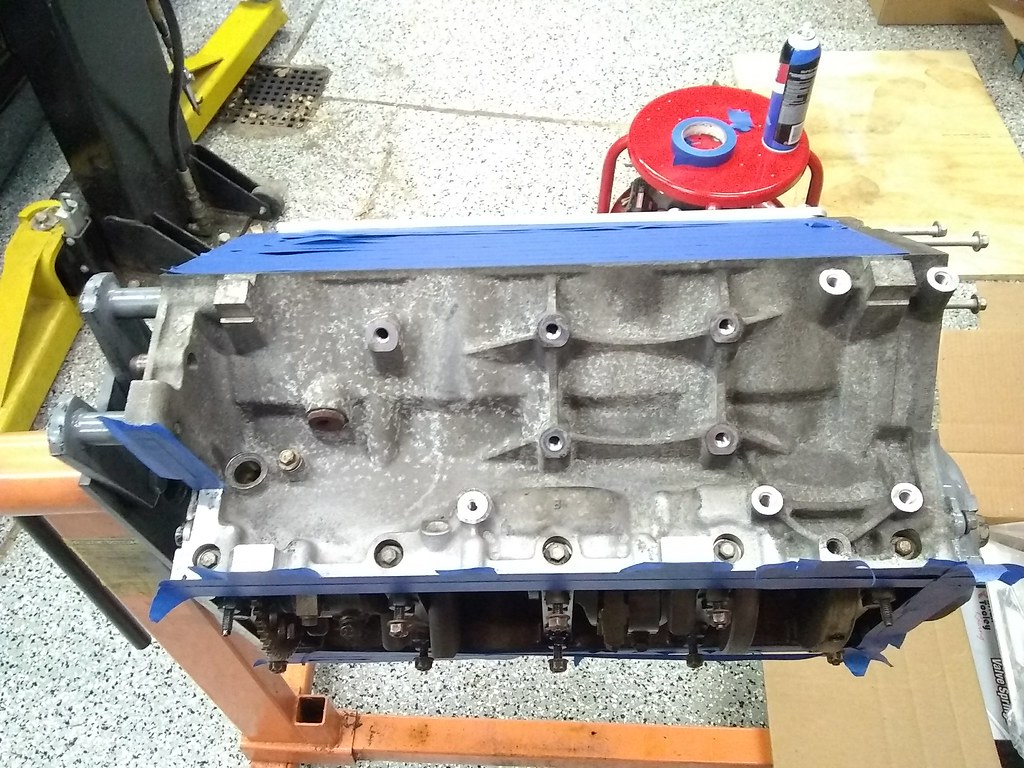
Threw on an old front cover from an iron 6.0 to protect internals.
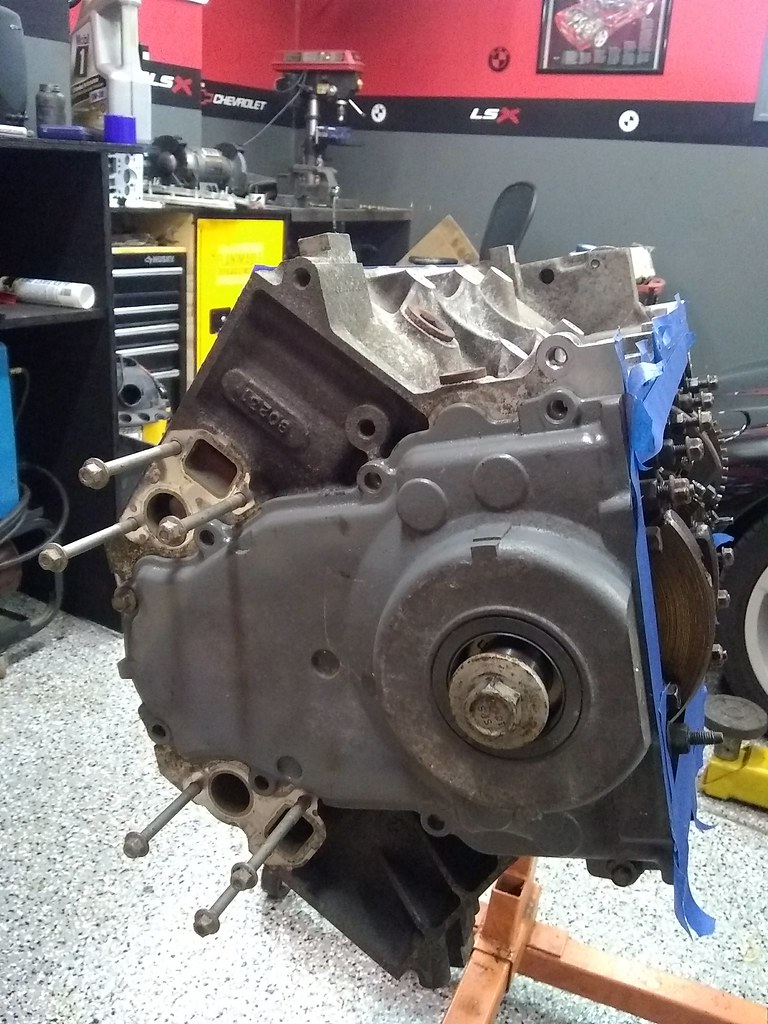
Taped up and sprayed with high heat engine enamel.
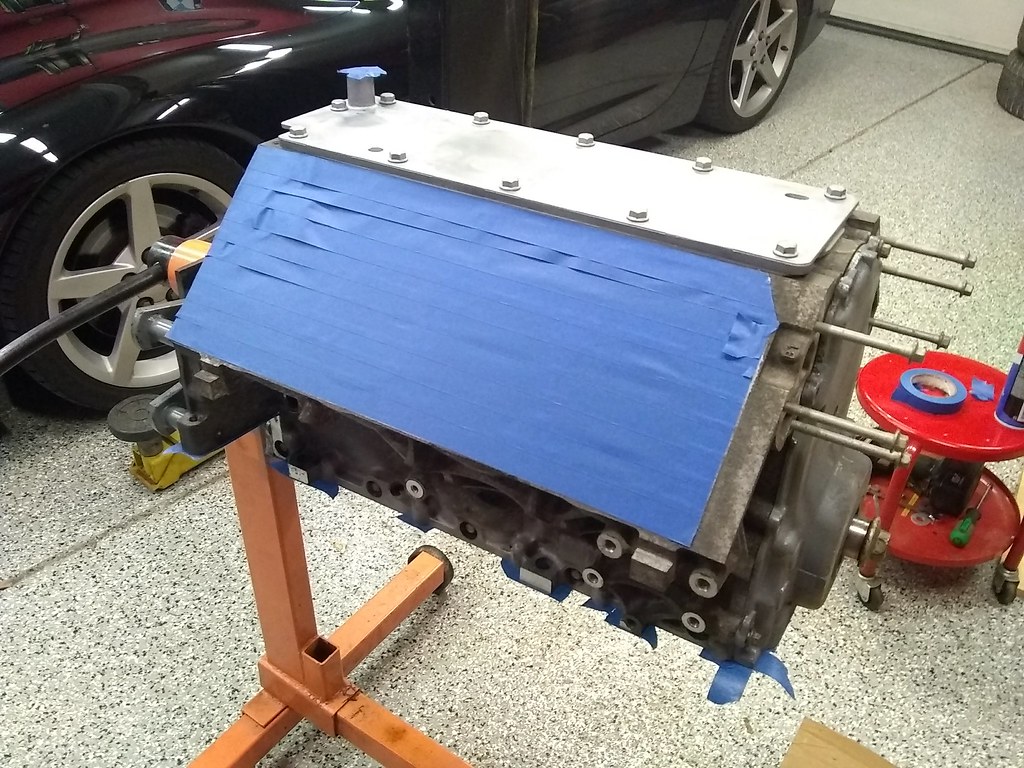
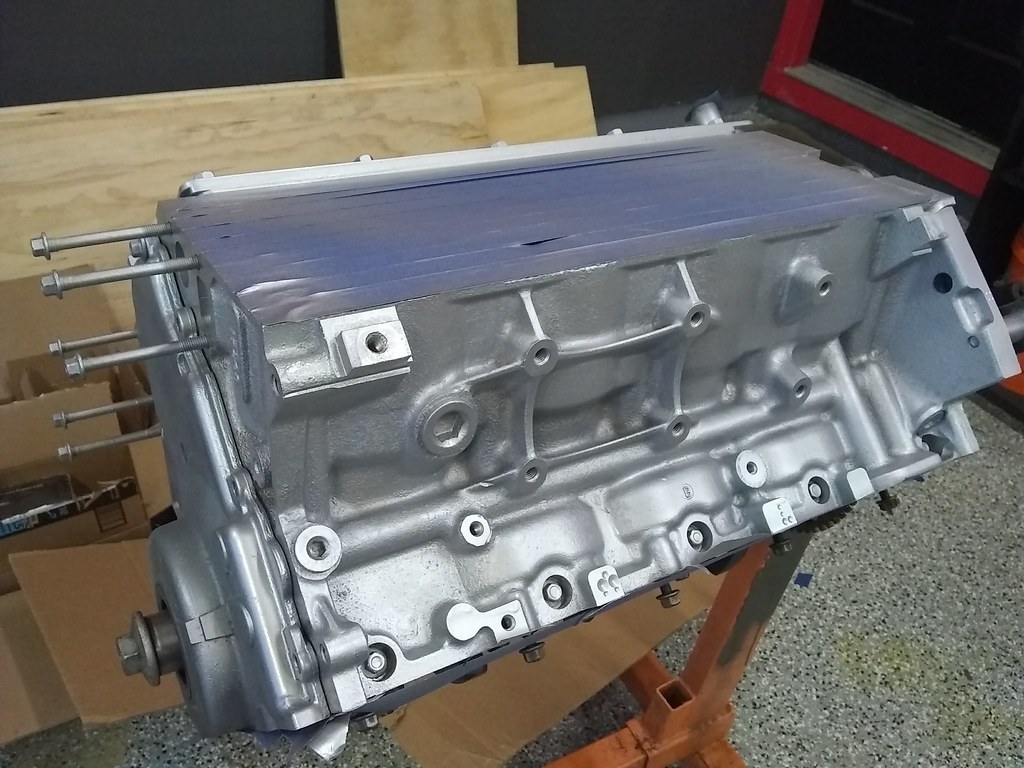
Although the aluminum block was fairly low mileage it was obviously a north eastern truck with lots of scale and oxidation on the surface. This was after a couple cans of degreaser, brake cleaner, and compressed air...
Threw on an old front cover from an iron 6.0 to protect internals.
Taped up and sprayed with high heat engine enamel.
02-09-2018, 09:16 AM
#52
FWIW - I used a Motive brake flush/bleeder to prime my new LS3. Through the port on the driver's side front that he used in both videos. Filled the Motive can, pumped it up to about 15 psig -- and emptied/re-filled until I'd pumped 5.5 qts into the system. Fills the pump, the filter, in my case - the oil cooler as well and fills all the passages all the way to the top end where everything then drains back into the pan. On first crank, had just a second or two of lifter noise -- then 65 psig.


Last edited by Michael Yount; 02-09-2018 at 09:22 AM.
02-13-2018, 08:01 AM
#53
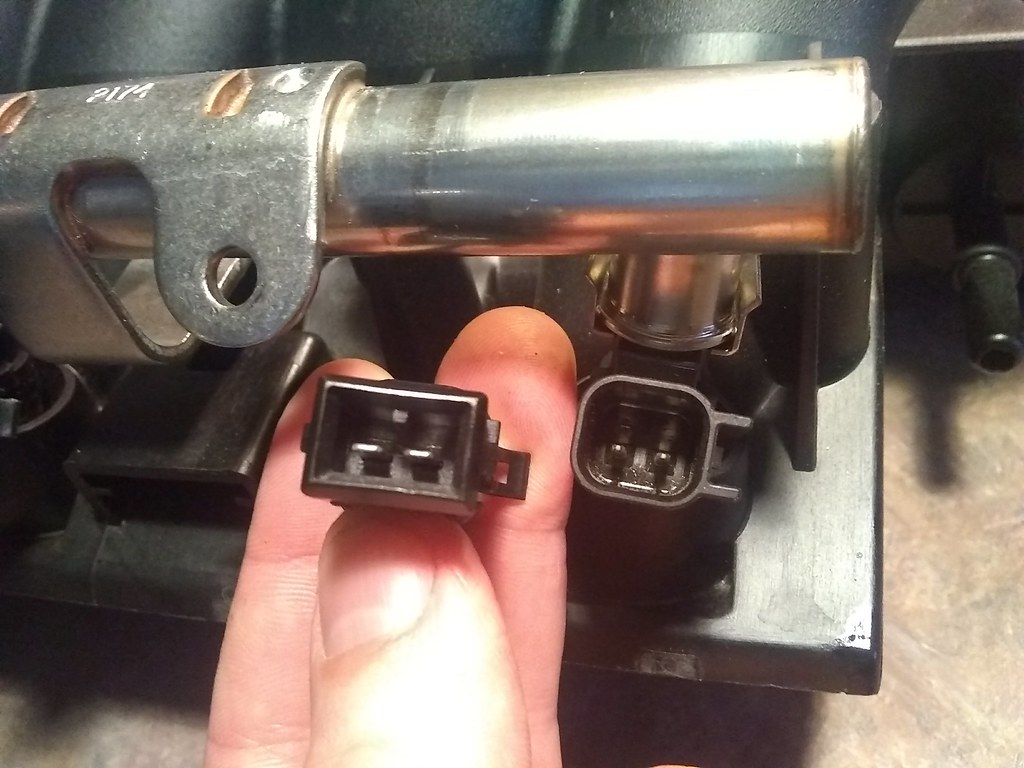
EV1 to EV6 injector pigtail adapters to be able to use the LS1 harness on the LS3 injectors. I did not want to use the 2 piece units that are connected by the 4" lengths of wire, so I picked up these one piece units on ebay for $12. Hopefully they're robust, the seller did include a couple extra.

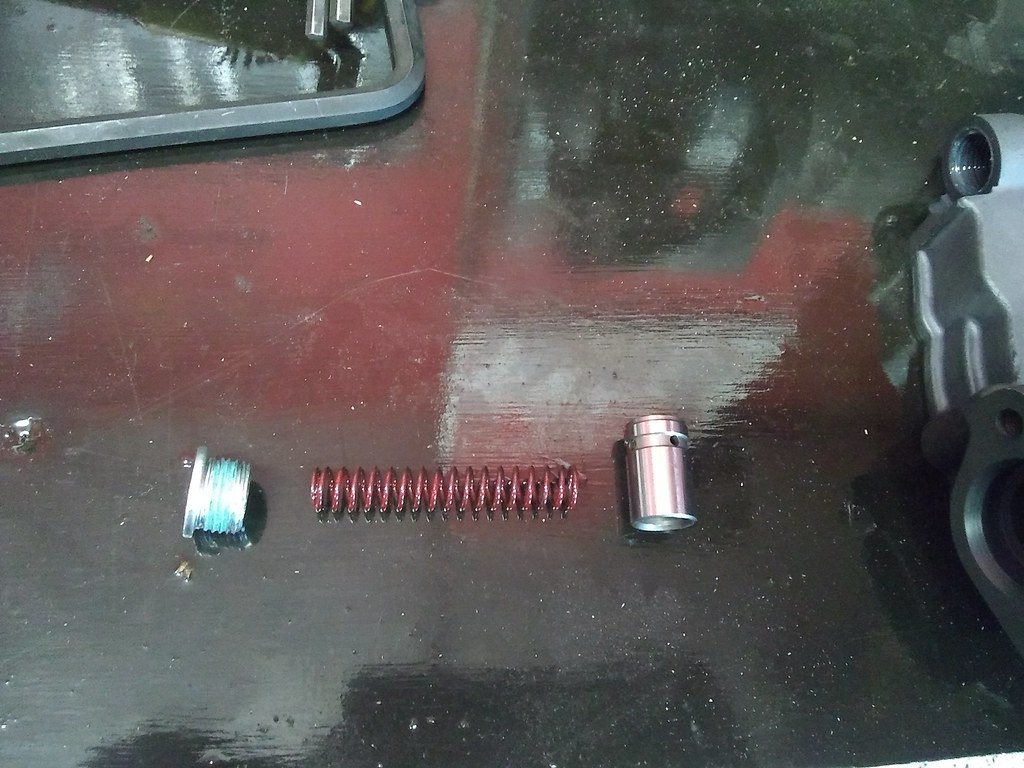
Melling 10295 disassembled, inspected for the right relief spring (they offer a couple options), cleaned, oiled, reassembled using Loctite and their torque specs.


Not using this high(er) pressure spring
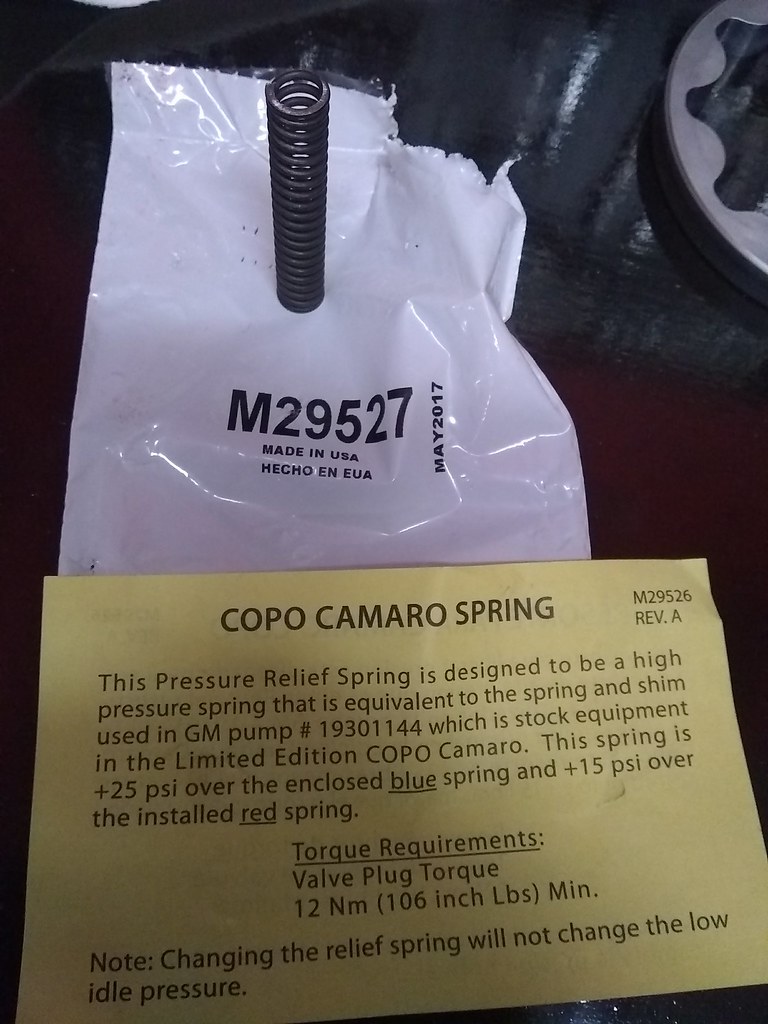
or this one
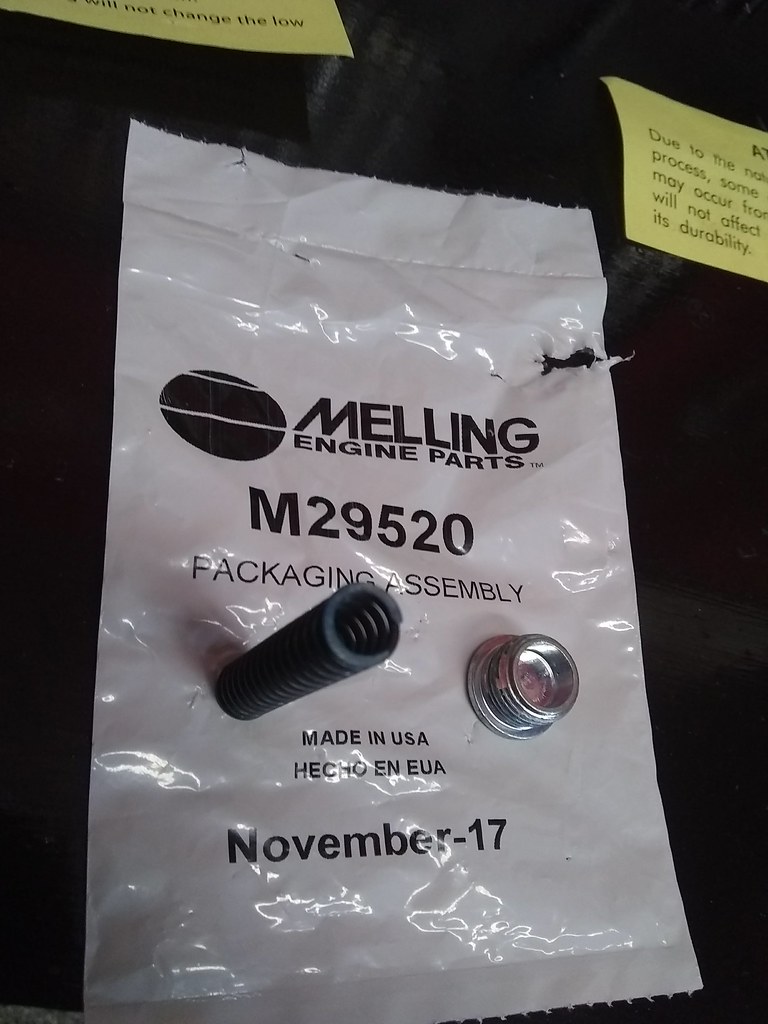
The red spring is what I'll be using, and what came in the pump.
No pictures but I did install the pump onto the crank snout using .002" brass shim stock to evenly center both gerotors around the crank drive gear.
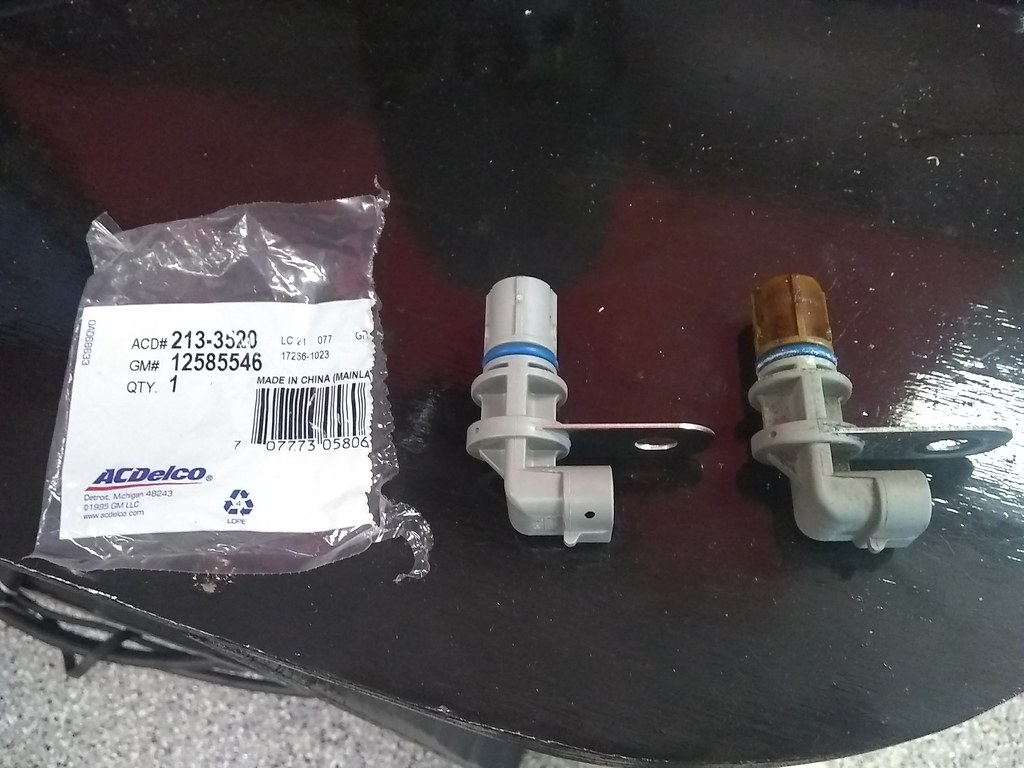
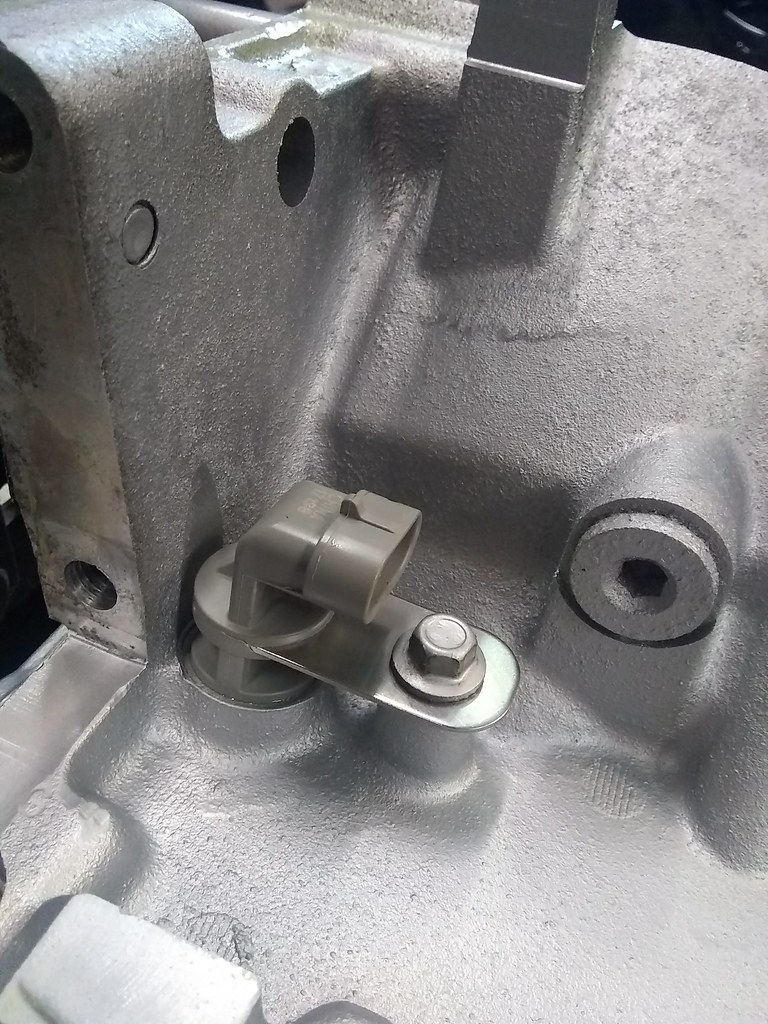
The engine is getting all new sensors in areas that are hard to reach. Nothing wrong with existing units but if they fail down the road it will be a pain to access them, so now is the perfect time to get in there.
CKP
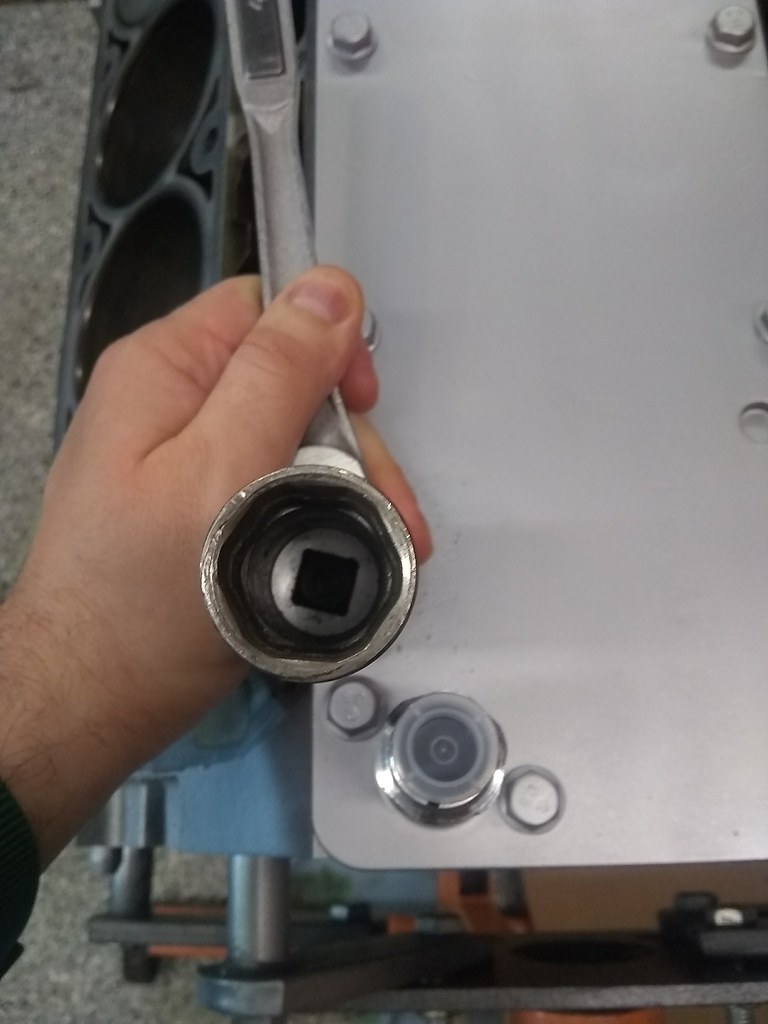
OPSU
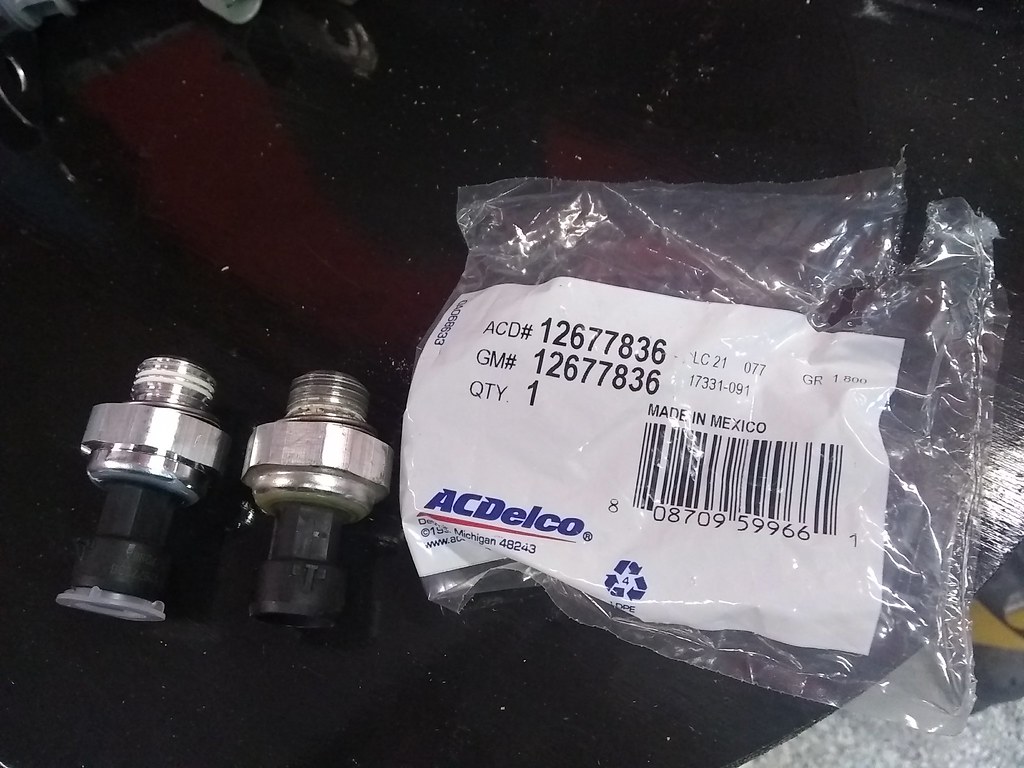
These have an unusual semi rounded body so you need a special socket to R&R. Luckily I had one laying in my toolbox...
Melling 10295 disassembled, inspected for the right relief spring (they offer a couple options), cleaned, oiled, reassembled using Loctite and their torque specs.
Not using this high(er) pressure spring
or this one
The red spring is what I'll be using, and what came in the pump.
No pictures but I did install the pump onto the crank snout using .002" brass shim stock to evenly center both gerotors around the crank drive gear.
The engine is getting all new sensors in areas that are hard to reach. Nothing wrong with existing units but if they fail down the road it will be a pain to access them, so now is the perfect time to get in there.
CKP
OPSU
These have an unusual semi rounded body so you need a special socket to R&R. Luckily I had one laying in my toolbox...
 02-13-2018, 10:49 AM
#55
Moving to the bottom end, the stock windage tray was carefully removed and thrown into the scrap bin
In order to beef up the oiling control I purchased a couple items from Improved Racing.
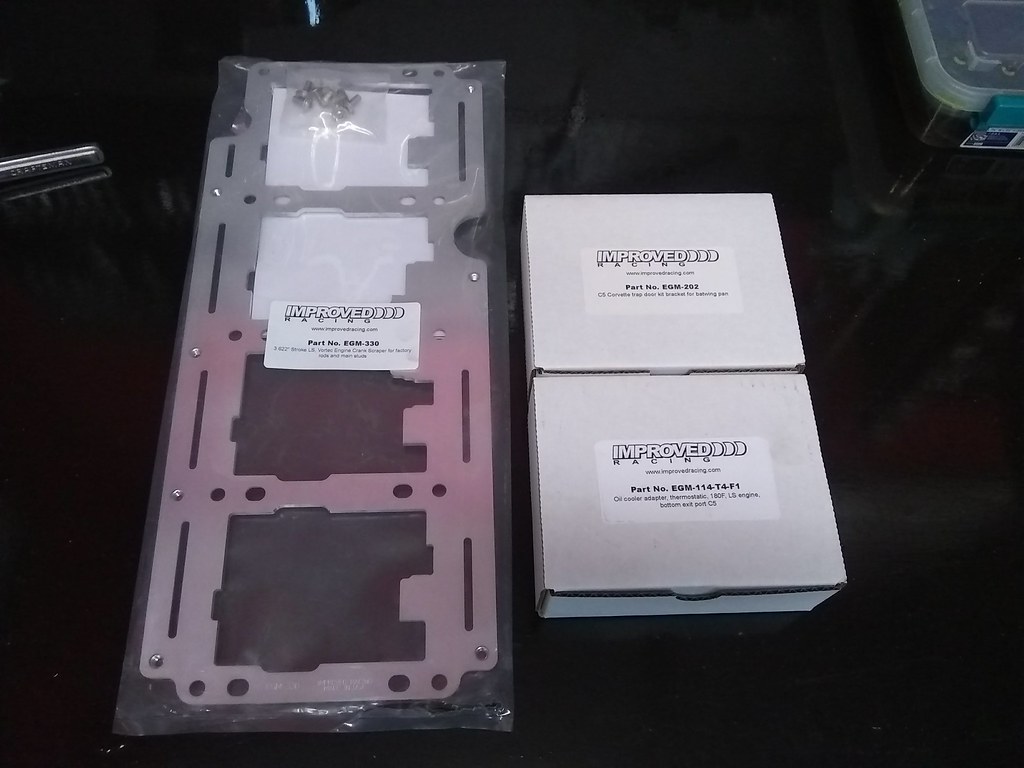
C5 Batwing pan crank scraper


Thermostatic oil cooler block with -10 AN lines


Trap door baffle kit.


Their website includes a pretty interesting chart showing oil pressure around a circuit both with and without their parts installed.

Oil Pump Pickup Tube Brace


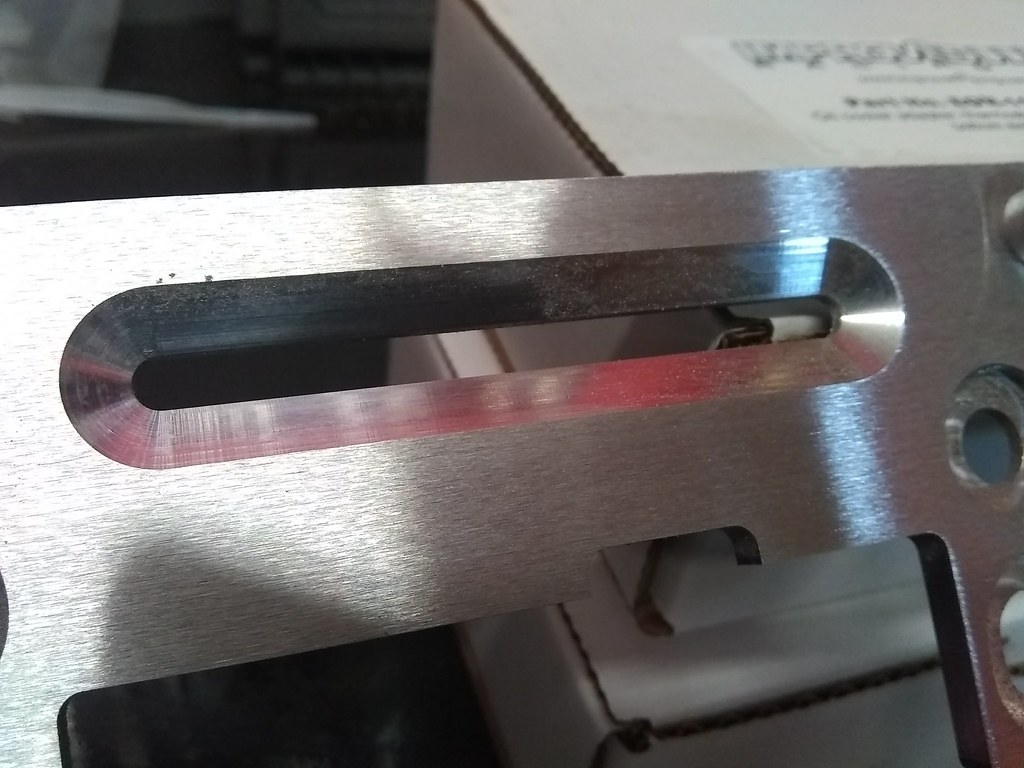
The instructions were very good and mentioned that it's important to clean off the crank scraper from any dirt, dust, or machining chips.

I thought they were kidding until I sprayed it down with some Brake Cleaner on top of cardboard and watched the aluminum dust come off it in waves. Check out all that FM...

After cleaning it up I mocked it up on the engine and started checking for any interference with a .020" shim.


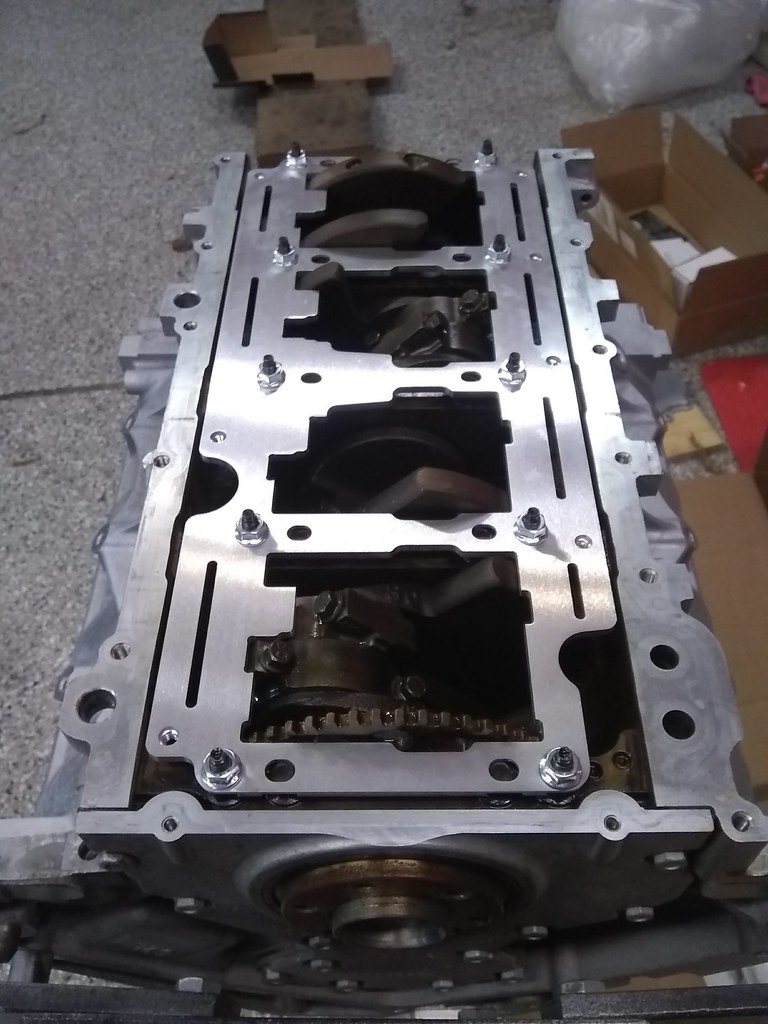
The trap door baffles and oil cooler block get mounted to the oil pan so they'll need to wait until the old LS1 is out of the car. Still undecided on the actual cooler itself or where it will be located. I was thinking of cutting out the plastic behind the front license plate cover, since the cover itself is removable; then just removing the panel for track days
In order to beef up the oiling control I purchased a couple items from Improved Racing.
C5 Batwing pan crank scraper
Thermostatic oil cooler block with -10 AN lines
Trap door baffle kit.
Their website includes a pretty interesting chart showing oil pressure around a circuit both with and without their parts installed.
Oil Pump Pickup Tube Brace
The instructions were very good and mentioned that it's important to clean off the crank scraper from any dirt, dust, or machining chips.
I thought they were kidding until I sprayed it down with some Brake Cleaner on top of cardboard and watched the aluminum dust come off it in waves. Check out all that FM...
After cleaning it up I mocked it up on the engine and started checking for any interference with a .020" shim.
The trap door baffles and oil cooler block get mounted to the oil pan so they'll need to wait until the old LS1 is out of the car. Still undecided on the actual cooler itself or where it will be located. I was thinking of cutting out the plastic behind the front license plate cover, since the cover itself is removable; then just removing the panel for track days
02-13-2018, 11:24 AM
#56
Food for thought - on mine, I was able to mount the cooler heat exchanger in a way that heat from the oil is rejected UNDER the car instead of back into the radiator air stream. That way you preserve even more rad capacity for dealing with coolant thermal load AND the heat from the oil isn’t rejected back into the engine bay.
Last edited by Michael Yount; 02-13-2018 at 12:09 PM.
02-13-2018, 05:37 PM
#58
I figured if heat rejection was the goal, why would I want to "reject" the heat from the oil....INTO the radiator? But packaging is easier on some cars/trucks than others....
Mine's a street car so I've got a separate fan on the oil cooler as well to aid with low (road) speed effectiveness.
Mine's a street car so I've got a separate fan on the oil cooler as well to aid with low (road) speed effectiveness.
Last edited by Michael Yount; 02-13-2018 at 05:44 PM.
02-17-2018, 07:09 PM
#59
I got a whole lot done today (including the last ride with the original LS1) and took a lot of pictures. Those updates will come later but for now I just want to keep a log of what I have started disassembling; once the reassembly comes, I'll use it as a guide to see if I forget anything when it's going back together 
This list starts with a running, driving car
Drained coolant
Drained oil
Removed wheels
Removed axle back, disconnected vacuum lines to cutouts
Removed midpipes, unplugged and de-routed downstream O2 sensors
Unplugged and derouted primary O2 sensors.
*Note, standard off the shelf white zip ties were really brittle due to longtube header
heat and snapped with little effort. Need higher temp solution to secure wiring
Disconnected left rear outer frame ground point (10mm), rear large harness on pass. side wheel well
Disconnect large 10 pin connector on rear passenger side of tunnel
Disconnected rear wheel speed sensors
Removed zillion tunnel plate bolts and plate itself. Thank God for power tools
Rear upper control arm bolts removed
Parking brake brackets removed
Rear brake lines removed and plugged to prevent fluid loss. Normally not necessary but I'll be upgrading to stainless lines when it all goes back together.
Rear lower shock bolts removed
4x brake line 10mm brackets removed
Front upper control arms removed, attention to washer/shim location
Front brake hoses removed and plugged, etc.
Disconnect pigtail that loops under front sway bar
I need to buy a 12 point socket to install the pushrods and rockers tomorrow, then the new motor is nearly done. Now it's beer time.
02-18-2018, 06:36 PM
#60
Rockers and pushrods are all in and torqued down, it turns out I did have the socket for the special 12 point bolts. Just need to paint the valve covers and get them on.
Today's garage progress:
Unplugged oil temp and oil level sender harnesses
Unplugged clutch quick disconnect line with the goofy little tool.
I was going to go for the starter next, but the longtubes are just too bulky, so they'll have to come out (or at least move)
Up top: Coil harnesses disconnected, spark plug wires removed, coil pack assemblies removed. Wife did all this. shes the best.
Coolant temp sensor unplugged, clutch remote bleeder removed from mounts to frame
Alternator harness unplugged and positive line removed.
Main serpentine belt and alternator removed.
IAT and MAF unplugged
TPS and throttle body harness unplugged
Intake snorkel and filter assy removed. Throttle body left on car
8x injector harnesses removed (wife again, what a surprise, she can do anything)
evap harness disconnected on driver's side of intake manifold
Coolant crossover lines to front and rear of heads disconnected
Radiator hoses removed at water pump, heater core hoses removed at water pump
AC compressor pigtail disconnected
MAP harness removed
hard hvac vacuum line removed
water pump out