

1970 GTO Version 3.0


Thread Starter
Joined: Mar 2003
Posts: 10,600
Likes: 1,881
From: Little Austin
I ran across some videos by Devin Vanderhoof. It seems that he too has discovered the Hardwire Electronics PDM products. In fact, he has become the biggest distributor in the US for Hardwire. As you may recall, I already have a PDM 25 under the dash, but after seeing the videos for the new PDM 28, I knew that's what I needed in the GTO. I will use the PDM 25 in the Cougar or the Suburban.
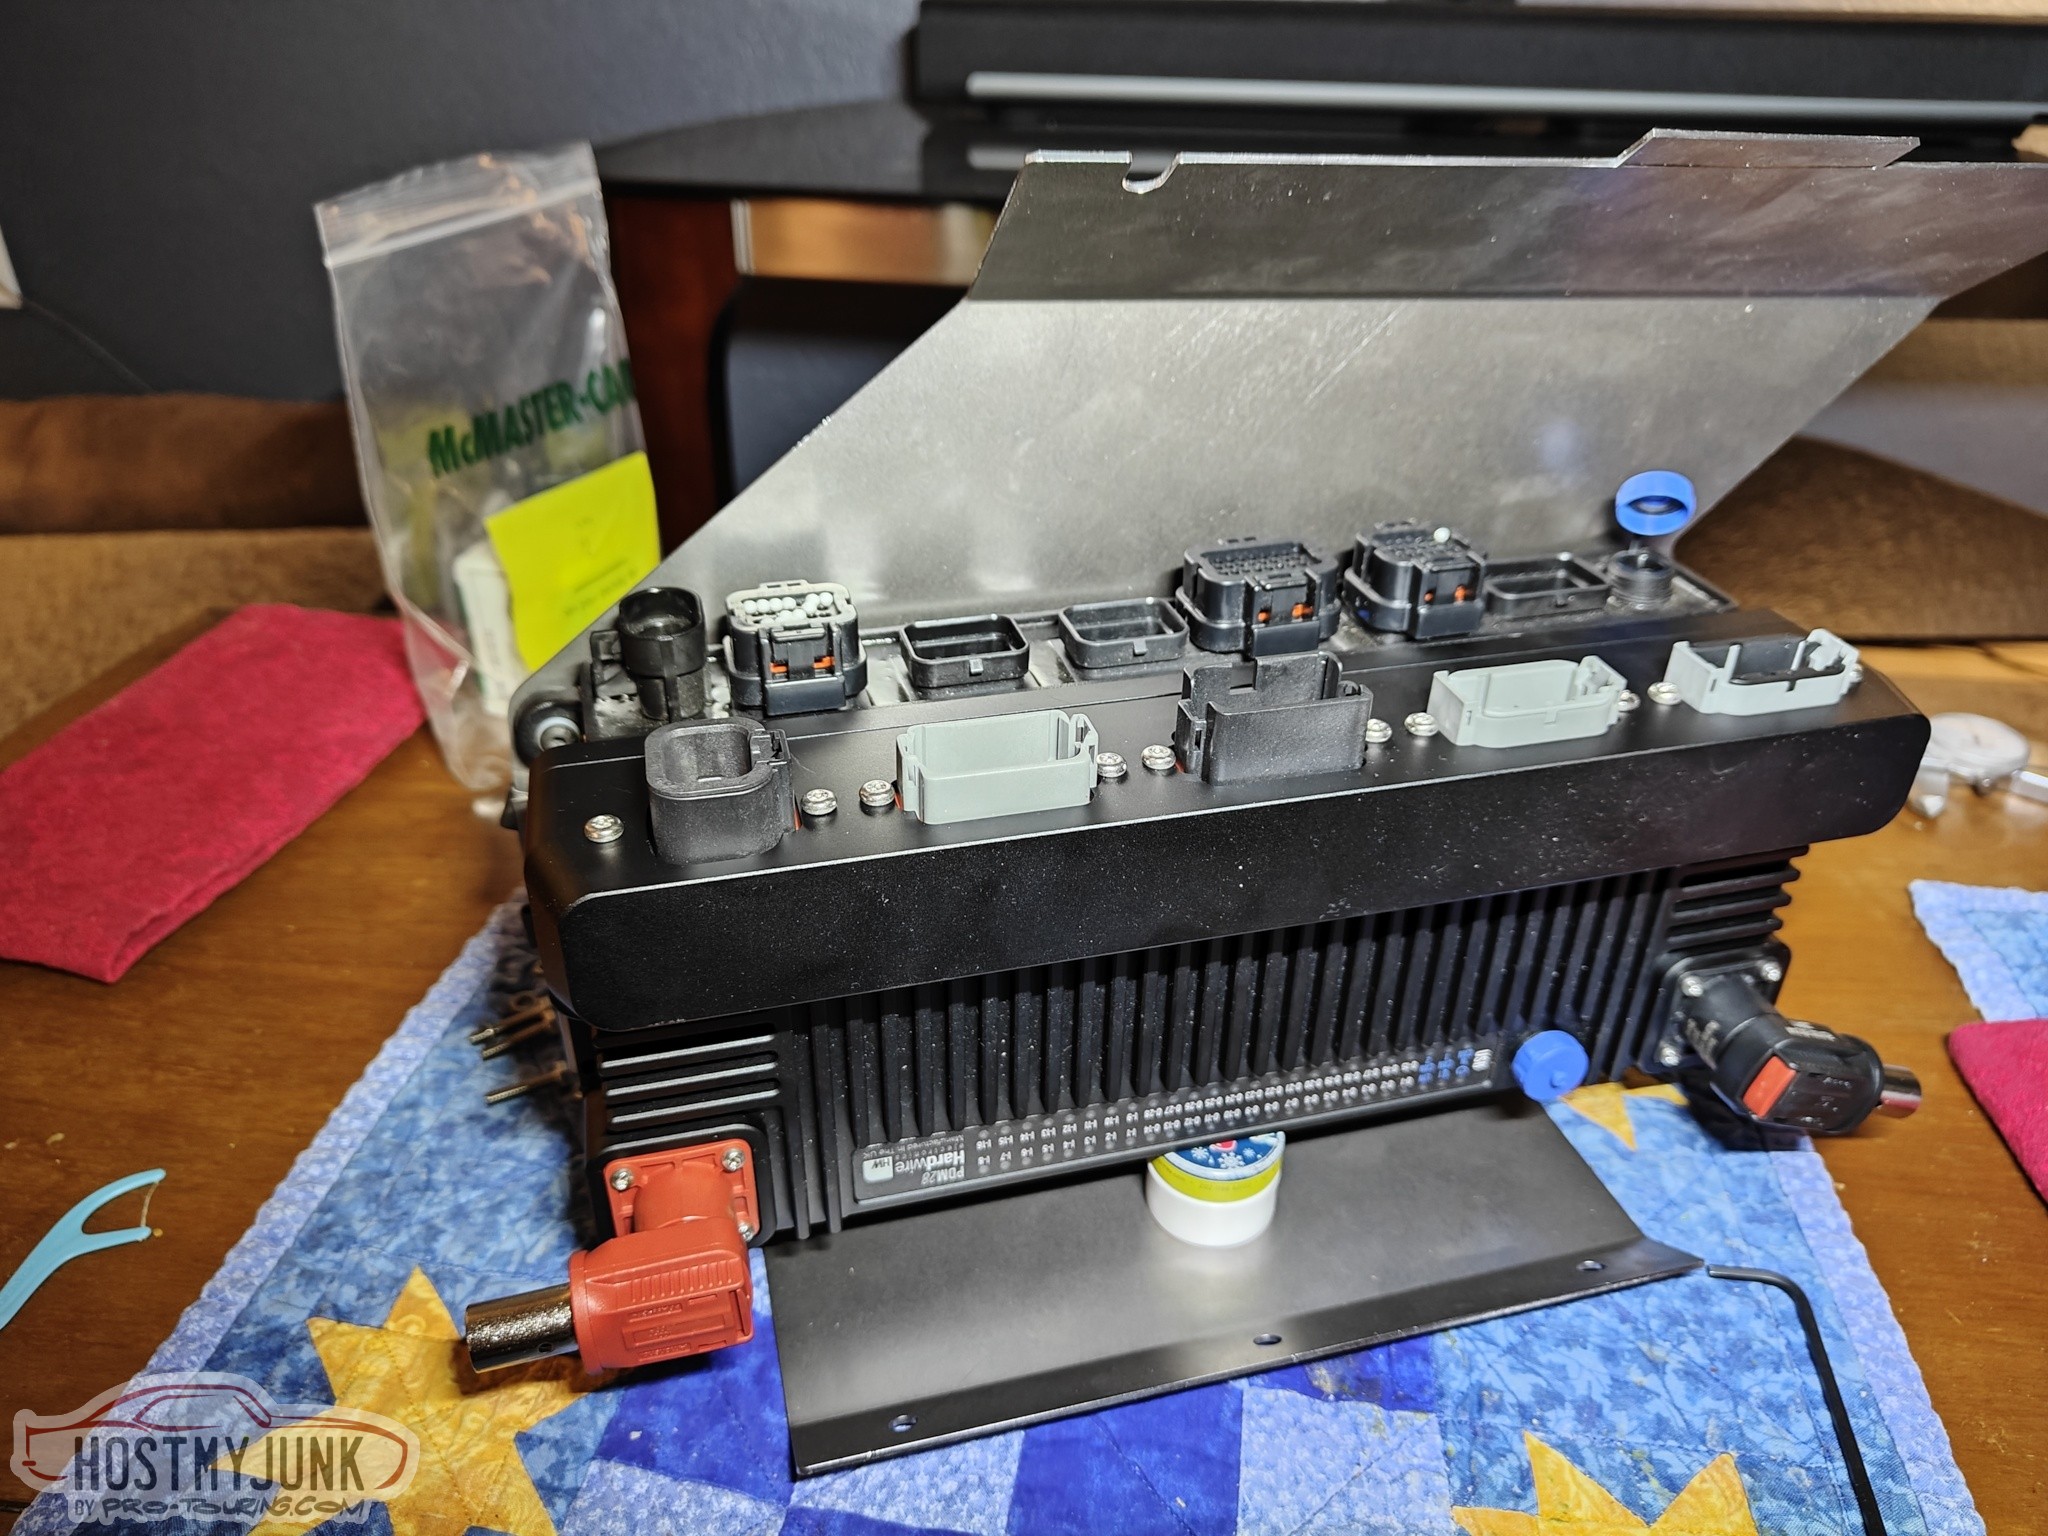
Here is the PDM 28 as it arrived.
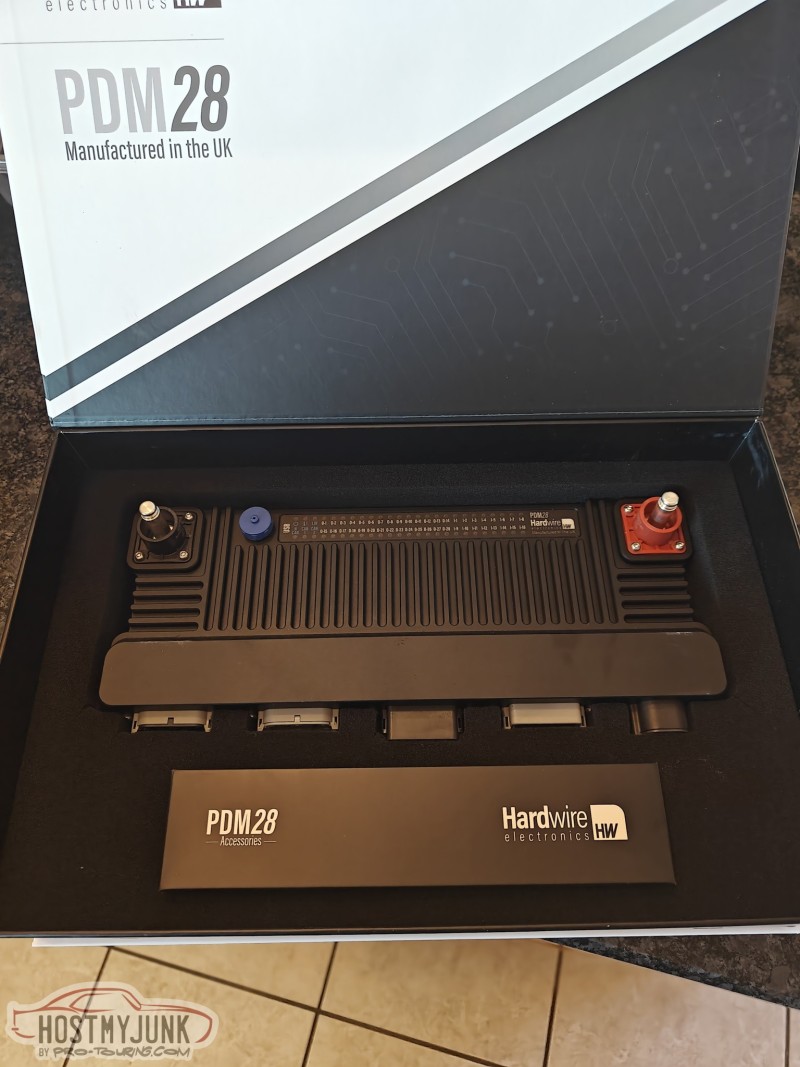
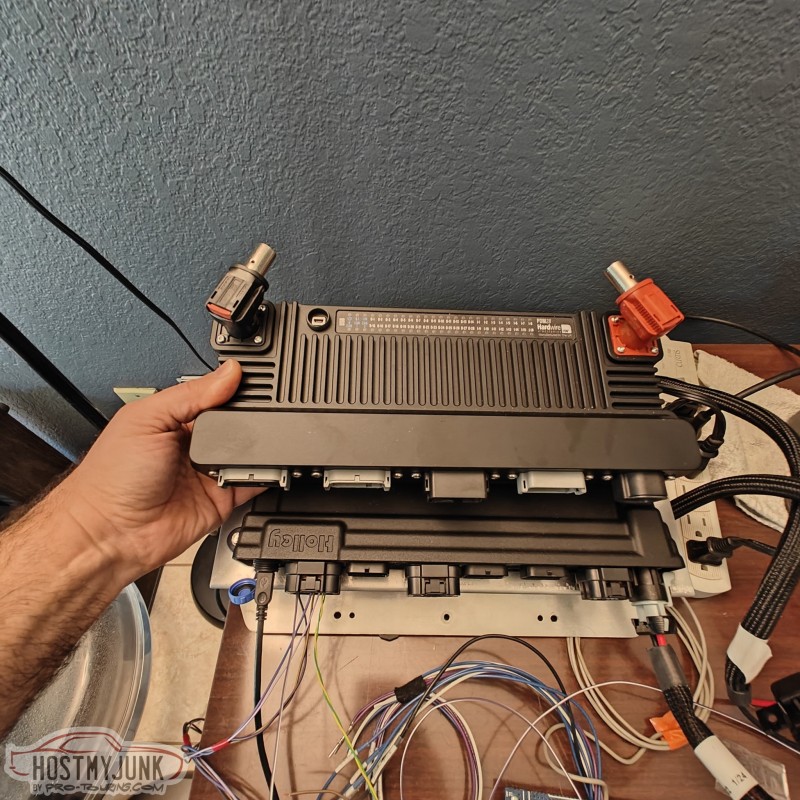
The size of the PDM 28 is substantial. Here you can see it compared to the Holley Dominator ECU. They are roughly the same size.
The reason for choosing the new PDM 28 is that it has two CAN busses. With the release of the Holly CAN documentation, the PDM 28 is fully compatible with Holley EFI.
Holley had a 3D model of the Dominator available for download.
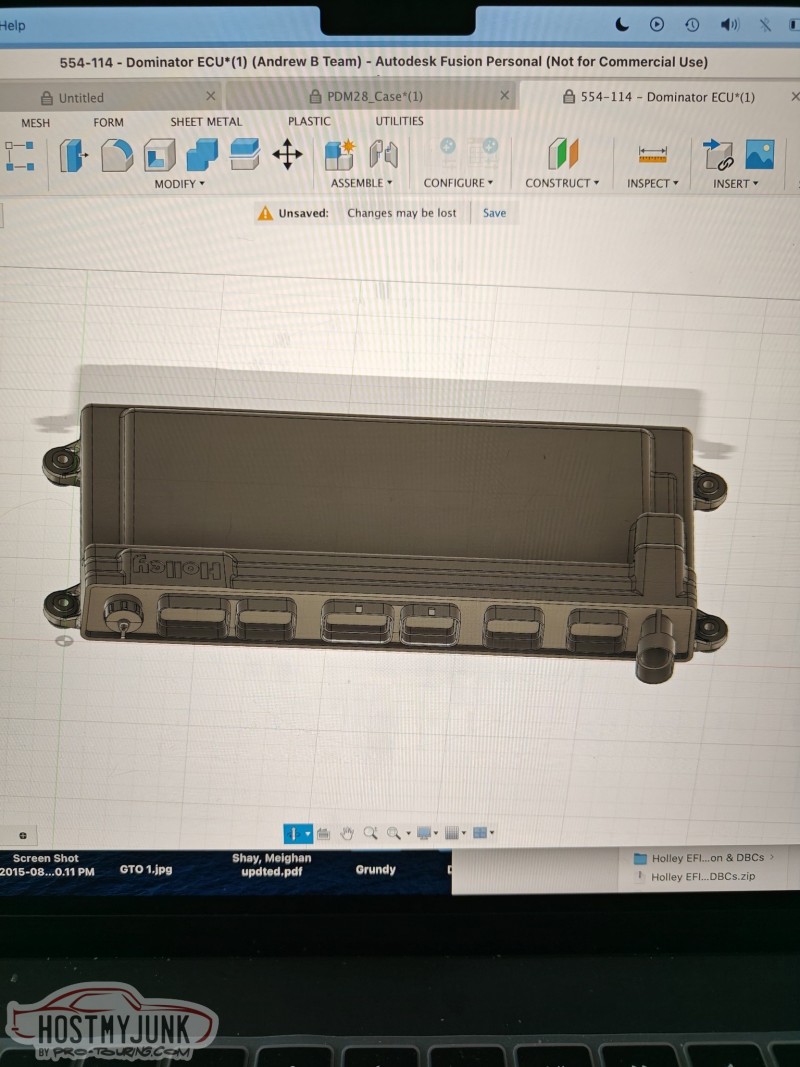
An email to Hardwire provided the 3D model of the PDM 28.

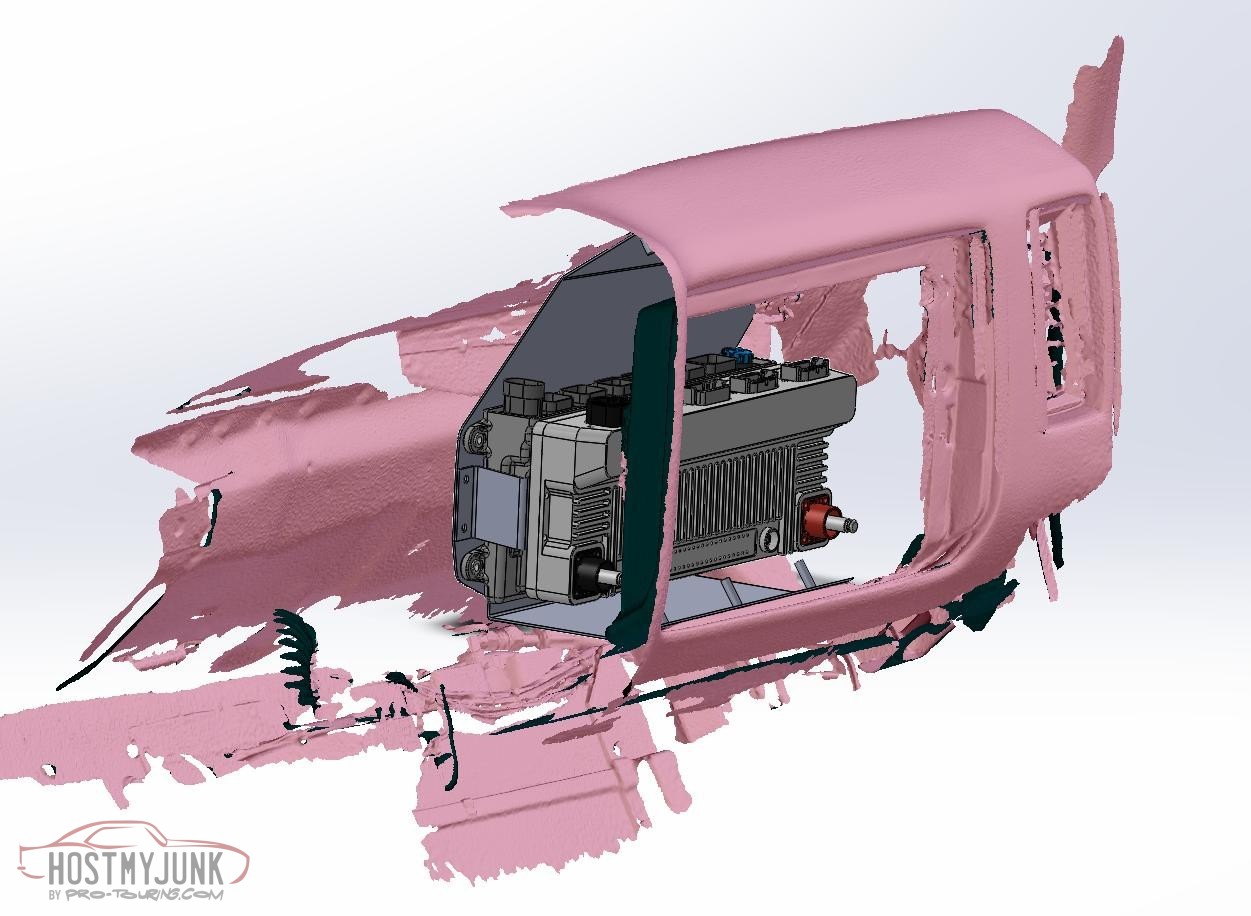
I once again used my Shining 3D Einstar 3D scanner and generated a scan of the GTO dash and glove box area.
The plan is to design a mounting system for the Dominator and the PDM in the area that used to be occupied by the glove box.
Andrew
Here is the PDM 28 as it arrived.
The size of the PDM 28 is substantial. Here you can see it compared to the Holley Dominator ECU. They are roughly the same size.
The reason for choosing the new PDM 28 is that it has two CAN busses. With the release of the Holly CAN documentation, the PDM 28 is fully compatible with Holley EFI.
Holley had a 3D model of the Dominator available for download.
An email to Hardwire provided the 3D model of the PDM 28.
I once again used my Shining 3D Einstar 3D scanner and generated a scan of the GTO dash and glove box area.
The plan is to design a mounting system for the Dominator and the PDM in the area that used to be occupied by the glove box.
Andrew
Thread Starter
Joined: Mar 2003
Posts: 10,600
Likes: 1,881
From: Little Austin
Having a 3D scanner and a competent designer on call has really improved the overall quality of this build. I also want to thank Brian Wolf from Send Cut Send for helping out with this particular project.
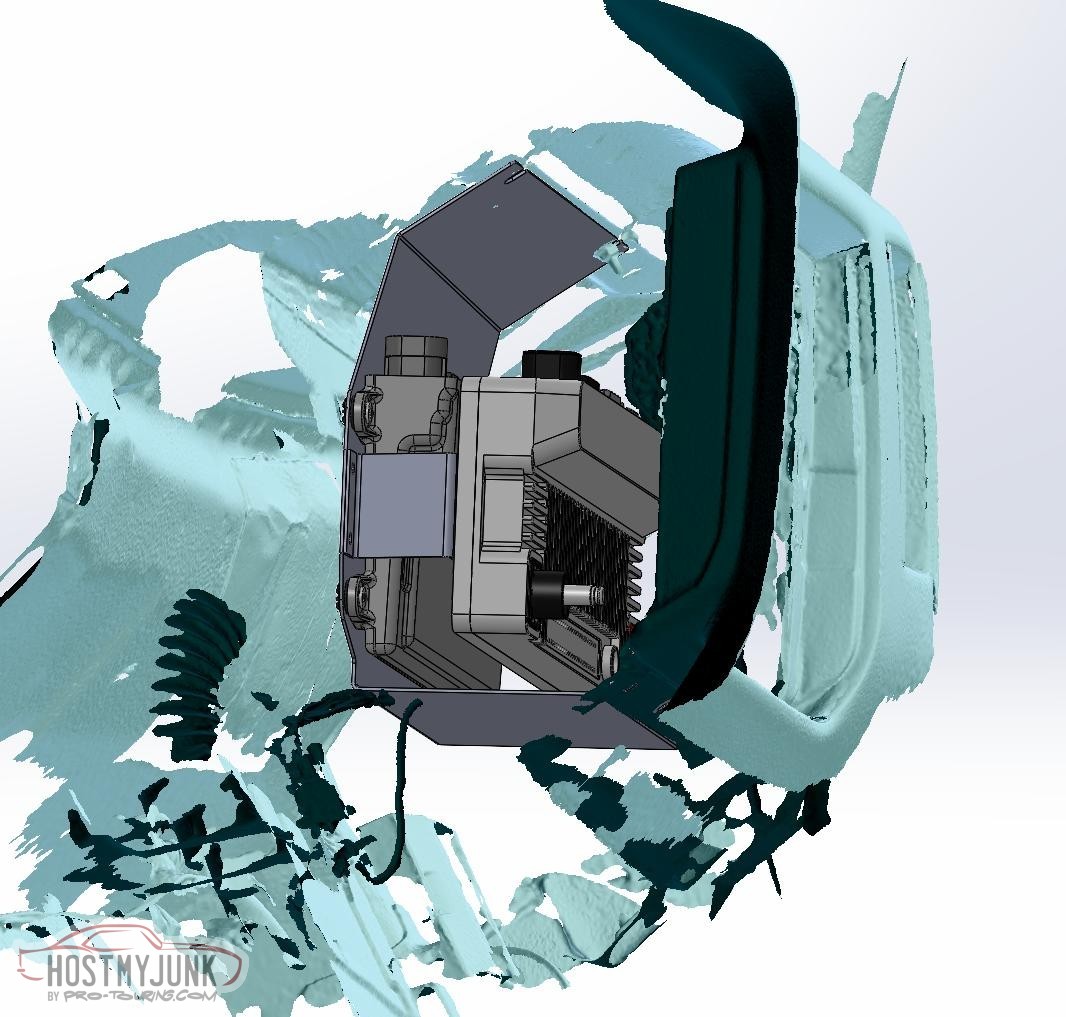
I started with a 3D scan of the glovebox area without the glovebox. We obtained models of the Dominator and the Hardwire PDM from Holley and Hardwire and they were used to mock-up a mounting solution.
I wanted the LEDs on the PDM to be easily visible and I wanted the connectors to also be easily accessible. The tandem stacked arrangement is what we came up with.
James created the DXF files with SolidWorks and I uploaded them to Send Cut Send. They not only did the laser cutting but also the bending. Today I finally got the package after a bit of a delay due to the weather.
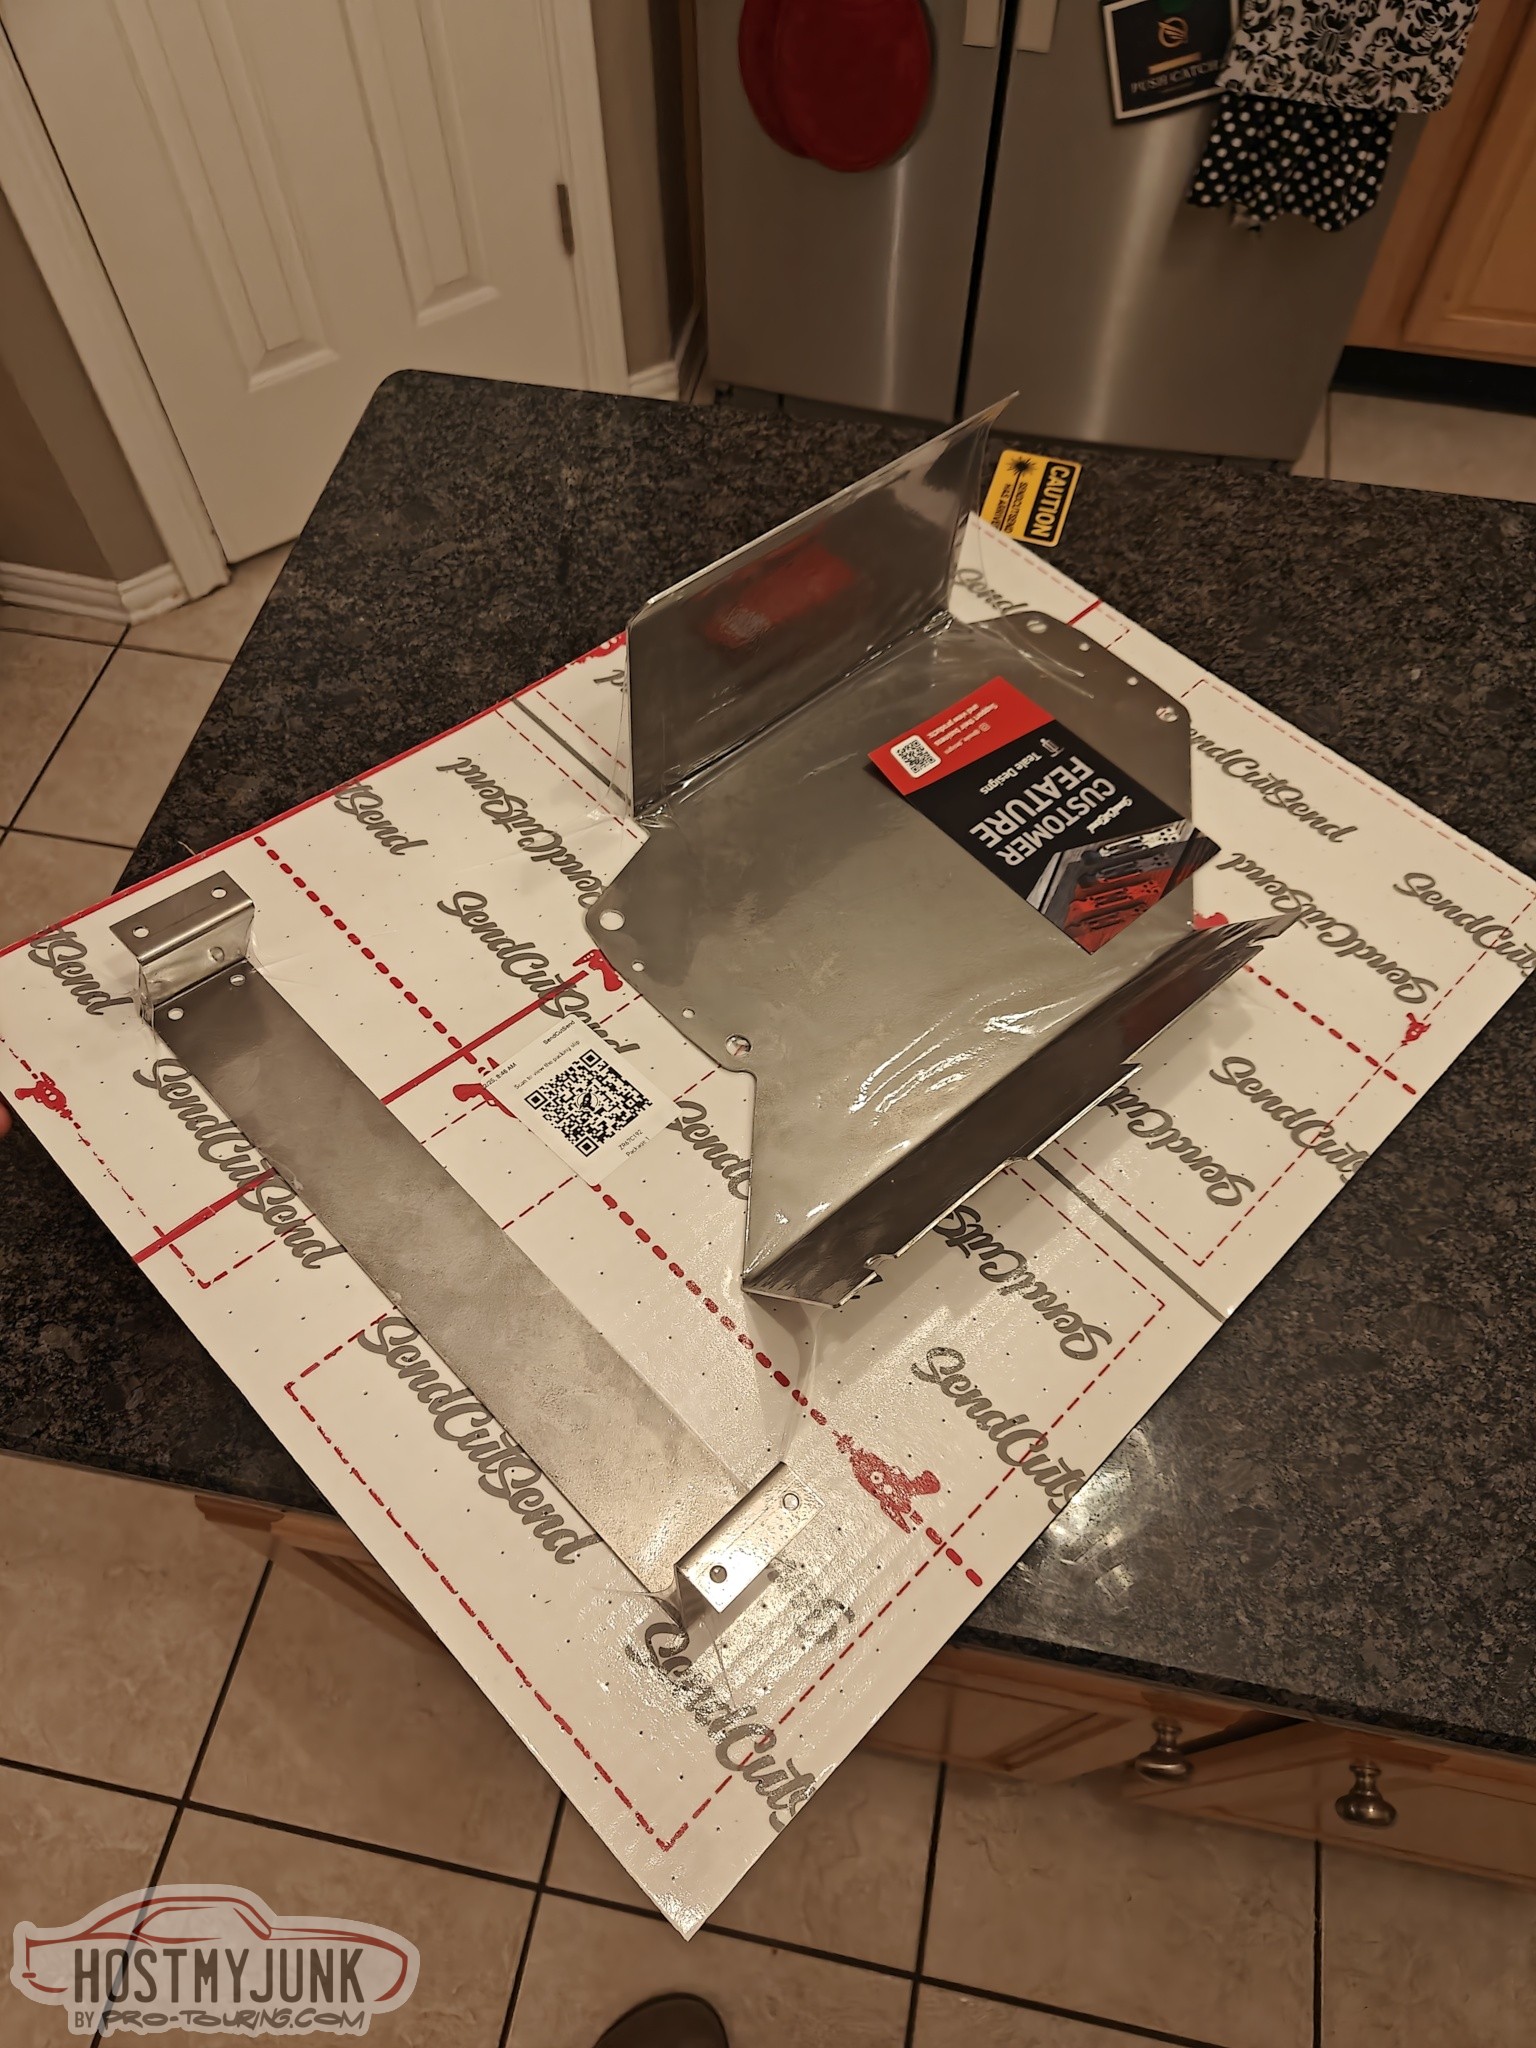
I expected to have to do some fiddling around with the bracket to get it to fit, but it dropped right in. The 3 holes that hold the glove box door lined up perfectly, as did the two slots up at the top.
I couldn't be happier with this solution.
Andrew
I started with a 3D scan of the glovebox area without the glovebox. We obtained models of the Dominator and the Hardwire PDM from Holley and Hardwire and they were used to mock-up a mounting solution.
I wanted the LEDs on the PDM to be easily visible and I wanted the connectors to also be easily accessible. The tandem stacked arrangement is what we came up with.
James created the DXF files with SolidWorks and I uploaded them to Send Cut Send. They not only did the laser cutting but also the bending. Today I finally got the package after a bit of a delay due to the weather.
I expected to have to do some fiddling around with the bracket to get it to fit, but it dropped right in. The 3 holes that hold the glove box door lined up perfectly, as did the two slots up at the top.
I couldn't be happier with this solution.
Andrew
Thread Starter
Joined: Mar 2003
Posts: 10,600
Likes: 1,881
From: Little Austin
I am making slow progress. In the last installment I posted the bracket that will hold the Holley Dominator ECU and the Hardwire PDM. Today I got a care package from McMaster Carr with some hardware.
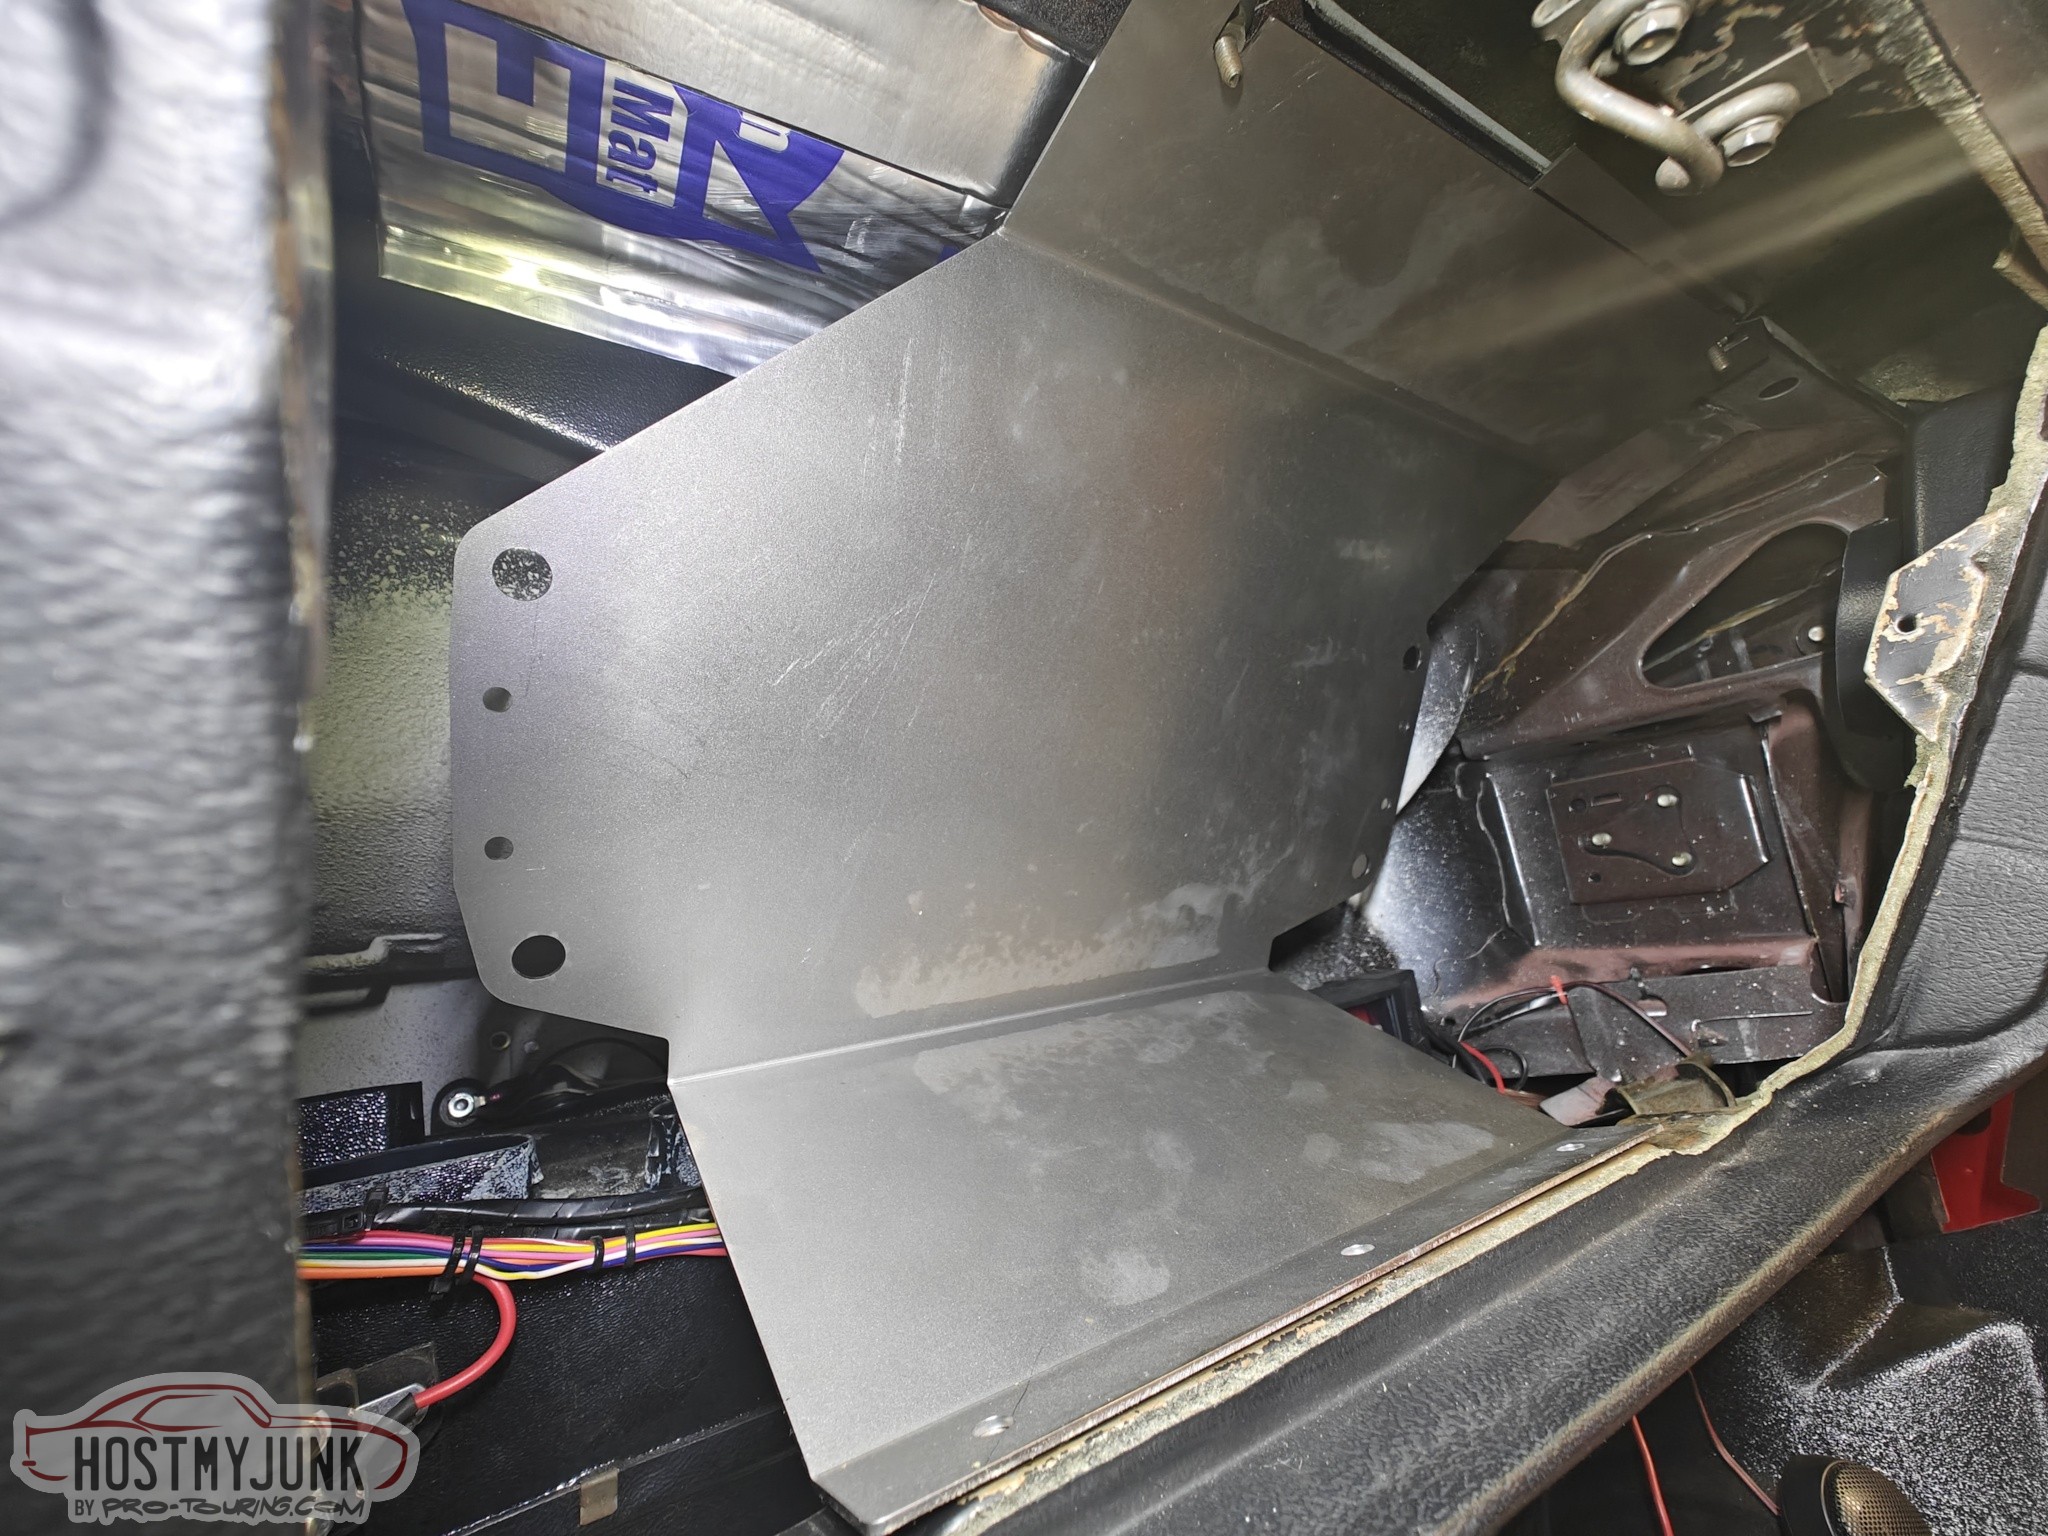
The Dominator case is not supposed to be grounded to the car chassis. It actually has plastic and rubber mounts that are already inserted into the case. However, to isolate it more, I used rubber nut threaded inserts. To fasten the auxiliary bracket to the main bracket I used U-nuts.
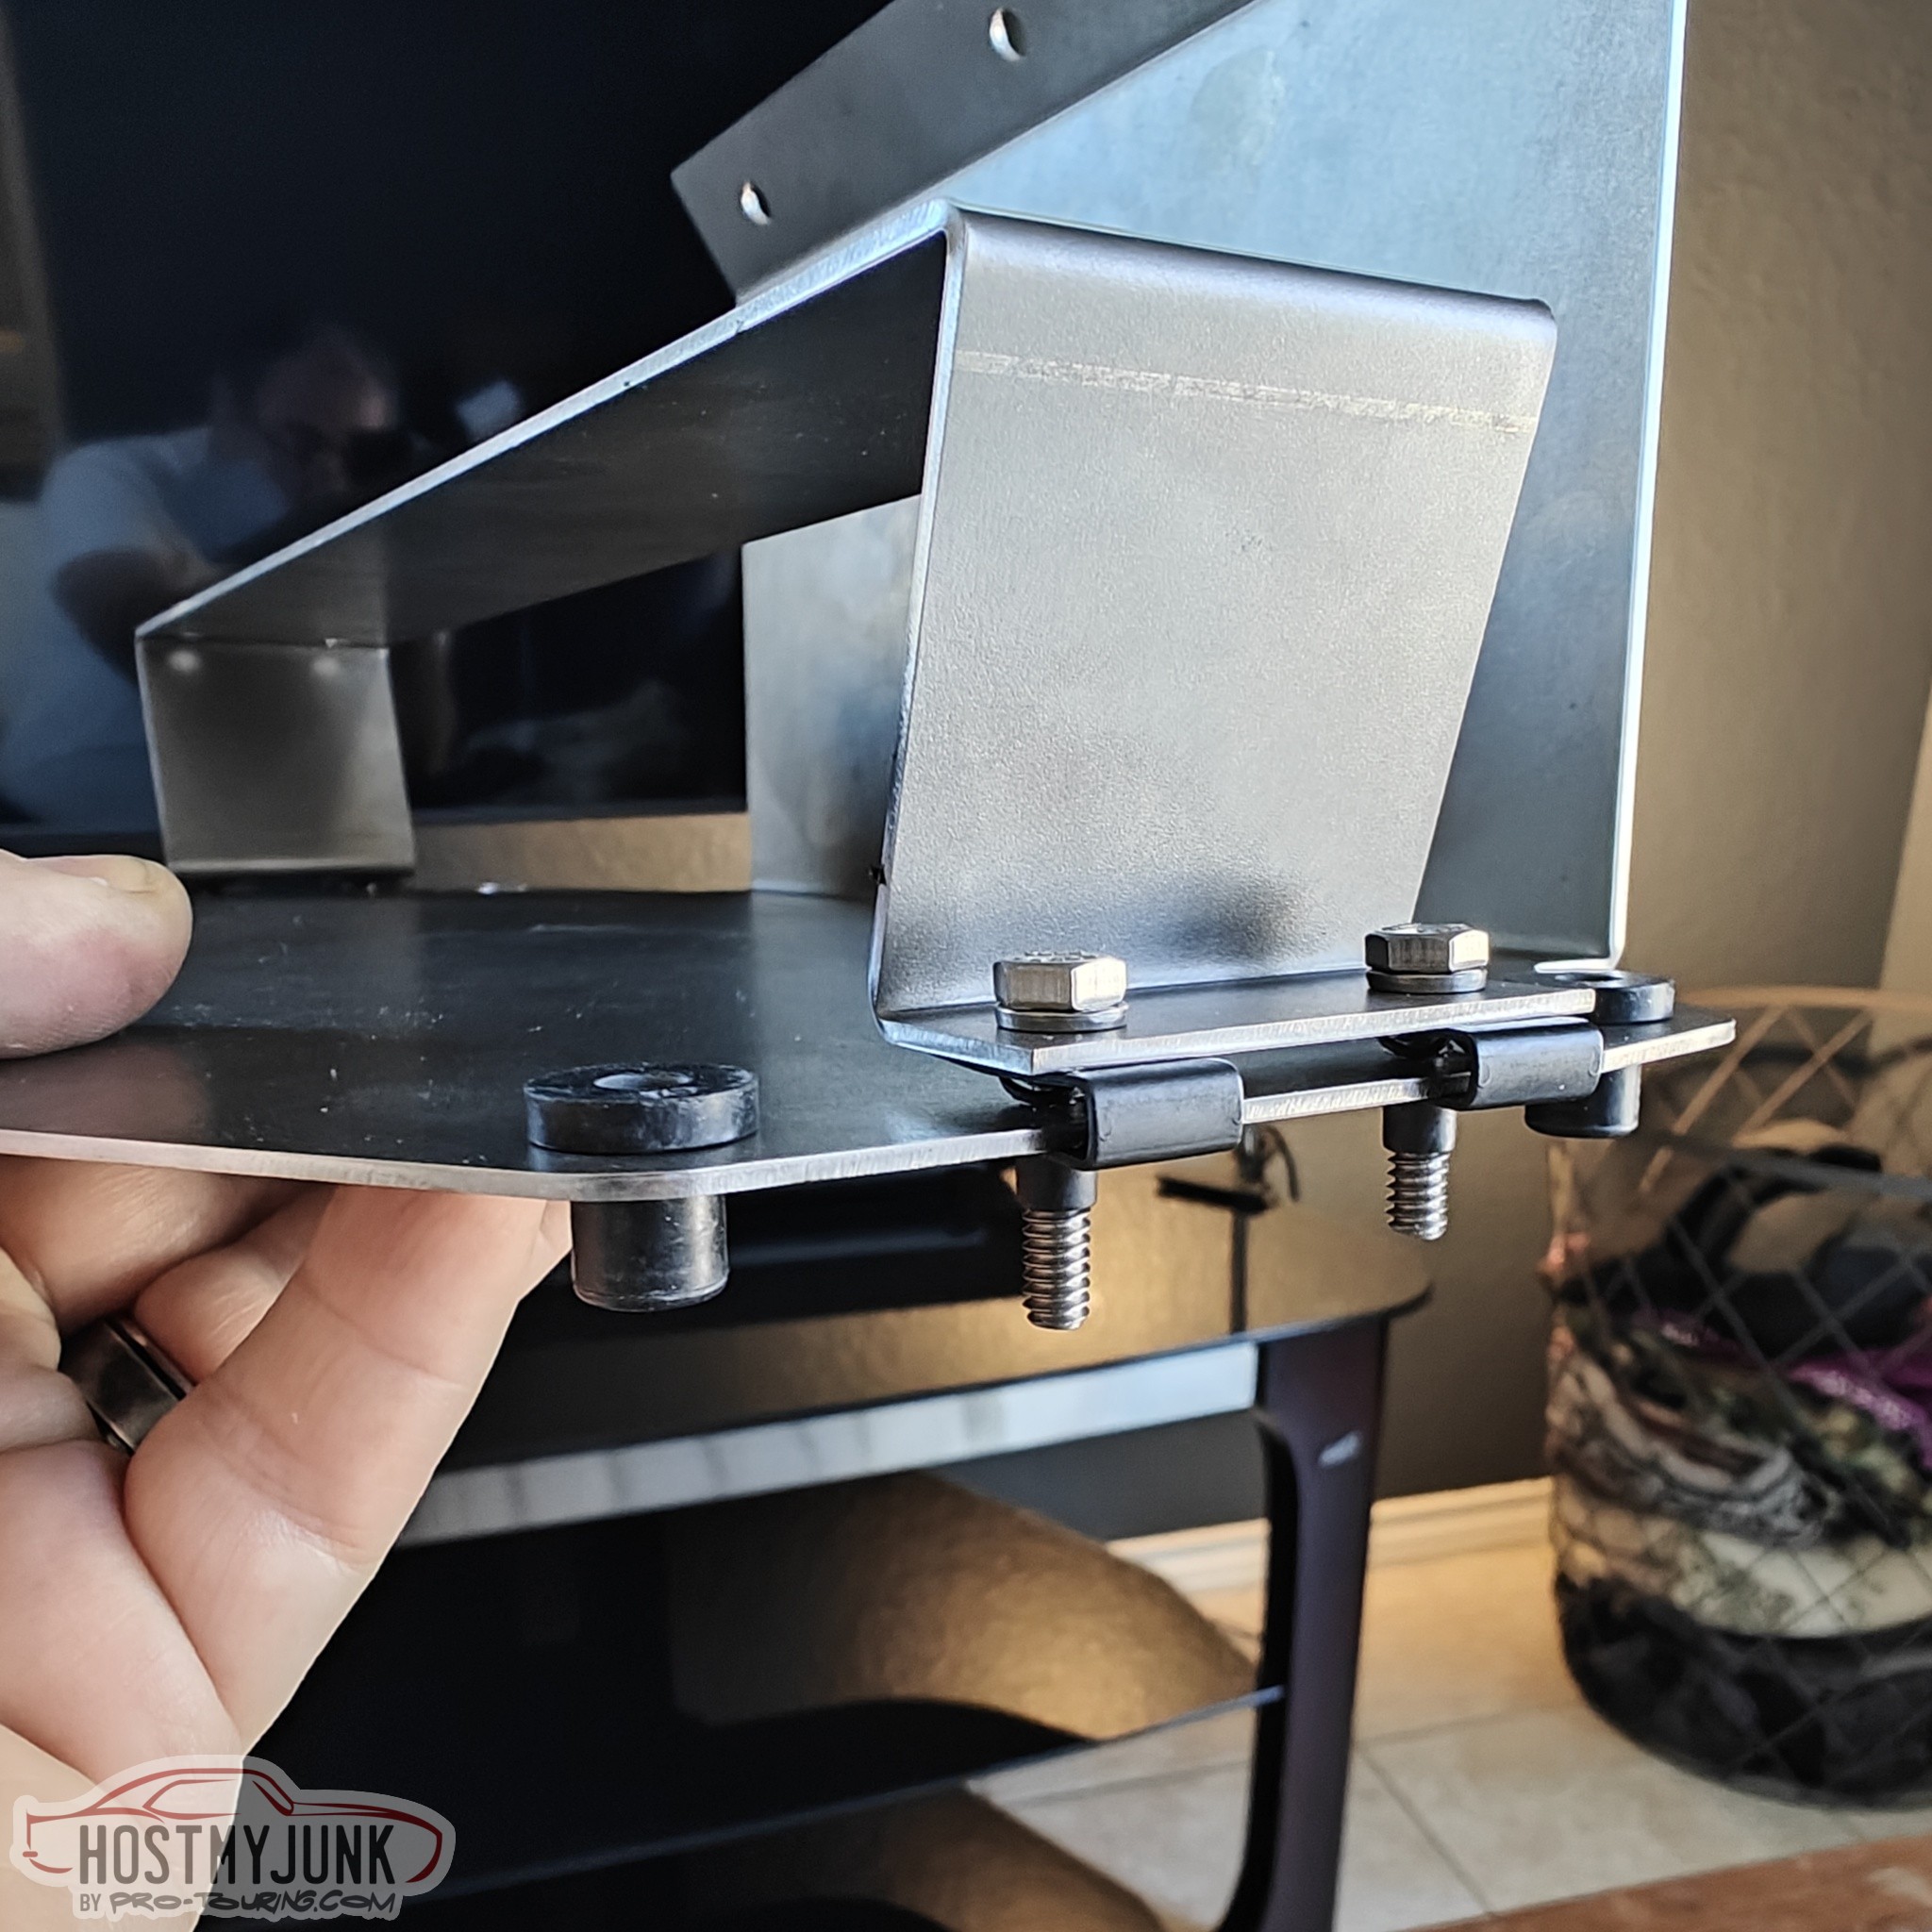
Here you can see how it all fits together.
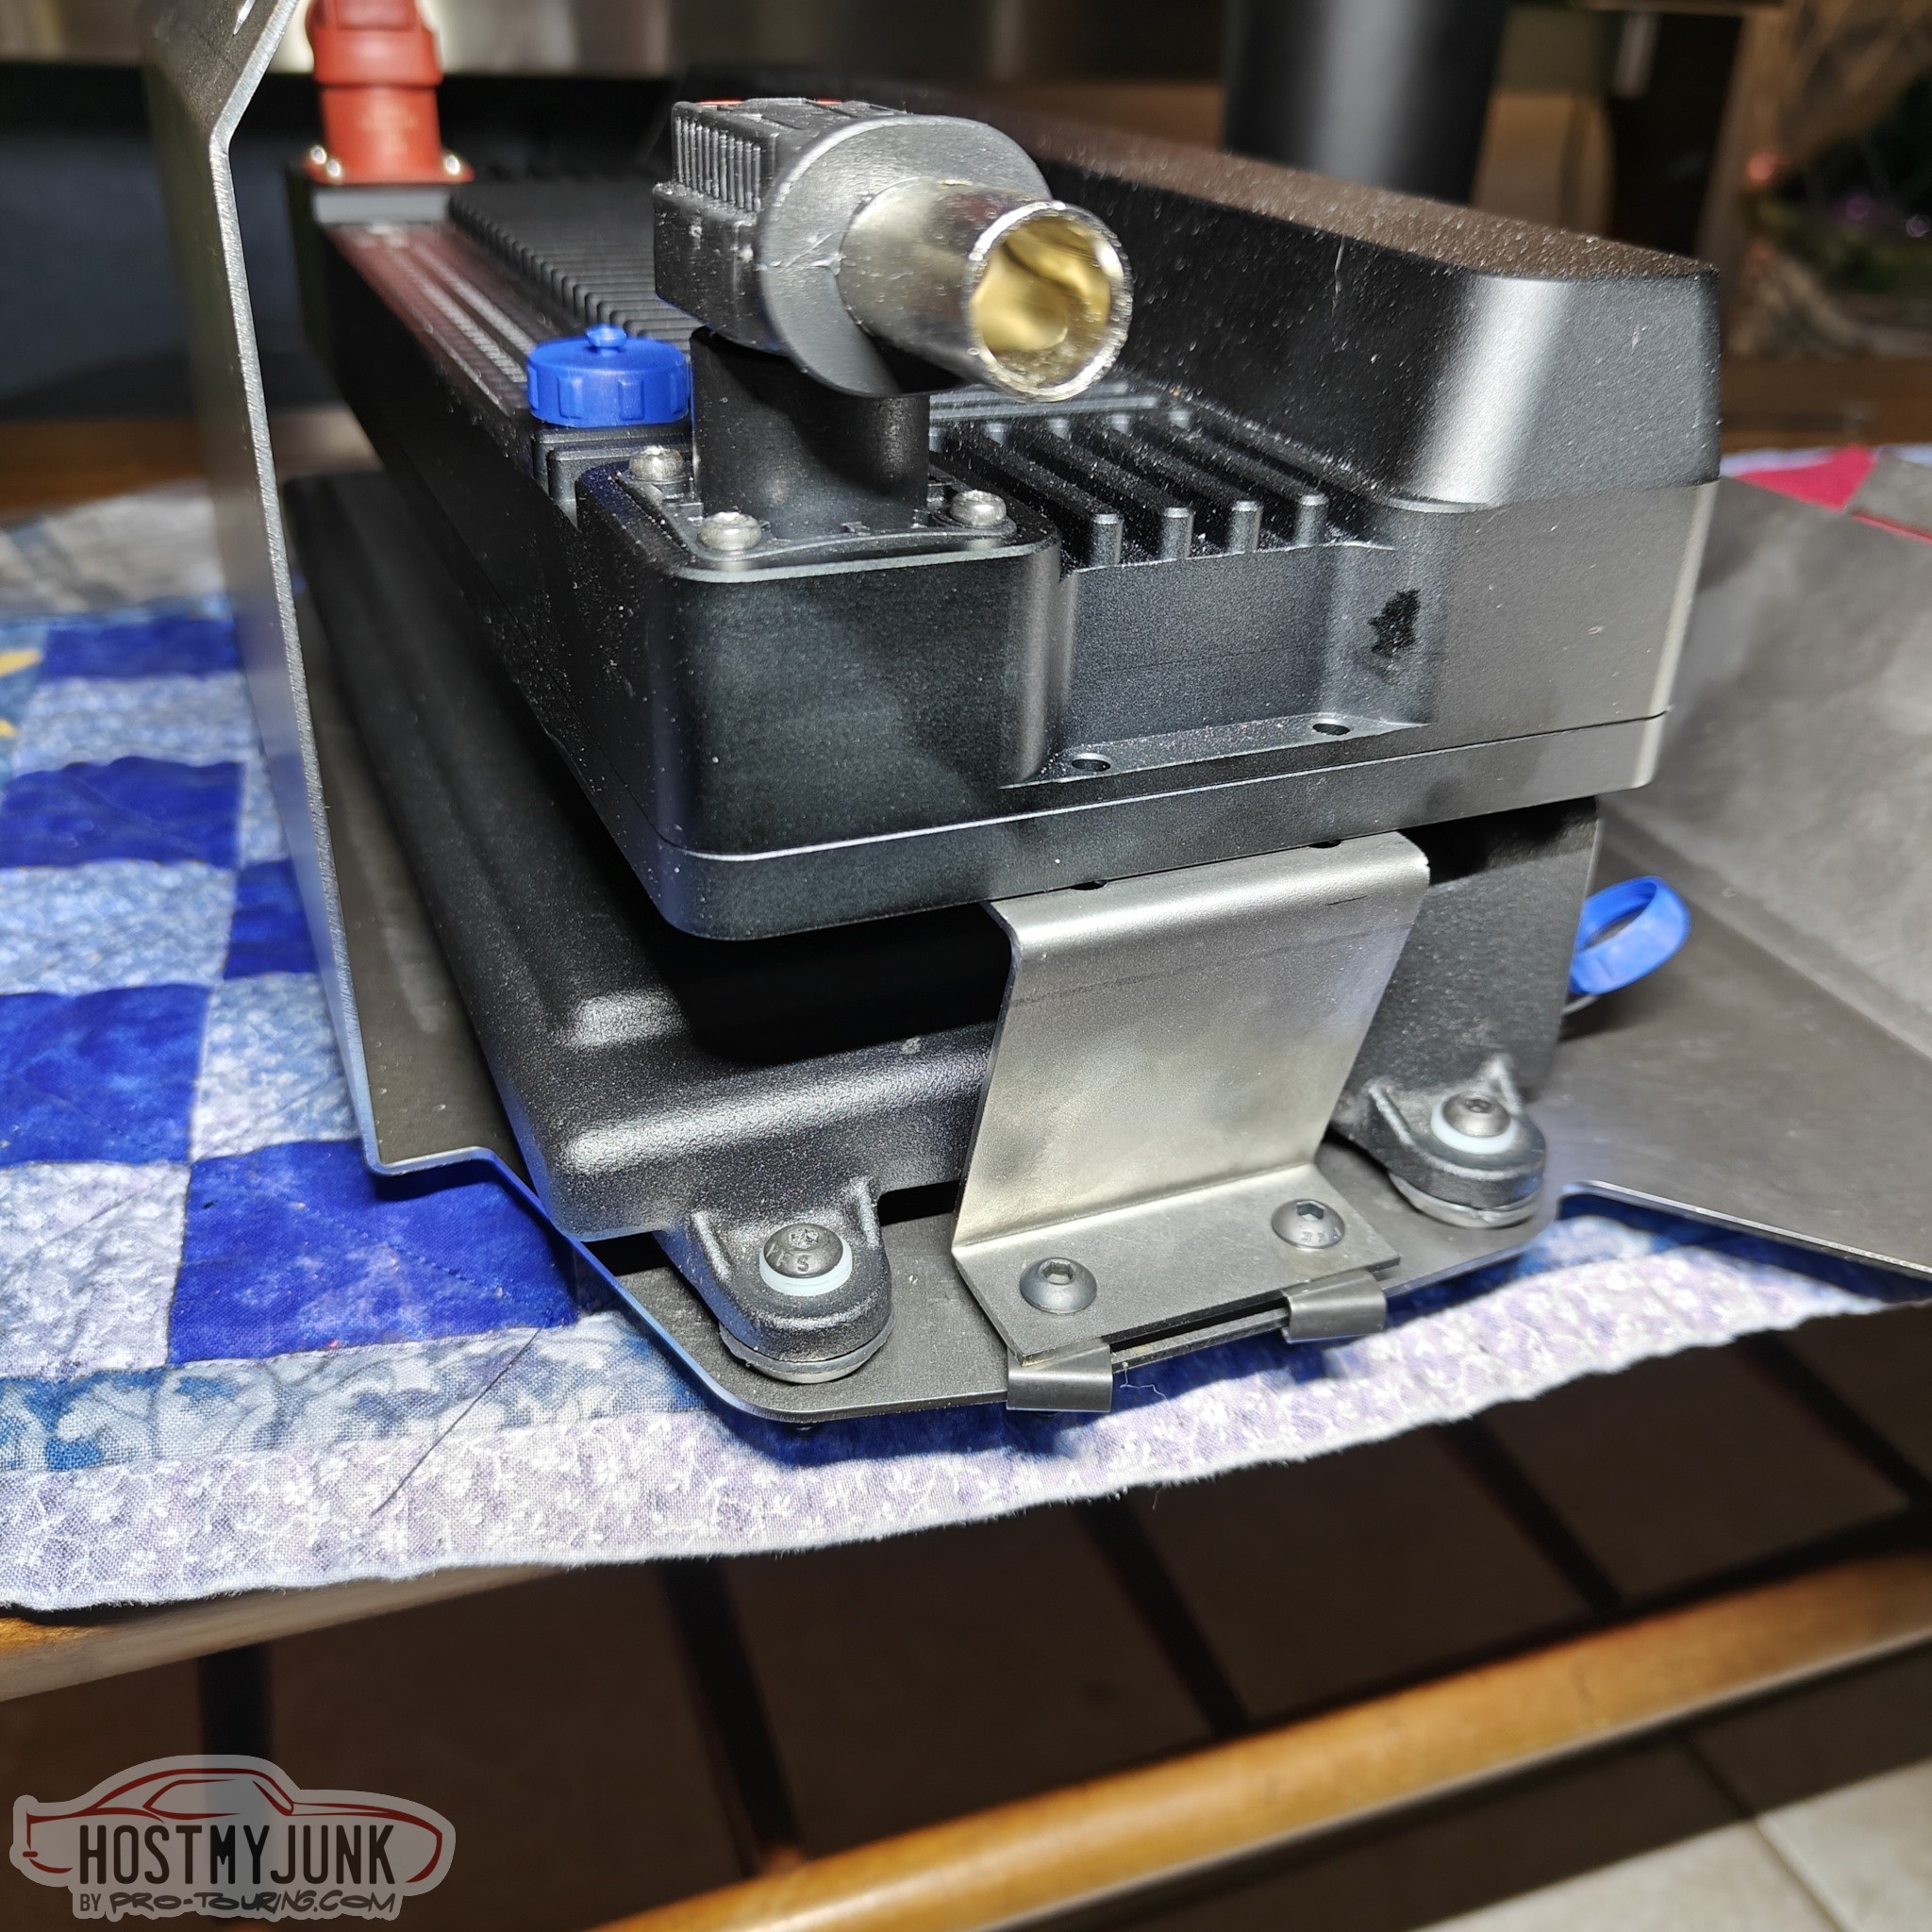
Unfortunately, the holes in the PDM are too small for #10 screws, so I have to #8 screws and corresponding U-nuts. I used a temporary support for picture purposes. LOL
Andrew
The Dominator case is not supposed to be grounded to the car chassis. It actually has plastic and rubber mounts that are already inserted into the case. However, to isolate it more, I used rubber nut threaded inserts. To fasten the auxiliary bracket to the main bracket I used U-nuts.
Here you can see how it all fits together.
Unfortunately, the holes in the PDM are too small for #10 screws, so I have to #8 screws and corresponding U-nuts. I used a temporary support for picture purposes. LOL
Andrew


Thread Starter
Joined: Mar 2003
Posts: 10,600
Likes: 1,881
From: Little Austin
Yes, I definitely still like the Volt fans provided your using Holley EFI or have another way to drive the fan speed based on various parameters. The configuration gets more tricky with AC but I have ways around that.
Andrew

Registered User
Joined: Dec 2025
Posts: 2
Likes: 2
Thanks for the kind words. I need to get back to this project and get the ZF8HP90 transmission installed.
Yes, I definitely still like the Volt fans provided your using Holley EFI or have another way to drive the fan speed based on various parameters. The configuration gets more tricky with AC but I have ways around that.
Andrew
Yes, I definitely still like the Volt fans provided your using Holley EFI or have another way to drive the fan speed based on various parameters. The configuration gets more tricky with AC but I have ways around that.
Andrew
This build is getting a Holley Terminator max, I'll be running DBW with that, and ideally controlling the trans and fans with it. I should be able to do the PWM control direct from the ECU to the fans right? No separate PWM control module needed?
What radiator did you use in your GTO? Did you go for the LS style with both in/out on the passenger side or use a long hose across the top?
Thread Starter
Joined: Mar 2003
Posts: 10,600
Likes: 1,881
From: Little Austin
Everything I read says that 8HP90 is the transmission to use now. This build is going to get a 4l65e for simplicity, but one of those 8 spds will show up sooner or later.
This build is getting a Holley Terminator max, I'll be running DBW with that, and ideally controlling the trans and fans with it. I should be able to do the PWM control direct from the ECU to the fans right? No separate PWM control module needed?
What radiator did you use in your GTO? Did you go for the LS style with both in/out on the passenger side or use a long hose across the top?
If you have AC, you'll want to add an AC pressure sensor to the dryer and wire that as an input to the Terminator X Max.
If I can help you with the tuning and all the details, please email me: projectgattago at Gmail dot com
Andrew


Thread Starter
Joined: Mar 2003
Posts: 10,600
Likes: 1,881
From: Little Austin


Thread Starter
Joined: Mar 2003
Posts: 10,600
Likes: 1,881
From: Little Austin