project "Shop Rag" 1965 El Camino drag car build
#121
Yeah, that tie rod to oil pan clearance is a pain for sure. I used the Mast pan in my car. I still had to make custom engine mount stands. It was a dance between steering clearance, header fit and keeping the engine as low as possible.
#122
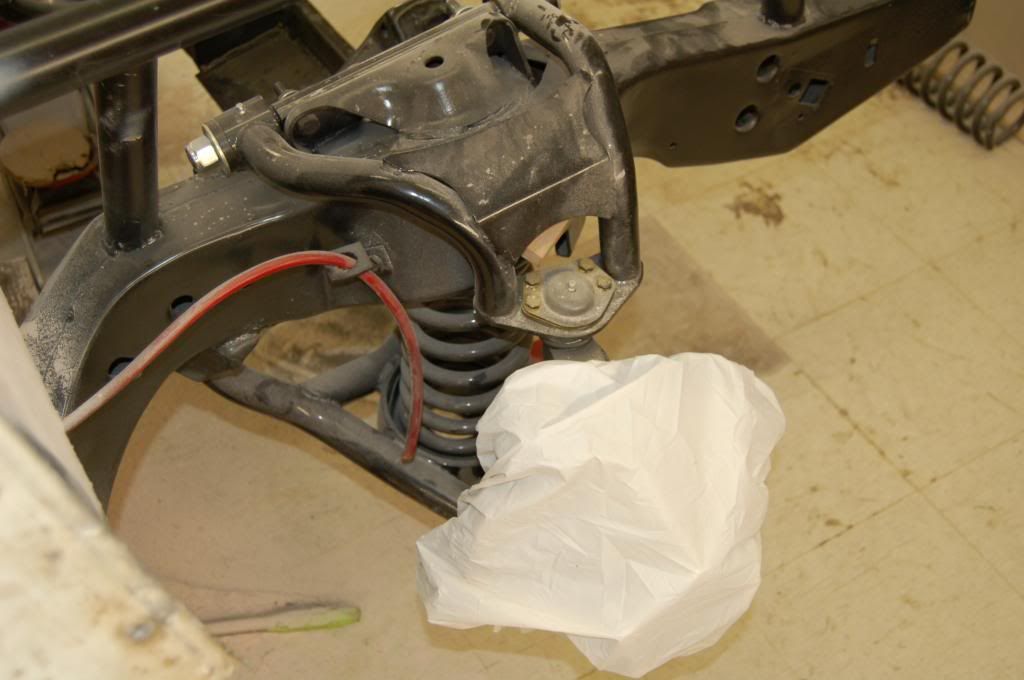
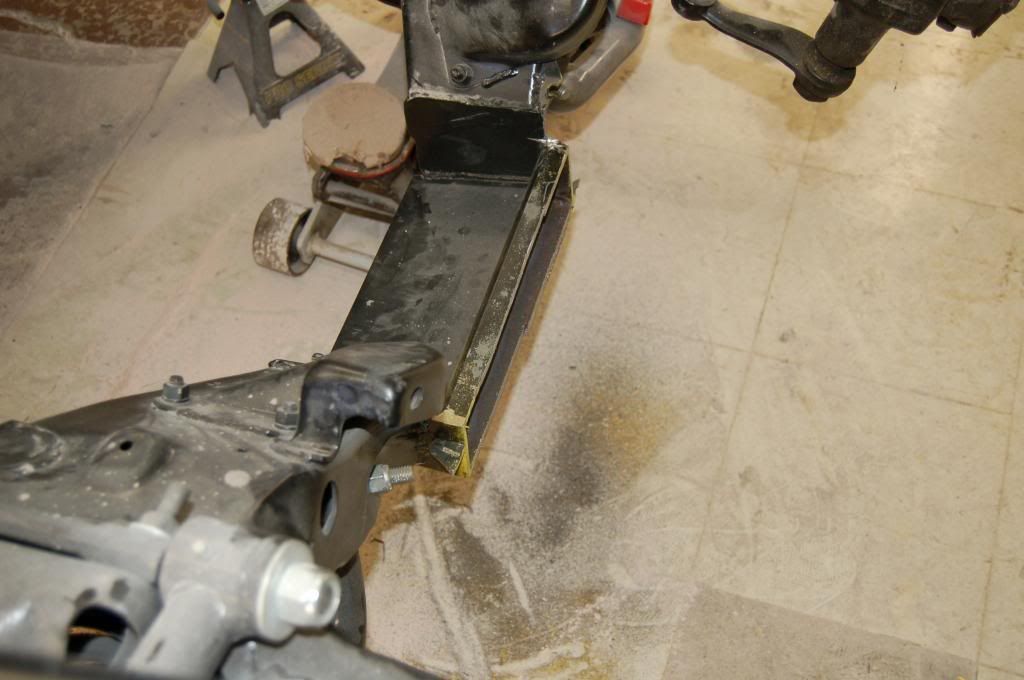
Well, here is the beginning of the re-engineer of the steering. We did a test of the arc the drivers side wheel went thru from full wheelie to complete bottom out and it was very apparent the bump steer was going to be a problem. We removed the rack and Joe started cutting back the cross member for clearance of a stock set up.
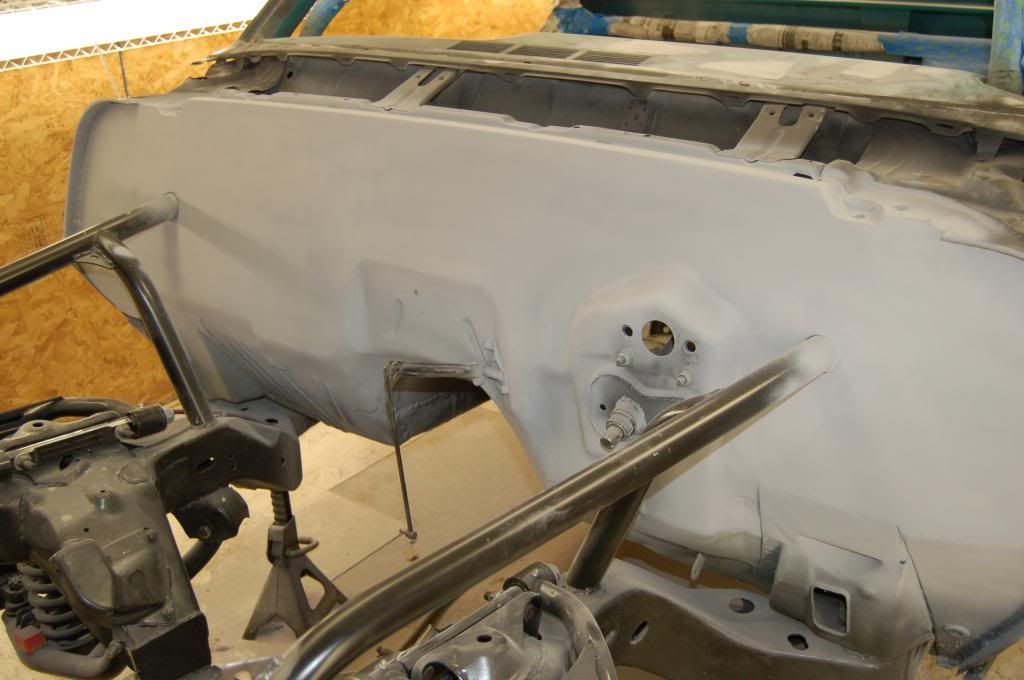
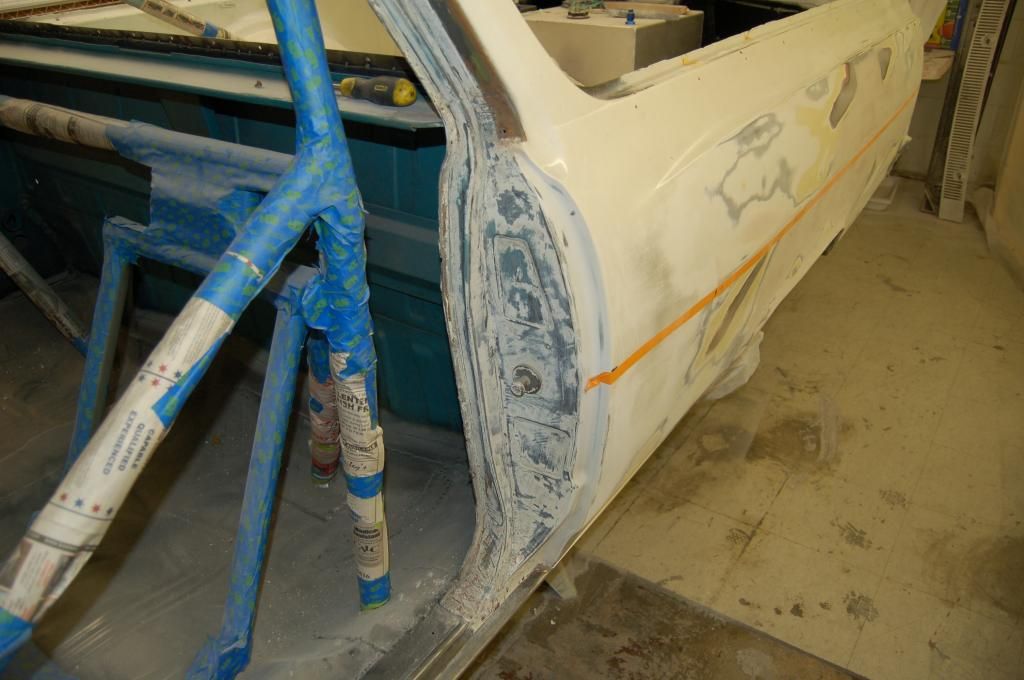
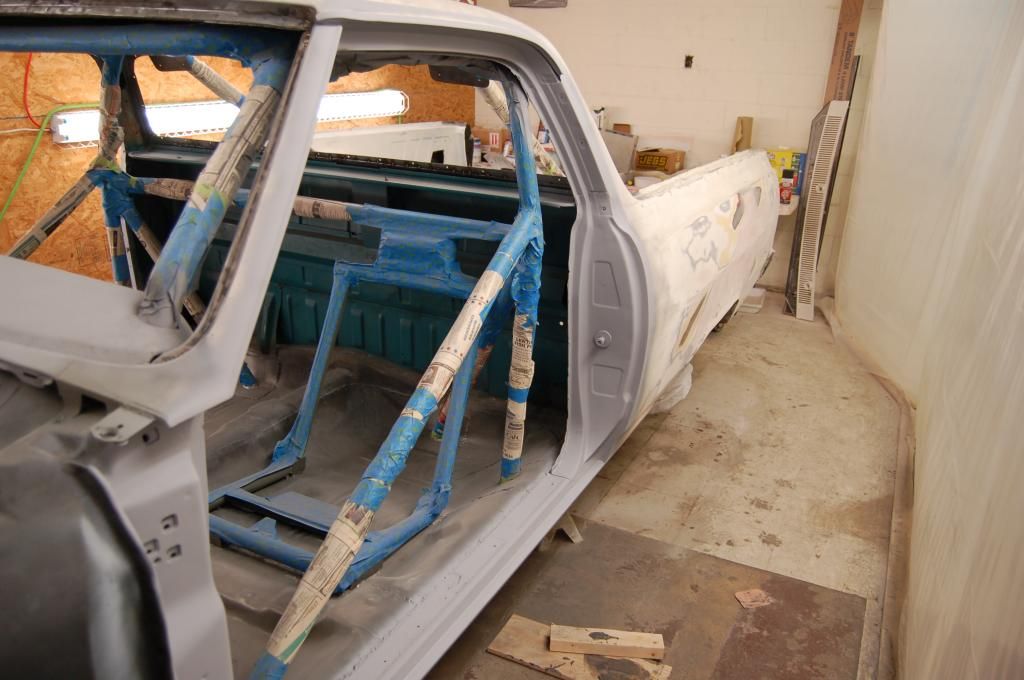
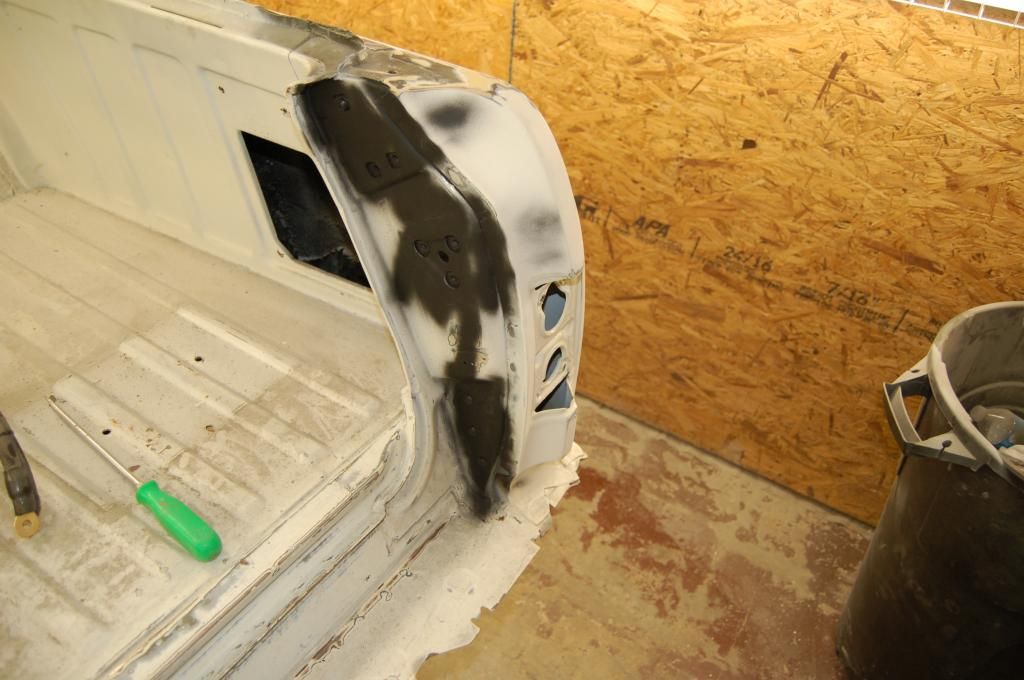
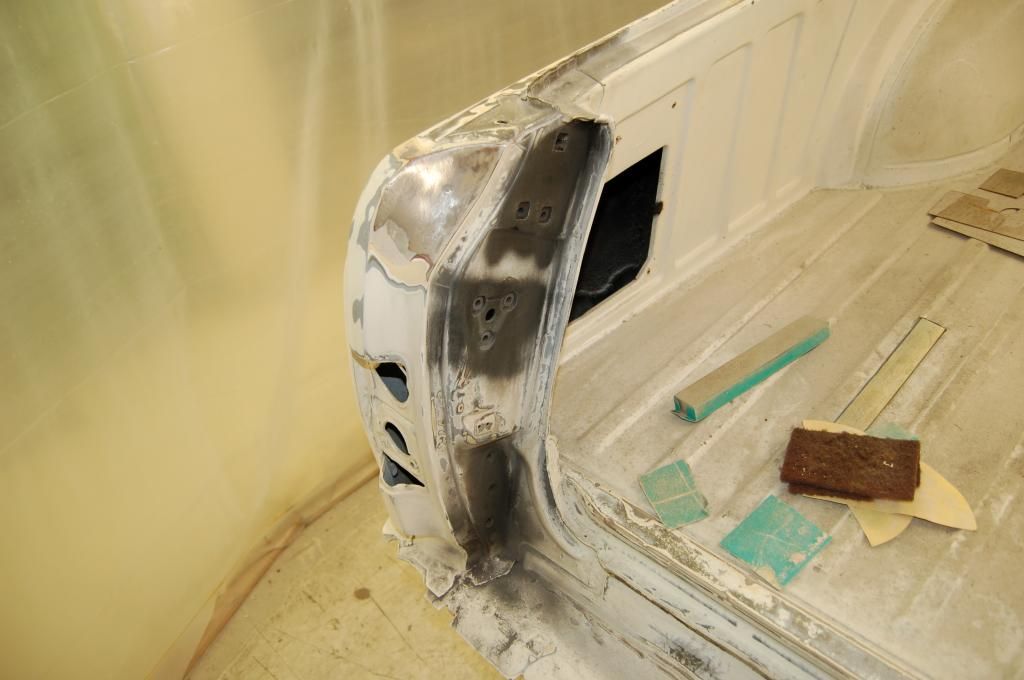
More progress on the bodywork continues. The bulkhead are is tough to clean up so a small piece at a time is the way to go without getting discouraged.
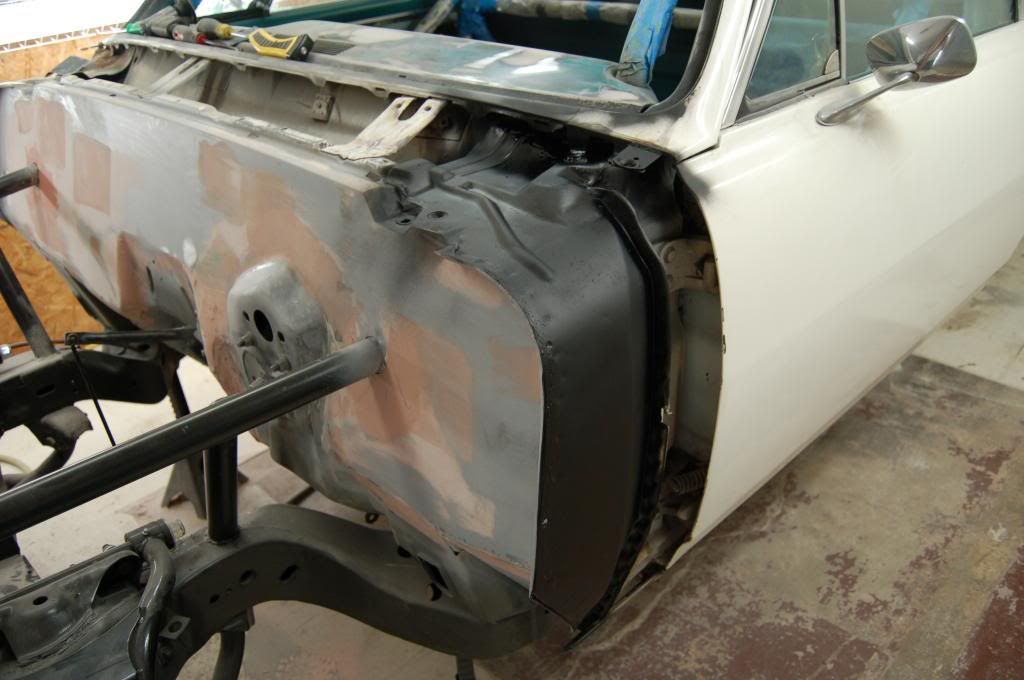

More progress on the bodywork continues. The bulkhead are is tough to clean up so a small piece at a time is the way to go without getting discouraged.

#123
#124
Another distraction, the same customer with the Camaro that Joe just upgraded the performance on decided this street S10 needs a real full cage for the track. The cage that is in it now was just for looks and would not pass tech. A lot of work went in to this "just for looks"!
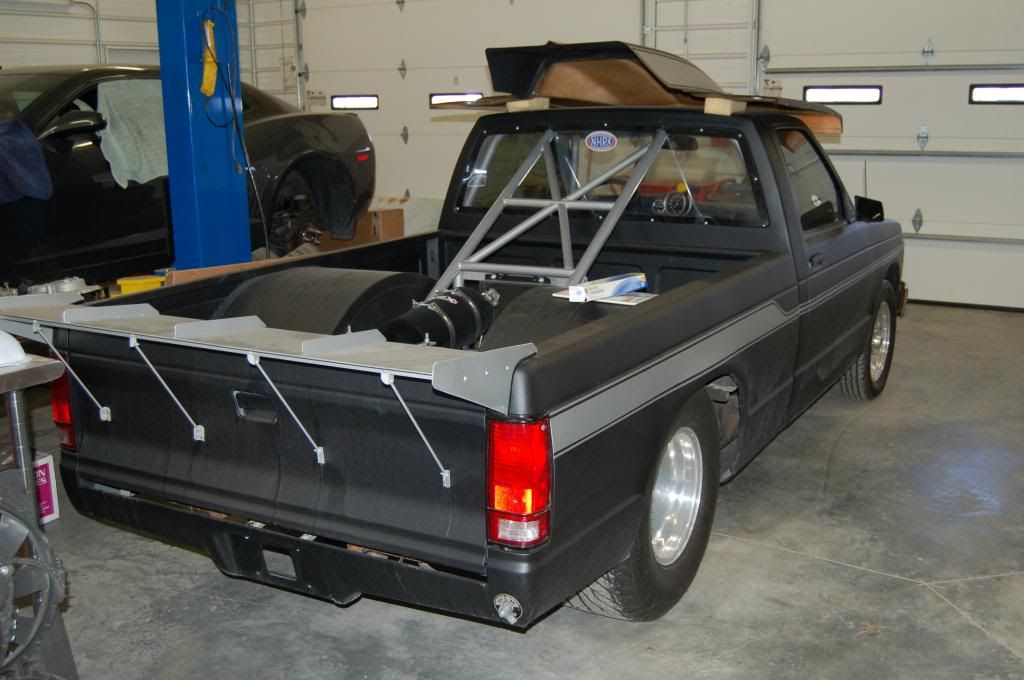
It has a big block now but Joe is working on the customer to swap in an LS.
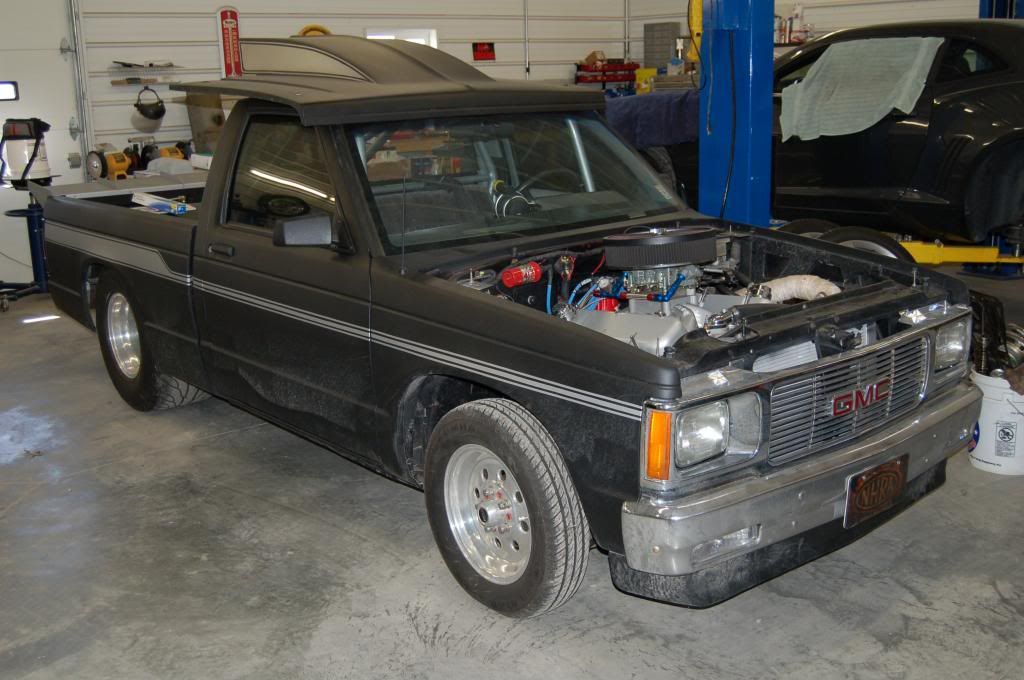

It has a big block now but Joe is working on the customer to swap in an LS.

#125
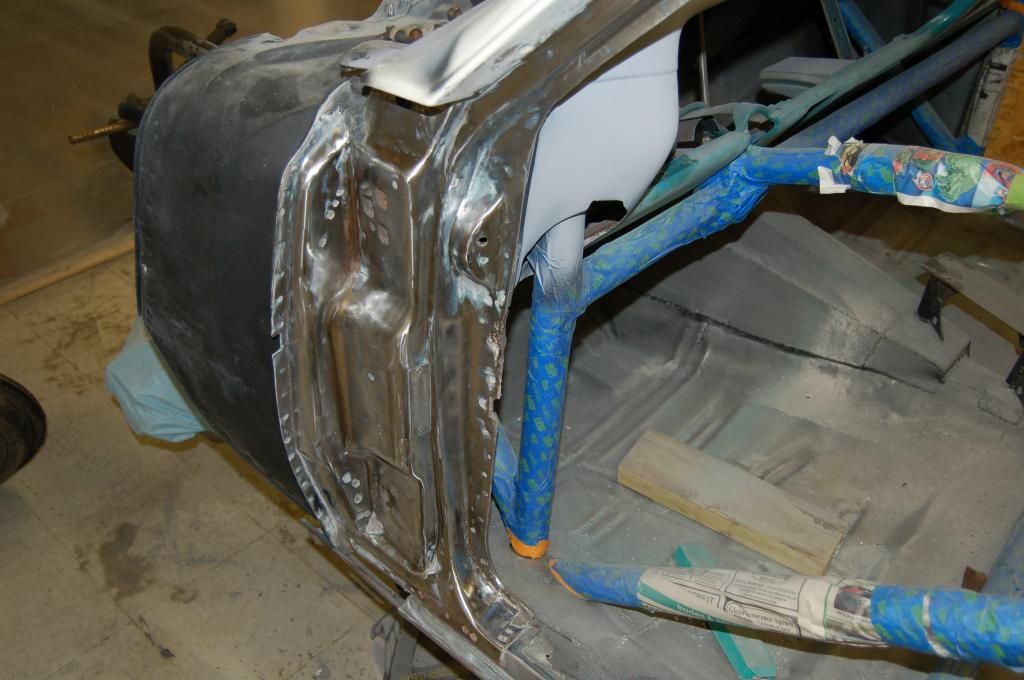
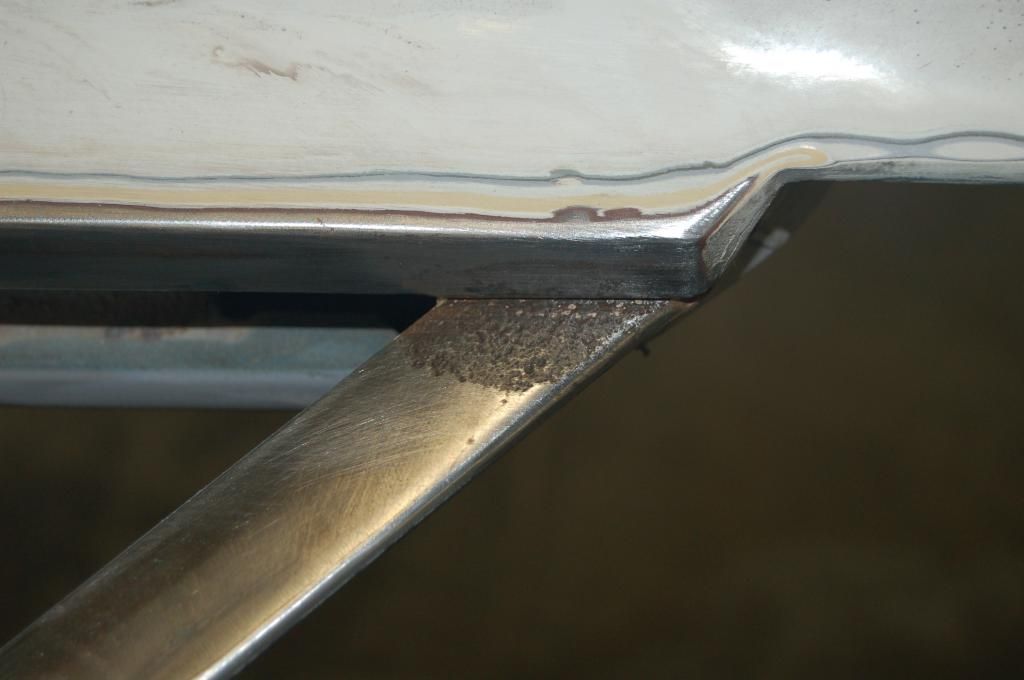
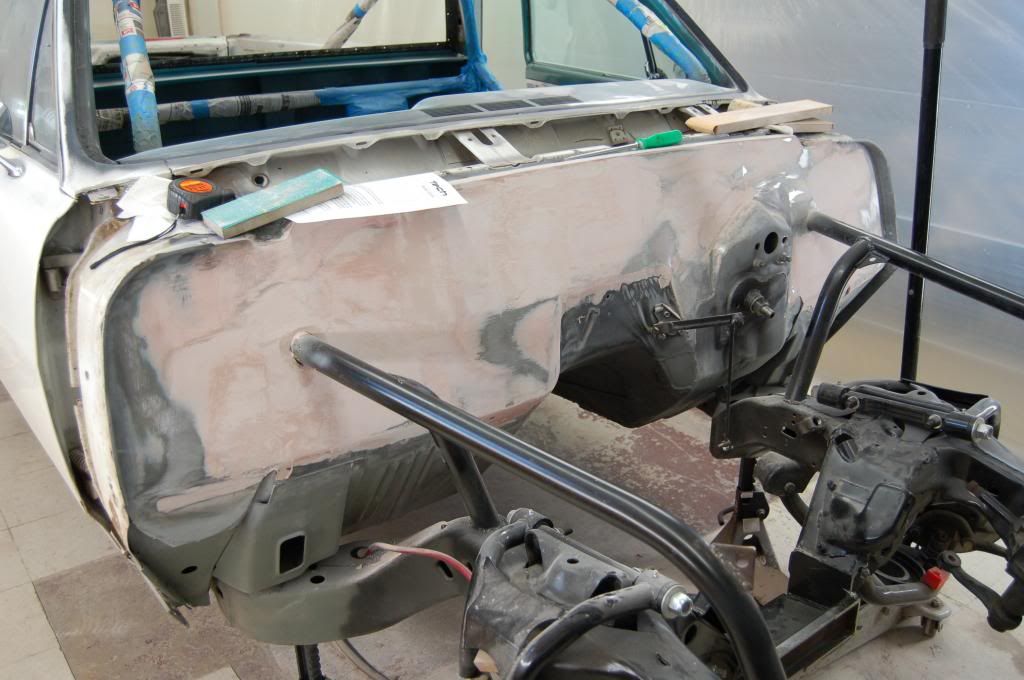
What appears to be straight in raw metal isn't always what it looks like. About 20ish hours has gotten us to this point on the firewall, but we are close.
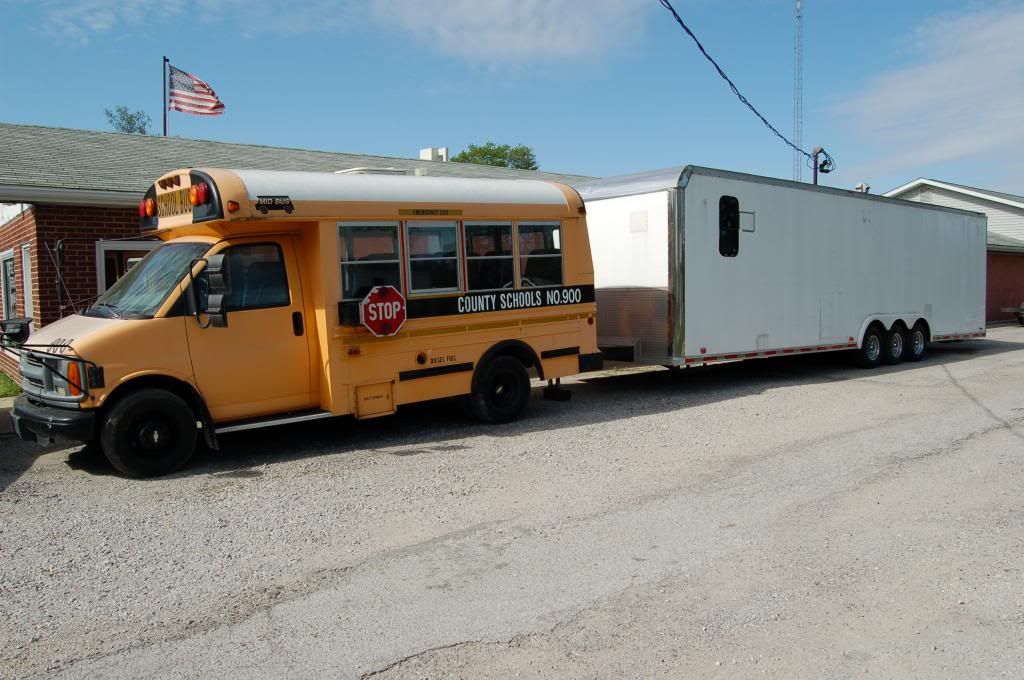
One step closer to getting to the track. We found this bus locally, but the bus came from Kentucky so the body and frame are pretty rust free. It has a 6.5 Turbo Diesel and automatic with lots of grunt. As we have time, we will turn it into a redneck RV. Got a bargain basement price on it too.
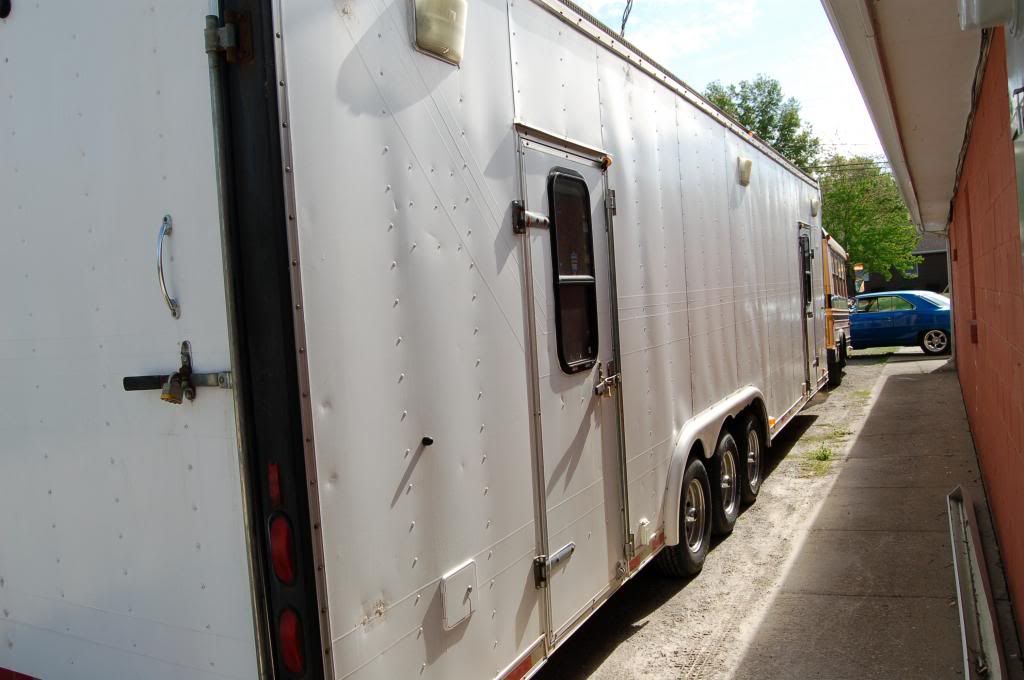
The trailer we picked up about 30 miles from where we live. A friend of a friend of Joe's needed to get rid of it quick, so we got a pretty good price on it too. It started out life as a emergency rescue trailer in Texas with a partition in the middle separating the front and back halves. It is all open now and has plenty of room for cabinets, generator, etc, and still fit Joe's dragster too.

One step closer to getting to the track. We found this bus locally, but the bus came from Kentucky so the body and frame are pretty rust free. It has a 6.5 Turbo Diesel and automatic with lots of grunt. As we have time, we will turn it into a redneck RV. Got a bargain basement price on it too.

The trailer we picked up about 30 miles from where we live. A friend of a friend of Joe's needed to get rid of it quick, so we got a pretty good price on it too. It started out life as a emergency rescue trailer in Texas with a partition in the middle separating the front and back halves. It is all open now and has plenty of room for cabinets, generator, etc, and still fit Joe's dragster too.

#126
#127
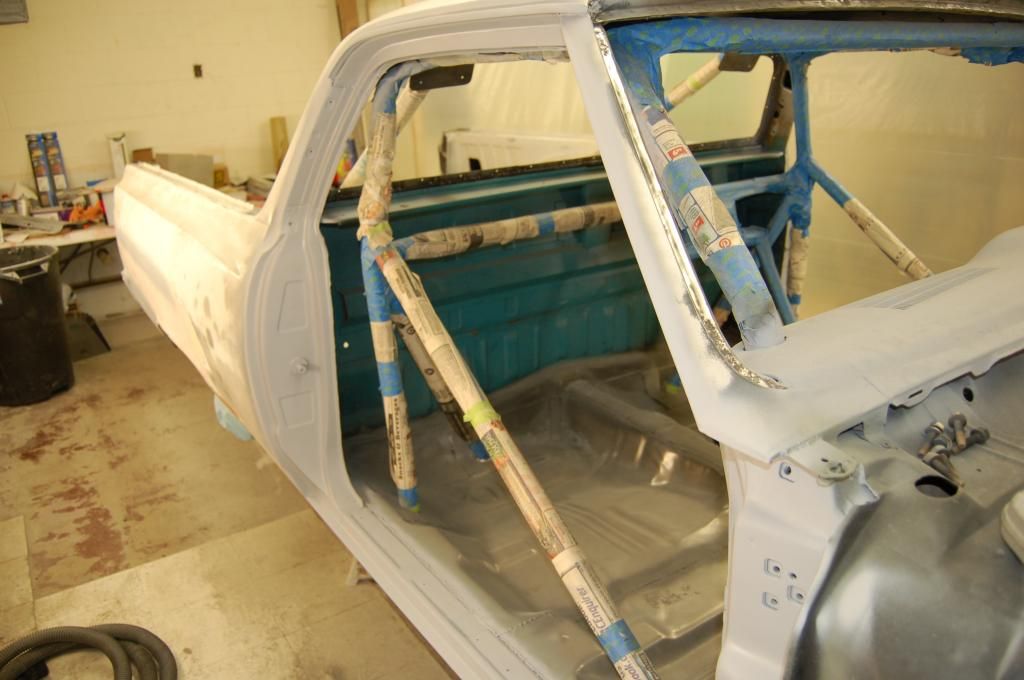
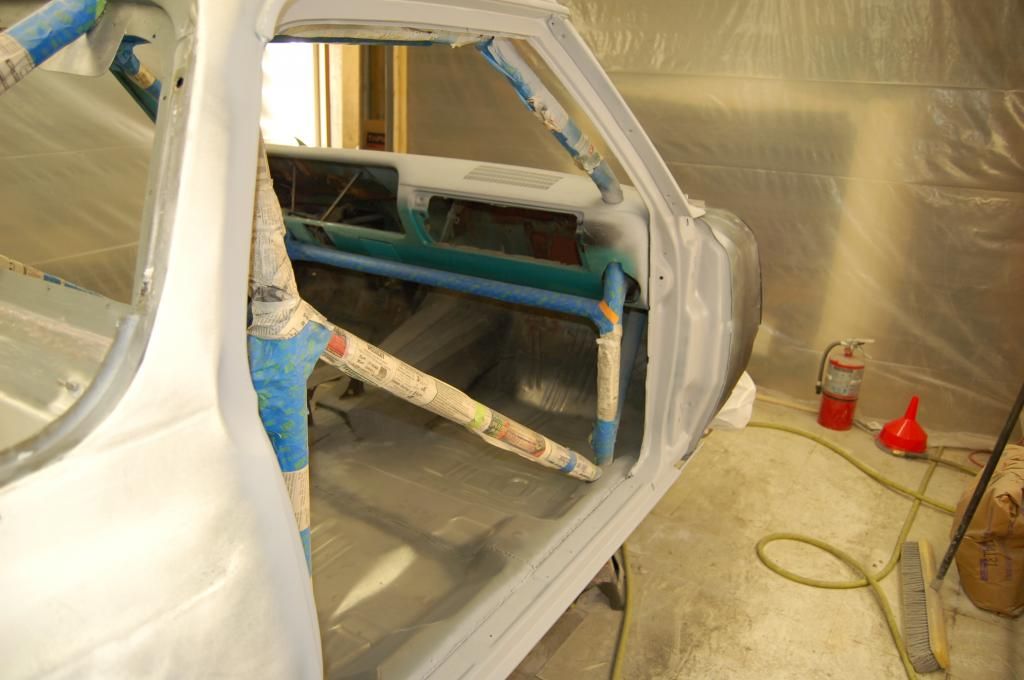
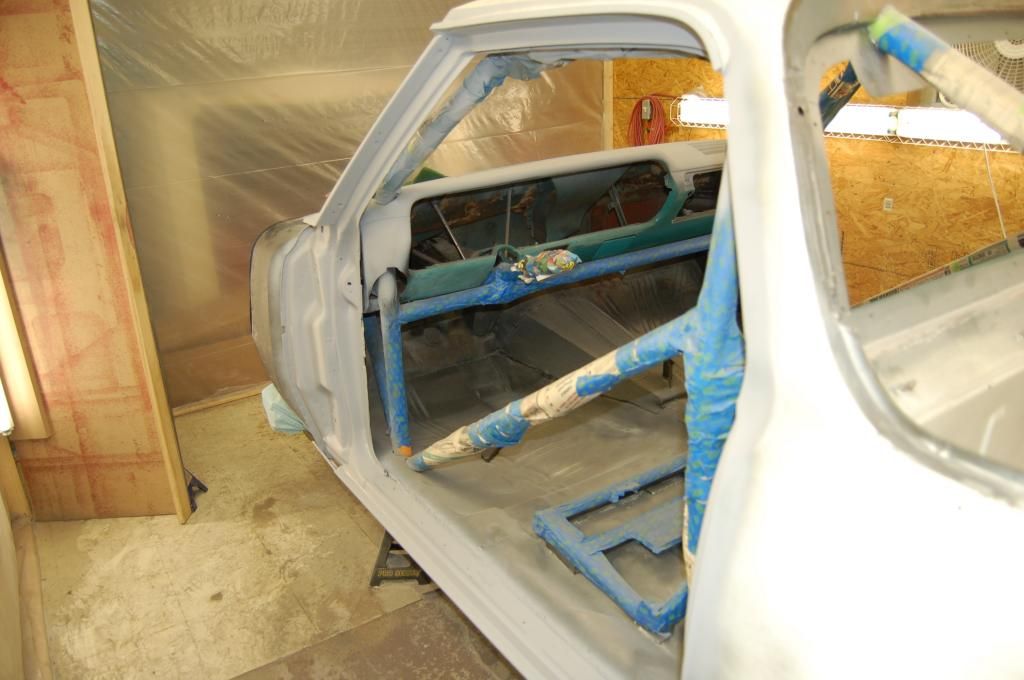
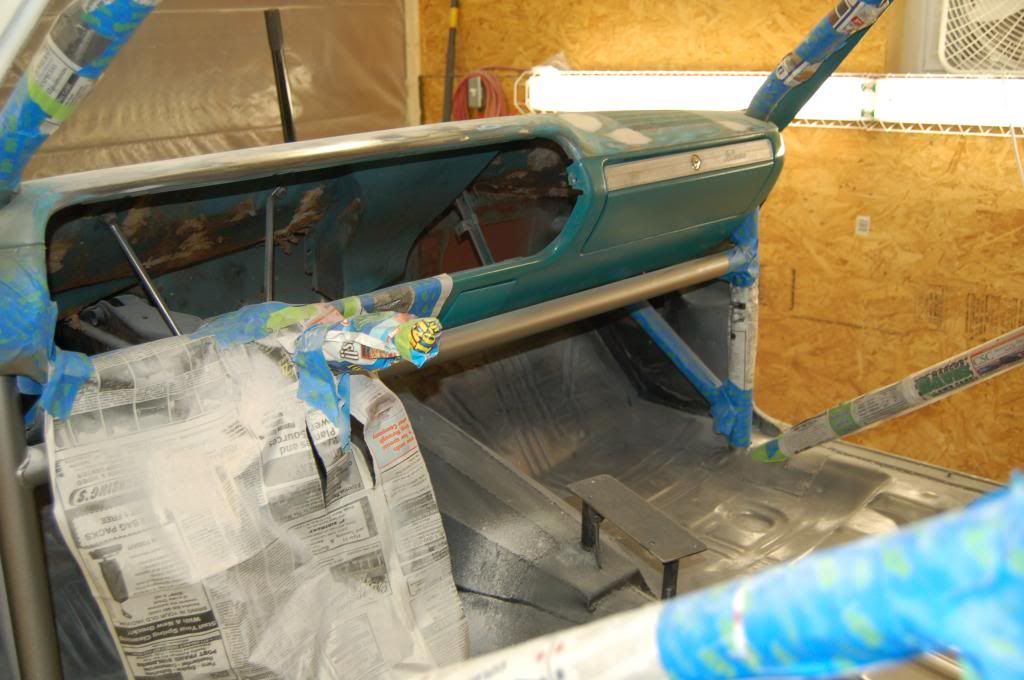
We also decided to paint the lower dash body color when we jam the doors and window openings. Then the top of the dash will be painted rock guard black so it has the look of a vinyl padded dash. We took the doors off so we can clean them up for paint and to clean up the jams for paint.
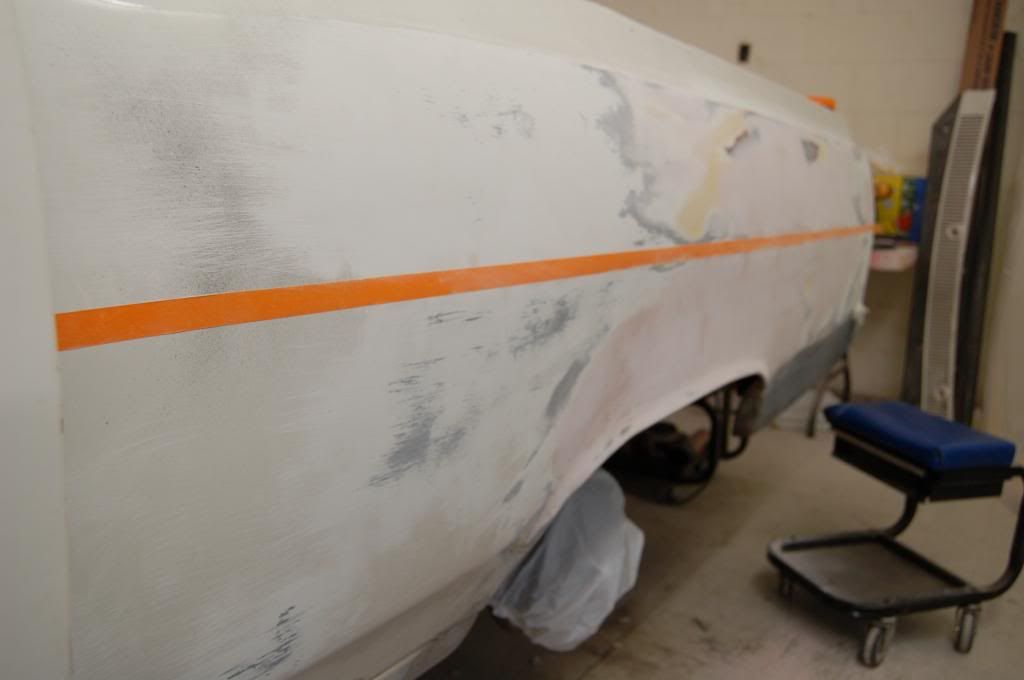
Drivers quarter is coming along. We weren't happy with our original tape line, so we snapped a chalk line from the front of the door to the rear of the quarter then pulled another tape line to get the body line straight while sanding.
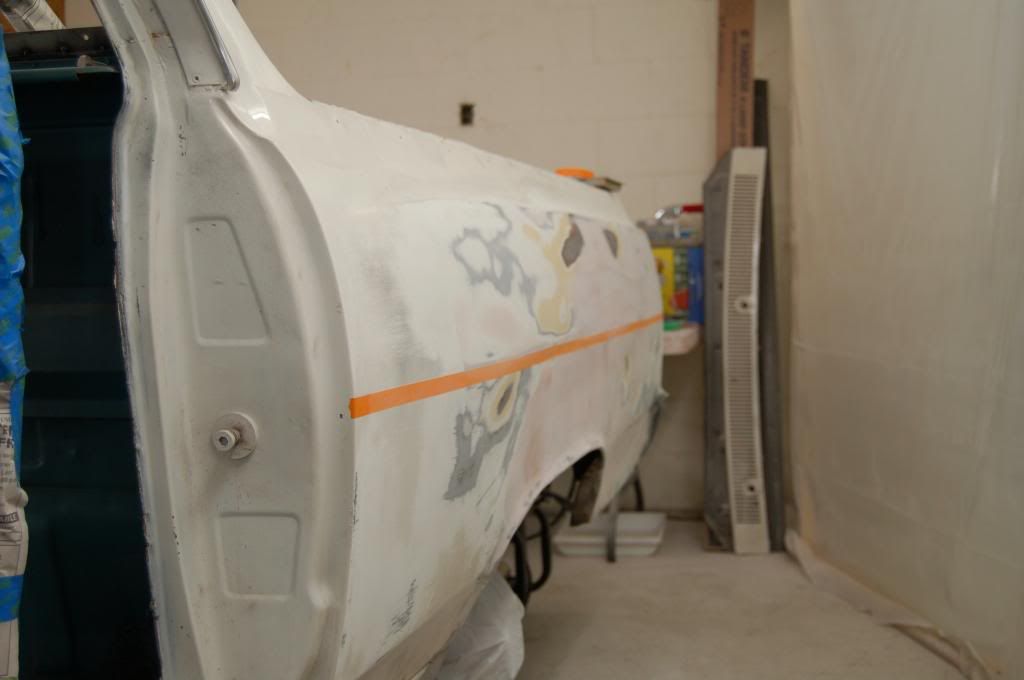

Drivers quarter is coming along. We weren't happy with our original tape line, so we snapped a chalk line from the front of the door to the rear of the quarter then pulled another tape line to get the body line straight while sanding.

Last edited by 65drag; 05-22-2014 at 06:18 AM.
#128
#129
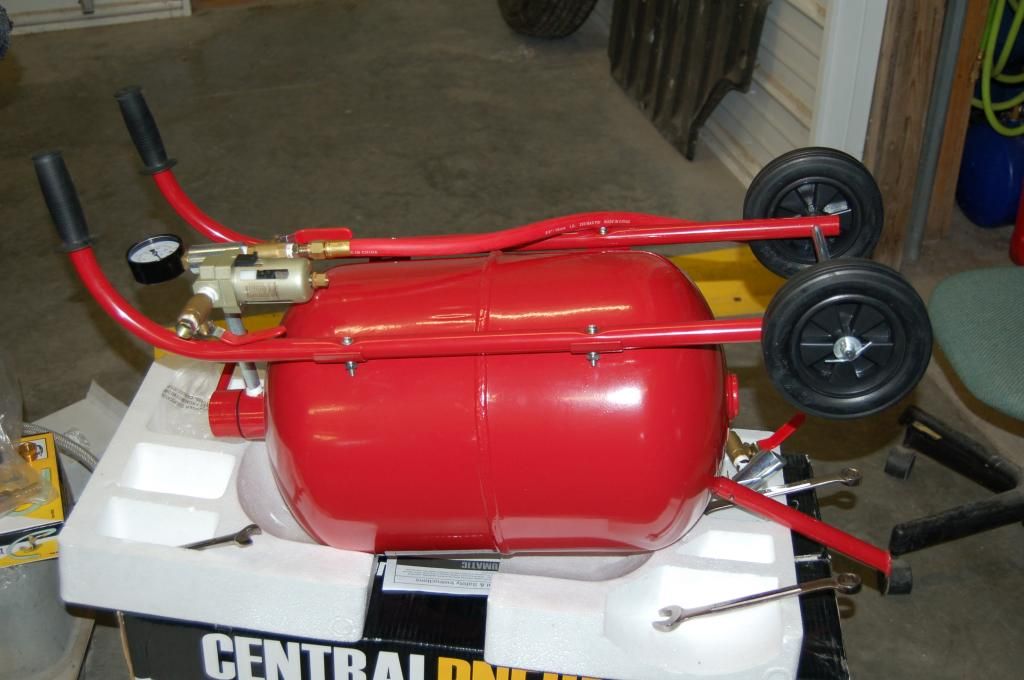
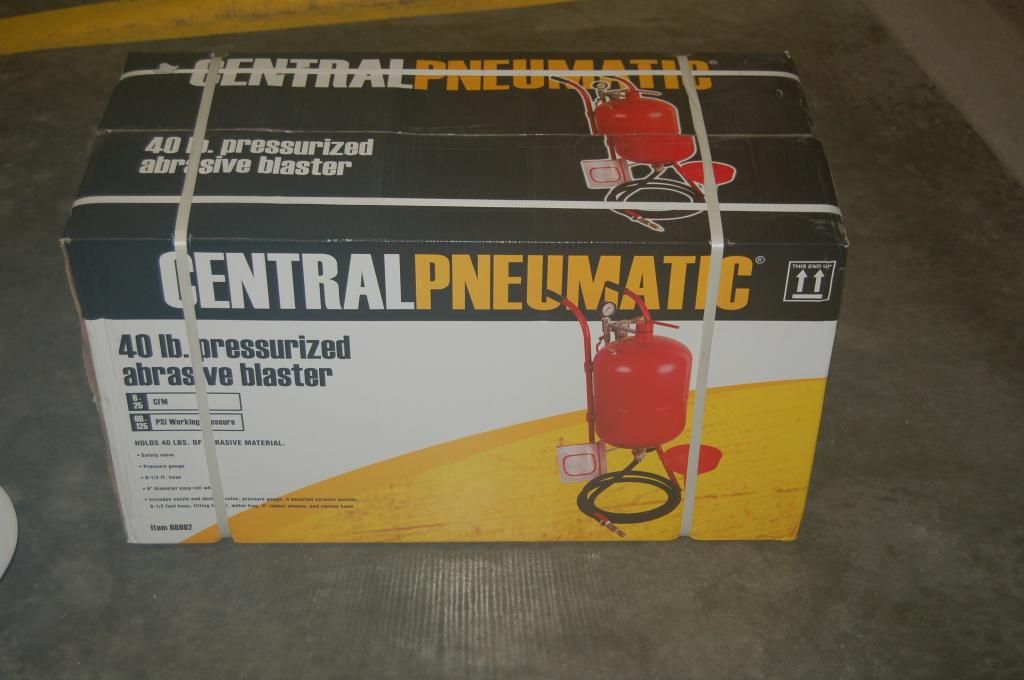
We decided to try a soda blaster to see if we can speed up the process. After a lot a research on the web, unless you want to invest in a high dollar unit, it appears that pretty much all of the blasters available are made by the same 3rd world country and just painted different colors for their various customers. I bought the Harbor Freight version and will document how well/crappy it works. Just as a comparison, Eastwood sells a 50 lb version of this same unit painted Blue for about $30 more plus shipping.
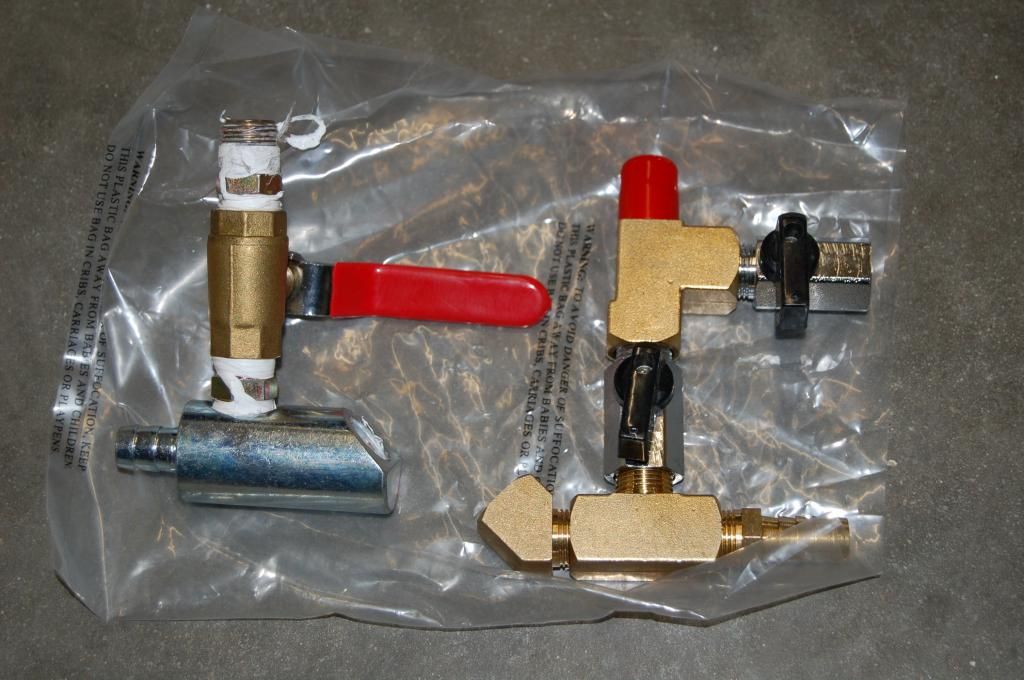
This is a multi-media blaster but for $25 you can buy a soda conversion which is just a different set of valves which meters the
soda. The one on the left comes with the unit and is for regular media and the one on the right is for soda which also has a purge hose to clean the excess soda out of the tank when you are done. You DO NOT want to leave excess soda in the unit when you are done, it will clog up and will be a real booger to clean out the next time you want to use it.

Last edited by 65drag; 07-04-2014 at 10:49 AM.
#130
#131
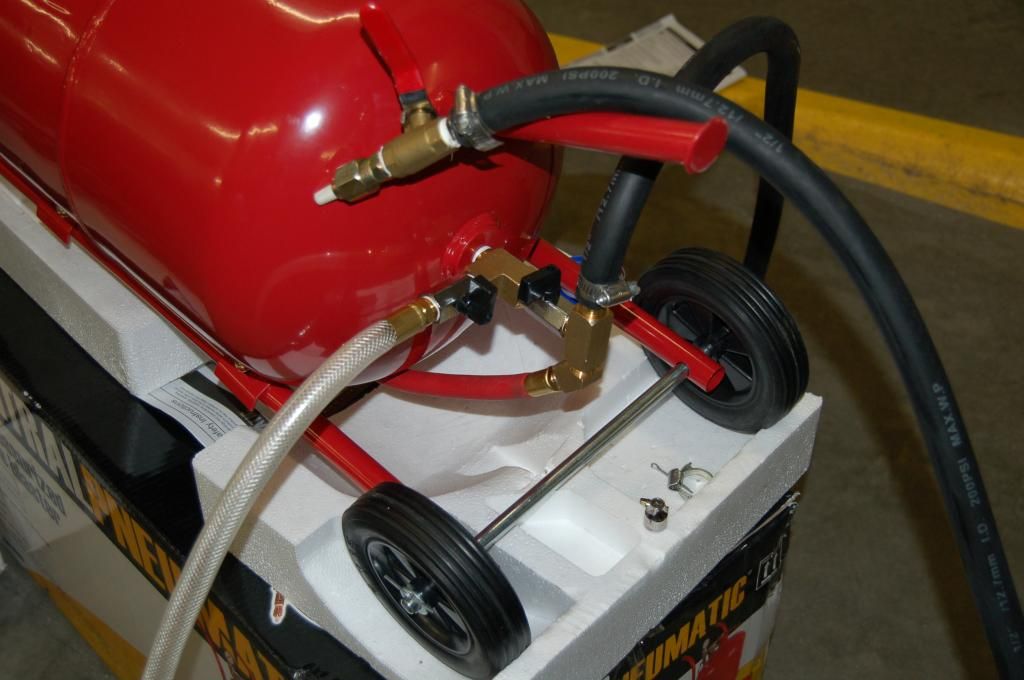
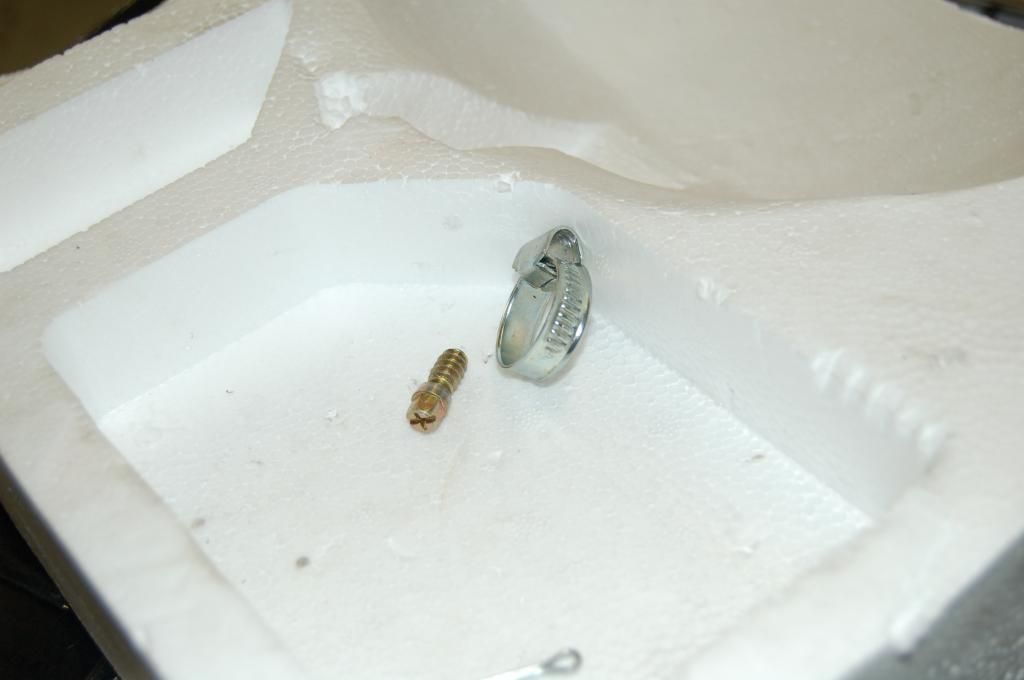
As with most "less than desirable engineered" tools, it comes with the cheapest sheet metal hose clamps you can imagine so you may as well replace them with good ones before you start.
Here it is completed and ready to go. I'll let you know our results when we get to it. We'll add a series of oil and water traps to get the best results possible.
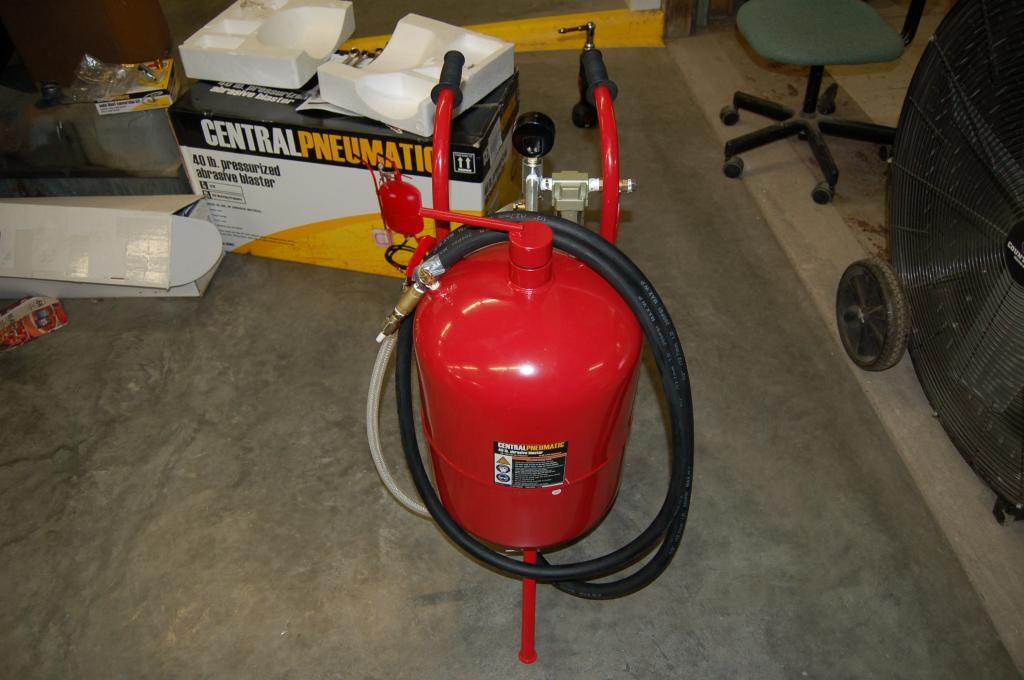

Here it is completed and ready to go. I'll let you know our results when we get to it. We'll add a series of oil and water traps to get the best results possible.

Last edited by 65drag; 07-04-2014 at 10:51 AM.
#132
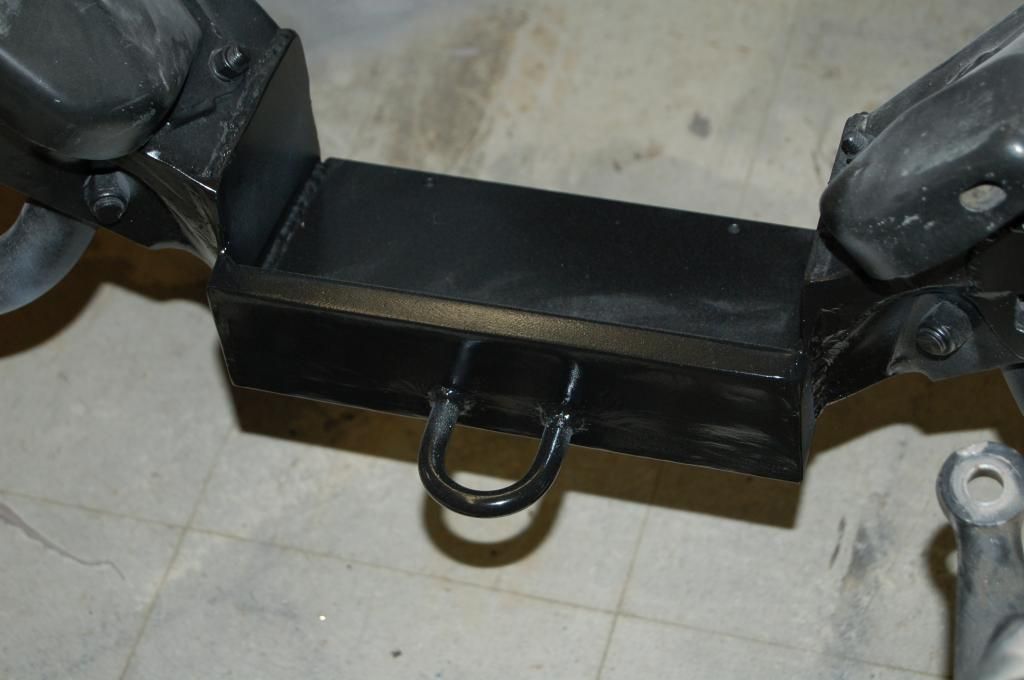
Joe did a good job modifying the cross member and adding a tow loop to clear the factory steering we are putting back on after we figured out the rack and pinion wouldn't work.
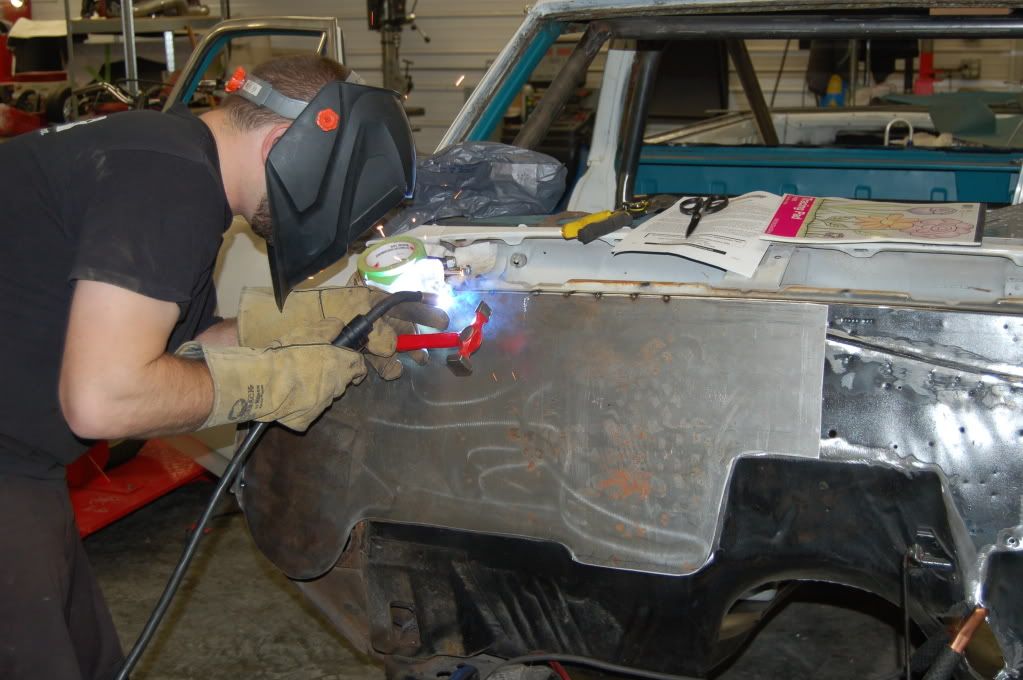
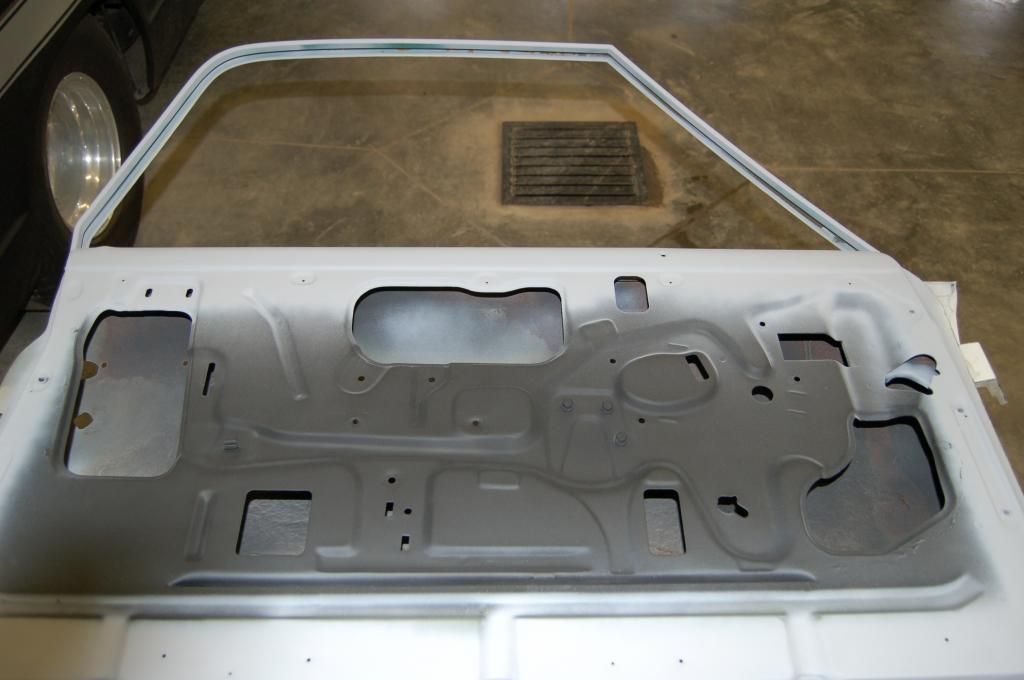
I started in on the drivers door. We welded up the holes for the mirror and we will drill new ones if we decide to put mirrors back on later.
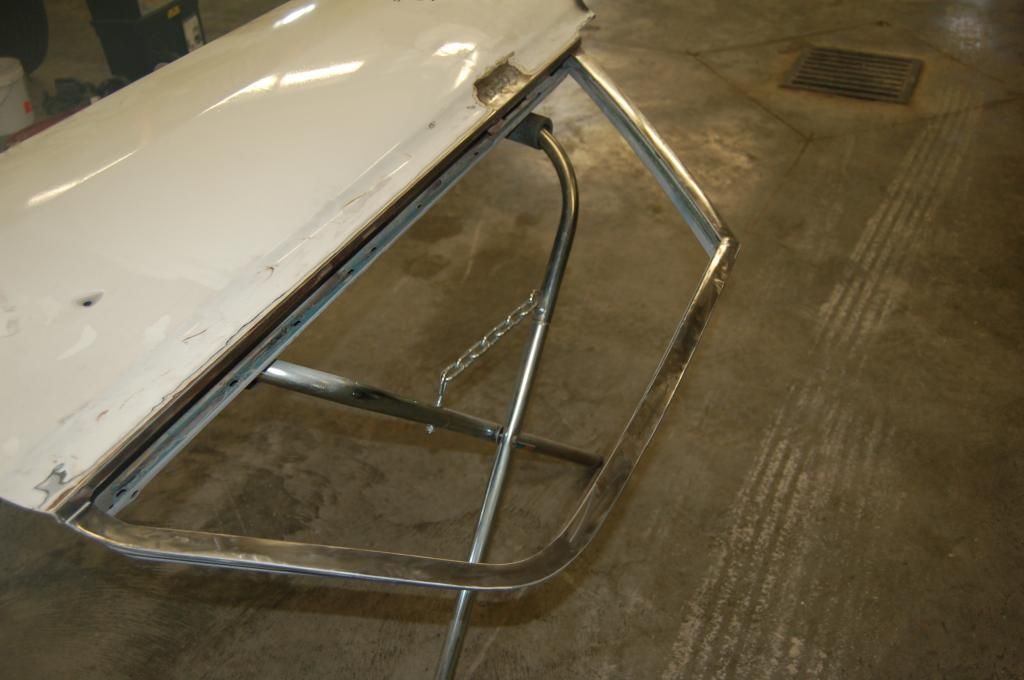

I started in on the drivers door. We welded up the holes for the mirror and we will drill new ones if we decide to put mirrors back on later.

Last edited by 65drag; 07-04-2014 at 01:33 PM.
#133
#134
What little trim is going to be on the car will be painted flat metalic silver to go with the flat metalic seafoam green that will be the car color.
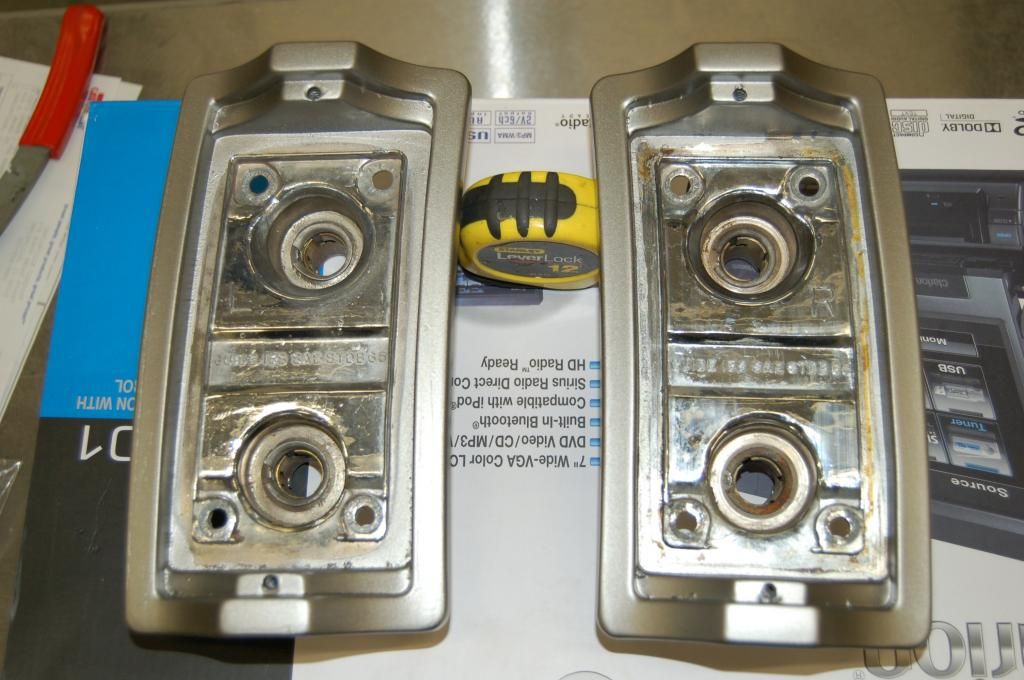
To prep the tail light frames, I dry sanded them with 180 grit to rough up the chrome and smooth out the pock marks that are prevalent with 50 year old die cast car parts. I then wet sanded them with 600 grit, cleaned them with lacquer thinner, painted them with etching primer, covered that with filler primer to fill in the small scratches and painted them with the color. The color we are using is Seymour Paints Stainless Steel Coating Part #16-054. This stuff is really forgiving with coverage and has a pretty tough surface. If it gets scratched it touches up easy.
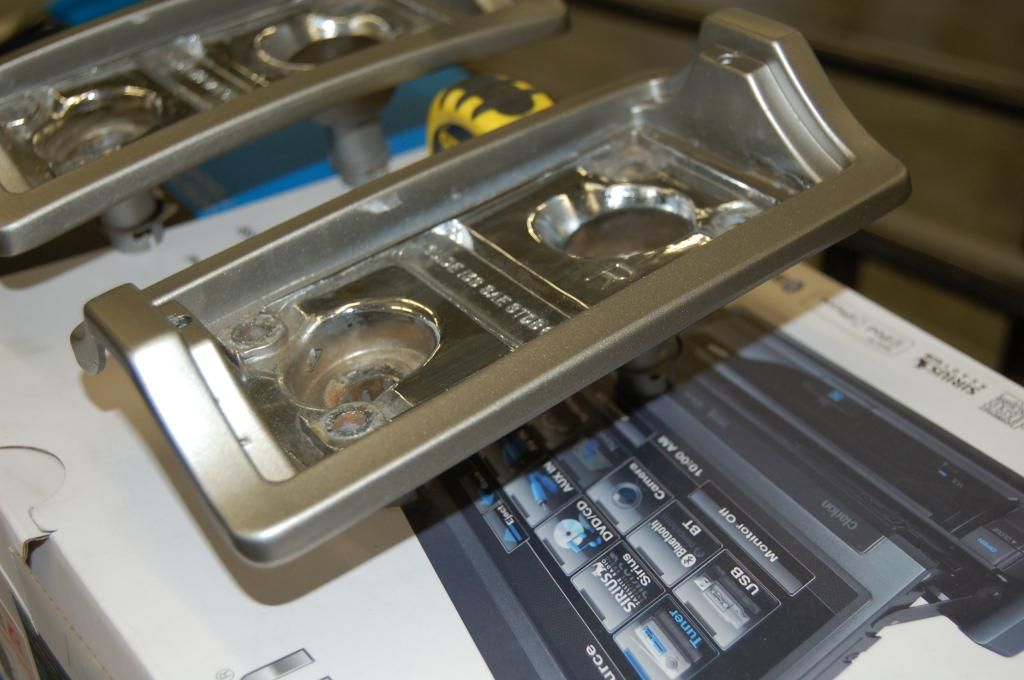

To prep the tail light frames, I dry sanded them with 180 grit to rough up the chrome and smooth out the pock marks that are prevalent with 50 year old die cast car parts. I then wet sanded them with 600 grit, cleaned them with lacquer thinner, painted them with etching primer, covered that with filler primer to fill in the small scratches and painted them with the color. The color we are using is Seymour Paints Stainless Steel Coating Part #16-054. This stuff is really forgiving with coverage and has a pretty tough surface. If it gets scratched it touches up easy.

Last edited by 65drag; 07-05-2014 at 11:34 PM.
#135
REPORT CARD: Well, we tried the soda blaster last Monday night, and although it works well set up the way as described in above postings, it leaves a lot to be desired for what we wanted it for. It does a good clean job, but it is very time consuming due to small size of the unit. Joe spent about an hour, went thru about 10 lbs of soda, and got less than 1 complete door jam done. There is a reason why commercial soda blasters cost big bucks, because they give in big results.
We set up a large oil/water trap ahead of the pressure regulator with built in trap. Regulator set at 70 lbs and a desiccant filter right before the air enters the blaster moisture trap. You need to keep the baking soda as dry as possible so it doesn't clog inside the blast unit.
Don't get me wrong, this is a sweet little unit once prepped properly, and would be great for cleaning small aluminum parts, etc, or just wanting to blast a small area. Just don't expect it to blast an entire car unless you have several days.
We are going to keep it and convert it back to blast sand to finish up my wife's truck frame. There are just small pockets of rust to clean up so we can paint it so this small unit should be good for that.
Last edited by 65drag; 07-20-2014 at 11:11 AM.
#137
Depending on where you live, cost of an entire car is anywhere from $1000 on up. Depending on the surface square footage, and if you have it done inside and out.
Commercial soda blasters start out about $10,000 plus all the peripheral equipment you have to buy and space you have to provide dedicated to blasting. Self contained portable units start at $20,000. You can see why the service costs so much.
Commercial soda blasters start out about $10,000 plus all the peripheral equipment you have to buy and space you have to provide dedicated to blasting. Self contained portable units start at $20,000. You can see why the service costs so much.
#140
Now that we have the steering figured out (that we needed to stay with stock steering) we made a new steering shaft to connect the new column to the steering box.
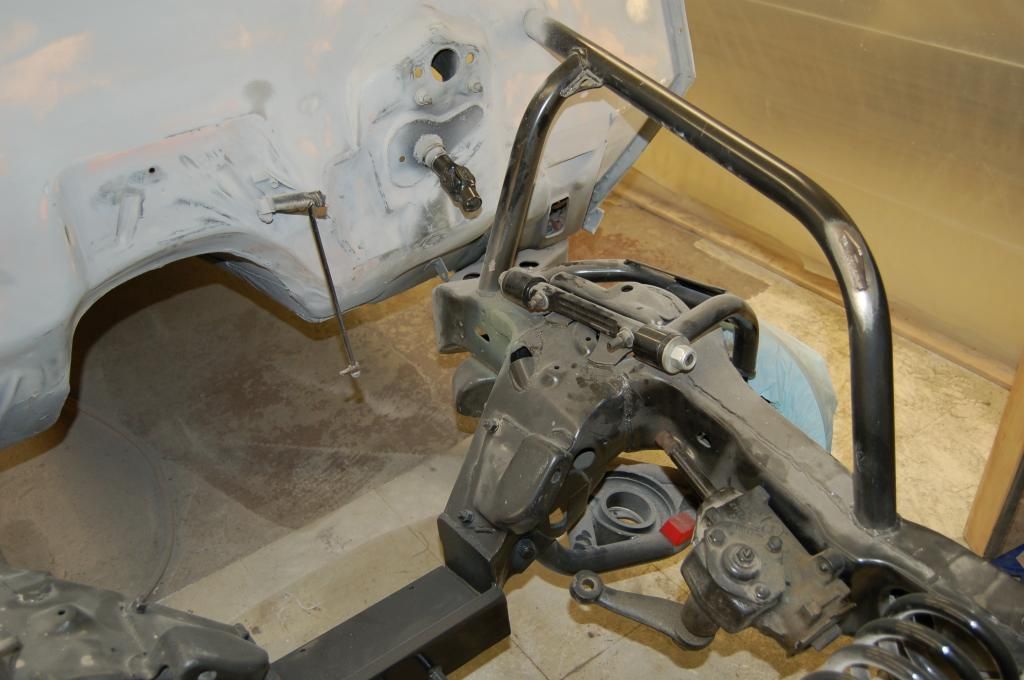
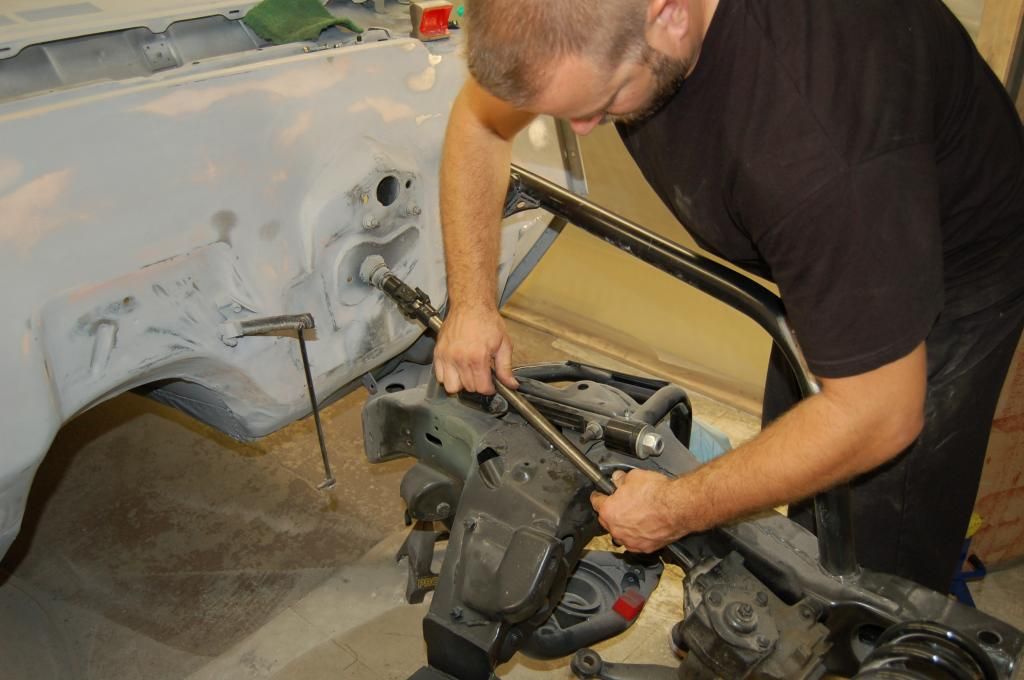
Had we known we were going to use the stock steering box, we could have used all the factory stuff and been fine. Oh well, we were able to get some good coin out of the original 4 speed steering column, so it wasn't all bad. Our new homemade column is at least 5 lbs lighter anyway.
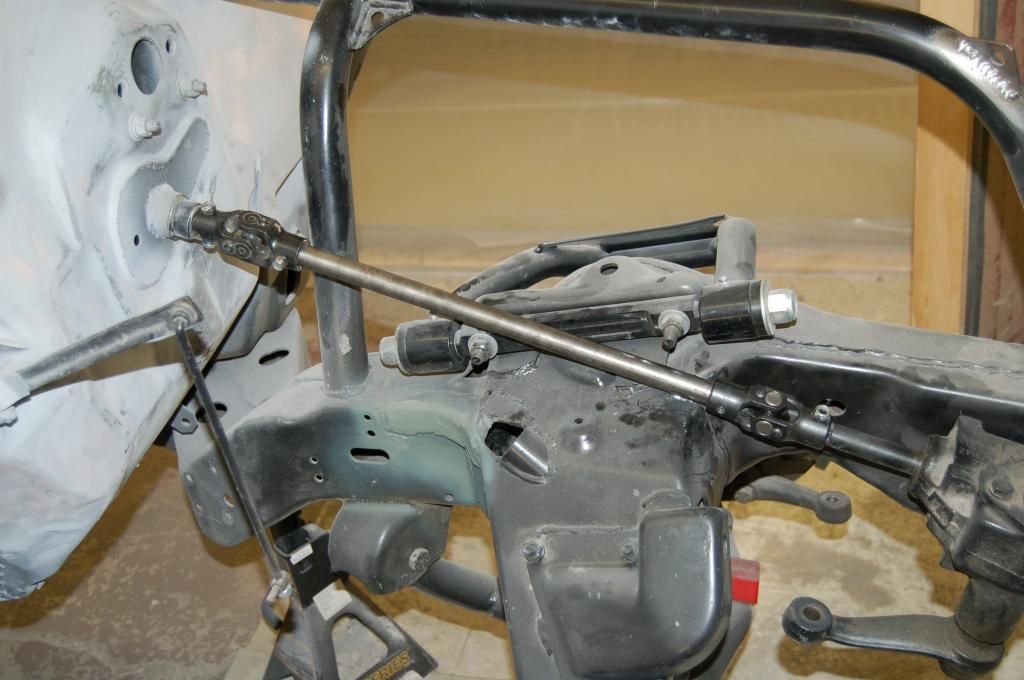


Had we known we were going to use the stock steering box, we could have used all the factory stuff and been fine. Oh well, we were able to get some good coin out of the original 4 speed steering column, so it wasn't all bad. Our new homemade column is at least 5 lbs lighter anyway.

Last edited by 65drag; 10-04-2014 at 08:52 AM.


