


ATI balancer crank pinning write-up.
I decided I would try and do a write-up, with some pictures to try and show you how to do this. I searched and searched to try and find some pictures, to no avail. I will try my best to describe my process, it differed a little diffrent then ATI's instructions.
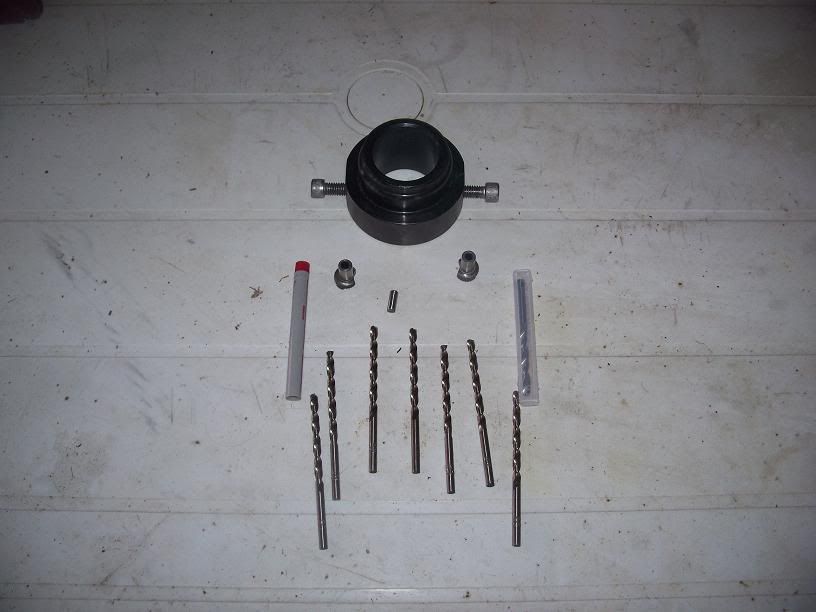
Here's what I started with. A hand full of "cobalt" 11/64" drill bits. Couldnt find any carbide bits locally. Then I got a hold of 2 "carbide" 3/16" drill bits. I used 2 bolts screwed into the collar that stick into the middle of the collar just long enough to touch the crank. They kept the collar from going to far into the timing cover when the balancer bolt was bolted on to hold the collar in place.
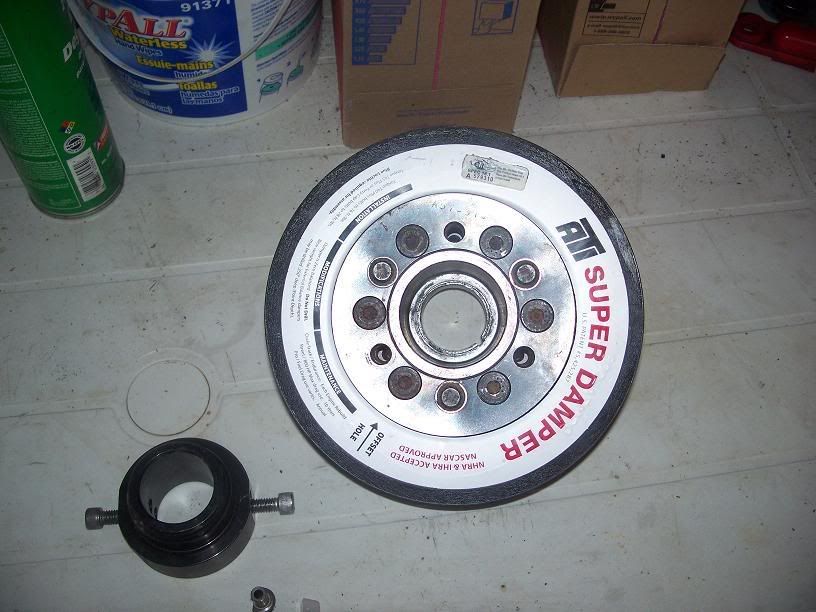
Firs things first, take old balancer off.
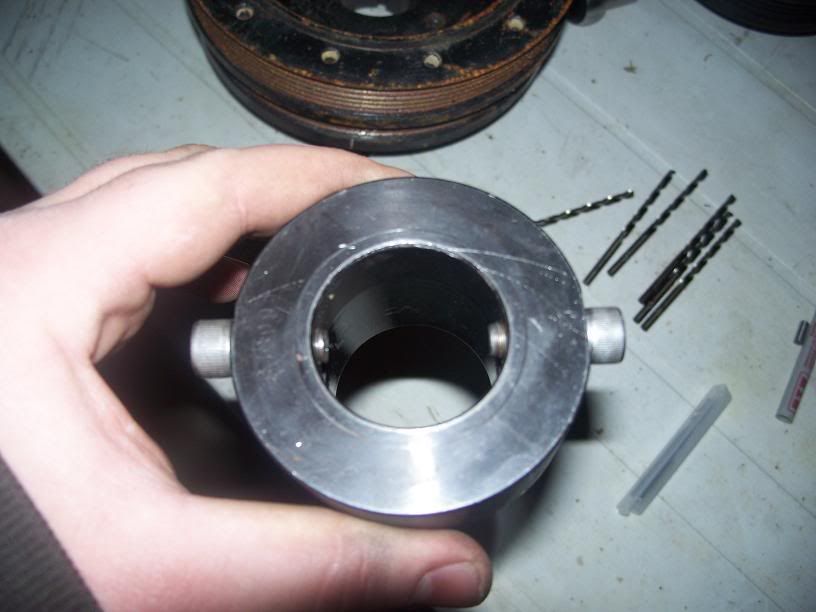
Then we did some measuring and taped off the drill bit to make sure we didnt drill to far into the crank. And the collar was installed with the 11/64" bushing. Tried drilling for about 5 minutes solid without even making a dent in the crank. By the way this is a forged Eagle crank! So out came the 11/64" bushing and went in the 3/16" bushing and a carbide 3/16" bit. Now were talking! Cut like butta!
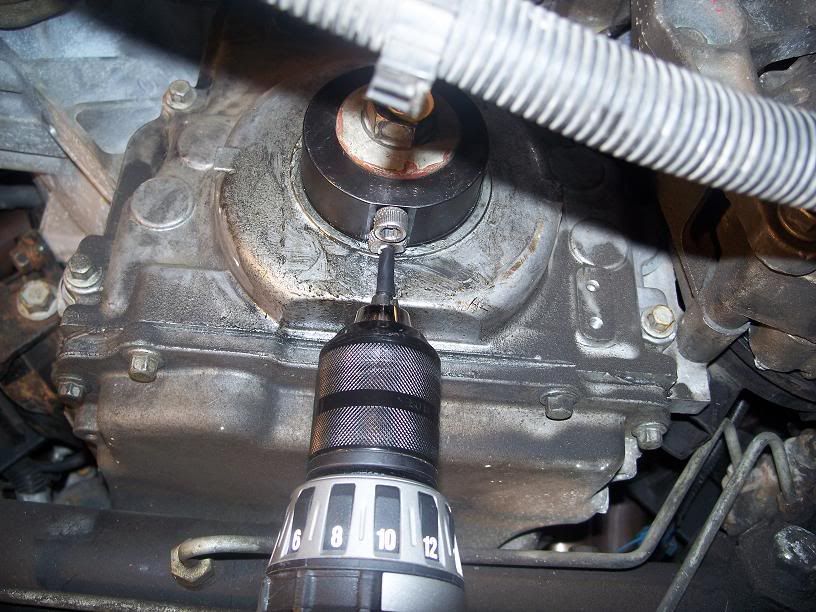
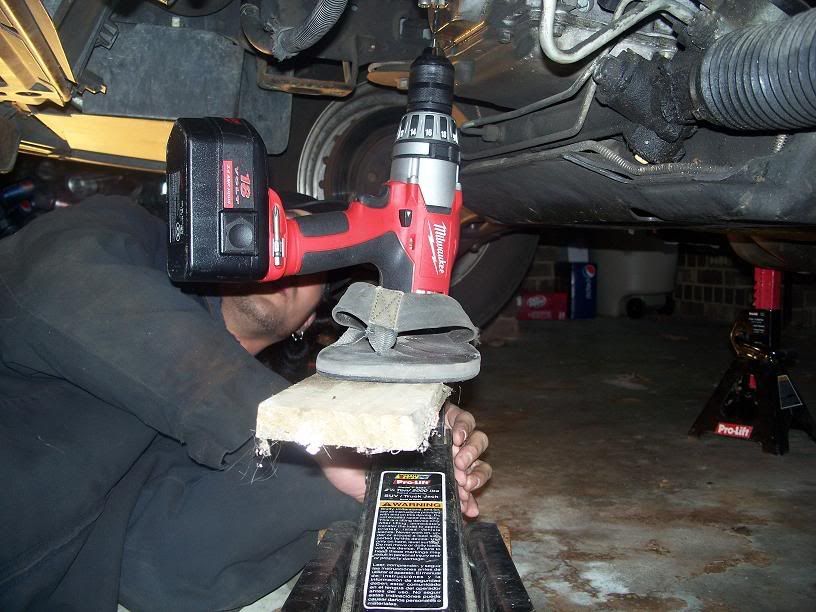
Here was our home made drill press
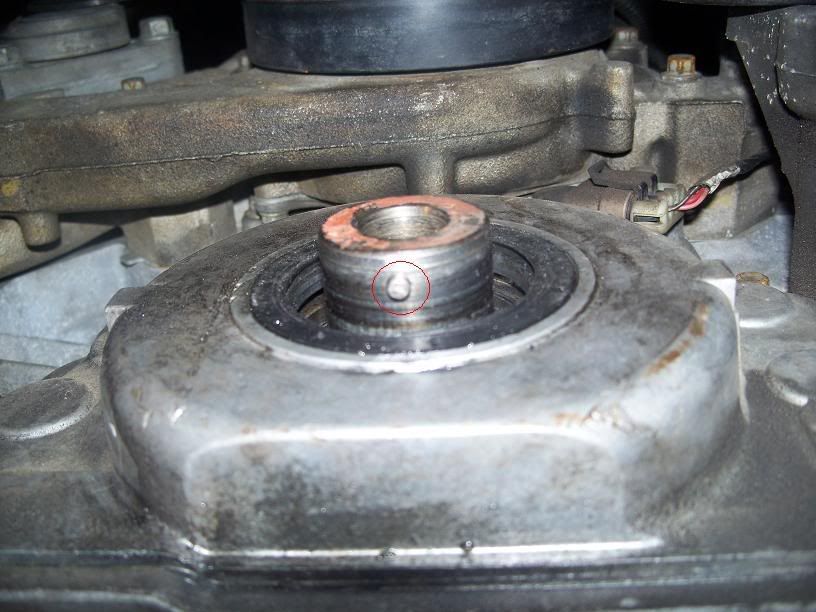
Here is the dowel pin installed
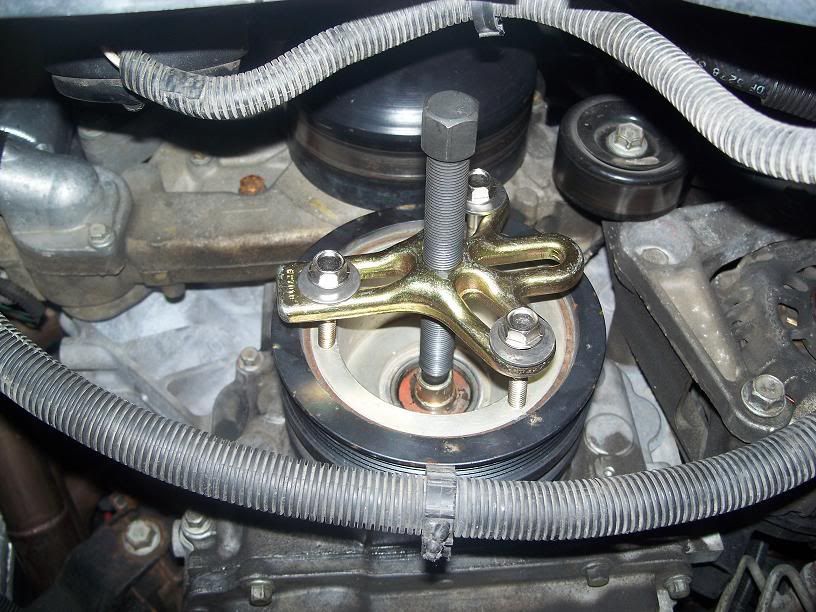
Installing the new ATI balancer with my buddy's home made install tool lol
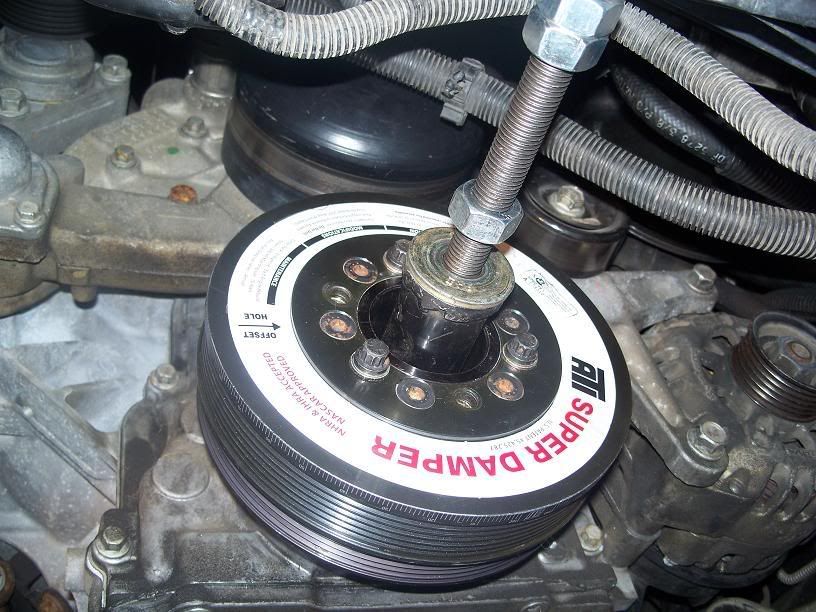
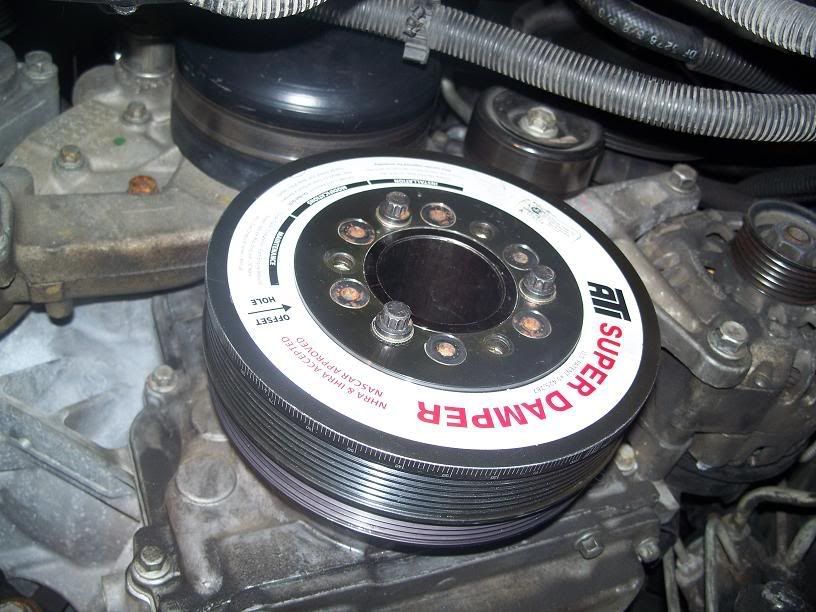
And fully installed...just wating for the 8rib pulley to be installed
Ok now I know this isnt really that hard, but kind of confusing as the instructions found online are a joke. Maybe someone will run across this one day and it will help!
Here's what I started with. A hand full of "cobalt" 11/64" drill bits. Couldnt find any carbide bits locally. Then I got a hold of 2 "carbide" 3/16" drill bits. I used 2 bolts screwed into the collar that stick into the middle of the collar just long enough to touch the crank. They kept the collar from going to far into the timing cover when the balancer bolt was bolted on to hold the collar in place.
Firs things first, take old balancer off.
Then we did some measuring and taped off the drill bit to make sure we didnt drill to far into the crank. And the collar was installed with the 11/64" bushing. Tried drilling for about 5 minutes solid without even making a dent in the crank. By the way this is a forged Eagle crank! So out came the 11/64" bushing and went in the 3/16" bushing and a carbide 3/16" bit. Now were talking! Cut like butta!
Here was our home made drill press
Here is the dowel pin installed
Installing the new ATI balancer with my buddy's home made install tool lol
And fully installed...just wating for the 8rib pulley to be installed
Ok now I know this isnt really that hard, but kind of confusing as the instructions found online are a joke. Maybe someone will run across this one day and it will help!
Trending Topics
LS1 Tech Stories
The Best V8 Stories One Small Block at Time

Retro Modern Bandit Pontiac Trans AM Comes With Burt Reynolds' Autograph
Verdad Gallardo
Top 10 Greatest Cadillac V Series Performance Models Ever, Ranked
Pouria Savadkouei
Top 10 Most Powerful Chevy Trucks Ever Made!

Hennessey's New Supercharged Silverado ZR2 Has 700 HP
Verdad Gallardo
Coachbuilt N2A Anteros Is an LS2-Powered C6 Corvette In Italian Clothes
Verdad Gallardo
Awesome K5 Blazer Restomod Comes With C7 Corvette Power
Verdad Gallardo
10 Camaros You Should Never Buy

10 LS Engine Myths That Refuse to Die
Verdad Gallardo
Five Reasons the Camaro Was the Most Pivotal Player in the Pony Car Wars 2.0
Brett Foote
No I didn't try and line the timing marks up.
And I really don't know why the crank looks so rough in the pics. It's always been used in all motor applications. Never had a blower on it til now.
And I really don't know why the crank looks so rough in the pics. It's always been used in all motor applications. Never had a blower on it til now.


No you don't want to go into the middle of the crank because the pin needs to bottom out before it gets to the crank bolt. That's why I made this thread, because there isn't any instructions out there about this.

On The Tree
Joined: Jan 2008
Posts: 175
Likes: 0
From: Delaware
oh boy. well i drilled mine all the way through the crank thinking that the pin depth would be designed to have the pin rest on the crank bolt. will the pin slide in too deep like this? any way to fix this, or do i need to drill another hole?
I'm sure no one doing this wants to hear this but that little pin sheared off on my setup with 850 miles on it. I'm not saying don't bother to pin it. I just hope the pin works for everyone else better than it did for me. It didn't look like my balancer had spun at all. The keyway was still lined up with the pin but the pin had sheared. I'm sure it would have caused problems later if the number 7 ring land wouldn't have given up so soon. I know there isn't many other options as I highly doubt anyone wants to pull the stock crank to have a keyway cut into it but that's the only way to do it right imo. Just some food for thought I guess. I know others have had better luck with the pins holding. I just don't have much faith in it after finding mine broken after putting 850 miles on it.