
Artic White 67 Camaro Forged Ls1 Iron Block Turbo Build *UPDATE 4/5/11 X-OVER WELDED*
 12-12-2010, 07:38 AM
#21
TECH Enthusiast
Thread Starter
iTrader: (2)

Join Date: Jan 2009
Posts: 621
Likes: 0
Received 0 Likes
on
0 Posts

Is the oil pan you chose the "muscle car oil pan" kit from GMPP? Let me know how it works out with the rear steer as I am getting ready to set my 6.0 in my 69. I have a few more things to buy before that happens including an oil pan. What adapters are you using for mounts? I am using the ones Nooks and Tranny sell on Ebay. They fit great and have three different locations to set the engine. I have them set at the standard location for now. Good job on this project!
oh yeah and it is the muscle car pan kit from scoggin dickey i have the pn somewhere if u need it
if u have any questions lemme know

 12-12-2010, 04:38 PM
#23

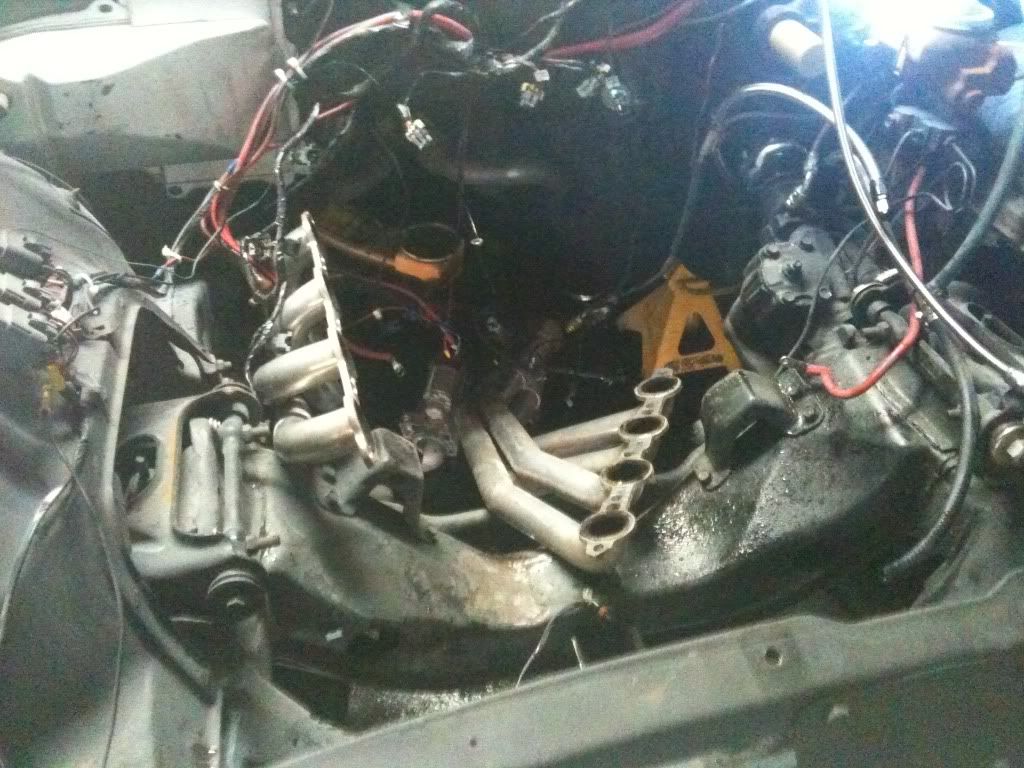
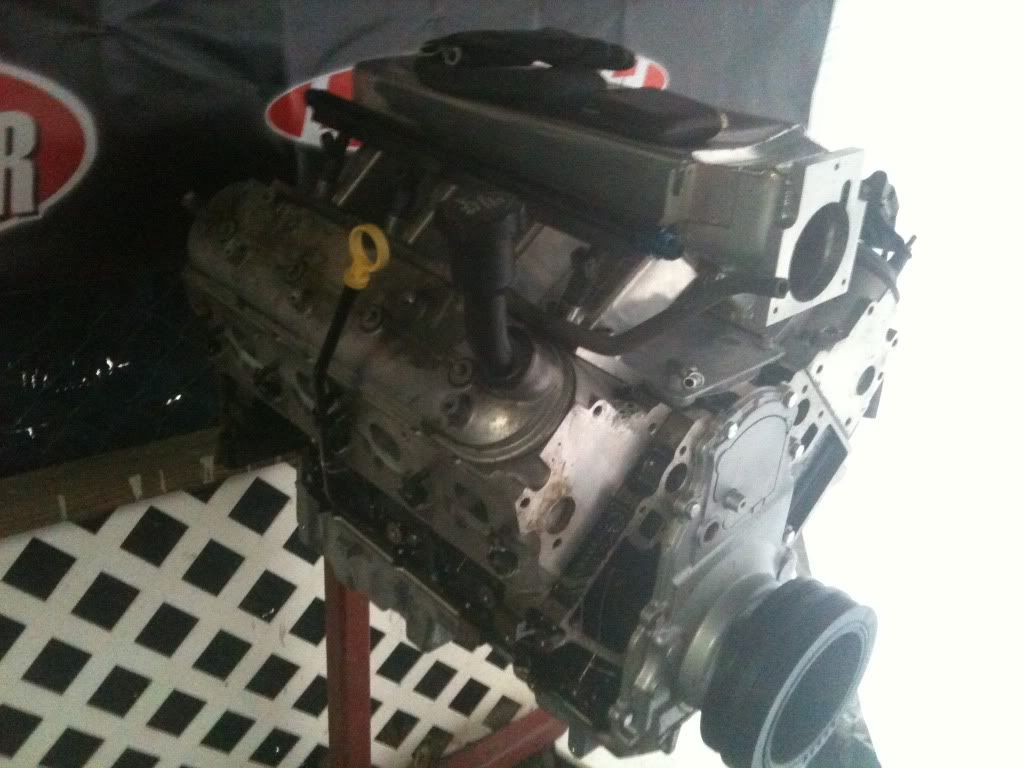
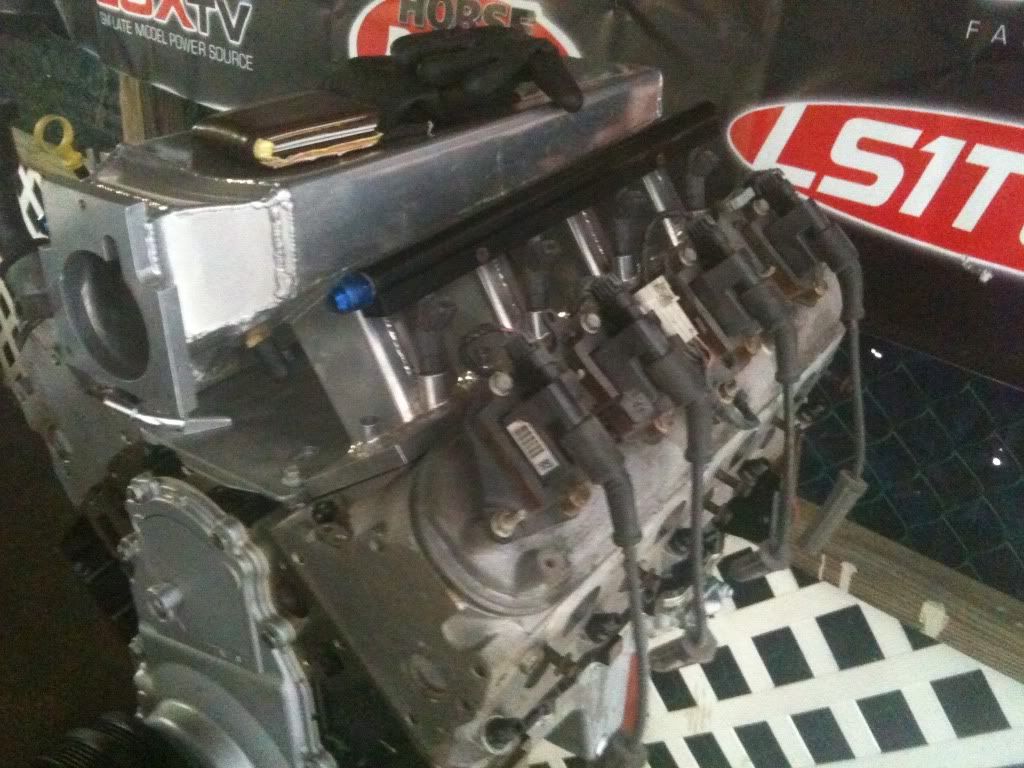
My concern was that it would hang too low just like the truck pan. I have a 1/2" piece of aluminum I had thought about using to modify the truck pan. I figure if the people down at S&P could hack up an F-body pan than why couldnt I cut the truck pan to fit. I would like to stay with a stock style oil pan. I need to figure the oil capacity and what other mods need to be done before welding. I am going to stick the truck pan on the motor to set it in the car for fitment purposes. i will mark the pan once it it is in and located. I will be using the Kooks 1 7/8" stainless headers. I am unsure how this will work out but should be made similar to the Hookers. I need to get my hands on a set and fit them as well. I would love to run this engine forward an inch from standard just to make it easy to get to everything but it seems with the rear steer, weight distribution, and headers I may end up running it in the standard or maybe even an inch towards the rear. Wish I had a piece of **** car that I didnt mind cutting on. I would open her up and set the engine back as far as possible. Appreciate the information. Let me know how it turns out on the pan. I just changed out the springs on my new L92's, thank God for the Snap On valve spring compressor!!! The store bought piece is exactly that, a piece. The Patriot Extremes were stout to squeeze but nothing for the SnapOn tool!!! Pay for what you get most of the time. Those heads have the largest intake and exhaust valve I have ever seen. They are begging for more cubic inch but for now they will have to be satisfied with the 6.0 liters!
12-13-2010, 08:17 PM
#25
When are you going to install the engine? I bolted my heads on tonight! I am getting close. Good luck with the install. I still have a ton to buy to get mine ready. I bought a firewall block off piece from Detroit Speed to hide the factory air conditioning hole and to smooth up the firewall a bit. I need to go in and clean up the engine bay from the old 327 and from the body shop. They slung compound everywhere.
12-17-2010, 10:06 AM
#27
TECH Enthusiast
Thread Starter
iTrader: (2)
Join Date: Jan 2009
Posts: 621
Likes: 0
Received 0 Likes
on
0 Posts
When are you going to install the engine? I bolted my heads on tonight! I am getting close. Good luck with the install. I still have a ton to buy to get mine ready. I bought a firewall block off piece from Detroit Speed to hide the factory air conditioning hole and to smooth up the firewall a bit. I need to go in and clean up the engine bay from the old 327 and from the body shop. They slung compound everywhere.
12-18-2010, 03:48 PM
#29
TECH Enthusiast
Thread Starter
iTrader: (2)
Join Date: Jan 2009
Posts: 621
Likes: 0
Received 0 Likes
on
0 Posts
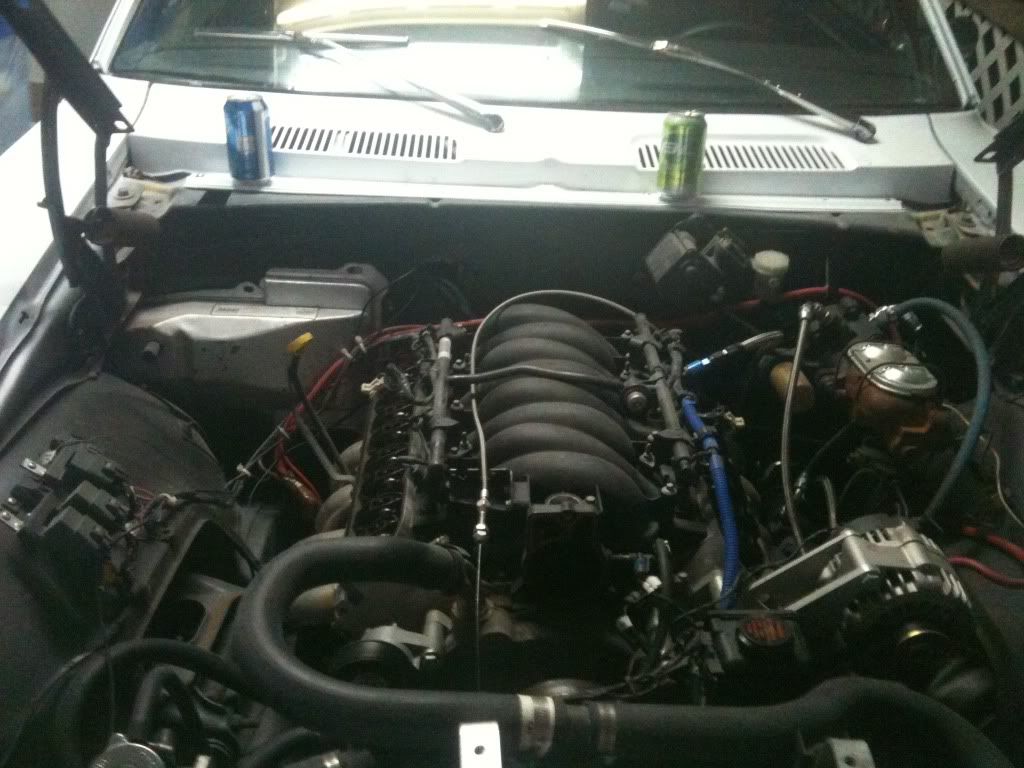
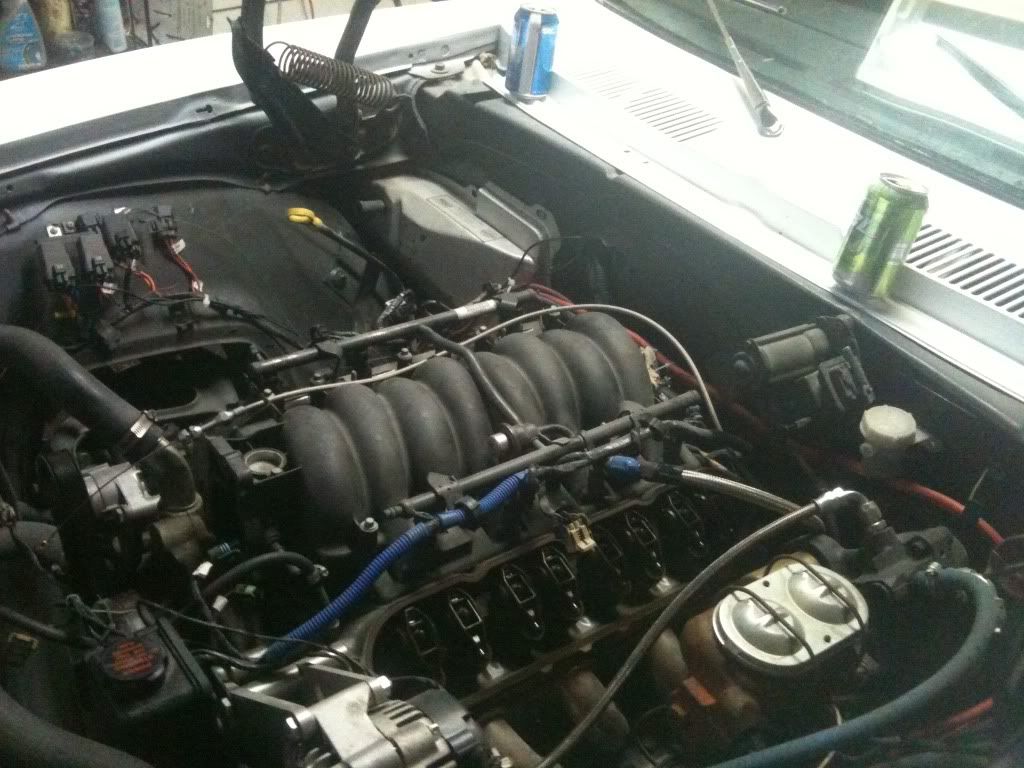
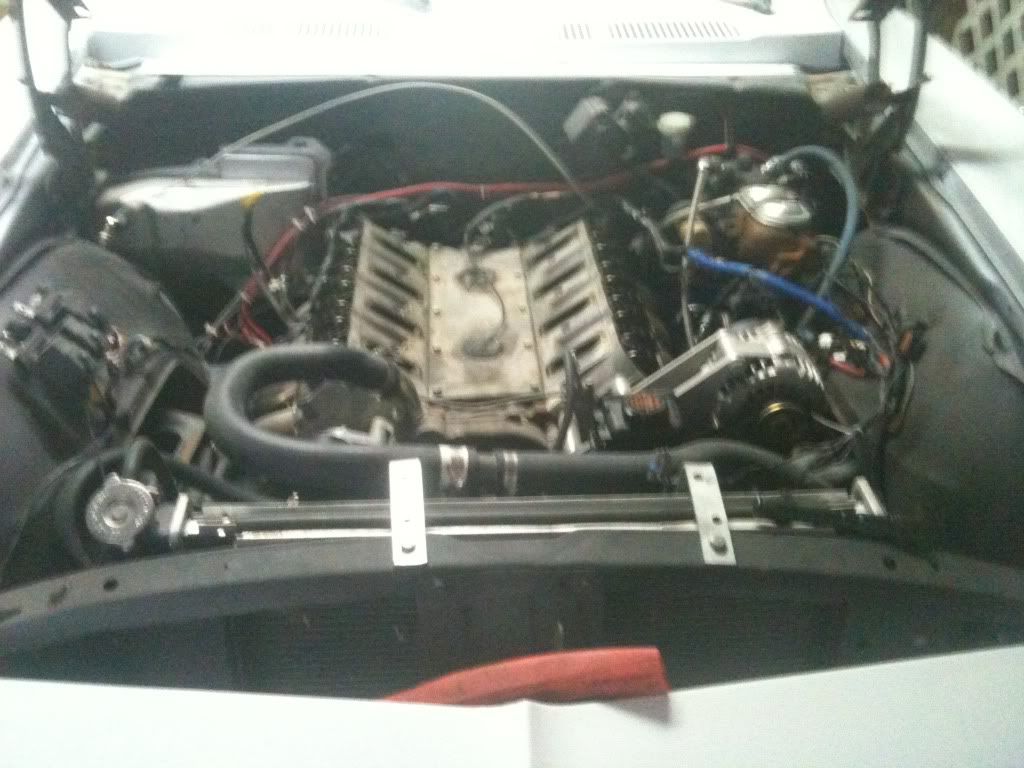
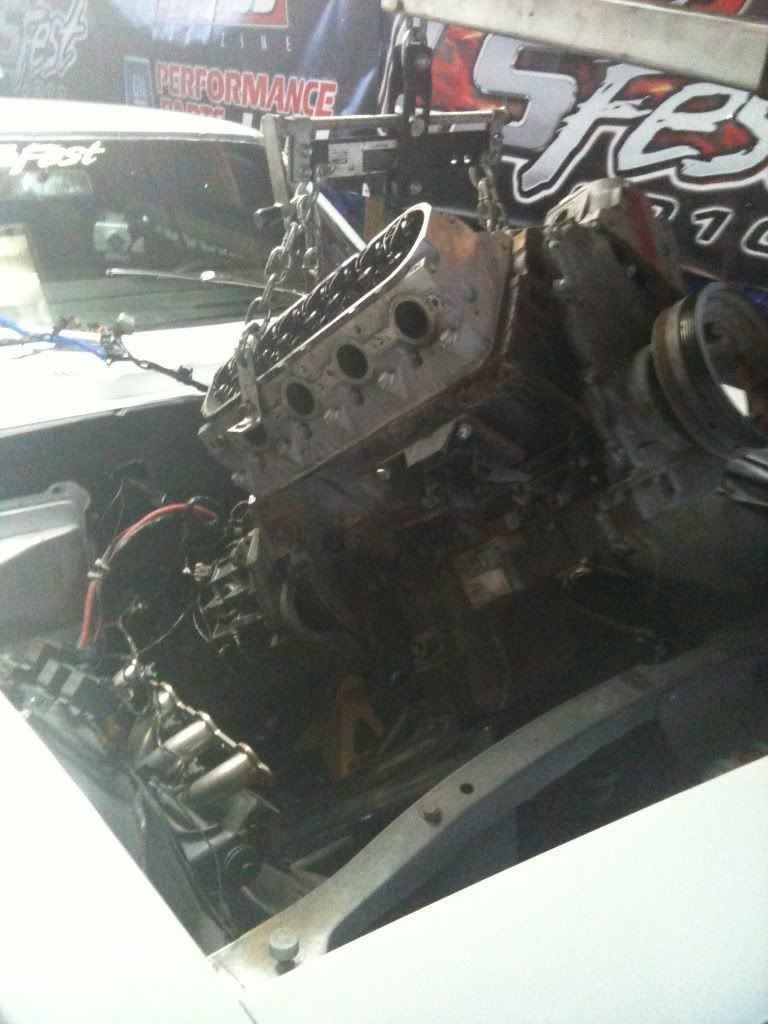
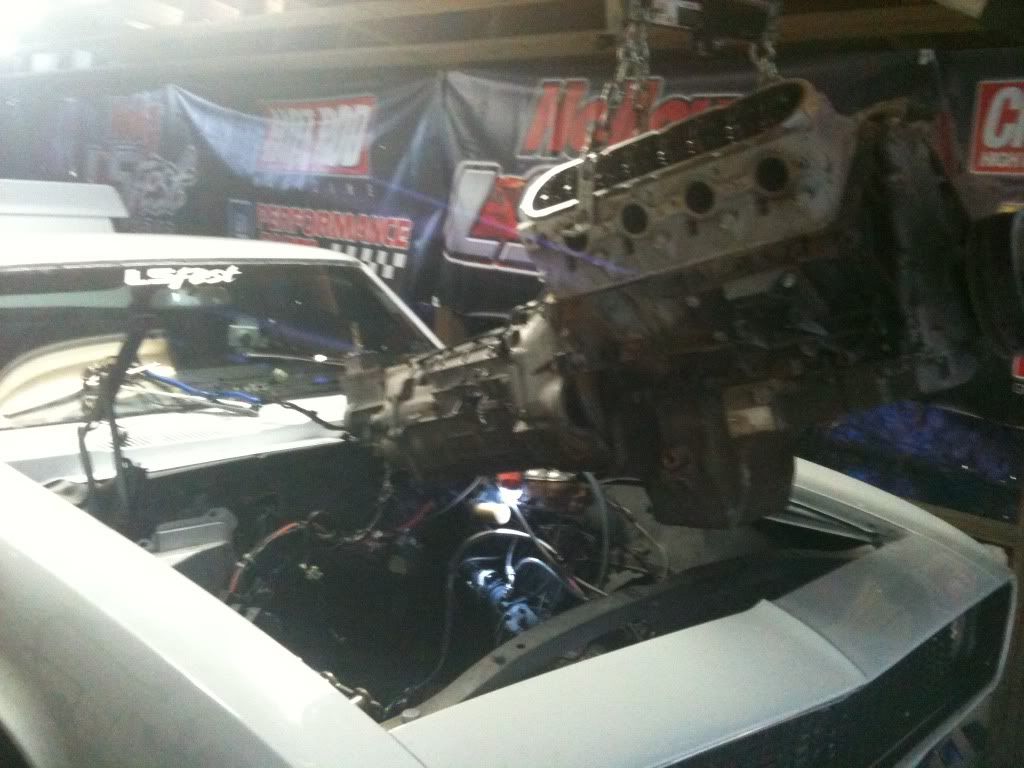
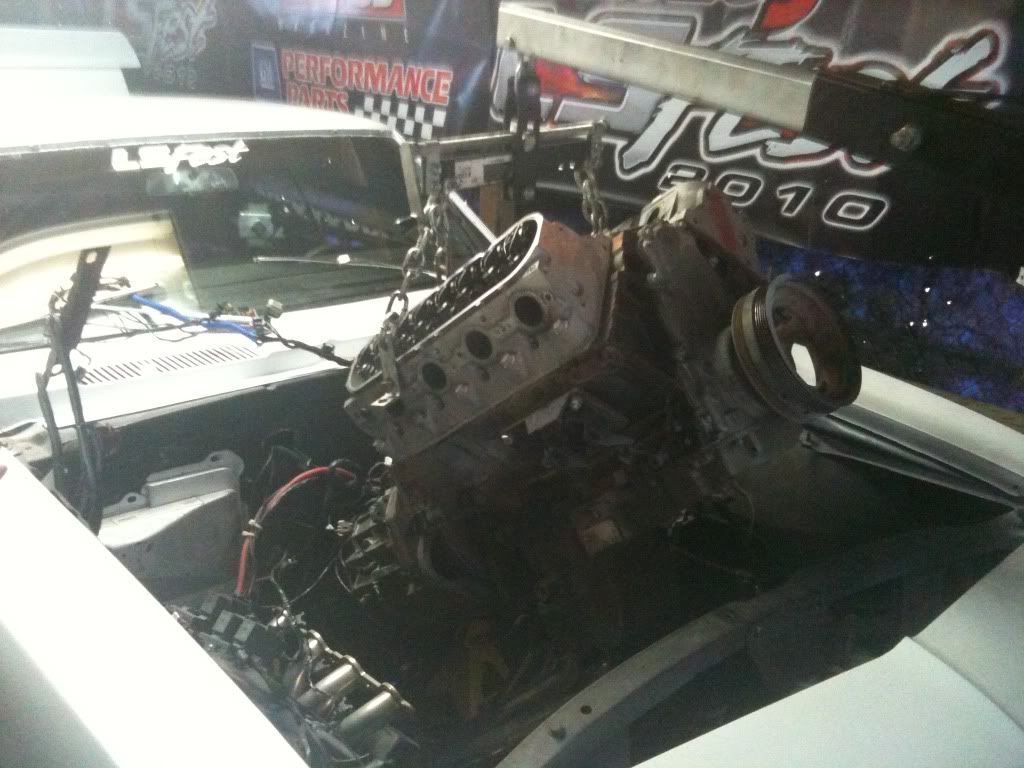
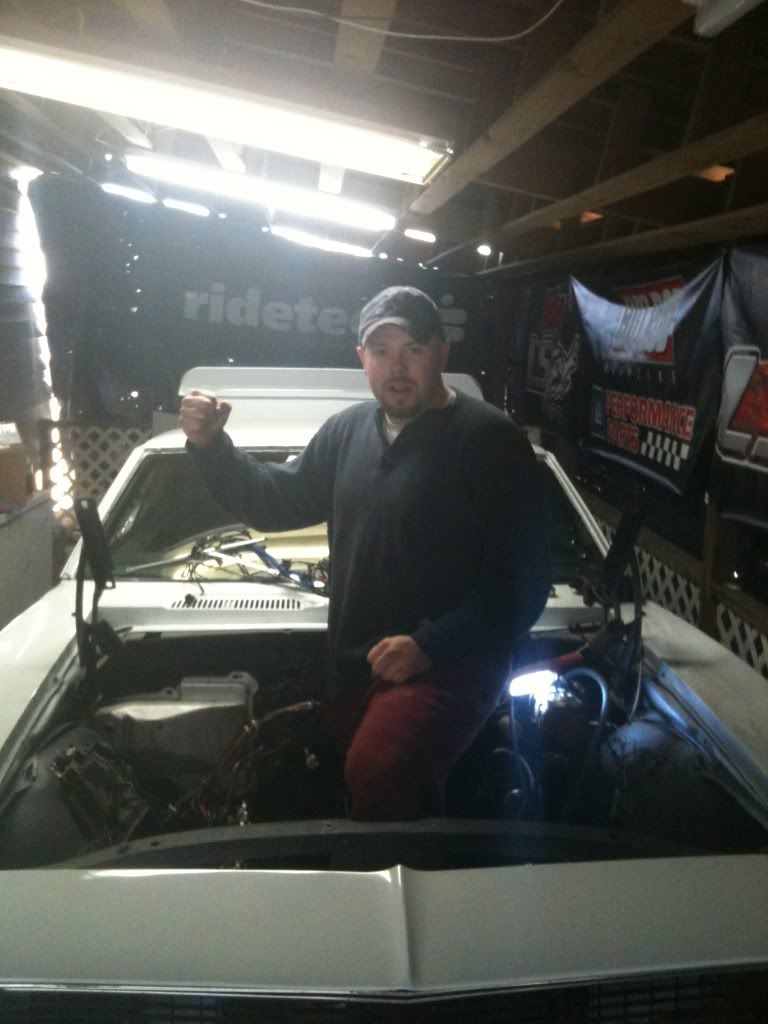
ok well today and yesterday we began working to pull the existing 5.3 out of the 67 and didnt run into too many problems except the one i created for myself. when i bolted the t56 to the 5.3 i didnt have gm bolts so i just got class 10.9 bolts which worked fine except that the head of the non gm bolts are larger. well all said and done theres two bolts on a t56 that are kinda in a well and one the driver side u cannot get a socket in this well because the clearance to the bolt head is sooo tight. long story short i had to pull the engine and tranny together which only put us another hr so it wasnt too bad. only bad thing was now i got tranny fluid all over the floor cause i didnt drain it.
Special thanks to budlight, jim beam black, and southern comfort for keeping us warm in the 25 degree weather
my friend thats helping me
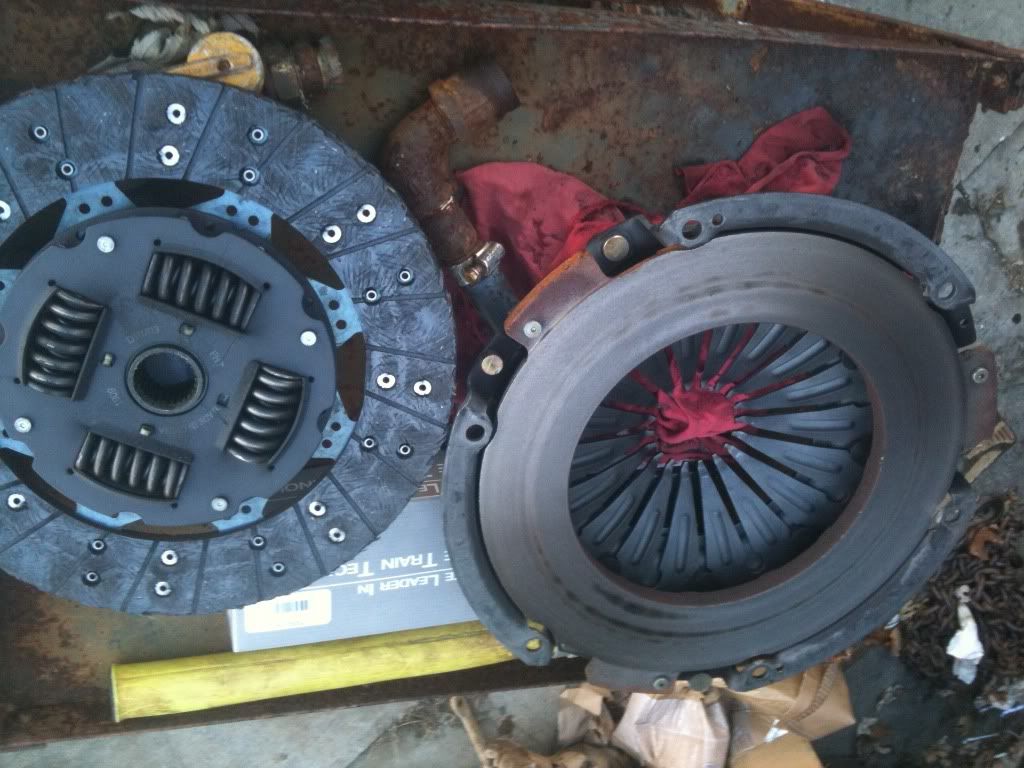
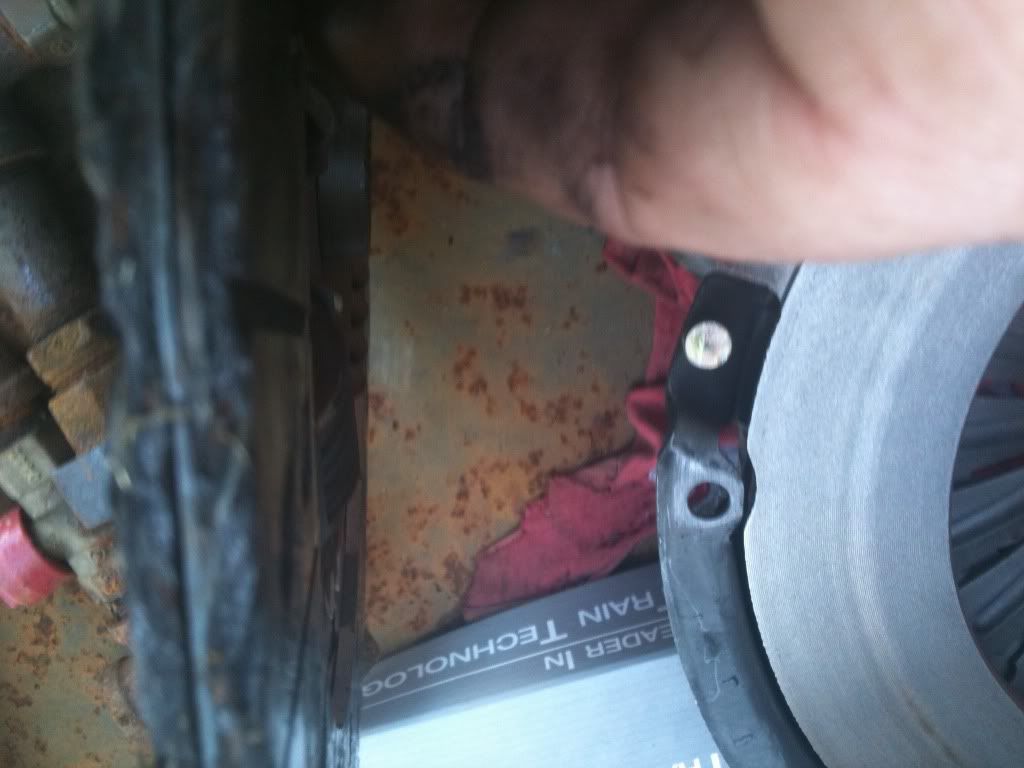
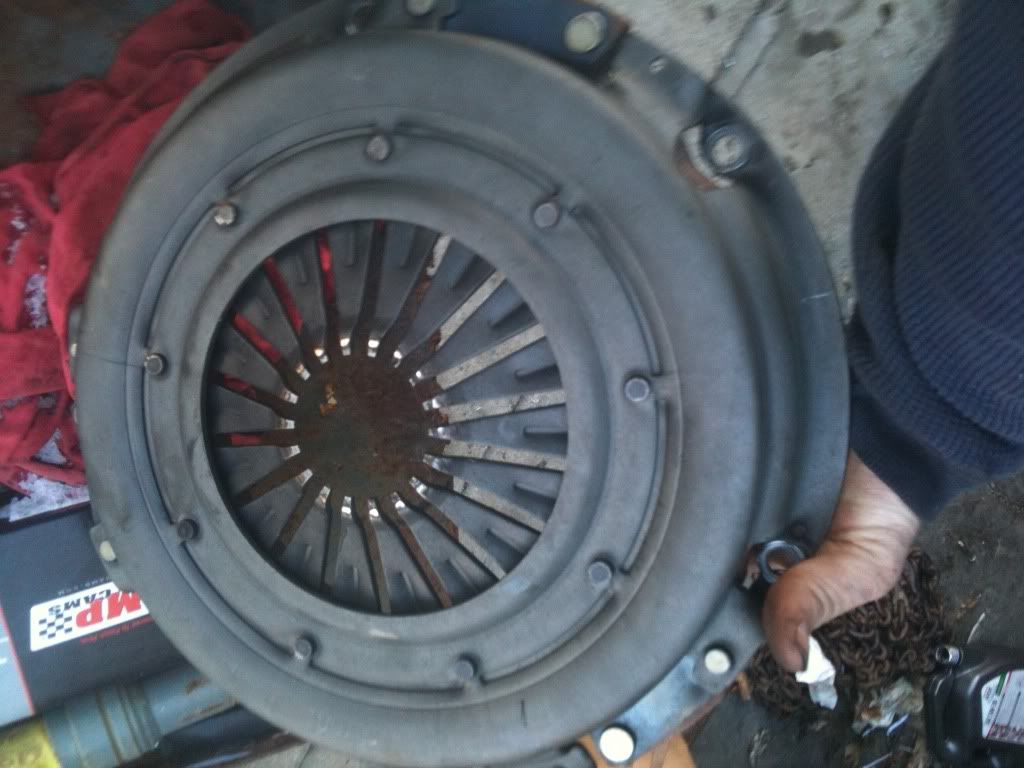
i have a clutch for sale btw only about 1000 miles and babied. looks pretty much brand new its a stock replacement i payed like 325 for ill take 100 bucks shipped for it or best offer
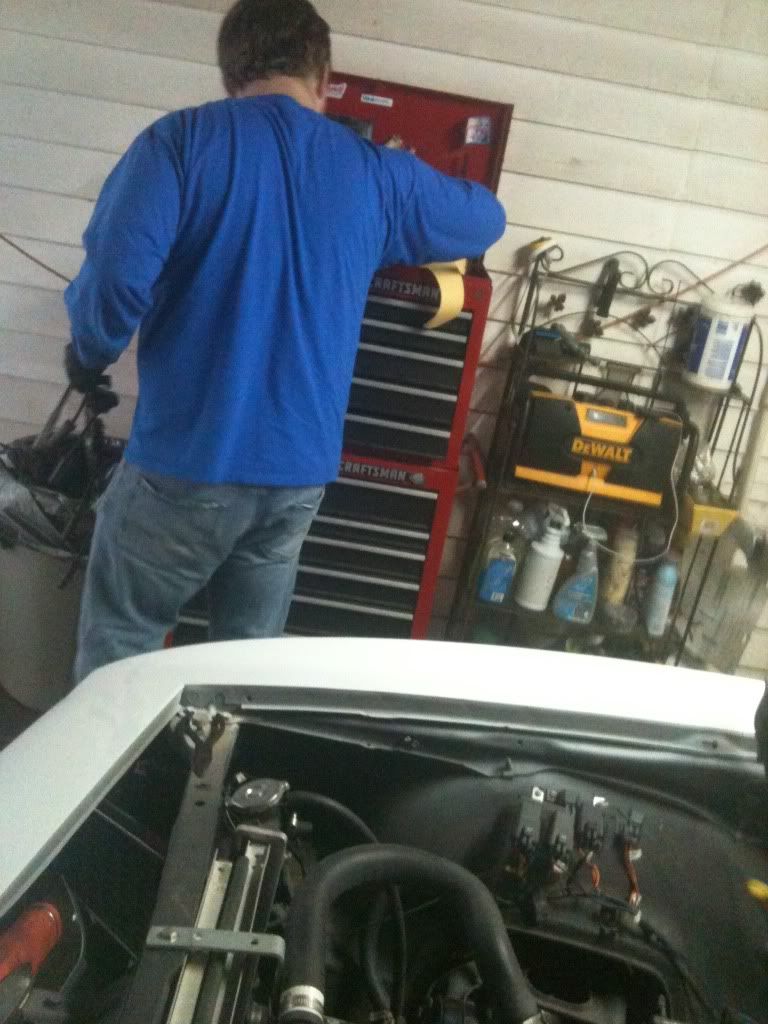
and of course had to take a victory pose in the engine bay
we was gonna bolt the flywheel on the engine and work on putting the engine back in but im gonna get a new slave cyl, and some different bolts for next time. should have the new engine back in and running in a week or so. anyone have a suggestion for break in oil?
Special thanks to budlight, jim beam black, and southern comfort for keeping us warm in the 25 degree weather
my friend thats helping me
i have a clutch for sale btw only about 1000 miles and babied. looks pretty much brand new its a stock replacement i payed like 325 for ill take 100 bucks shipped for it or best offer
and of course had to take a victory pose in the engine bay
we was gonna bolt the flywheel on the engine and work on putting the engine back in but im gonna get a new slave cyl, and some different bolts for next time. should have the new engine back in and running in a week or so. anyone have a suggestion for break in oil?
 12-21-2010, 10:53 PM
#33
Looking good! I am on hold on the LH8 until I see how you like it in the Camaro. I started a thread on my build and am in the middle of working on the front accessories now. I used a 2005 GTO water pump and made some 1/2" spacers today out of some 6061 aluminum I had. They turned out great and now the w/p pulley is right in line. Cant wait to see this Camaro run! Looks like it won't be too long.
12-22-2010, 06:31 PM
#34
TECH Enthusiast
Thread Starter
iTrader: (2)
Join Date: Jan 2009
Posts: 621
Likes: 0
Received 0 Likes
on
0 Posts
nice how did u make spacers exactly and did the half inch make it to where u could use the truck access? hopefully itll be in and running before new years so ill let u know and take pics when i get it in
12-22-2010, 08:32 PM
#35
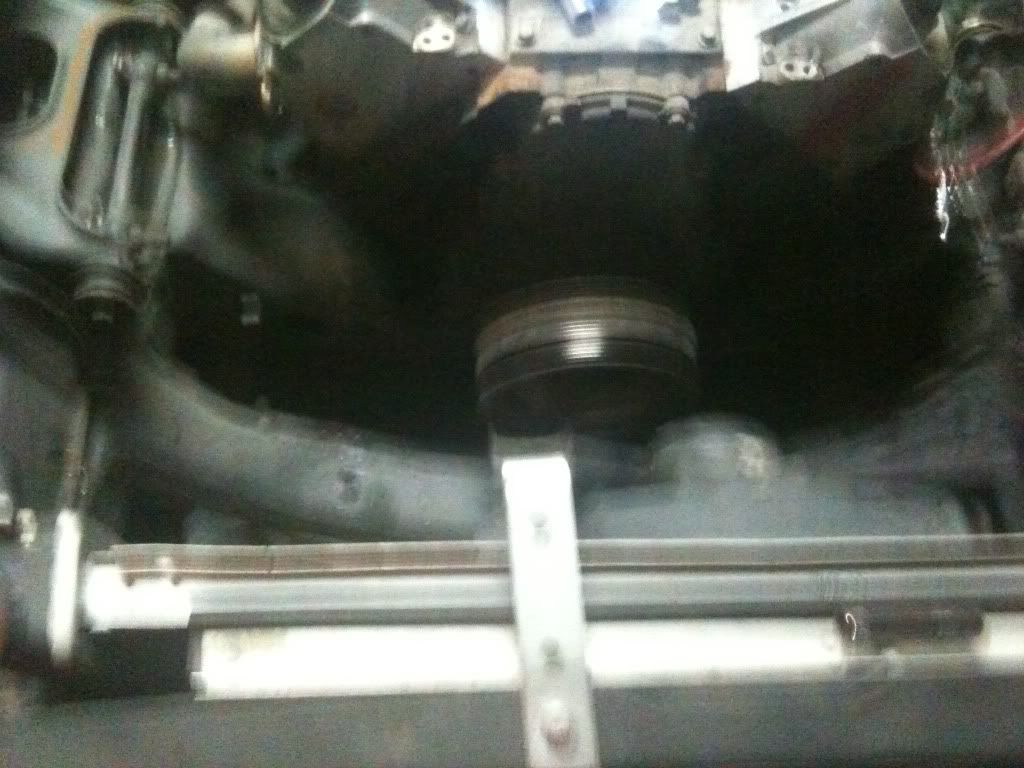
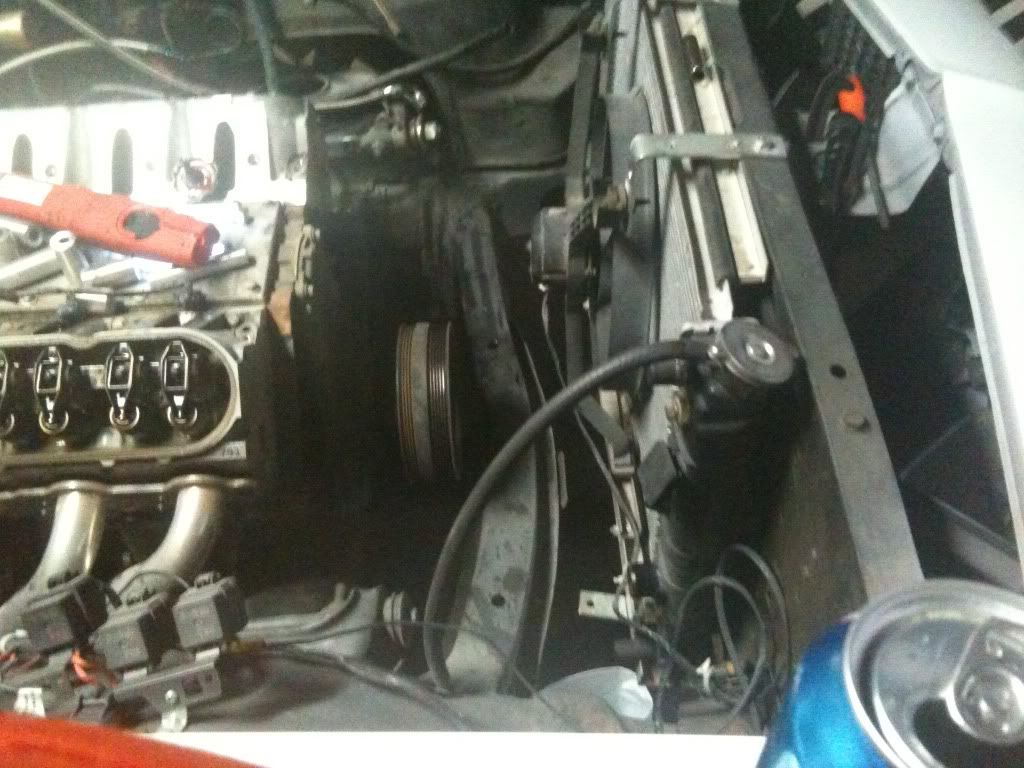
I had a piece of aluminum 6061 1/2" thick. I traced out the gaskets onto the metal using some dykem to make it easier to see my scribe lines. I actually made the port holes smaller so the gasket would have enough there to seal against. I compared the ports on the W/P and sort of went to that diameter. I then used the milling machine to whittle them out. It worked out great with the GTO water pump. The belt rides on the flat of the pulley towards the front. I went today and looked at a LSX454 that Classic Muscle had in their showrrom and found some interesting stuff out.They had an alternator bracket on theirs that works out perfect (I hope) with this set up. It mounts the alternator up but not as high as the truck mount does . They also incorporated a different tensioner and idler pulley. All that for $200. I will repost with the part numbers and hopefully a pic or 2 tomorrow. They are supposed to be in, in the morning. Awesome if it works. I will take some shots of the spacers and such also. If you dont mind me posting them here on your thread. SOme people get all pissed if you post pics on their thread. I did however go and buy some longer bolts today. To bad too cause I bought the ARP polished stainless water pump bolts already. So I have a brand new set of them that will prolly lay around until my next build. Def get some more pictures when you get a chance. I did have to buy a Moroso pan today. I am sending out my wiring harness and PCM tomorrow. I almost bought a set of headers but am still debating. Dynatech has a set for my swap that are ceramic coated 1 7/8" with the 3" collectors for $399. What a deal. I have heard nothing but good things about them so I may go cheap on that issue. I would love to have some Kooks but for $900 is it worth it???
 12-23-2010, 12:05 PM
#38
TECH Enthusiast
Thread Starter
iTrader: (2)
Join Date: Jan 2009
Posts: 621
Likes: 0
Received 0 Likes
on
0 Posts
I had a piece of aluminum 6061 1/2" thick. I traced out the gaskets onto the metal using some dykem to make it easier to see my scribe lines. I actually made the port holes smaller so the gasket would have enough there to seal against. I compared the ports on the W/P and sort of went to that diameter. I then used the milling machine to whittle them out. It worked out great with the GTO water pump. The belt rides on the flat of the pulley towards the front. I went today and looked at a LSX454 that Classic Muscle had in their showrrom and found some interesting stuff out.They had an alternator bracket on theirs that works out perfect (I hope) with this set up. It mounts the alternator up but not as high as the truck mount does . They also incorporated a different tensioner and idler pulley. All that for $200. I will repost with the part numbers and hopefully a pic or 2 tomorrow. They are supposed to be in, in the morning. Awesome if it works. I will take some shots of the spacers and such also. If you dont mind me posting them here on your thread. SOme people get all pissed if you post pics on their thread. I did however go and buy some longer bolts today. To bad too cause I bought the ARP polished stainless water pump bolts already. So I have a brand new set of them that will prolly lay around until my next build. Def get some more pictures when you get a chance. I did have to buy a Moroso pan today. I am sending out my wiring harness and PCM tomorrow. I almost bought a set of headers but am still debating. Dynatech has a set for my swap that are ceramic coated 1 7/8" with the 3" collectors for $399. What a deal. I have heard nothing but good things about them so I may go cheap on that issue. I would love to have some Kooks but for $900 is it worth it???
 [/IMG]