Artic White 67 Camaro Forged Ls1 Iron Block Turbo Build *UPDATE 4/5/11 X-OVER WELDED*

 [/IMG]
 [/IMG]
  [/IMG]
  [/IMG]
  [/IMG]
  [/IMG]
  12-24-2010, 02:10 AM
#47
Hope this has been some use to you. I like the alternator out of the way and I will or should be able to use the existing wires from the truck harness. It does sit out further than I wanted but its better than notching my frame or customizing some long time consuming brackets. It is no where near the headers so heat wont be an issue. They have this kit on the LSX454 at my restoration shop and said even with the radical cam they have it has never thrown a belt.
12-24-2010, 07:17 AM
#48
Rnation= Where did you get your alternator bracket from? Hell I didnt see it before or wasnt paying attention. I like the billet mount better like you have. It almost locates the alt. in the same spot. I see your running P. Steering. Is the alt. bracket you have a stand alone bracket or does it incororate the P/S into like mine does. I am a manual steering kind of guy but have give some thought to going back to P/S.
12-24-2010, 11:43 AM
#49
TECH Enthusiast
Thread Starter
iTrader: (2)

Join Date: Jan 2009
Posts: 621
Likes: 0
Received 0 Likes
on
0 Posts

i got my alt/ps bracket from kwik performance. it works pretty dang good and it also lets u use pretty much any type two ps pump. wasnt too cheap tho cant remember exactly but go to kwikperf.com i believe it is or google it. look at there brackets and check out the ps tutorial. so did u space everything out? i have the truck acc. which i believe is farther out than the car acc. could i just get a car pump and space it out some to make it line up with the truck acc. ? my whole thing withthe kwik perf setup is that it doesnt leave a lot of room for a xover tube for the turbo. ive heard the fbody setup will fit even with the alt low on driver side so i figured that would givbe me more room to work with but i dont knwo
12-24-2010, 07:58 PM
#50
I am using a truck crank pulley so yes I did space everything out to accomodate it. If you are using truck accessories like W/P, crank pulley you will have to space my alt. bracket away from the head to get everything aligned. I will eventually get an F-body crank pulley and move everything back but for now this will suffice. I have a ton to buy right now so money is more important than time. I have plenty of time and a limited budget. I could go ahead and piece together the rest of the Corvette accessories but I am limited on the A/C compressor location due to my adapter plates and mounts. Even with the truck acc. I will still have to modify the A/C bracket on the top left bolt. I may end up making a new bracket all together. Prolly build it out of steel for ease of welding and cost of material. I would like to lift the A/C compressor up so the crossmember is not an issue. I do not like the idea of my compressor being up top with the headers. Kwik make a relocation bracket for this but it seems to run real close to the header. If you are using a truck crank pulley you will have to space out the Fbody alt. bracket to accommodate belt alignment. I took my truck alt. and put a bolt thru it into my lower block mount and the top bolt will line up perfectly with the undrilled untapped hole . I think you could use the alternator as a guide and drill and tap this hole then make some spacers to mount your alt. down low without having to buy anything. The threads are M10 x 1.5mm on the factory mounting hole. Make sure you have clearance between the block and the end of the alt. to line up the belt. I cannot remember whether or not I did, I think I did. If funds allow it go ahead and buy the complete fbody set up from someone on here. I bought the GTO W/P brand new with a lifetime warranty for $135. So that leaves you one alt. bracket, crank pulley, idler pulley, P/S bracket and a belt. The bracket I have uses a Corvette style P/S pump which I am sure is expensive. I have a truck bracket with a car style P/S pump that has the integrated reservoir that came off of a 2003 truck if that would help you.
01-02-2011, 01:33 PM
#52
TECH Enthusiast
Thread Starter
iTrader: (2)
Join Date: Jan 2009
Posts: 621
Likes: 0
Received 0 Likes
on
0 Posts
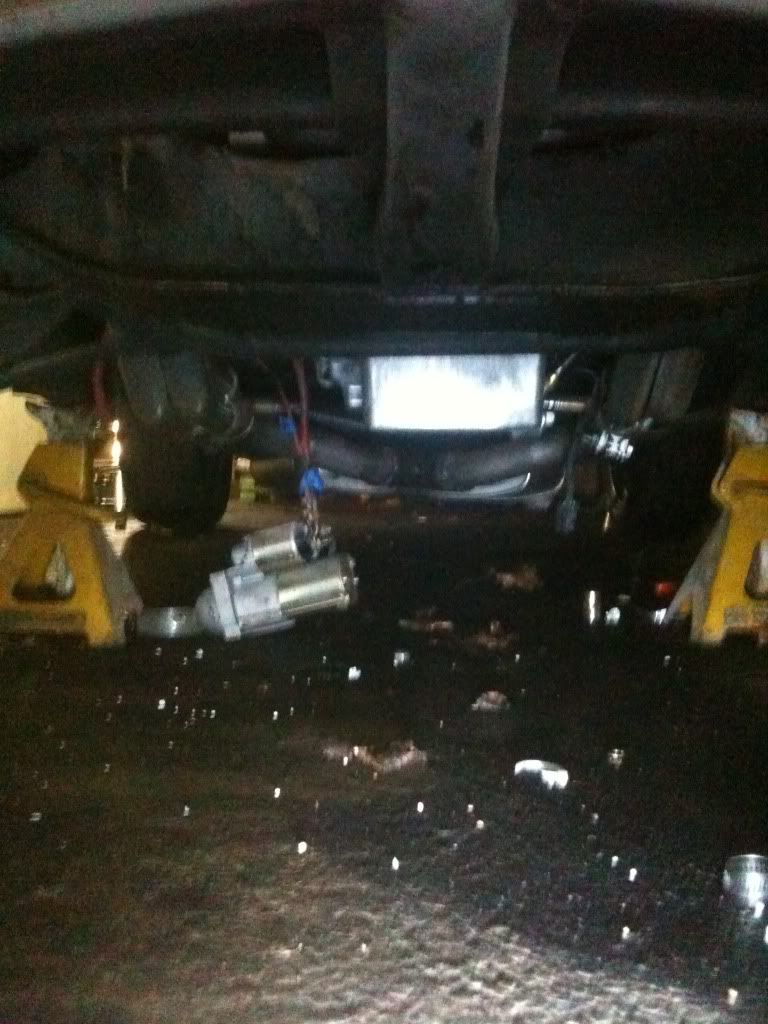
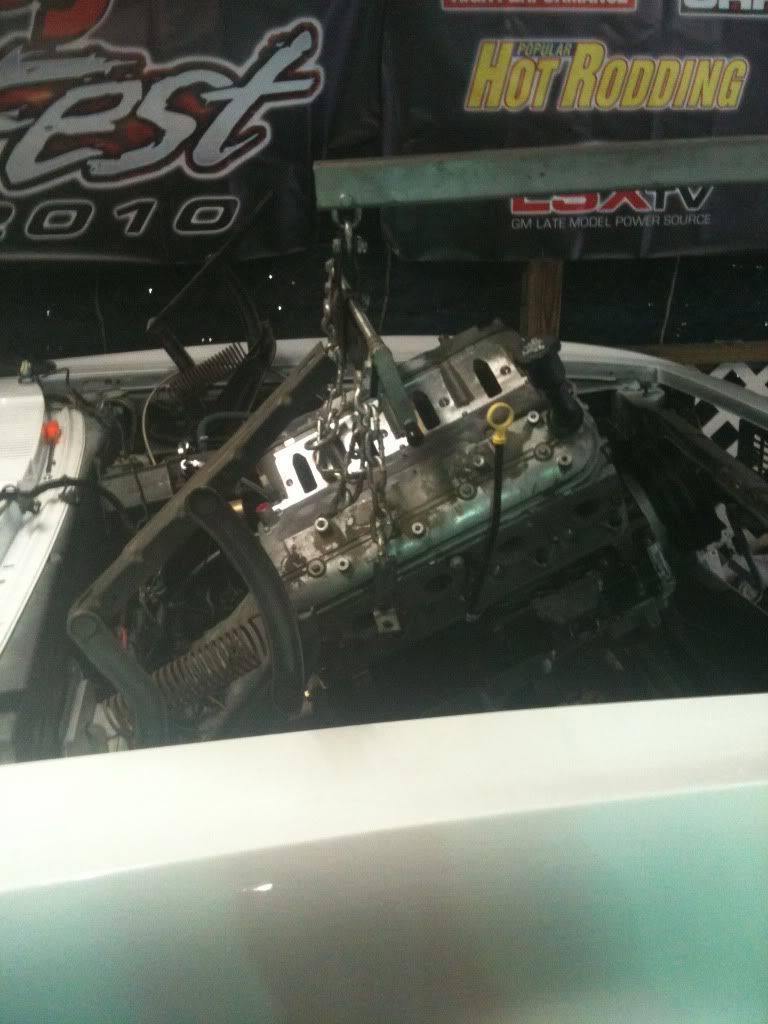
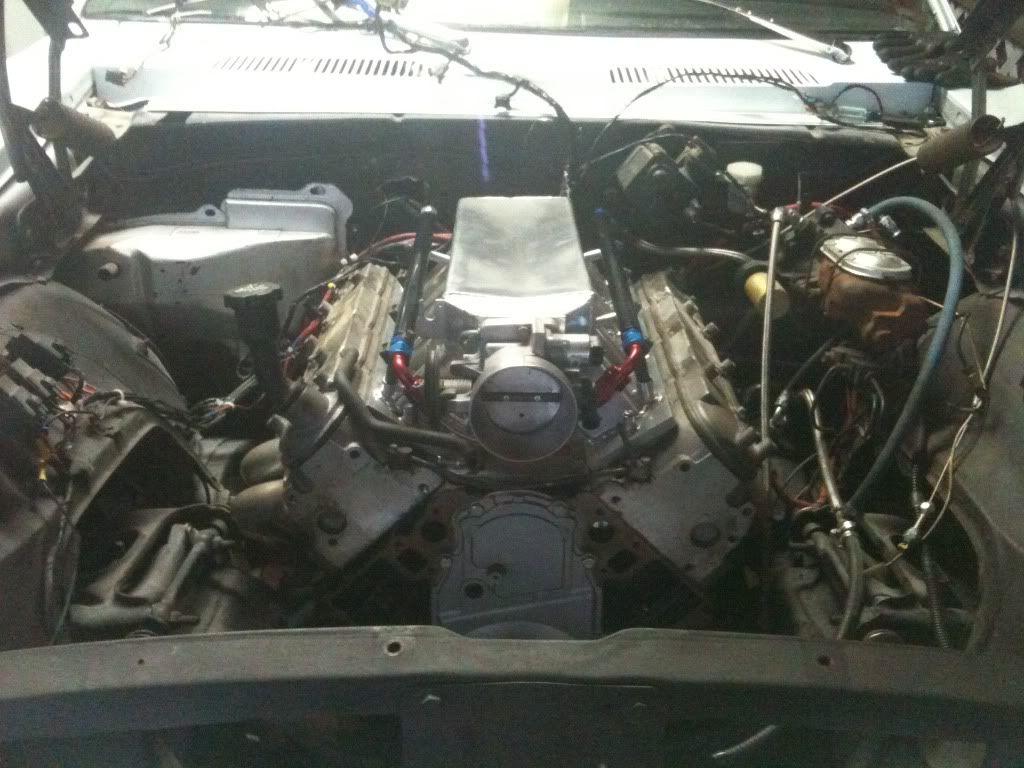
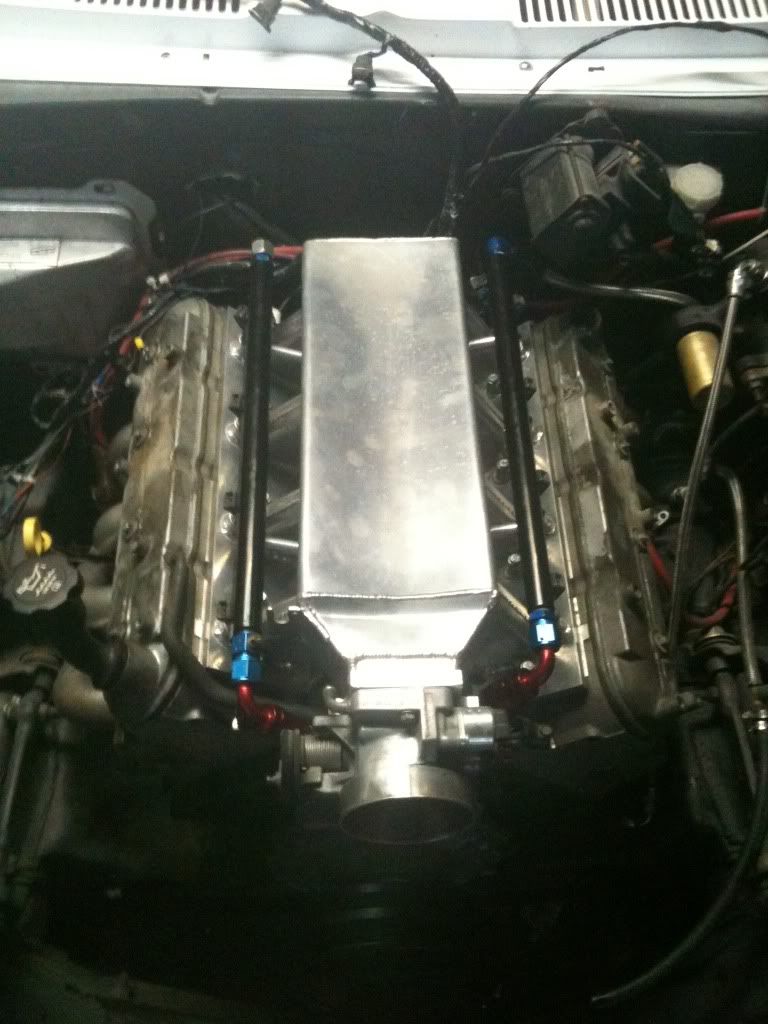
well over the last week ive had some progress, got the new engine sat in after goin in and out a few times. had to put washers in the motor mounts to raise it ever so slightly. took a pic of the oil pan for anyone who wants to see the clearance. the car isnt on the ground so its hard to tell, it does still hang below the crossmember however it is quite a bit better than the truck pan was and i had never scraped it so im happy.
BIG QUESTIONs:
1. ok on the 8th cyl near the crank sensor there is a threaded hole that on my other engine is plugged. is this metric or pipe thread?
2. also on the 7th cyl theres a big threaded hole that on my other engine is a sensor i never used but its there, what is that?
3. last but not least, is there a difference in using say napa sensors and using gm sensors and which should i go with?
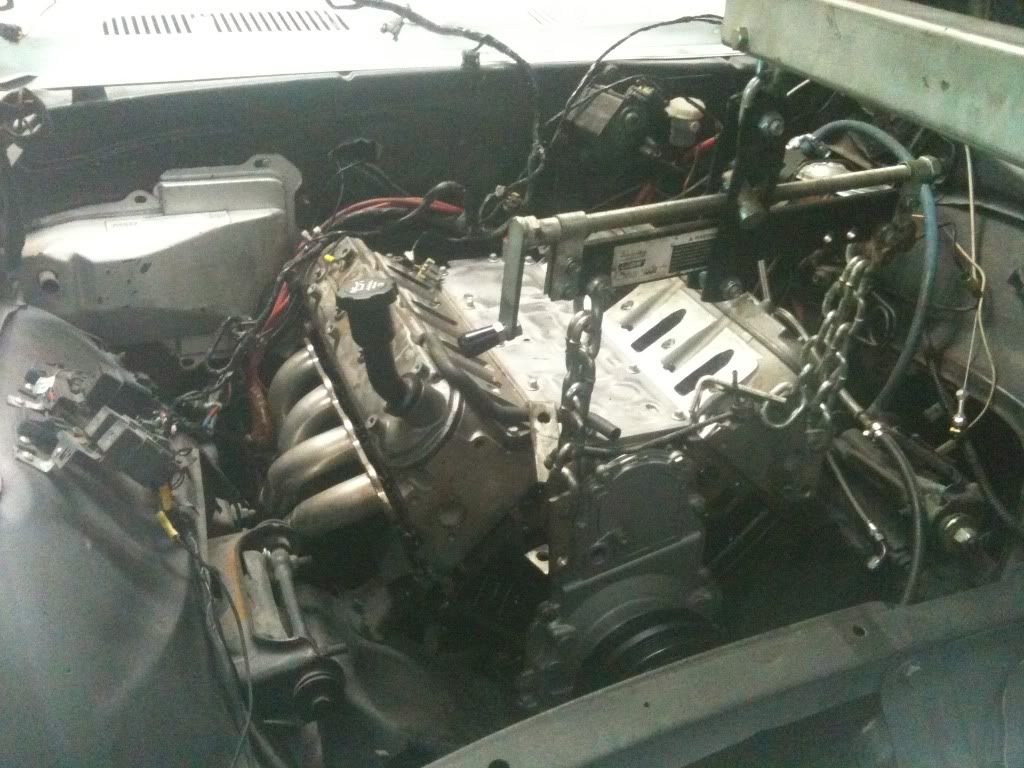
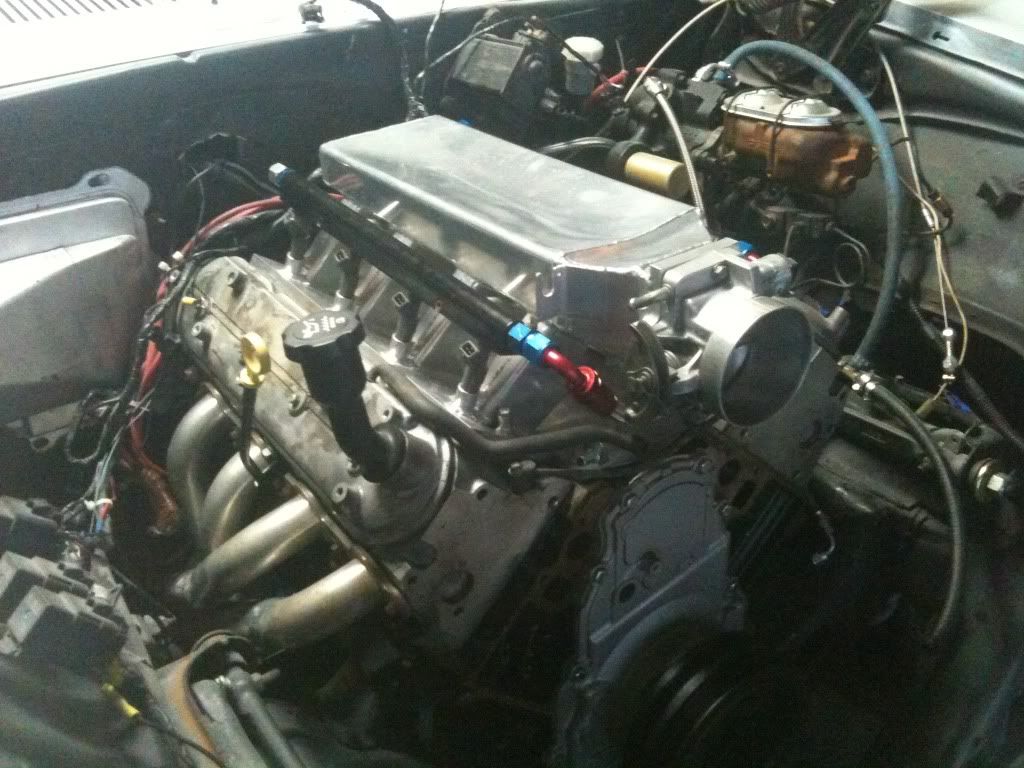
anyways here some pics of what it looks like after tinkering today, got one header mounted, and the intake. and messed with a few things,
BIG QUESTIONs:
1. ok on the 8th cyl near the crank sensor there is a threaded hole that on my other engine is plugged. is this metric or pipe thread?
2. also on the 7th cyl theres a big threaded hole that on my other engine is a sensor i never used but its there, what is that?
3. last but not least, is there a difference in using say napa sensors and using gm sensors and which should i go with?
anyways here some pics of what it looks like after tinkering today, got one header mounted, and the intake. and messed with a few things,
Last edited by RNation0001; 01-02-2011 at 01:39 PM.
01-02-2011, 08:36 PM
#53
I have plugs in both back cylinders. I am unsure of the threads but you could unscrew the sensor and use it as a guide. Check it to see if it fits both sides. Mine uses a socket head type of plug. If you would like to visit my thread I have some pics of the block you could use for reference. My thread is listed in the "conversions and hybrids" section under "LQ4/T56 in my 69 Camaro". Hope that helps. If you need some pics better than what I have posted just let me know.
01-11-2011, 06:26 PM
#56
TECH Enthusiast
Thread Starter
iTrader: (2)
Join Date: Jan 2009
Posts: 621
Likes: 0
Received 0 Likes
on
0 Posts
well hit a little snag, while installing the ls2 camshaft sensor in the front cover i found it wouldnt fit. well turns out that the cover i got from ebay that said it was an ls2 cover is actually a front wheel drive ls engine cover which locates the sensor on the opposite side and will not work with fbody computers.  so i had to order a new cover it should be in soon and will have to swap it out then maybe i can fire it up soon
so i had to order a new cover it should be in soon and will have to swap it out then maybe i can fire it up soon