When you click on links to various merchants on this site and make a purchase, this can result in this site earning a commission. Affiliate programs and affiliations include, but are not limited to, the eBay Partner Network.
Nice build man, subscribed! Interested in what you do with your fuel injection. Any updates?
Yeah tons of updates! Just need to take the time to post it up!! Went with Mega Squirt. Build the MS2 circuit board and almost done making the engine harness. I'll try to get some pics up soon. Hoping for a Start up here in the very near future!
Really like your car man, definitely my favorite GTO. Im putting similar twins (BWS359) on the 347 in my 04 GTO ...but Id kill to swap it out for a 68!
I have a hard time updating this build when im in the thick of it, so here is what went on the past few months! Finally sorted out a bunch of little problems along the way and was doing pulls at 10psi this last weekend. Getting ready to bump it up!!
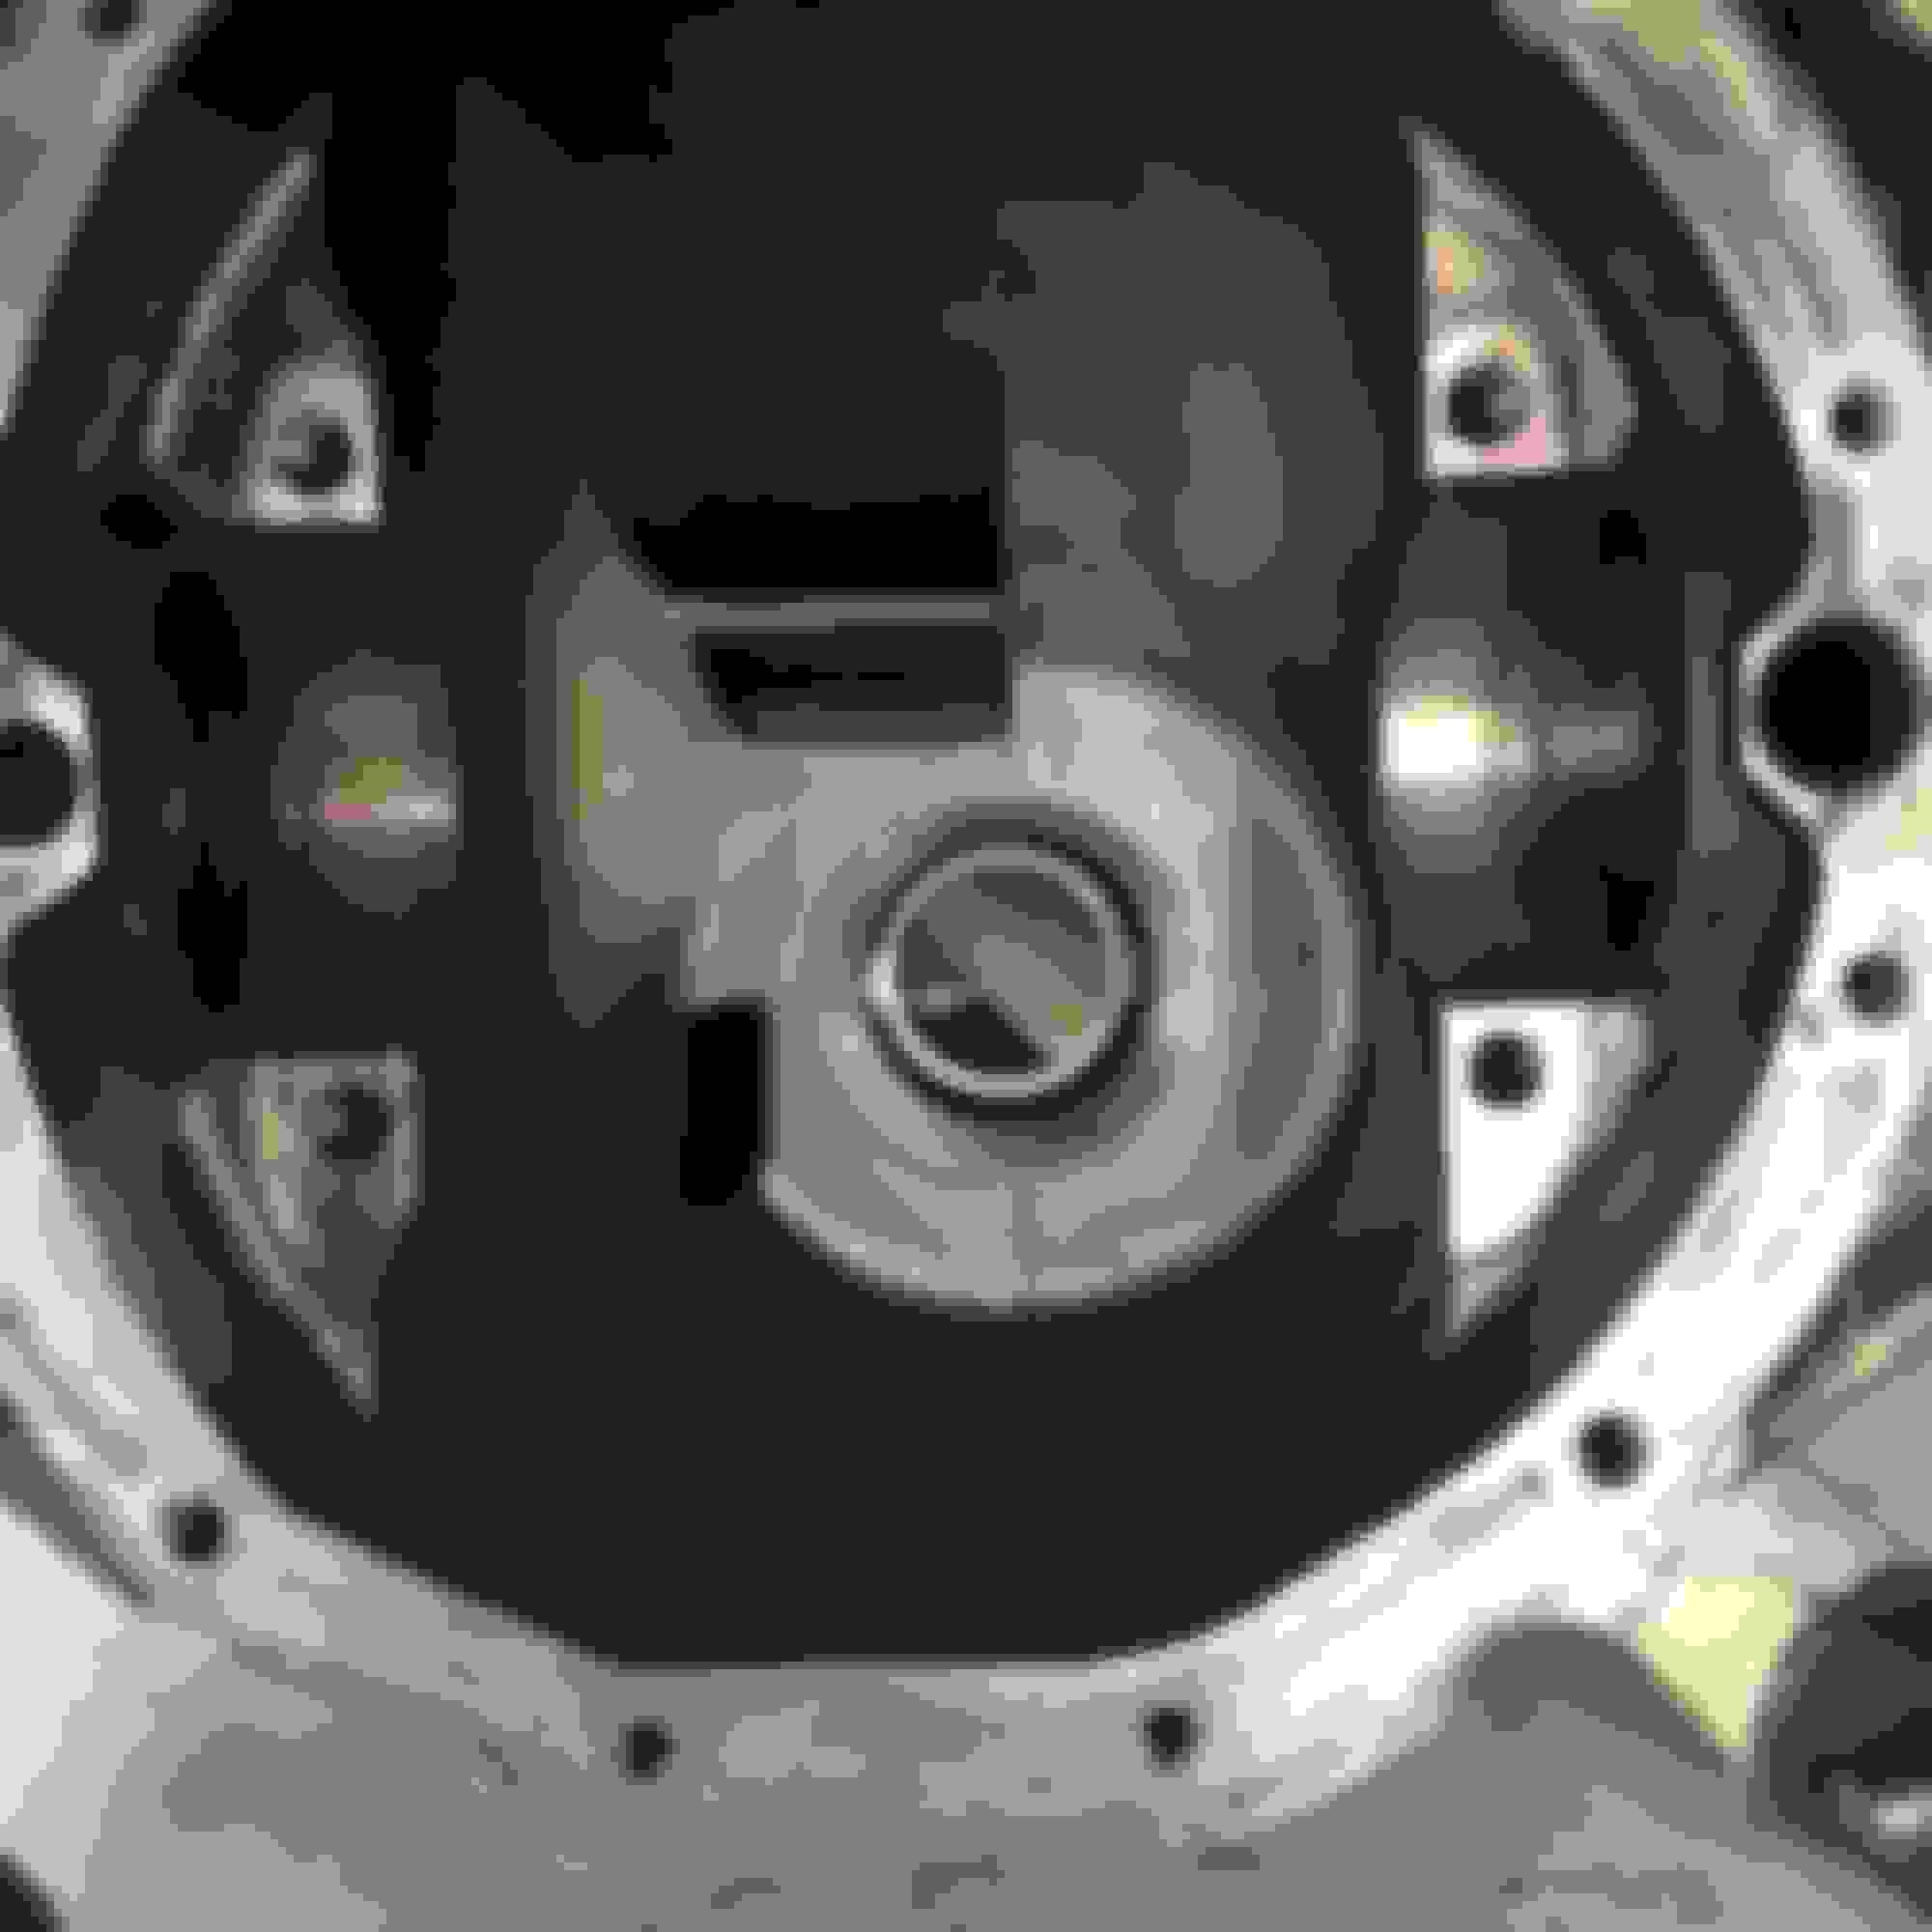
Lets start with the Passenger Side Alternator mount!! I was limited on space, i had "made" my own mount for the pass side, i kept it really close to the motor when i built my headers. Well after breaking off 3-4 bolts (the last one was a hardened bolt) and picking up belts on major highways... it was WAY too annoying. I did 3 revisions by the end of the season last year which included adding a roller idler pulley to help...... that eventually didnt help either.
So far so good this thing is rock solid. So for you TRUCK accessory guys that need a rights side version for under $200 here is what i did!
Excuse the poopy used alternator. (She's cleaned up now)
Next we have my intake injectors and rails!!!
Edlebrock Pro-flo XT LS1 Intake!! (I Modded for the massive 3/8npt IAT sensor in the back)
Factory LS1 Throttle Body - TPS and IAC
Edlebrock Pro XT rails 8an
Seimens Deka 80lb Injectors
Aeromotive Regulator
MS2/Extra Mega Squirt
Went with the MS2 V3.0 Mega Squirt. For the ECU. Came with a empty board and a bag of parts. Lots of work but fun putting the circuit board together. If i could go back.... I'd Probably go Microsquirt. Which is smaller, easier, basically less to test and or screw up.
Head over to Denmah for a great write up on Microsquirting an LS!!!! https://ls1tech.com/forums/forced-in...8-10-13-a.html
Here is after i got a pretty healthy start one weekend!!
More soldering....
Done and tested... Added launch control mods, all LS1 related mods and had added another db15 connector in the case for the additional LS spark outputs.
Here is a start at the Harness!
Then In car!
Finally was done messing with it to button it up.
Wired up Launch Control to the T handle!!
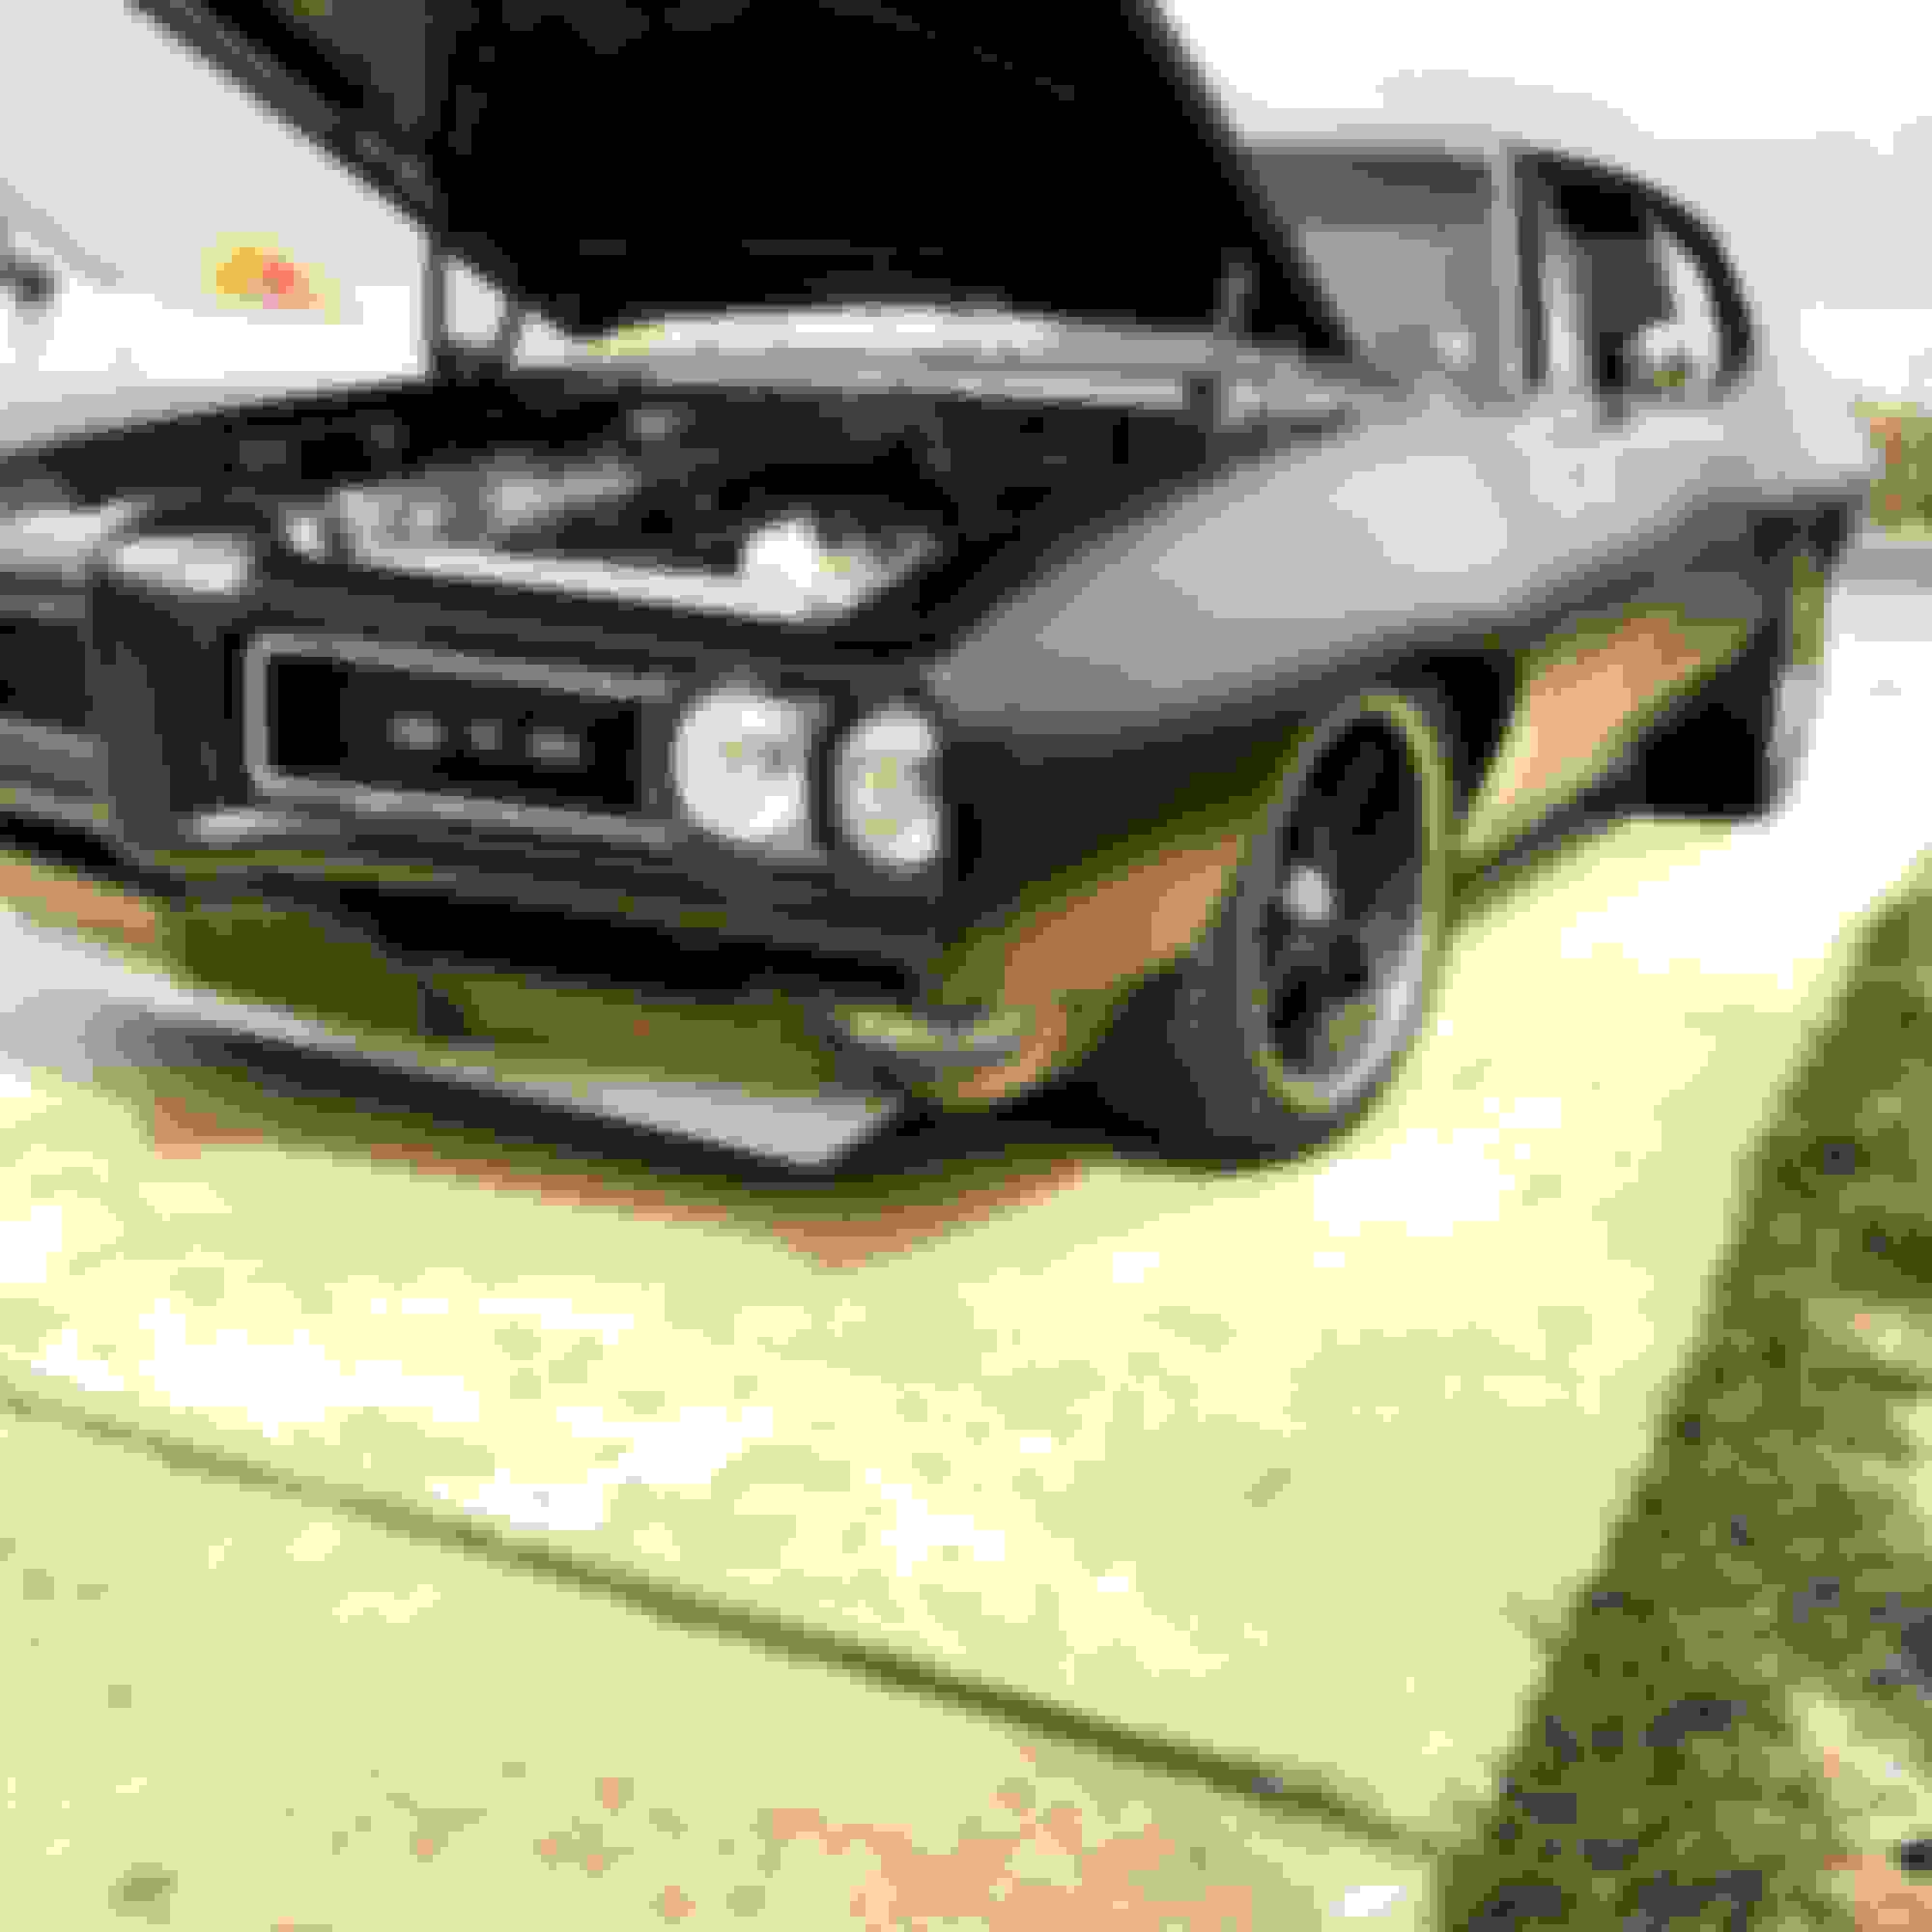
Got Some Fat 255's on front (Dang hood hinges in this pic... hood isnt all the way down in front.)
All in all same 10 PSI as last year and 100% Better than last year. No dead spots in the power curve extremely linear power all the way up. Still working out some bugs, still working on the tune. Couldnt be more happy with how it drives now. Cant wait to bump up the boost and Eventually going to go e85 this summer.
The first night i got the tune close enough to beat on....
I'll be posting other fun stuff soon hopefully just glad i could update this finally!!
Hope everyone else's projects are coming along!!
Megasquirt MS2 Tuning and a Fresh MicroSquirt Start up
Well the car has been running great, been learning more and more about Tuner Studios and the MegaSquirt / Micro Squirt controllers!! Tuning has been fun and what a difference from the carb setup. Such great linear power now with no dead spots. I have a great lean cruise and with the lockup overdrive and the 2:73's i still have this things ready for the cross country trip! haa
I'm at about 12.3 psi according to my logs. I did test out the over boost protection accidentally. Apparently a half turn on my manual boost control spiked the boost to 16.5psi. So the engine cut out a few times which is an awesome little feature. I still was planning on going up to the 14psi mark before switching to e85. But now im just curious. I might dump some in tonight and start a e85 tune. We shall see!! Here is a rolling shot from cruising the other night!
Side note - MICRO SQUIRT is Awesome!!!!! For anyone thinking about a quick cheap ECU other than the factory computer that has features the HP tuner guys can only dream about (Ok so maybe thats an exaggeration). Or for someone on a shorter timeline that doesn't want to build and populate Thousands of solder points on a circuit board building a Mega Squirt! Look into the Micro Squirt stuff. When i do another project i think Micro Squirt will be the answer.
I just helped a buddy with his 79 C10 LS swap, he bought MicroSquirt from EFIsource: http://www.efisource.com/shop/ls1-24...icrosquirt-v3/
It came "set up for LS1 24x" and came loaded with a basic tune from Denmah. So I probably spent a total of 8 hours wiring over 3 different days of helping him out when i could, wiring the whole engine, sensors, modding the intake for the IAT, and all of it including under the dash and re-mounting the factory harness, going thru the factory engine harness for the 2-3 wires we needed, adding a fuse block for injectors,coils, microsquirt...and so on. It went very fast this time around and i had just done the wiring on mine a few months prior. Also check out Denmah's write up on How to micro-squirt an LS. Very good, he covers everything you will run into for the most part.
I was skeptical of this "tune" that was pre-loaded. I didn't have my computer with to hook up, so i wasn't sure what things were set at. I wasn't sure if we had everything hooked up right or if all the grounds good. But we wanted to at least try it! We dumped some gas in the newly installed lines, pump and fuel cell. I cycled the key, i didn't hear the pump so i figured the tune really wasn't set up. Hot wired the pump right to key'd power, and let it run then started cranking. Literally 10 seconds of cranking and BAM... start right up!
I couldn't believe it... and it ran great even running stock injectors, slightly bigger cam. It will need tweaking before we drive it but still so awesome that it popped right up.
Once again I'm embarrassed by how long it has been getting on here. Anyway busy winter got a late start on the car but most of which that i wanted to get done. I'll start with last fall.
Transmission Issues:
Right towards the end of summer I was out ripping on my way to a buddies when I did a 2nd gear pull into 3rd and BAM something let loose. It was banging and clunking so I pulled over, noticed that i wasnt leaking anything everything seemed good expect my transmission would only start out in 2nd and no reverse. I was only a mile or two from a buddies house so i pulled in there. I have free towing with the insurance company (Grundy) and ended up towing it home.
Pulled the trans right away, which I wasnt sure i'd be able to reach the bellhousing bolts since I built the motor mounts favoring the engine as far back as I could.
Got to work on it right away because there was still a good solid 2 months of driving up here left for the year and a fall cruise I wanted to hit.
Things went great it was out in a few hours, no big deal.
And Holy...the drum was locked up, luckily the case wasnt shot and most of the things i spent money on upgrading this hog were salvageable.
Grenaded the front planetary (which "doesnt ever happen according to Dana at Probuilt, the last one he saw was in the 90's)
The free (beer) labor in the background as im holding that planetary.
So then came the full tear down and inspection of things. All in all it wasn't too bad. ALL of the clutches in the 3-4 pack were snapped. They had good friction material left on them but the steels were a bit marked up but every clutch disc was snapped. Crazy!
After talking to Dana I was more confident that this shouldn't happen again. My ultimate plan is upgrade to a 4l80e and i wasnt sure if this should be the time or not. Anyway, decided this thing should be good for a while longer and its the fasted approach to just rebuild it and go. So all in all down time was around 2 weeks. Spent minimal money, although I had a decent sized groove in my 2-4 band so I did replace that along with an input drum.
Re-assembly went well and it was back in no time. (Unfortunately there was one small hiccup ... i forgot a small plastic thrust washer that sits on the back of the input drum right behind the front pump. Just to make sure there is never metal to metal contact...that piece was laying on the bench after the trans went back in and was just about all hooked up cooler lines and all.... so out it came again and the pan and front pump came off. Then back in the car. lol )
Wheels
Had been looking for a different style wheel for awhile, found these cheap and thought it would be a good way to ditch the 20's in the back so I did.
Shortly after getting back on the road and the new wheels I took home a trophy (1 of 8 at the show) out of around 1000 cars. Didn't expect to win, but was fun!
Front End:
As part of my goals for the winter, front end suspension stuff was on the list. I wasn't sure if I would go Coil Over or what, but I knew I wanted to get a fat front bar, new A arms and body bushings. I started with the body bushings, went with a poly graphite mine were old rubber bushings and getting the poly mounts is supposed to really help. So once I decided to do it, the front clip had to come apart. While apart it was the perfect time to do the suspension, coat headers, sway bar all of that. It was one thing after the other.
Wish i could drive it like this! lol
Headers and a-arms came off !
A-arms stripped off
Spohn 1 5/16" front sway bar
Cheaper tubular A-arms with Pro forged ball joints. 1/2" Tall upper ball joint.
And the bling was done!!
I spent hours cleaning these up ended up re-welding most of the visible beads because i wanted them uniform under the coating. It was a few days of clean up before i brought them.
New Truck:
Unrelated to the build thread but whatever. I got a new job, as part of the job traveling and working from home there is a car allowance. (Expected to drive a newer vehicle) So I picked up a New 14' 2wd decked out Silverado. Some guy had ordered it with everything including nice factory 20" polished wheels and the bucket seats with a full console. I got it for a great deal being new but a year old and the special order guy never came and bought it. Anyway...
Lowered it 4/6 drop. Spent a day on it and it wasnt easy lol
Came out one morning and this happened. Nice neighborhood too.
Had locking lugs (one on each wheel) they busted in and took my wheel lock socket.
They Pry'd on the metal next to the window to bust out the glass and scratched the driver fender. This thing has 3k miles on it. So dumb. $6400 total claim with wheels /tires
Had my buddies shop do the work. Had them paint a few more things And got some 22" trail blazer ss replica wheels.
De-badged everything. Pretty happy with how the 305/40R22" Toyo's fit.
All in all Insurance covered everthing and a rental car for a week.
Back to the car after all that crap and traveling a bunch for work. I started on the rear end. Always had 2:73's in it, and as a quick fix back a few years I threw a Mini spool in. So it was time to do it right!!!
My buddy Ryan came over to help being that he's setup a handful of both gm and 9" ford rear's. He was a huge help. I Started on a Saturday morning tearing into it. Had the whole thing gutted by the time he showed up around noon. We spend the whole afternoon and evening getting that shimmed and patterned out right. We wrapped up about 1am, with axles slid back in and I finished buttoning it up Sunday morning!
All gutted and ready!
Fresh and clean!
Oh and notice I just got Spohn Adjustable uppers with a spherical joint on one end this spring too!
Ryan checking backlash!
Sunday AM right after the test drive. She's quiet and feels good.
damn bro, you have good taste in craftsmanship. badass gtto and that truck looks amazing. sucks about the **** neighbors
Thanks man, Yeah hopefully it wasnt anyone that lives nearby doing that stuff. I guess its been quite the problem with newer GM vehicles. Been a few news stories on the matter up here too.
around here it has been all the imports/gtr having their wheels stolen. 20 minutes north of DC, hasn't been much this week but 2 weeks ago I think 5 cars were hit in one week 15 minutes apart and 2 were gtr in respectable neighborhoods. thank god I live out in the sticks. but it always worries me because my car is always apart. so I usually have 10k in turbos trans diffs etc laying on the floor anyone can walk in and just take. so I always try to keep my garage closed up so no one knows what I have or gets any ideas


 04-11-2014, 09:29 AM


 this things ready for the cross country trip! haa


 And got some 22" trail blazer ss replica wheels.