Collin Patton's Trans Am 408ci, 88mm build thread. ( it runs again)
#81
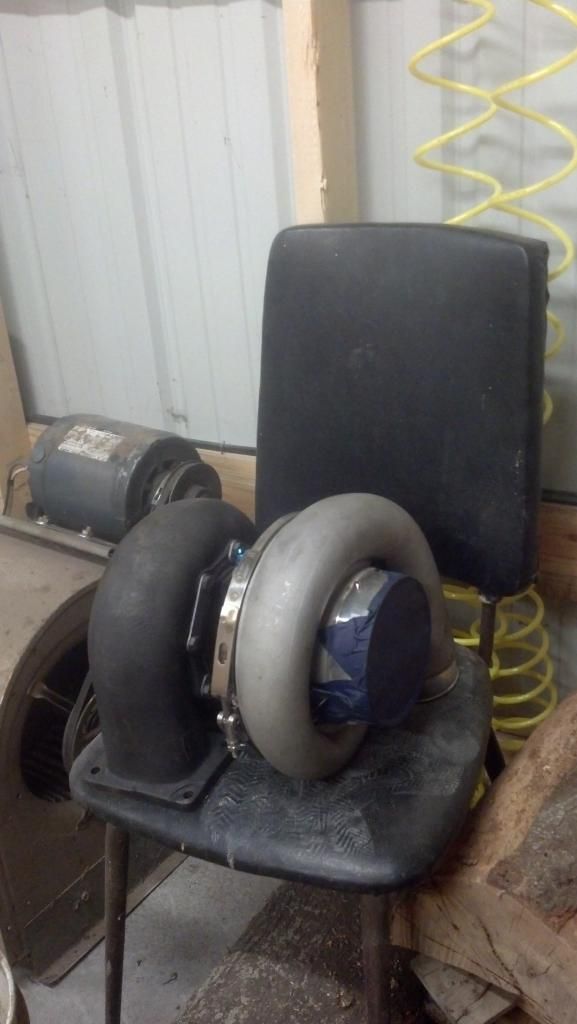
Yeah the only true way for control is twin gates at the bends like you have it but this is a ebay 44mm gate and not sure if it is gonna be large enough anyway. I have a 50mm JGS on mine and its not enough to control mine and that's why I can get 10+psi from a little hallman manual controller that's only suppose to add 5psi. He says he will be on 20psi of boost and with that huge turbo and monster 130mm turbine not sure if he will even need the gate anyway. We will see. Just working with the parts he provides. If it doesn't work to suit him we will change it. Wont be to much trouble.  Trying to cram a lot of stuff in a tight spot and still have it the ay he wants it.
 Trying to cram a lot of stuff in a tight spot and still have it the ay he wants it.
#82
If it will even make 20psi lol.
#83
With a 130mm turbine, you're going to need all the waste gate you can get.
That single 44 isn't going to work Stephen.
You need dual 44's or a single 60mm at minimum.
Single 60 would have to be placed perfectly to work.
I think you need to sit down with Collin and discuss a new waste gate set-up so you don't have to do it over again.
That single 44 isn't going to work Stephen.

You need dual 44's or a single 60mm at minimum.
Single 60 would have to be placed perfectly to work.
I think you need to sit down with Collin and discuss a new waste gate set-up so you don't have to do it over again.
#84
With a 130mm turbine, you're going to need all the waste gate you can get.
That single 44 isn't going to work Stephen.
You need dual 44's or a single 60mm at minimum.
Single 60 would have to be placed perfectly to work.
I think you need to sit down with Collin and discuss a new waste gate set-up so you don't have to do it over again.
That single 44 isn't going to work Stephen.

You need dual 44's or a single 60mm at minimum.
Single 60 would have to be placed perfectly to work.
I think you need to sit down with Collin and discuss a new waste gate set-up so you don't have to do it over again.
#87
#90
#91
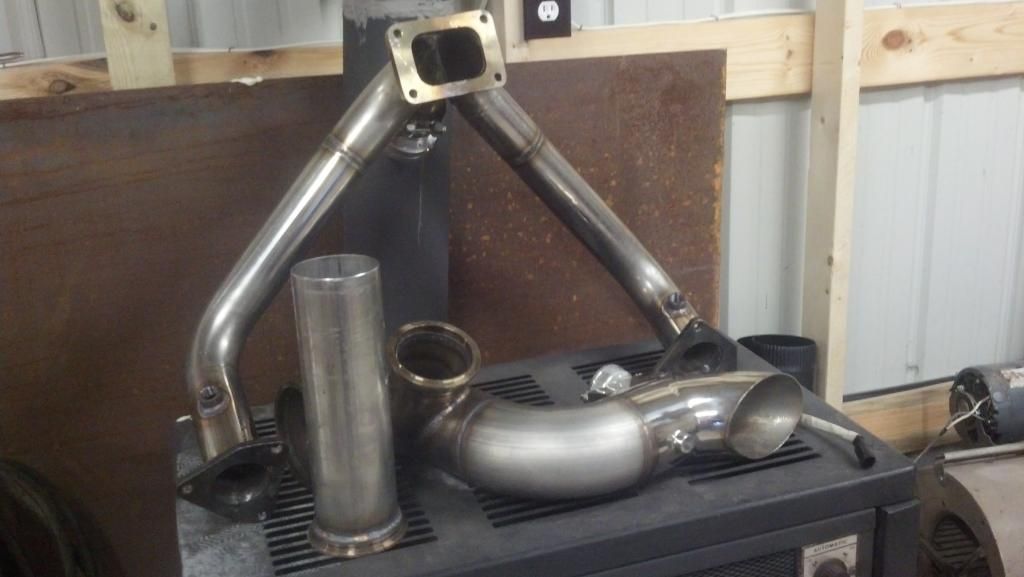
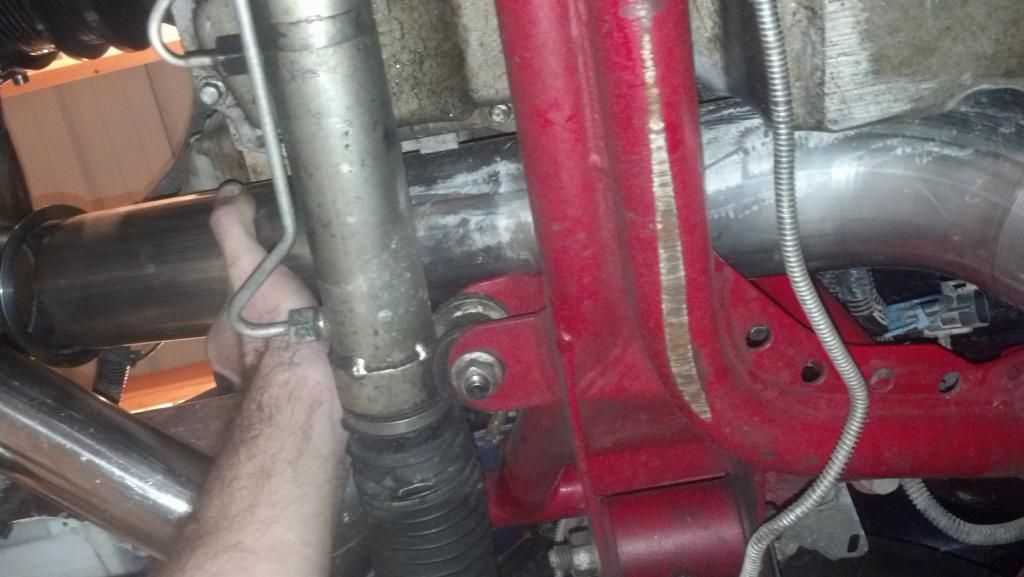
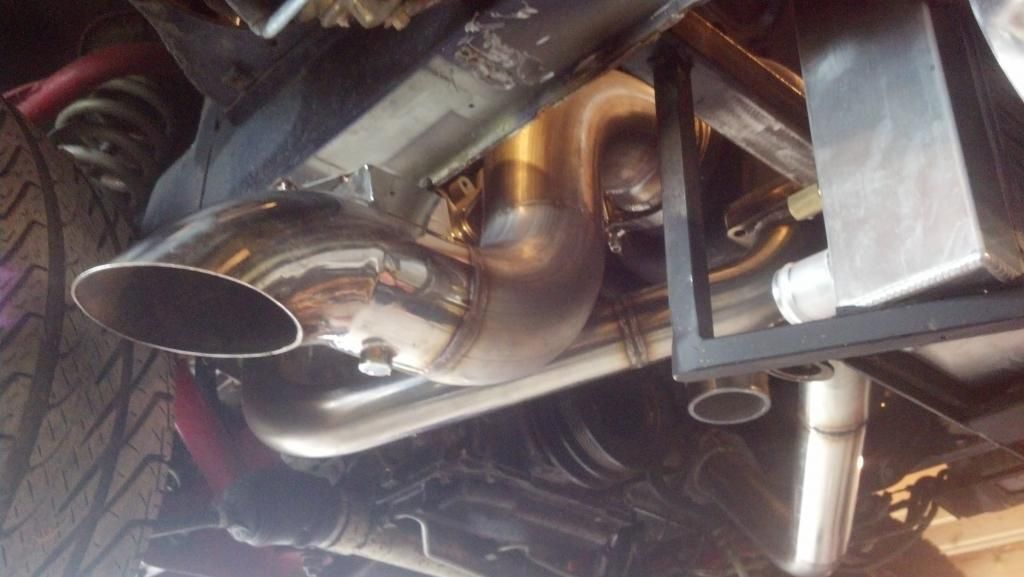
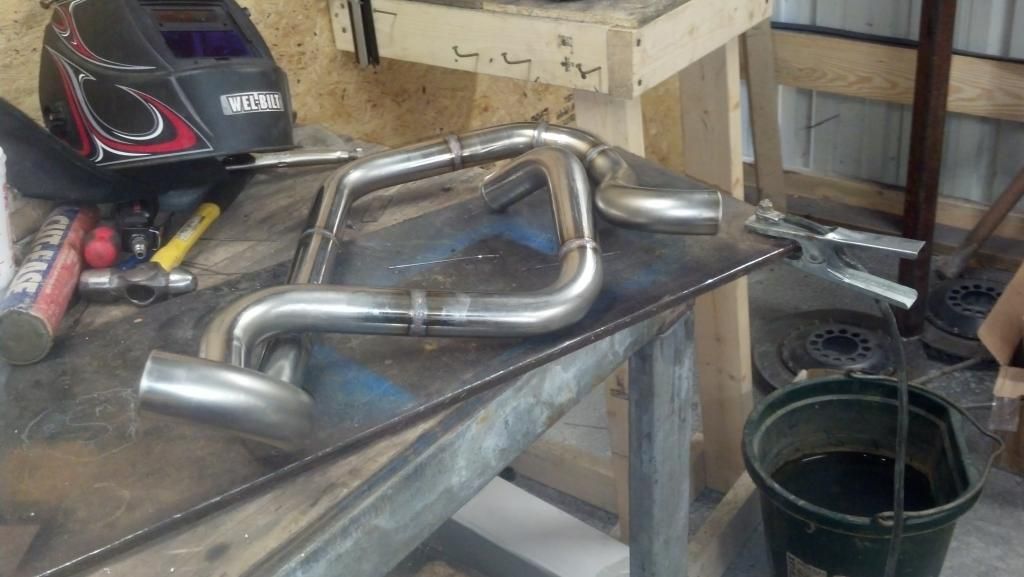
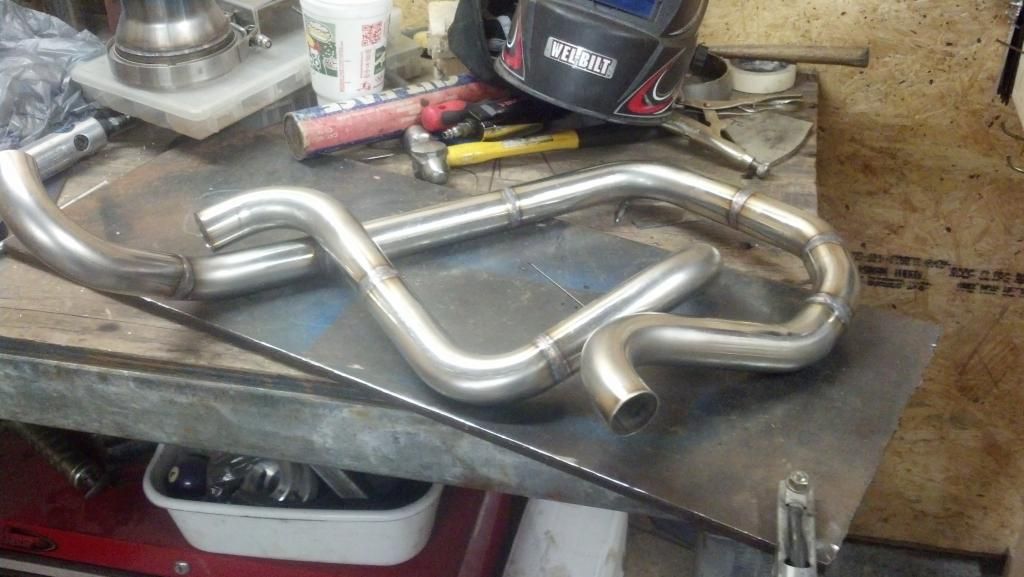
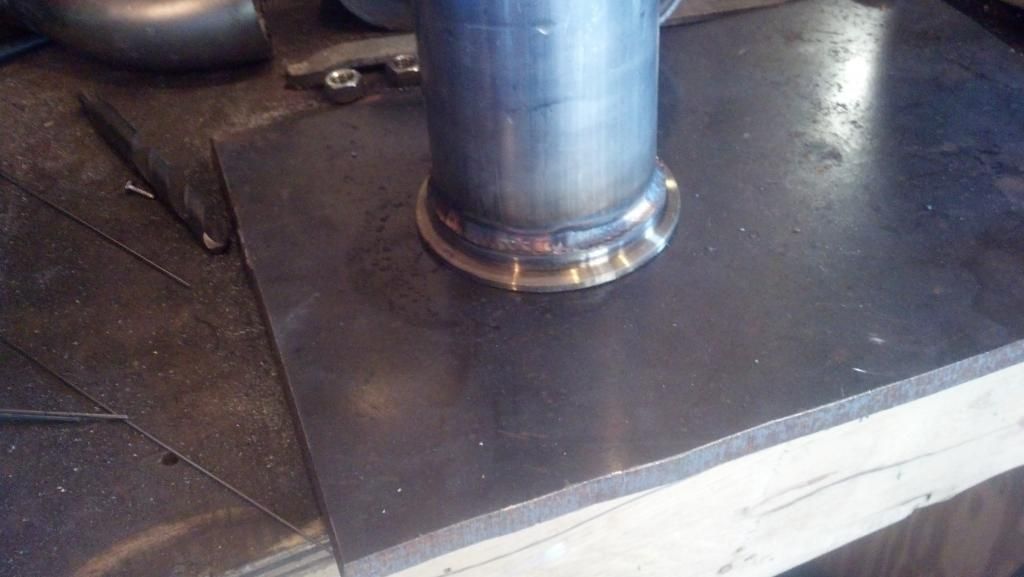
Some more updates. Collin wanted to have a y on the downpipe to run 3.5" exhaust out the rear for street driving and a cutout on the end of the downpipe for the strip. He wanted the cutout in this certain spot. Just holding it up there to get a visual. The rear exhaust pipe will be vbanded for easy removal of the downpipe and cutout section. Its not all welded up yet some of the parts in the pictures. Also im holding the 3.5" pipe going through the kmember to show how it will look once vbanded on.
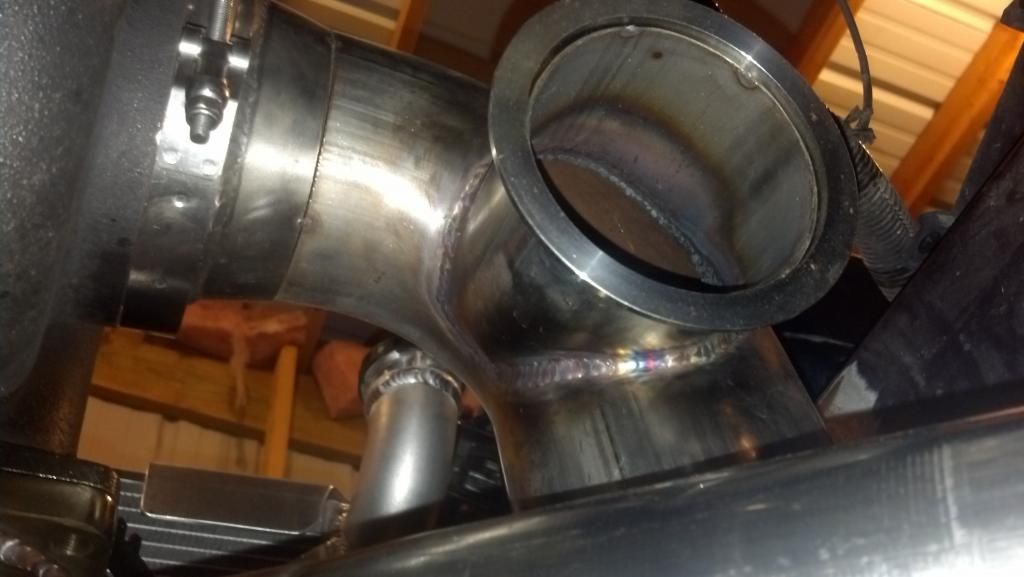
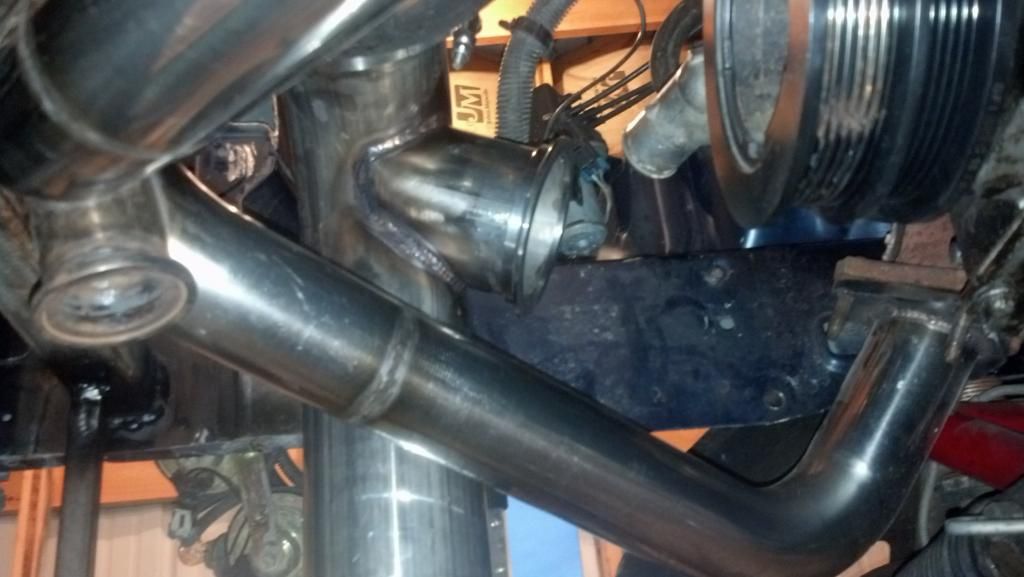
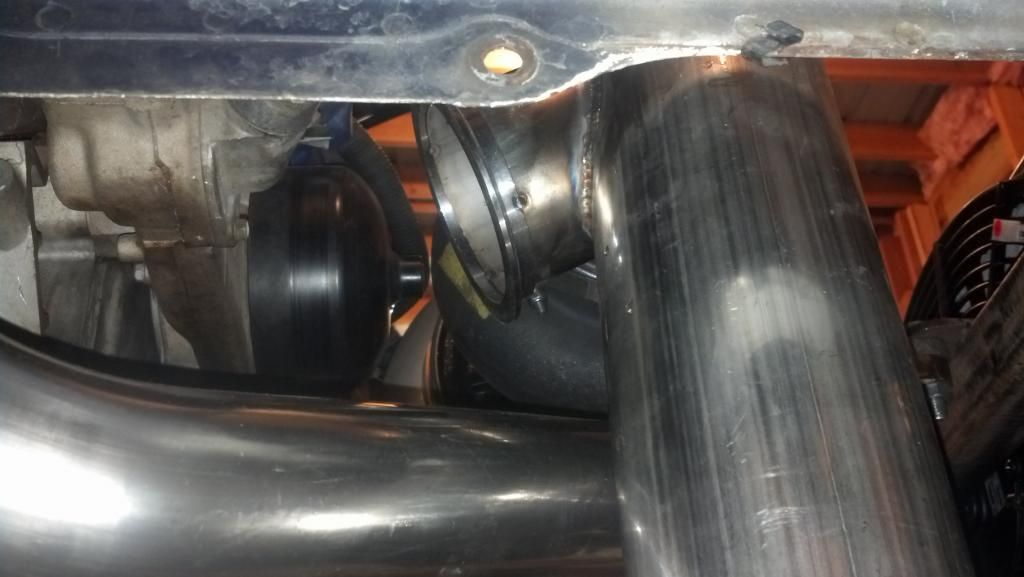
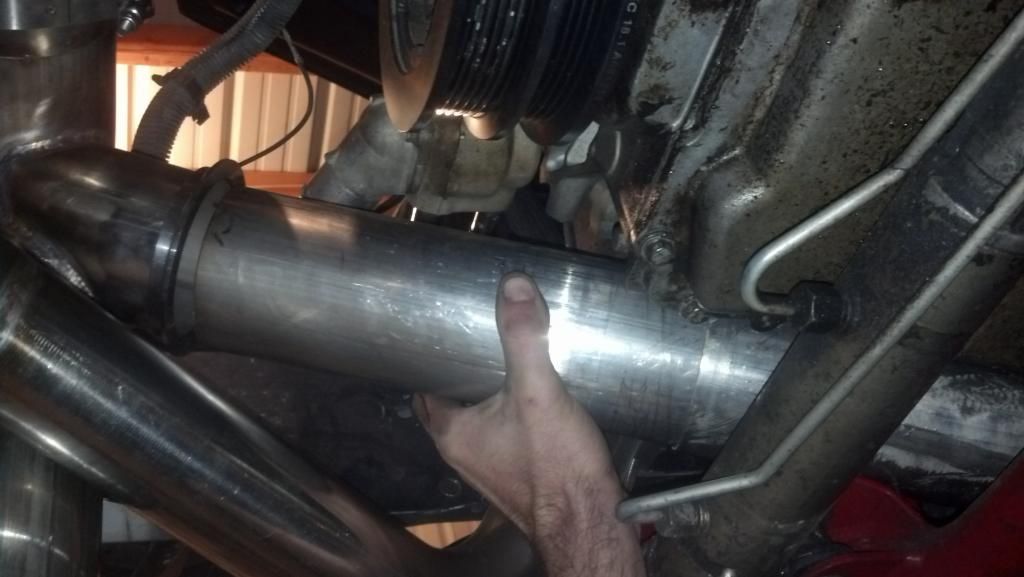
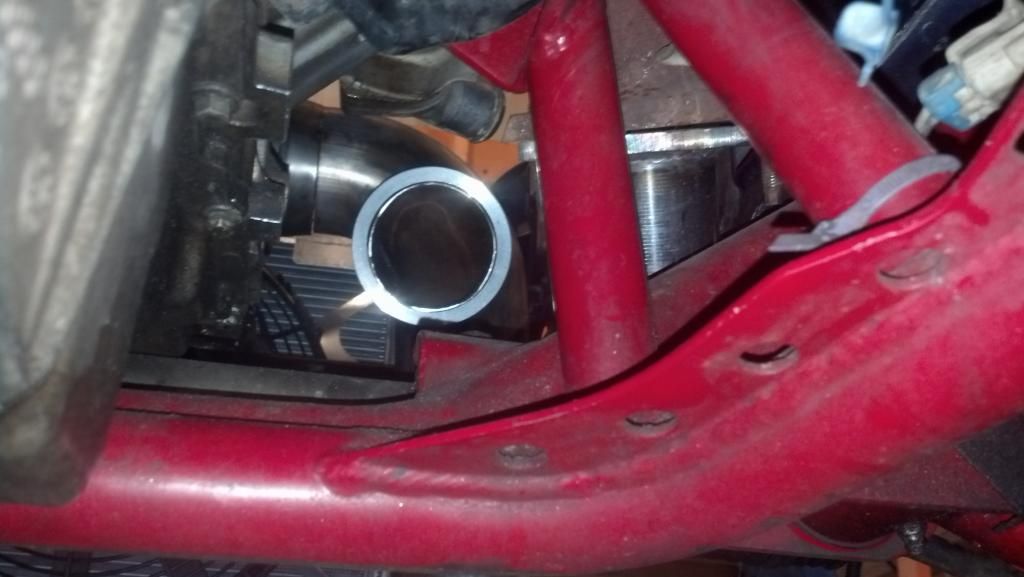
The Cutout is electric. This will clear the inside of the front bumper cover so minimal trimming if any will be necessary.
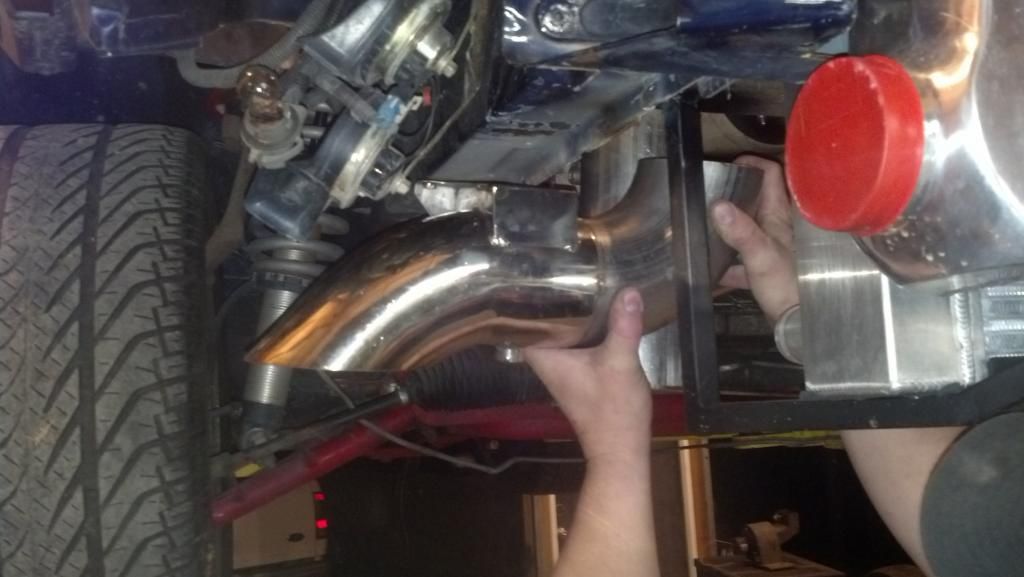


The Cutout is electric. This will clear the inside of the front bumper cover so minimal trimming if any will be necessary.

#93
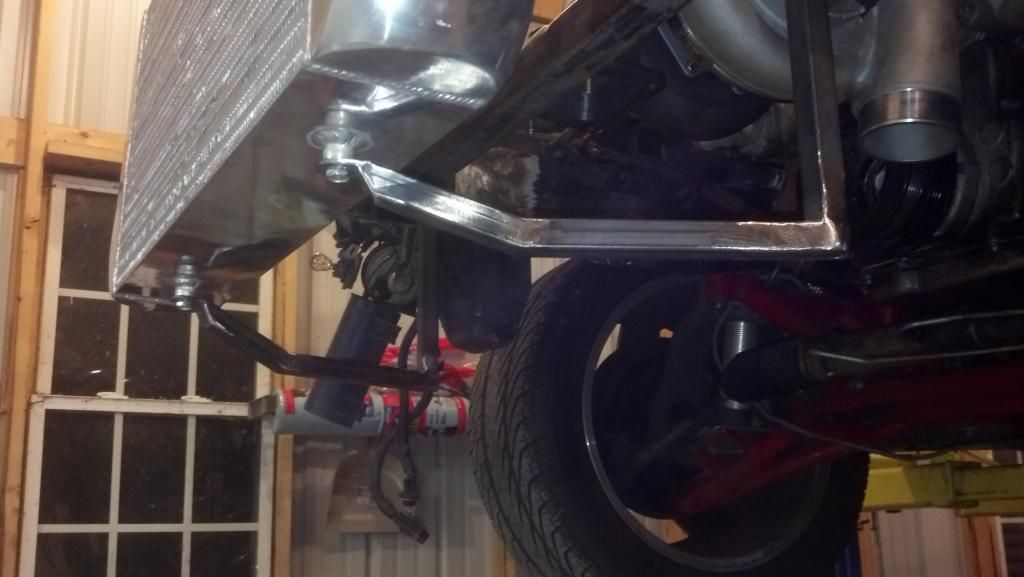
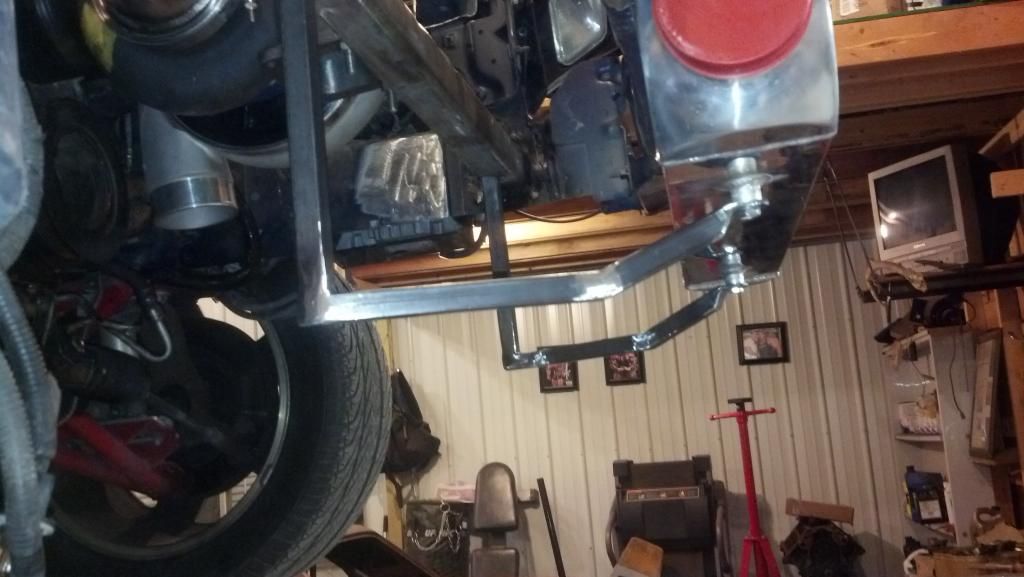
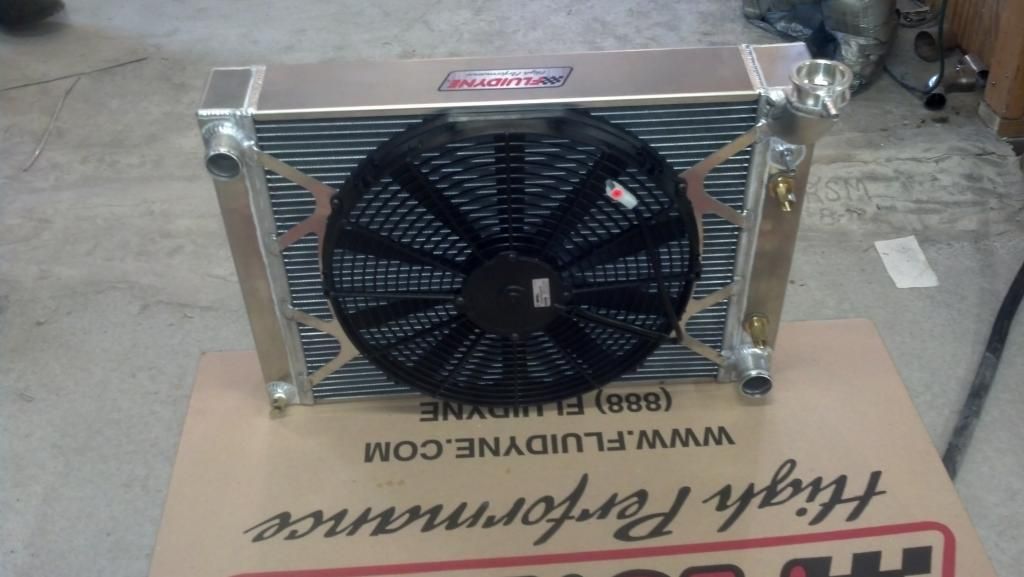
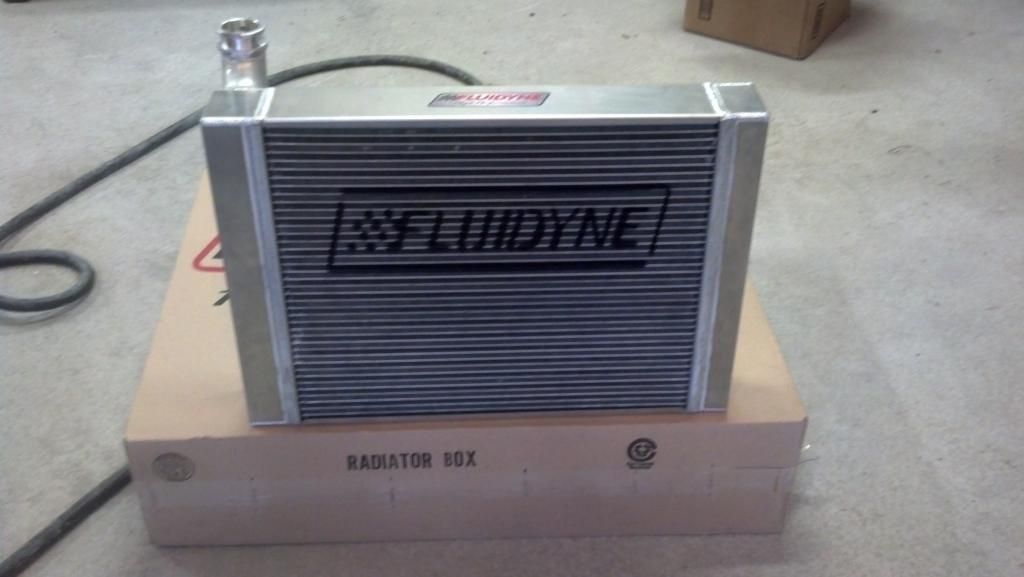
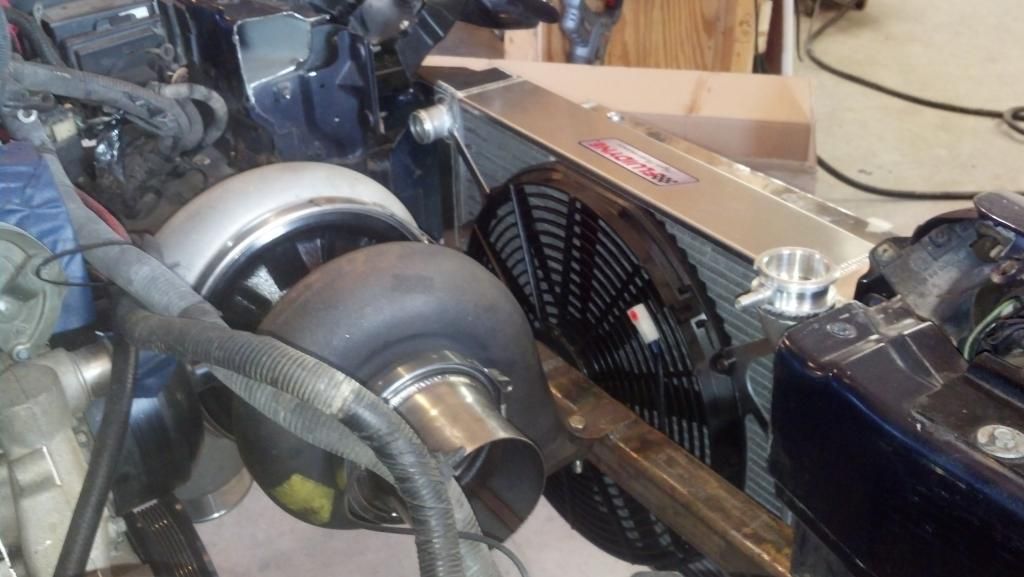
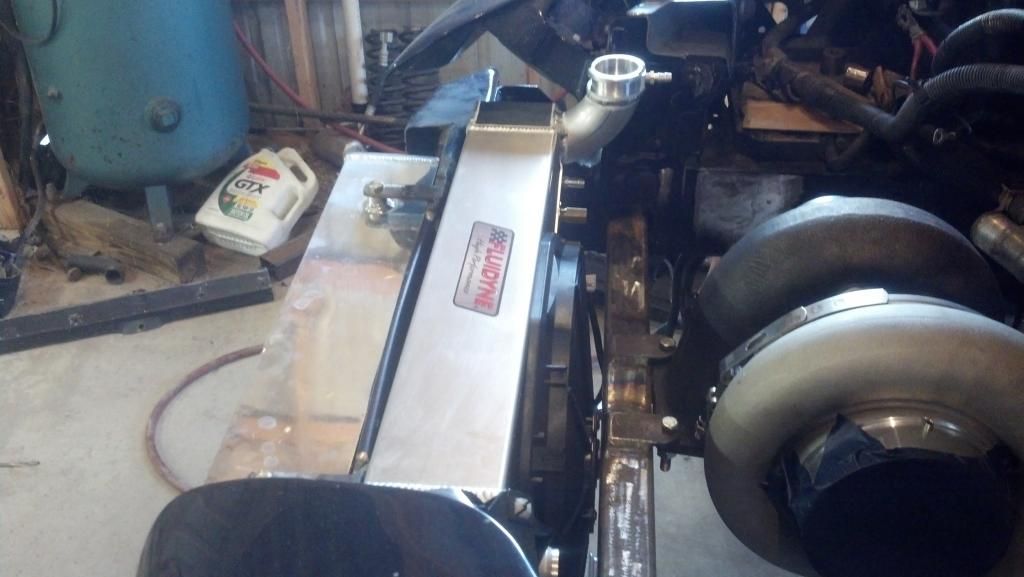
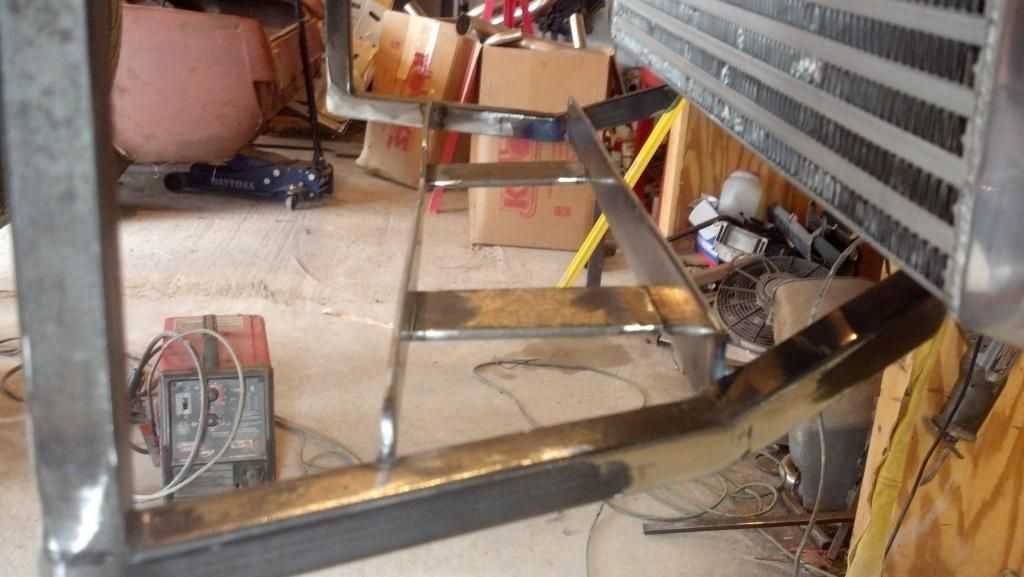
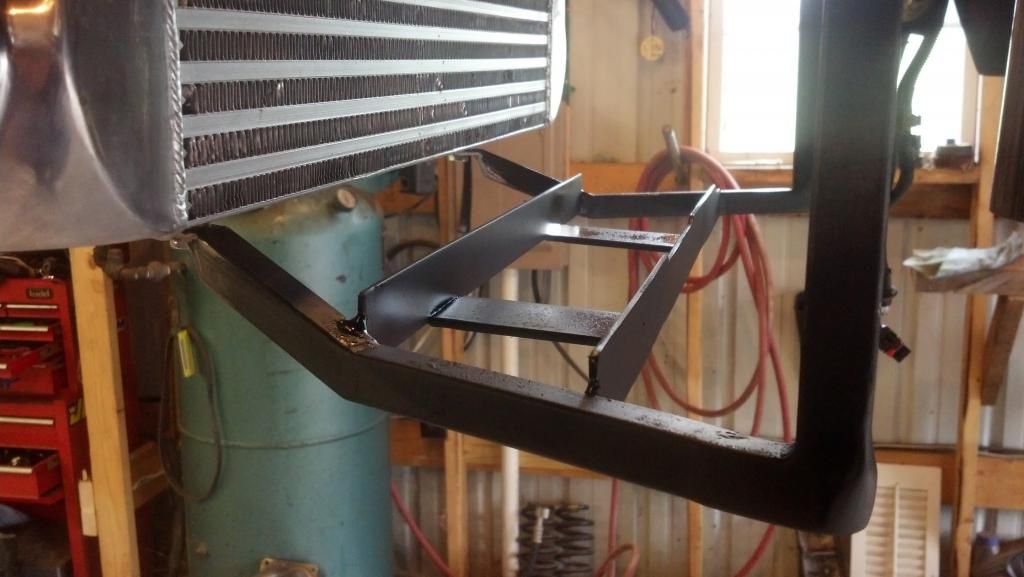
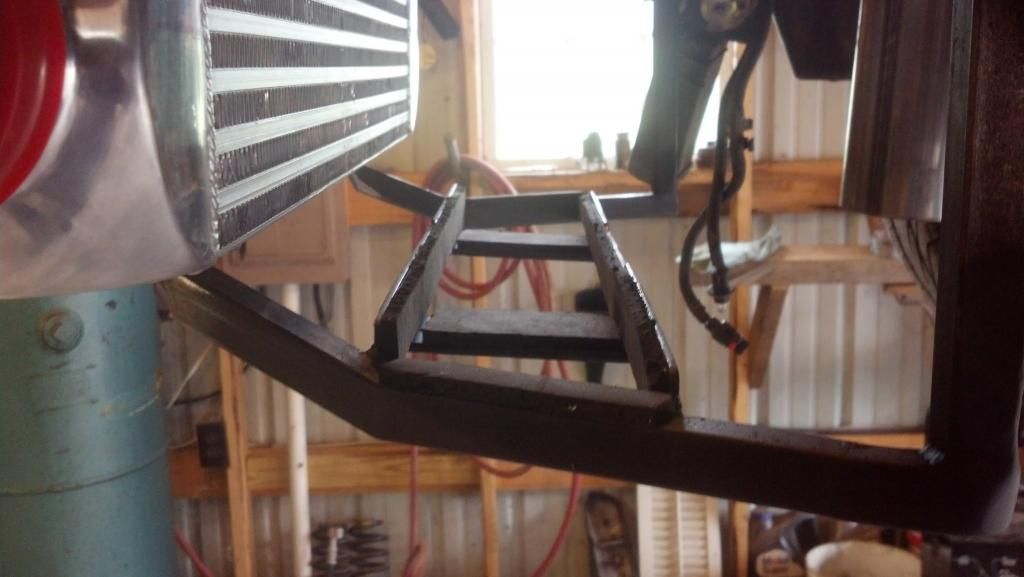
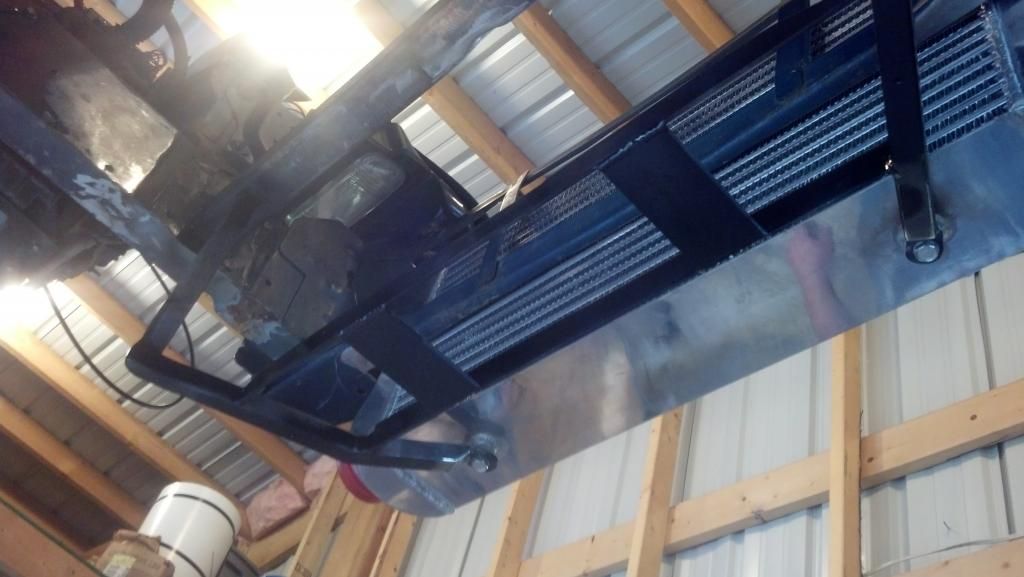
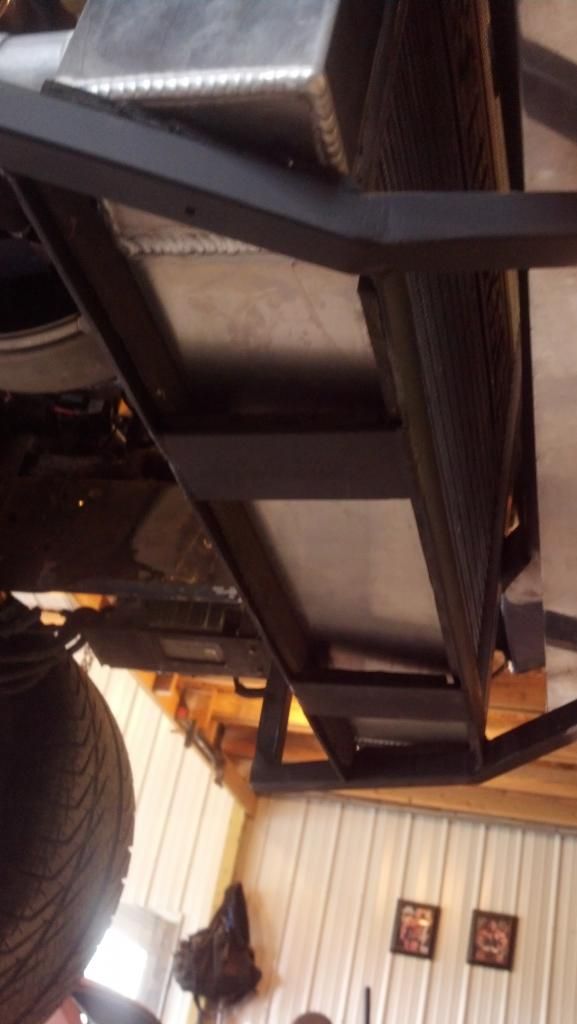
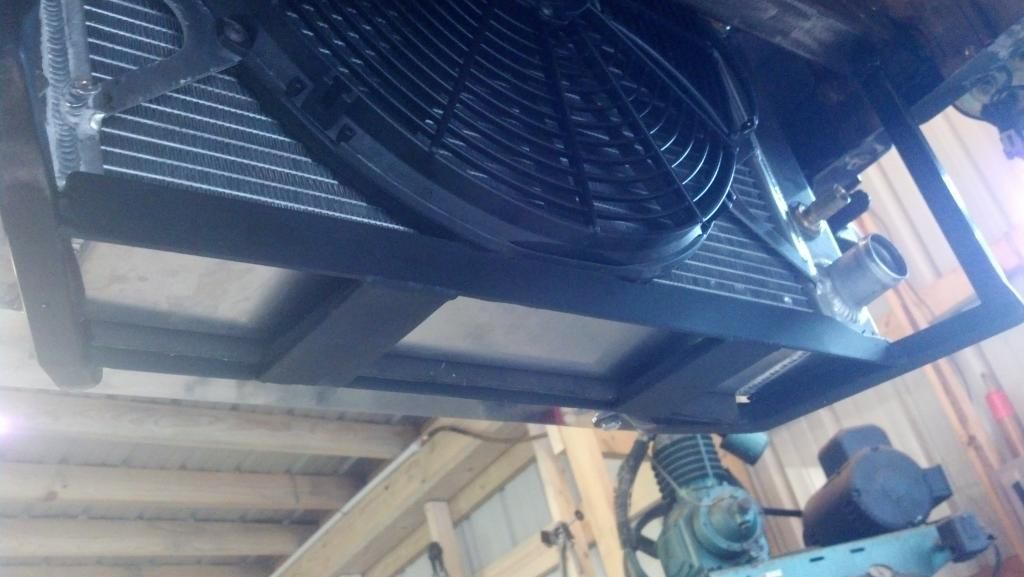
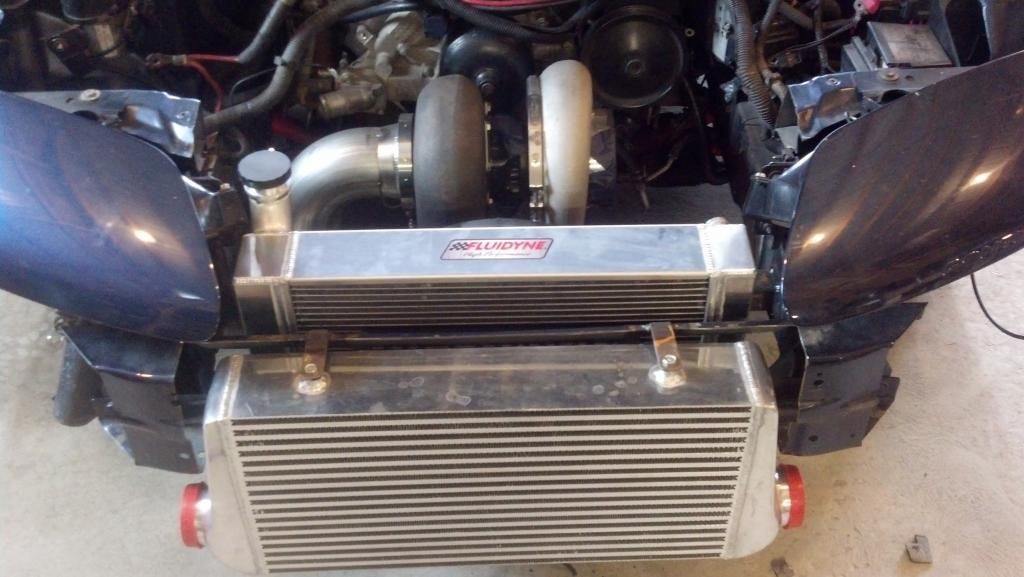
He had his friend at Fluidyne make it. He came out to the shop and measured for it. Its 24"x17"x3.5". I think he paid $600 for it. That's with the fan and all just like in the picture. The fill neck is on the rear so to clear the hood and headlights open great without having to trim anything. Really nice piece.
#94
Downpipe complete with electric cutout and y vband to go to rear exhaust why street driven
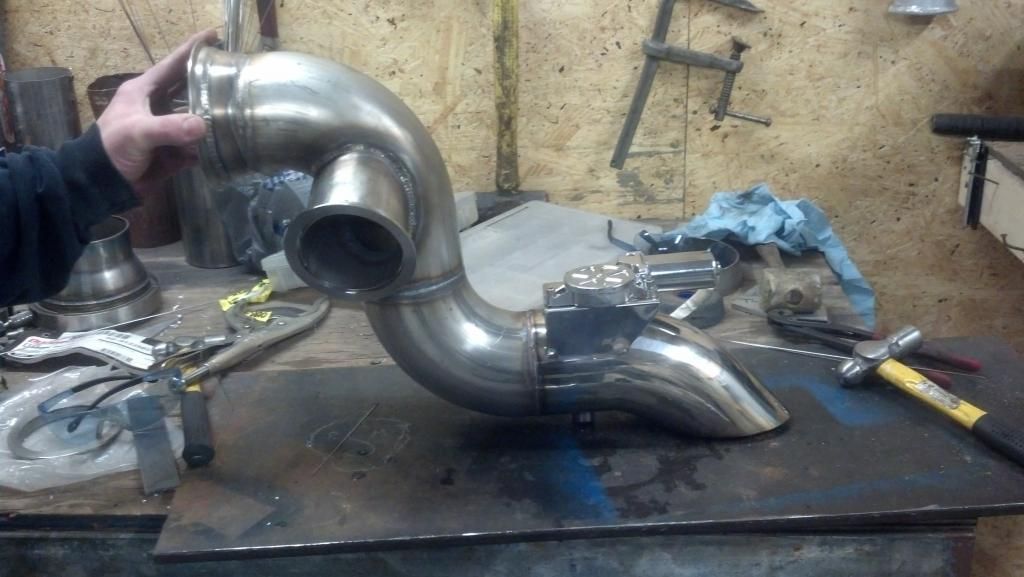
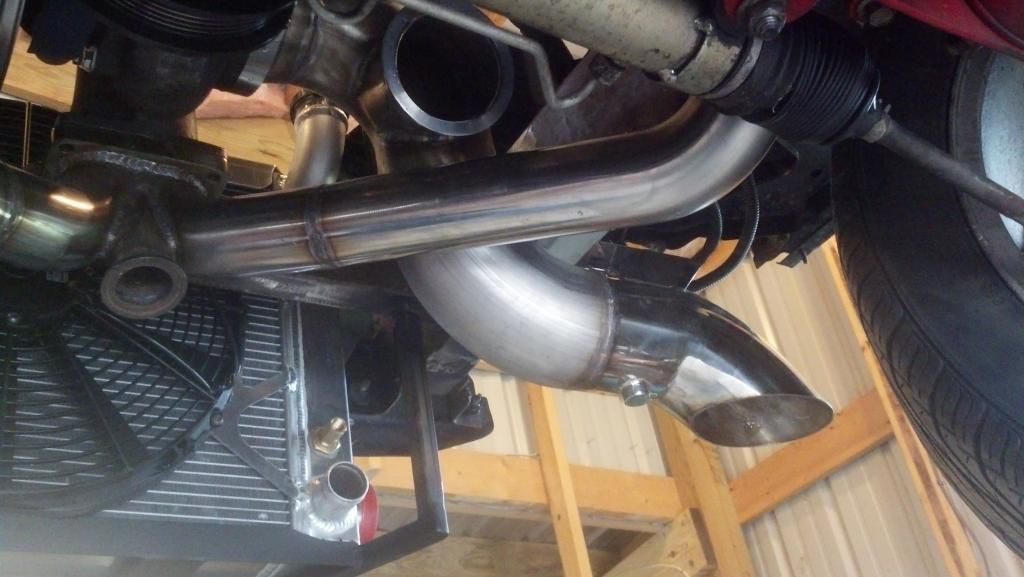
Victor Jr installed yesterday
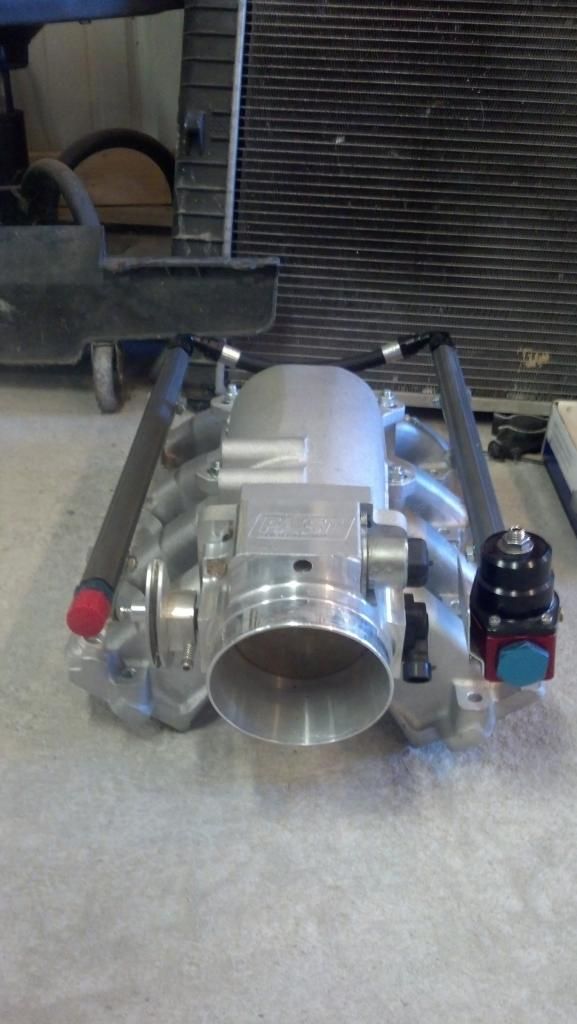
Still working on the cold pipes. Not much left to do on our end and car will be gone to get the other engine installed.
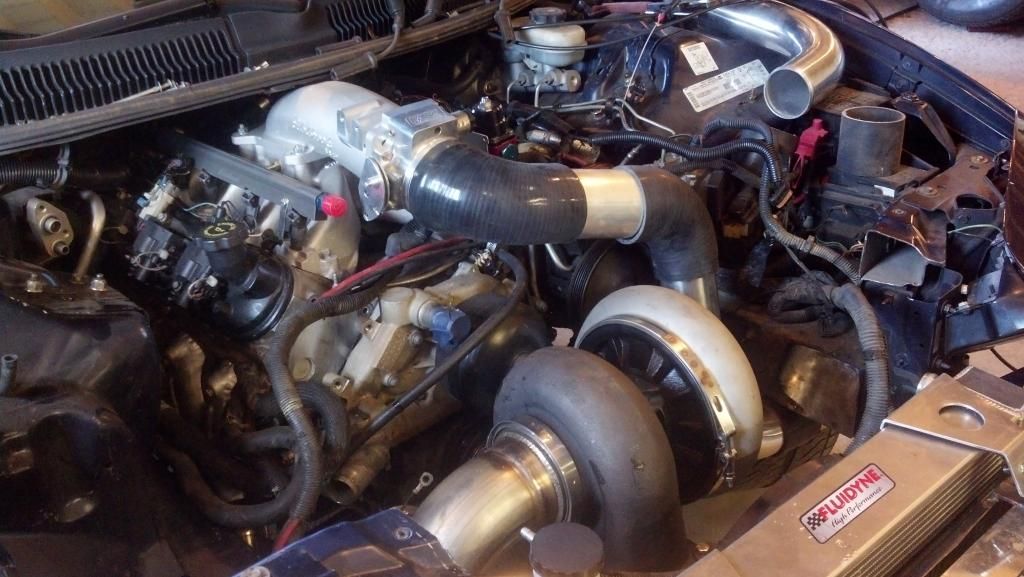
The cold pipe will be lengthened and made more straight than in this picture.


Victor Jr installed yesterday

Still working on the cold pipes. Not much left to do on our end and car will be gone to get the other engine installed.

The cold pipe will be lengthened and made more straight than in this picture.
Last edited by mrstepheneades; 10-22-2013 at 08:29 AM.
#95
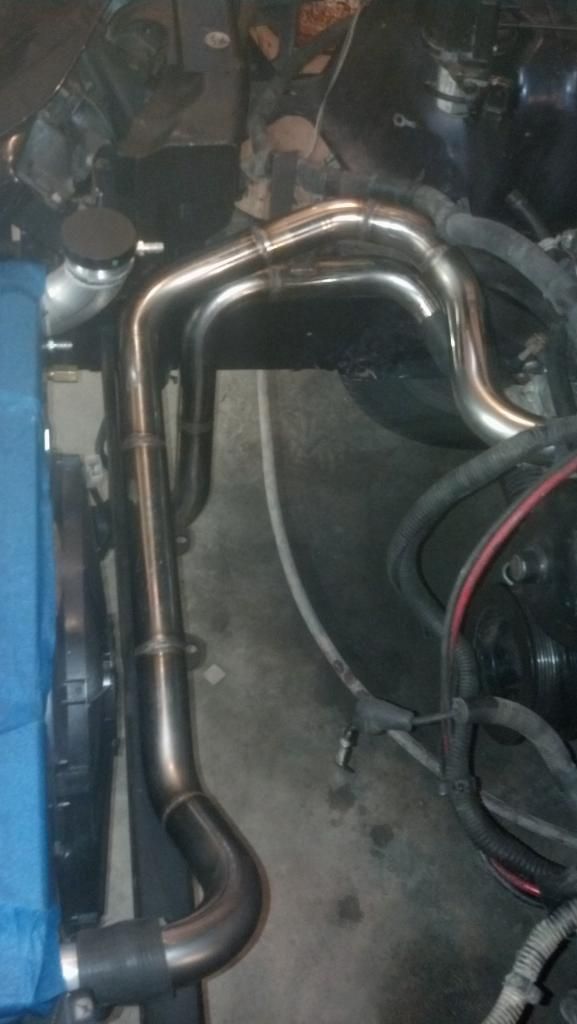
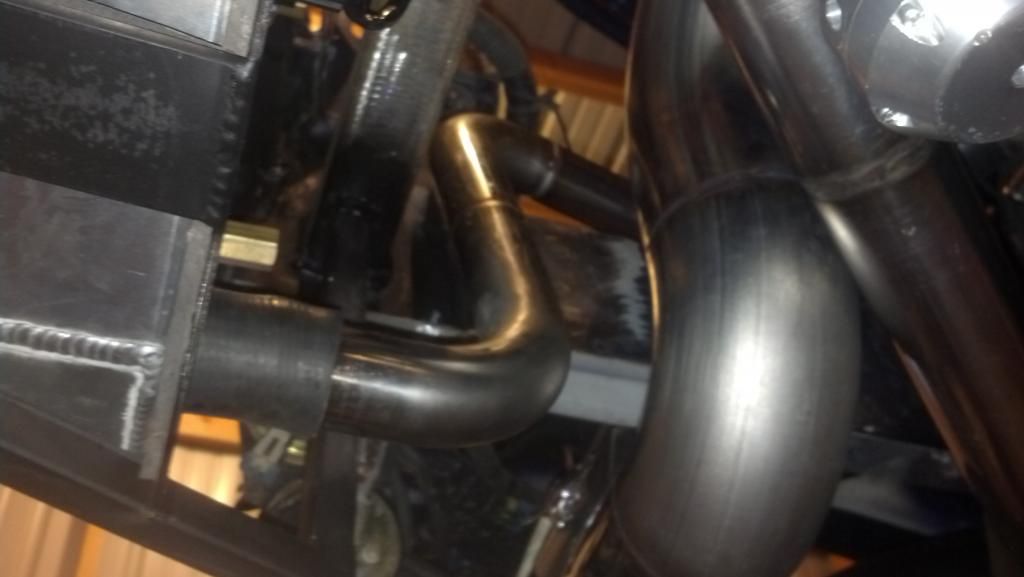
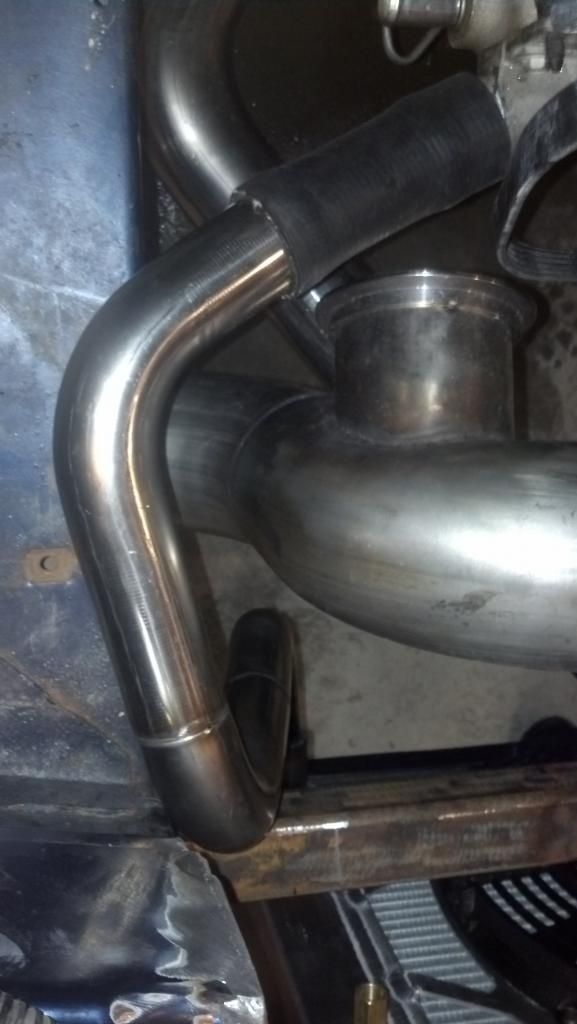
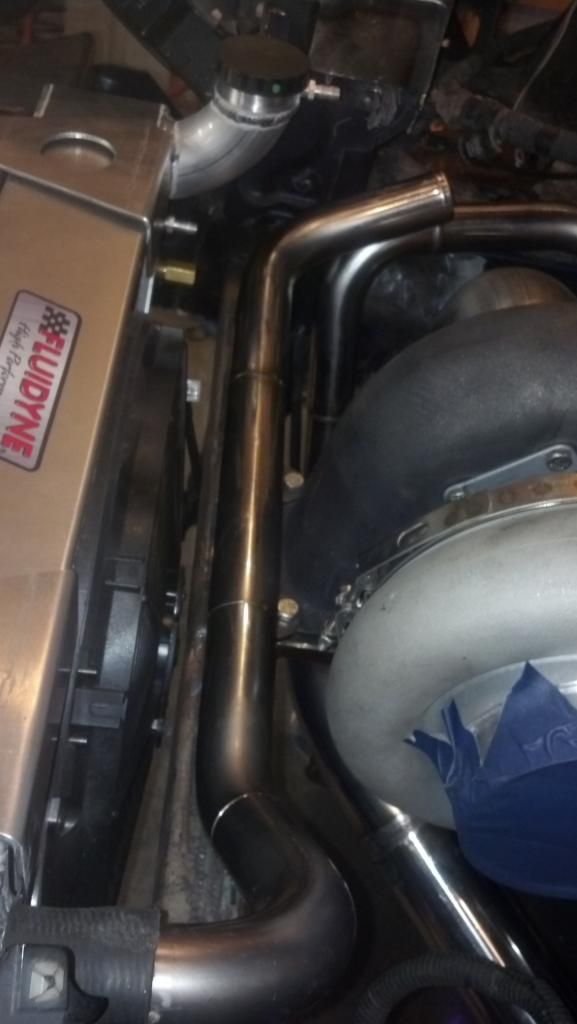
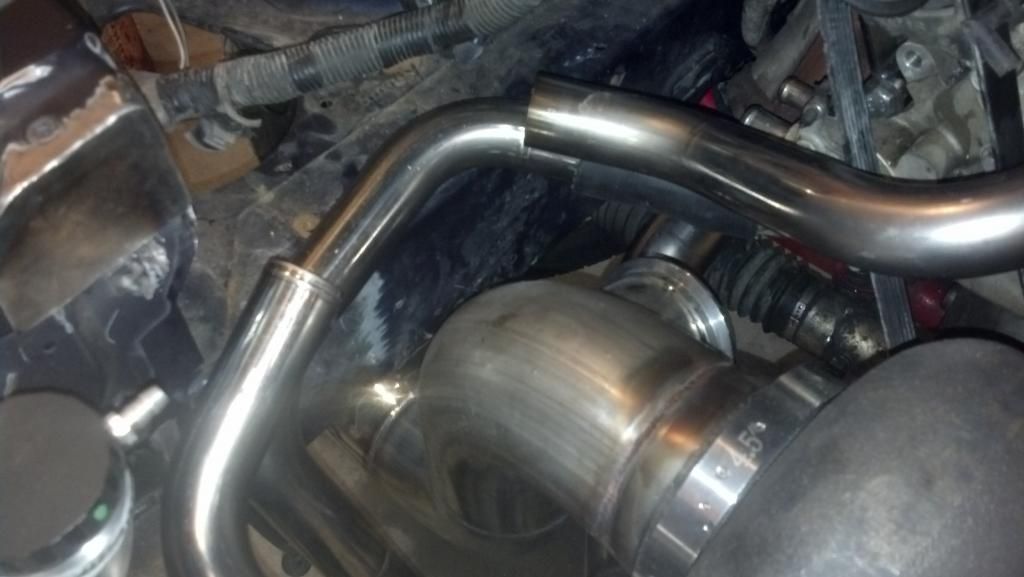
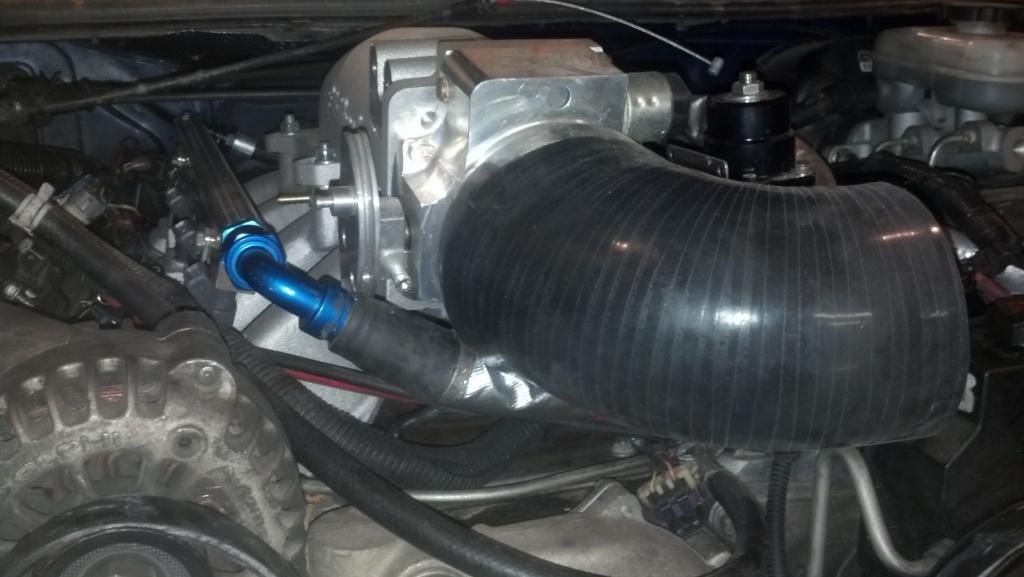
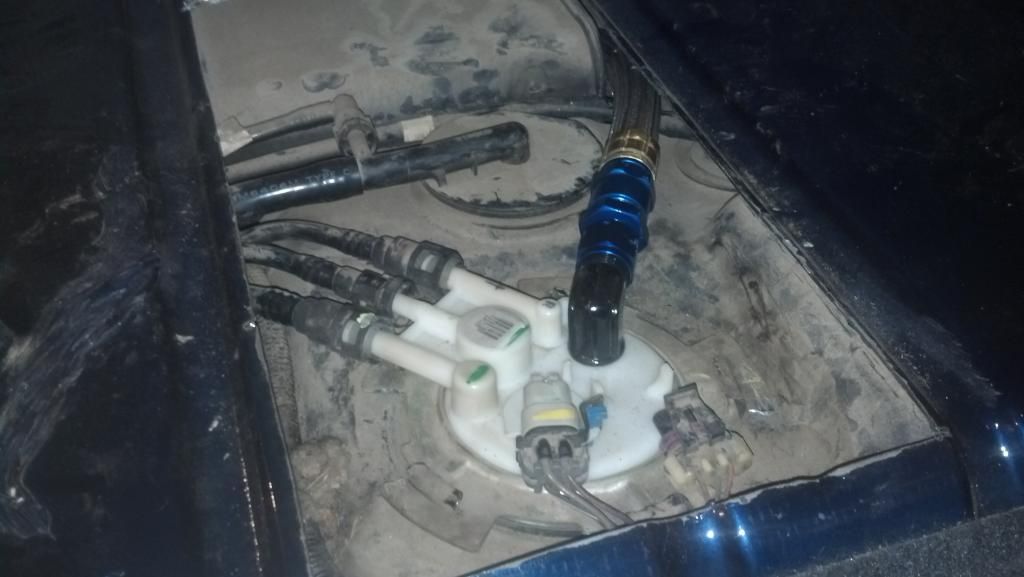
More progress last night. Got the radiator hoses almost completely mock up all but a little section that we didn't have the correct bend for. All hoses are stainless. Also Collin got the fuel feed line ran and hooked up to rail and pumps in rear. He has an inline filter underneath the car but isn't mounted yet so I didn't take pictures.


#96
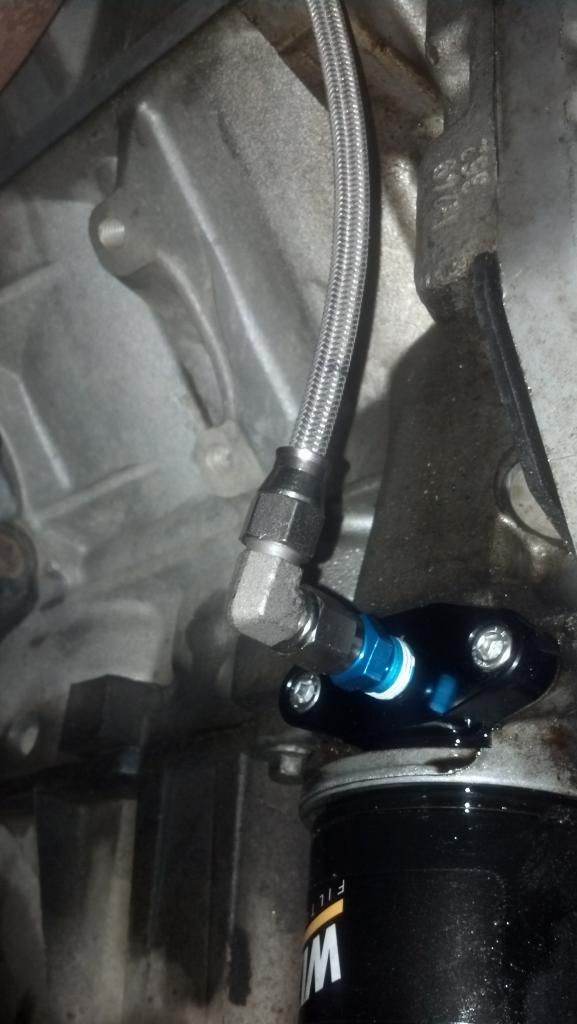
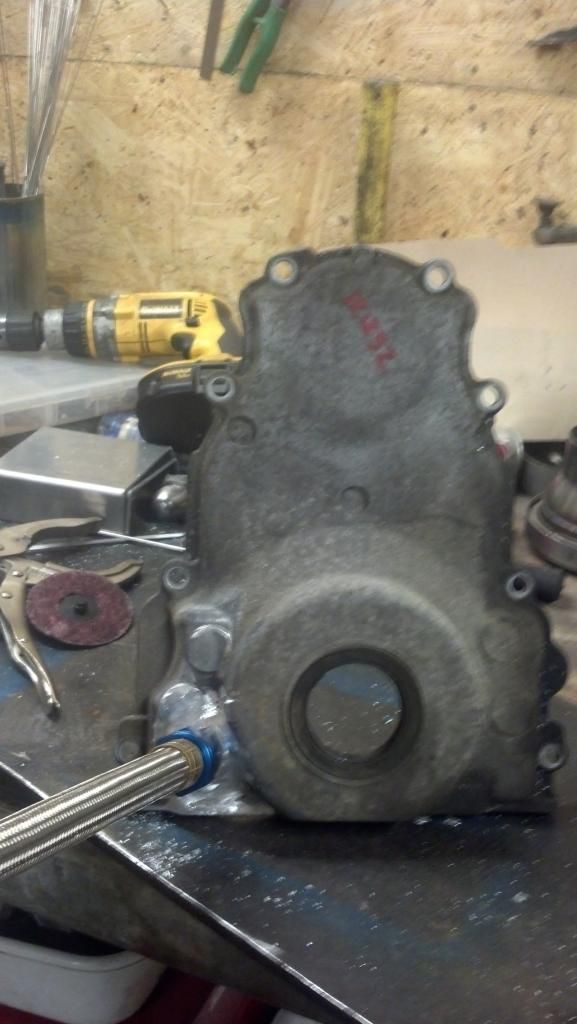
Almost done with the turbo stuff. The only thing lacking is the oil return bung in timing cover and the o2 sensor bungs. Then our part will be done.
Then gasket everything up and get ready to make the first start up video with the new setup.
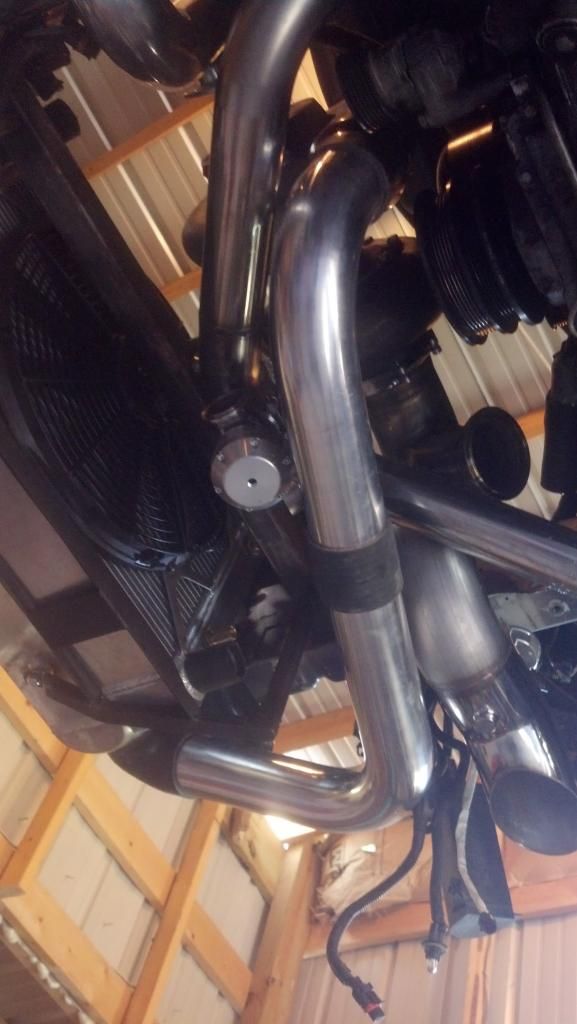
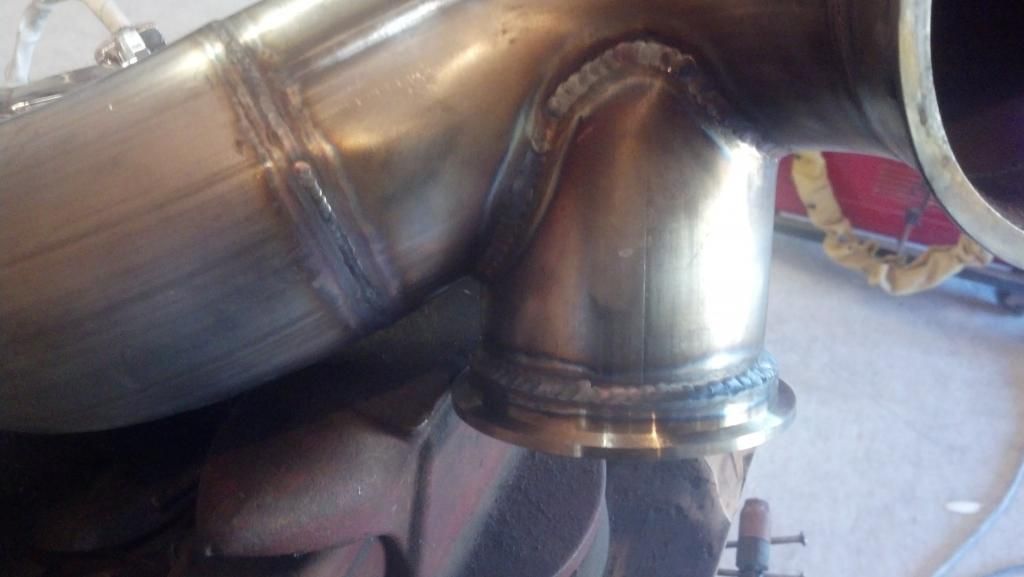
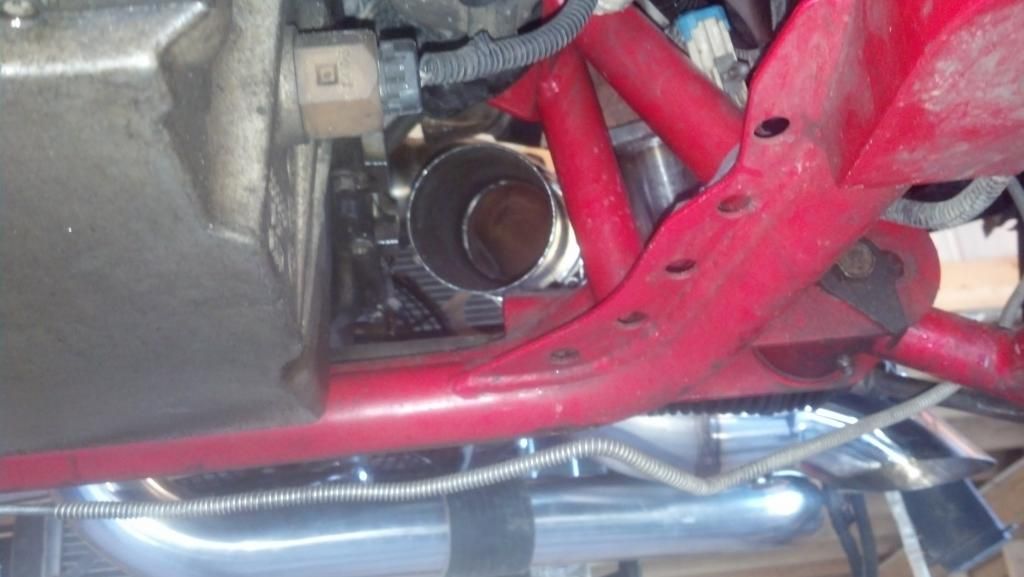
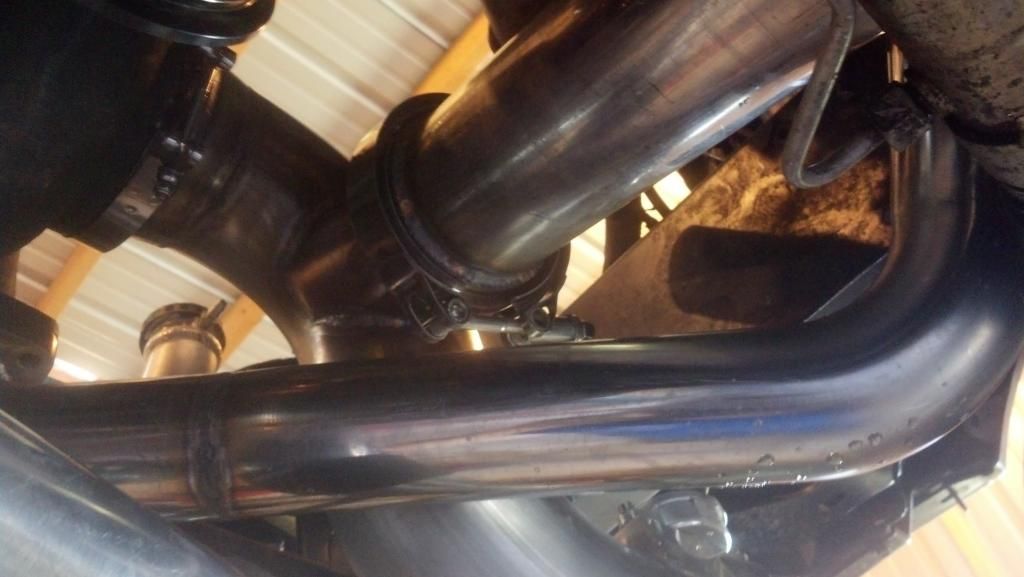
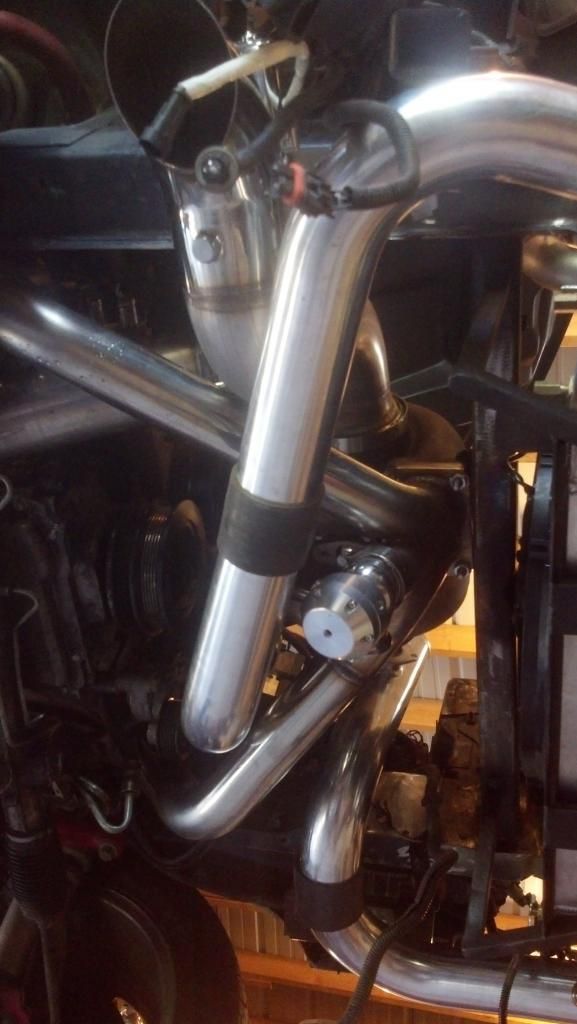
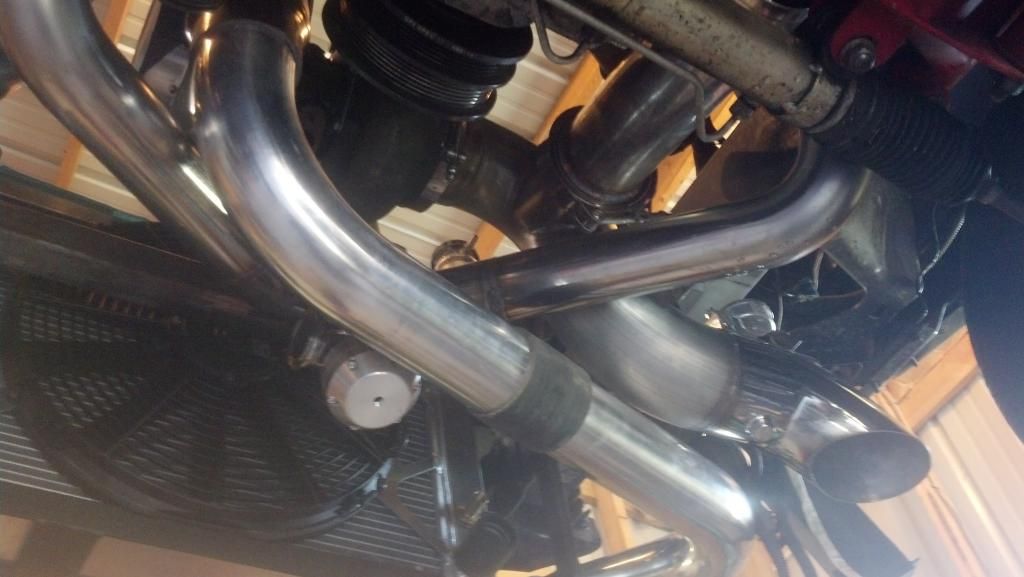
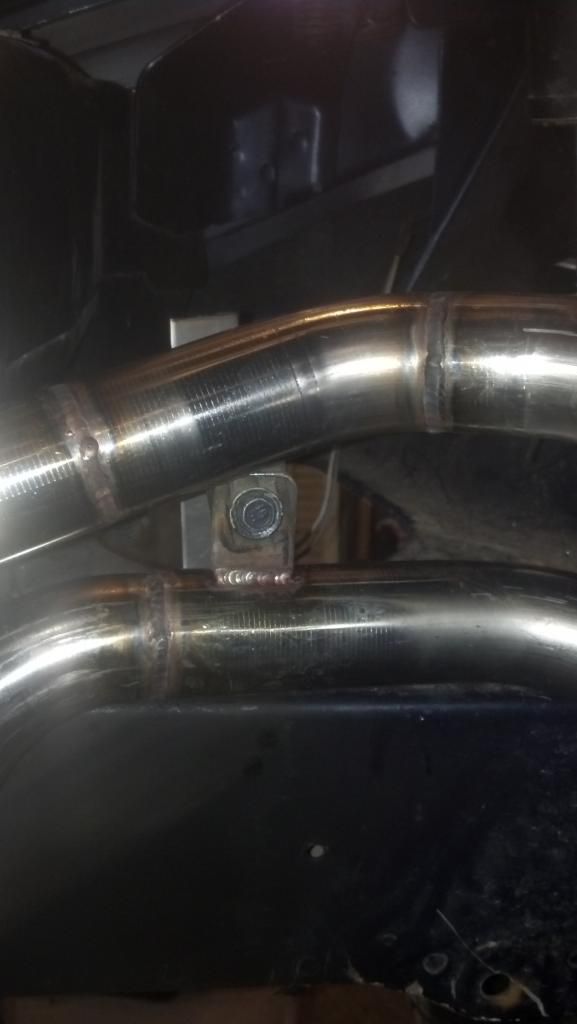
Downpipe is not against the cold pipe if anyone ask. Few inches between its just an illusion in the picture.
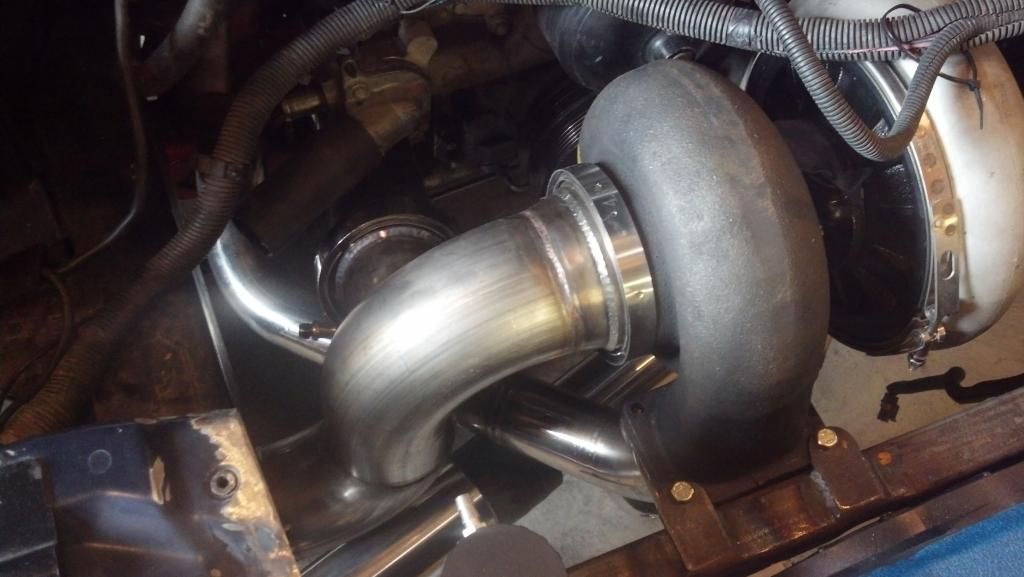
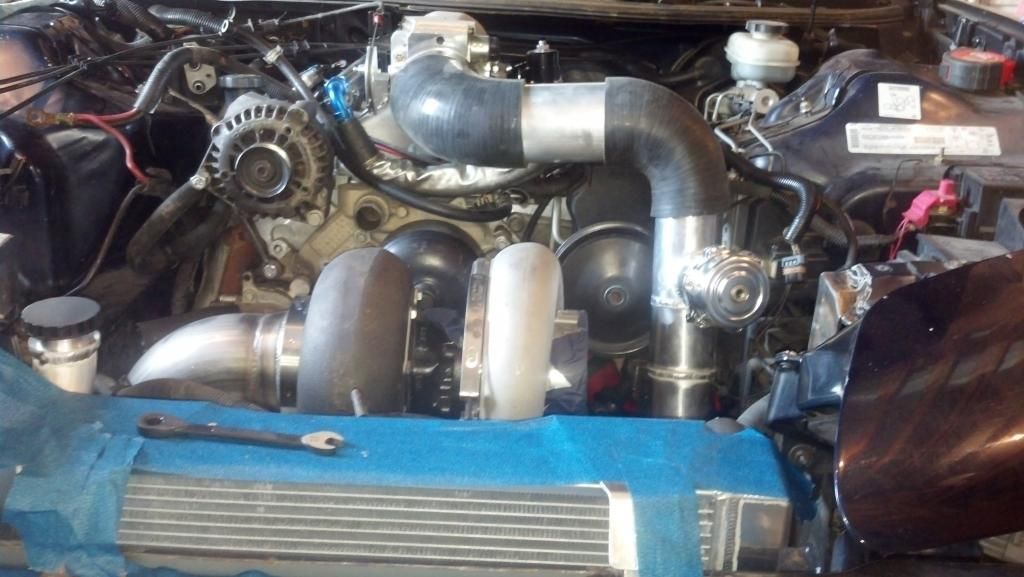
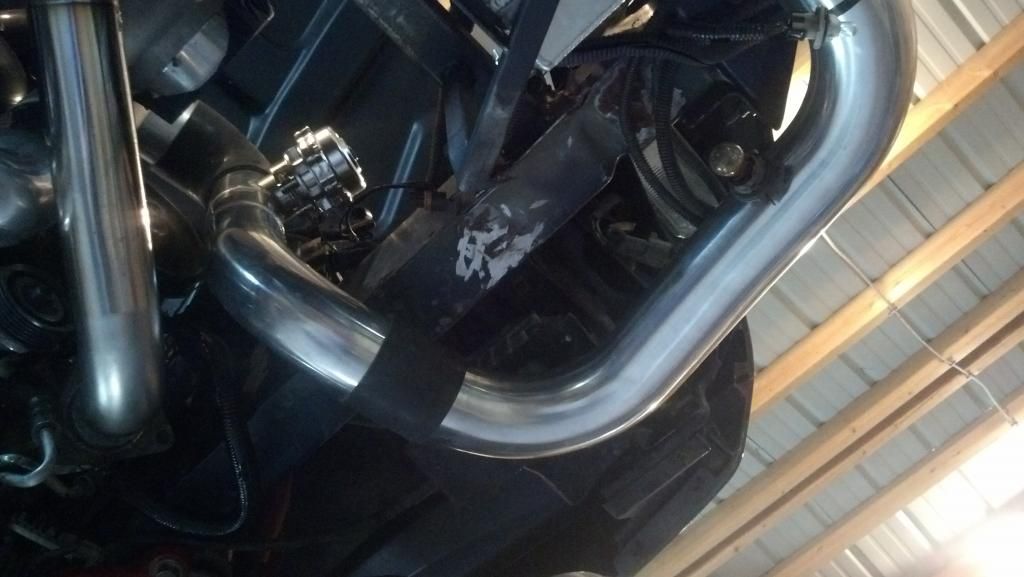
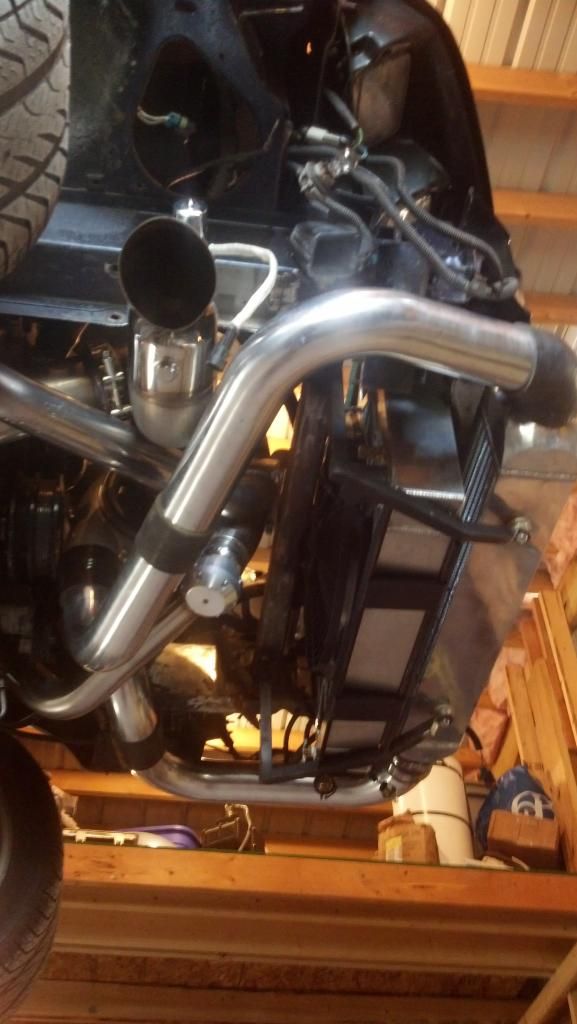
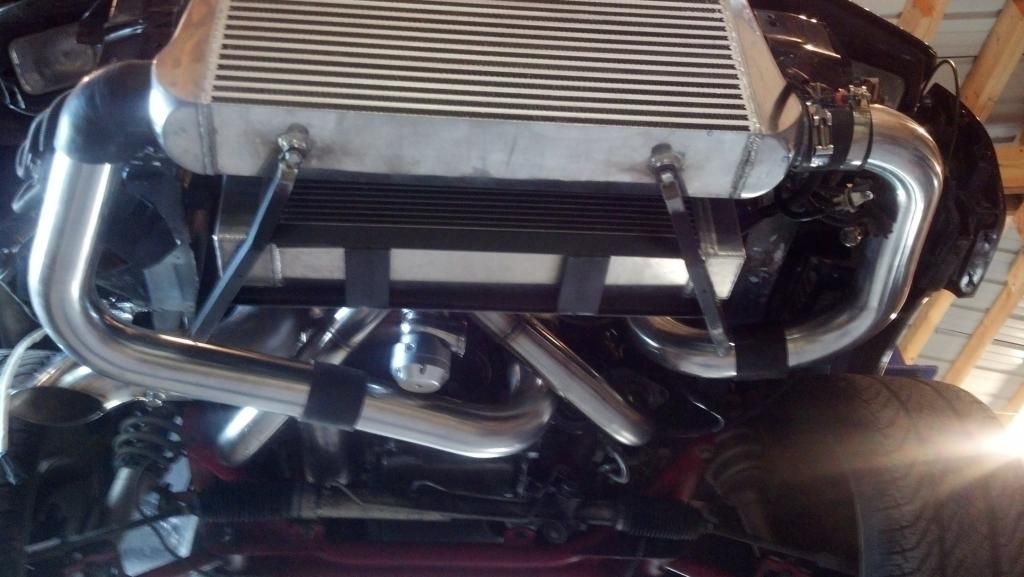
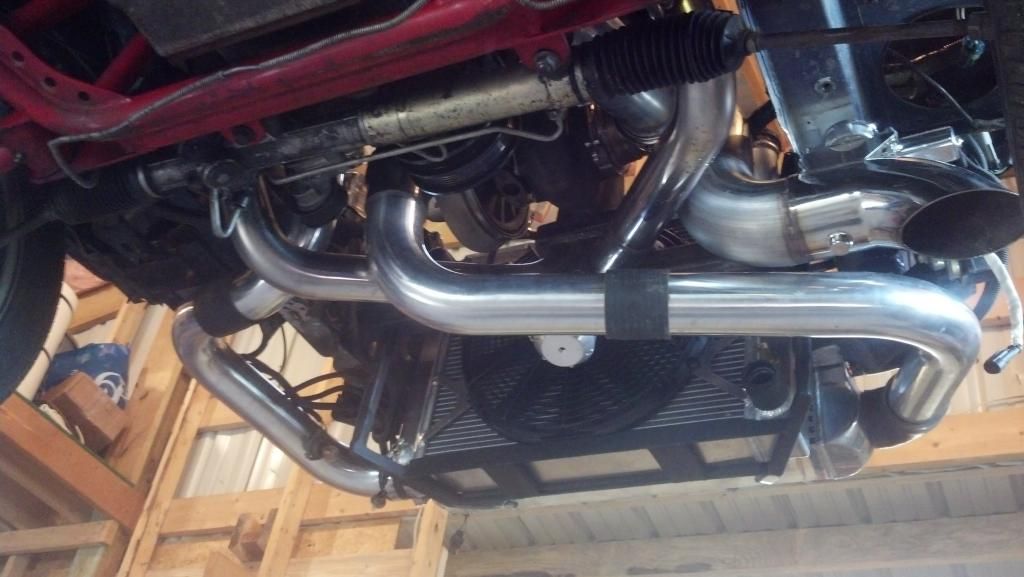
Had to throw this one in there lol.
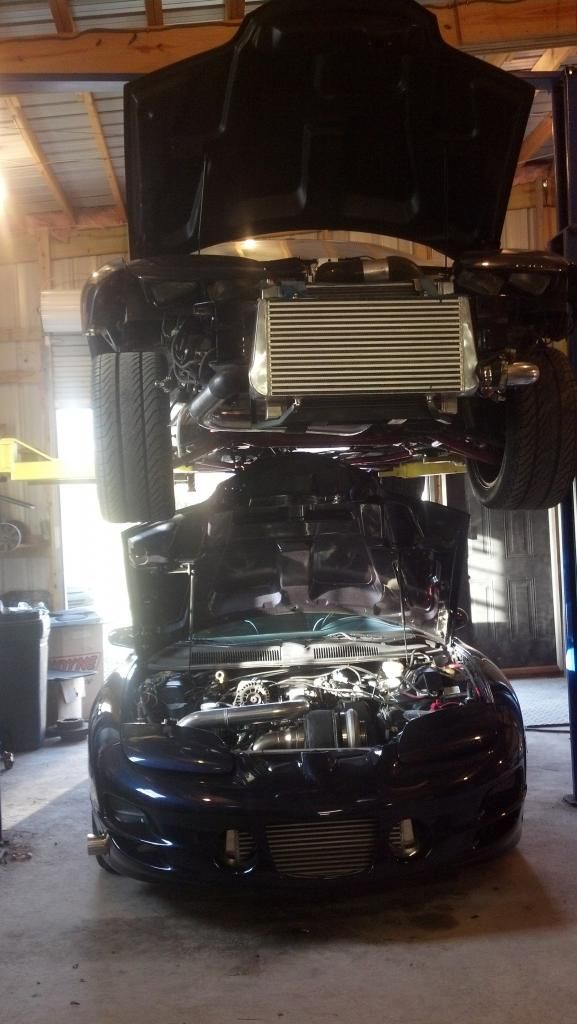
Then gasket everything up and get ready to make the first start up video with the new setup.


Downpipe is not against the cold pipe if anyone ask. Few inches between its just an illusion in the picture.


Had to throw this one in there lol.

#99
Couple more pictures from last night. Turbo kit is done and our job is done. Collin still has to get his 408 put together and get it in the car which wont be long, then get it tuned.
Here are a few complete pics from last night. Belt is not on because there is an alignment issue with the alternator relocation kit he bought. That's why the battery charger is on it.
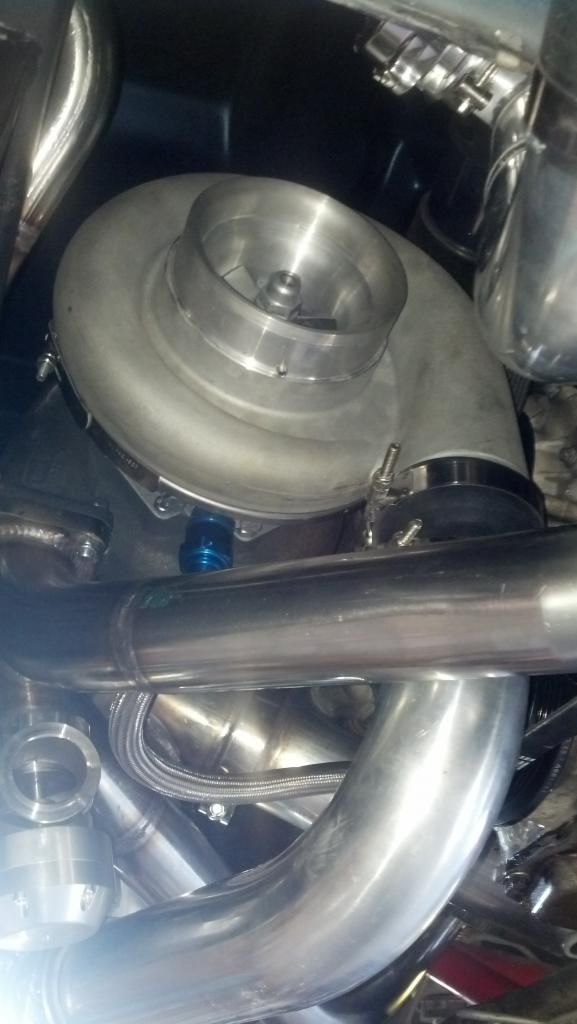
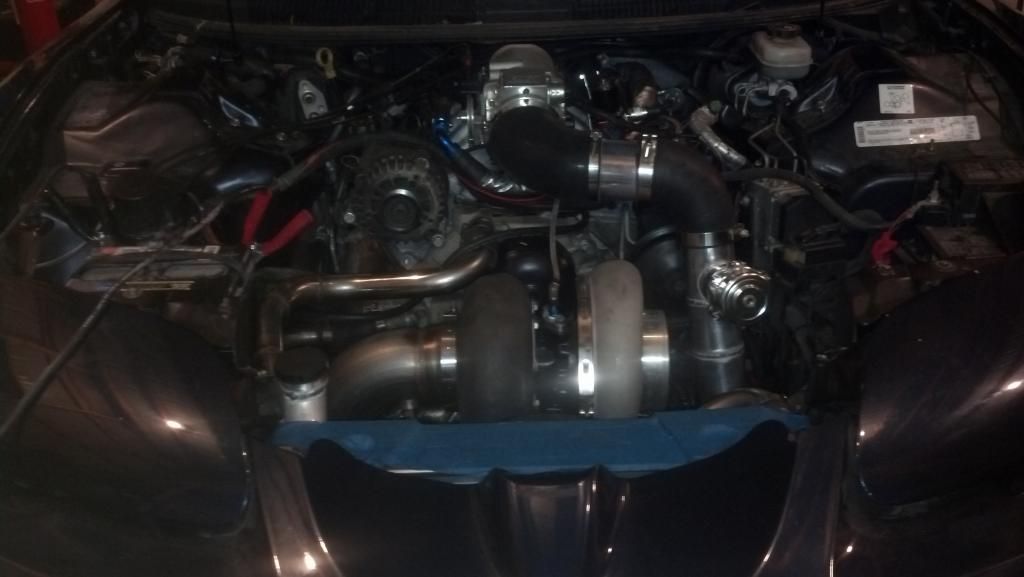
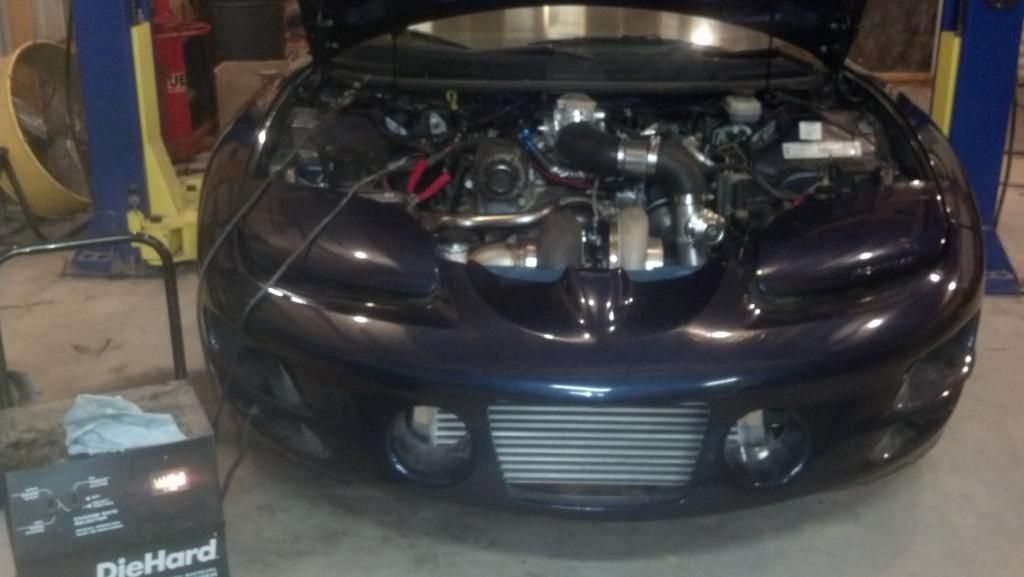
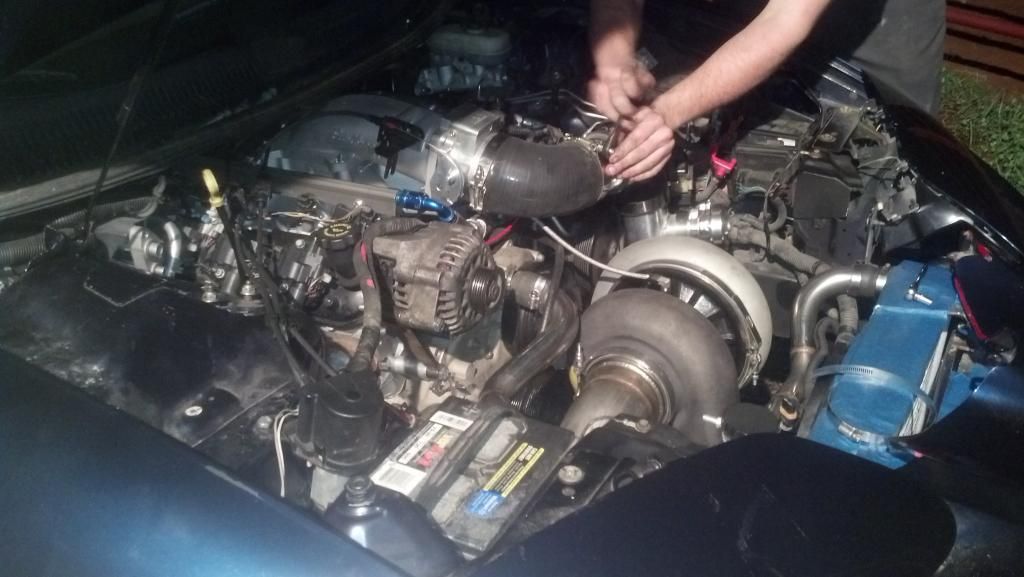
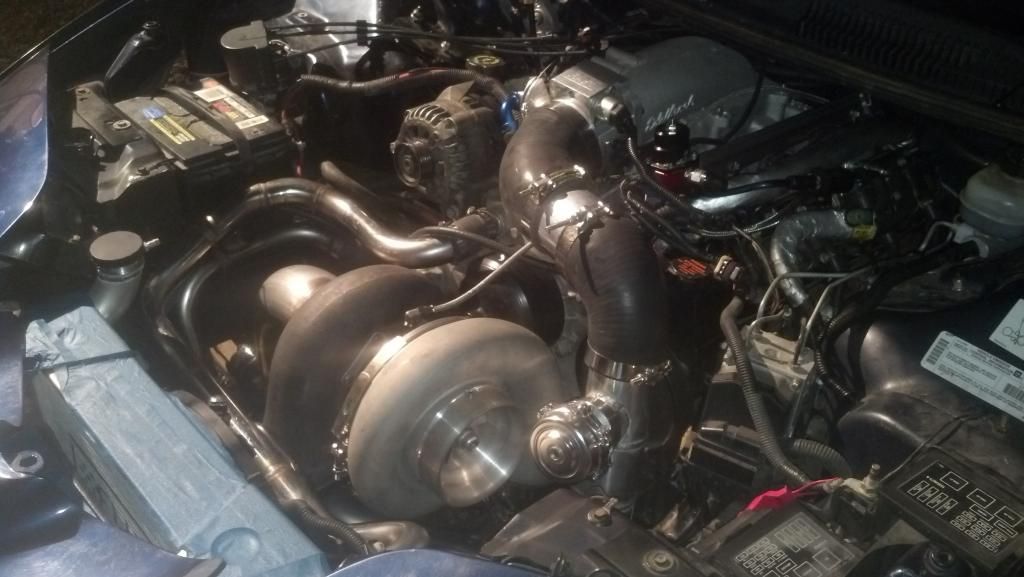
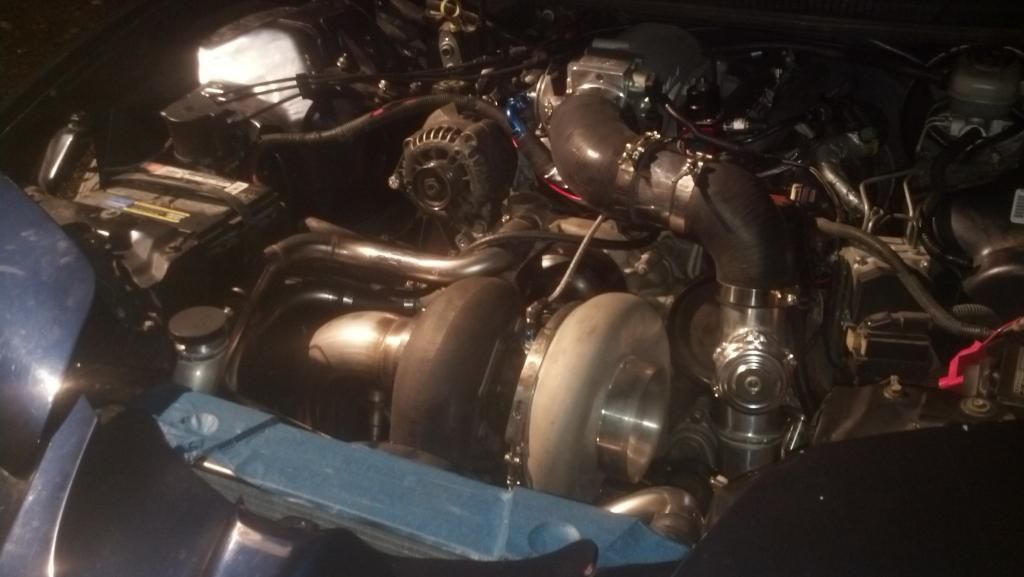
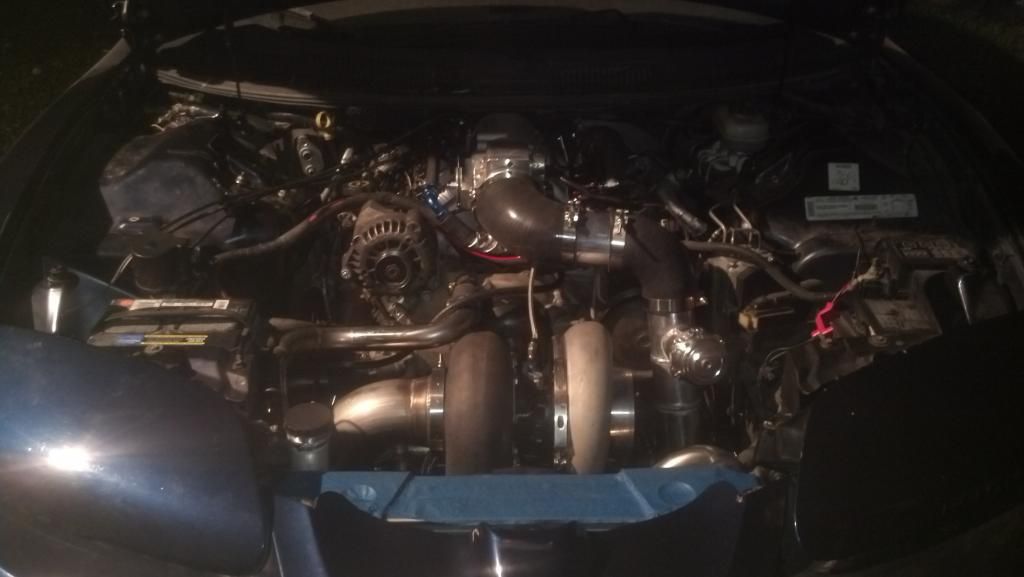
Here are a few complete pics from last night. Belt is not on because there is an alignment issue with the alternator relocation kit he bought. That's why the battery charger is on it.


