
98 Camaro On3 No A/C Build. 11/18/2013 It Runs.
 11-02-2013, 01:28 PM
#1

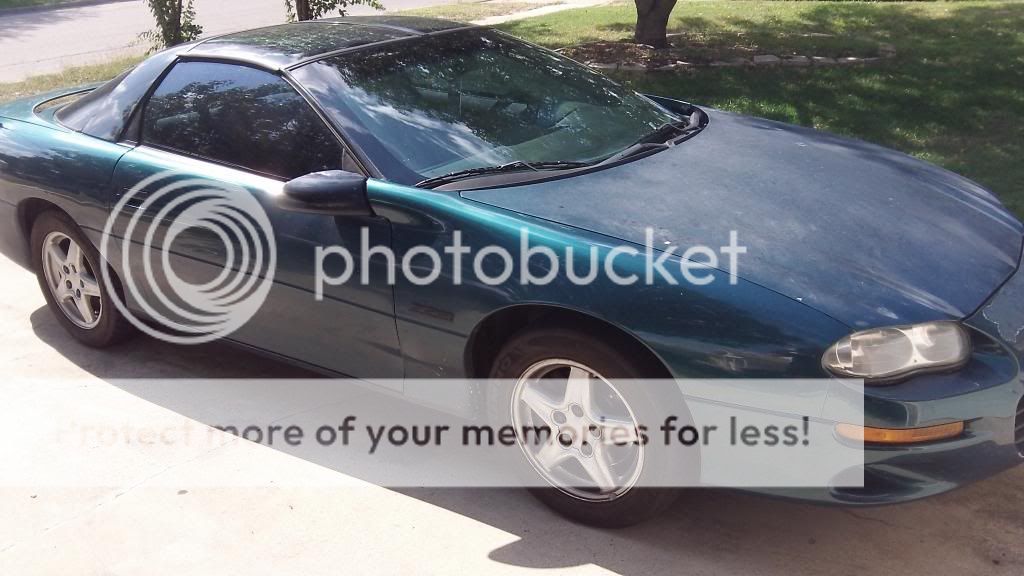
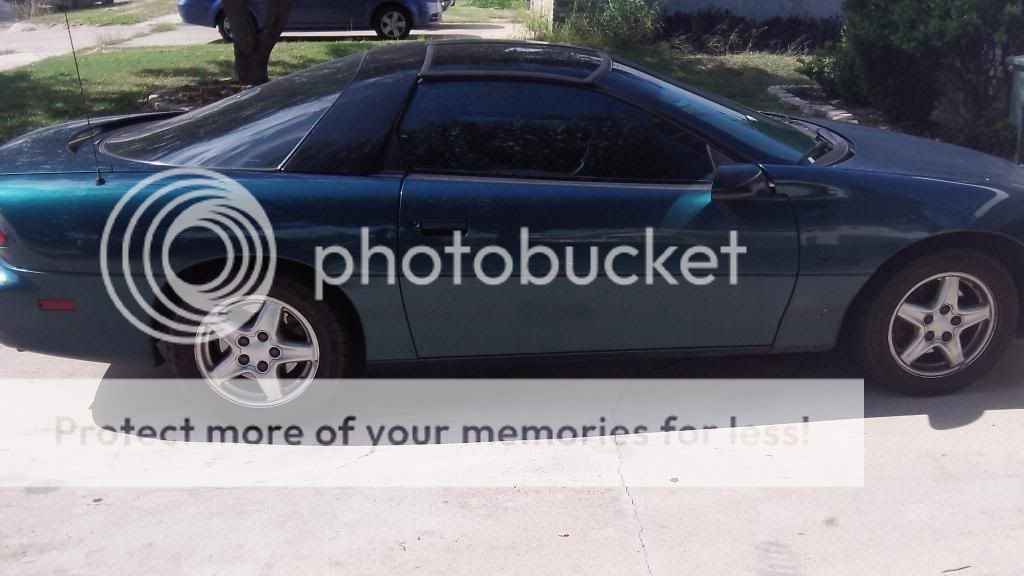
Picked the car up last week. Only mods are some lakewood LCA's and a cutout.
Running total.
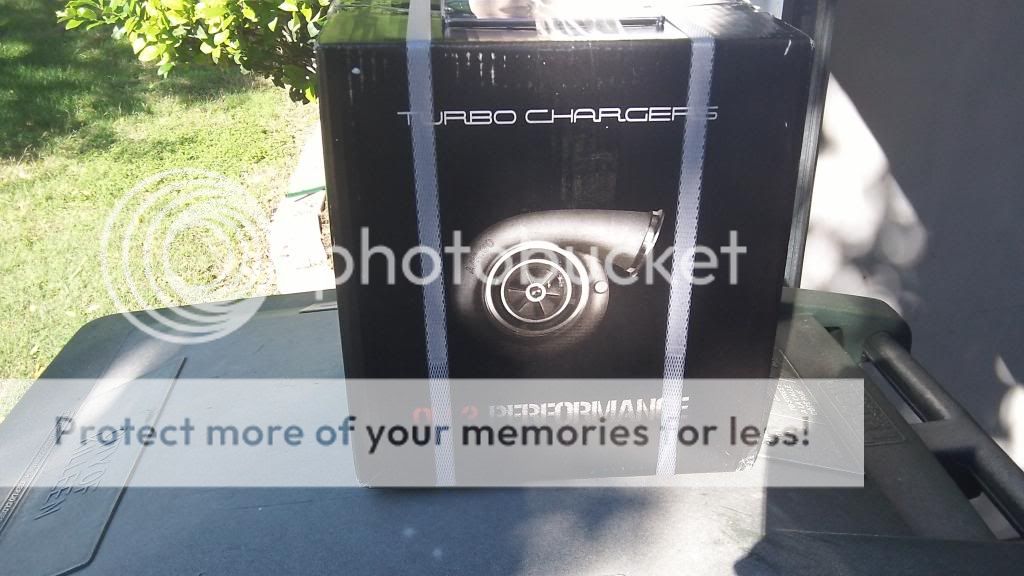
Cost of kit + options. $2411.
Hp tuners pro $500
Fuel injectors $251
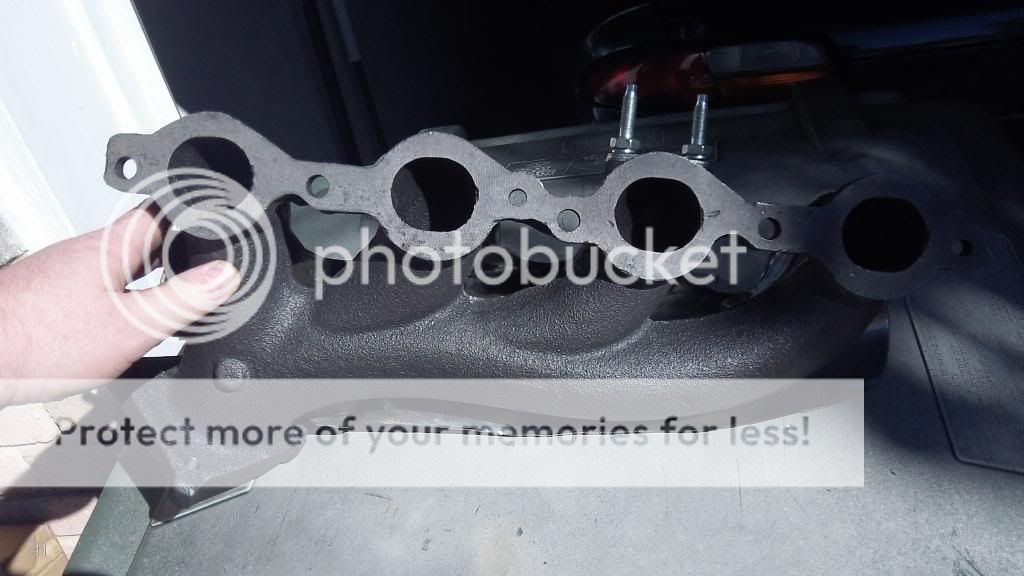
Gaskets and copper
spray $45
Plugs and wires $90
radiator cap $5
Radiator $110
vacuum line $25
vacuum fittings $10
Tap and drill bit $20
serp belt $30
NGK AFX $263
2bar MAP $63
vac/boost Gauge $30
-------------------------
Total so far. $3853
11/2018. Pretty much had this much money in this car for a long time. Decided to go full ham.
No longer a budget build and I don�t know if I want to keep running total lol.
Belt length for my car is 70 7/8 Gates K060703
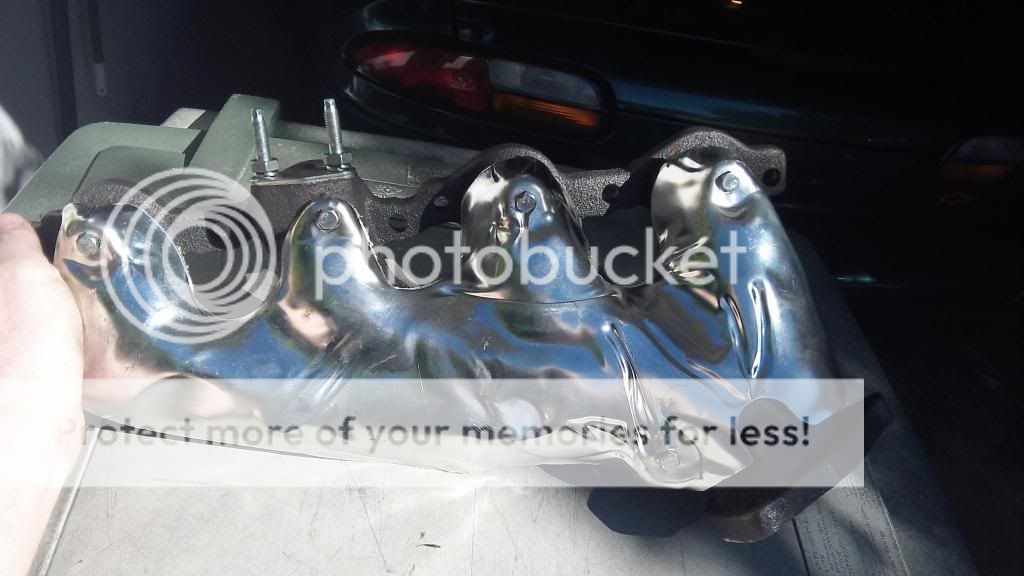
After working on the hood.

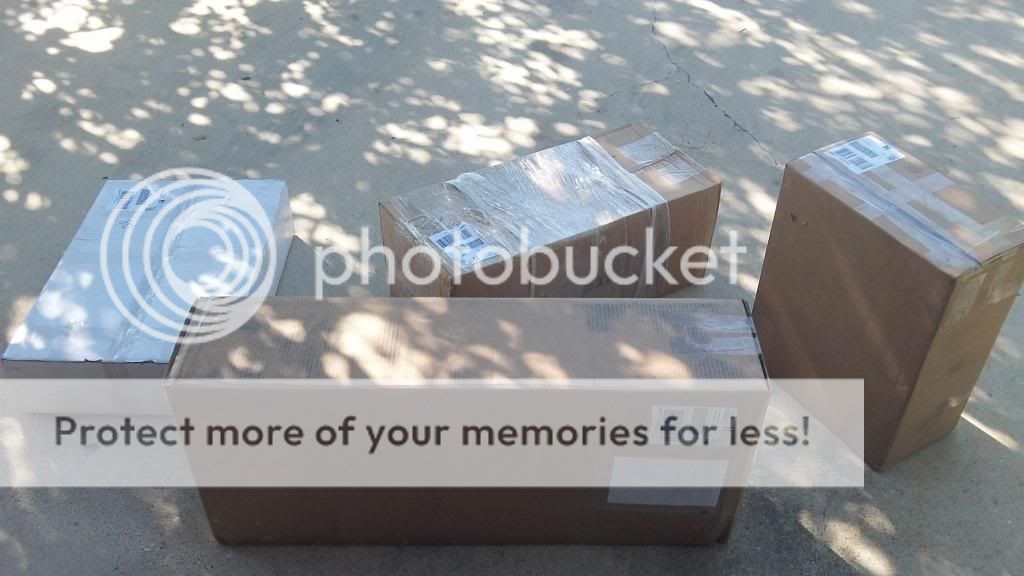
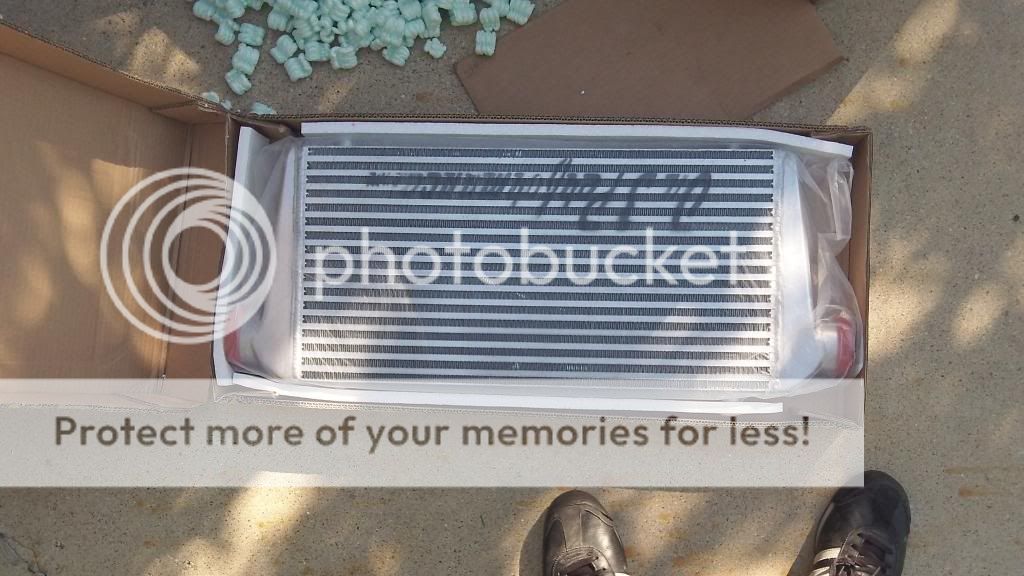
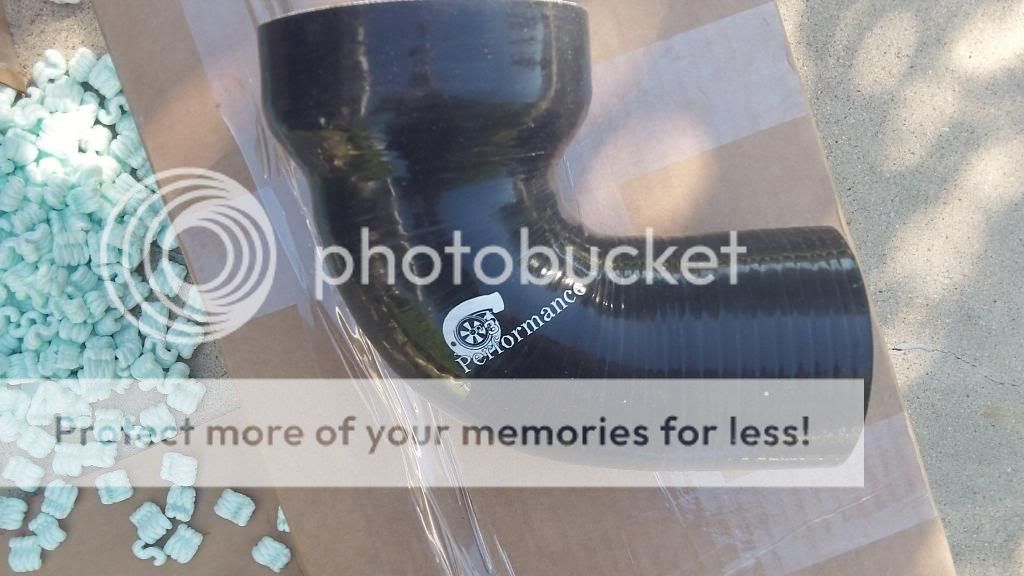
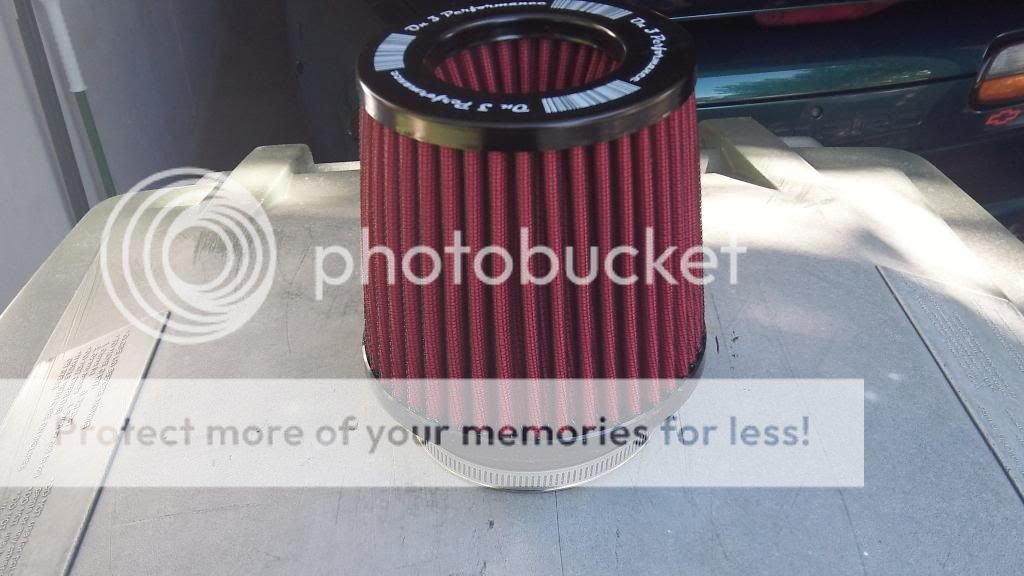
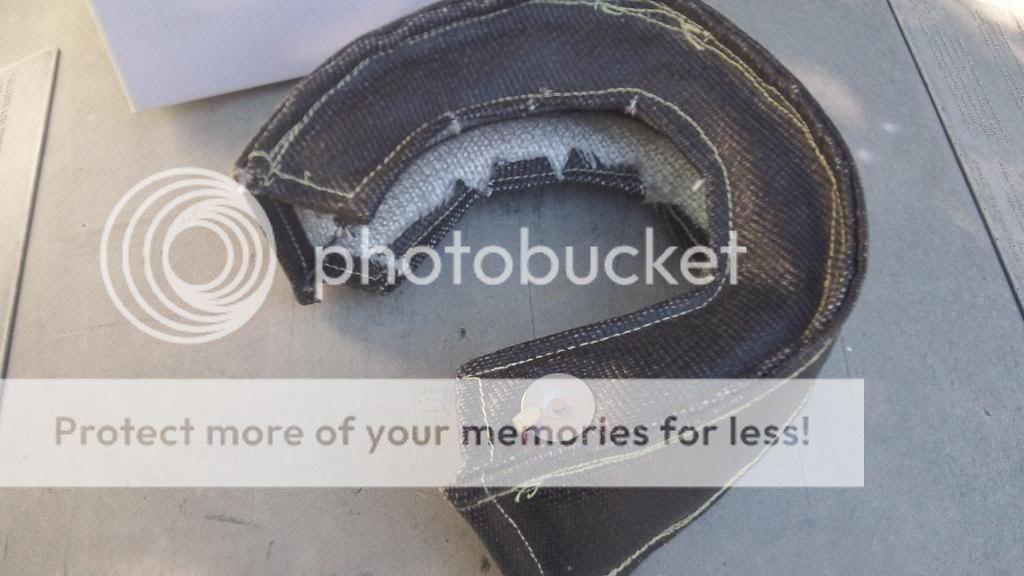
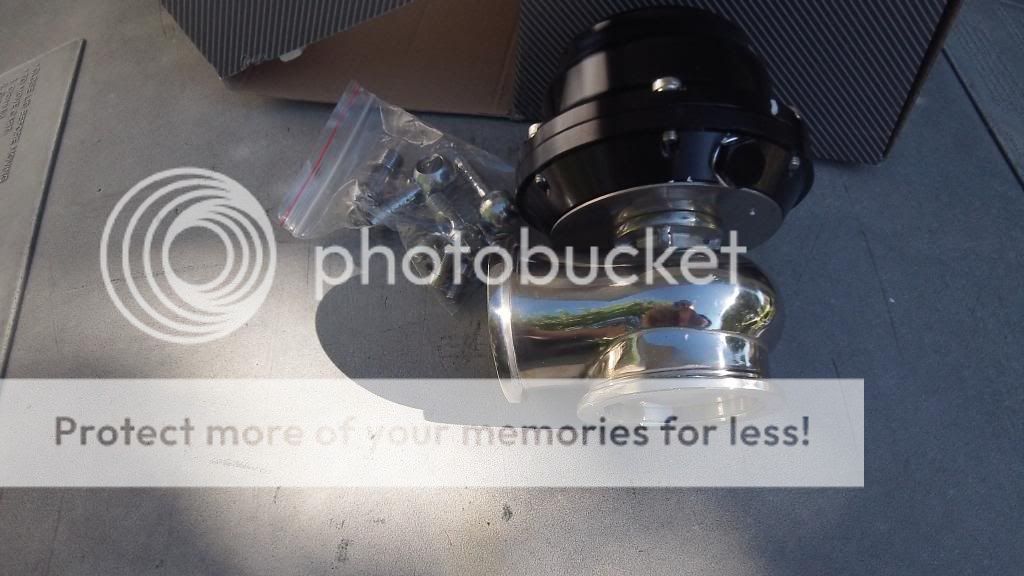
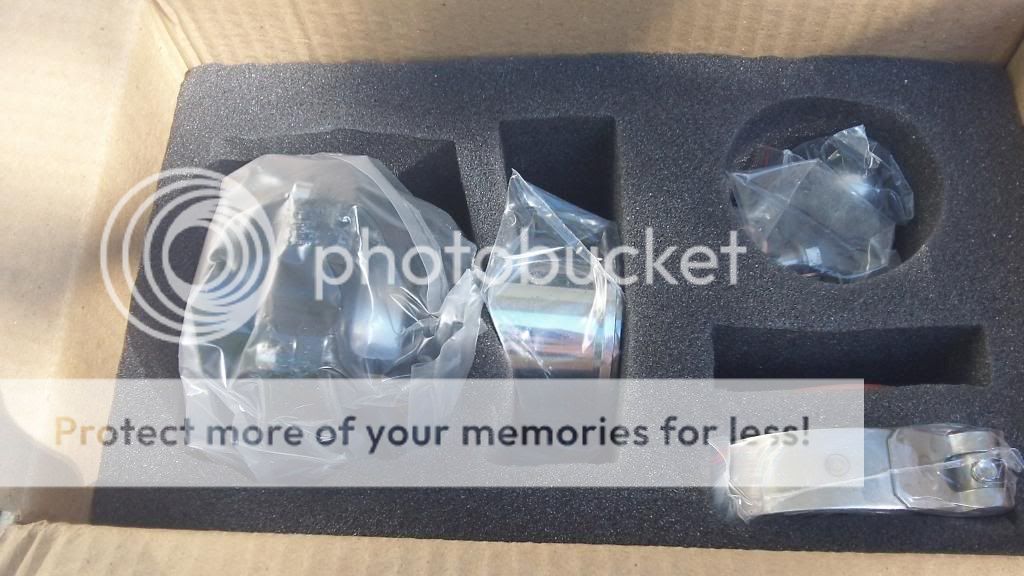
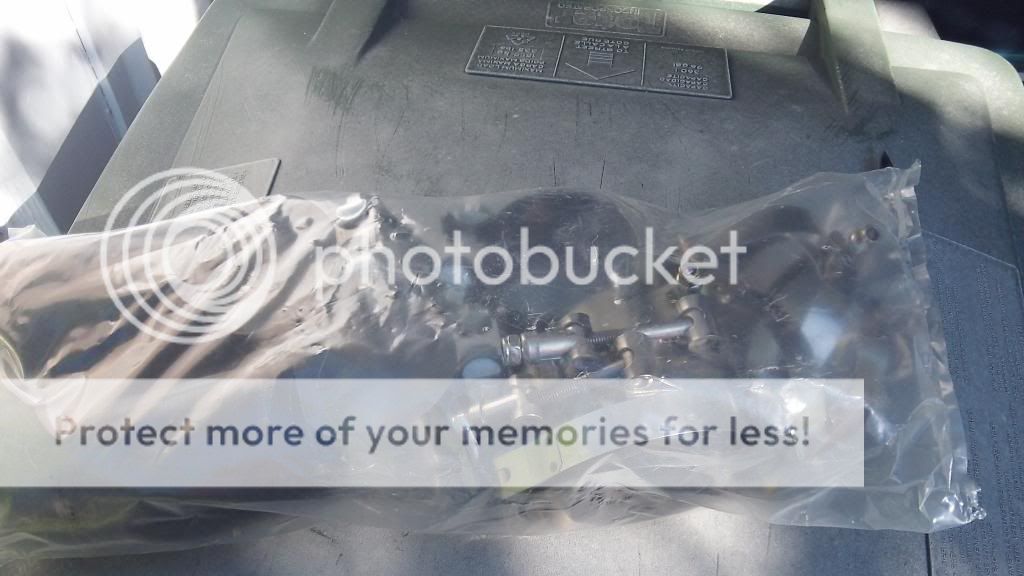
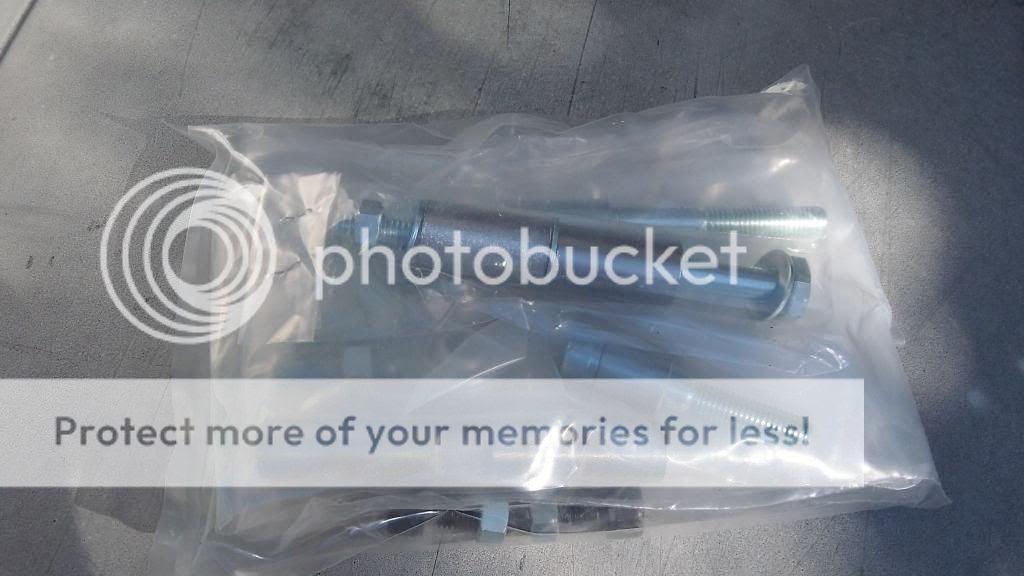
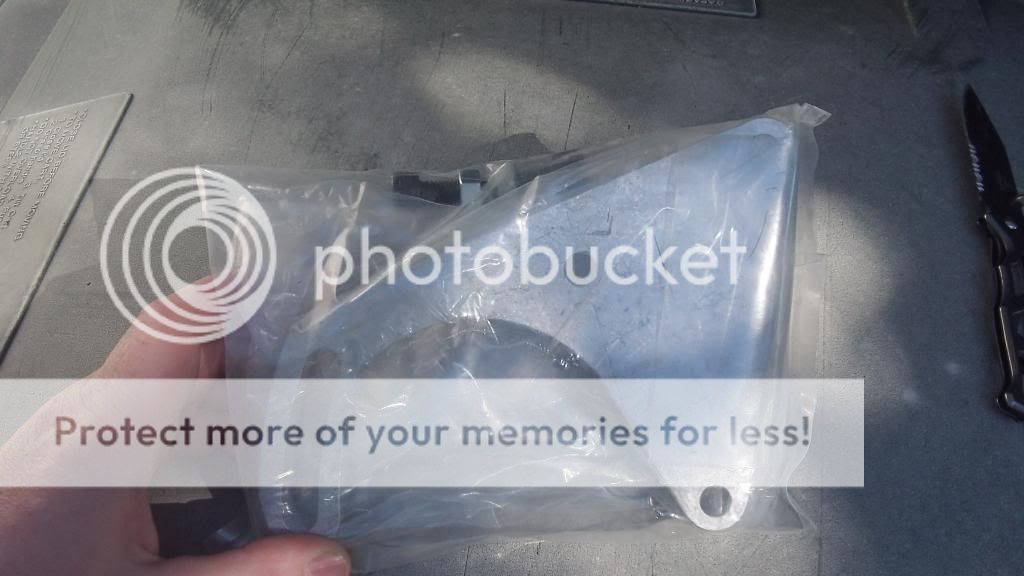
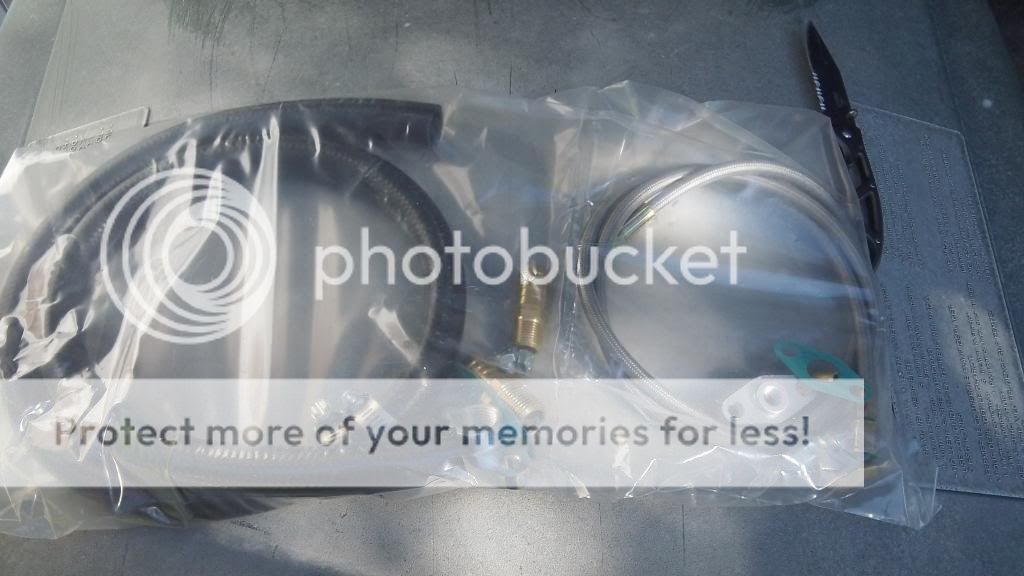
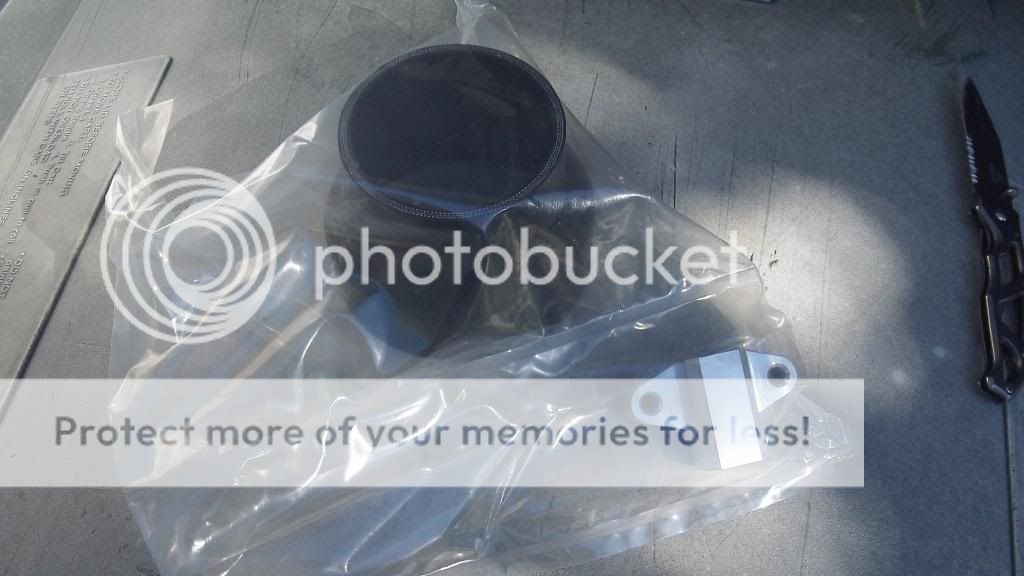
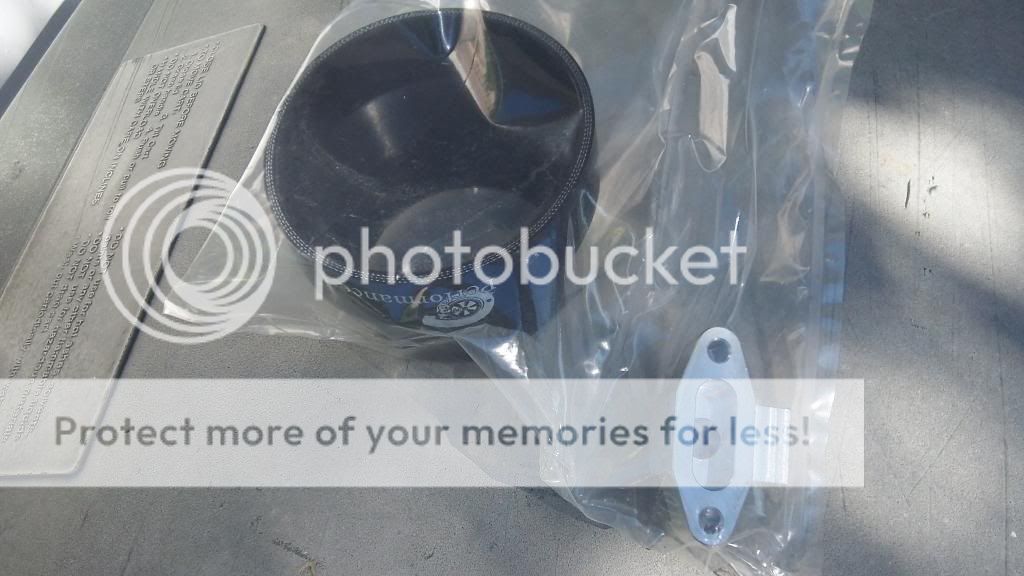
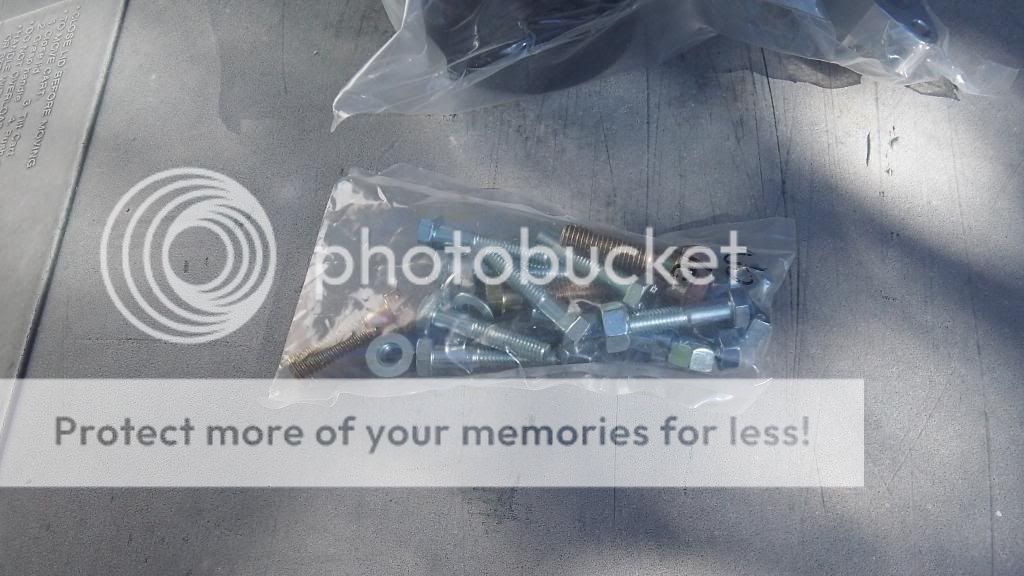
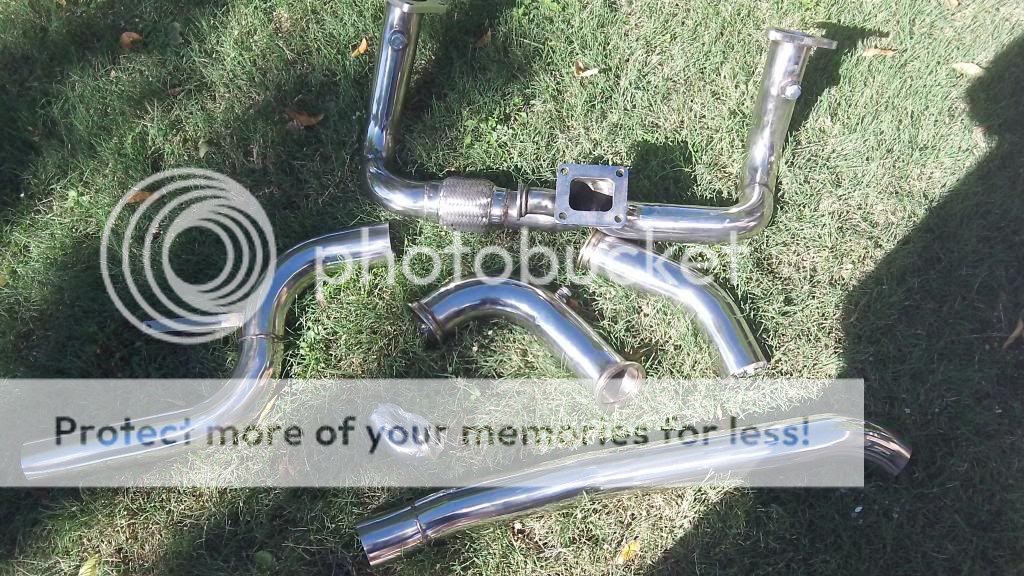
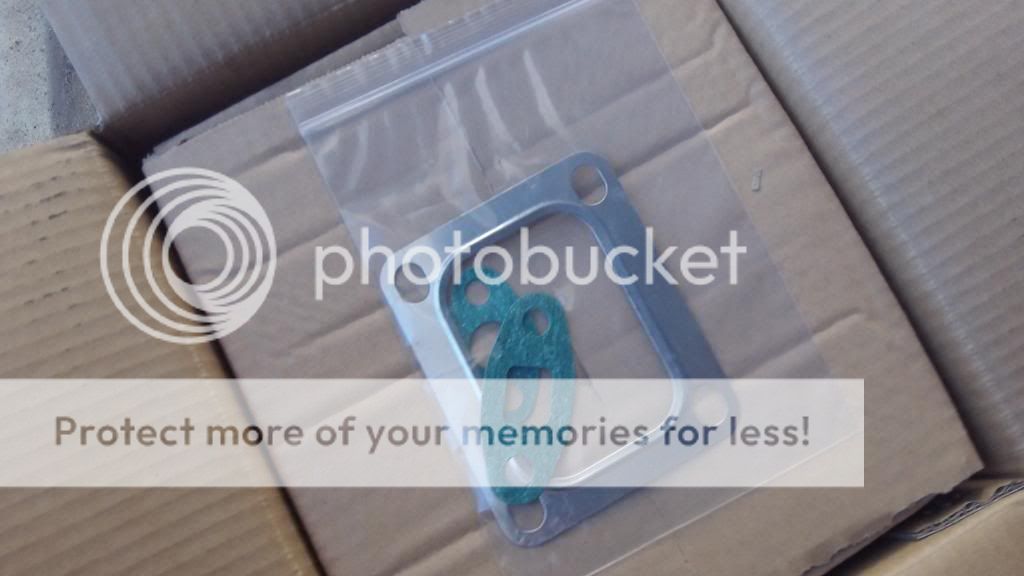
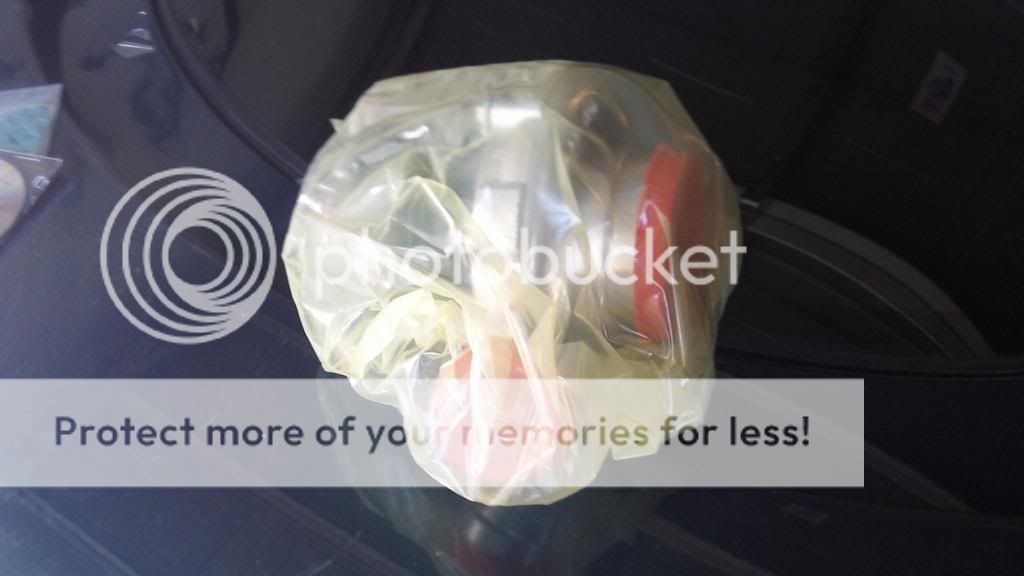
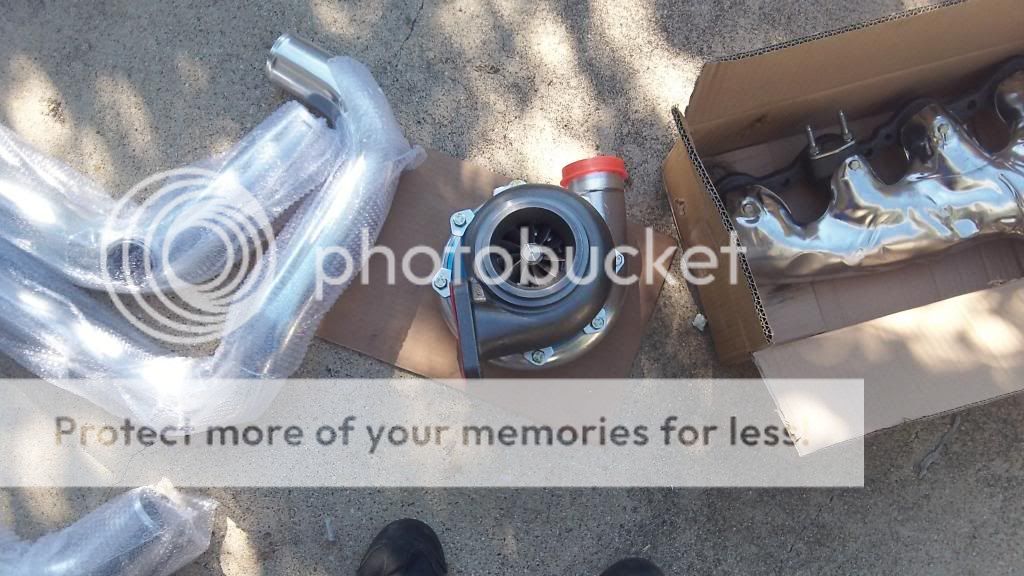
These came in today , actually yesterday but I missed them.


Running total.
Cost of kit + options. $2411.
Hp tuners pro $500
Fuel injectors $251
Gaskets and copper
spray $45
Plugs and wires $90
radiator cap $5
Radiator $110
vacuum line $25
vacuum fittings $10
Tap and drill bit $20
serp belt $30
NGK AFX $263
2bar MAP $63
vac/boost Gauge $30
-------------------------
Total so far. $3853
11/2018. Pretty much had this much money in this car for a long time. Decided to go full ham.
No longer a budget build and I don�t know if I want to keep running total lol.
Belt length for my car is 70 7/8 Gates K060703


After working on the hood.


These came in today
, actually yesterday but I missed them. 


Last edited by sbcgenII; 11-10-2018 at 10:07 PM.
 11-02-2013, 01:41 PM
#2
Bought a box of BR7EF plugs
New wires.
Waiting to get back my FIC 1000's
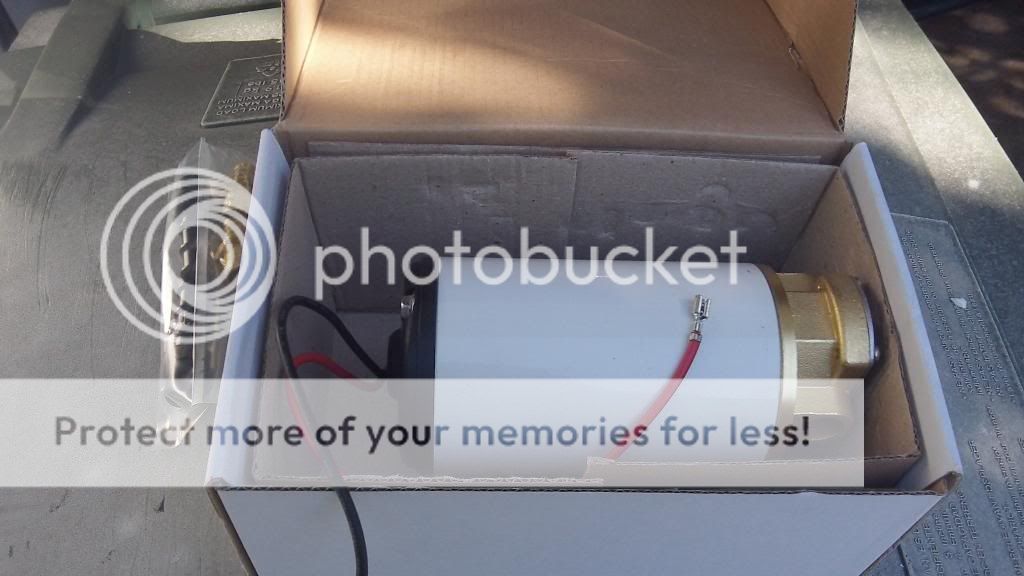
Bosch 350LPH E85 fuel pump. Still going to need another one and make a return setup.
My HP Tuners Pro is shipping monday, Going to use their 2 bar custom OS for 97-98
Was wanting to Run E85 since the 3 HEB's by my house all sell it, But after reading about all the injectors clogging i will either sell my injectors for the bosh 127's or get a alkycontrol methanol kit and run gas.
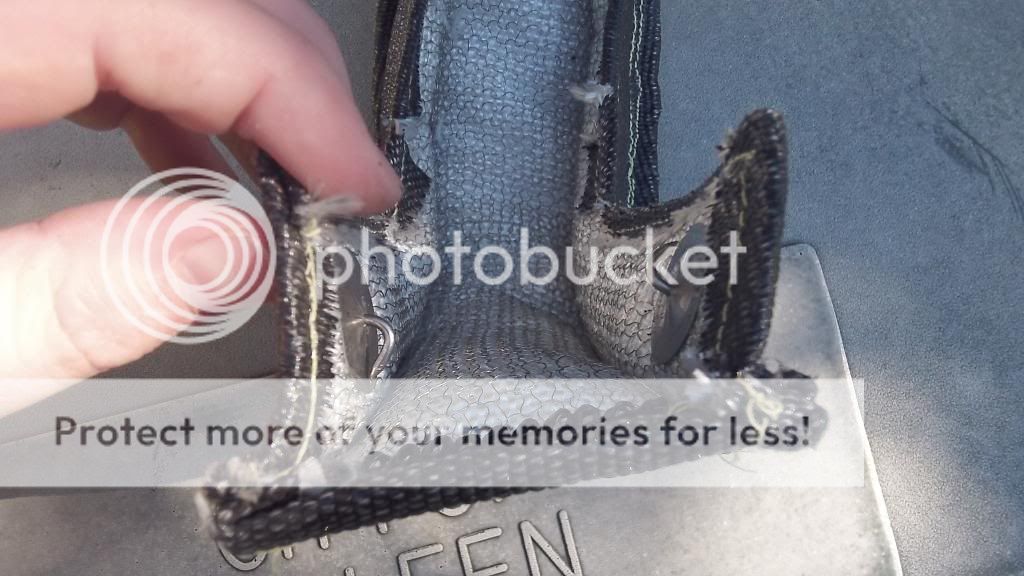
Going to order some header wrap and some plug wire protectors this weekend.
Heading out to the garage now to spray down all the exhaust bolts. After that I will be with the wife the rest of the day.
Wont really be getting started on this until tomorrow or Monday.
New wires.
Waiting to get back my FIC 1000's
Bosch 350LPH E85 fuel pump. Still going to need another one and make a return setup.
My HP Tuners Pro is shipping monday, Going to use their 2 bar custom OS for 97-98
Was wanting to Run E85 since the 3 HEB's by my house all sell it, But after reading about all the injectors clogging i will either sell my injectors for the bosh 127's or get a alkycontrol methanol kit and run gas.
Going to order some header wrap and some plug wire protectors this weekend.
Heading out to the garage now to spray down all the exhaust bolts. After that I will be with the wife the rest of the day.
Wont really be getting started on this until tomorrow or Monday.
Last edited by sbcgenII; 11-02-2013 at 02:48 PM.

 11-03-2013, 02:38 PM
#9
Staging Lane
iTrader: (1)
Join Date: Nov 2008
Location: winnipeg
Posts: 53
Likes: 0
Received 0 Likes
on
0 Posts

Glad to see another build with this kit....are you going to consider ditching the scavenge pump and gravity drain it like the other build thread? Good luck with the install...lookin forward to updates.


 11-03-2013, 08:25 PM
#13
 11-04-2013, 10:00 AM
#14
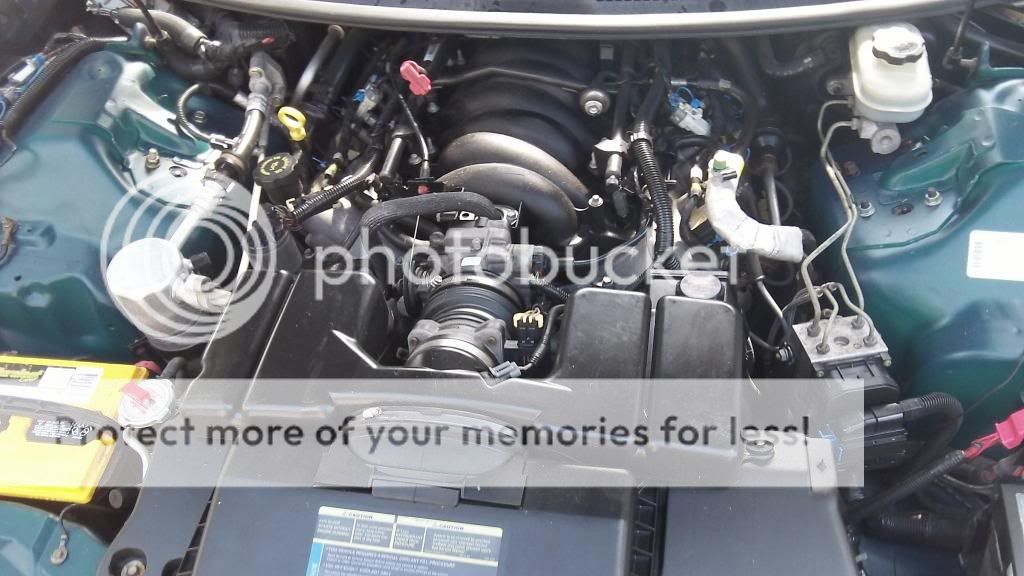
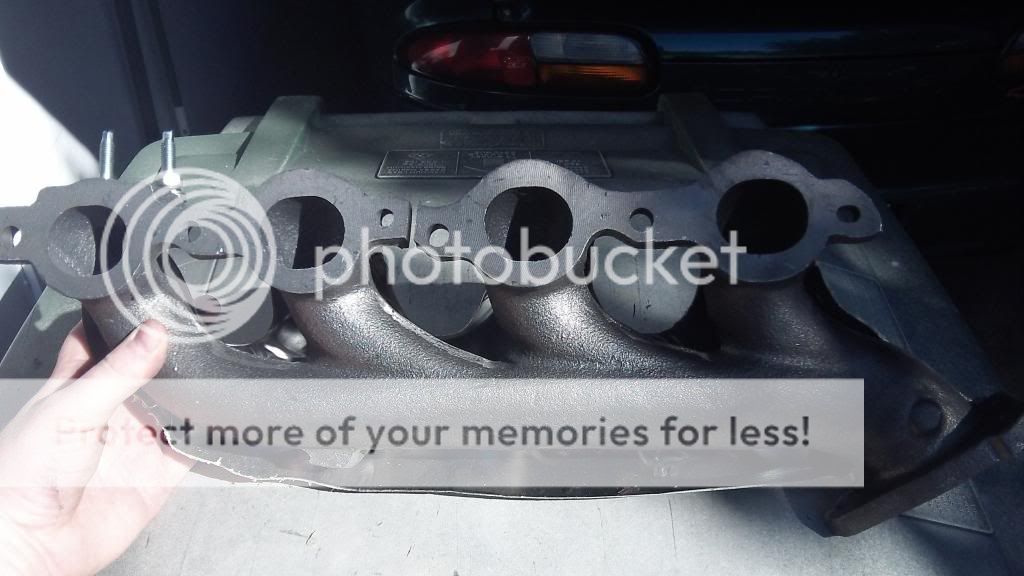
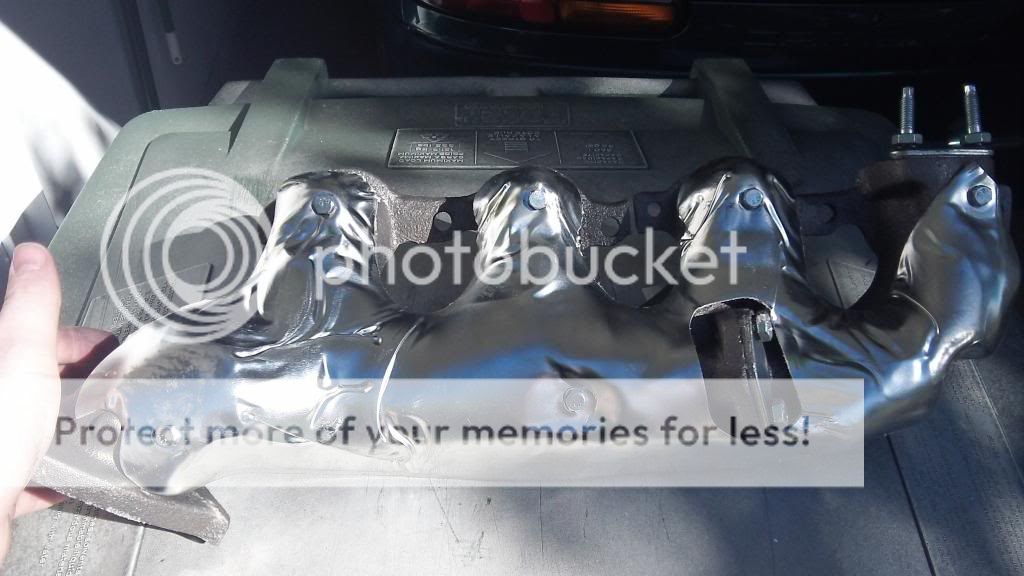
Tip #1 Before you try and remove the passenger side manifold remove all the EGR, AIR, Accumulator and the small line going to the condenser. I used a stubby 10mm ratcheting wrench on the passenger side and it made it much easier on a couple bolts.
Worked on the car from 8am-9am and got the passenger manifold out, intake, accumulator and the small line to the condenser out.
Worked on the car from 8am-9am and got the passenger manifold out, intake, accumulator and the small line to the condenser out.
11-05-2013, 06:14 PM
#15
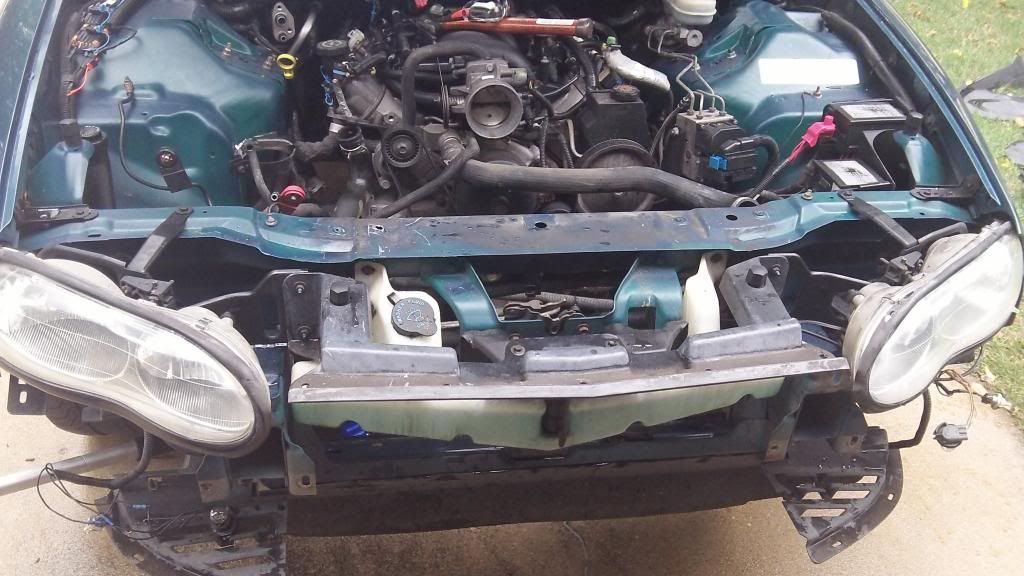
Worked on it for a couple hours today. Got the nose, crash bar, alternator, AC compressor, fans, radiator and condenser out. Also disconnected the sway bar, i think i am just going to remove it completely and leave it off. Looks like it will give way more room without it. My stock radiator had a hole in it when I pulled it out. Don't know if I did that or not. So it looks like i will be able to start installing the hot side tomorrow.


 11-06-2013, 05:59 PM
#18
Worked on it for a hour today. Took the 2 pulley tensioners off on the passanger side and the alternator bracket off the drivers side. Got both the manifolds bolted up, still need to slide the gaskets in but that the easy part. Passenger side went in from the top driver side i had to put in from the bottom. Passenger side was easy. I was fighting the power steering lines and one of the brake lines on the driver side. It was a lot of fun doing by myself lol. To make it easier remove the CTS and just stand inside the engine bay instead of leaning over the fender.
Note: Make sure the EGR/AIR block offs and heat shield studss/bolts are tight. I noticed a lock washer wasn't crushed so i started tightening the nut and stripped the top threads in the manifolds. Thats when i noticed they used studs. I removed the 4 studs and tightened them down and was good to go. I also found some of the heat shield bolts were loose so i tightened them all down.
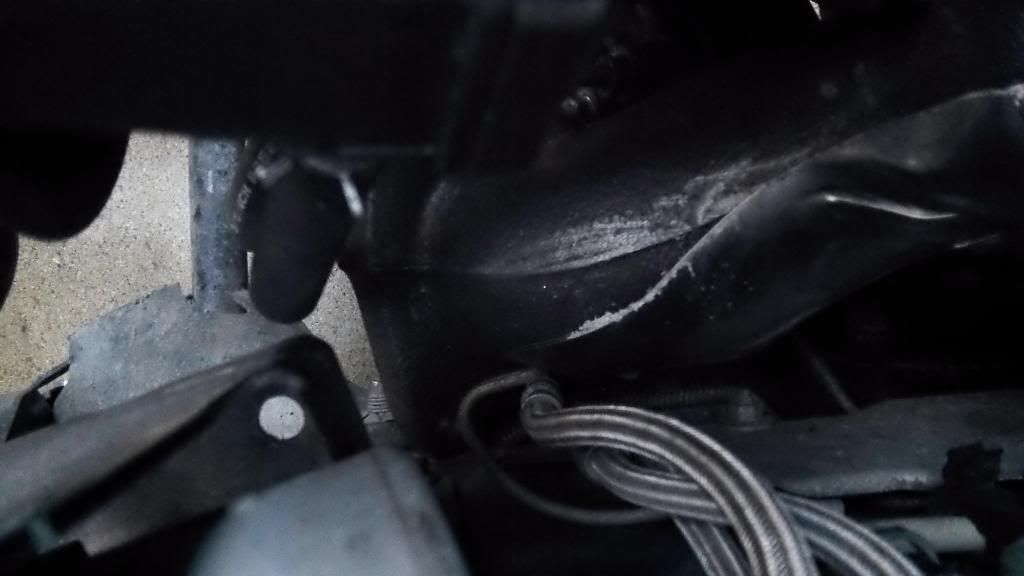
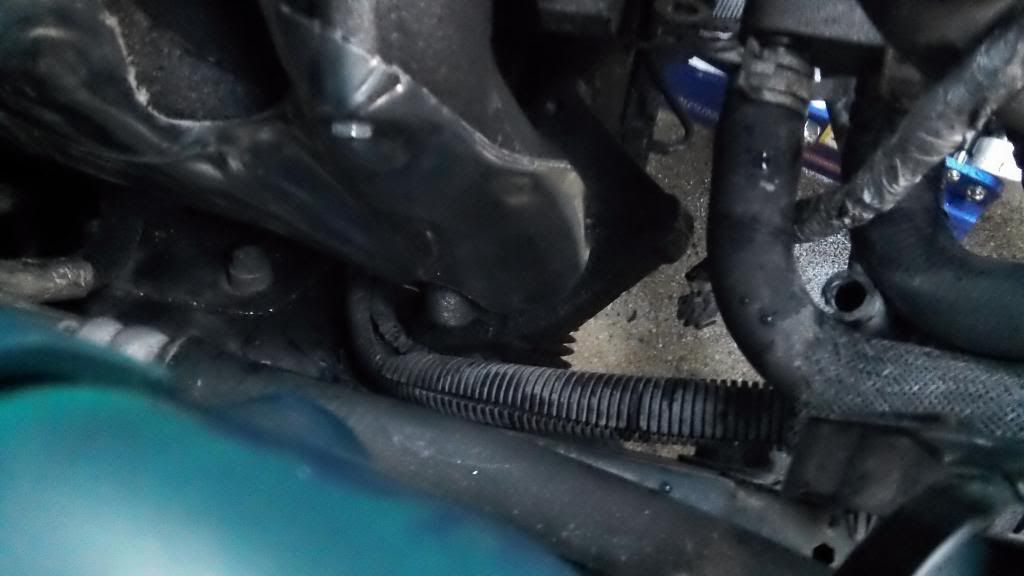
In the first 2 pics you can see where the feed from the power steering reservoir is dead center hitting the front of the manifold. You can also see were the brake line is hitting. If you remove that power steering line and bend the brake line before installing it will make your life much easier if you are doing this by yourself.
Passenger side was a piece of cake.
Note: Make sure the EGR/AIR block offs and heat shield studss/bolts are tight. I noticed a lock washer wasn't crushed so i started tightening the nut and stripped the top threads in the manifolds. Thats when i noticed they used studs. I removed the 4 studs and tightened them down and was good to go. I also found some of the heat shield bolts were loose so i tightened them all down.
In the first 2 pics you can see where the feed from the power steering reservoir is dead center hitting the front of the manifold. You can also see were the brake line is hitting. If you remove that power steering line and bend the brake line before installing it will make your life much easier if you are doing this by yourself.


Passenger side was a piece of cake.
