When you click on links to various merchants on this site and make a purchase, this can result in this site earning a commission. Affiliate programs and affiliations include, but are not limited to, the eBay Partner Network.
Well I thought I'd start a build thread here for a little documentation of what I'm doing, collect some helpful suggestions, and hopefully get a little encouragement along the way.
Well It's day 1, I just started pulling the car apart. I've got almost all of my kit, except the for turbo coming from Turbonetics. I have cleaned up my manifolds, and sent them out to be ceramic coated. Other than that I think I have most of the parts I think I'll need, but I'm sure I'll find a few more along the way.
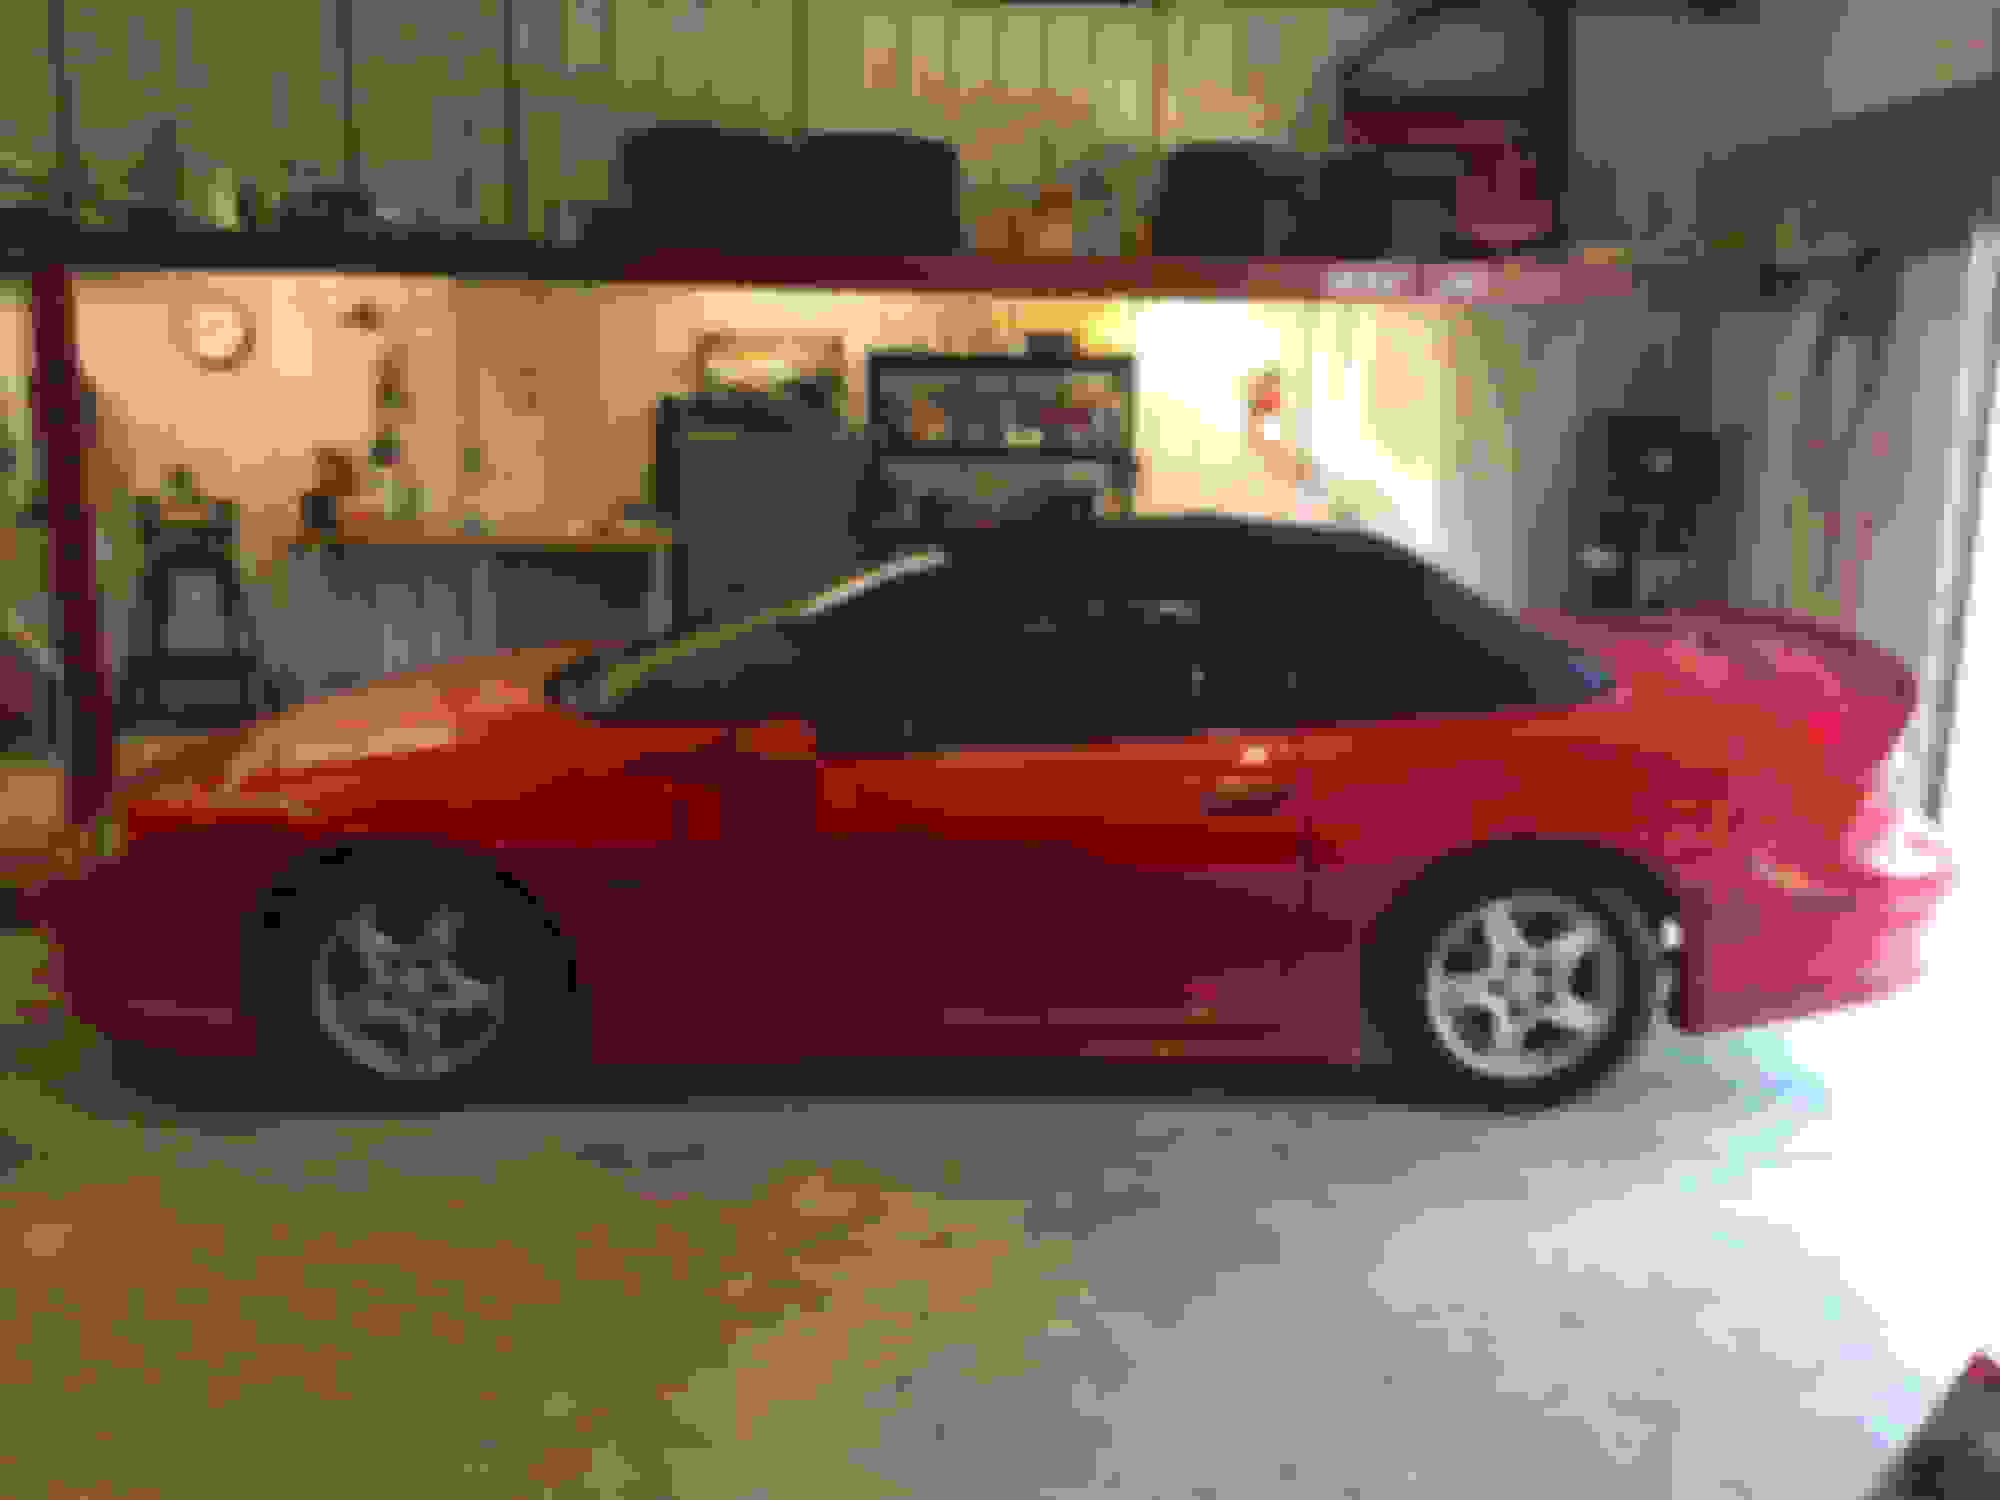
Lets start with the victim, my '98 Z28 convertible, its a pretty clean car for 19 years old, I have service records and it was first serviced in September of '97. I'm the second owner.
I'm fortunate enough to have a lift, I don't know how many of you do what you do without one. I've become dependent on it, with the many project's I've done over the years.
Under the the hood currently resides the SBE, with Advanced Inductions ported heads, 317 which were converted to 243's by welding up the combustion chamber before having it CNC contoured to match the 243. If I'd known at the time, back in 2012 I would go FI, I would have just left them 226CC ported 317s. I'm also running ad Advanced Induction cam, I bought them as a package. I'm using the PSI1511 springs, upgraded trunions, and I measured and used a 7.325 pushrods to match all that has been shaven from the heads. I meticulously measured, and calculated everything to come up with 11.3:1 compression when I put the engine back together in 2012. This is quite high to start a FI build upon, but I've been told by some experienced people this is fine as long as you use good fuel and meth injection. If fact I've been told it is nice because it makes the engine feel more lively when out of the boost. We will find out. Here is how under hood looked at the beginning. BTW the car put down 402 whp through the A4 before I started. Car typically ran high 11s, through the auto and a Circle D 245 mm 5c converter.
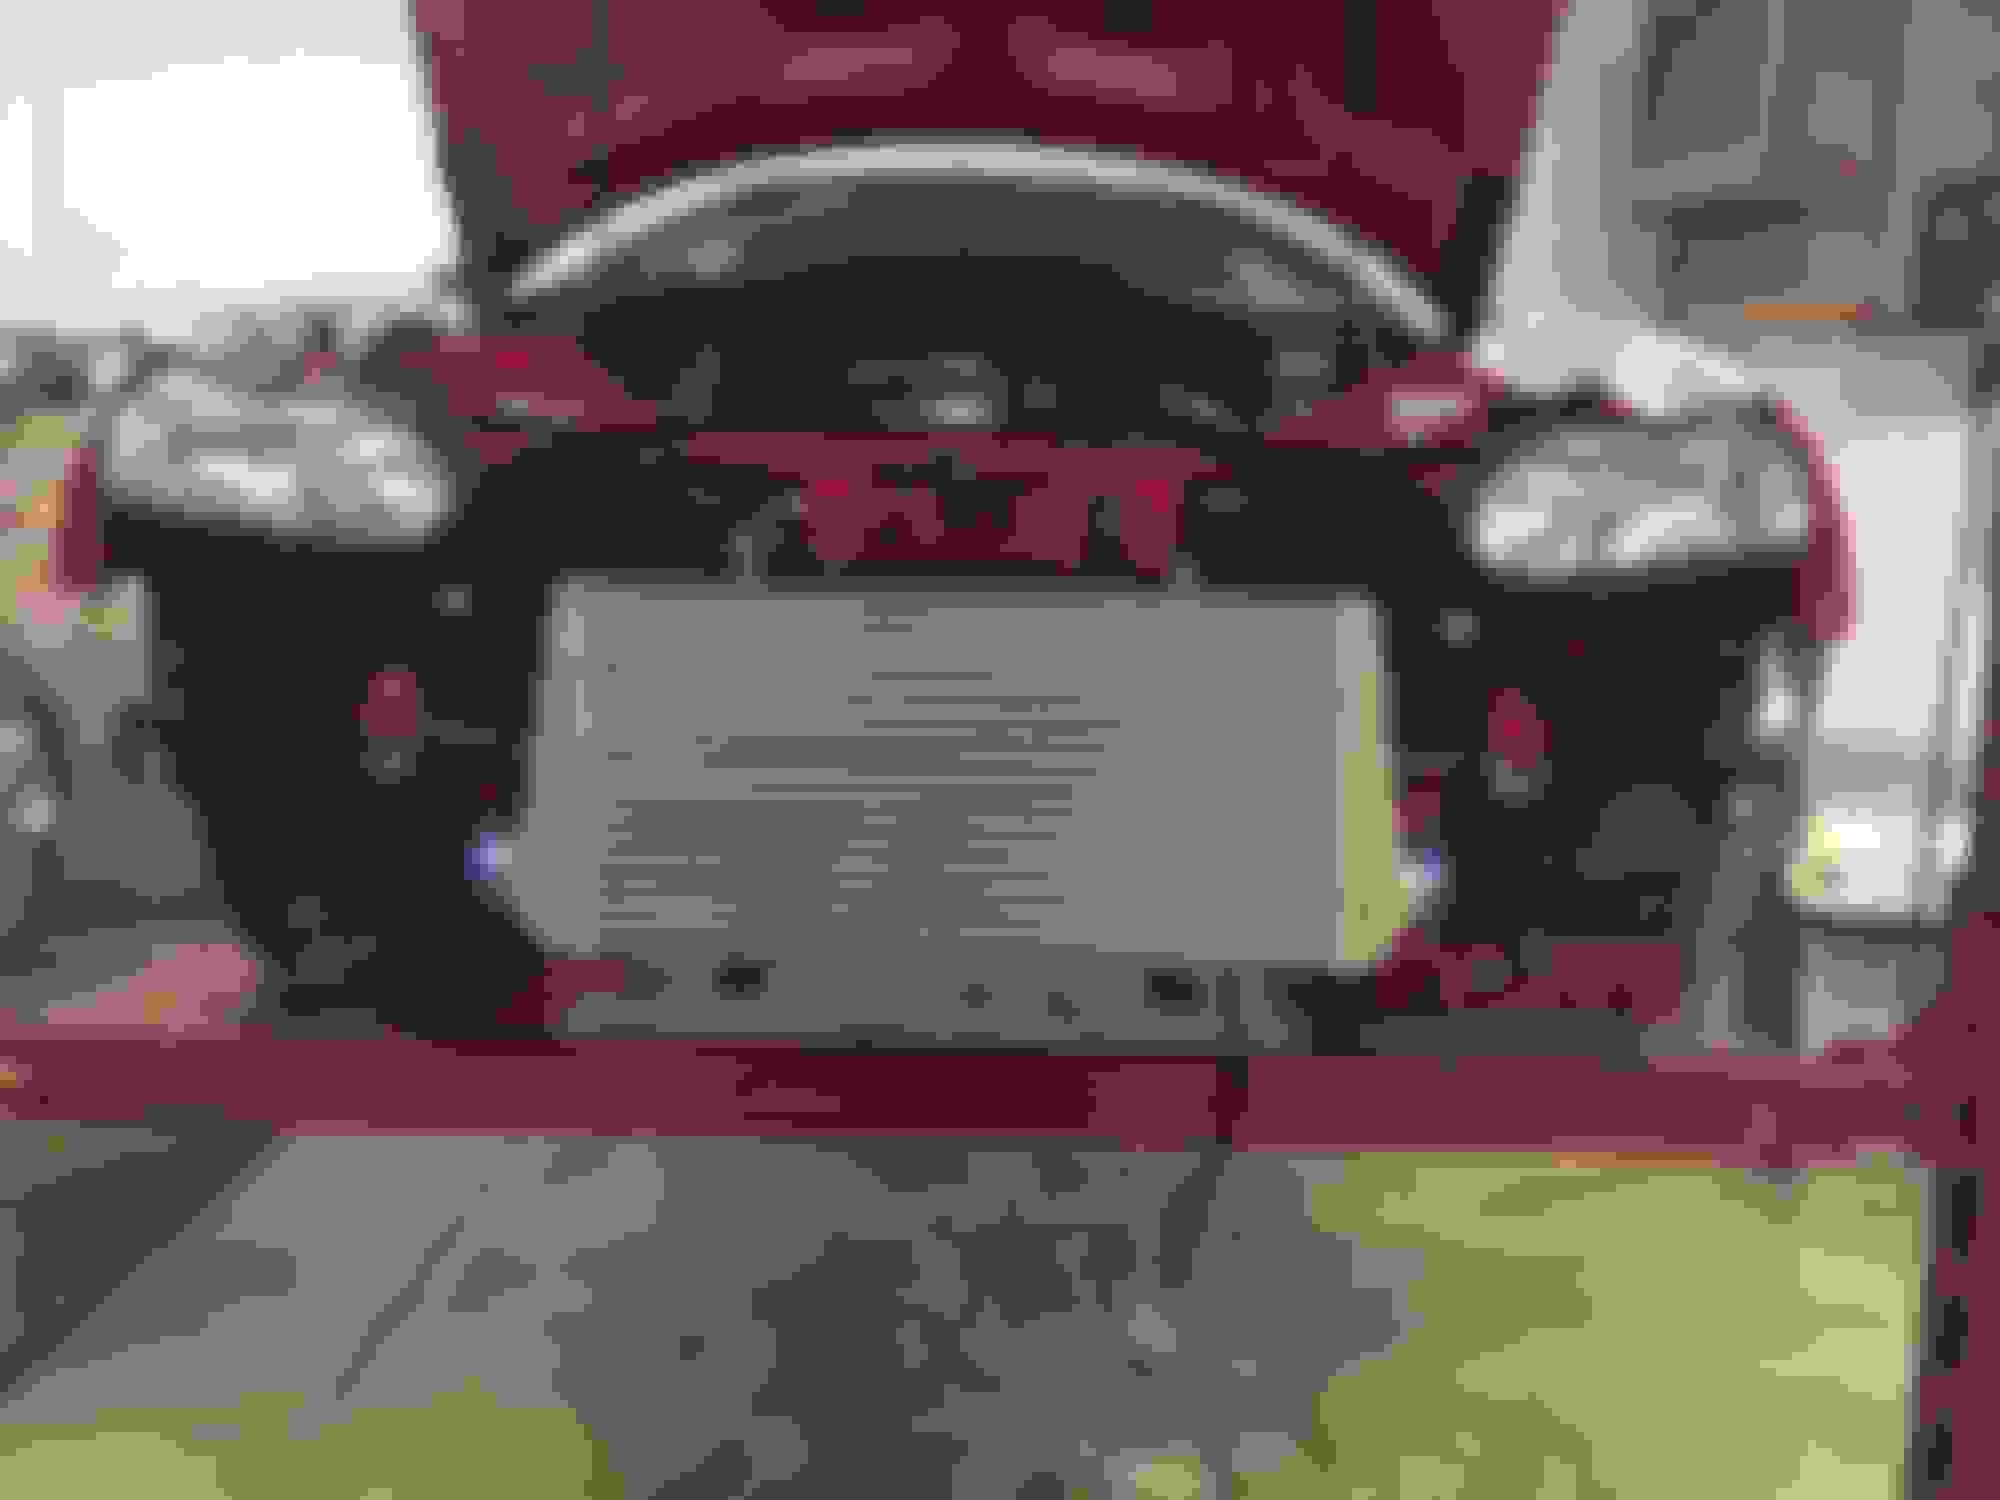
Well I got the front bumper cover off and found that styrofoam. When did they start making cars out of that? I also removed the upper intake stuff, MAF, lid, rad support etc. I ended up just ripping the foam off, never gonna use it again.
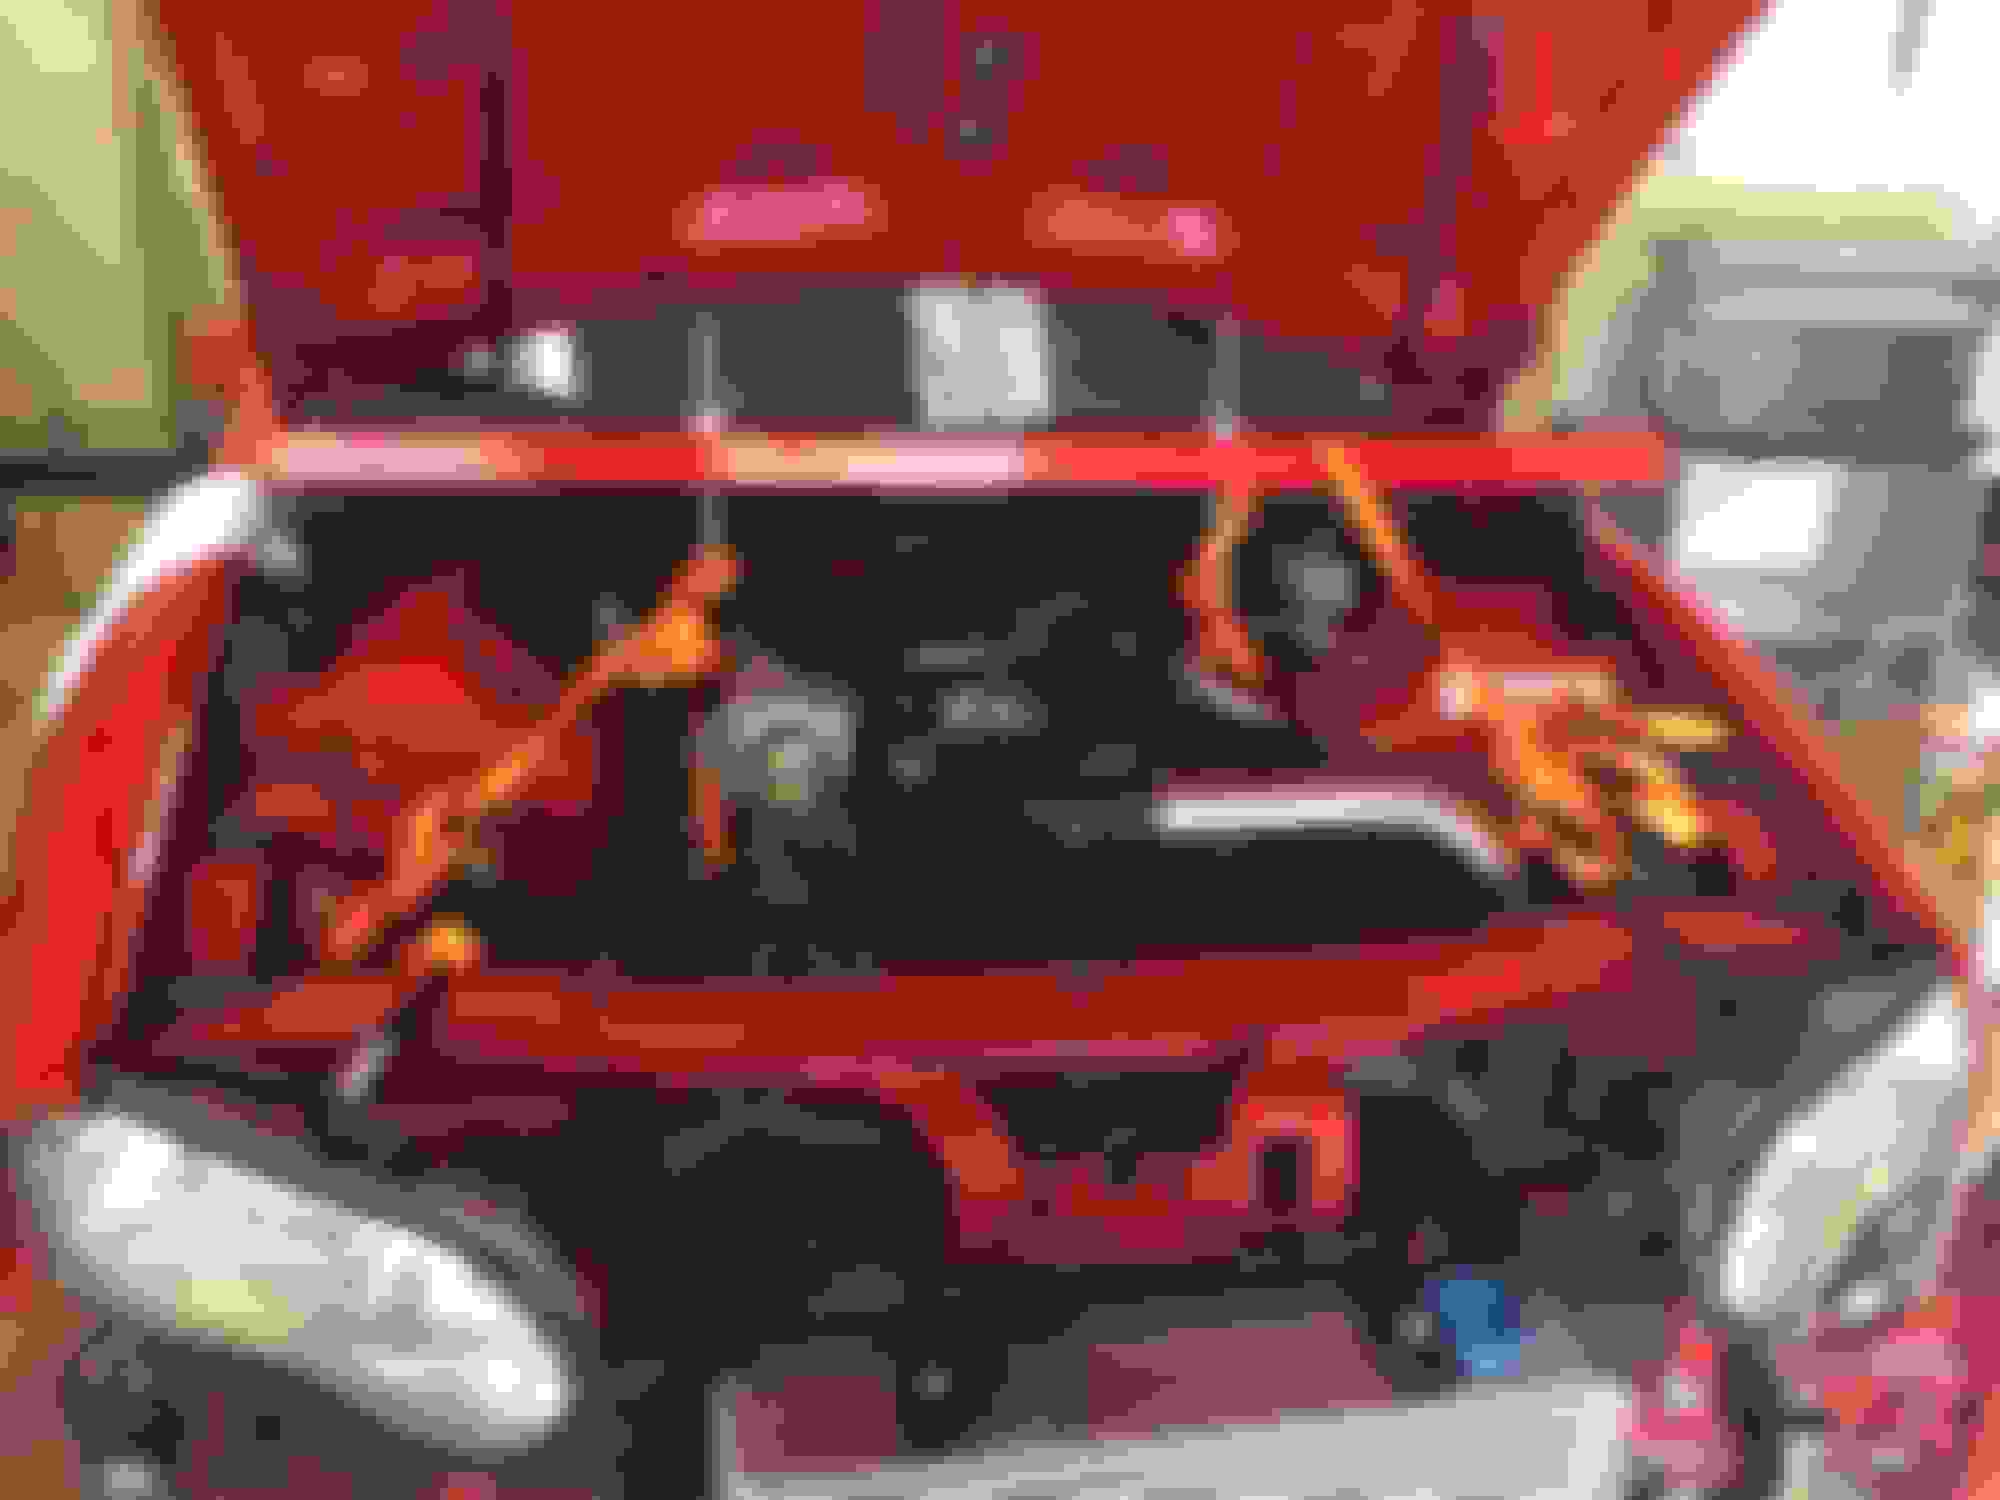
I removed the radiator,AC condenser and hoses next, as well as the thermostat, I'm going to go down to a 160F for the turbo. This was all pretty simple, the only question in my mind is what am I going to do with the transmission cooler. I had it mounted to the condenser, going with pusher fans it can't be there anymore. Currently the hard lines come right through where my down pipe is going to have to go out between the motor stand and the oil pan. Right by where the low oil level sensor is which I'll need to remove and plug.
Here it is down to the bumper support, that sure is ugly. Uglier than my wife's husband! I guess GM never thought we would be looking behind that curtain?
It has collected more dirt in there than I'd thought possible.
Next I pulled the alternator and the AC compressor. I went with an AC delete kit mainly because it is a convertible. I honestly had gone a couple years without turning the AC on. It is a fair weather can, and is driven with the top down 99% of the time. I put about 500 miles per year on it. Hopefully that gives me the room to get my manifolds out through there.
I went and removed the stock washer tank, I need the space for my Alky Control tank. I've heard great things about their kit. I intend to go with 100% meth and start injecting as soon as I go into boost, no waiting for 5psi or such with my compression, I'll need it right away I'm told. With a progressive controller this should work well, it will start early but at a very low level. I'm using a dual nozzle kit a M10 and M15. That's what was recommended by Alky Control for my setup.
Last job of the day was to mount my intercooler, just so I felt like I did something other than tear things apart all day, which is basically what I did. I did pop over to TSC and pick up some fasteners to complete this. I did have to elongate/slot some of the holes in the brackets to get them to fit correctly and centered. I did this with a die grinder with a carbide bit in it. That intercooler looks brawny, and is really a great value IMO.
Next session I plan on pulling my headers off, fitting up the alternator to the top right side of the block, working out a tensioner setup where the alternator was, and running my oil lines. I think I'll pull the pan for that. I've never pulled the pan in the car, only when out on an engine stand. I'm not sure how hard that is? I've thought of just drilling and tapping it on the car then changing the oil? Any advice here is welcome. The sending unit is no problem, I just pulled one off one of the spare engines I have in my shop and will swap it out after it is tapped.
The only problems I had with the v1 kit was the oil drain supplied with it was way to long and I ended up making my own shitty drain setup with rubber hose that I still need to change. And the other problem was my passenger exhaust manifold would not go on with out cutting a chunk of the k-member out. Just bought the 2000 z28 in my sig back btw!
Well next 2 things were getting the alternator, and the new tensioner mounted. I had to trim a bunch of the plastic of the back of the alternator for head clearance. I'm guessing this is specific to the alternator I had, I believe it is a Delphi, it is not the original one, I replaced the original a couple year ago with this unit.
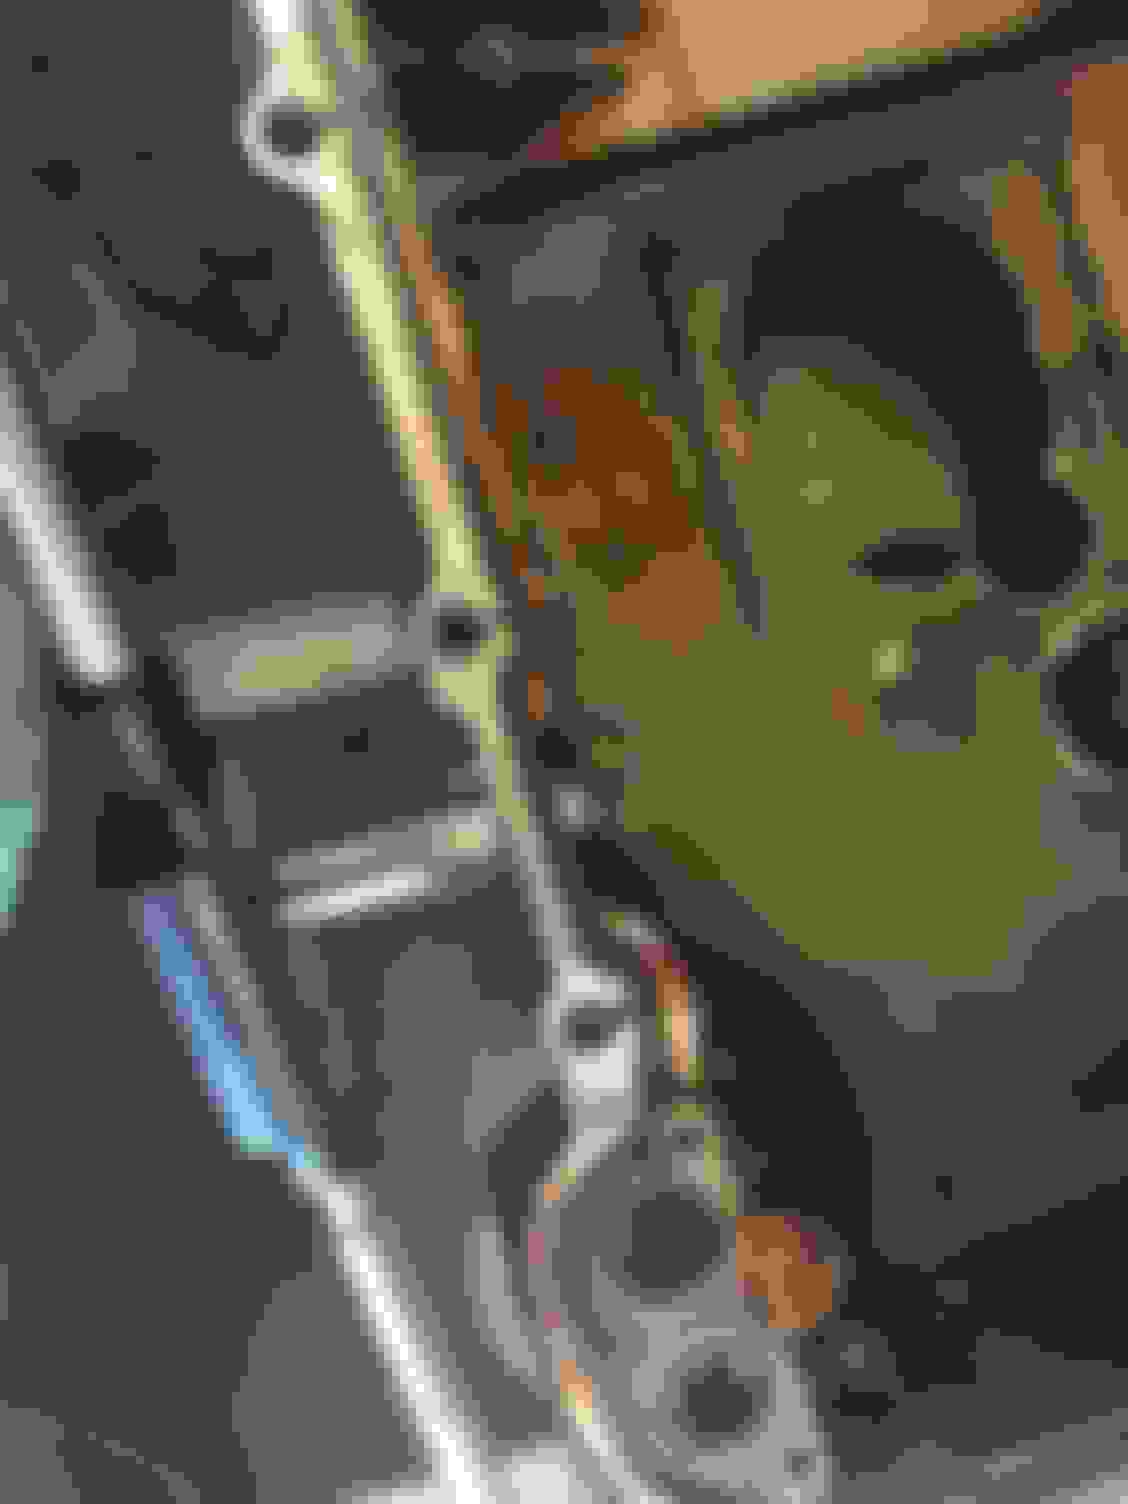
Next job at hand was the oil lines. To be honest it was a bit of a bugger, it took me 6 hours total to drop the K member down, pull the pan, clean it up, drill, and tap the pan and the sender thingy, and reinstall everything.
I think I did come up with a neat procedure for dropping the pan though, others may want to try this method.
First of all I used a Harbor Freight engine lift bar to hold up the engine, on the strut towers. Could have used a 4X4 or other method, but it wasn't too expensive, and I'll use it again when I swap to a tubular K member with coil overs. I'm waiting until Black Friday and then going to go UMI or BMR whoever has the best deal. I'm going to do it all, K member, upper and lower arms and coilovers on bearings, was wanting to convert the top to a clevis type connection for both front and rear. Was thinking of Vikings on all 4 corners.
Anyhow here is how I suspended the engine.
After I suspend the engine I pulled the motor mount through bolts from the front. Since I had the area opened up for my manifolds to come through, they were easy access.
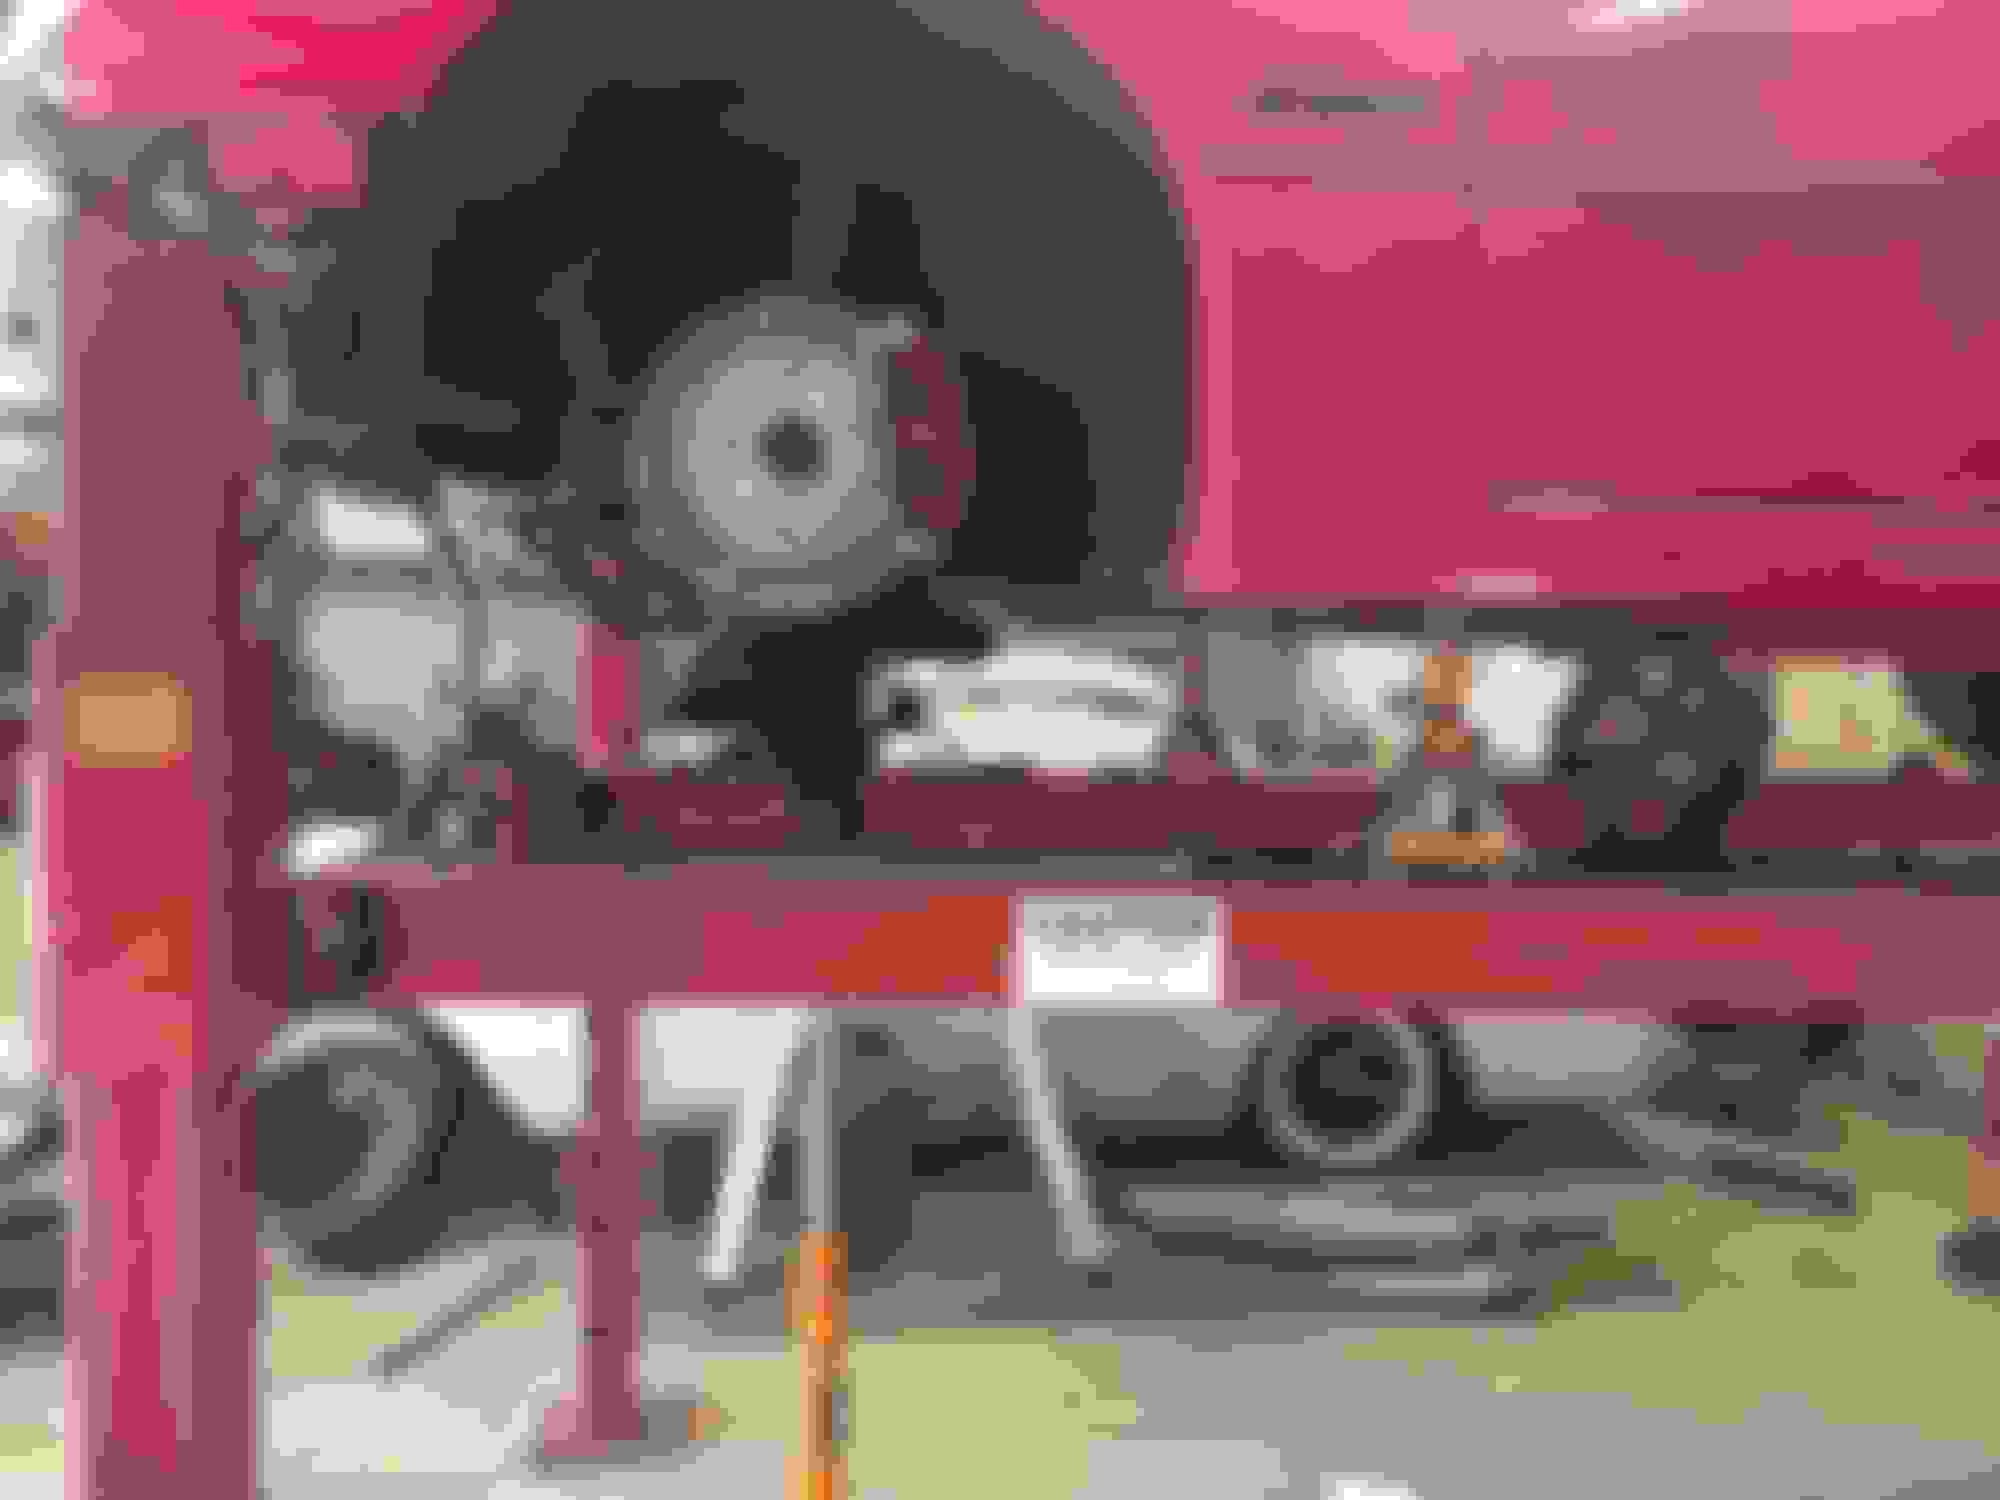
Next I used my trans jack to support the K member. What I think I did differently than what I've seen on here was I left the drivers side strut assembly attached. This saves having to unbolt the brake master cylinder, and it doesn't let that side of the K member drop too far. This puts less stress on those brake lines, and the power steering lines. I pulled all 6 K member bolts, while my trans jack was under the K member. I lowered it down and swung the unit open like it was on a hinge hanging from the driver side strut. It swung open like a barn door, lots of room to work.
You could do this on the ground as well with the car on jack stands and a floor jack under the K member the same way.
Here is a side view, notice the rotor position hasn't moved on the drivers side but you can see the K member has dropped a little and is swinging about the lower control arm bushings.
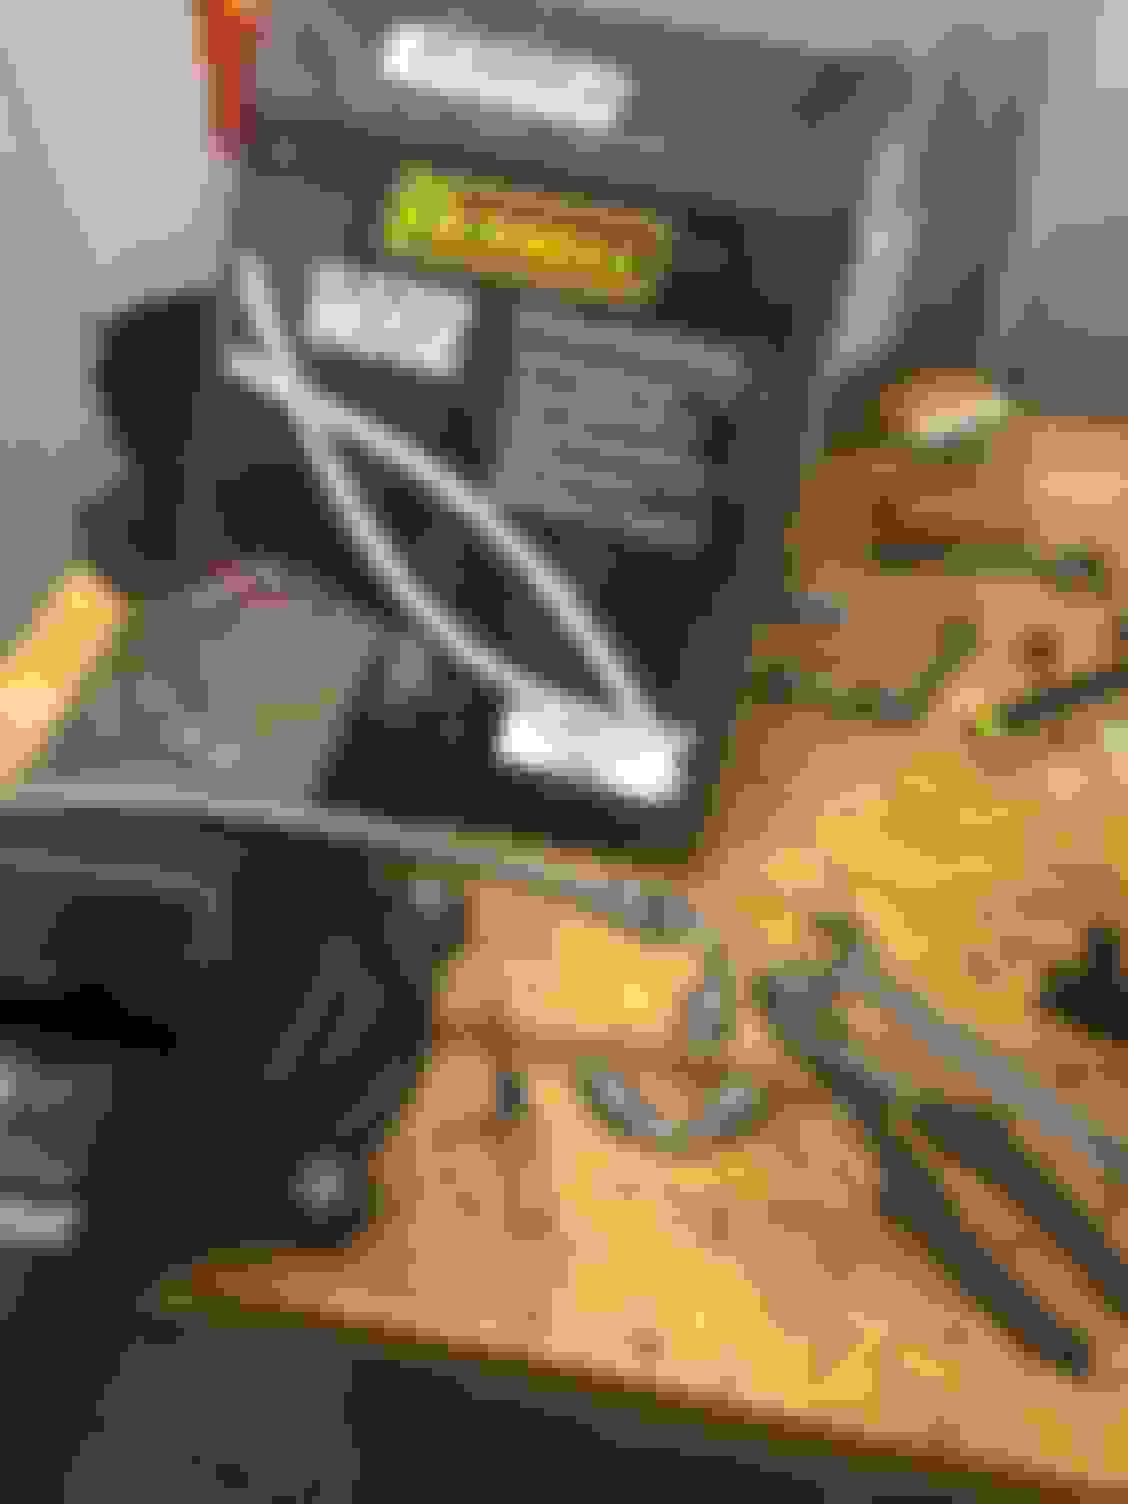
Well now that the pan is out, I can put it in my drill press to drill that big 23/32 hole needed for 1/2" NPT.
Then on to tapping it by hand on the bench. That is a big damn tap! I'm really glad I did this out of the car, there were so many shavings in the pan it was incredible. With such a large hole, it would have been terrible to do it on the car. I did think about it long and hard, and I'm pleased I chose the longer tedious way.
After tapping it I cleaned the pan well using about a quart of medium reducer for automotive paint I had. I got the pan bare metal clean, spic and span. Took about half a hour, I took the baffle out and all. I bought a new Flepro gasket for $50 at Advance Auto, it seems better quality than the oem one. It is considerably thicker. I torqued the main bolts to 22 ftlbs, and the long ones in the back to 8. I tapped the sender 1/8" npt, after drilling an 11/32 hole in it.
Well 6 and 1/2 hours after I started, I have my alternator, and my turbo oil lines installed! Here is the money shot.
Next on my list, remove the long tubes, pull out the TR6 plugs, and replace with BR7EF, trim the plastic on the fuse panel around the piping from the FMIC to the throttle body. I'm still about a week away from getting my manifolds back from being ceramic coated, so I can't really do anything on the hot side yet, but there is still lots to do.
You have a pic of the oil drain coming off your turbo? Interested to see what yours looks like as I struggled like hell to make the lines with the kit work..
I'm still waiting on my turbo from Turbonetics, Huron is having it drop shipped after they assemble it. The delay is my fault. Originally I went with the standard TC78, then I decided to upgrade to the F1-75 turbine side. I had to get the ceramic BBs to do that. I'm not sure why your can't get that in a journal bearing option like with PTE, Comp or other manufacturers with that size wheel. Still it is reasonably priced compared to those. It is still less expensive than the journal bearing 7675 from PTE. You can get a comp for a little less in the journal, but it's close enough I stuck with the Turbonetics.
Well since my manifolds are out being ceramic coated and I'm still waiting on the turbo, I've focused on other things, there is still lots to do without those items.
I got all my accessories sorted out, and that's finished, a 71.5 inch belt worked best.
Next I plugged the hole in my TB, that fed fresh air to my PCV system, because we can't use that under boost. I pulled the tube off, and filled the cavity in the TB with epoxy. I'm going to use Mightymouse's extreme catch can solution which used the oil filler hole for the dirty side.
Then I worked on plumbing the FMIC to the throttle body through the hole under the fuses. This required some trimming, I bungied the fuses out of the way so I could work on the plastic holder. I lined the metal near the pipe with some split rubber hose so it won't rattle.
The finished FMIC to TB plumbing with the BOV installed, minus the vacuum line. Everything fits nice now after the trimming.
Next I started working on my fuel system. I'd been using a Racetronix single 255 for about 5 years. Last time I changed it I dropped the tank, I said never again. I'd rather swap a cam, than do a fuel pump on a '98 dropping the tank.
This time I cut the door. I was concerned there may not be enough clearance to get the pump out of the trap door on the convertible. There was, but I was a little tight. We 'vert guys don't have the space above it the hatch back does. The convertible top sits right on top of where the trap door is cut, when the top is down. With the top down, you could not get in there at all, top needs to be up to do this.
Well I pulled the old pump out and took some measurements, and plan on going with a Racetronix dual pump. The DPM 680, vs doing the make your own dual Walbros. It costs about the same, and I really like the bracket, and coupler. I'm thinking of trying to weld the Racetronix bracket on to the metal part of the sending unit that is there, so the base of the dual pumps is exactly the same depth as the original single pump. I also removed the in tank FPR, as I'm going to be using a 3/8 return from the rails, and a boost referenced FPR up at the fuel rails.
I ordered the pump and a 2nd hot wire kit for the 2nd pump from WS6 store, good peeps. When the pump assembly arrives, I'll put the fuel sending unit together and get the tank closed up.
I also bought the Racetronix fuel line kit. It is a really good deal, but a lot of work to put it together. I love the quality of the rails, the fittings, the filter, the regulator, it is all top notch. I had never put hose ends together with the "olive" in them before, just the standard AN type of braided you push on and wrench down. Cleaning back the braid for the "olive" is a PITA, and takes about 30 minutes per hose end. I just got the first couple done, and mocked up the rails on a spare engine I have.
I probably won't get much else done this week, hopefully I can knock out the majority of the fuel system this weekend.
Well, I've been trucking away at this. Taking longer than I'd hoped, or planned for. I had thought I'd be tuning the car by now, enjoying the boost! I seem to continually under estimate how long projects are going to take.
I've spent the last week and a half working on my fuel system. I posted that in the fueling and Injection section, and it was pretty much purely focused on that.
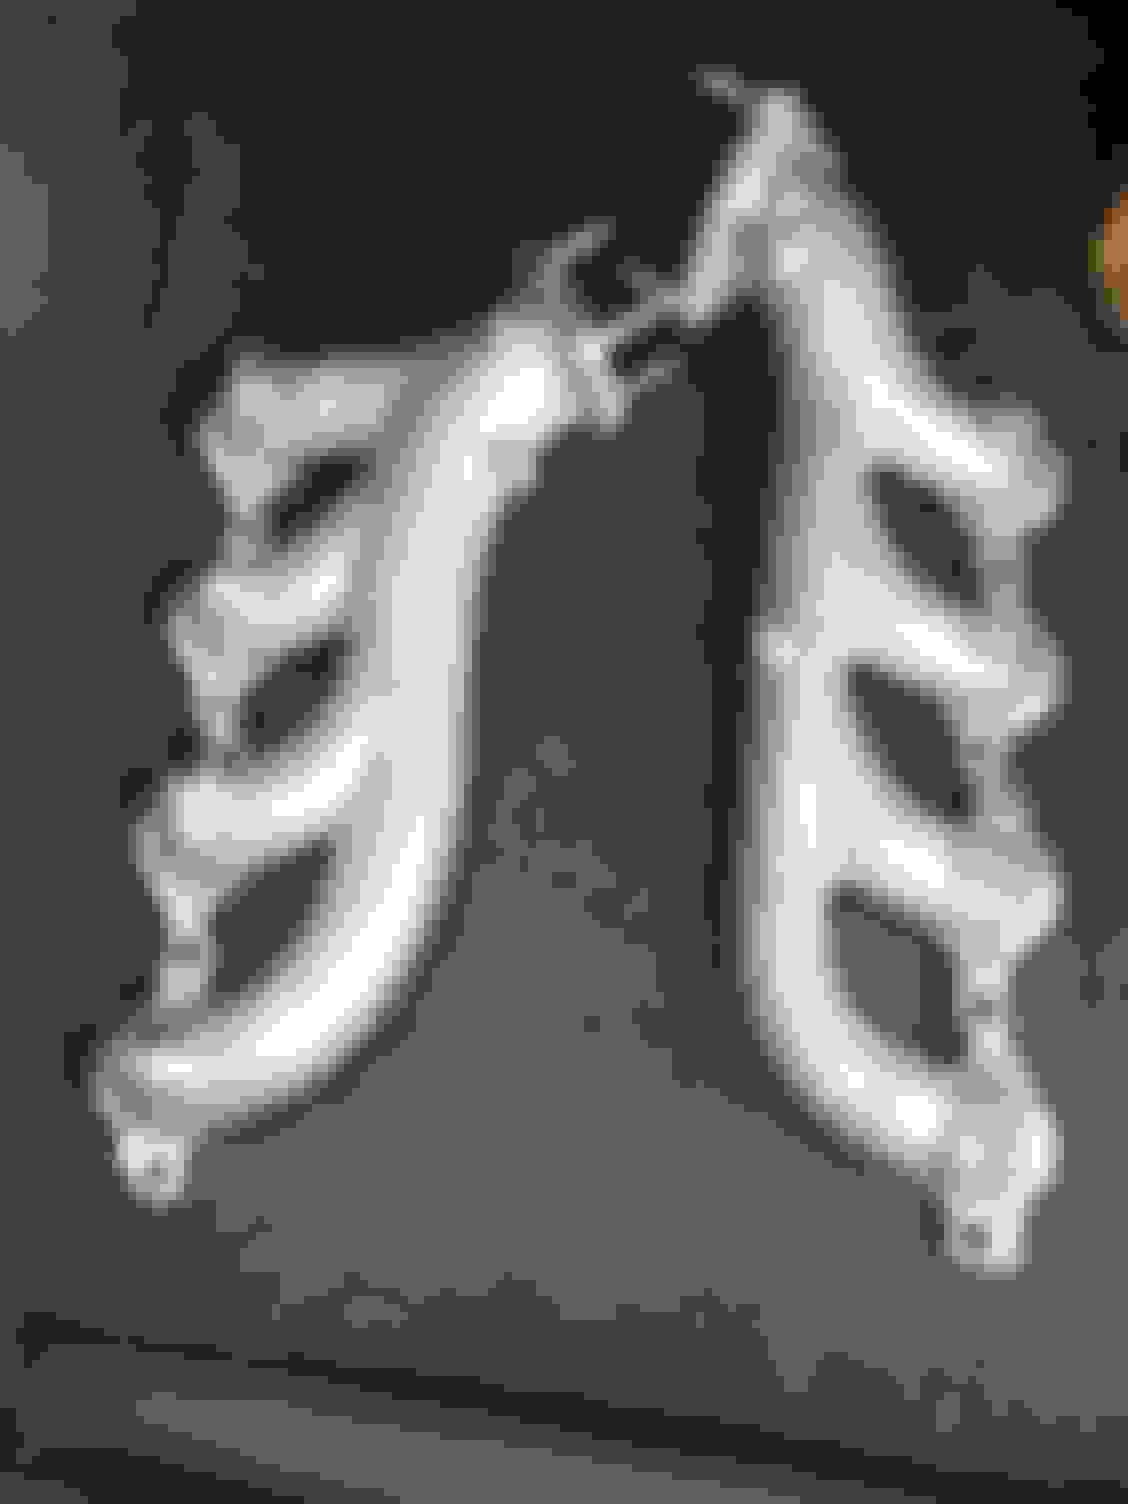
Well I got my manifolds back, ceramic coated in silver, this is the Jet hot type stuff that is supposed to provide a significant heat reduction. It cost me $375, kinda pricey. I paid $80 for the manifolds, so that would have me to about the same cost (within $100) as buying the V2 kit with the headers. There is only about $500 difference between the truck manifold kit and the V2 kit, when you take into account the V2 kit comes with the turbo blanket, lines and the filter. Having said this, the manifolds came our really nice, and I'm sure they will be durable. Hind sight, I'd go V2 and have the headers. I think the installation would be easier, the vbands take up less room than the big flanges on the manifolds, and I wouldn't have had to clearance my K-member.
They are off a 2009, so no EGR to leak, and I smoothed them out with a grinder a little before having them coated. I knocked down the seams, and rounded off the corners of the bosses where the heat shields attach, just so there were no sharp corners to snag on.
I went ahead and wrapped the hot section pipe with the Summit Volcano stuff rated for 2500F. I'm sure it will never get close to that, but I hope it does its job.
Got the right side manifold on, no clearance issues up top, but did need to notch my k member to clear it.
On the left side I need to deal with the brake lines. I'm hoping I can just bend them a little to remove the contact. Anyone know what is normally done here when using truck manifolds? I would guess everyone would have this issue? Another reason to buy the V2 kit vs the truck manifold kit.
As far as the power steering goes, I read the truck manifold sticky, and ordered the parts listed from "Brains" to make my own lines. Thanks Brains for putting this together, you saved me some time figuring it out. I didn't really like the factory ones to begin with. I must admit I do like custom braided stainless hoses. Good opportunity to get new PS fluid in there too, it probably has never been changed in the 19 years the car has been on the road.
There is still quite a bit to do, but I'm starting to see a light at the end of the tunnel. Another weekend won't finish it, but it will really start to bring it all together. Thanks for reading.
Got it from Jon at Huron for $1200 as part of the kit. Its $1332 if bought separately, so its a good deal to get it with the kit. I'm always second guessing which turbo I should have bought. I'm not sure why Tubronetics makes you get BB vs journal bearing to upgrade to the F1-75 vs F1-68? If I see them at an event or show, I'm going to ask. Some people seem to think the billet wheel upgrade is worth it? In the Turbonetics line, you have to go down to a 75 compressor from a 78 to go billet, that offsets the advantage of the billet wheel somewhat. The Comp turbo with the 78 billet compressor on a journal bearing is about the same price as the T-7875 I got, I also question wither or not that might have been a better choice. Probably just splitting hairs here either way, as they are all pretty similar, probably within 50 hp.
One thing I've also realized, I intended this to be a limited or budget build. I've spent more than I originally intended, but did want to do everything right, not cut corners. I respect the Denmah type build with the $3-400 chinese turbo, that's not really what I was looking to do. I also realize that this is not a large T6 high HP build, but in the end I'll likely have over $6K in it. Since I have a couple spare iron short blocks around, I'll probably put together an engine specifically to be turbo charged this winter or next. TSP has forged rod and piston combos for about $1000. With new bearings and a turbo specific cam, I should be able to put together a forged piston short block, with proper ring gaps for a FI setup for under $2k, $2.5K if I go ARP main and heads studs,and be able to put to it, all this little turbo can blow. I guess I could also stand the radiator up, and pop is something like a PT88 or a T4 version of the S480 on this kit if I need more turbo as well in the future, without redoing the whole thing. Not that I'm planning that yet, but I always like keeping options open. For now I need to focus on getting this running, and optimized with that I've got. I'm not anywhere close to bored with it yet, just getting going.
Lol I hope you're not bored yet with out running it. Hell that turbo should get you to like 900rwhp shouldn't it? I have the tc78 with the 68 housing and if you have a good fuel system I would think it would make it hard to get bored with the turbo kit. Hell 9lbs of boost is a blast on the street for me. I plan to see how far this tc78 can take me next season with twin fuel pumps I would like to see if it can make 700rwhp. I would think I'm right in the 580 range now with my traps speed at 124 and weight of #3700lbs..
Btw on the v1 kit I highly recommend you put a turndown at the end of the down pipe. If you don't everything behind it will be black and I would say the heat is probably not good on the tranny or tranny lines.. It will also require some slight cutting of the k-member..
Actually I was thinking I'd need to make a 3" pipe to go from the end of the down pipe in the kit, to go back and connect with my Magnaflow cat back system. I actually had my old exhaust system put together with V-band clamps, so I was thinking I'd just need to build a pipe and put a v-band clamp on each end to tie it back together. Is it not really insanely loud with just a turn down there on the down pipe? Does the turbo quiet it down, say as opposed to running open headers? I was even thinking of running the waste gate exit back into the full exhaust as well, just for stealth factor. What kind of HP difference am I looking at I wonder putting it all back through the muffler, vs dumping it there?
Actually I was thinking I'd need to make a 3" pipe to go from the end of the down pipe in the kit, to go back and connect with my Magnaflow cat back system. I actually had my old exhaust system put together with V-band clamps, so I was thinking I'd just need to build a pipe and put a v-band clamp on each end to tie it back together. Is it not really insanely loud with just a turn down there on the down pipe? Does the turbo quiet it down, say as opposed to running open headers? I was even thinking of running the waste gate exit back into the full exhaust as well, just for stealth factor. What kind of HP difference am I looking at I wonder putting it all back through the muffler, vs dumping it there?
I guess it depends what you think is loud, but it is absolutely nothing like open headers. It is quieter then exhaust I have ran out the back. Yes the turbo does a great job as a muffler IMO. There is just a slight amount of drone while going down the highway... If you do 3" to the catback I don't think you would loose to many hp's though...
Well I made a little more progress this weekend. I did only get to work on it for a few hours. I needed to get some other household chores done, fix my daughters bike, and spend a little time with the fam.
I insulated my down pipe, and slid it into place. Man is it in a tight spot. I think the turbo would need to come off, and the radiator come out, if I need to change a starter now. Or to change a torque converter, or trans, because the starter needs to come off to do that too. It makes the guys running the front fender exit look smart. I did get the turbo clocked and dropped in.
I also finished up my power steering lines and reinstalled my power steering pump.
I did come across a challenge now though. I'm probably going to have to take a few steps back to figure this one out? How do I tighten the bolt at the back of the T4 flange by the turbo bearing housing? No way can I figure how to get a wrench on that one? This must be a common thing since that flange and this turbo are used together all the time. I thought about taking the exhaust housing off the turbo, bolting the exhaust housing to the flange then sliding the turbine wheel into the housing? What is the sop here to tighten that bolt?
It has been enjoyable working on this project thus far, but now it is starting to seem a little more like work. I'm not is such a hurry to run down to the garage after work every night. I just need to keep it moving slowly and surely. Little snags like this tend to be frustrating. Hopefully someone has a good answer to keep me moving forward.
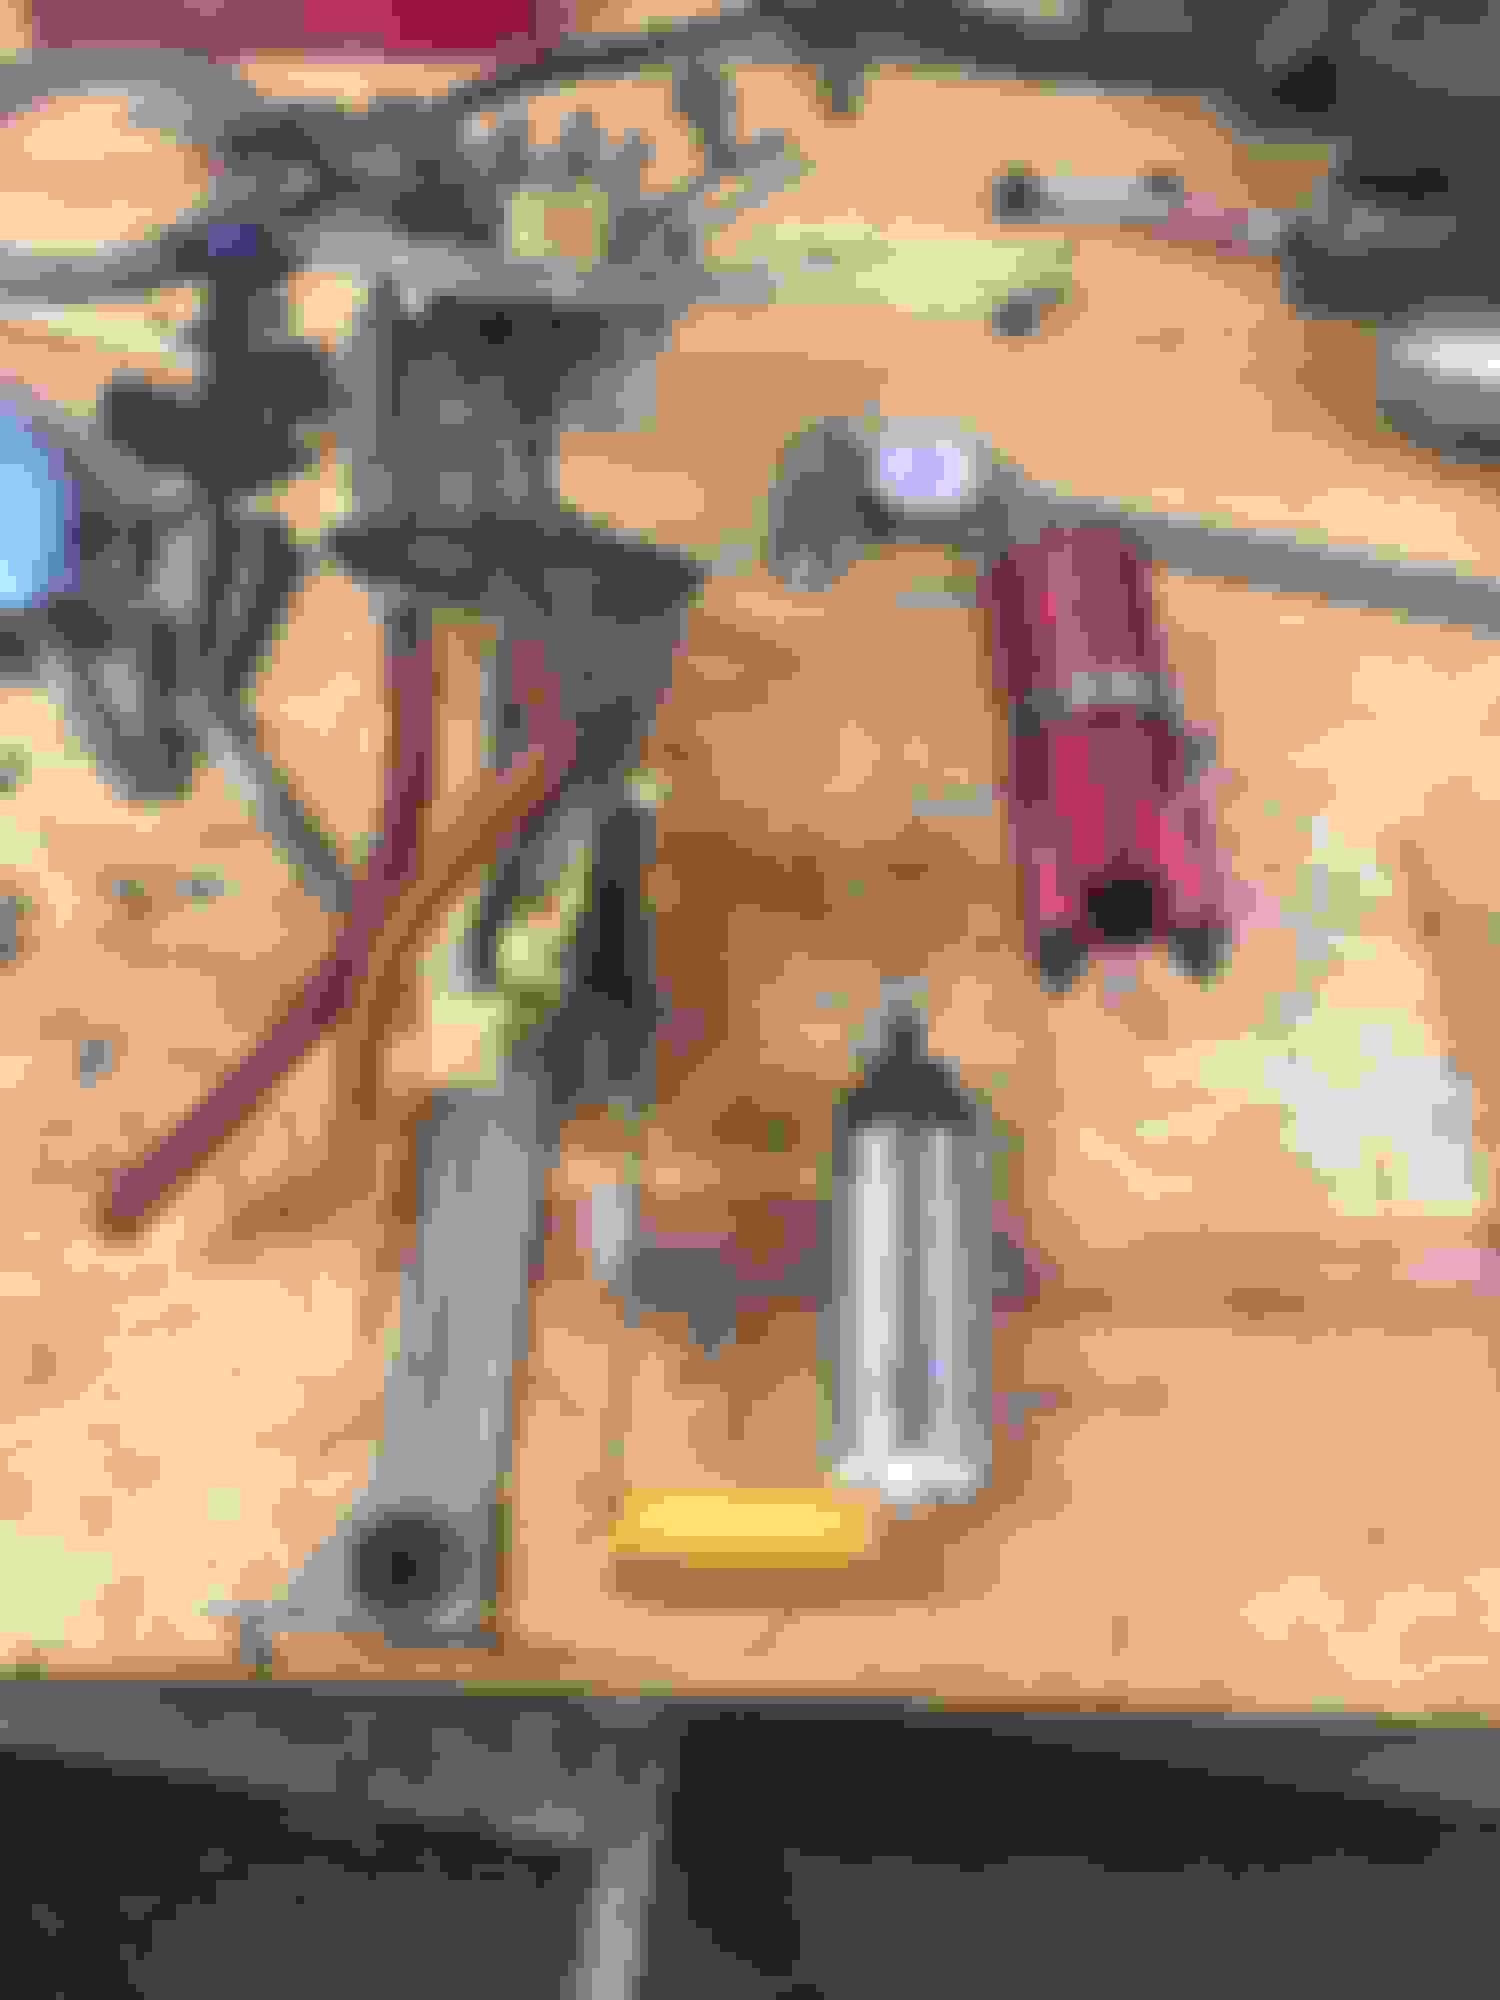
Sweet99ss had asked about my oil drain line on the turbo. I will need to shorten the drain line that came with the kit by about 2.5-3 inches to make it work. Right now it looks like it should work, with that length reduction. I wish I'd gone into my pan about a half inch lower to give me a little more slope. It is sloping down, but the slope is very gradual. I was concerned with staying above the level of the oil in the pan, but probably had some room to spare. A little more slope would drain quicker for sure. Worst case would be adding a scavenge pump for about another $250, but I think I'll be ok. I'll get a pic, once I figure out how to snug up that damn bolt then I'll put on the oil drain flange, and drain line.
Well I over came my problem of that back bolt by removing the turbine housing from my turbo, mounting it to the T4 flange, then sliding the rest of the turbo into the turbine housing in the car.
I had to pull off the hot side piping and reinstall it because I'd put the big o ring gasket in the one manifold, I was informed the kit was intended to have that removed. I took it out and covered the flange in copper RTV and snugged it up. I torqued it down about 2 hrs later.
I got to get a good look at my F1-75 turbine wheel.
There have been some questions regarding the oil drain, and some people having trouble getting it to hook up, and others not having enough slope on it and having to run a scavenge pump. If I could do it over again I'd put the return into the pan a little lower, just to get a little more slope. I only have about 2" vertical drop from the oil drain on my turbo, to where it goes into the pan. It does continually, but slowly drain down.
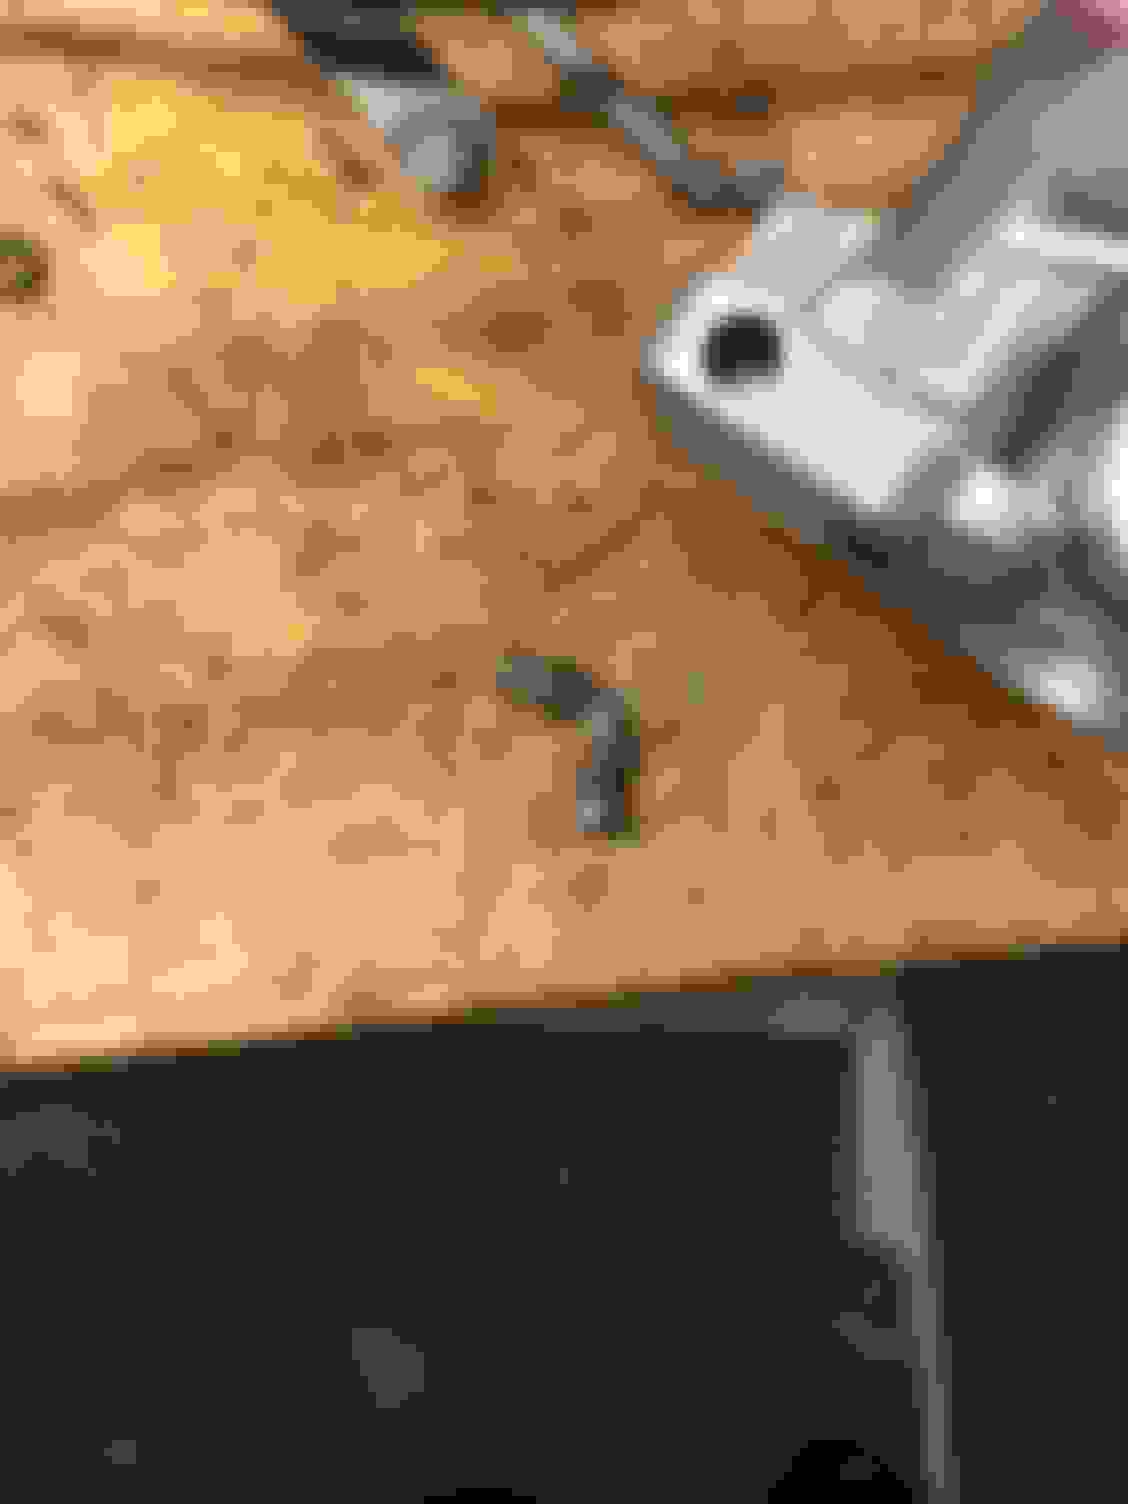
I needed to shorten the line in the kit to get it to fit nice. I shortened it 4 5/8 inches. If I'd shortened it 4 3/4 inches, I'd need to go get a new piece of hose. It is long enough, but just barley. That's perfect in my book.
I put the one end on the turbo, then routed the line back to my oil pan, measured how far past the bung it went to get dimensions.
After that I disassembled the hose, and cut my length out of it, then reassembled.
The -10 nut on the hose end can't be turned once it is installed on the turbo, so I indexed the flange on the line in the vice, just as it needed to be on the turbo and snugged it up.
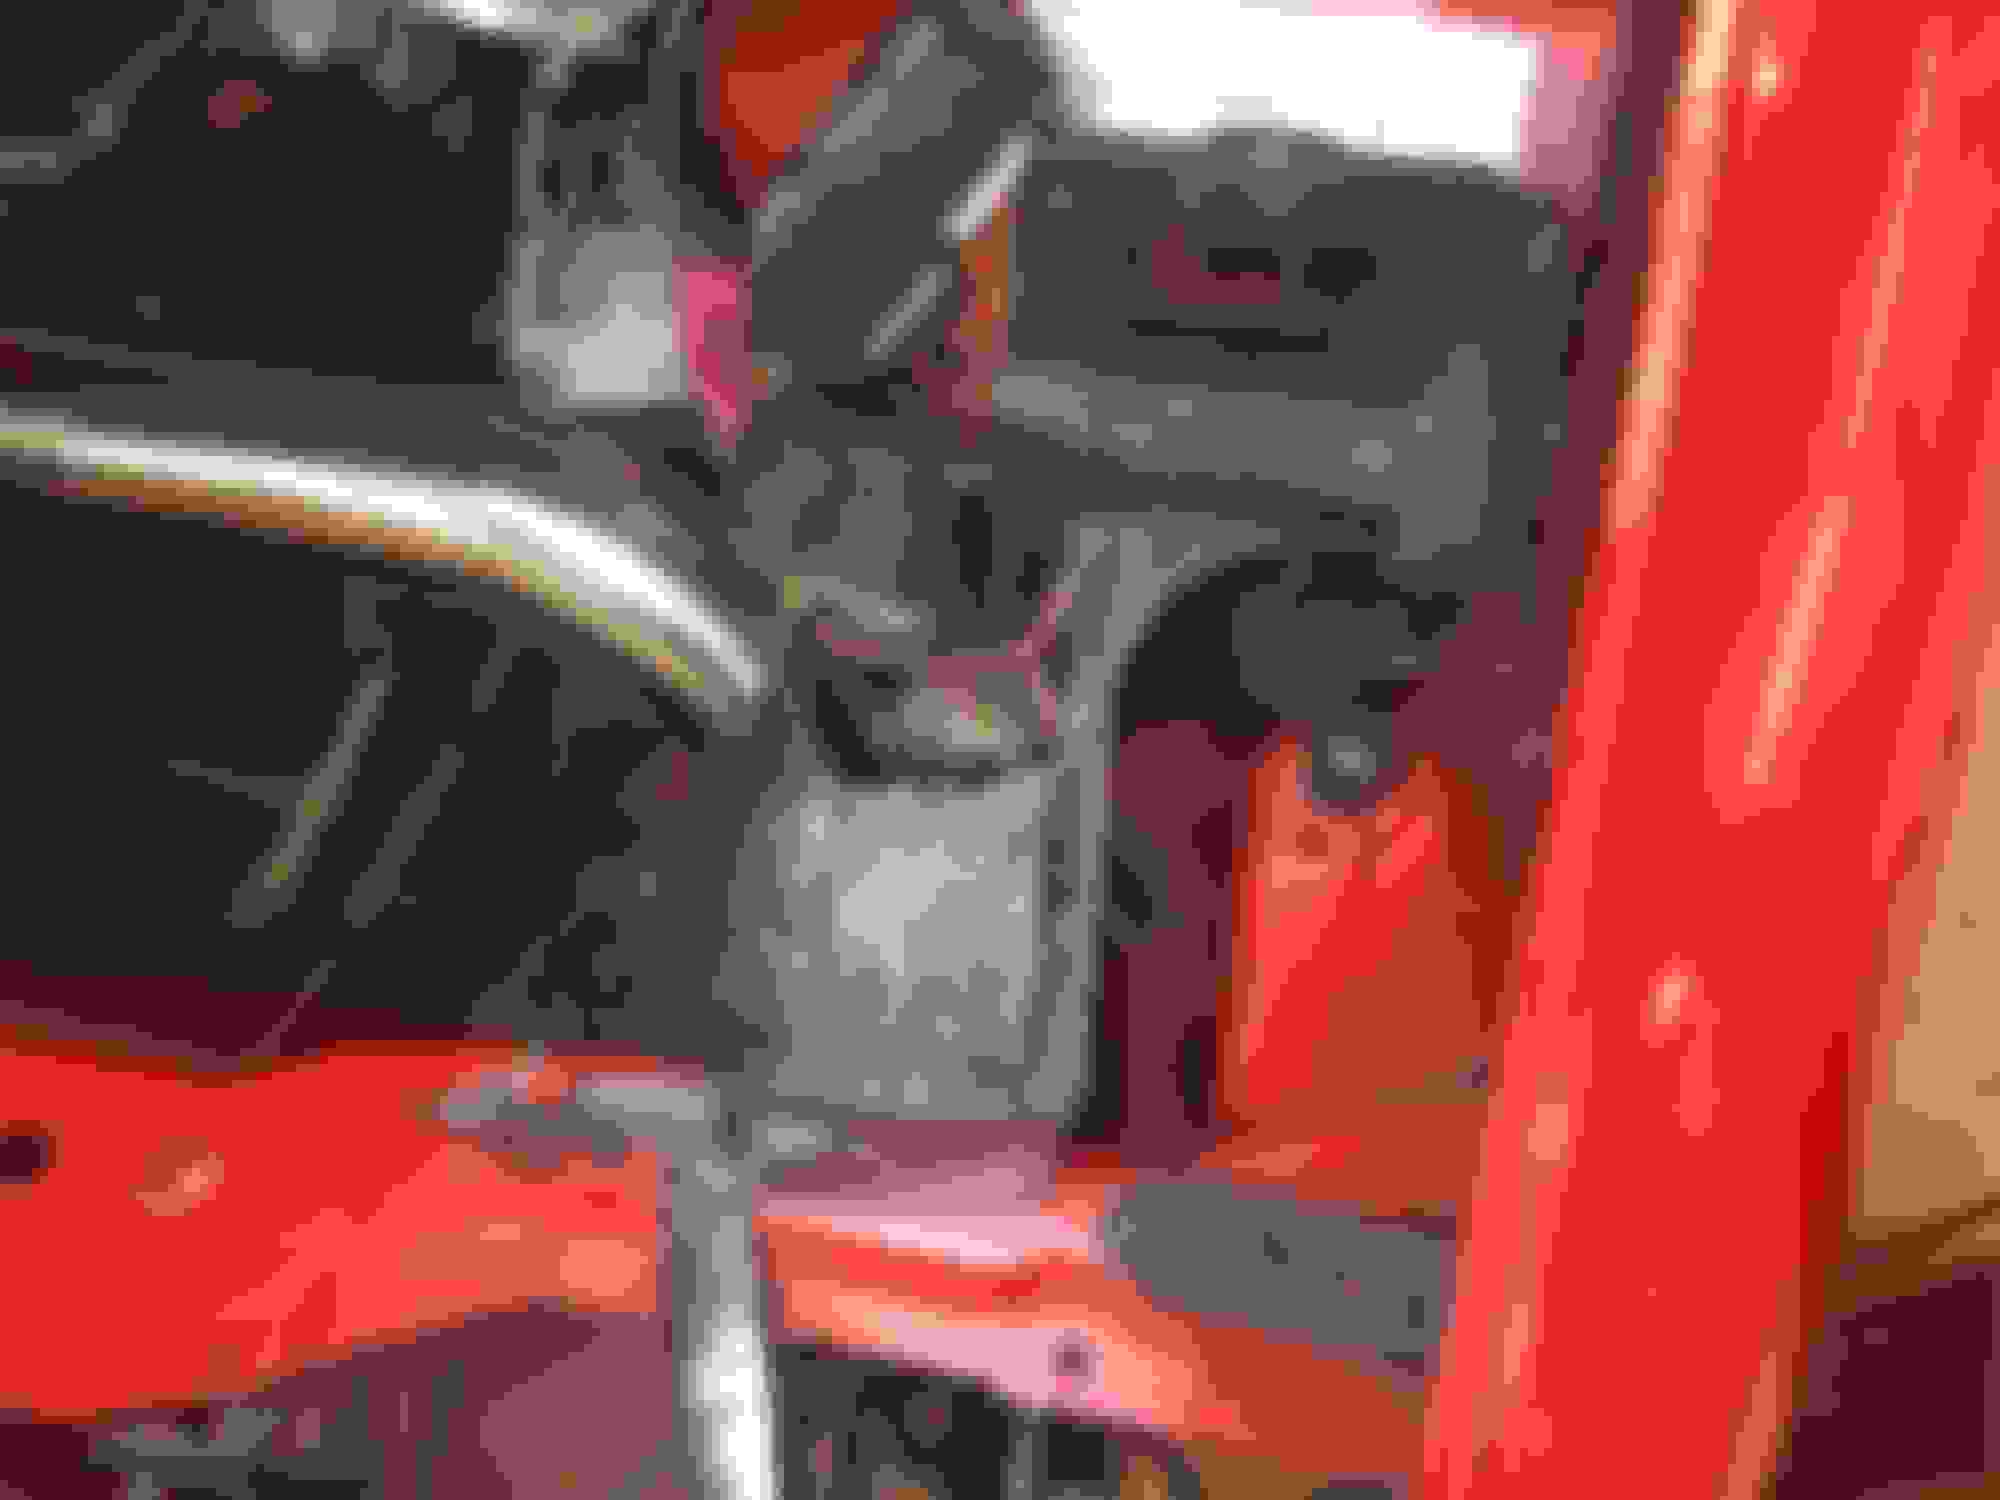
Here is how it looks coming off the bottom of the turbo CHRA.
Yes it was a PITA, its a tight fit. I had to leave the compressor housing loose so I could rotate it to work it in there. I'm lucky the drain fit right between 2 of the fasteners for the compressor housing, with the outlet right about where it needs to be.
Got it all set up in there now. I know it's not a big turbo, but compared to some of the cars I've owned with oem turbos, it does have quite a presence in the engine bay comparatively.
Getting closer, not quite a month into it yet. Should have it done by Thanksgiving, that's the goal now.
Sweet detailed build! You will love the end result. I have a similar build and its an absolute blast to drive. Figured I'd throw in a pic of the exhaust I built for mine. No drone and sweet the flow of a straight through muffler. And I also agree with the trap for fuel pump ha
Well I'm progressing, but there are just so many little things to do, and they all add up to a lot of time.
I've got my trans cooler situation worked out. I mounted it to the lower mounting bracket of the FMIC. This does make it tight, but it does fit. I had to check it with the windshield washer tank in place. because I have one I want to install for meth injection. Its a B&M about 11" X 8". it fits in really tight to the back of the intercooler, much like an AC condenser to a radiator, but it only covers about 1/4 of the intercooler. One of the pusher fans will be pushing into the rad and pulling across this there too.
It is a mighty tight little area, I'm hoping I have enough airflow. Since I deleted the AC and the condenser, I'm thinking I'll be ok.
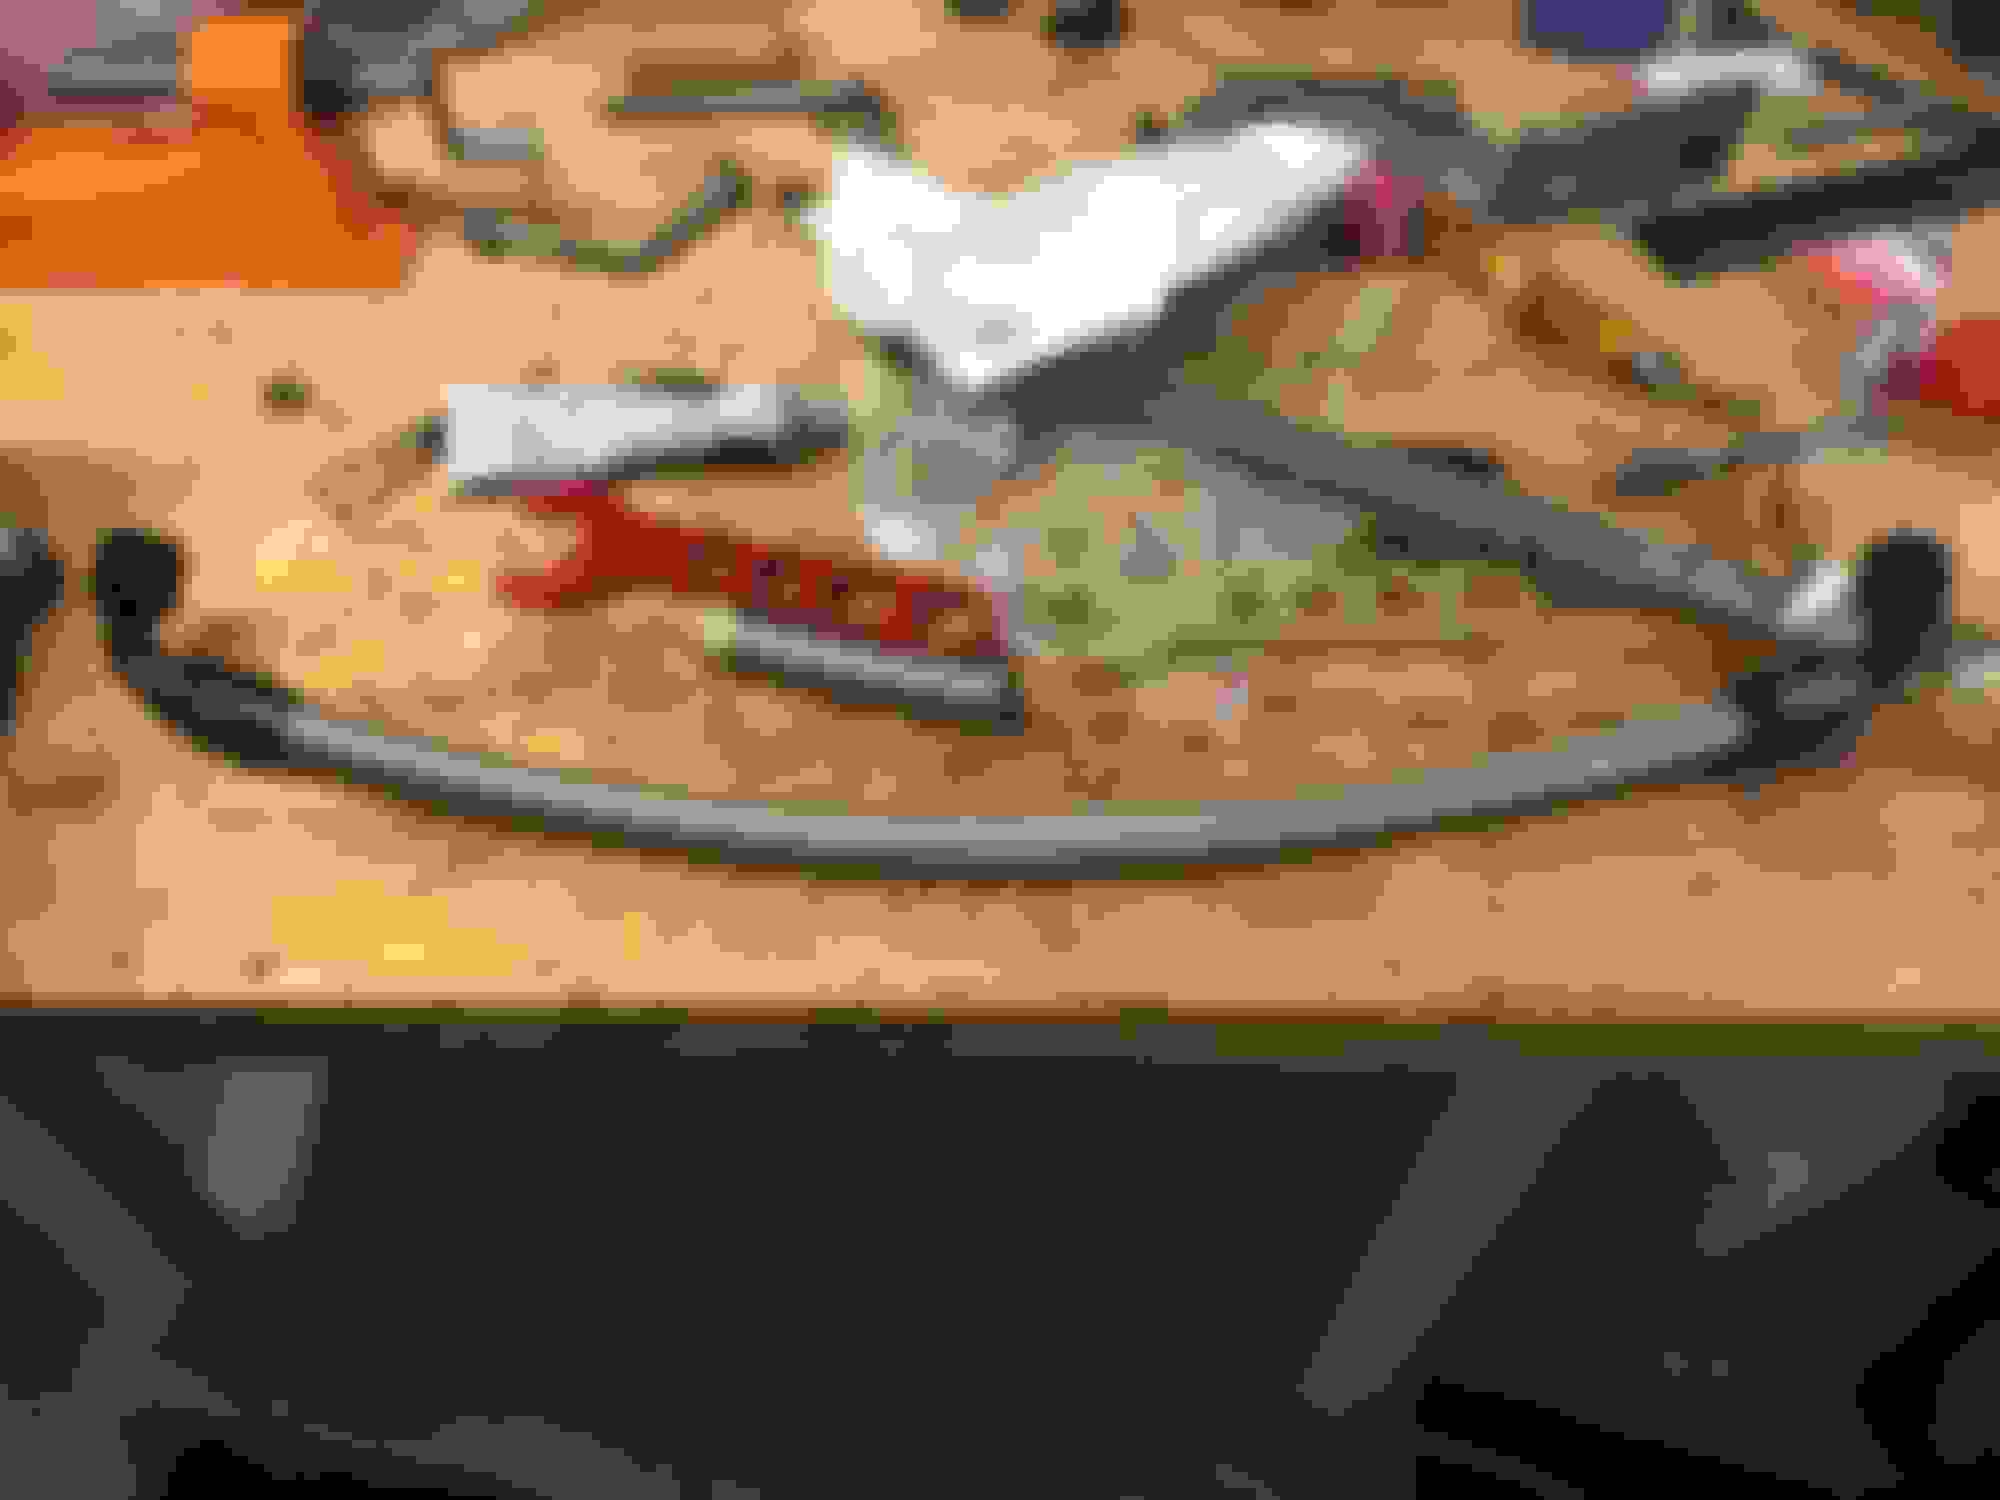
Here is my new tank I'll be putting in, I just used the old one for checking fit.
I also made up new -6 braided stainless lines to run from the trans, to the cooler, deleted blend I had of factory tubing and 5/16 rubber hose. They were working fine before I need the space for downpipe, but were ugly. I still need to fasten them down, but I like they way they look.
I installed my PTE 46mm WG, I'm thinking I'm just going to point it at the ground, and call it done for now. I considered running it back into the exhaust to quiet the can down, but I can do that later if it's annoying me. I still need to run vacuum line to it. I have some standard 5/32, but the barb looks like I need bigger.
I also had to bend my brake lines off the truck manifold on the drivers side. I'd not read much about this being a problem before but mine did need considerable adjustment. They clear by about 3/8 of an inch now, I hope that's enough. I know brake fluid can take quite a little bit of heat.
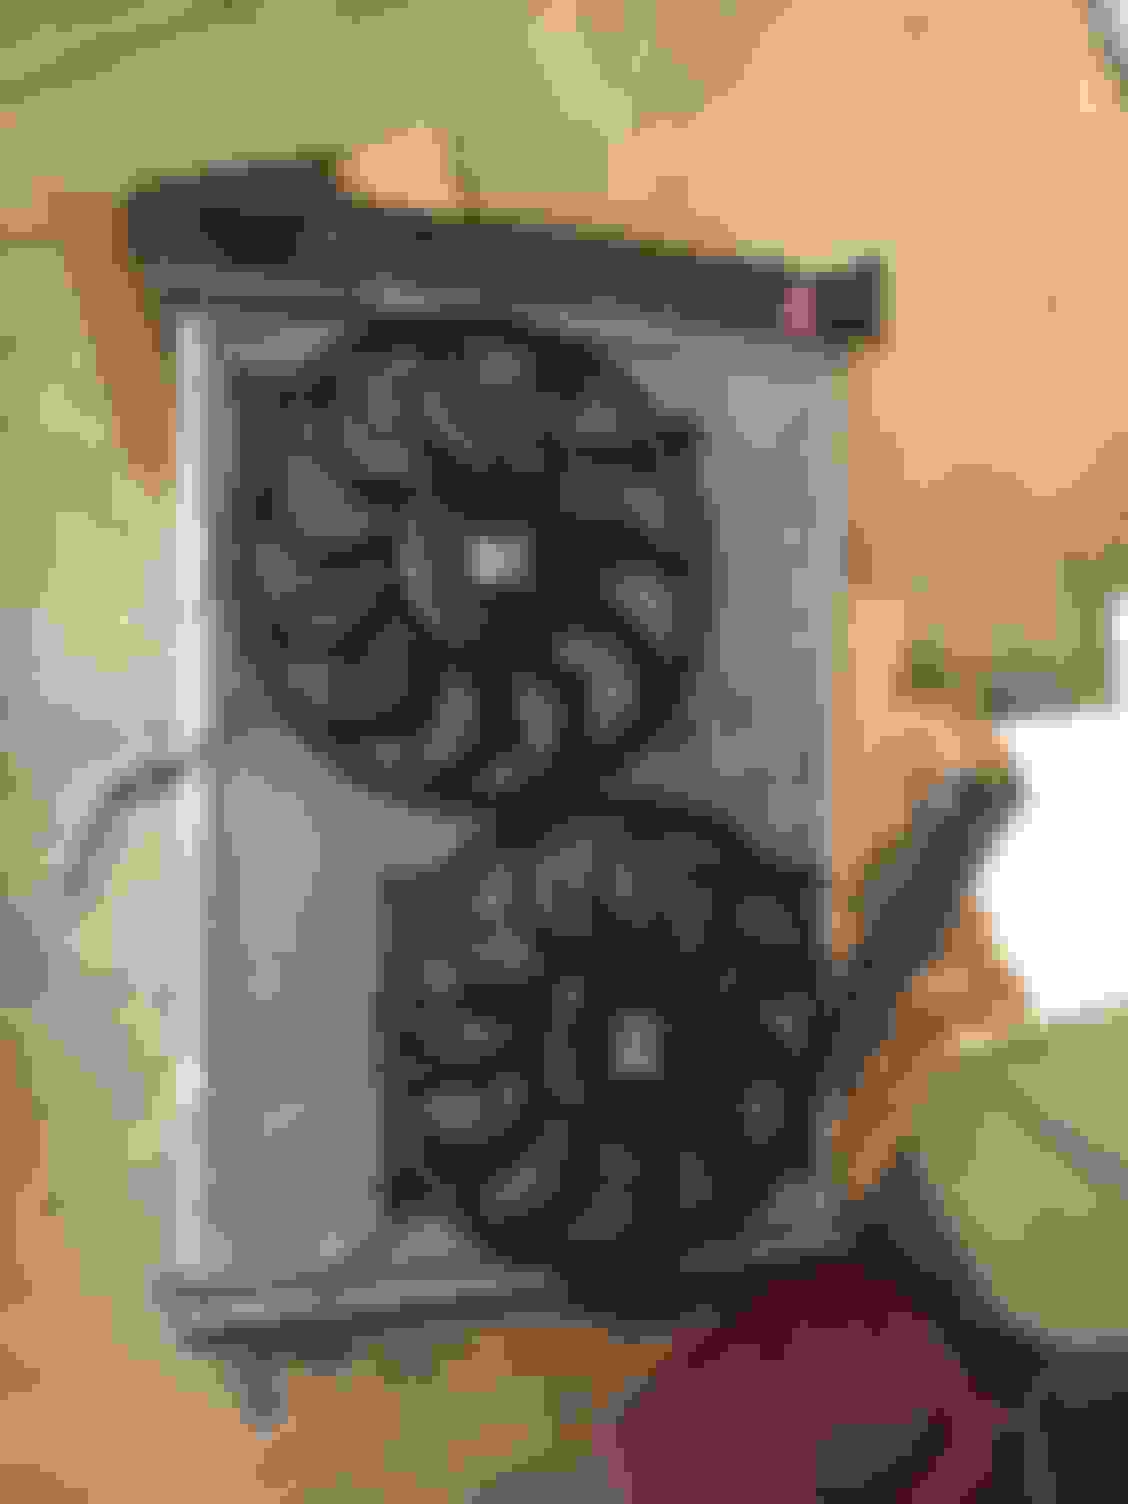
Now to mounting up my new fans. I tried to determine what the current rating of the factory relays for the fans are, but no luck? If the factory relays were the same as the Derale I was just going to use the factory wiring and $hitcan the wiring that came with the fans. The Derale fans came with 25 amp relays, looks like I'm going to wire them like "The ******", since I can't determine what amperage the factory system is capable of. I read The ******' build thread, and it was helpful. I know there are a ton of FBody turbo build threads out there, and some feel why do we need another. To me they have all been great, I've read a lot of them, and learned something from every one of them, even if it is something I decided that I shouldn't do from the thread. The more the better, can't have too many ideas to choose from.
Goals for this weekend include
1) mount and wire fans/relays for the radiator
2) run vacuum/boost lines for wastegate/BOV and BRFPR, maybe I need one of those vacuum log things?
3) put back some things that I don't need off anymore like coil packs
4) install IAT sensor in the inlet tubing
5) clean up my work area, I've got a little cluttered
6) address PCV setup, I bought a Mighty Mouse catch can.
Big list still. When that's done I'll be getting to the short of it!

 10-16-2016 | 10:25 PM