When you click on links to various merchants on this site and make a purchase, this can result in this site earning a commission. Affiliate programs and affiliations include, but are not limited to, the eBay Partner Network.
Im itching to see how this car performs.My backyard diy setup vs this new kit with a truck intake should make good jam and far exceed my numbers for sure.Its soo close lol
Lol prob won�t get it on the road before the winter here. Temps will drop fast as they already are and the summer tires are useless below 50*F so I�ll prob crash it when boost comes on.
This kit would work great with low profile fan/shroud and fbody or corvette accessories. Mines giving me trouble bc of the truck accessories and my two sets of subframe connectors. I wouldn�t have done them or the roll bar if I knew the car would eventually just be a street car.
Best part is if I want more powa I can swap out the turbo for a ball bearing 78/75 or something and make a lot more lol.
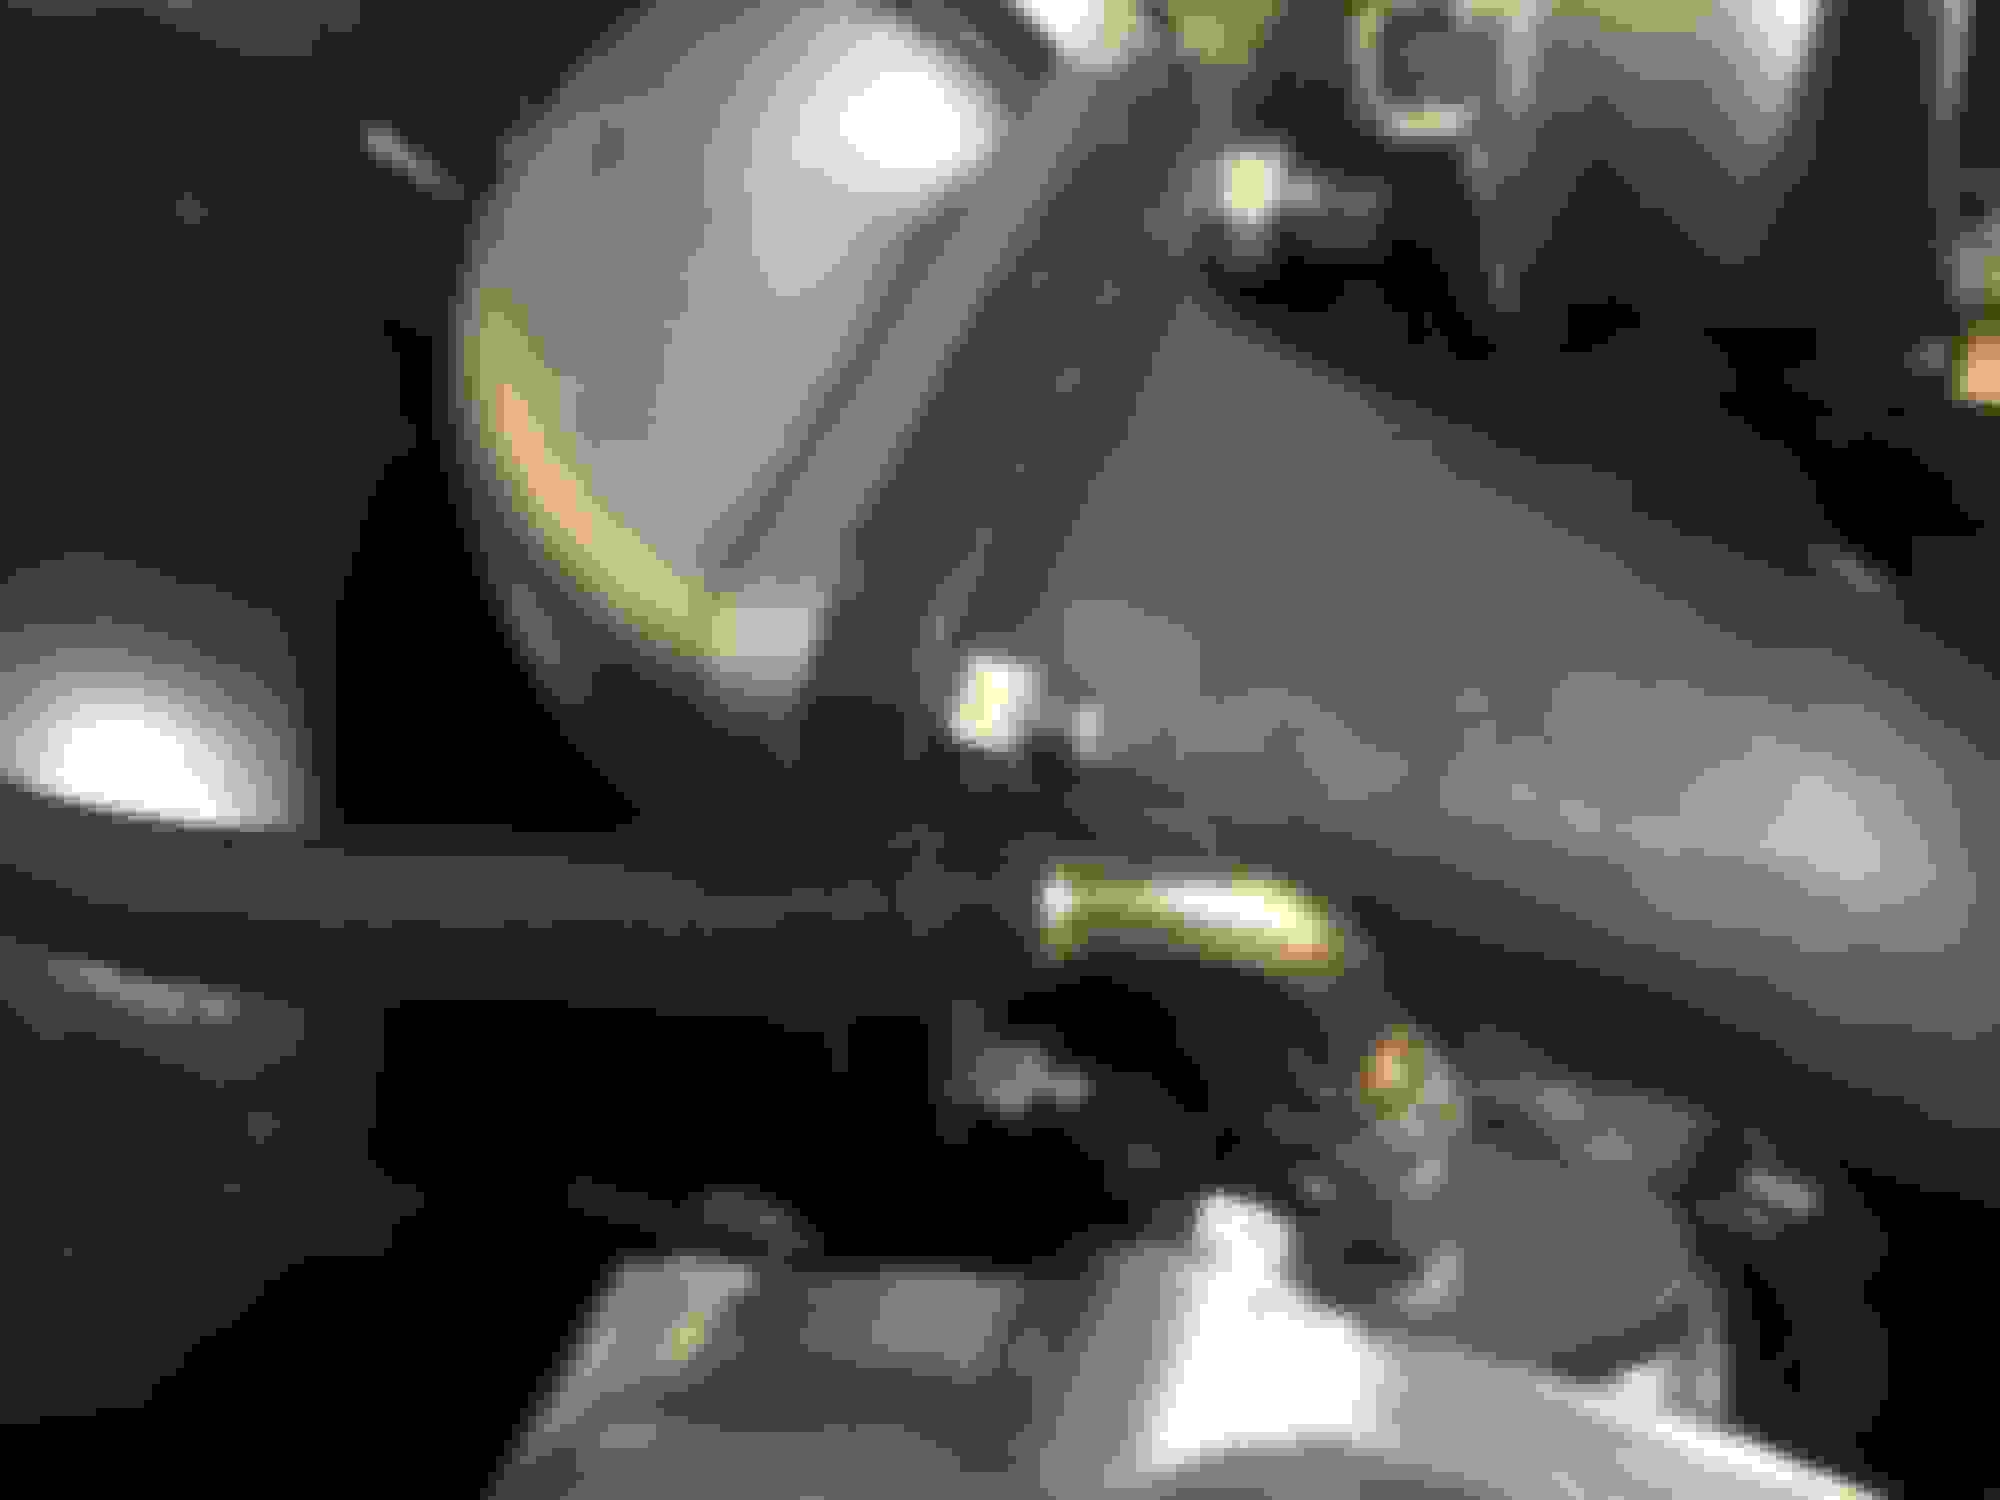
I asked because this is the first truck intake I have seen under a stock hood. I built my own mounts and the pan is flush with the bottom of the K member. I think I left 1/4" of K for just in case but its as low as I could get it safely with the F body pan. Anyways it would be great to see a pic from below facing back of the bottom of the pan/K to see your clearance.
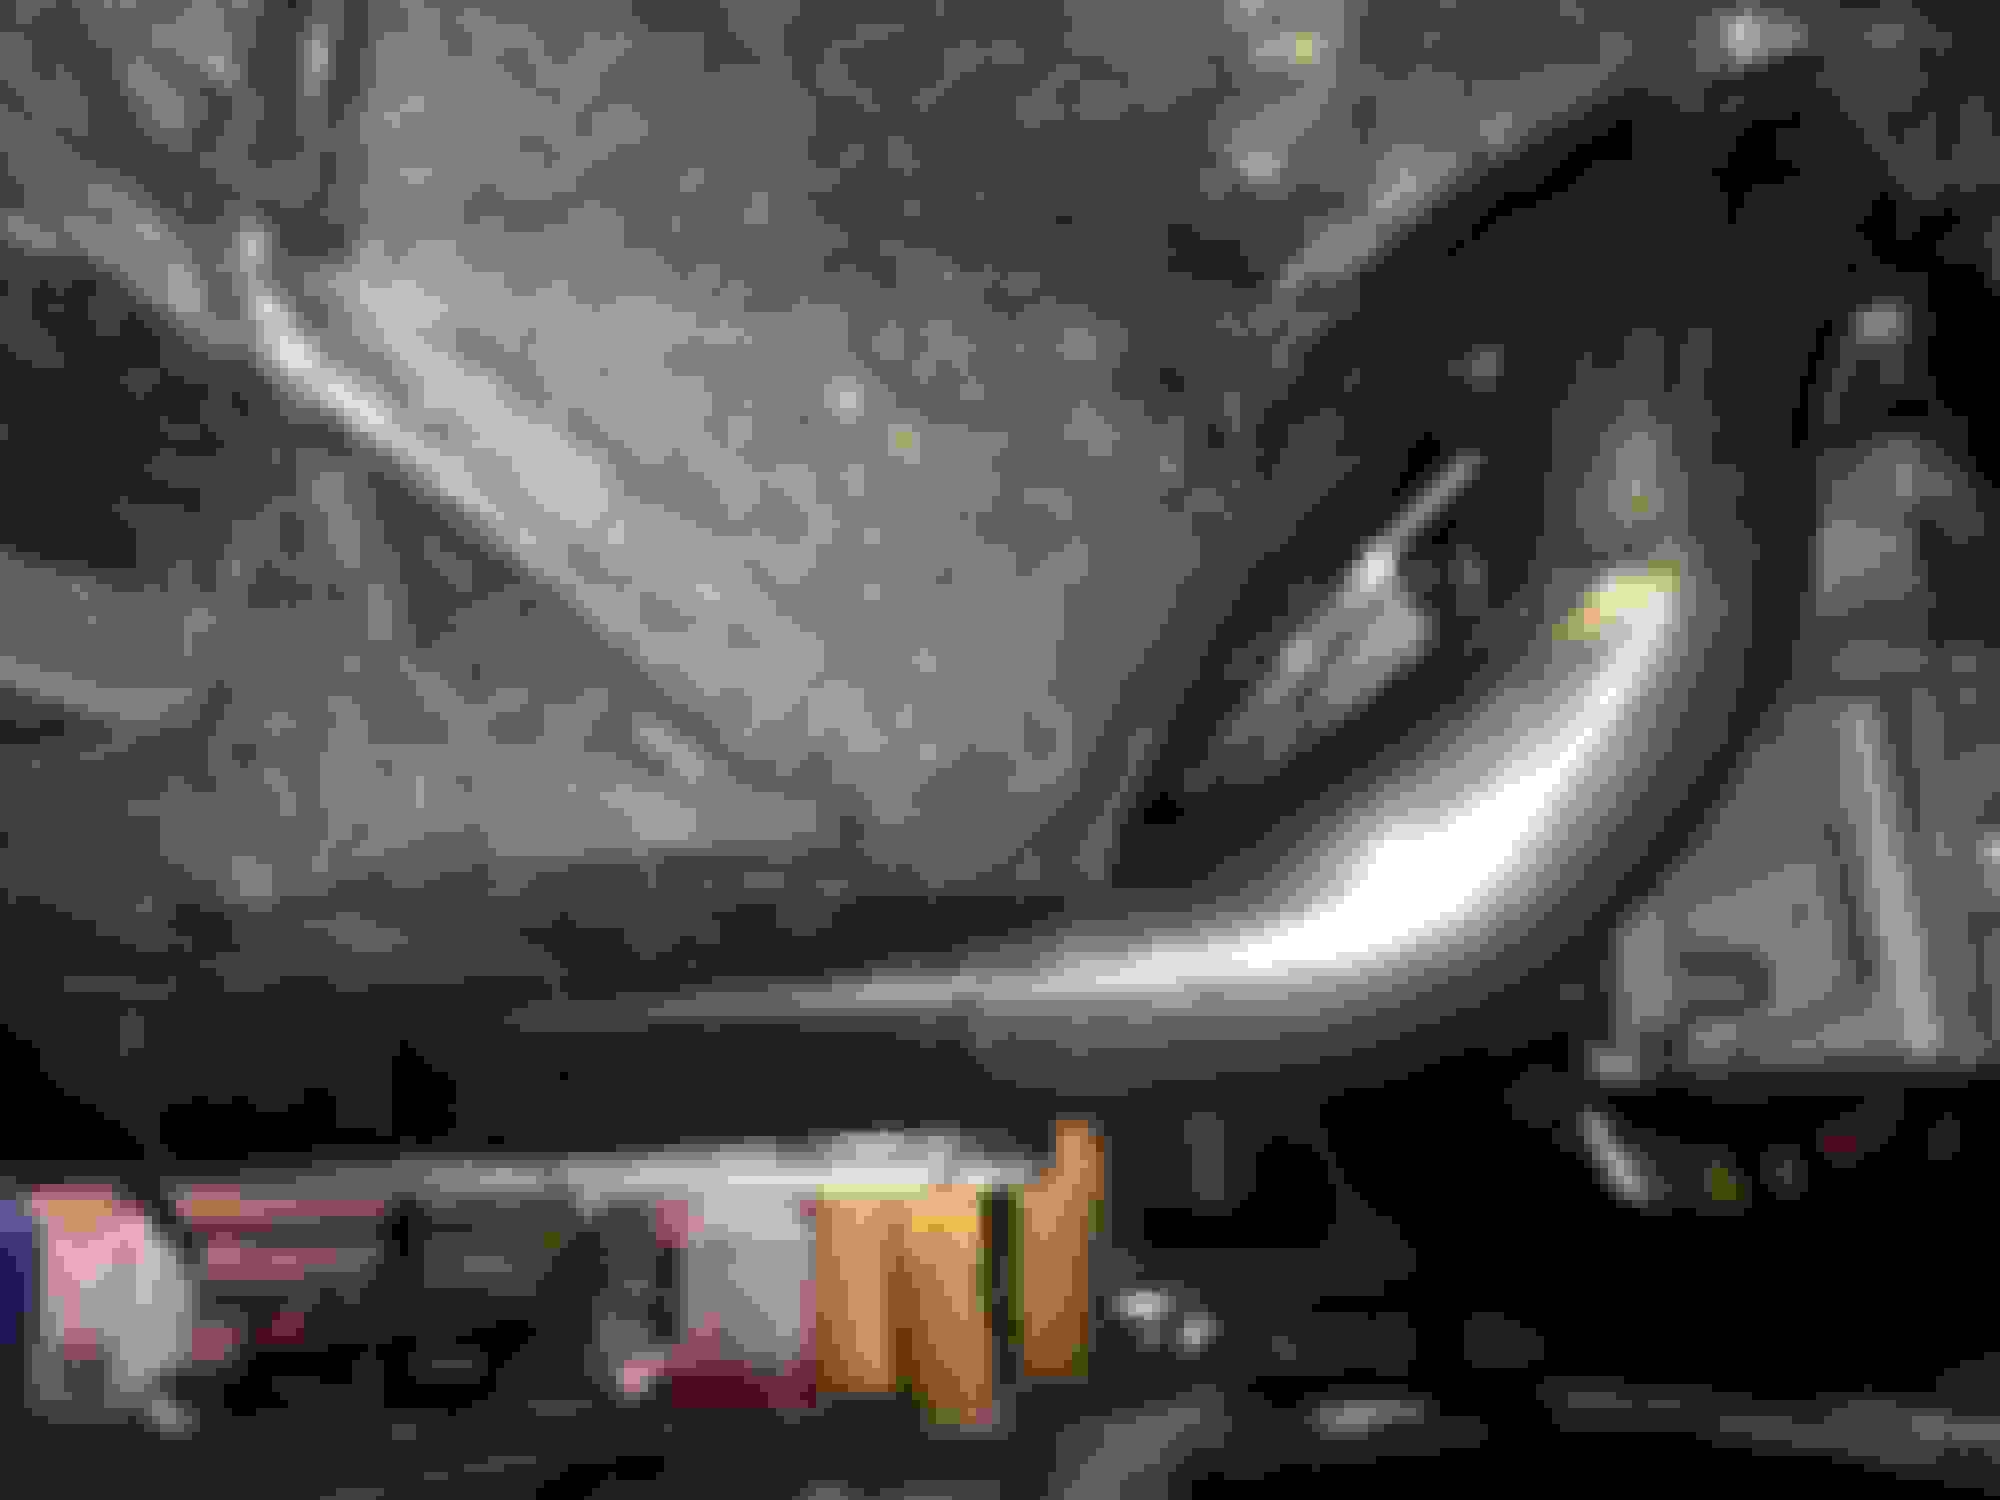
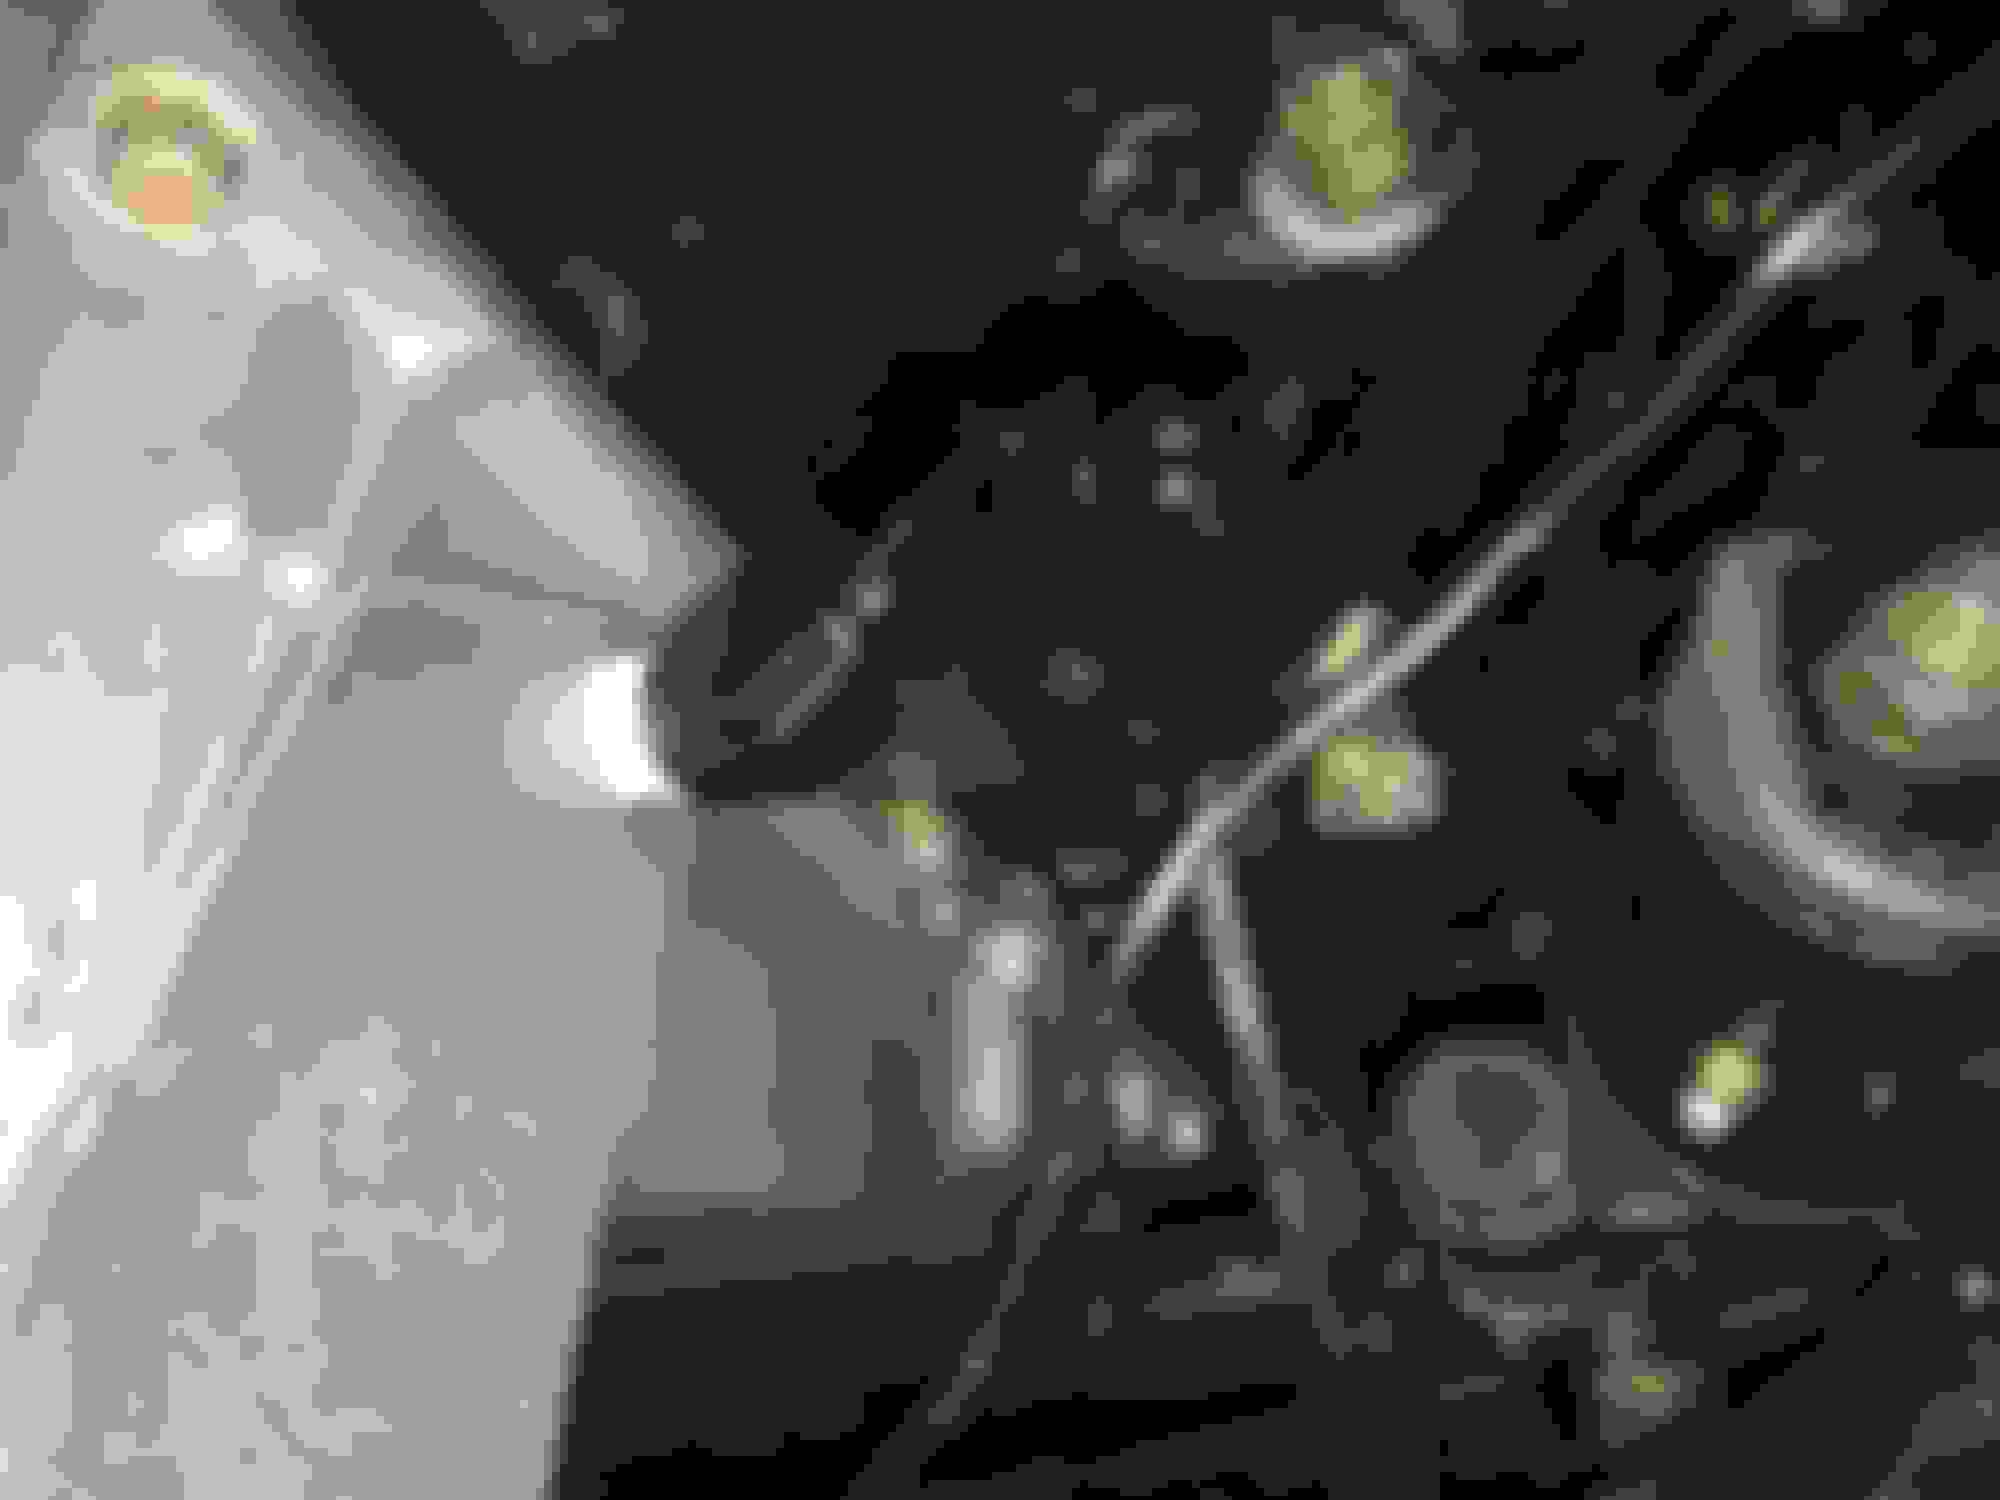
Ask and you shall receive! Front to back, my moly kmember is lower than the oil
Pan by like 1/4-1/2��or so. The pan you see in the background is the tranny pan! She hangs low lol and I just saw some scraping on the ground apparently. Hmmm. It has a ton of room from the pan to kmember and the oil pan sits higher than the kmember so I�m good with that. My only issue was the inner tierod rubbed the pan alittle at full chock. My umi Aarms are the old versions and don�t have steering stops so the wheels will turn in and run the inner wheel wells if i turn too hard.
Updates. Exhaust is 95% done. Everything is run and the cutout is mocked up. I just need a butt joint exhaust clamp and to drill and weld the 02 bungs.
Mocked up the WG dump and she fits but just barely. Didn’t think about it when I was pushing the crossover out on the pass side lol. Now I can either just leave it and deal with the noise or I could run a 2” resonator 10”x4” body 14” total behind the fans and dump on the pass side. I’m not sure how much noise it will actually reduce or if it’s worth the $100 or so for parts. I just don’t want to drive the car with the cutout closed and hate when the WG opens! Once the cutout is open I doubt I’ll hear the WG. Tried listening to YouTube videos but it’s not helping too much.
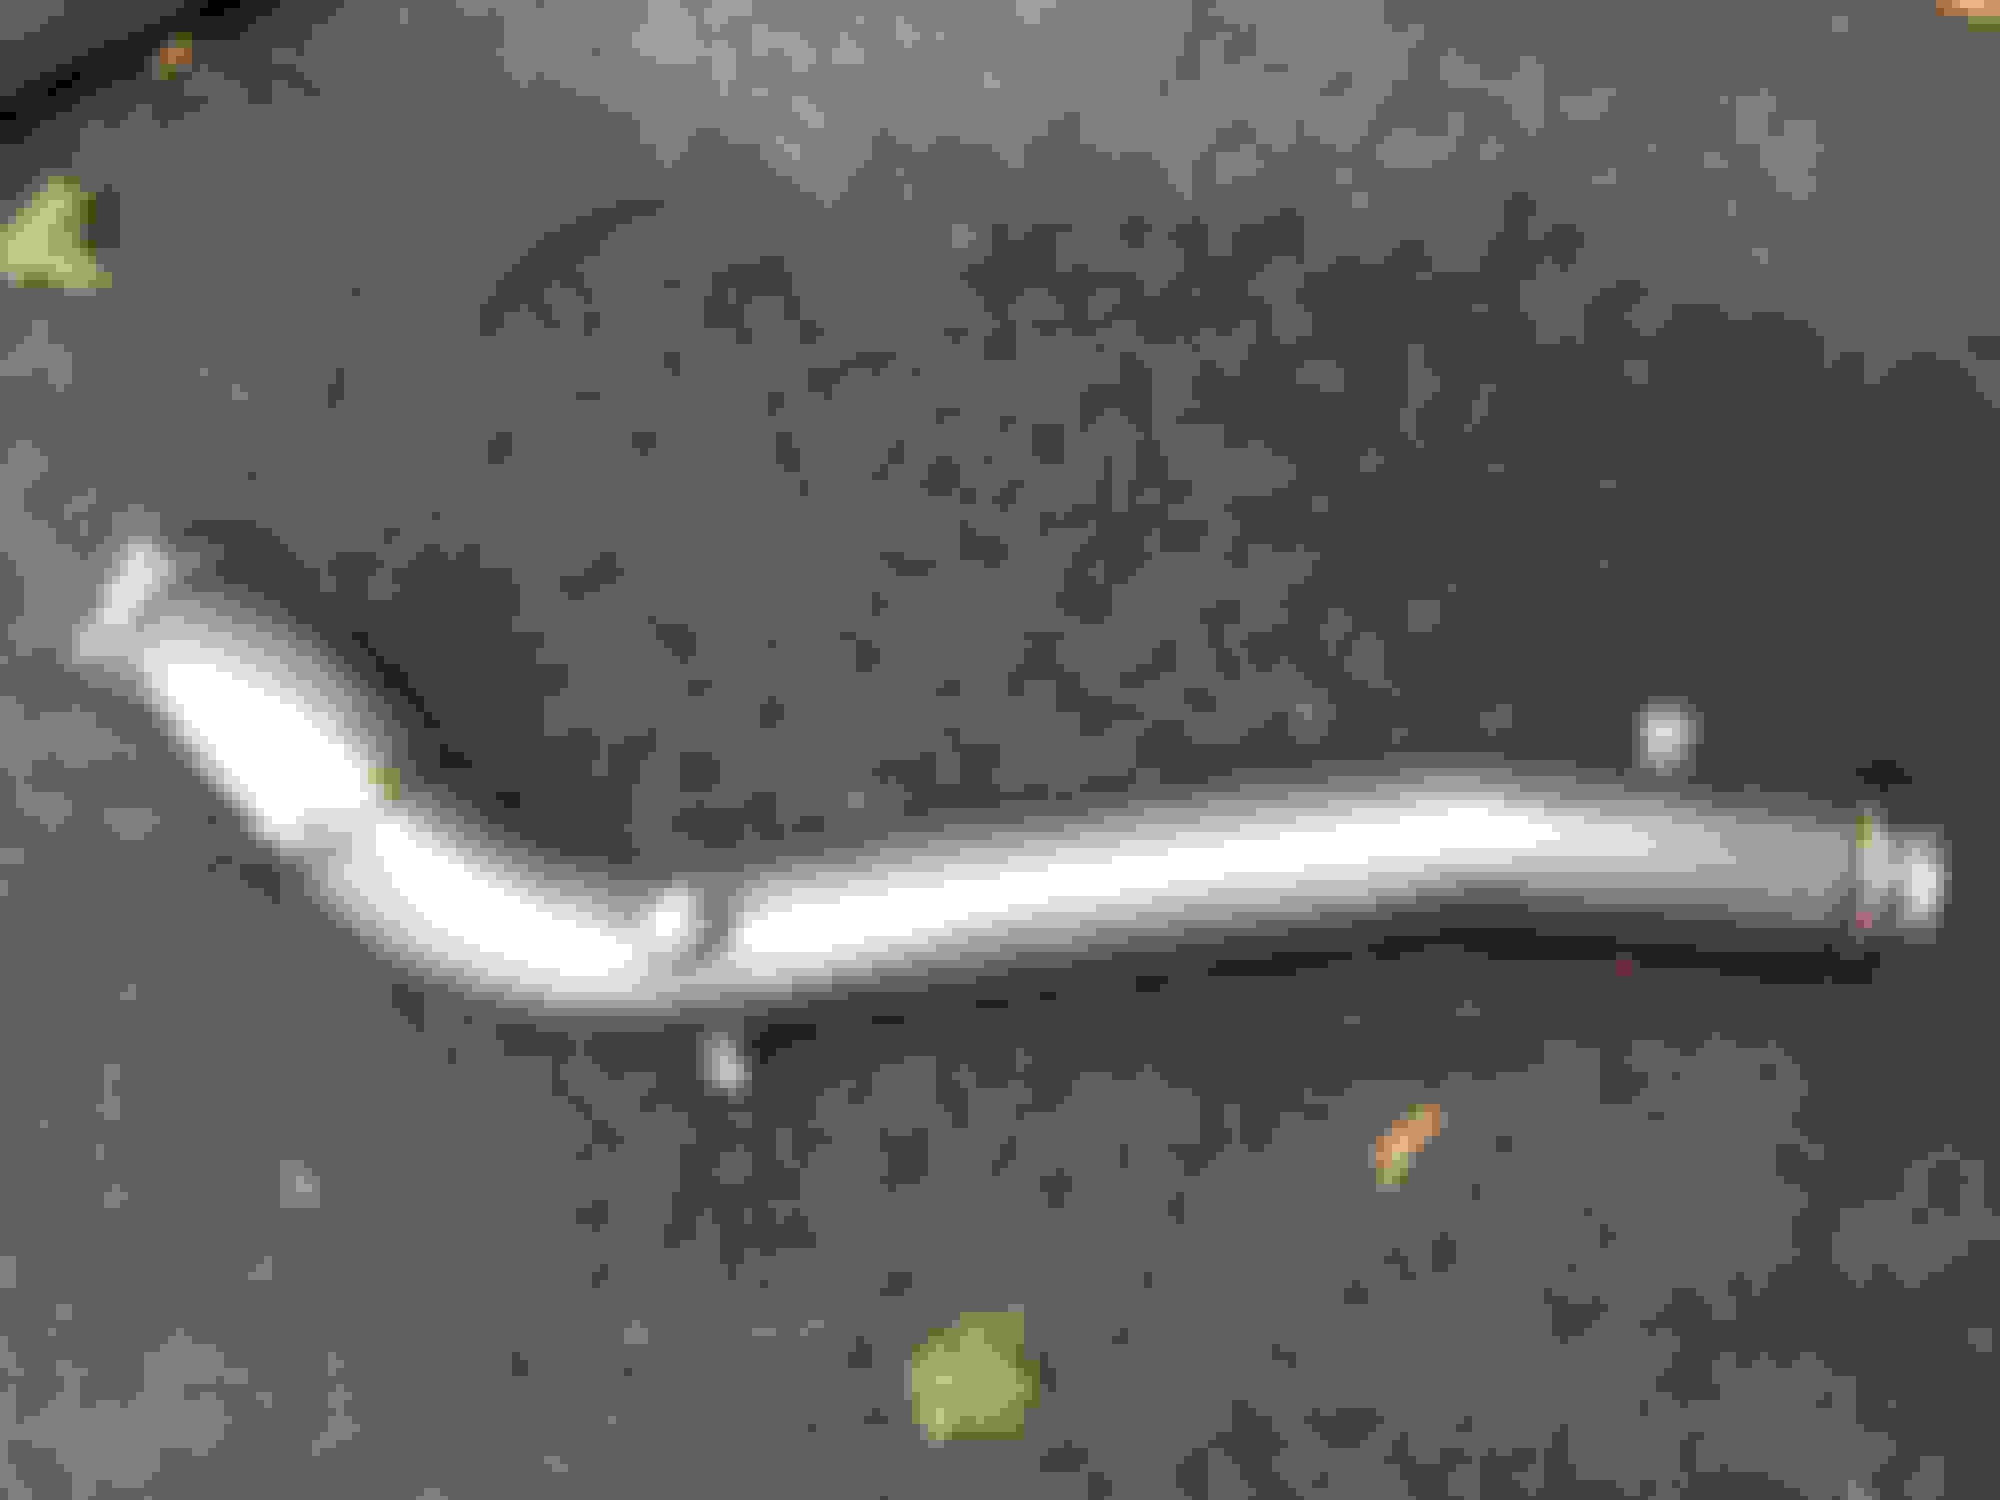
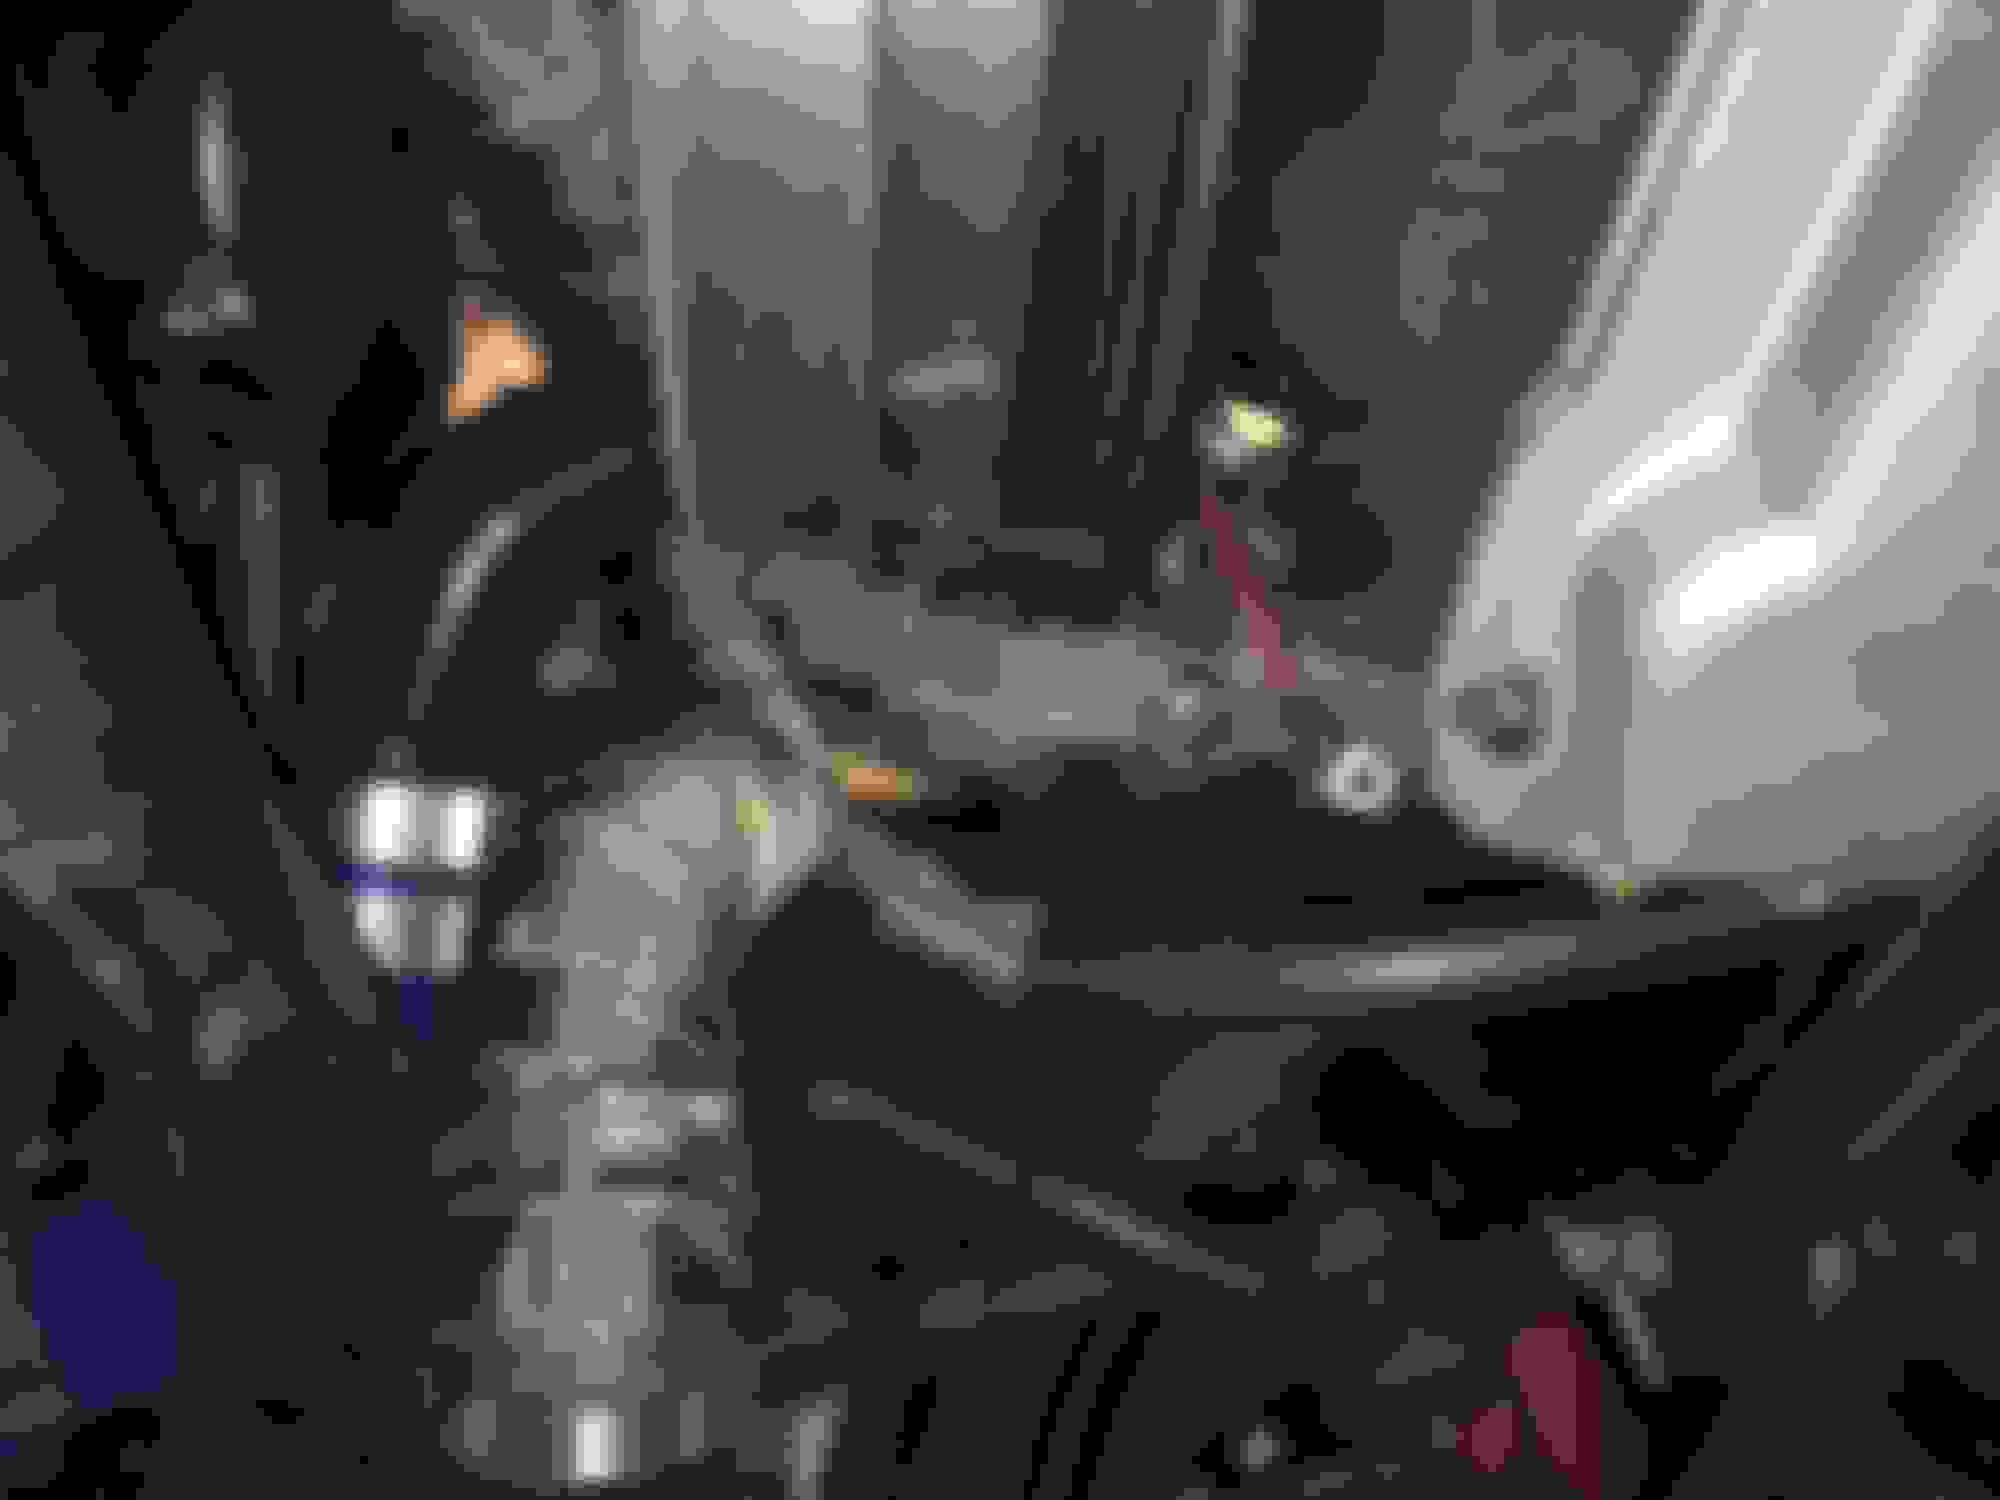
My funky DP connection to catback pipe! Only way to tuck it up tight against the underside for ultimate ground clearance.
Here she is at full droop. She will move up another 2”’or so as it’s unsupported.
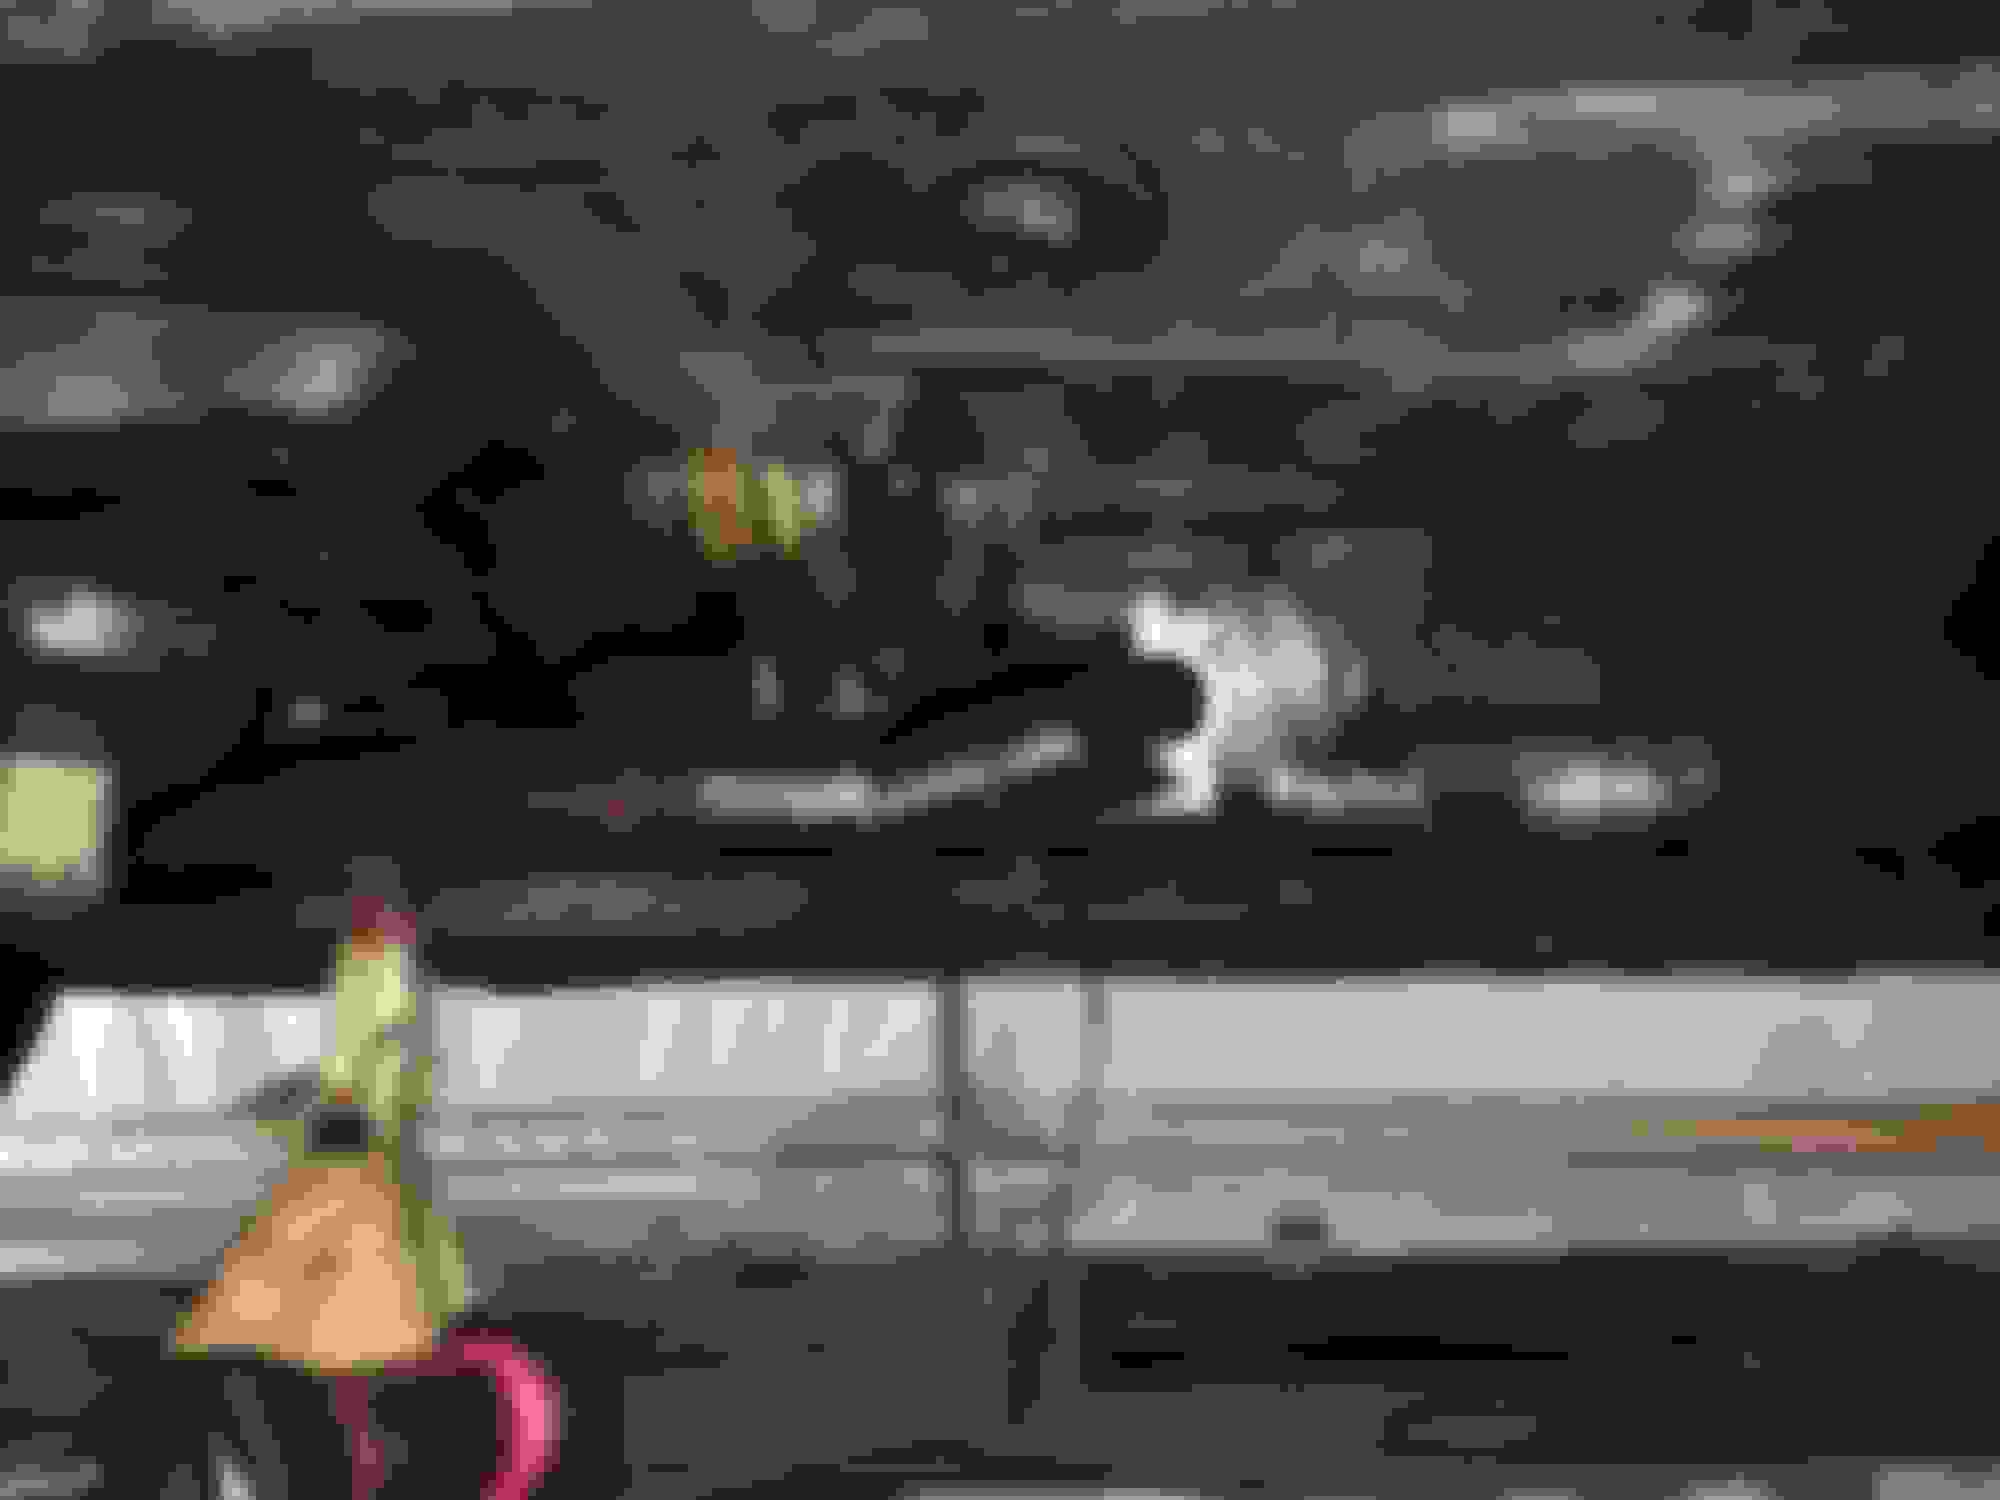
Lots of clearance between the frame rail and tranny bellhousing.
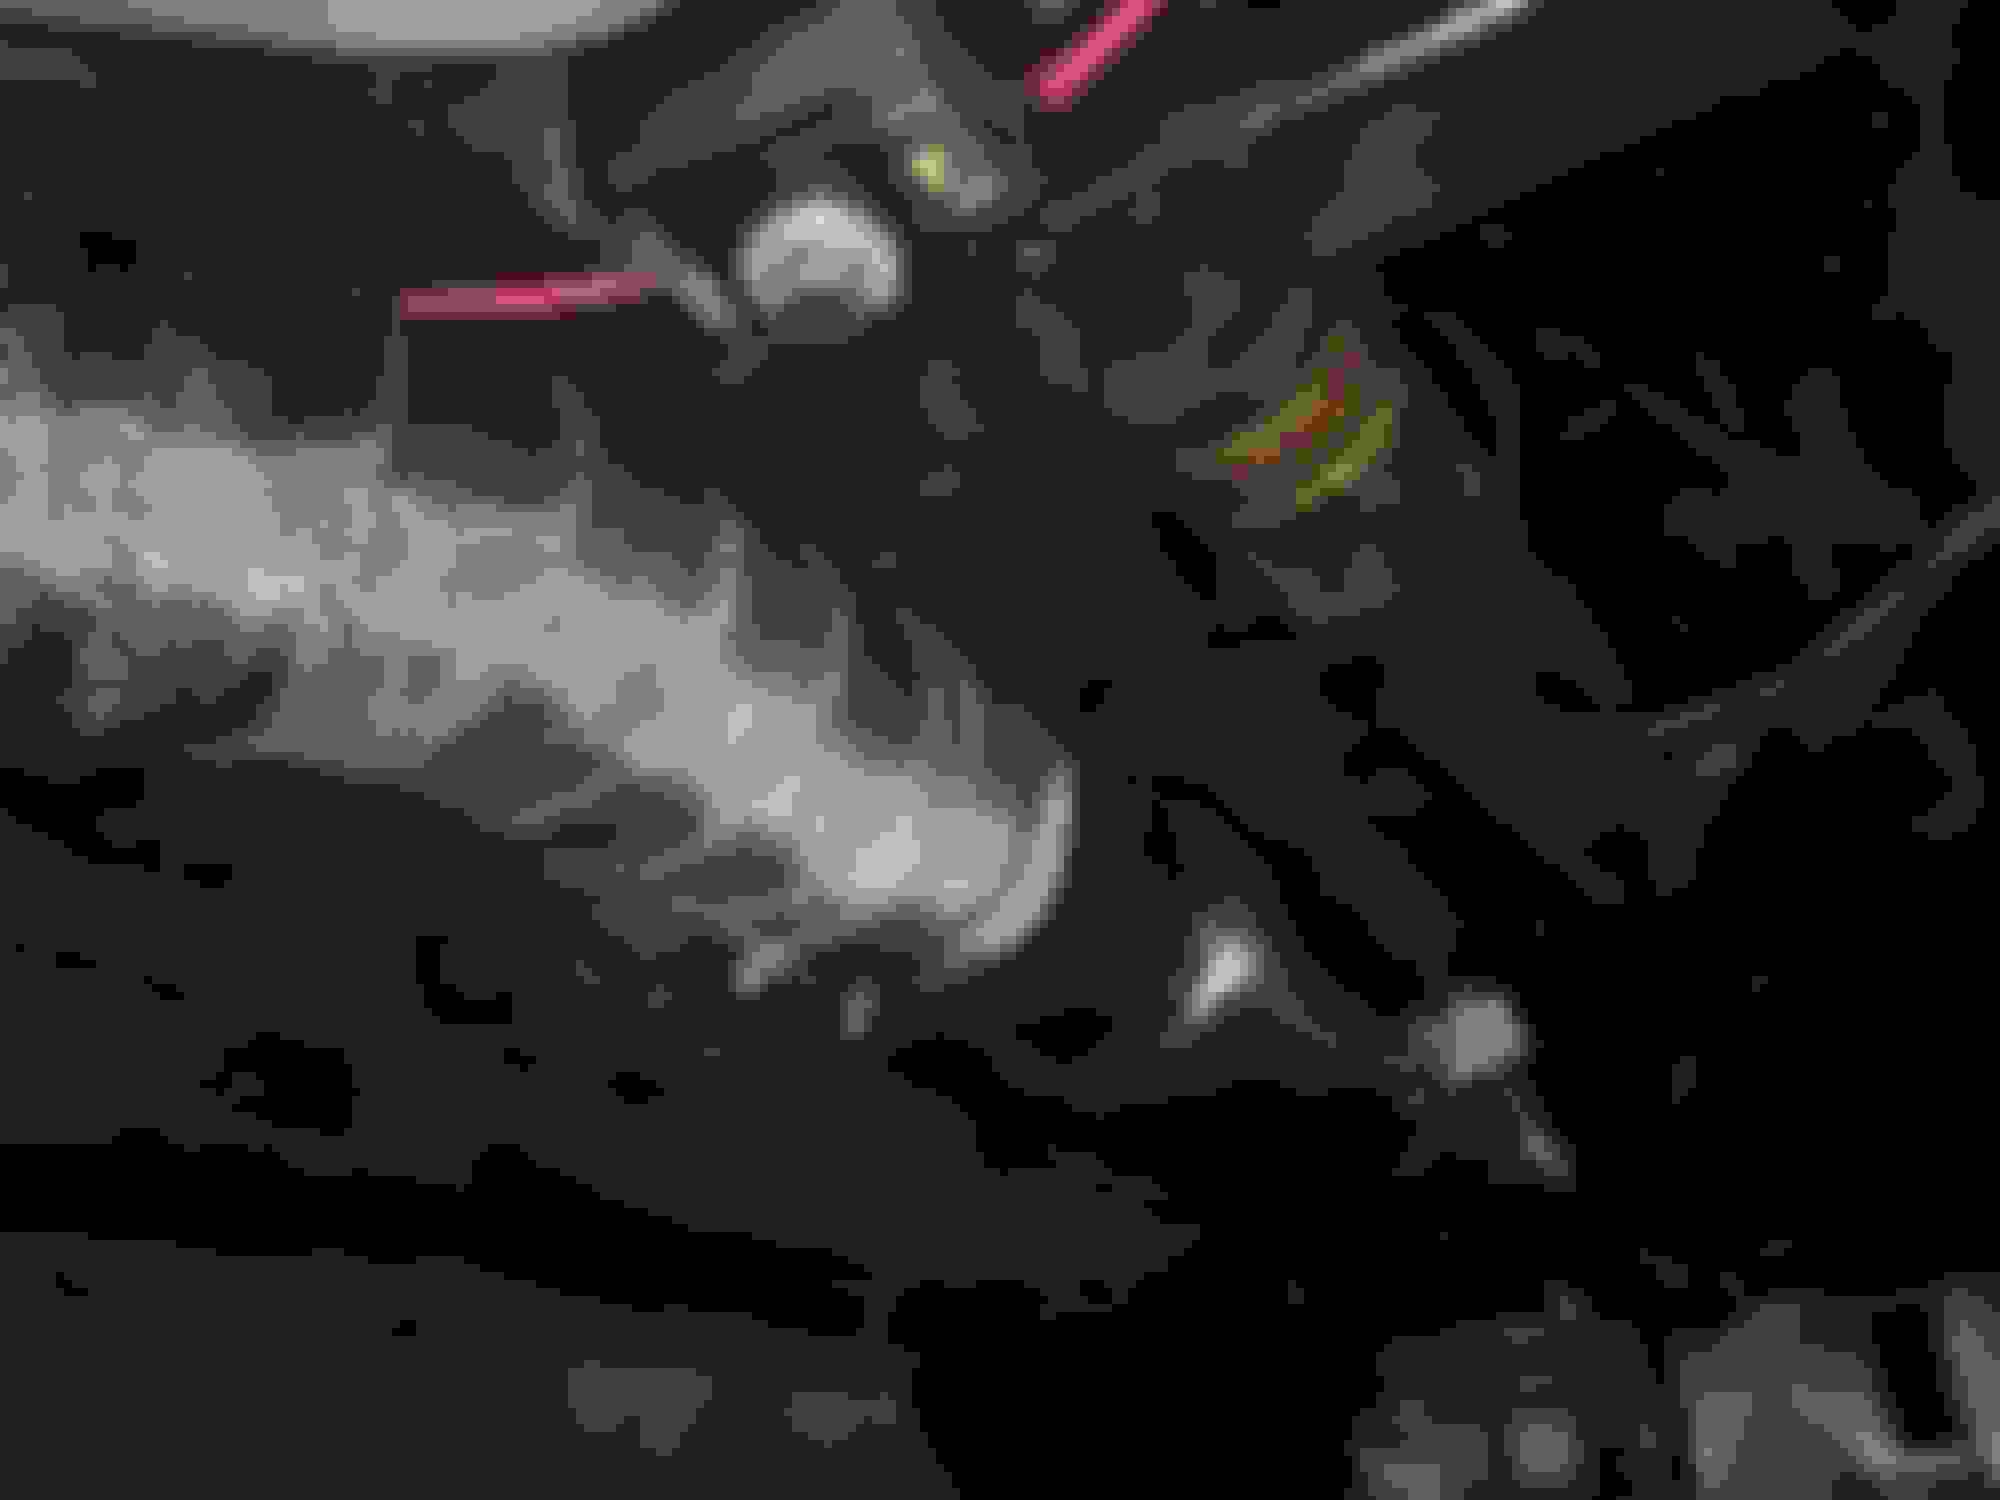
Cutout mocked up, $68 ebay special with manual switch no remote crap. A little worried about the driveshaft hitting if the rear suspension full uncompressed but there is wiggle room. Tested the motor and it works great.
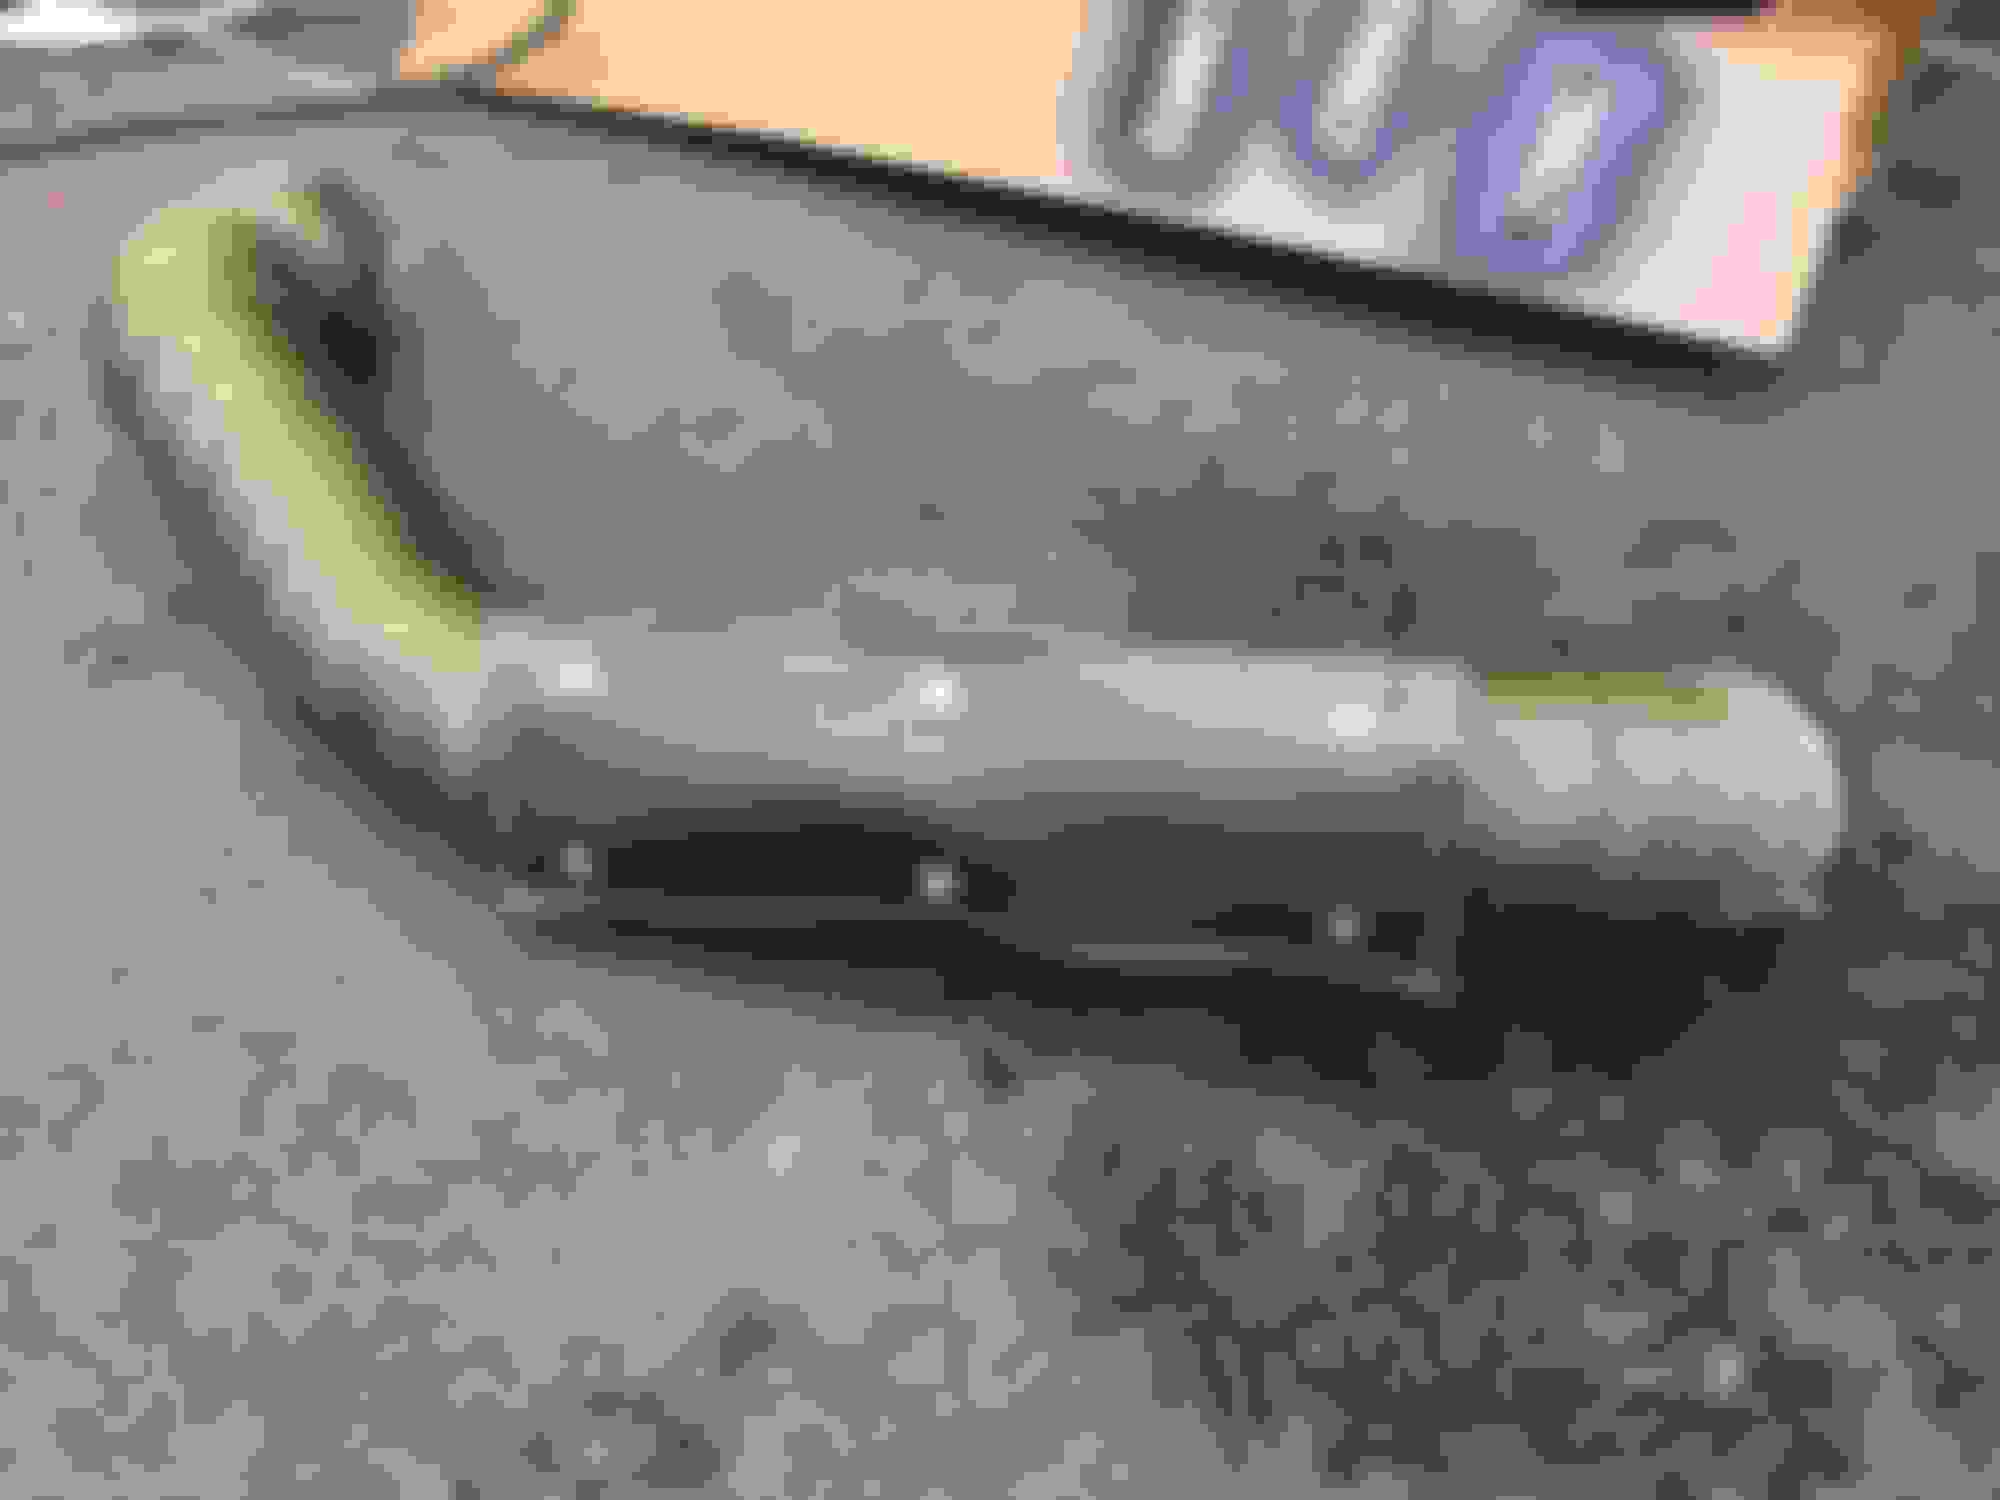
Got some done! Safe to say the hotside is all done! I was able to straighten the warped vband flange enough to hopefully seal with just a gasket. I added two 02 bungs to the DP for the FItech ECM WB02 and my innovate PSB1 WB02... took out 4 step bits trying to drill through the damn Stainless. All pipes are fully welded and wrapped minus the funky bend peice that connects the DP to the cutout and catback. waiting on some more heat wrap to come in to finish those parts.
My piping and 2� SS resonator/muffler came in today so I�m going to look into figuring that out. Thinking below the crossover behind the fans and dump infront of the PS pump toward the ground. The muffler is a 10� case, 4� DIA perforated tube with roving fiberglass so it should help a lot.
Also removed all the stocj truck battery cable and crap. Going to make an ABS relay center panel to mount the FItech PCM, relay/fuse block, main fuse panel for other stuff in the car and a junction box for alt charging with resettable breaker. Going to make new power and ground wires to starter etc as well and clean it up and move everything away from the turbo stuff.
Not going to have a ton of time this month as it seems every weekend I have out of state weddings and crap.
Nice work. I was gonna ask if you planned to wrap it, no need to ask after last pic.
I had a third gen transam years back and loved the look of the factory wrap around spoiler but mine flaking and coming apart too even though the rest of the car was great. 20 years old, no fng way I was paying for a new aftermarket one, lol. Always dreamed about fixing it somehow. Not a fan of the one you have even on camaro's. Would the one on LS1-IROC's car work? It sure looks good on his camaro.
That's the only redeeming thing about living in California. It's always summer weather here lol. Looking at the forecast the coldest it will get in the next 10 days is 55 at night. Small burnout and your tires will hook. Just too many liberals and priui
Nice work. I was gonna ask if you planned to wrap it, no need to ask after last pic.
I had a third gen transam years back and loved the look of the factory wrap around spoiler but mine flaking and coming apart too even though the rest of the car was great. 20 years old, no fng way I was paying for a new aftermarket one, lol. Always dreamed about fixing it somehow. Not a fan of the one you have even on camaro's. Would the one on LS1-IROC's car work? It sure looks good on his camaro.
Ive fiberglassed over a stocker and made a shell basically. But my fiberglass isn't the greatest so it was a bit wavy. ALot of bondo and it was decent but not worth the time I put into it. LS1 Iroc is build into the hatch and rear quarter. The LS1 TA will work but requires a good bit of mods to fit... but its too tall for me personally.
That's the only redeeming thing about living in California. It's always summer weather here lol. Looking at the forecast the coldest it will get in the next 10 days is 55 at night. Small burnout and your tires will hook. Just too many liberals and priui
Yea you got the weather but everything else sucks lol.
Mostly just more wrapping and mocking up. Only had 1 day to really work on it but I got all the pipes wrapped. I mocked up the muffler for the WG and its going to be tight behind the rad fans and block so Im not going to do it at the moment. Thinking of possibly routing it a different route but wanted to hear it without anything and then I'll assess how loud it is and if it needs the muffler.
I also got the electric cutout all assembled permanently and waiting the rest of the exhaust from the DP. I finished the final new starter power feed and the new engine ground to the frame. I had to remake new wires as the turbo setup ran through the originals. I run a rear mount battery with 1/0 wire to the engine bay, on a 3/8" stud. I ran new 2 gauge from said stud to the starter and had to route it up and away from the DP. Made a new 2 gauge ground wire for the driver side block to the frame rail.
I also made and mounted a new ABS AC delete panel and worked on laying out the new electronics (Fitech PCM, fuse panel, Alternator charging circuit breaker, 12 post Buss bar and the new Fitech relay and fuse center). I dont have enough room to mount everything but I wanted it to hold as much as it can and cleanly. BAsically I just need to find a spot for the buss bar (prob going on the frame rail) and the Fitech Relay/fuse center (which is probably going on the strut tower behind the caster/camber plate. the wiring is going to be cleaned up as well at the fuse block I just removed it from the firewall any mounted it back up to the ABS sheet.
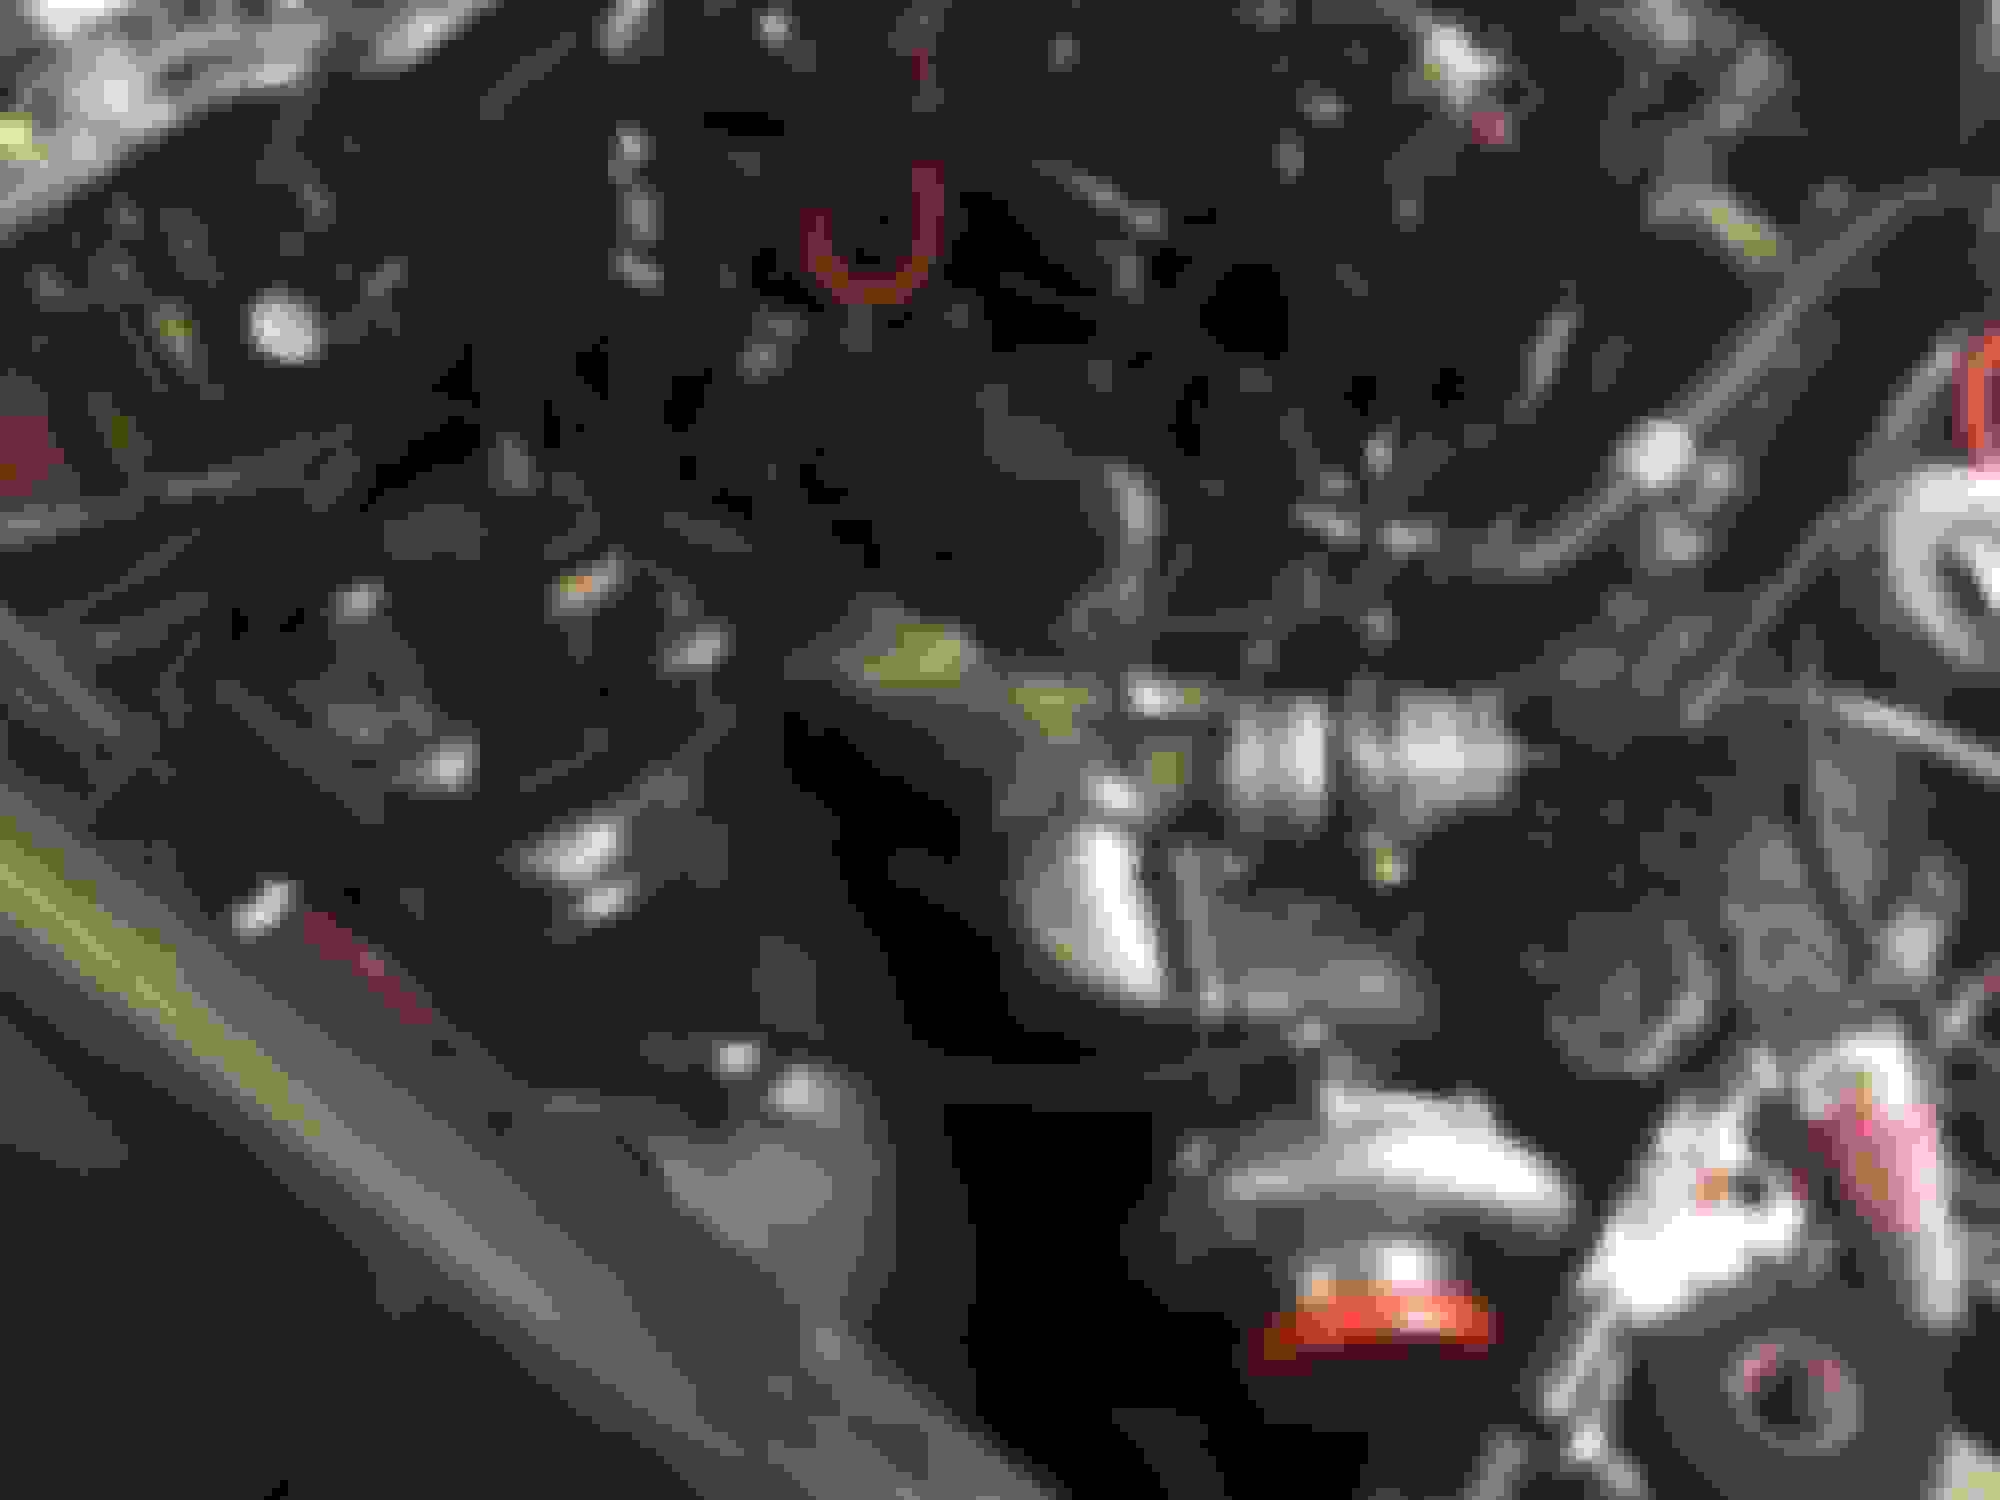
One thing I need to look into is a Turbo support and the oil drain flange/fitting basically rests on the frame rail. Not sure if I can get it up that much higher but it has a slight upward angle to it. Drain fitting and flange is -10 AN and the fitting is a pushlock which will drain back to the oil pan.
Soon all the fabricating and mocking up will be over and I will be able to do final install. I did have to mod the SS turbo flange studs to clear the exh turbine housing and was able to mount up and connect the Cold air side to the existing IC piping (was a PITA) but it works for now.
Last edited by customblackbird; 10-09-2017 at 03:10 PM.
Great work as always! I seriously debating on just turboing my lemans vs the torqstorm. I'm sure I can beat that 2800$ price tag by a good chunk. If I go turbo. Not to mention I'd get more power in the long run. I'm pretty far from even putting the motor in but I think I should probably nail a build down.
Turbo is alot more work. the cost of this turbo kit is basically the same cost as the supercharger. Packaging is alot more work on a turbo as well. Should be interesting to see what IATs and underhood temps are like with this setup as well.
The new oil-less turbos look pretty cool and they take away the feed and drain line (which means they can be mounted anywhere) but there price is high.
Main thing with deciding is how much power you want and packaging. There is a ton more going on under the hood now than before. I wont have access to my waterneck if I need to do a thermostat swap, I can't pull the rad/fans without removing the crossover and WG. So you have to give up a bit. Not to mention I'm not sure if the crossover is going to negatively affect my engine cooling due to the added heat source and the area behind the radiator that its blocking now.
Honestly that might be why I haven't fully committed to a turbo set up. Before the ls swap in my gta I had a twin turbo 355. Was fun but a pain to setup. I think some of which was the total lack of room in that car. All was well till I cracked a piston.
Anyways yea that was another thing I hated as far as the tran am goes. Wish it had a grill to help with cooling/ heatsoak as compared to the camaro. Can't say for sure if it would make a big difference but I'd say it would run cooler if it was open. From what im reading Its nothing to get 500 whp on a stock motor and a turbo. Anyway don't want to hijack. Definitely will be waiting around to see how things go.
Got a good bit done today. Got the TB installed, had to modify the WARR 92mm tb to accept the LS1 lokar throttle linkage, some reason the holes were too small. Then I had to modify the TPS sensor for it to fit all the way down and seal... thought someone said the WARR are suppose to work with the stock stuff!? Not in my case. Anyway it�s fitted with sensors and the kickdown bracket painted and installed with some blue loctite. Just need to fab up the throttle bracket and we�re good to go on that.
Turbo headers, crossover, and DP/exhaust is in final install. No idea how I will tq the header studs with the turbo headers so I�ll just have to do it with a wrench and hope for the best lol. Spark plugs and wires are installed. Mocked up coils on VC and put heat sleeves on the plug wires. Going to run coil
covers I had left over and pull the plug wires down to the head and hope the header wrap, plug sleeves and the distance will keep them alive.
The only thing i didnt do was tighten down the turbo system as im planning to get some SS gaskets and throw them on. I was able to add another align inner tube to the pass header that connects to the CX 90* to T4 adapter. This helped a lot with the turbo shifting and moving around. I also made a quick turbo support and mounted it to 2 compressor housing bolts and then down to the battery tray bolt. The kit supposedly doesn�t need a support so I put one anyway so there�s not chance of it moving and it�s pretty solid. I tried to put an align peice in the turbo exit to downpipe but the turbo outlet was less than 3� pipe so I couldn�t do it. Since I can�t I prob won�t run a gasket on the DP. But both headers and crossover will get gaskets and prob the DP at the back of the Engine.
The turbo drain was a PITA! My Summit fittings wouldn�t fit and clear the front subframe. Thankfully I got some eBay fittings and they were like 1/16�-1/8� less height and they just barely fit. I had to drain a few quarts out of the Engine to ya i the plug I put in the pan, then ran a 45* fitting in the pan to a 90* ebay pushlock. I put the drain hose in some 1400*f sleeving to keep the heat off it from the down pipe. I filled the turbo with engine assembly line and then put the pressure line on and covered that up.
Slight change of plans on the exhaust, decided to remove the cutout. All I hear are negatives on the cutouts and how they leak and rattle etc. decided to swap it out for a 3� SS resonator and slap her together. My band clamps don�t seem to be clamping all the way down so I will have to pick two up. Other than that the exhaust is done! Going to run a few hangers to keep the load off the turbo.
What do do you guys think about the BOV spring pressure? Turbo is suppose to be closed at idle, that would be 15� for me or more. I tested the 50mm BOV and it opened at like 22� which is what high. Do I try to bring that down more or just leave it?
next is electrical!
Added aligner for turbo inlet Extra heat shield for fan motor/wiring. Crazy tight over there
$25 from Summit! DEI too so it�s good stuff. Comes with all the clamps. Will help with anything close I hope. It�s suppose to be used the opposite way (on cold side piping) but what the hell it should work the other way.
 10-02-2017, 12:19 AM