When you click on links to various merchants on this site and make a purchase, this can result in this site earning a commission. Affiliate programs and affiliations include, but are not limited to, the eBay Partner Network.
Since I'm going turbo, I'll have more electrical demand on the electrical system. You are required to upgrade your alternator. As mentioned before, I'll be adding Derale pusher fans which draw 22 amps each, an Alky Meth kit, and a Boost Controller. The stock 105 Amp alternator won't be able to keep up.
A lot of people go with a stock truck alternator. While it will work, here is why you don't want to use one:
- The truck alt case is larger in some areas, while it will "fit", this is one of the tightest places in the engine bay since the drivers side turbo manifold comes forward. In future posts, you'll see what I'm talking about.
- The truck alt does provide up to 145 amps but the electrical design is just like stock, you have to increase the engine RPM's to well above idle to take advantage of the higher amperage truck alt.
After doing my research, I found that a Tuff Stuff Alternator will fit my needs. The one I chose has a 185 Amp output. Unlike the stock design, this one will provide at least 50% or more of the rated output at idle! Since the pusher fans draw 22 amps each, you need a higher output alt at idle.
I bought mine through Pace Performance for $190.00. You have the choice of stock finish, polished or chrome all for the same price. It was a no-brainer for me to get the chrome one since I'm all about show and go. A lot of places list it as a 175 amp alt, I talked to Tuff Stuff directly and they had a redesign which gives it a new rating of 185 amps output. As a bonus, it is made in the USA, Cleveland, Ohio!
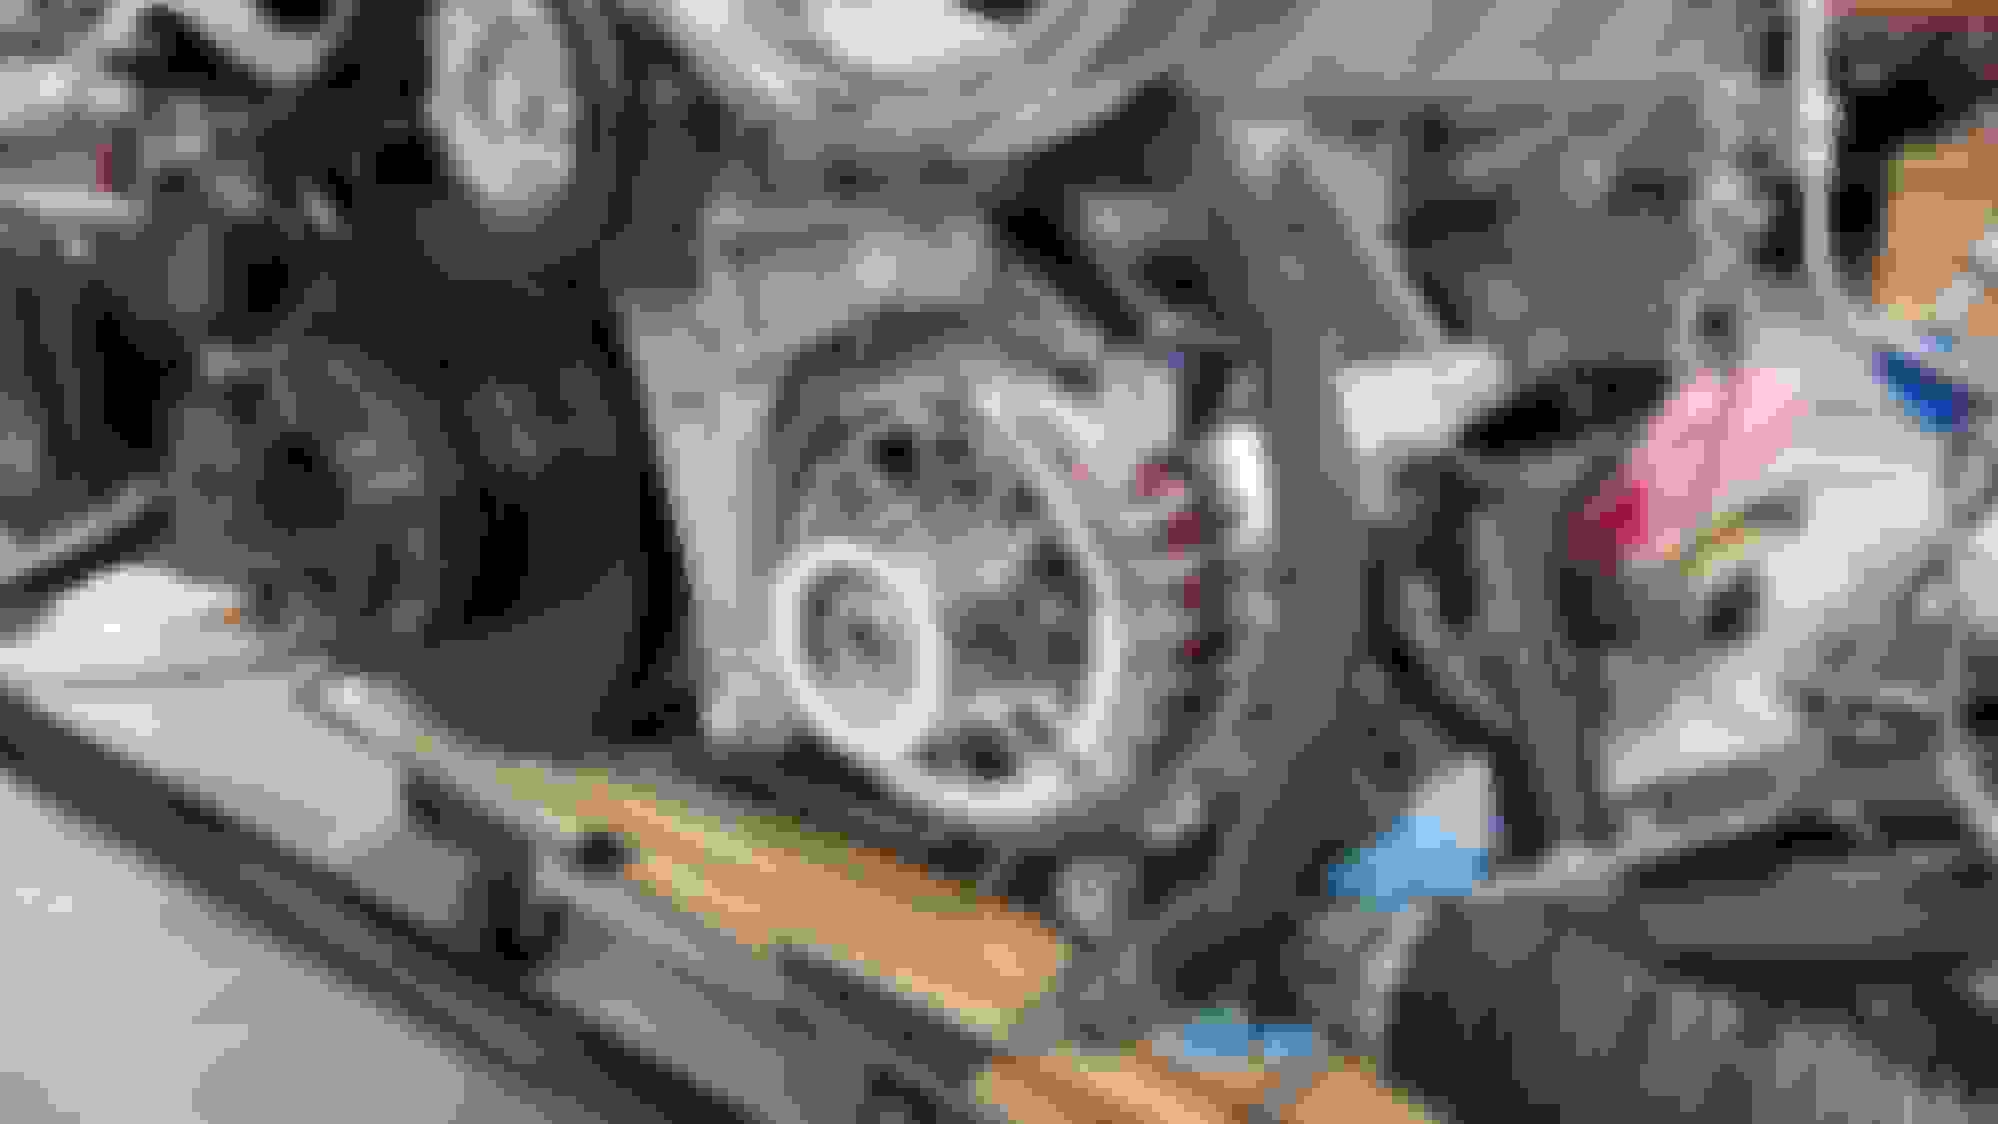
As you can see, the new Tuff Stuff Alt shares the same case size as the stock alt.
In my previous post I pre-lubed the engine with oil, you can't do this with the alt in place, you can barely see the port I used with the new alt in place. It's all about trying to think ahead with a project like this, something I was trying to do all summer long. You try to do your best but sometimes you can overlook things.
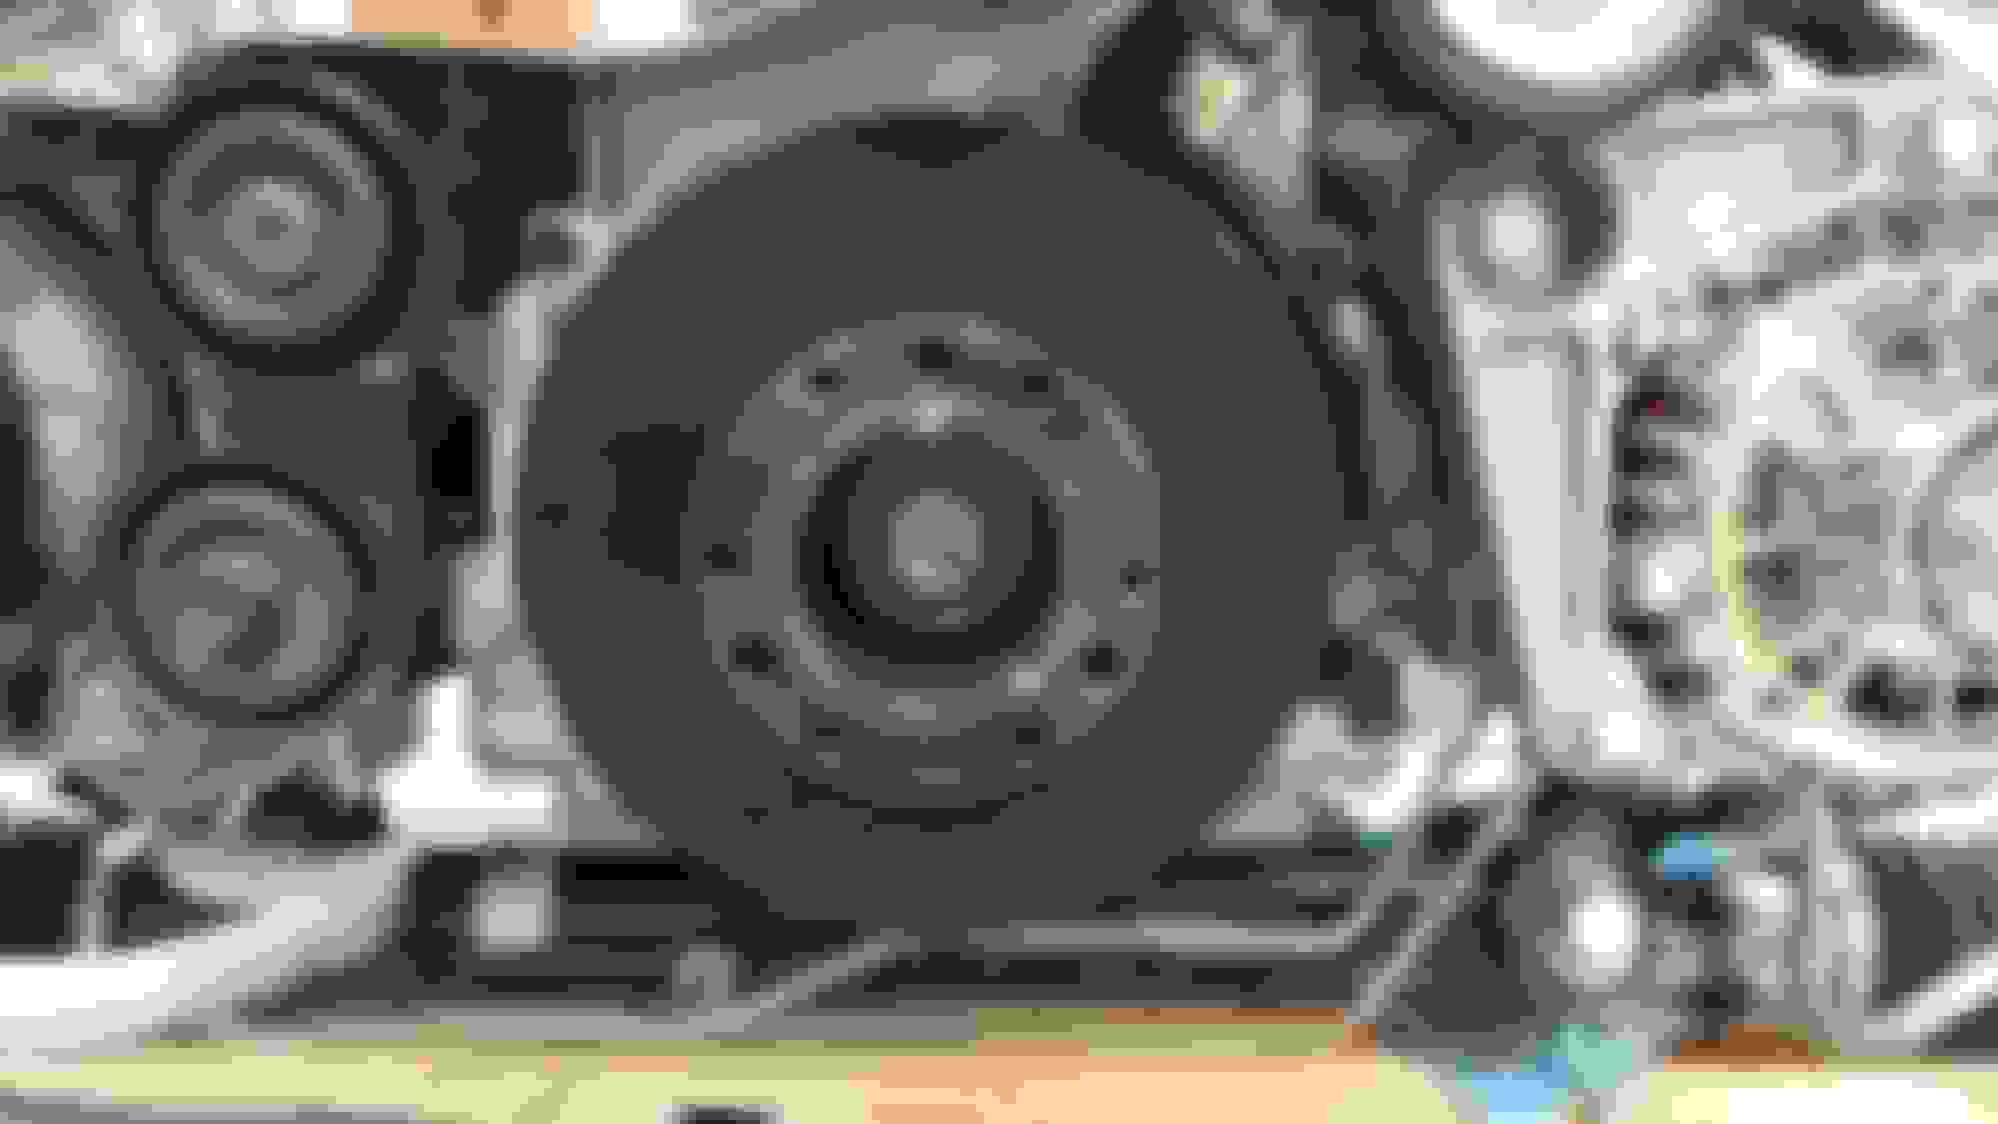
Before I get ahead of myself, I need to install the GM Crank Bolt and finish installing the ATI Dampener.
I always add some red loctite to the GM crank bolt. You don't want this to back out!
Before the bolt goes in, try to squeeze some RTV into the key way of the ATI hub. That way oil doesn't makes it's way to the back of the bolt. If I was going supercharged, I would have pinned the crank.
Install the bolt and torque to 37ft lbs. With a breaker bar, rotate the bolt about 140 degrees so it gets stretched to GM spec. I marked my hub for start and finish points. With red loctite and using this method, never had a issue in the 15 years of doing this. This is a one time use TTY bolt, for $5.00, get a new one.
Added a little blue loctite to mount the ATI front pulley to hub per ATI instructions and torque to spec.
For the most part everything has been kinda straight forward expect for the BMR K-Member. One of the first modifications to my car to make this turbo kit work is to eliminate the stock power steering cooler. Basically, it just won't fit since the turbo is in the front and the lines would be right up on the hot side in some areas. From what I read, these are prone to leaking, mixing antifreeze and power steering coolant together creating all sorts of issues. It's best to remove it to prevent any future issues.
Trying to buy a new stock power steering return hose is impossible so I was force to make my own.
I bought this fitting at Advanced Auto for around $6.00.
Since this is the "low" pressure side, I just used the factory clamp on the tank and a standard worm gear clamp on the fitting that's on the rack.
As you can see from the pictures, the power steering lines are right next to the drivers side manifold. I used some Velcro heat sleeve to wrap both power steering lines, It's kinda hard to see but I do have about 3/8" of clearance or so between the tightest spot.
About the alternator. Looks like pulley size is same as stock and not smaller to run faster at idle. On the top end did you ask at what rpm it will quit. From what I have read in my research if you design for good output at idle or just above, you sacrifice on the top end if you rev past 6400/max out rpm's on the alt.
That said, looks like it will be my alternator choice for my build since I won't rev past 6250 rpm (auto 4l60e rev limit) . I have four Spal fans as well. The stock alternator is maxed out.
With a Procharger, the truck/Escalade alt won't work except with modification to the pulley and bolt head on the Procharger head unit. So have been searching for a replacement. Thanks for the info.
When I was in the planning stages, I first contacted ATI to get their input on the size of the dampener. At first I was going to get the 10% underdrive but after they explained the technical benefits of having the stock size, it just made sense. Basically it will dampen the harmonics of the engine/crankshaft better and provide better charging since it spins the alternator at normal speed.
When it came to the alternator, I talked to Tuff Stuff and they ask me a few questions like current load, rpm, balancer size and the other details of my build. I said I'm only spinning the engine to no more than 6,800 RPM and they said that's fine, no issues. The pulley on the alt is stock size.
Technically on paper it should be perfect.... I'll be doing some electrical testing when it's all done with my DC clamp on Ammeter.
Since the power steering lines are all done, I decided to work on the turbo oil drain next. As most of you know, the turbos that we use need a oil feed line and a drain. With the design of this kit and other Huron Speed kits, the turbo sits in front of the engine but not too high due to the design of the car. We need a good drain system back to the oil pan. You need to make the hose from the turbo to the oil pan as straight as possible with no dips in the line to prevent a back up of oil to the turbo. I used the lines and fittings provided with the kit.
If the drain loops down or up, the oil leaving the turbo can back up to the turbo and start smoking. Personally I haven't experienced this but it's what I all the research I have done as well as what Jon from Huron Speed has explained to me. This task is pretty straight forward.
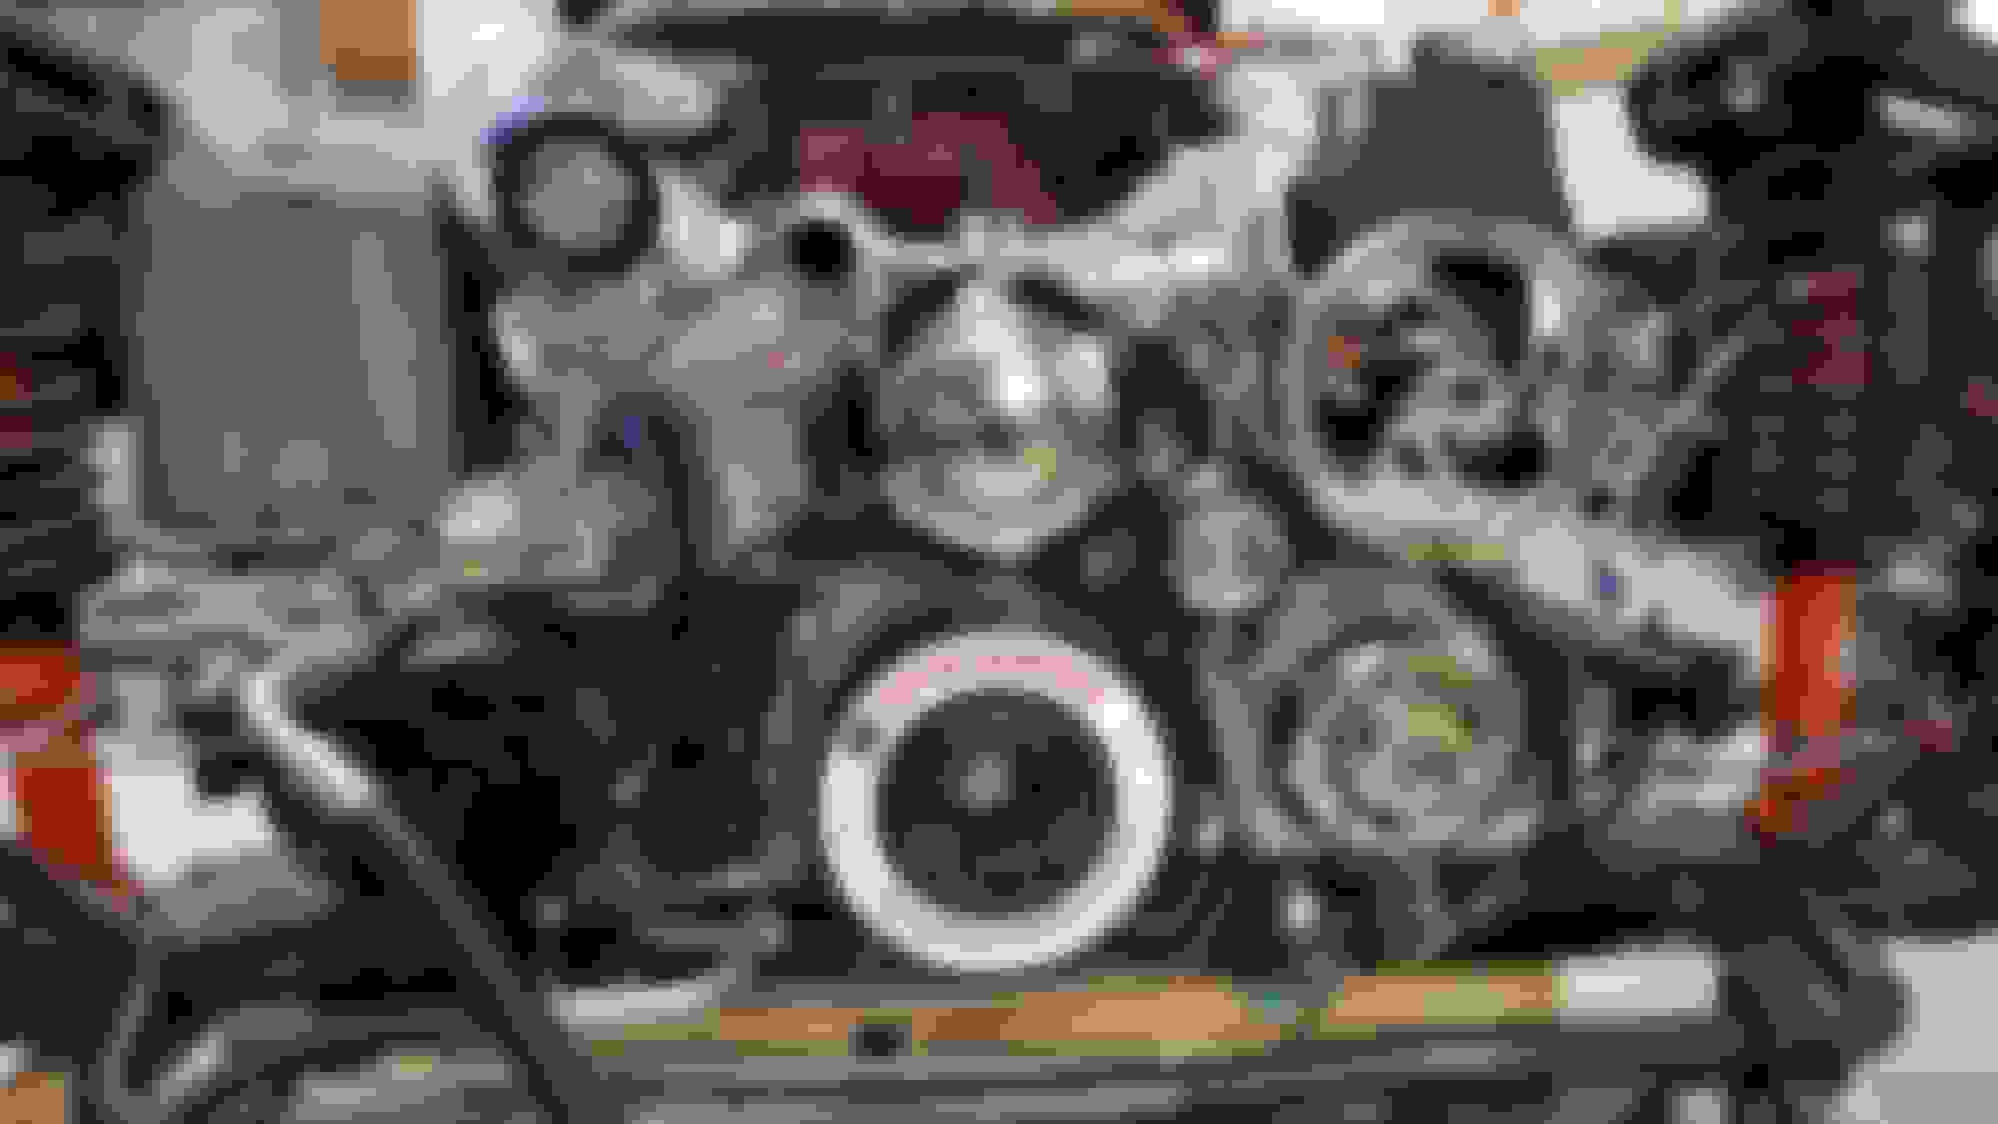
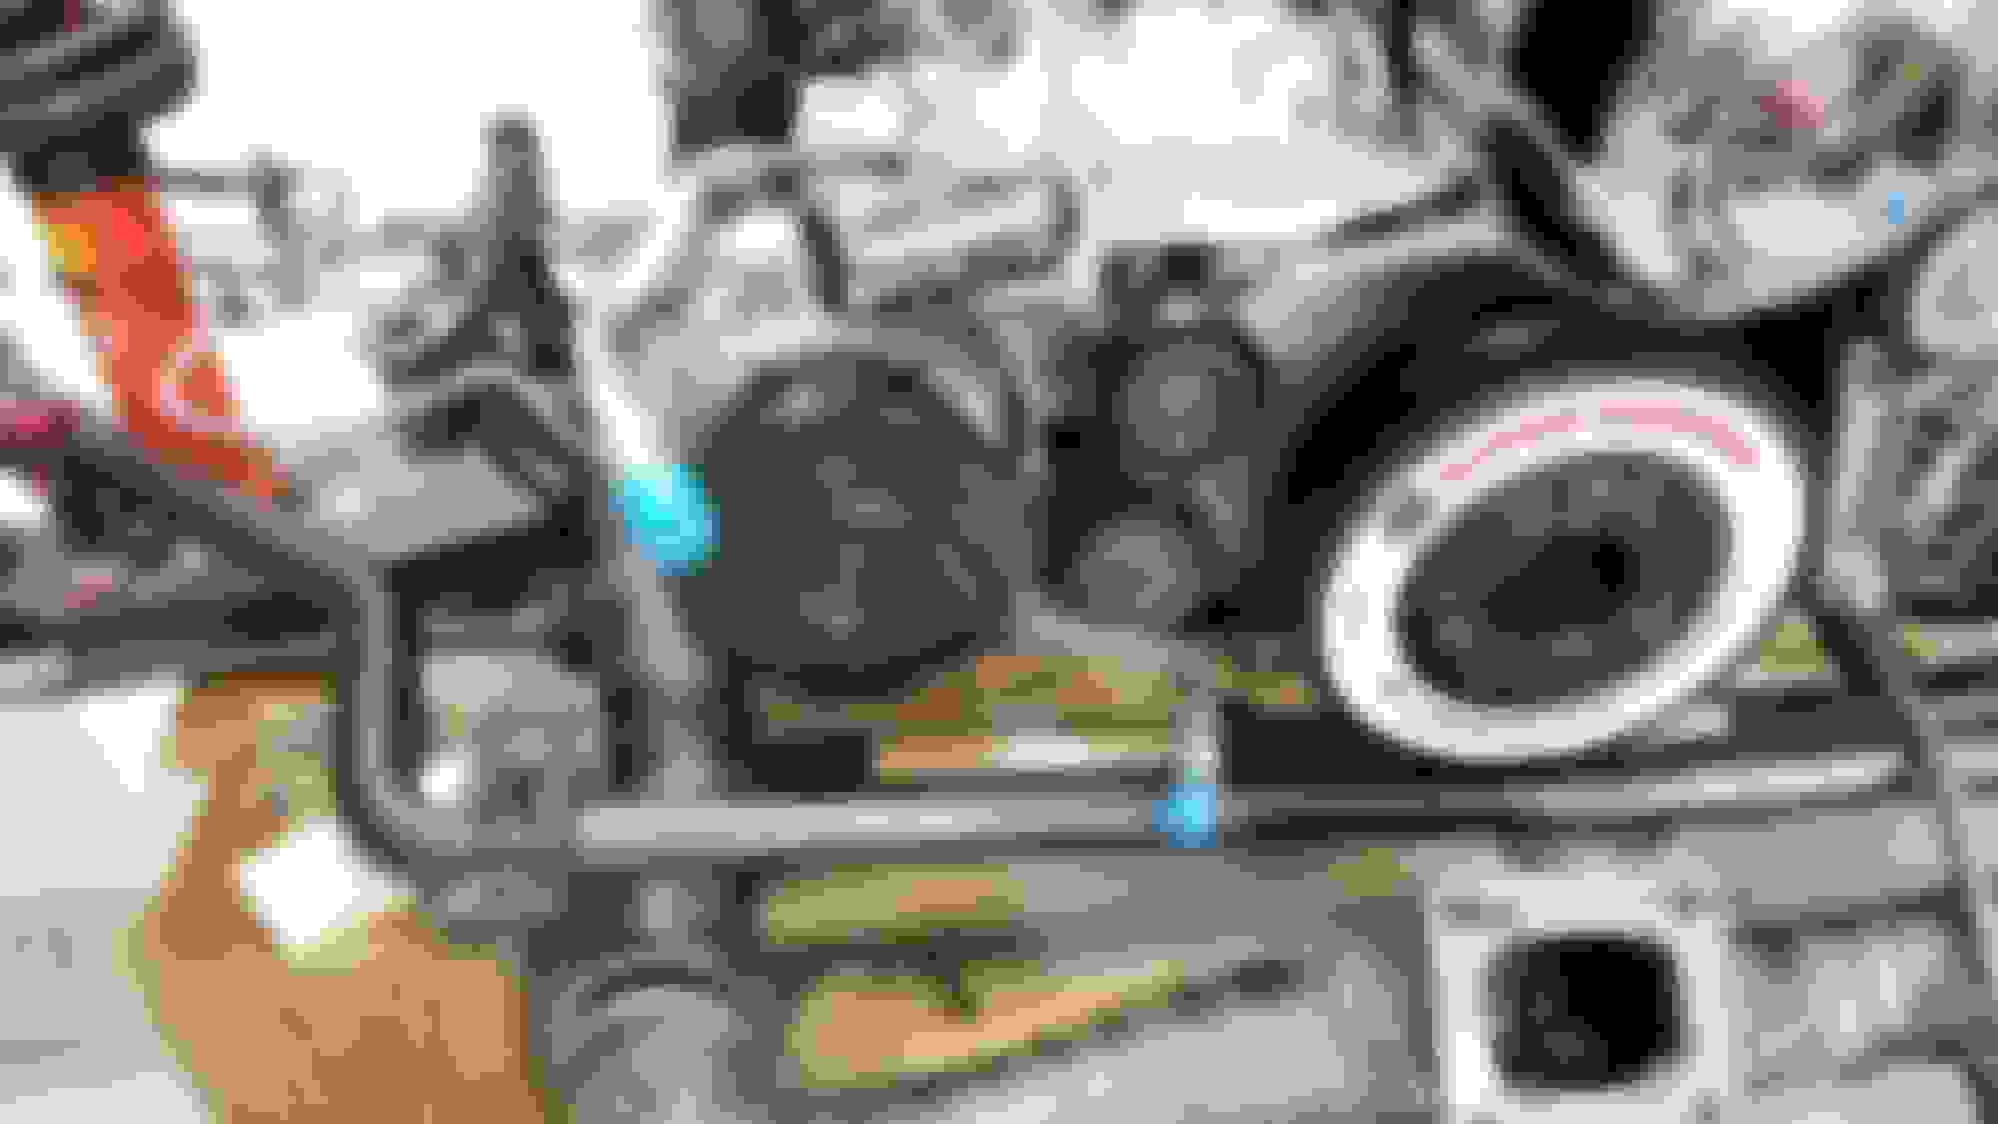
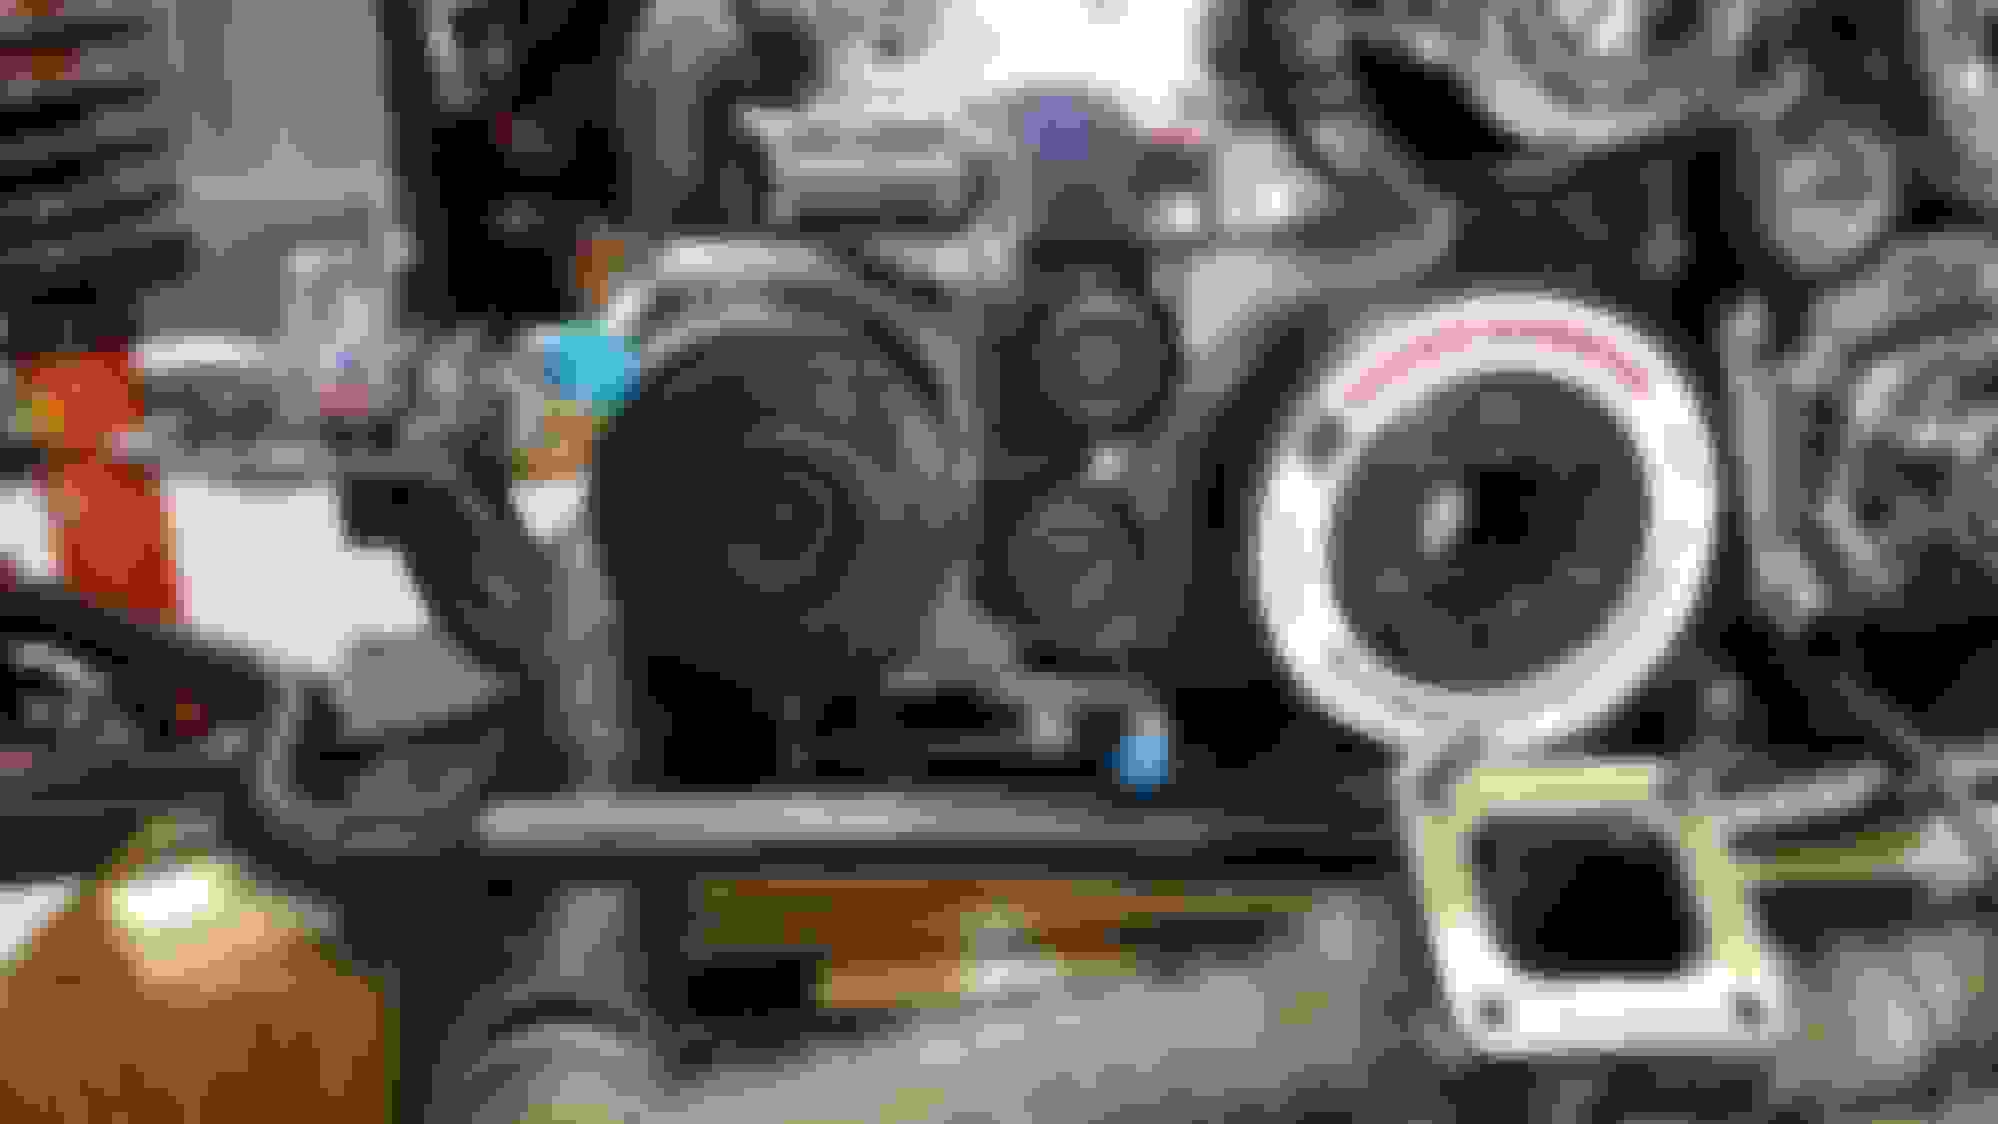
I mocked up part of the turbo hot side and mounted the turbo. Installed the turbo oil drain flange and attached one side of the oil drain.
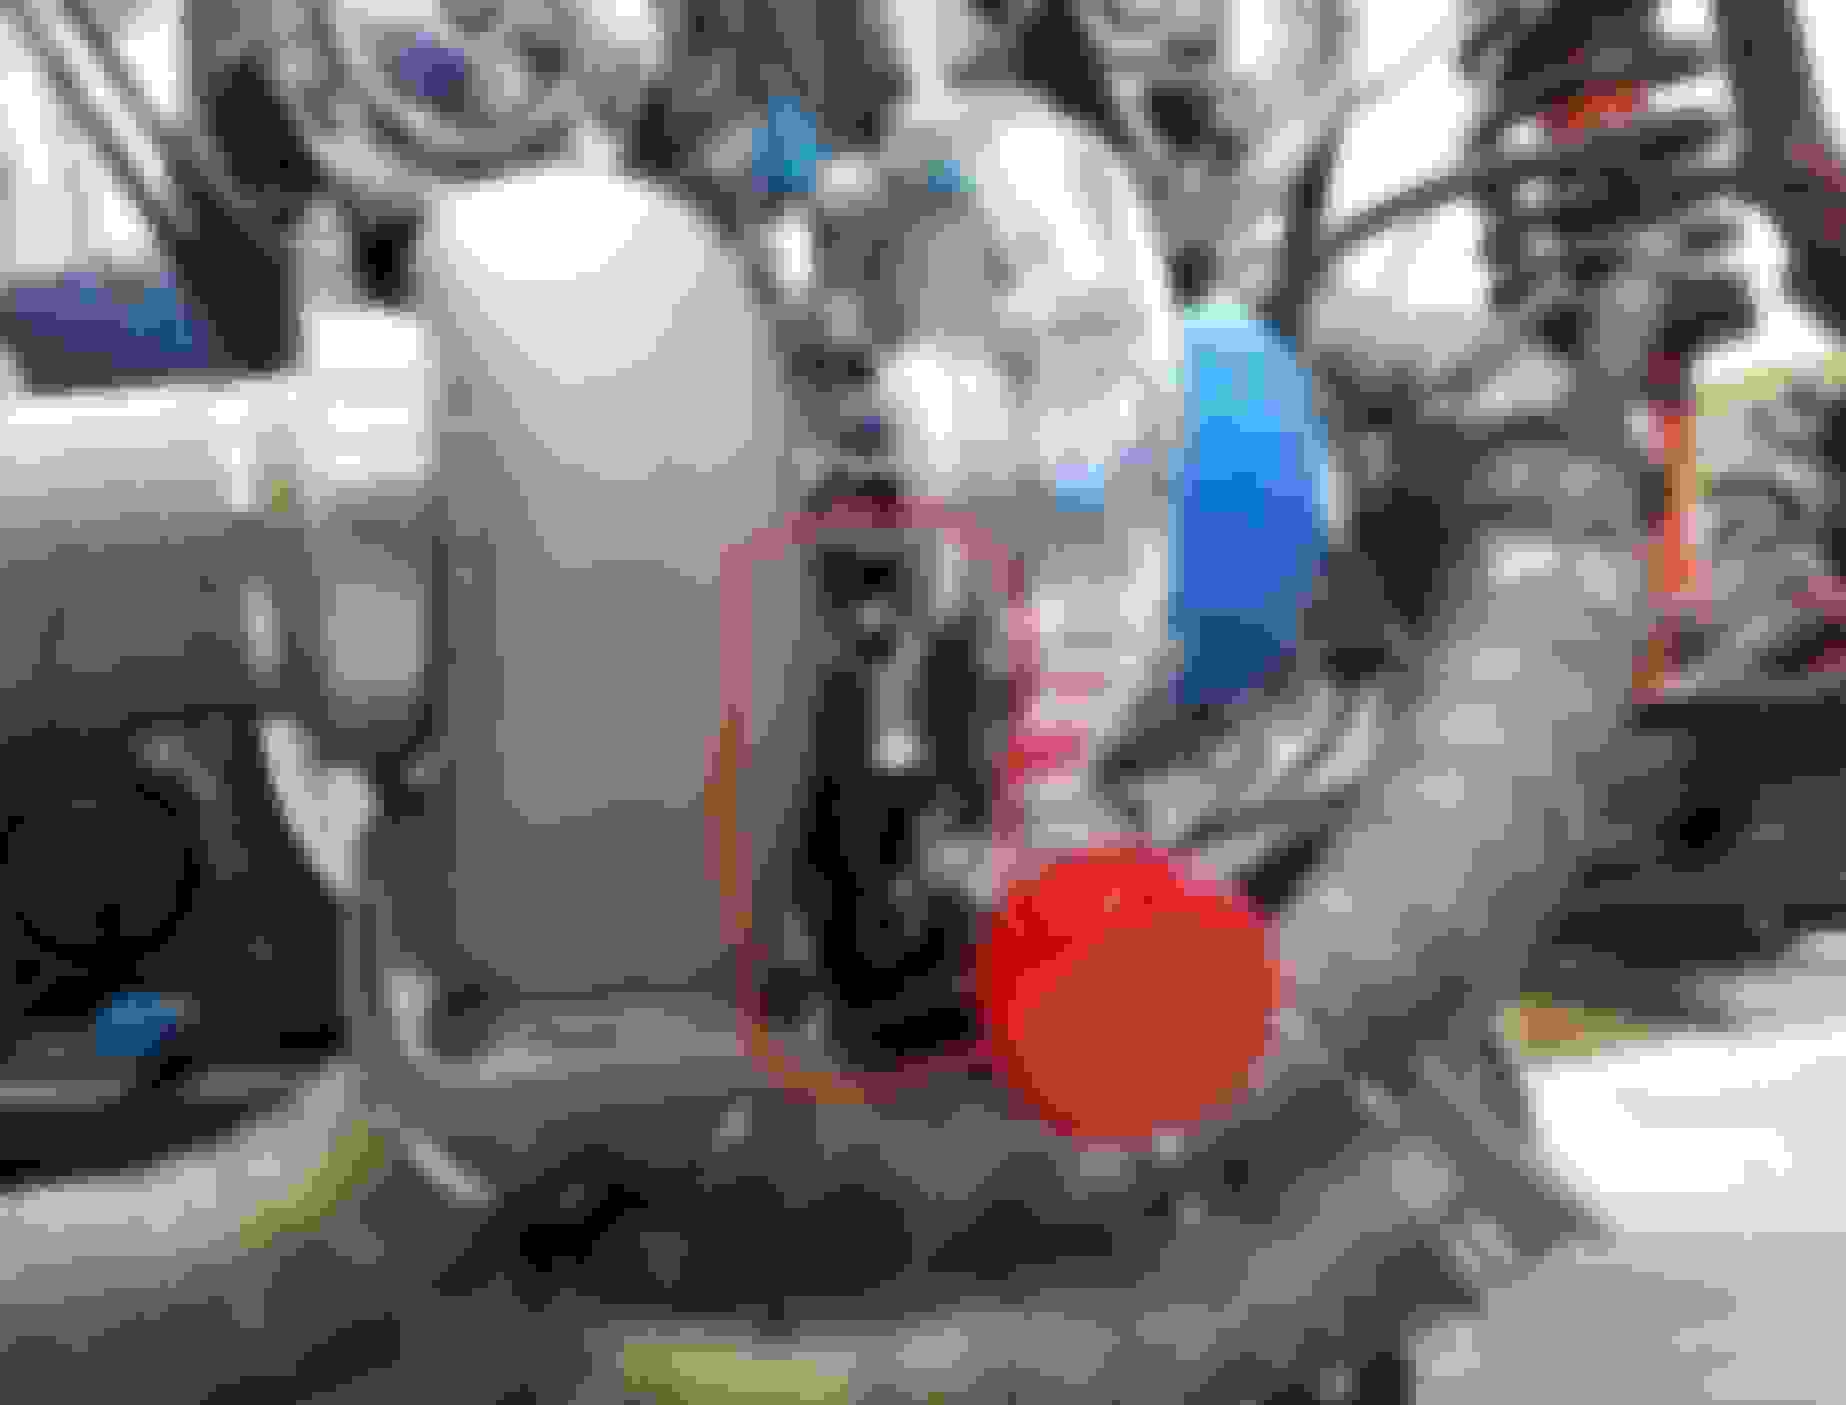
I feed the drain line between the engine block and alternator to this point to so see where I needed to make a cut.
I don't have much experience with these types of lines so a friend of mine said to wrap it with electrical tape to help prevent fraying which did the trick!
Its hard to tell but it's a straight shot from the turbo to the oil pan, so all should be good. My only concern is what will happen if I'm driving down a steep hill (7%-8% grade or more), the oil pan will be slightly higher than the turbo, hopefully it won't back up and start smoking.
You will experience smoking on hard deceleration, as well as sitting on a downhill grade. I went through this with my car, I put a pump on it.... smoke went away.
With the turbo oil drain line done, I had to address the AC line issues. Jon and I exchanged a few email back and forth about this. For a proper and clean installation, it is a must to get your stock AC lines modified to have the proper clearance of the hot side. Jon said you can just "bend them out of the way". While they do bend some, you take the risk of cracking the lines and having the lines still be very close to the hot side.
To make this a true AC retaining kit, the kit really should include modified lines for a proper and clean install. If Huron Speed can't provide the lines, at least provide an exchange service to modify the lines for you. This is one area where Huron Speed can make a good kit a great kit.
I just happen to have an old f-body ac compressor sitting around so I removed the lines and took them to my local AC/Radiator shop, Canfield Radiator. After showing them a bunch of pictures and I had the line in hand, they were able to modify the lines for me for $100.00. Once I get my car done, I'll take the car back to them so they can finish making the other lines and charge the system for an additional fee. This needs done now, once in the car, it will be a nightmare of trying to replace the line on the back of the AC compressor.
Don't know what your plans are for your ac condenser, whether you plan to keep stock or replace with a bigger generic condenser. What I found is that AN fittings and Goodyear hoses are are so easy to build and secure to the condenser rather than staying with propitiatory hose or pipe connections. The newer style condensers are more efficient than our 20 year old stuff. Cold Hose was very helpful. Goodyear hose is smaller too, but same inside diameter. Just a thought.
Don't know what your plans are for your ac condenser, whether you plan to keep stock or replace with a bigger generic condenser. What I found is that AN fittings and Goodyear hoses are are so easy to build and secure to the condenser rather than staying with propitiatory hose or pipe connections. The newer style condensers are more efficient than our 20 year old stuff. Cold Hose was very helpful. Goodyear hose is smaller too, but same inside diameter. Just a thought.
Planning on keeping the stock AC condenser. Where I live it rarely gets above 90 in the summer, mostly 80's. Before all this, I didn't use the AC all that much in this car. Hopefully it will all work out. If not, I may have to go aftermarket for the AC condenser side.
Now it's starting to get real. After a lot of test fitting the hot side, I've come to the point where its time to permanently install part of the hot side and mount/install the turbo.
Huron Speed suggests to install the each header manifold loose and then connect the merge between the two manifolds with the included V band clamps. Once all connected, I made sure that the V Bands flanges were all square and aligned with the clamps attached. I went back and forth between each side tightening each clamp up while making sure the V Band flanges remained flush and square with each other. Once all the V Band clamps were installed and sorta snugged down, I started on the manifold to head bolts.
While Huron Speed provides new header/manifold bolts, I decided on using my stock bolts since they had more contact area than the cap bolts that were provided.
Kinda hard to see but I installed the T4 flange metal gasket. I also used GM exhaust manifold gaskets.
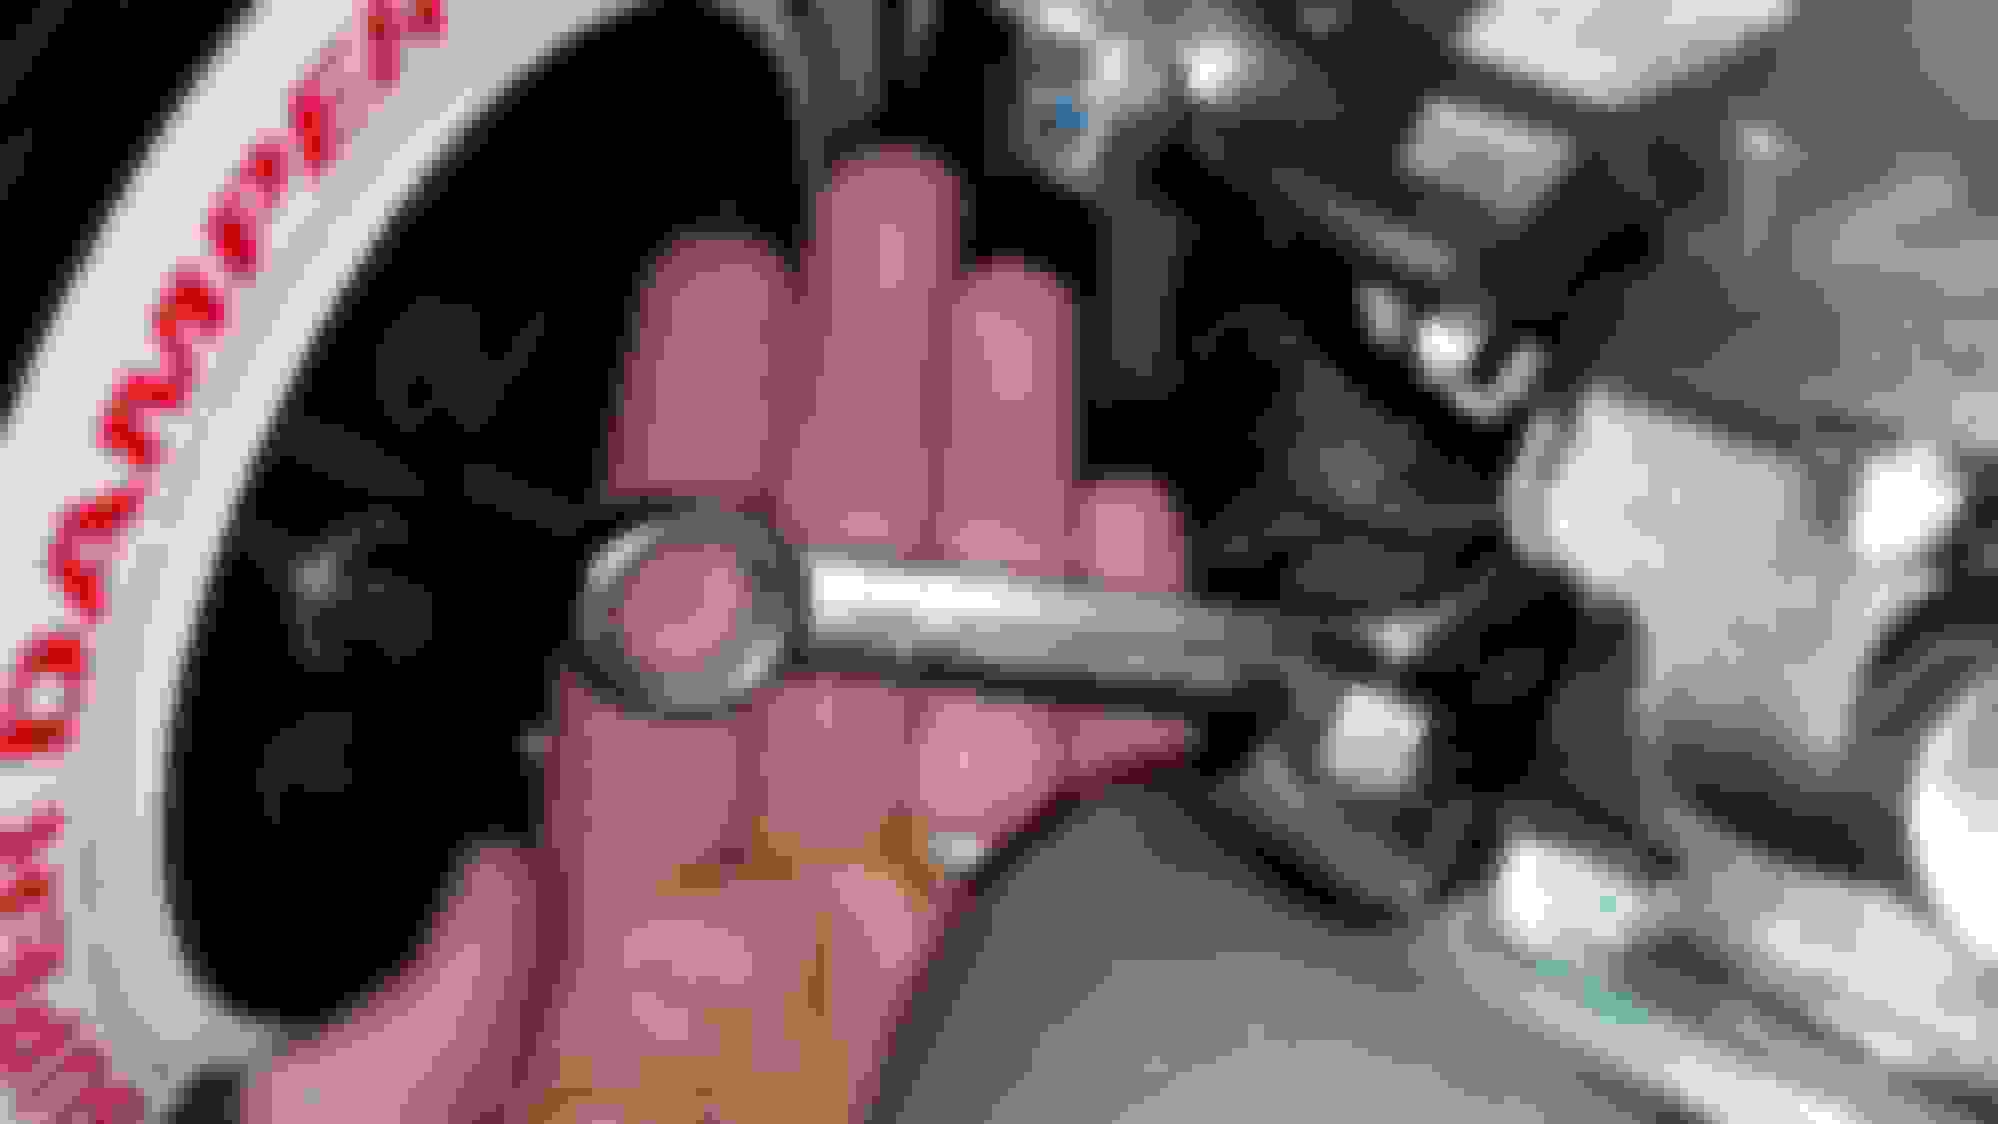
To get to the back nut, I used a stubby 15mm wrench, worked like a charm.
Note how the nuts and bolts are.
In this pic, you can see the turbo drain line slopes down which is what you want, the higher the turbo the better it will drain to the oil pan.
I'm all about show and go, If done right, it can look good as well as go fast. Everyone has their own take on what looks good. While some guys go all out and chrome and paint everything, I guess the look I'm going after is "Enhanced Stock". I have some chrome, painted parts, wire tucks and polished parts. It's a simple clean look that doesn't scream at you when you pop the hood.
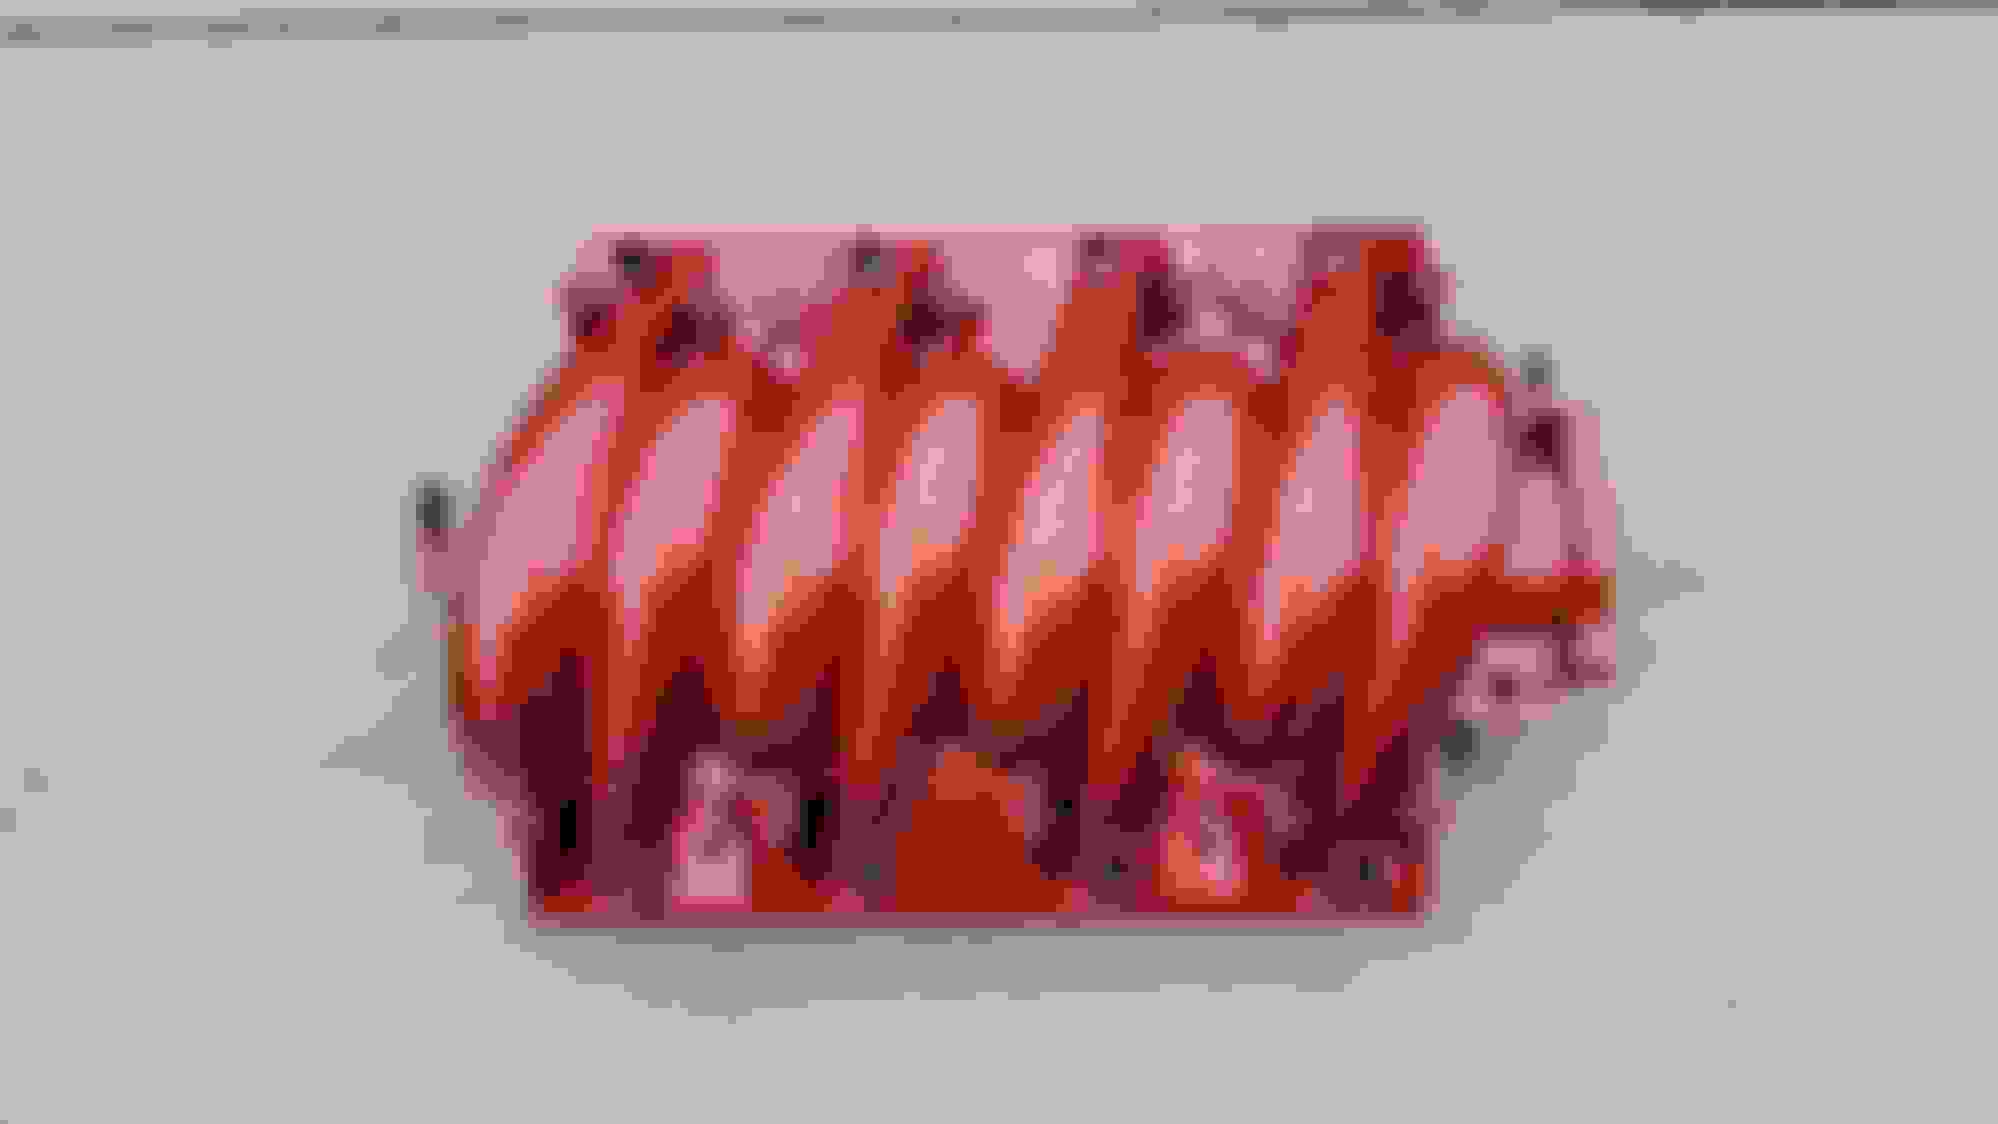
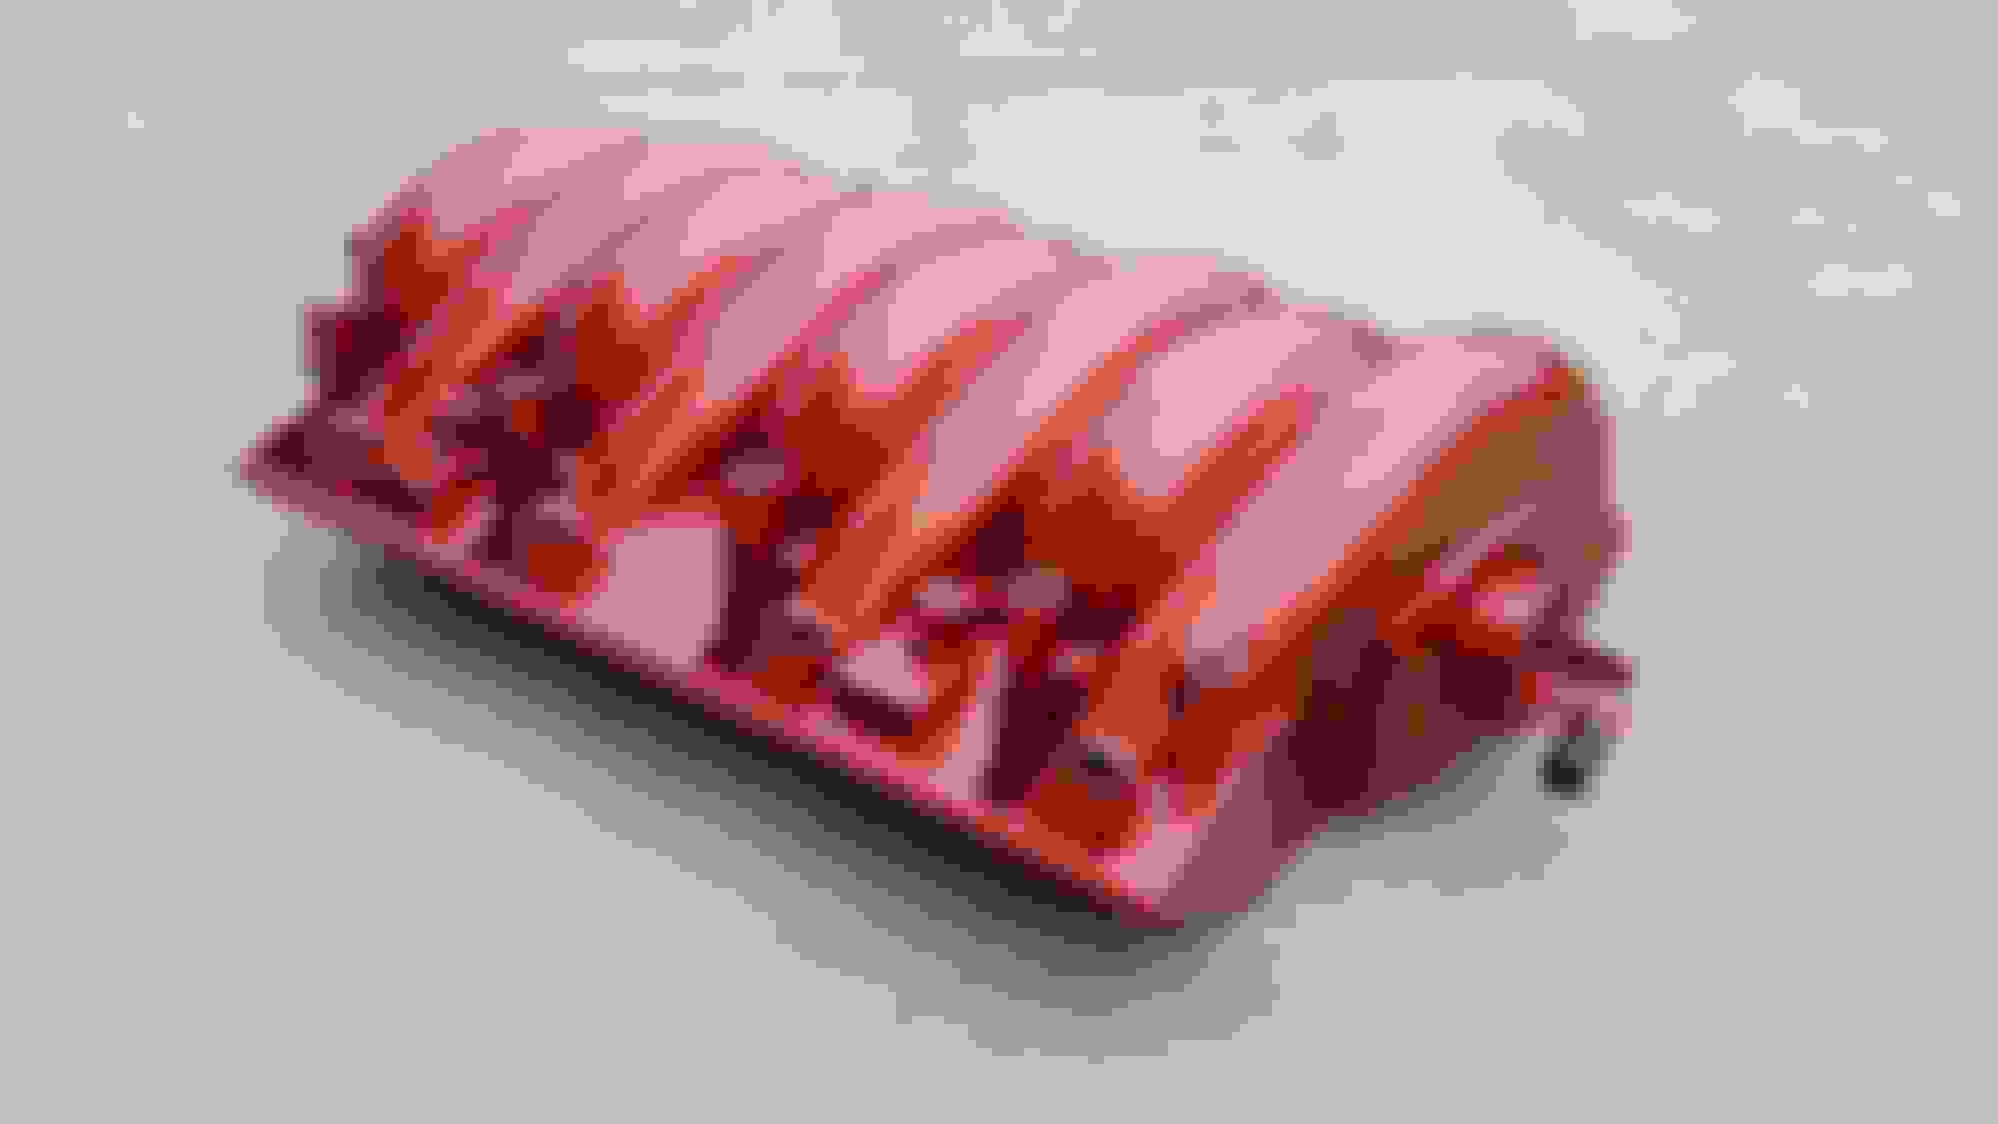
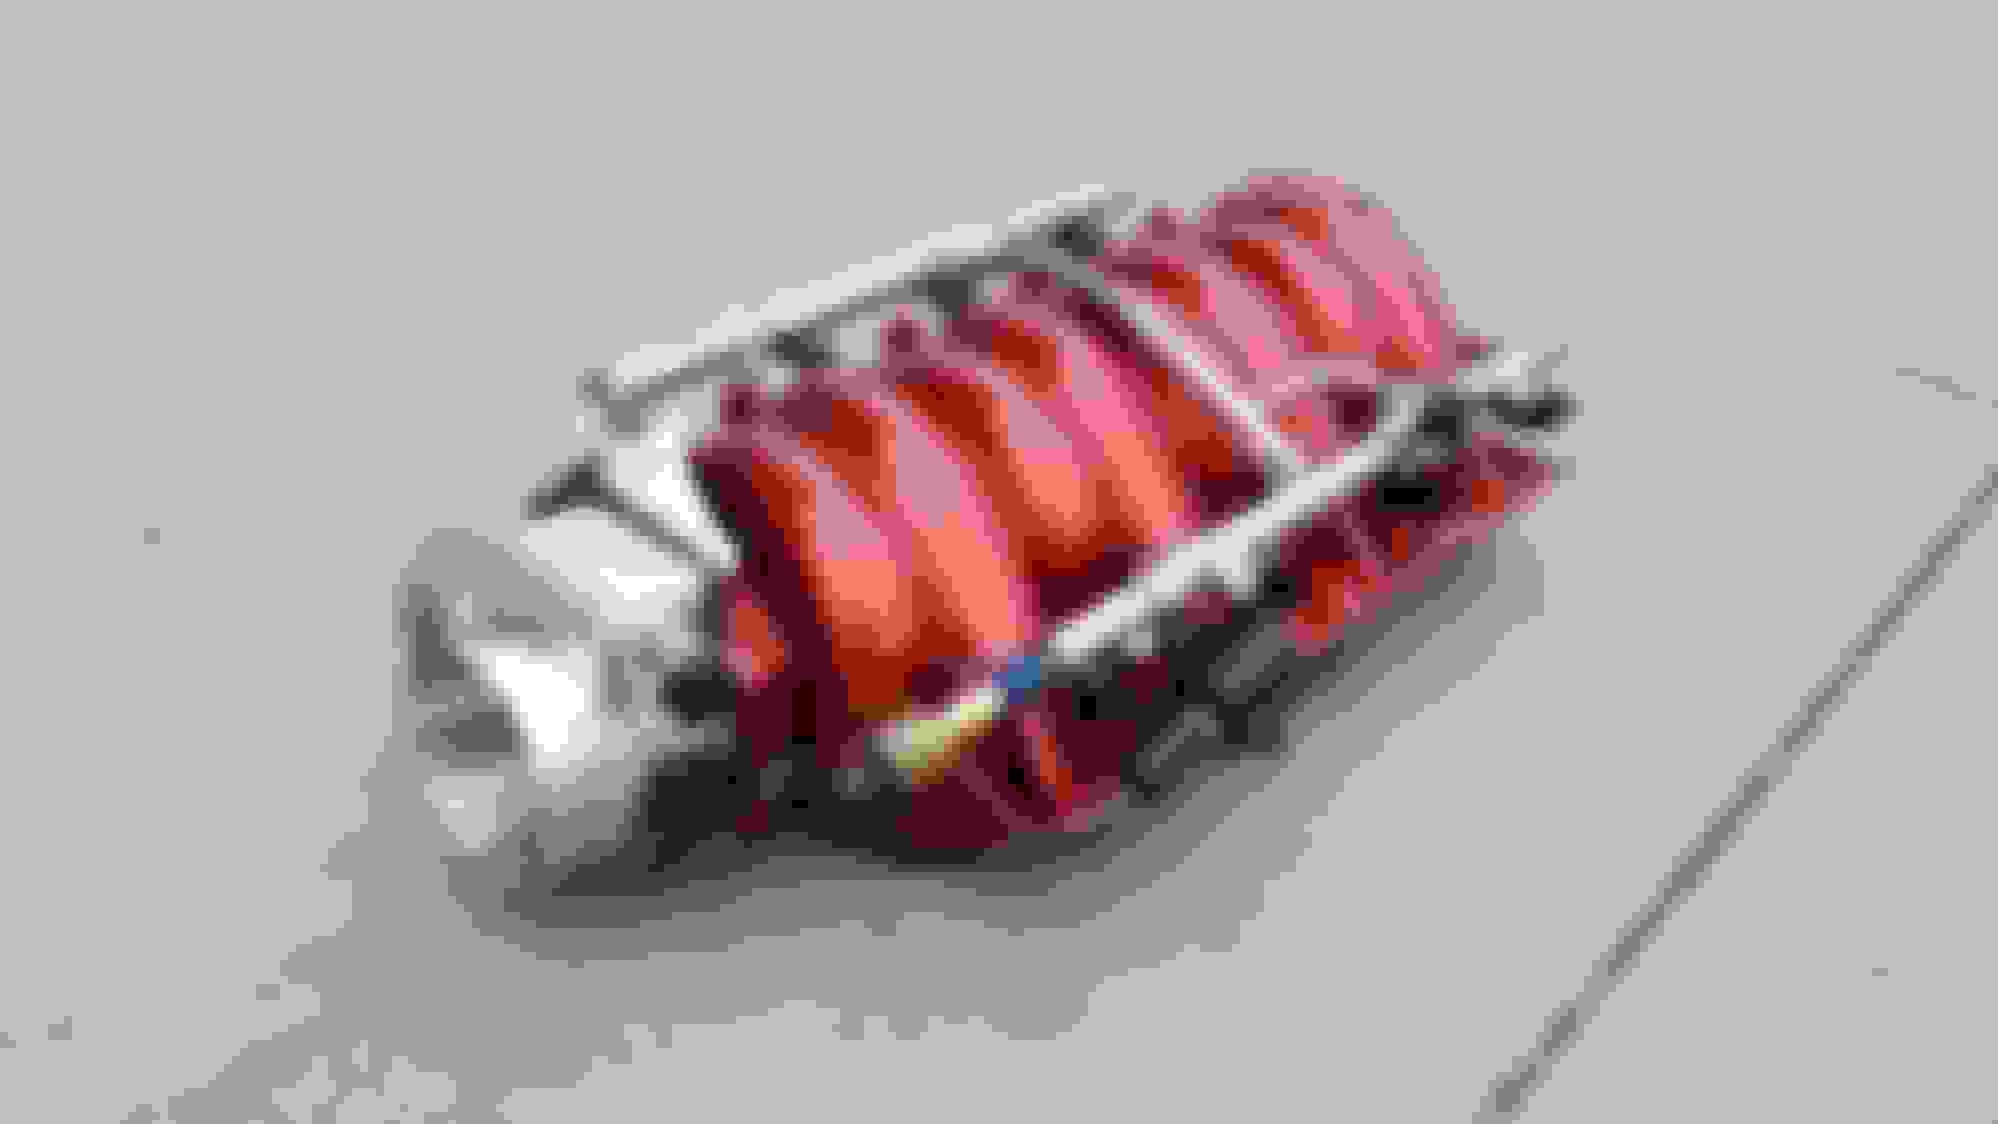
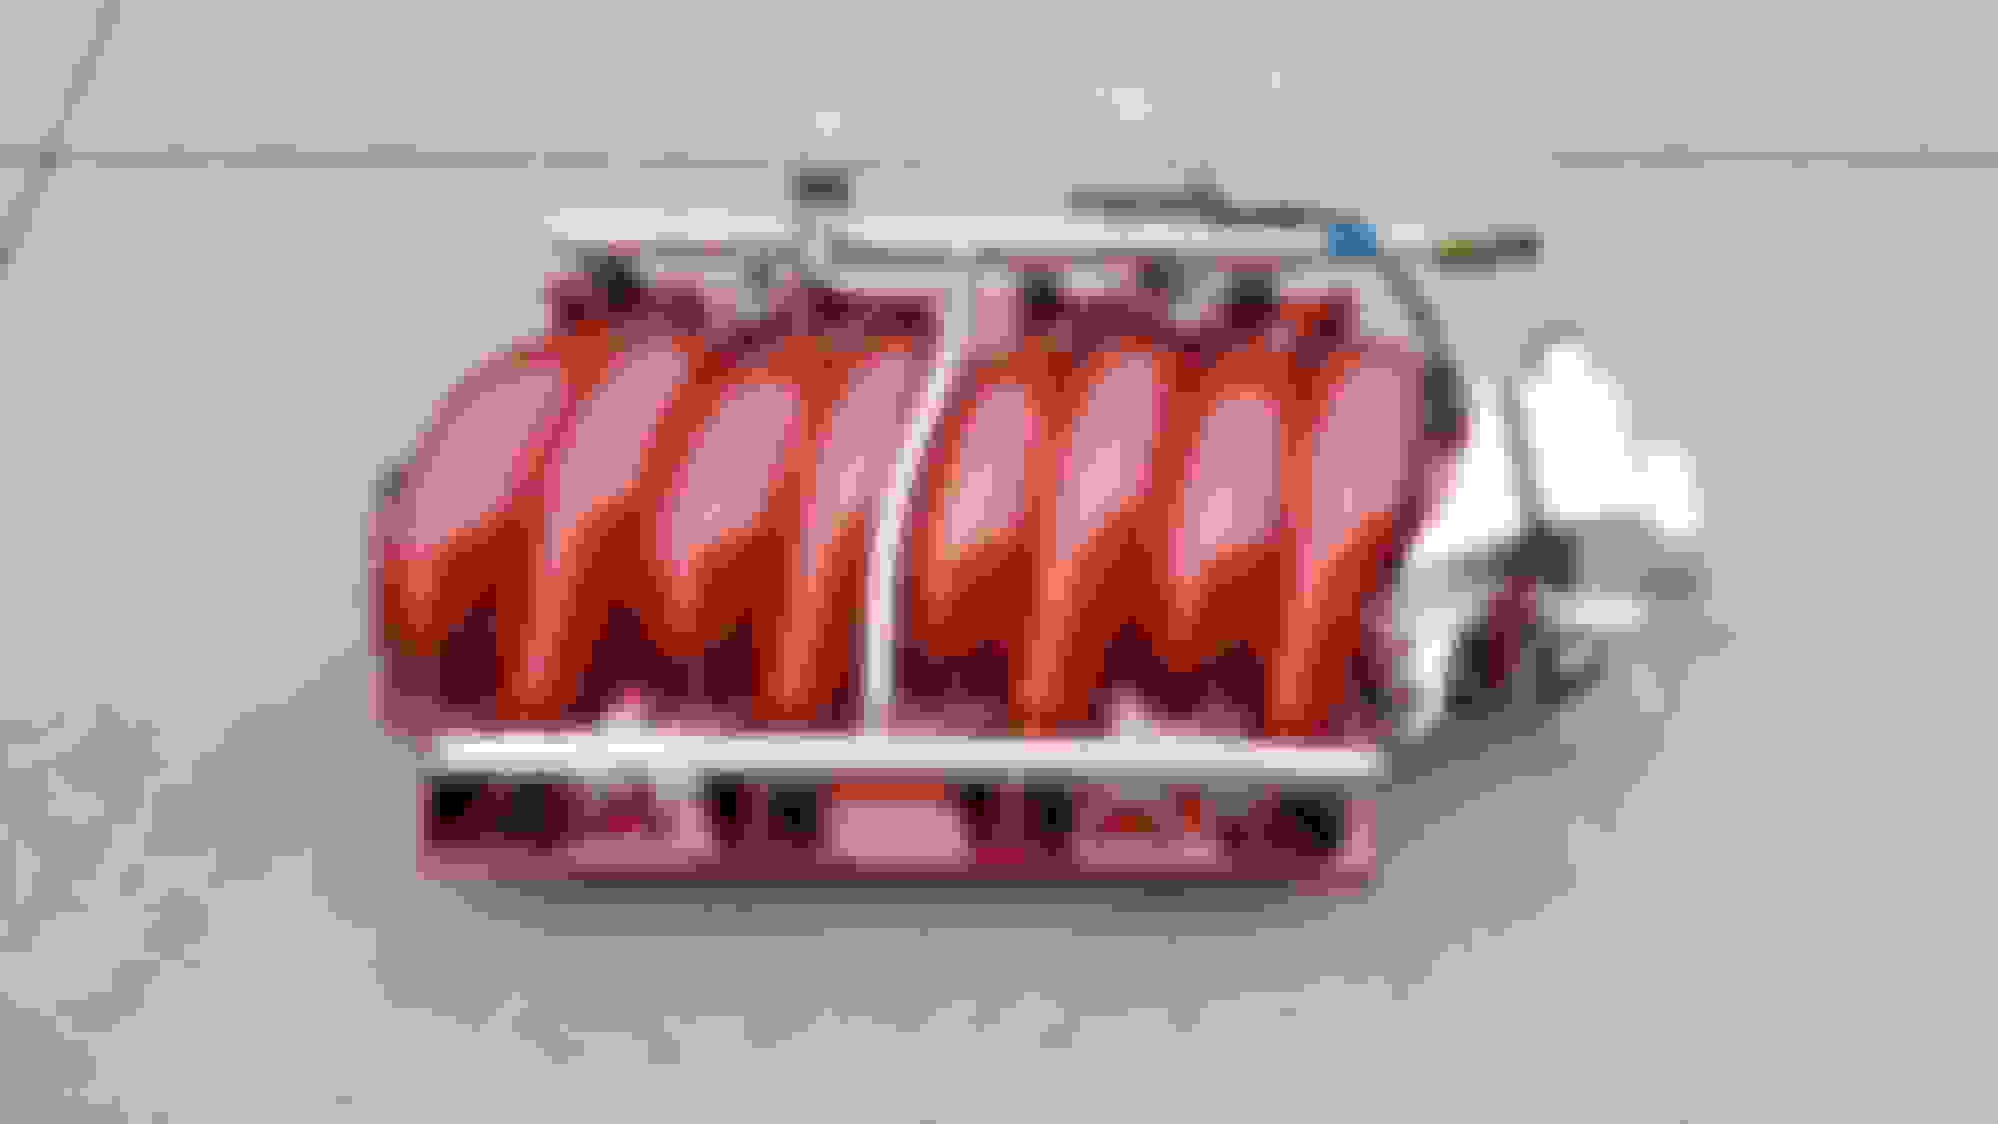
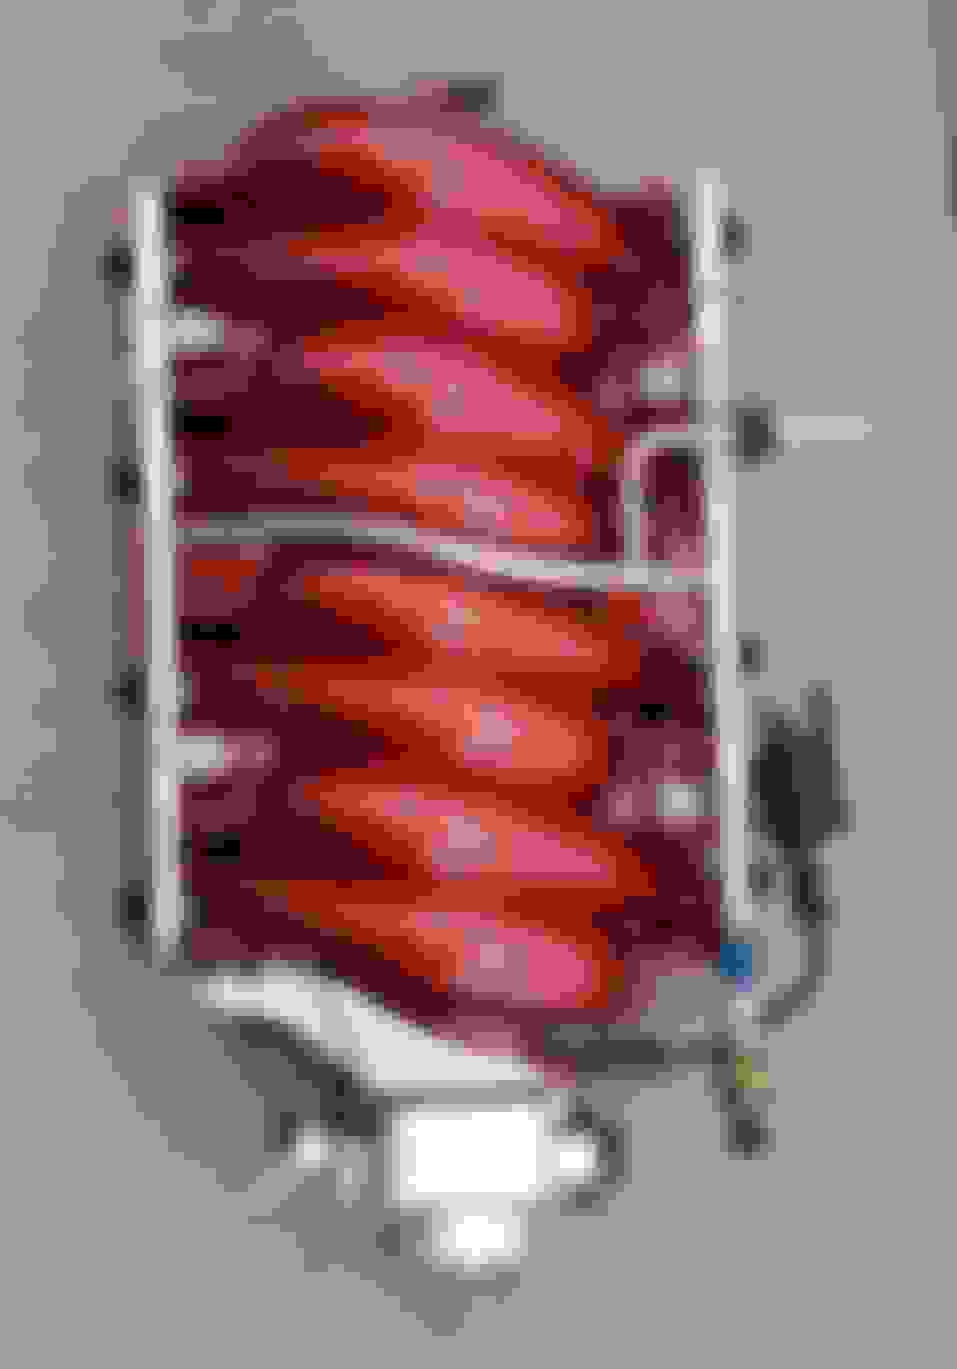
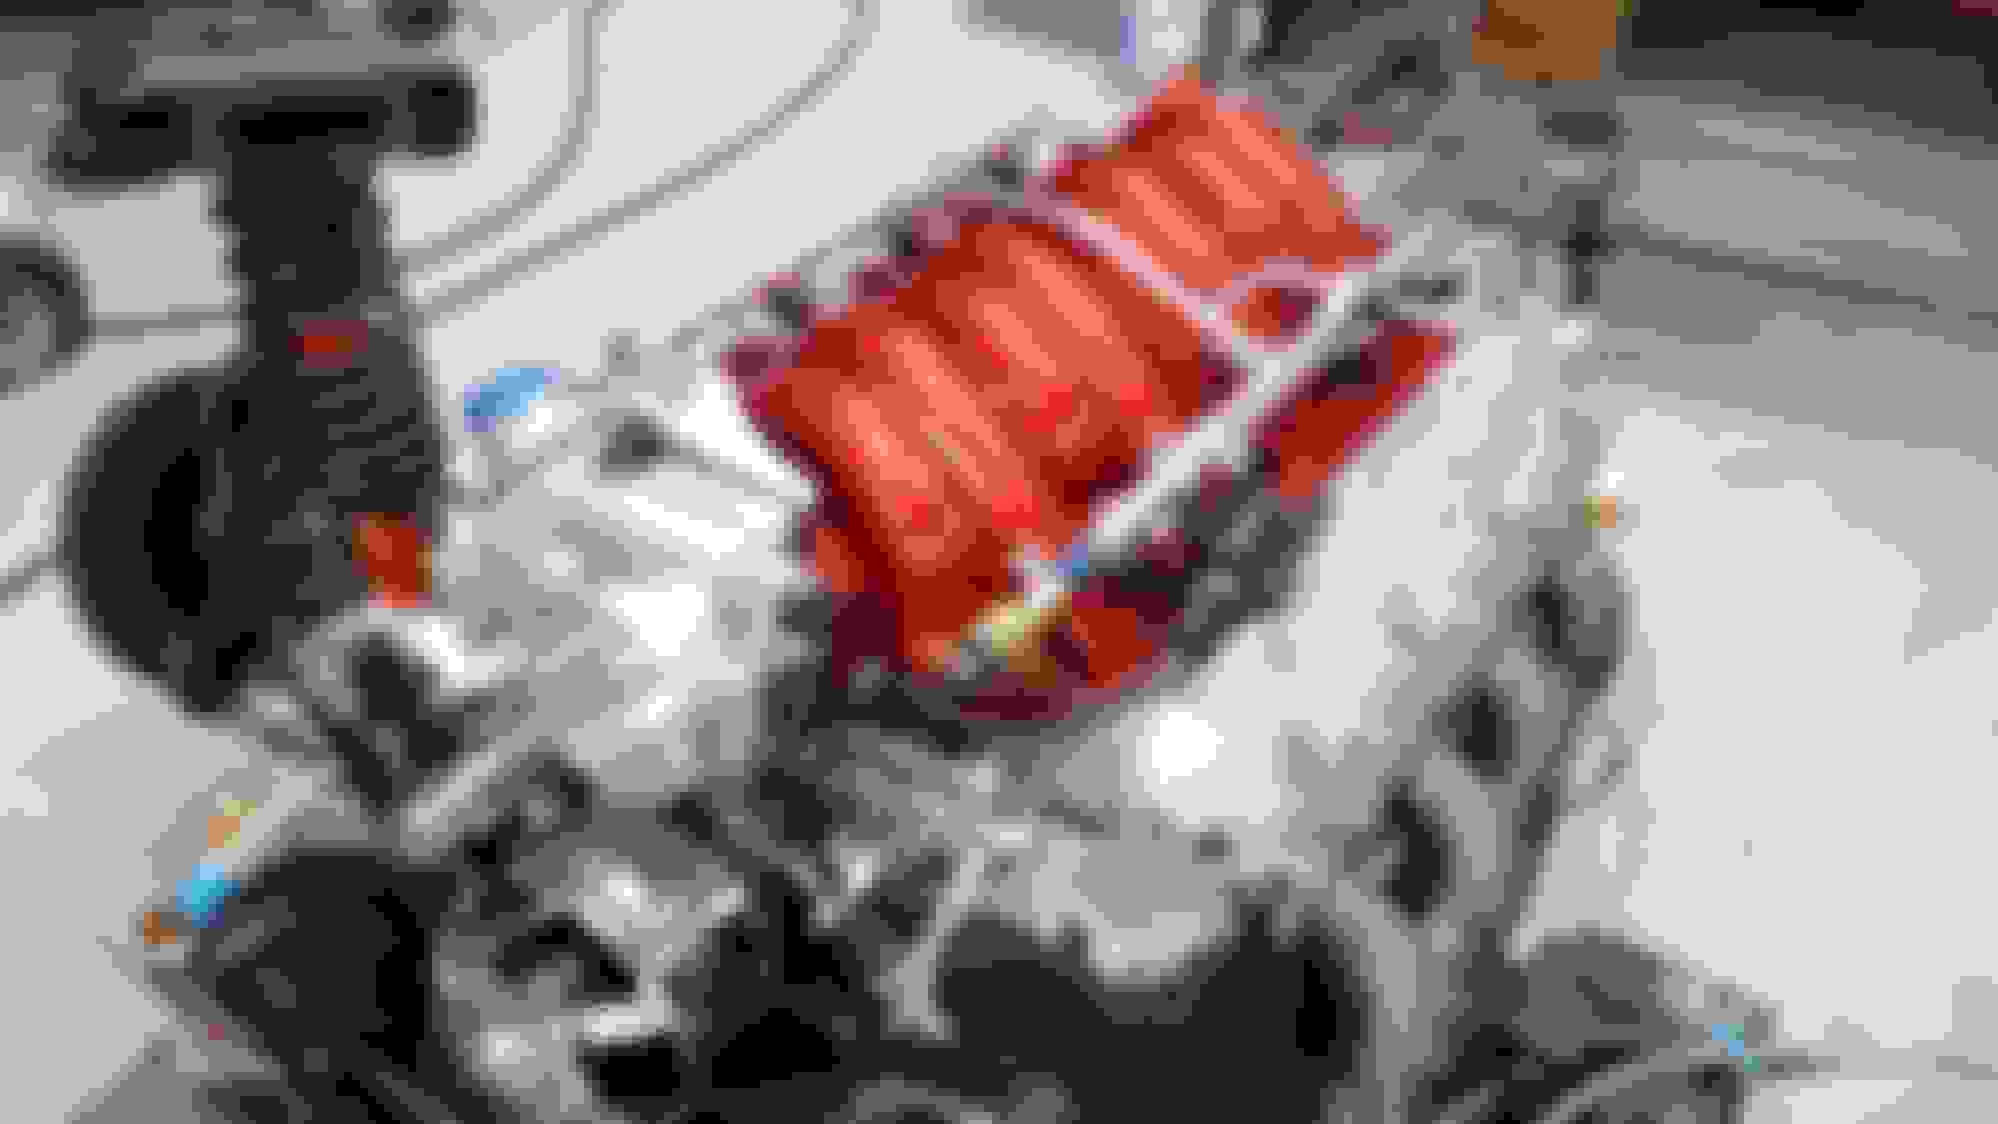
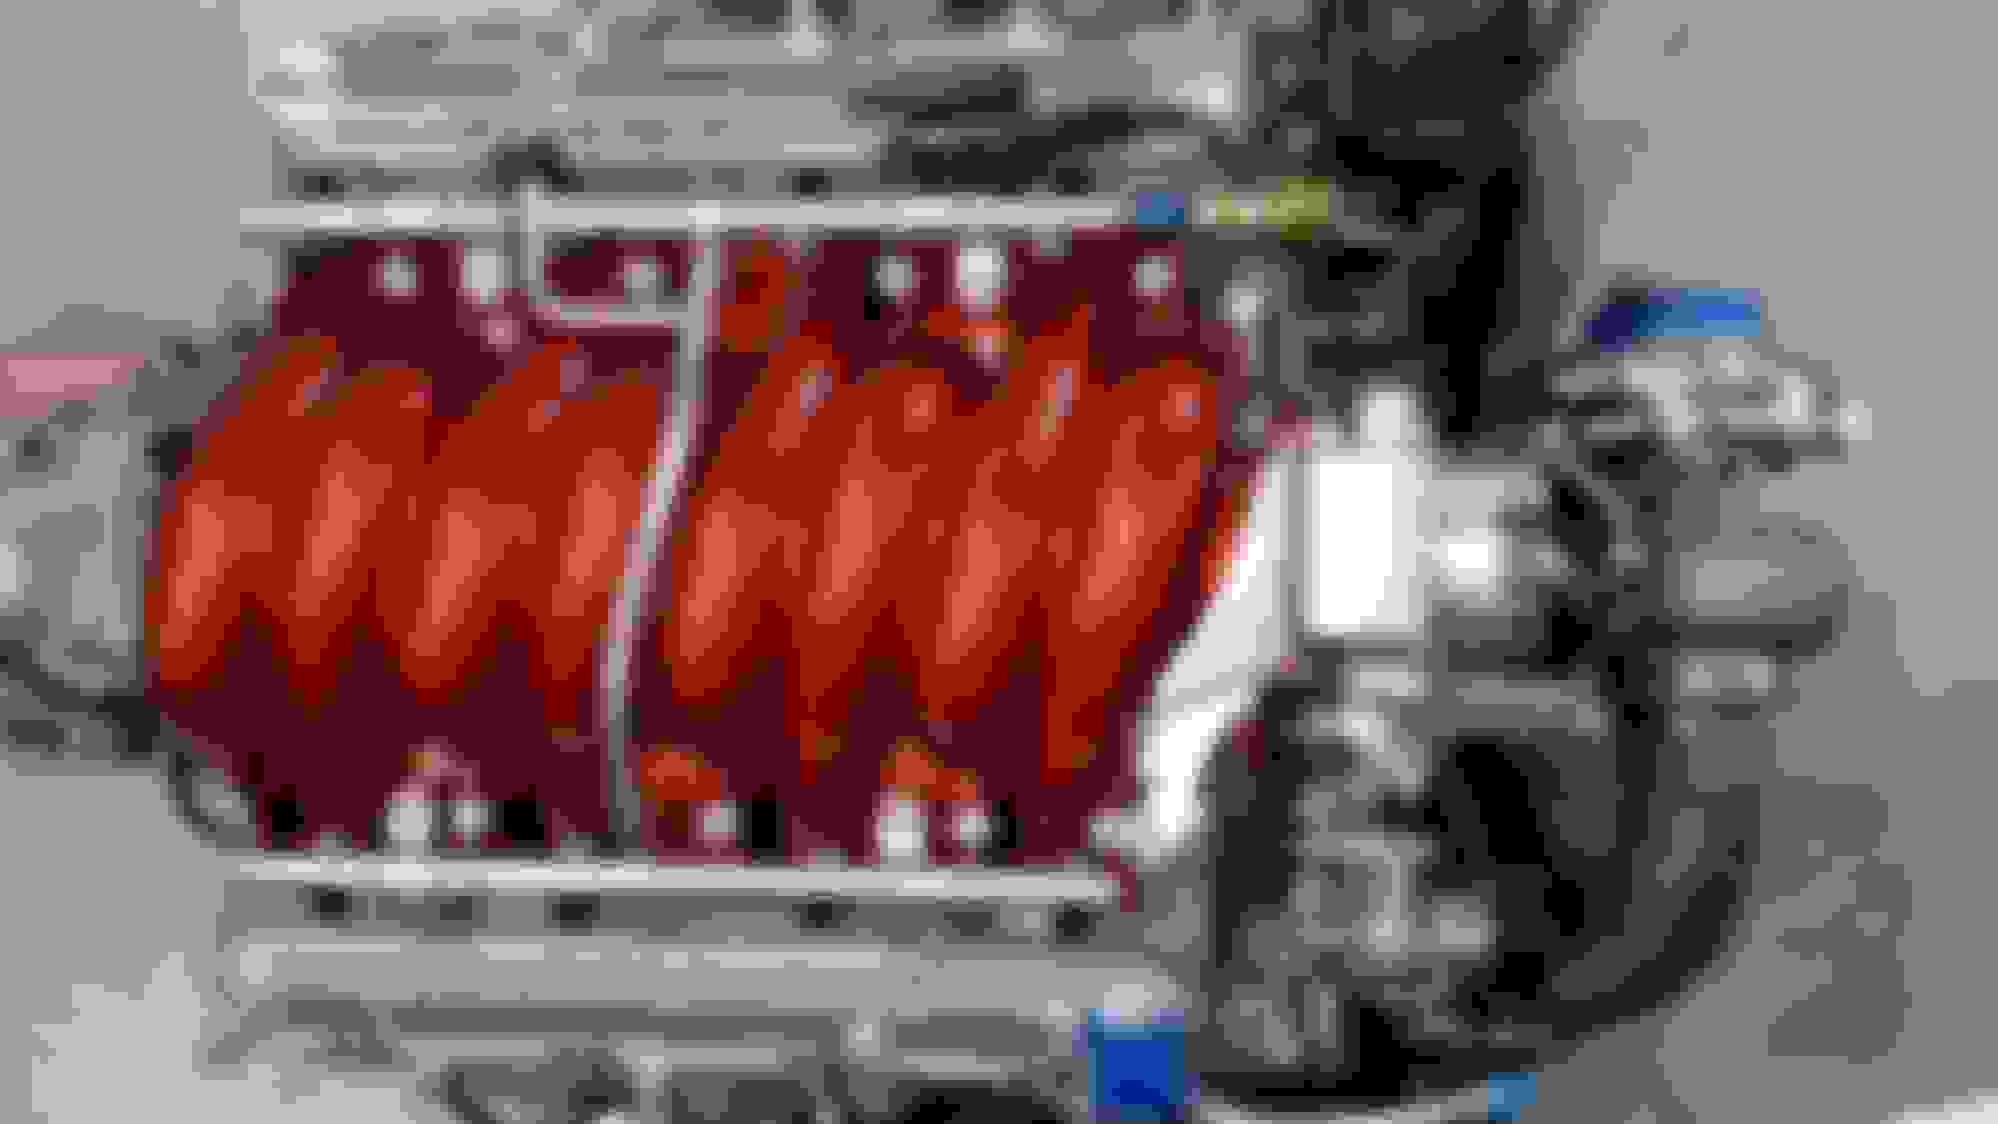
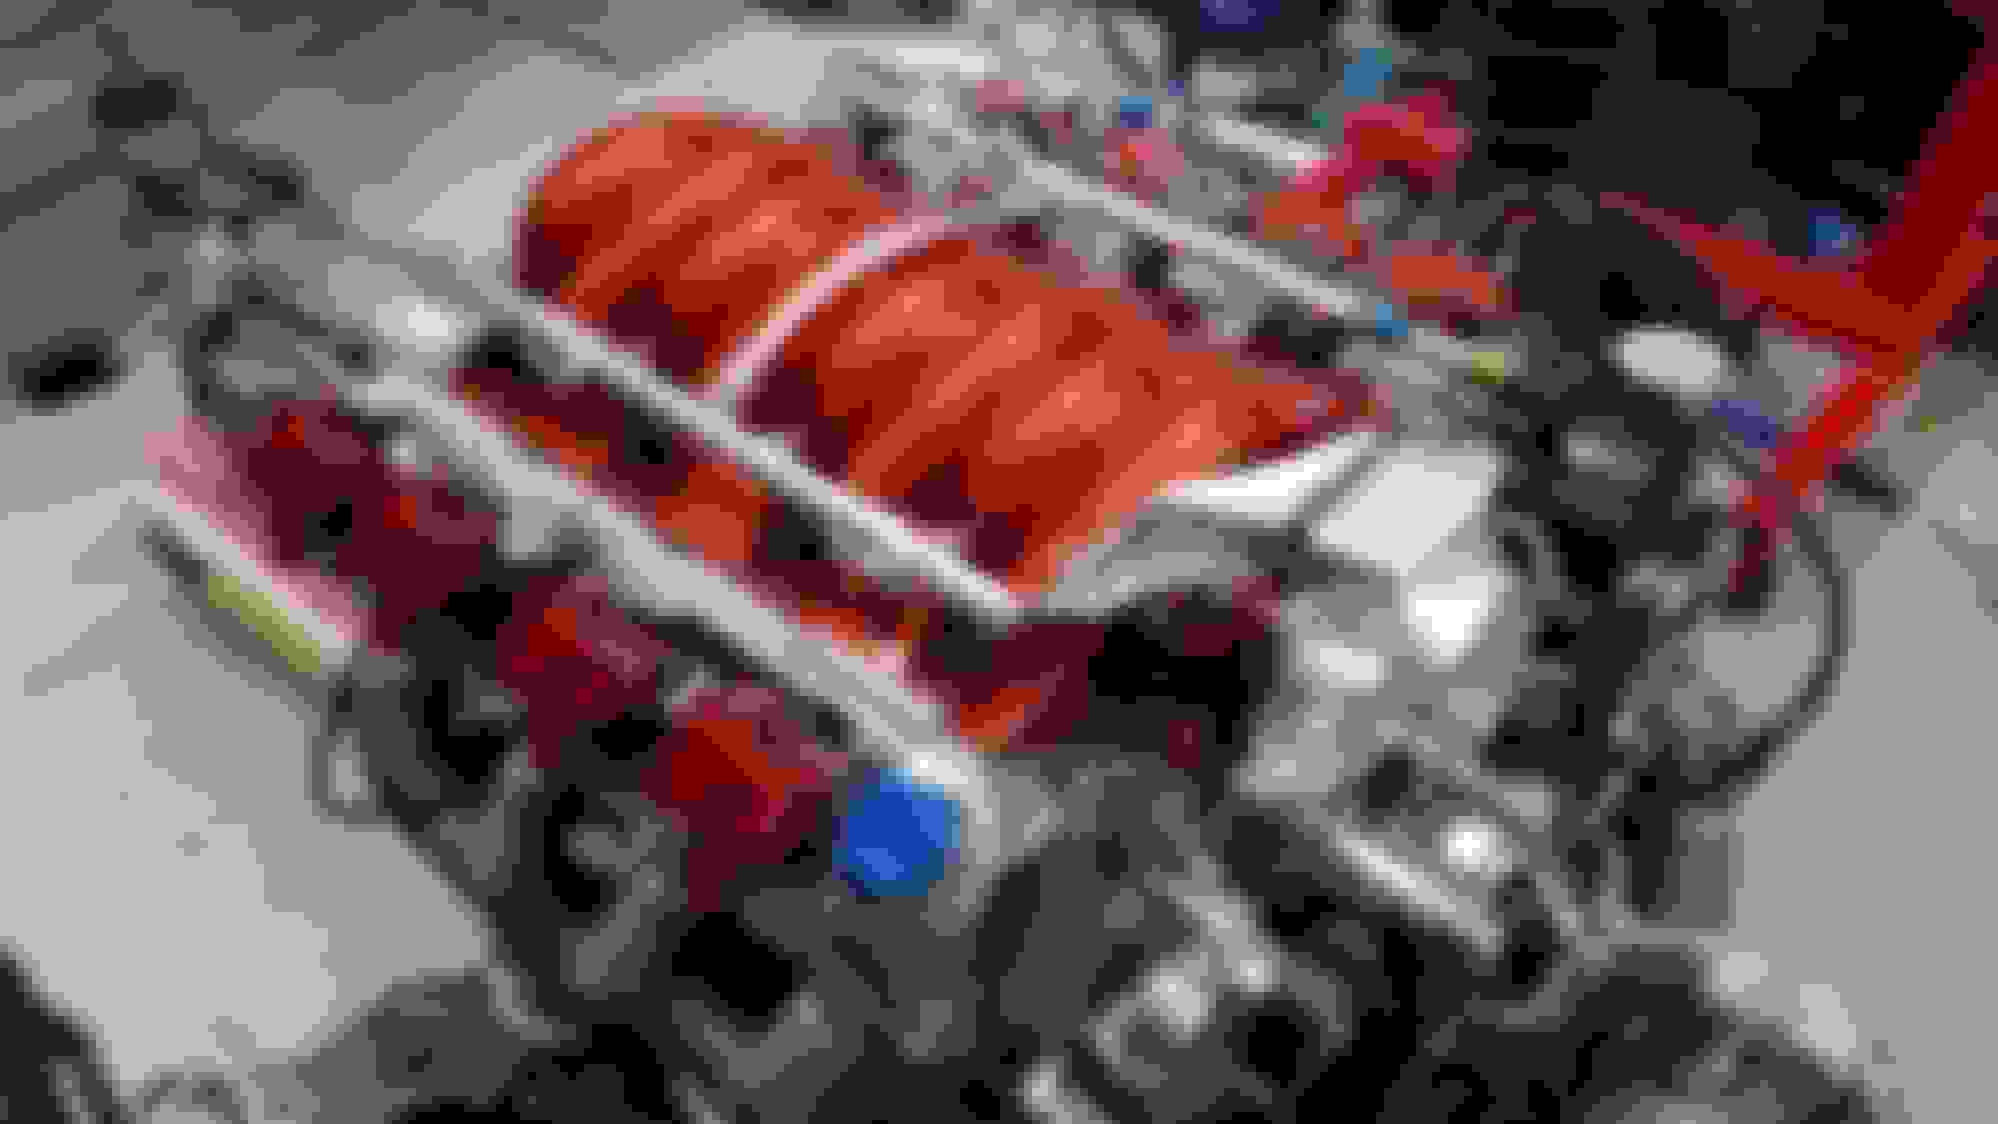
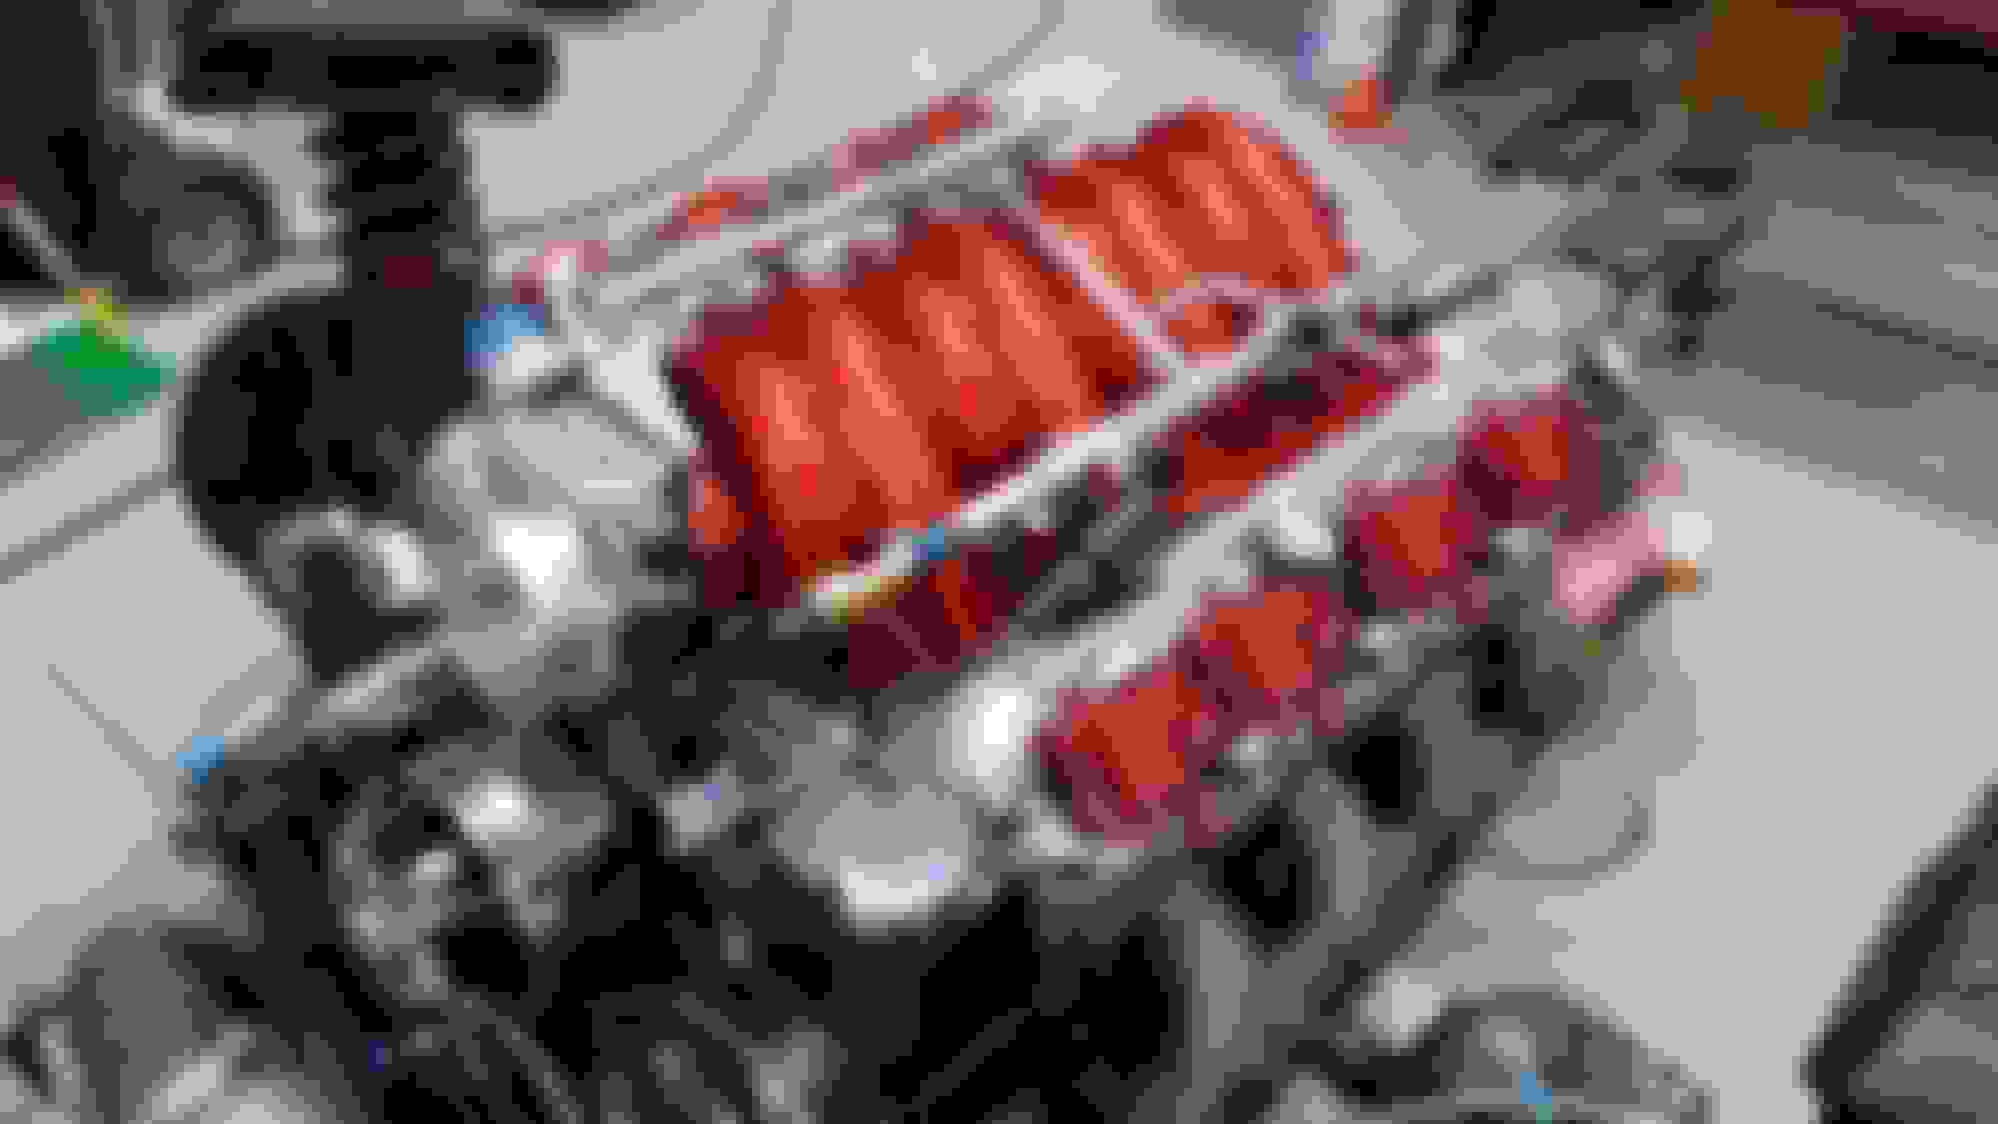
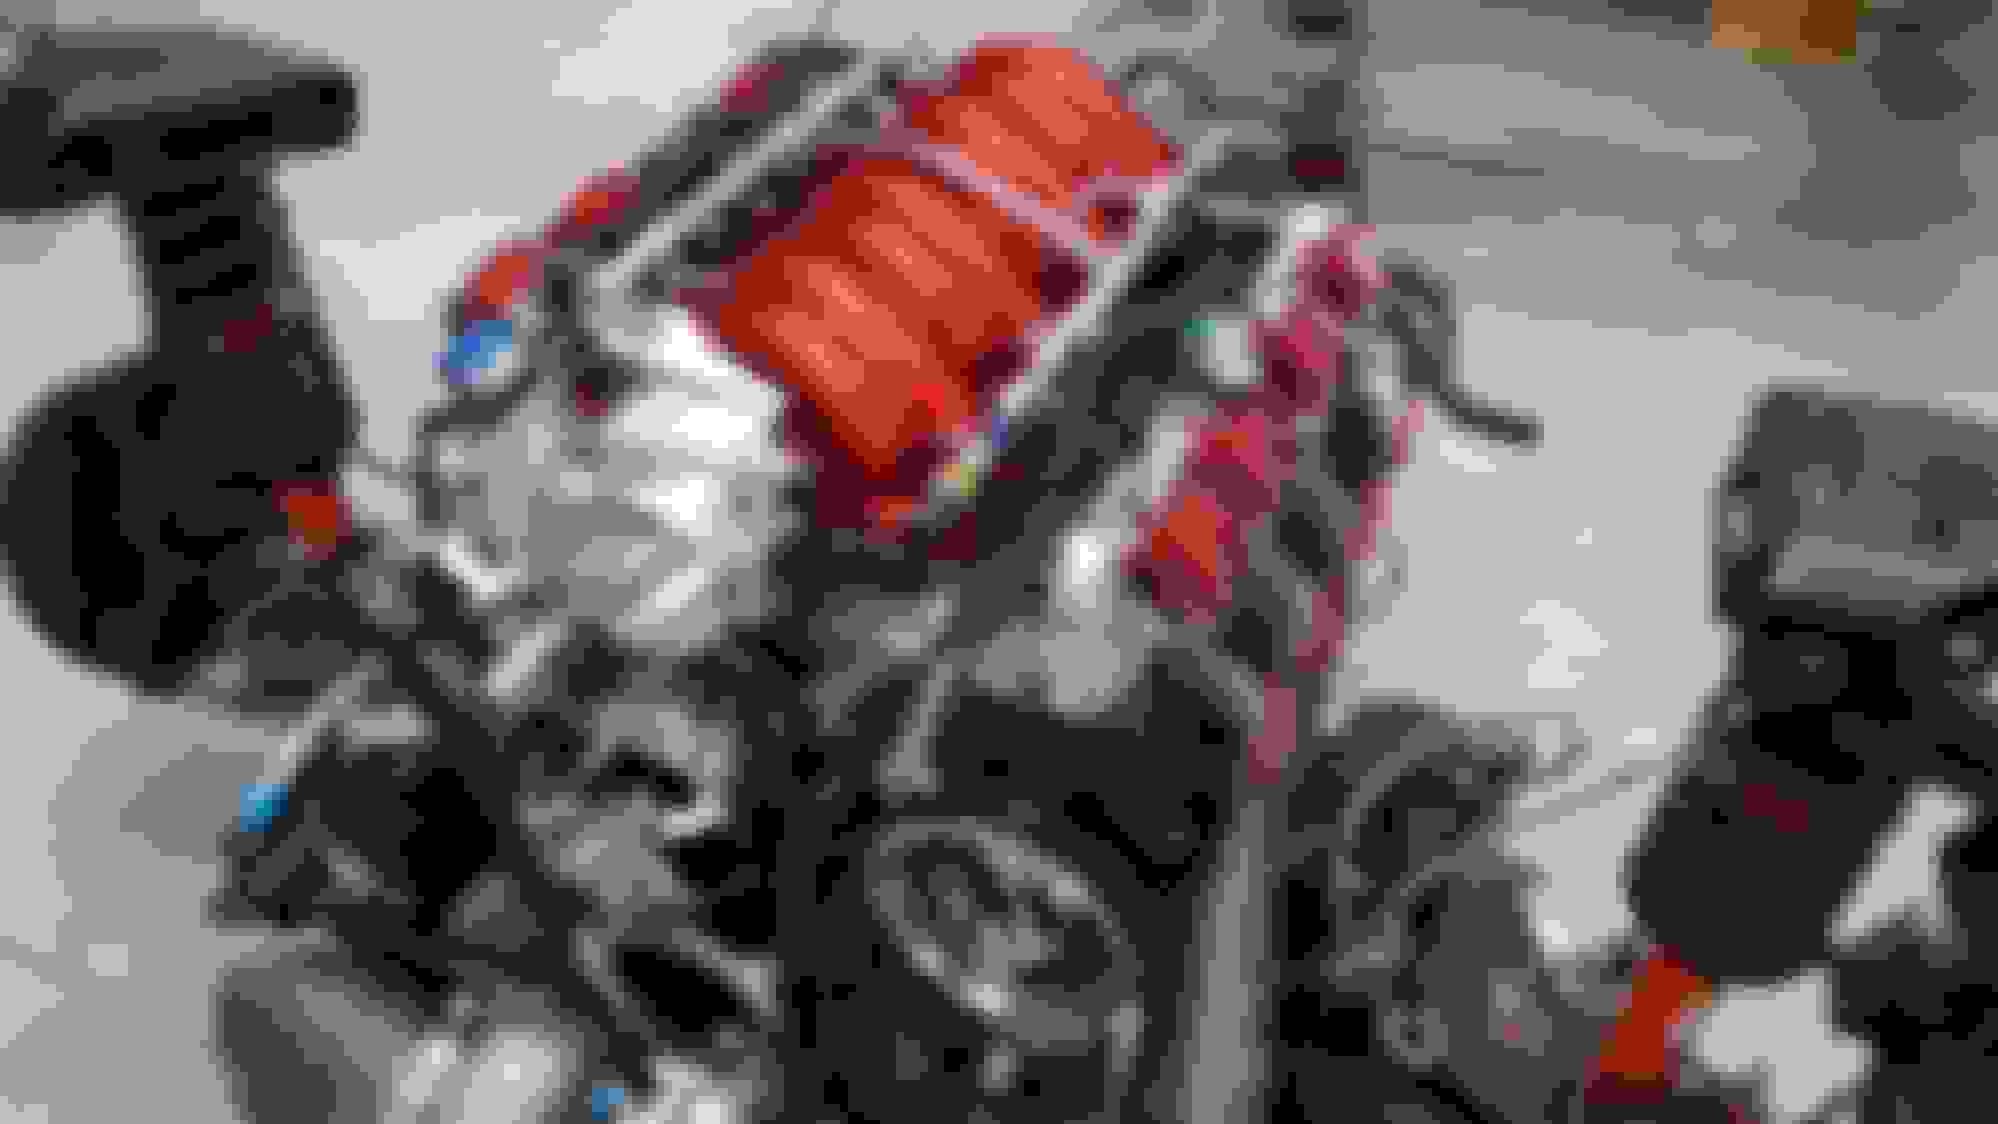
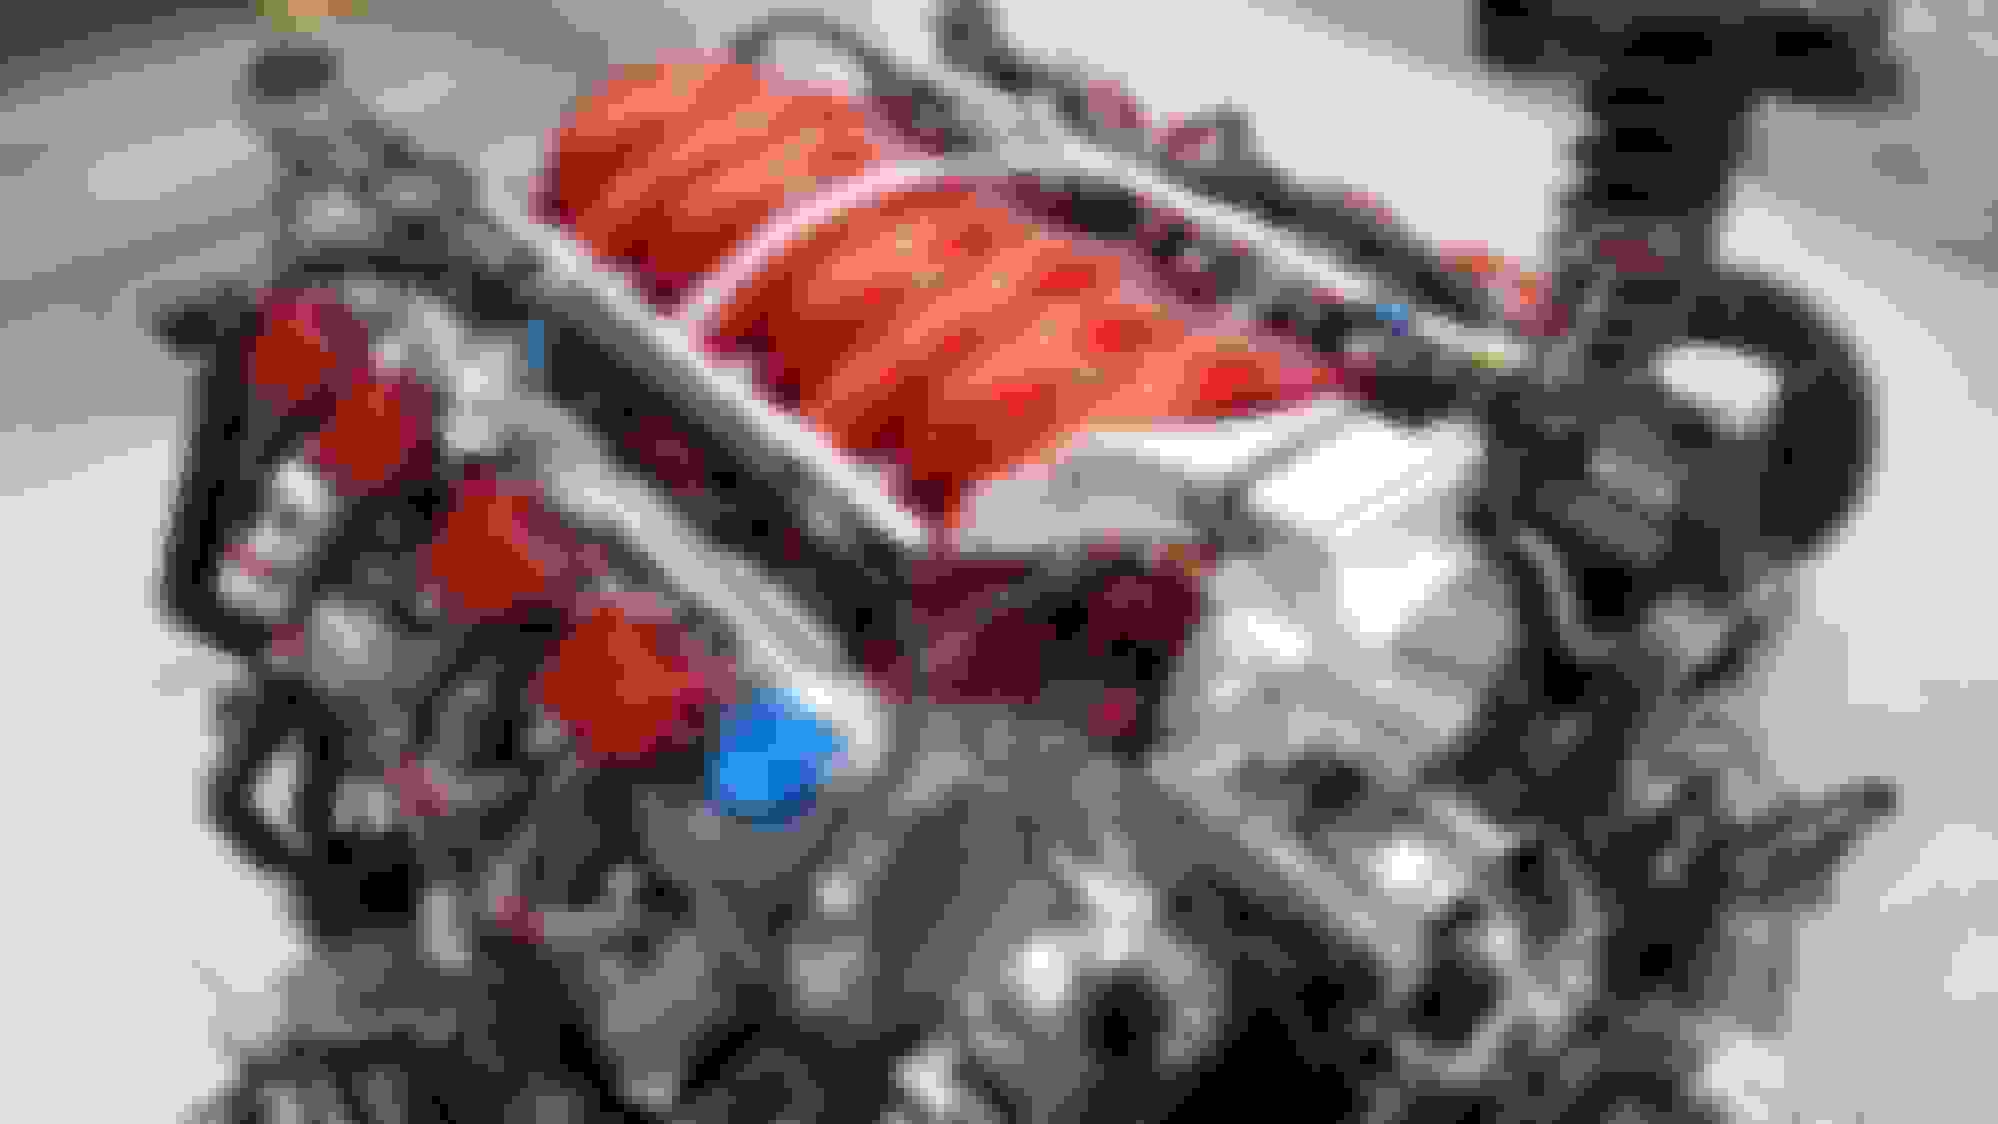
The first piece to my enhanced engine bay is my SOM painted LS3 Intake. I have to give a shout out to my friend Kevin Hilbert owner of Danzer Collision. They did a fantastic job on painting my intake. The color looks spot on to my car and looks so silky. With all the angles its hard to appreciate it's beauty in these pictures. In person, it just pops!
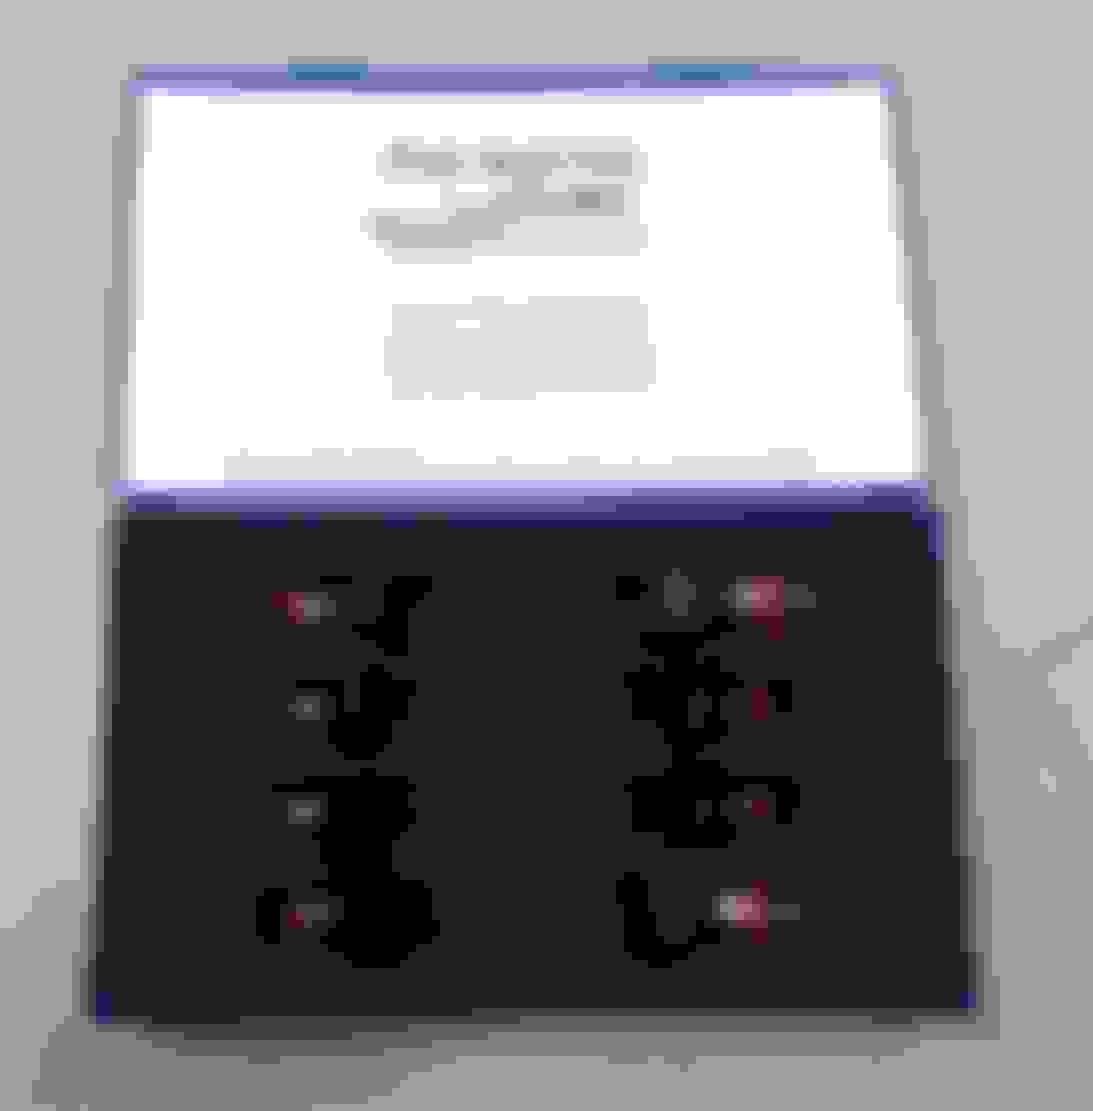
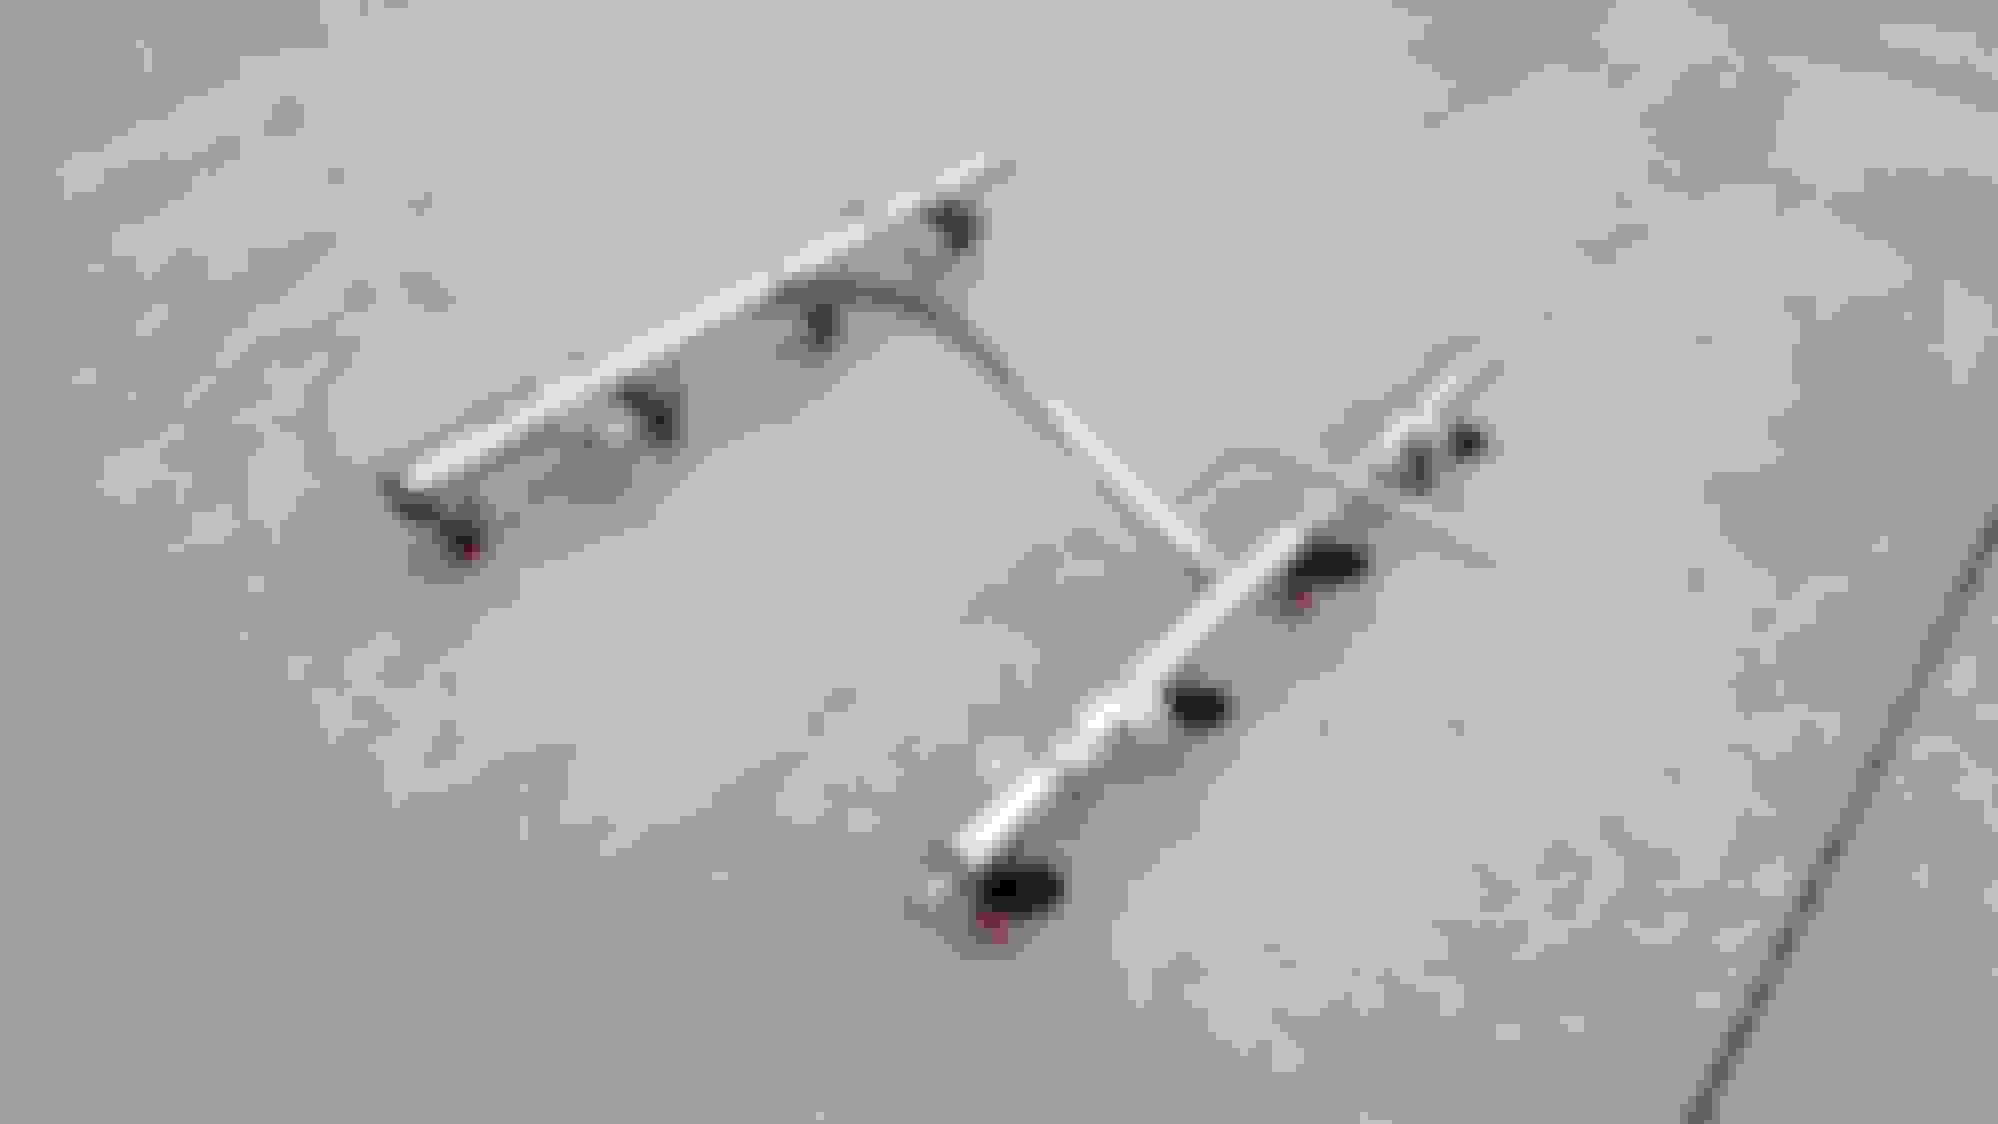
To feed this beast, I bought FIC (Fuel Injector Clinic) 1000cc injectors. When installed in a LS application, they end up being 110lb injectors at 58 PSI of fuel pressure. These are suppose to be plug and play, just use their injector data and your good to go.We'll see....
Each injector has it's own serial number and comes with a flow sheet as show below.
I am using HP Tuners and will be using a their 3 BAR OS. My plan is to eventually run up to 20lb of boost, so a 3 bar setup made sense. To properly read vacuum manifold pressure, I went with the GM 3 BAR MAP Sensor
To compliment the intake, I also painted my coil packs SOM. (Sunset Orange Metallic) for those that don't know.....
I'm not sure if I'm going to powder coat the valve covers gloss black or go chrome. Maybe once it's in the engine bay and I look at for a while, I'll decide. Simple easy project for winter time.
I need a k-member hoist like you built. Got the specs for those pieces/hardware by chance?
Are you referring to the dolly that I made that the K-Member / Engine sits on or the brace that connects the struts together for the crane? I should have more detailed pics of each.
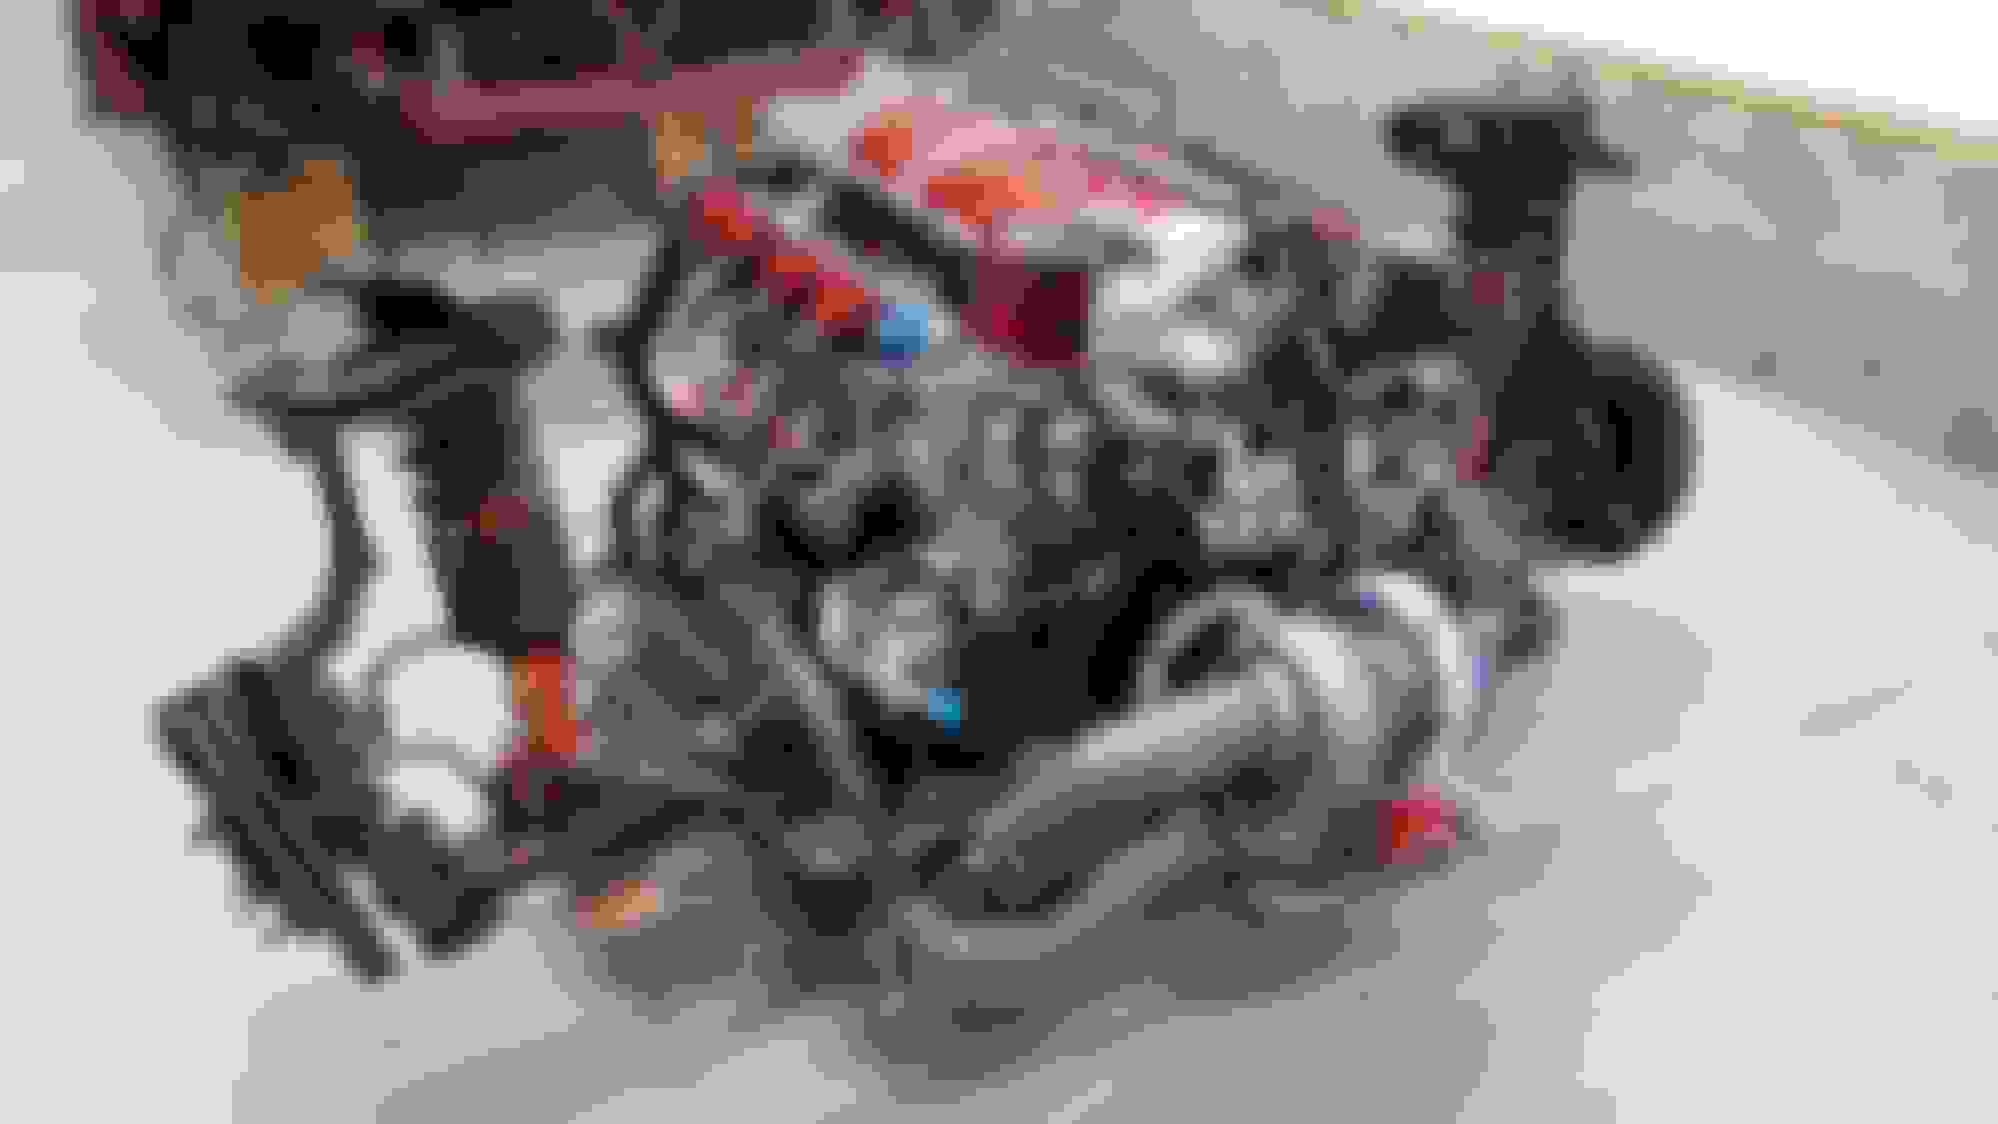
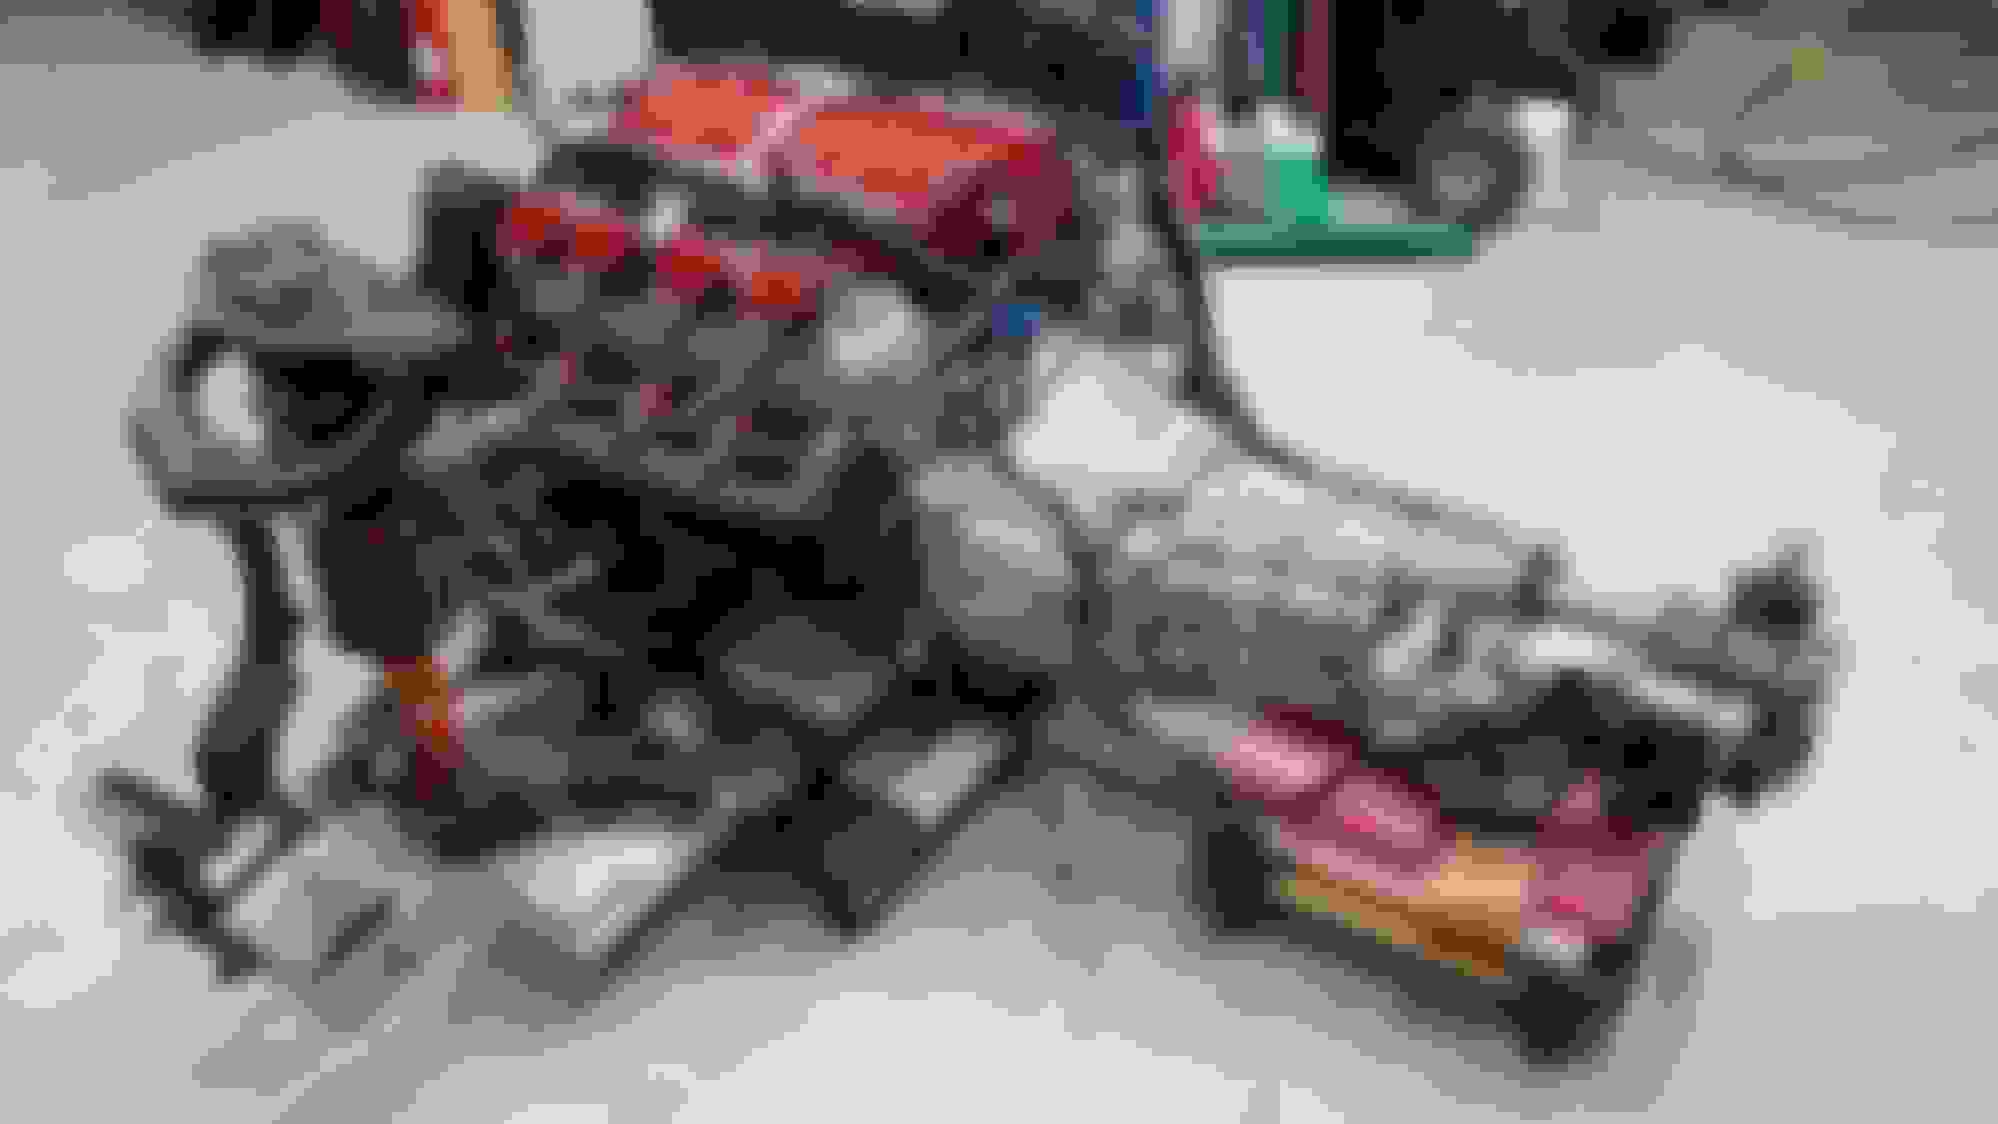
After a lot of blood, sweat and tears (beers), The engine is ready to install back into the car. YEAH !!!
Doing a build this large is a first for me. I've done countless head and cam swaps, header installs, intakes etc on these cars. This build takes the cake. It took longer than I anticipated but being the **** kind of guy I am, I took my time and things had to be as perfect as possible. Its way easier to fix things now than later on. I triple checked things all the time and paid attention to the smallest details. With everything out of the car you have many opportunities to view and work on the engine, as you know, it's more of a challenge when the drivetrain is in the car.
Being a one man show and doing all the work myself except building the short block, to be honest, I'm kinda proud of myself. My dad tells me all the time that he's impressed by what I can do with these cars and he could never do it. He says, give me a 60's - 70's car and it's no problem for him, tons of room to work in those cars and no electronics. lol
With a lot of planning, research, asking the right questions, taking your time and having a lot of patience, it eventually all came together.

 10-13-2018, 08:17 AM