When you click on links to various merchants on this site and make a purchase, this can result in this site earning a commission. Affiliate programs and affiliations include, but are not limited to, the eBay Partner Network.
Maybe not looking in right place but I don't see a fuel pressure regulator. With all of the additional rwhp, obviously are going to need more pump. How do you plan to manage fuel pressure?
Maybe not looking in right place but I don't see a fuel pressure regulator. With all of the additional rwhp, obviously are going to need more pump. How do you plan to manage fuel pressure?
I currently have the Racetronix single pump and hotwire kit from 10 years ago. The wastegate has the 7.5lb spring installed which will probably max out the Racetronix pump fairly fast. At this point and going into winter, I'll just keep that for now and tune it the best I can for break in of the new engine. As long as I keep an eye on fuel pressure and injector duty cycle, I should be ok as long as I don't get greedy and constantly beat the snot out of it.
If money allows this winter, I would like to upgrade to a dual intank pump, new feed line, fuel pressure regulator and new rails to support at least 1,000+ RWHP. Not sure of what brand of parts for the fuel system I'm going with yet.
Before the engine goes in, I have to make a hole under the steering column so I can run wires for my boost controller, Alky Meth Kit and vacuum lines into the passenger compartment.
To make the hole, I used a 1 3/8" Bi-Metal hole saw. It was tight to get a drill in there but you can do it...
Now that the hole is drilled, I needed a big rubber grommet to put in there so the wires and hoses don't get cut due to vibration against the metal. I bought this at either Autozone or Advanced Auto.
Before I install the engine back into the car, I wanted to give the engine bay a quick wipe down and snap some pics for future reference.
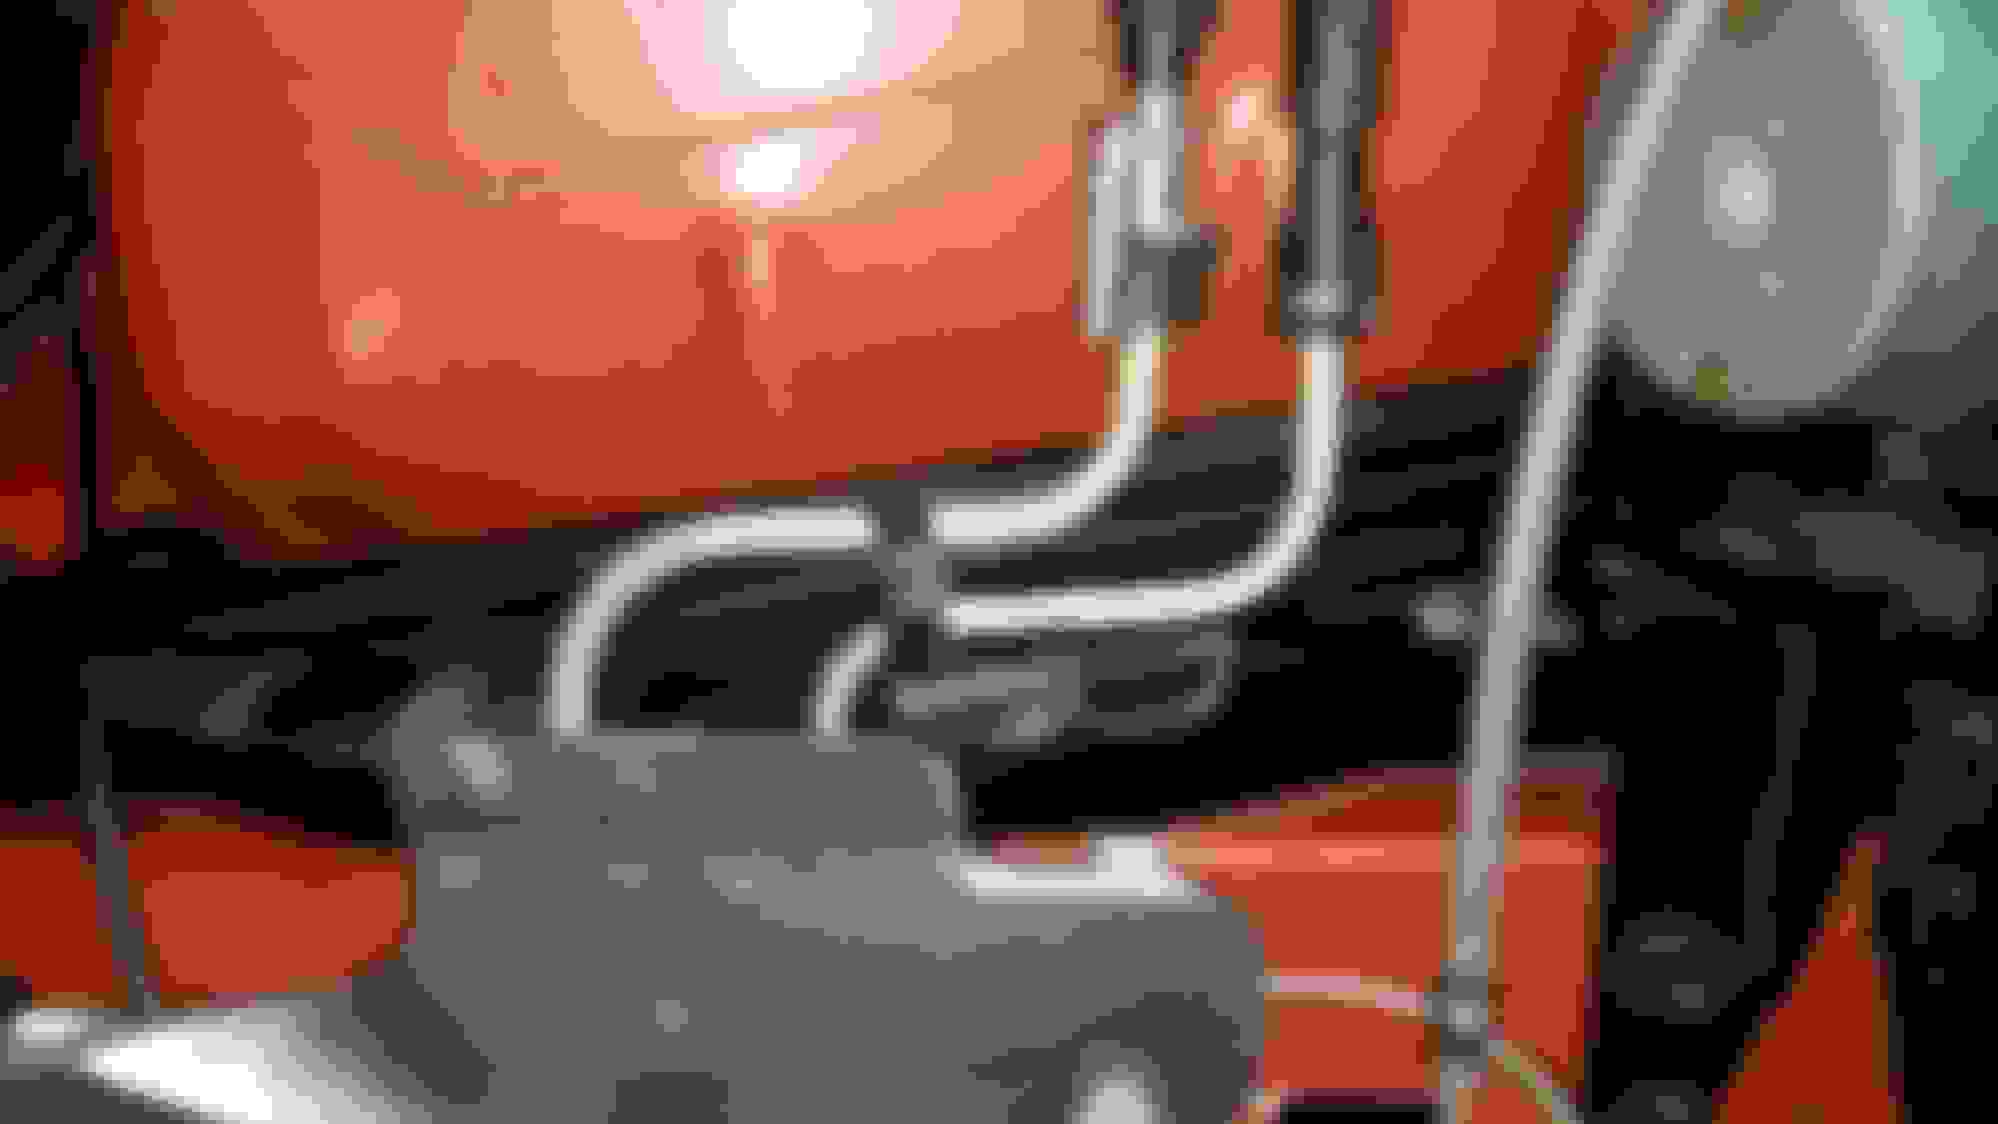
Behind the ABS module and fuel lines, I ran my wires for the Boost controller, Alky Meth kit and vacuum lines to the hole I drilled earlier. I put most of it in wire loom to give it a factory look.
The wires and vacuum lines fit route great in this area.
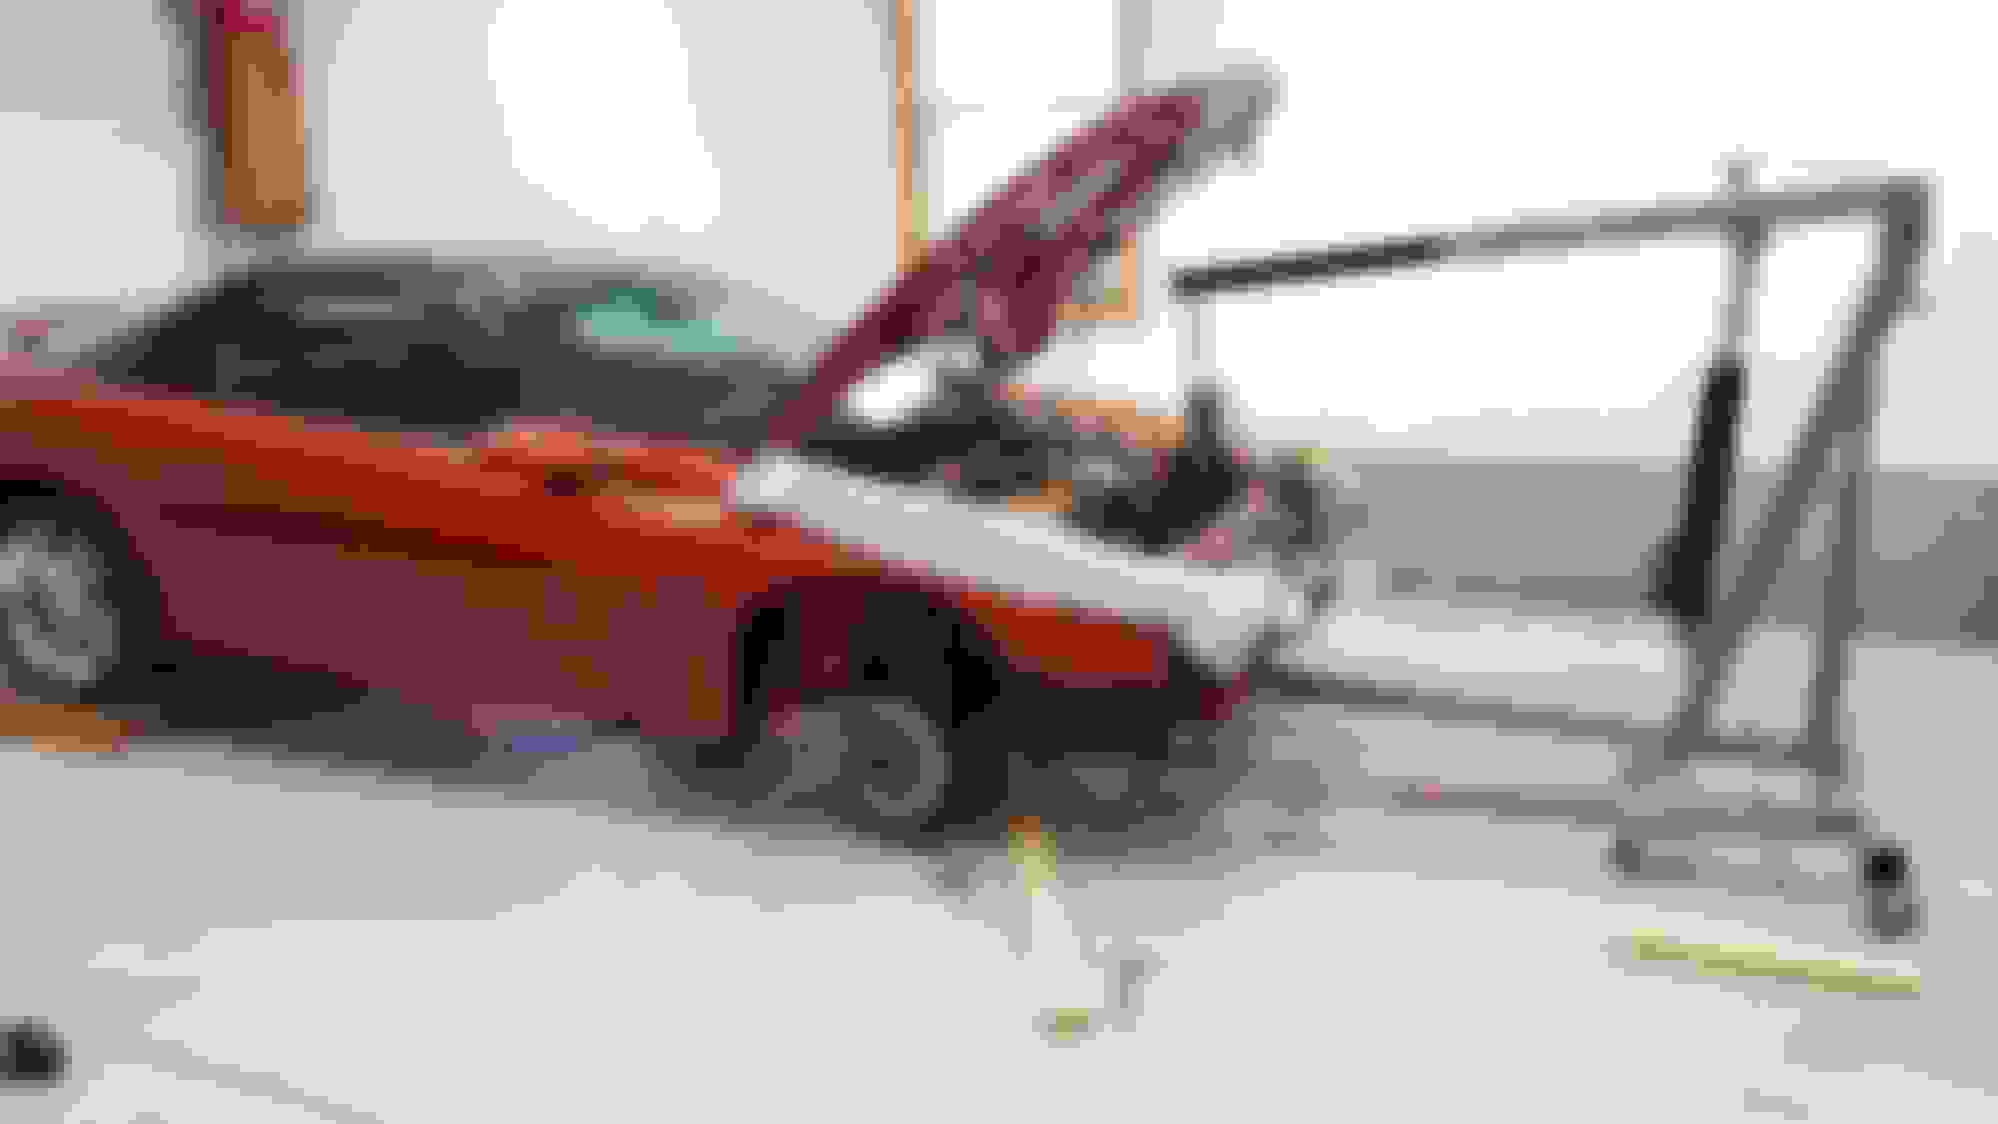
After many months of planning, buying parts and assembly, its time to install the engine in the car. I'm finally going turbo!!! Yea!
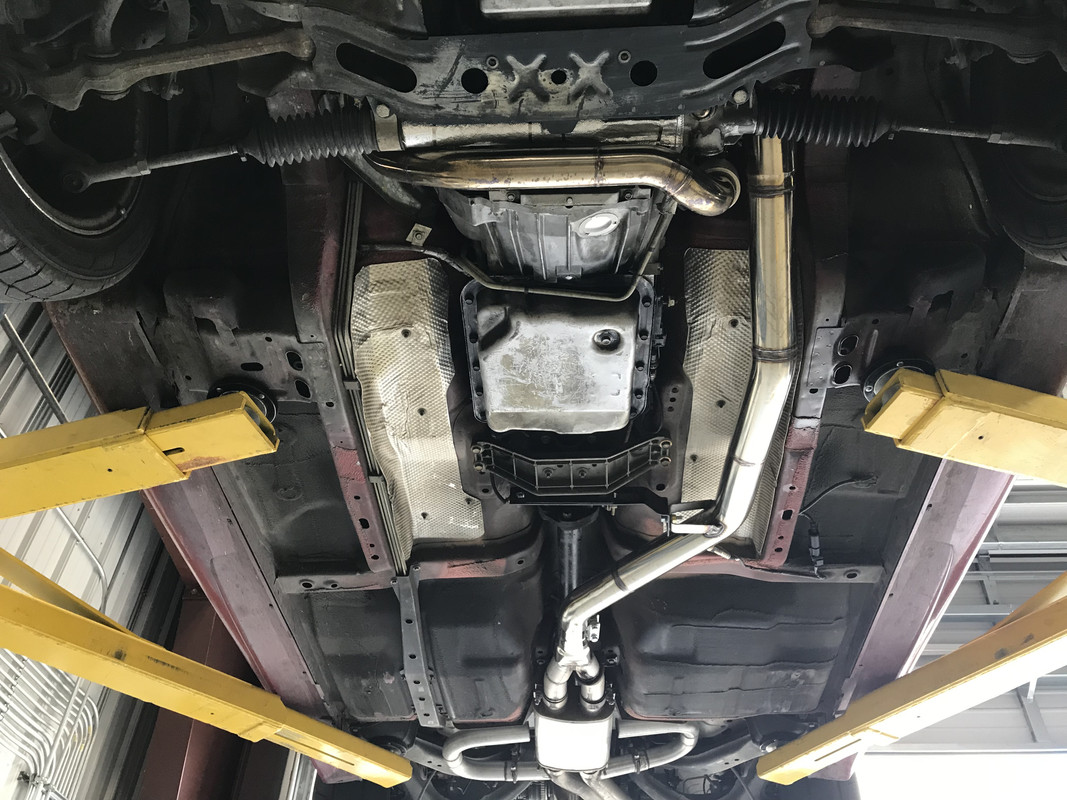
After we safely raised the car and put the blocks under the sub frames, we slid the drivetrain under the car. As we lowered the car body onto the engine, I quickly learned that it doesn't just drop in like normal. I've asked Huron Speed if you can do it this way, they said yes no problem. Well yes and no.... Some of the piping, clamps and brake lines come in contact with other things as I lowered it down. After some trial and error we got it in for the most part... If I had to do this again, I think I'd install the turbo kit after the engine was installed.
One of the main problems I had getting this in was the engine cradle that I built. Overall it worked great but the issues I had were the supports I made to hold up the A-arms. When I set the body down onto the struts, the springs wouldn't compress enough to get the K-Member bolts in. I ended up removing the supports to allow the body to fully drop down. Even though I did a test fit of the Turbo K-Member to the frame/body, I still had to use some persuasion to get some of the 6 bolts into the body.
I currently have the Racetronix single pump and hotwire kit from 10 years ago. The wastegate has the 7.5lb spring installed which will probably max out the Racetronix pump fairly fast. At this point and going into winter, I'll just keep that for now and tune it the best I can for break in of the new engine. As long as I keep an eye on fuel pressure and injector duty cycle, I should be ok as long as I don't get greedy and constantly beat the snot out of it.
If money allows this winter, I would like to upgrade to a dual intank pump, new feed line, fuel pressure regulator and new rails to support at least 1,000+ RWHP. Not sure of what brand of parts for the fuel system I'm going with yet.
I would suggest looking unti Earl's Ultra Pro lines and fittings for your fuel system. I used them and they are easy to work with and route also the price point was better than some other PTFE AN fuel lines. I turned my sytem into a return style and am happy with how it came out. Nice build too BTW!!
Congrats on getting it back under the car. Good advice. I am hoping to have mine back under my car in the next 2-3 months, and I'd hate to run into massive issues with the kit on the motor. It's already on it. Before I pull it off, what hit? The driver header and ABS block?
I would suggest looking unti Earl's Ultra Pro lines and fittings for your fuel system. I used them and they are easy to work with and route also the price point was better than some other PTFE AN fuel lines. I turned my sytem into a return style and am happy with how it came out. Nice build too BTW!!
Thank you!
Once its all done and the bugs worked out, I plan on upgrading the whole fuel system (when $$$ allows) minus the new 1000cc injectors. I'll have to check out the Earl's products.
I'm trying to take my time and to figure it all out as I go. Being a one man show, it does have it's challenges!!! If I do this again (maybe for a buddies car) it won't take so long the 2nd time.
Looking forward to see where the exhaust goes and the rest of the build!
The turbo sits on the merge. All the weight from the hot side is on the exhaust manifold bolts. I was thinking there could be a extra support of some kind, not sure at this point on how to add it properly.
Congrats on getting it back under the car. Good advice. I am hoping to have mine back under my car in the next 2-3 months, and I'd hate to run into massive issues with the kit on the motor. It's already on it. Before I pull it off, what hit? The driver header and ABS block?
The AC Line and drivers side manifold was hitting the brake lines. You will need to bend your brake lines by the ABS so the manifold clears. If the engine is out, do that first, it's a pain with the engine in the way. I'll be posting some pics and info soon about those issues.
If you you have the same kit and want more details PM me.
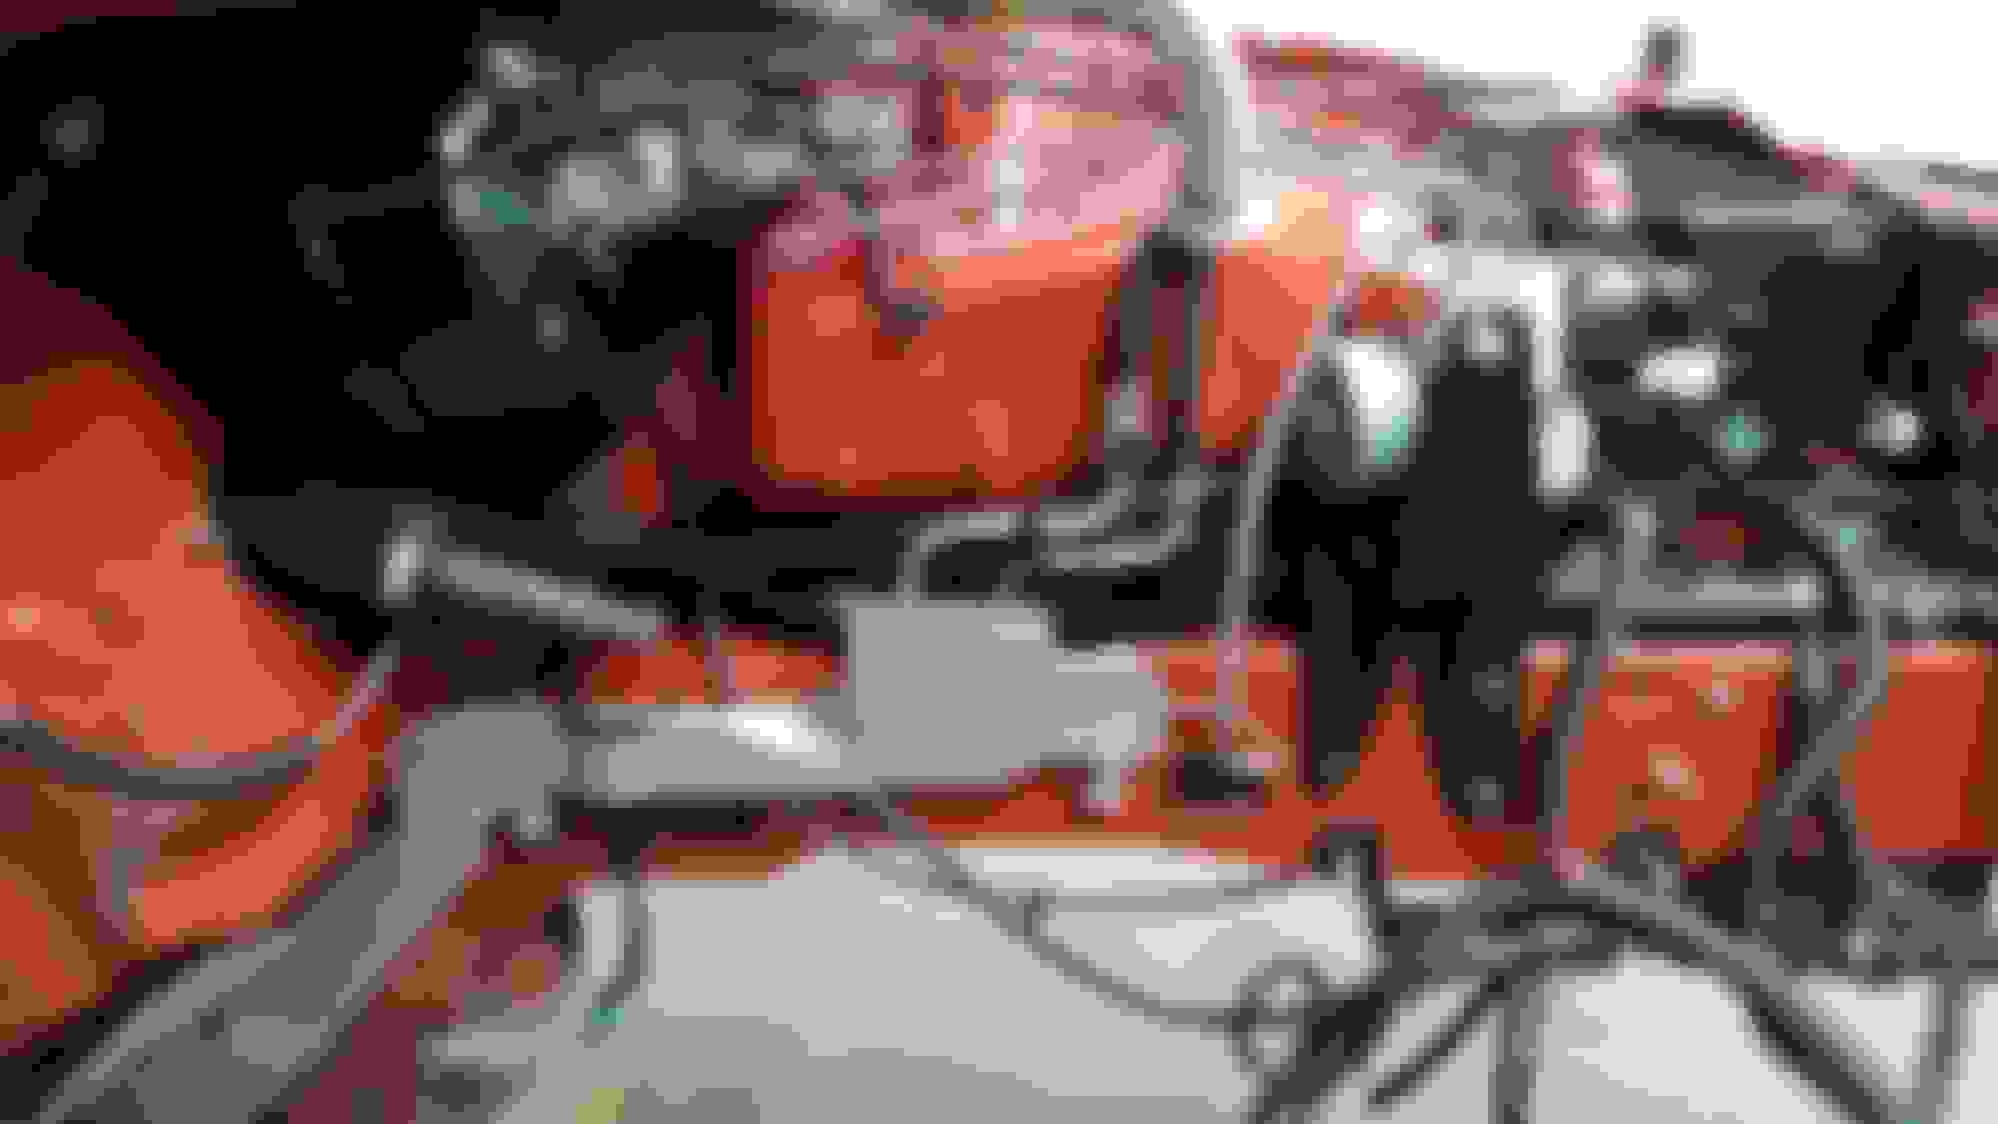
Now that the engine is installed, it's time to start hooking up things so I can fire it!
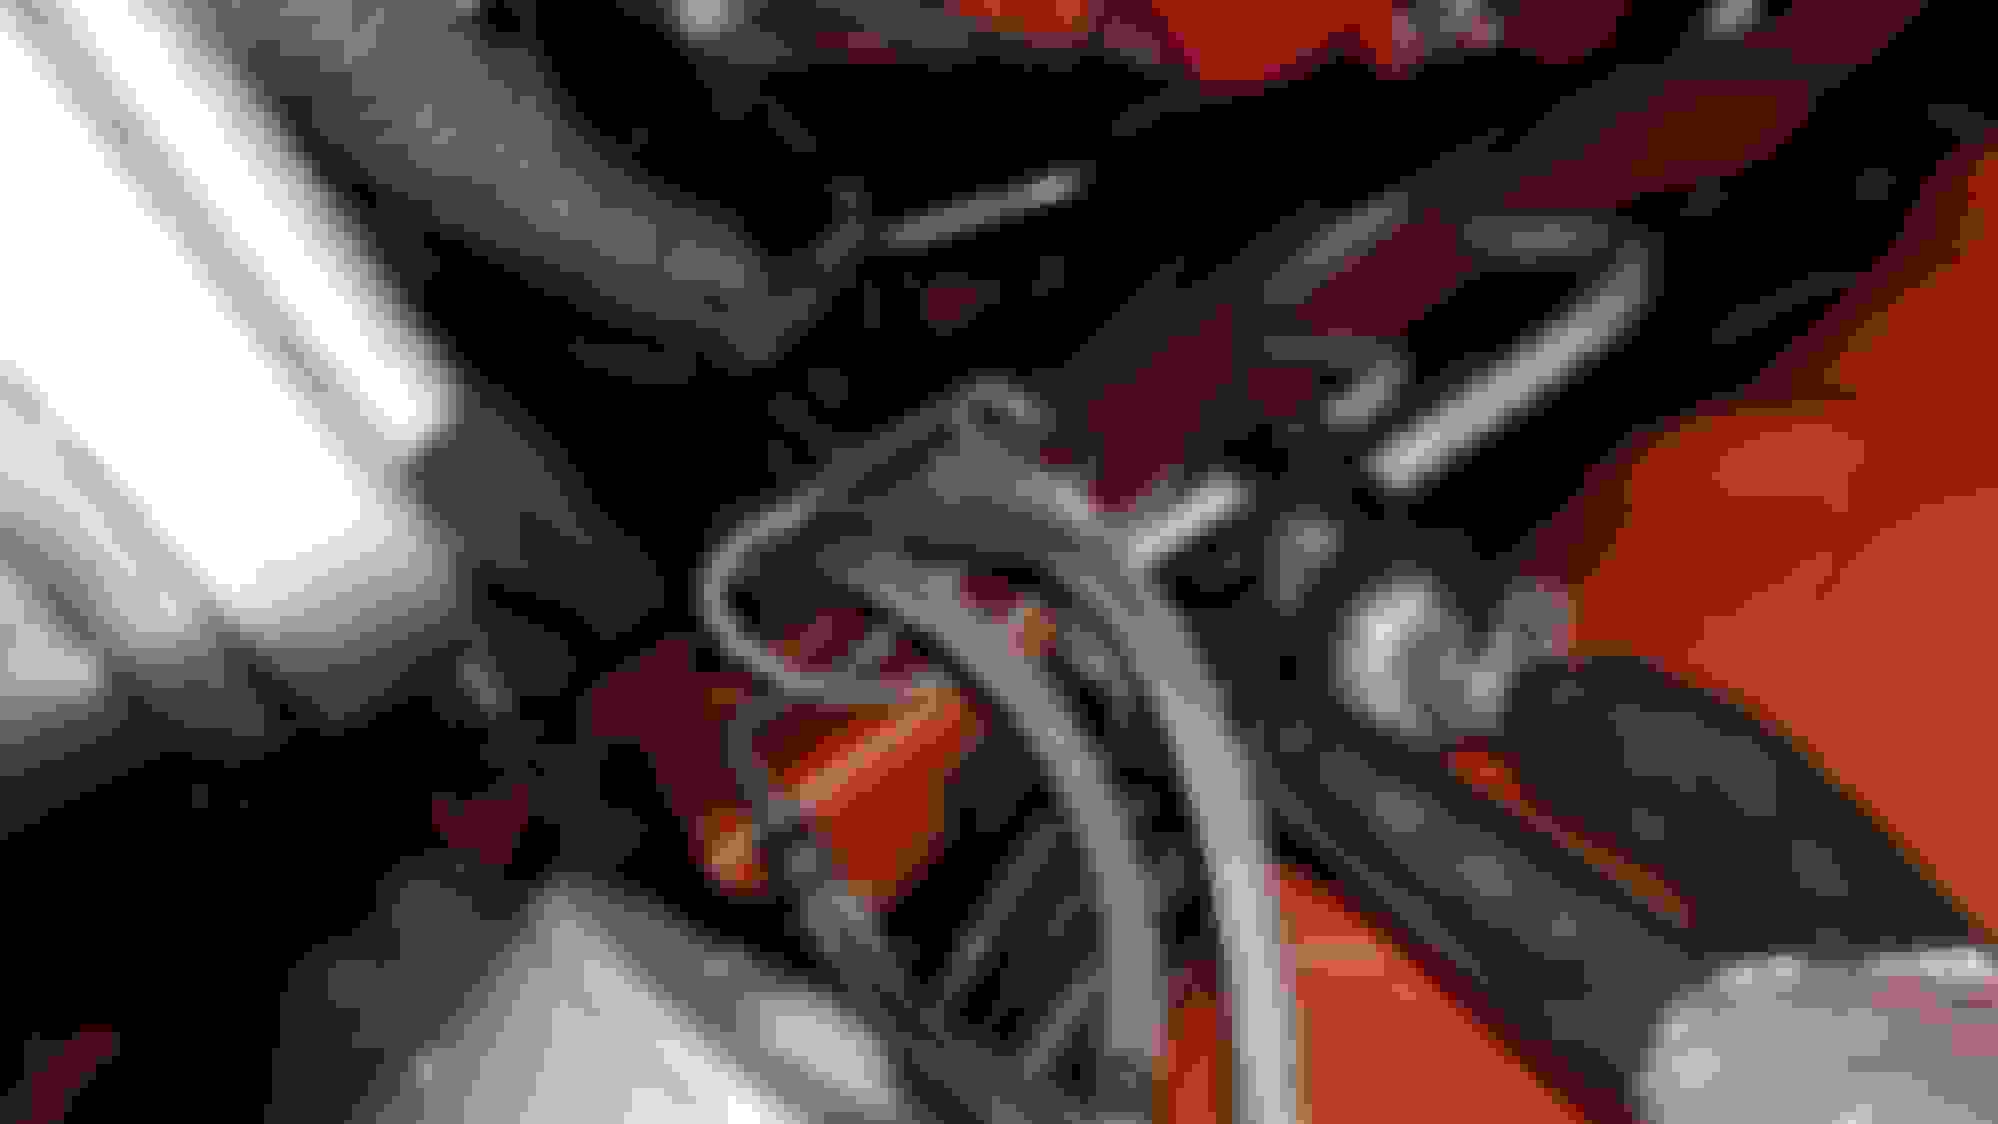
With all the research and advice from people on LS1tech, heat is the enemy with turbo cars. To help keep the heat under control, I ceramic coated and used DEI Titanium wrap for the whole hot side and used heat sleeves and tape for the harness.
Sure, this kit is " Designed for these cars", BUT its not as simple as install the parts and your good to go. There are some "Minor modifications" Huron Speed suggests you will need to do to your car to make this kit work/fit properly. When it comes to the wiring, in some ways you have to be creative since the pipes go forward towards the from instead of towards the rear. Paying attention to detail with your wiring will pay off for the long term, you don't want to melt any wires.
On the Pass side, I had to slightly modify the harness. Basically I just rerouted some of the factory wires in the harness so it fit better and cleared anything that would rub or come in contact to the hot side. It's hard to see but I tried to maintain a clearance of at least 3/4" or more from other wires, hot side, or metal parts.
As you can see in the pics below, I tried to be generous with either the DEI heat sleeves or the Summit Racing Velco Heat Sleeves. I recommend buying a few different sizes to use throughout the project.
Have you got the cold side hooked up yet? I am looking at getting this kit but tossing around the idea of tubing the front. Curious as to how I would need to make the brackets work. Possibly standing up the radiator as well.
Have you got the cold side hooked up yet? I am looking at getting this kit but tossing around the idea of tubing the front. Curious as to how I would need to make the brackets work. Possibly standing up the radiator as well.
Short answer, yes. Did a lot of test fitting. You need to trim the air dam deflector and the Fuse box holder. The IC bracket that comes with the kits works fine. I'll be posting more about the cold side later.
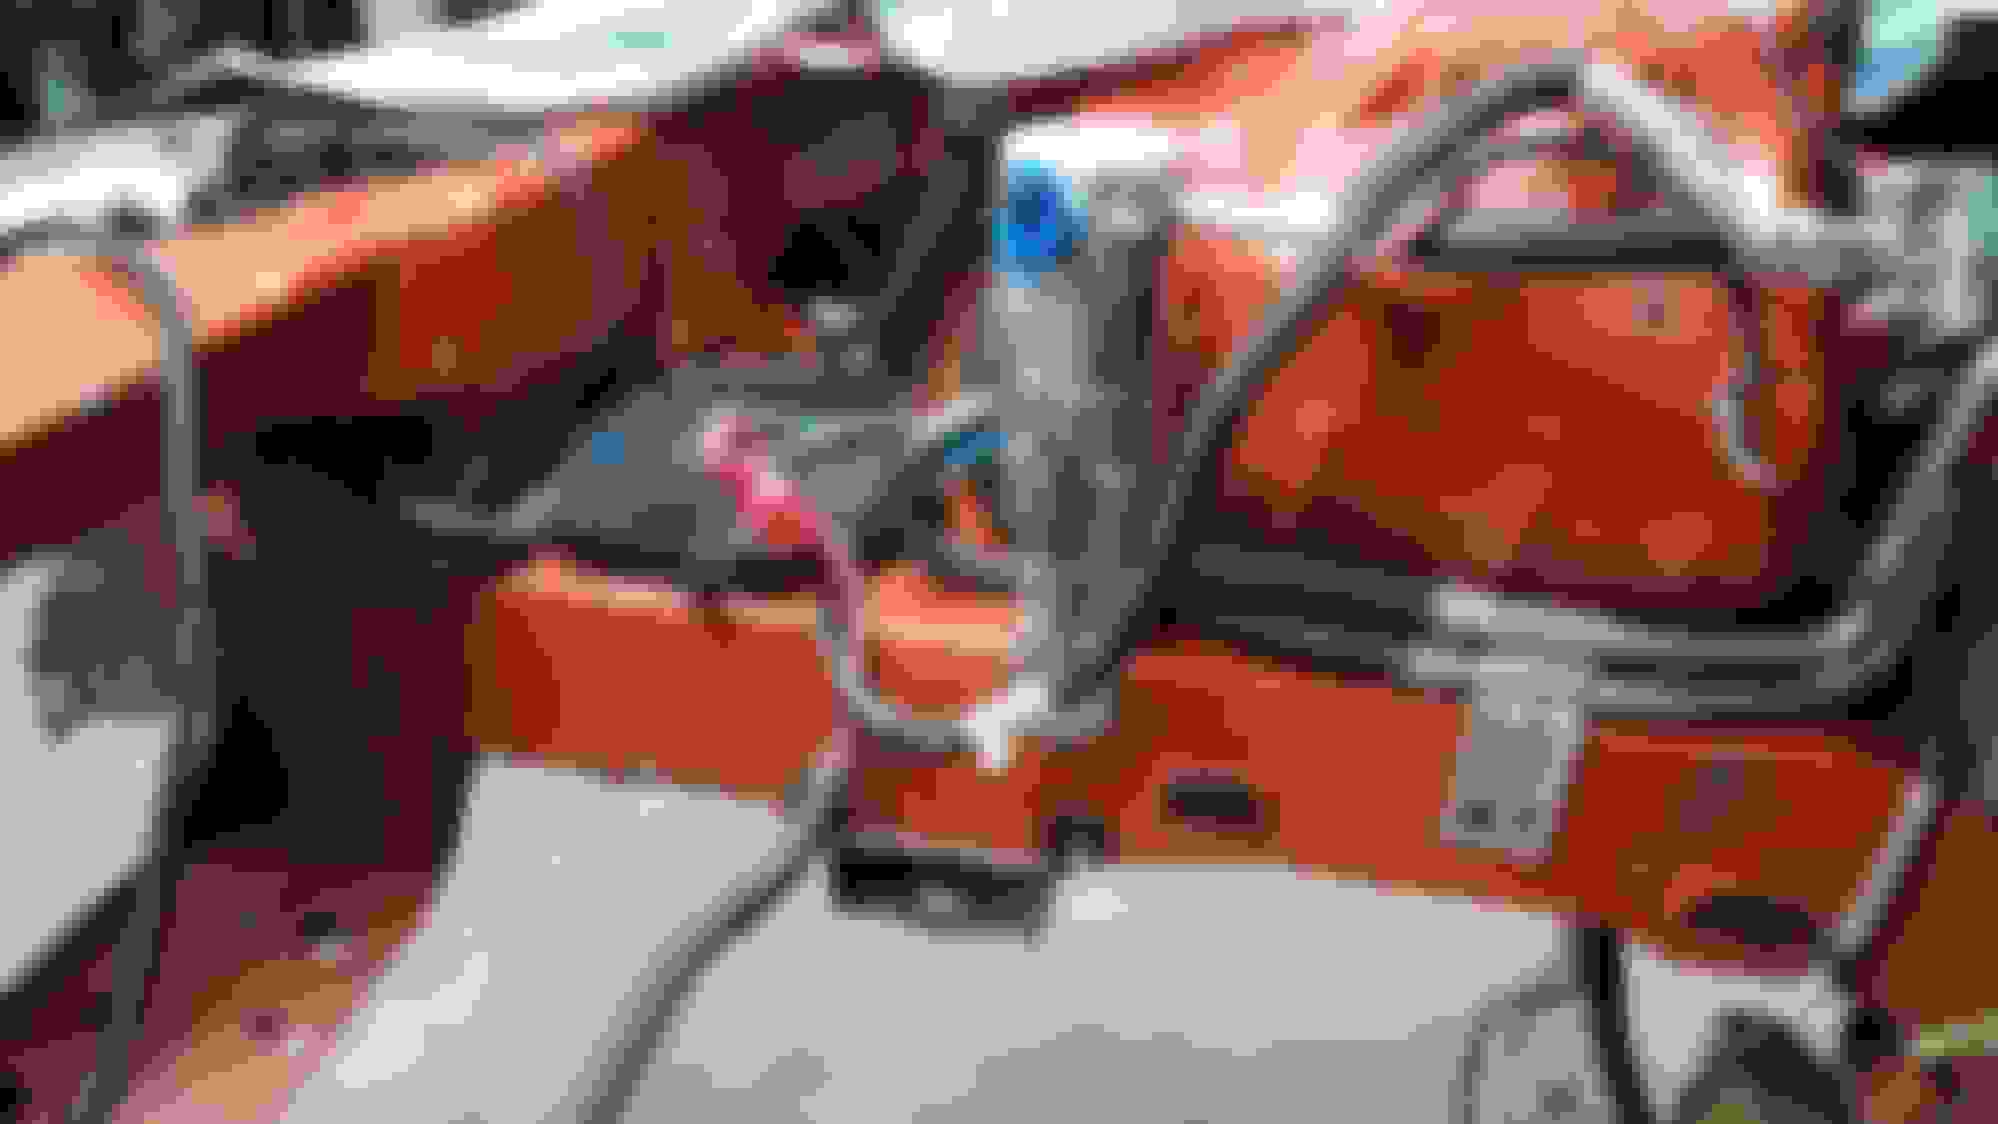
Before, I said it might have been easier to install the turbo kit after the engine was installed due to the brake lines by the ABS module. I brought this up to Jon and all he could suggest is to "bend them out of the way". At first I was hesitant since I had to really bend them a lot to clear the manifold. As you can see in the pics, it was rubbing hard on the header wrap. My concern was if I bend them too much, will I kink or crack the lines. Since my car only has 20,xxx miles, the lines are still brand new and no rust. So I figured what the hell, lets do it.
I tried to bend the lines with the manifold in place but there is no way in hell to do it, the drivers manifold had to come out to gain access. If I would have know before, I would have bent them out of the way before the engine went in for clearance. Months before I did my tear down, I did a lot of research about this kit but never really came across this issue, except someone said just "bend them a little to clear". Hopefully this post will help other people in the future.
Another issue is the brake line that goes along the turbo K-Member. It's kinda hard to see but the line only has about 1/8" - 1/4" gap between the line and turbo down pipe that goes out to the back of the car. I might have to revisit this later on. This is one area where the kit needs re-engineered for better fitment and clearance.
Since our cars were never designed to have a turbo and all the turbo piping goes forward, we have to keep the heat under control. After I ceramic coated everything, I decided to go one step further and use DEI Titanium header wrap to wrap most of the hot side.
This was my first time ever using header wrap so after watching a bunch of youtube videos and talking with the tech guys at DEI, I decided to give it a shot and hope for the best. lol
What a job, I probably have about 7 hours invested in wrapping all the pipes and installing the stainless zip ties. I used 100 feet of 2" and 50 feet of 1", very little was left over. I did the recommended 1/4" overlap as per DEI on most parts. The bigger "straighter" pipes were kinda easy but the ones with a lot of bends require a lot of planning and trial and error. You want to keep the wrap snug as your wrapping it. It's challenge since it's kinda slippery and can fall apart easily where you cut it.
The stainless zip ties don't work like the plastic ones. I used plastic zip ties to hold the wrap in certain spots while I was wrapping (to hold it in place) and then swapped them out to the stainless ties once all the wrapping was done. The stainless ties don't get real tight at all, I even tried to use the DEI locking tool to help but a pair of needle nose worked about as good. There is a little bb inside the tab that has a little play once its "fully" tighten.
From what I'm told, the wrap should firm up once it goes through a few heat cycles.
Overall they turned out good for my first time. This is one thing I don't think I would want to do again if I can help it, defiantly takes skill to do it right and make it look good.
I know I'm late to the party but stainless safety wire works better.
Just finished this whole thread. I wonder why alot of companies/people go around the front of the engine with the hot side piping? you can easily go down under the engine and trans with the crossover pipe and join them into the driver side manifold.
 10-18-2018, 07:29 AM